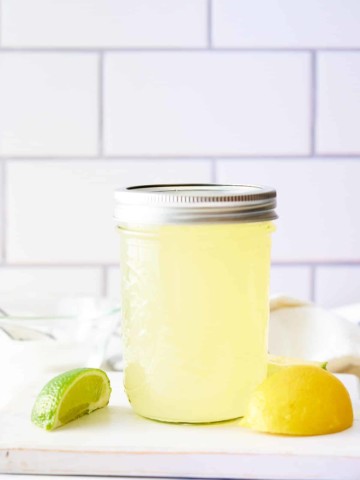
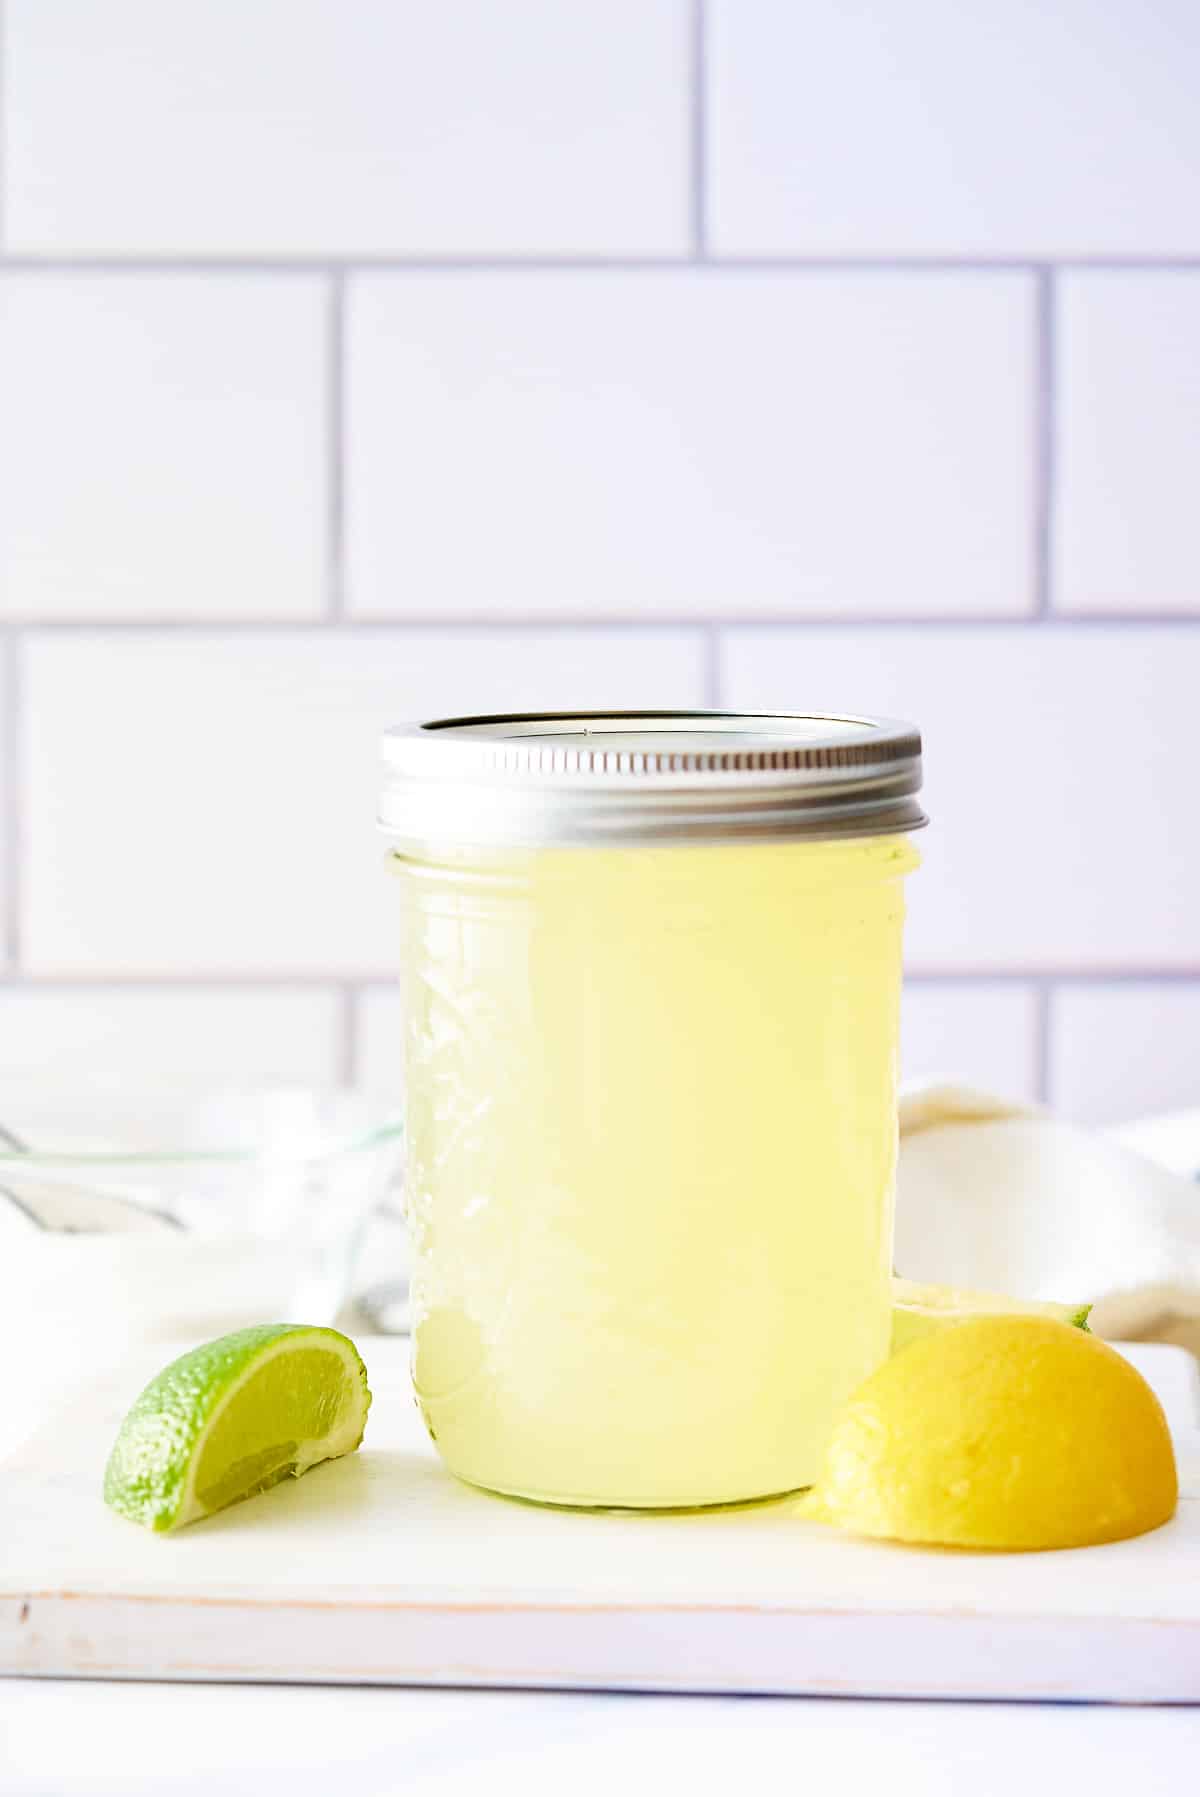
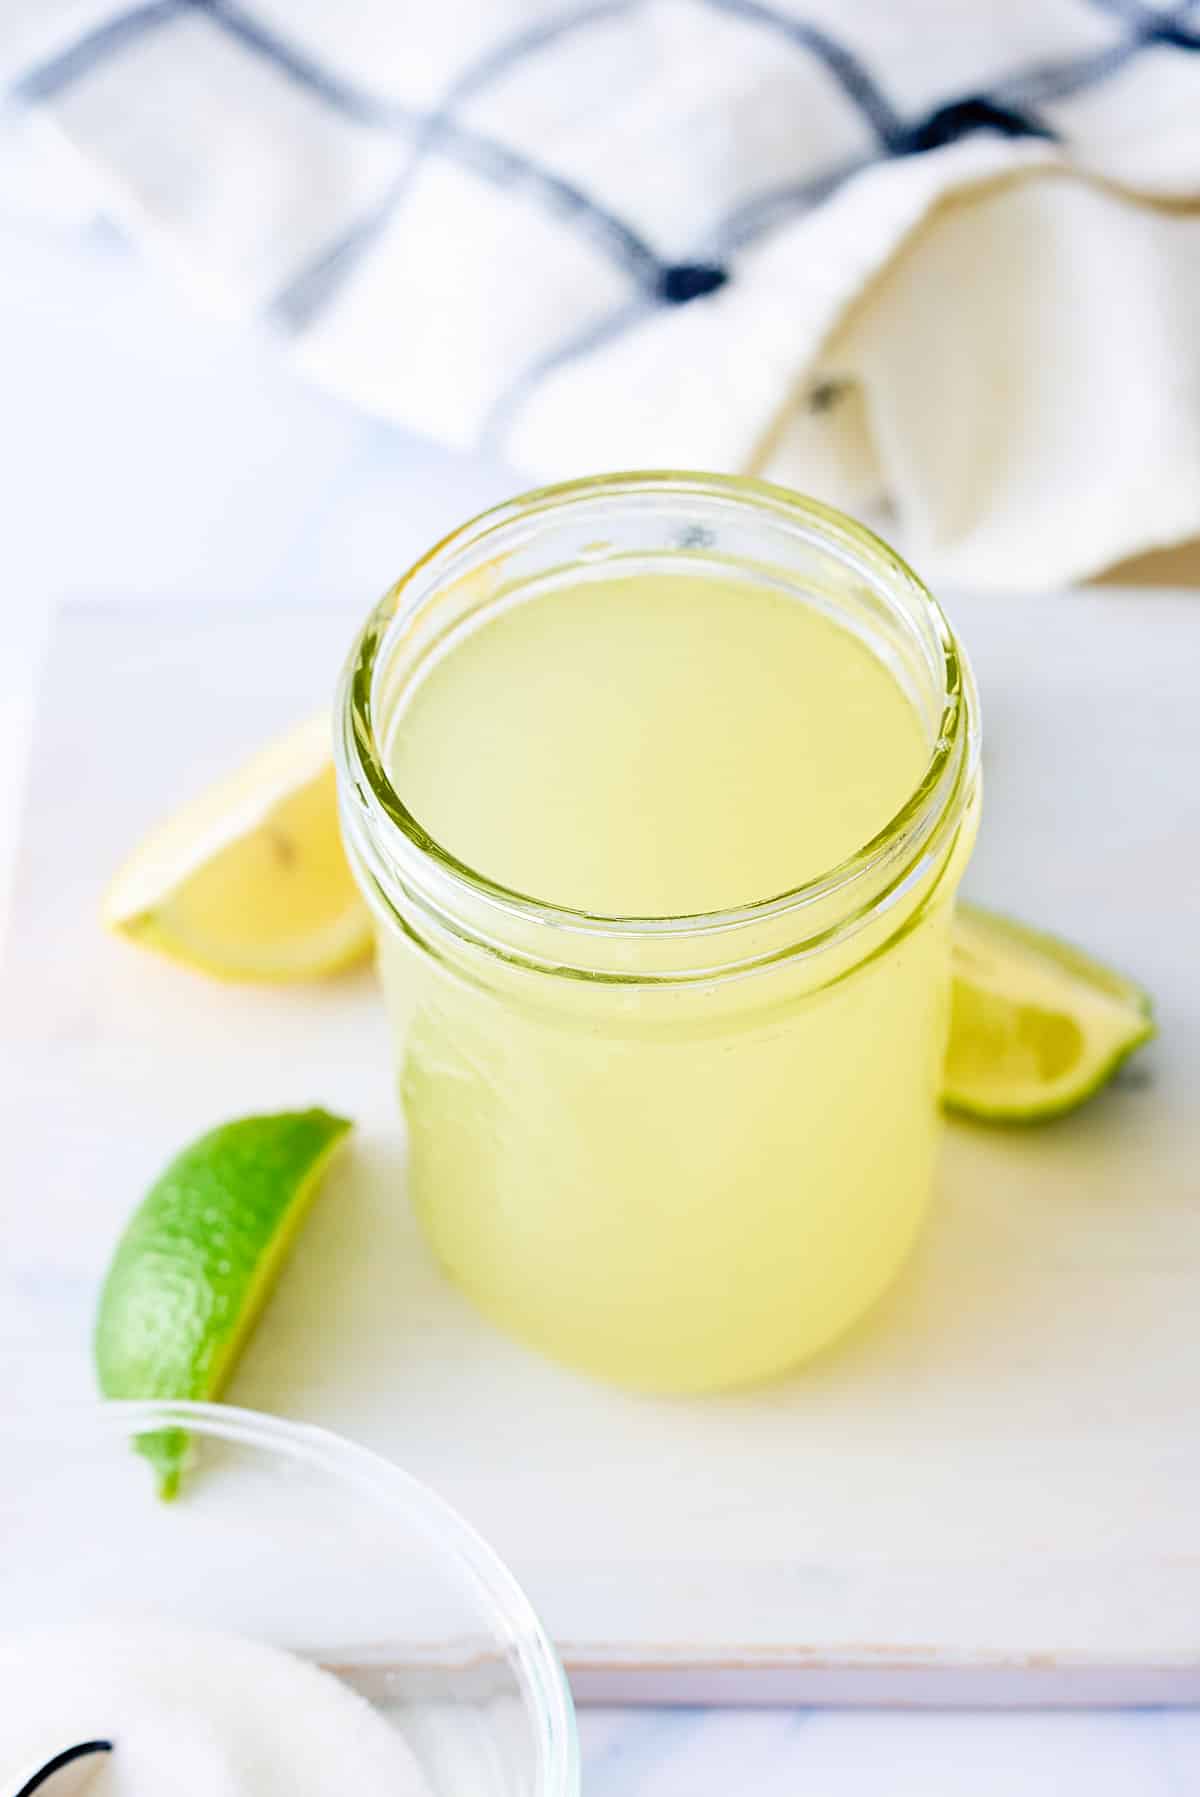
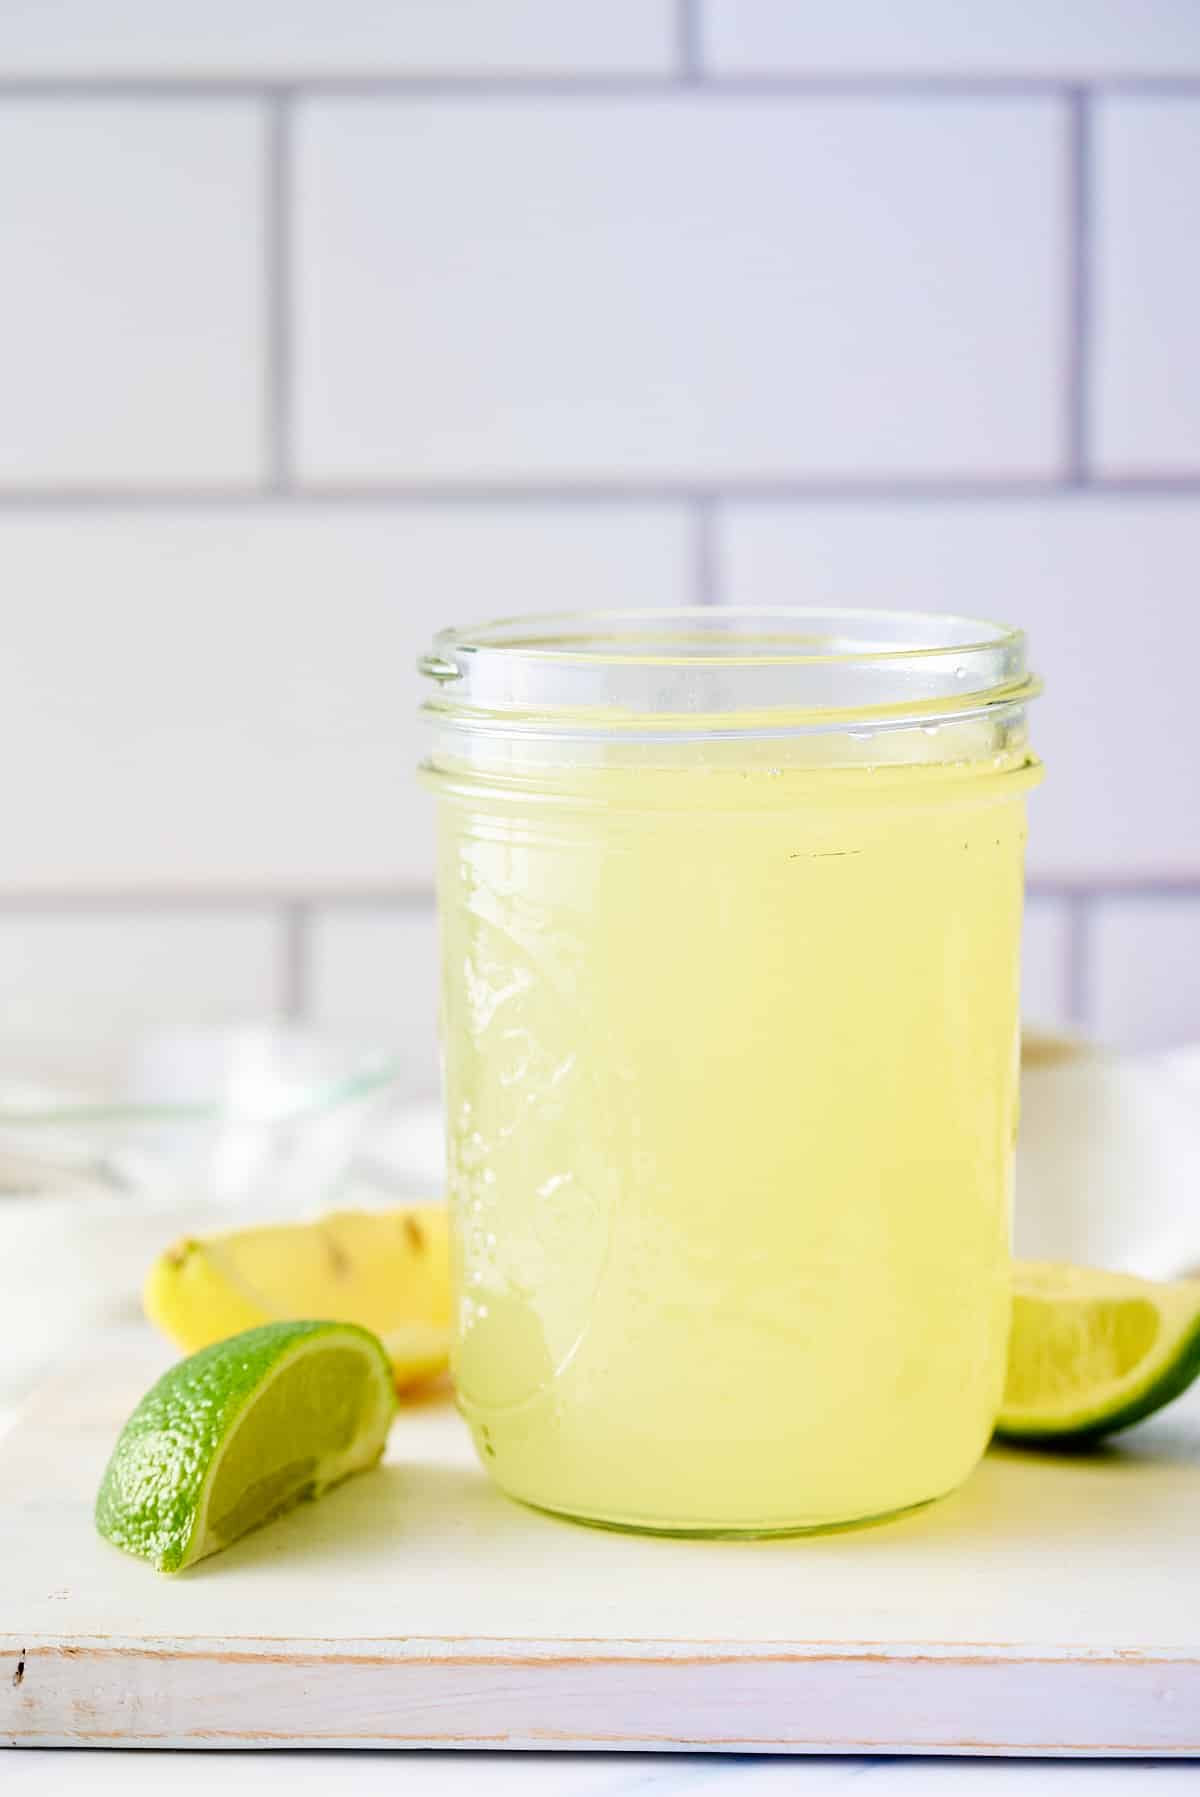
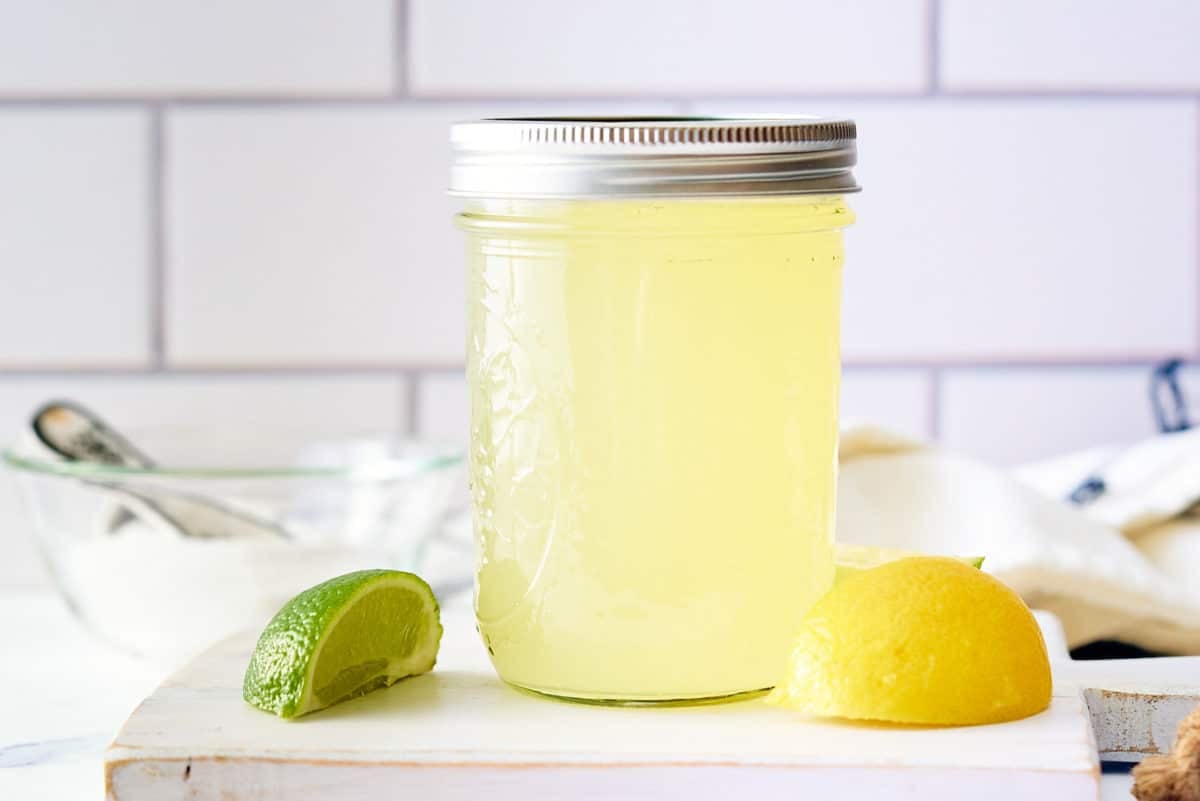
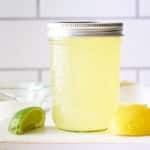
My Homemade Sweet and Sour mix can be made in minutes by melting sugar in water, then adding freshly squeezed lemon and lime juice. Once made it's ready to add to cocktails and mocktails, adding that perfect balance of sweet and sour flavors to your favorite drinks.
This post contains affiliate links, please read my full disclaimer here.
You’ll find the full recipe with ingredient amounts and instructions in the recipe card at the bottom of this post. Be sure to check out the blog post itself for extra tips and tricks!
Regular readers of my blog will know that I love a good cocktail, and make a variety of different drinks at home. The secret to making quality cocktails at home is to have the sugar syrups and sweet and sour mixers that add that little bit extra to the drink.
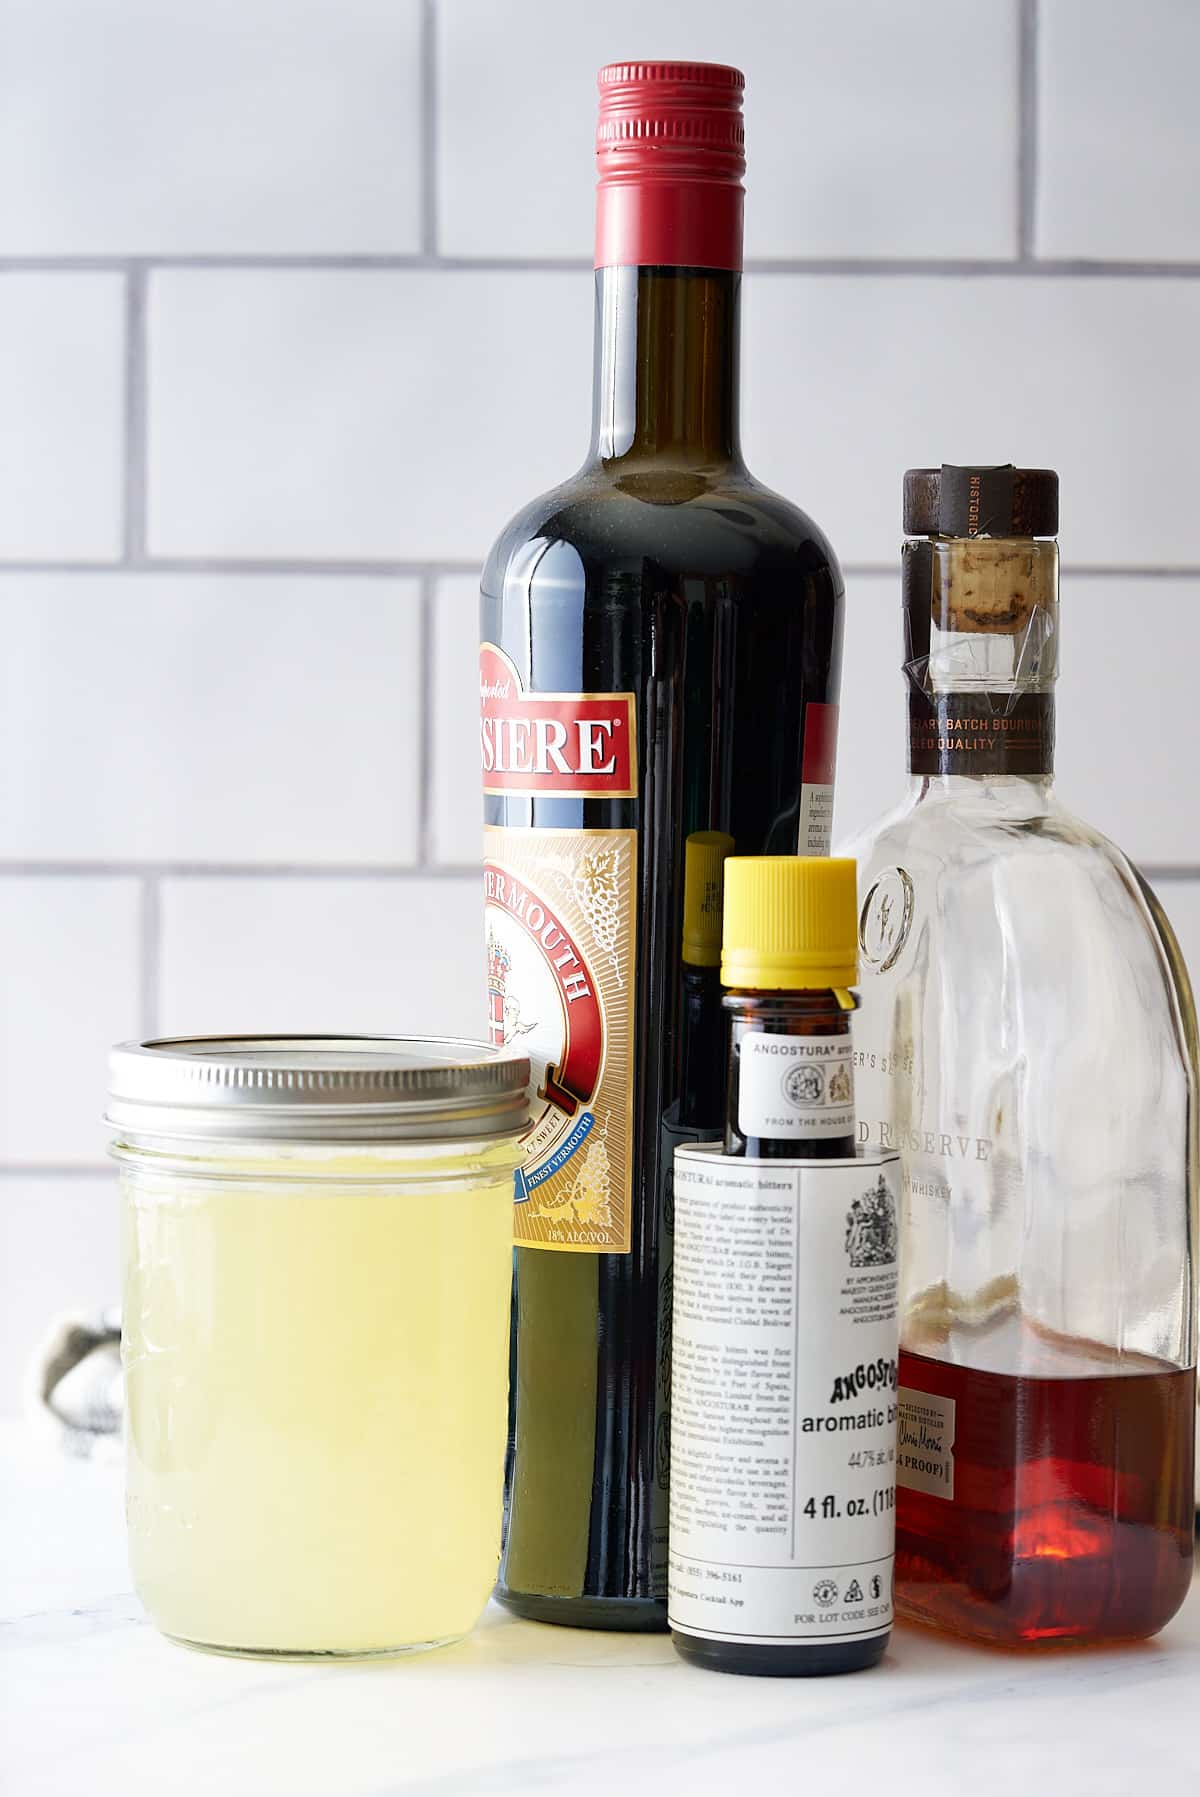
Making your own syrups and mixers at home is really simple. This is the best sweet and sour mix, made using equal quantities of water, sugar, and fresh lemon and lime juice. This simple sweet and sour-mix works with a variety of different spirits, vodka, tequila, gin, whisky, bourbon, and rum.
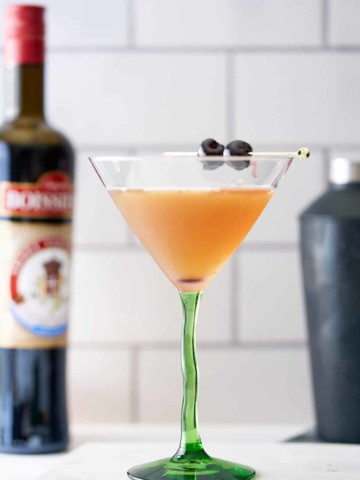
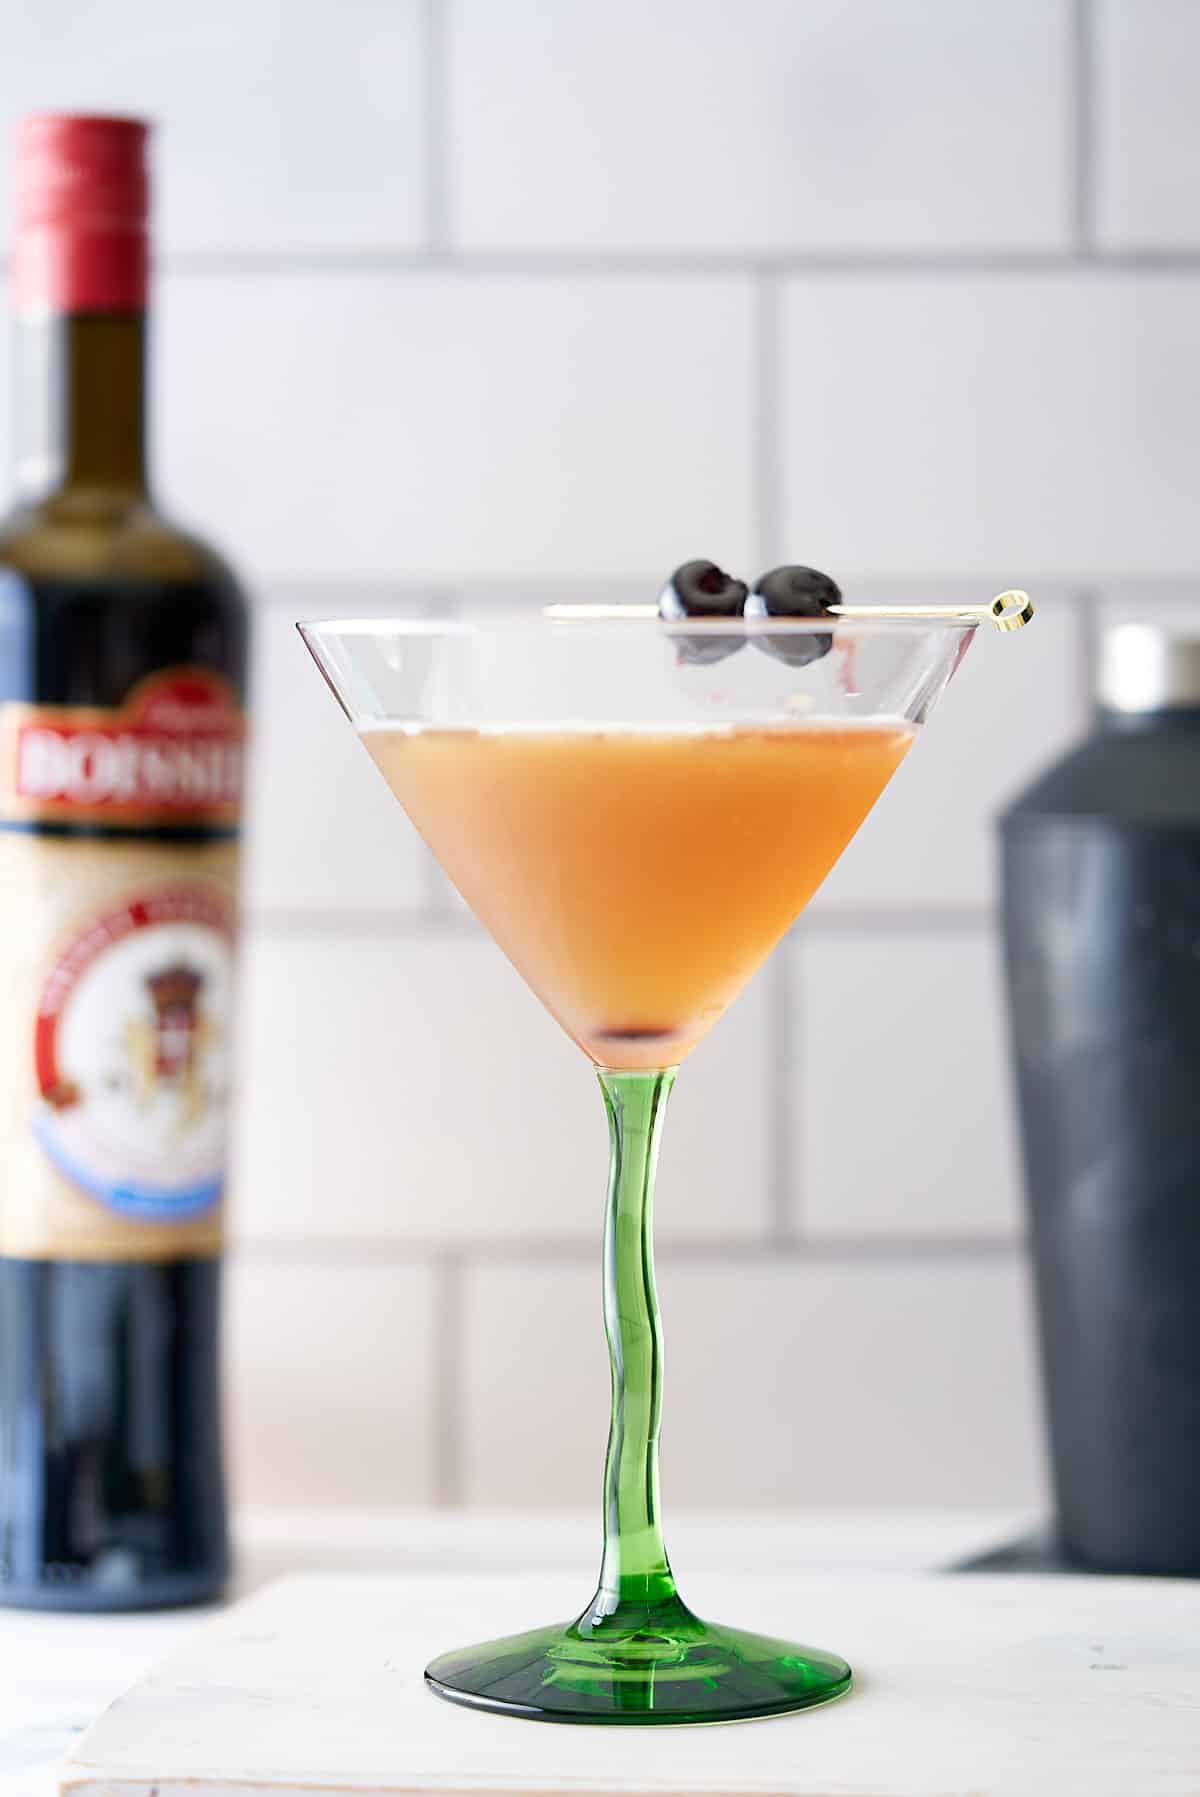
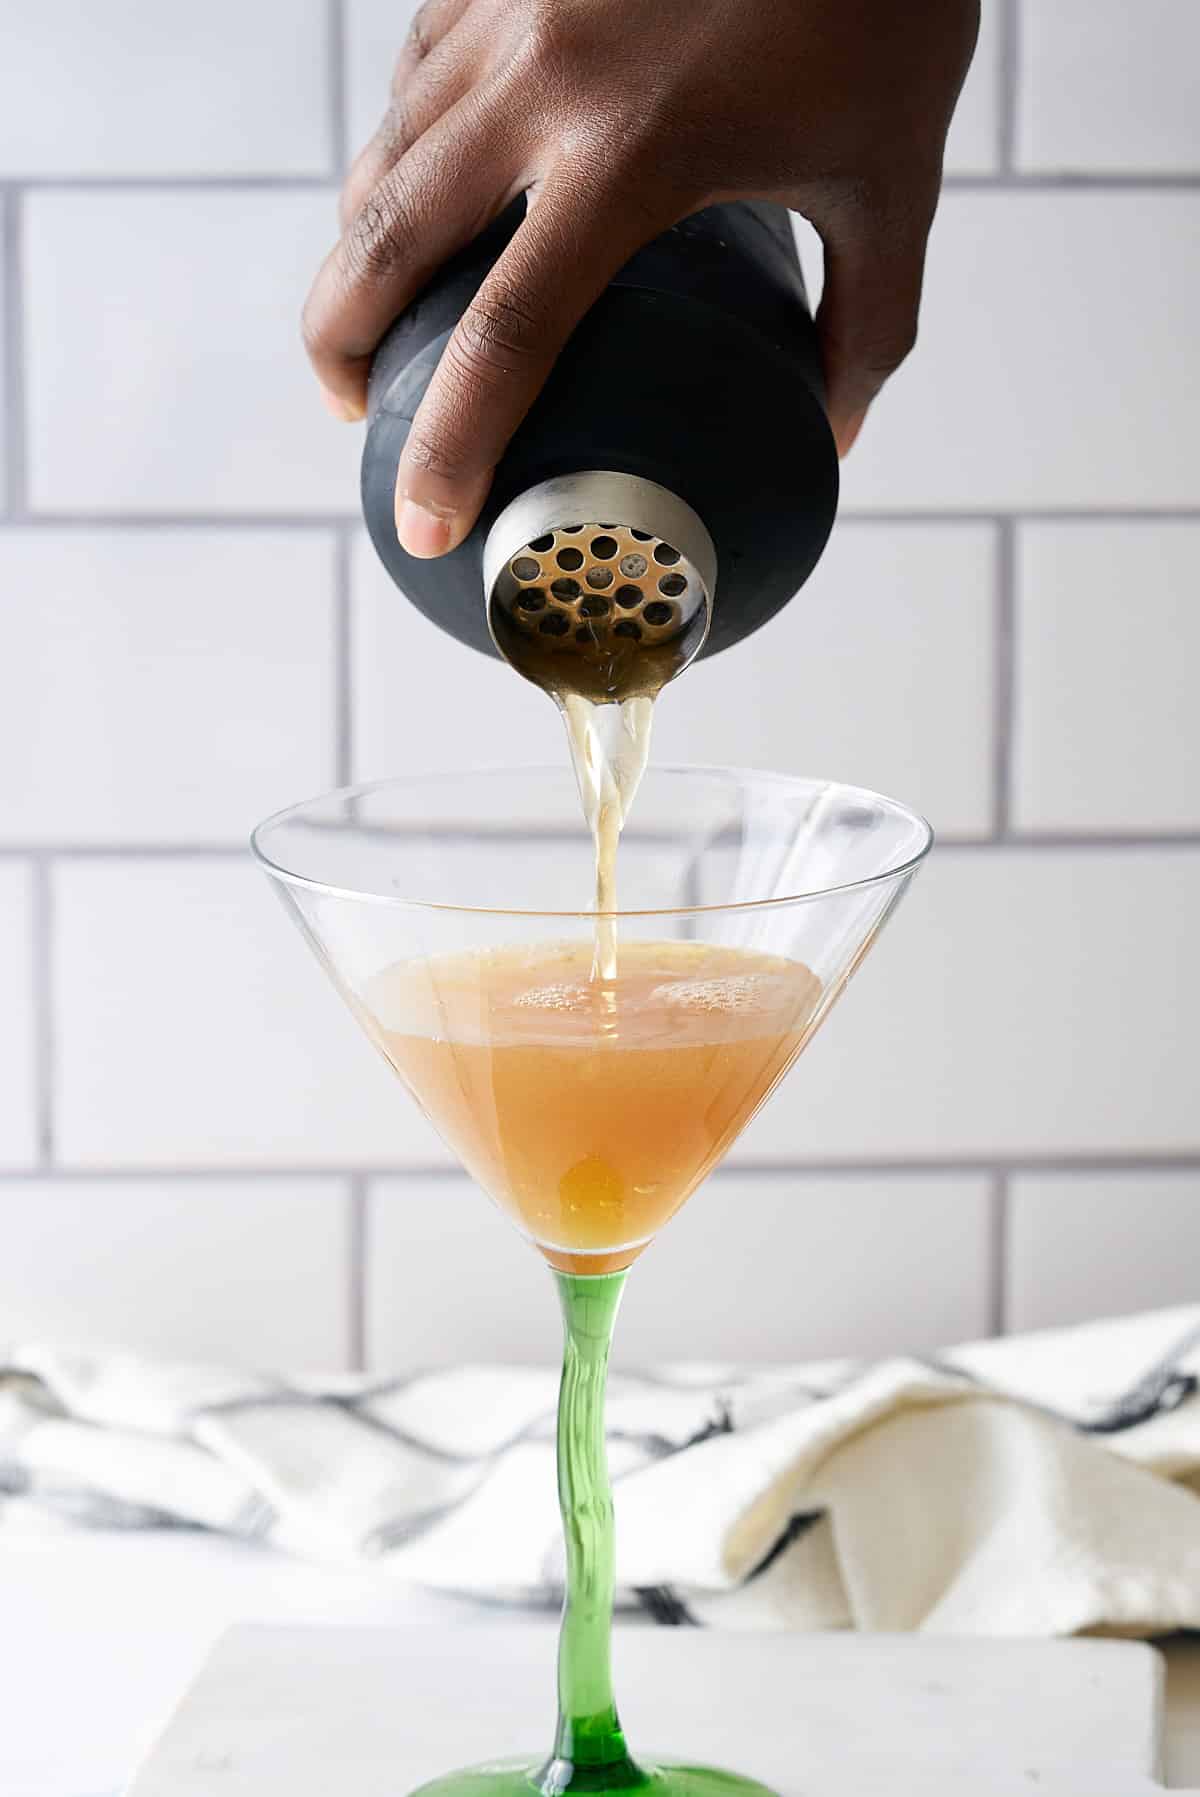
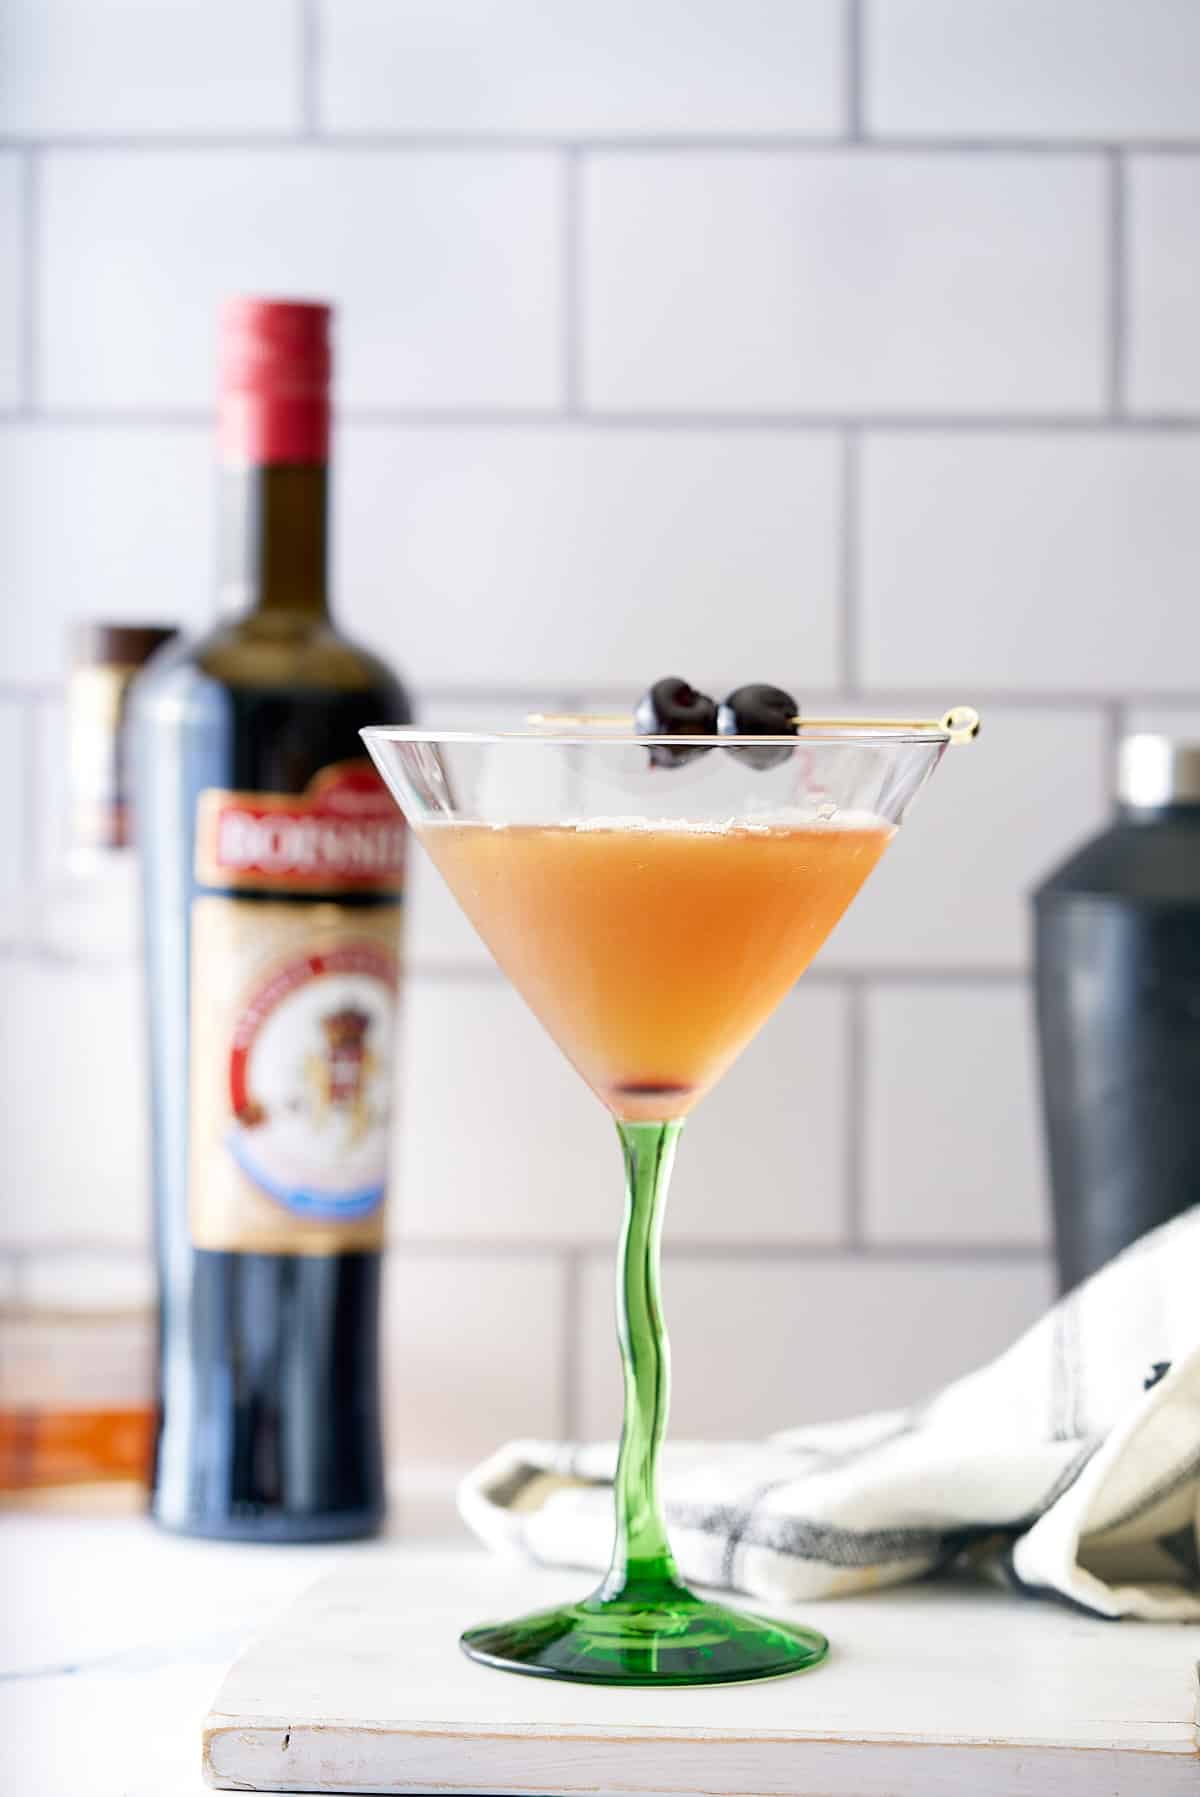
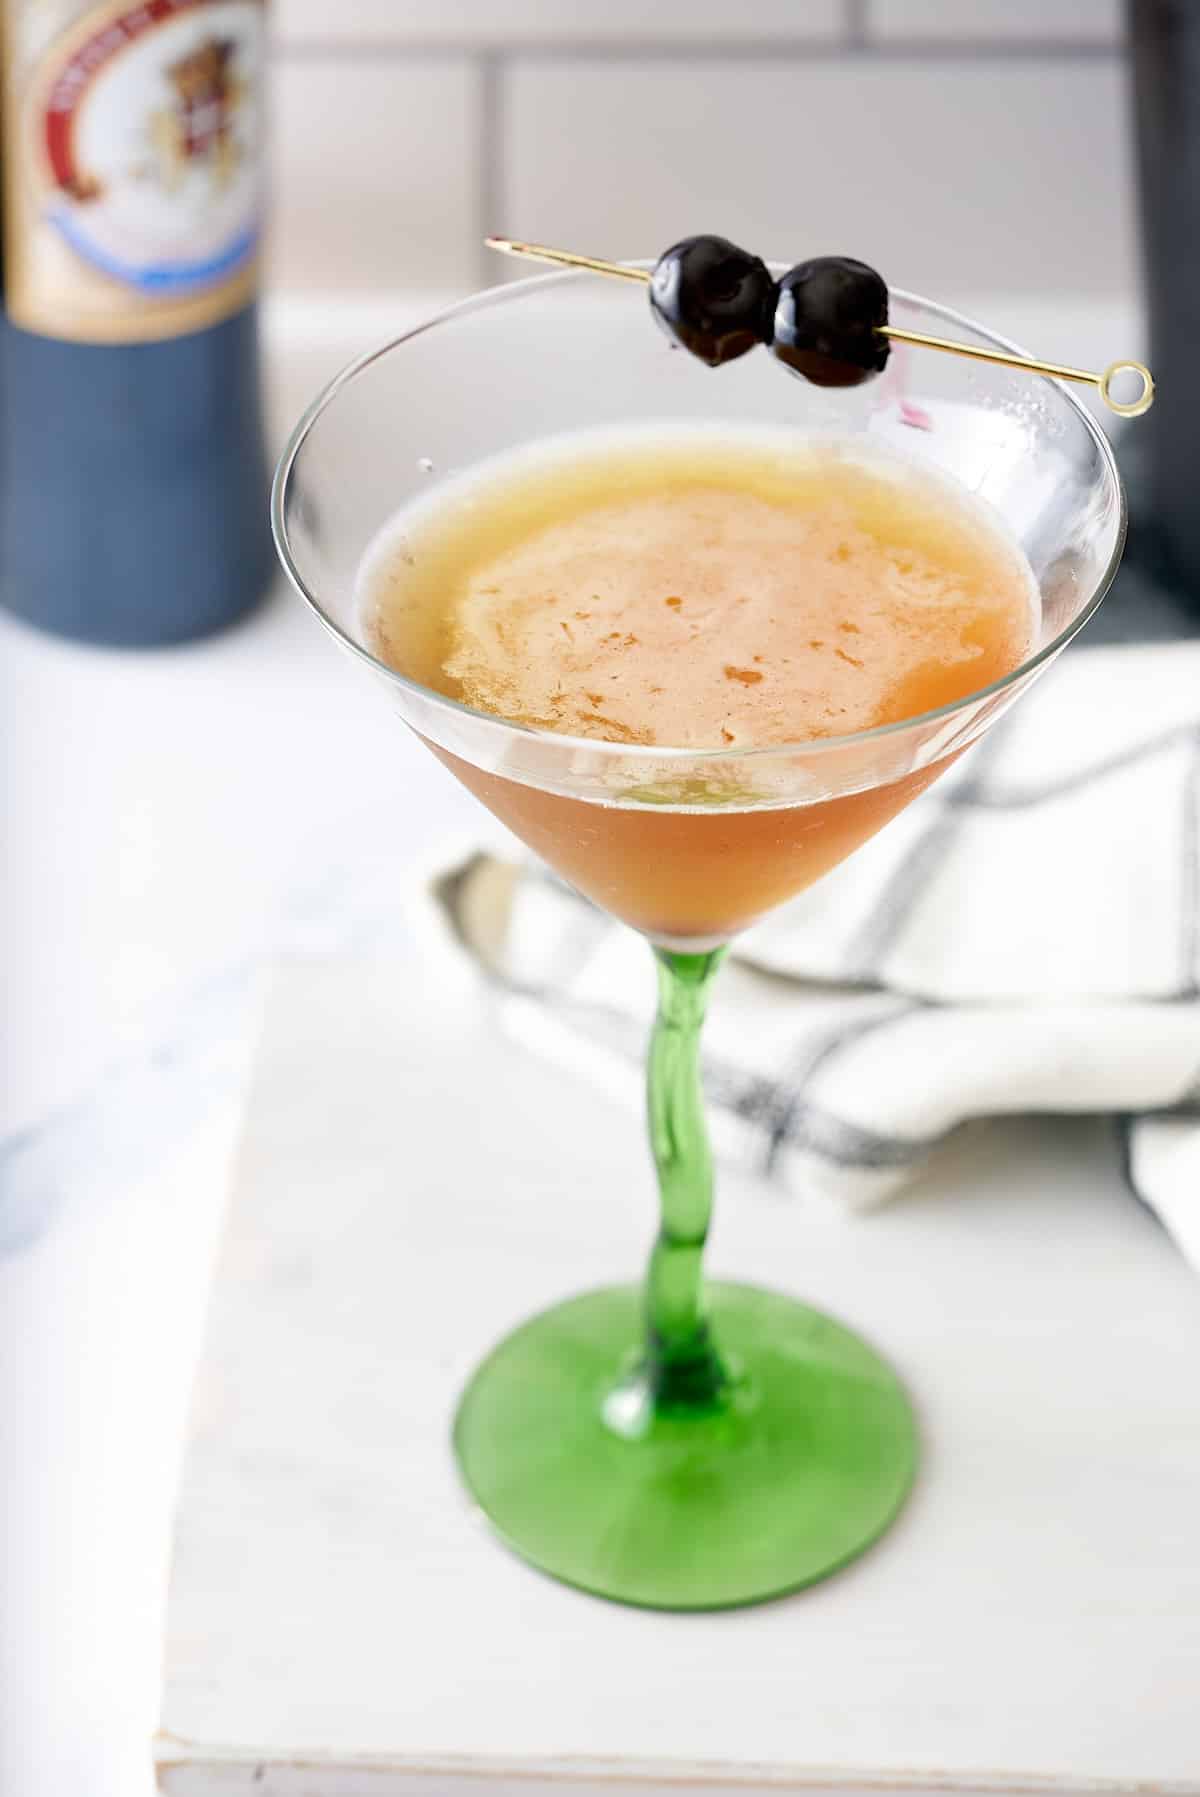
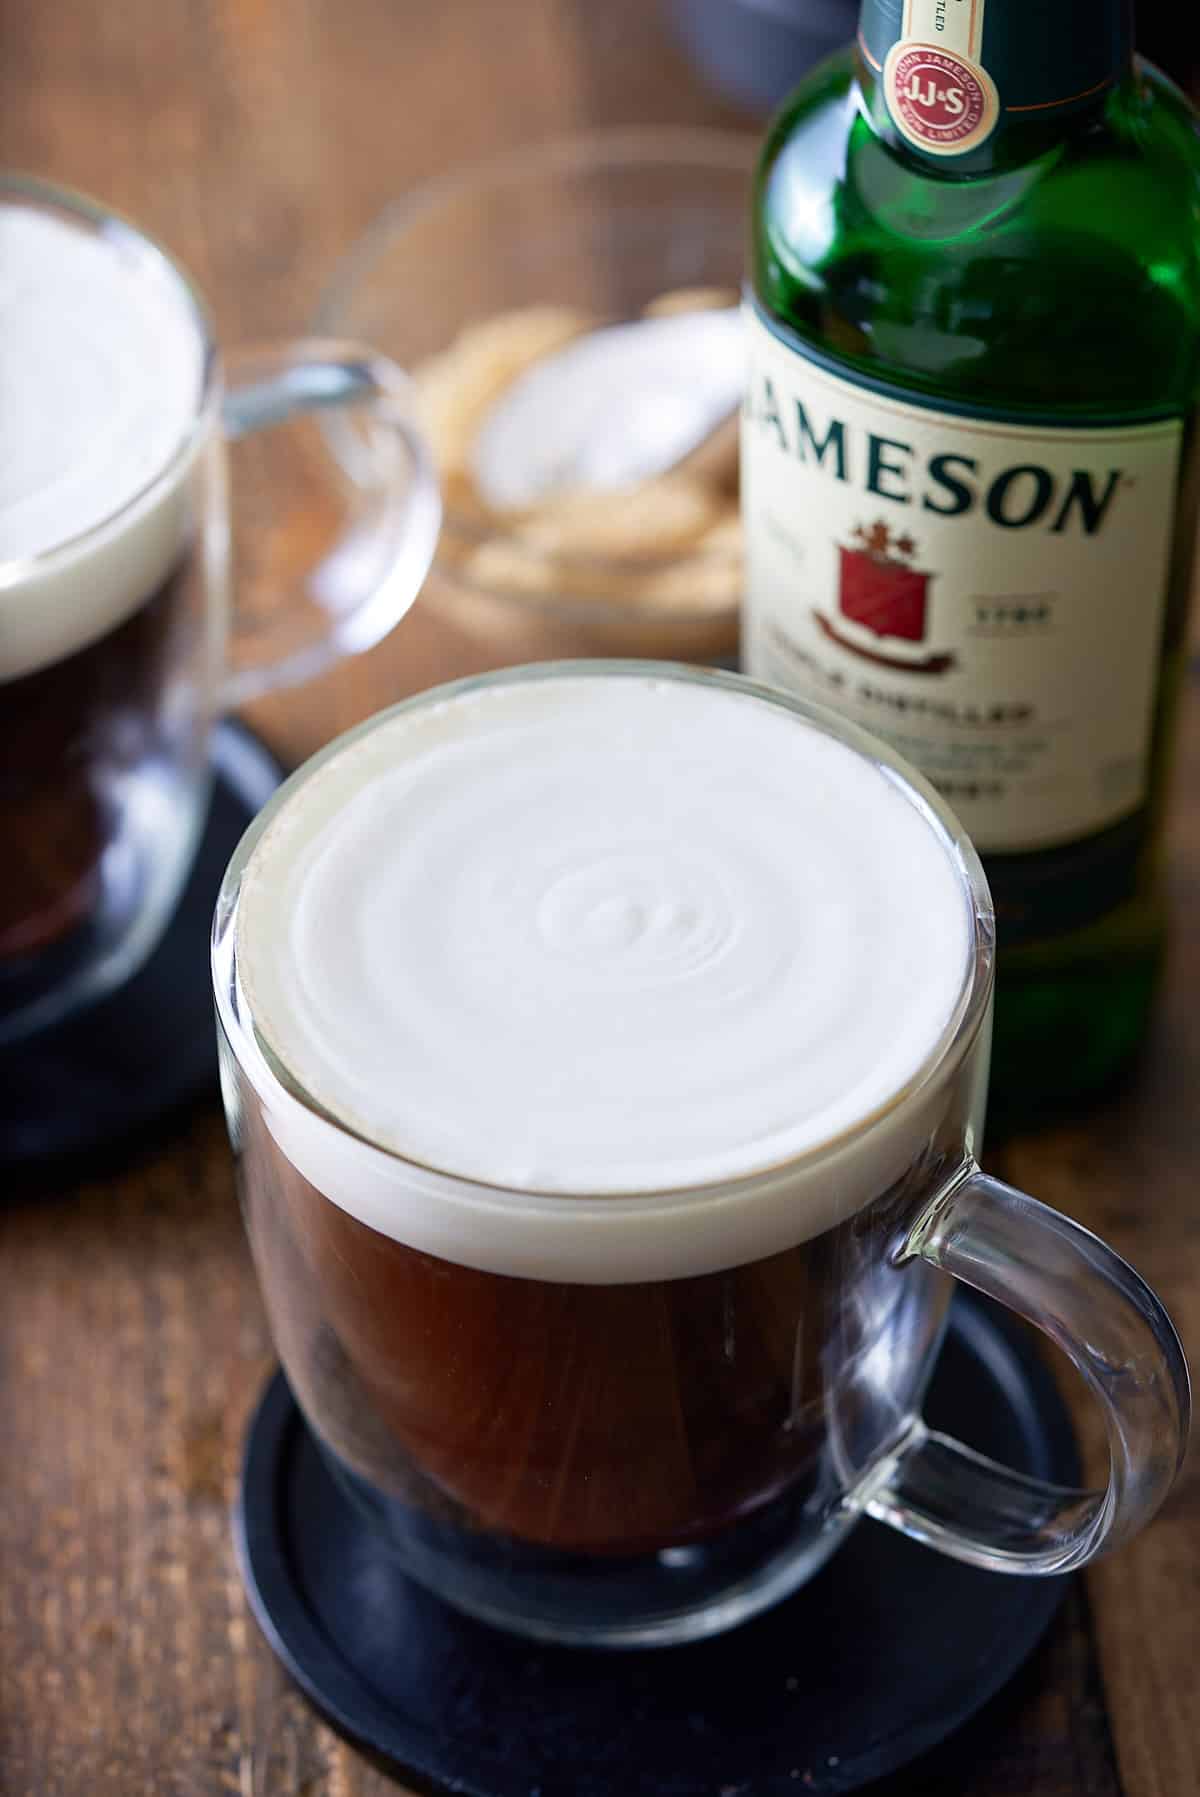
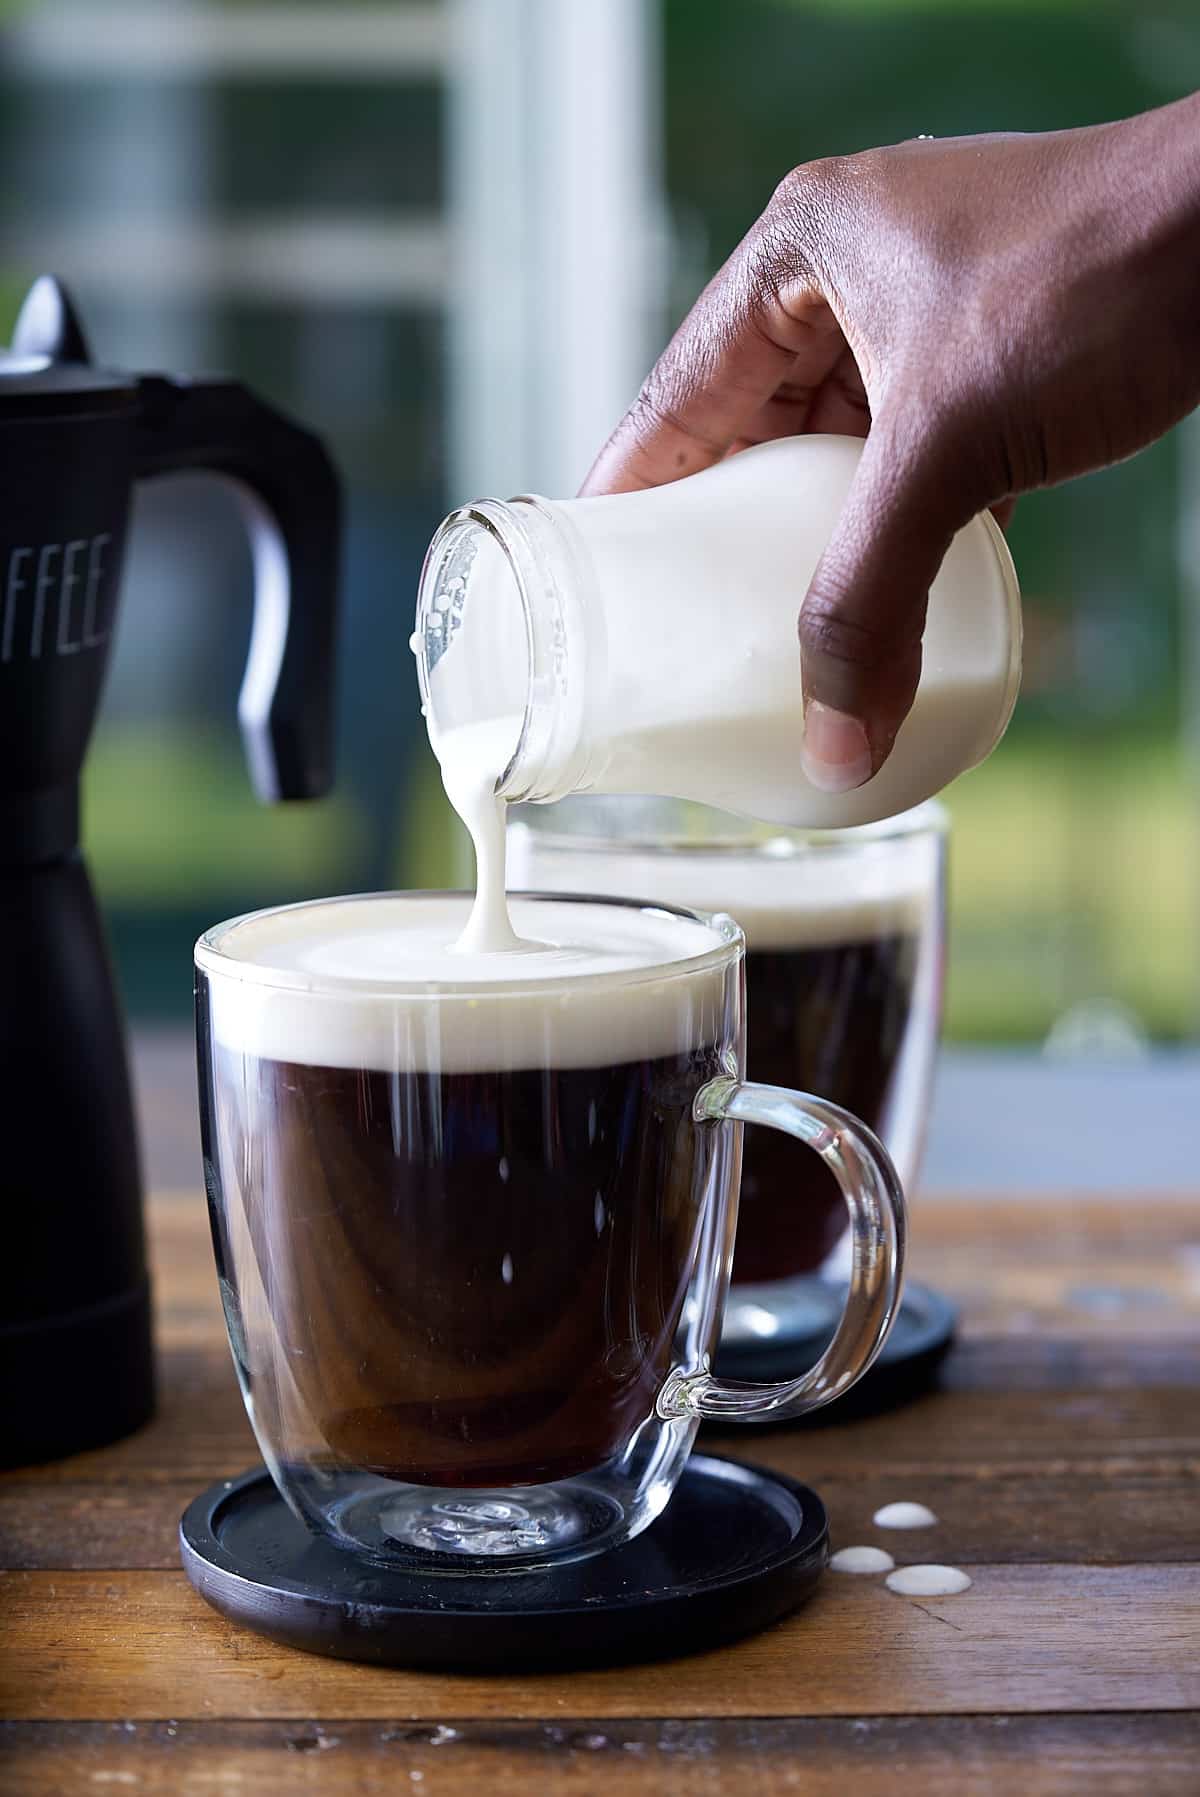
Add it to my Bourbon Martini, which adds the perfect balance of sweet and sour flavors to the smoky bourbon, or in this whiskey sour. Simply replace the simple syrup and lemon juice with this.
If you like making your own cocktail mixers and syrups, try my Simple Syrup recipe, which uses a basic ratio of 1:1 sugar to water. It works a treat in my Classic Margarita recipe.
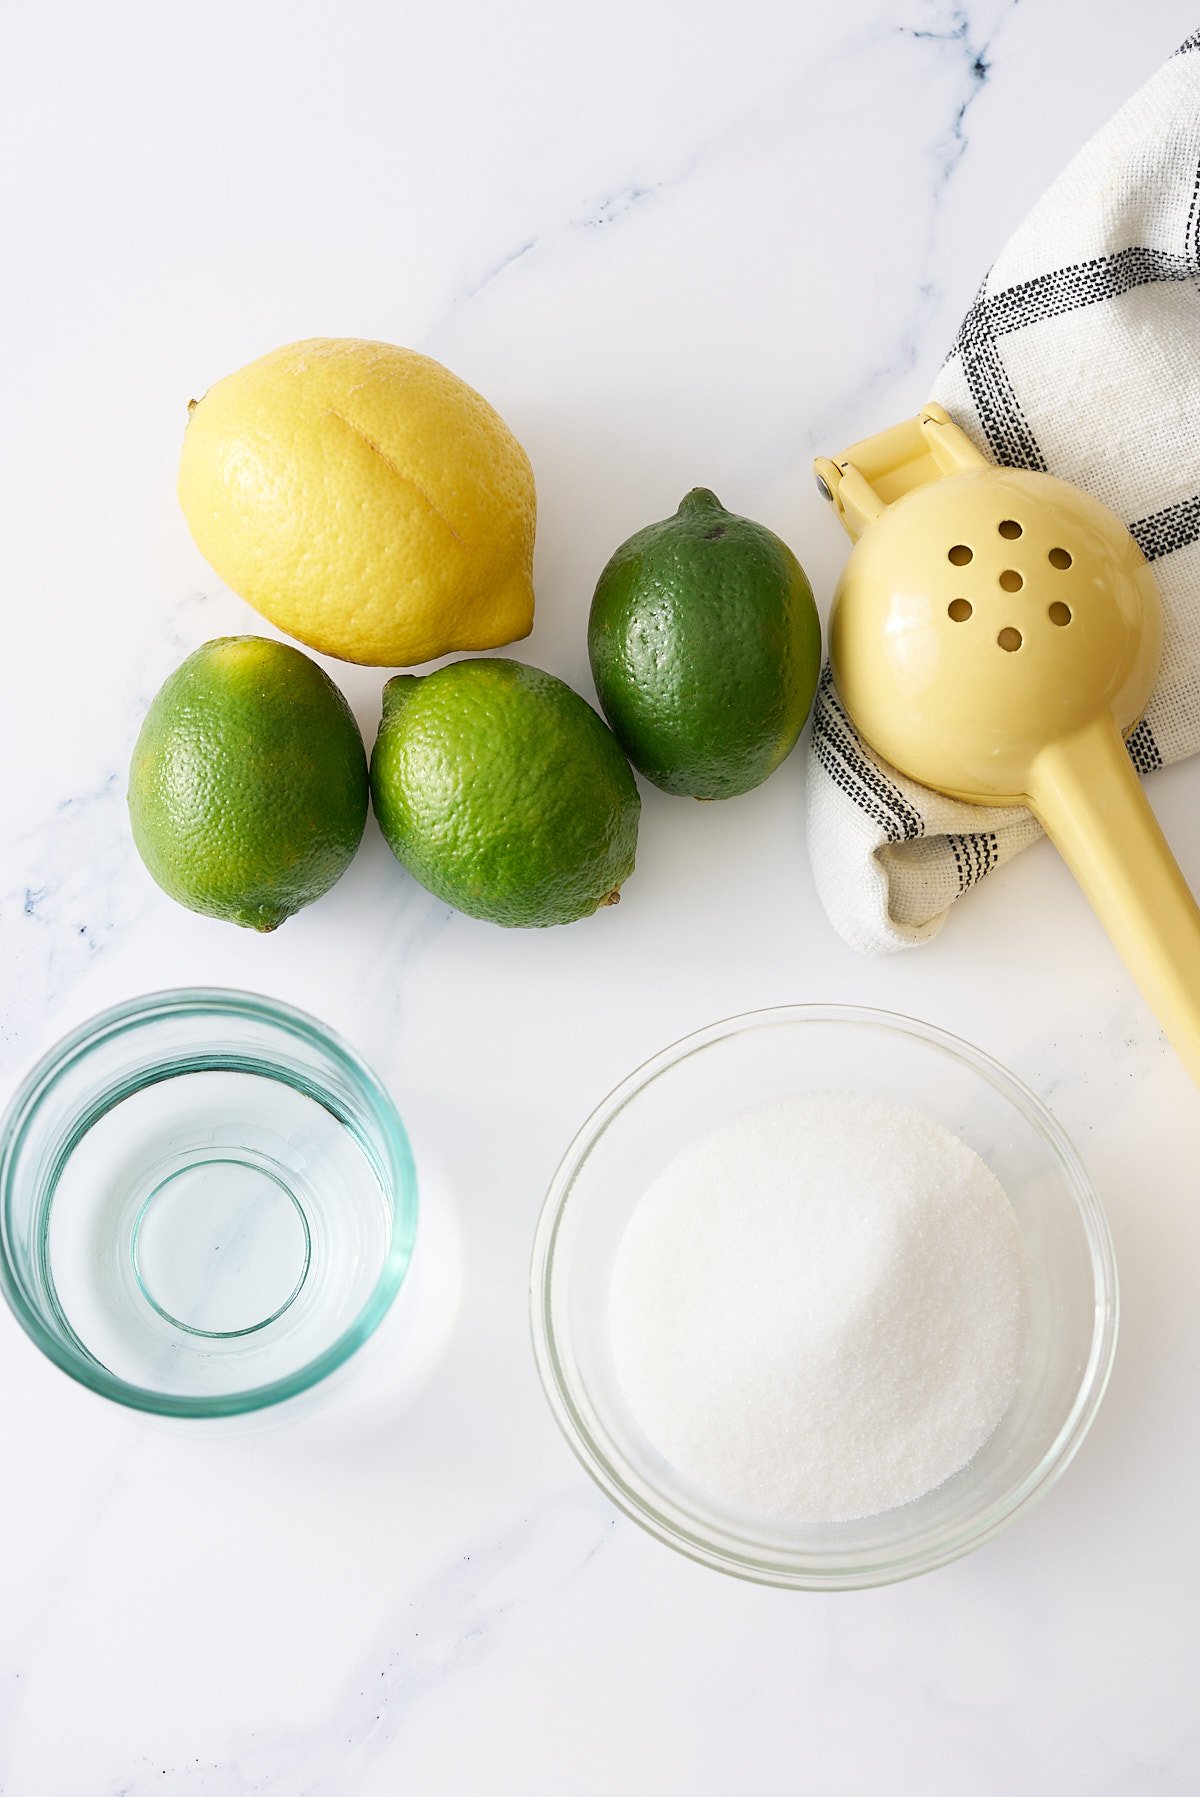
Ingredients
- Sugar - I use white granulated sugar, but you can use any type of sugar for this recipe.
- Water - use tap water if you are lucky enough to live somewhere with good water; if not use filtered water.
- Lemon juice - I use freshly squeezed lemon juice from about 3 lemons.
- Lime juice - I use freshly squeezed lime juice from about 5 limes.
How to make Sweet and Sour Mix
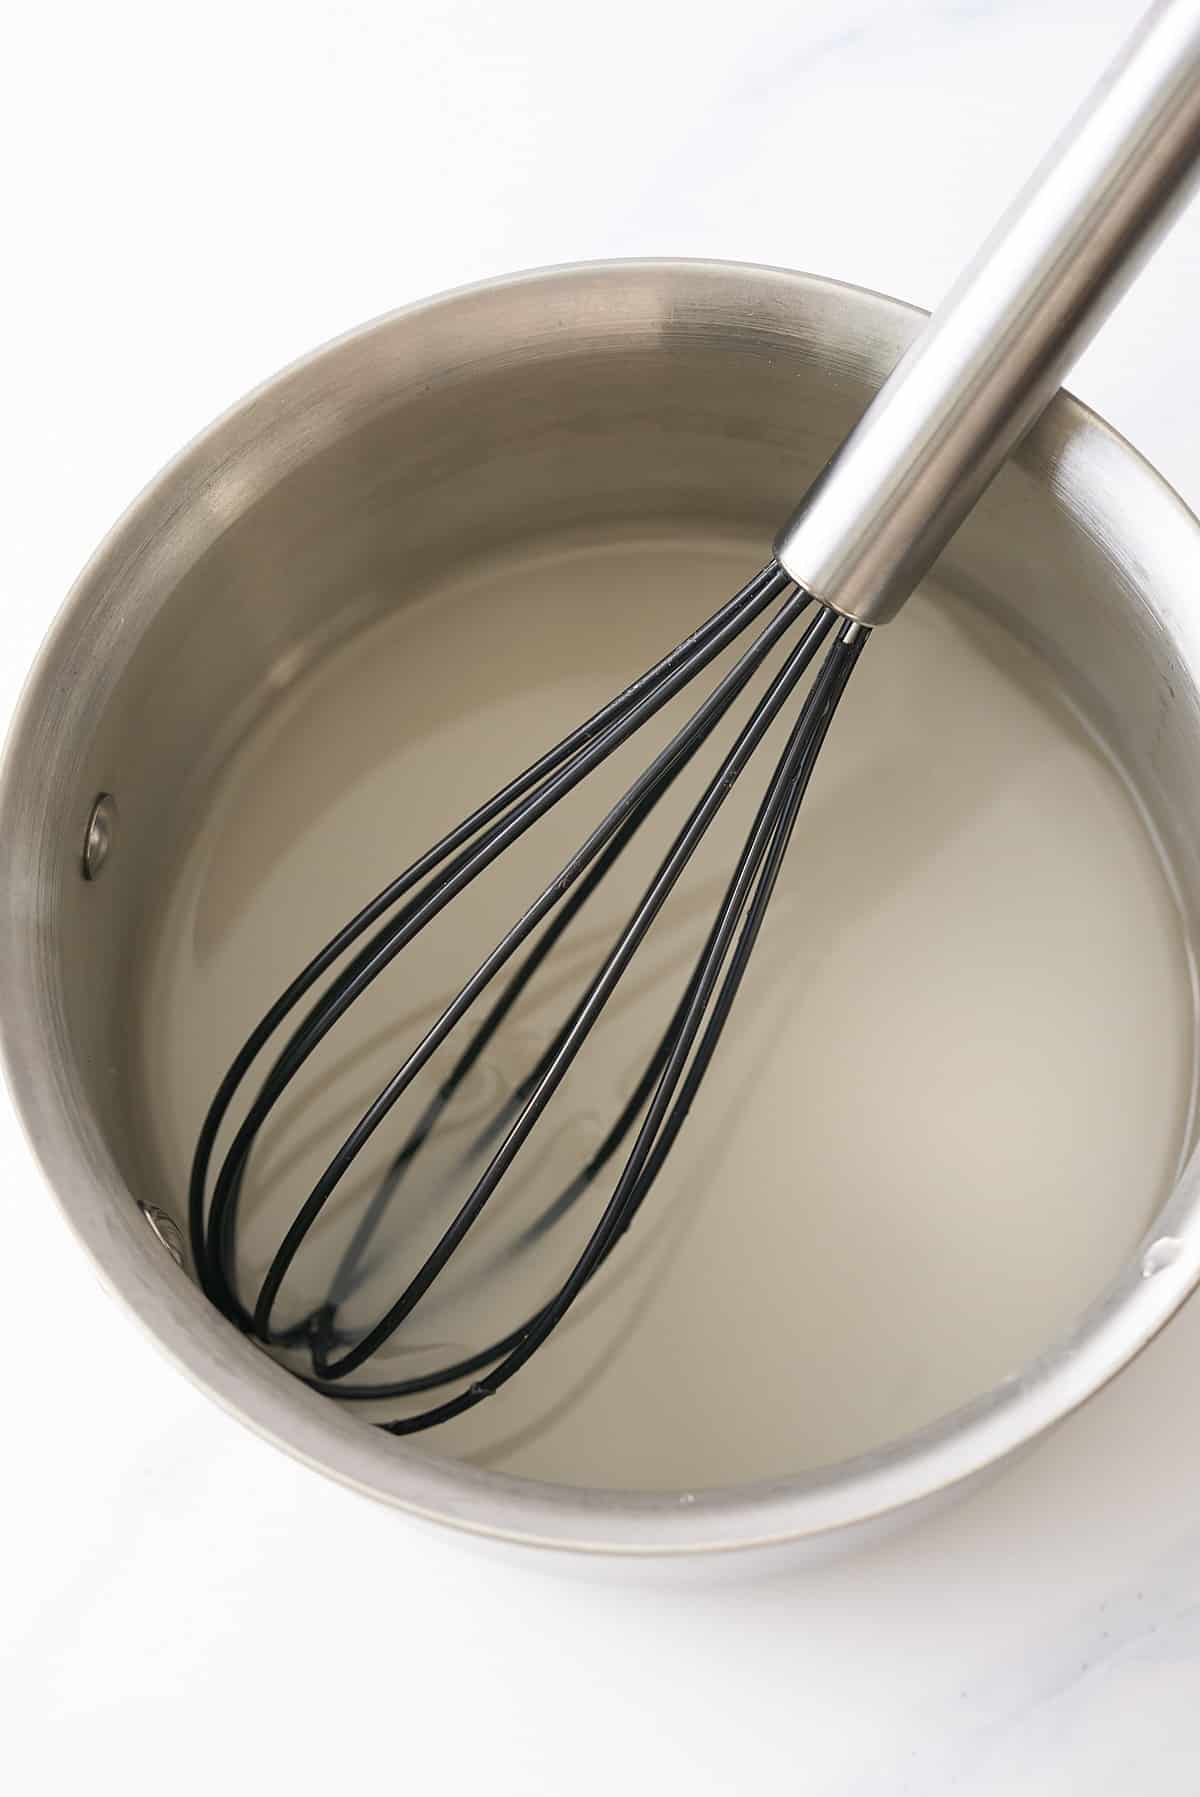
Combine the sugar and water in a saucepan over medium heat.
Stir until the sugar completely dissolves and the mixture comes to a simmer. Set aside to cool.

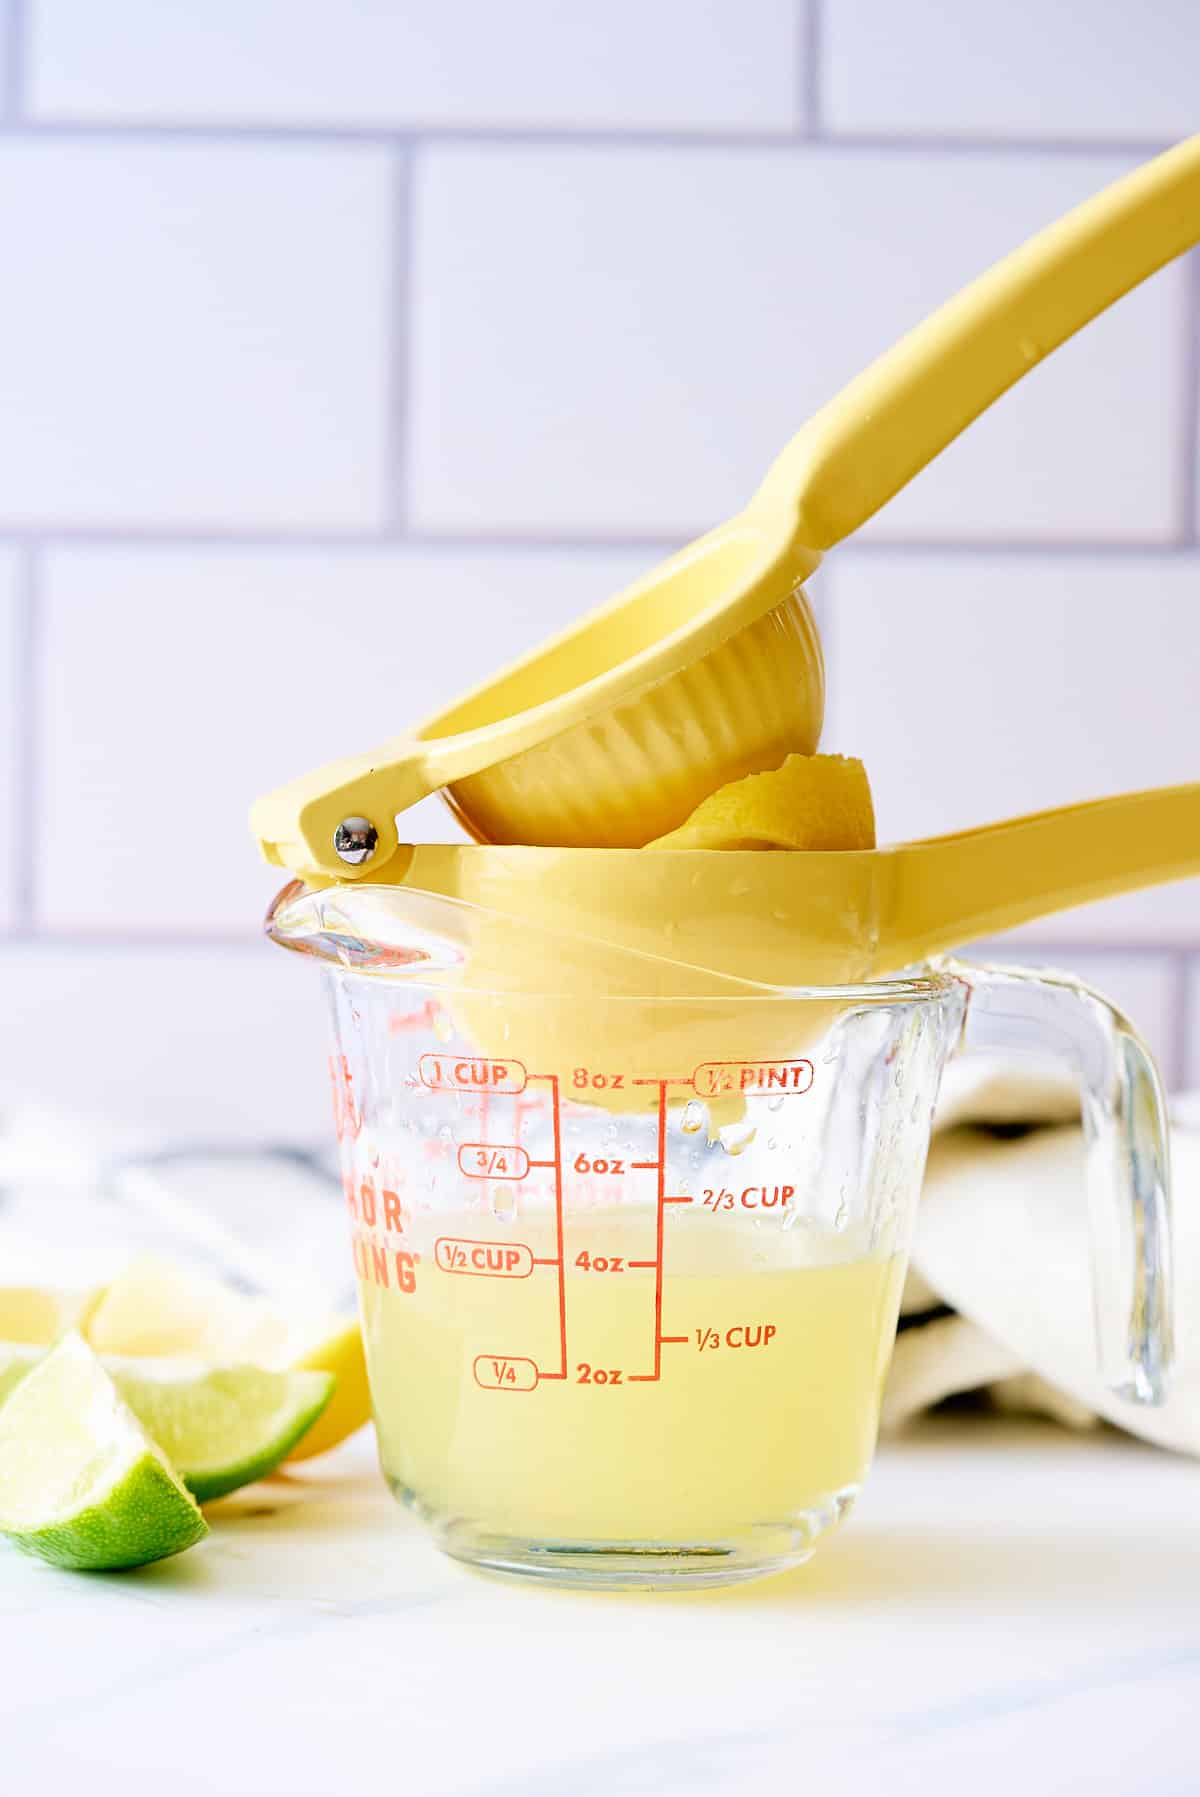
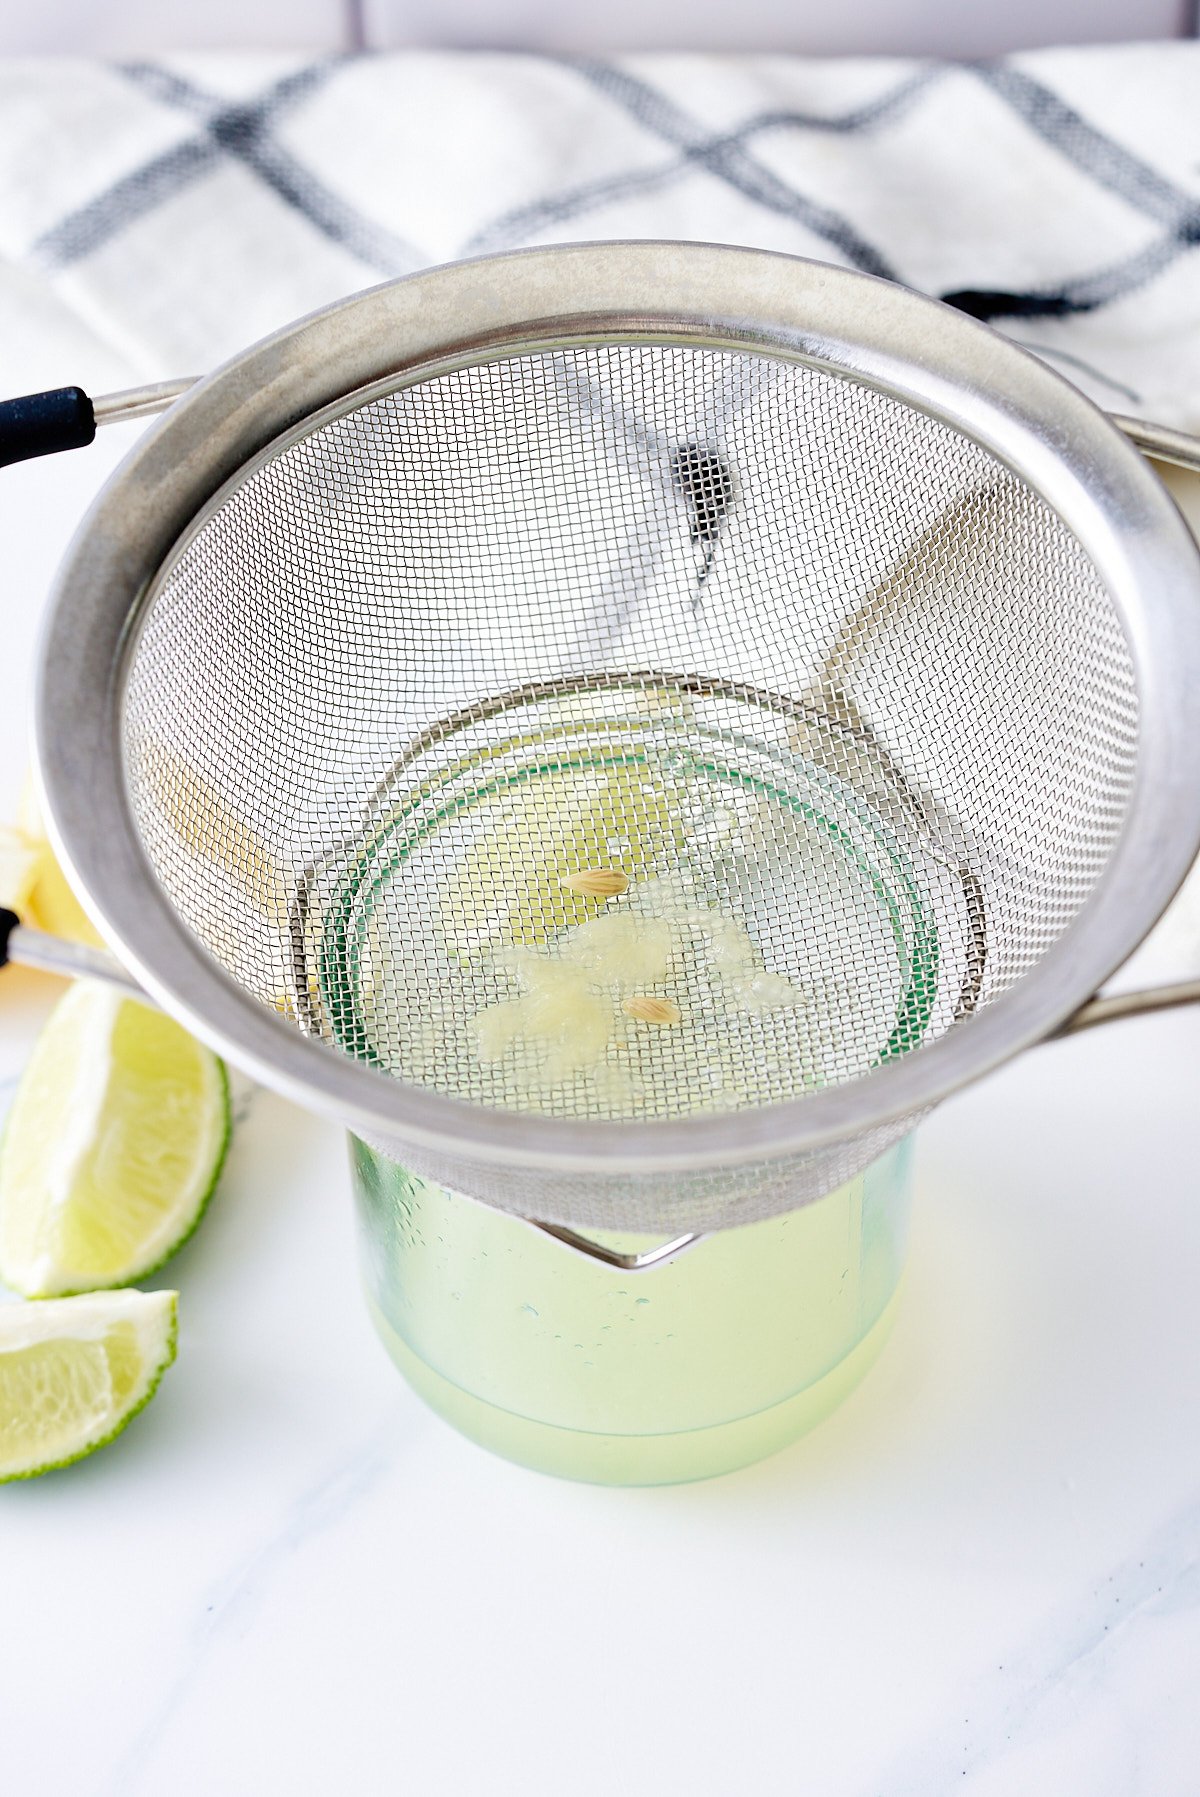
Meanwhile, juice and strain lemons and limes to make lemon and lime juice.
Add these to an airtight container with a lid.
Add the cooled sugar and water mixture. Cover the container and shake until combined.
Use this mixture in recipes that call for a sweet and sour mix.
Other ways to heat the sweet and sour mix
You don't have to make sweet and sour mix on the stovetop in a pan. My other two favorite methods require no stovetop.
- Sweet and sour mix with a Kettle - Heat your water in a kettle and add it to a heat-proof jar with a lid, like a mason jar. Add the sugar to the jar, cover, and shake it until the sugar dissolves. Now add the lemon and lime juice, cover, and shake again.
- Microwave sweet and sour mix - Combine the sugar and water in a microwave-safe bowl or glass measuring cup and stir the sugar and water mixture until thoroughly mixed. Microwave the mixture on high for approximately one minute, then remove carefully (the bowl may still be hot) and stir. Return to microwave and microwave for another 30 seconds, then remove and pour into a jar with the lemon and lime juice.
Expert Tips
These tips will help you make the best sweet-and-sour mix you've ever tried.
- For maximum flavor, use freshly-squeezed lemon and lime juice rather than store-bought bottles. Fresh juice has an authentic, brighter taste that can significantly elevate the quality of your mix.
- After juicing, I strain the lemon and lime juice to ensure no pulp in my sweet and sour mix. A small strainer works well for this.
- Take care not to burn yourself when decanting the hot liquid into a container. I often use a funnel to avoid any spillages.
- Allow the syrup to cool completely before adding it to cold drinks.
- This recipe can be easily doubled up if you are serving lots of drinks at your next party.
Flavor variations
- You can use any type of sugar you like for this recipe. I like to use white granulated sugar, but white superfine sugar, honey, or coconut sugar would also be good choices.
- If you like your drinks on the sour side, add more lemon and/or lime juice to suit your taste.
- Add a few sprigs of fresh mint, rosemary, or thyme.
Serving suggestions
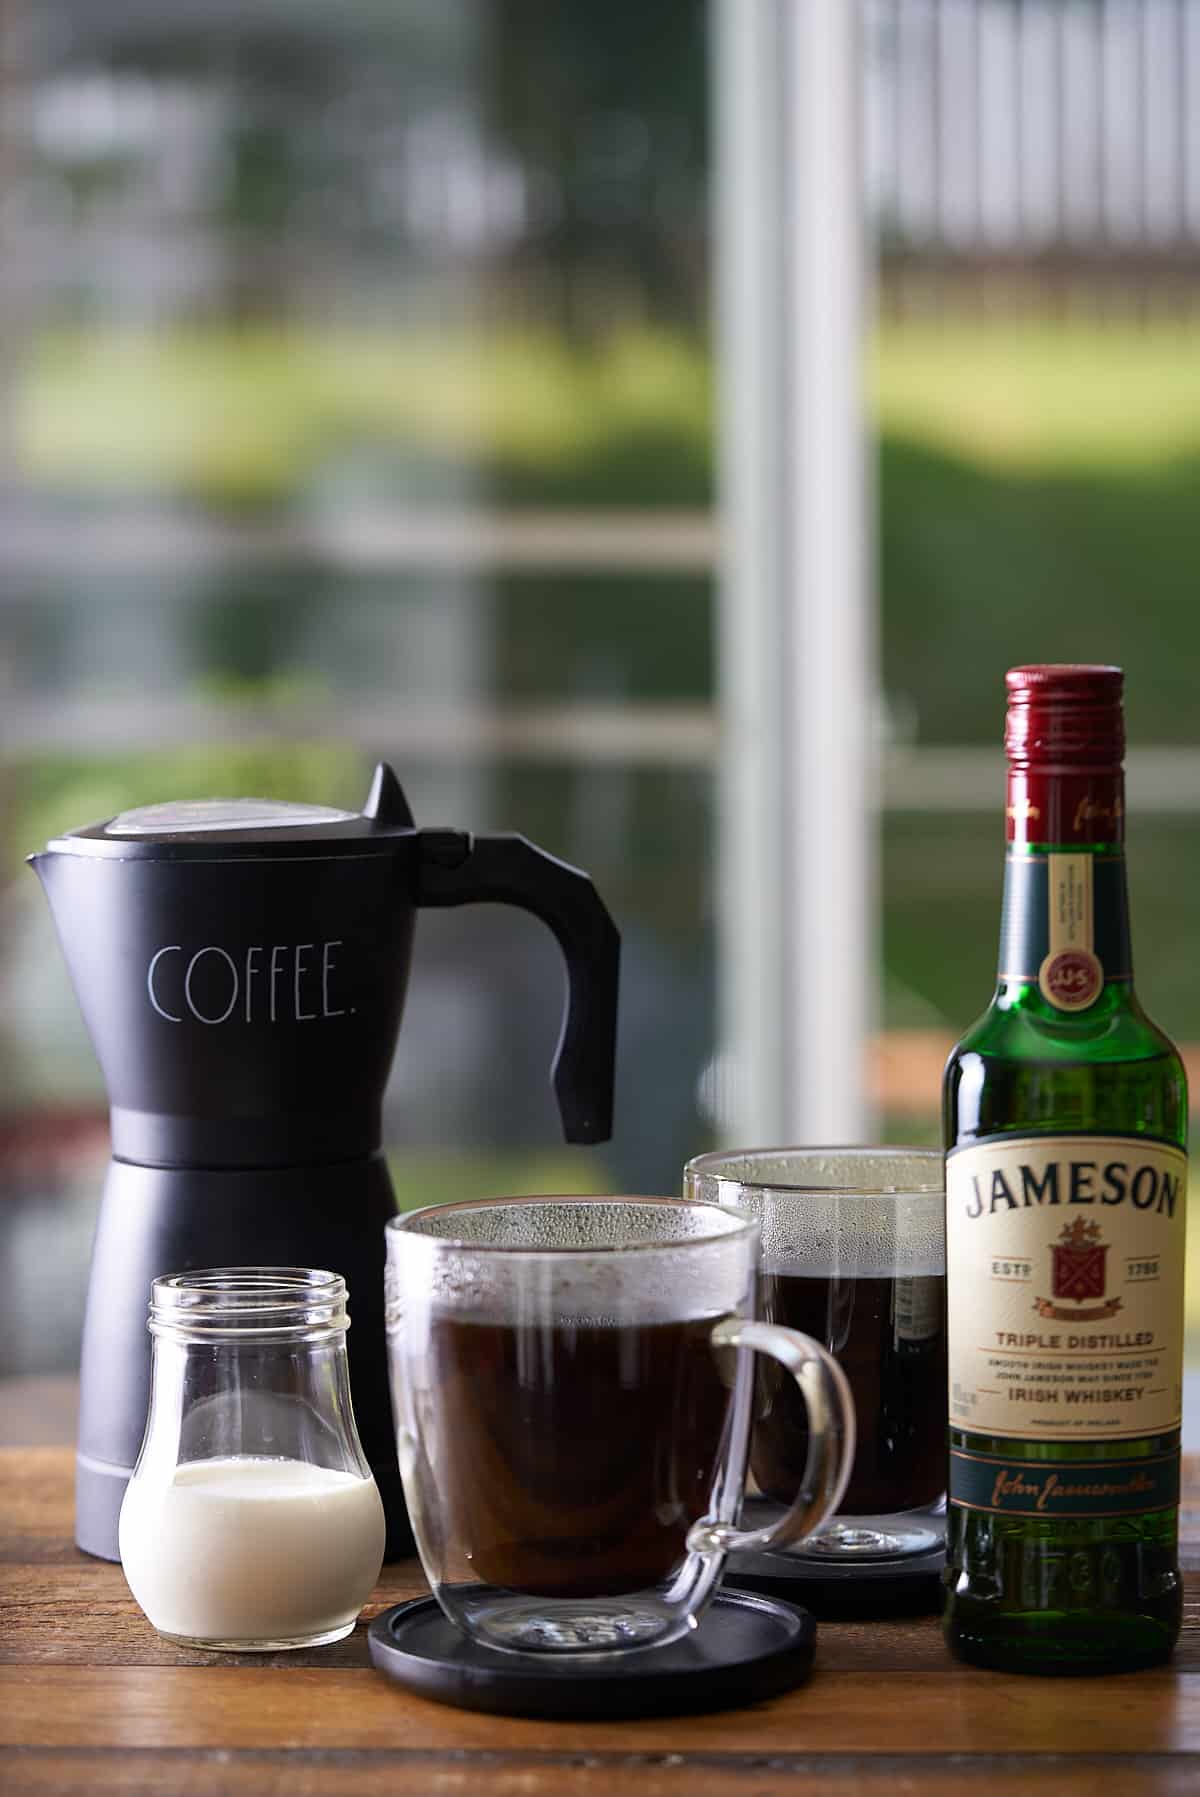
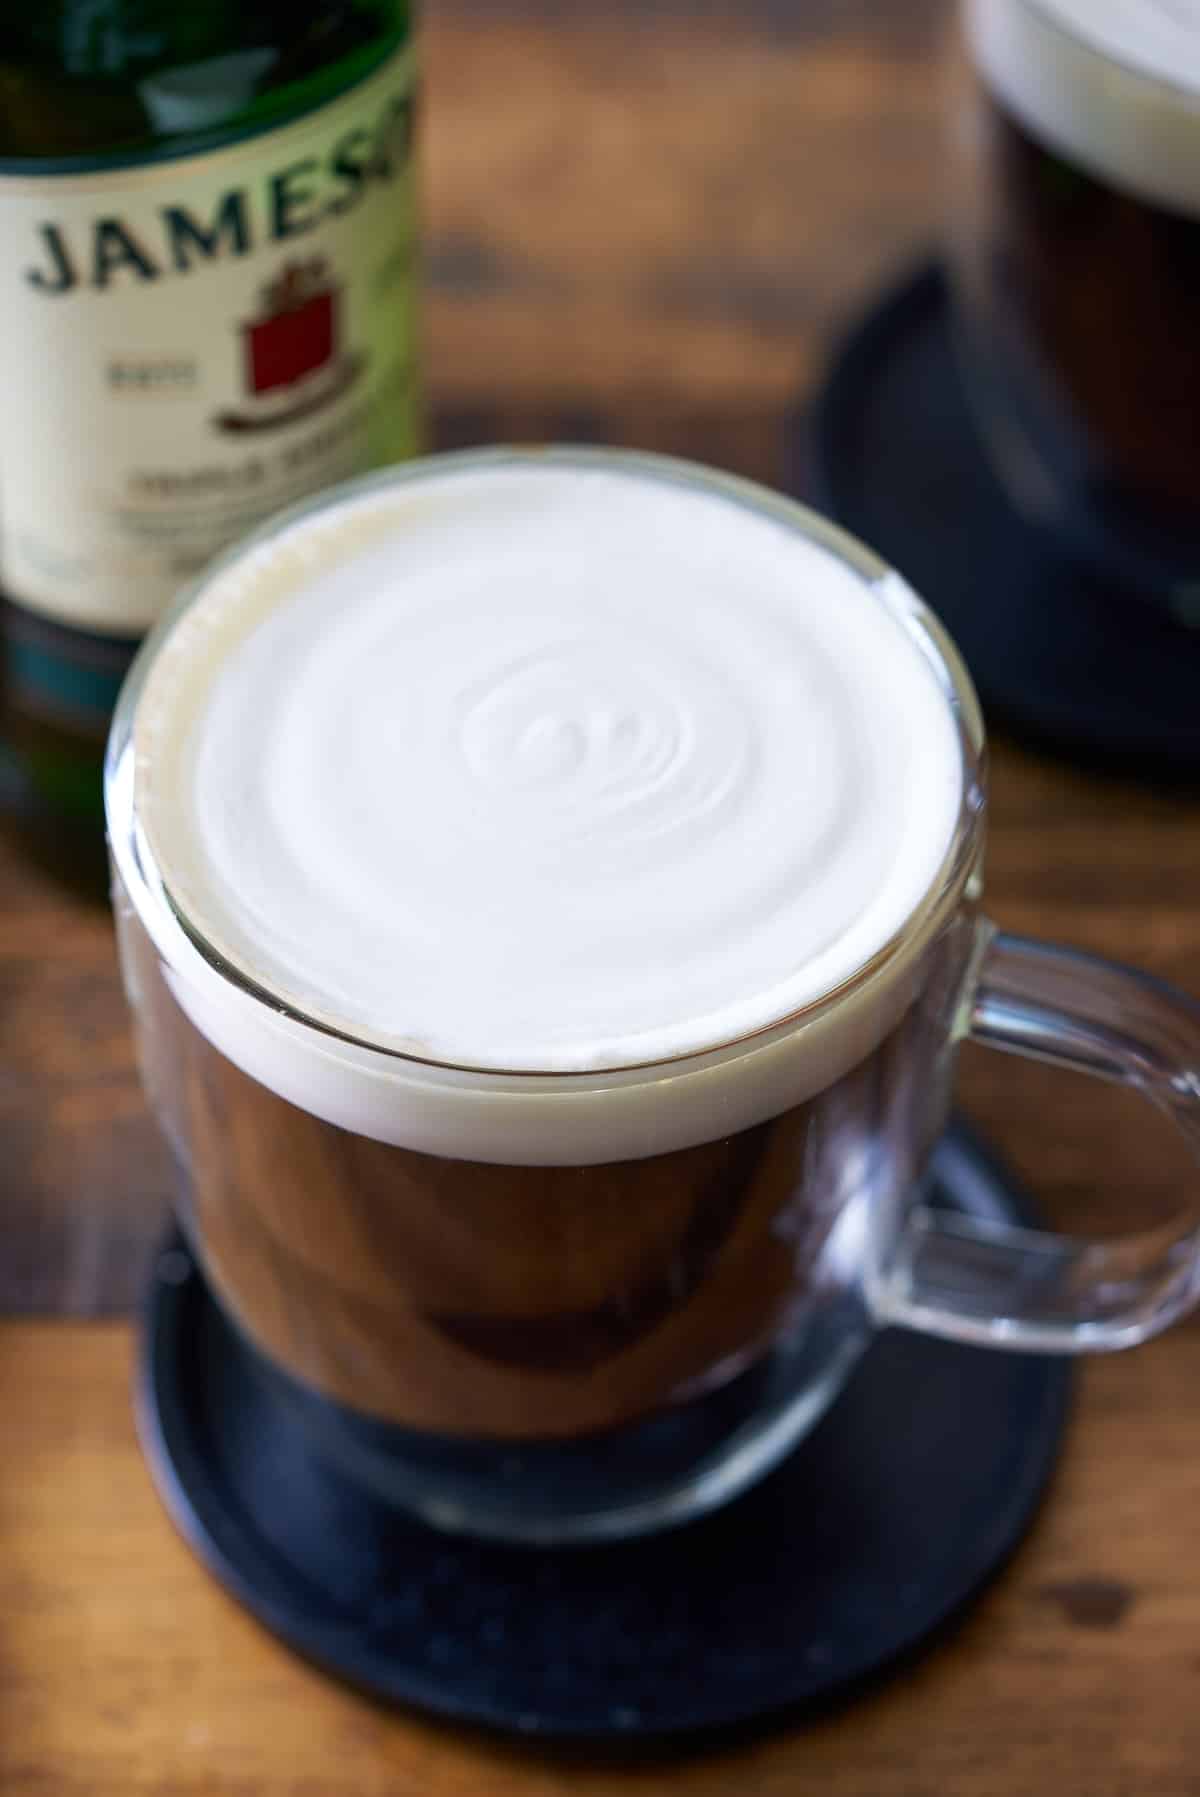
Add to a variety of drinks, cocktails, and mocktails anywhere you want to balance out the other flavors in the drink with a little sweet and sour. It works well in a Whisky Sour, Tom Collins, or my Bourbon Martini or Hennesy Sidecar recipes.
However, it can also be added as a mixer with regular spirits, from tequila, gin, vodka, or add it to darker spirits like whisky, bourbon, and rum. Try adding some sweet and sour mix to your favorite gin and top up with tonic water, or add it to your whisky and soda.
I like to add it to my Homemade Jamaican Ginger Beer, Jamaican Sorrel Drink, or Green Sherbet Punch.
How long does the homemade sweet and sour mix last?
Homemade sweet and sour mixes should be stored in the refrigerator, usually lasting 2-3 weeks before spoilage occurs. Before each use, shake well, as the ingredients may have separated over time.
FAQs
A sweet and sour mix contains equal quantities of sugar, water, lemon, and lime juice.
Yes, recipes might ask for either, but they are, in fact, the same thing.
Margarita mix is made by combining sugar and water with lemon and lime juice, so it's the same thing.
If you have tried this Sweet and Sour Mix or any other recipe on my blog, please rate it and let me know how it turned out in the comments below!
Sweet and Sour Mix
Ingredients
- ½ cup granulated sugar
- ½ cup water
- ½ cup freshly squeezed lemon juice from about 3 lemons
- ½ cup freshly squeezed lime juice from about 5 limes
Instructions
- Combine the sugar and water in a saucepan over medium heat. Stir until the sugar completely dissolves and the mixture comes to a simmer. Set aside to cool.
- Meanwhile, juice and strain lemons and limes to make lemon and lime juice. Add these to an airtight container with a lid.
- Add the cooled sugar and water mixture. Cover the container and shake until combined.
- Use this mixture in recipes that call for a sweet and sour mix.
Notes
- For maximum flavor, use freshly-squeezed lemon and lime juice rather than store-bought bottles - fresh juice has an authentic, brighter taste that can significantly elevate the quality of your mix.
- Homemade sweet and sour mixes should be stored in the refrigerator, usually lasting 2-3 weeks before spoilage occurs. Before each use, shake well, as the ingredients may have separated over time.
- I strain the lemon and lime juice after juicing to ensure no pulp in my sweet and sour mix. A small strainer works well for this.