If you don't have allspice or can't find it in your local grocery store, in a couple of minutes you can create a homemade allspice substitute using common spices you may already have in your pantry.
This post contains affiliate links, please read my full disclaimer here.
You’ll find the full recipe with ingredient amounts and instructions in the recipe card at the bottom of this post. Be sure to check out the blog post itself for extra tips and tricks!
Allspice is a versatile spice that can be used in both sweet and savory recipes, and it adds a warm spice flavor to a variety of dishes. Commonly used to flavor meat dishes, particularly beef, lamb, and pork.
Allspice is a key ingredient in jerk seasoning, which is a spicy flavor used particularly in Caribbean cuisine like my Jamaican Jerk Chicken, Jamaican Jerk Pork, and Jamaican Jerk Chicken Soup.
Ingredients
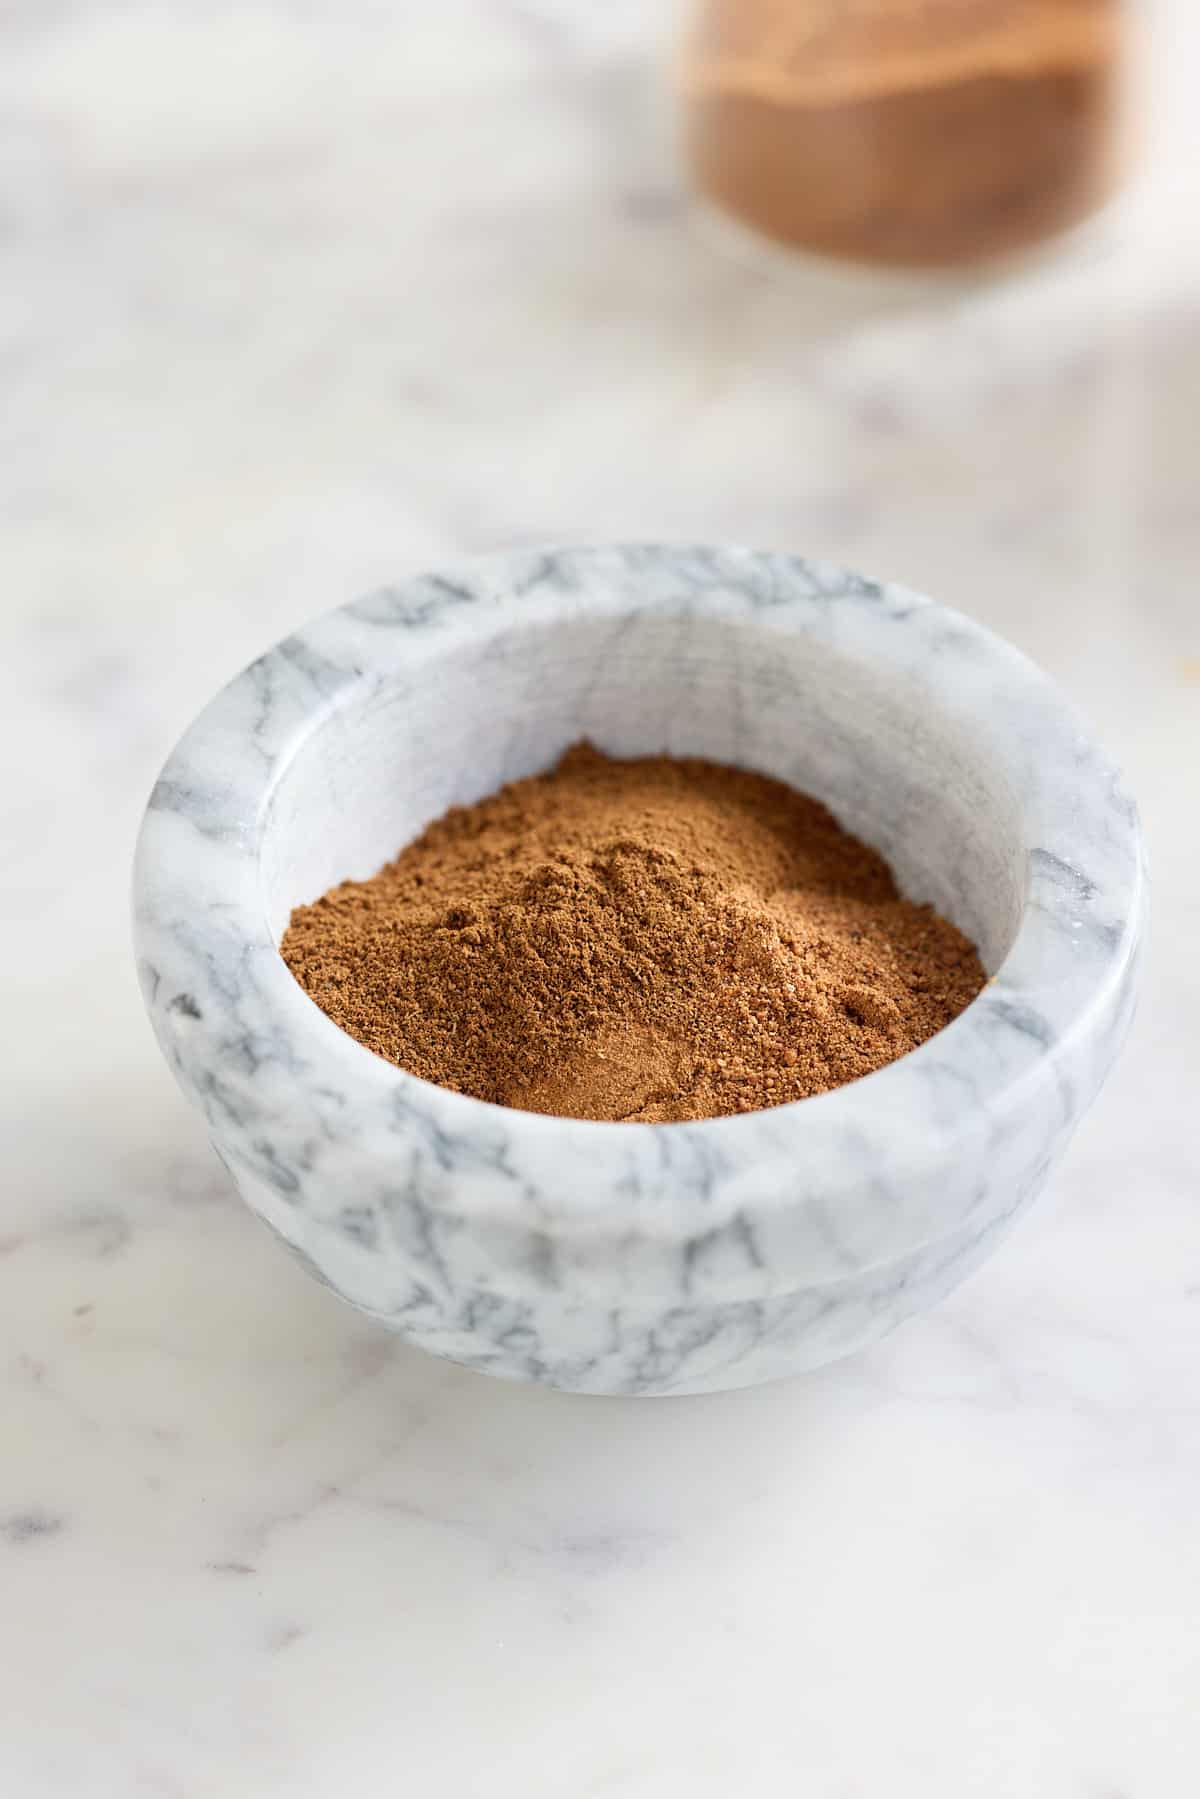
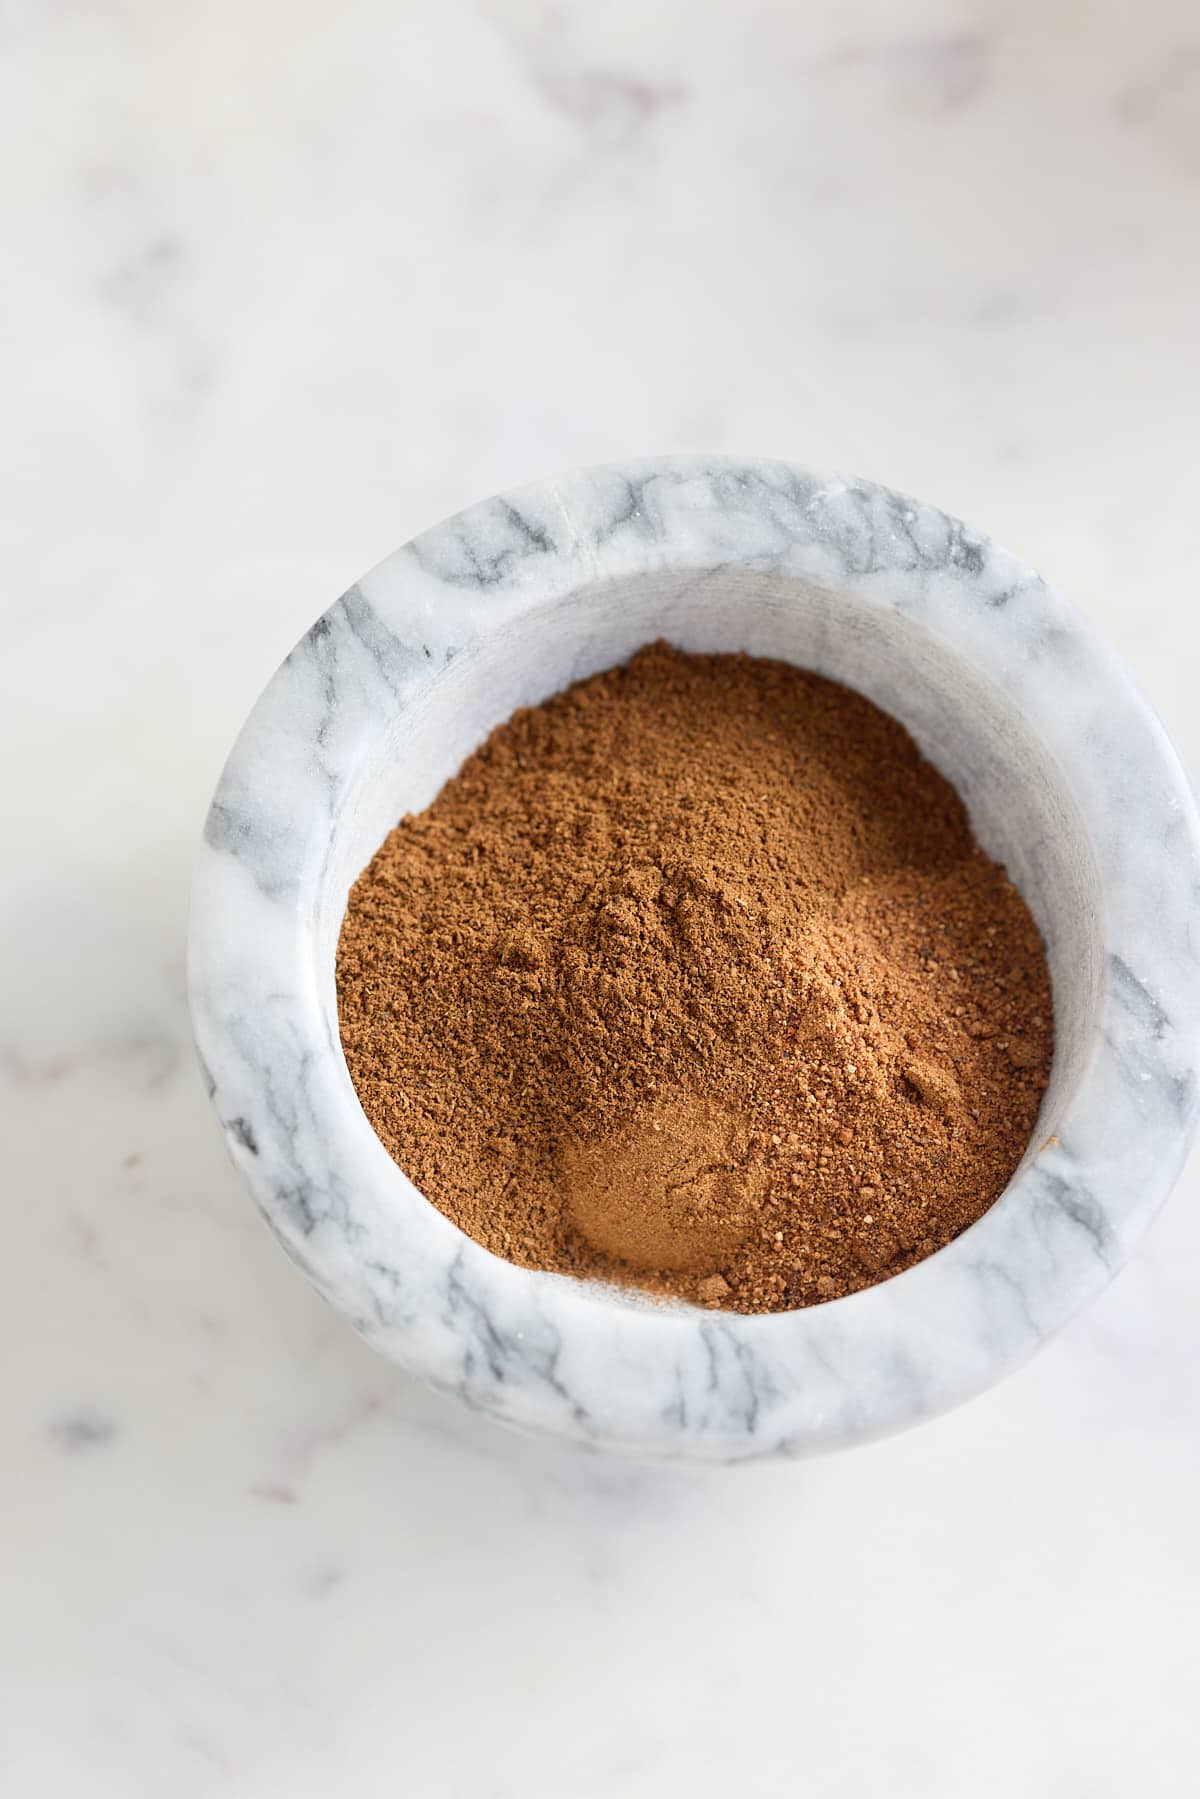
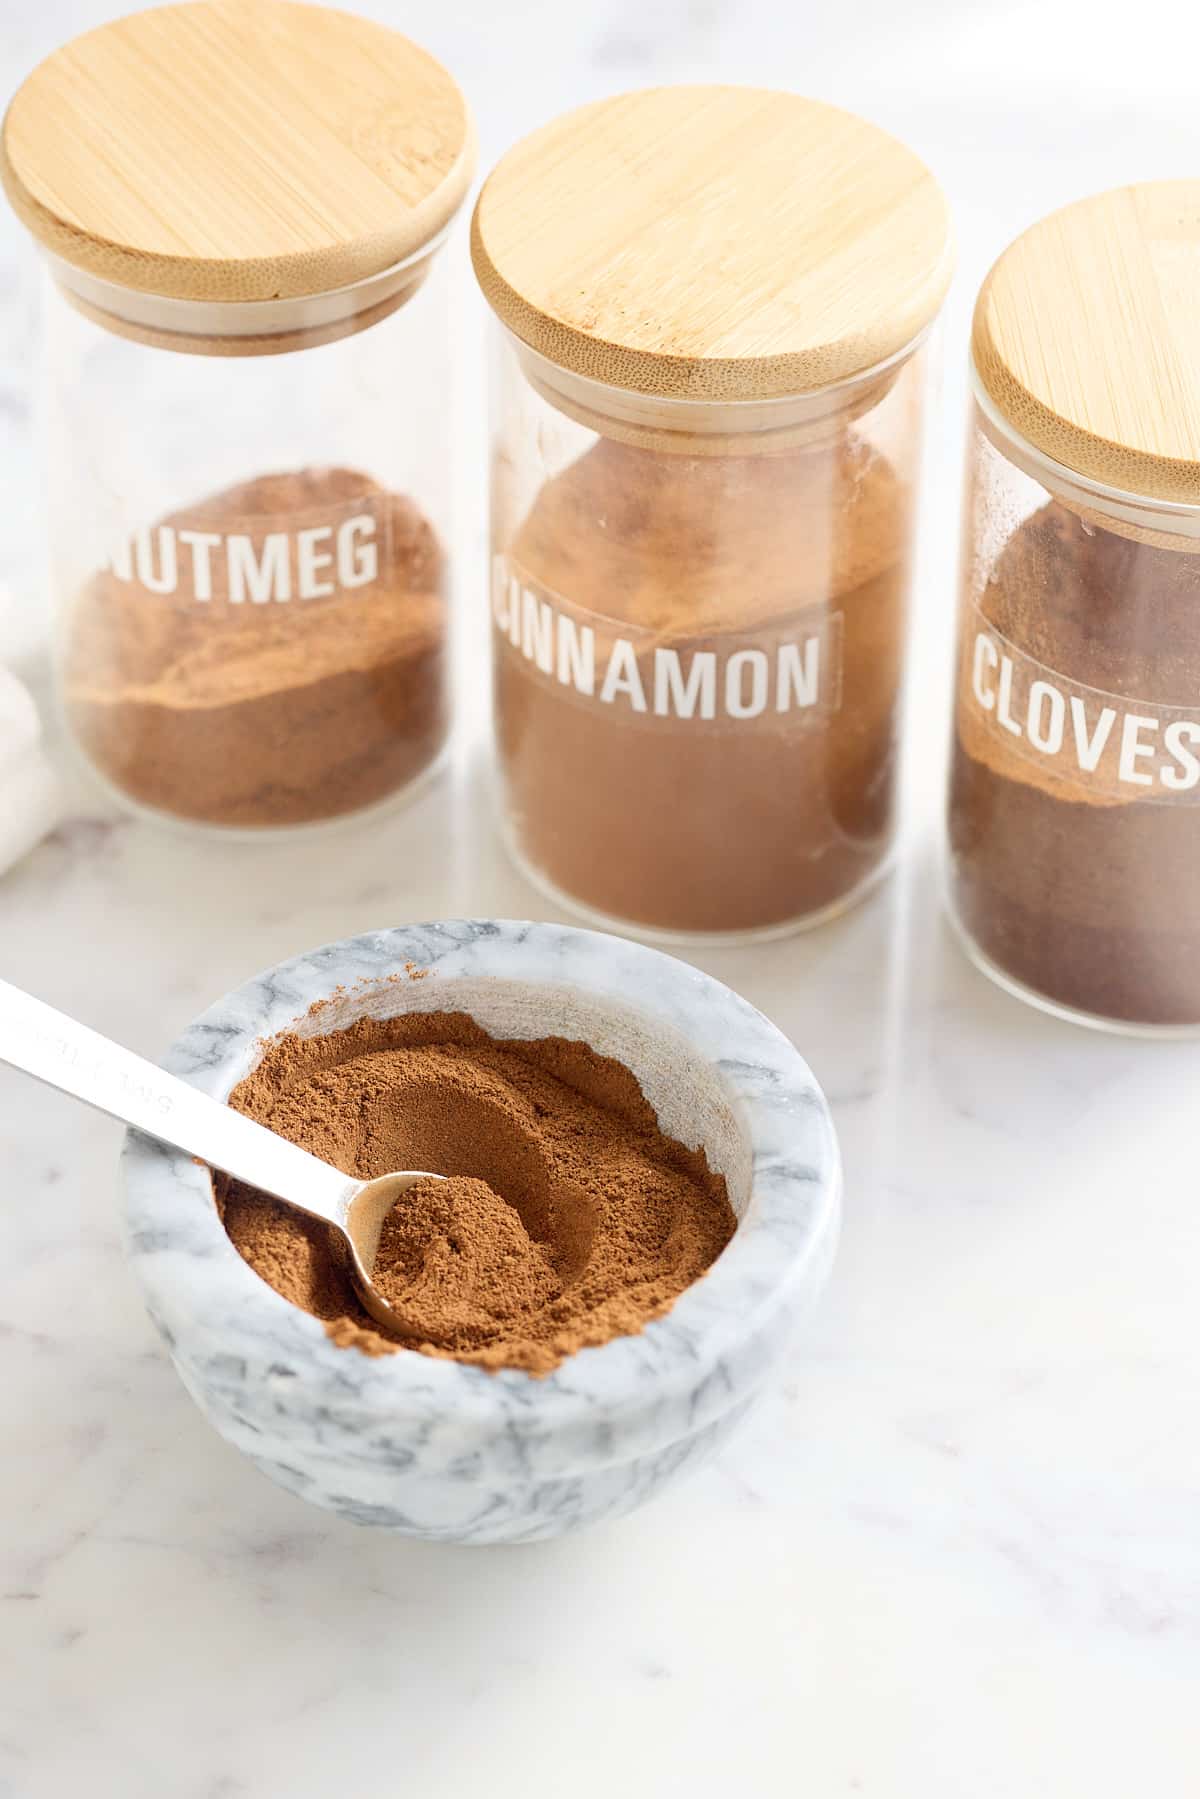
When you can't find ground allspice, this combination of other spices creates that distinct spice allspice gives.
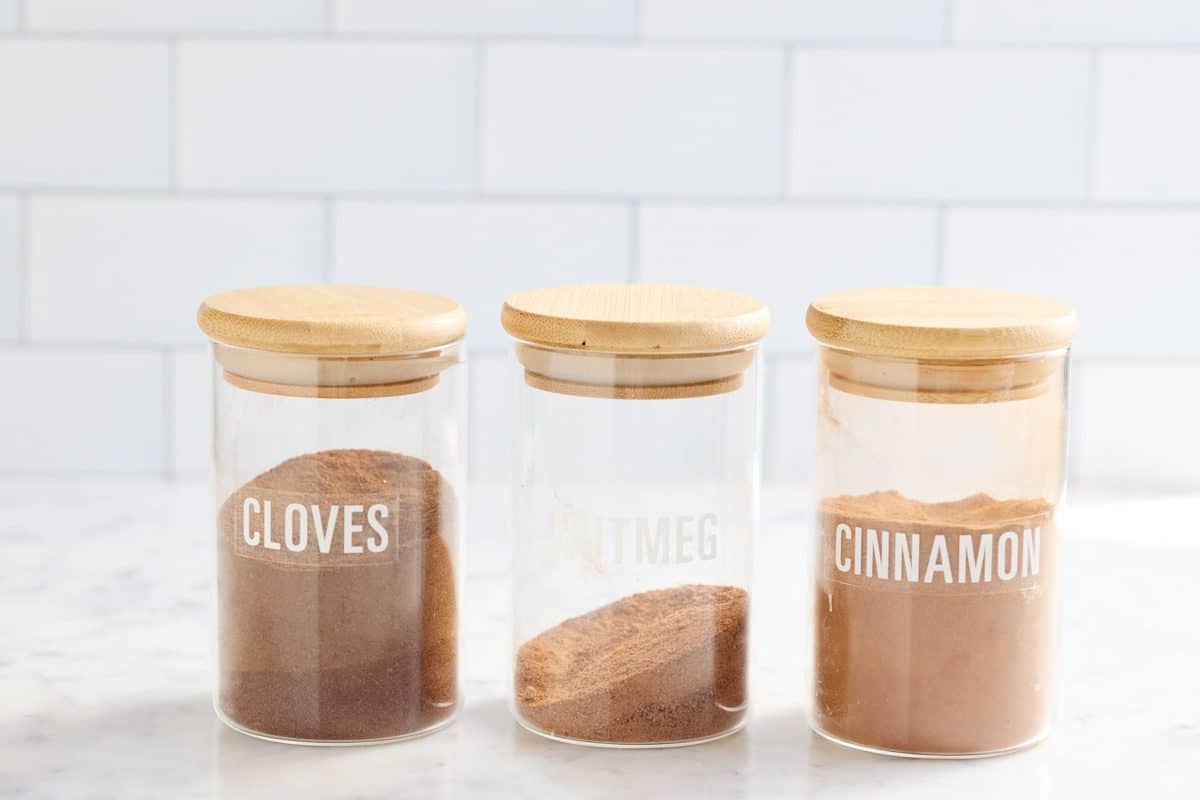
- Ground cinnamon
- Ground cloves
- Ground nutmeg
Tools needed for this recipe
- Measuring spoon
- Airtight container
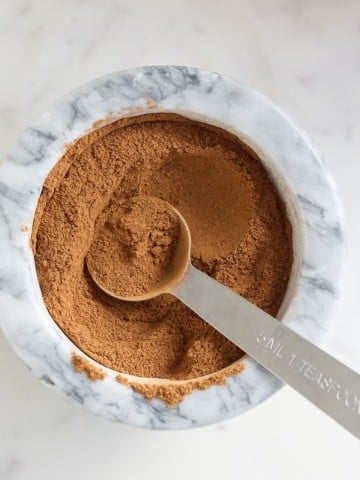
How To Make The Best Allspice Substitute
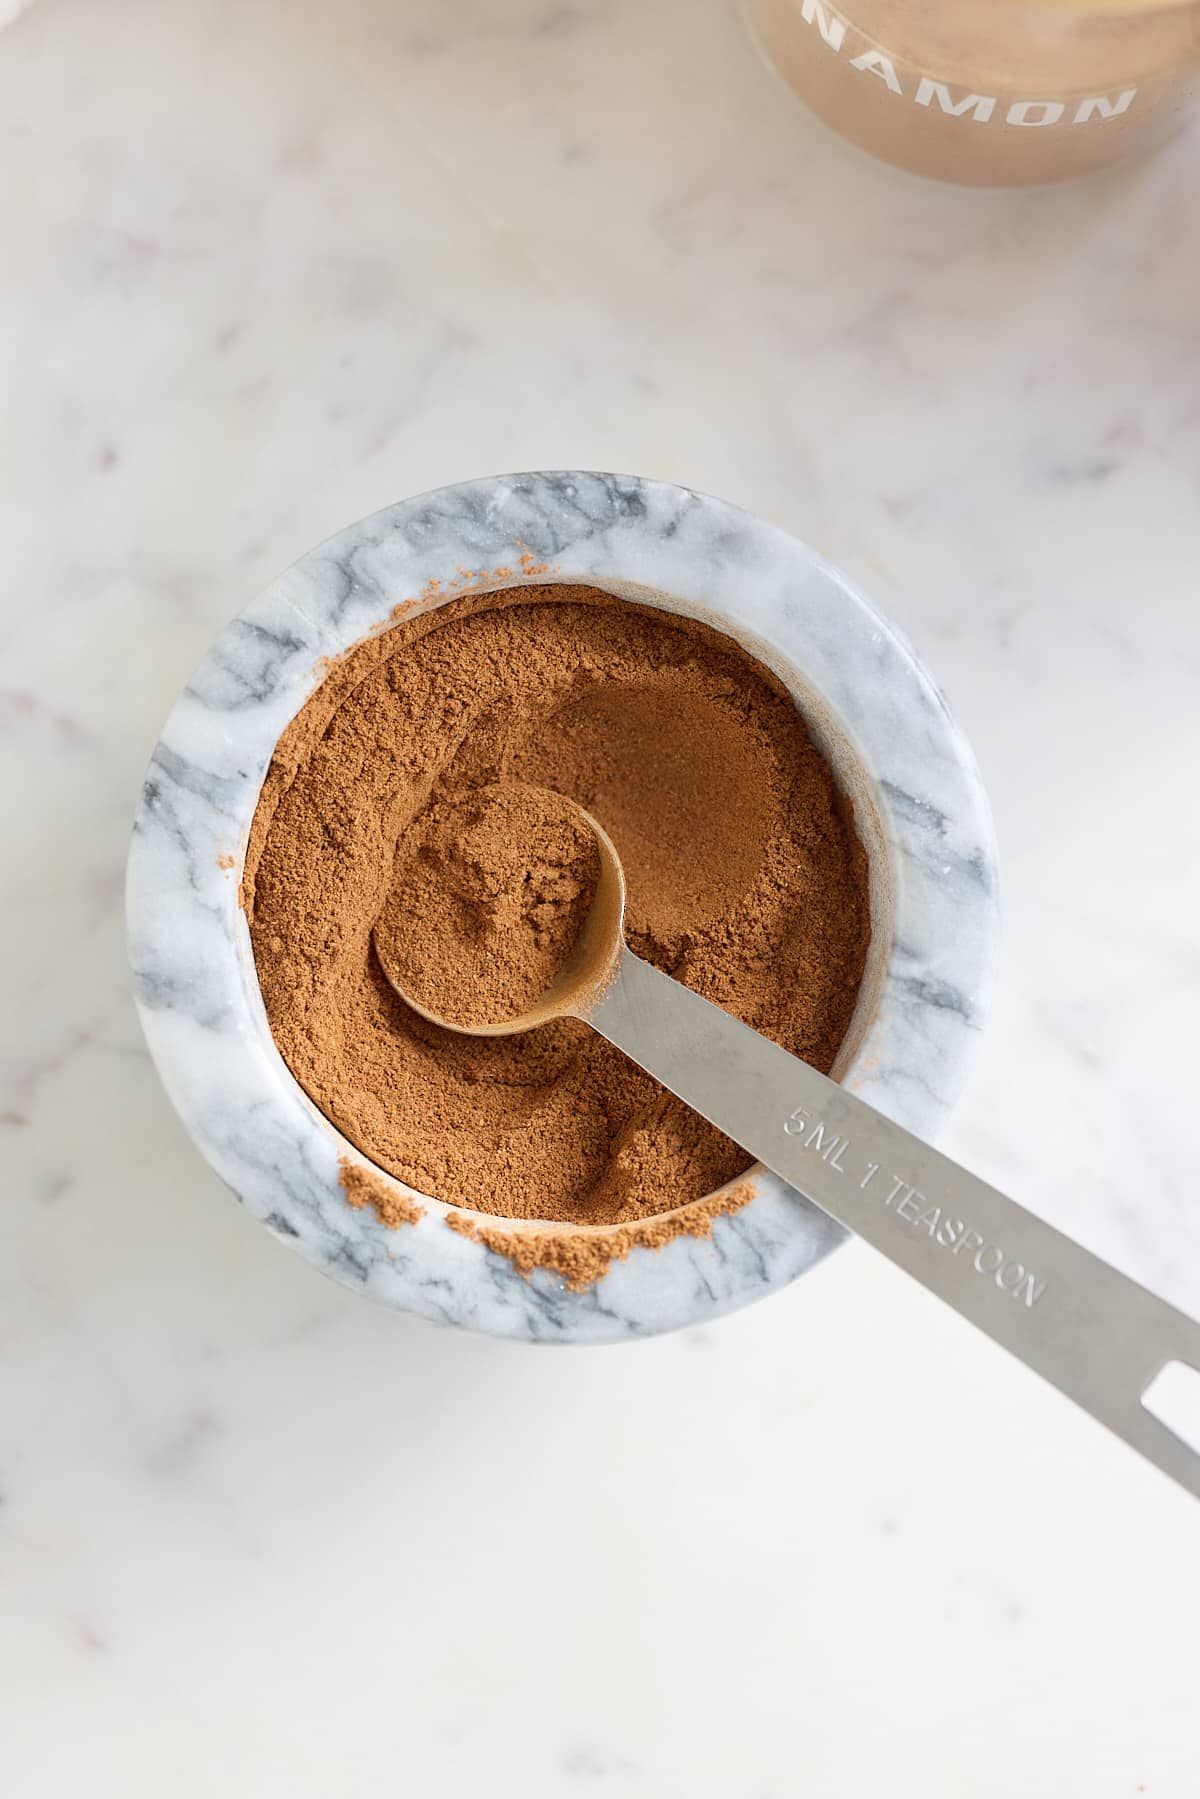
In a small bowl, combine the ground cinnamon, cloves, and nutmeg and stir until they are well combined.
Then store the allspice substitute in an airtight container in a cool, dry place.
How to store your allspice substitute
Storing homemade spices properly is important to maintain their flavor and freshness. Here are some tips on how to store your allspice substitute and other homemade ground spices:
- Store spices in airtight containers: Airtight containers, such as glass jars with tight-fitting lids or plastic containers with snap-on lids, will help prevent moisture and air from getting in and degrading the spices.
- Store spices in a cool, dry place: Spices should be stored away from heat, light, and humidity. A cool, dry pantry or cupboard is an ideal place to store spices.
- Label the containers: Be sure to label the containers with the name of the spice and the date it was made. This will help you keep track of how long the spice has been stored and when it should be used.
What is Allspice?
It's a pretty unique and delicious spice that comes from the dried berries of a tree that grows in the Caribbean and Central America. Even though it's called "allspice" it's not a mix of 'all spices'. Surprisingly, It's just one spice with a flavor that kind of tastes like a blend of cinnamon, nutmeg, and cloves.
Find allspice in the form of whole berries or ground into a powder. People in the Caribbean, Middle East, and North Africa use allspice a lot in their cooking. And, fun fact, some people even use allspice to help with digestion and pain relief.
Other Quick Allspice Substitutes
Substitute allspice with any of these warm spices and a peppery kick.
- Pumpkin Pie Spice + Black pepper
- Apple Pie Spice + Ground black pepper.
- Five spice powder or Chinese five spice
- Cinnamon + Ground black pepper
- Whole allspice berries - Use a coffee grinder, spice grinder, or mortar & pestle to grind the allspice berries down.
FAQ's
Allspice is a warm spice that is often described as a combination of cinnamon, nutmeg, and cloves. It has a peppery bite and is slightly sweet, making it a popular choice for both sweet and savory dishes. Allspice can add depth and complexity to both types of dishes, from spiced cakes and pies to stews and meat dishes.
Notes
- This allspice substitute will work well in recipes that call for ground allspice.
Looking for more homemade spice recipes? Try these out:
- Homemade Blackened Seasoning
- Homemade Cajun Seasoning
- The Most Popular Jamaican Herbs and Spices and How to Use Them
- Jamaican Jerk Seasoning
- Lemon Pepper Seasoning Recipe
If you have tried this recipe or any other recipe on my blog, please rate it and let me know how it turned out in the comments below!

Allspice Substitute
Equipment
- Airtight container
Ingredients
- 1 tablespoon Ground cinnamon
- 3 teaspoons Ground cloves
- 1 teaspoon Ground nutmeg
Instructions
- In a small bowl, combine the ground cinnamon, cloves, and nutmeg and stir until they are well combined.
- Store the allspice substitute in an airtight container in a cool, dry place.
Notes
- This allspice substitute will work well in recipes that call for ground allspice.