This Sausage lentil soup is hearty and nutritious. With the star ingredient of Italian sausage, it is packed full of flavor and complements the sweet vegetables and rich earthy lentils. Serve with a side of crusty bread and you have a filling and delicious meal.

This post contains affiliate links, please read my full disclaimer here.
You’ll find the full recipe with ingredient amounts and instructions in the recipe card at the bottom of this post. Be sure to check out the blog post itself for extra tips and tricks!
I learned long ago that Italian sausage is amazing. I'll add it to pasta recipes, like this Instant Pot Ravioli. But this Sausage Lentil Soup is another recipe where the flavor shines through.
This is one of the most flavorful soup recipes you will ever have. Similar to Carrabba's version, this sausage lentil soup recipe is easy, and preparation time is minimal. Just sauté the sausage and a few veggies then add the remaining ingredients and let the soup bubble away gently on the stove.
I also like to enjoy leftover lentil soup the next day. Heat this soup and pack it in a thermos for a quick and easy lunch on the go.
If your family enjoys hearty and filling soups, try my Collard Green Soup, Oxtail Soup, Lentil Spinach Soup, Moroccan Spiced Soup, Jamaican Jerk Chicken Soup, or my Split Pea Soup with Ham.
Ingredients
Here's what you will need to make this easy sausage lentil soup recipe:
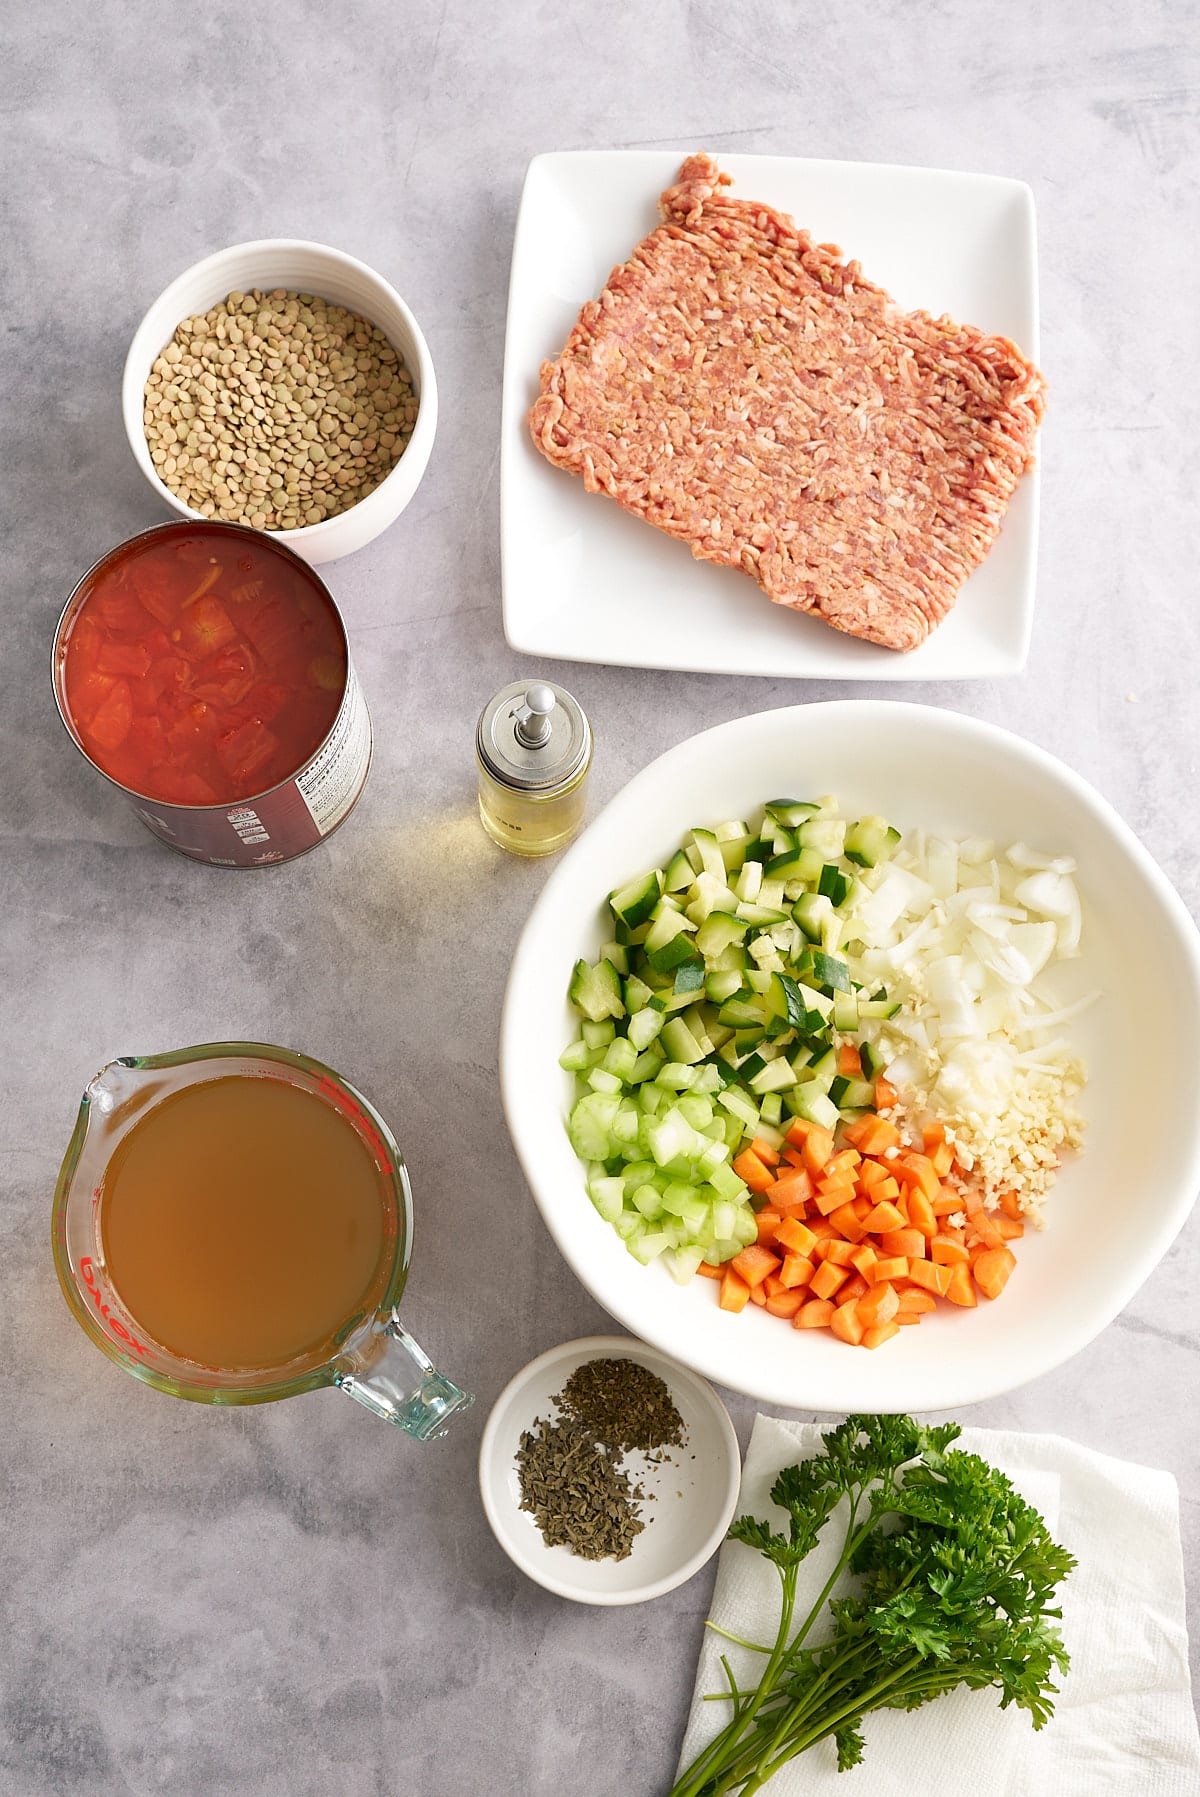
- Olive oil - or any oil made for high-heat cooking will do. I usually use light-tasting olive oil, canola oil, or avocado oil.
- Sausage - I like to use ground Italian sausage in this soup.
- Vegetables - I use a combination of yellow onion, celery, carrots, and zucchini.
- Garlic - use fresh garlic to flavor the soup, or jarred minced garlic.
- Broth - I use chicken broth, but vegetable broth can work here too.
- Lentils - you can use brown or green lentils in this soup, whatever your preference.
- Herbs - I used dried basil and dried oregano to flavor the soup while cooking, and fresh parsley is added once the soup is cooked.
- Diced tomatoes - put in whole can, don't drain.
- Salt
- Black pepper
- Toppings - to serve stir through optional toppings of sour cream and Parmesan cheese.
Equipment needed
- Kitchen knife
- Cutting Board
- Measuring cups and spoons
- Large soup pot or Dutch oven
- Wooden spoon
How to make Sausage Lentil Soup
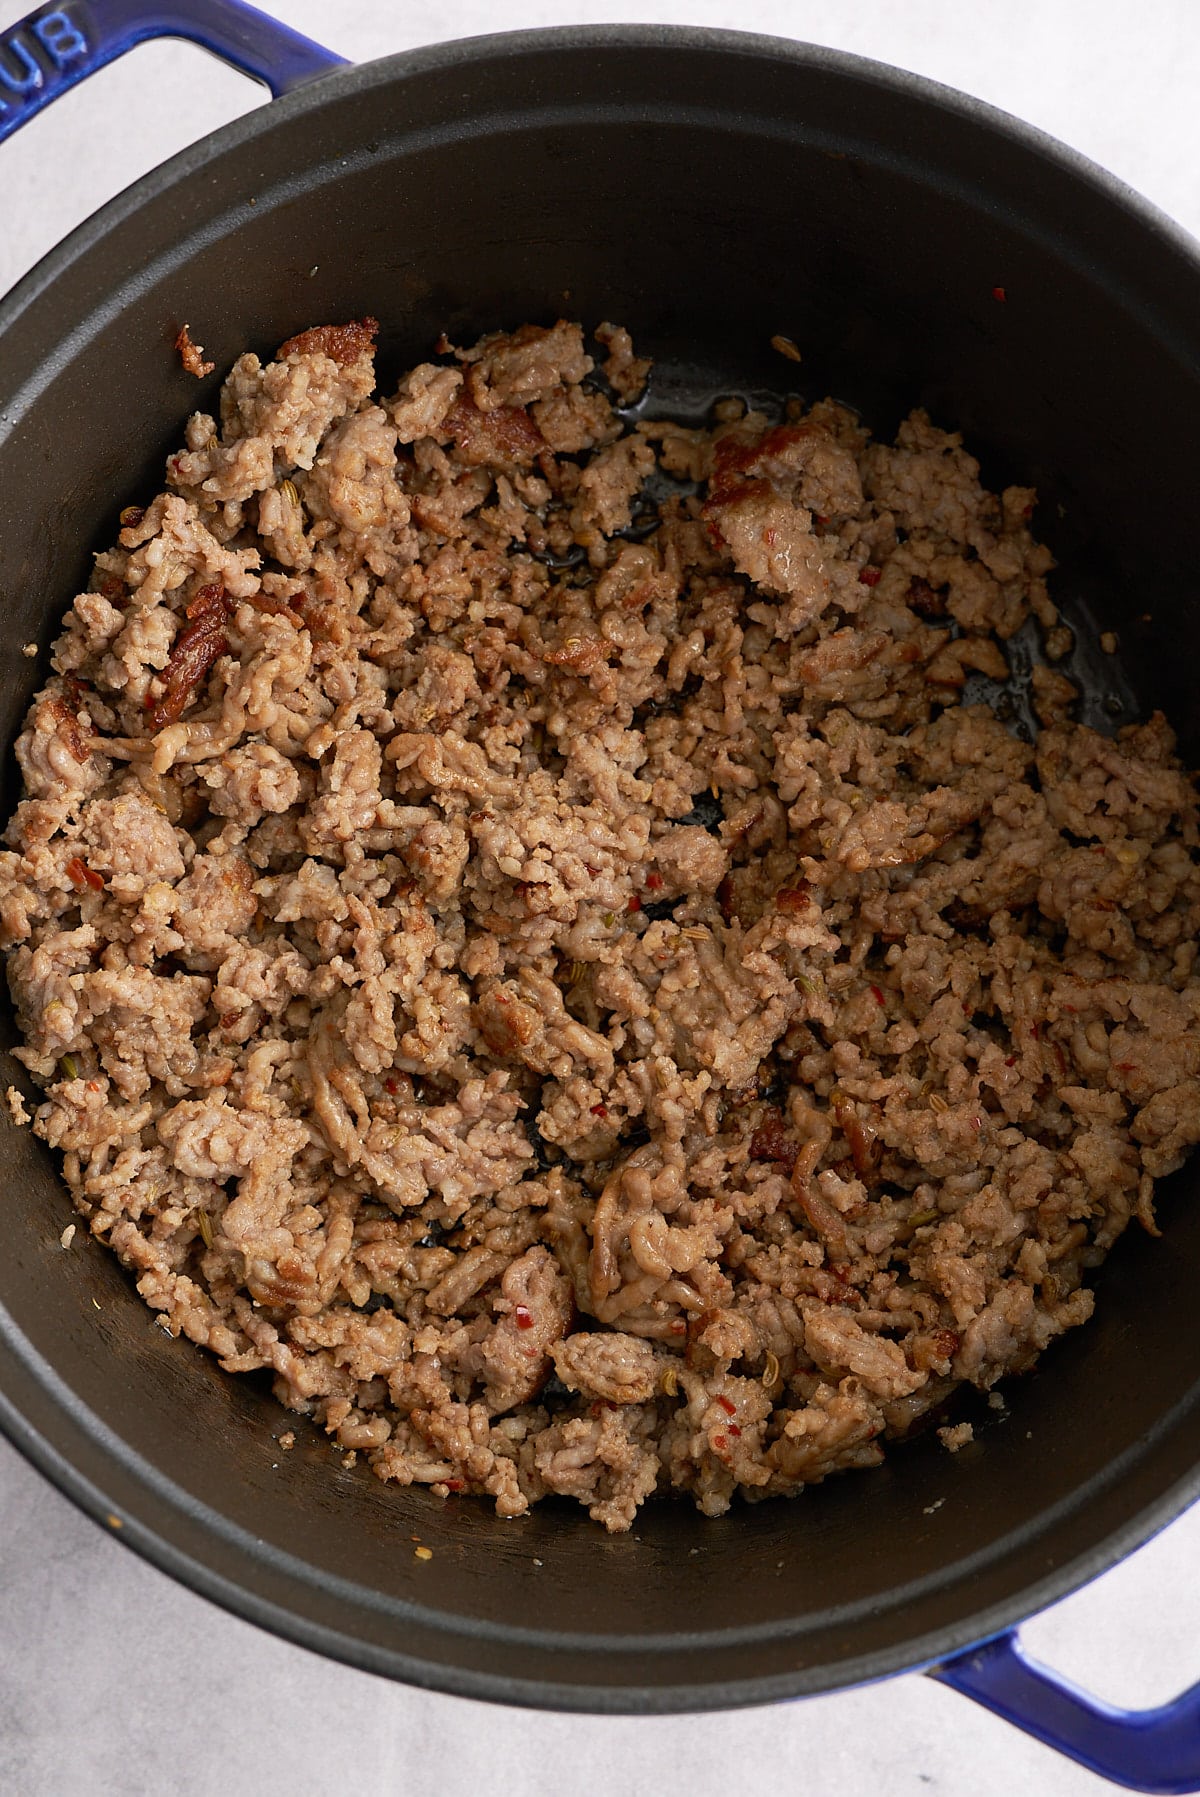
Heat oil over medium-high heat in a large soup pot or Dutch oven. Add the Italian sausage and cook until it's browned, breaking up the meat as it cooks.
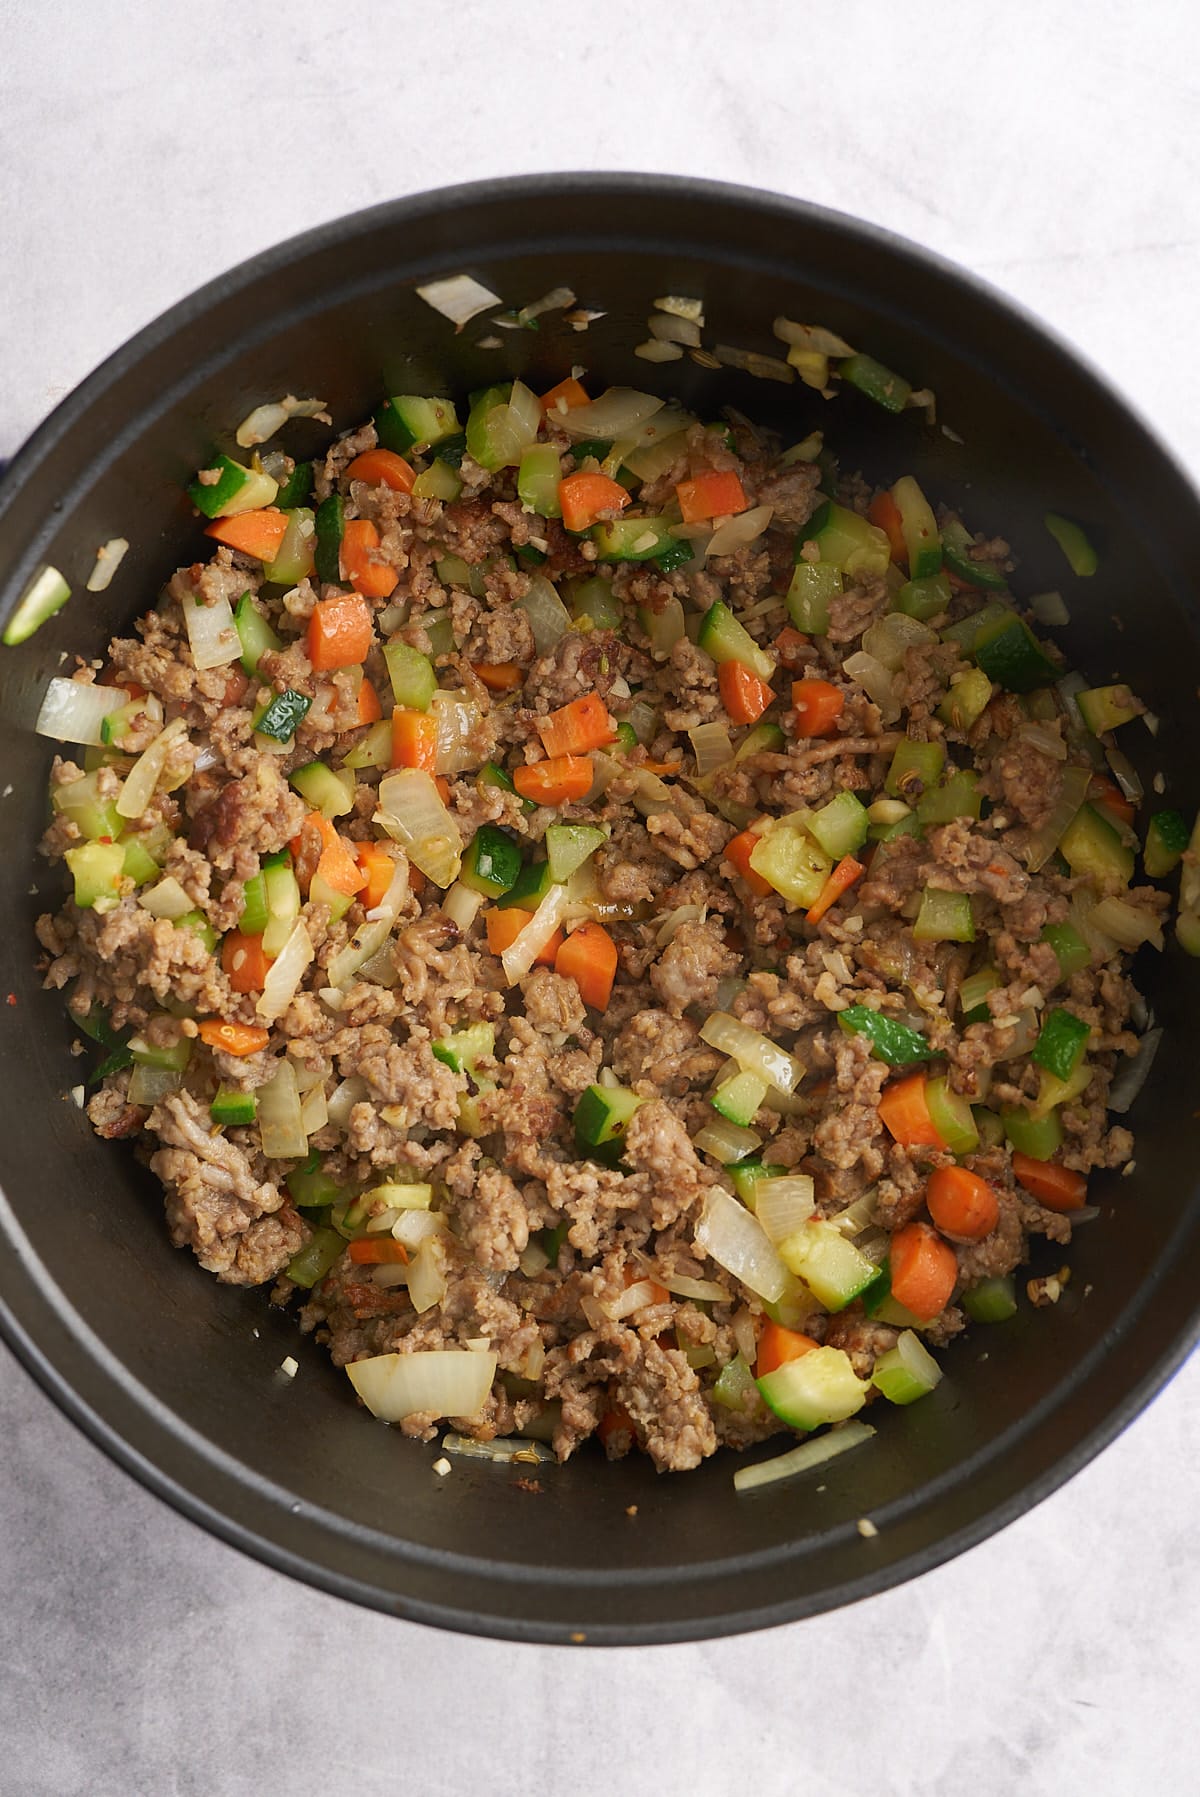
Add the yellow onion, celery, carrot, zucchini, and minced garlic to the pot. Stir and cook for about 3-5 minutes until the vegetables soften.
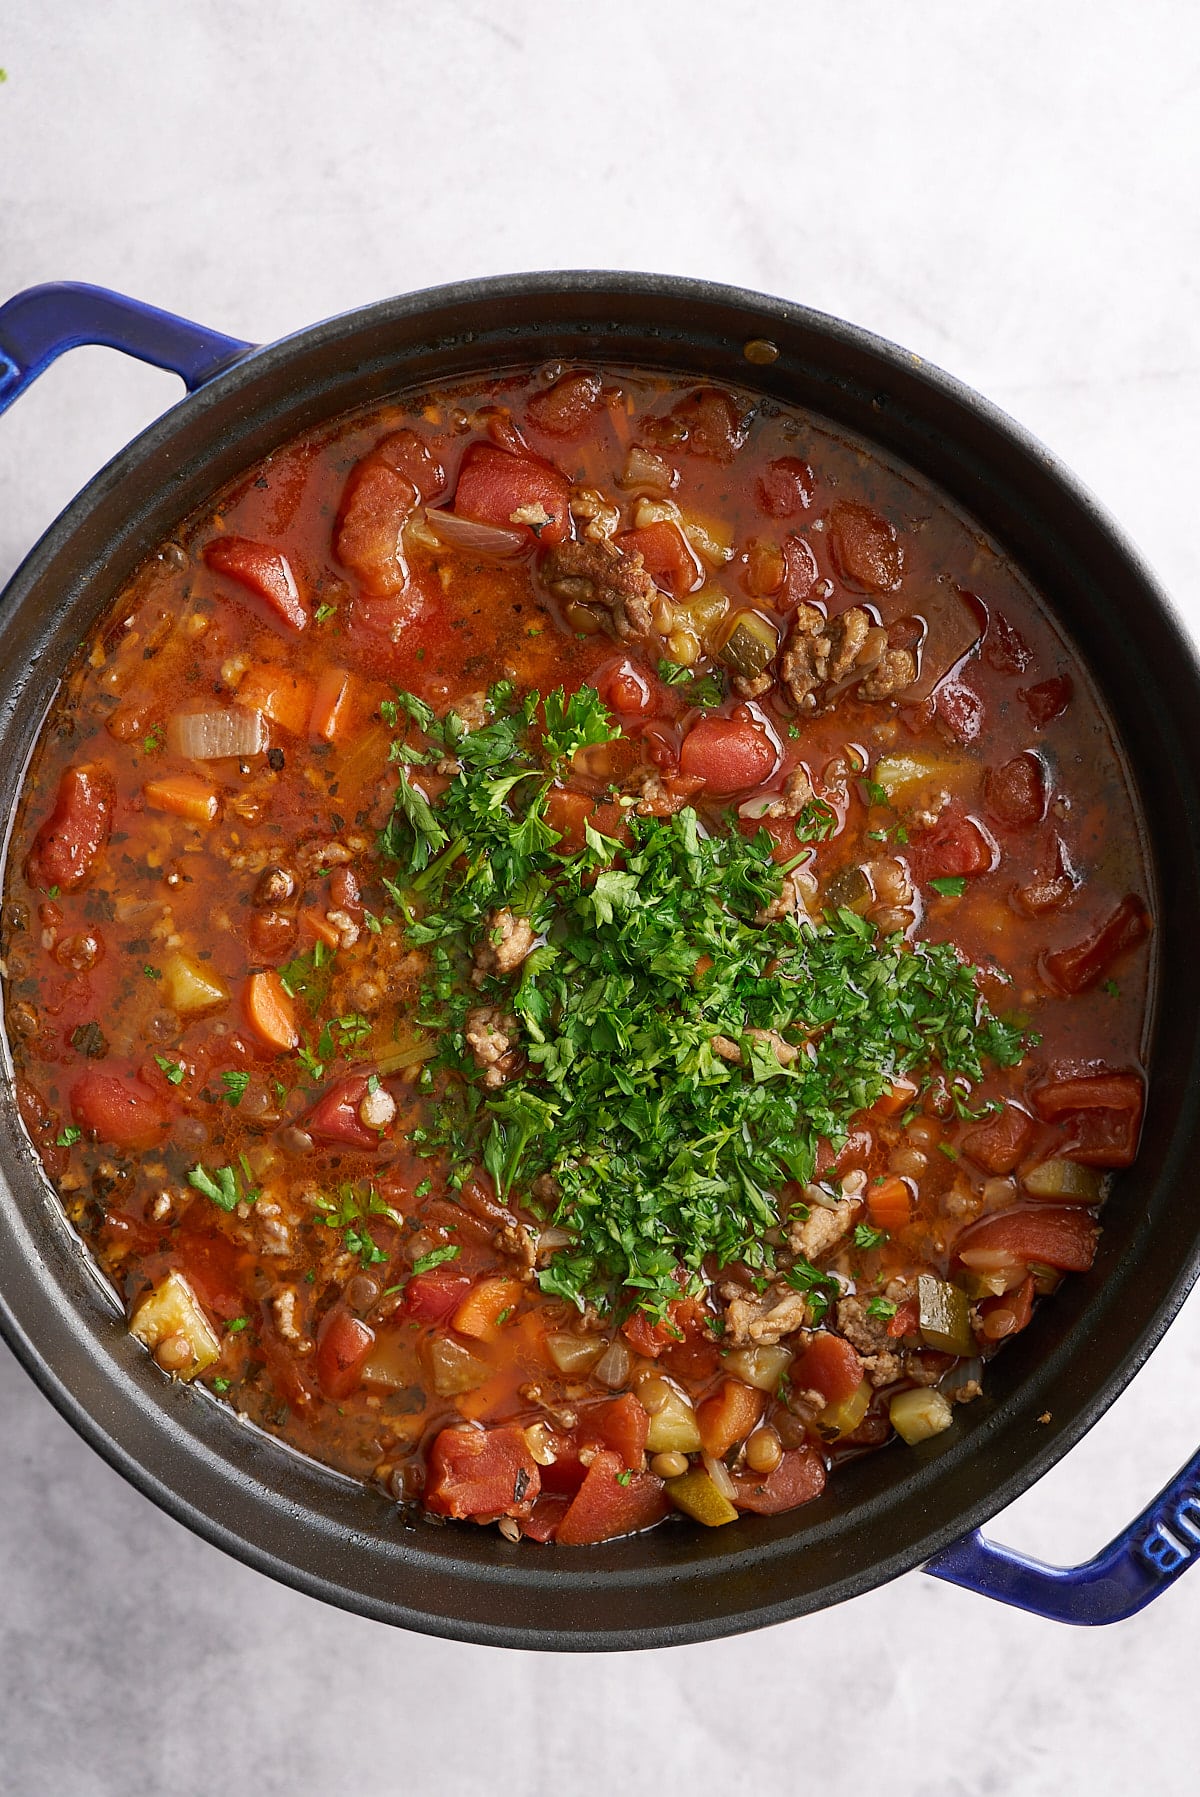
Pour in the chicken broth, add the lentils, dried basil, dried oregano, and diced tomatoes. Stir everything together to combine all the ingredients.
Cover the pot and let the soup simmer over medium-low heat for about 35-45 minutes, or until the lentils are tender, stirring occasionally.
Once the lentils are tender, add the fresh parsley and stir. Season the soup with salt and pepper to taste.

Serve the soup while it’s hot, and you can top each serving with a dollop of sour cream or a sprinkle of Parmesan cheese if desired. Enjoy!

Tanya's Top Tips
These tips will help you make the best sausage lentil soup you've ever tried.
- Proper seasoning makes a huge difference to soup, so taste the soup and add salt and black pepper before serving.
- Soup is a great make-ahead dish, make it up the day before and store it in the refrigerator until you are ready to serve. As is the case with most soups and stews, it will taste even better the next day once the flavors have had a chance to meld together.
- If the soup is too thick add a splash of chicken broth to loosen it.
Flavor variations
- If you don't have ground Italian sausage, swap for any other variety of pork sausage. Or buy Italian link sausages, remove the skin from the sausage, and break it down in the pot using a wooden spoon.
- You can swap Italian sausage for some diced pancetta, just sauté to brown the meat and render down the fat.
- Add some fresh thyme leaves or bay leaves to the soup while it is cooking.
- Swap fresh parsley for fresh basil.
- Add a handful of leafy greens like spinach or kale towards the end of the cook and allow to wilt.

What to serve with Italian Sausage Lentil Soup
I like to serve the soup with a swirl of sour cream and some shredded Parmesan cheese on top. As this is a hearty and filling bowl of soup I keep any additional side dishes simple. Serve with some crusty bread, or try my Classic Southern Cornbread Recipe, or these Easy Cornbread Muffins
How to store
To refrigerate: Leftovers can be stored in an airtight container in the refrigerator for up to 5 days. When ready to enjoy, reheat the soup on the stove-top until piping hot.
To freeze: Once cooked and cooled, place the soup into an airtight container and store it in the freezer for up to 3 months. Defrost in the refrigerator before reheating to piping hot.

FAQs
Yes, lentils not only add great texture and bite to a soup, but they are high in fiber and protein which keeps you fuller for longer, are naturally rich in minerals, and low in fat.
I like to use brown or green lentils in my Italian sausage lentil soup as they keep their shape well and don't break down as much as a split red lentil, or yellow split peas.
No, you don't need to soak lentils. Just add them to the soup and they will soften as the soup cooks.
If you have tried this Sausage Lentil Soup recipe, or any other recipe on my blog, then please rate it and let me know how it turned out in the comments below!

Sausage Lentil Soup
Equipment
- Kitchen knife
Ingredients
- 1 Tablespoon olive oil
- 1 lb ground Italian sausage
- 1 large yellow onion chopped
- 1 stalk celery chopped
- 1 large carrot chopped
- 1 medium zucchini chopped
- 3 cloves garlic minced
- 6 cups chicken broth
- 1 cup brown or green lentils
- 2 teaspoons dried basil
- 1 teaspoon dried oregano
- 28 oz can diced tomatoes undrained
- ¼ cup fresh parsley
- salt and pepper to taste
- sour cream optional garnish
- Parmesan cheese optional garnish
Instructions
- Heat oil over medium-high heat in a large soup pot or Dutch oven. Add the Italian sausage and cook until it's browned, breaking up the meat as it cooks.
- Add the yellow onion, celery, carrot, zucchini, and minced garlic to the pot. Stir and cook for about 3-5 minutes until the vegetables soften.
- Pour in the chicken broth, add the lentils, dried basil, dried oregano, and diced tomatoes. Stir everything together to combine all the ingredients.
- Cover the pot and let the soup simmer over medium-low heat for about 35-45 minutes, or until the lentils are tender, stirring occasionally.
- Once the lentils are tender, add the fresh parsley and stir. Season the soup with salt and pepper to taste.
- Serve the soup while it’s hot, and you can top each serving with a dollop of sour cream or a sprinkle of Parmesan cheese if desired. Enjoy!