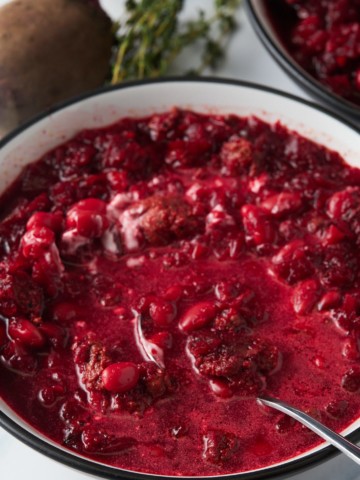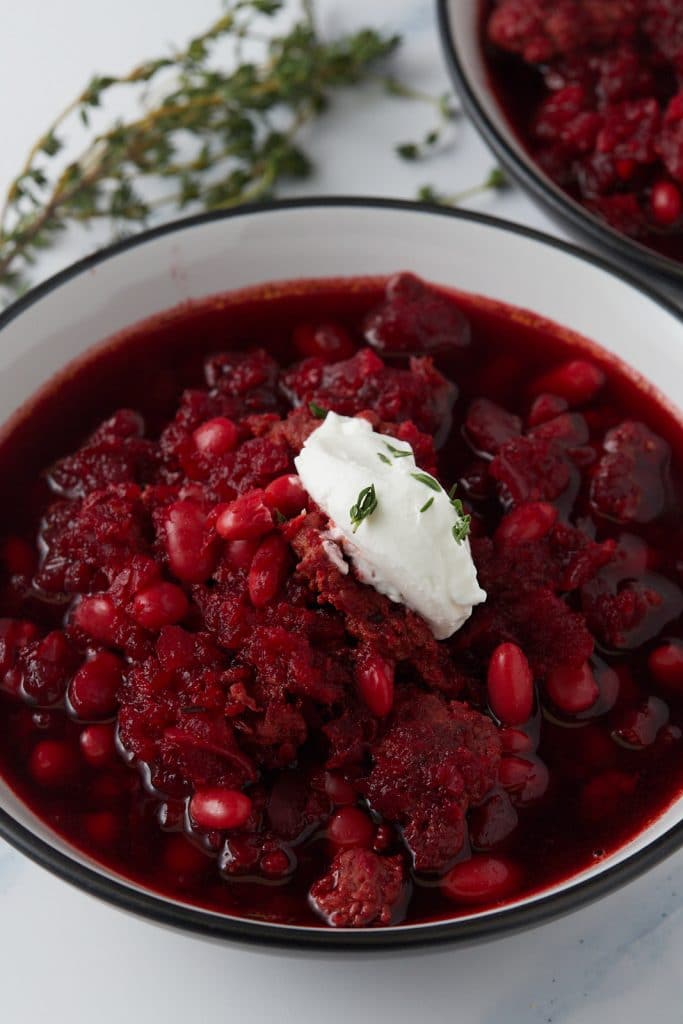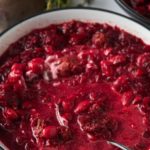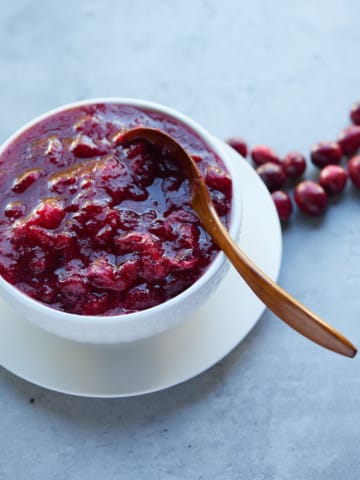
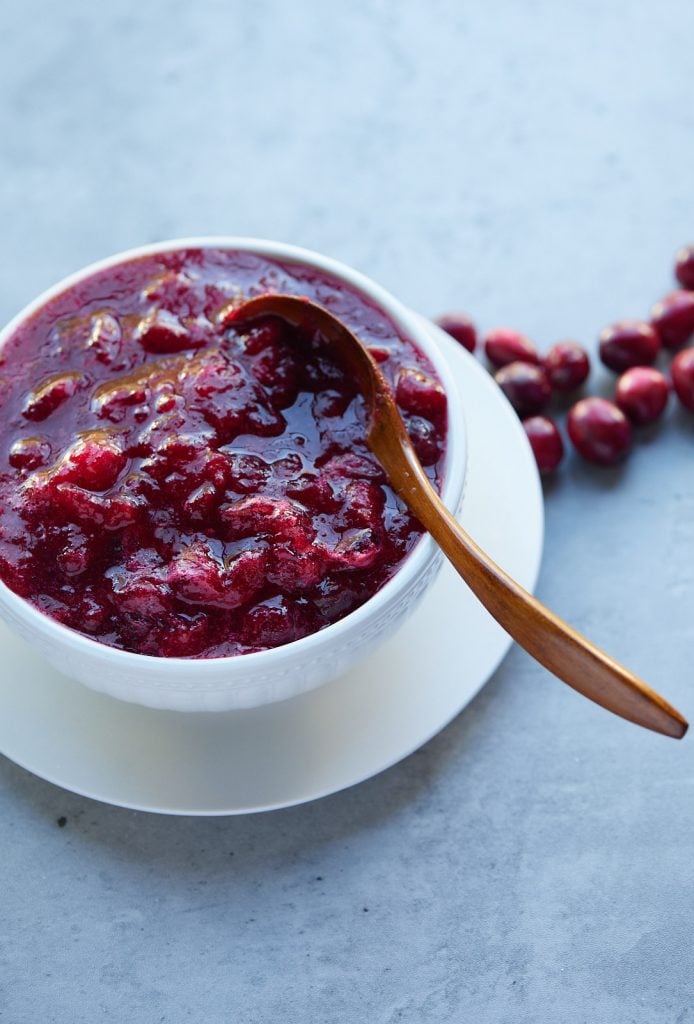
Easy and quick to make with 3 ingredients, this homemade cranberry sauce is made from scratch and takes about 15 minutes to make. An essential sauce to serve for your Thanksgiving or holiday dinner, and wonderfully sweet and tangy.
Where has this year gone? Thanksgiving is just around the corner and all thoughts have turned to menu planning!
My Christmas and Thanksgiving tables are never complete without cranberry sauce. I'll admit, I like the canned jelly stuff that comes in a log that you have to slice, but this homemade cranberry sauce is even better. It's also super easy to make.
Serve this delicious sauce on the side of my Roasted Air Fryer Turkey Breast or Instant Pot Turkey Breast!
How to make homemade cranberry sauce
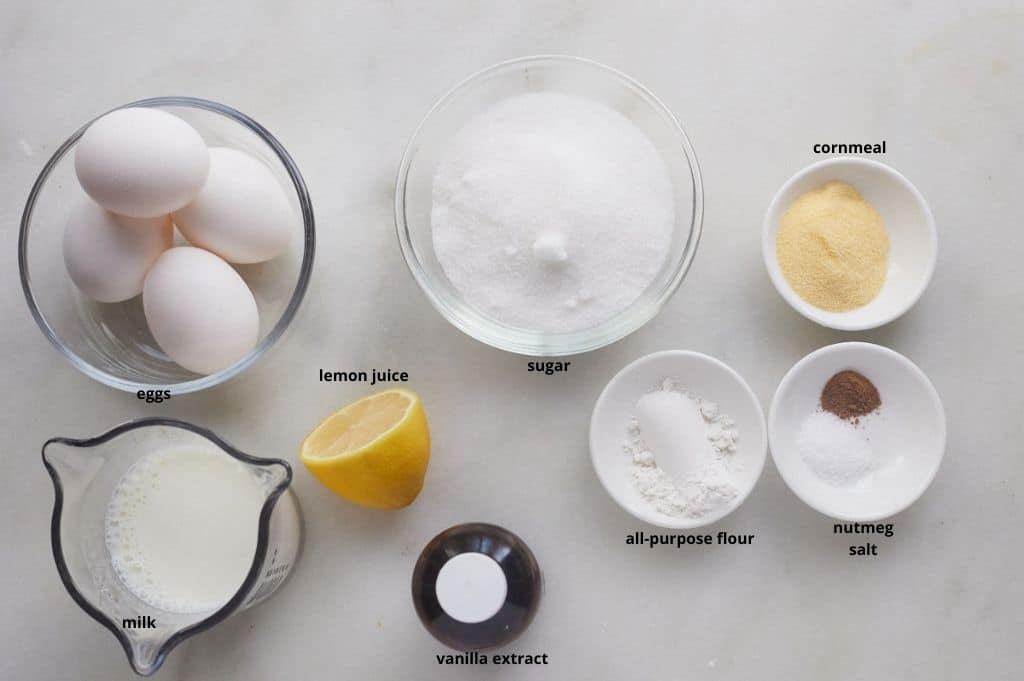
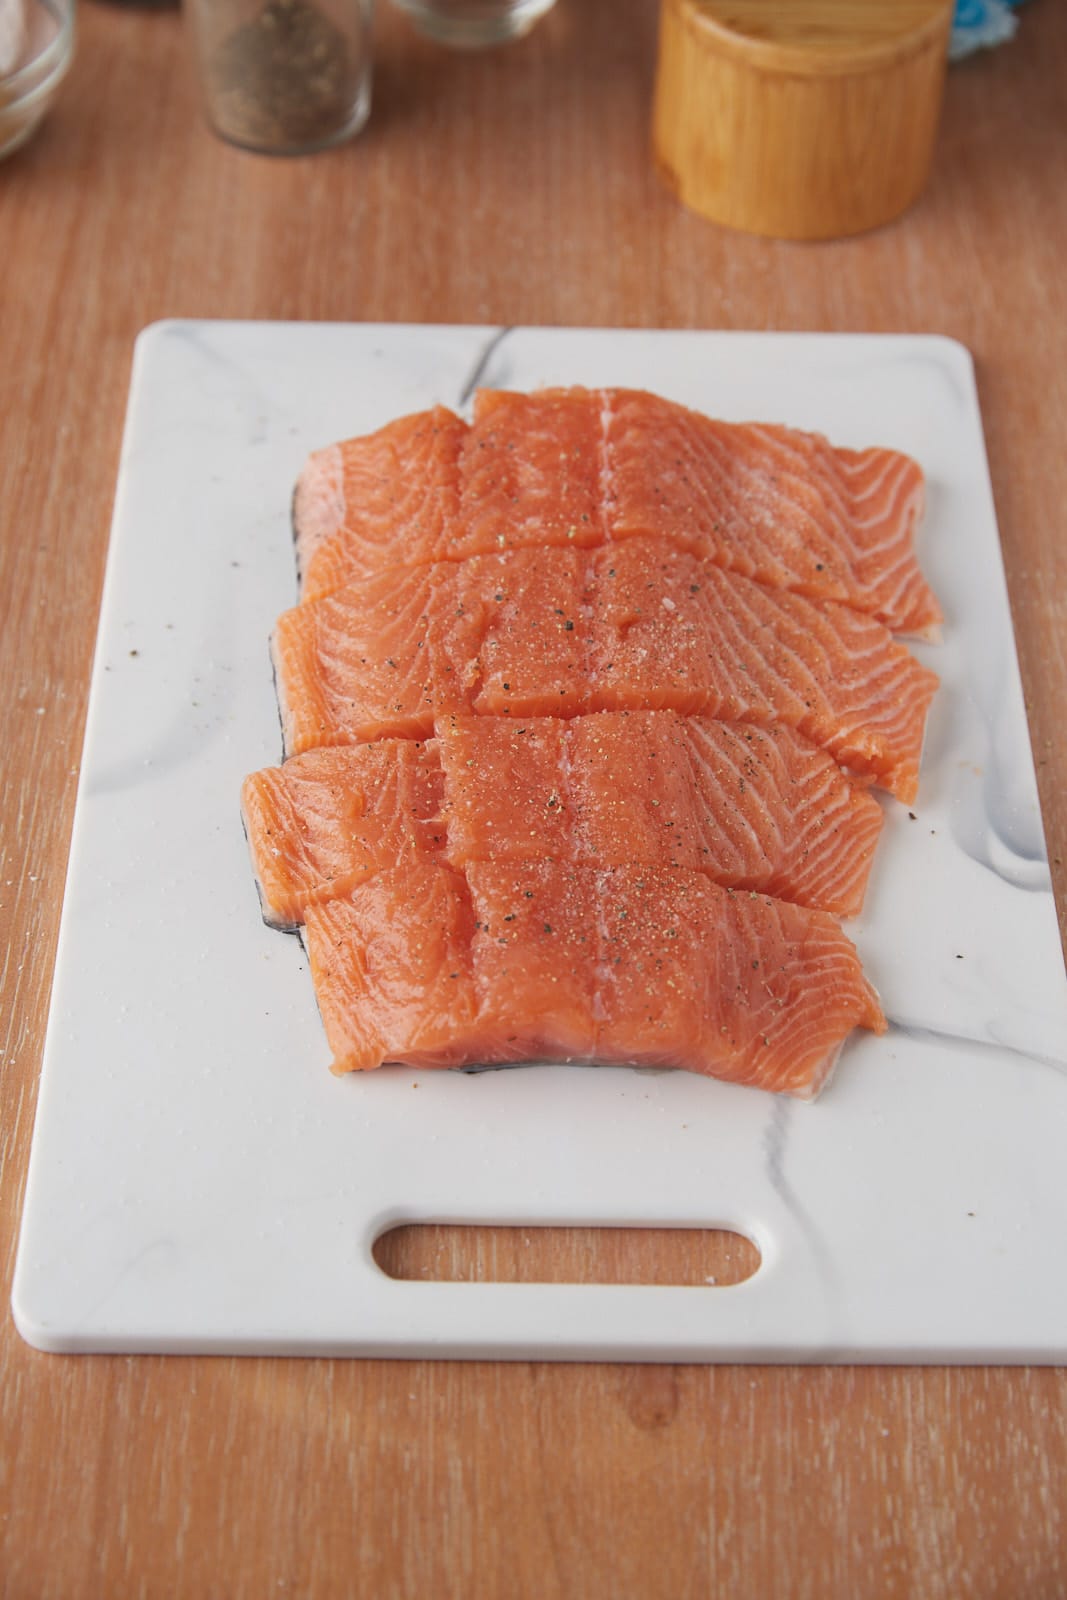
- First up, gather your ingredients. You only need a few!
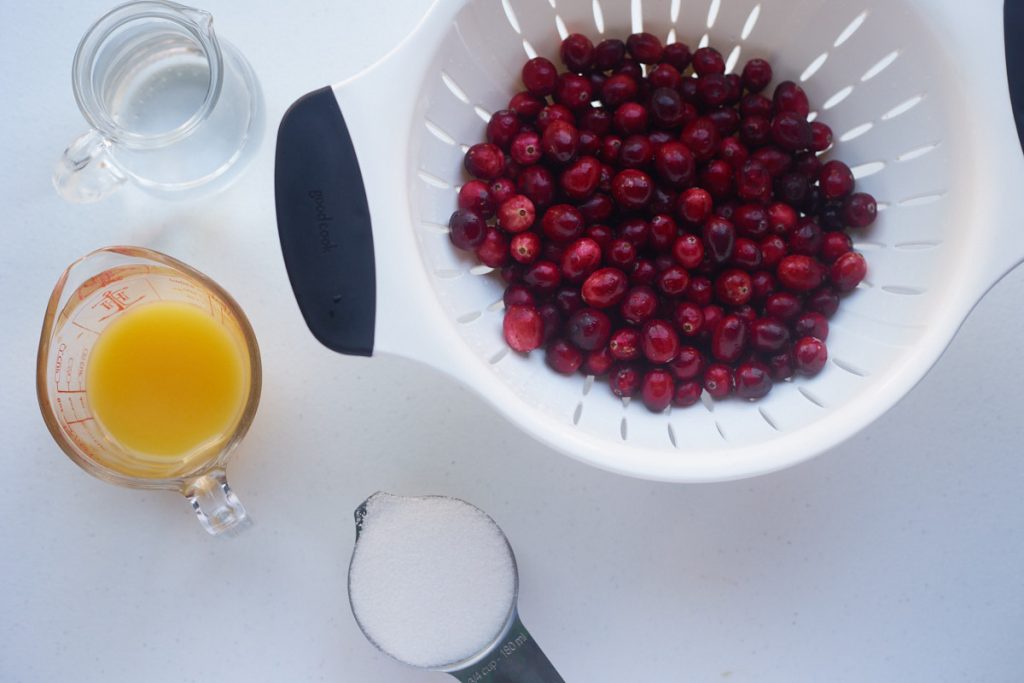
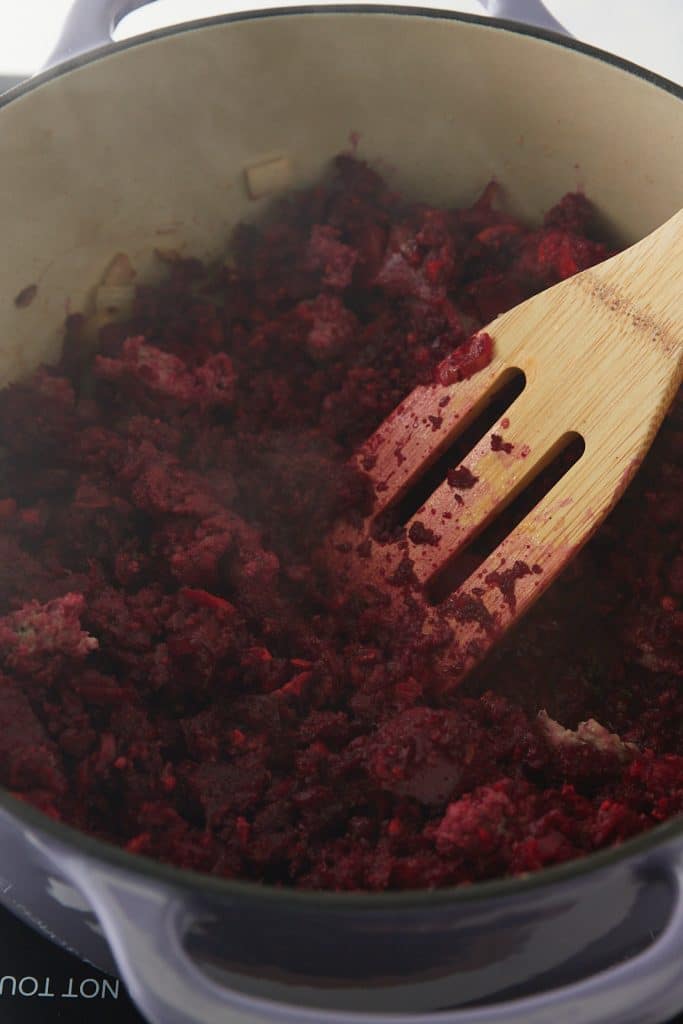
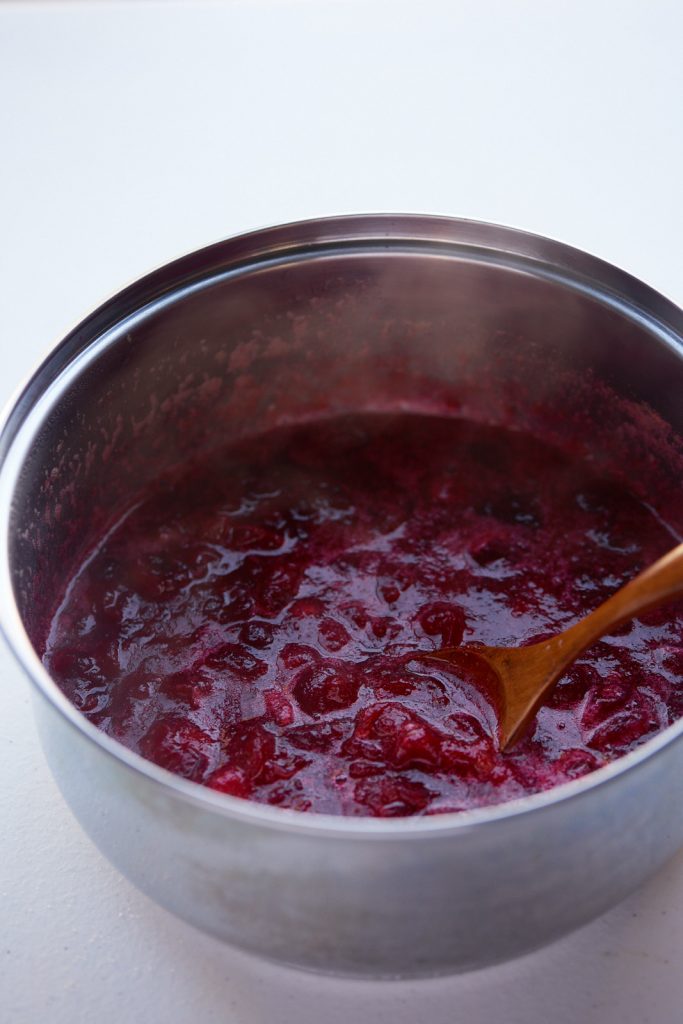
- Place cranberries, orange juice, water, sugar, and a pinch of salt in a medium saucepan over medium-high heat.

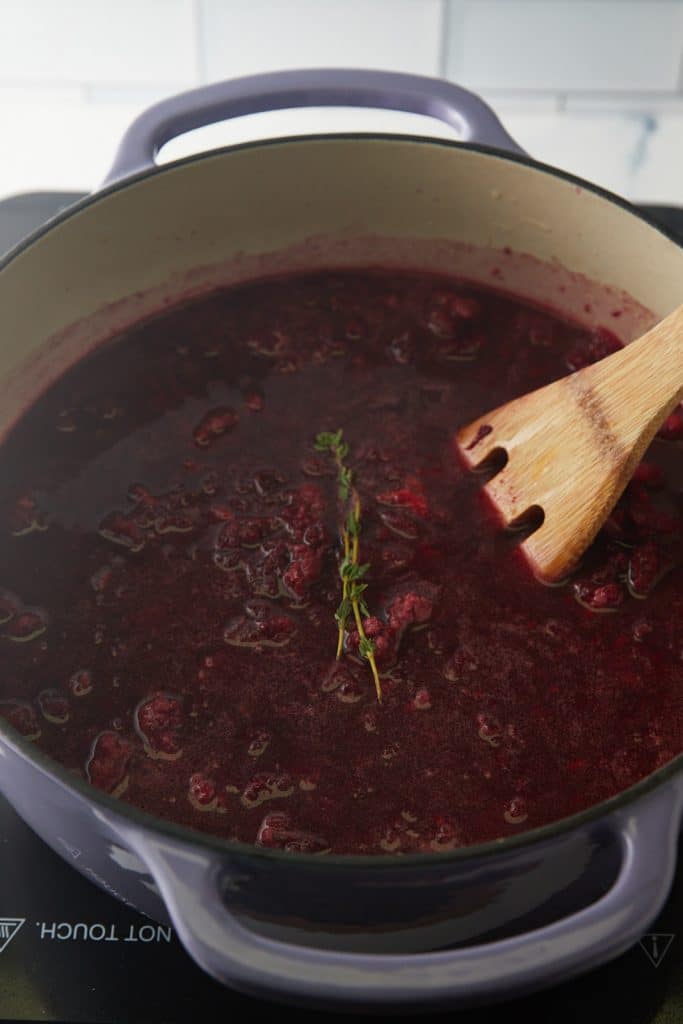
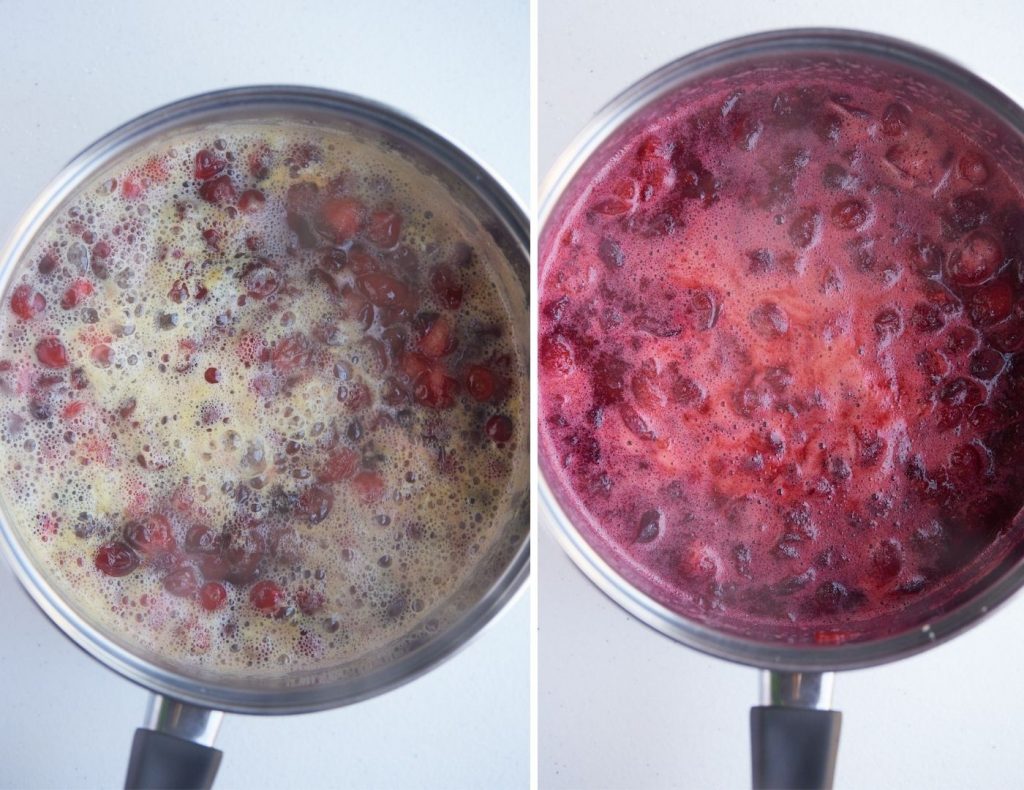
- Bring to a boil. Reduce heat to medium-low and simmer for 10 minutes, stirring occasionally until cranberries have softened and popped.
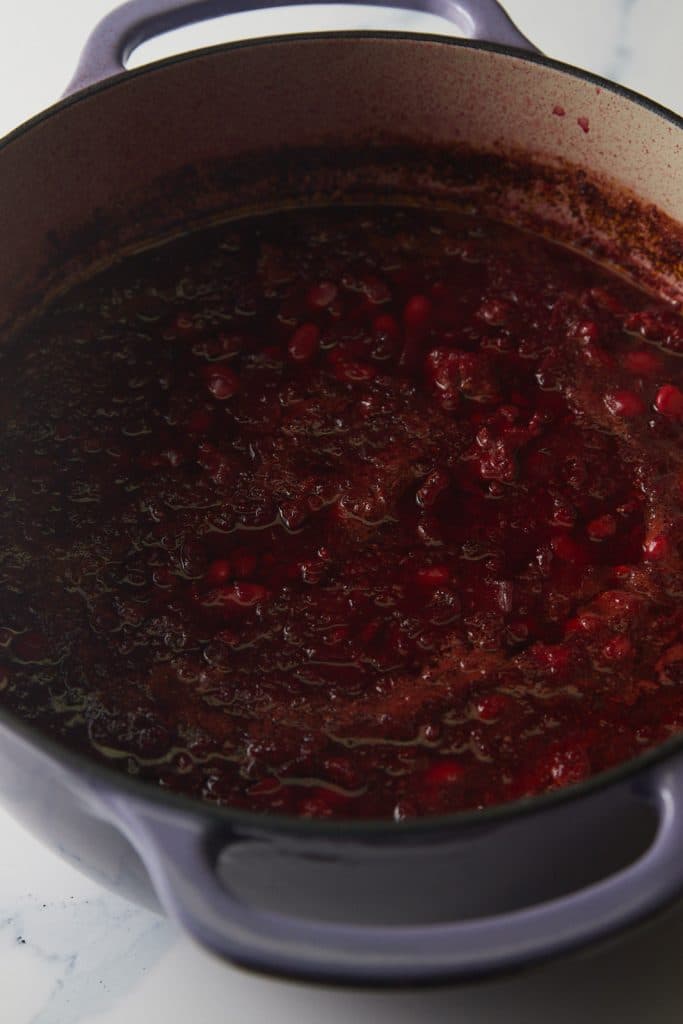
- Remove from heat and allow to cool. Stir and serve immediately or refrigerate for later.
How long does it keep?
Cranberry sauce is a great make ahead side. Once it has cooled completely, transfer it to a glass jar or air tight container and place it in the fridge. It will keep well for 10 to 12 days and can either be served straight out of the fridge or warmed up.
Can you freeze it?
Yes, this delicious sauce freezes really well. Let it cool before placing in freezer bags and it will keep well for two months. You can thaw the frozen sauce in the fridge overnight, or heat it through gently on the stovetop to serve.
Can you use frozen cranberries?
I prefer to use fresh cranberries for this recipe as they are readily available this time of year. You can also make this recipe with frozen cranberries though. They will take a little longer to cook, but the recipe remains the same.

Recipe Notes and Tips
- Cranberry sauce will thicken while it cools and will thicken even more if refrigerated.
- Don't put the pot on too high a heat, it should be gently simmering rather than boiling.
- This sauce can be enjoyed warm or cold straight out of the fridge. It's great on turkey sandwiches the next day!
- If making ahead of time, let the sauce fully cool before storing it.
More Easy Sides
- Buttery Instant Pot Green Beans and Potatoes
- Southern Candied Sweet Potatoes
- Sweet and Spicy Air Fryer Brussels Sprouts
- Classic Southern Cornbread Recipe
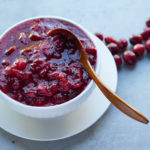
Cranberry Sauce
Ingredients
- 12 oz fresh cranberries about 3 ½ cups
- ½ cup orange juice
- ½ cup water
- ¾ cup sugar
- Pinch of salt
Instructions
- Place cranberries, orange juice, water, sugar, and a pinch of salt in a medium saucepan over medium-high heat and bring to a boil.
- Reduce heat to medium-low and simmer for 10 minutes, stirring occasionally until cranberries have softened and popped.
- Remove from heat and allow to cool. Stir and serve immediately or refrigerate for later.
Notes
- Cranberry sauce will thicken while it cools and will thicken even more if refrigerated.
- Don't put the pot on too high a heat, it should be gently simmering rather than boiling.
- This sauce can be enjoyed warm or cold straight out of the fridge. It's great on turkey sandwiches the next day!
- If making ahead of time, let the sauce fully cool before storing it.