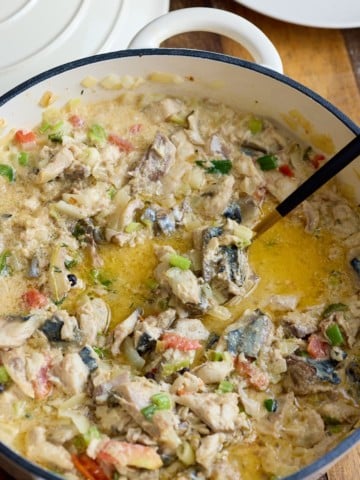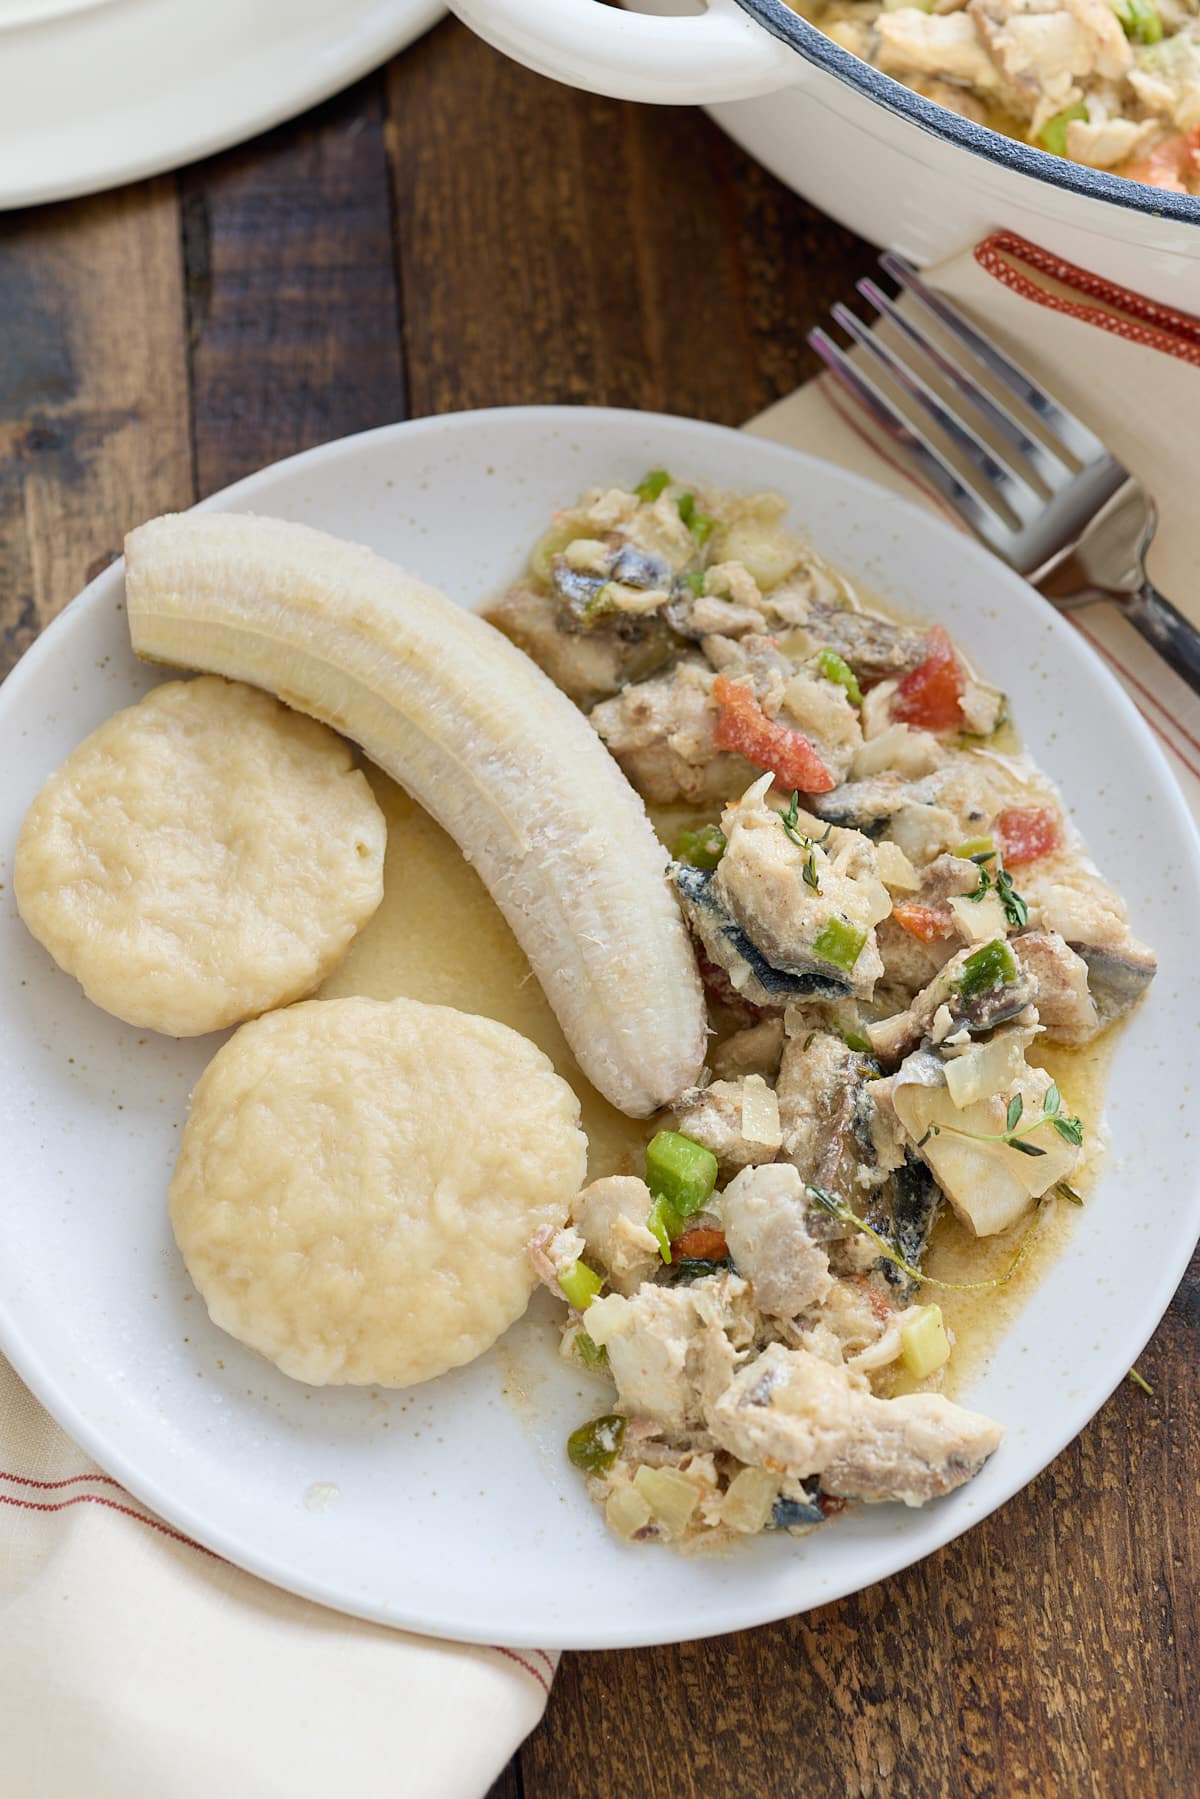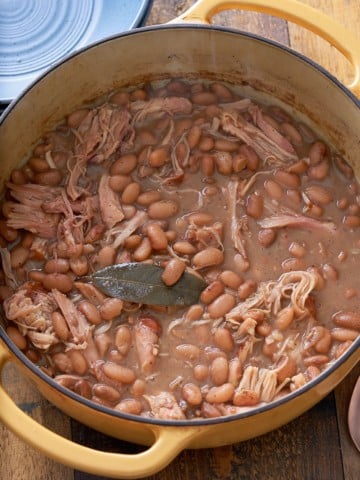
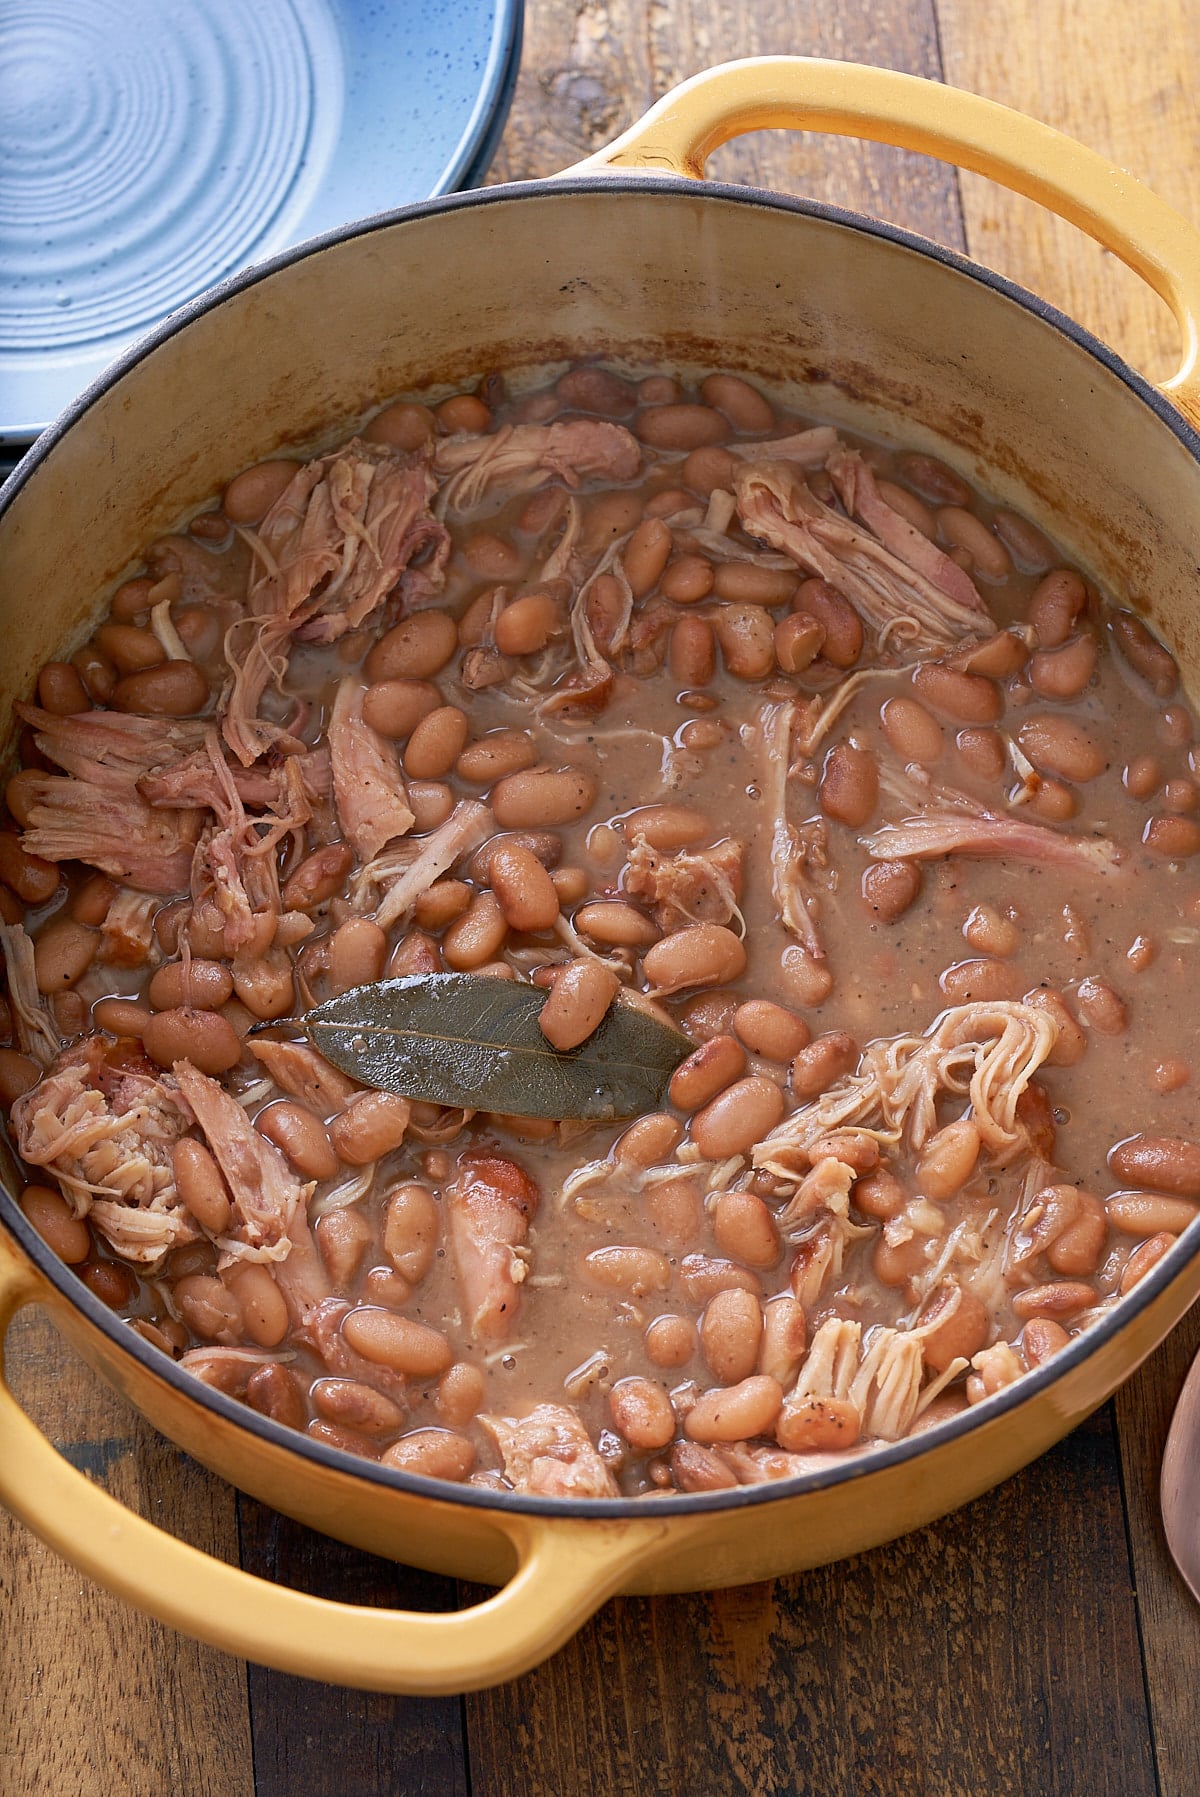
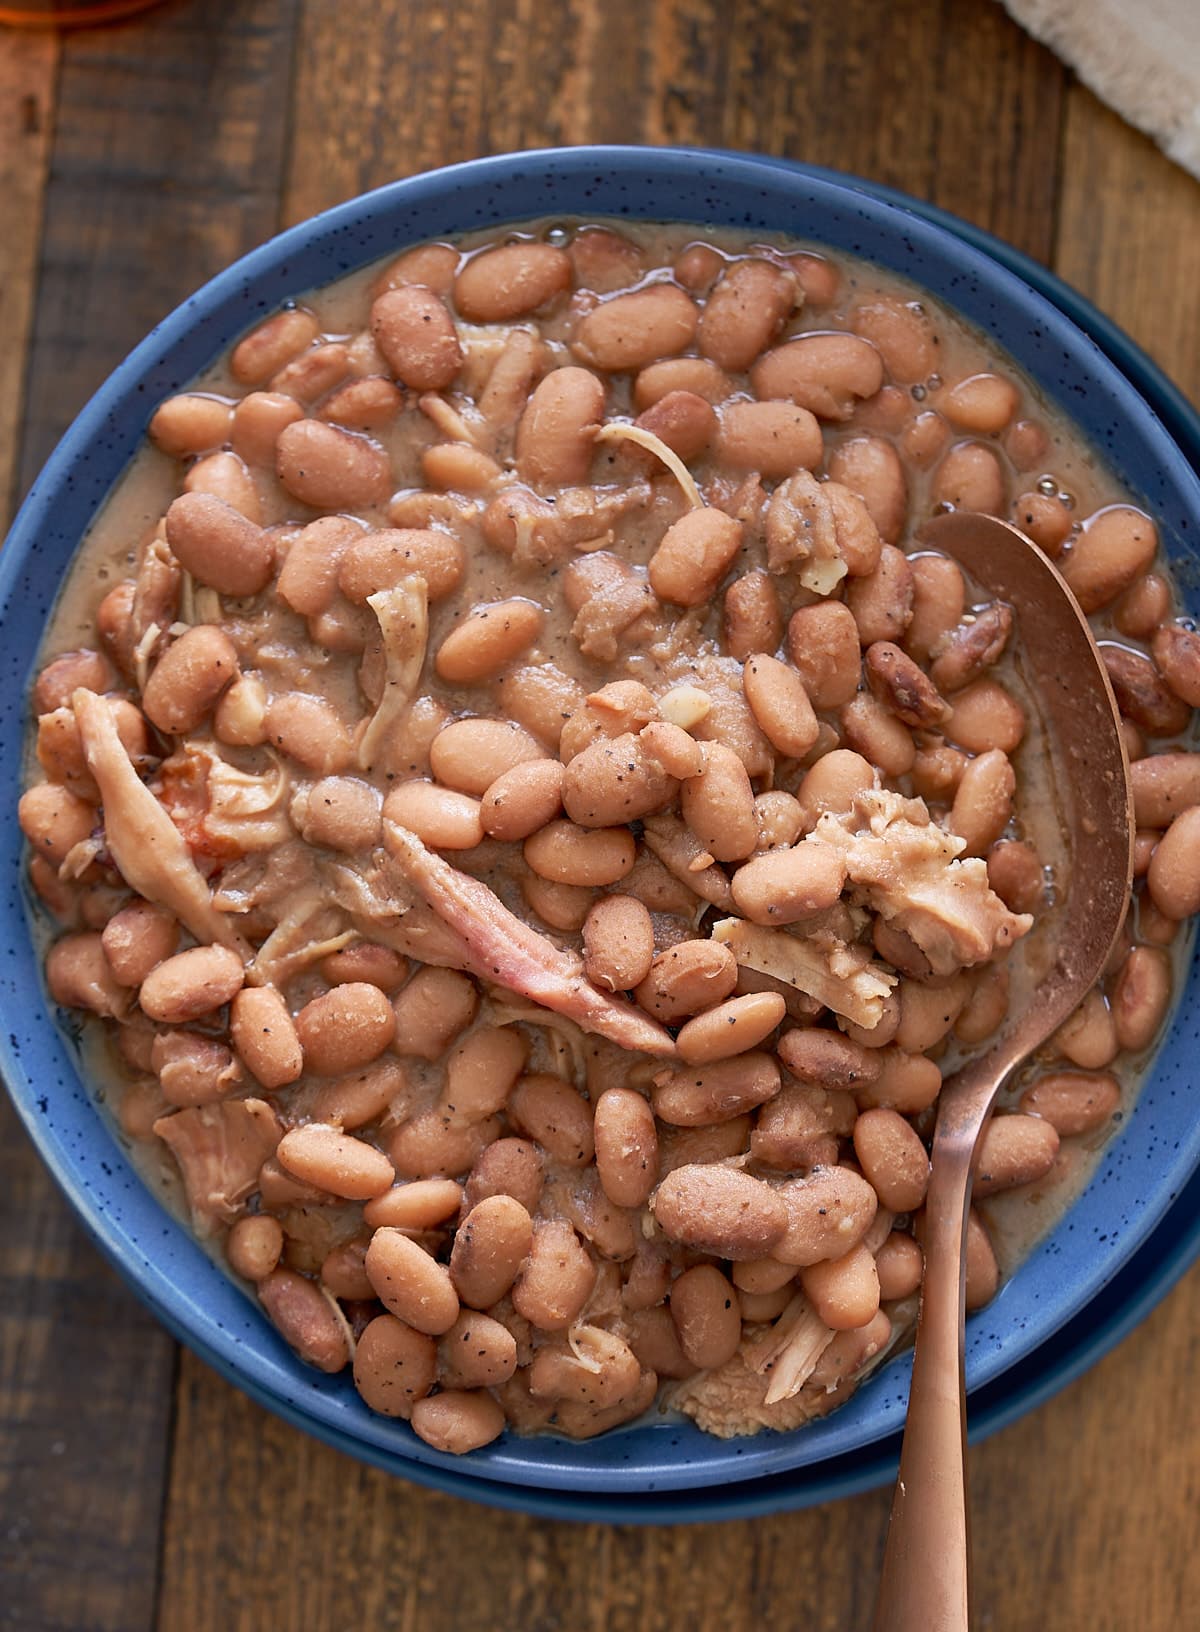
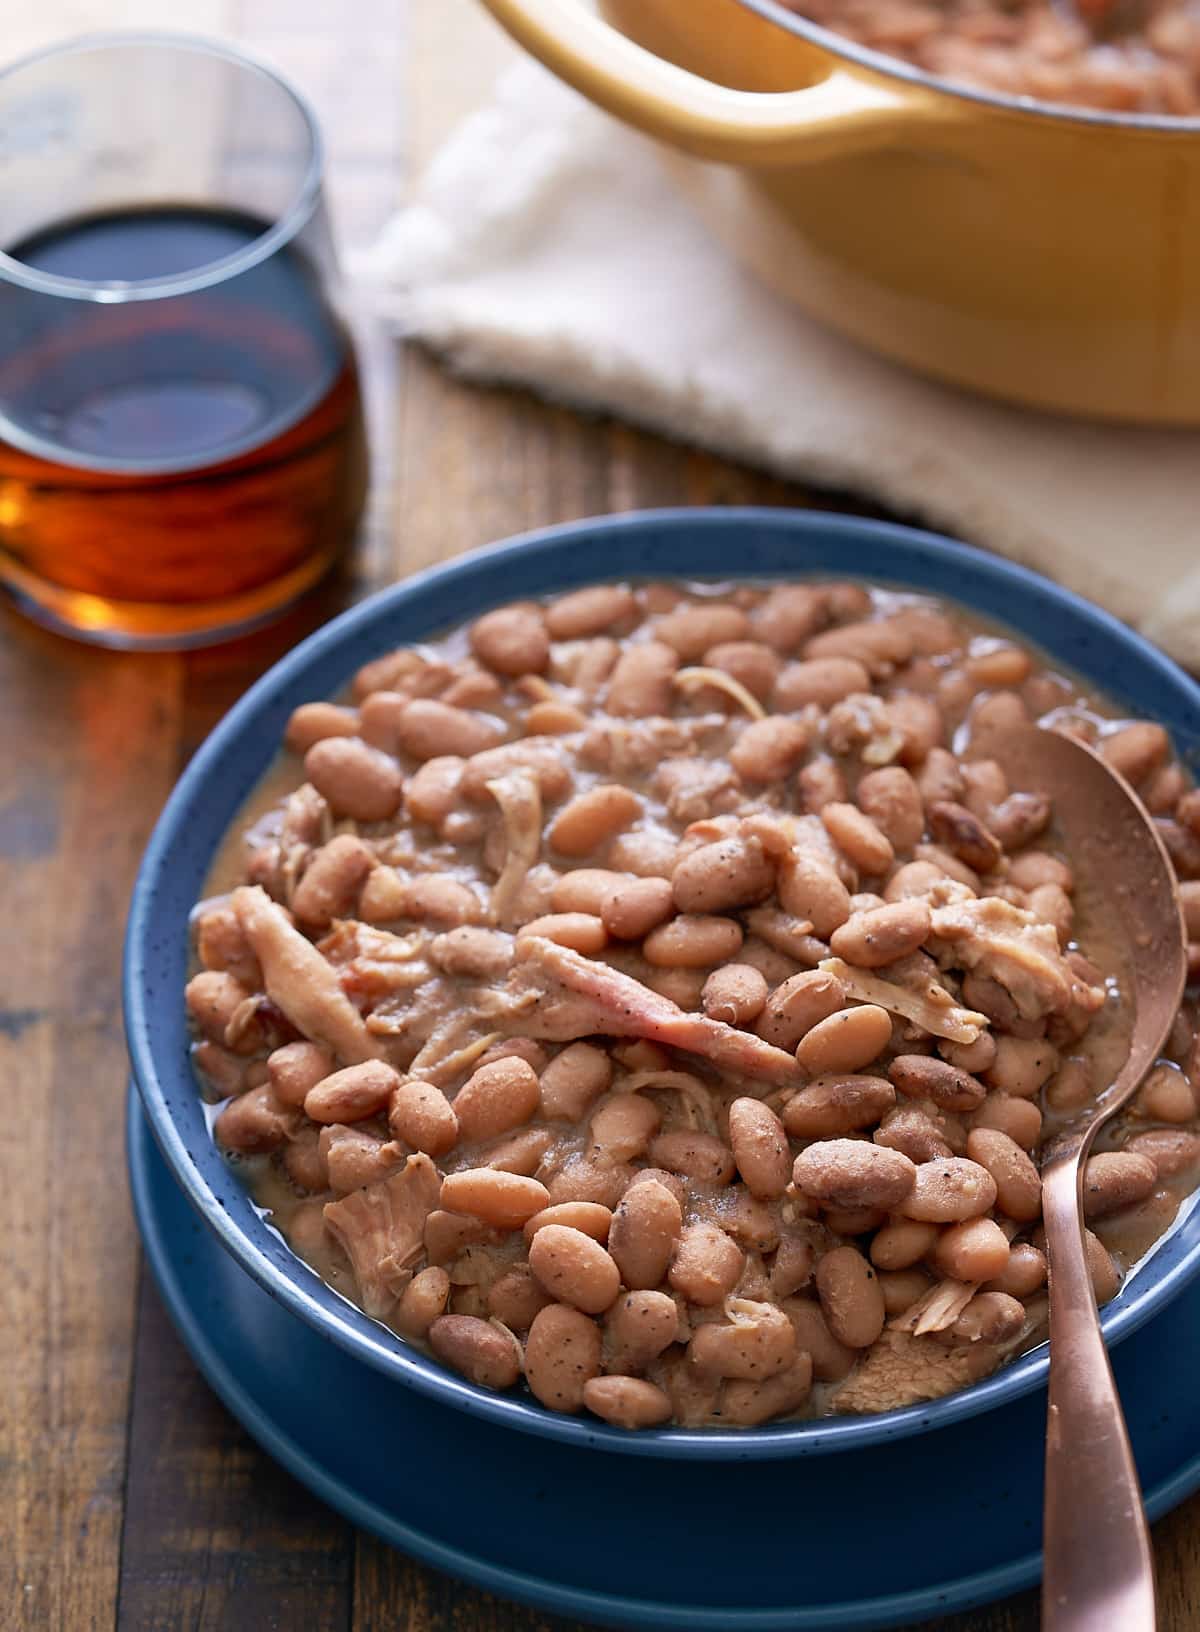
My Best Pinto Beans recipe is Southern Style comfort food in a bowl. The pinto beans are cooked with a smoked turkey leg, which adds a great depth of flavor and once cooked I shred the turkey meat and add it back into the pot taking this dish to the next level.
This post contains affiliate links, please read my full disclaimer here.
You’ll find the full recipe with ingredient amounts and instructions in the recipe card at the bottom of this post. Be sure to check out the blog post itself for extra tips and tricks!
This southern pinto beans recipe is always popular at home as it's packed full of flavor. This easy side dish makes a great addition to any meal, and can be served alongside a whole variety of different main dishes.
However this is a flexible dish and you could also serve it as a main meal with my Classic Southern Cornbread, and a fresh salad side.
What I love most about this easy pinto beans recipe is how quick and easy it is to prepare. Hands on prep time is minimal, it is more of an assembly job. However, what you are left with after a couple of hours of bubbling away on the stove, is the most deliciously flavorful bowl of beans.
Easy beans dishes like this one, are recipes we should all have in our repertoire. Not only are they filling, nutritious and delicious, they also use simple, inexpensive ingredients, making this an economical meal option too.
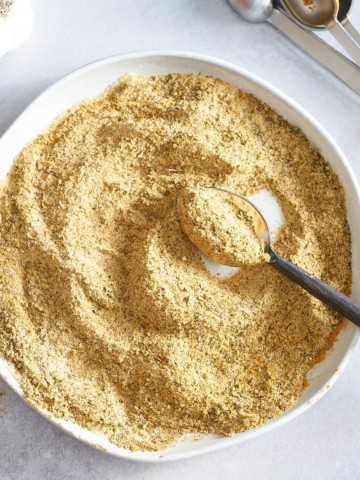
Ingredients
Here's what you will need to make the best pinto beans recipe:

- Beans - one pound of dried pinto beans will serve 12 as a side dish.
- Turkey - a large smoked turkey leg adds real depth of flavor when cooked along with the beans.
- Broth - I use reduced-sodium chicken broth as the turkey leg can be salty. Vegetable broth would work here too.
- Bay leaves
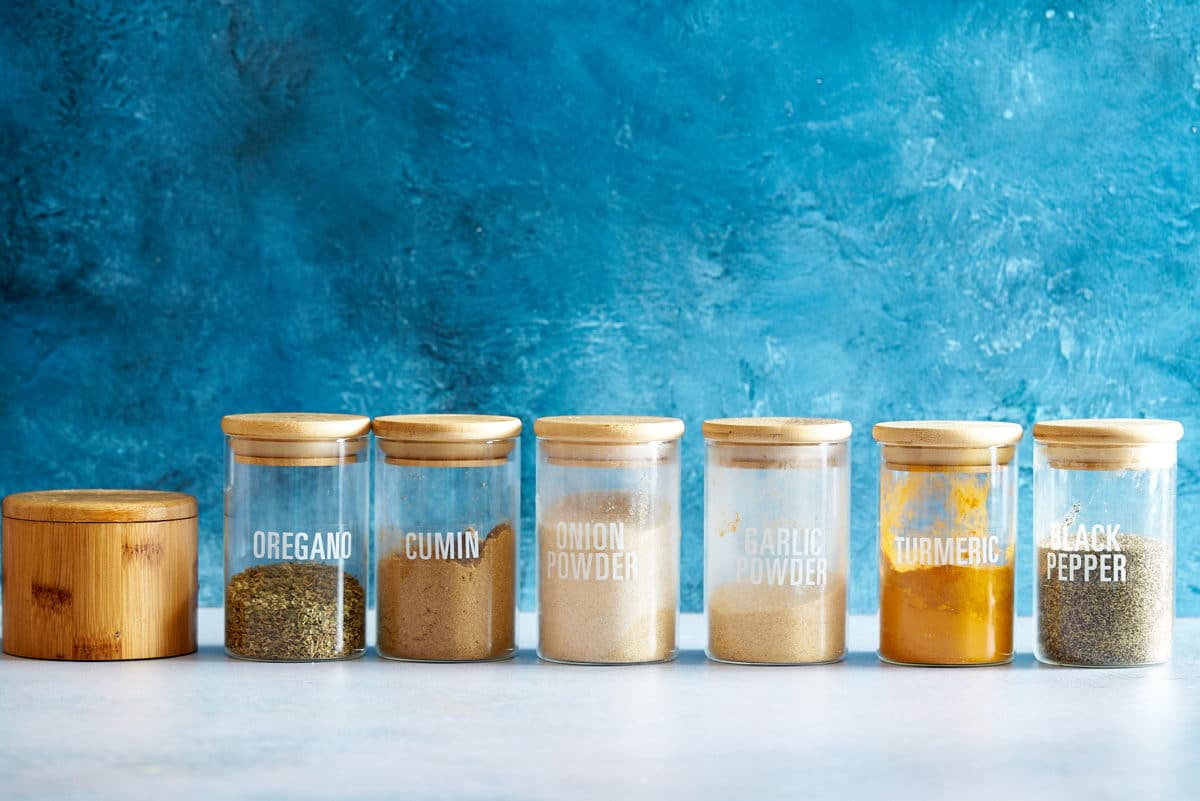
- Onion powder
- Garlic powder
- Black pepper
How to cook Southern Pinto Beans recipe
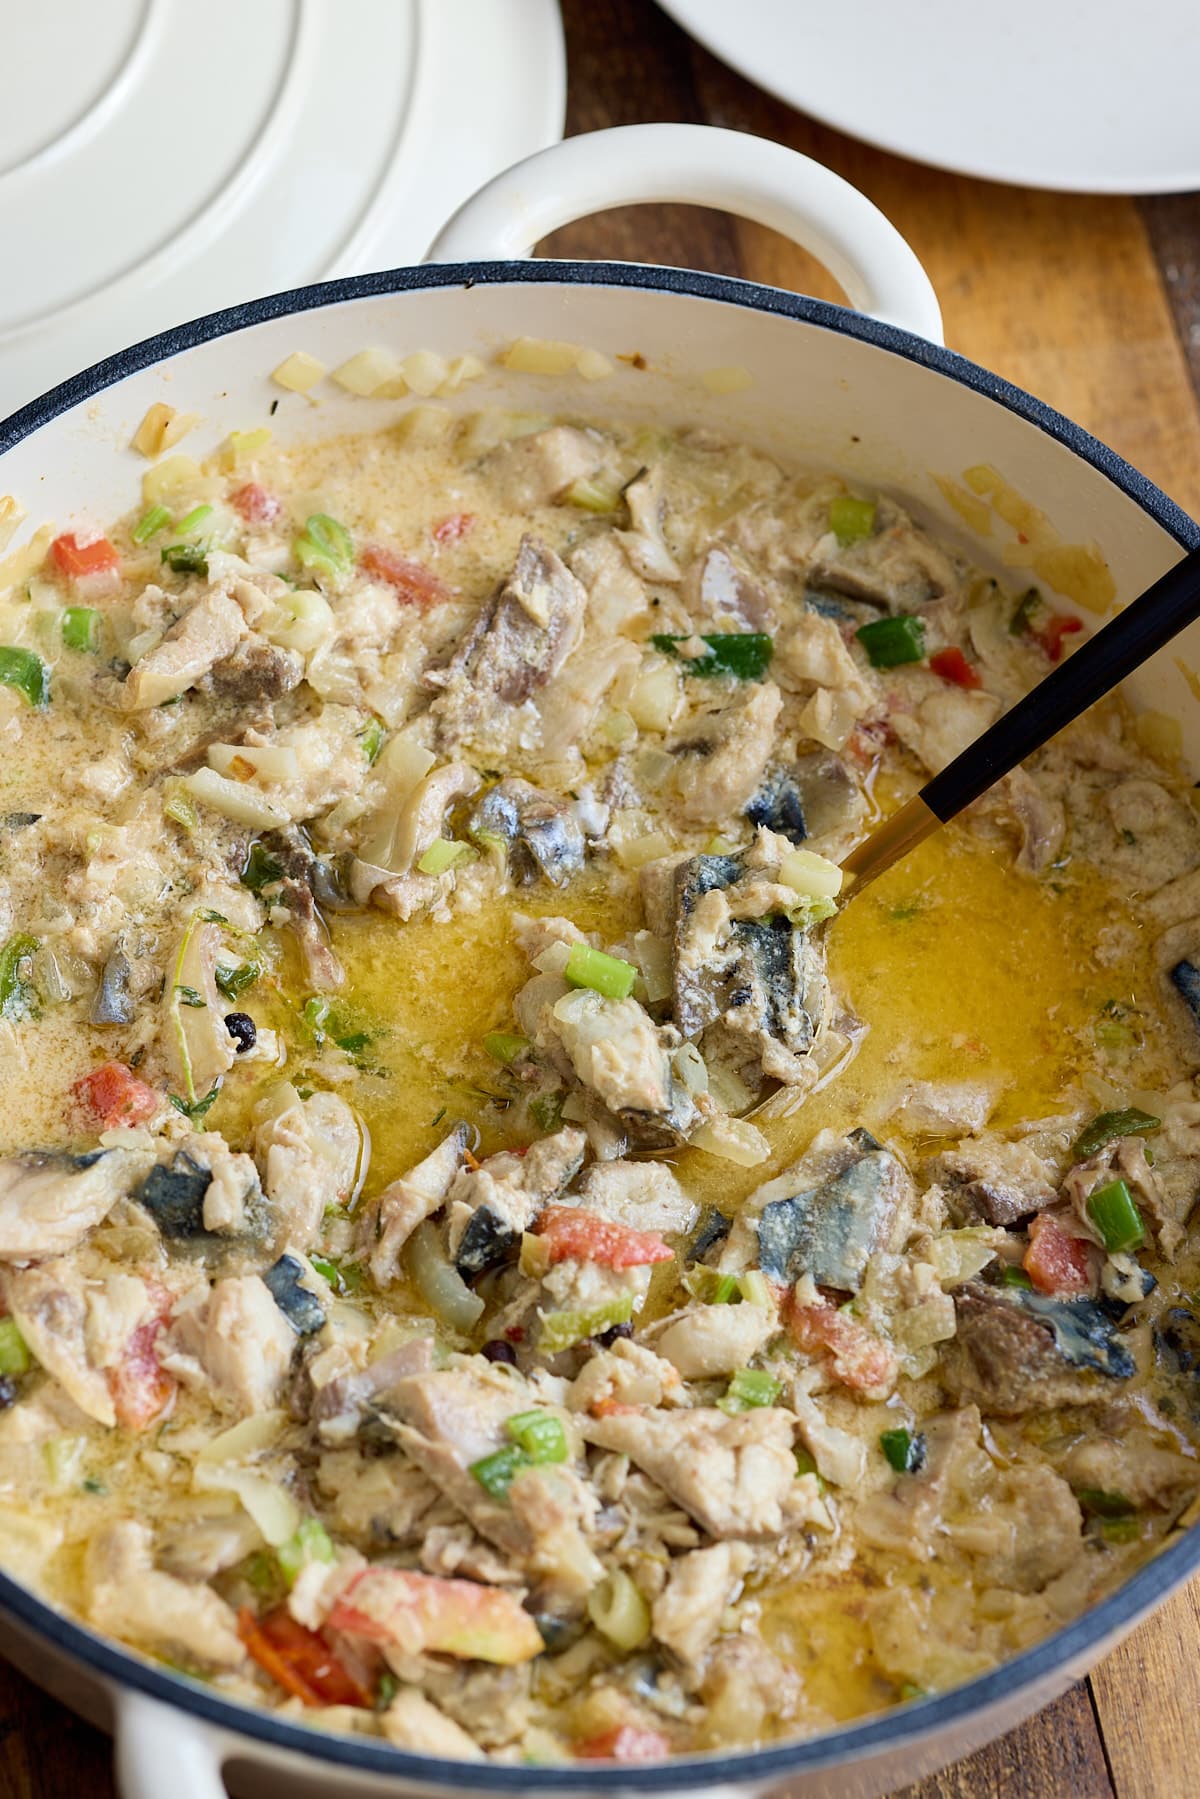
Add beans, smoked turkey leg, chicken broth, water, bay leaves, onion powder, garlic powder, and black pepper to a large heavy-bottomed pot. Heat over medium-high heat until the beans start to boil.
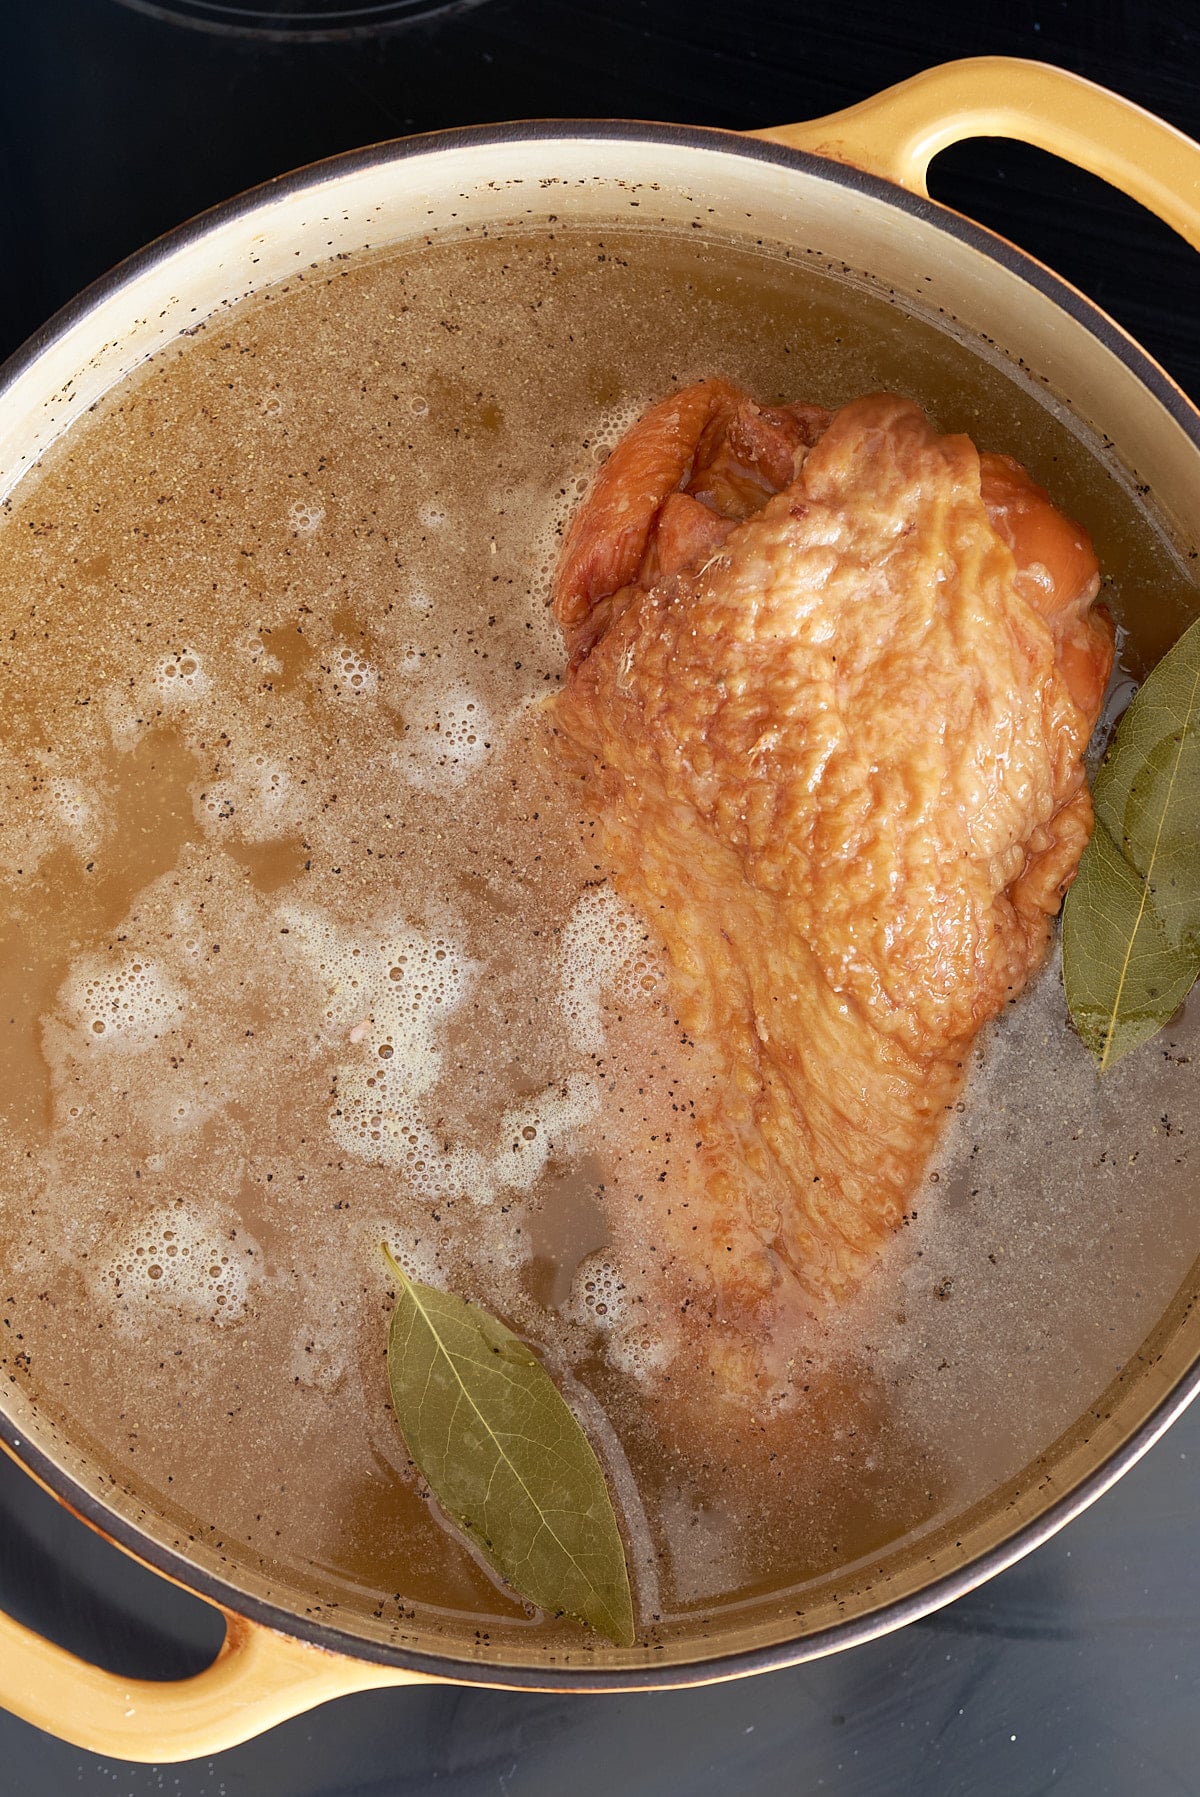
Reduce the heat to medium-low and simmer, covered, until the beans are tender. This will take somewhere from 1.5-3 hours.
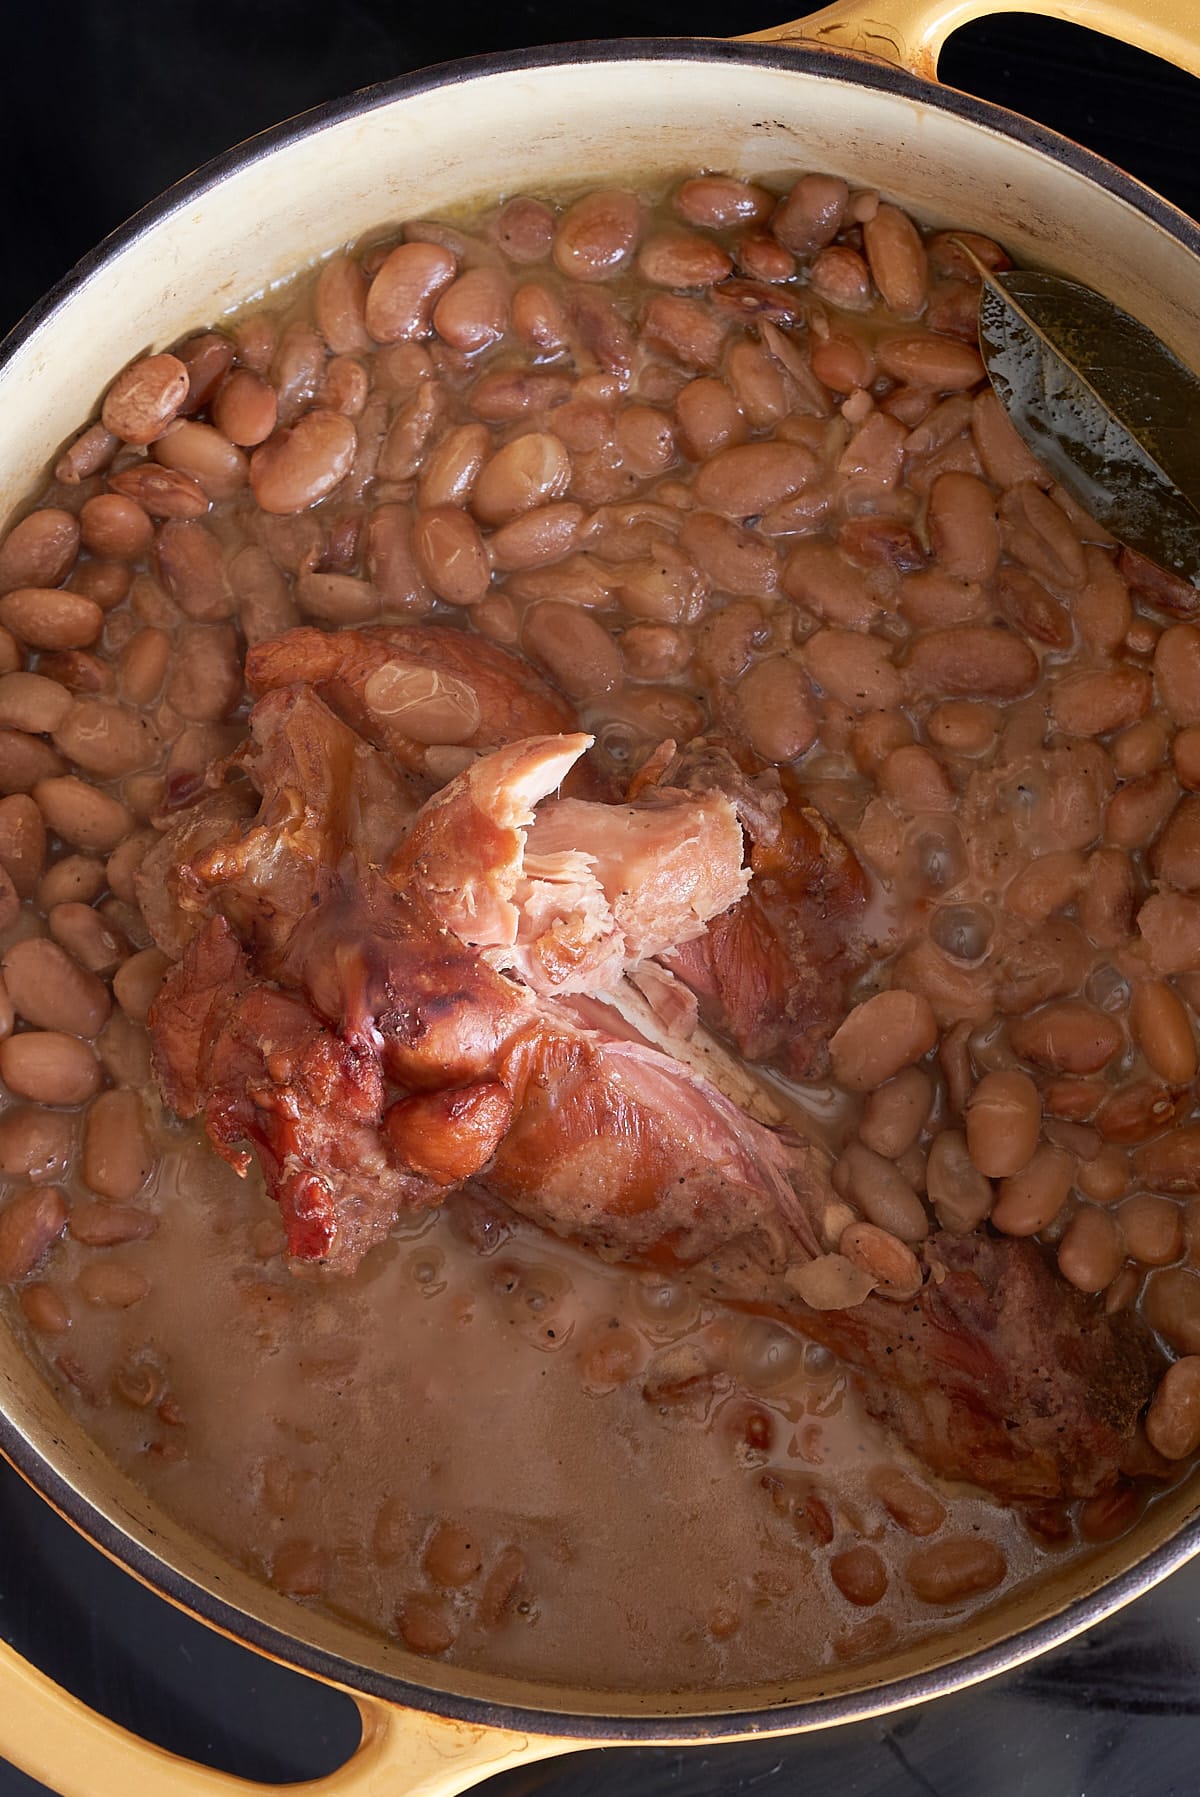
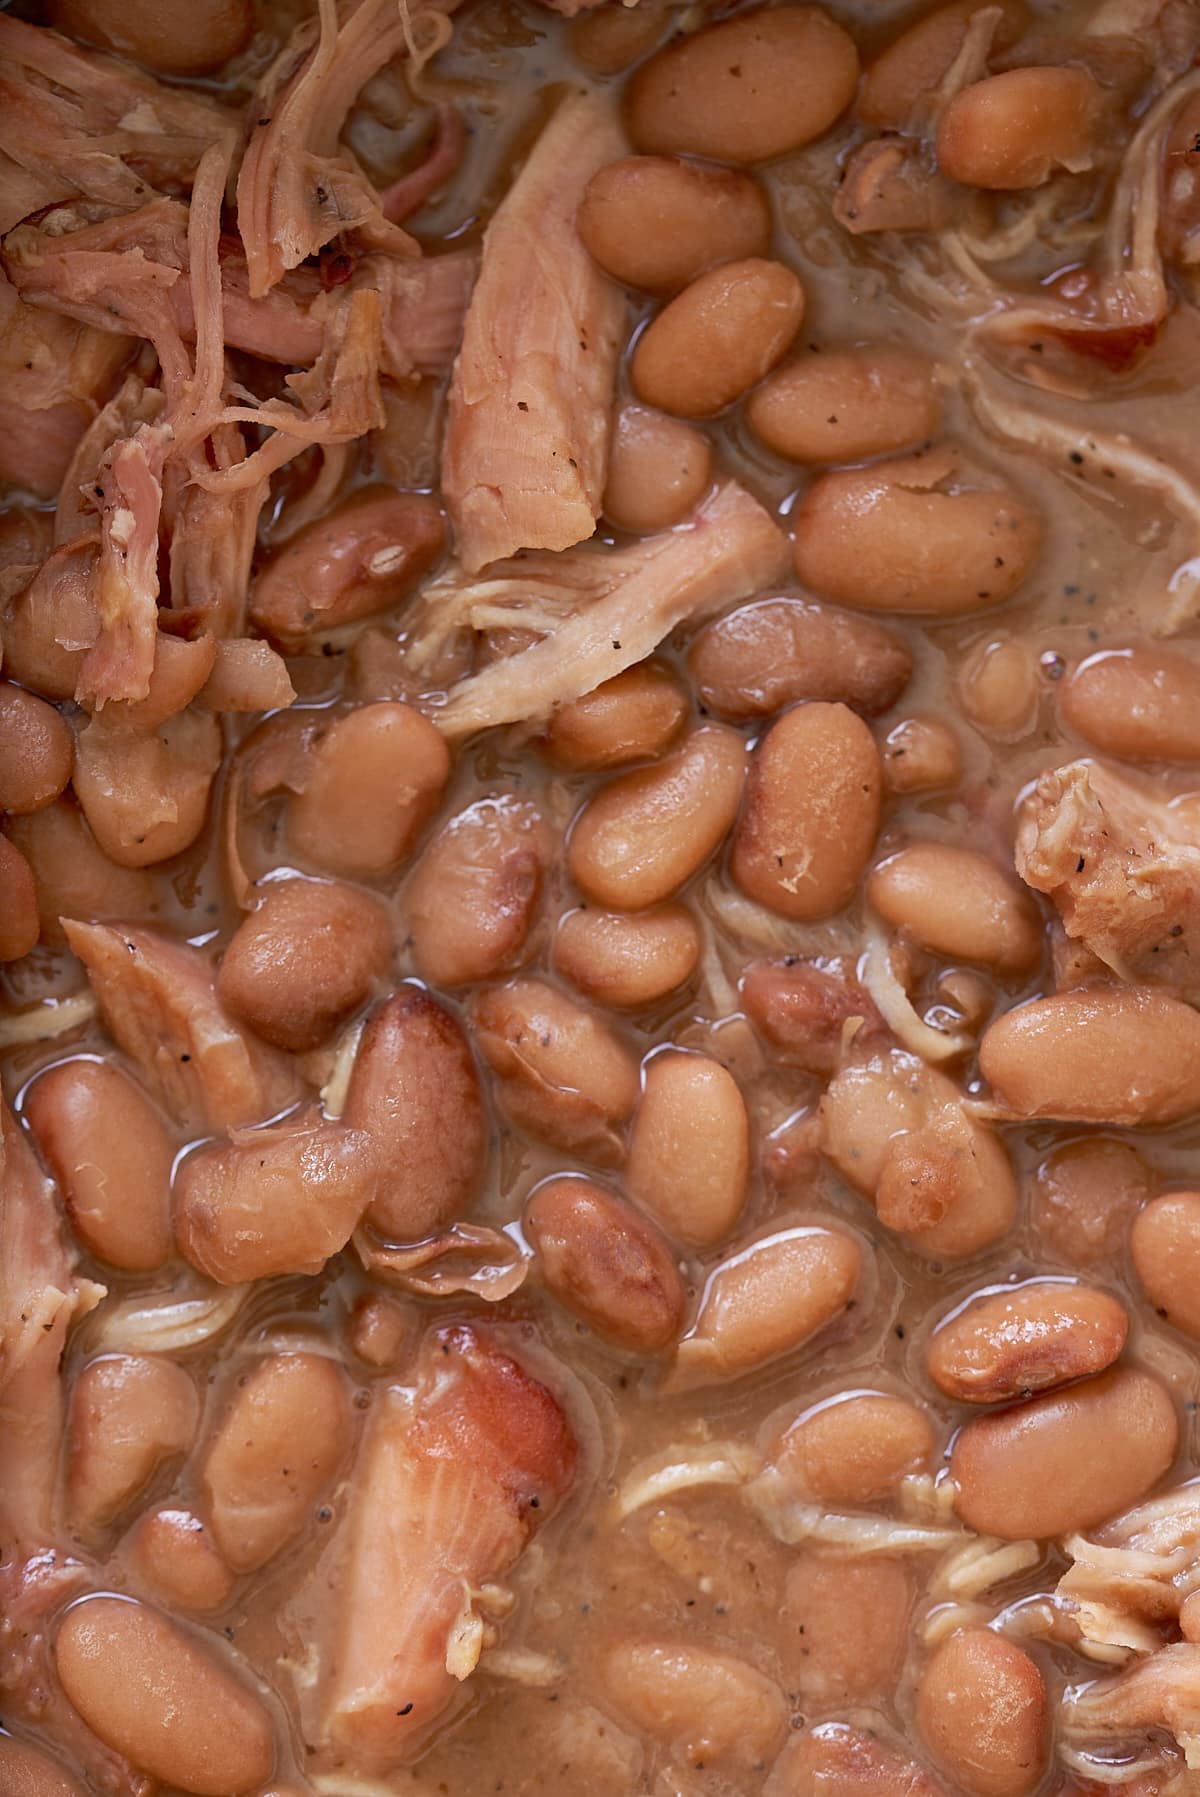
Once the beans are tender, remove the drumstick from the pot, and remove the turkey meat from the bone. Return the meat to the pot and stir. Serve and enjoy.
Expert Tips
These tips will help you make the best pinto beans recipe you've ever tried.
- If adding salt, wait until the beans have finished cooking and you are able to taste the dish. The salt from the turkey leg and chicken broth can make the beans salty.
- If you choose to soak your beans overnight, the cooking time will be shorter.
- The longer you cook the beans, the softer they will be and the thicker the gravy.
Flavor variations
- Add some extra vegetables like finely chopped celery, carrot, bell pepper, onion and garlic.
- Try adding some fresh herbs like thyme, rosemary, or parsley when you are cooking the beans.
- Swap the smoked turkey leg for some smoked ham or bacon instead.
- Add some additional spices like smoked paprika, ground cumin, or chili powder.
- Love chili heat, then add a dash of your favorite hot sauce or some red pepper flakes.
- Add a splash of vinegar once the beans are done cooking.
What to serve with Southern Pinto Beans
This classic southern side dish is a great comfort food dish, serve it with my Classic Southern Cornbread, perfect for mopping up all that gravy.
Great served with these main dishes, like Air Fryer Pork Chops, Garlic Parmesan Spatchcock Chicken, Air Fryer Steak with Garlic Herb Butter, or my Air Fryer Fried Chicken.
You could also serve pinto beans as a delicious main dish along with some tasty salad sides like my Southern Potato Salad, Southern Cucumber Salad, Fresh Corn Salad, or my Quinoa Avocado Salad.
How to store
To refrigerate: Leftovers can be stored in an airtight container in the refrigerator for up to 5 days. When ready to enjoy, reheat the pinto beans on the stove top until piping hot.
To freeze: Once cooked and cooled, place the pinto beans into an airtight container and store them in the freezer for up to 3 months. Defrost in the refrigerator before reheating to piping hot.
FAQs
Yes, pinto beans are packed full of protein and fiber, as well as being low in fat, making them a healthy choice. These nutritious beans are rich in vitamins and minerals, and a great source of potassium, phosphorus, calcium and magnesium.
Yes, absolutely, just ensure the chicken broth you use is a gluten-free broth.
I don't soak the pinto beans as I cook them low and slow with the smoked turkey leg. However, if you soak the dried beans overnight they will soften up and cook a lot quicker the next day.
Add the beans to a large bowl and cover with cold water to 2 inches above the beans, this allows the beans to expand as they soak. Set aside to soak for at least 5 hours or ideally overnight.
If you have tried this Pinto Beans recipe, or any other recipe on my blog, then please rate it and let me know how it turned out in the comments below!

Pinto Beans Recipe (Southern Style)
Ingredients
- 1 lb dried pinto beans rinsed and sorted
- 1 large smoked turkey leg
- 4 cups reduced sodium chicken broth
- 2 cup water
- 2 bay leaves
- 1 tablespoon onion powder
- 2 teaspoon garlic powder
- 1 teaspoon black pepper
Instructions
- Add beans, smoked turkey leg, chicken broth, water, bay leaves, onion powder, garlic powder, and black pepper to a large heavy-bottomed pot. Heat over medium-high heat until the beans start to boil.
- Reduce the heat to medium-low and simmer, covered, until the beans are tender. This will take somewhere from 1.5-3 hours.
- Once the beans are tender, remove the drumstick from the pot, and remove the turkey meat from the bone. Return the meat to the pot and stir. Serve and enjoy.
Video
Notes
- If adding salt, wait until the beans have finished cooking. The salt from the turkey leg and chicken broth can make the beans salty.
- If you choose to soak your beans overnight, the cooking time will be shorter.