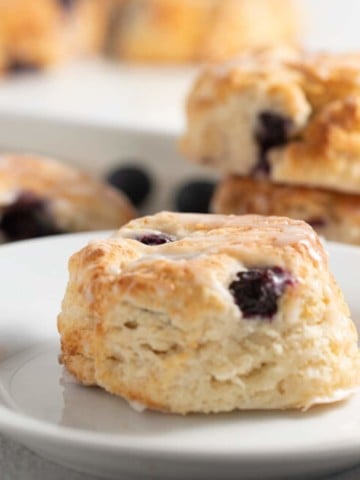
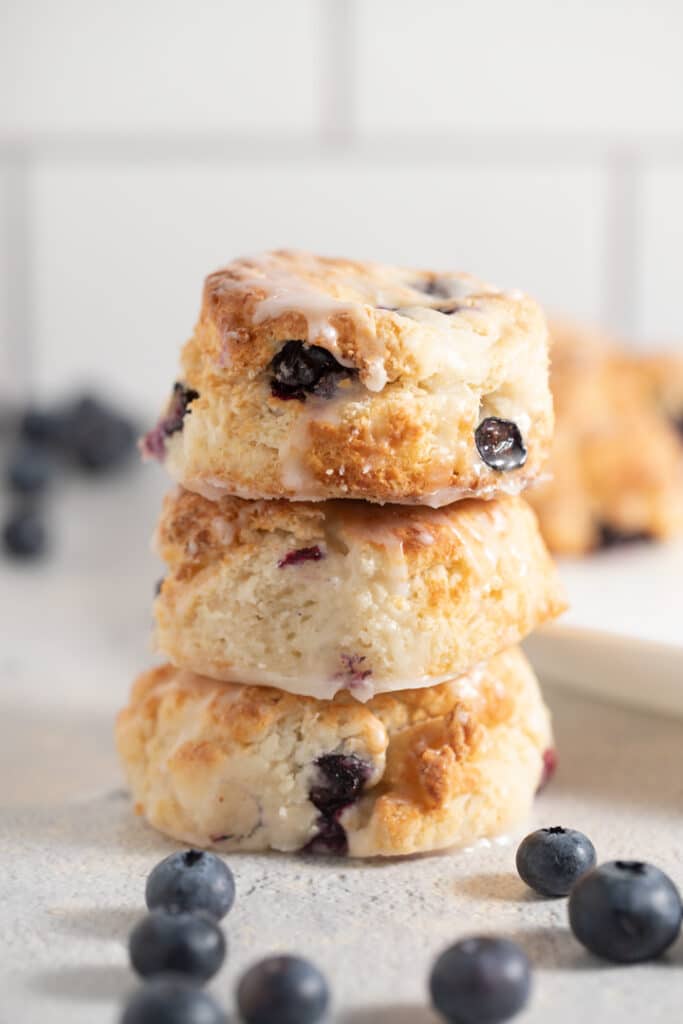
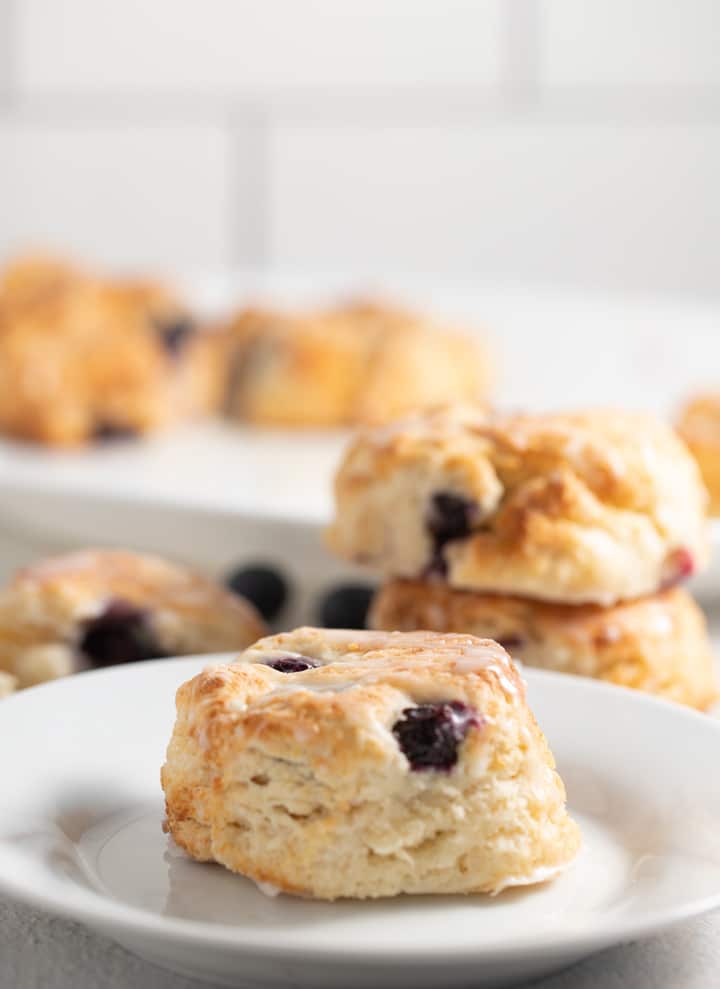
These delicious blueberry biscuits are such a wonderful treat! Loaded with fresh fruit and finished with a sweet glaze. They are easy to make and can be baked in the oven or the air fryer. Perfect for dessert, brunch or a tasty mid-afternoon snack.
This post contains affiliate links, please read my full disclaimer here.
You’ll find the full recipe with ingredient amounts and instructions in the recipe card at the bottom of this post. Be sure to check out the blog post itself for extra tips and tricks!
Did someone say biscuits?!
These sweet biscuits are loaded with blueberries and drizzled with a delicious glaze. Super easy to make and you just need a handful of simple ingredients.
They make a perfect addition to any brunch spread, and I love to enjoy them with an afternoon coffee!
If you prefer your biscuits on the savory side, be sure to check out and my always delicious air fryer biscuits. If you'd like some helpful tips on baking biscuits from scratch, check out my how to make BonJangles biscuits post.
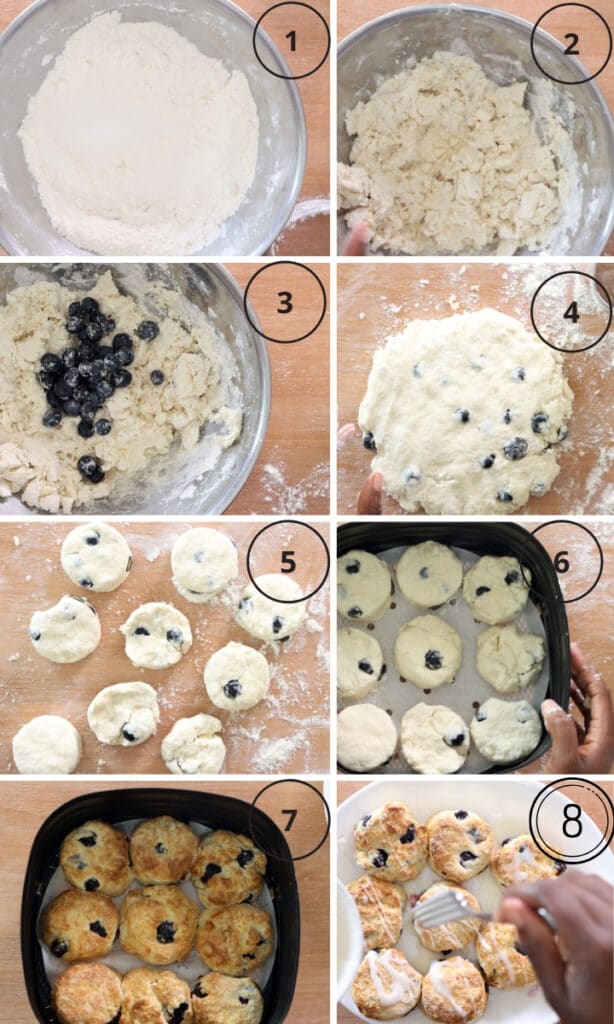
How To Make Blueberry Biscuits
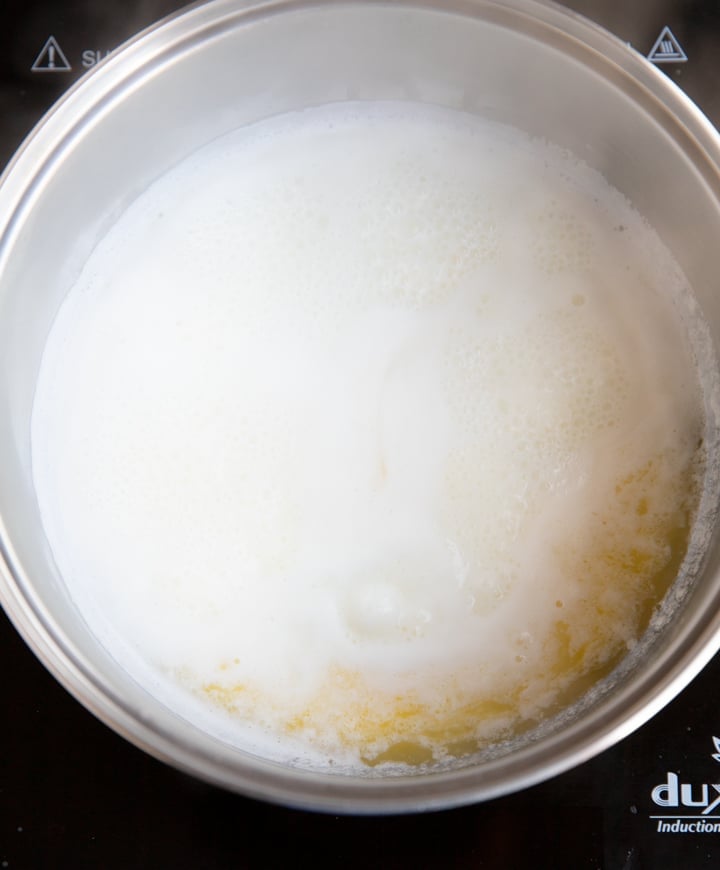
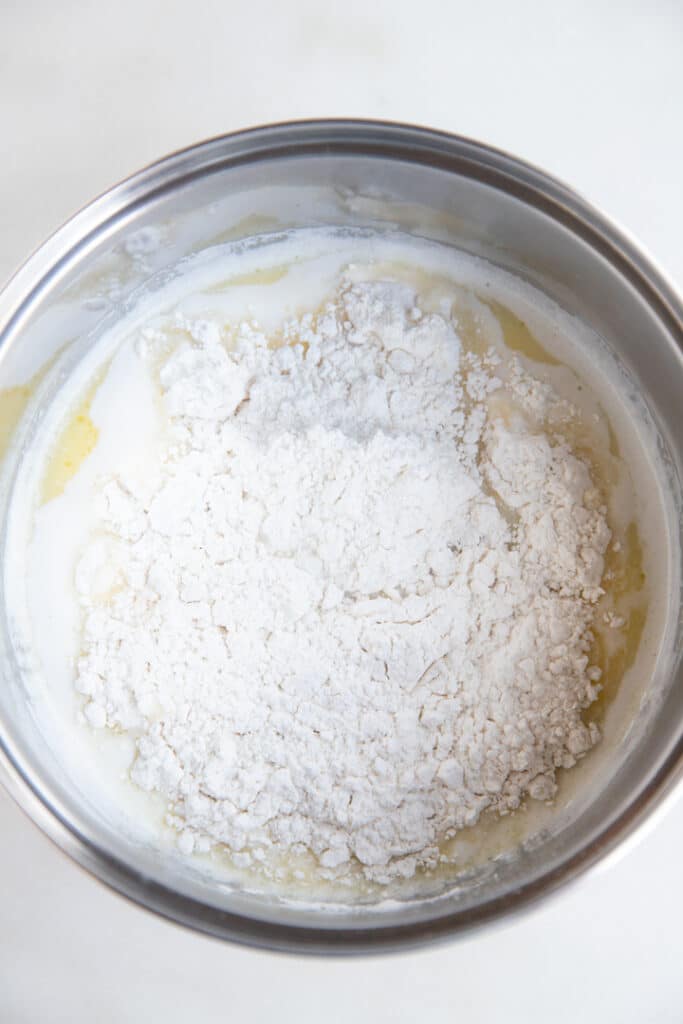
- Add flour and sugar to a large bowl, stir to combine. Add butter and shortening and use a pastry cutter or your fingers to mix in butter and shortening. The mixture should resemble the size of small peas.
- Make a space in the middle of the bowl and pour in buttermilk. Use a wooden spoon to mix the flour and buttermilk mixture until it’s combined.
- In a separate bowl, add blueberries and 1 ½ teaspoon of flour. Toss the blueberries in the flour. Add the floured blueberries to the flour mixture and gently fold them in.
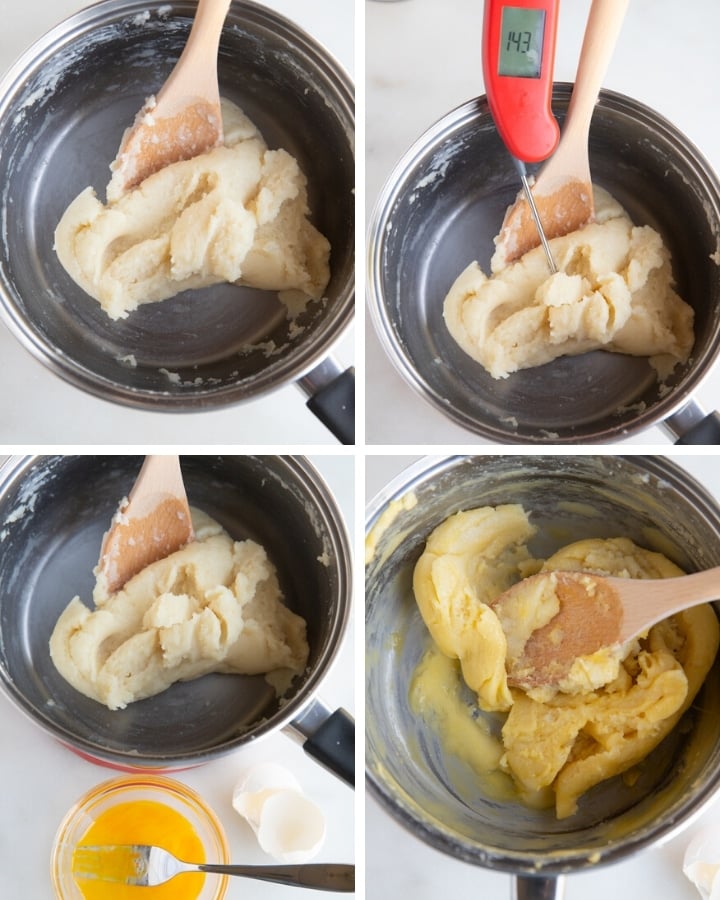
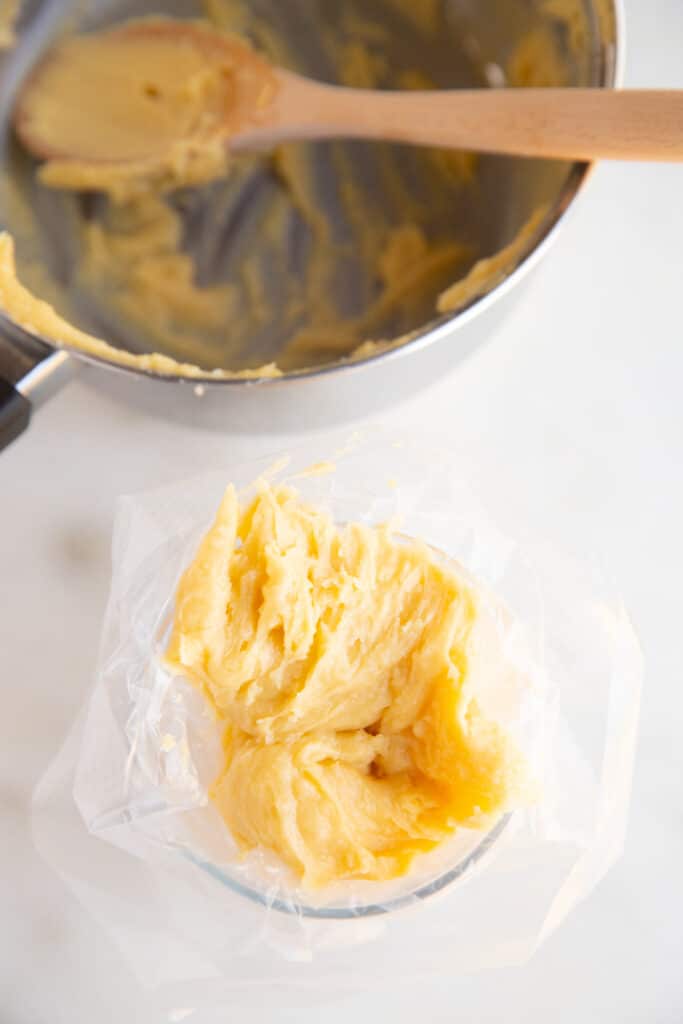
- Flour a clean countertop and pour the dough onto it. Flour your hands and gently knead the dough one or two times until it’s smooth. Pat the dough into a square that’s about ¾ of an inch thick.
- Use a floured 2-inch biscuit cutter to cut out biscuits. You should get about 8-9 biscuits.
- Optional step: Place your biscuits in the refrigerator for 10 minutes to ensure they are cold before baking.
Bake in Air Fryer or Preheated Oven:
- Air Fryer: Place in air fryer basket and bake on 400 degrees Fahrenheit for 10-12 minutes.
- Oven: Preheat oven to 450 degrees Fahrenheit. Once biscuits are formed, place on a baking sheet lined with parchment paper. Bake for 14-15 minutes, until tops are golden
- While biscuits, prepare the glaze by whisking powdered sugar, milk, and vanilla extract in a bowl. Set aside.
- Once biscuits are done baking, allow biscuits to cool on a cooling rack for about 5 minutes. Use a fork and sprinkle glaze on top. Serve and enjoy.
Can you use frozen blueberries in these biscuits?
I used fresh blueberries in this recipe, but you can also use frozen. Frozen blueberries are often cheaper as well as being available all year round. Just be sure not to defrost them before adding into the dough, or you will end up with blue biscuits!
How long do they keep?
Let your biscuits cool to room temperature before storing them in an airtight container. They will keep at room temperature for 2 days and in the fridge for up to a week. After that time they will still be good to eat, but may dry out a little.
Can you freeze blueberry biscuits?
Yes! These biscuits are super freezer friendly, so be sure to make a double batch! You can:
- Freeze the biscuits on a baking sheet, once solid place them into a freezer bag or airtight container.
- Wrap the biscuits individually in foil and then place in a freezer bag.
Frozen biscuits will keep well for 2 to 3 months and can be thawed in the fridge or at room temperature. Or cook them from frozen by adding a couple of minutes to the bake time.
Recipe Notes and Tips
- Toss the blueberries in flour before mixing them in the dough. This will help them not to sink to the bottom during baking.
- If you have time, place the biscuits in the fridge for 10 minutes before baking. This helps to solidify the butter so your biscuits don't spread.
- Let the blueberry biscuits cool before adding the glaze, or it will just run off.
More Easy Fruit Bakes
Watch the full video tutorial for Blueberry Biscuits

Blueberry Biscuits
Ingredients
Biscuits
- 2 cups self-rising flour plus ¼ cup for flour the board, biscuit cutter, and blueberries
- ¼ cup white granulated sugar
- 3 Tablespoon unsalted butter cold and cut into small pieces
- 2 Tablespoon shortening cold and cut into small pieces
- ¾ cup buttermilk cold
- ½ cup blueberries
Glaze
- 1 cup powdered sugar
- 3 Tablespoon milk
- ¼ teaspoon vanilla extract
Instructions
- Add flour and sugar to a large bowl, stir to combine. Add butter and shortening and use a pastry cutter or your fingers to mix in butter and shortening. The mixture should resemble the size of small peas.
- Make a space in the middle of the bowl and pour in buttermilk. Use a wooden spoon to mix the flour and buttermilk mixture until it’s combined.
- In a separate bowl, add blueberries and 1 ½ teaspoon of flour. Toss the blueberries in the flour. Add the floured blueberries to the flour mixture and gently fold them in.
- Flour a clean countertop and pour the dough onto it. Flour your hands and gently knead the dough one or two times until it’s smooth. Pat the dough into a square that’s about ¾ of an inch thick.
- Use a floured 2-inch biscuit cutter to cut out biscuits. You should get about 8-9 biscuits.
- Optional step: Place your biscuits in the refrigerator for 10 minutes to ensure they are cold before baking.
Bake in Air Fryer or Preheated Oven:
- Air Fryer: Place in air fryer basket and bake on 400 degrees Fahrenheit for 10-12 minutes.
- Oven: Preheat oven to 450 degrees Fahrenheit. Once biscuits are formed, place on a baking sheet lined with parchment paper. Bake for 14-15 minutes, until tops are golden
- While biscuits, prepare the glaze by whisking powdered sugar, milk, and vanilla extract in a bowl. Set aside.
- Once biscuits are done baking, allow biscuits to cool on a cooling rack for about 5 minutes. Use a fork and sprinkle glaze on top. Serve and enjoy.
Video
Notes
- Toss the blueberries in flour before mixing them in the dough. This will help them not to sink to the bottom during baking.
- If you have time, place the biscuits in the fridge for 10 minutes before baking. This helps to solidify the butter so your biscuits don't spread.
- Let the biscuits cool before adding the glaze, or it will just run off.