This tender and juicy mustard-glazed pork tenderloin is the perfect weeknight meal. Make it an easy and complete sheet pan meal by roasting potatoes and carrots simultaneously.
This post contains affiliate links, please read my full disclaimer here.
You’ll find the full recipe with ingredient amounts and instructions in the recipe card at the bottom of this post. Be sure to check out the blog post itself for extra tips and tricks!
As a Reynolds Wrap® Ambassador, I’m excited to show you how to use Reynolds Wrap® Heavy Duty Foil.
My family loves quick and easy dinners, especially ones that can easily be made on a sheet pan, and this pork tenderloin dish keeps showing up on rotation at our house.
This pork tenderloin is quickly marinated in a sweet and tangy mustard sauce and then roasted alongside seasoned potatoes and carrots. You can make it in less than an hour, and the recipe is mostly hands-off.
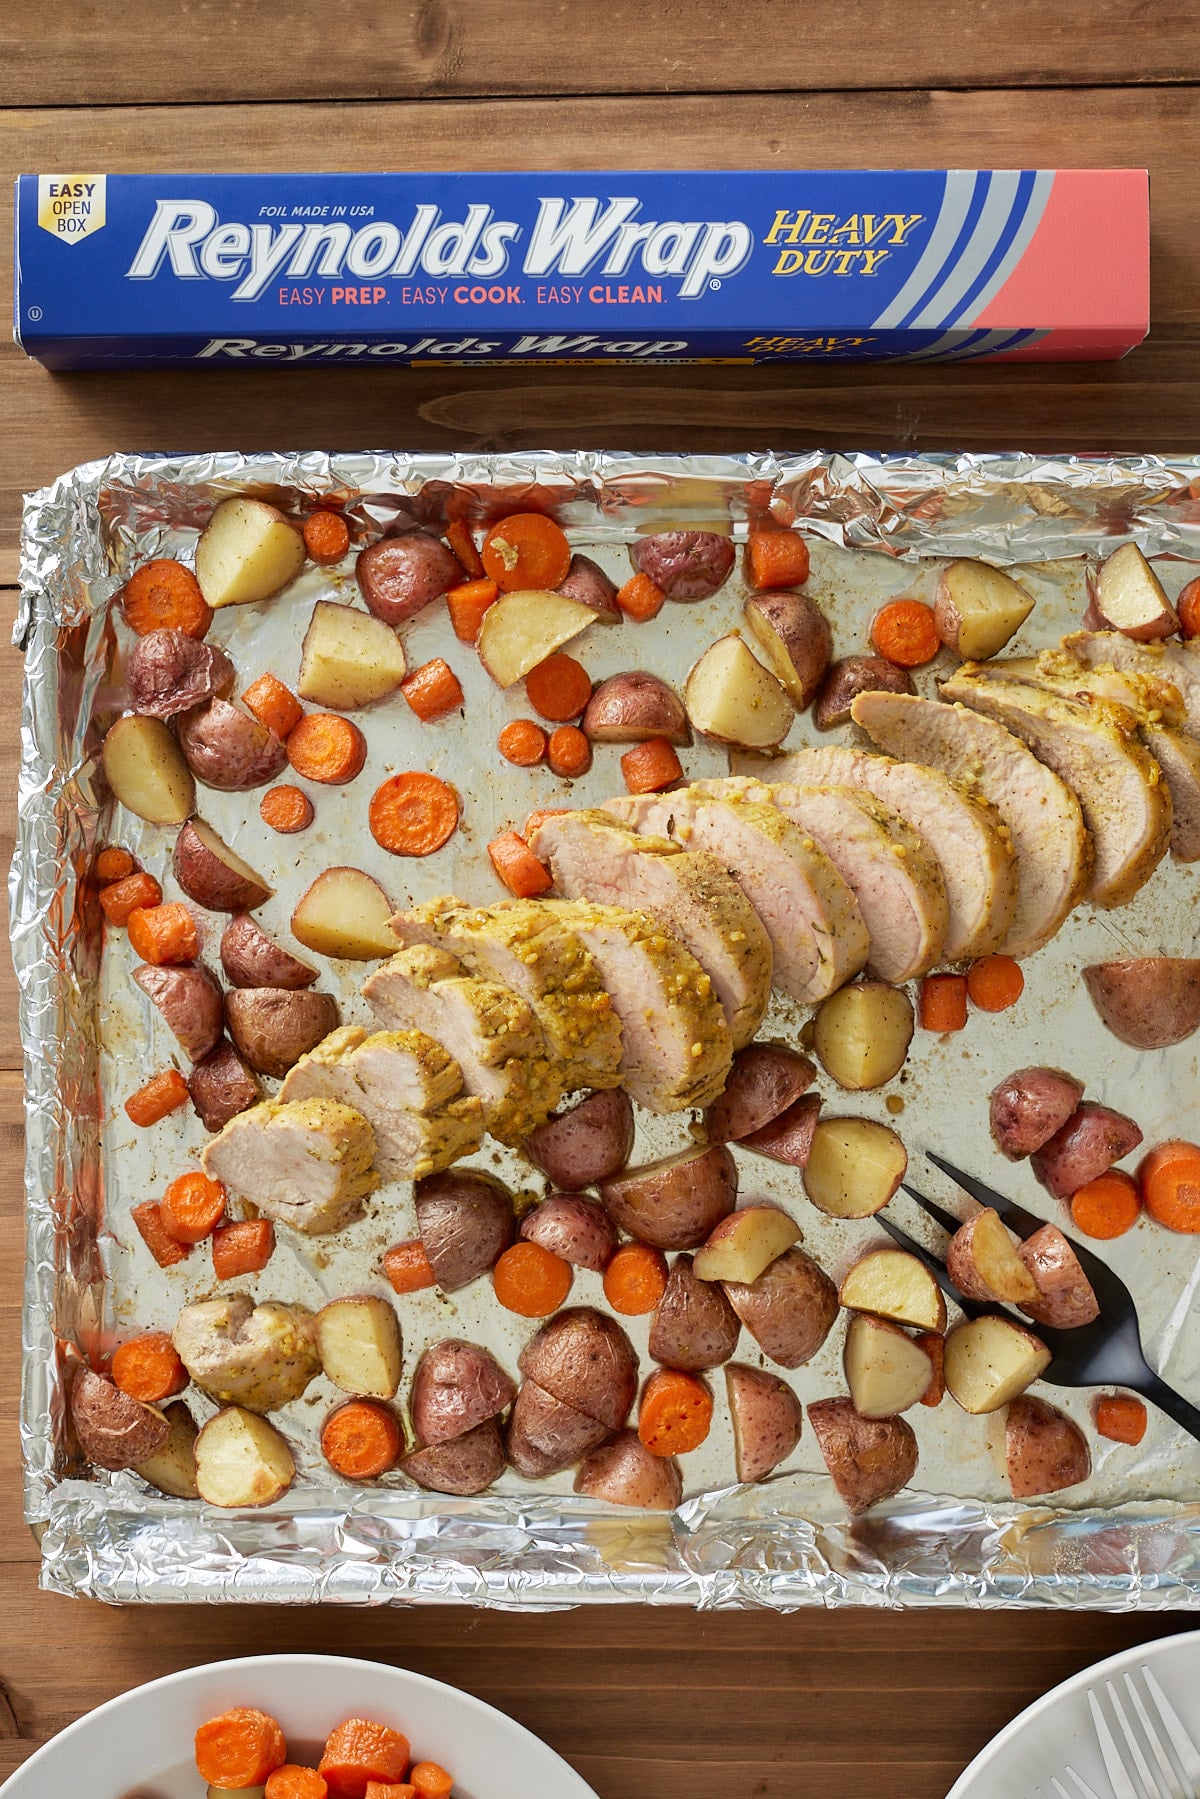
To make this recipe, I line my sheet pan with Reynolds Wrap® Heavy Duty Foil. Reynolds Wrap® Heavy Duty Foil is a tough and durable foil that is perfect for cooking
heavier foods since you don't have to worry about ripping or tearing. It's the ideal way for me to protect my sheet pans from the juices and liquids of the pork tenderloin and vegetables. Plus, it makes my life easier by keeping cleanup a breeze. I simply throw the foil away once dinner is made.
Check out my other easy sheet pan recipes, like Baked Jamaican Jerk Shrimp and Baked Cauliflower Wings.
Ingredients for Mustard Glazed Pork Tenderloin with Carrots and Potatoes
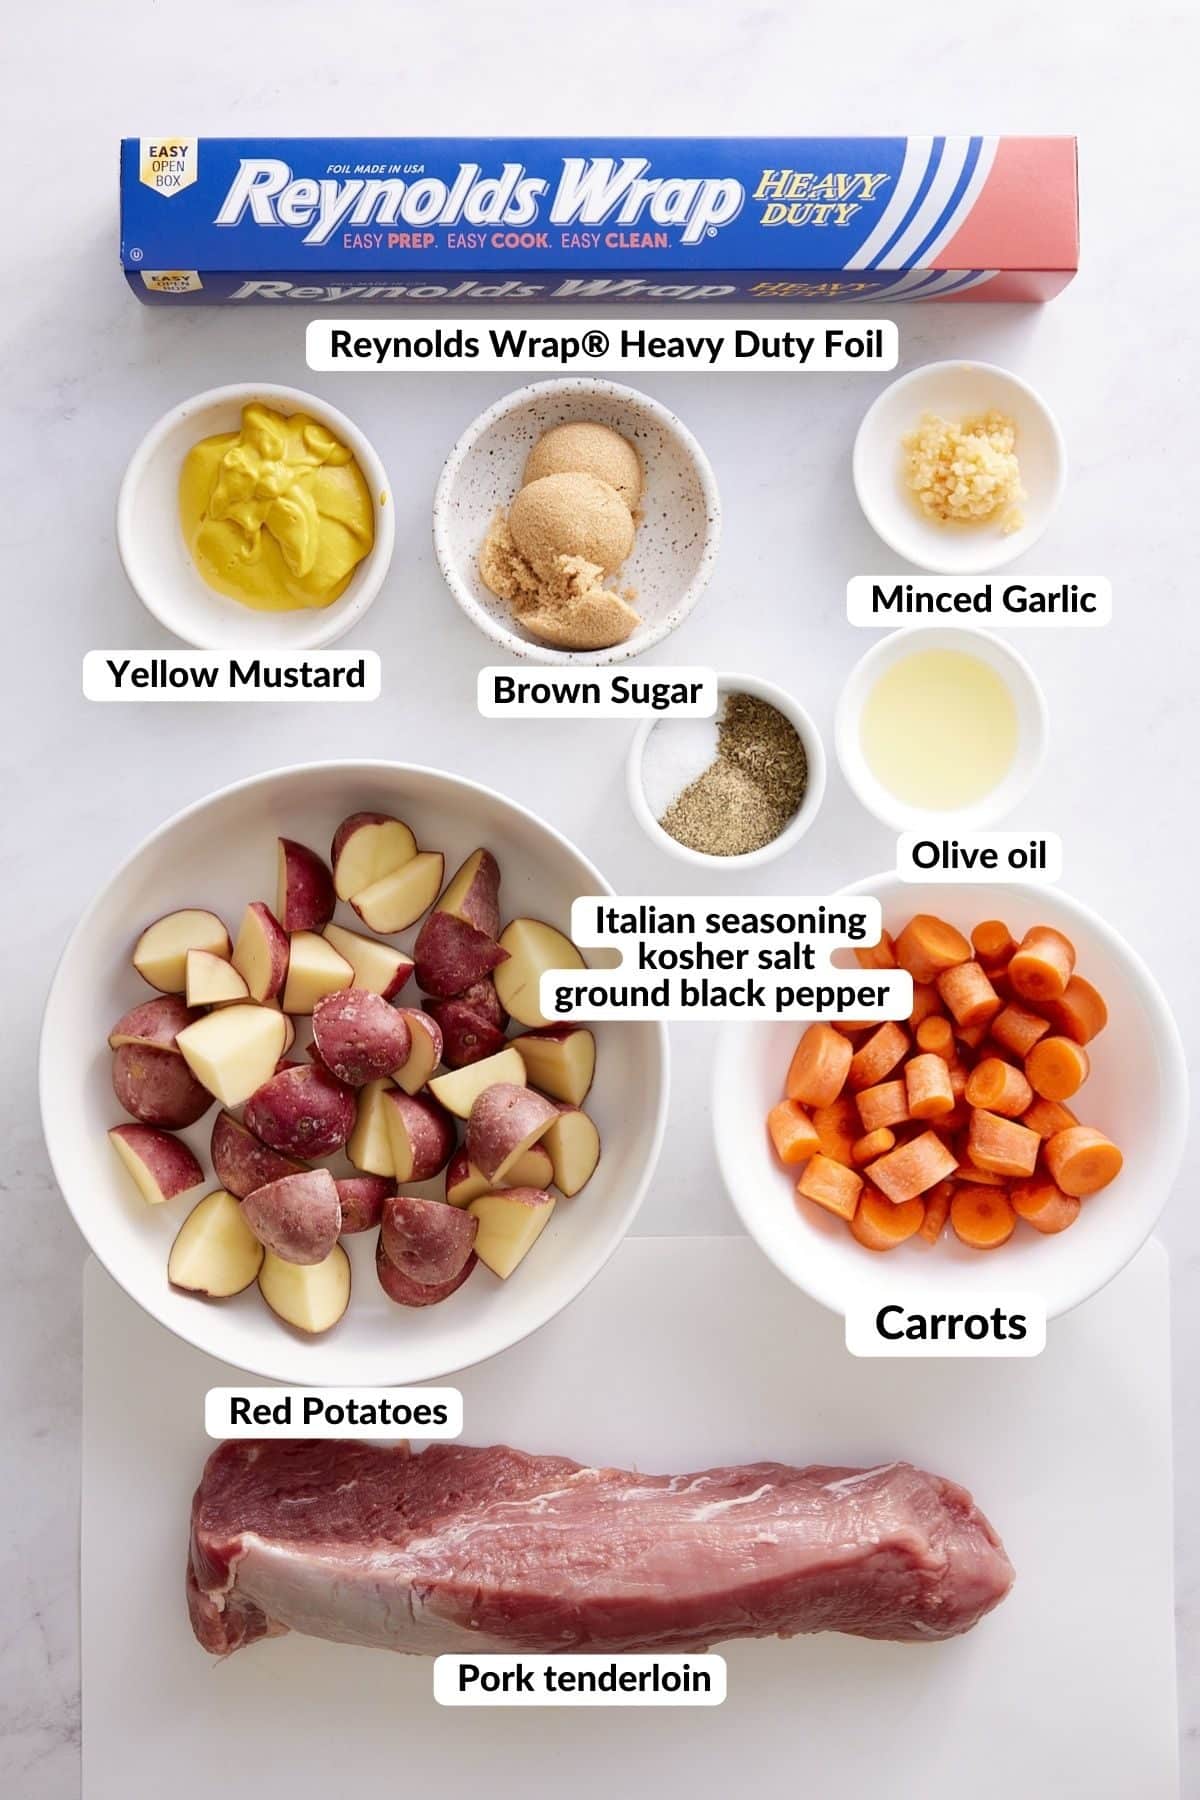
- Reynolds Wrap® Heavy Duty Foil - a strong and durable foil to line the sheet pan before baking. This will protect your sheet pan from the sticky glaze and help with clean-up.
- Glaze - yellow mustard, brown sugar, minced garlic, Italian seasoning, kosher salt, and ground black pepper are the perfect tangy and sweet combo. Use this glaze to marinate the pork tenderloin for tons of flavor.
- Pork tenderloin - a lean and juicy cut of pork that cooks quickly. This cut is perfect for busy weeknights.
- Vegetables - I use red baby potatoes and carrots, but feel free to mix in your favorite veggies. Chop 1-inch pieces to ensure the vegetables and pork tenderloin finish cooking at the same time.
How to make Mustard Glazed Pork Tenderloin with Potatoes and Carrots
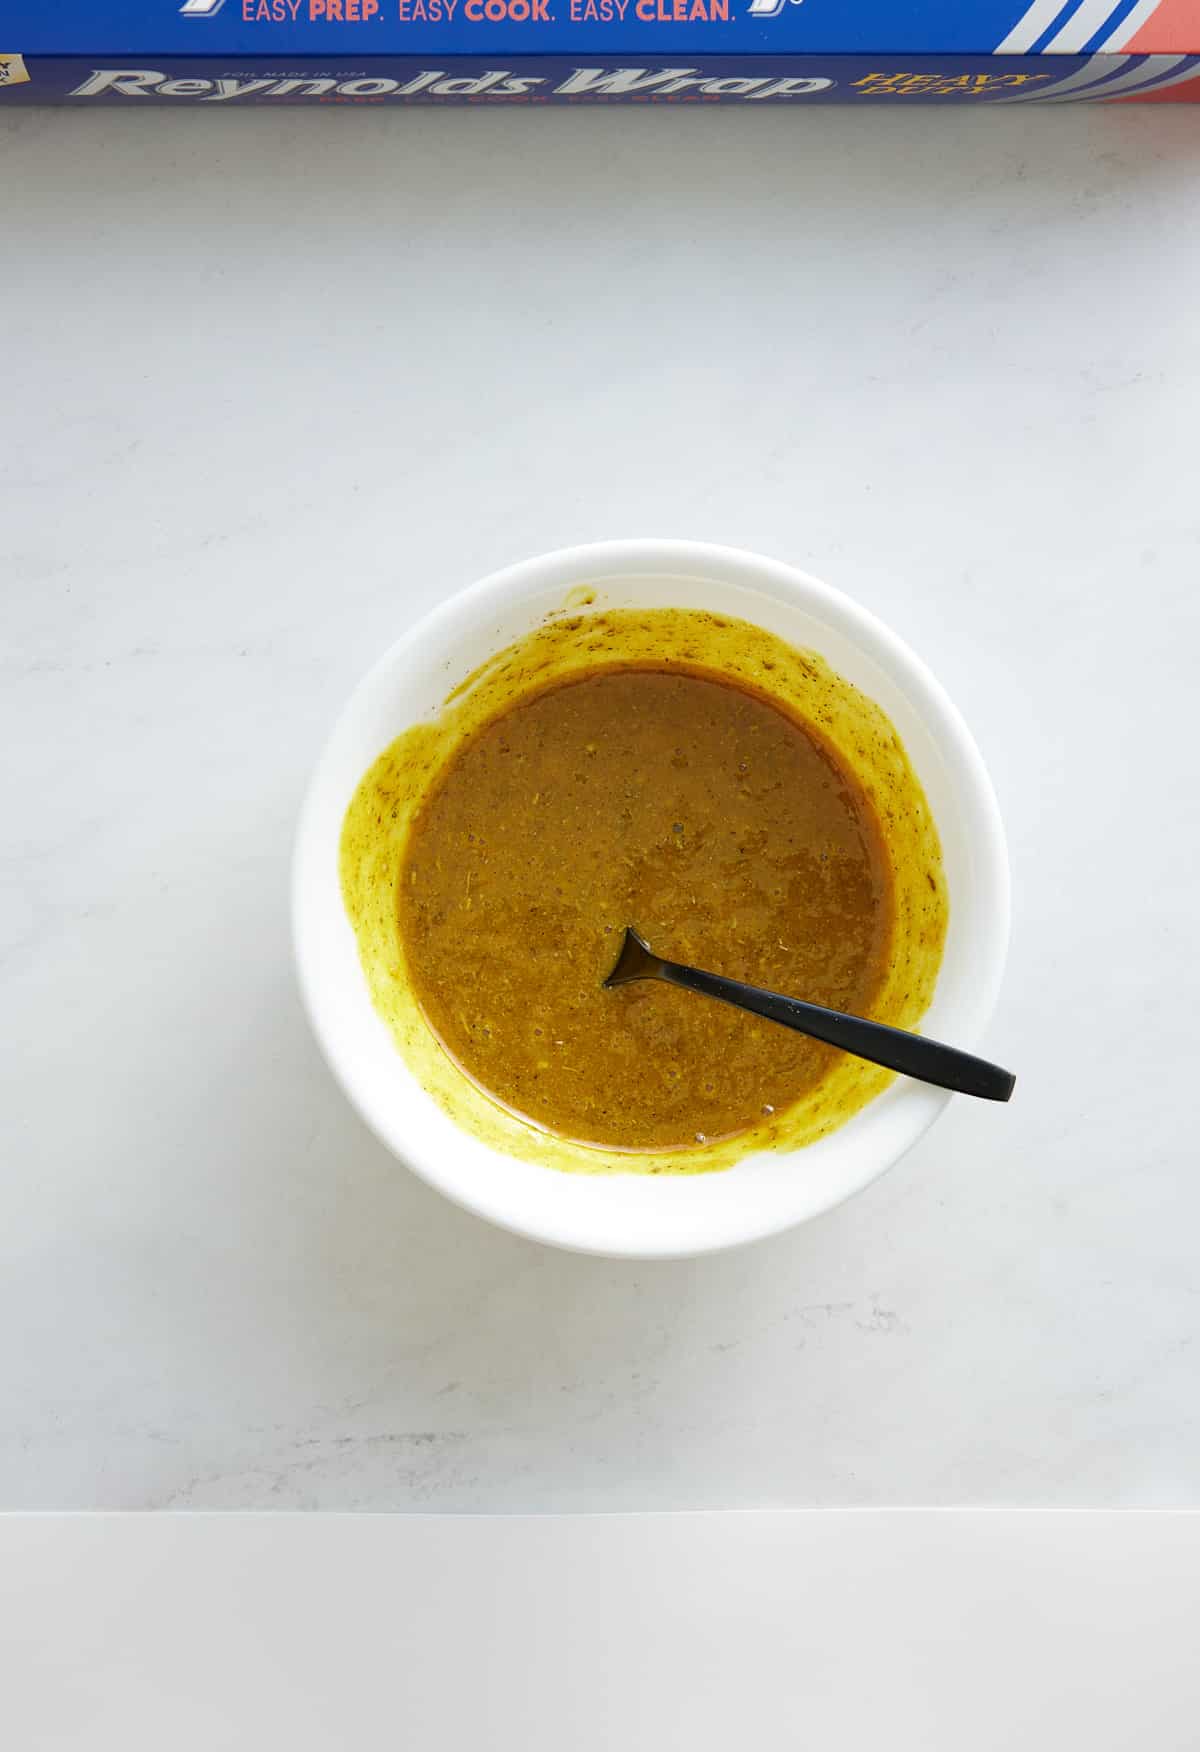
First, make your marinade by adding yellow mustard, brown sugar, garlic, Italian seasoning, ¾ teaspoon kosher salt, and ½ teaspoon black pepper in a small bowl. Stir to combine.
Place pork tenderloin in a bowl and pour the mustard mixture over pork tenderloin, covering all sides. Cover with Reynolds Wrap® Heavy Duty Foil and set aside.
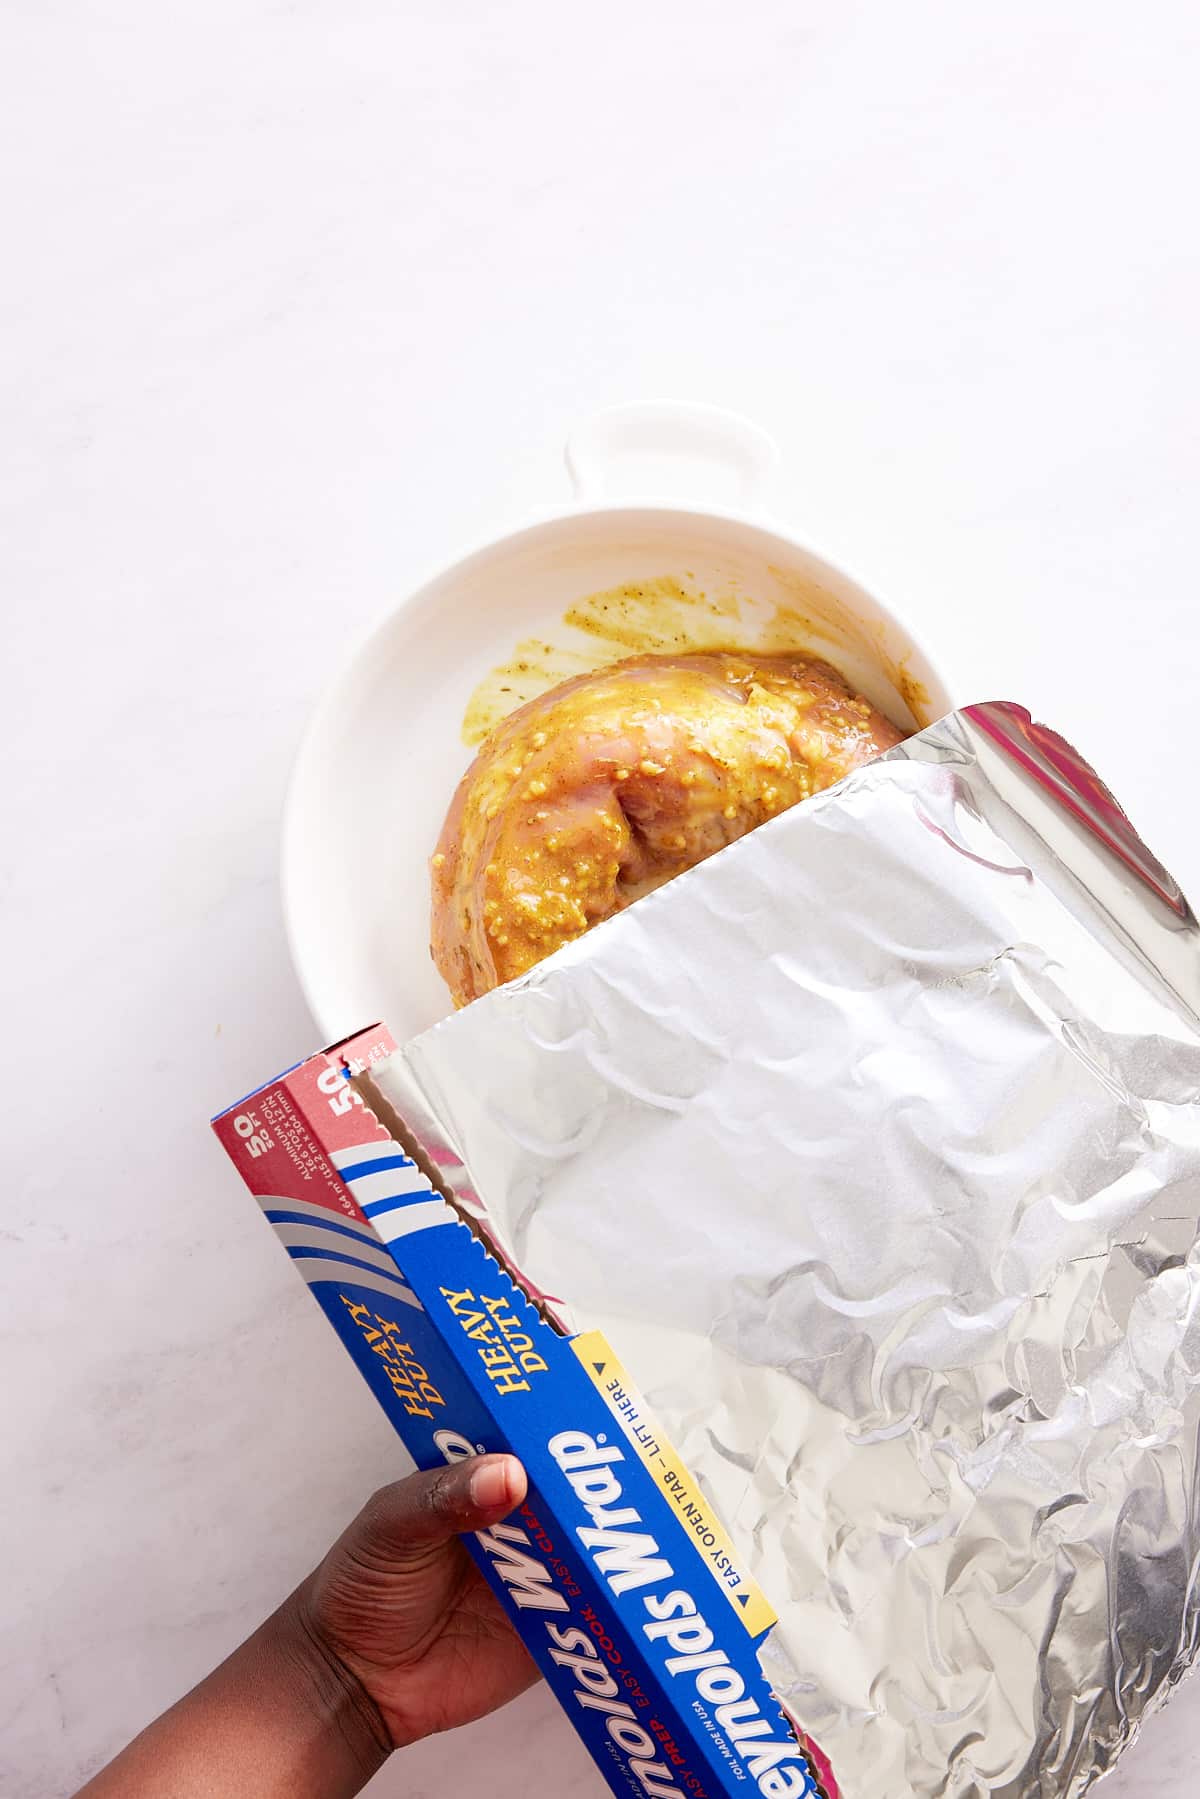
Allow the pork to marinate for 30 minutes to 1 hour. Alternatively, allow your pork to marinate for longer, but no longer than 24 hours.
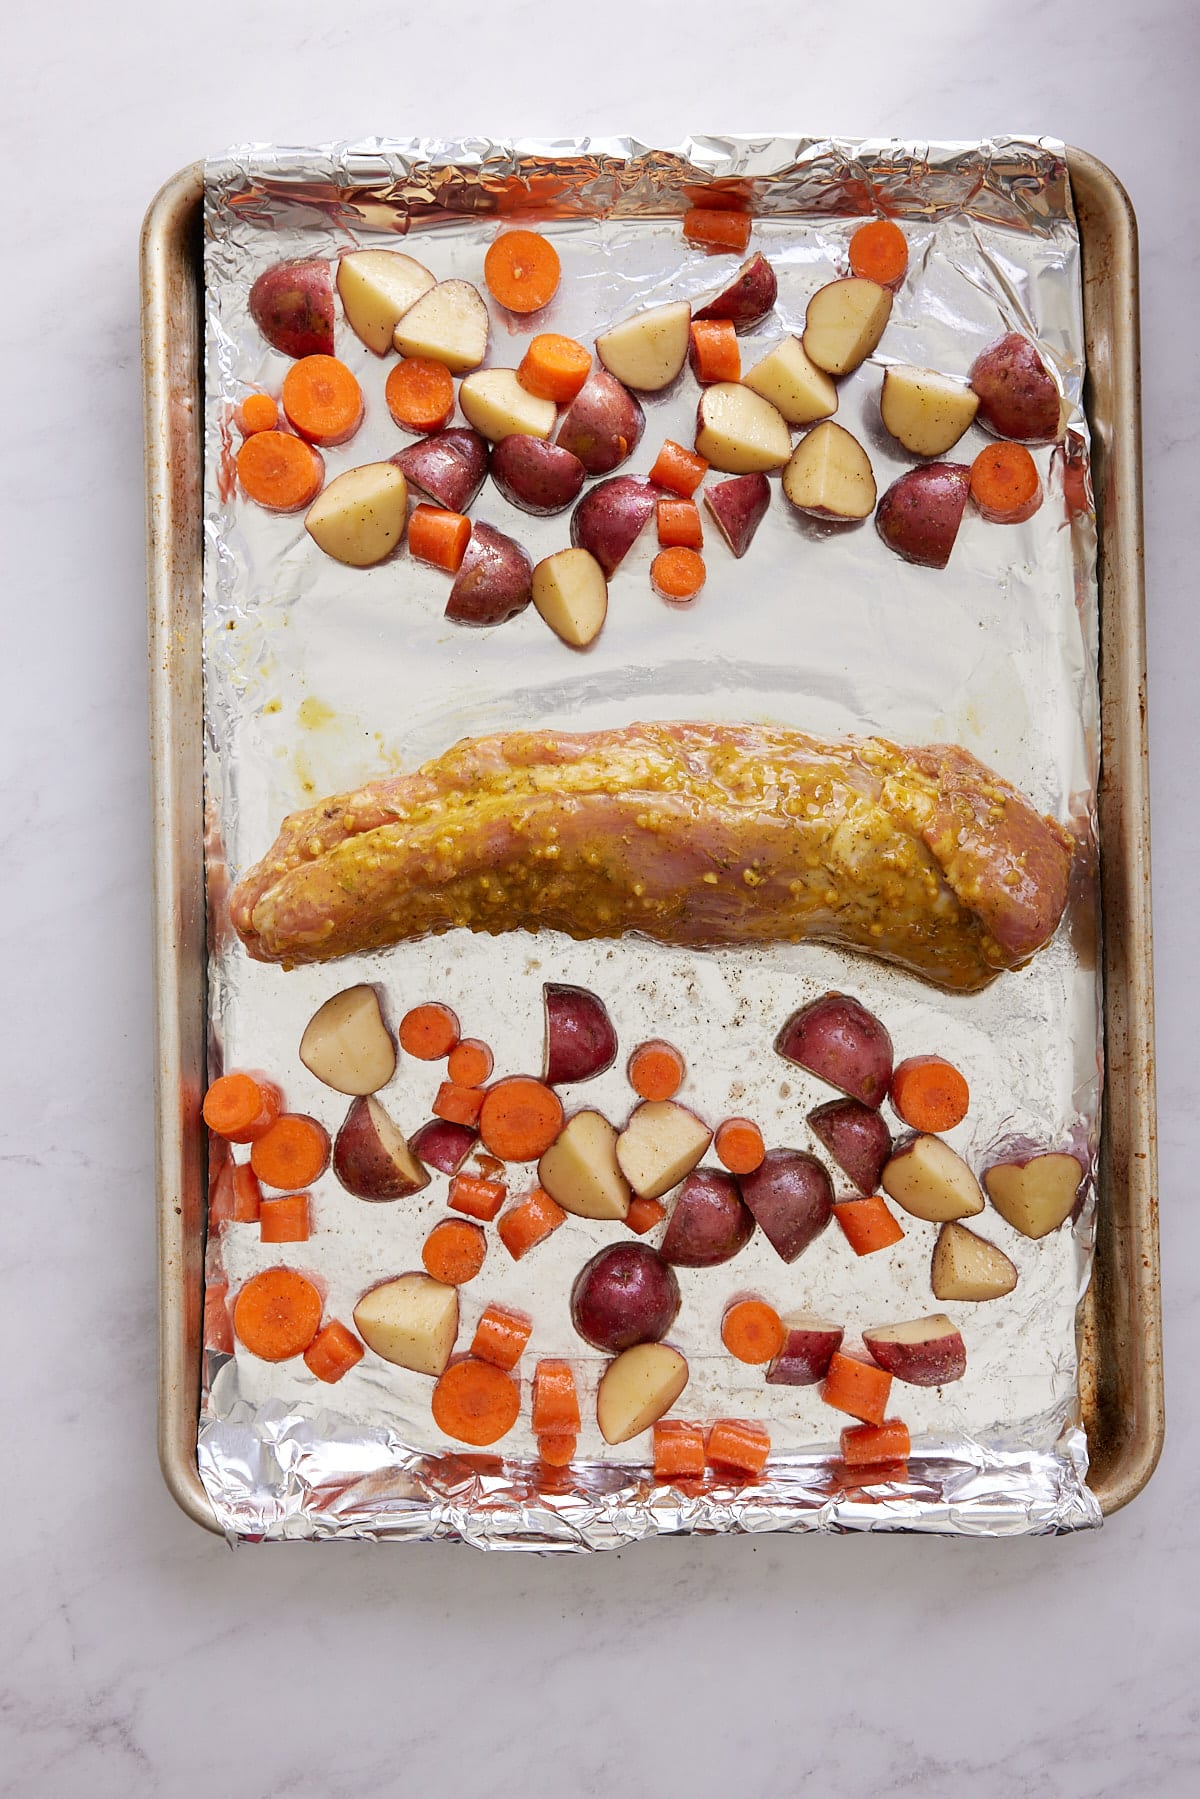
Preheat the oven to 425°F. Line a sheet pan with Reynolds Wrap® Heavy Duty Foil.
Add chopped potatoes and carrots to the lined sheet pan in a single layer. Drizzle the potatoes and carrots with olive oil and season with ¾ teaspoon kosher salt and ½ teaspoon ground black pepper.
Remove pork tenderloin from the marinade and add it to the sheet pan, next to the vegetables. Discard the marinade.
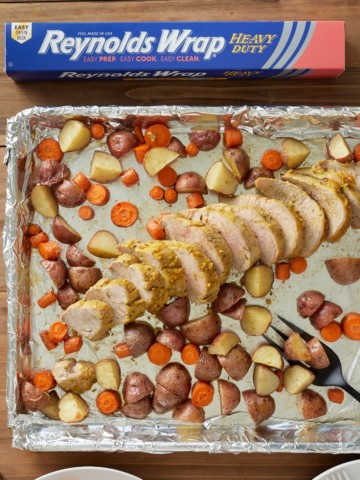
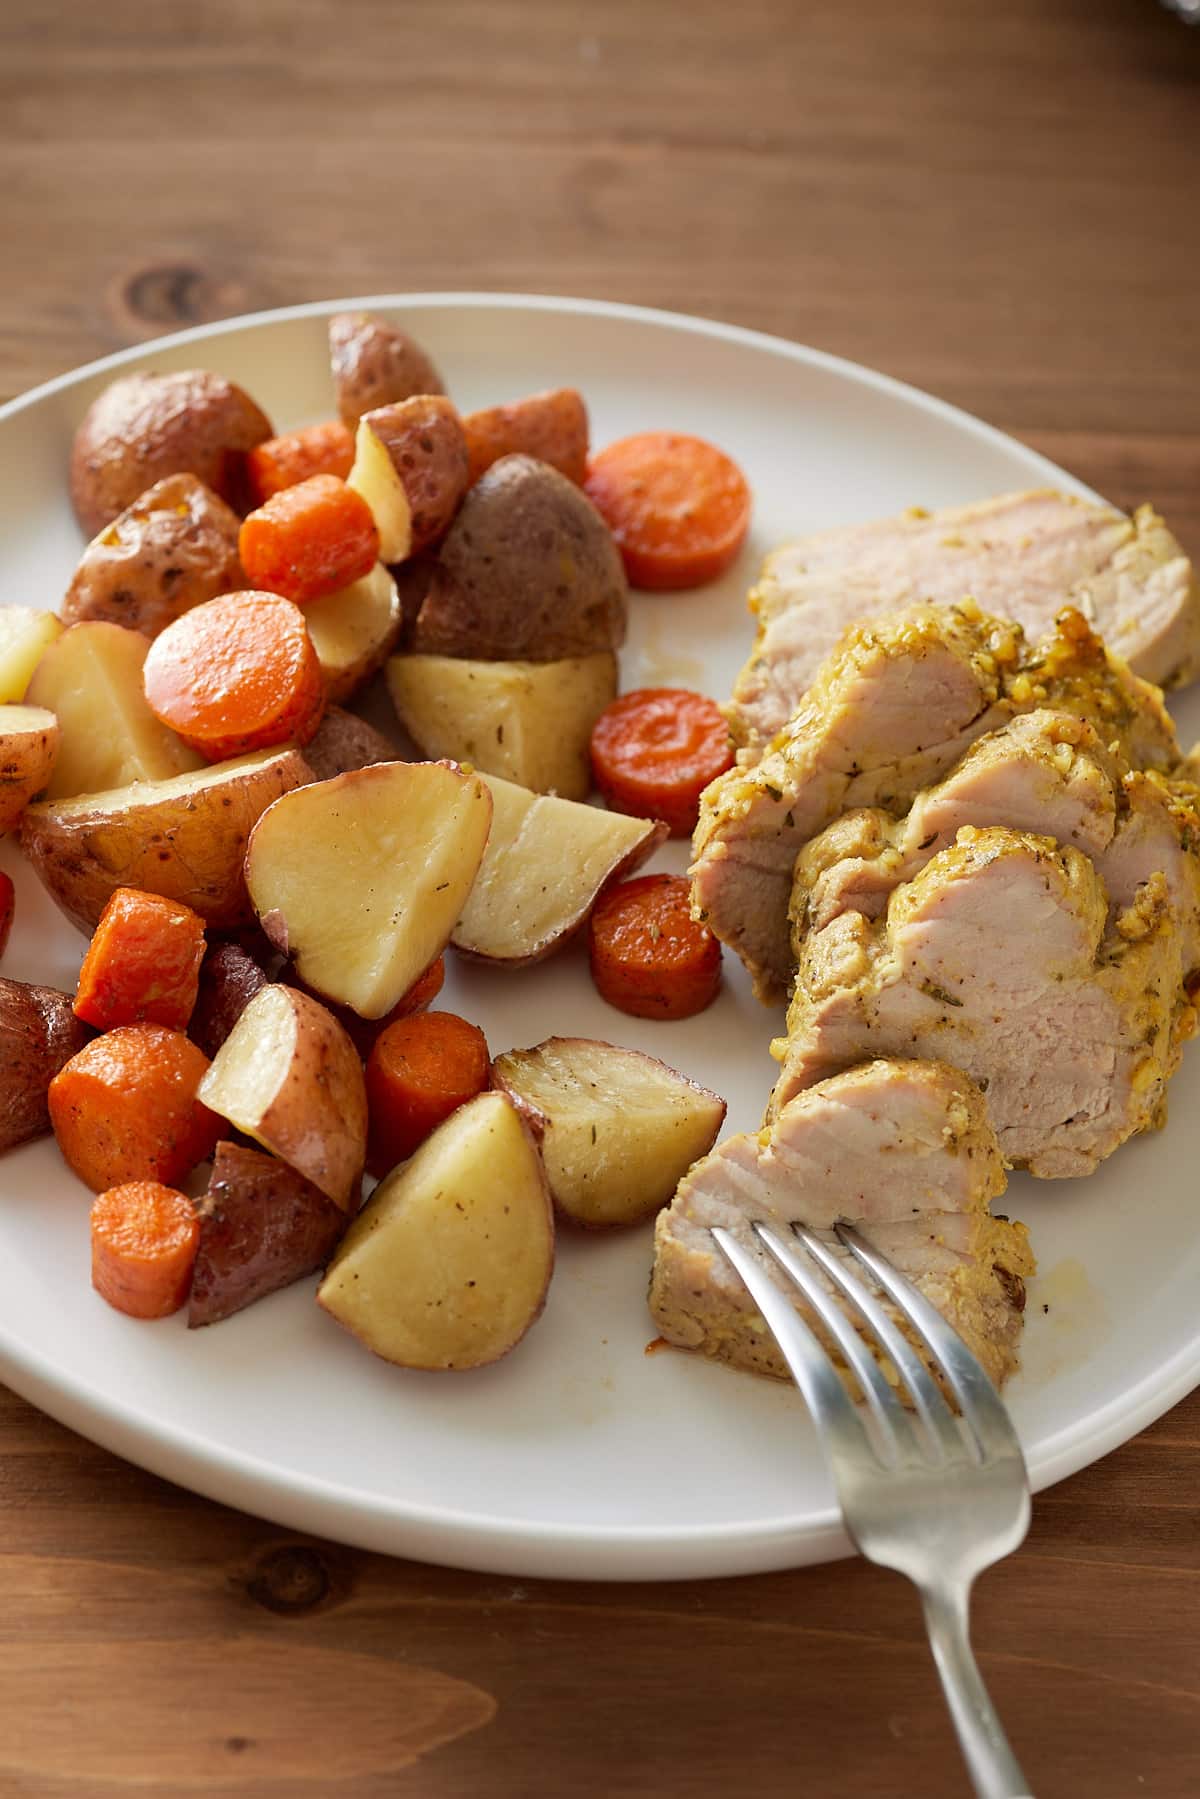
Bake in the preheated oven for 27-30 minutes until the tenderloin has reached an internal temperature of 145°F and the potatoes and carrots are tender.
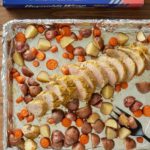
Allow the pork to rest for 5-10 minutes before slicing and serving with vegetables.
How do you cook a pork tenderloin without it drying out?
Pork tenderloin is lean and delicate meat, so it's important not to overcook it. The best way to cook pork tenderloin is to roast it in a hot oven until the internal temperature reaches 145°F. This will ensure that the pork is cooked but still juicy and delicious.
What's the difference between pork loin and pork tenderloin?
Pork loin and pork tenderloin are two different cuts of meat from the pig. Pork loin is a larger, thicker cut of meat from the back of the pig, while pork tenderloin is a smaller, thinner cut of meat that comes from the underneath the backbone of the pig. Both cuts of meat can be roasted, but pork tenderloin is more delicate and can dry out quickly if overcooked.
How to pick the best pork tenderloin?
When shopping for pork tenderloin, look for a cut that is about 1-1.5 pounds in size and has a consistent thickness throughout. The color of the pork should be a pinkish hue with some marbling in the tenderloin.
Why Heavy Duty?
Reynolds Wrap® Heavy Duty Foil is a high-quality foil and food safe, making it my go-to choice in the kitchen.
Reynolds Wrap® Heavy Duty Foil is a tough and durable foil that is perfect for cooking heavier foods since you don't have to worry about ripping or tearing. In this recipe, the foil protects the sticky marinade from touching the foil pan, making cleanup much easier.
Expert Recipe Tips
- Use Reynolds Wrap® Heavy Duty Foil to line your sheet pans. The mustard glaze for this recipe is sticky and can be a pain to wash off a sheet pan once baked on. Baking on foil allows your sheet pans to stay clean and is less work when washing the dishes.
- This recipe can easily be doubled. Keep the baking time the same.
- Cut the vegetables into 1-inch pieces to ensure that the pork tenderloin and vegetables finish cooking simultaneously.
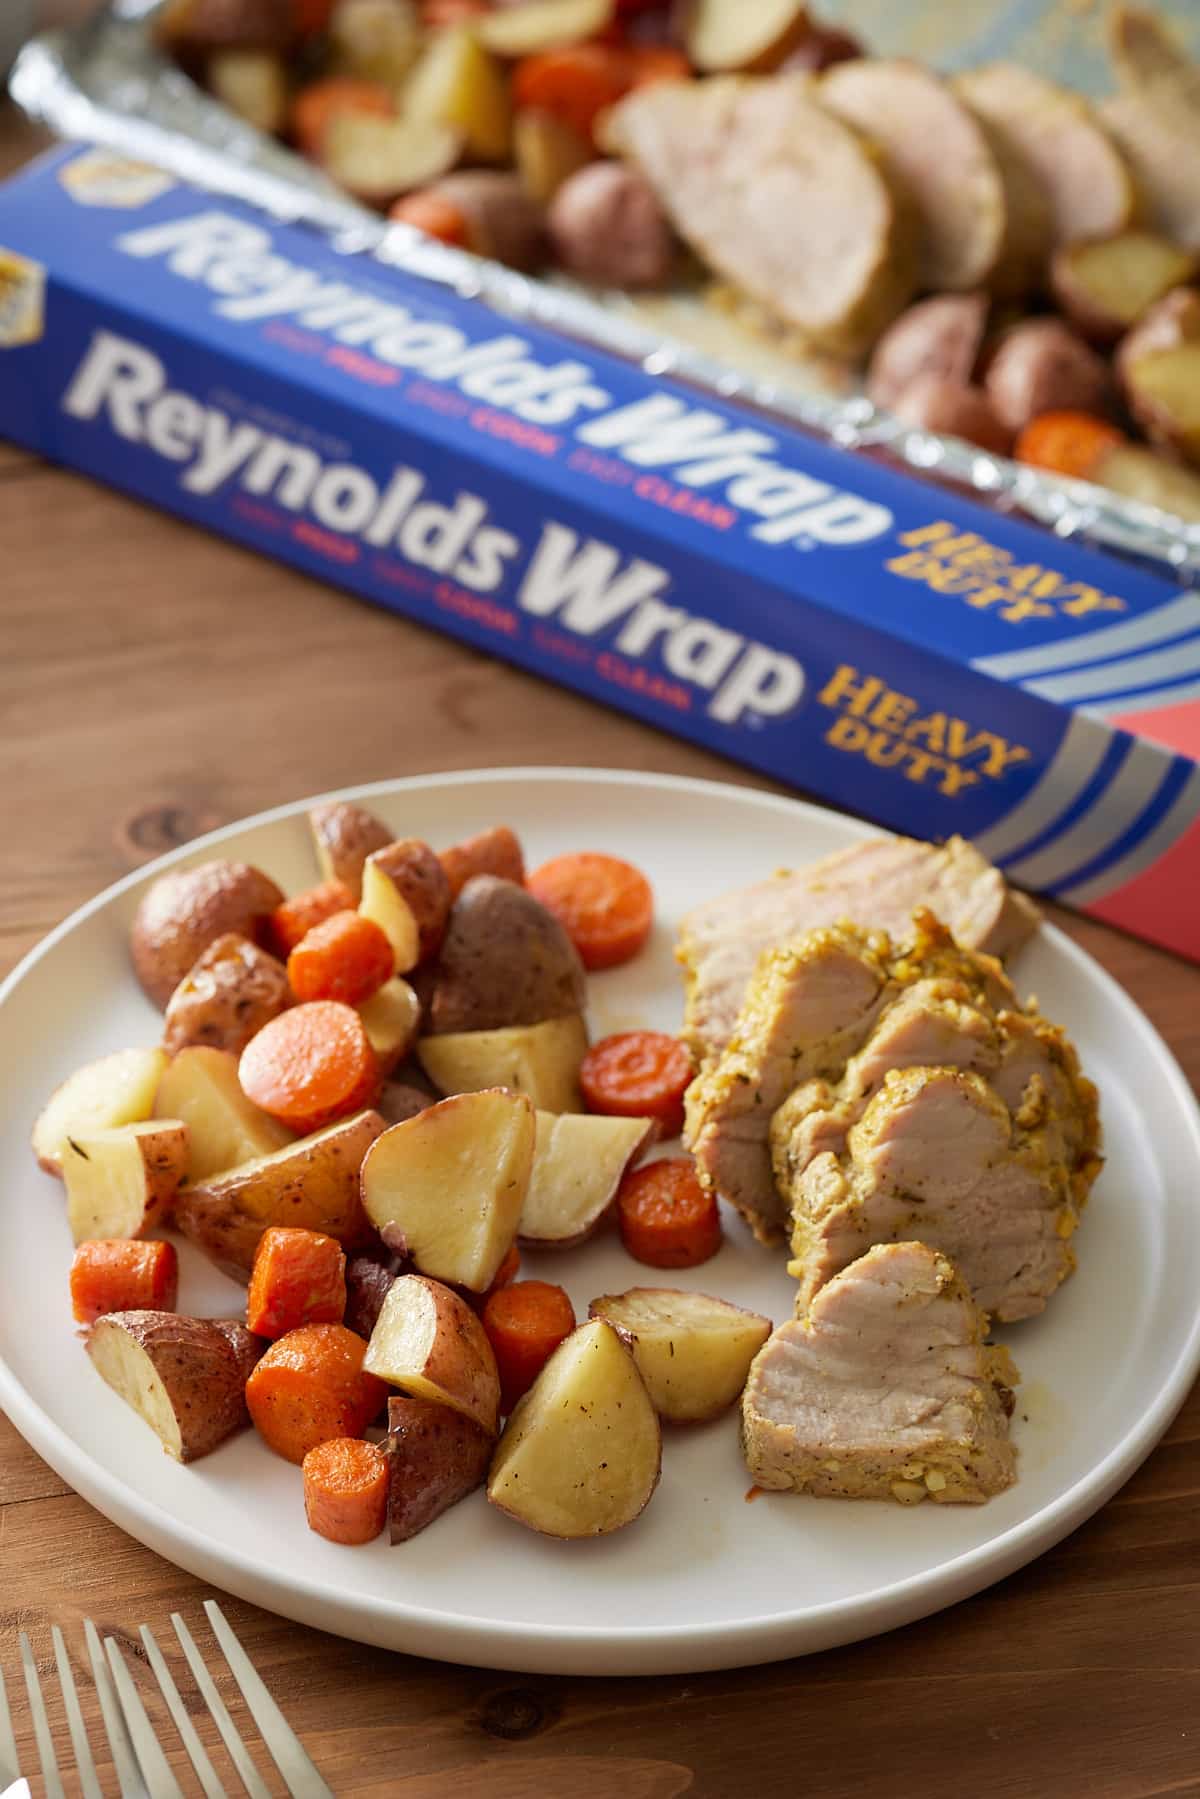
I hope you enjoy this delicious and flavorful mustard-glazed pork tenderloin with potatoes and carrots.
Looking for more quick weeknight meals? Try these out:
Easy Sheet Pan Mustard Glazed Pork Tenderloin with Carrots and Potatoes
Ingredients
- Reynolds Wrap® Heavy Duty Foil
- ¼ cup yellow mustard
- 3 Tablespoons brown sugar
- 2 teaspoons minced garlic
- 1 teaspoon Italian seasoning
- 1 ½ teaspoon kosher salt divided
- 1 teaspoon ground black pepper
- 1 1.5 lb pork tenderloin, patted dry
- 6 baby red potatoes chopped into 1-inch pieces
- 3 medium-sized carrots chopped into 1-inch pieces
- 1 Tablespoon olive oil
Instructions
- Combine yellow mustard, brown sugar, garlic, Italian seasoning, ¾ teaspoon kosher salt, ½ teaspoon ground black pepper in a small bowl. Stir to combine. Pour mixture over pork tenderloin, covering all sides. Cover and marinate for 30 minutes to 1 hour.
- Preheat the oven to 425 degrees Fahrenheit. Line a sheet pan with Reynolds Wrap® Heavy Duty Foil.
- Add chopped potatoes and carrots to the lined sheet pan in a single layer. Drizzle the potatoes and carrots with olive oil and season with ¾ teaspoon kosher salt and ½ teaspoon ground black pepper.
- Remove pork tenderloin from the marinade and add it to the sheet pan, next to the vegetables.
- Bake in the preheated oven for 27-30 minutes until the tenderloin has reached an internal temperature of 145 degrees Fahrenheit and the potatoes and carrots are tender.
- Allow the pork to rest for 5-10 minutes before slicing and serving with vegetables.
Notes
- This recipe can easily be doubled. Keep the baking time the same.
- Cut the vegetables into 1-inch pieces to ensure that the pork tenderloin and vegetables finish cooking simultaneously.