These Air Fryer Sweet Potatoes are crispy on the outside and soft and fluffy on the inside. Top them with a delicious hot honey butter for the perfect side dish.
This post contains affiliate links, please read my full disclaimer here.
You’ll find the full recipe with ingredient amounts and instructions in the recipe card at the bottom of this post. Be sure to check out the blog post itself for extra tips and tricks!
I love sweet potatoes. In fact, I love them so much that I’ve tried many times to perfect a sweet potato fry recipe to put on the blog. It hasn’t been perfected by me yet, so it hasn’t been shared on the blog yet. Hopefully one day.
Until then, this air fryer sweet potato recipe will do, because they are amazingly delicious. Similar to cooking a baked potato in the air fryer, sweet potato is just as simple and easy.
A few things to note before you start your sweet potatoes, you’ll want to make sure of the following:
- Your sweet potatoes need to be equal size if you want them to cook at the same time. I use medium-sized sweet potatoes, which measure around 5 inches long and 2 inches wide.
- Adding a little bit of olive oil rubbed on the outside of the sweet potatoes will result in a nice crispy sweet potato skin.
- There’s no need to parboil, poke, or wrap in foil before baking. Just give the sweet potatoes a light coat with oil and place in the air fryer.
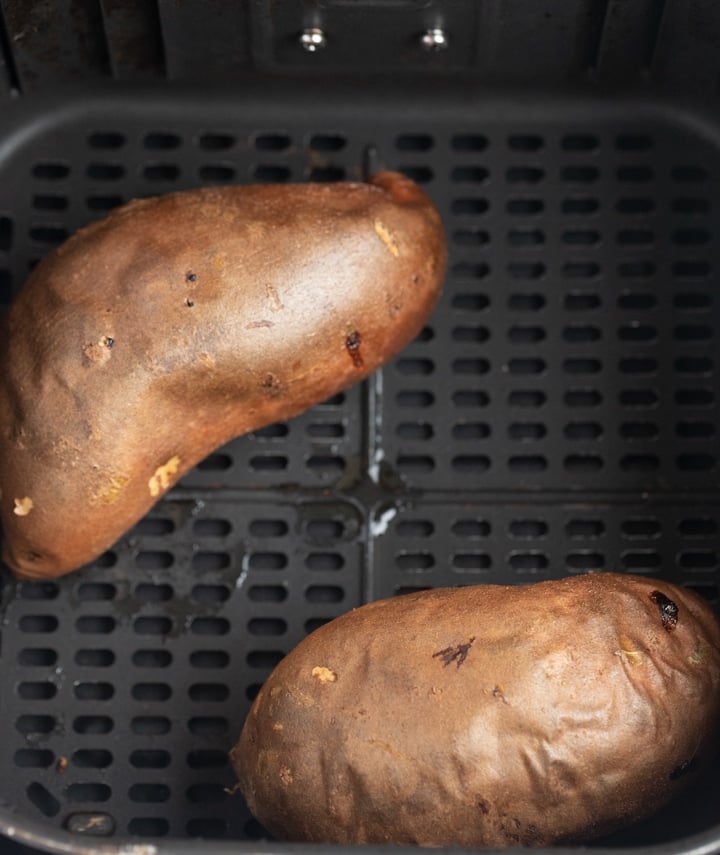
How to make Whole Sweet Potatoes in the Air Fryer
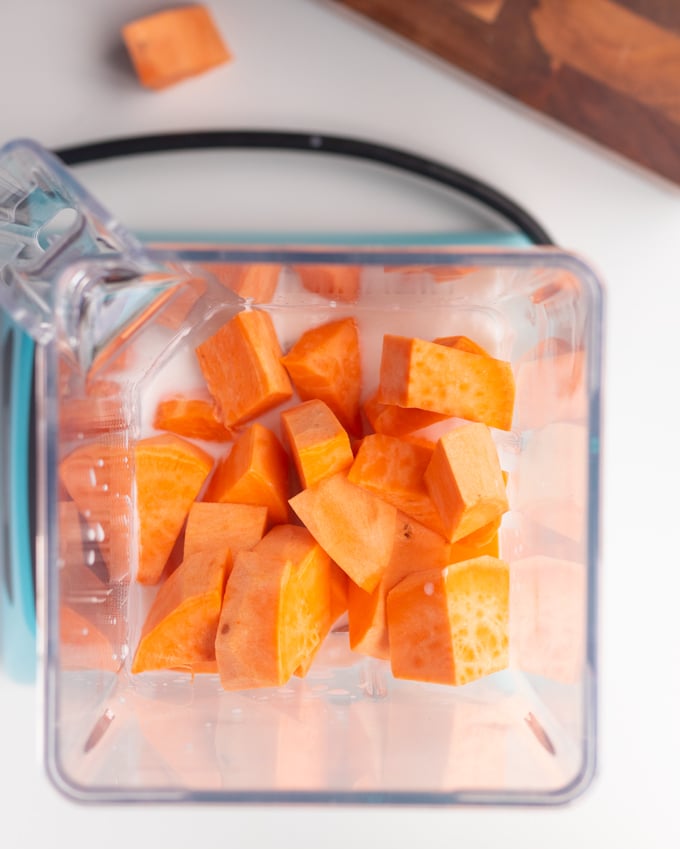
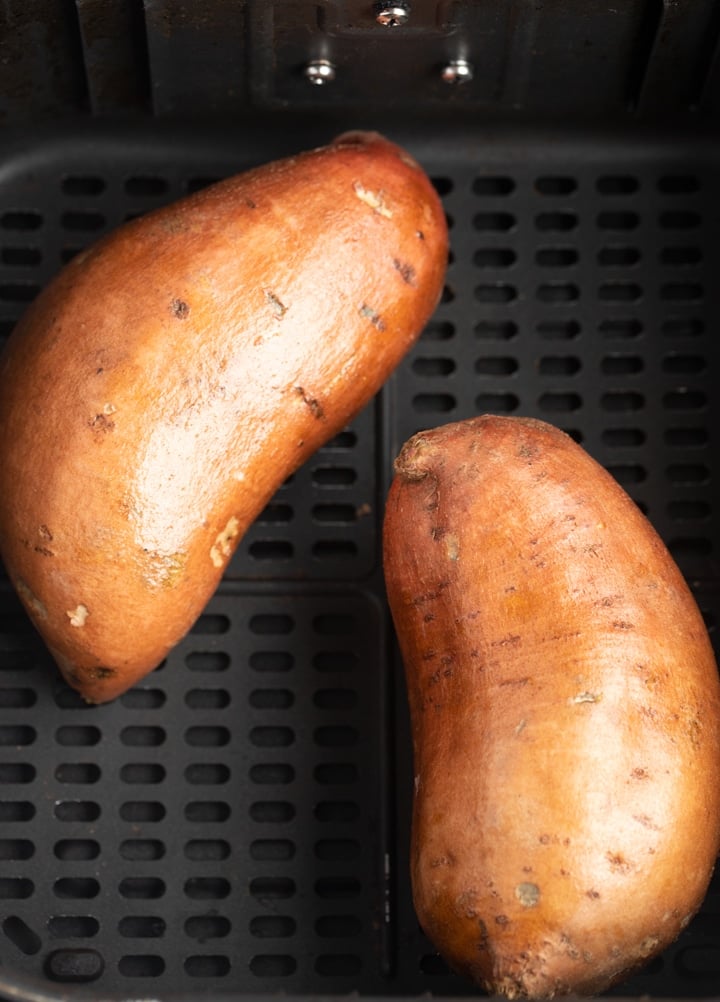
Grab 1-4 medium-sized sweet potatoes. Scrub and clean the outside, then pat them dry with a paper towel or a clean dishtowel.
Rub about 1 teaspoon of olive oil over the potatoes and place in your air fryer.
Cook on 400 degrees Fahrenheit for 35-40 minutes, until the sweet potato is soft on the inside. I use a toothpick to test the potato, and stick it in until it reaches the center. If the toothpick enters the sweet potato without any resistance, it’s done.
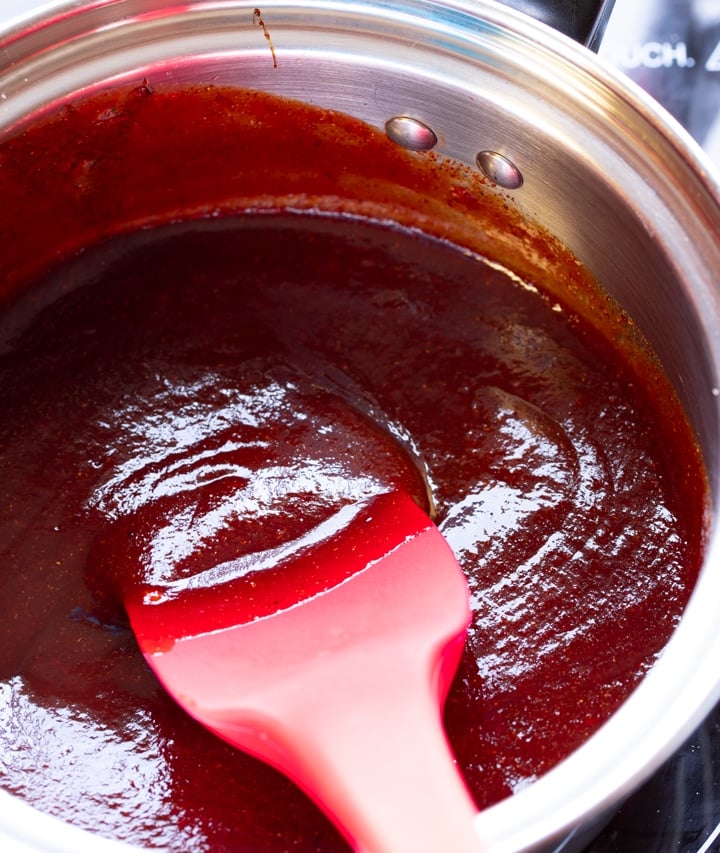
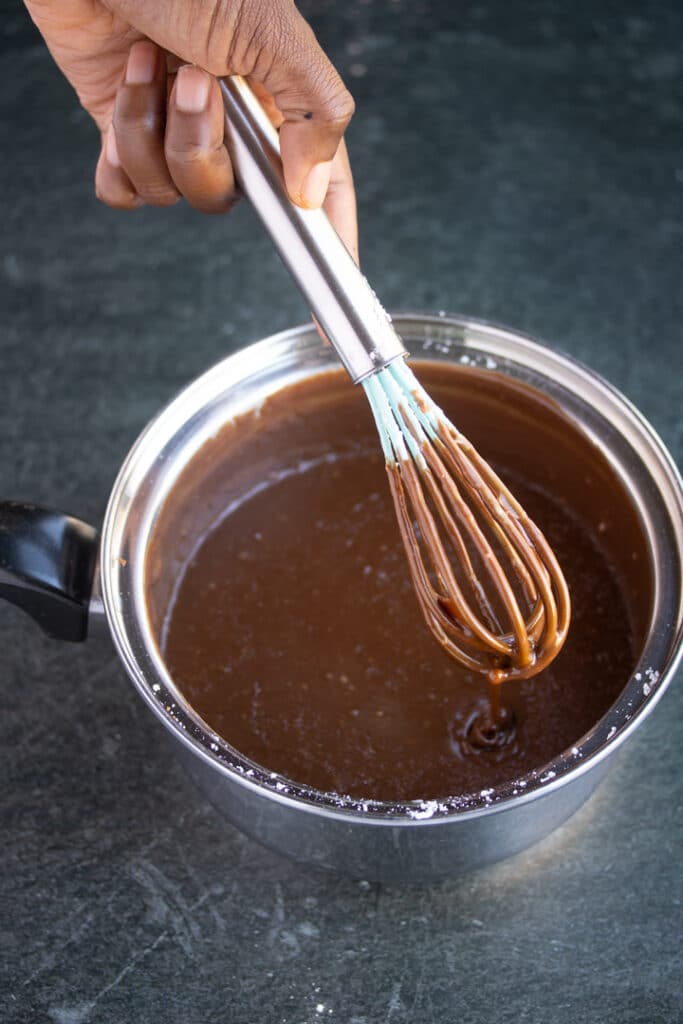
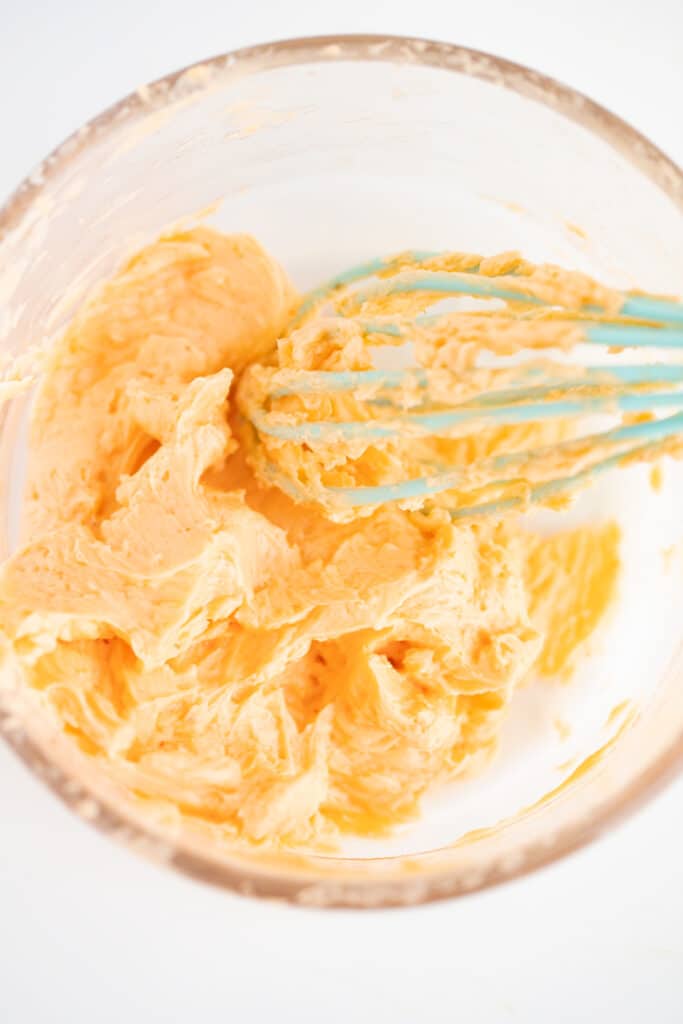
Prepare Hot Honey Butter
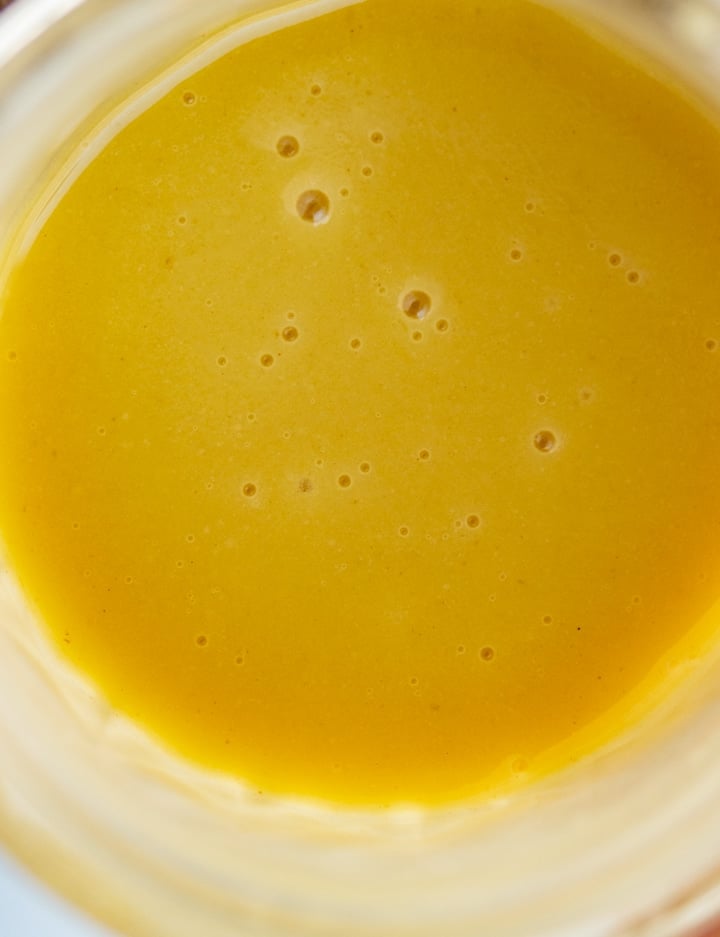
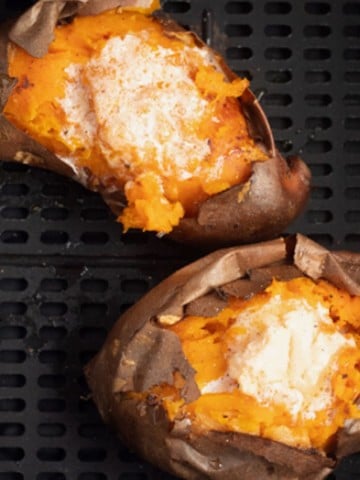
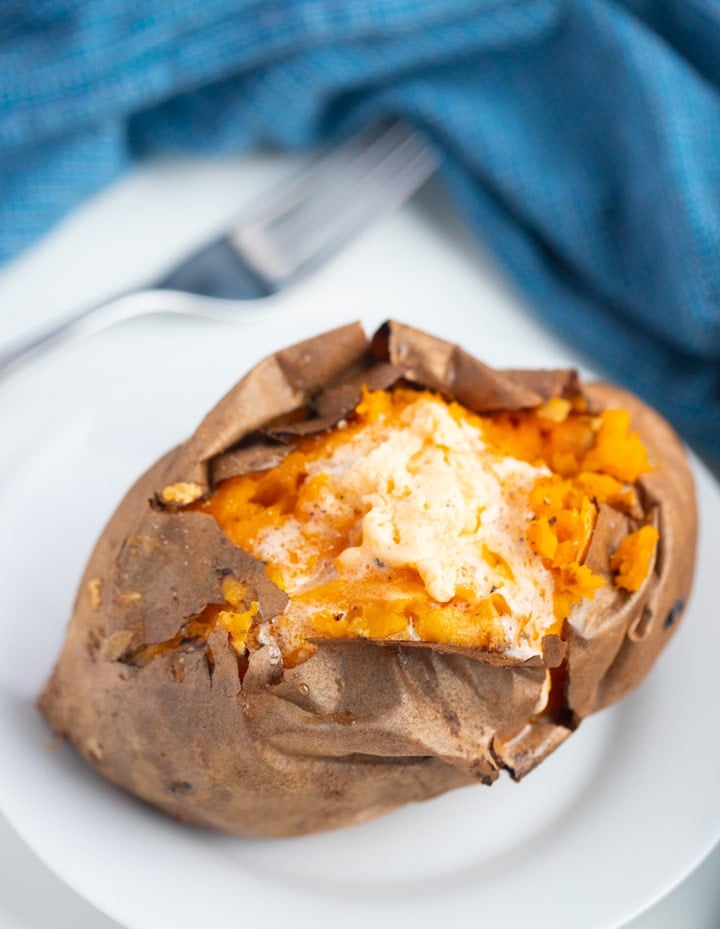
You can top your sweet potatoes with whatever you choose, but my go-to is this hot honey butter. While your sweet potatoes are cooking, combine butter, honey, hot sauce, and salt in a bowl and whisk vigorously until combined and smooth.
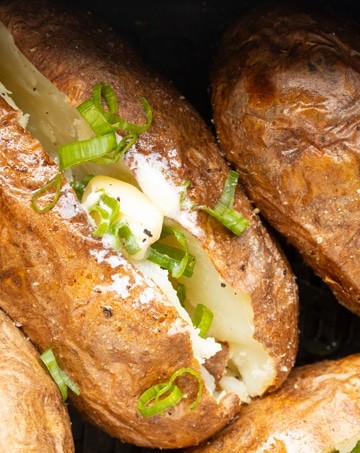
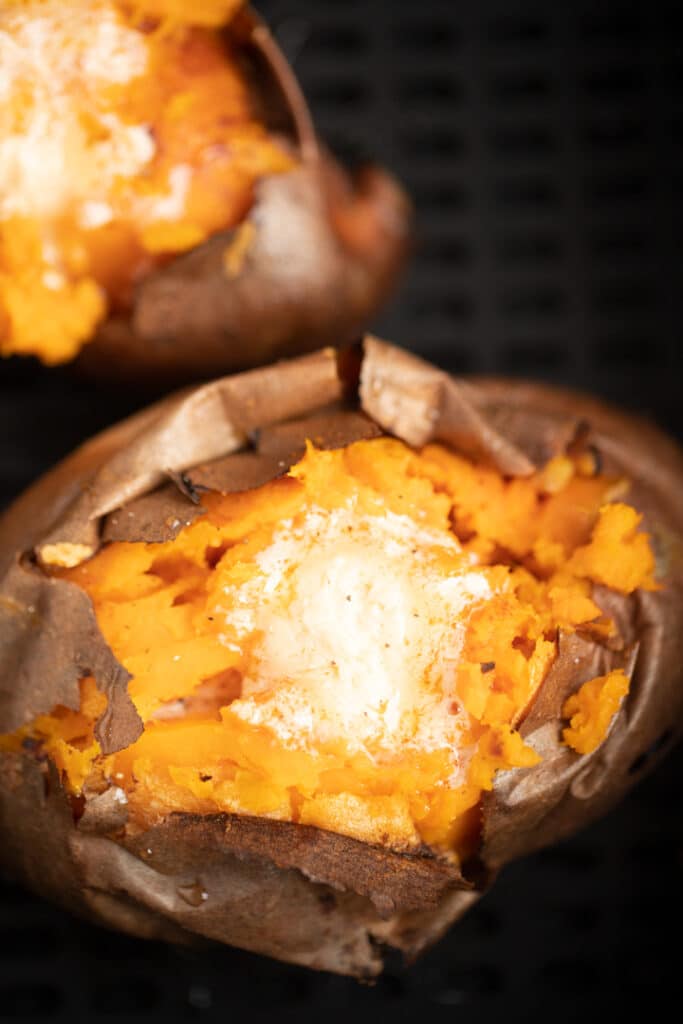
Cut open your sweet potato, fluff the insides a little, and then top it with this butter. Yummo!
Notes:
- You can make 1-4 sweet potatoes at a time, depending on how big your air fryer basket is. Just make sure the sweet potatoes aren’t overlapping so proper air circulation can cook them properly.
- The cook time suggested is for medium-sized sweet potatoes, which are about 5 inches long and 2 inches wide. Smaller sweet potatoes will need less time while large potatoes will need more. For smaller potatoes, I start to check with a toothpick around 25 minutes.
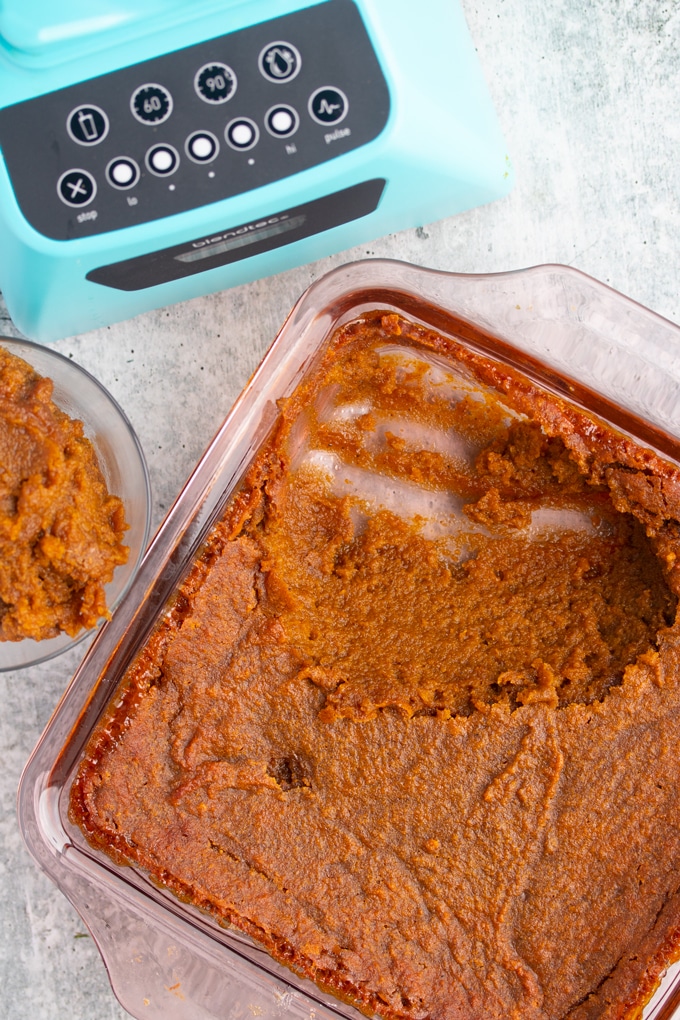
- If you need baked sweet potatoes for other recipes, such as pie (yum), this method is perfect.
- If you don’t have an air fryer, you can bake your sweet potatoes in the oven. Then top with hot honey butter.
- I use Texas Pete or Frank’s Hot Sauce for my hot honey butter.
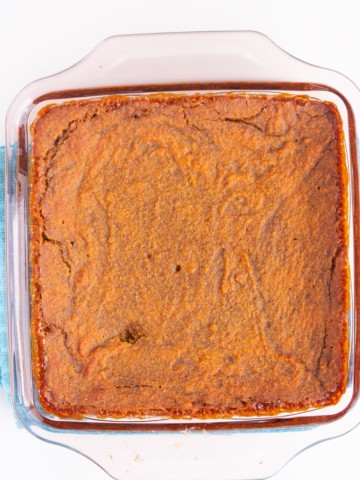
- I use this method for baking my potatoes for my sweet potato pie and my sweet potato cornbread.
I hope you enjoy these air fried sweet potatoes with hot honey butter as much as we do. Looking for more air fryer veggie sides? Try these out:
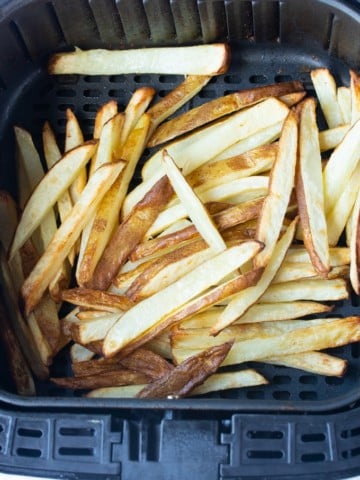
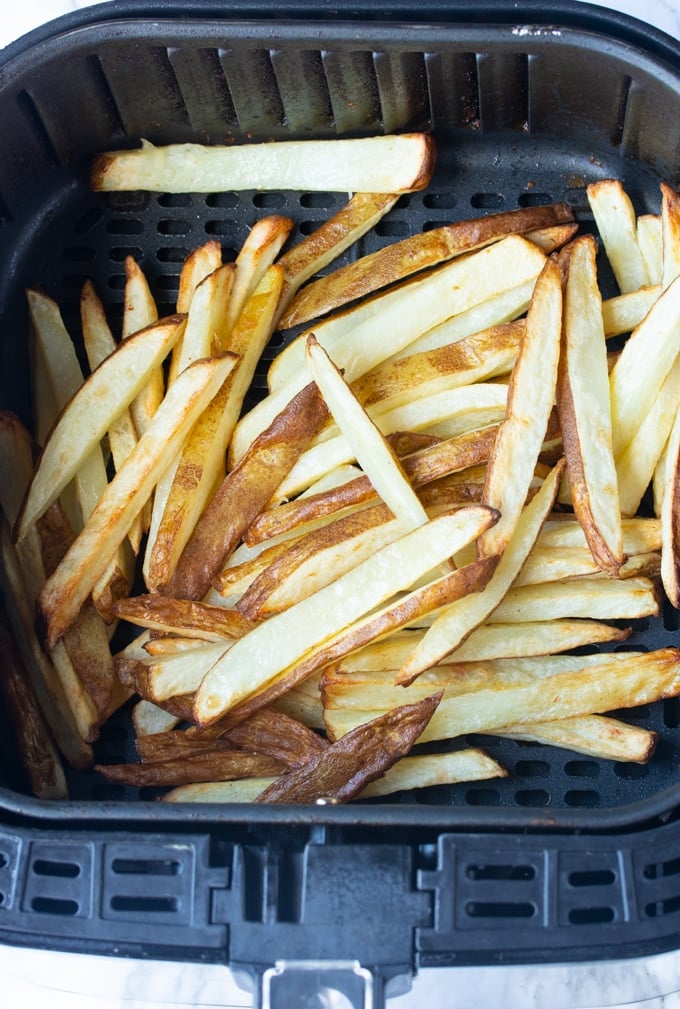
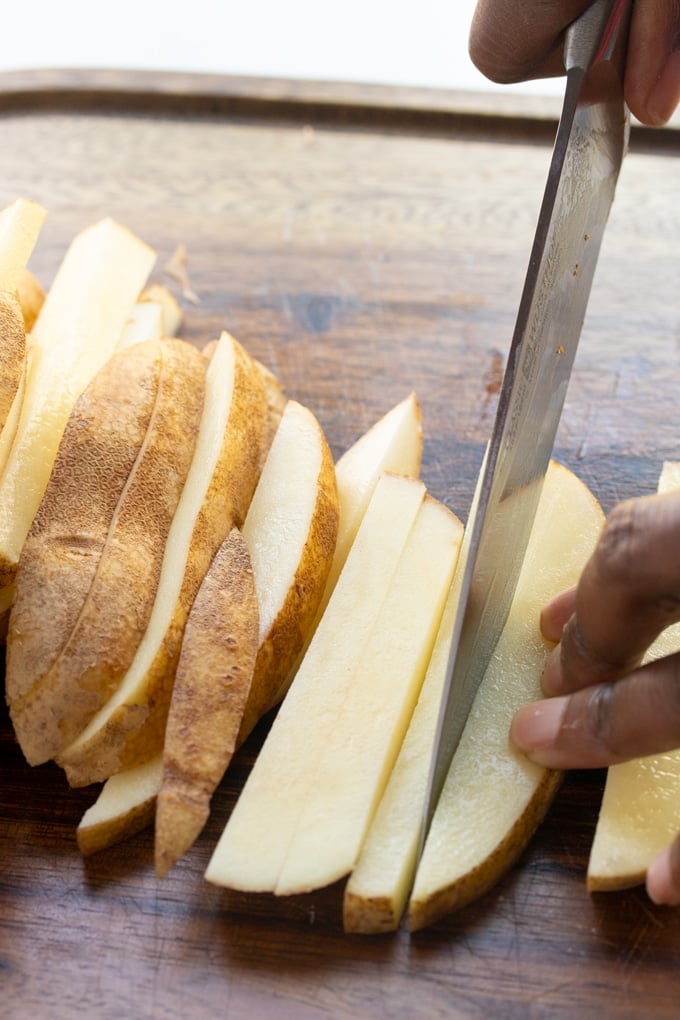
- Air Fryer French Fries
- Sweet and Spicy Air fryer Brussels Sprouts
- Air Fried carrots (Sweet or Savory)
- Air Fryer Whole Baked Potato
or you can try my oven roasted cauliflower and sweet potato recipe.
Need ideas on what to serve this with? Try these out:
- BBQ Air Fryer Ribs
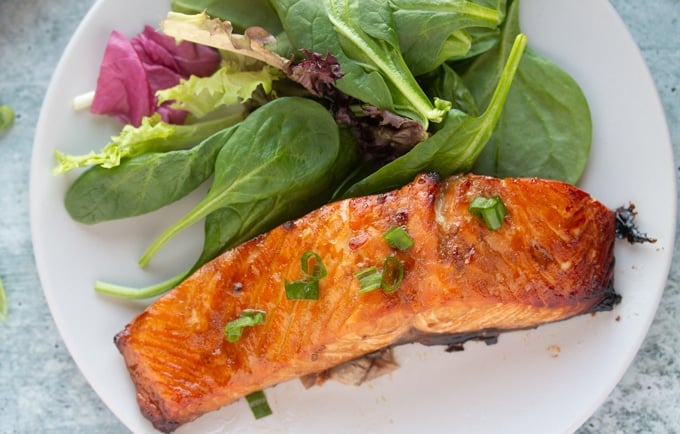
- Marinated Air Fryer Salmon
- Perfect Air Fryer Steak
- Air fryer Turkey Burgers
- Air Fryer Turkey Breast
- BBQ Chicken Breast

Air Fryer Sweet Potato with Hot Honey Butter
Equipment
Ingredients
- 1-4 sweet potatoes scrubbed clean and patted dry
- 1 teaspoon oil
Instructions
- Coat sweet potatoes with oil and place in the air fryer basket.
- Cook on 400 degrees Fahrenheit for 35-40 minutes until the sweet potatoes are soft on the inside.
Hot Honey Butter
- While your sweet potatoes are cooking, combine butter, honey, hot sauce, and salt in a bowl and whisk vigorously until combined and smooth.
- Cut open your sweet potato, fluff the insides a little, and then top it with this butter.
Notes
- I use Texas Pete or Frank’s Hot Sauce for my hot honey butter.
- You can make 1-4 sweet potatoes at a time, depending on your air fryer basket. Just make sure the sweet potatoes aren’t overlapping so proper air circulation can cook them properly.
- The cook time suggested is for medium-sized sweet potatoes. Smaller sweet potatoes will need less time while large potatoes will need more. For smaller potatoes, I start to check with a toothpick around 25 minutes.