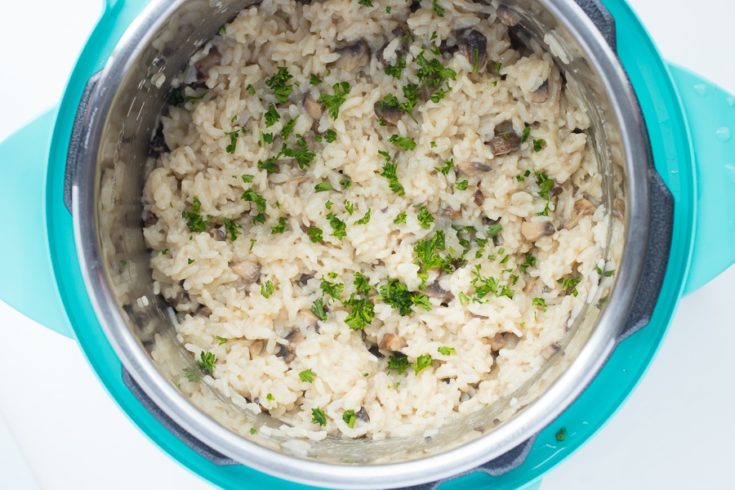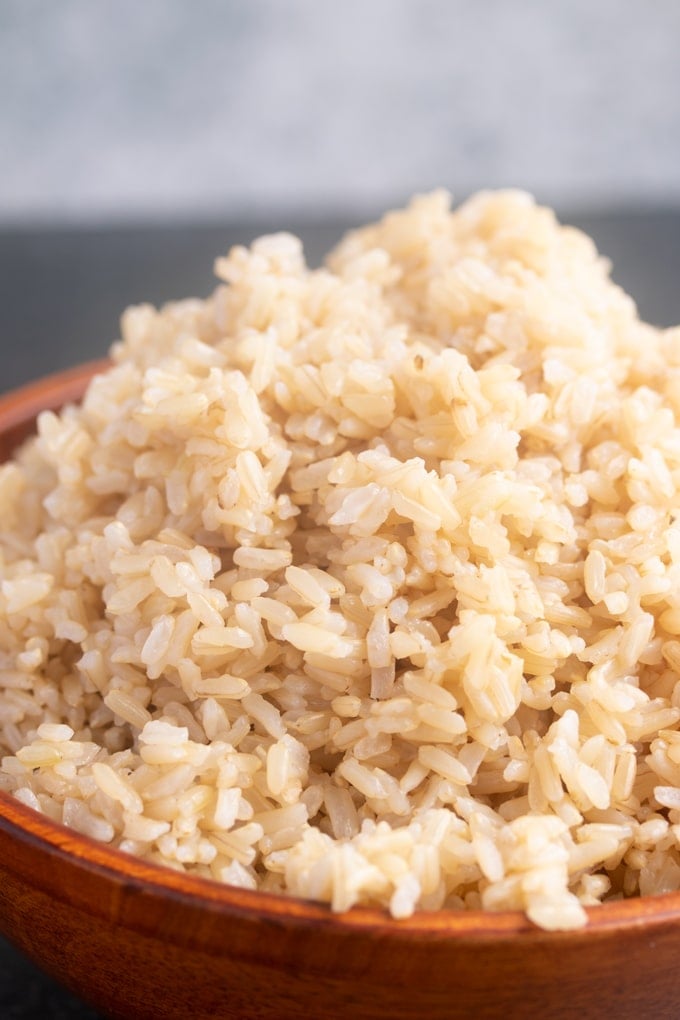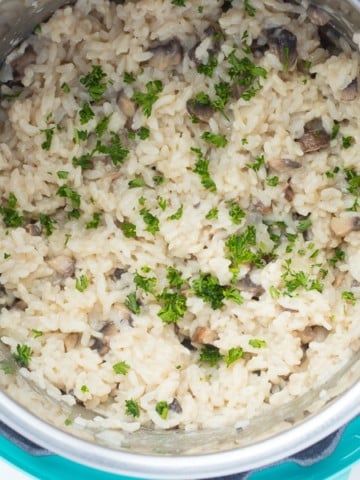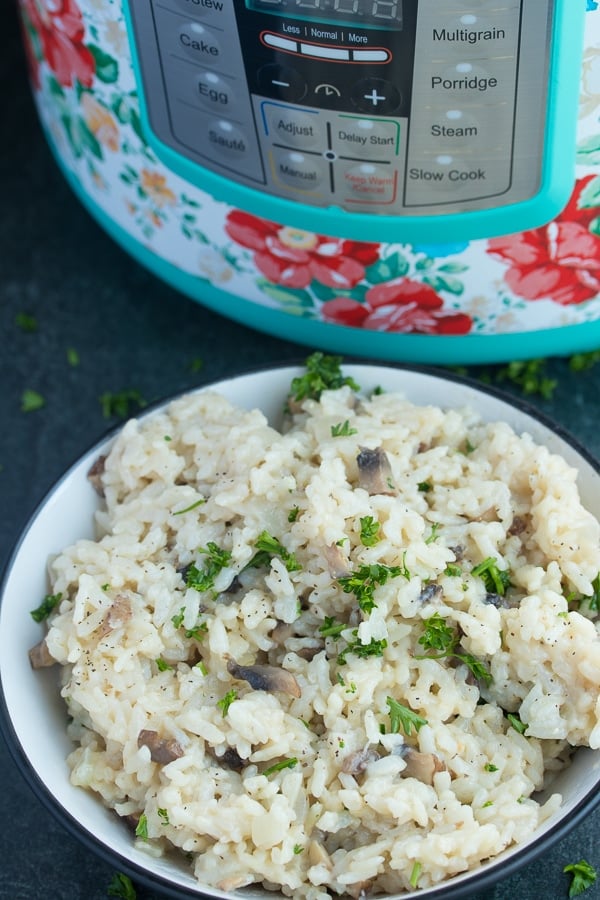
This Instant Pot Brown Rice is perfectly nutty and fluffy. Pair it with your favorite meals for a delicious weeknight dinner.


This Instant Pot Brown Rice is perfectly nutty and fluffy. Pair it with your favorite meals for a delicious weeknight dinner.


These Air Fryer Zucchini Fritters are a delicious healthy snack that can easily be made in your Air Fryer. Pair it with a delicious herb dip for a real treat.

This post may contain affiliate links, please read my full disclosure here.
[Read more...]
This Blender Whipped Cream recipe is such a quick and easy way to make homemade whipped cream. Just a few simple ingredients, you can have your fresh whipped cream in less than a few minutes.

This post may contain affiliate links, please read my full disclosure here.
[Read more...]
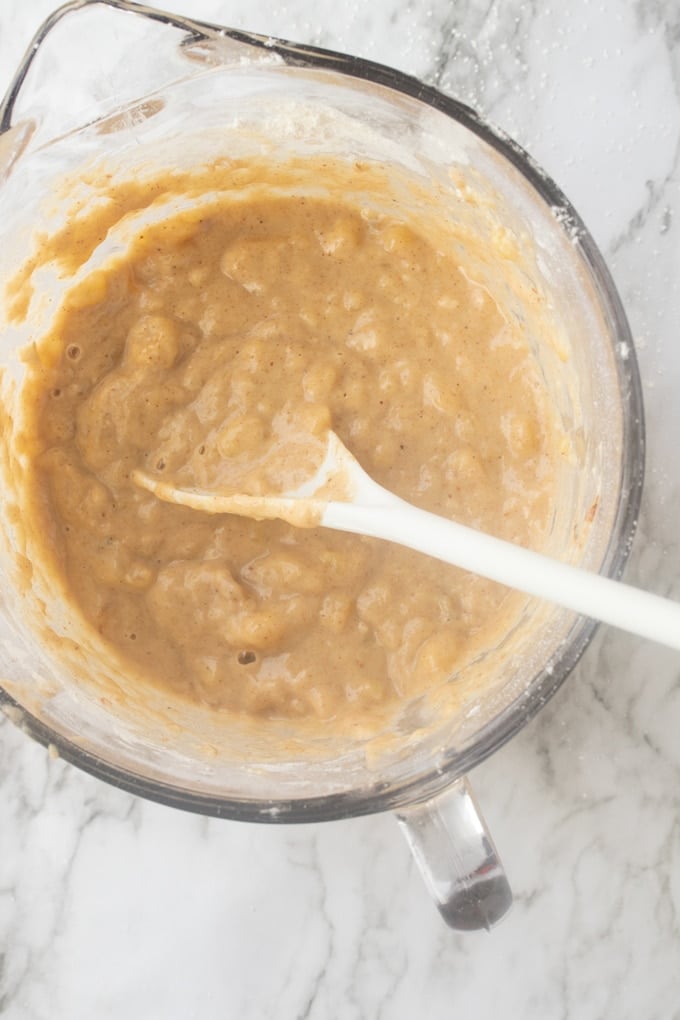
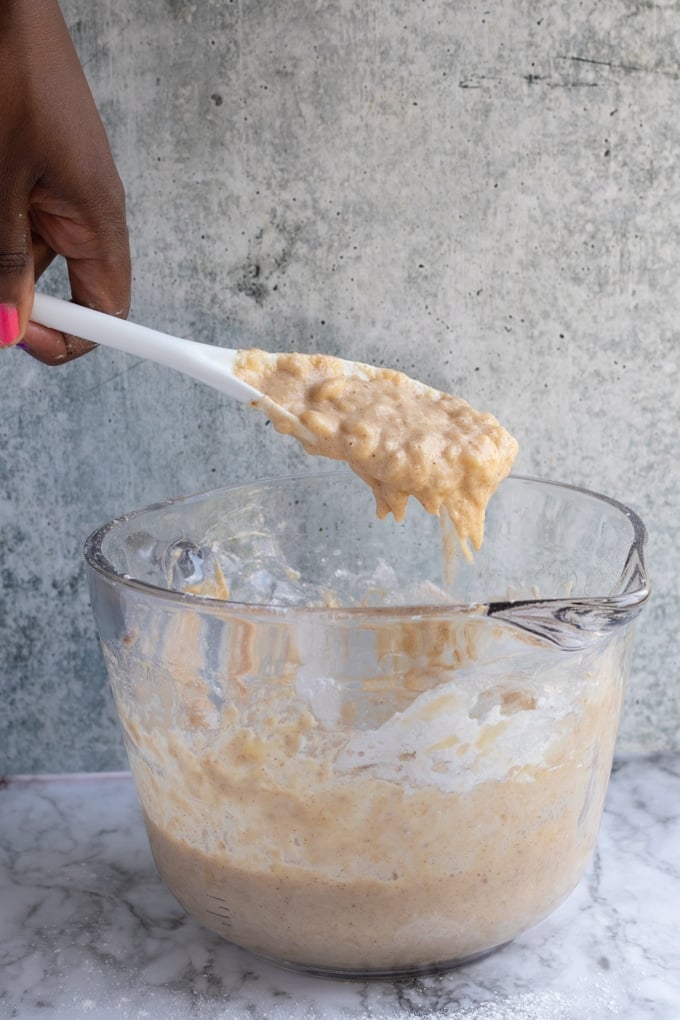
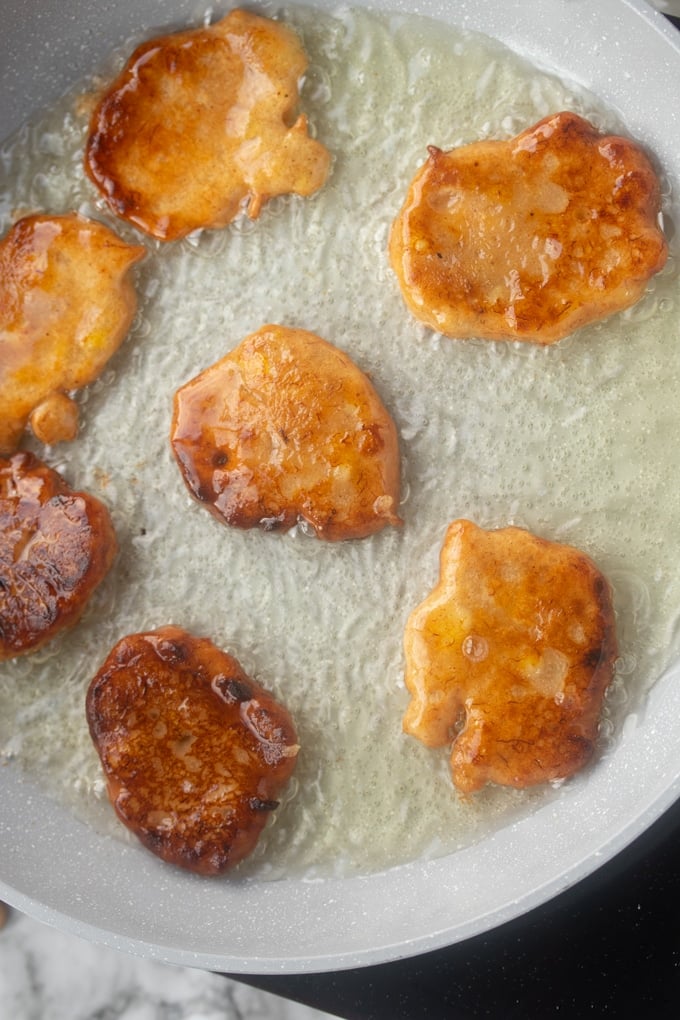
These Banana Fritters are a delicious way to use up your ripe bananas. Fried to golden perfection, they are full of flavor and perfect for any meal.

This post may contain affiliate links, please read my full disclaimer here.

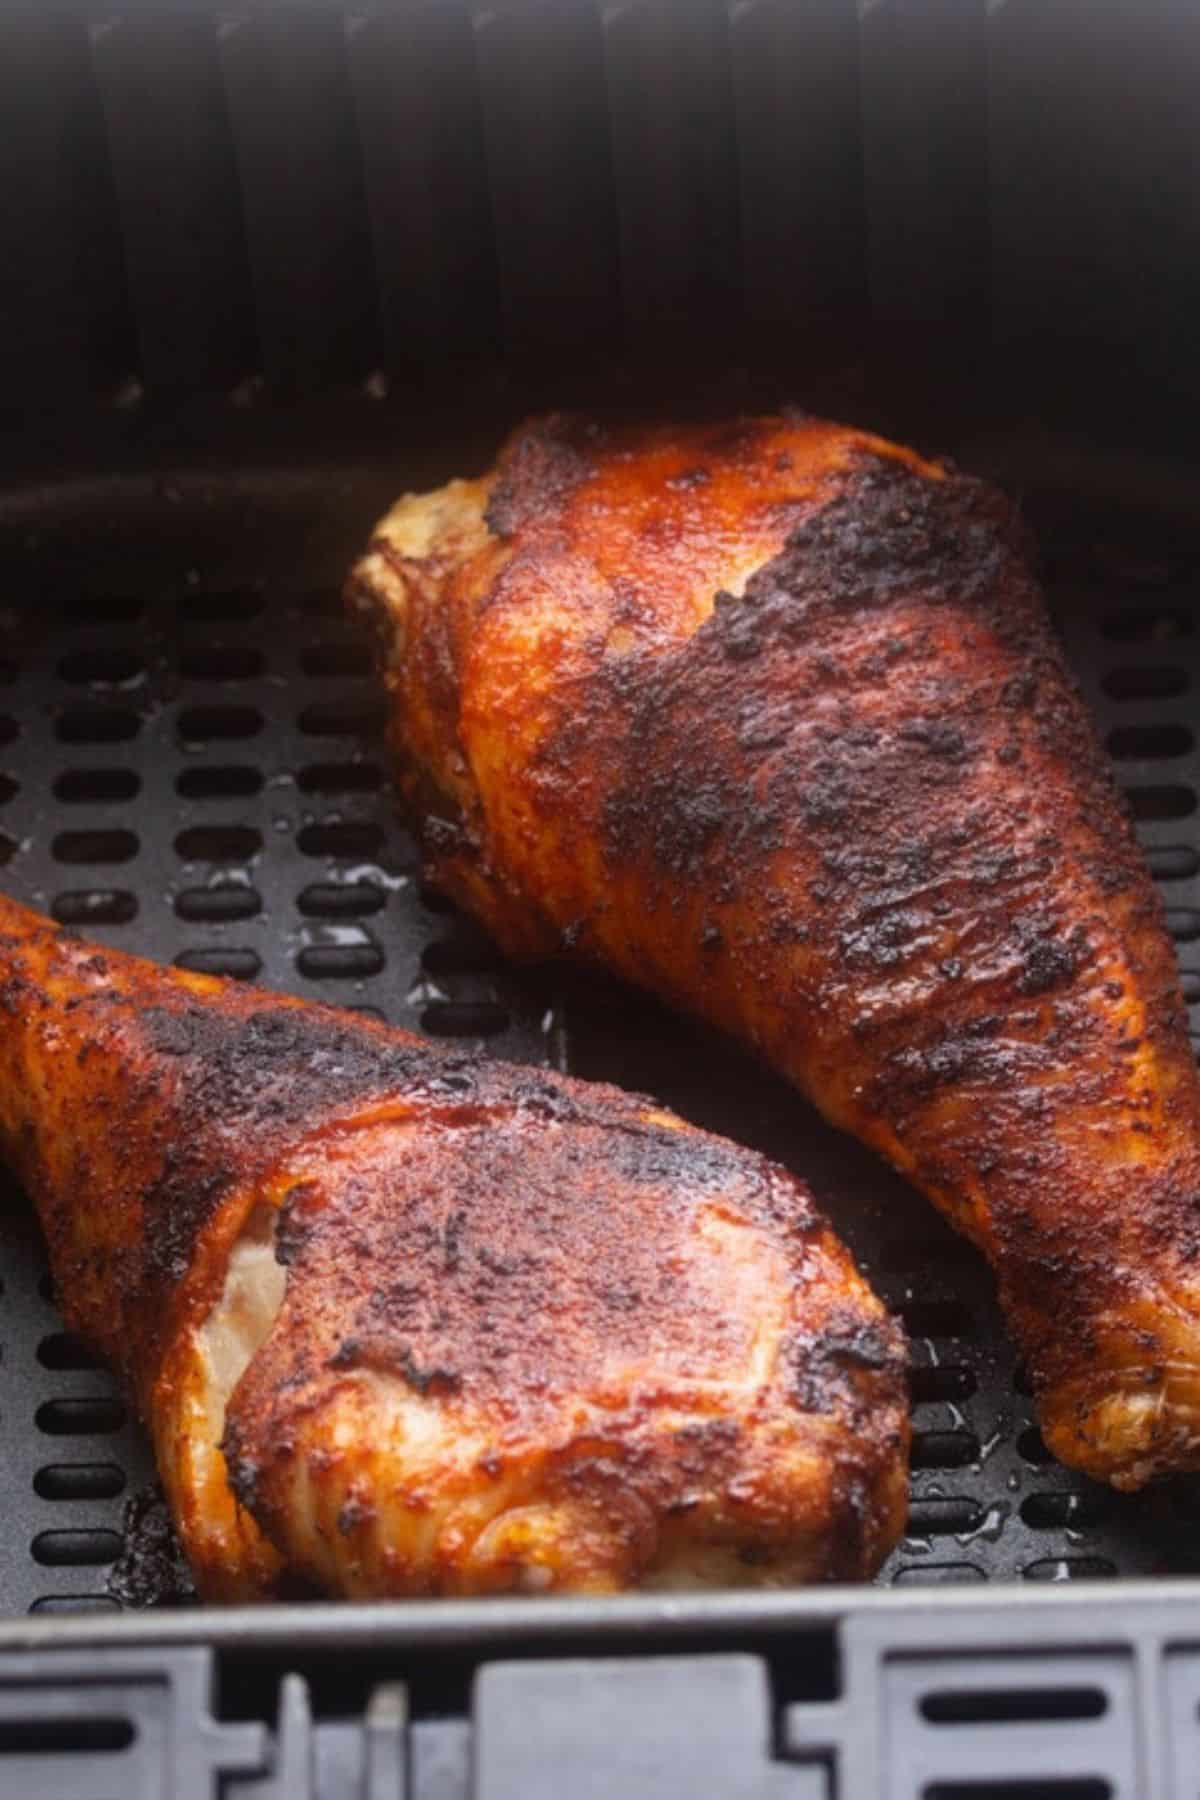
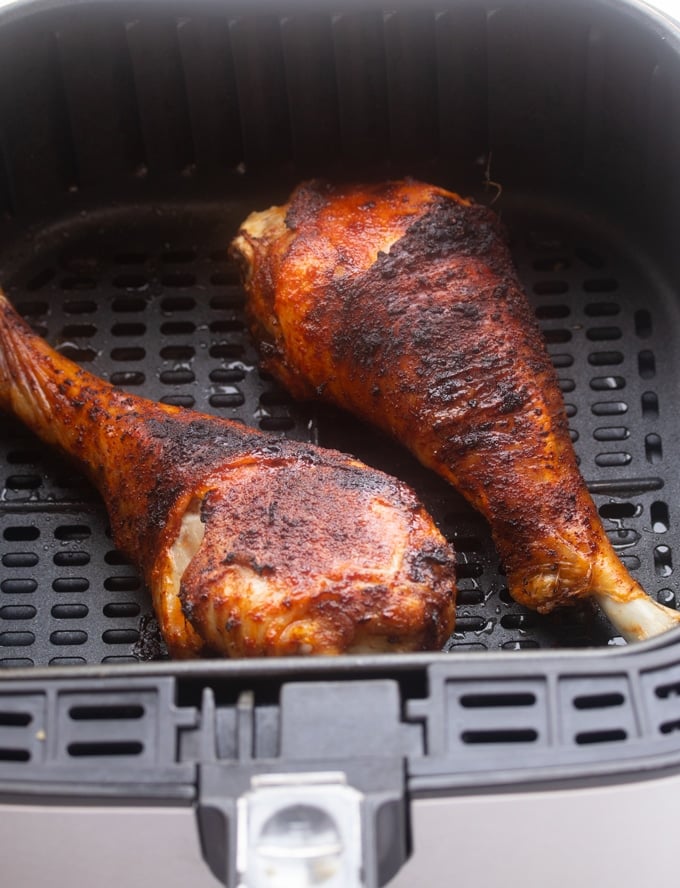
These Air Fryer Turkey Legs are roasted in the Air Fryer and are nice and crisp on the outside while perfectly juicy on the inside. Take a trip to your favorite fair with this easy recipe.

This post may contain affiliate links, please read my full disclaimer here.
Full Recipe/Instructions can be found at the bottom of the post in the recipe card after the helpful tips and tricks in the post.
I’ve been thinking a ton about the Fair. It’s been a while since I’ve gone, but whenever I go, I always seek out the booth that sells the giant turkey legs. Holding a huge turkey leg while walking through the Fair brings back great memories. Forget the rides, forget the prizes; it’s all about the food.
These roasted turkey legs would be perfect for a weeknight meal or even if you wanted to serve them up for the Thanksgiving Holiday. I cook them in the Air Fryer as it keeps the turkey leg nice and crispy on the outside and nice and moist on the inside.
Ingredient amounts and full recipe instructions are on the printable recipe card at the bottom of the post.

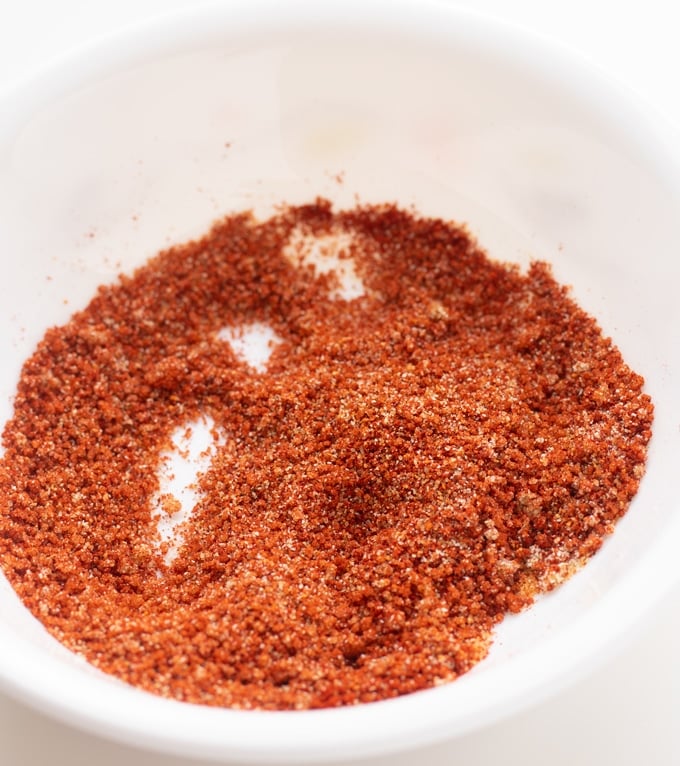
First, combine your seasonings. I use salt, smoked paprika, garlic powder, and brown sugar.

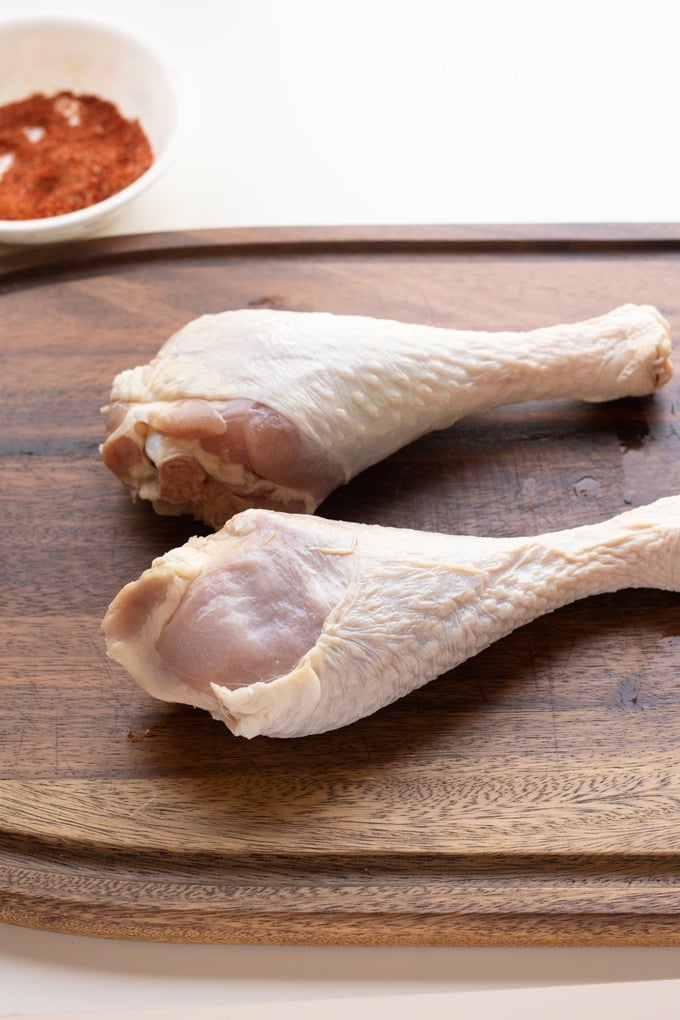
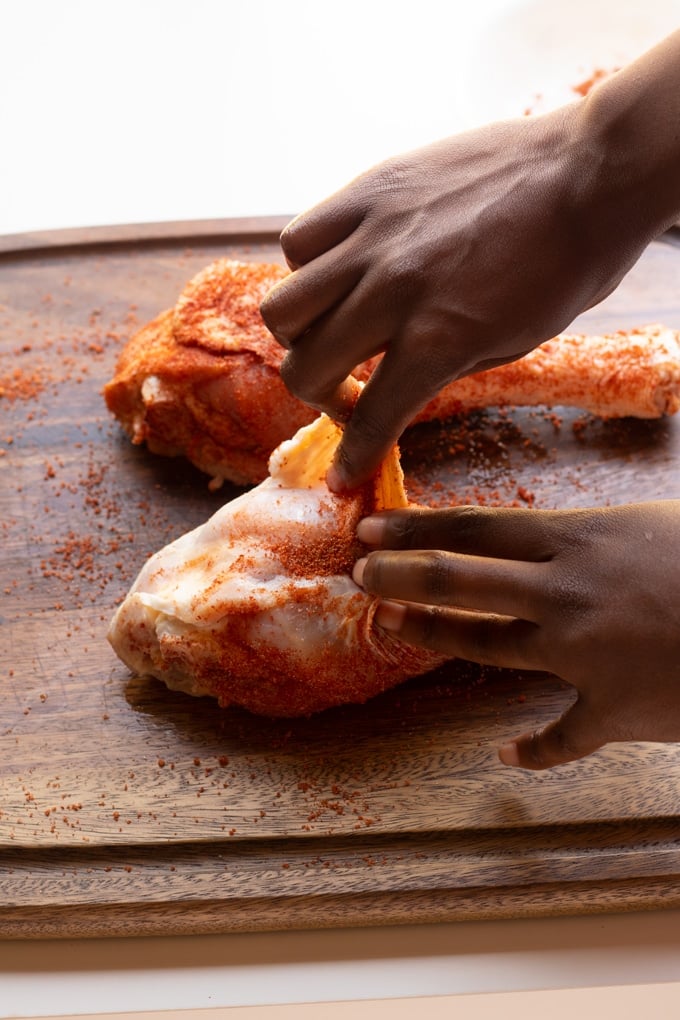
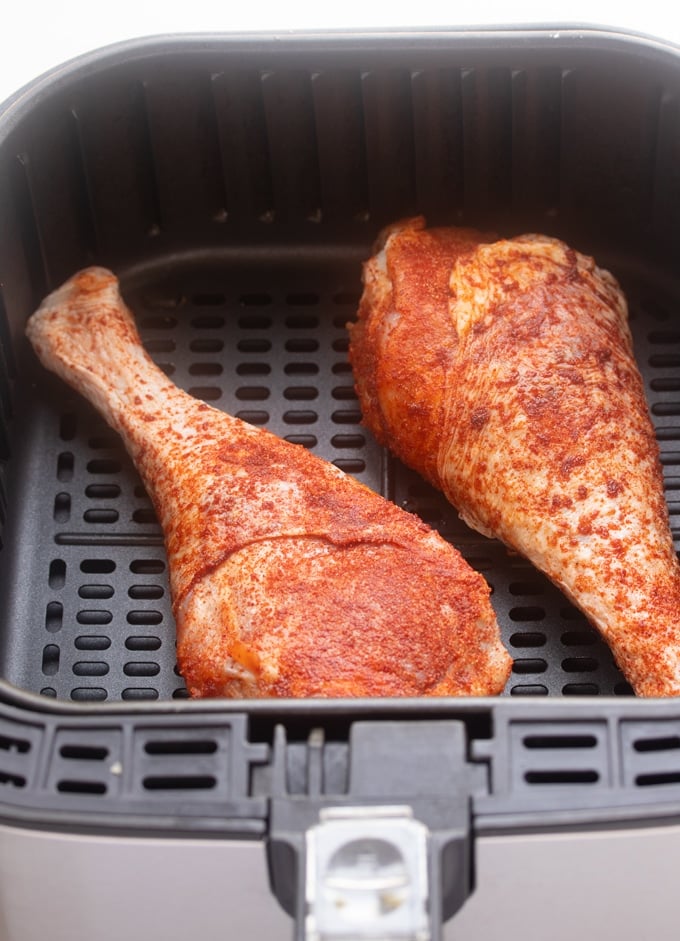
Pat dry your turkey legs, then rub your spice mixture all over your turkey legs. I make sure to rub the seasoning under the skin as well to get that flavor all over the meat.

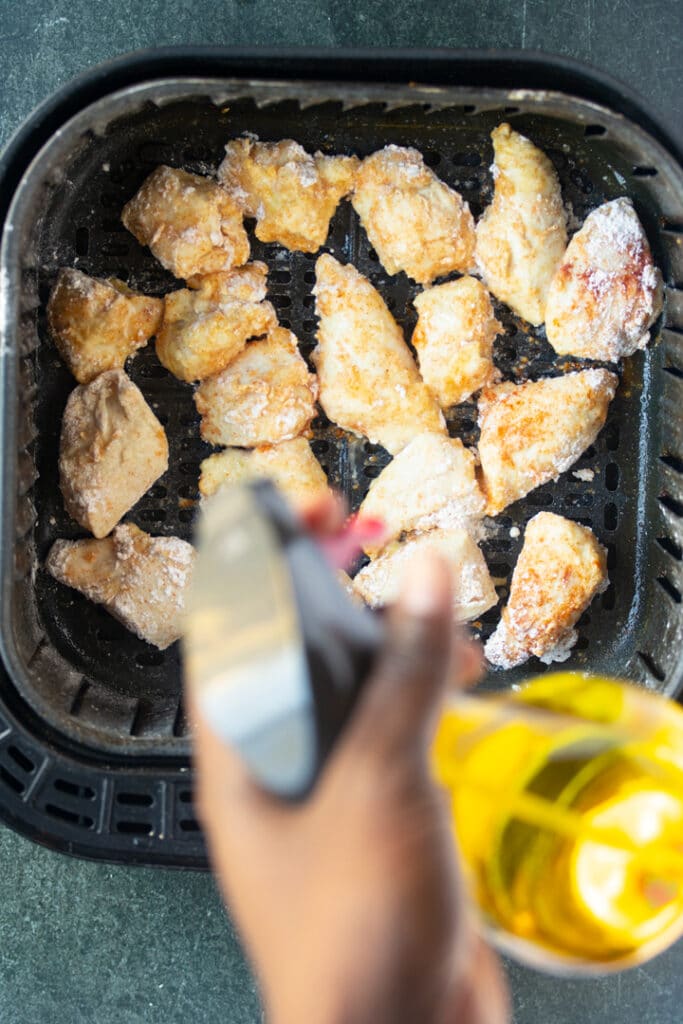
Then place the turkey legs in your Air Fryer basket. Lightly spray your turkey leg with a mist of cooking oil. I use my handy dandy oil spray bottle. I discuss more on why you should invest in a spray bottle in my 10 Air Fryer Tips and Tricks.

Cook on 400 degrees Fahrenheit for 15-20 minutes. Flip your turkey leg and lightly spray again and cook for another 15-20 minutes.
Remove your turkey leg. Use a quick read thermometer to ensure that your turkey leg is done.

Serve and enjoy your delicious and juicy turkey leg 🙂
Looking for more Air Fryer Recipes? Try these out:
This post was originally published on June 27, 2019. It has been updated with new information.

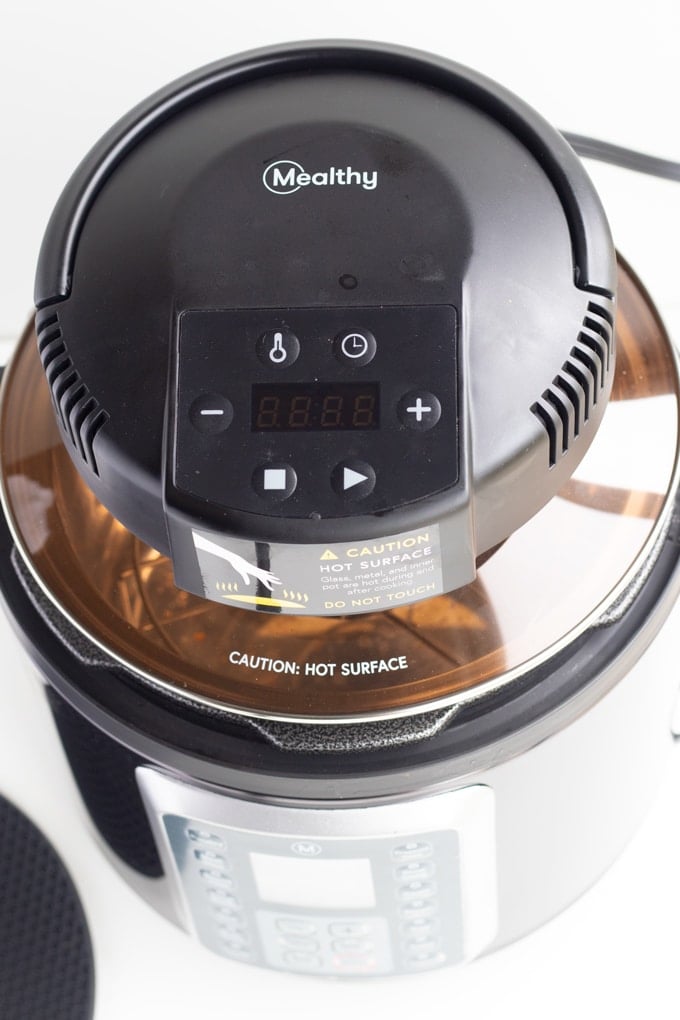
Here’s my honest review of the Mealthy CrispLid, the product that turns your Pressure Cooker into an Air Fryer.


This delicious and juicy chicken breast is made right in your Air Fryer after being covered with bbq seasoning. It's perfect as a main course with a side or on a salad.


This North Carolina Instant Pot Pulled Pork recipe is flavorful, tangy, and delicious. Covered in a vinegar-based barbecue sauce and pressure-cooked until it shreds beautifully.

You’ll find the full recipe with ingredient amounts and instructions in the recipe card at the bottom of this post. Be sure to check out the blog post itself for extra tips and tricks!

One of my favorite things about North Carolina is the BBQ. Fact is, North Carolina has the BEST BBQ... at least in my opinion.

I’m a huge fan of vinegar-based BBQ and prefer it over other styles. There’s just something about the tanginess of vinegar and pork that makes my taste buds dance.
I used to make this recipe by placing a huge bone in pork butt in my slow cooker and letting it cook all day on low. But now, I use my Pressure Cooker. It cooks much faster without compromising on the same great flavor, and the texture is just as amazing.
If you have leftover pulled pork from this recipe, it goes well in this classic Brunswick stew.
♡ Tanya

Ingredient amounts and full recipe instructions are on the printable recipe card at the bottom of the post.
I start by cutting 3 lbs of pork butt into 3 large pieces. I don’t use the bone when making it in the pressure cooker, and cutting it allows my meat to cook a little quicker.
I then rub my pieces with a nice homemade bbq rub. You can follow my recipe or buy some from the store.

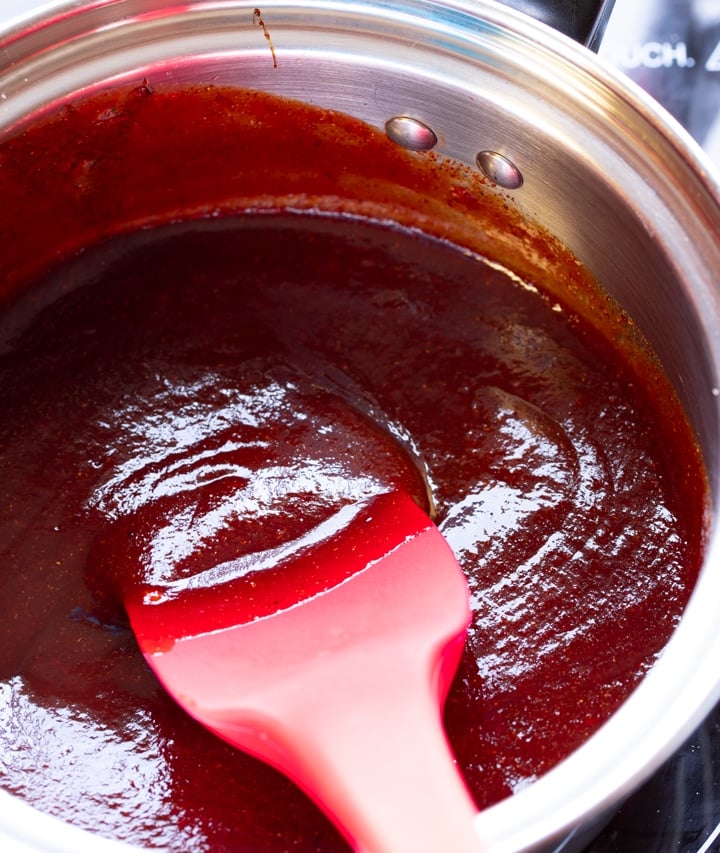
Once my meat is fully covered, I set it aside and make my vinegar-based BBQ sauce. Vinegar-based BBQ sauce is thin, so it’s the perfect choice for your Instant Pot Pressure Cooker. Sauces that are too thick can cause the dreaded “Burn” signal in the Instant Pot. This sauce won’t do that.
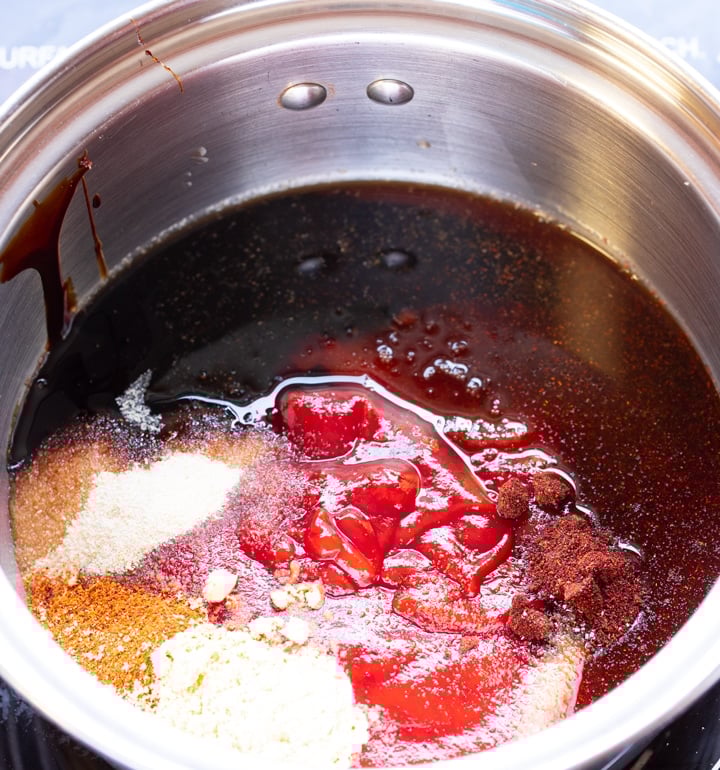
Prepare the vinegar BBQ sauce by whisking together apple cider vinegar, ketchup, brown sugar, salt, red pepper flakes, black pepper flakes, and water.

Place pork pieces in the Instant Pot insert and pour 1 ½ cups of the vinegar based bbq sauce over the pork, reserving the remainder of the sauce for later.

Cover and cook on high pressure for 60 minutes. Once done cooking, allow the Pressure Cooker to naturally release for 15 minutes, then quick release any remaining pressure.
Remove pork from the Instant Pot and serve. Pour reserved Vinegar BBQ sauce over the meat for more flavor.

I hope you enjoy this recipe as much as we do. Enjoy 🙂
Looking for more Instant Pot Pork Recipes? Try this Instant Pot Pork Chops with Gravy Recipe.
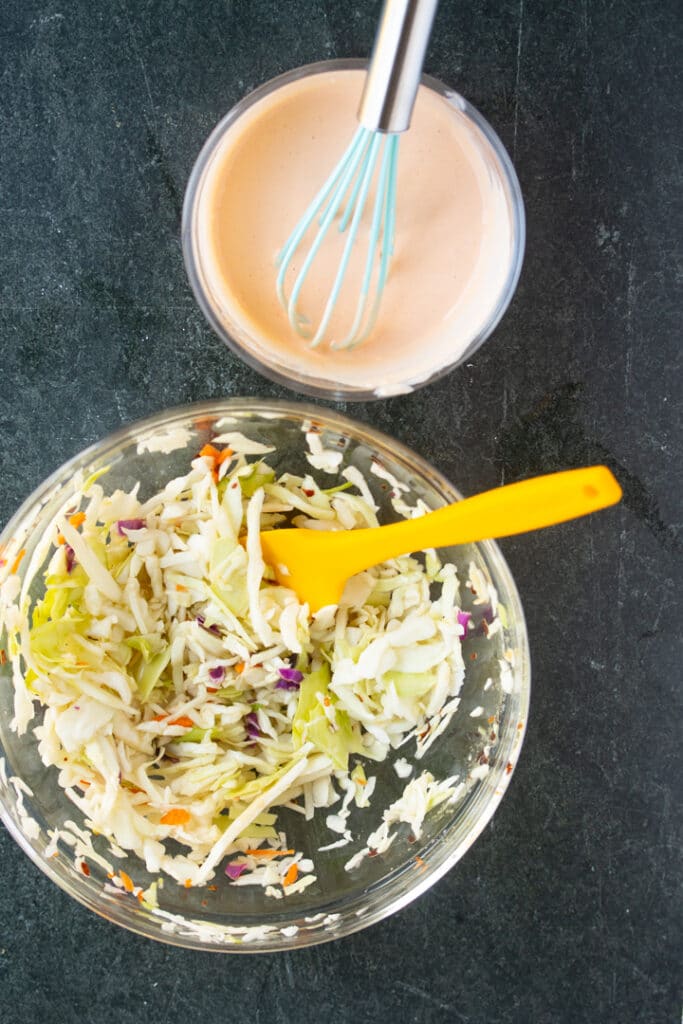
This recipe pairs perfectly with our Vinegar Coleslaw.


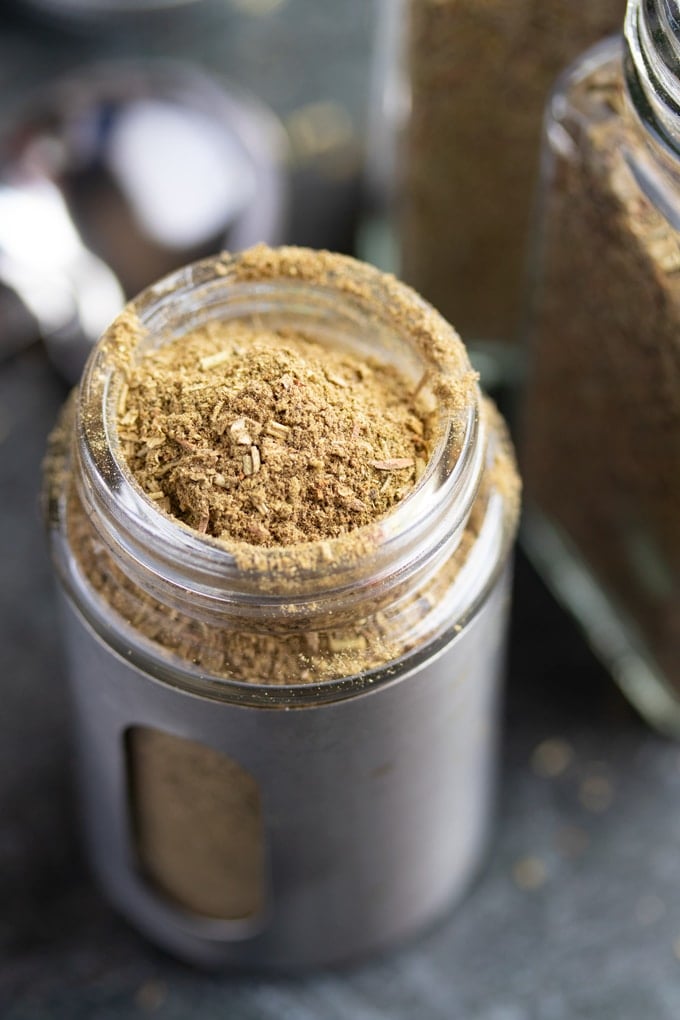
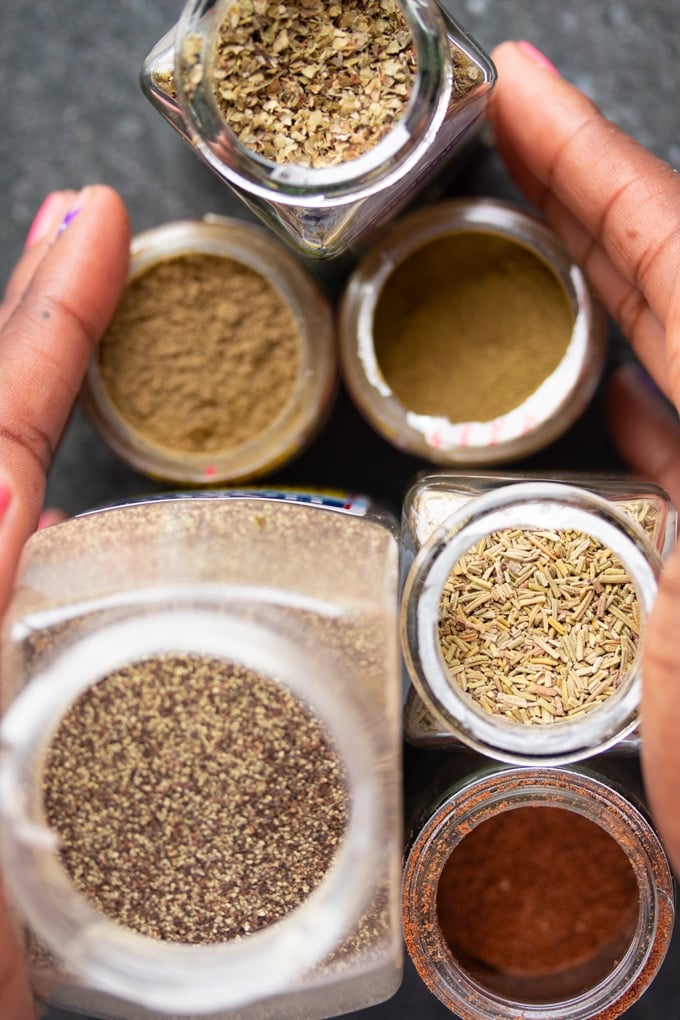
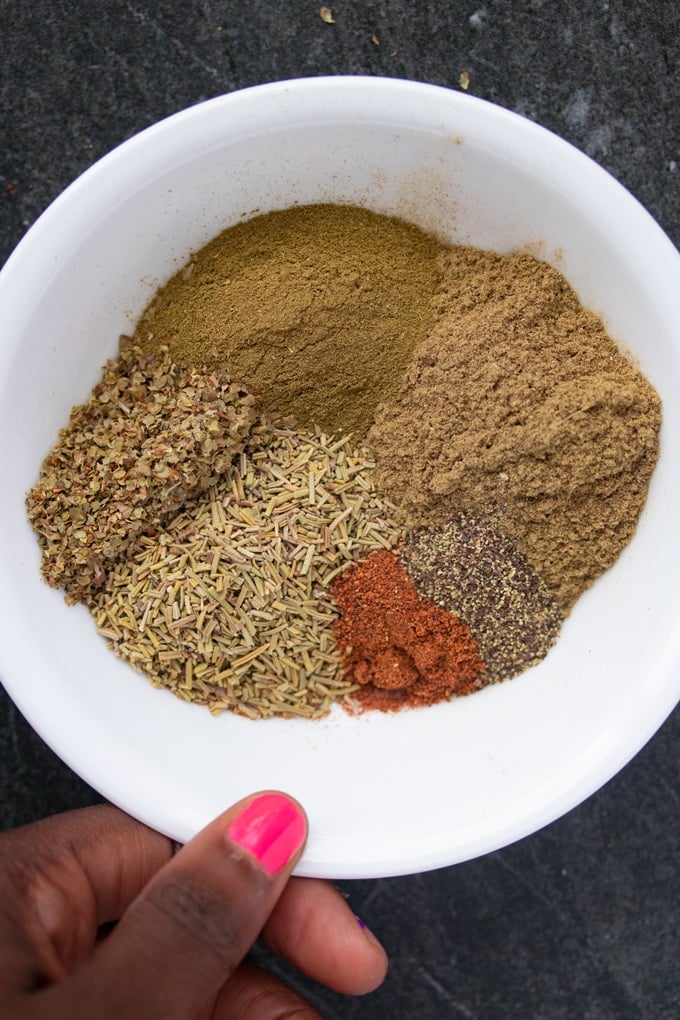
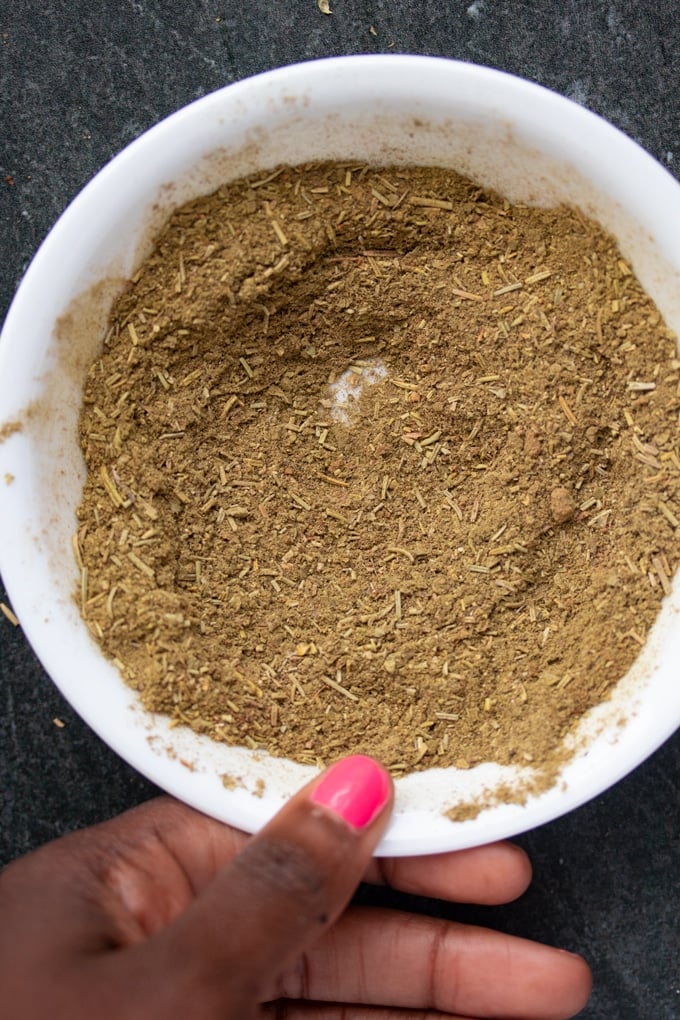
This BBQ Seasoning is the perfect blend of spices for to create your favorite barbeque flavor. With only 7 ingredients, you can make your own spice mix and pour it on your favorite meat, veggies, and so much more.
This post may contain affiliate links, please read my full disclosure here.

These Air Fryer Fajitas made with steak are a delicious addition to your Air Fryer meal rotation. Roasted peppers and onions with marinated steak pieces all made in one device, your Air Fryer.
This post may contain affiliate links, please read my full disclaimer here.

Make this Air Fryer Corn on the Cob and cover it with Cream, seasoning, Cheese, and a squeeze of lime and discover the magic of Mexican Street Corn.
This post may contain affiliate links, please read my full disclaimer here.
Full Recipe/Instructions are available in the
recipe card at the bottom of the post.
You can find important tips/tricks in the
blog post.

These Easy Peel Air Fryer Hard Boiled Eggs are easy to make and easy to peel. Yes, there’s a new way to make “boiled” eggs and it’s perfect!
This post may contain affiliate links, please read my full disclosure here.

This Jamaican Instant Pot Rice and Beans recipe is generally called "rice and peas" on the island. It's made with red kidney beans, coconut milk, and added spices. Make it in your Instant Pot Pressure Cooker for perfect results.
This post may contain affiliate links, please read my full disclosure here.

These Pressure Cooker Breakfast Recipes are the perfect way to start the day. Whether you have an Instant Pot, Ninja Foodi, or any other electric pressure cooker, these recipes are perfect. From eggs, oatmeal, grits, and breakfast gravy. Make them ahead or for the morning of, whatever works best for you and your family.

These Pressure Cooker (Instant Pot) Pinto Beans are a delicious bean recipe with Mexican flavors. They are no soak, full of flavor, and meatless.
This post may contain affiliate links, please read my full disclosure here.

These Lemon Pepper Air Fryer Chicken Thighs are quick, easy, and on your dinner table in less than 20 minutes. Juicy moist chicken made right in your Air Fryer.
This post may contain affiliate links, please read my full disclosure here.
Full Recipe/Instructions are available in the
recipe card at the bottom of the post.
You can find important tips/tricks in the
blog post.

These delicious Instant Pot Pork Chops are cooked in the Instant Pot Electric Pressure Cooker and covered in a tangy delicious gravy that is full of flavor. These pork chops are the perfect one pot weeknight meal.
This post may contain affiliate links, please read my full affiliate disclosure here.
Full Recipe/Instructions are available in the
recipe card at the bottom of the post.
You can find important tips/tricks in the
blog post.
This pork chop recipe has been a family favorite for years. But initially, I made it in the oven and it called for my pork chops to be marinated overnight and a 1 hour bake in the oven. That’s great for me on Sundays but for weeknights, that just wasn’t going to happen.
So I modified this family favorite recipe to my Instant Pot and I love it even more. Same great flavor, but less time and effort.
This was my first question I had when trying to convert this recipe. I had done my research initially, googling the above question but found mixed results among recipes. I realized a few things:
First, wash and dry your thick cut pork chops. Season both sides with salt, black pepper, and garlic powder. Press Sauté and select the "More" setting on your Instant Pot and wait for the display to say "Hot." Then add your oil, then your chops. Sear over high heat for about 3 minutes each side, until browned.
Once pork chops are seared, remove them and set aside. Then add butter to the Instant Pot and allow it to melt. Add onions, bell peppers, garlic and stir with a wooden spoon until the onions and peppers have softened, about 2-3 minutes.
Add chicken broth and use a wooden spoon to deglaze the Instant Pot, ensuring that all the brown bits have been removed from the bottom. Then stir in thyme, hot sauce, steak sauce, Worcestershire sauce, and ketchup. Place pork chops back in Instant Pot on top of the liquid.
Press "Cancel" on Instant Pot and cover with Instant Pot Pressure Cooker cover. Make sure the valve on the top of the Instant Pot is set to "Sealing." Then cook on High Pressure for 8 minutes. After the cooktime, allow the pressure cooker to naturally release for 10 minutes, then quick release the remaining pressure.
Once all the pressure is released, open lid and remove cooked pork chops.
Press"Cancel" on the Instant Pot and then select sauté. In a seperate bowl, whisk 2 tablespoon corn starch and 2 tablespoon water to create a corn starch slurry. Once the liquid in the instant Pot begins to bubble, add in your corn starch slurry to thicken the sauce. Allow it to boil for about one minute more. Press "Cancel" on your Instant Pot.
Serve pork chops covered with gravy. These are perfect with rice and vegetables. Enjoy 🙂
Looking for more Instant Pot dinner recipes? Try these:
Instant Pot Chicken and Yellow Rice
Instant Pot Copycat Rice a Roni
Pressure Cooker Salmon with Creamy Parmesan Herb Sauce

This Pressure Cooker Moroccan Spiced Soup is full of delicious spices like cumin, cinnamon, paprika, ginger, and allspice. Pair that with lamb meat that melts in your mouth and chickpeas. That my friend is this beautiful soup.

This post contains affiliate links, please read my full disclaimer here.
Full Recipe/Instructions are available in the
recipe card at the bottom of the post.
You can find important tips/tricks in the
blog post.
I love to travel. My hope is to one day travel around the world and eat the authentic cuisine of every single country I visit. Until I’m able to do that….I’ll bring the world into my kitchen.
This Moroccan Spiced Soup has become a regular in our kitchen. It’s so easy and delicious that it has joined a few other soups that make a regular appearance, like this jerk chicken soup and this sausage and lentil soup recipe.
Moroccan Soup, also known as Harira, is made with either chickpeas and/or lentils, tomatoes, and meat. A lot of recipes you will find will leave the meat out.
I’m a lover of meat and discovered that a traditional Moroccan Spice Soup will often contain lamb. So I made sure my soup recipe had it.
You should be able to find lamb at your local grocer. I usually buy a leg of lamb and chop it into 1 inch pieces. I have the butcher remove the bone.
The addition of lamb is perfect for this pressure cooker soup because each bite of lamb literally melts in your mouth. That's why the pressure cooker is amazing. It's perfect for cooking lamb and goat and getting them perfectly tender.
I make this soup (and almost all soups) in my Instant Pot Electric Pressure Cooker.
First, set your pressure cooker to the high sauté setting and wait for your display to say “Hot.” Once it does, add your oil and then your chopped lamb meat. You’ll want to brown the meat for 4-5 minutes.

Next, you’ll want to add your onions and garlic and sauté until your onions have softened a bit, about 3 minutes. The moisture from the onion should provide enough liquid to get some of those brown bits at the bottom of the Instant Pot up as well.
Removing those brown bits from the bottom of your Instant Pot is extremely important. It should always be done after browning meats to allow you food to pressure cook properly. I recommend using a wooden spoon for this.

Then add your spices and stir for about 1 minute.

Next, add your chicken broth. Once you add your chicken broth, grab your wooden spoon and deglaze once more, making sure that all brown bits are removed from the bottom of the pot.
Then you'll add your drained chickpeas and diced tomatoes. Do not stir at this time. Rumor is that tomatos and tomatoes based producs could cause some Instant Pots to give off that dreaded burn signal. A way to avoid that is to layer tomato products on top and stir once the pressure cook cycle is complete.

Cover and cook on high pressure for 20 minutes. It will take your pressure cooker about 10-15 minutes to reach pressure. Once the cook cycle is complete, allow the moroccan spiced soup to natural release for 10 minutes, then you may release the rest of the pressure.
Once all your pressure is released, open the lid and smell the aroma...it's delightful. Stir in your spinach until all the spinach is fully submerged in the soup.
Enjoy 🙂

If you're new to the Instant Pot and are looking for a recipe perfect for beginners with step by step photos and instructions, try this Instant Pot Shrimp Paella.
Looking for other Instant Pot Soup Recipes? Try these out:


These Creamy Instant Pot Grits with Cheddar and Jalapeño are a delicious addition to your breakfast table. This recipe is so easy to make in your Electric Pressure Cooker.

This post contains affiliate links, please read my full disclaimer here.
You’ll find the full recipe with ingredient amounts and instructions in the recipe card at the bottom of this post. Be sure to check out the blog post itself for extra tips and tricks!
I love making breakfast recipes in my Instant Pot Pressure Cooker. From this egg bite recipe, to pumpkin oatmeal, to even bread pudding.
One of my favorite items to eat for breakfast is a good bowl of southern style creamy grits. I like my grits salty and cheesy and served with a side of bacon. I found that the Pressure Cooker was the perfect vessel to make grits.
Wait, pressure cooked grits? Yes, it seems bizarre but it works beautifully. You can check out my Ninja Foodi Fish and Grits where I also make grits in a pressure cooker.

Making grits in your pressure cooker is easy as pie and always comes out smooth and creamy. I tend to follow three common rules when making grits in my Pressure Cooker:
First, I prepare my ingredients by doing what's called mise en place. I grab a block of sharp cheddar cheese and I shred it, then set aside.

I tend to buy block cheese rather than pre-grated cheese for all my recipes because I find it melts a little better. However, pre-grated sharp cheddar cheese will work fine in this recipe.
Then prepare your jalapeños by removing the seeds and white membranes and chopping it. The spices of a pepper live in the seeds and the white membrane, removing them will remove the extra spice.

Add chopped bacon to your Instant pot insert. Then turn your Instant Pot sauté function on the "Normal" setting by pressing the "Sauté" button a few times.

Bacon cooks best when it's added to a cold pan and is cooked over a low temperature. I usually crank that Sauté function up to the highest setting but that would actually result in burnt bacon. So for this recipe, reduce the the sauté function.
You can reduce the Sauté function on your Instant Pot by pressing the Sauté button a few times.
Once your bacon is cooked and crispy, which takes about 15 minutes, remove it and place it on a paper towel to drain. Remove the excess grease from the Instant Pot, leavung about 2 tablespoon in the pot.
Add jalapeño and sauté for about two minutes.

Add stone ground grits, and stir for about 10 seconds. Add water and use a wooden spoon to get up any brown bacon bits on the bottom of the pot. Then stir in your heavy cream and a little salt.

Cover and cook on high pressure for 10 minutes, allow to natural release for 10 minutes, the manually release any remaining pressure.
Open lid and add cheddar cheese and cream cheese and stir until incorporated.

Your grits will look a bit watery initially. Allow them to cool for about 5 minutes before serving.
Oh, don't forget those bacon pieces....place them on top of your grits and Enjoy 🙂

If you don't want to make a huge batch of grits, pot in pot works fine for this recipe. Just cut it in half and use a smaller bowl with a trivet.
You could also store this recipe in your refrigerator and reheat it the next day. I put mine in the microwave for about 1-1:30 minutes.


This Slow Cooker (Instant Pot) Hot Christmas Punch Recipe is the perfect drink to keep you warm over the Holidays. Made with cinnamon flavored candy and juice to give it the perfect sweetness and spice.

This post contains affiliate links, please read my full disclaimer here.
Full Recipe/Instructions are available in the
recipe card at the bottom of the post.
You can find important tips/tricks in the
blog post.
Anyone that knows me knows that I’m a summer girl and warm weather is my thing. But I’ll have to deal with the cold weather North Carolina brings and prepare to the best of my ability. That’s where this delicious Hot Holiday Punch comes to the rescue.
It’s a nice refreshing break from the usual winter drinks of hot chocolate and hot tea. It reminds me of a warm version of my Jamaican Rum Punch recipe, only with a nice cinnamon kick.
Oh, and this recipe is non-alcoholic although a nice white rum can be added if you like (we love it and add it quite often).
This recipe is perfect for a party or anytime the family wants a nice hot mug of holiday punch.

I like to cook my Hot Holiday Punch nice and slow over a period of two hours. I use my Instant Pot on the Slow Cooker mode to make this Holiday Punch, but any slow cooker would do.
Add equal parts cranberry juice and unsweetened pineapple juice to the cooker. I use 4 cups of each in this recipe. Then add ½ cup of cinnamon flavored candy (I use Red Hots). and 3 cinnamon sticks. Stir and cover.
If using an Instant Pot, you will need a glass cover to use the slow cook function. Also, you will need to set the 2 hour function on the “More” setting to get it heated though after 2 hours.
For a traditional slow cooker, you’ll need to use the low setting for 2 hours.
You can but for best results, go on and just put it on slow cook. I tried myself to speed up the magic of this punch by pressure cooking first but the flavors just didn’t pop as much as they did when it was cooked low and slow.
Yes. I put any leftovers in a mason jar and reheat when I need a midweek drink.
I hope you like this Holiday Punch Recipe as much as we do. Until next time.

Recipe Adapted from Taste of Home.

These delicious and easy Air Fryer Steak Kebabs are made in your Air Fryer with little effort. Marinated steak and delicious air fried vegetables make this air fryer recipe a family favorite.

This post contains affiliate links, please read my full disclaimer here.
Full Recipe/Instructions are available in the
recipe card at the bottom of the post.
You can find important tips/tricks in the
blog post.
It’s cold outside but I still get to make air fryer steak kebabs without using an outdoor grill. Thanks to my Air Fryer, I get to have kebabs year round.
My favorite type of kebab are these steak kebabs. Steak in the air fryer is an all time favorite of mine so steak kebabs just seemed appropriate.
Yes, yes, and yes. This Perfect Air Fryer Steak recipe is one of our favorite ways to prepare steak. Following the same methods I used in that recipe, I was able to prepare perfect steak kebabs/skewers.
First, you'll start by marinating your steak. I use sirloin steak that has been cut into 1 inch cubes. I try my hardest to make sure all the steak is about the same size so it cooks evenly.

Then you will prepare your vegetables by chopping your onions, peppers, and cleaning those super dirty mushrooms. I then toss them in a bowl with some olive oil and I sprinkle a little bit of salt and fresh cracked black pepper over them.

Grab your skewers and start placing your kebabs on. I use metal skewers that came with this air fryer kit. They are reusable and fit right inside my Air Fryer. You could use wooden skewers but you would want to soak them first so that they don't burn. Here's a
Once the meat and vegetables are placed on your skewers, place them in your preheated Air Fryer of 390 degrees Fahrenheit. I usually can fit about 6 kebabs on my Air Fryer. I cook my kebabs for 12 minutes, flipping them halfway through.

I suggest using top sirloin for these steak kebabs. It’s a cheaper cut but stays juicy after marinating and air frying.
For the vegetables, I've included my favorites in this recipe but you could definetly sub for your favorites. I'm thinking zucchini, pearl onions, and colored bell peppers would be great.
I hope you enjoy this Air Fryer Steak Kebab recipe as much as we do. Until next time.
Looking for more fun Air Fryer Recipes? Try these out:

This Cheesy Instant Pot Chicken Spaghetti is a delicious easy meal that is perfect for weeknights. Make restaurant quality pasta all in one pot.

This post contains affiliate links, please read my full disclaimer here.
You’ll find the full recipe with ingredient amounts and instructions in the recipe card at the bottom of this post. Be sure to check out the blog post itself for extra tips and tricks!
I love making pasta in my electric pressure cooker. I’m sold, it works. There is no draining, awesome flavor, and it's seriously hands off.
First it was this Pressure Cooker White Cheddar Pasta, then it was these Instant Pot Garlic Noodles, and now this Chicken Spaghetti Pasta in the Instant Pot.
I came up with this recipe after realizing that most people added chicken to my other pasta recipes. It was genius and I needed to go on ahead and make an all inclusive meal. So I thank you all 🙂
So about this chicken spaghetti recipe...It has mushrooms, chicken, and cheese which provides so much flavor. There is some sautéing involved but for the most part, it’s a dump it in the pot kind of meal.
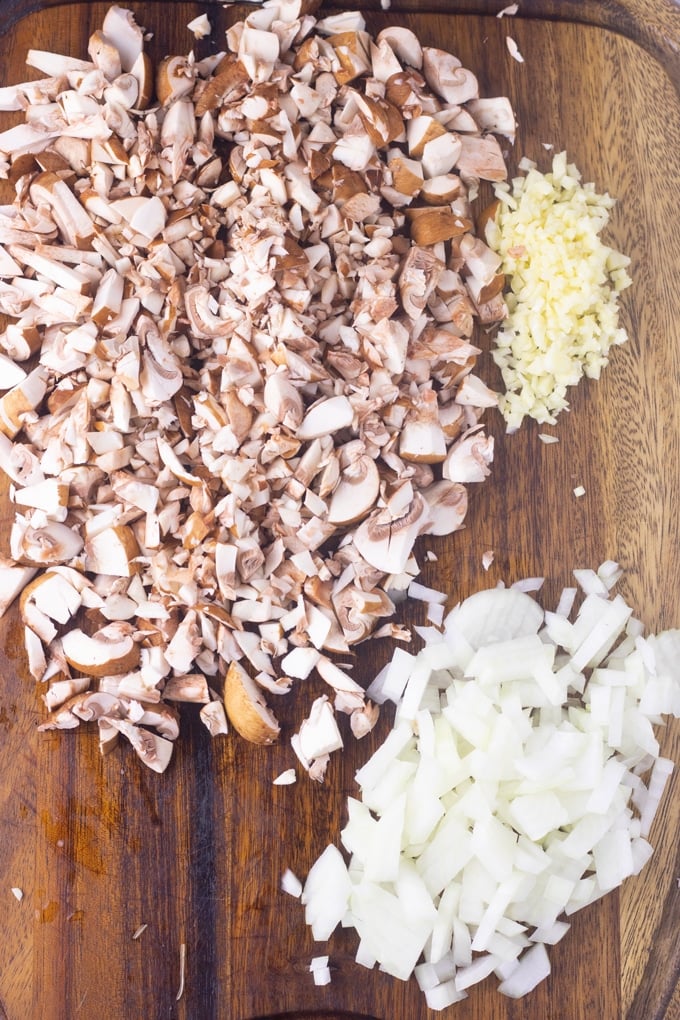
For this recipe, I like start with the "More" Sauté function on my Instant Pot. I sauté my onions, mushrooms, and garlic in butter until those onions and mushrooms are nice and softened, about 4-5 minutes. I call this step "flavor releasing" and I think it’s pretty crucial for this recipe.

Once those veggies are nice and satueéd, I like to add my red bell pepper and dry seasonings. I give it a quick stir and then press “Cancel” on my Instant Pot.

I then add my cut up chicken breast and lay it across the bottom of the pot over the onions and mushrooms. I do not sauté the chicken in this step. Fact is, since it’s chicken breast, it could easily overcook if I chose to sauté and then pressure cook these small chunks. They will get completely cooked during the pressure cook cycle. Plus, satueéing chicken breast at this stage wouldn’t add much of anything to the flavor profile of this dish.
Add a little bit of salt and pepper to the chicken pieces. I like to use a pinch of salt and a couple of twist on my fresh black pepper mill.

Pour in your chicken broth and lay your pasta pieces on top in a fan like way. This will help with your noodles so they don’t stick. Lightly push the noodles down and try to get the liquid to cover them all. It’s ok if the noodles are not completely submerged in the liquid.

Cover, and cook on high pressure for 6 minutes. Once that time is complete, slowly move the valve over and quick release. Open and begin to stir. Add heavy cream and cheese and stir until the noodles are separated and cheese has melted.

Press "Cancel" on your Instant Pot and select "Sauté." Allow pasta dish to simmer for 3-5 minutes, stirring to ensure that pasta doesn't stick to the bottom and sauce thickens.
I’ve made this recipe in both my Instant Pot and Ninja Foodi and it’s worked well in both machines.
Some of your noodles will stick together after pressure cooking. You must stir like a champion as soon as you open that lid to make them break apart.
Some Instant Pot recipes that use heavy cream add the heavy cream before pressure cooking. It does work in some recipes and can and did work in this one. However, after testing it out both ways, I preferred to add the heavy cream in this recipe after pressure cooking.
Your pasta will be a little watery when you open it. I do recommend sautéing it for 3-5 minutes after you have added your heavy cream and cheese, remembering to stir so it doesn’t stick to the bottom. Your sauce will also thicken when it’s done cooking.

Looking for more Instant Pot Pasta Recipes? Try these out:

Did you know that the Instant Pot makes some amazing desserts? Have you been searching for these dessert recipes? I got you covered with this Ultimate List of Instant Pot Dessert Recipes from some amazing food bloggers.

This post contains affiliate links, please read my full disclaimer here.


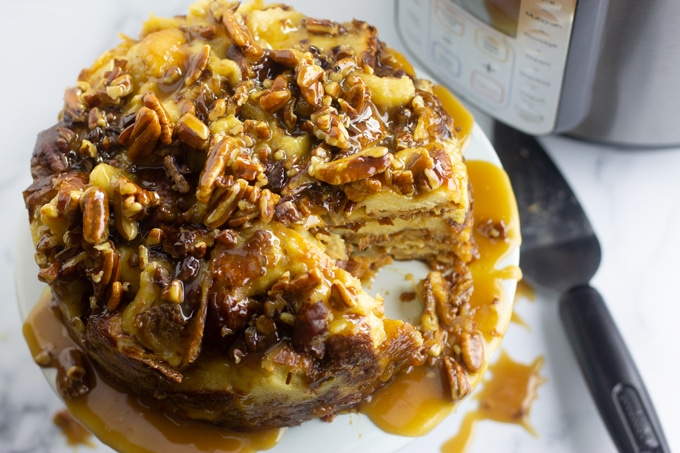
This Instant Pot Bread Pudding with Pecan Caramel Glaze is perfect to make in your Instant Pot. The bread pudding stays moist and delicious and is topped with a sweet and nutty pecan caramel glaze.

This post contains affiliate links, please read my full disclaimer here.
Full Recipe/Instructions are available in the
recipe card at the bottom of the post.
You can find important tips/tricks in the
blog post.
Is bread pudding a breakfast or dessert, that is the question! Well I say both! This recipe came about because I really wanted to make dessert in my Instant Pot. I had already made this New York Cheesecake, my Carrot Cake Cheesecake, and now I wanted to try pecan pie in the Instant Pot Pressure Cooker.
So one night, I went to experimenting….and after I made the batter for my pecan pie and put it in the Instant Pot, I fell asleep. First, let me say that I do not recommend falling asleep while doing any form of cooking.
Secondly, let me say that I am so glad that I was baking in my Instant Pot rather than any other device. I woke up and found that my Instant Pot had been natural releasing for 7 hours...but my home and my family were ok. I dumped that pie out and decided to try for another day.
A few days later, I noticed I still had a ton of pecans in the pantry but I now was craving bread pudding. So it dawned on me, combine both desserts and live my best life. So I did, it was amazing, and I am sharing the recipe.
This bread pudding has about 3 seperate layers, the bread pudding, a pecan pie glaze, and a caramel pecan glaze on top.
First, you whisk together milk, heavy cream, lightly beaten eggs, sugar, vanilla extract, and melted butter in a medium bowl. Set aside.

Then grab a larger bowl and break a loaf of challah bread into 2 inch pieces. If you can’t find Challah, Brioche or even Texas Toast would be a fine substitute.
Pour the milk mixture over the pieces of bread and softly toss, ensuring that all of the pieces of the bread are covered. Set aside and allow the bread to soak up all of the milk mixture for at least 1 hour. Some people soak bread pudding over night, an hour is good enough for this recipe.

When there is about 10 minutes left of soaking, whisk together dark corn syrup, lightly beaten eggs, brown sugar, melted butter, vanilla extract in a bowl. Toss in chopped pecans into this mixture.

When ready, grab a 7 inch pan (I used the bottom of this Instant Pot Steamer Insert) and grease all sides with butter. Add a layer of soaked bread on the bottom, then add about ½ cup of the pecan glaze mixture, then more bread, and continue until the top layer is a layer of pecan glaze. Lightly cover pan with foil and place in Instant Pot.

My steamer basket comes with an insert that makes it easy to place the pan into the Instant Pot and easy to take it out. If you don’t have a pan, you could always create a foil sling to place the pan in the pot. Or you could use this oxo bakeware sling.

Cover and cook on high pressure for 30 minutes, with a natural release of 15 minutes, and then manually release the remaining pressure.
Once done, open Instant Pot and remove bread pudding and foil. It should look like this.

Meanwhile, create your top layer, pecan caramel glaze, by placing a heavy bottom saucepan over medium high heat. Whisk together butter, corn syrup, sugar, heavy cream, and a pinch of salt. Allow mixture to come to boil and reduce heat to medium. Allow mixture to cook for 5-7 minutes, stirring occasionally. Test your glaze to see if it coats the back of a spoon. If it does, it’s done and you can remove from the heat. Stir in chopped pecans.

Pour Glaze over bread pudding and Enjoy 🙂
Hope you enjoy this bread pudding as much as we do. Until next time 🙂
Looking for more Instant Pot Dessert Recipes? Try my Instant Pot Carrot Cake Cheesecake or these Instant Pot Chocolate Cake Bites.


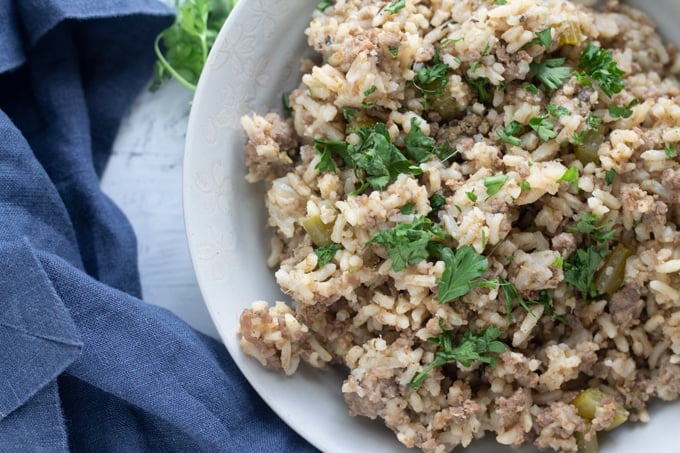
This Instant Pot Cajun Dirty Rice is a delicious Southern favorite made with Cajun flavors. Make this entire dish all in your electric Pressure Cooker with ease.

This post may contain affiliate links, please read my full disclosure here.

This easy and delicious Roasted Cauliflower Dip is the perfect hot dip that is full of flavor. Grab your crackers, chips, or veggies and dip until your heart desires with this delicious appetizer.

This post may contain affiliate links, please read my full disclosure here.
FULL RECIPE AND INSTRUCTIONS ARE AVAILABLE IN THE RECIPE CARD AT THE BOTTOM OF THE POST. YOU CAN FIND IMPORTANT TIPS/TRICKS IN THE BLOG POST.
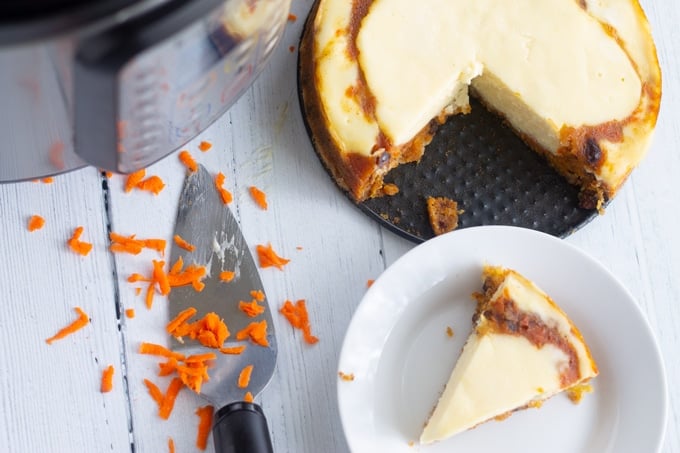
This Instant Pot Cake recipe combines moist Carrot Cake and Creamy Delicious Cheesecake all in one dish. Now you can have the best of both worlds with this cake recipe.

This post may contain affiliate links, please read my full disclosure here.
FULL RECIPE AND INSTRUCTIONS ARE AVAILABLE IN THE RECIPE CARD AT THE BOTTOM OF THE POST. YOU CAN FIND IMPORTANT TIPS/TRICKS IN THE BLOG POST.
Happy Birthday to Me! I usually celebrate my birthday by going out to The Cheesecake Factory and having a wonderful dinner followed by a delicious slice of cheesecake. If you’ve ever been to the Cheesecake Factory, then you know that they have tons of cheesecakes on their menu.

Create creamy grits and delicious crisp fish all in the Ninja Foodi Pressure Cooker with Air Crisp.

The Ninja Foodi cooking system is truly living up to all the hype. I've made a lot in my little cooking system but this recipe is a true refelction on how you can make a delicious one pot meal all in the Foodi.
First, I made creamy grits all in the pressure cooker. No more constant stirring.
Then, I finished it off by air frying the fish while my grits were still in the pot.
I did all this while recording this handy dandy video.

As always, hope you enjoy this Ninja Foodi recipe.
If you love this recipe, try my shrimp and grits on the stovetop recipe.

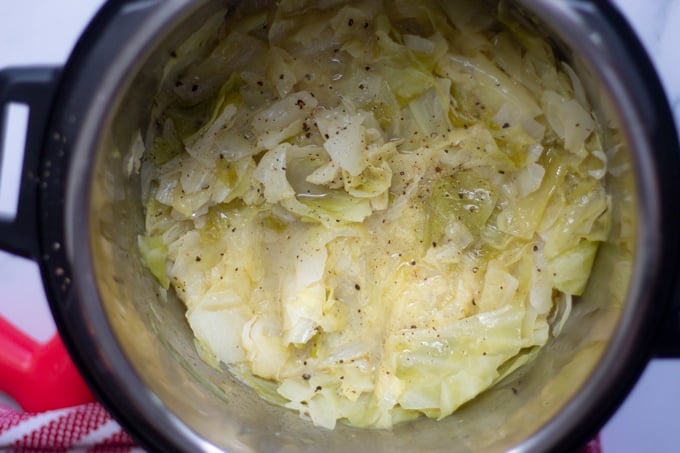
This Buttered Instant Pot Cabbage is the easiest way to make delicious cabbage in your Instant Pot. Only 5 ingredients in this delicious side dish.

This post may contain affiliate links, please read my full disclosure here.
Full Recipe/Instructions are available in the
recipe card at the bottom of the post.
You can find important tips/tricks in the
blog post.
It’s so simple. Yes, this Buttered Instant Pot Cabbage is so simple that I almost didn’t make it a blog post. But I promised I’d post more recipes that weren’t too complicated yet still were great on flavor. So here’s to delicious cabbage made right in your Instant Pot Pressure Cooker.