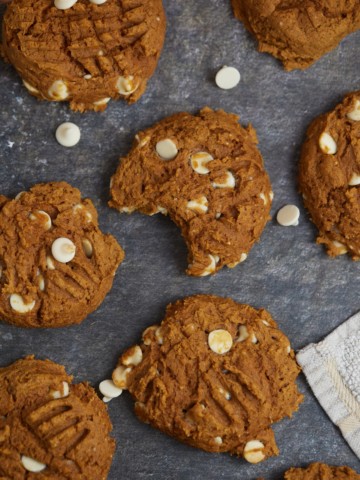
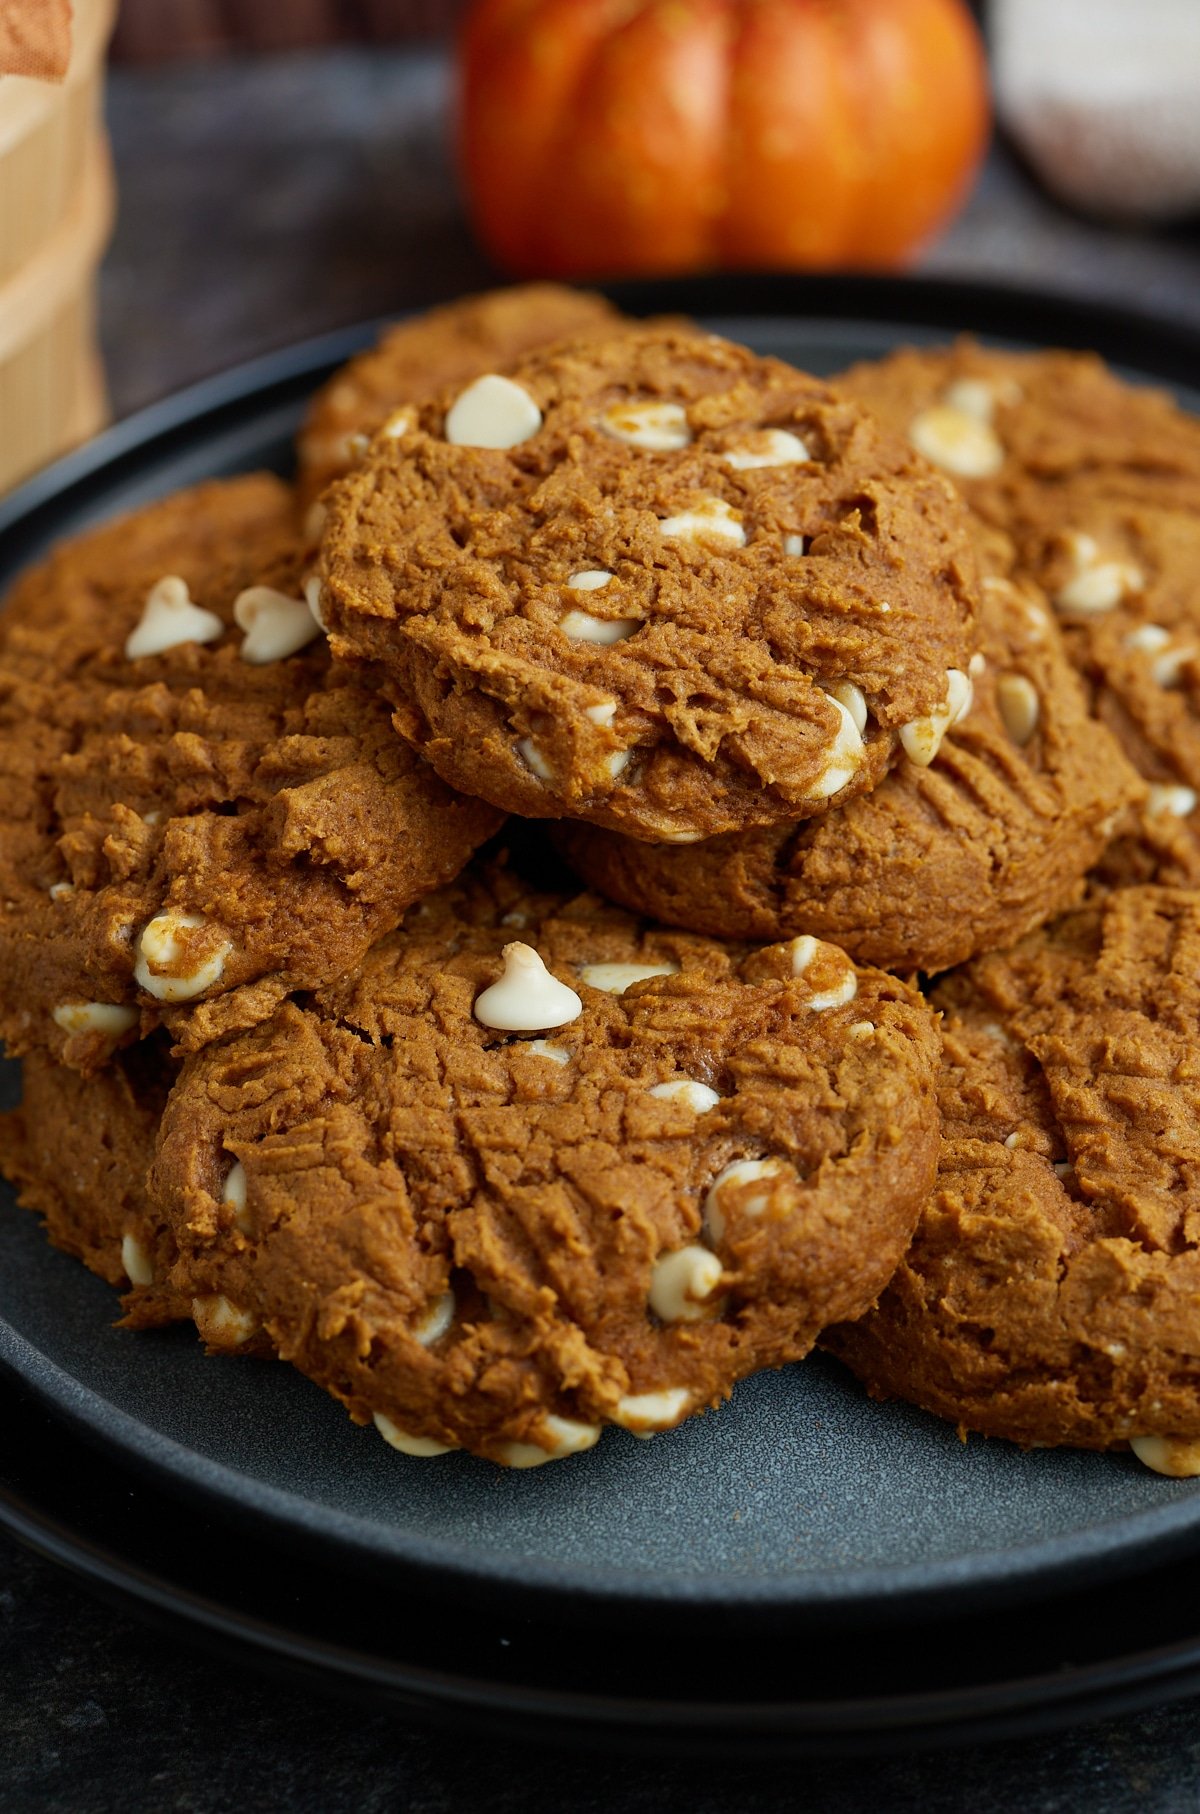
Fall baking just got easy with these delicious pumpkin cookies! Made with just 3 ingredients, it takes minutes to make up a big batch for the whole family to enjoy. I know you are going to love these!
You’ll find the full recipe with ingredient amounts and instructions in the recipe card at the bottom of this post. Be sure to check out the blog post itself for extra tips and tricks!
Let's get the fall baking off to a tasty start with these delicious and easy 3-ingredient pumpkin cookies! So simple to make, this is a great recipe to get the kids to help you out in the kitchen!

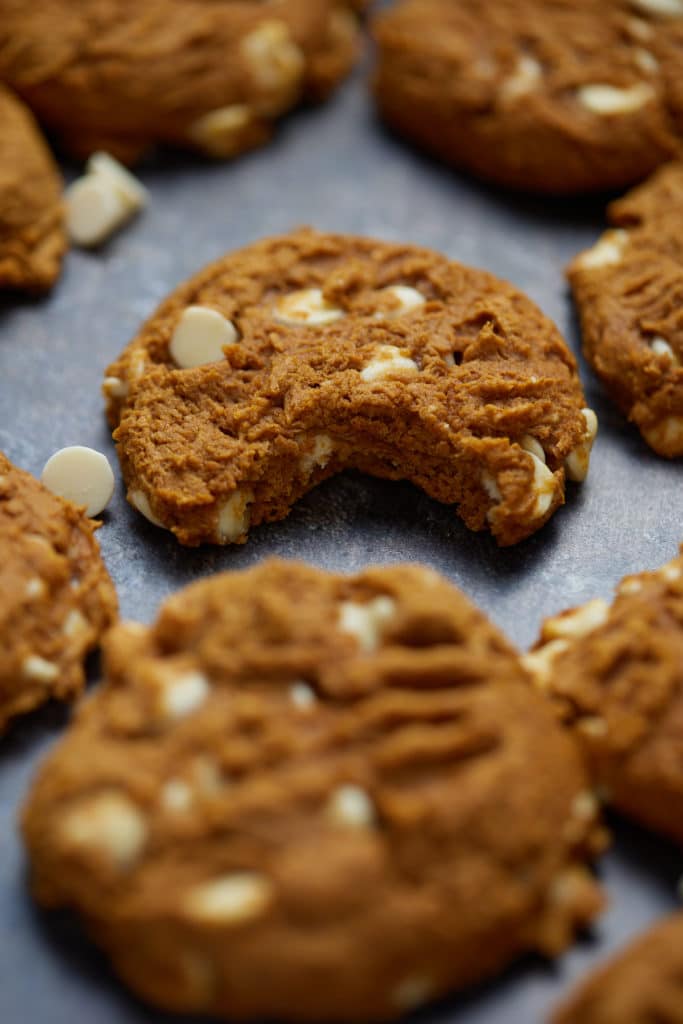
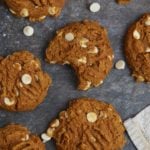
These pumpkin spice cookies are made with white chocolate chips, making them a perfect treat that the whole family will love. Made with a box cake mix and pumpkin puree, they come together in minutes. Even the most novice of bakers will easily master these!
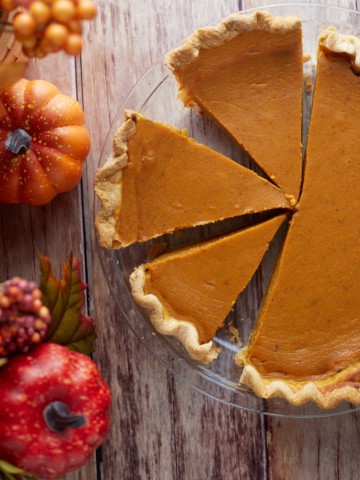
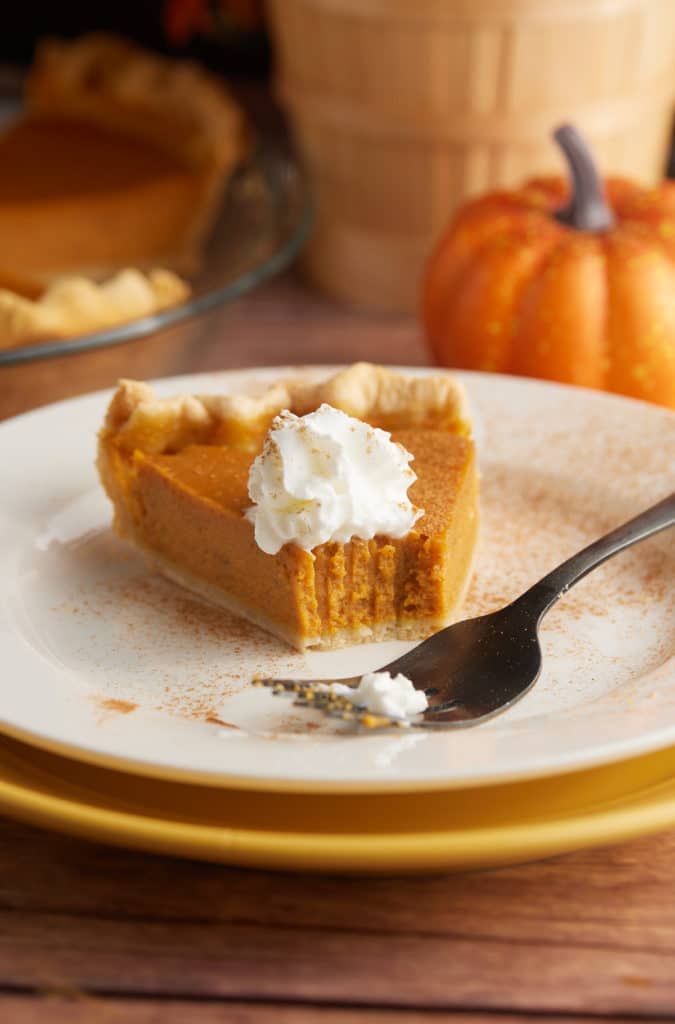
Be sure to try my Pumpkin Pie and Pumpkin Waffles too!
♡ Tanya
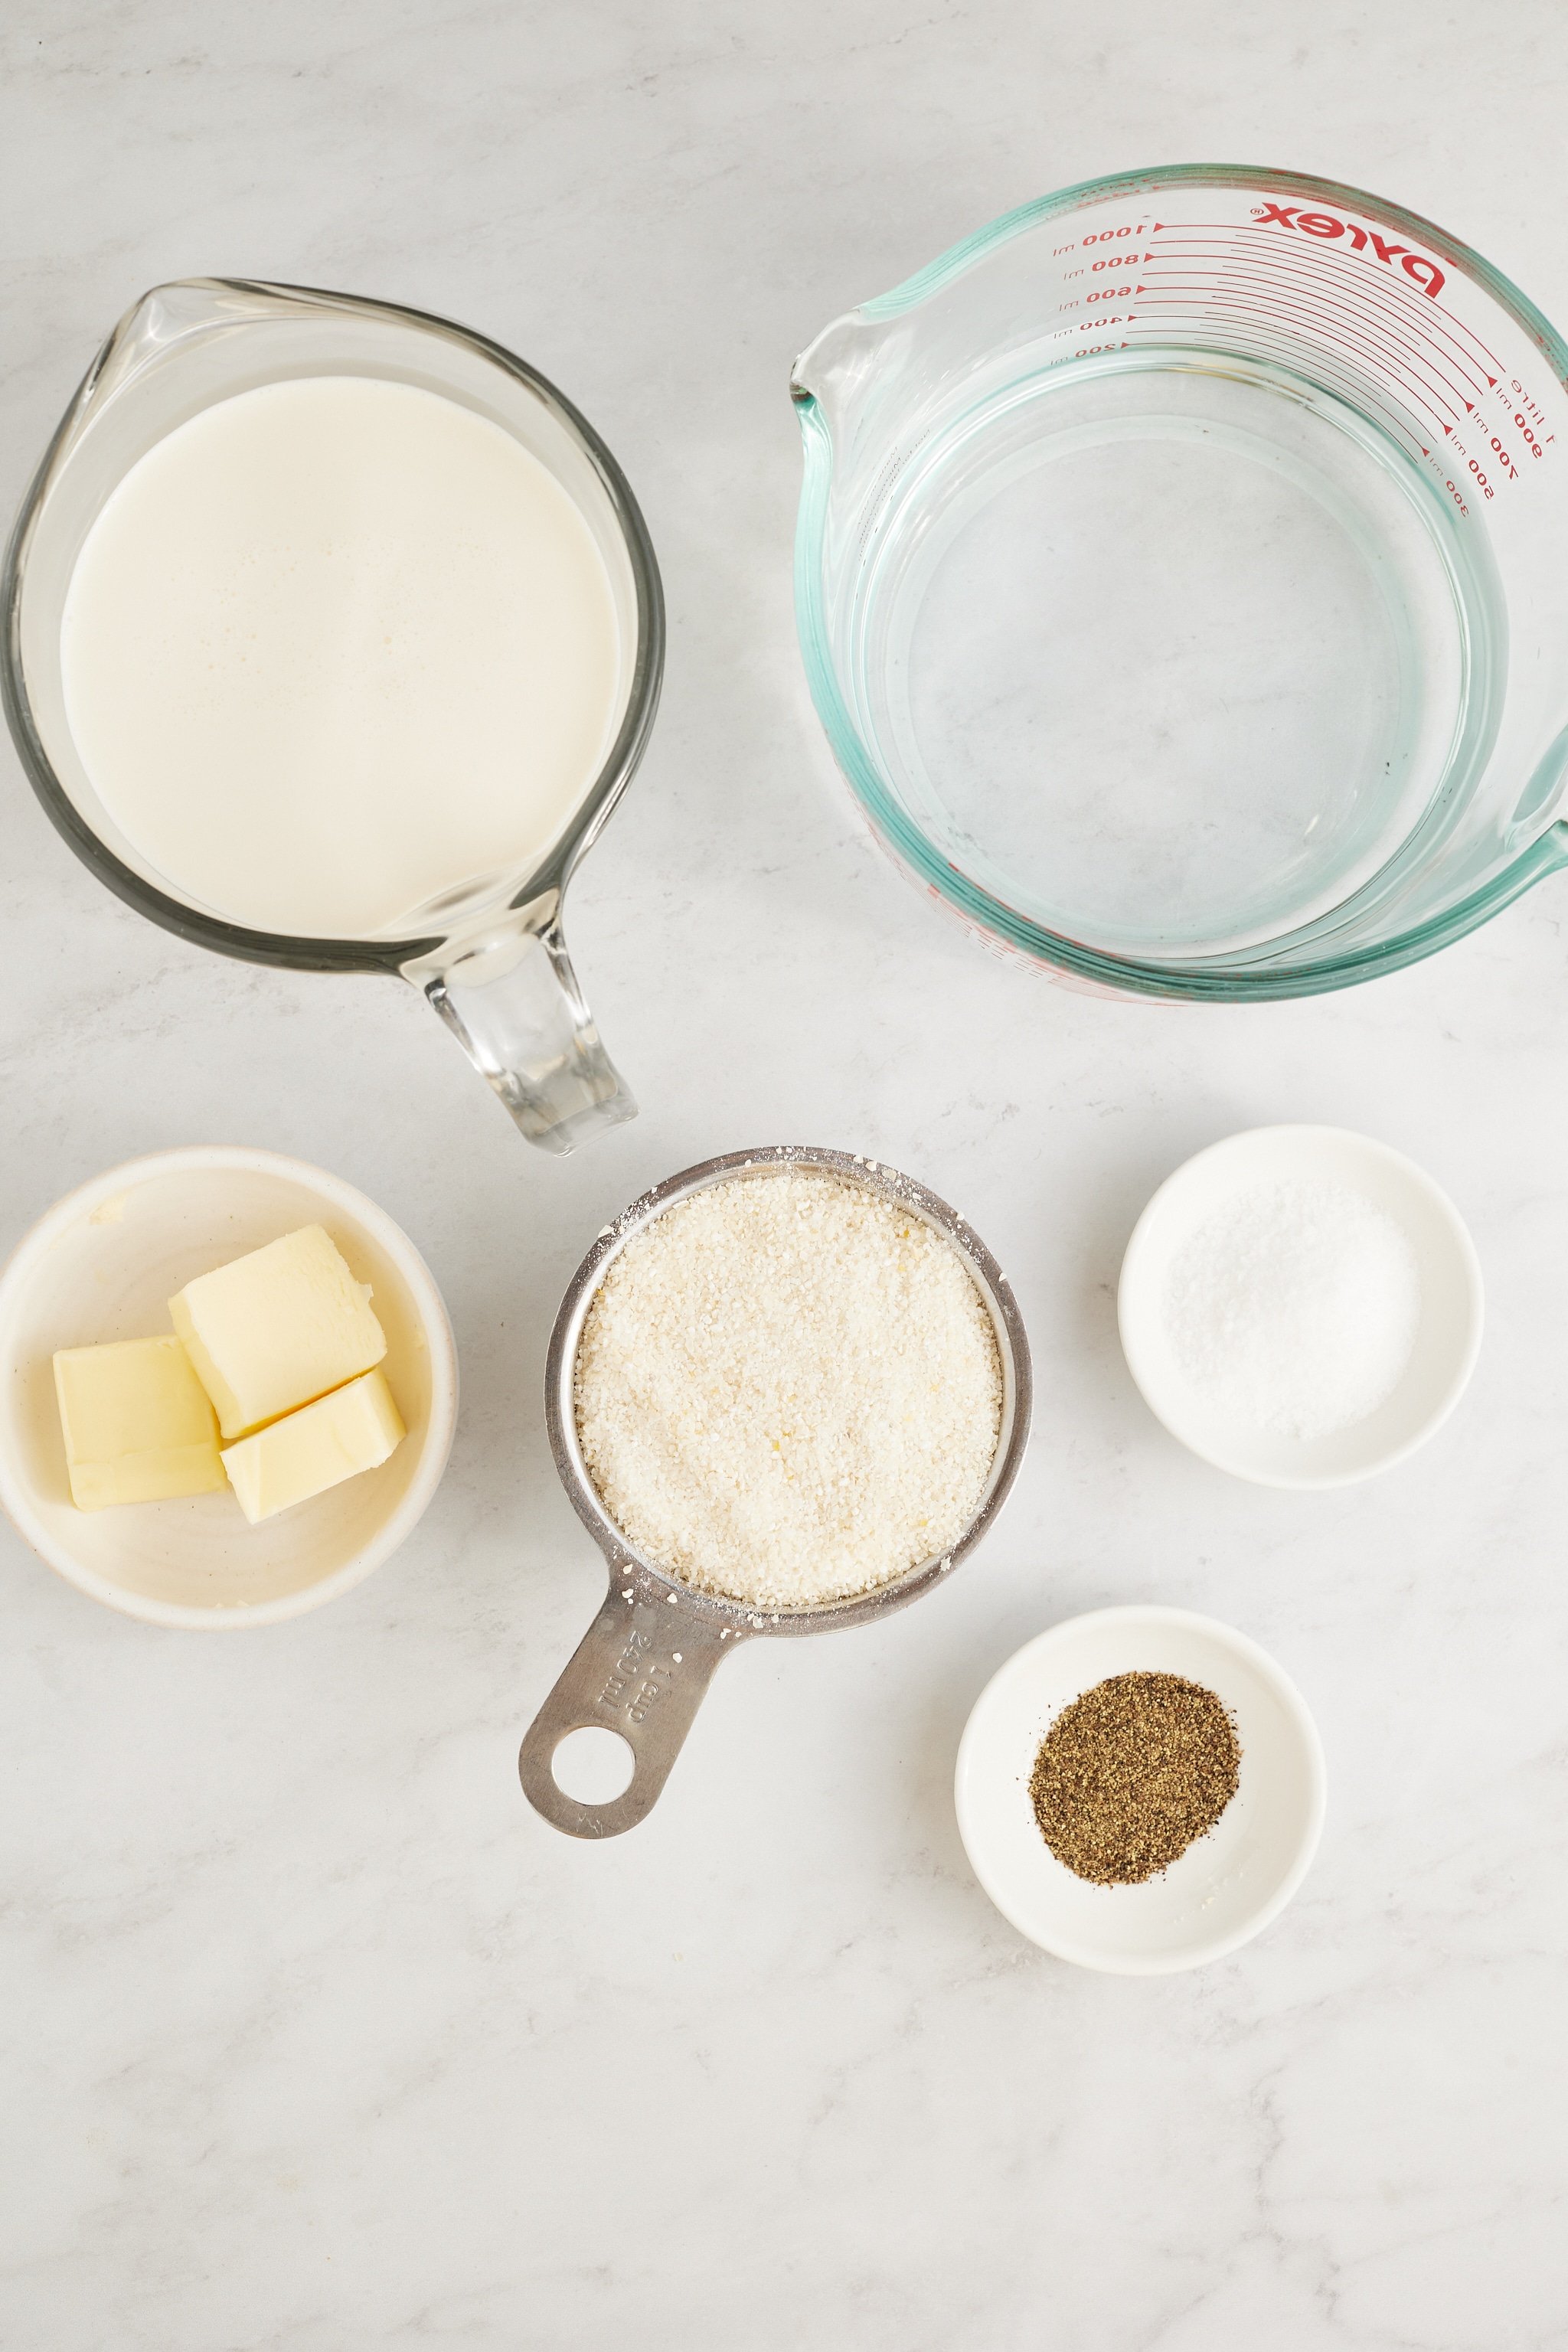
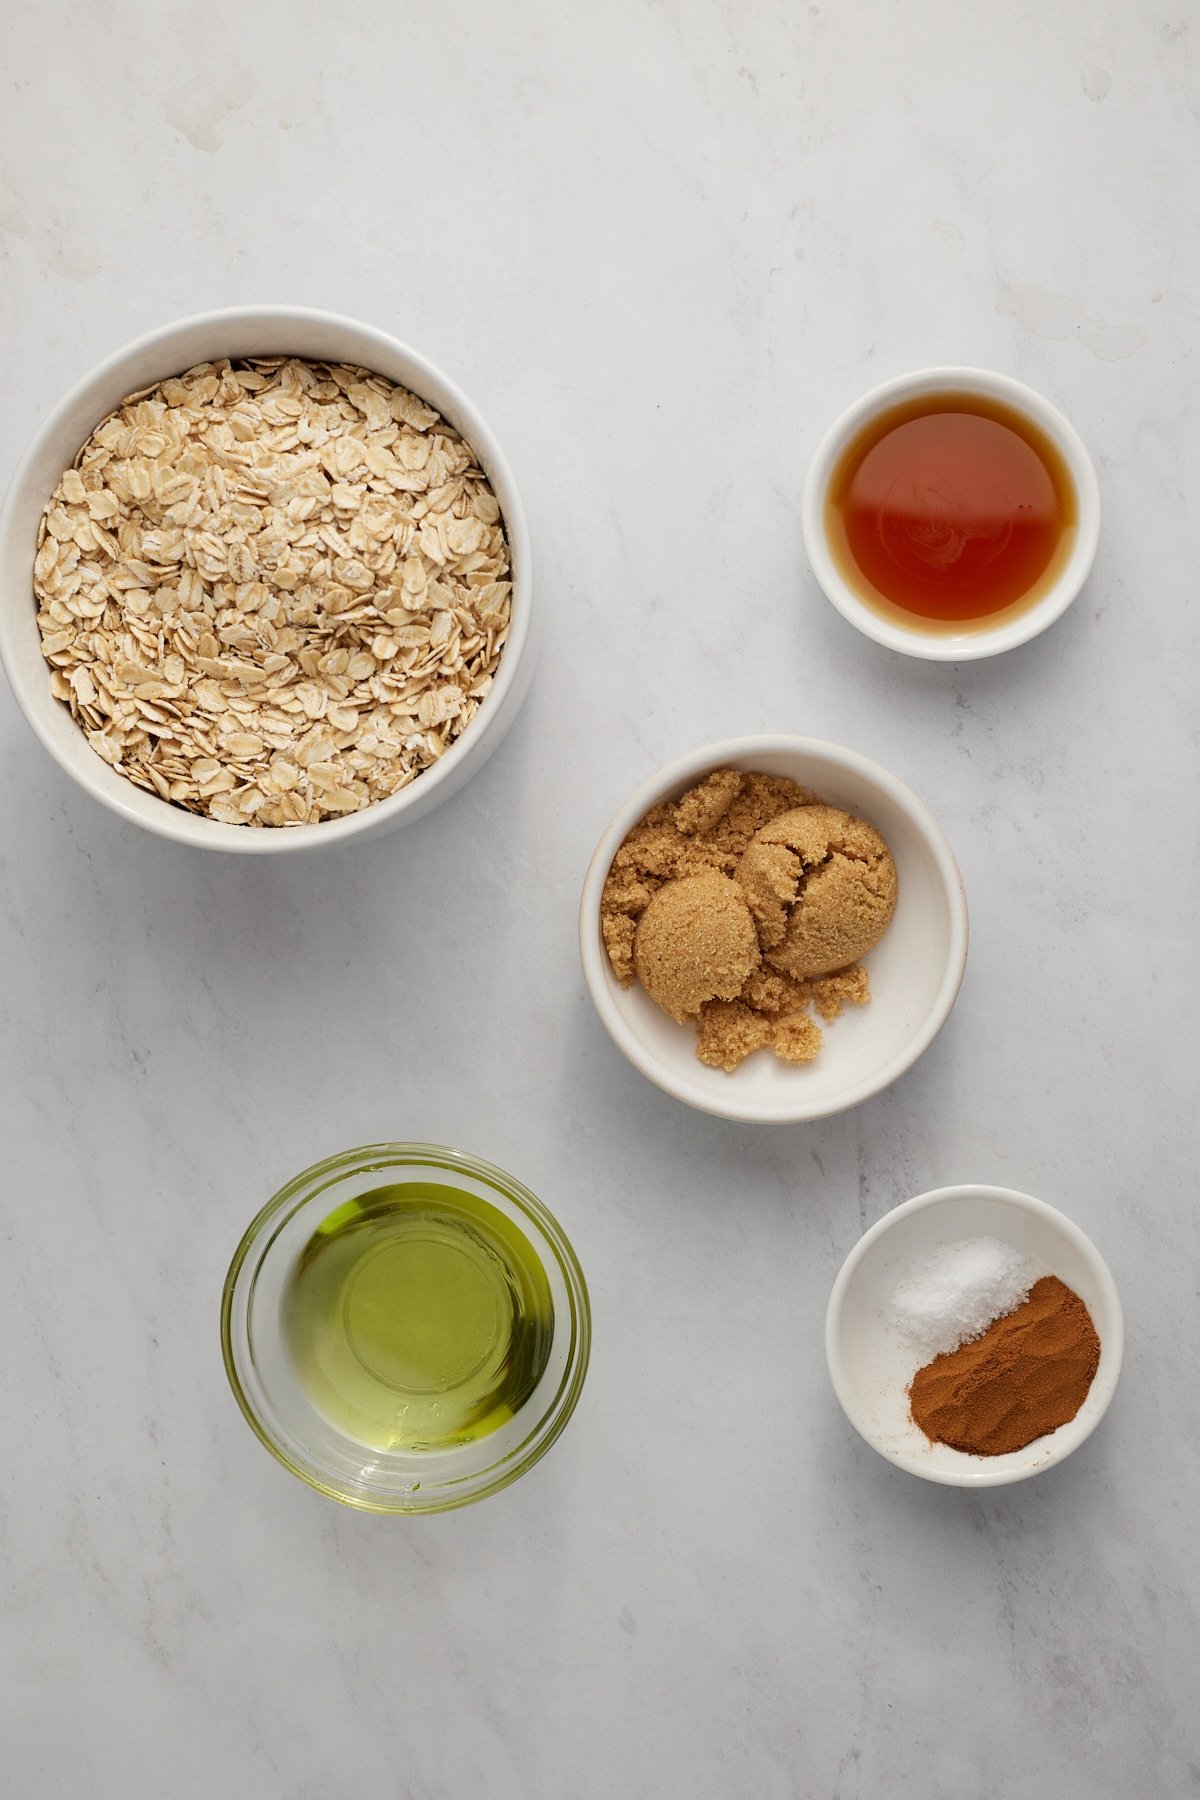
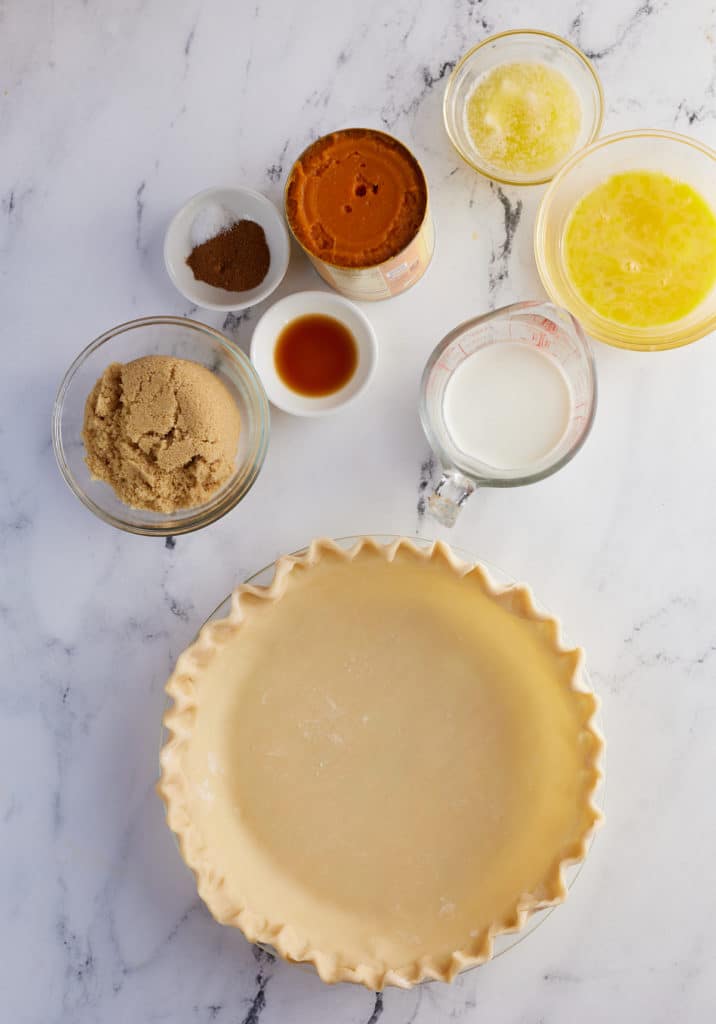
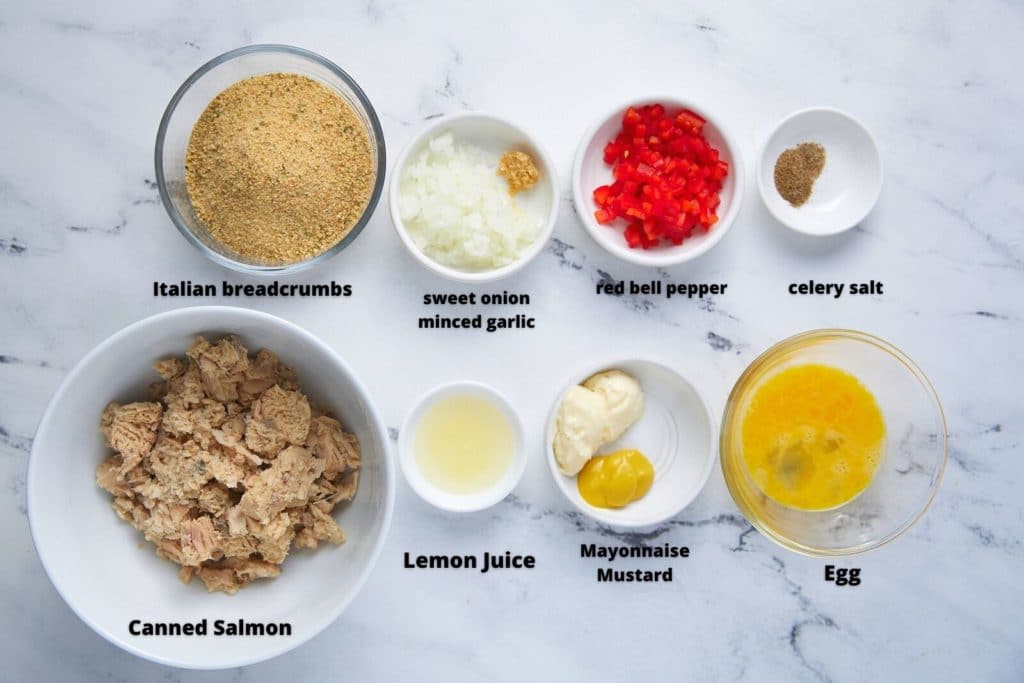
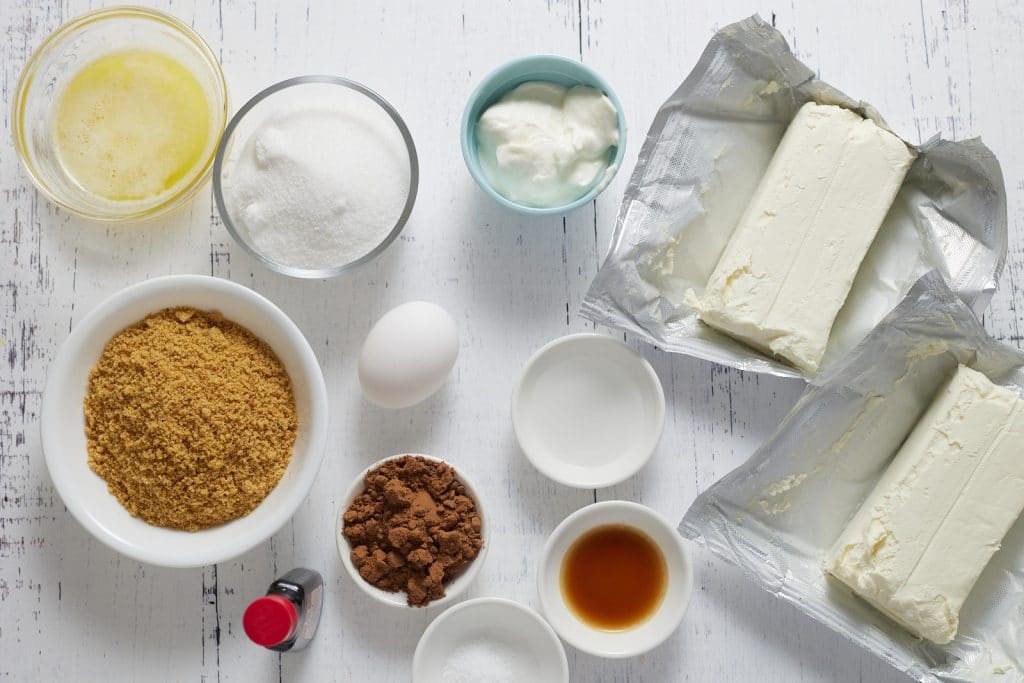
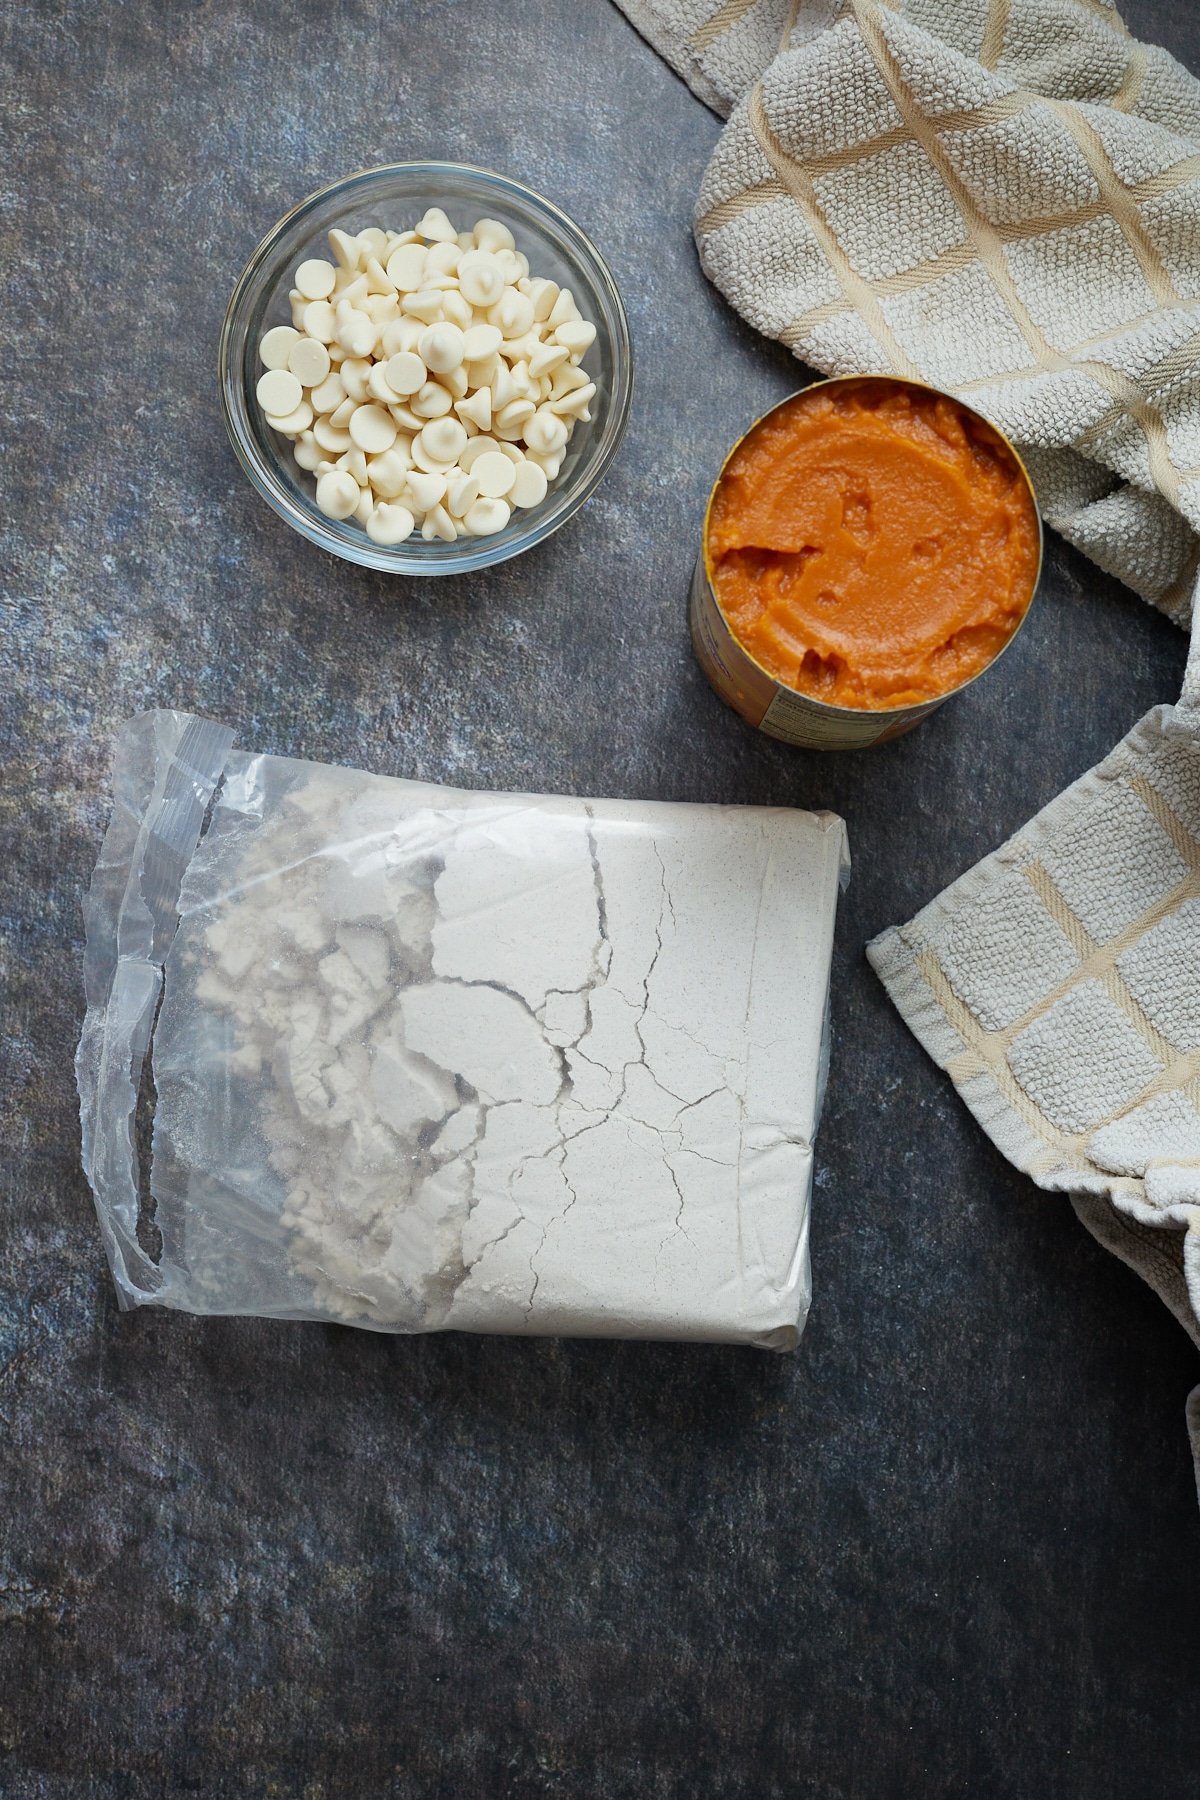
A Quick Look at The Ingredients
Ingredient amounts and full recipe instructions are on the printable recipe card at the bottom of the post.
- Spice cake mix – Provides structure, sweetness, leavening, and warm spices in one step.
- Pure pumpkin – Adds moisture, acts as a binder, and delivers pumpkin flavor.
- White chocolate chips – Add creamy sweetness and a contrasting texture. You can also use milk chocolate, dark chocolate, or peanut butter chips.
- Cooking spray (optional) – Prevents sticking when flattening cookies before baking. You can also use parchment paper as an alternative to cooking spray.
How to make easy pumpkin cookies
Step 1: Preheat the oven to 350°F. Prepare a baking sheet with parchment paper or a silicone liner. Set aside.
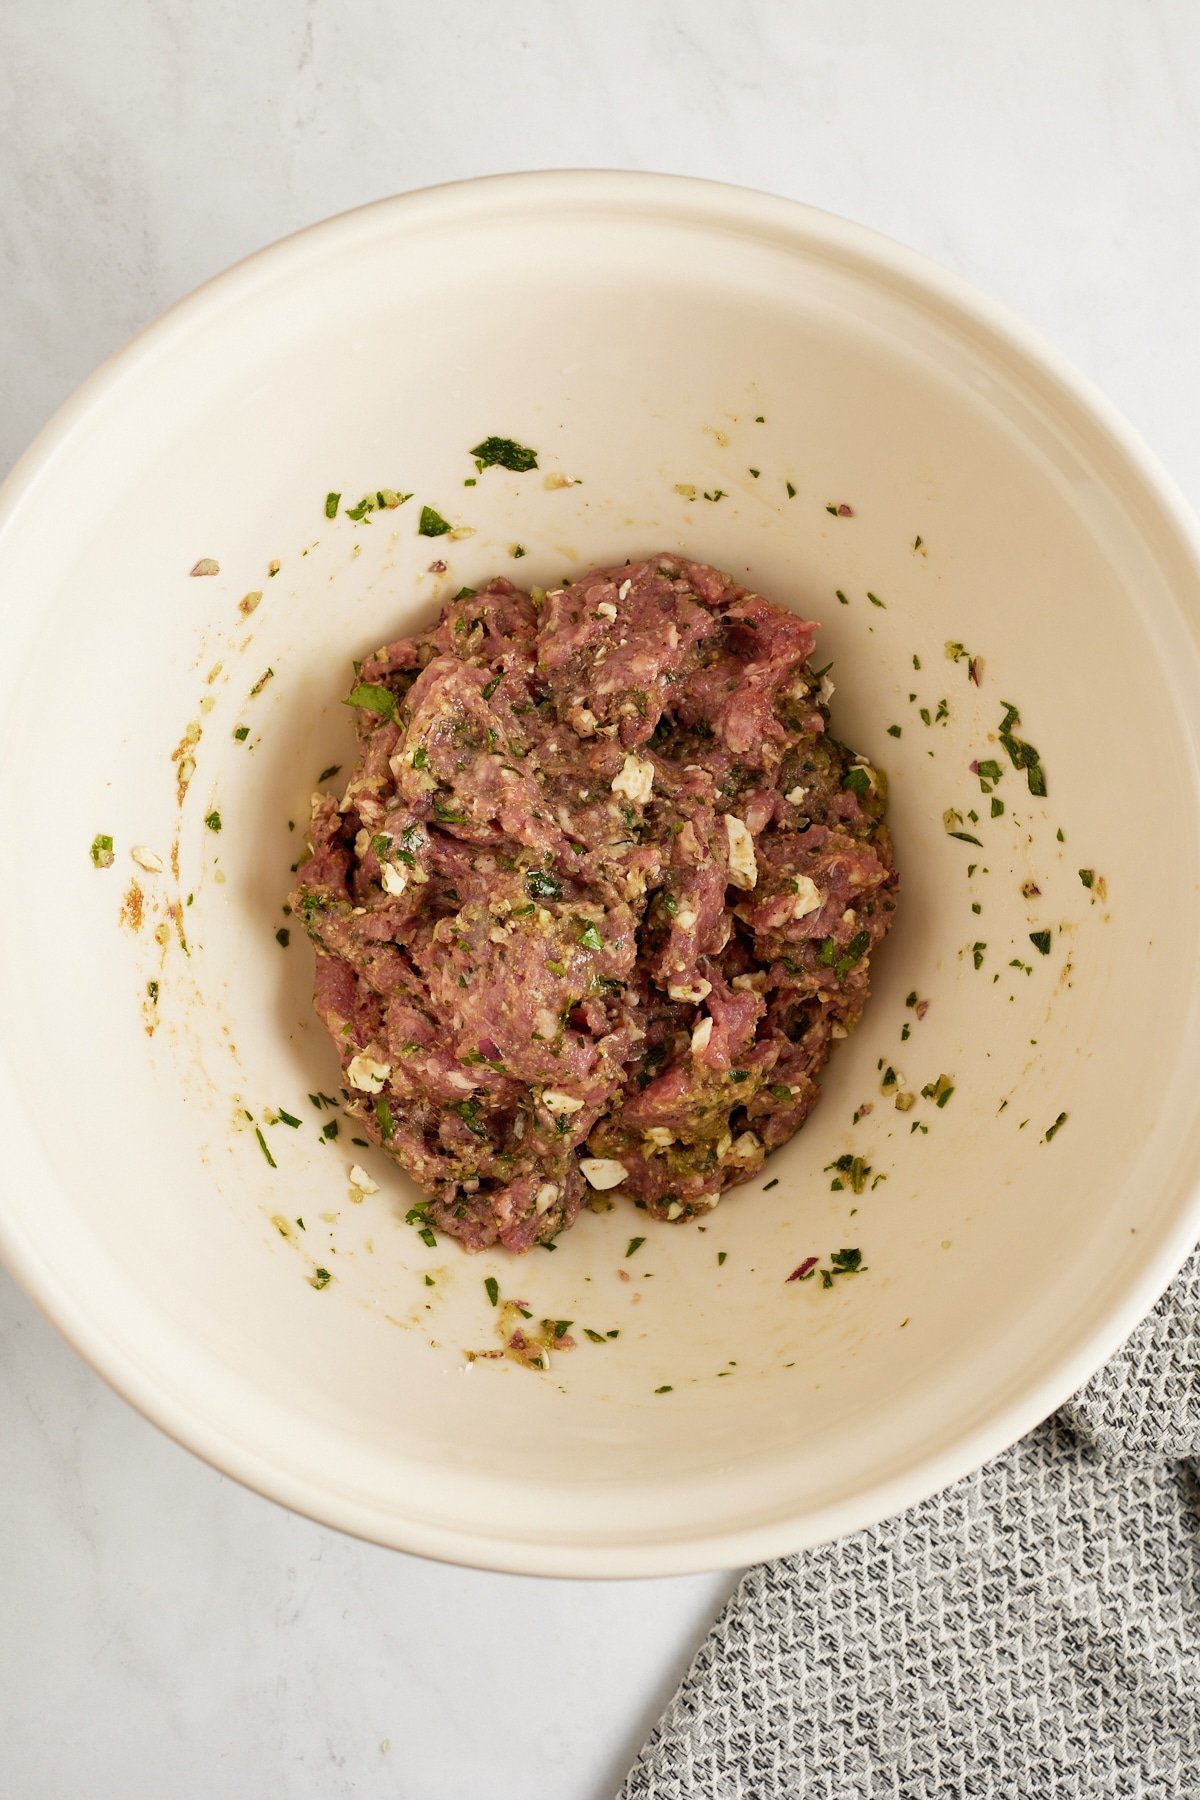
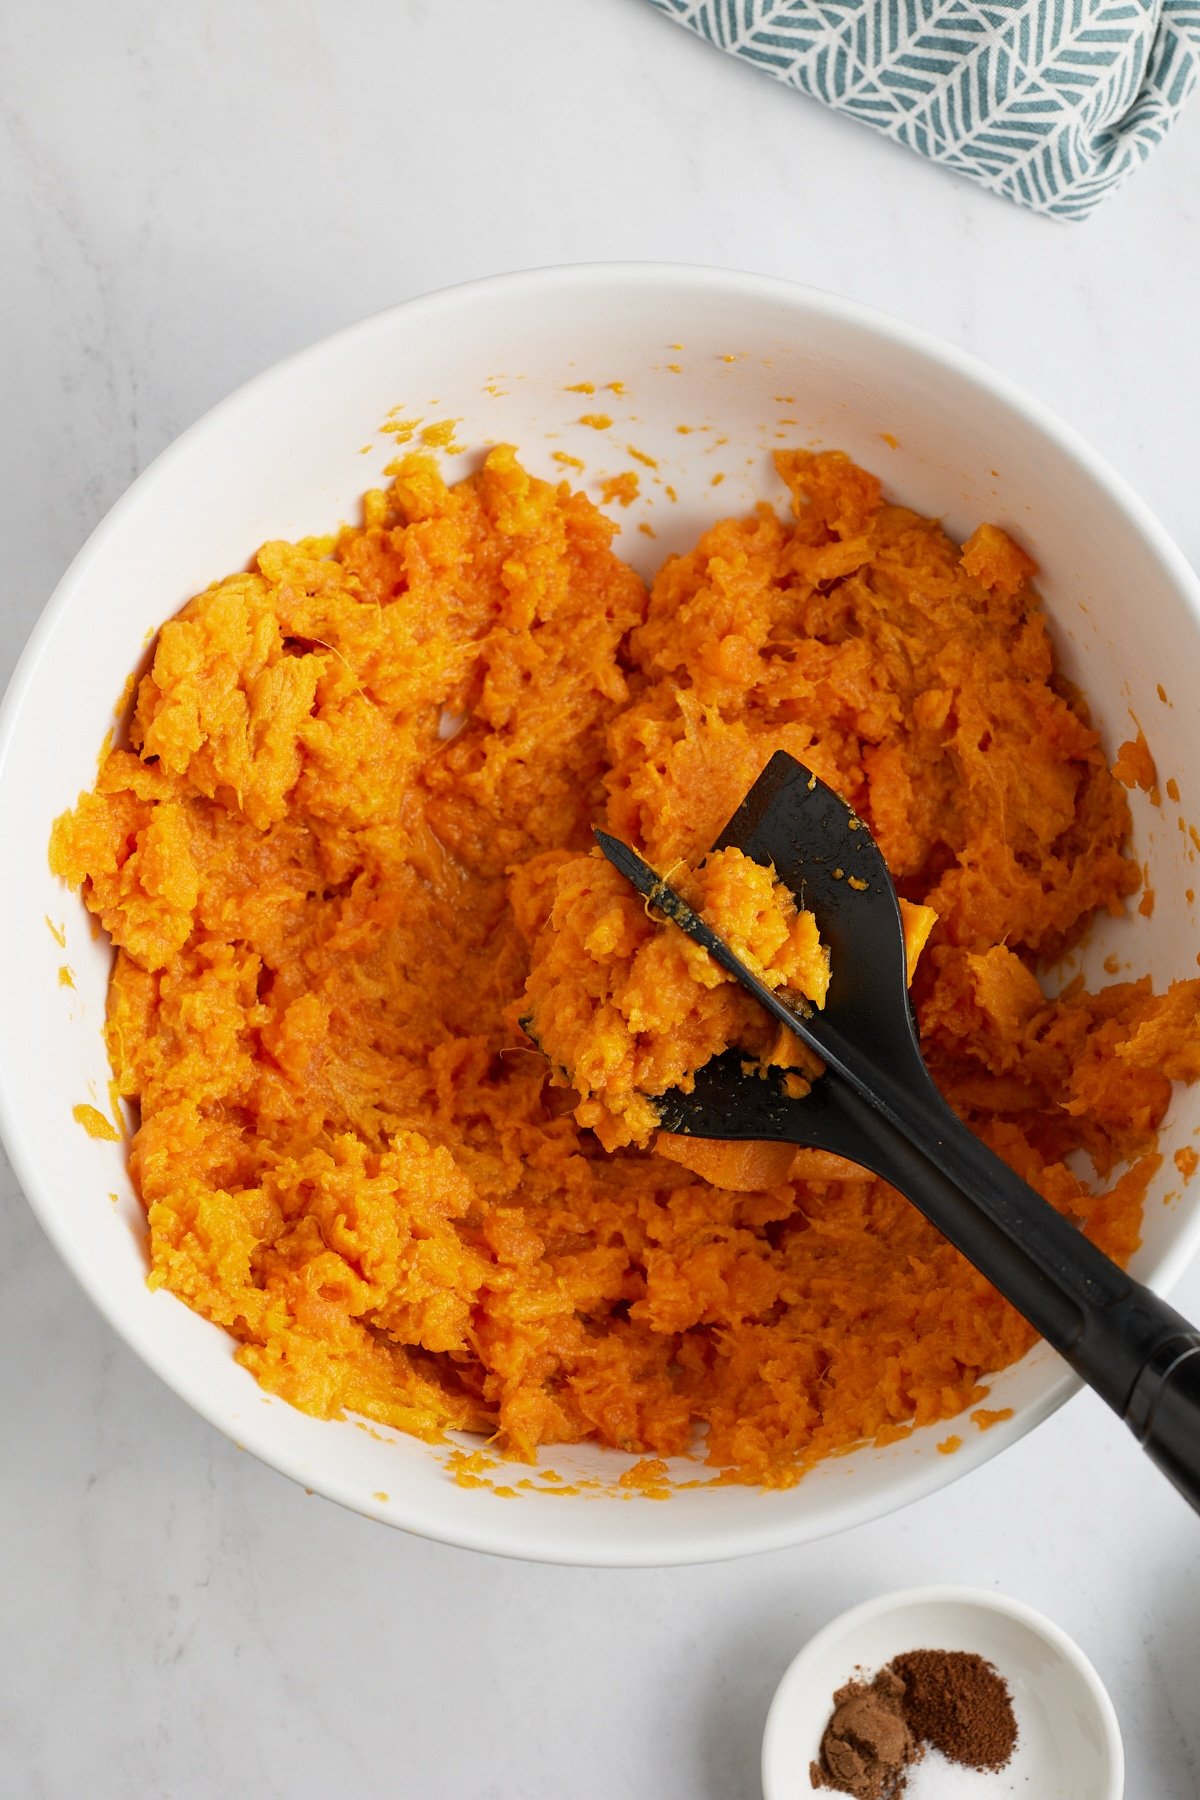
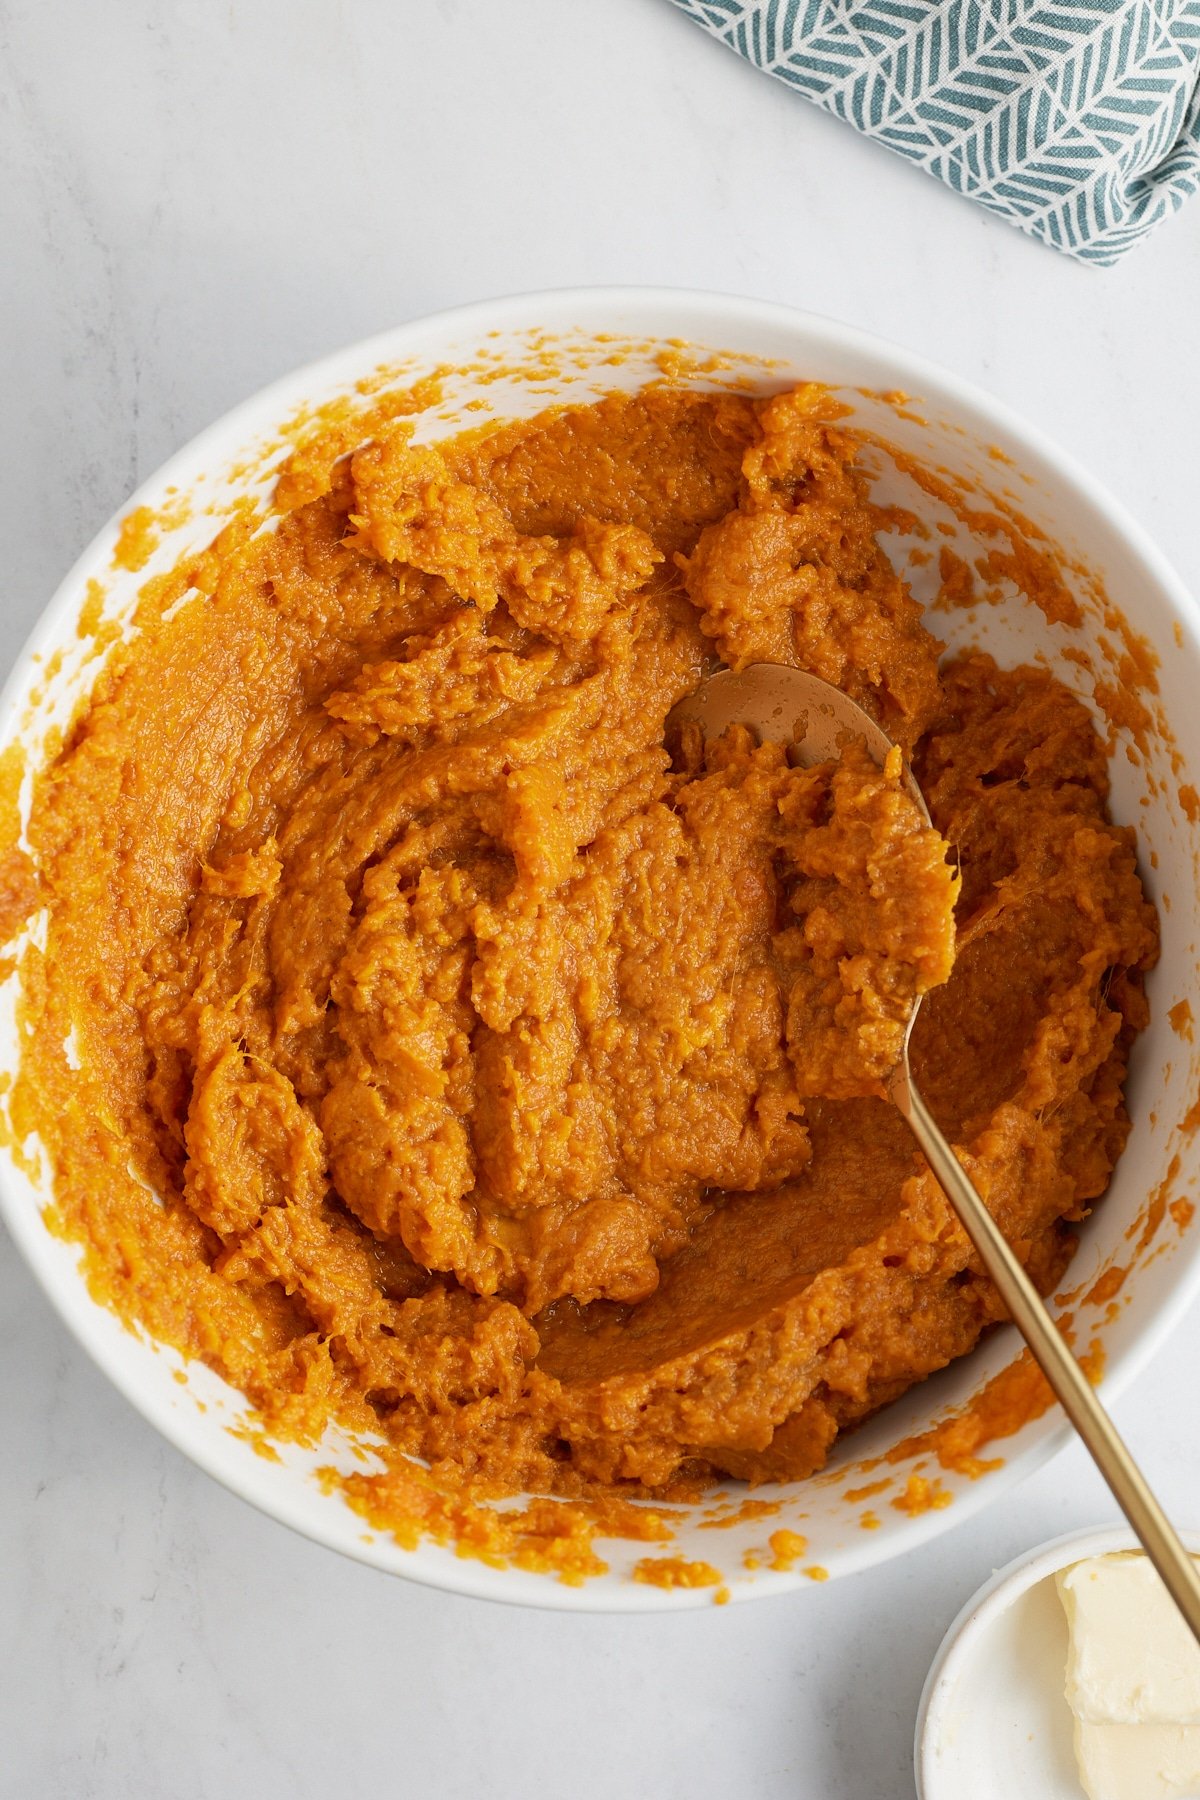
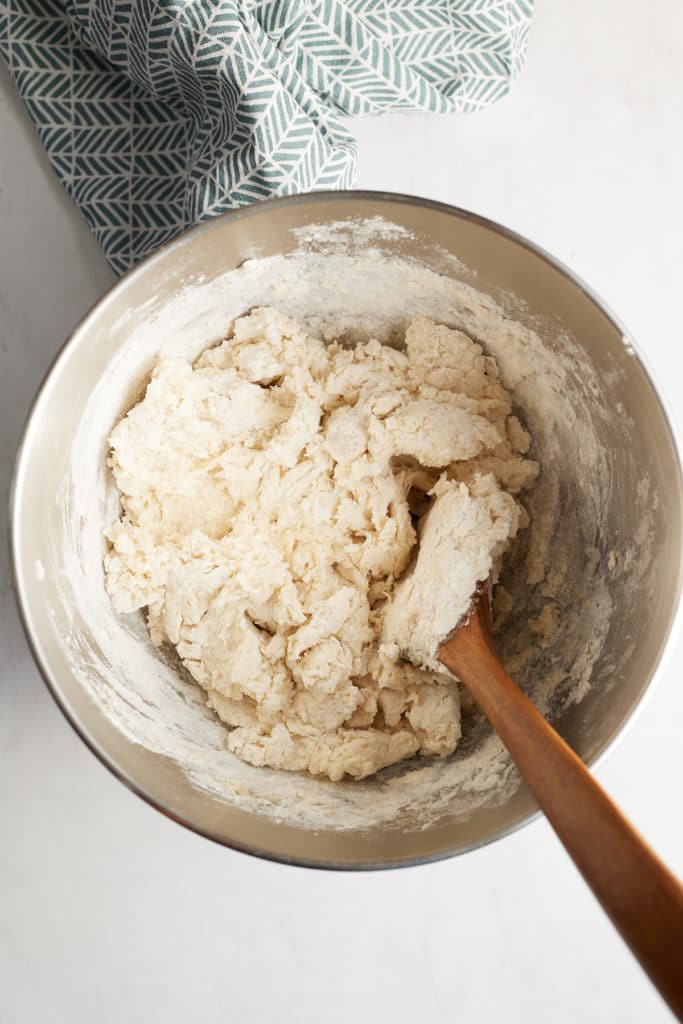
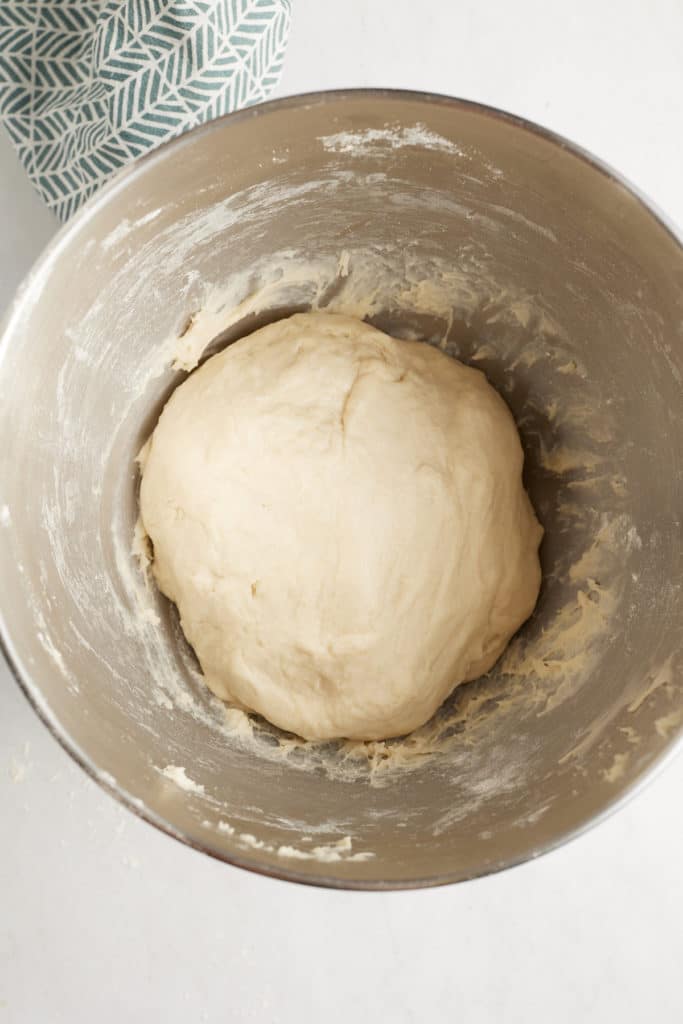
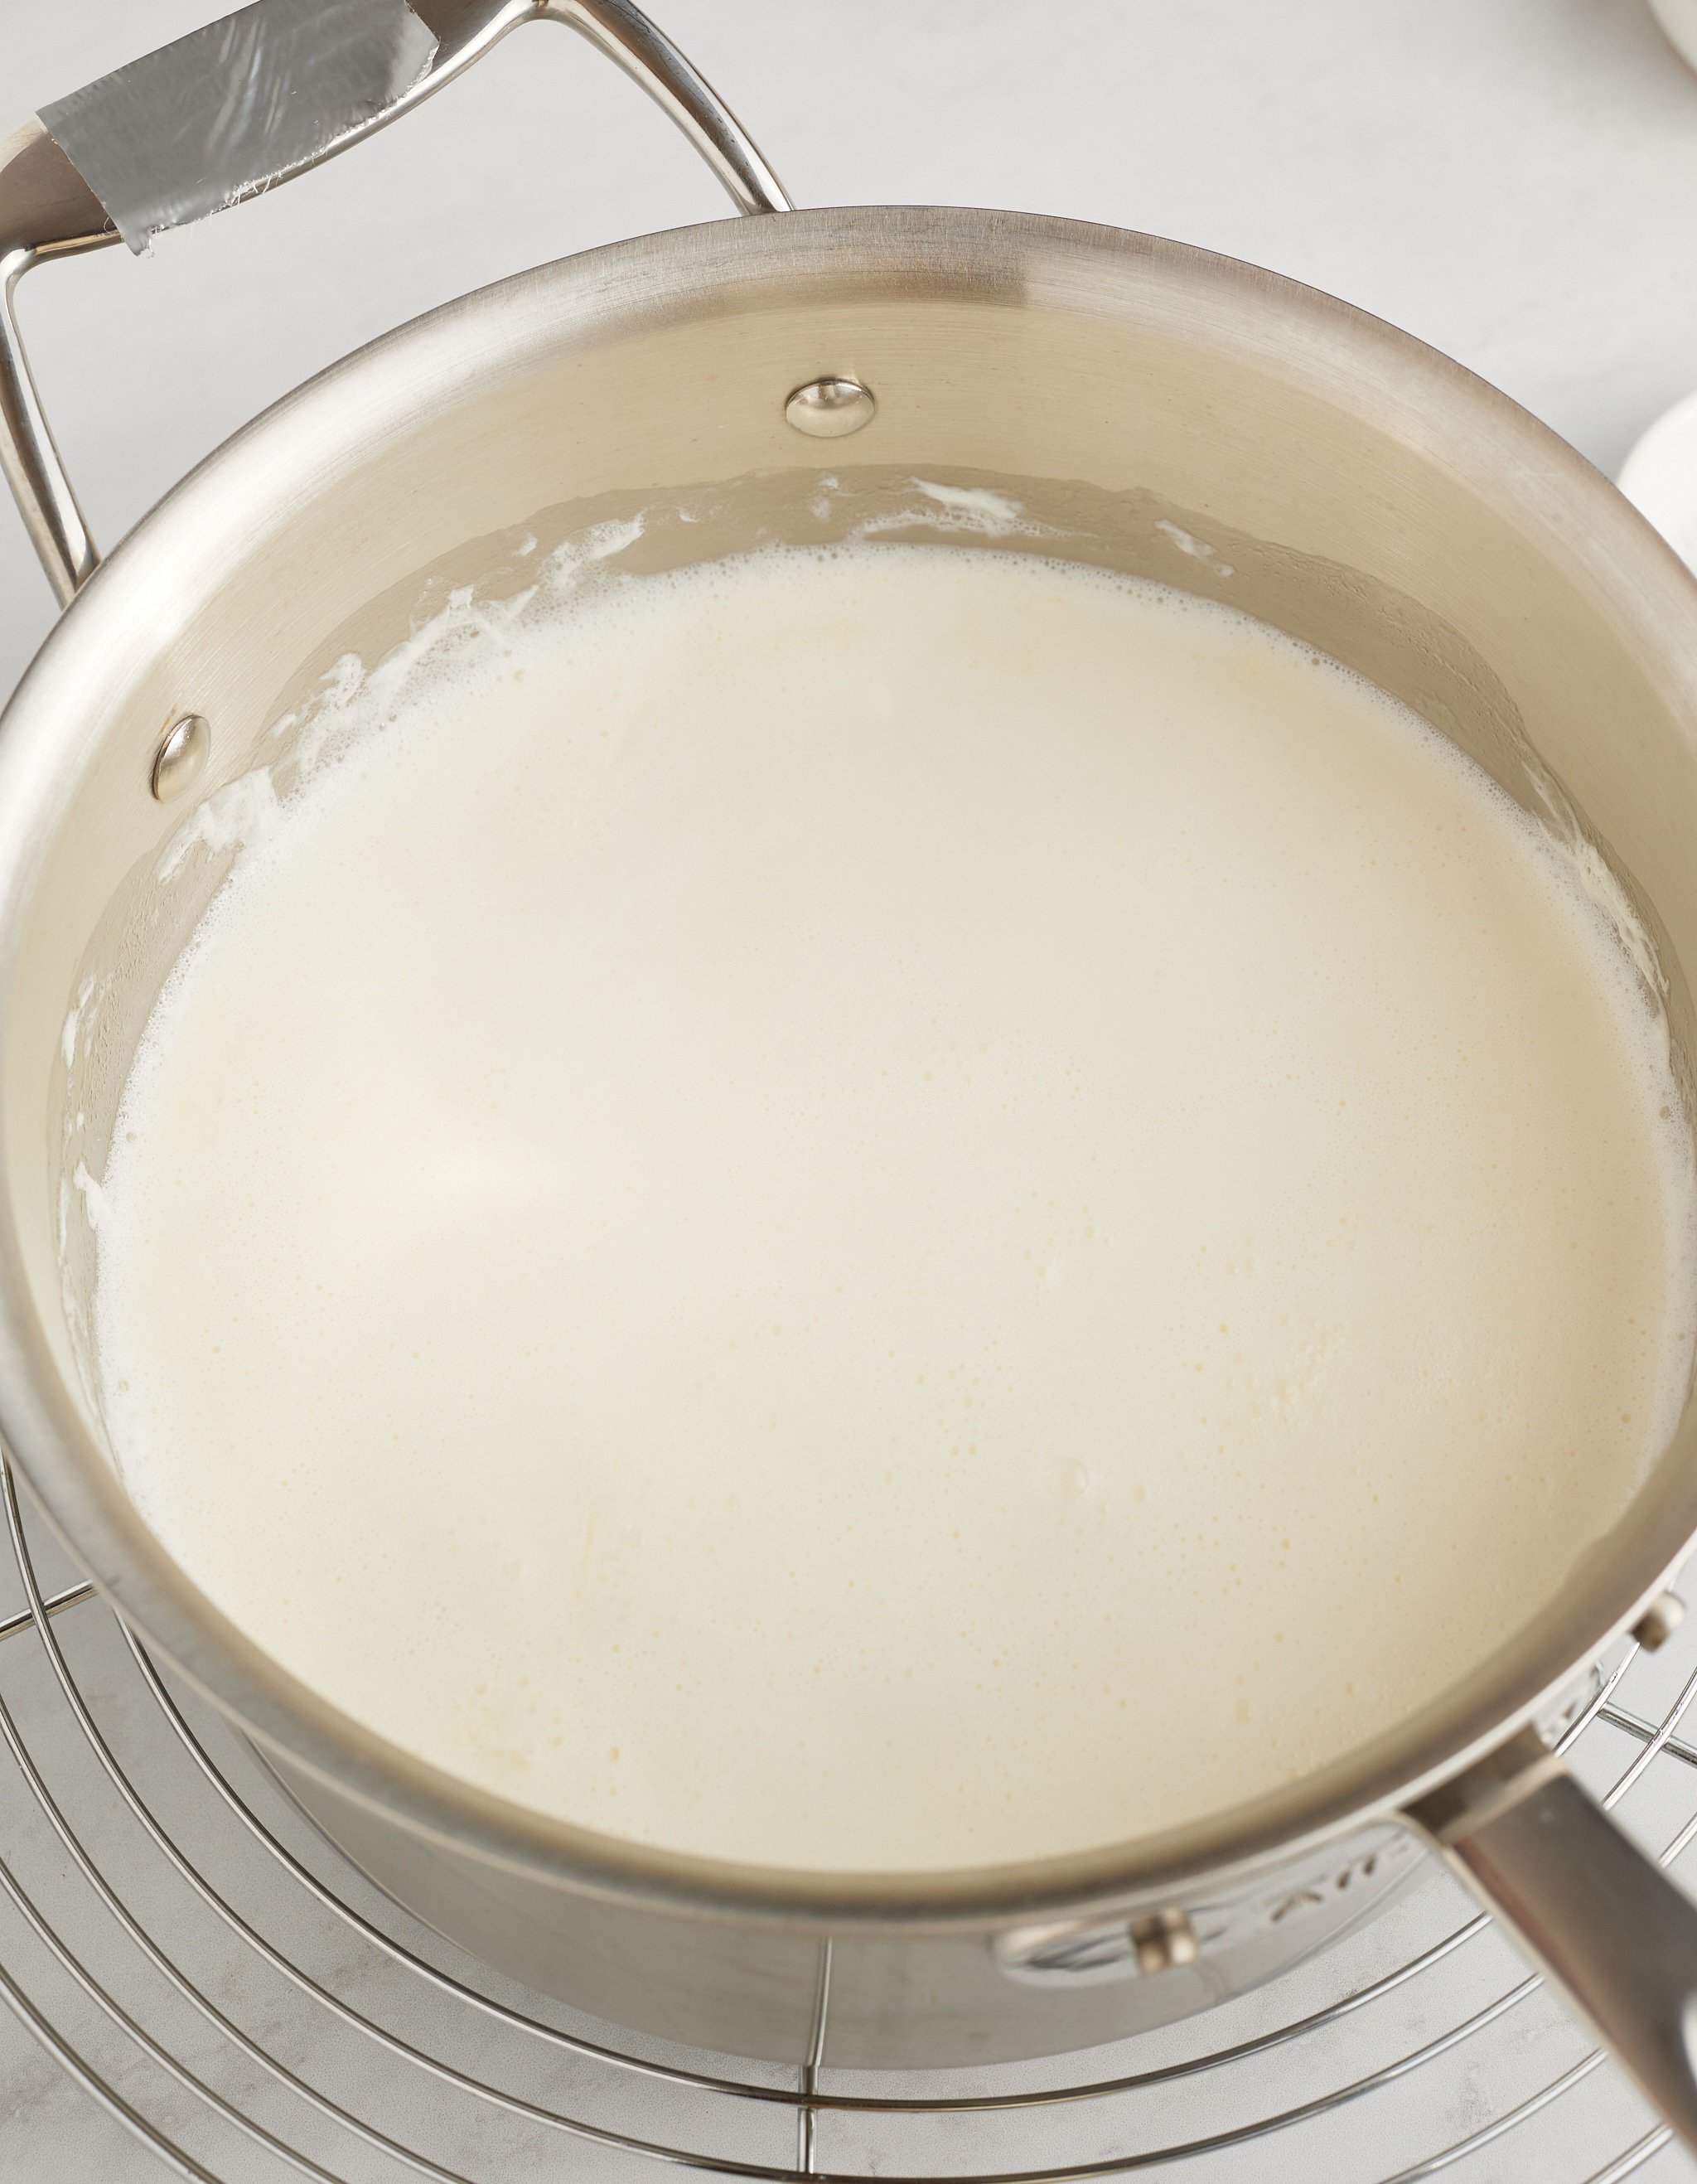
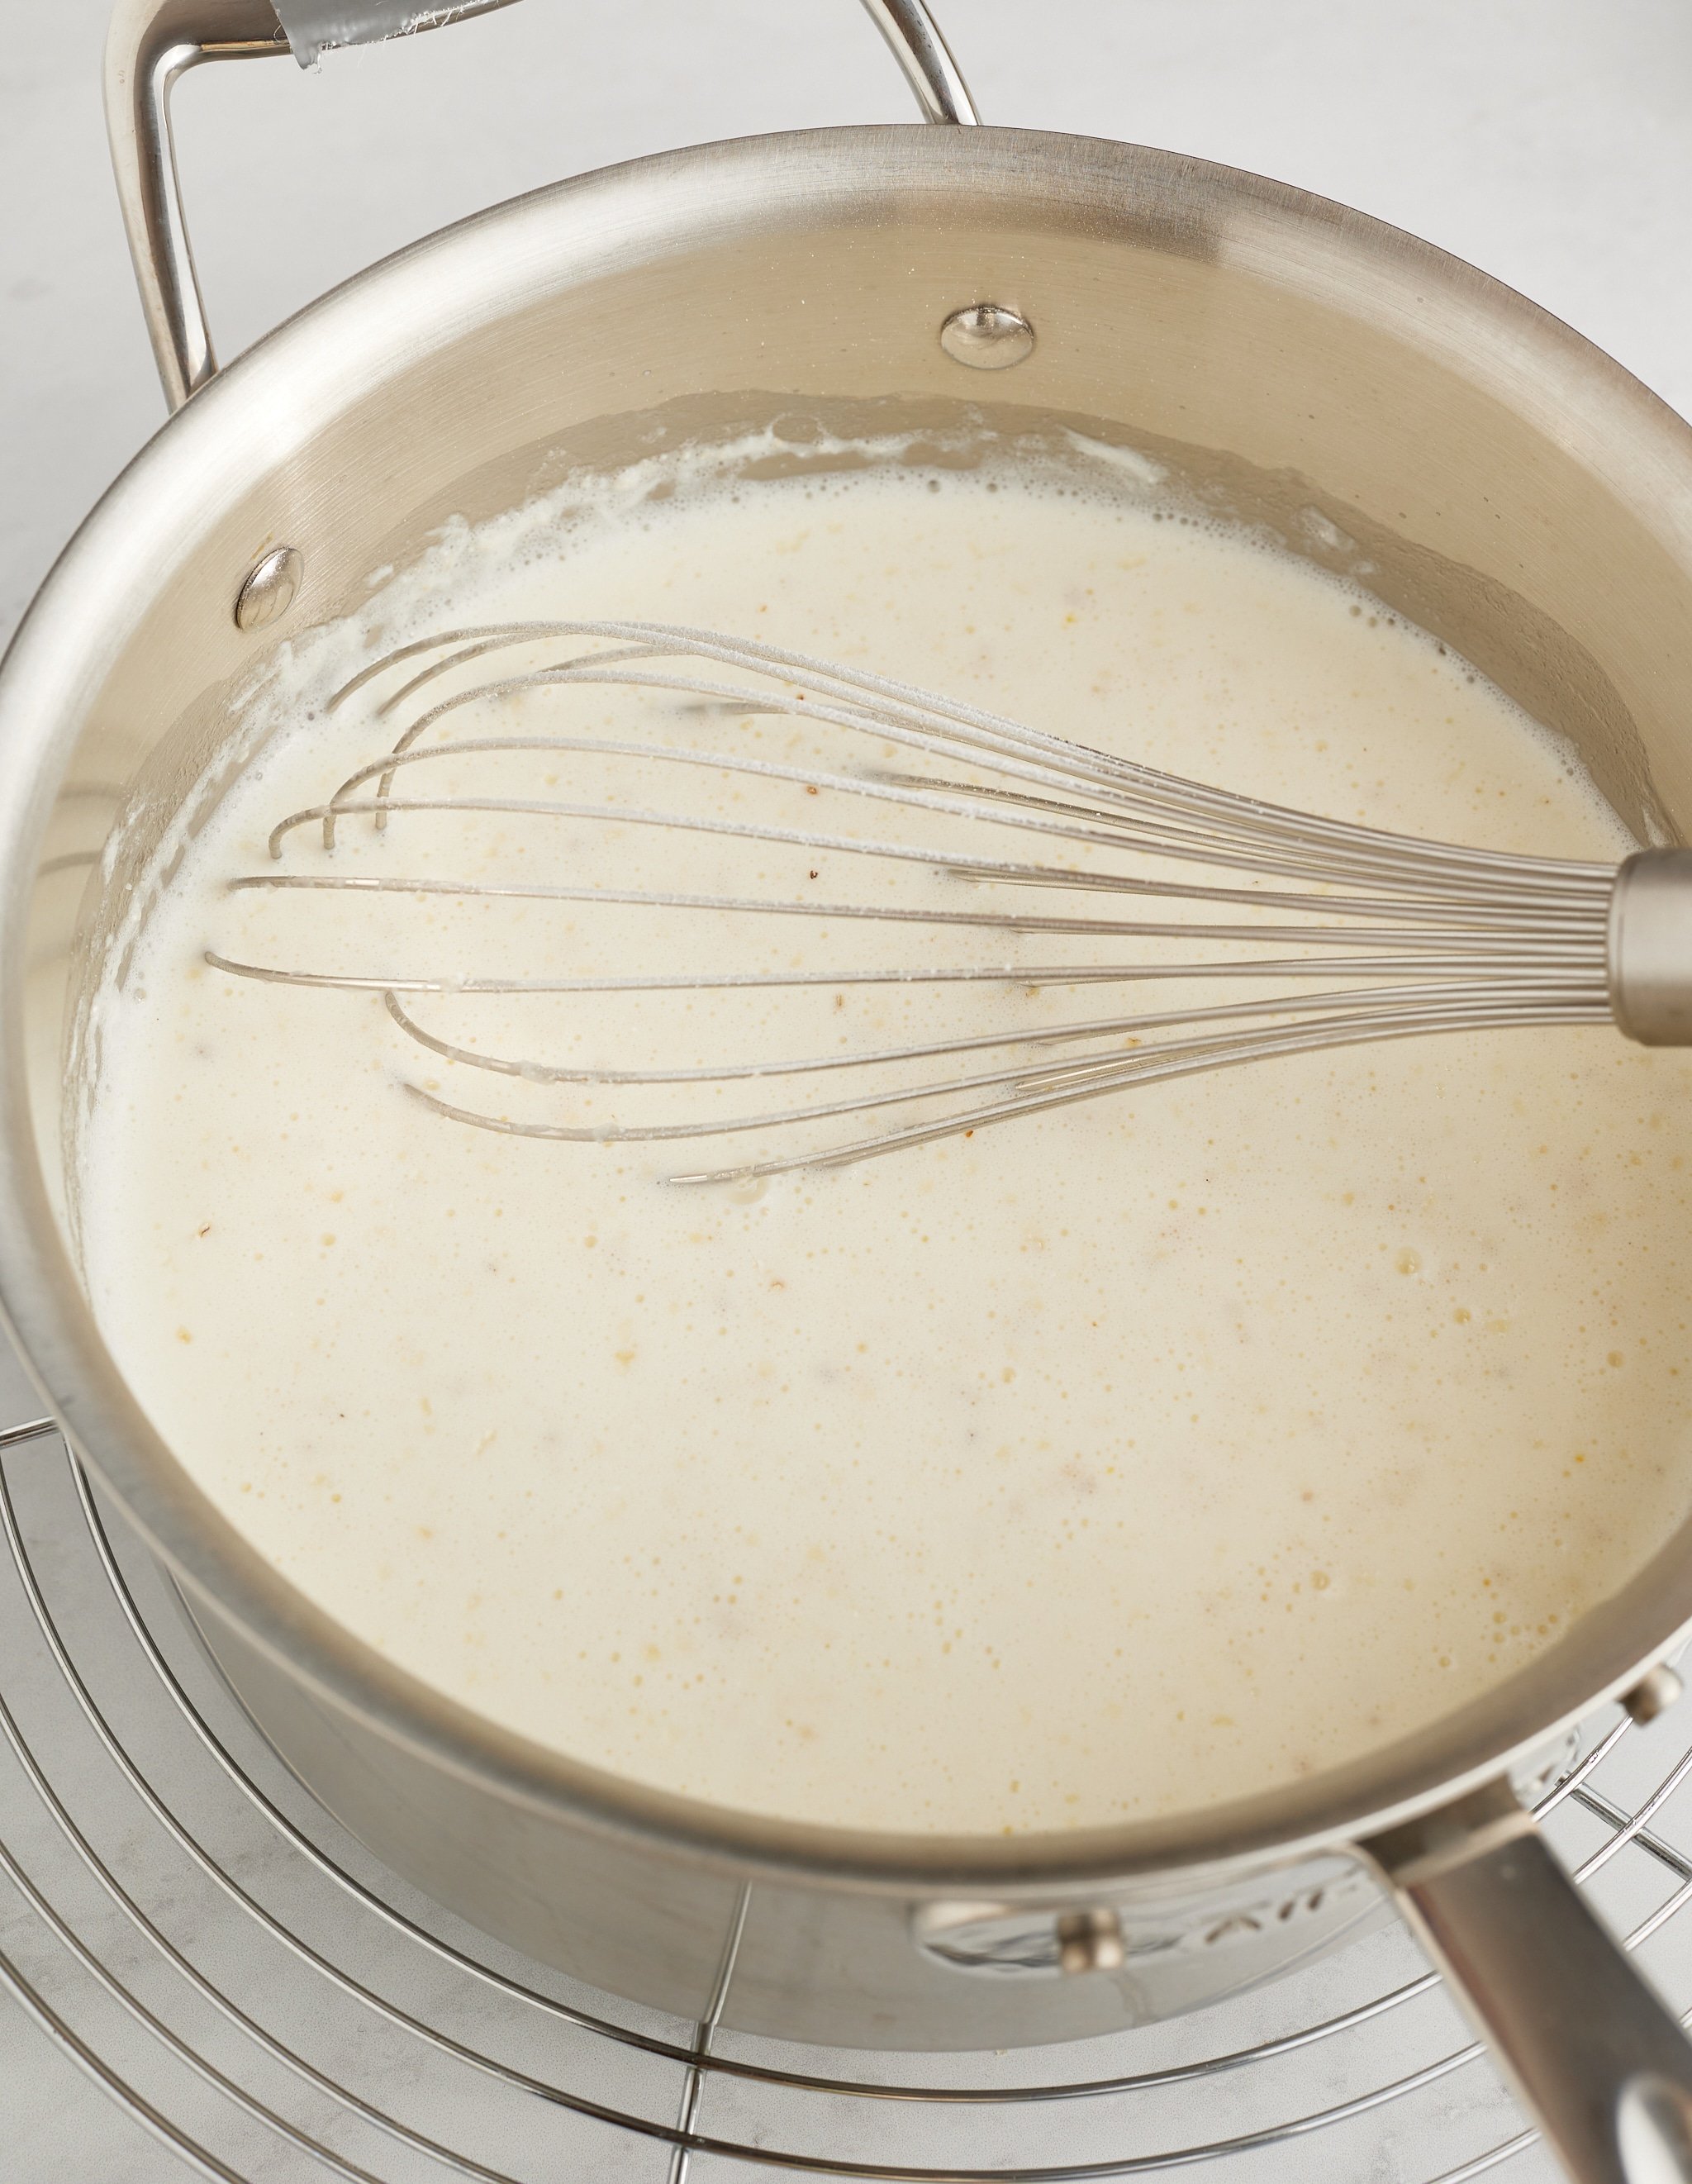
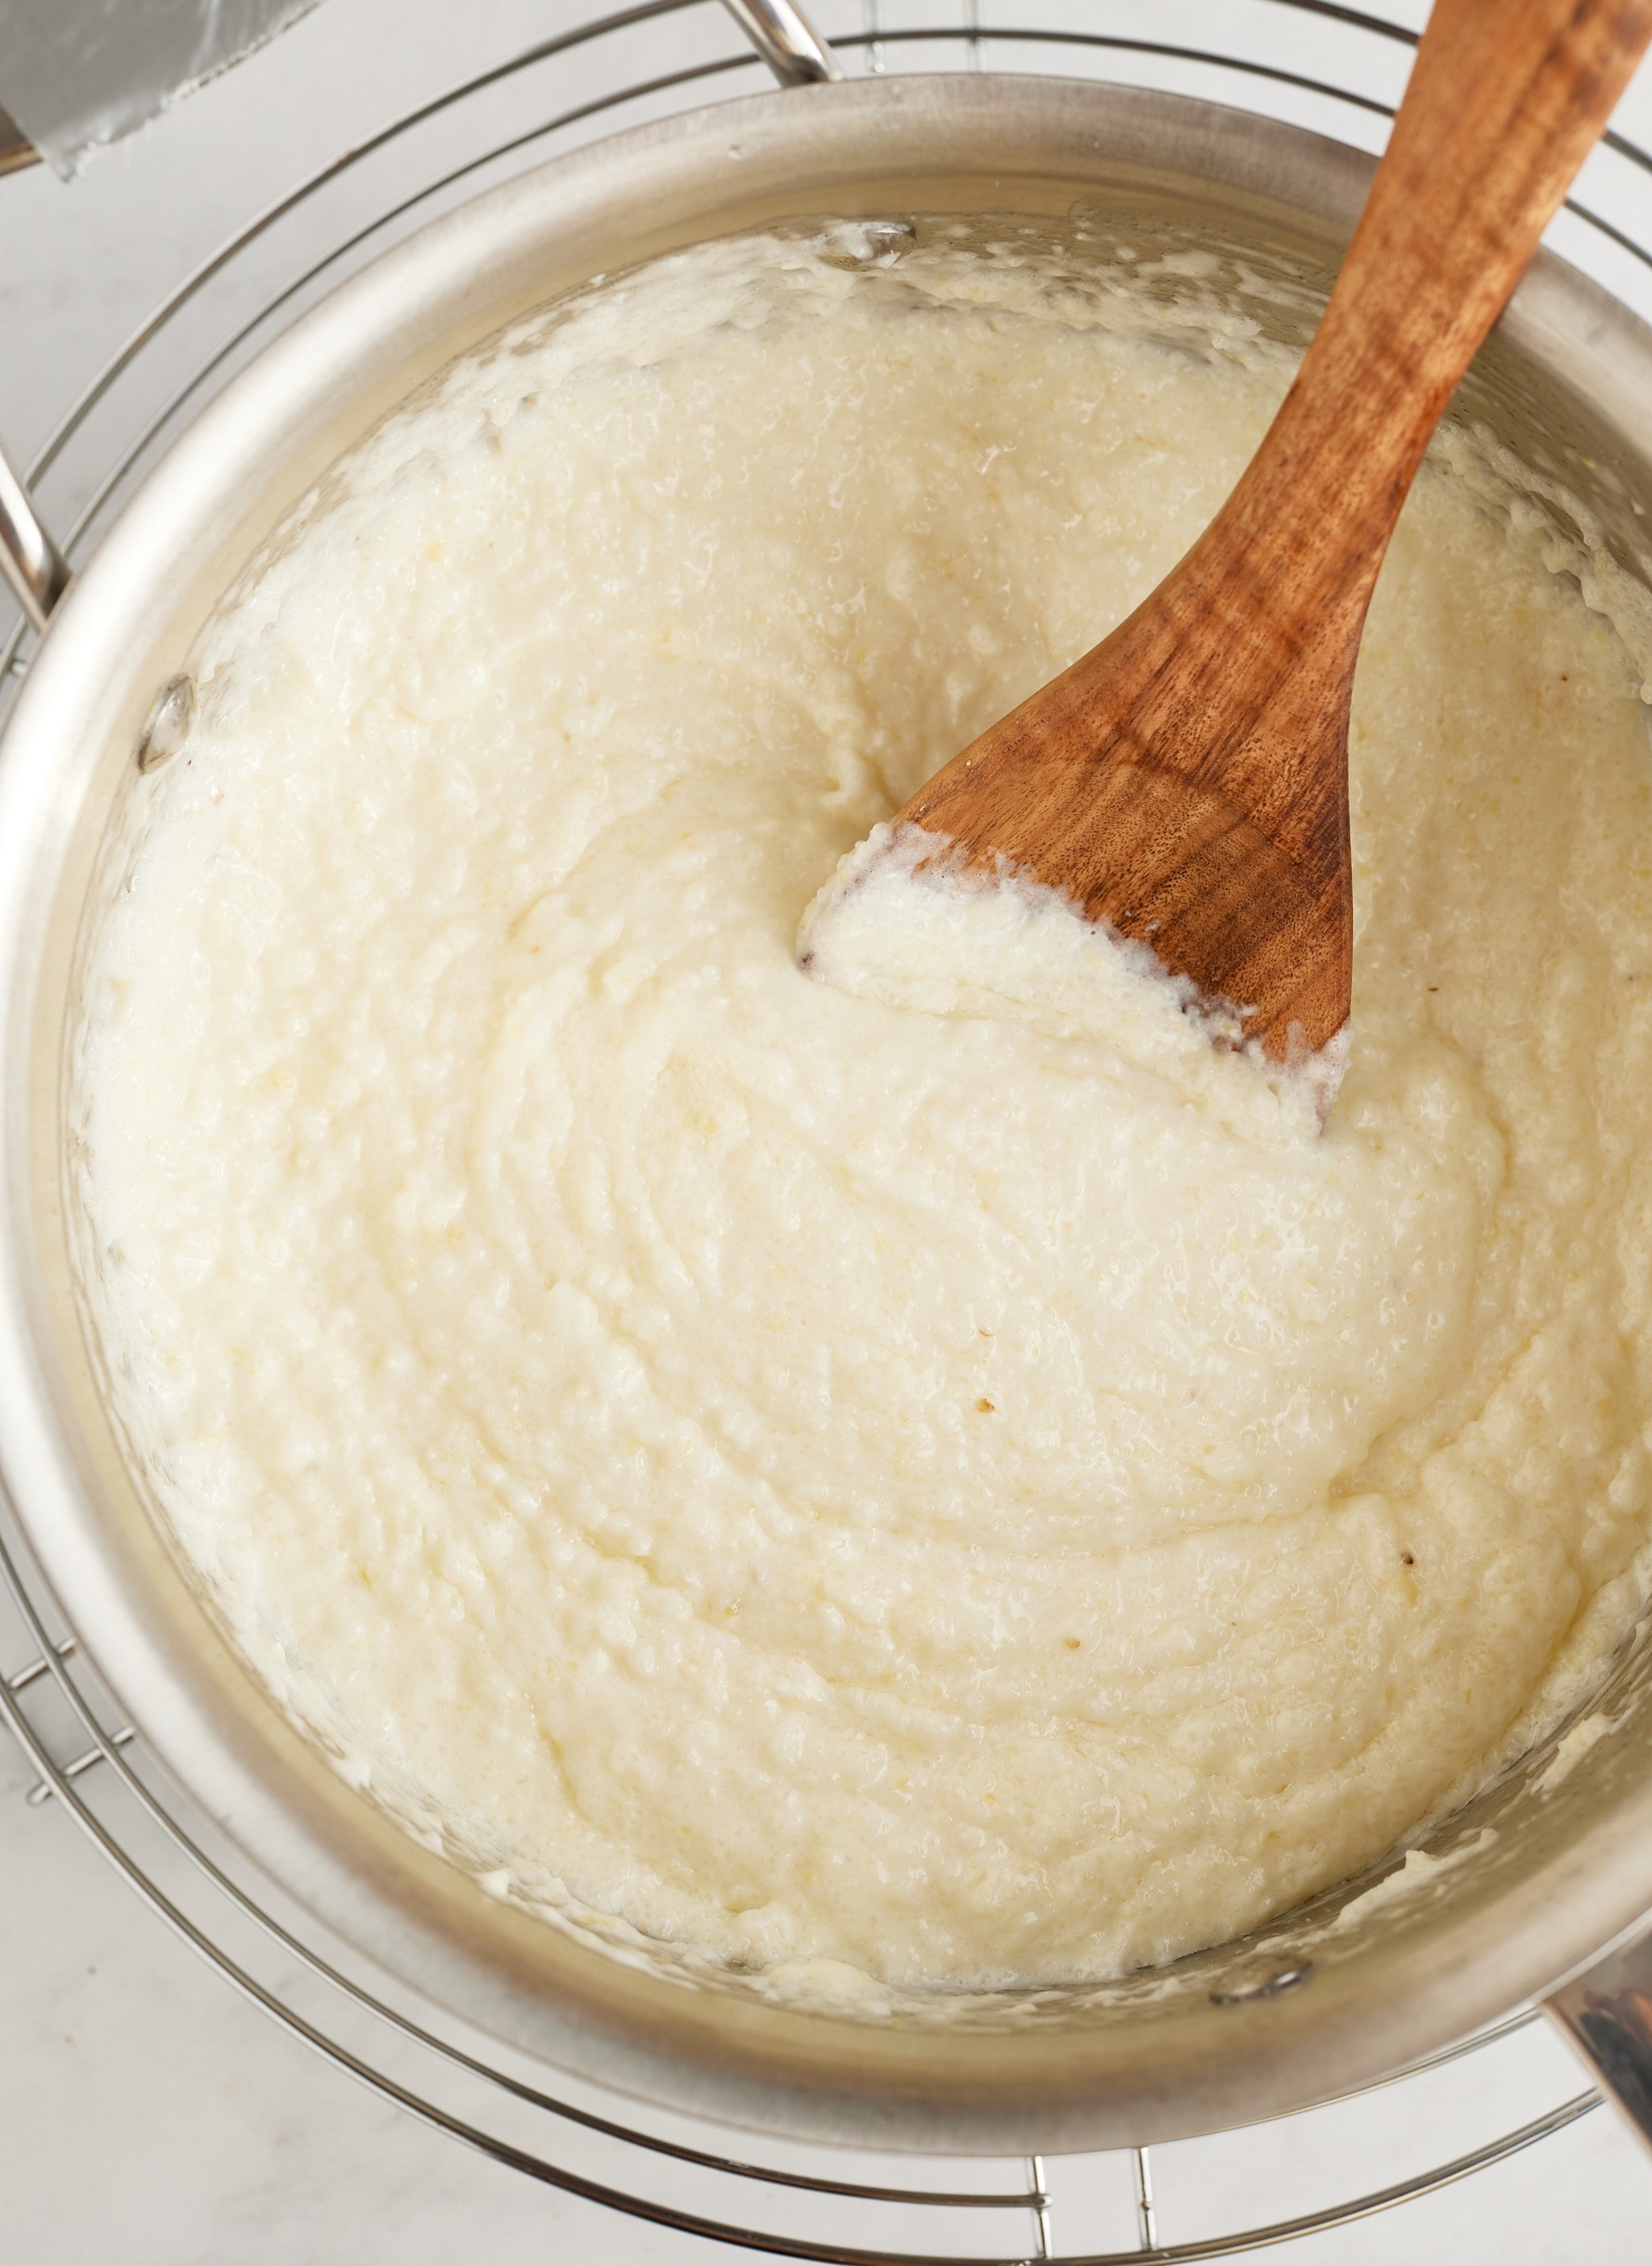
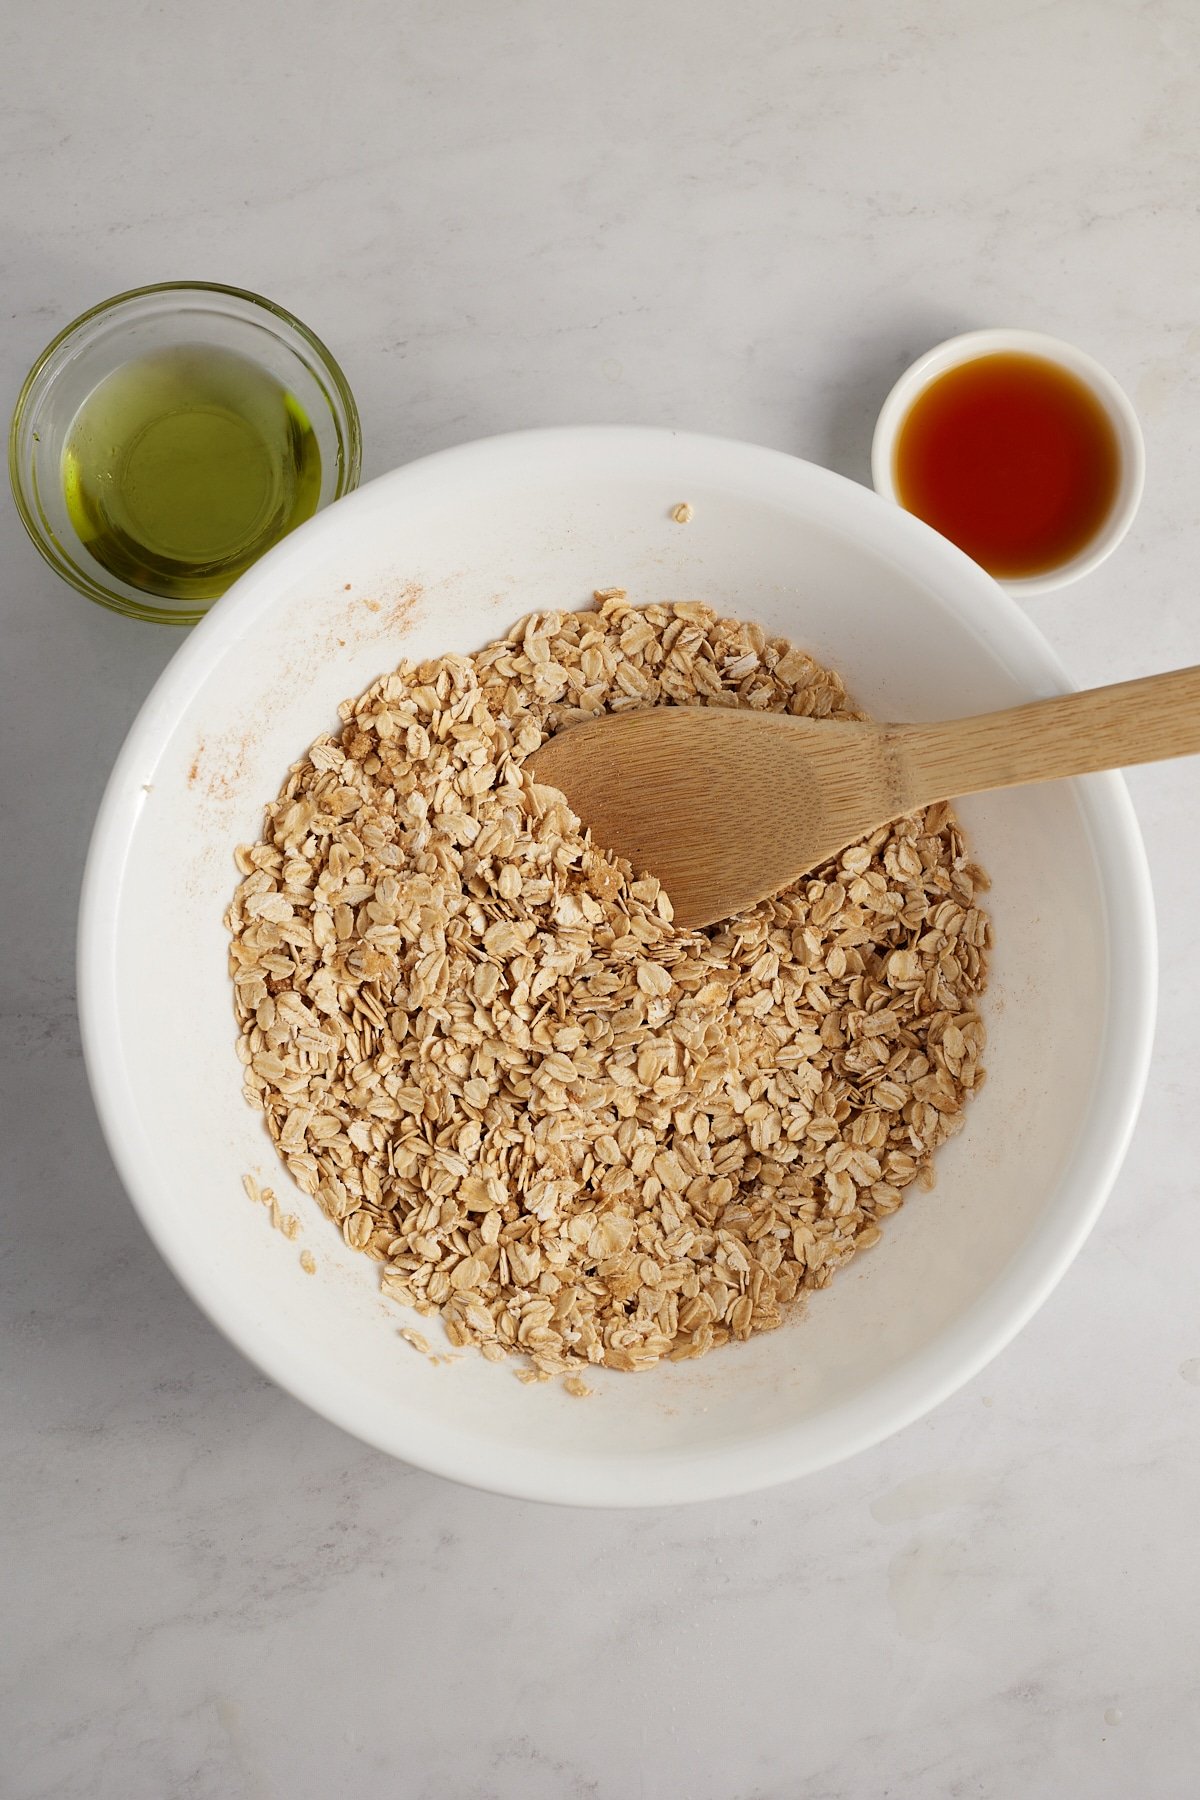
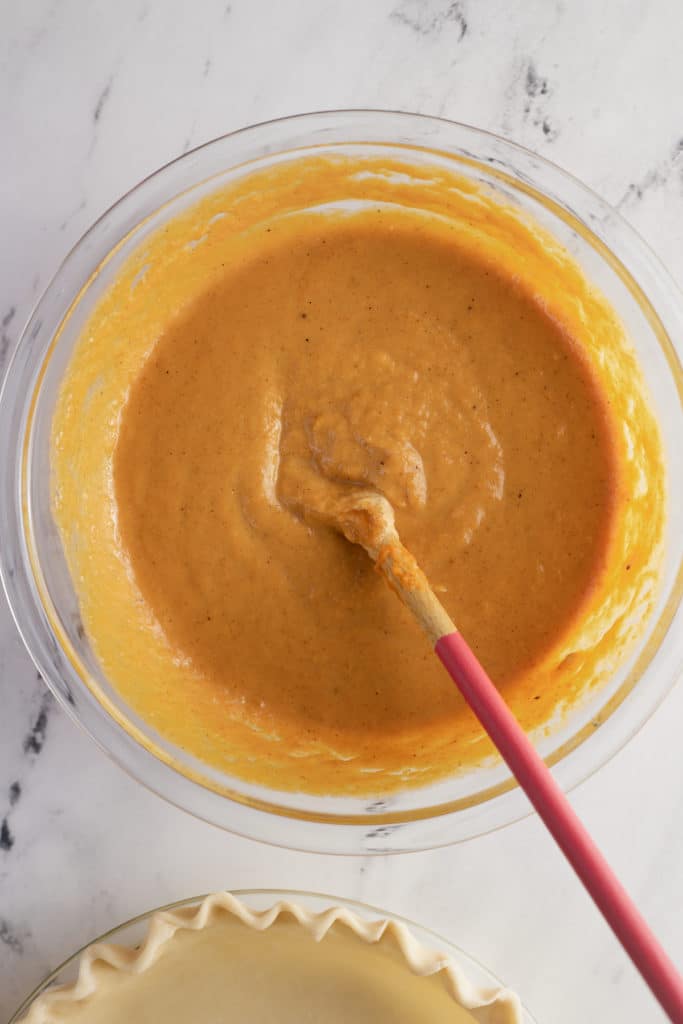
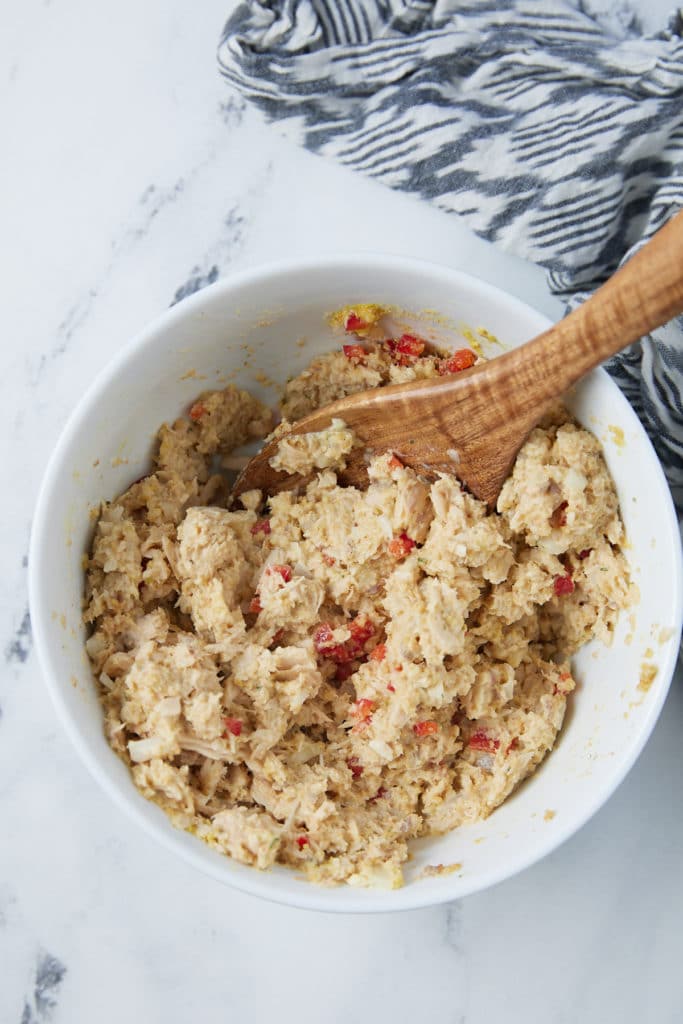
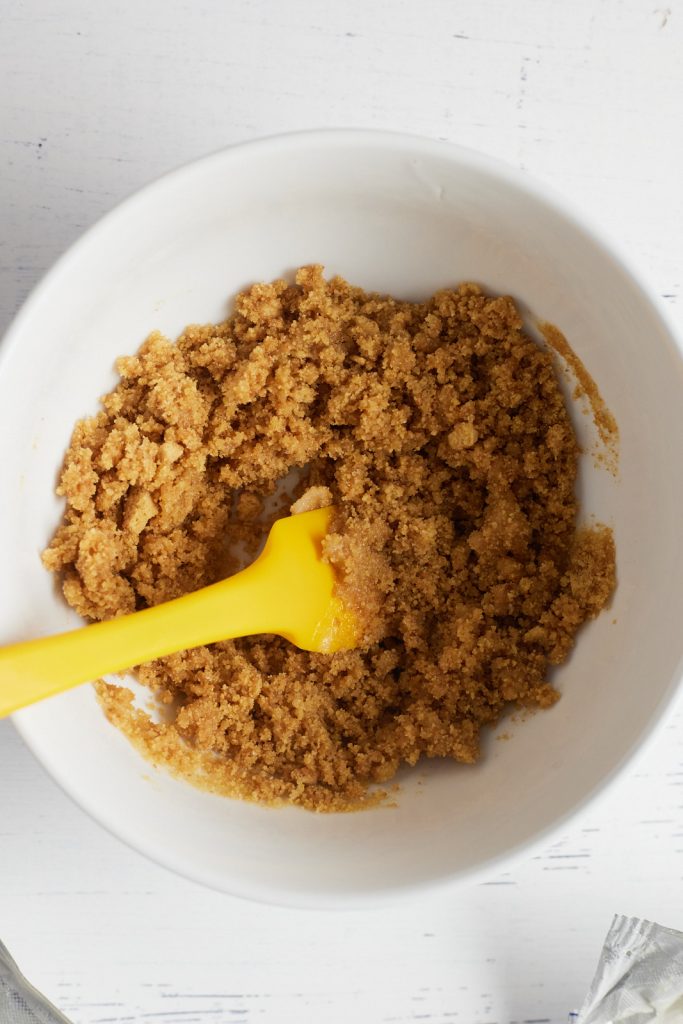
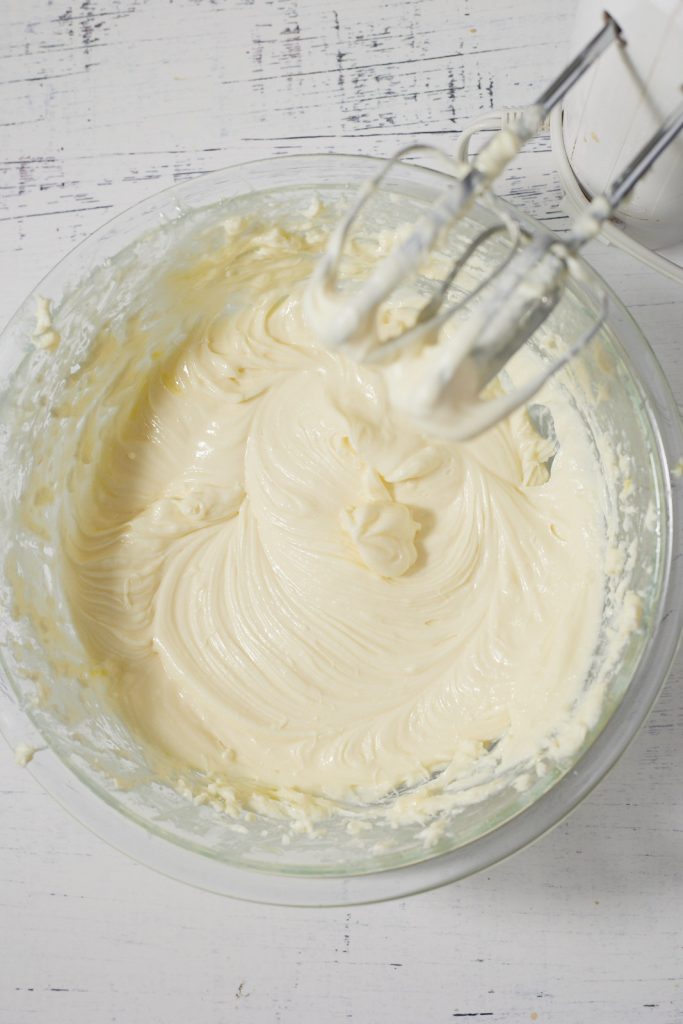
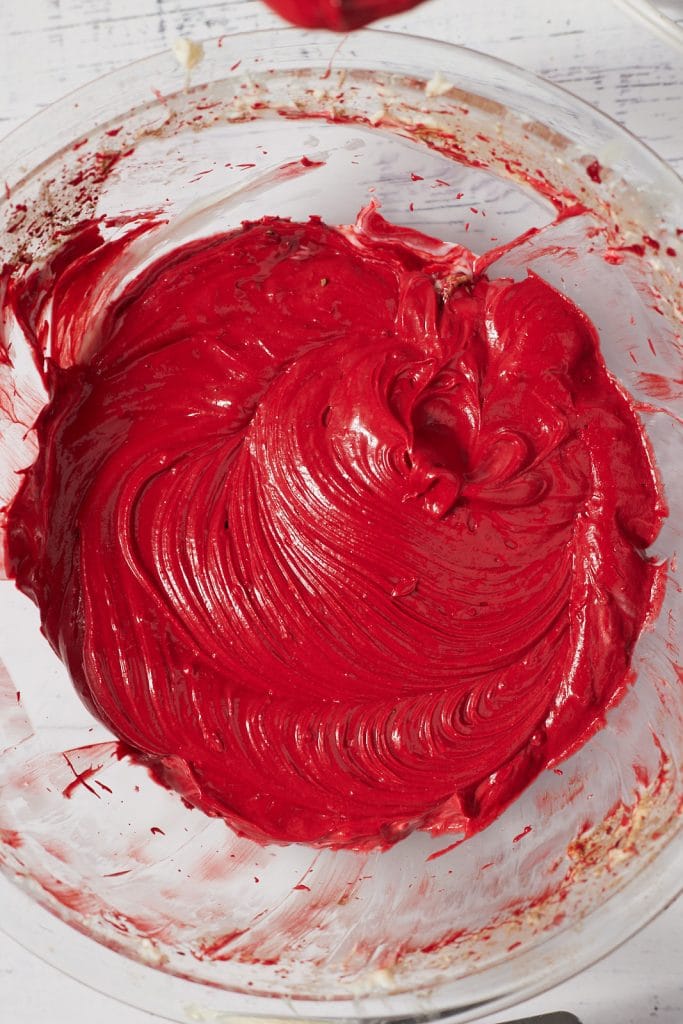
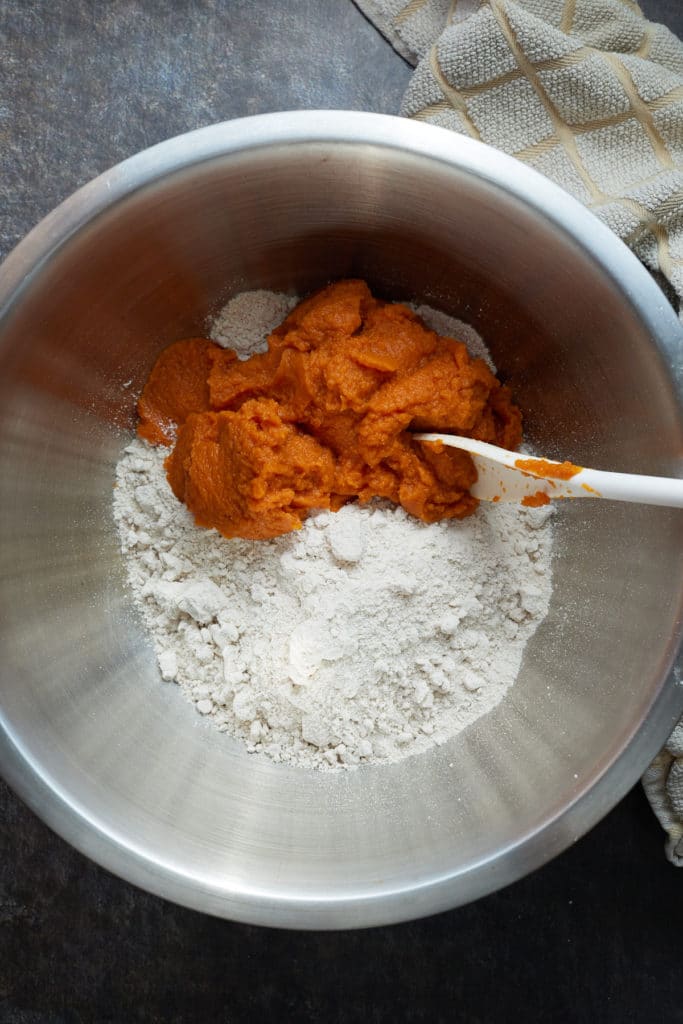
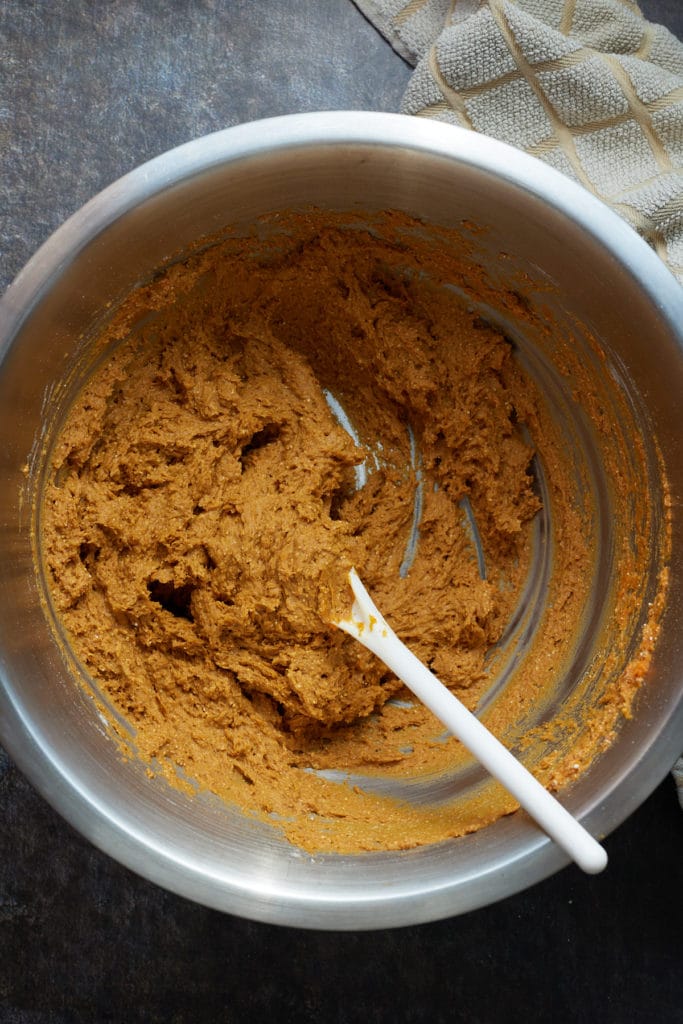
Step 2: Add the cake mix and pumpkin puree to a bowl. Stir until smooth.
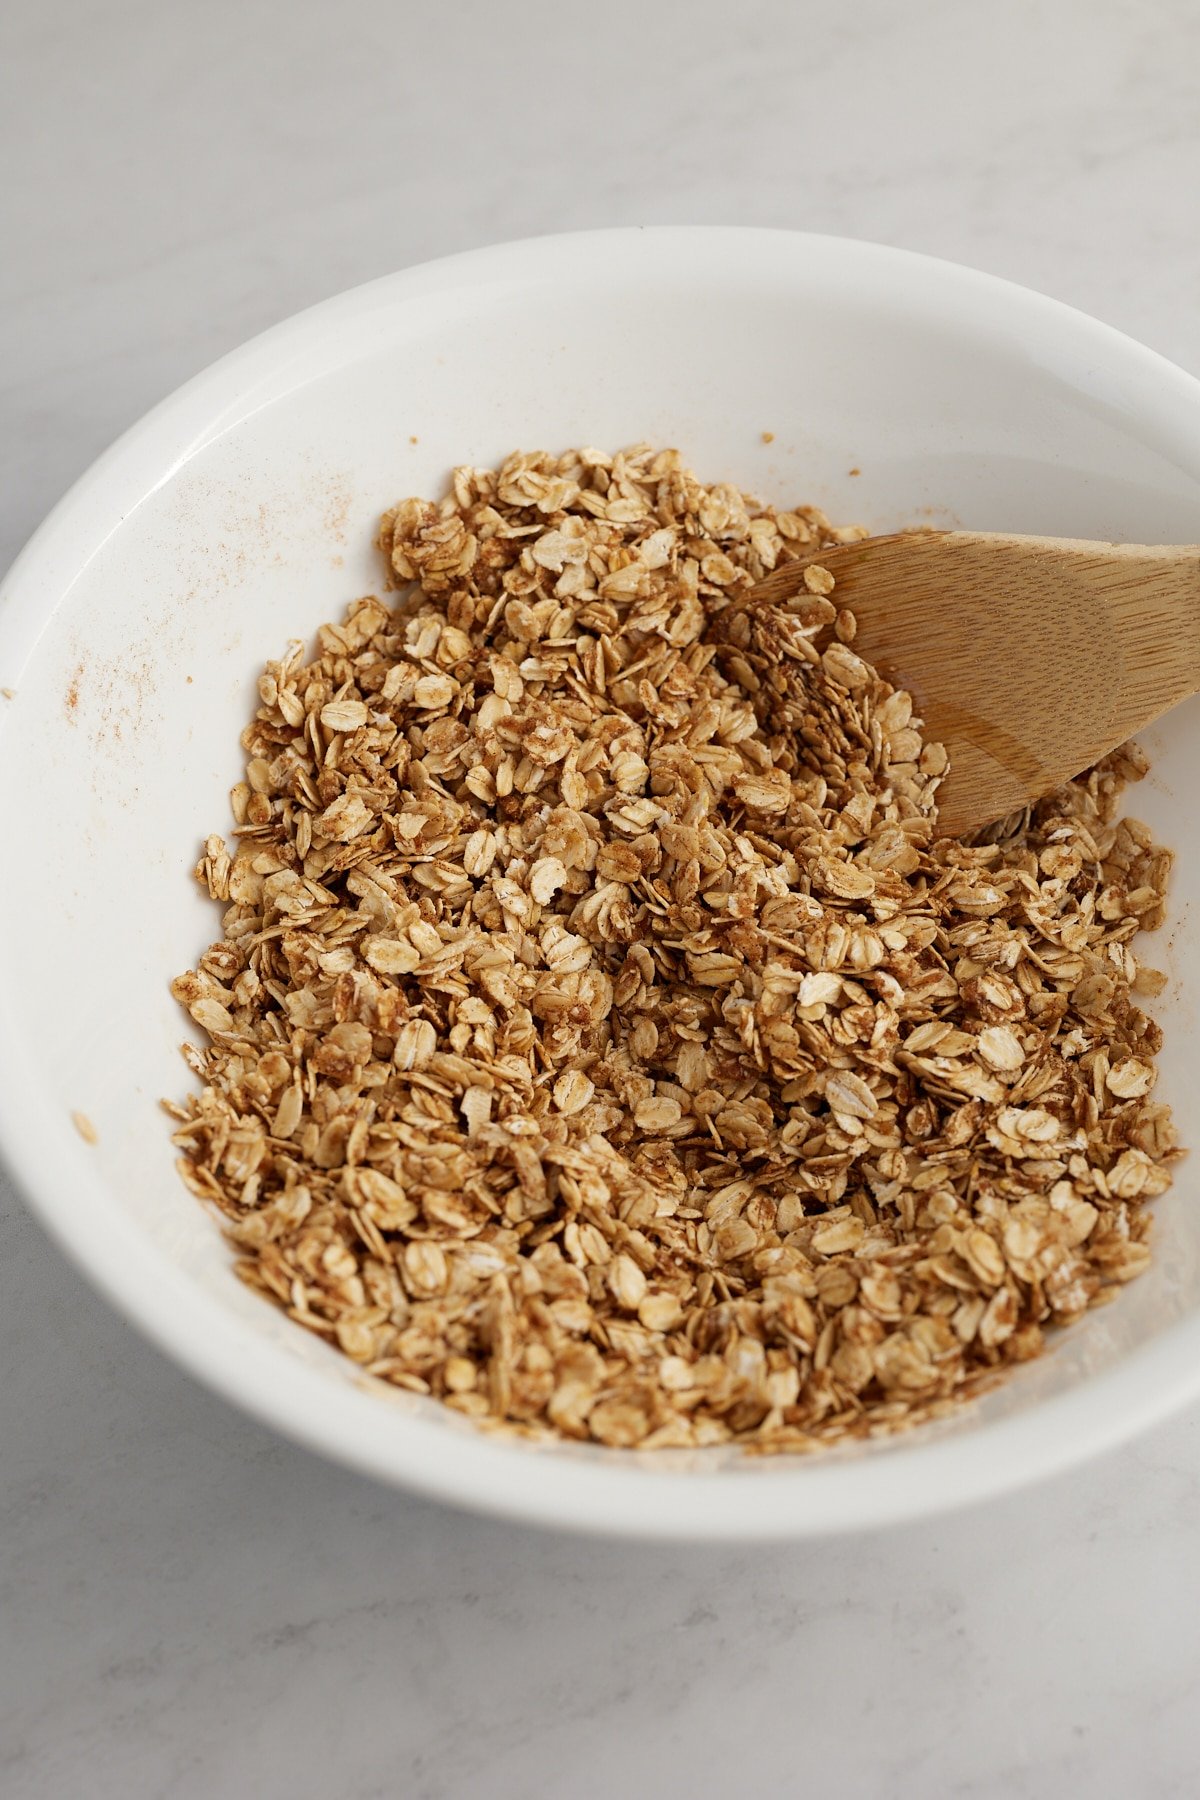
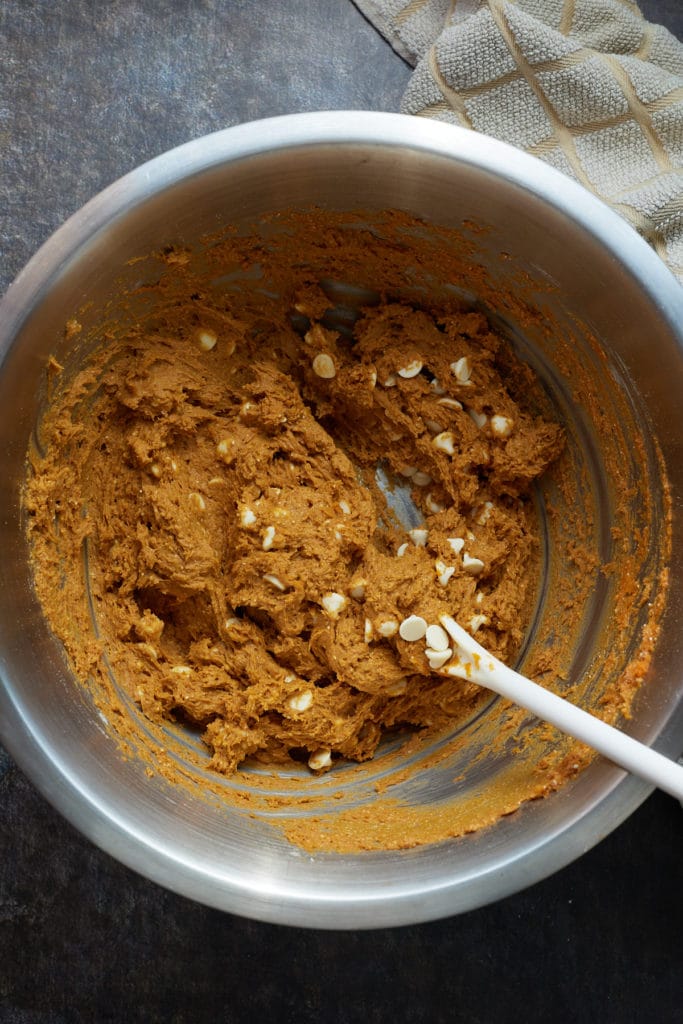
Step 3: Then fold in the chocolate chips.
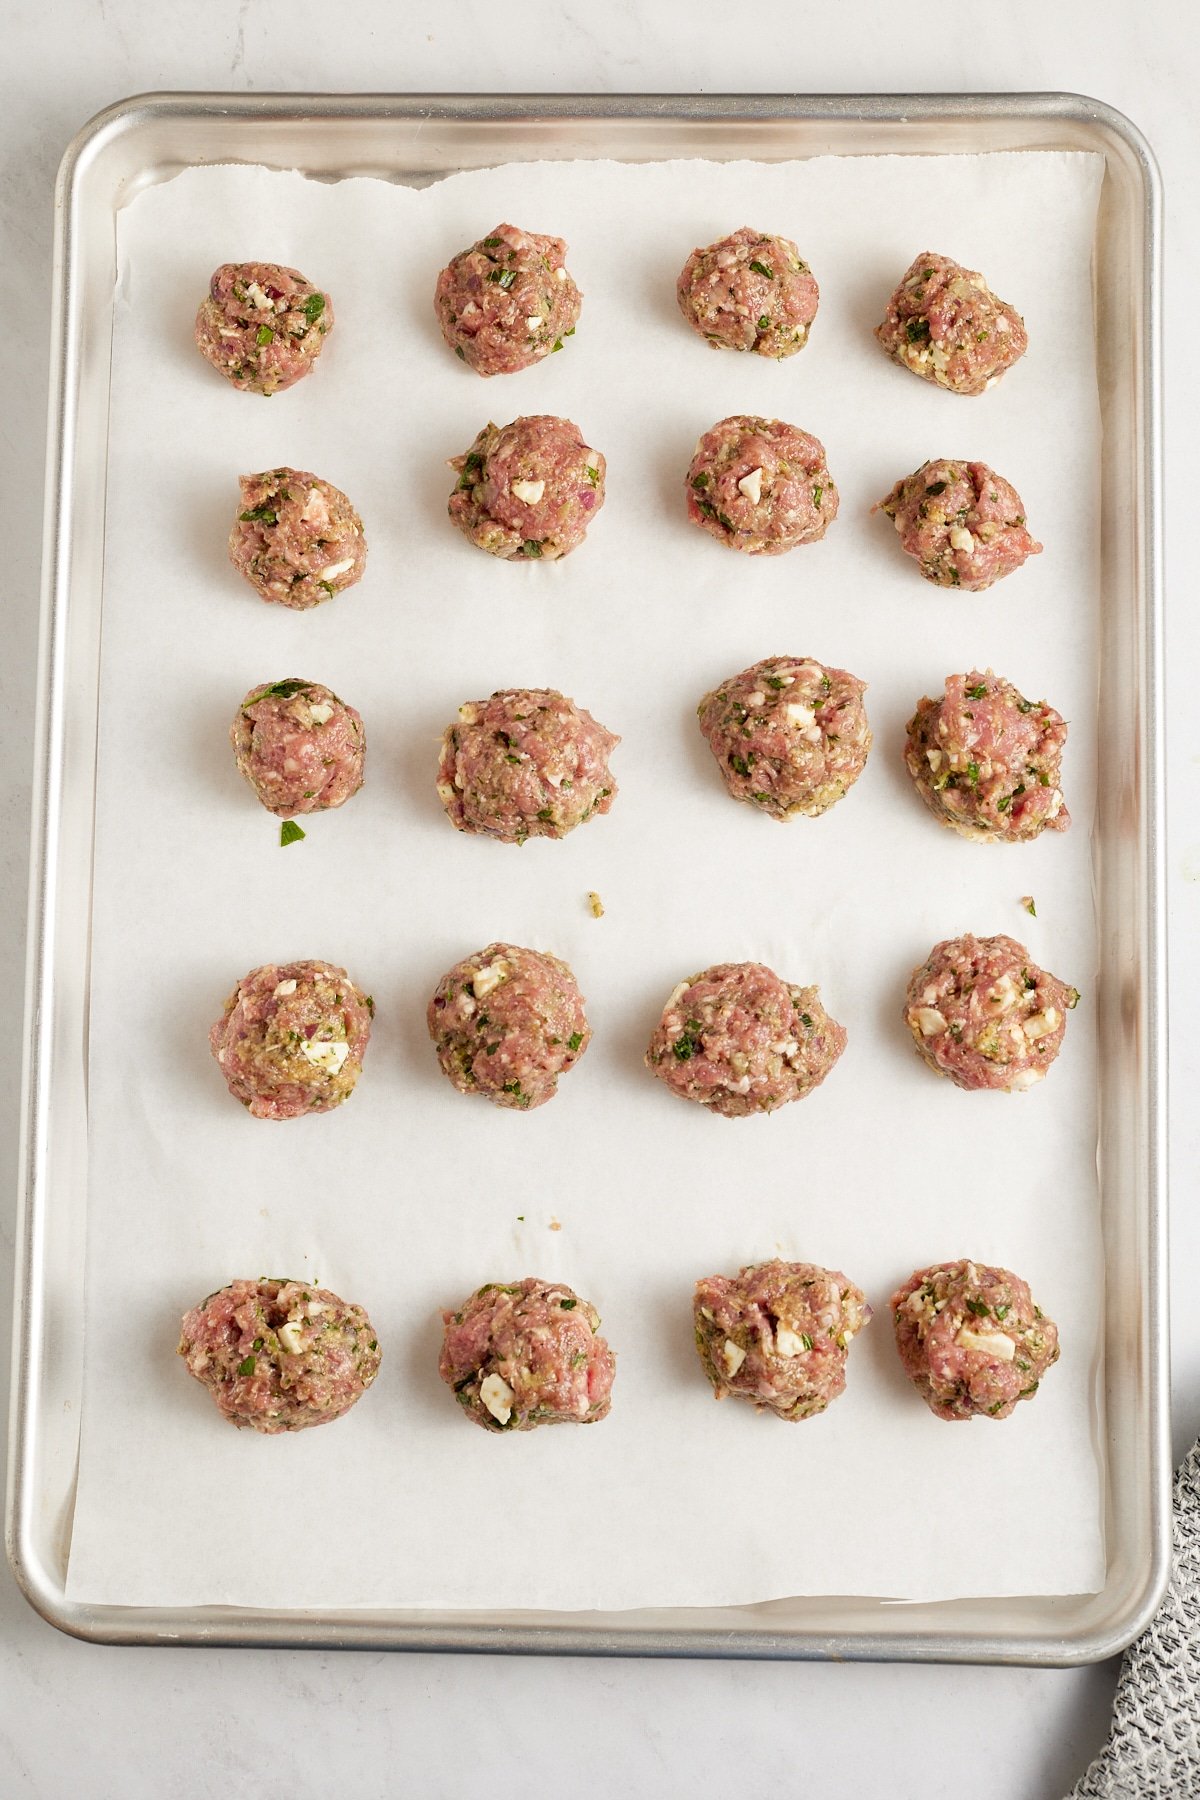
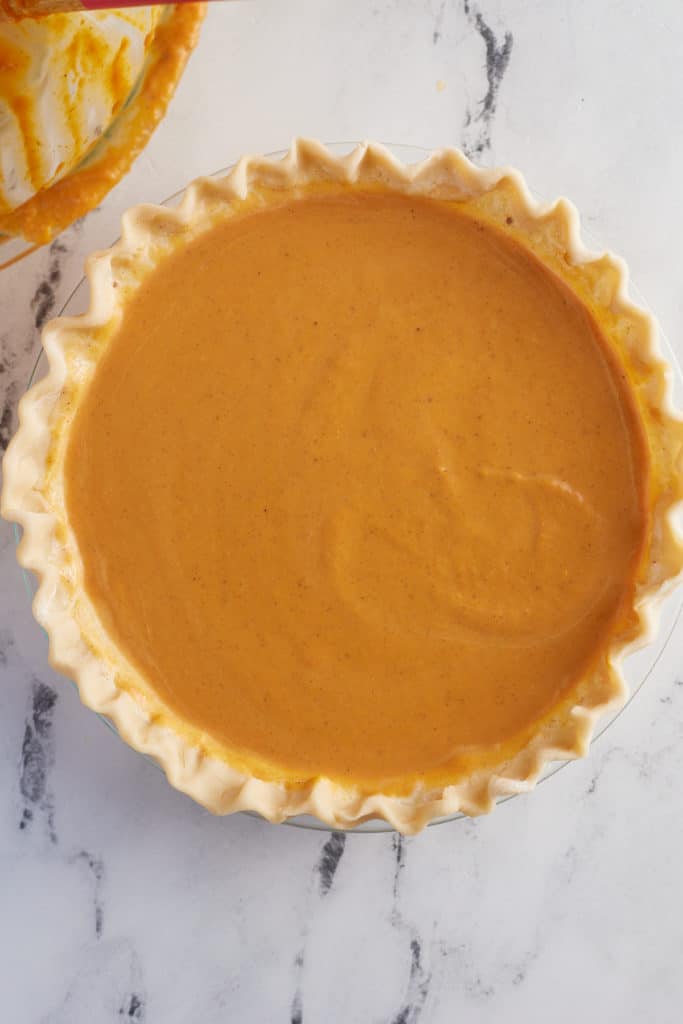
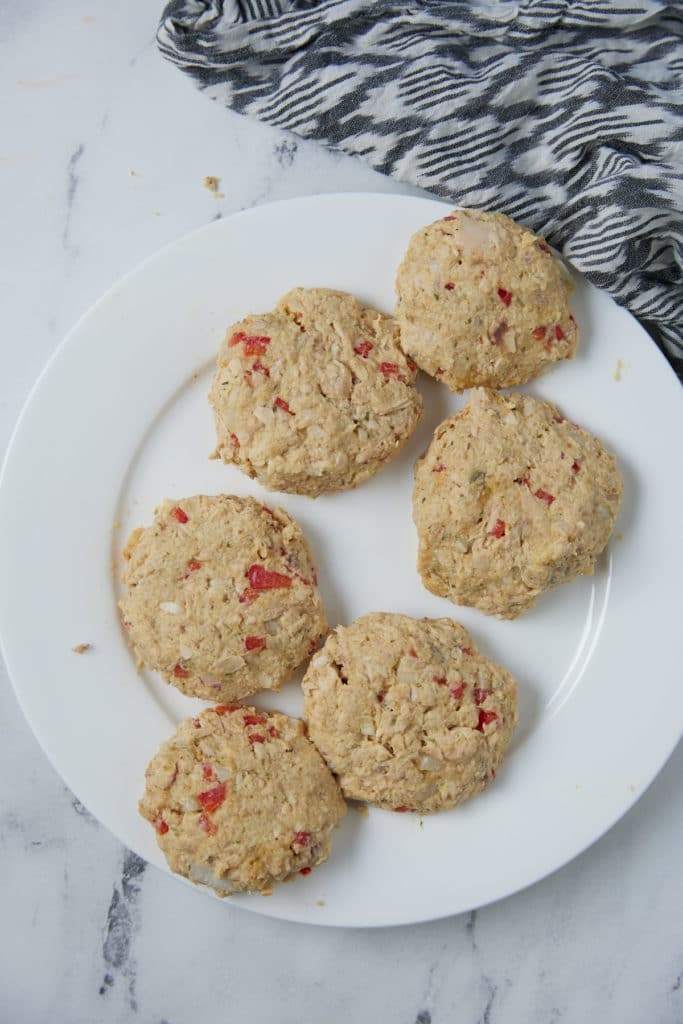
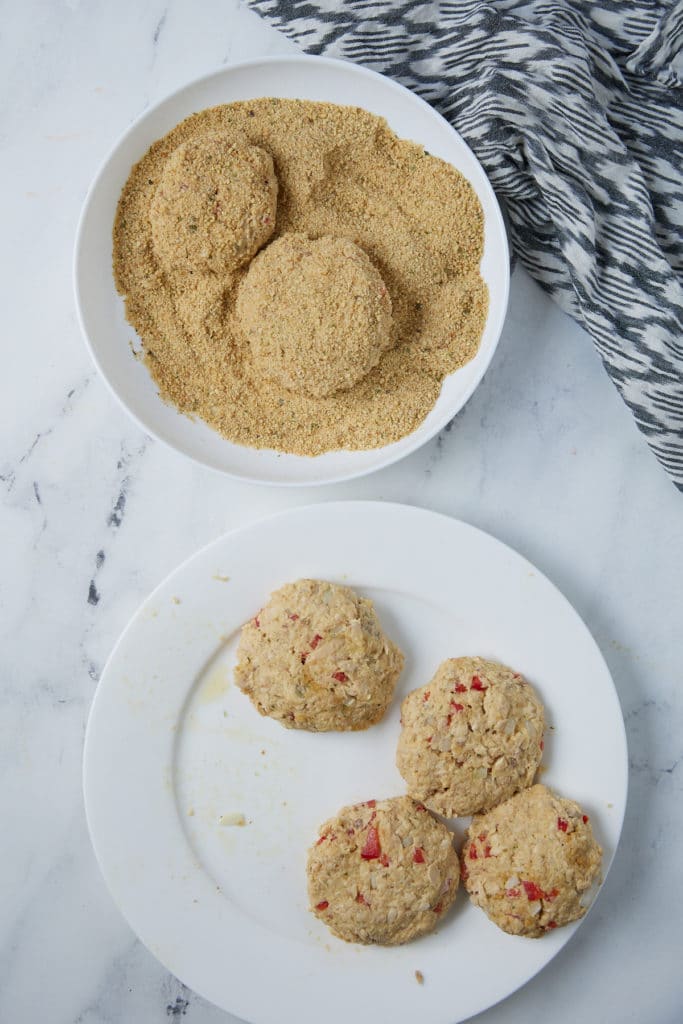
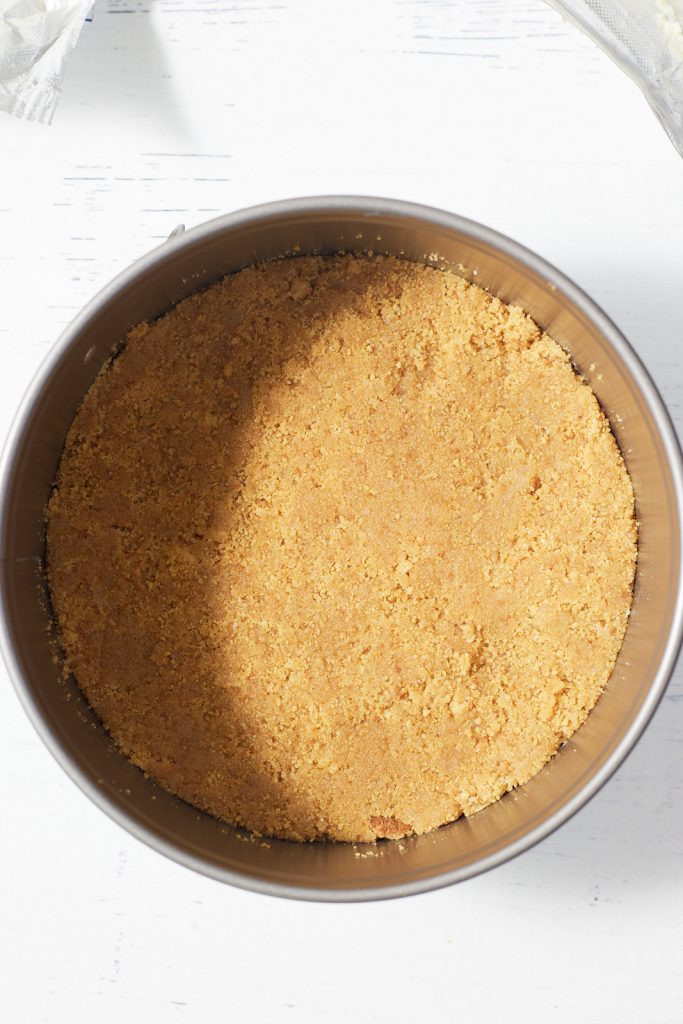
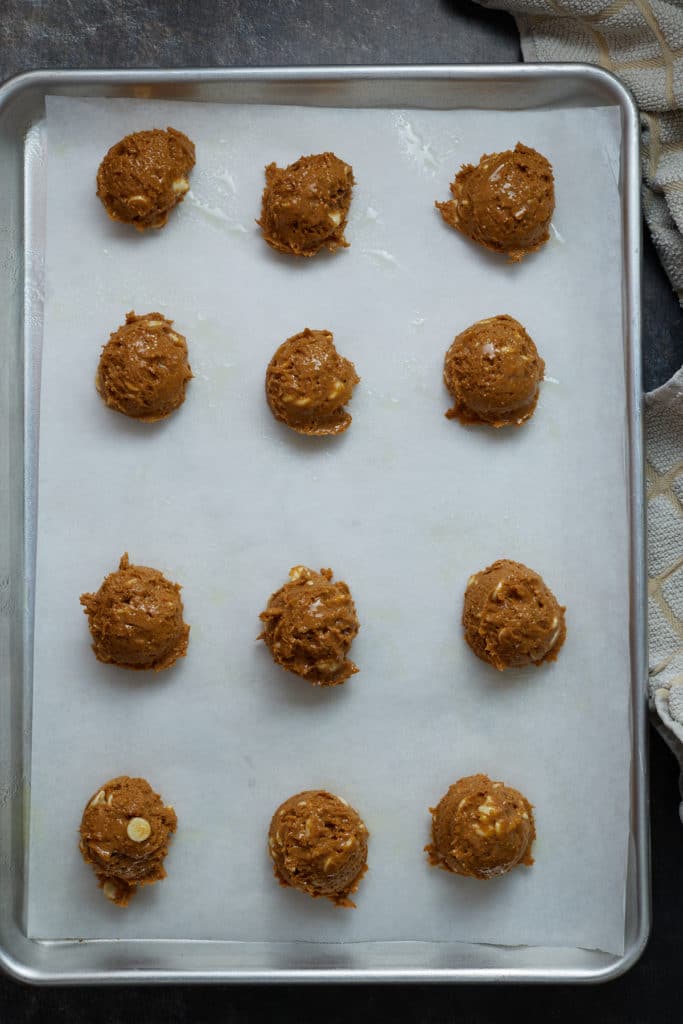
Step 4: Place dough on a cookie sheet by rounded Tablespoons, about 2 inches apart. Spray the top of the cookies with cooking spray if using.
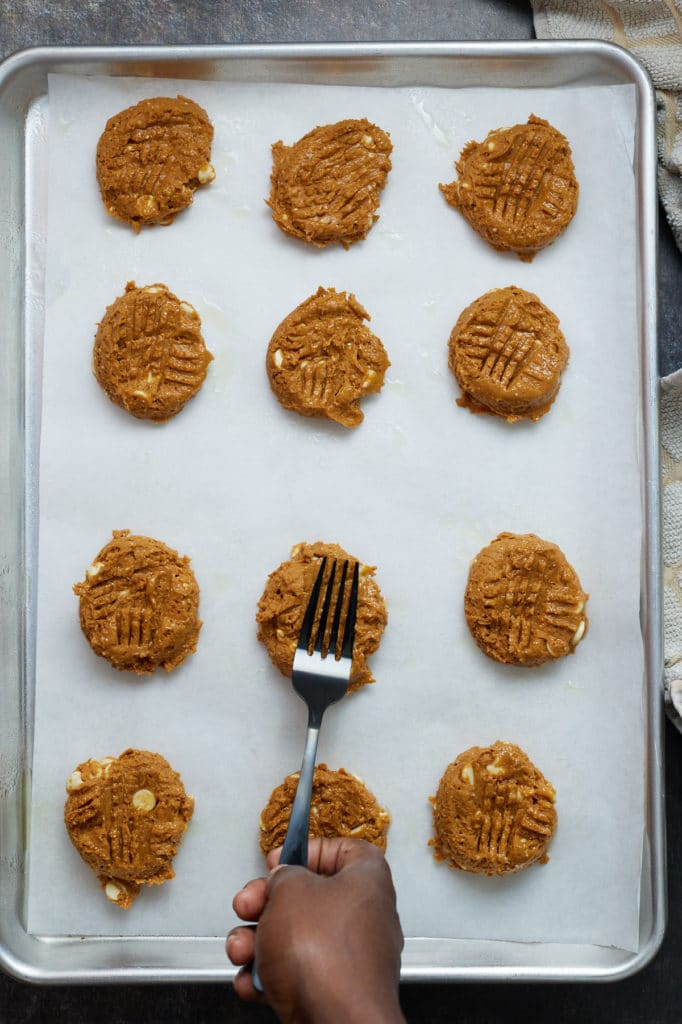
Step 5: Lightly flatten each cookie with the back of a fork or a piece of parchment paper. I spray the cookies with cooking spray if using a fork, so the fork doesn't stick to the dough.
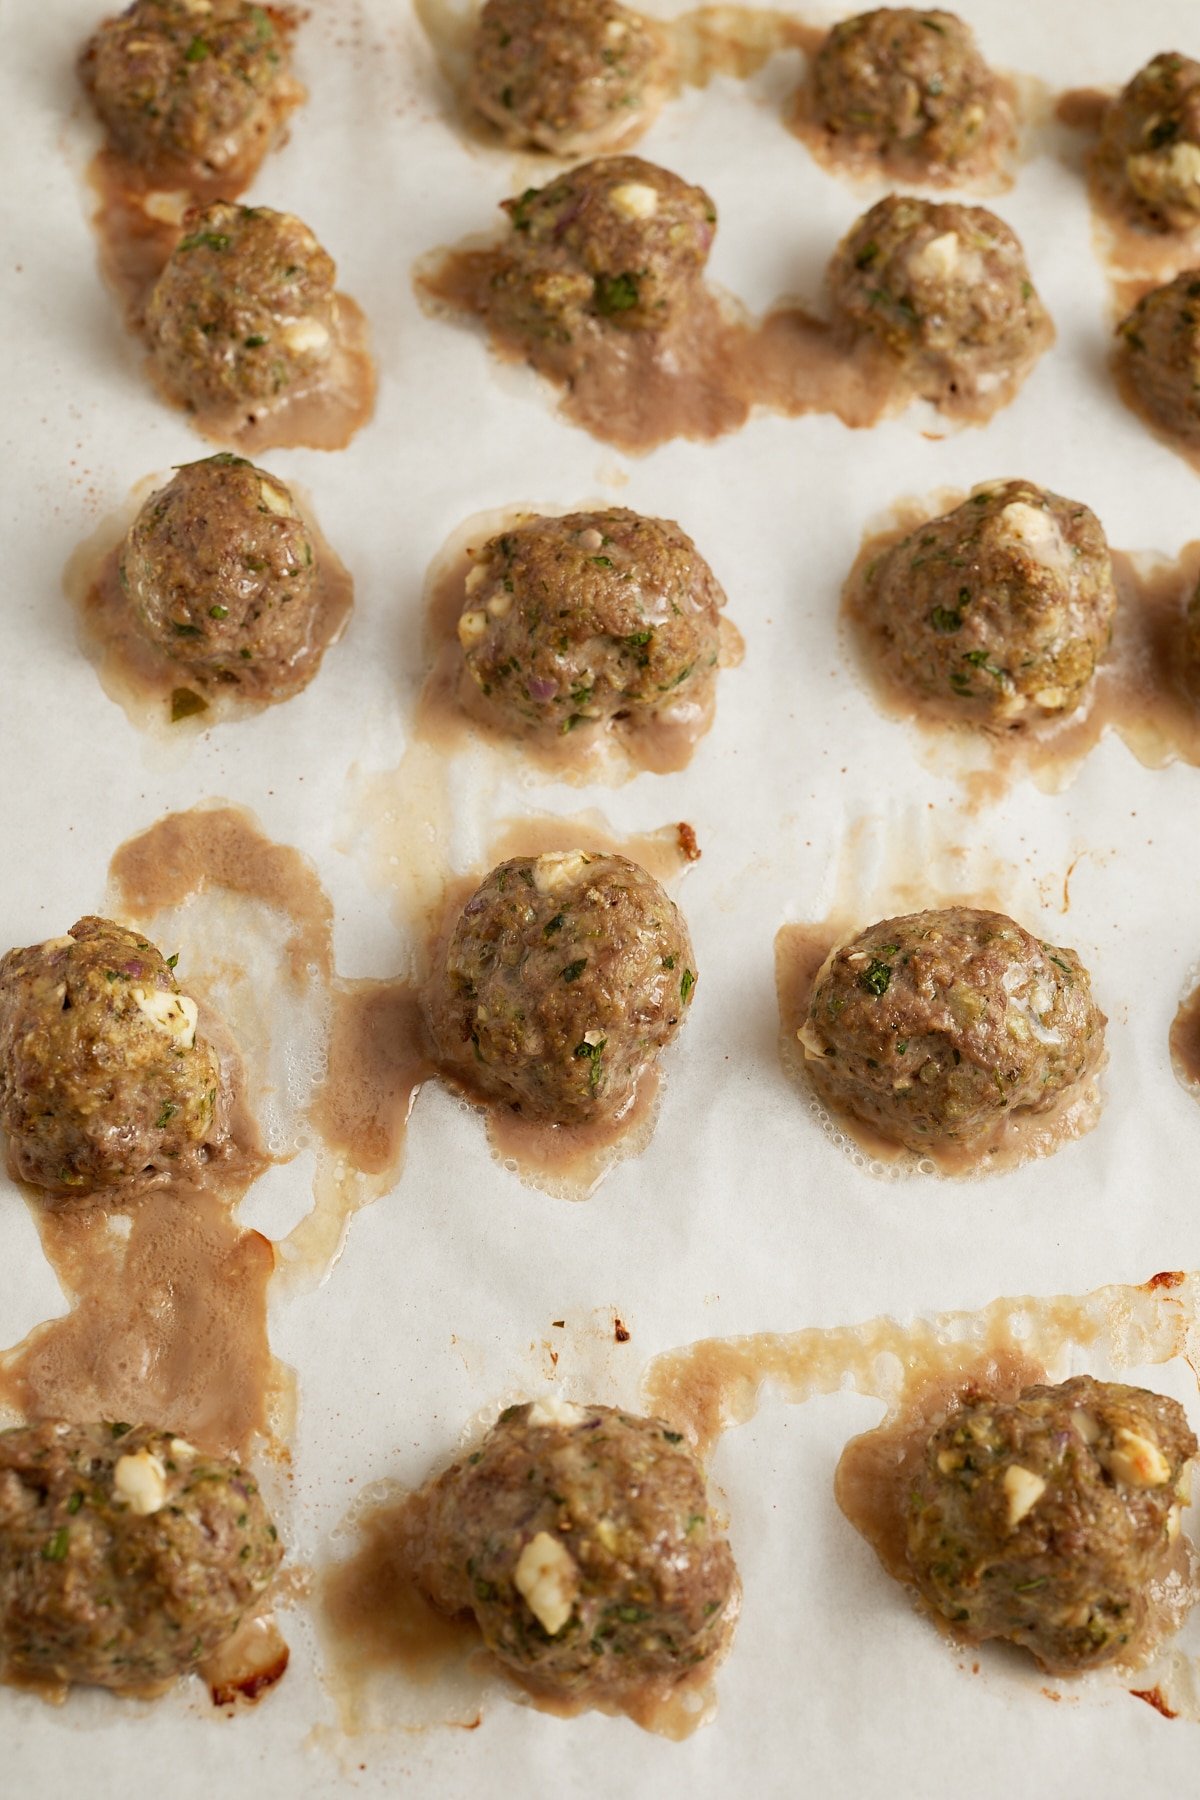
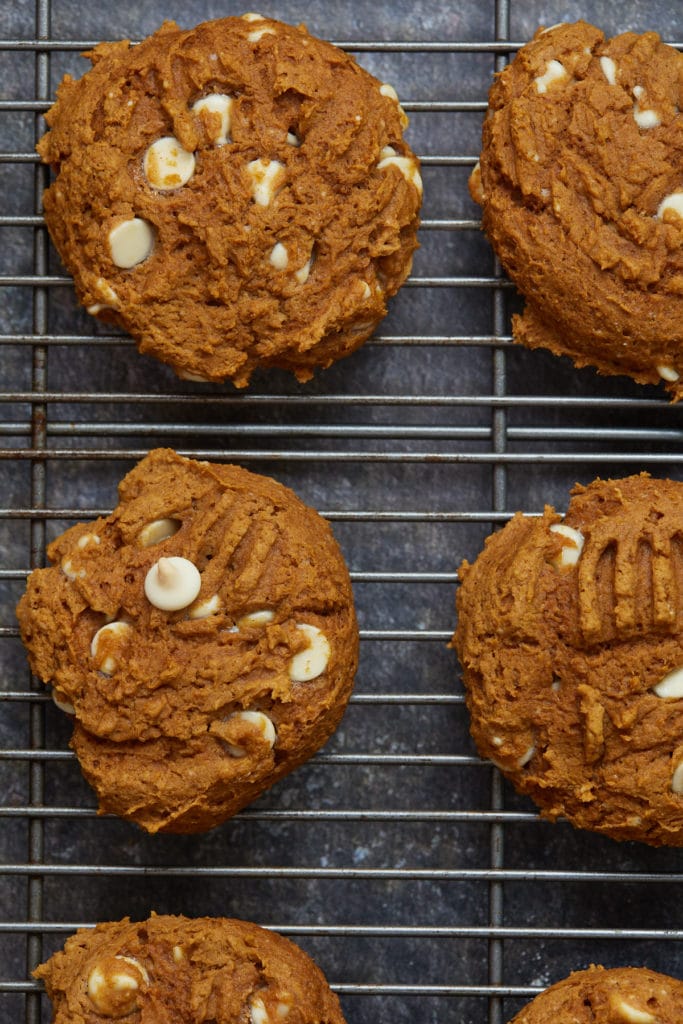
Step 6: Bake in the preheated oven for 15-17 minutes, until cookies are set. Remove from the oven and allow to cool on the pan for about 5 minutes. Transfer cookies to a cookie sheet and continue to cool.
How long do they keep?
These pumpkin cookies will keep well for around 3 to 4 days. Let them cool completely before placing them in an air-tight container at room temperature. They will keep well in the fridge for around 5 days. If kept this way, I like to allow them to sit at room temperature for 20 minutes before enjoying.
Can you freeze them?
Yes, these cookies freeze really well! Place the cooled cookies on a baking sheet and freeze them solid before transferring them to a freezer bag or container. They will keep well for up to 3 months, and you can allow them to thaw at room temperature for a couple of hours before devouring!
Recipe Variations
These easy 3-ingredient pumpkin cookies are delicious as they are, but you can easily mix things up! I love these with white chocolate chips, but you can use milk or dark if you prefer. If you are a chocolate lover, you could even finish them with a drizzle of melted chocolate.
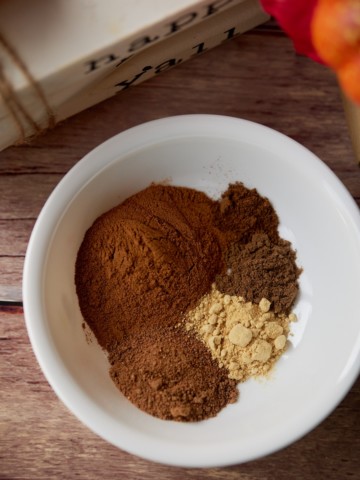
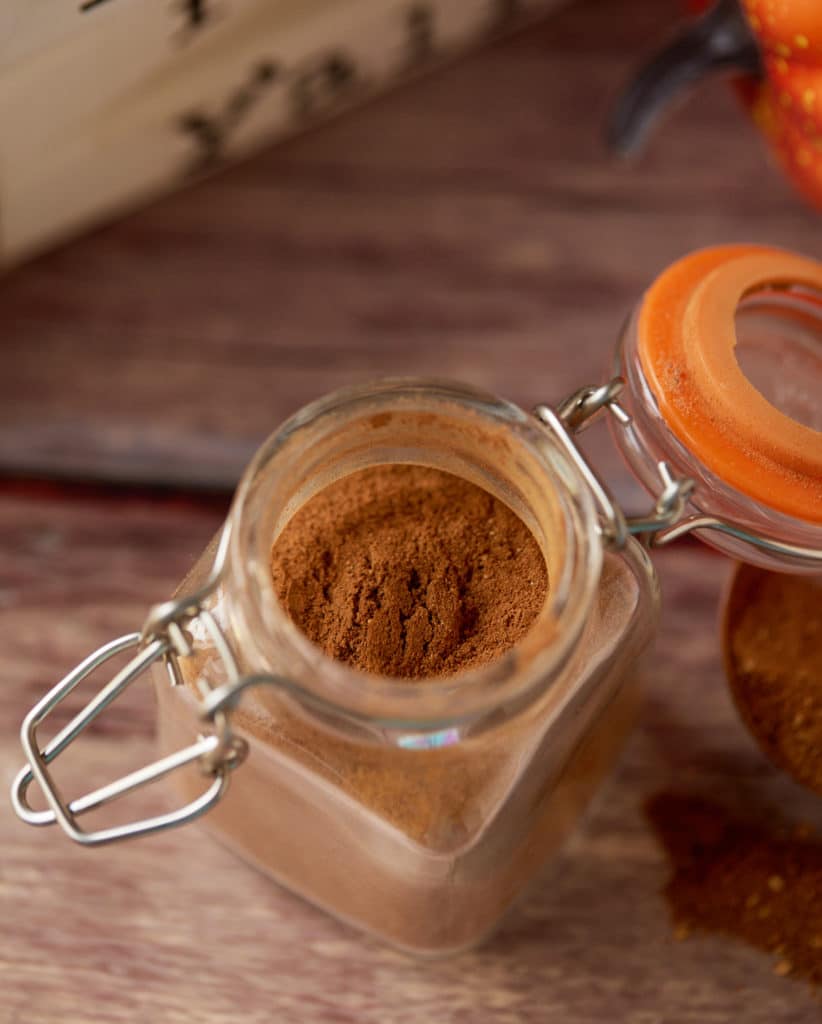
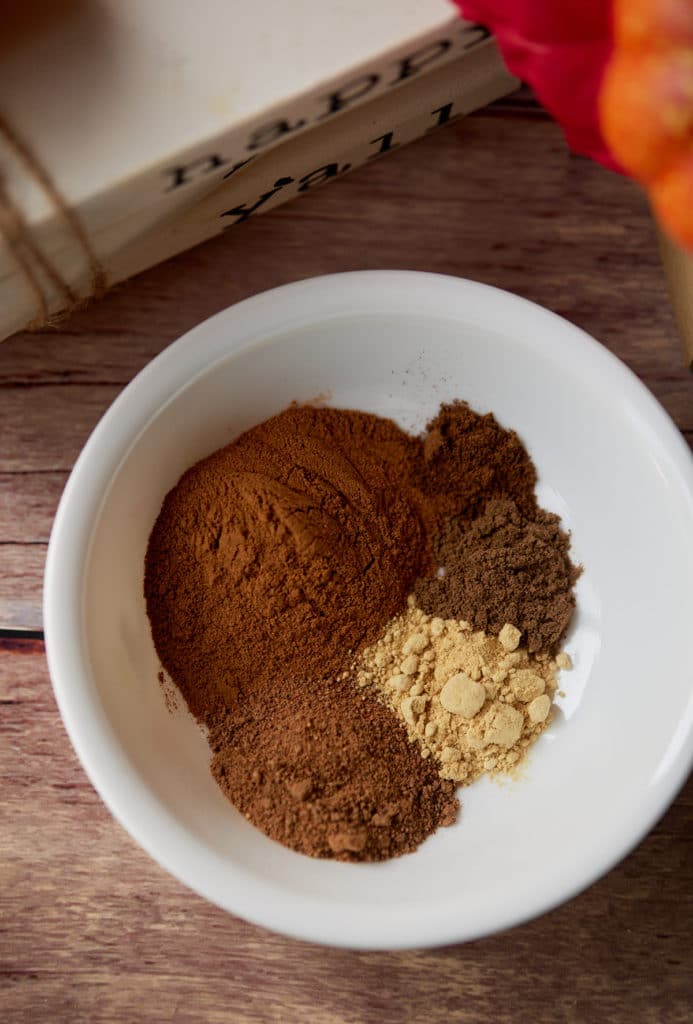
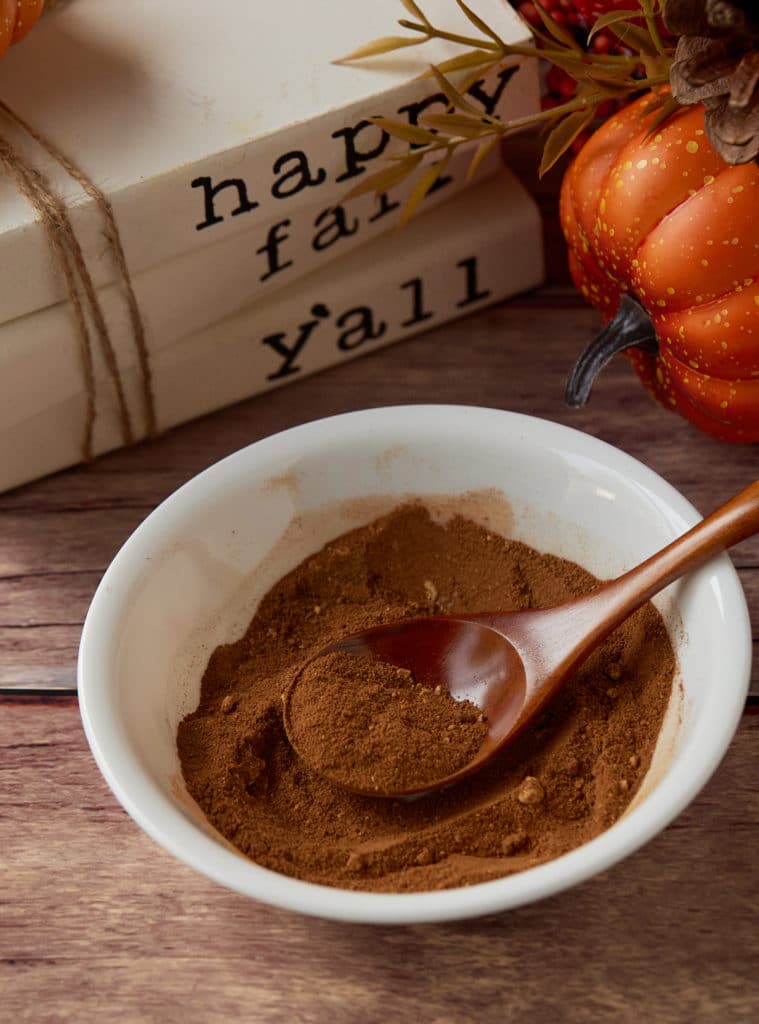
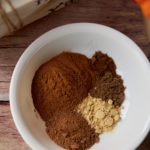
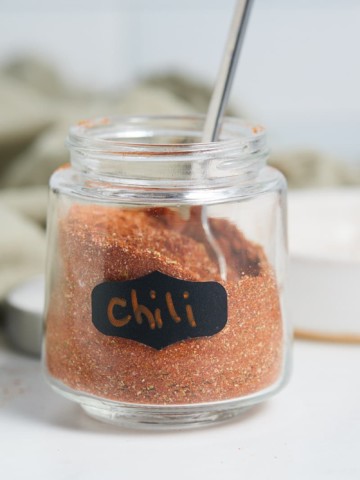
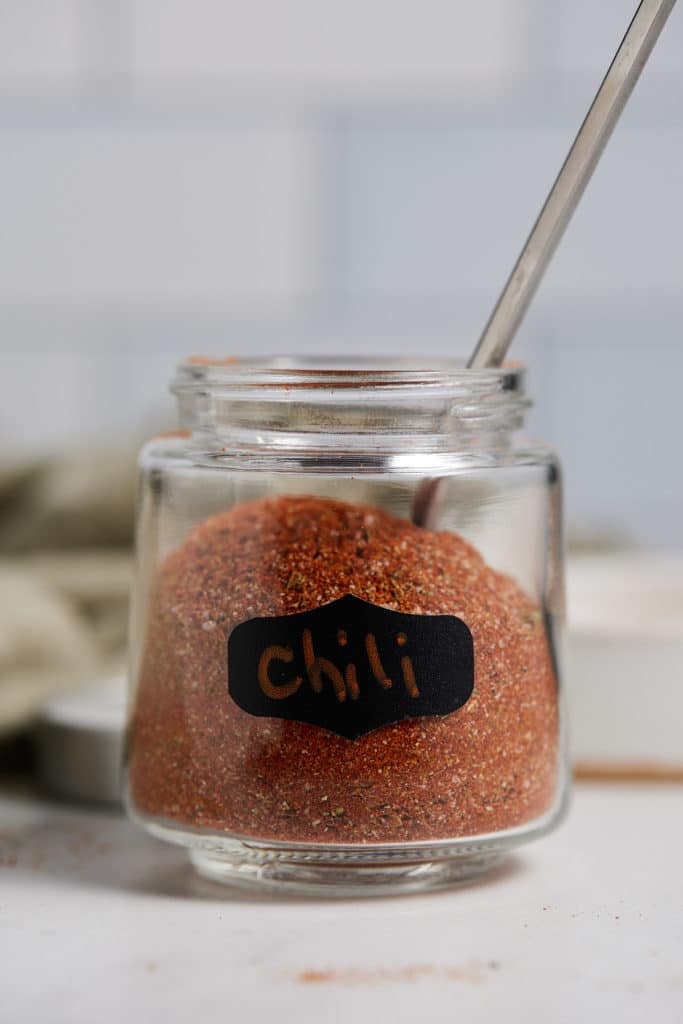
I made these with a spiced cake mix to get that signature fall flavor, but you could use a plain cake mix and add in some of my homemade pumpkin spice.
Tanya's Top Tips
- Make sure to combine the pumpkin and cake mix thoroughly; it should be nice and smooth before adding the chocolate chips.
- Use a canned pumpkin puree for this recipe. Homemade puree can often be too watery to use in these recipes. Use a puree rather than one with added sweeteners or spices.
- These cookies don't spread much while baking, so be sure to flatten them slightly before placing them in the oven. The cooking spray in this recipe is optional. Use it to lightly oil the top of the cookies before flattening them with a fork. Alternatively, you could use parchment paper.
More Cookie Recipes
I hope you love this pumpkin recipe as much as we do. If you give it a try, I’d truly appreciate it if you left a comment to let me know how it turned out. I always enjoy hearing from you!
Easy 3 Ingredient Pumpkin Cookie Recipe
Ingredients
- 1 15.25 oz box spice cake mix
- 15 oz can pure pumpkin
- 1 cup white chocolate chips
- Cooking Spray optional
Instructions
- Preheat the oven to 350 Fahrenheit.
- Prepare a baking sheet with parchment paper or silicone liner. Set aside.
- In a large bowl, combine cake mix and pumpkin and stir until smooth. Then fold in the chocolate chips.
- Place dough on a cookie sheet by rounded Tablespoons, about 2 inches apart. Spray the top of the cookies with cooking spray if using. Lightly flatten each cookie with the back of a fork or some parchment paper.
- Bake in the preheated oven for 15-17minutes, until cookies are set. Remove from the oven and allow to cool on the pan for about 5 minutes. Transfer cookies to a cookie sheet and continue to cool.
Video
Notes
- Make sure that you combine the pumpkin and cake mix really well, it should be nice and smooth before you add the chocolate chips.
- Use a canned pumpkin puree for this recipe. Homemade puree can often be too watery to make these. Use a pure puree rather than one with added sweeteners or spices.
- Make sure that your oven is fully pre-heated so that the cookies bake through evenly.
- Allow the cookies to fully cool before serving or storing.
- These cookies don't spread much while baking, so make sure to flatten them a little before placing them in the oven. The cooking spray in this recipe is optional. Use it to lightly oil the top of the cookies before flattening them with a fork. In the alternative, you could use parchment paper.
Nutrition
This post was originally published on August 23, 2021. It has been updated with new information.