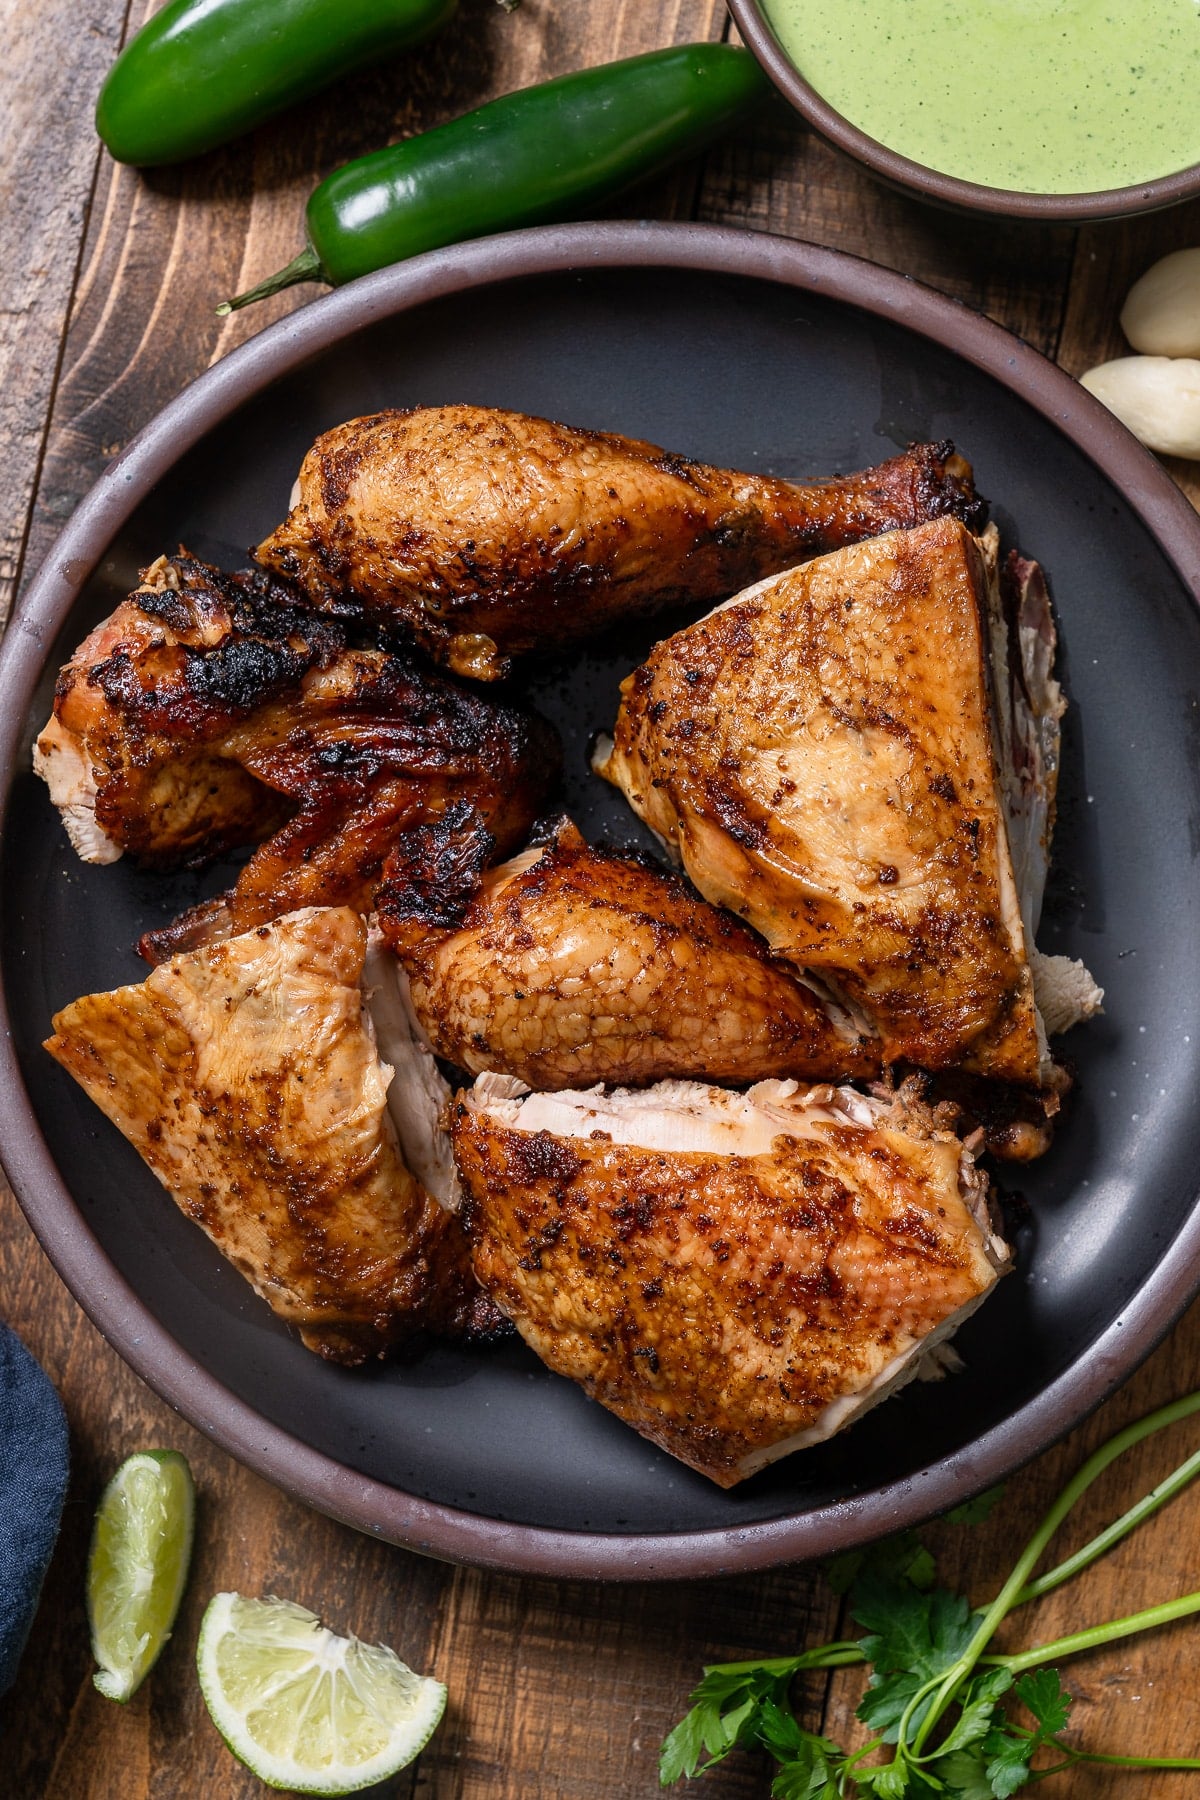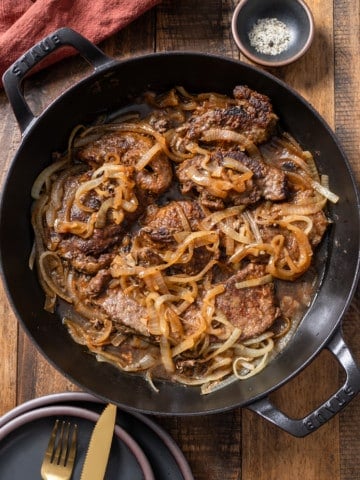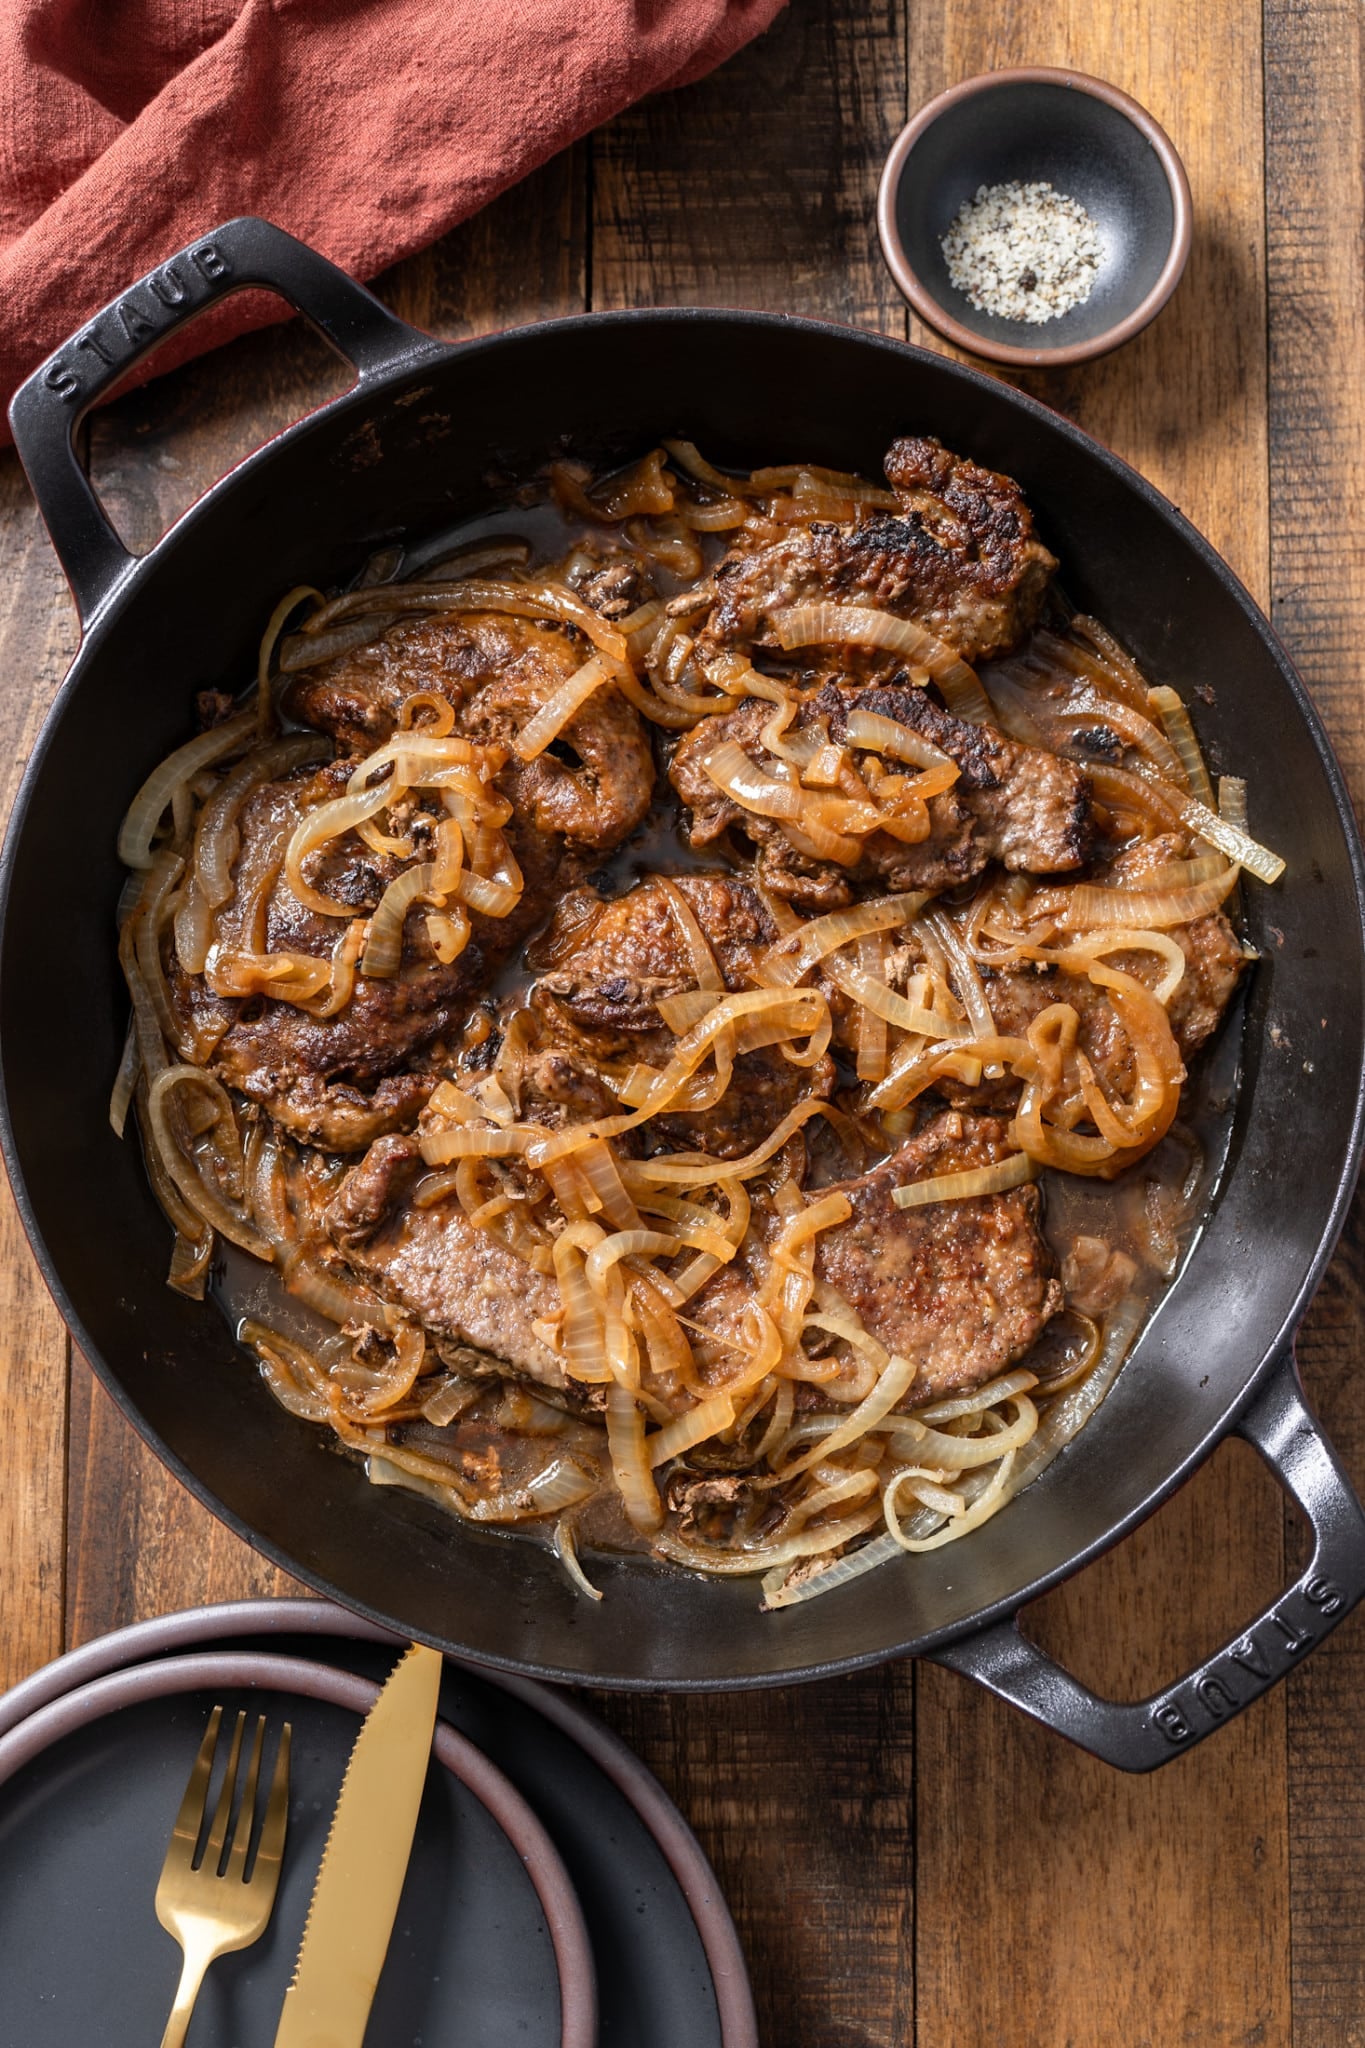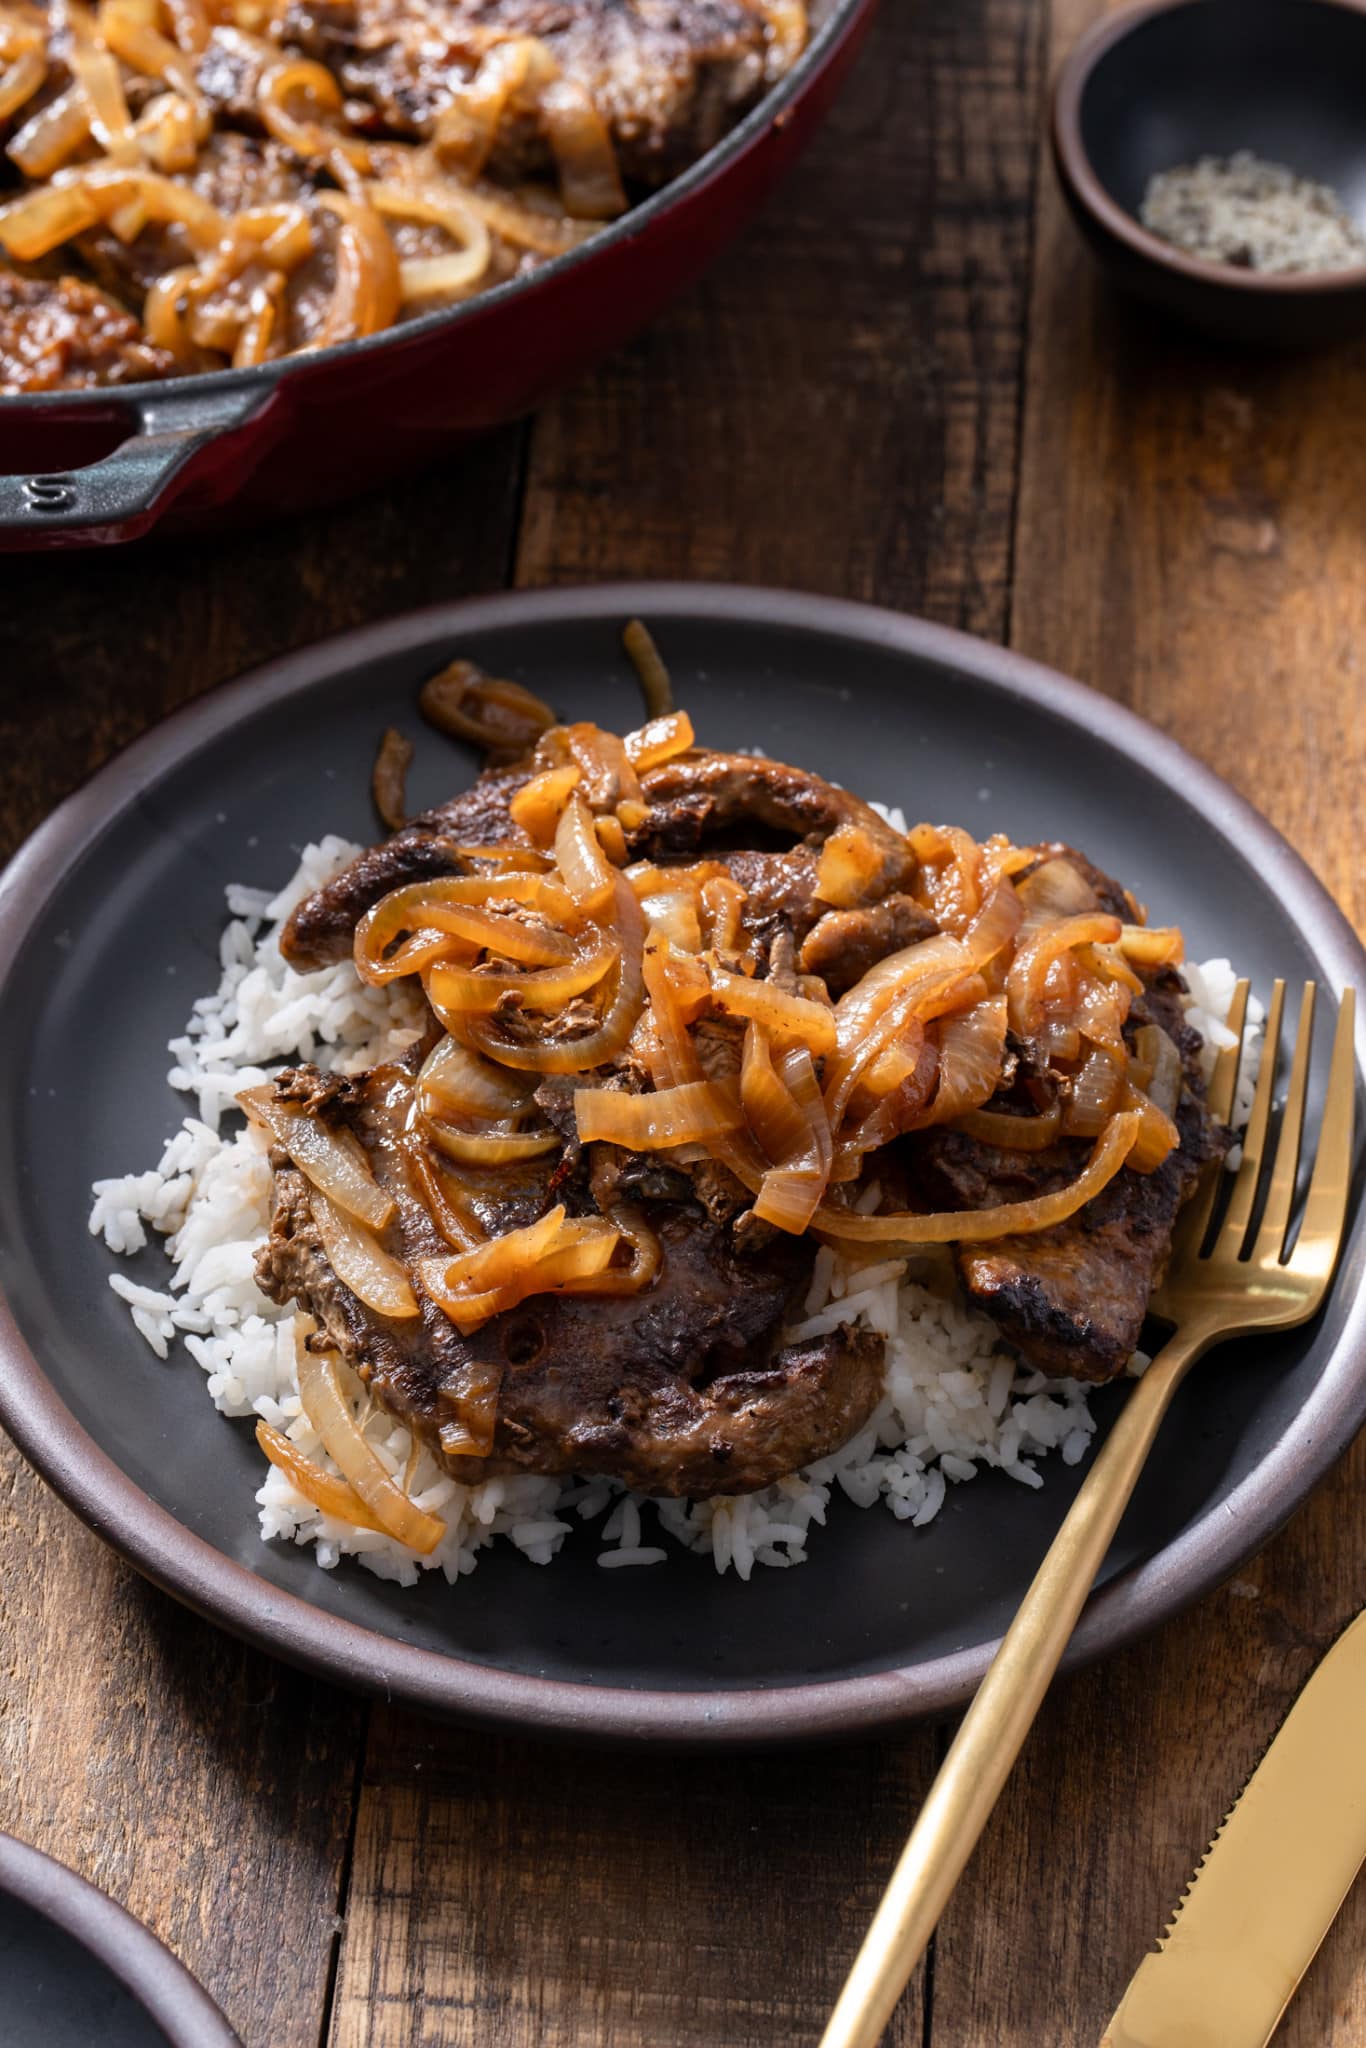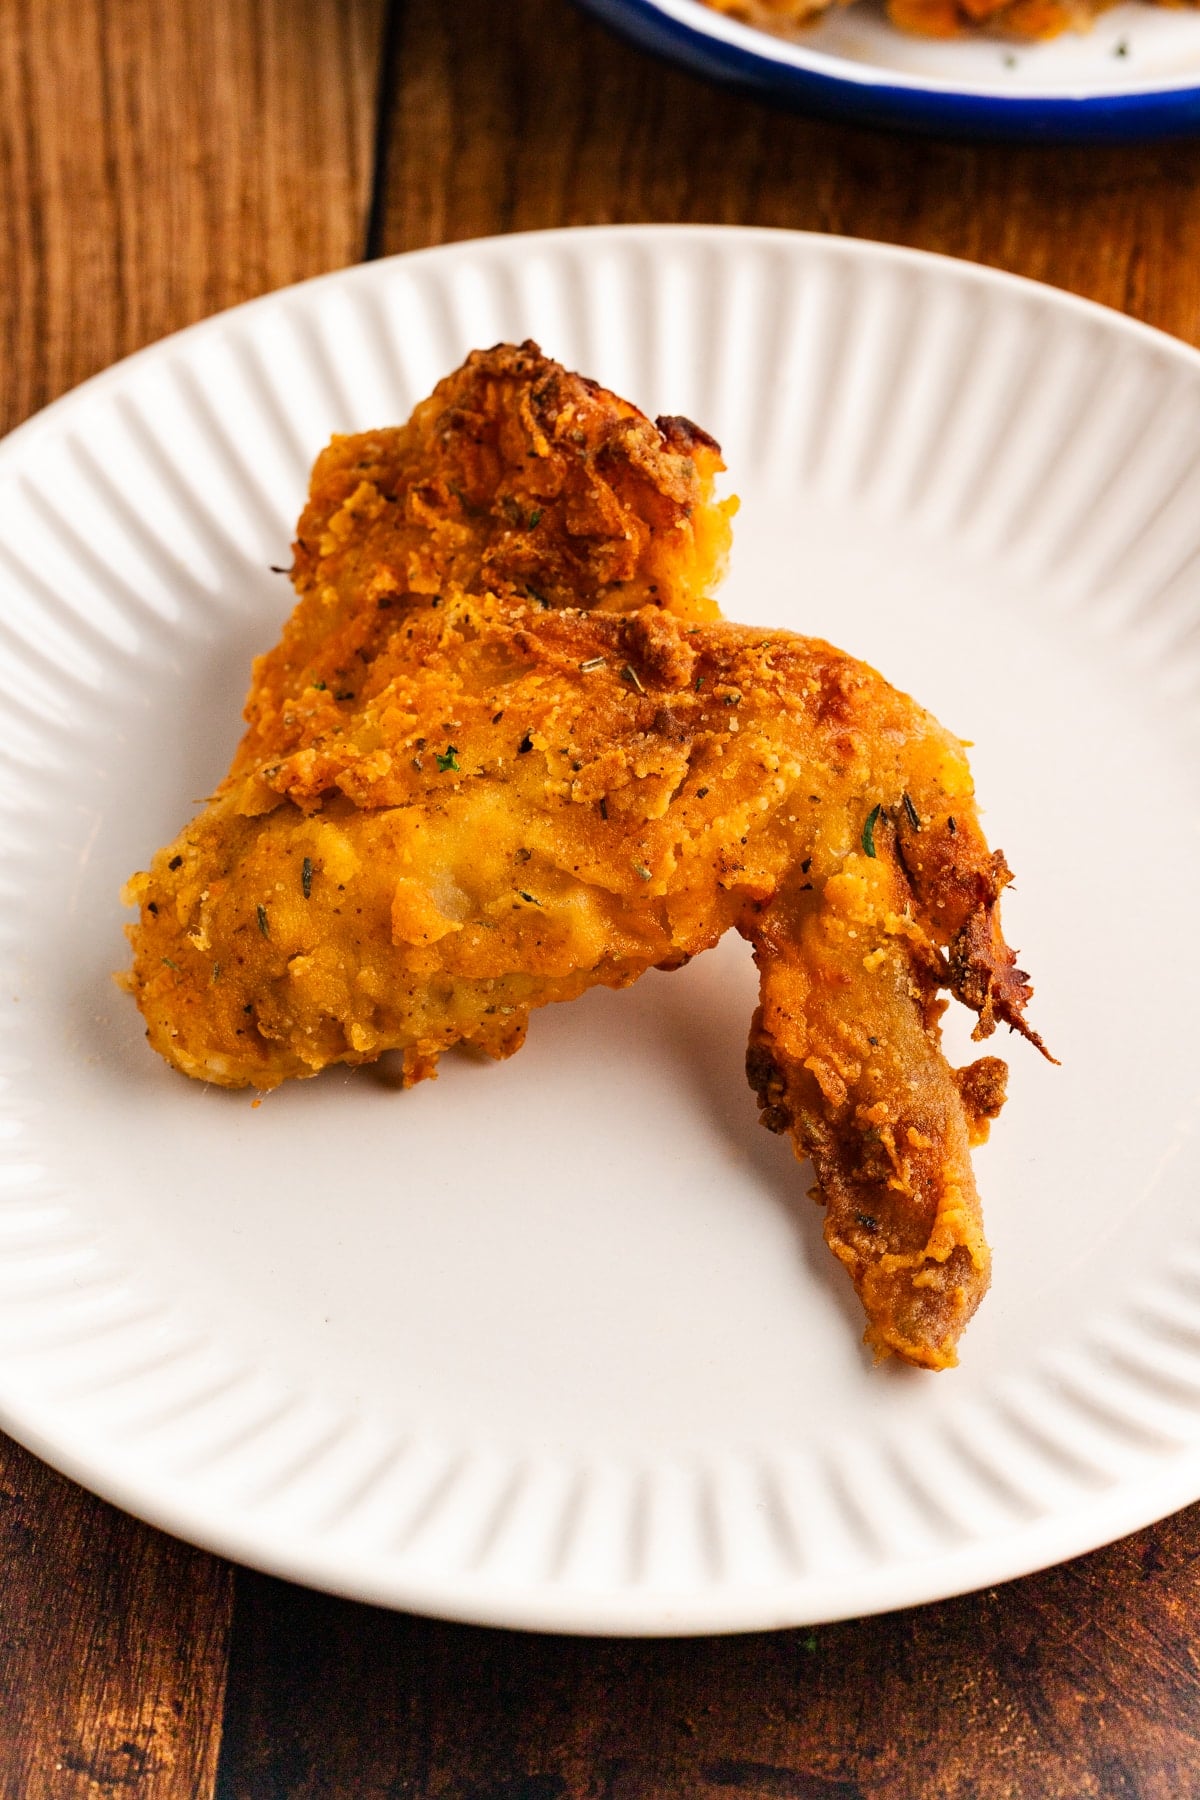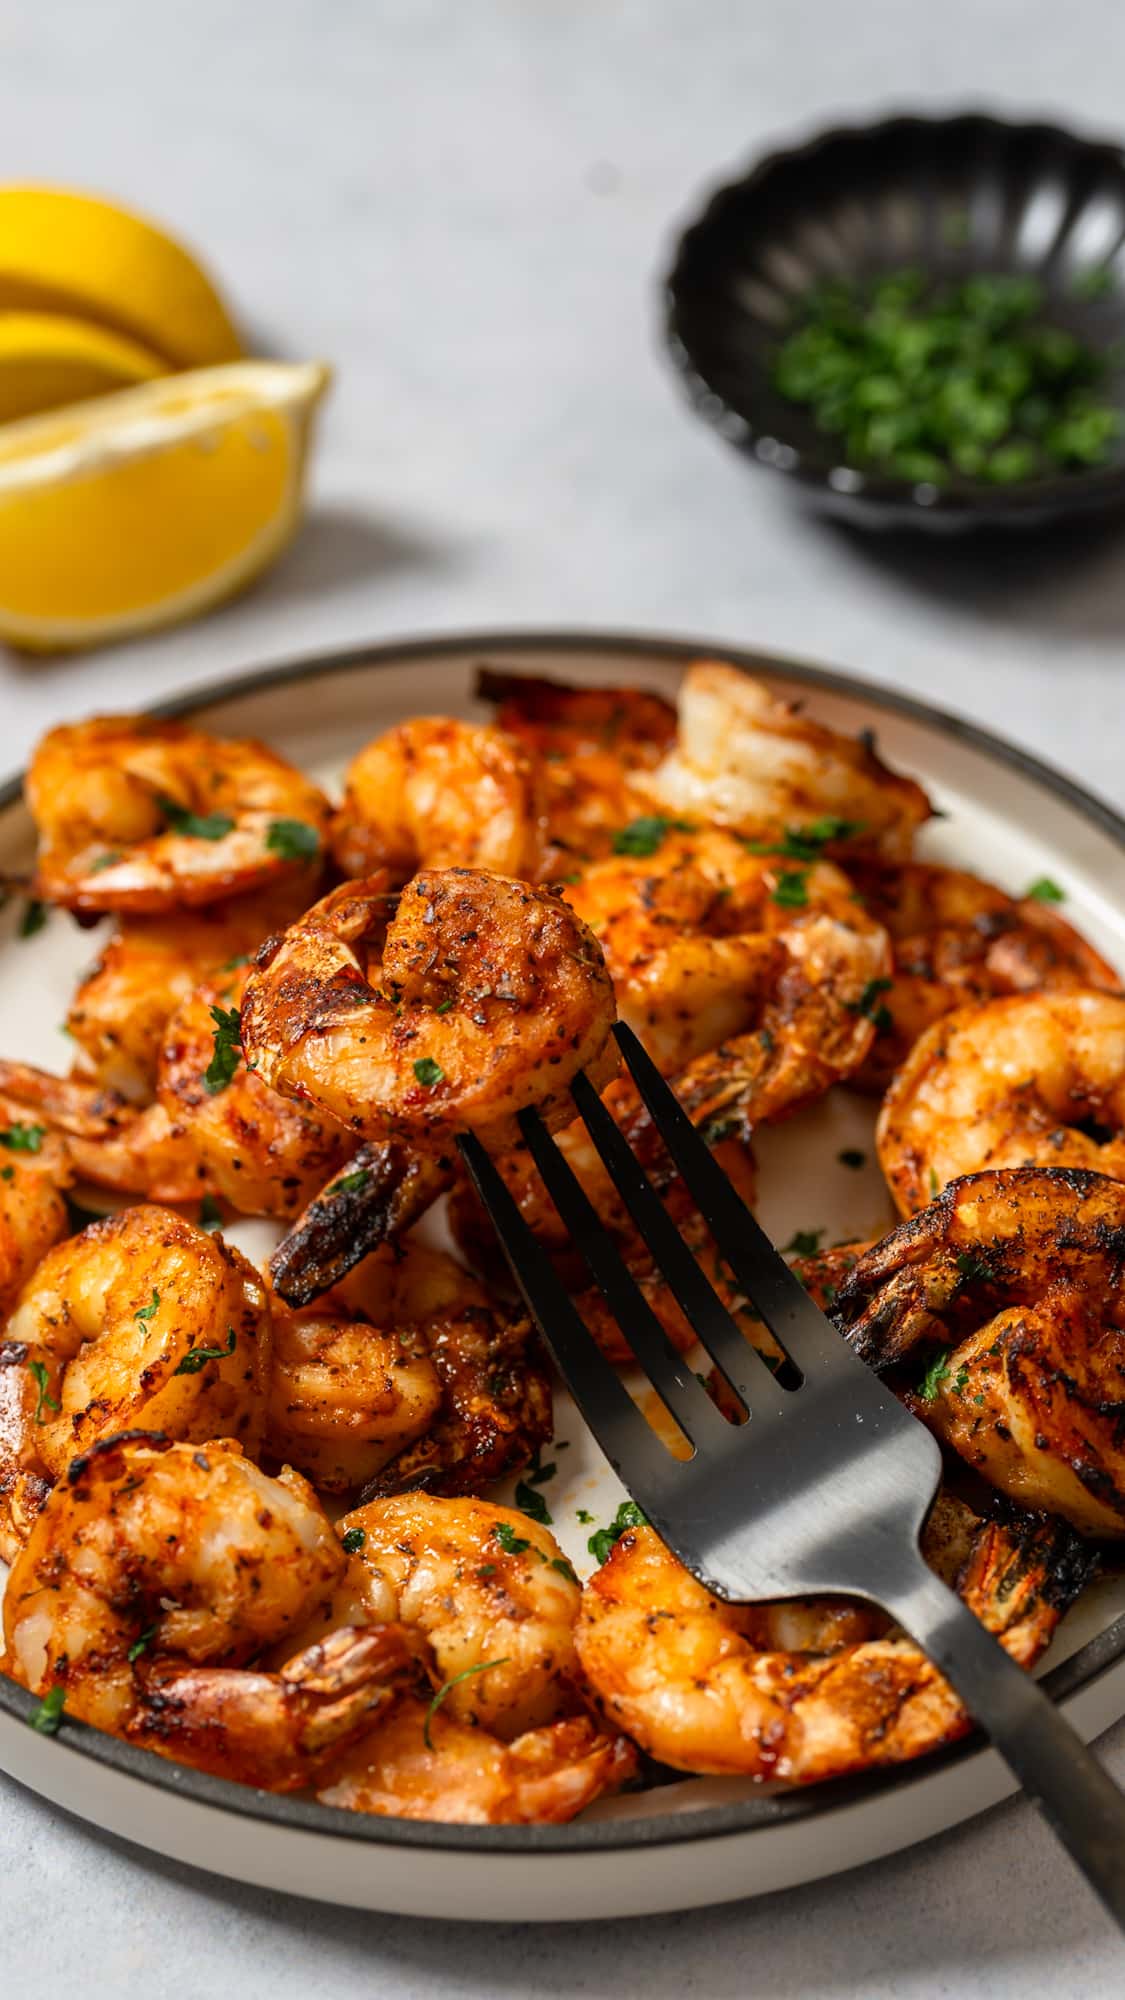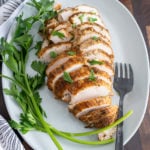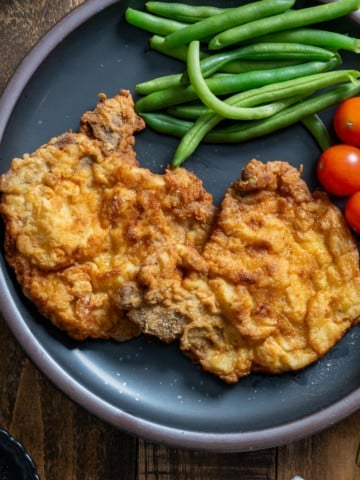
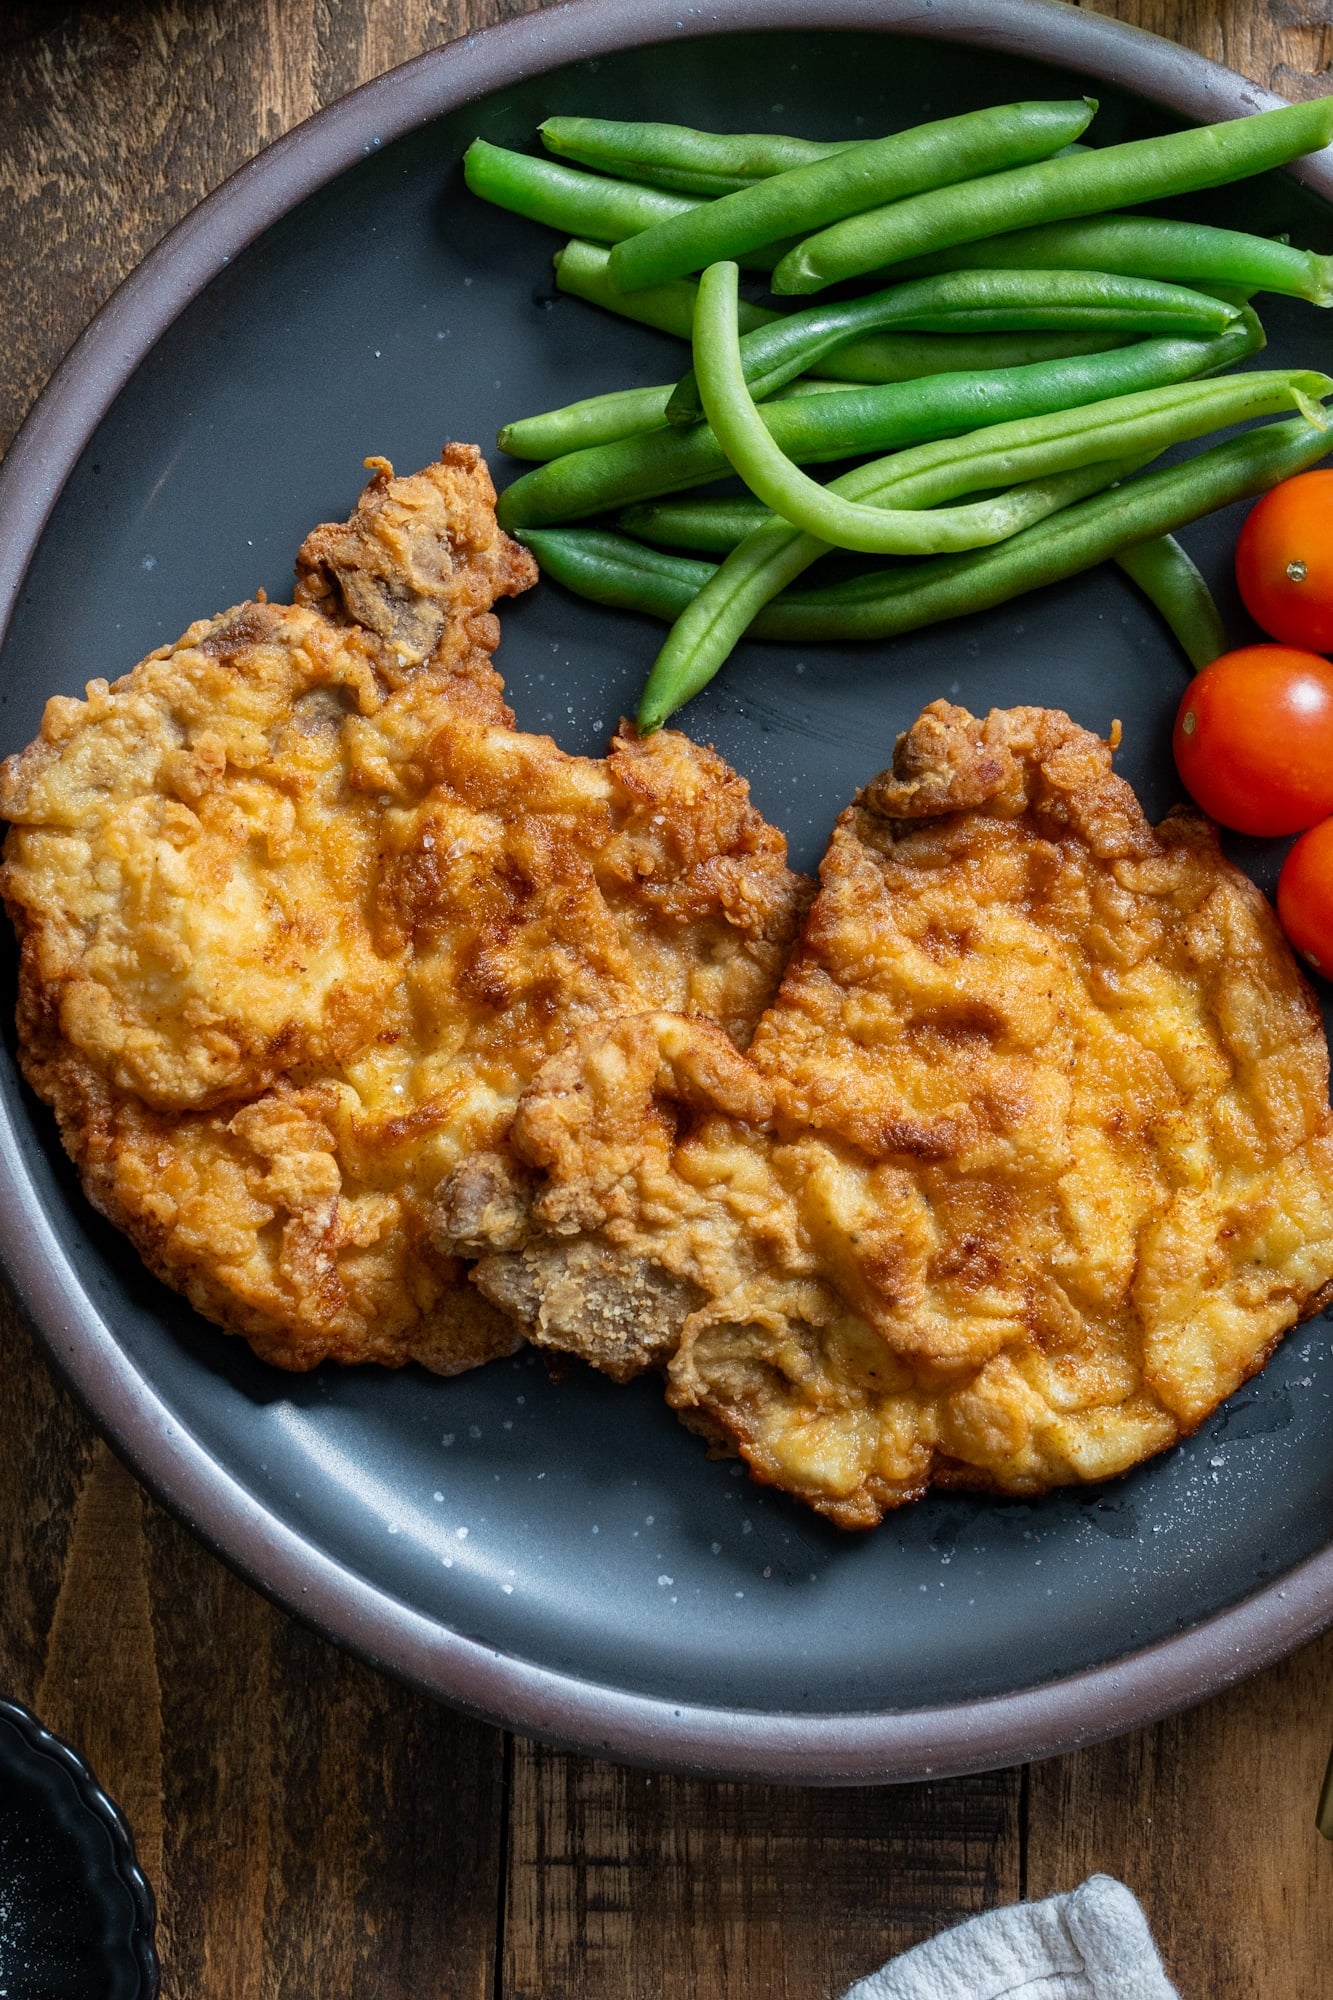
When I'm craving crispy, perfectly golden fried pork chops, this is how I make them.
You’ll find the full recipe with ingredient amounts and instructions in the recipe card at the bottom of this post. Be sure to check out the blog post itself for extra tips and tricks!
Fried Pork Chops At A Glance
- What I'm Sharing: The technique and recipe for perfectly fried and delicious golden pork chops.
- Prep Time: 15 minutes
- Cook Time: 8 minutes
- Total Time: 23 minutes
- Serves: 4
- Best For: Sunday dinner, weeknight comfort, and anyone who appreciates a perfectly golden-brown crust.
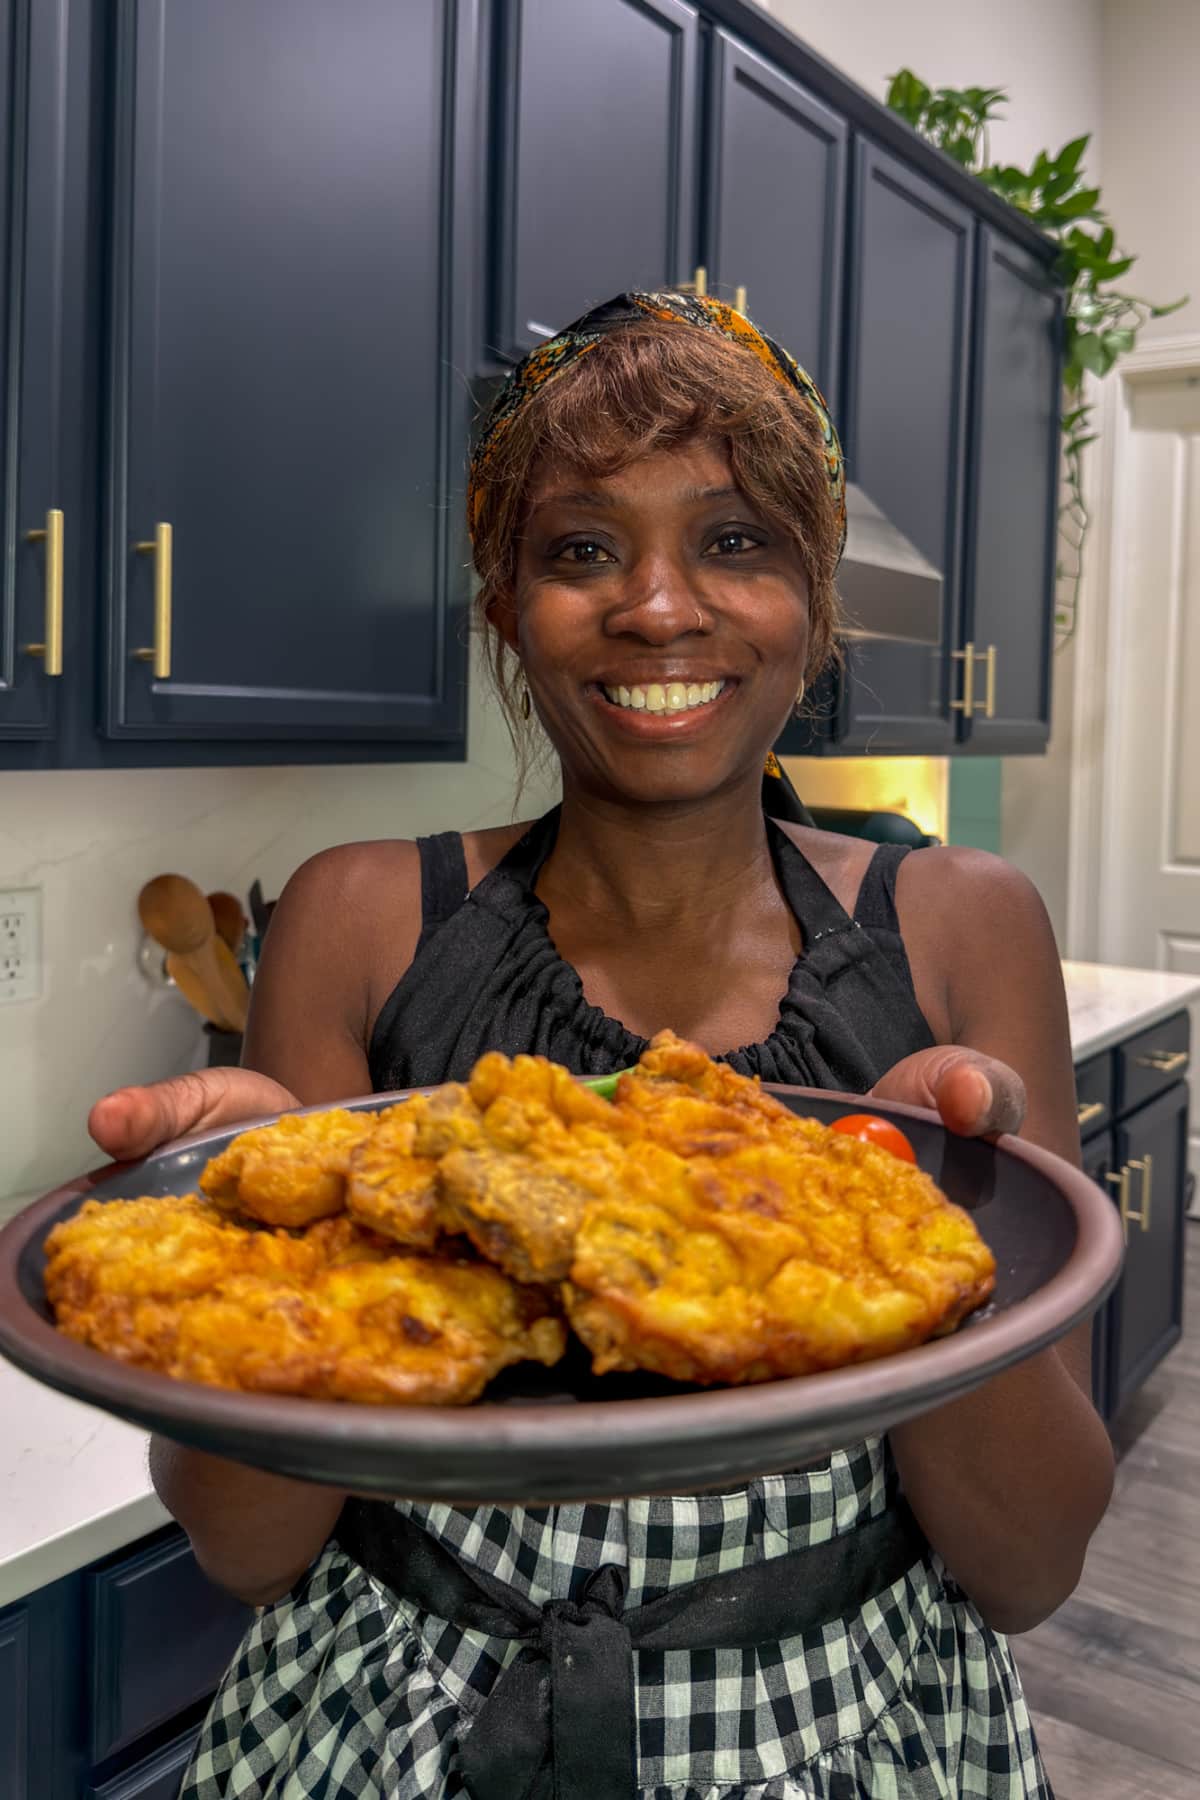
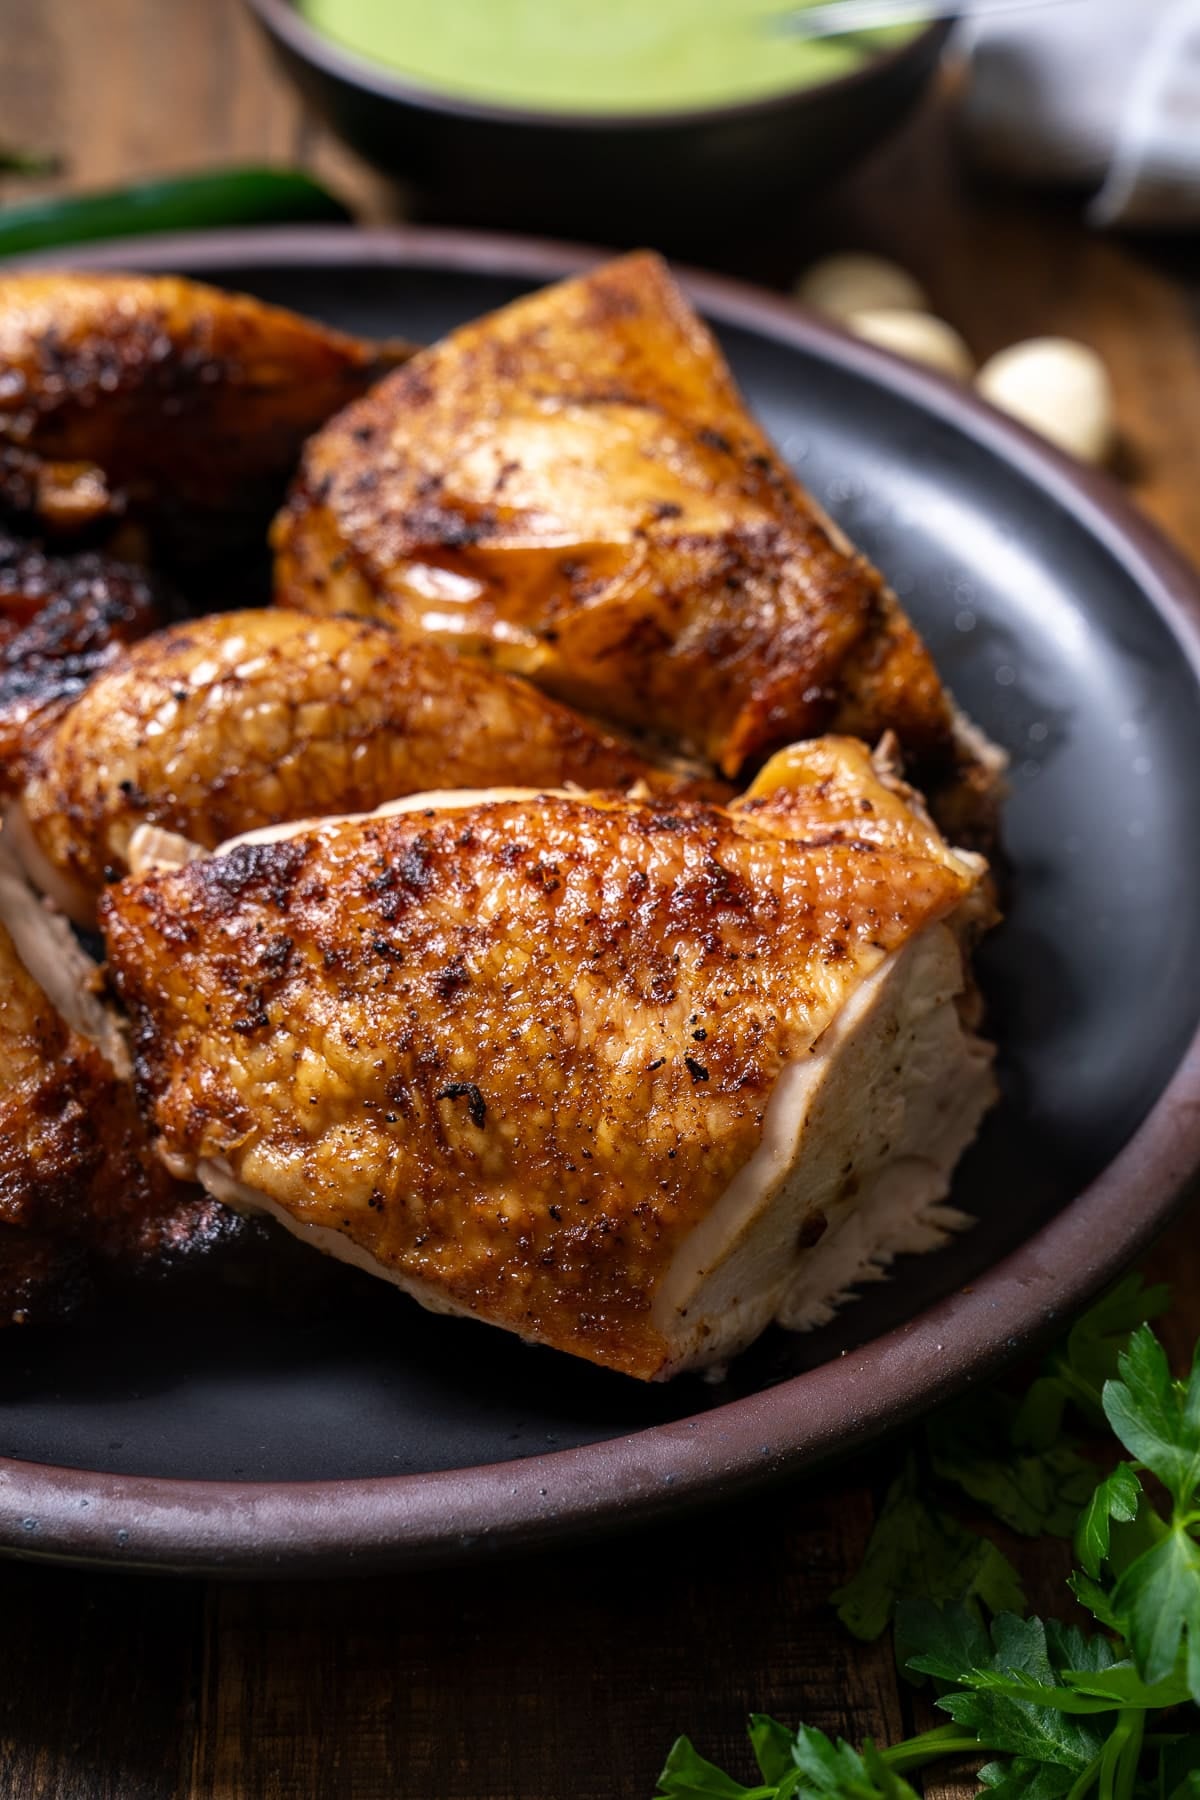
I’ve always been a huge fan of pork chops, but a perfectly fried pork chop is the ultimate winner. Frying pork chops is a true skill because you want a crust that stays crispy while the meat remains juicy.
I’ve spent plenty of time not just eating fried pork chops, but studying exactly how to fry them right. Now, whenever a craving hits, this is my go-to method.
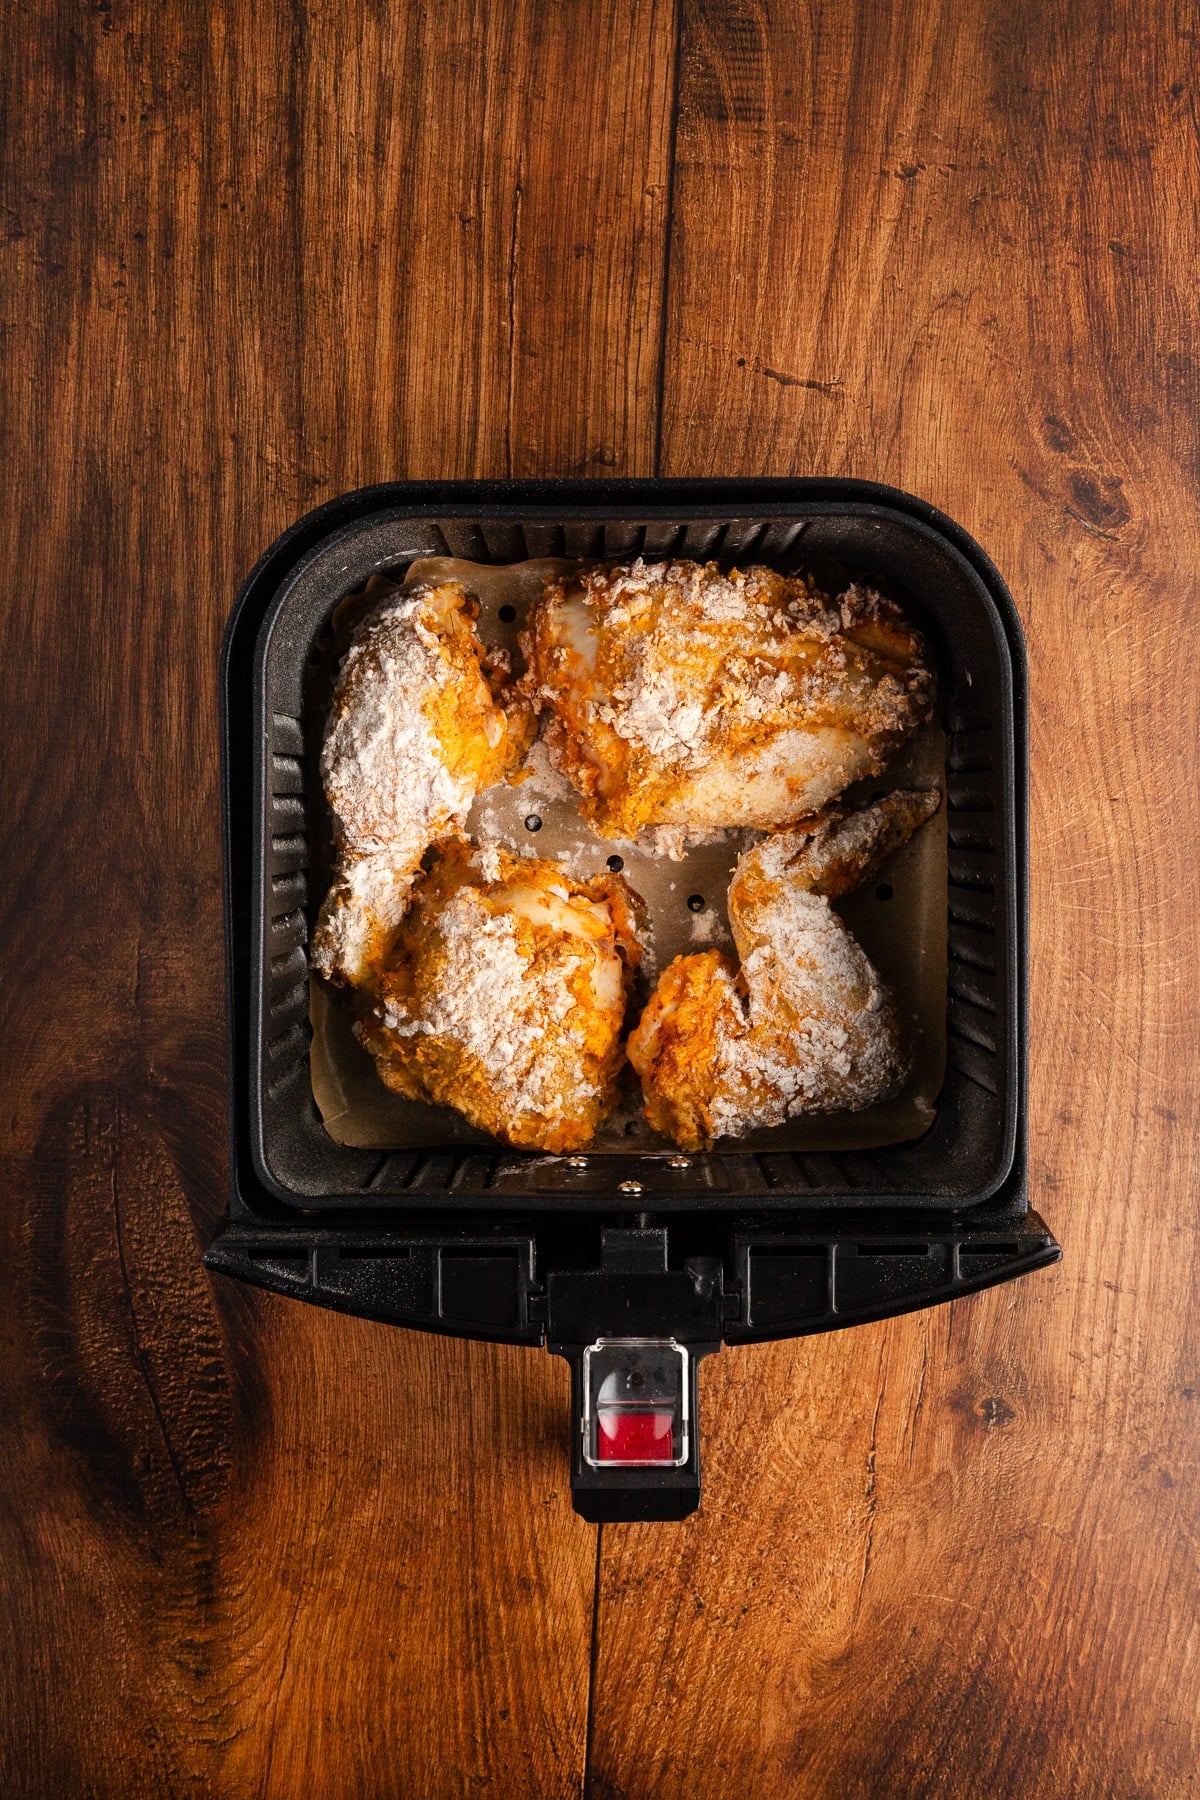
If you love pork chops as much as I do, you’ll also want to try my Juicy Pan-Seared Pork Chops or my Air Fryer Pork Chops.
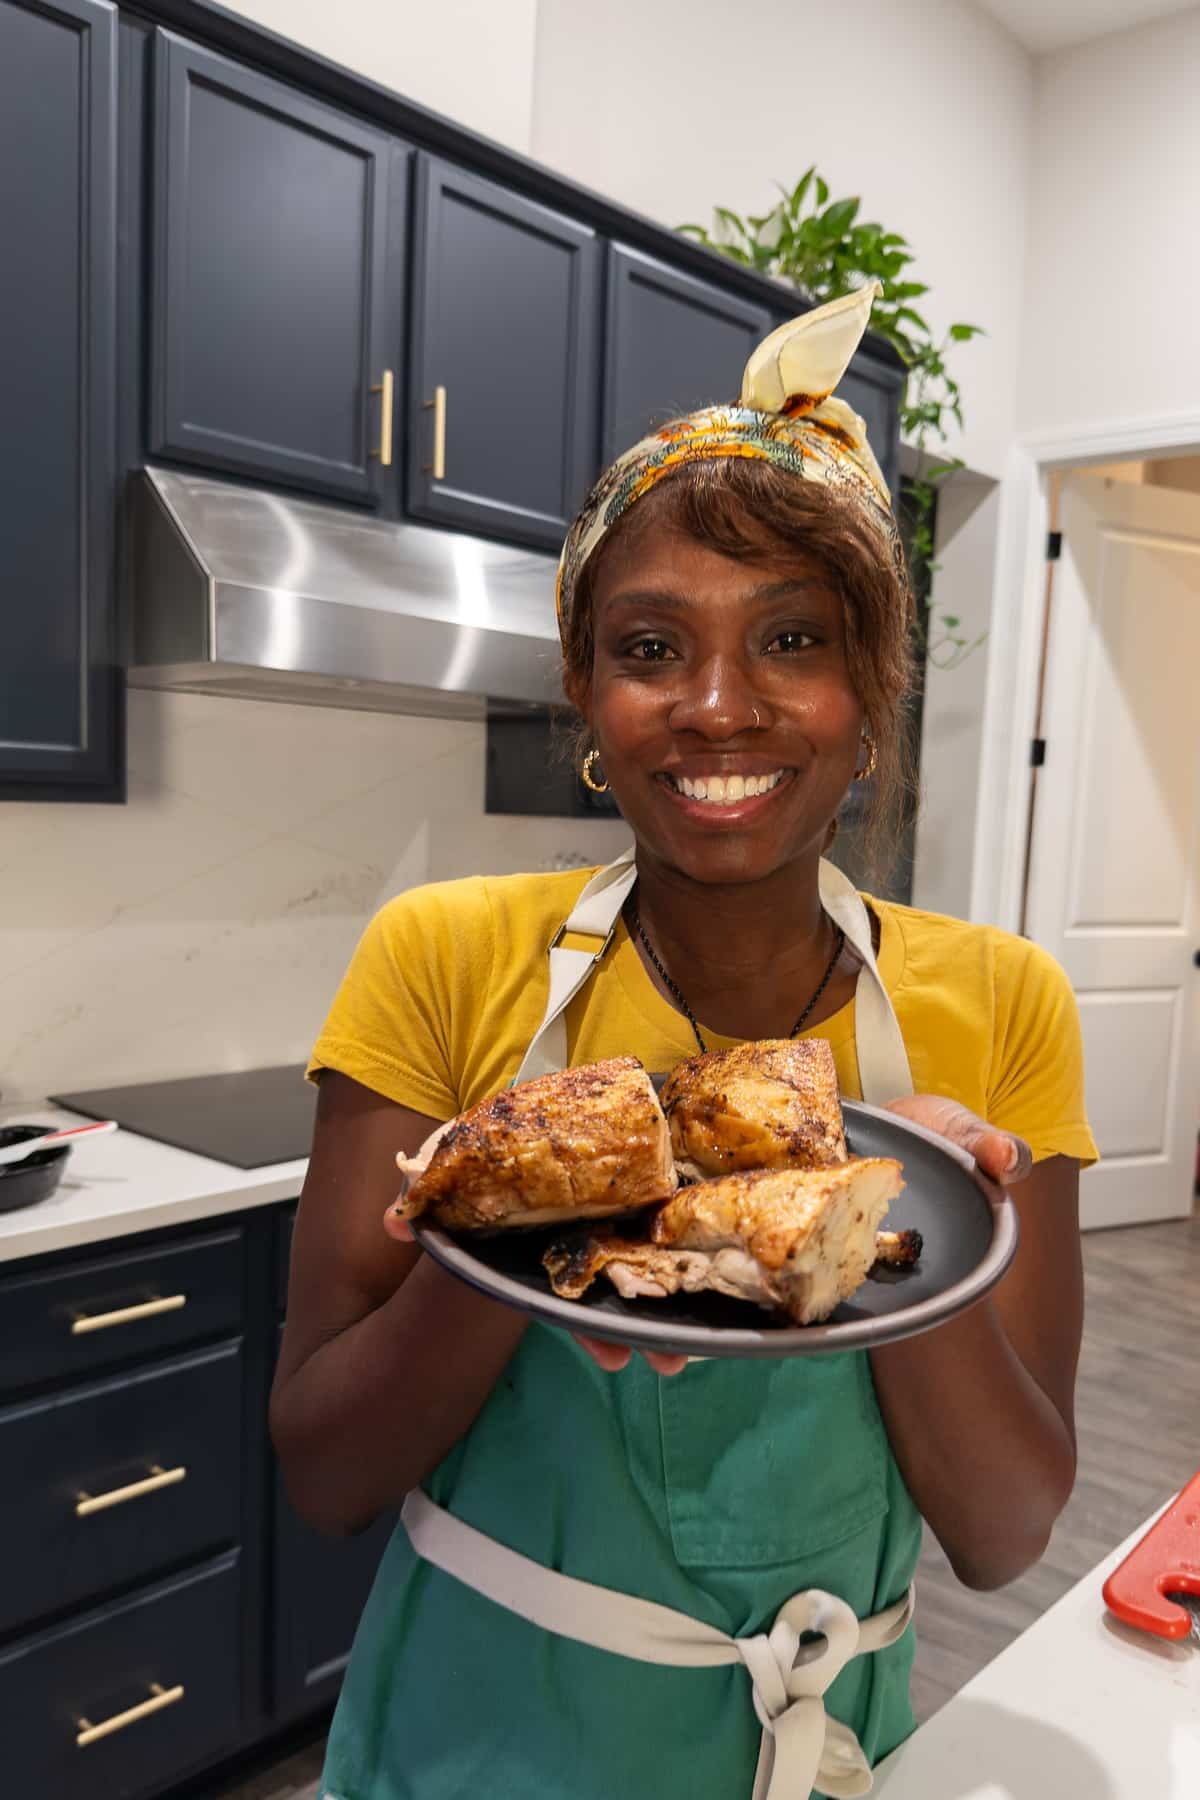
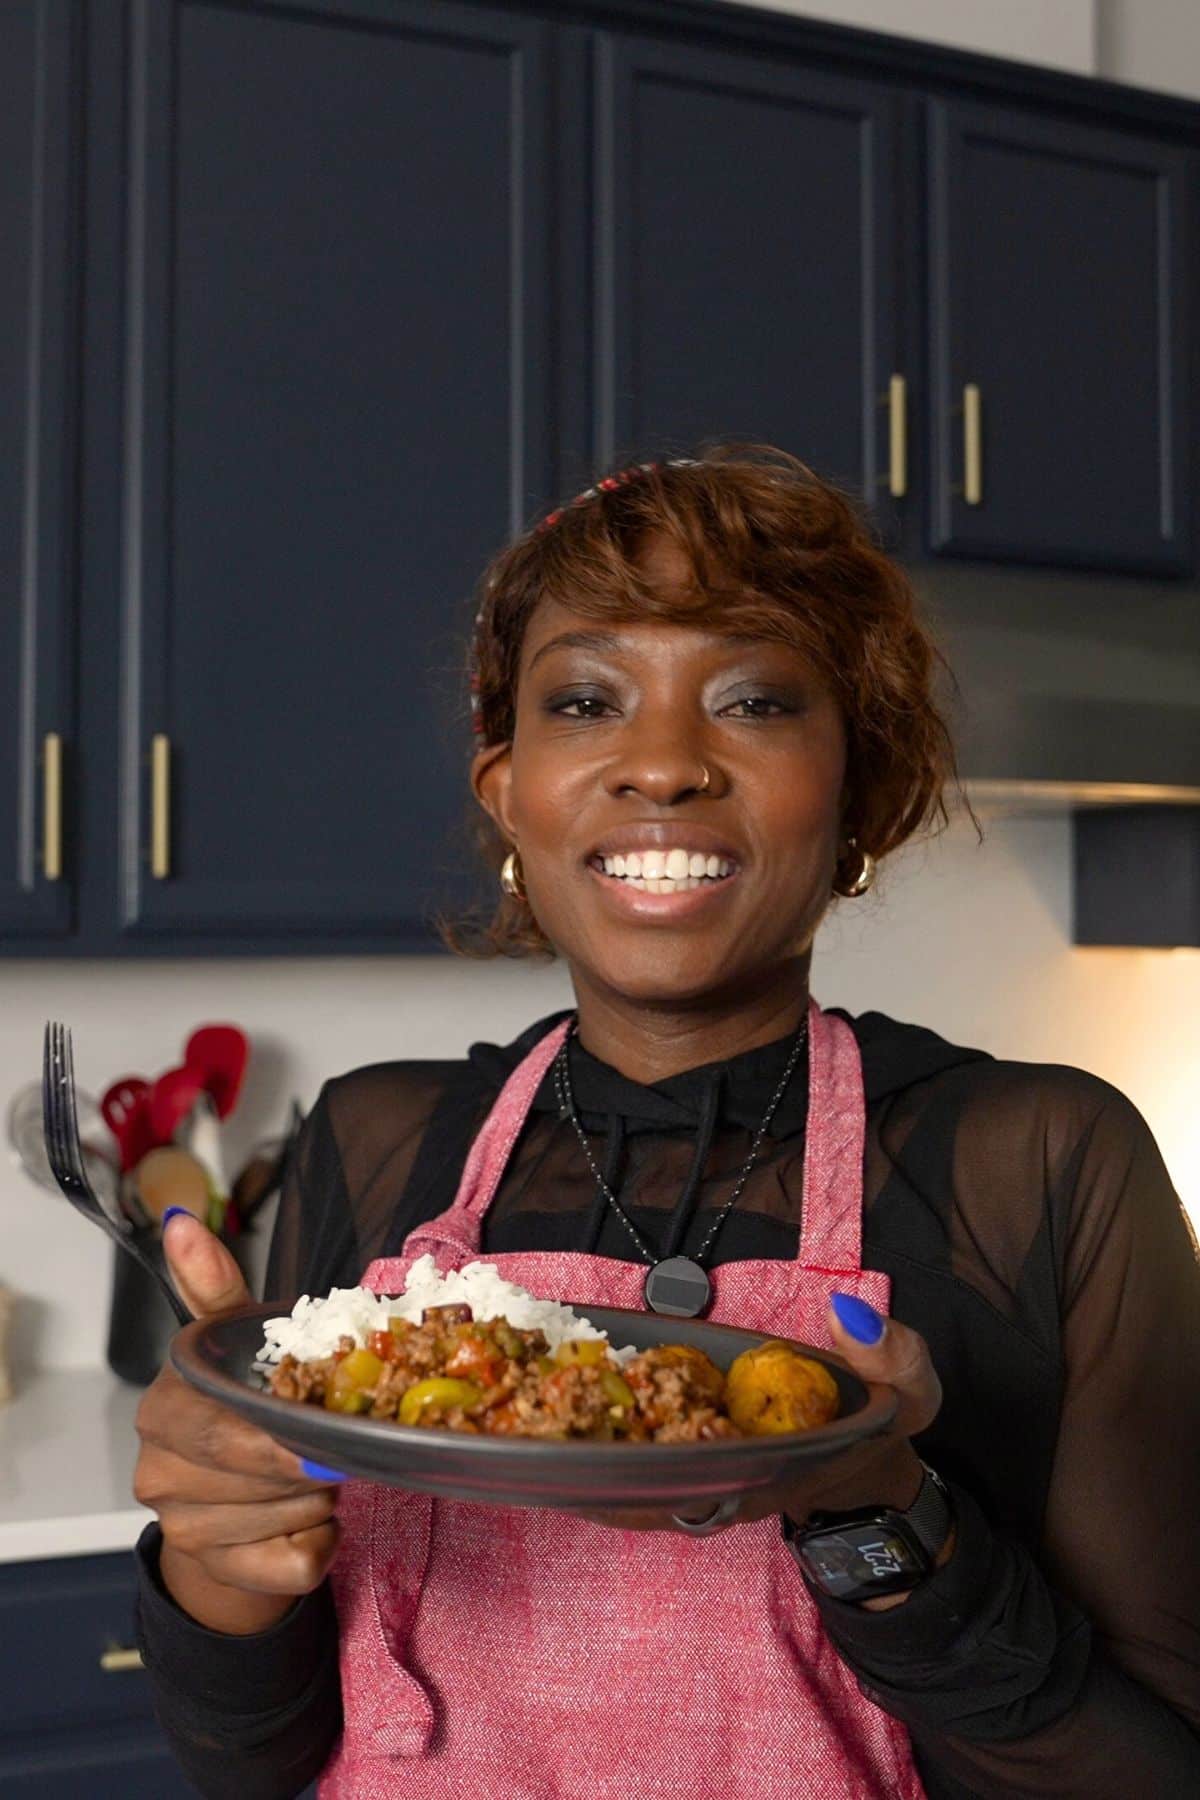
Happy cooking,
Tanya
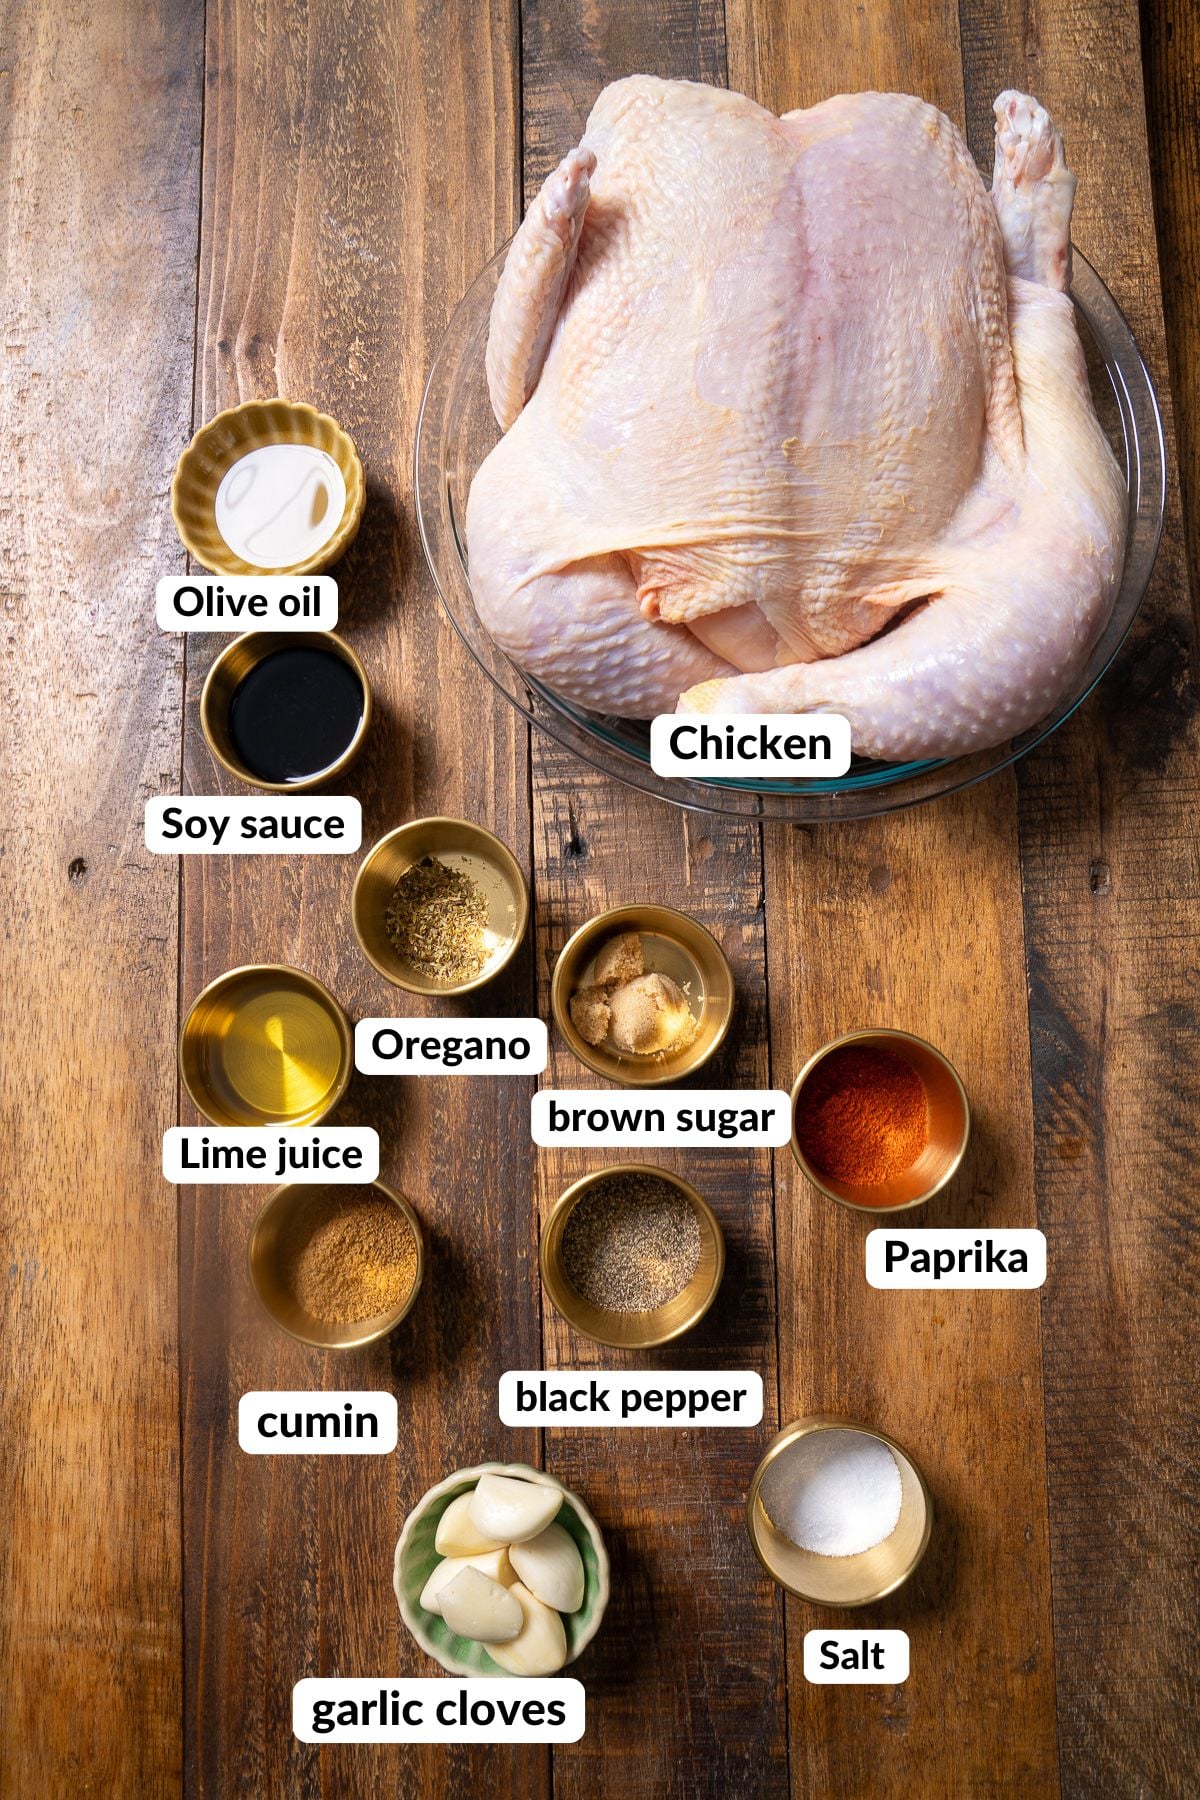
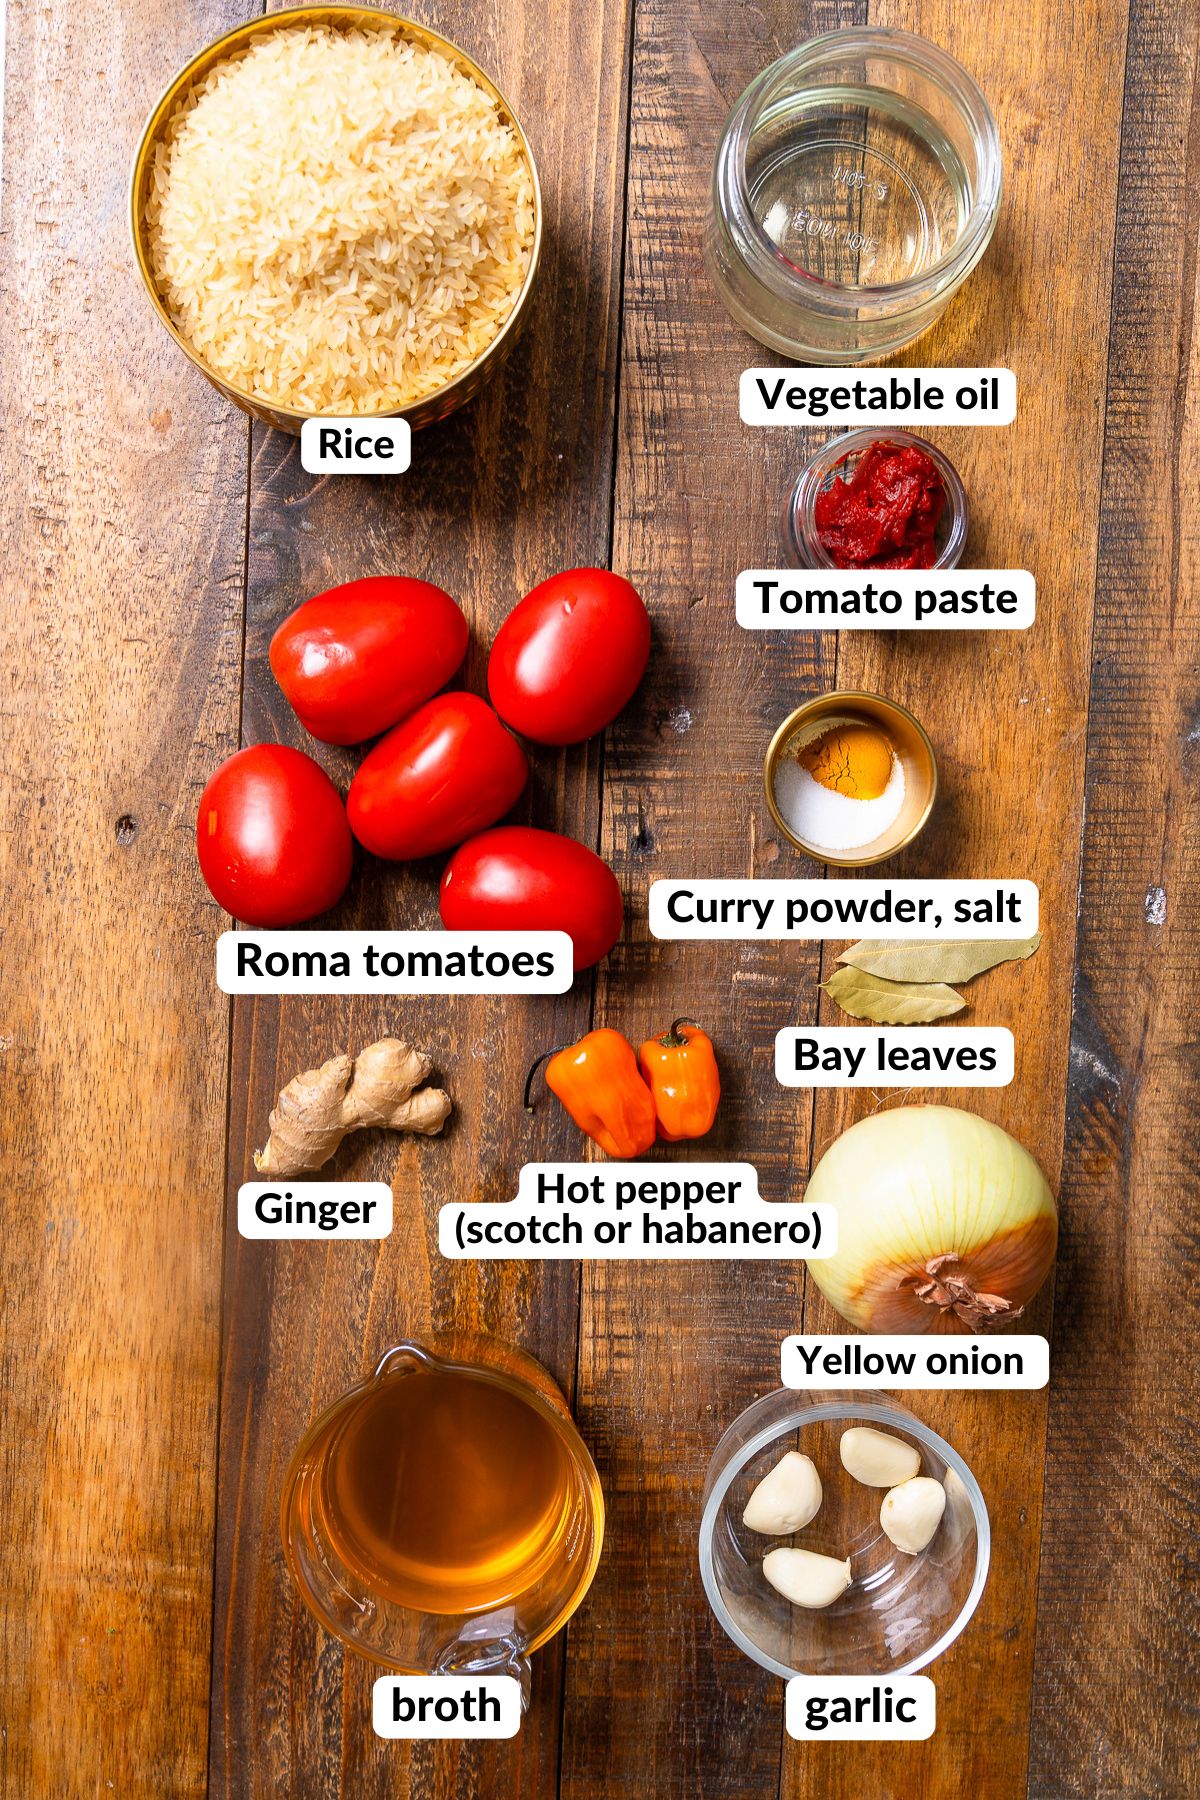
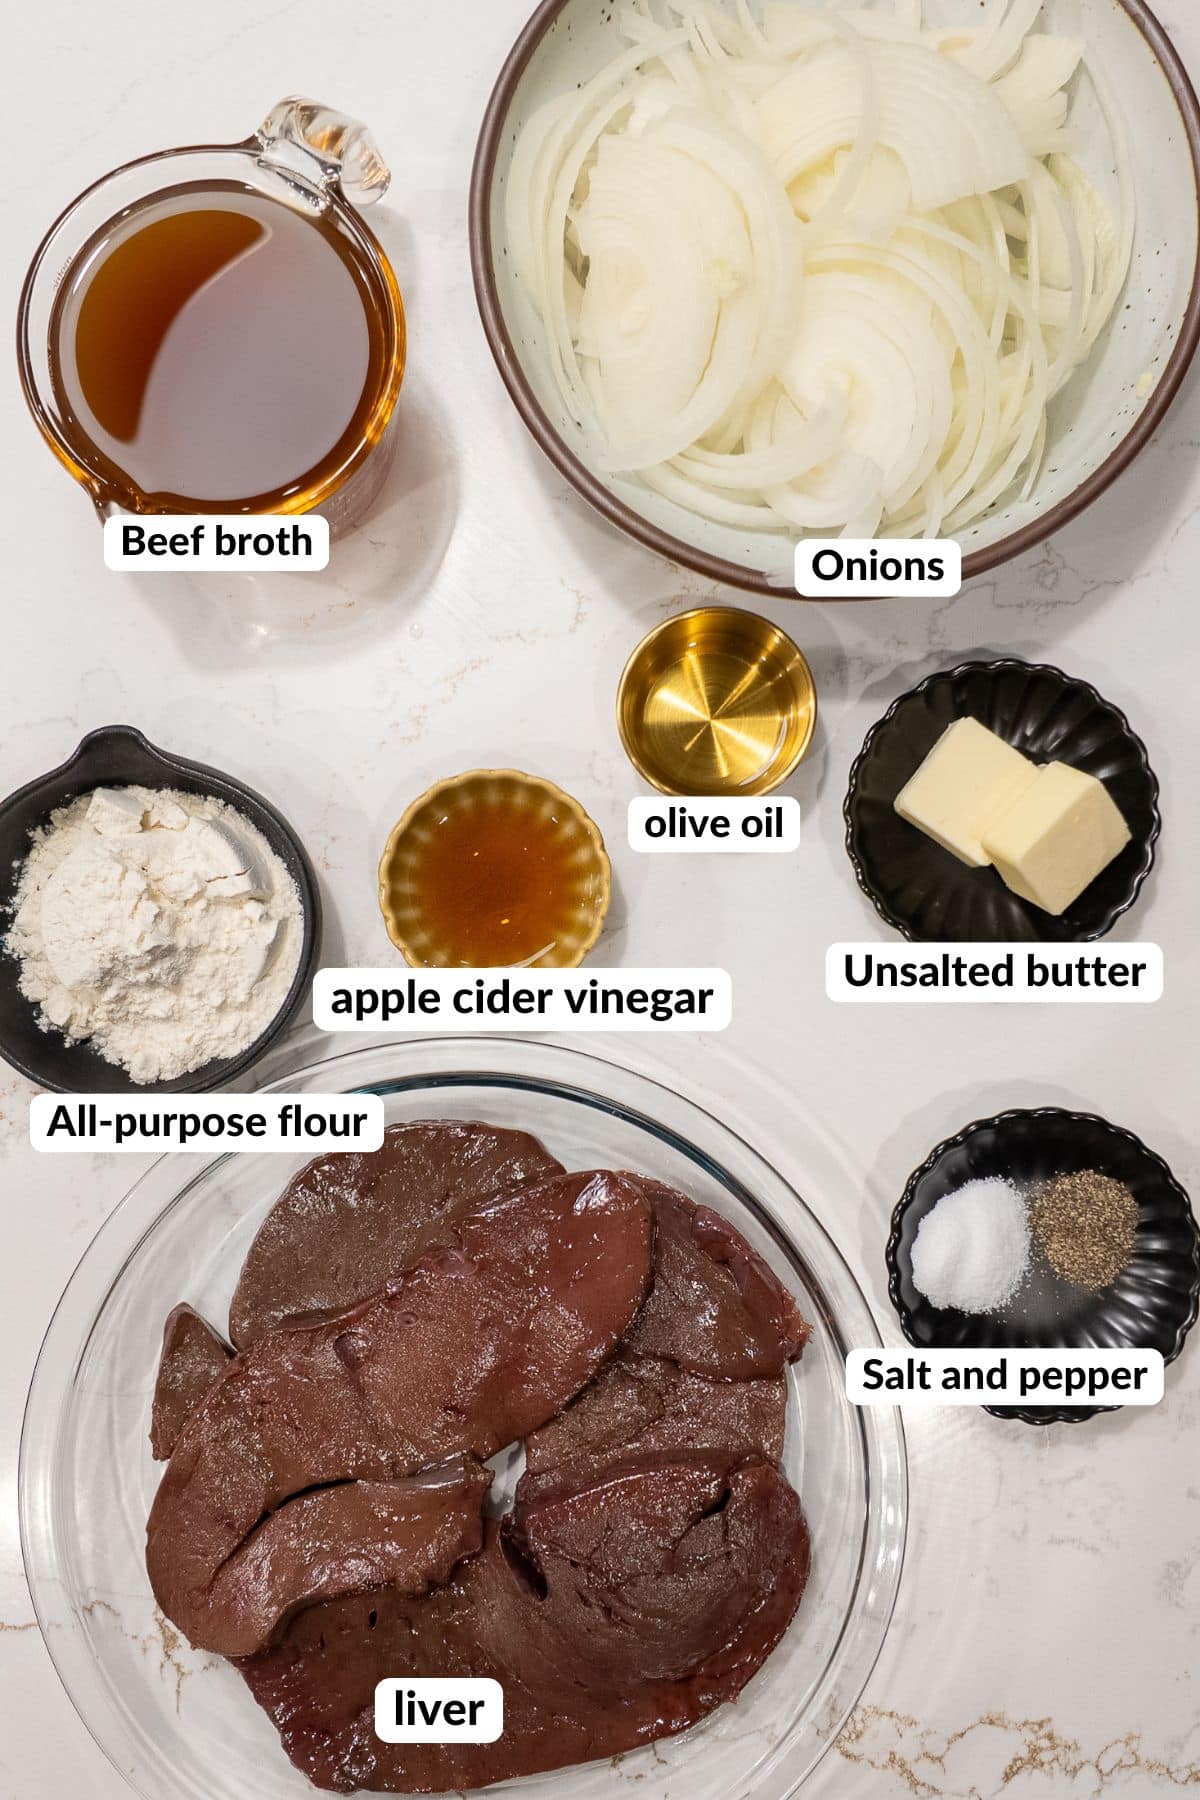
A Quick Look at the Ingredients
Ingredient amounts and full recipe instructions are on the printable recipe card at the bottom of the post.
For the Pork Chops
- Pork chops, about ½ inch thick - Thinner chops fry faster and stay tender. Bone-in or boneless both work, just keep the thickness consistent so they cook evenly. I use center-cut pork loin chops and trim any excess fat from the exterior.
- Mustard - It helps the seasoning and flour grip the meat, and the flavor cooks off, so you won't taste mustard in the finished chop. I used Dijon, but yellow mustard works as well.
- Dry Seasoning - I use All-Purpose Seasoning, but any well-balanced blend works. You can also use my Pork Chop Seasoning or Seasoned Salt.
For the Coating
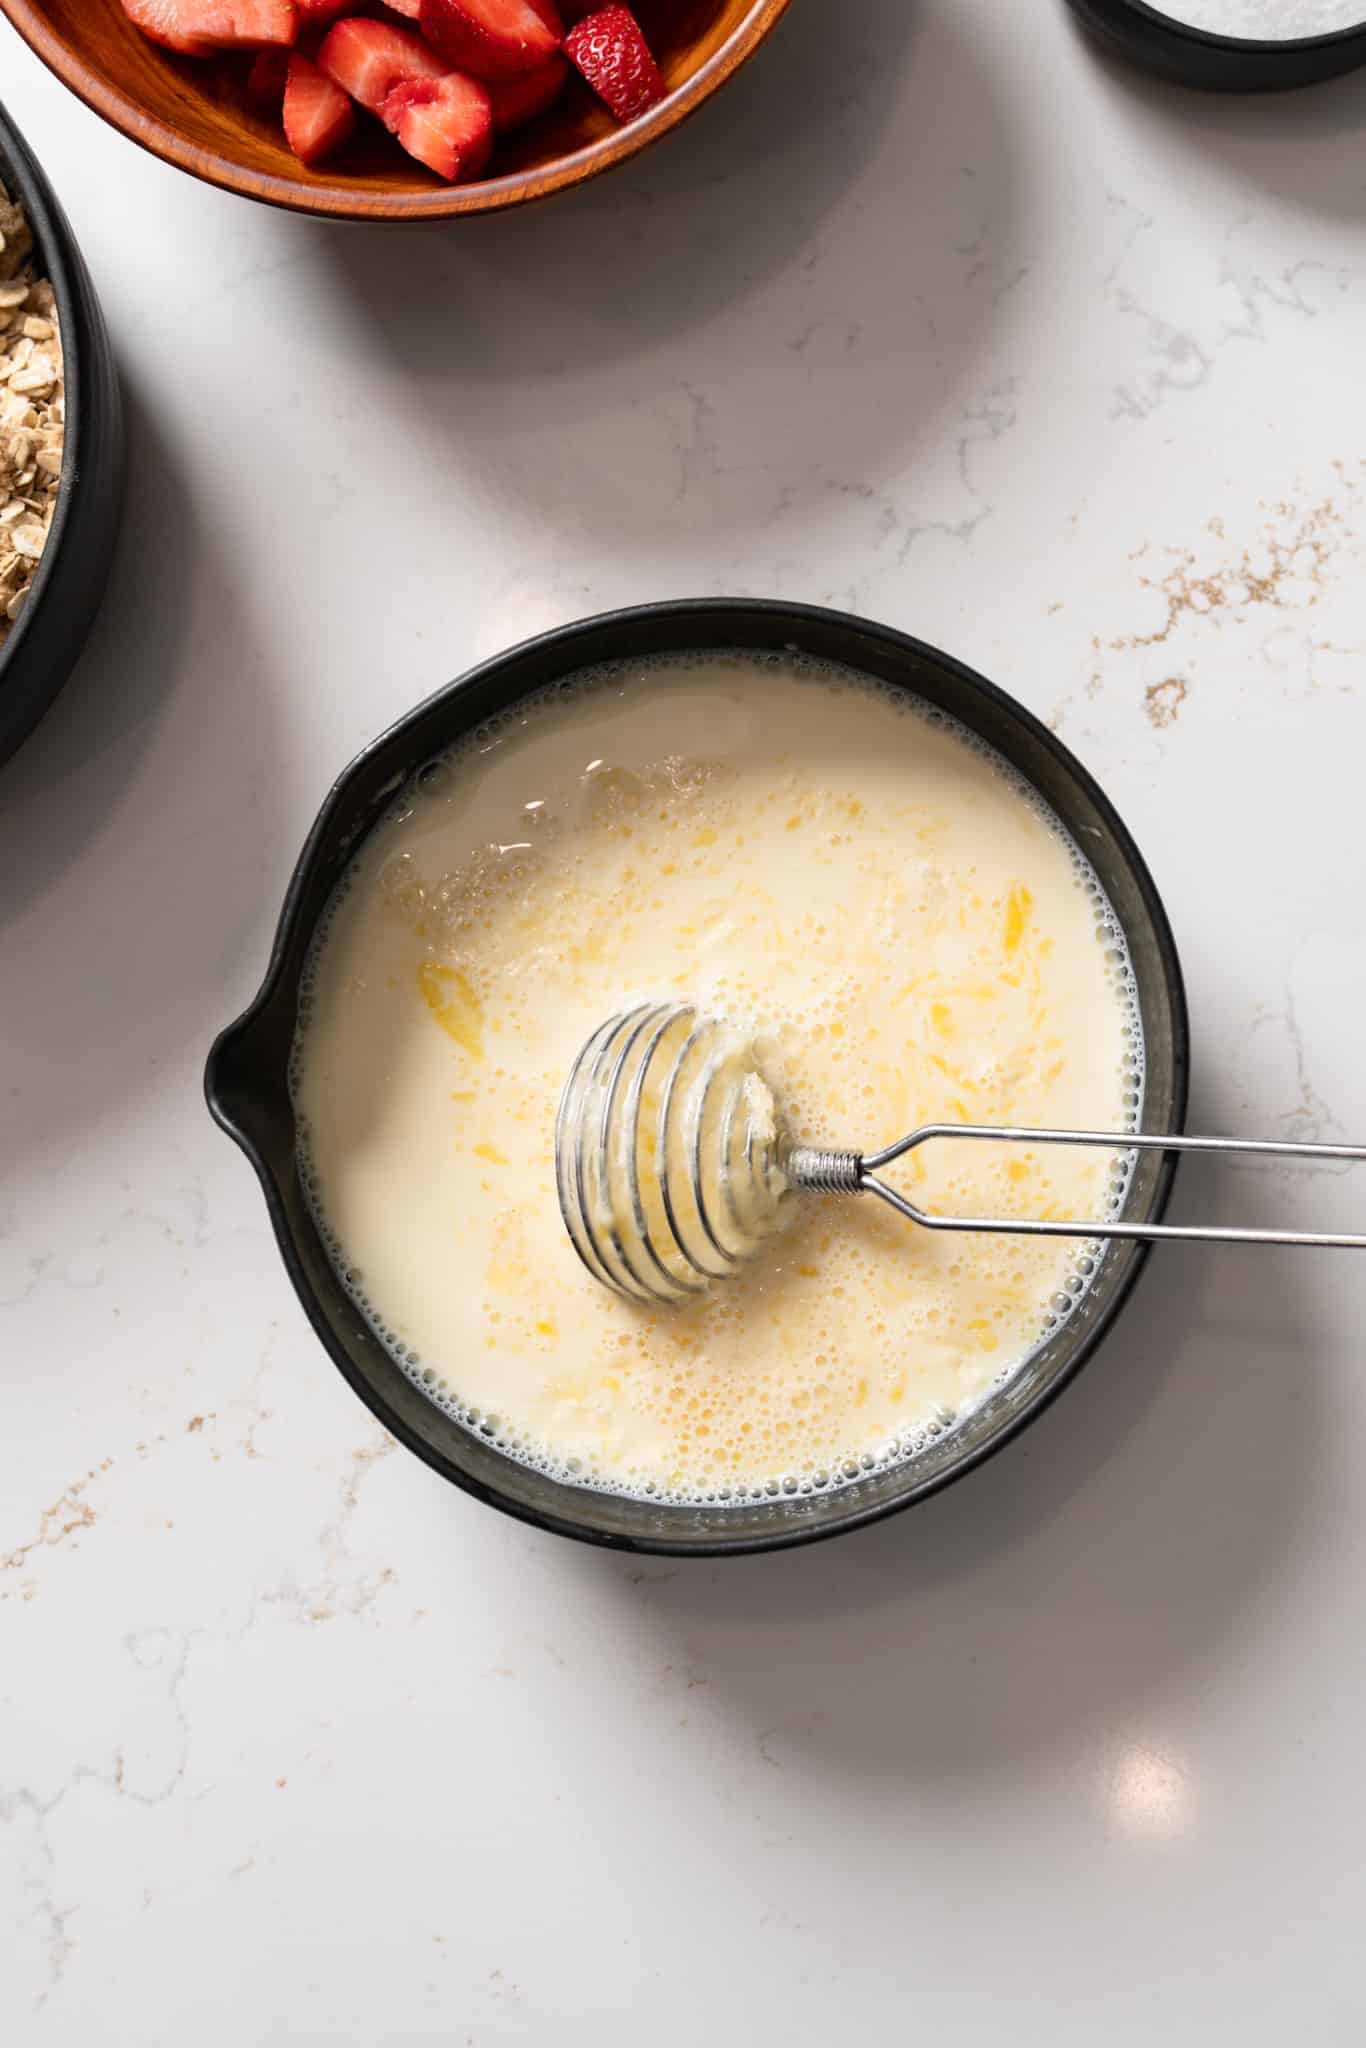
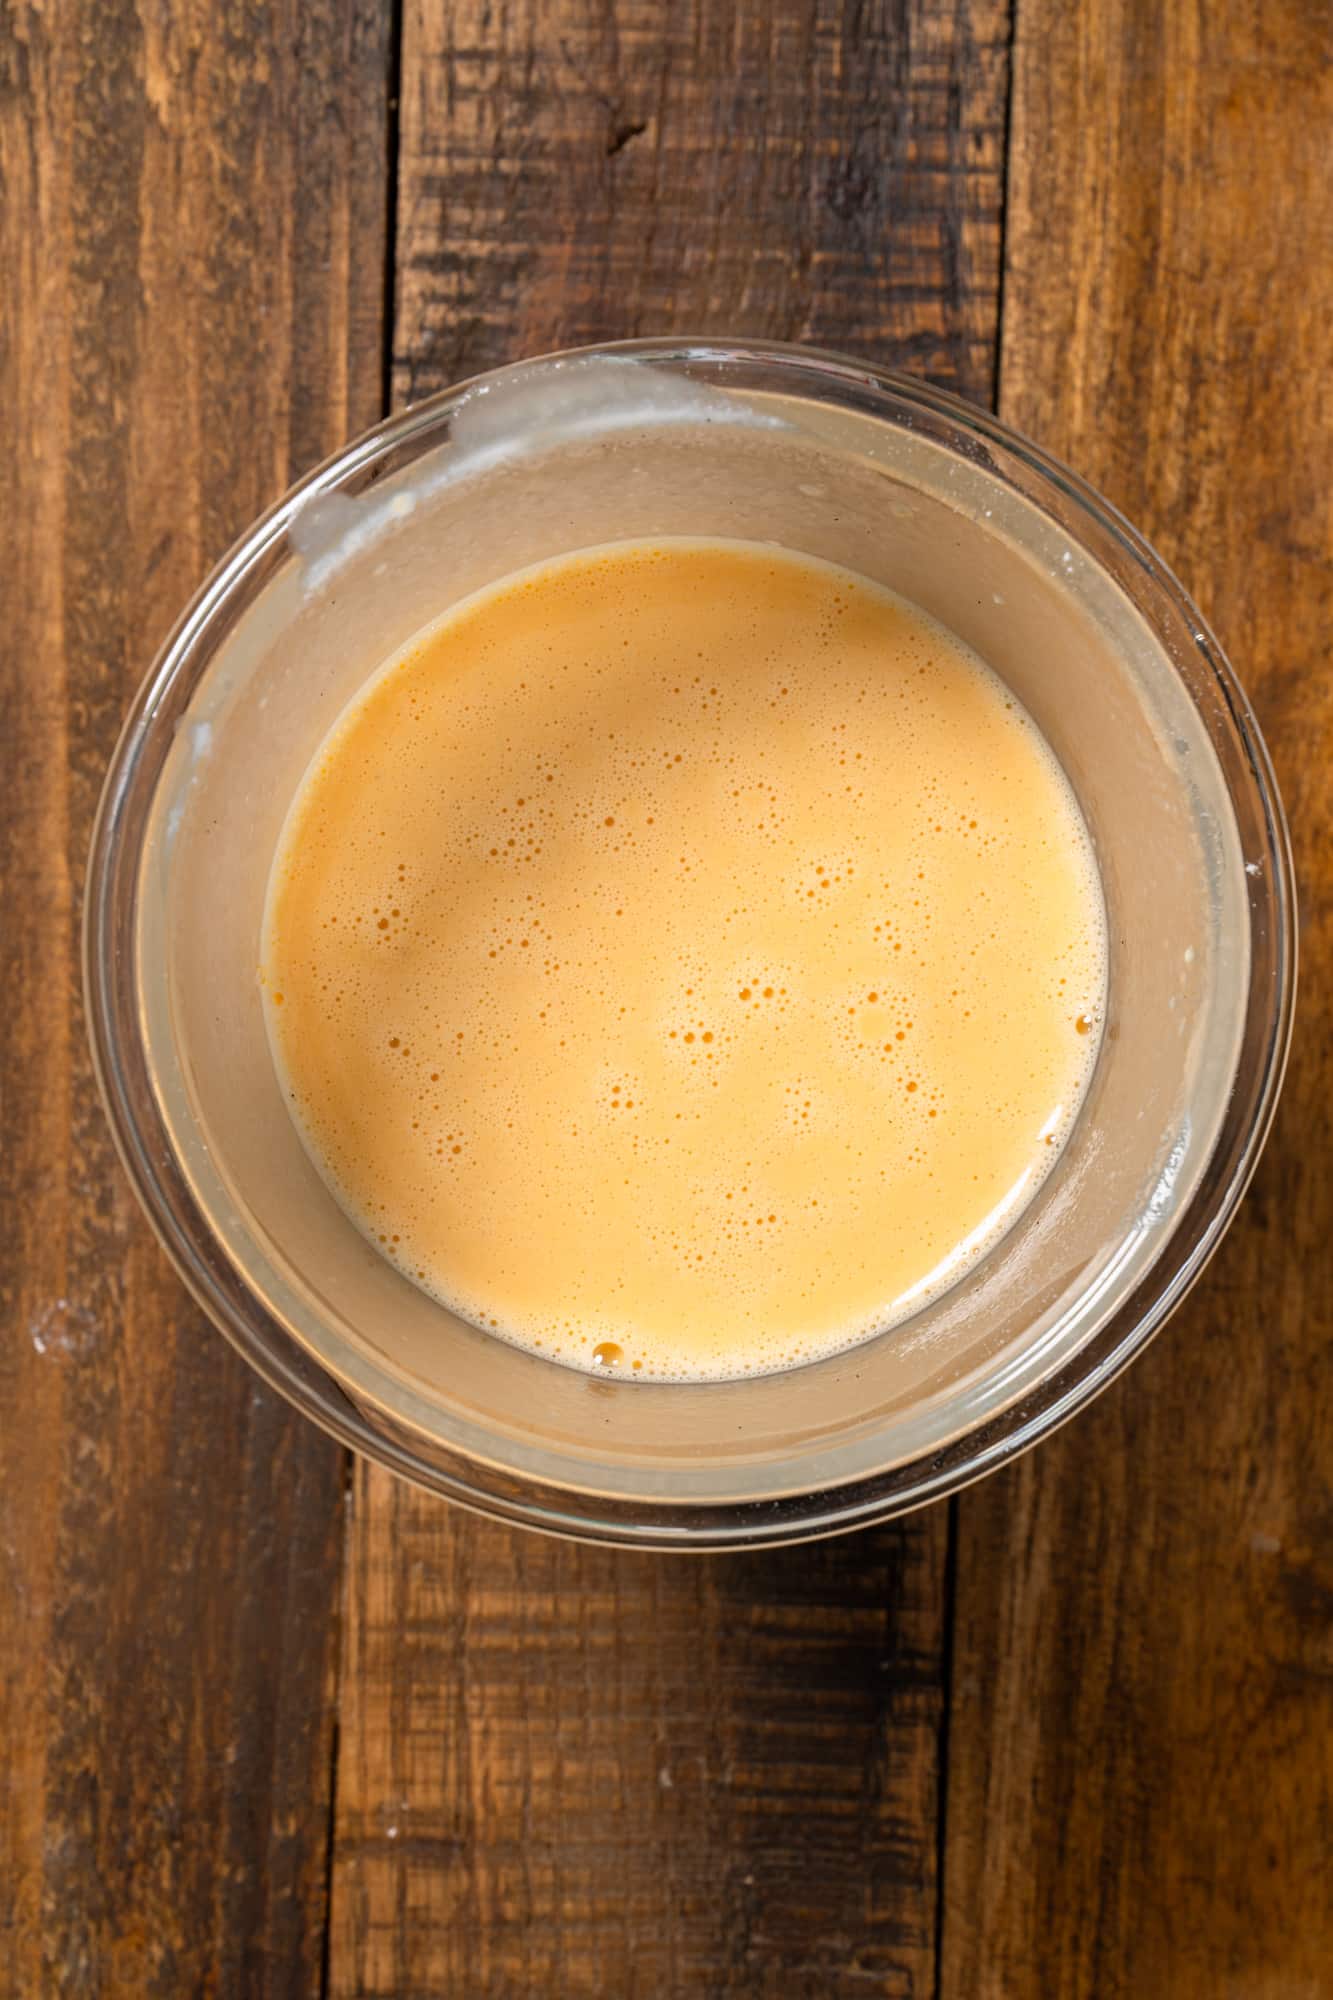
- Eggs - Two large eggs, beaten, help build that double layer of crust.
- All-purpose flour and cornstarch - The cornstarch is what gives you that extra crisp crust. Mix it with all-purpose flour for the best results.
For Frying
- Neutral oil. Vegetable, canola, or peanut oil all work - You want about ½ inch of oil in the skillet, enough to come halfway up the chops.
How to Make Fried Pork Chops
The method is simple, but the details matter. Follow each step and don't rush the oil temperature.
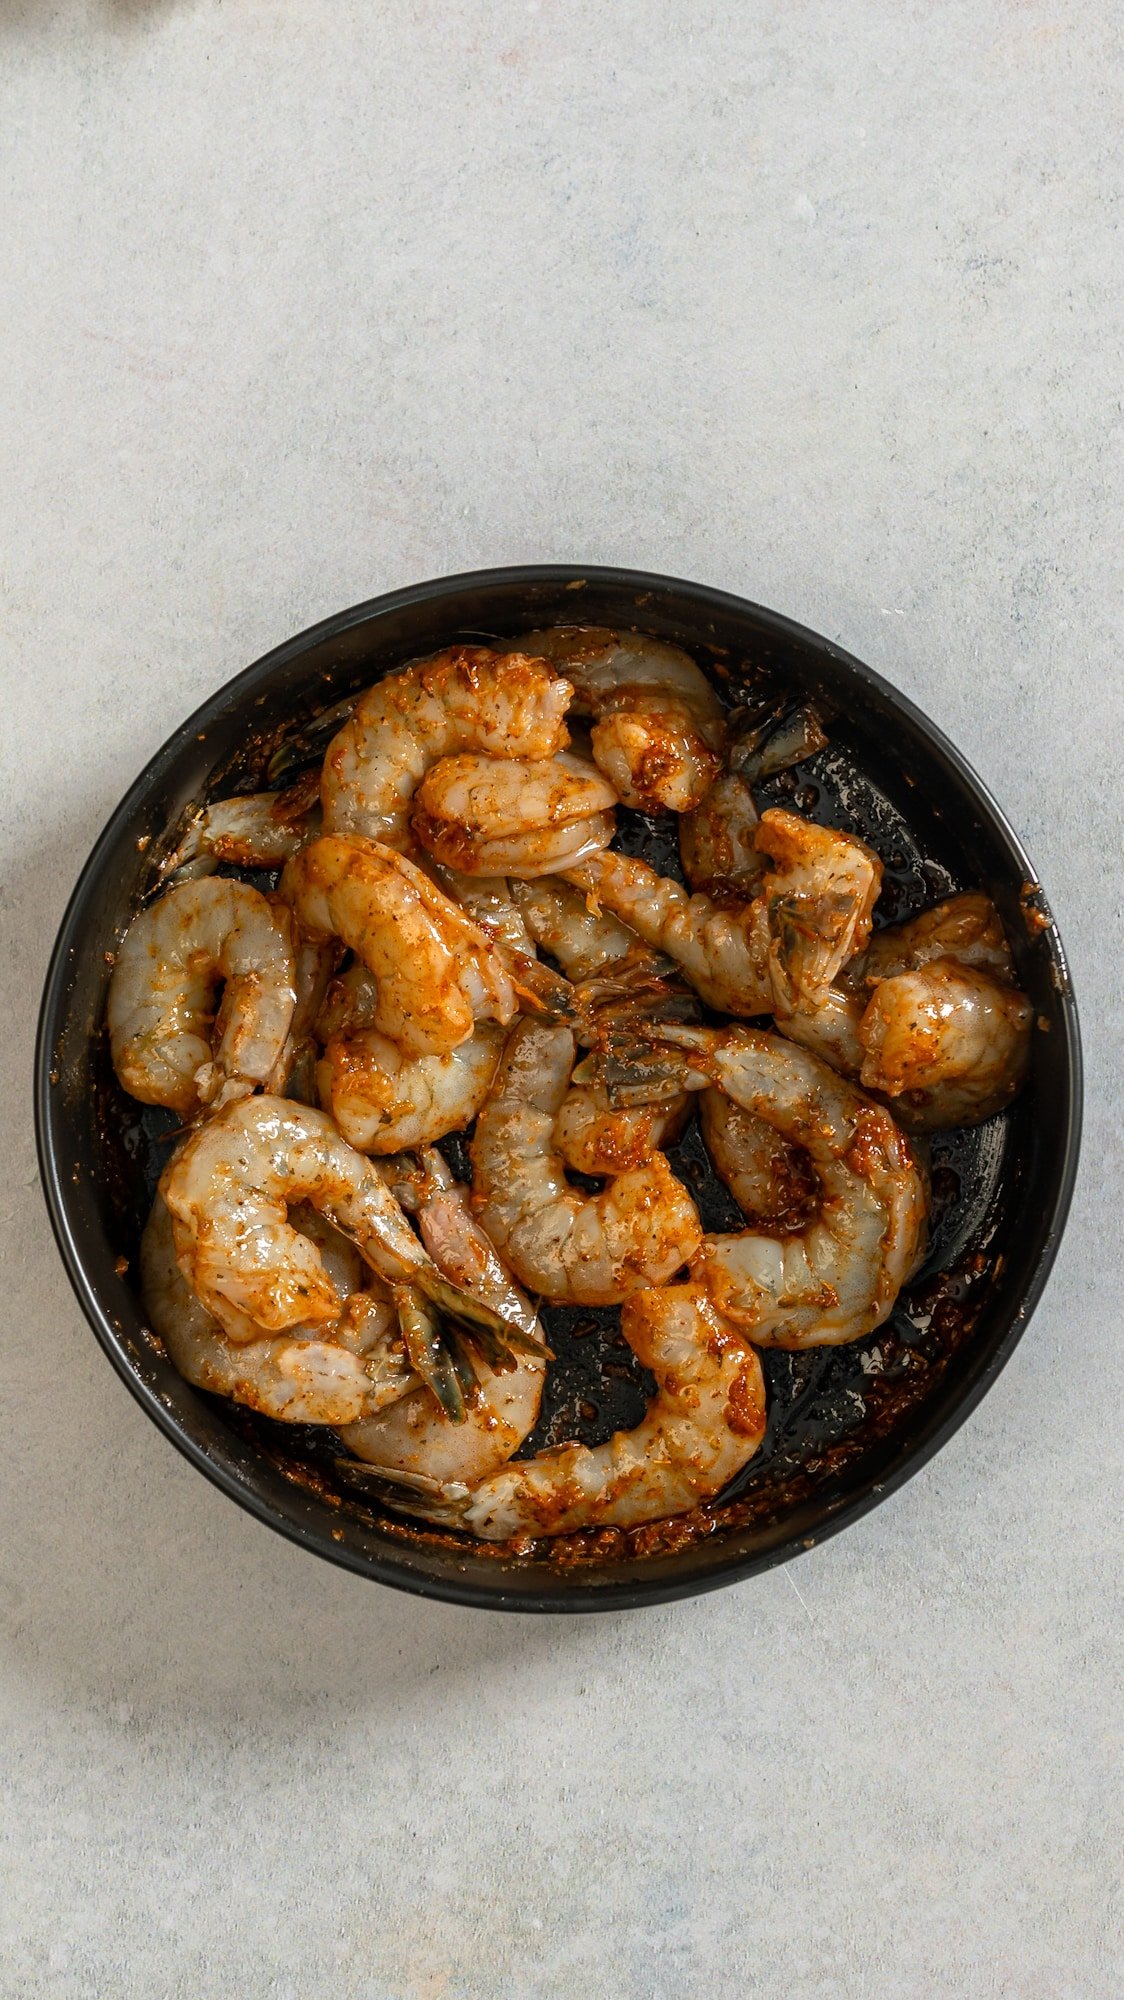
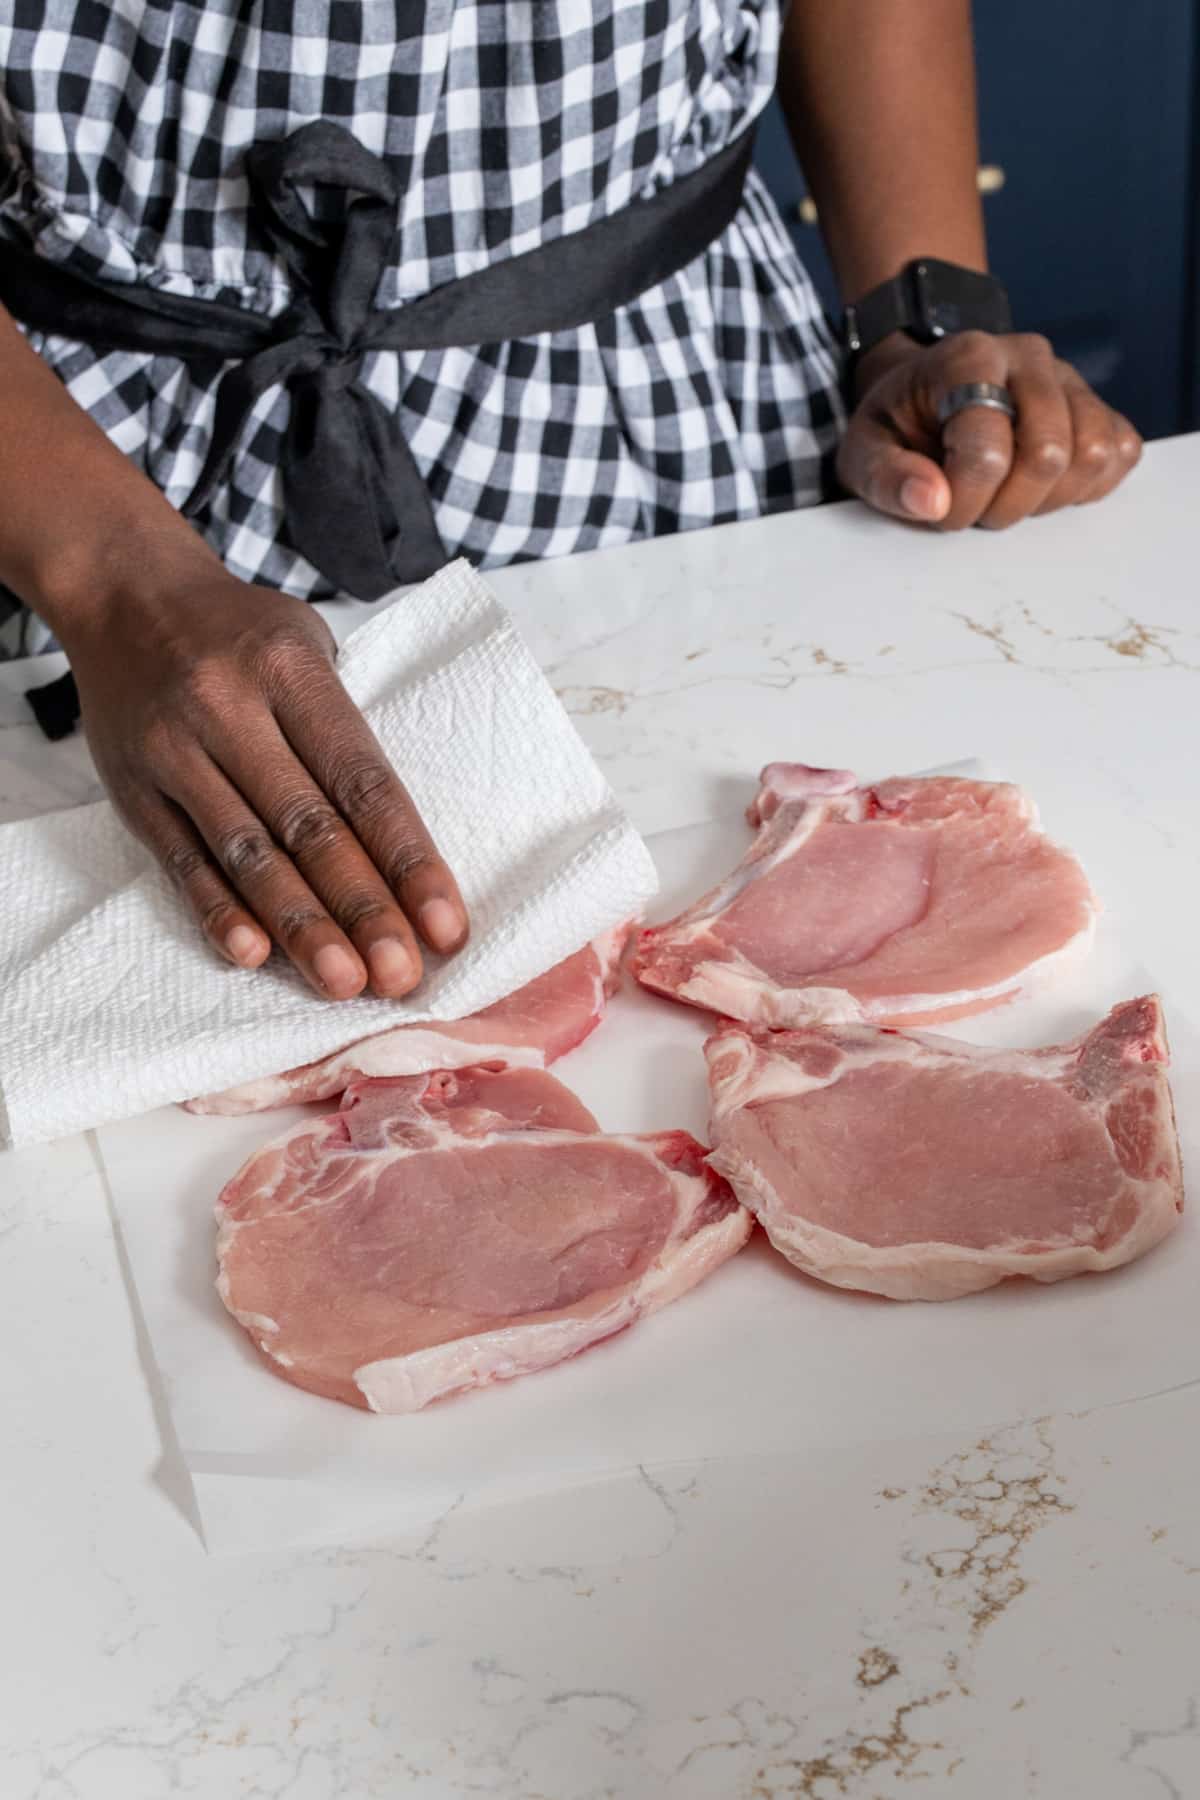
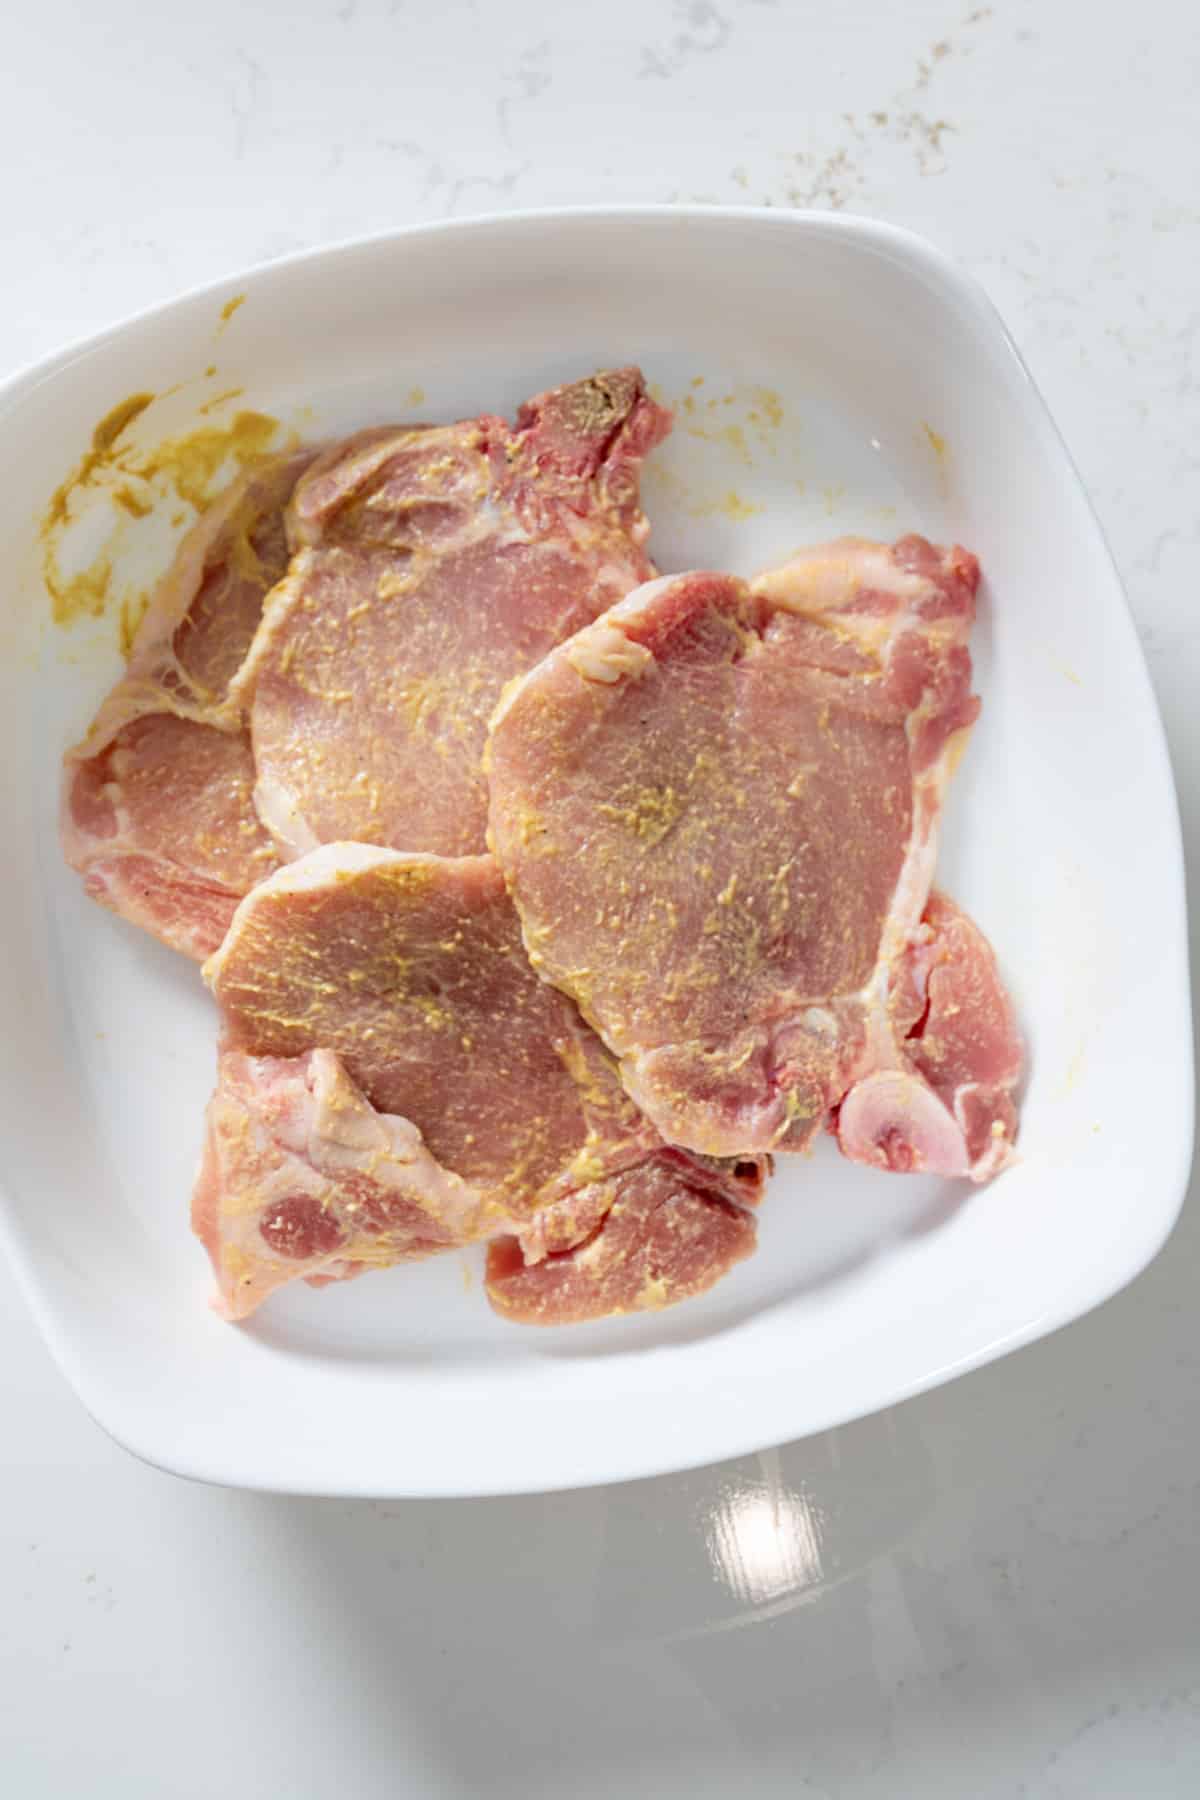
Step 1: Pat the pork chops completely dry with paper towels. Rub them all over with yellow mustard and season both sides with 1 teaspoon of all-purpose seasoning.
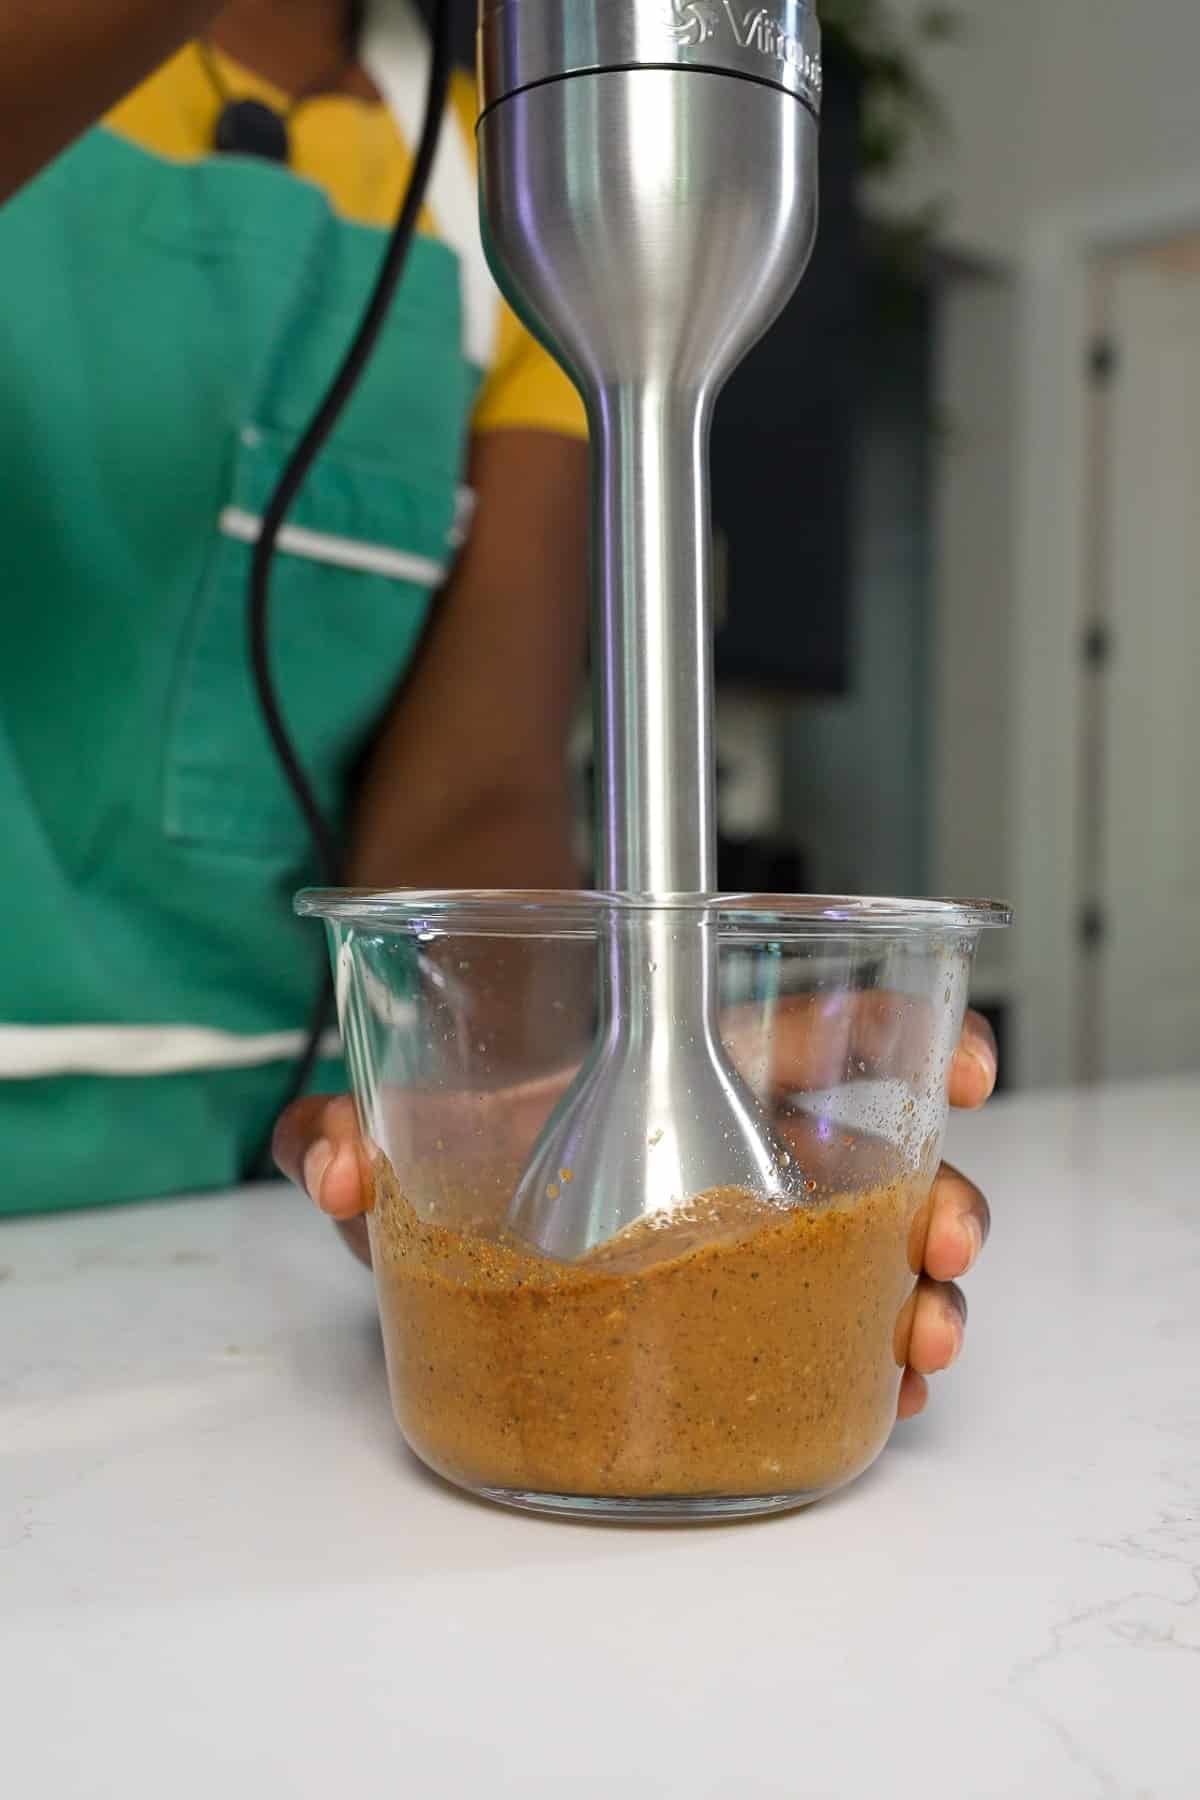
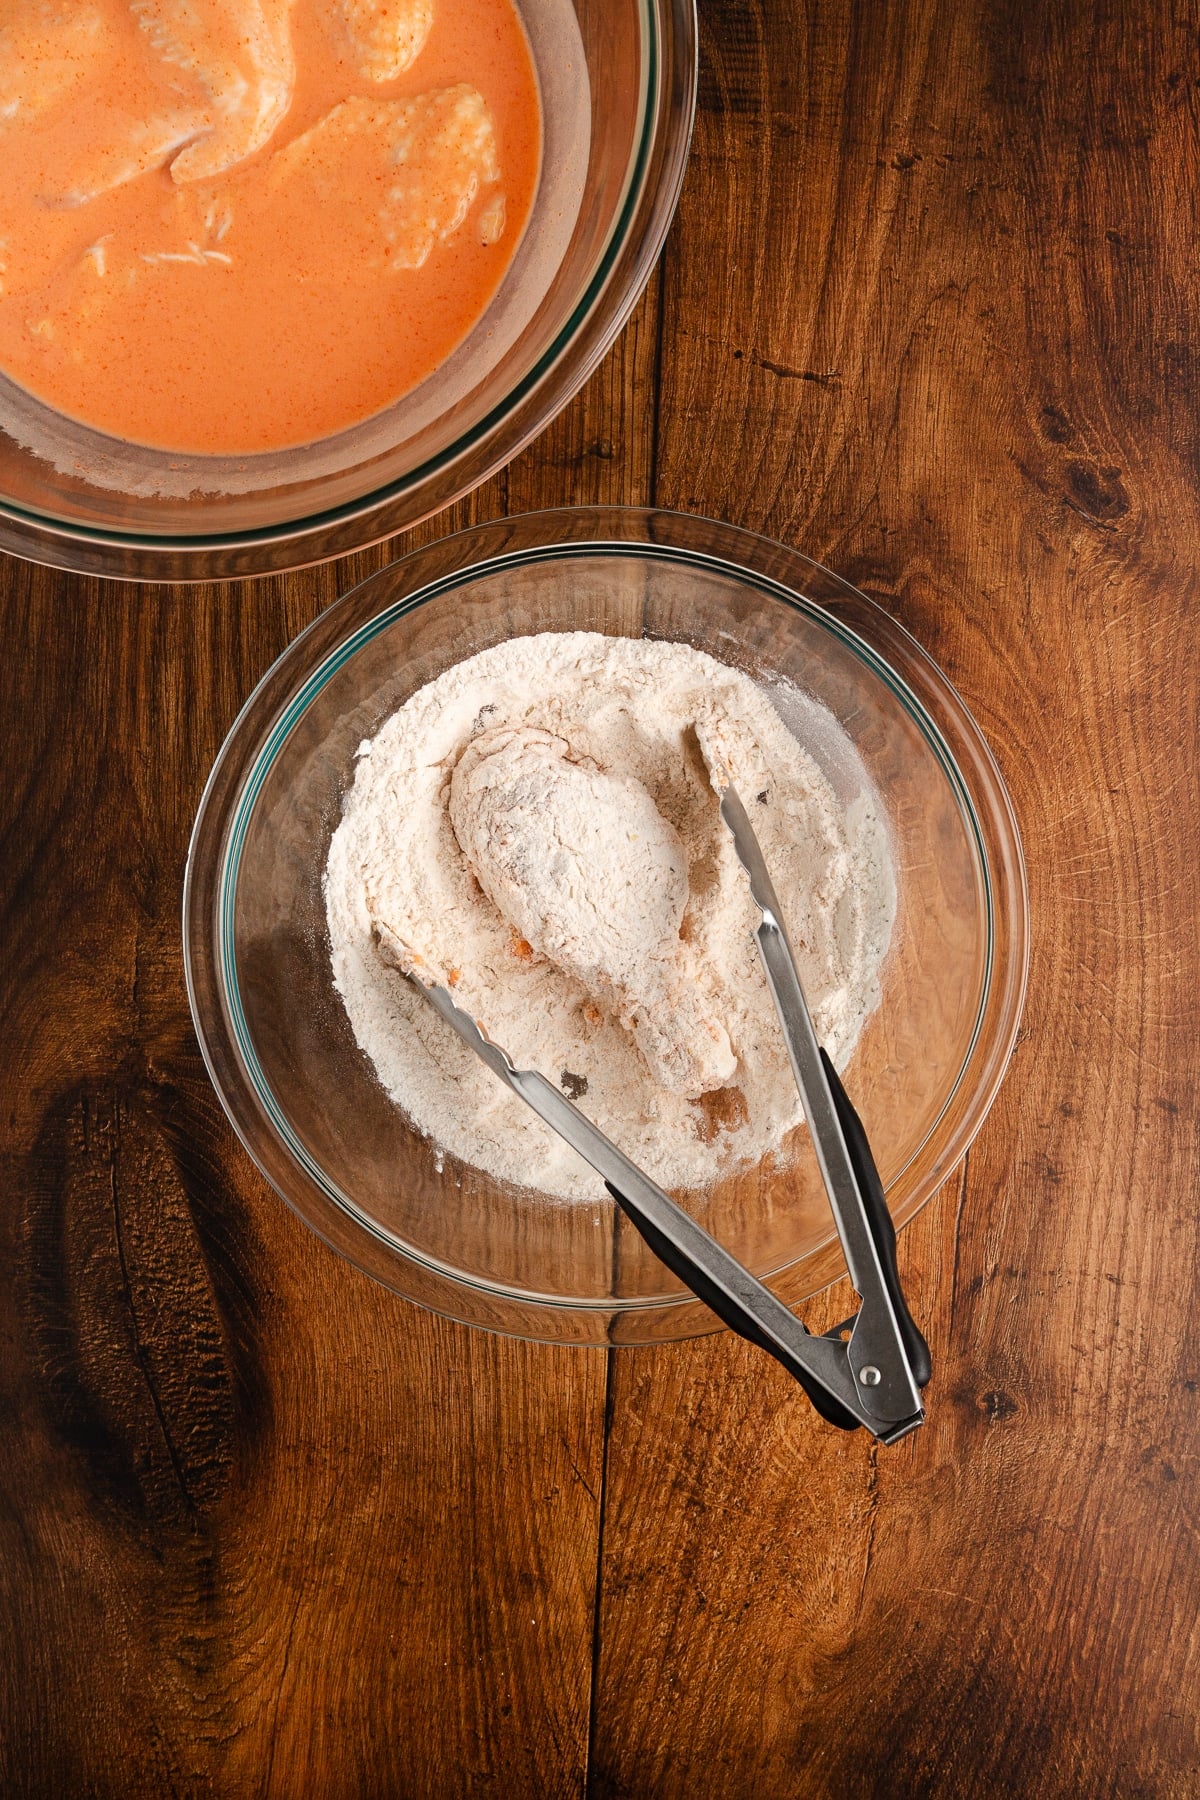
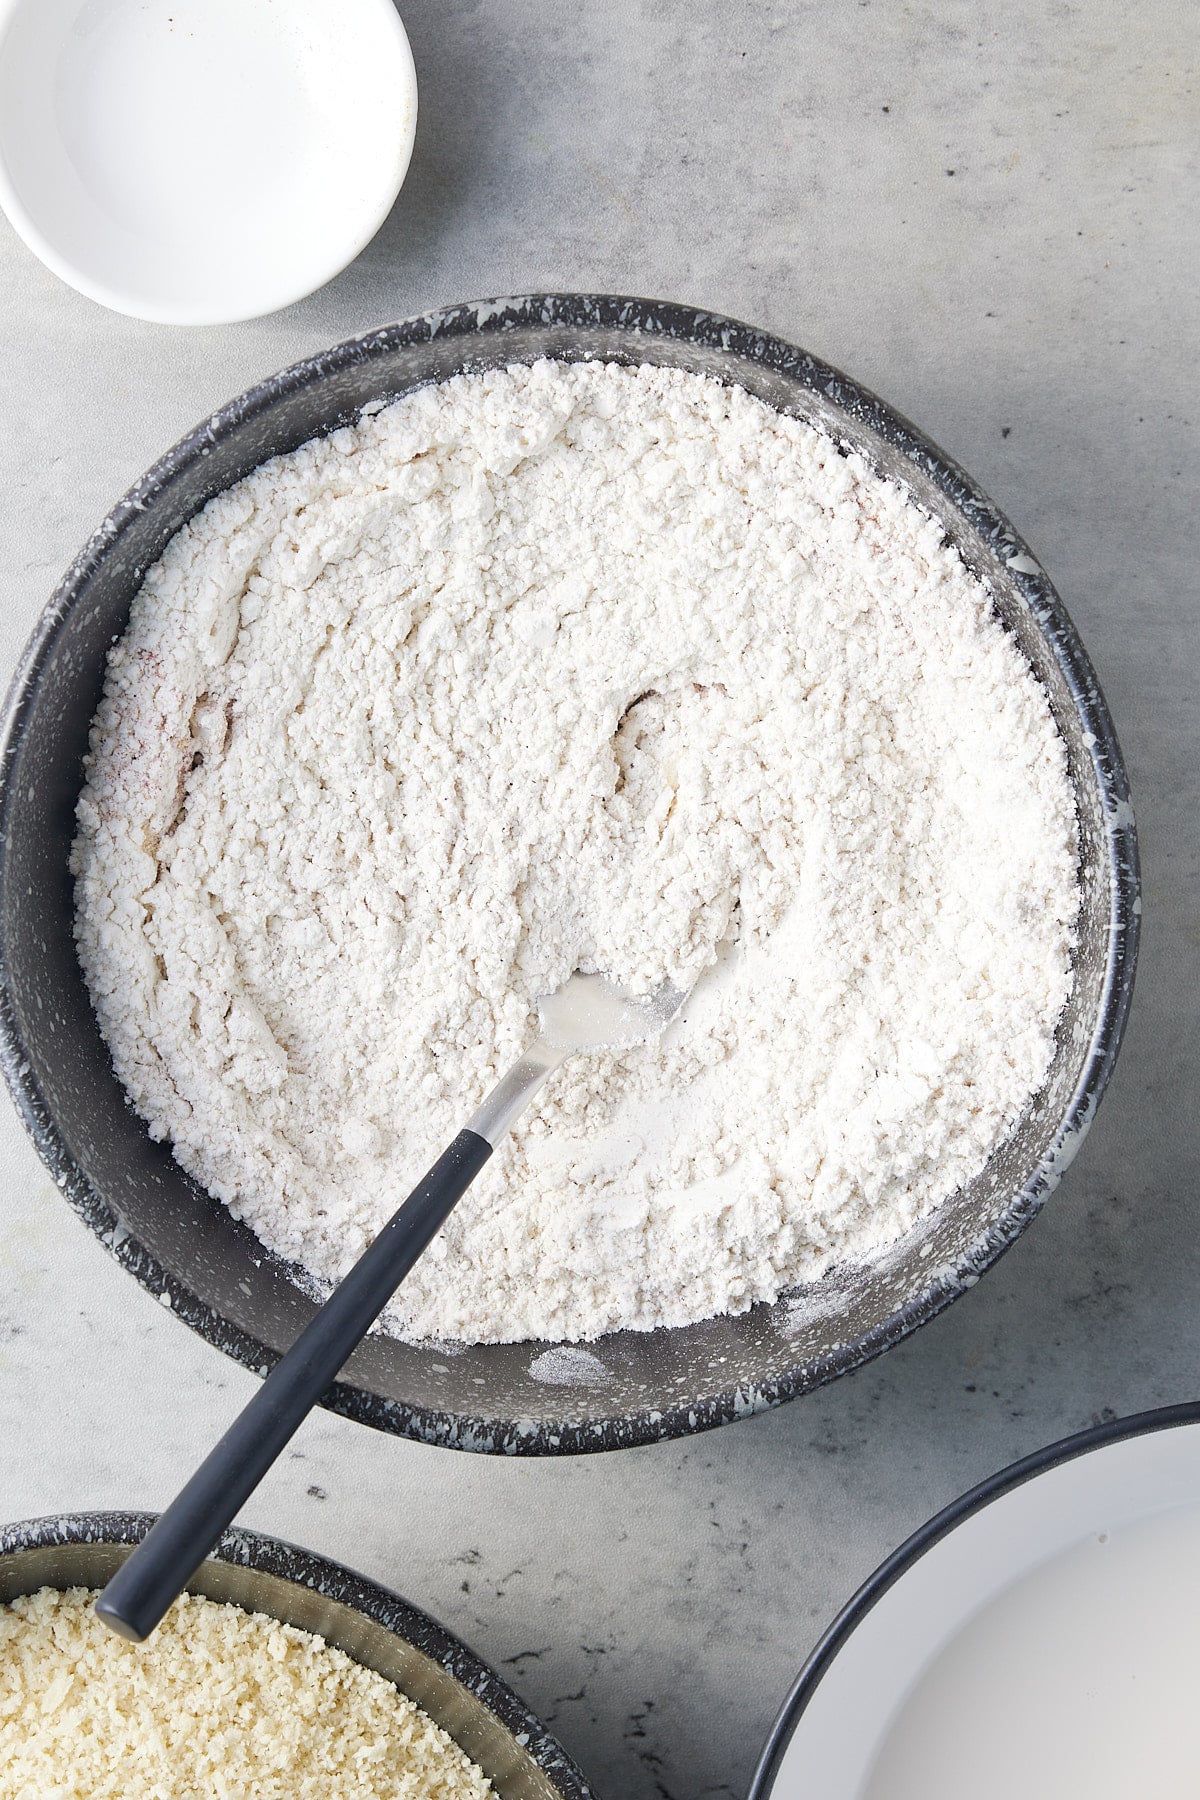
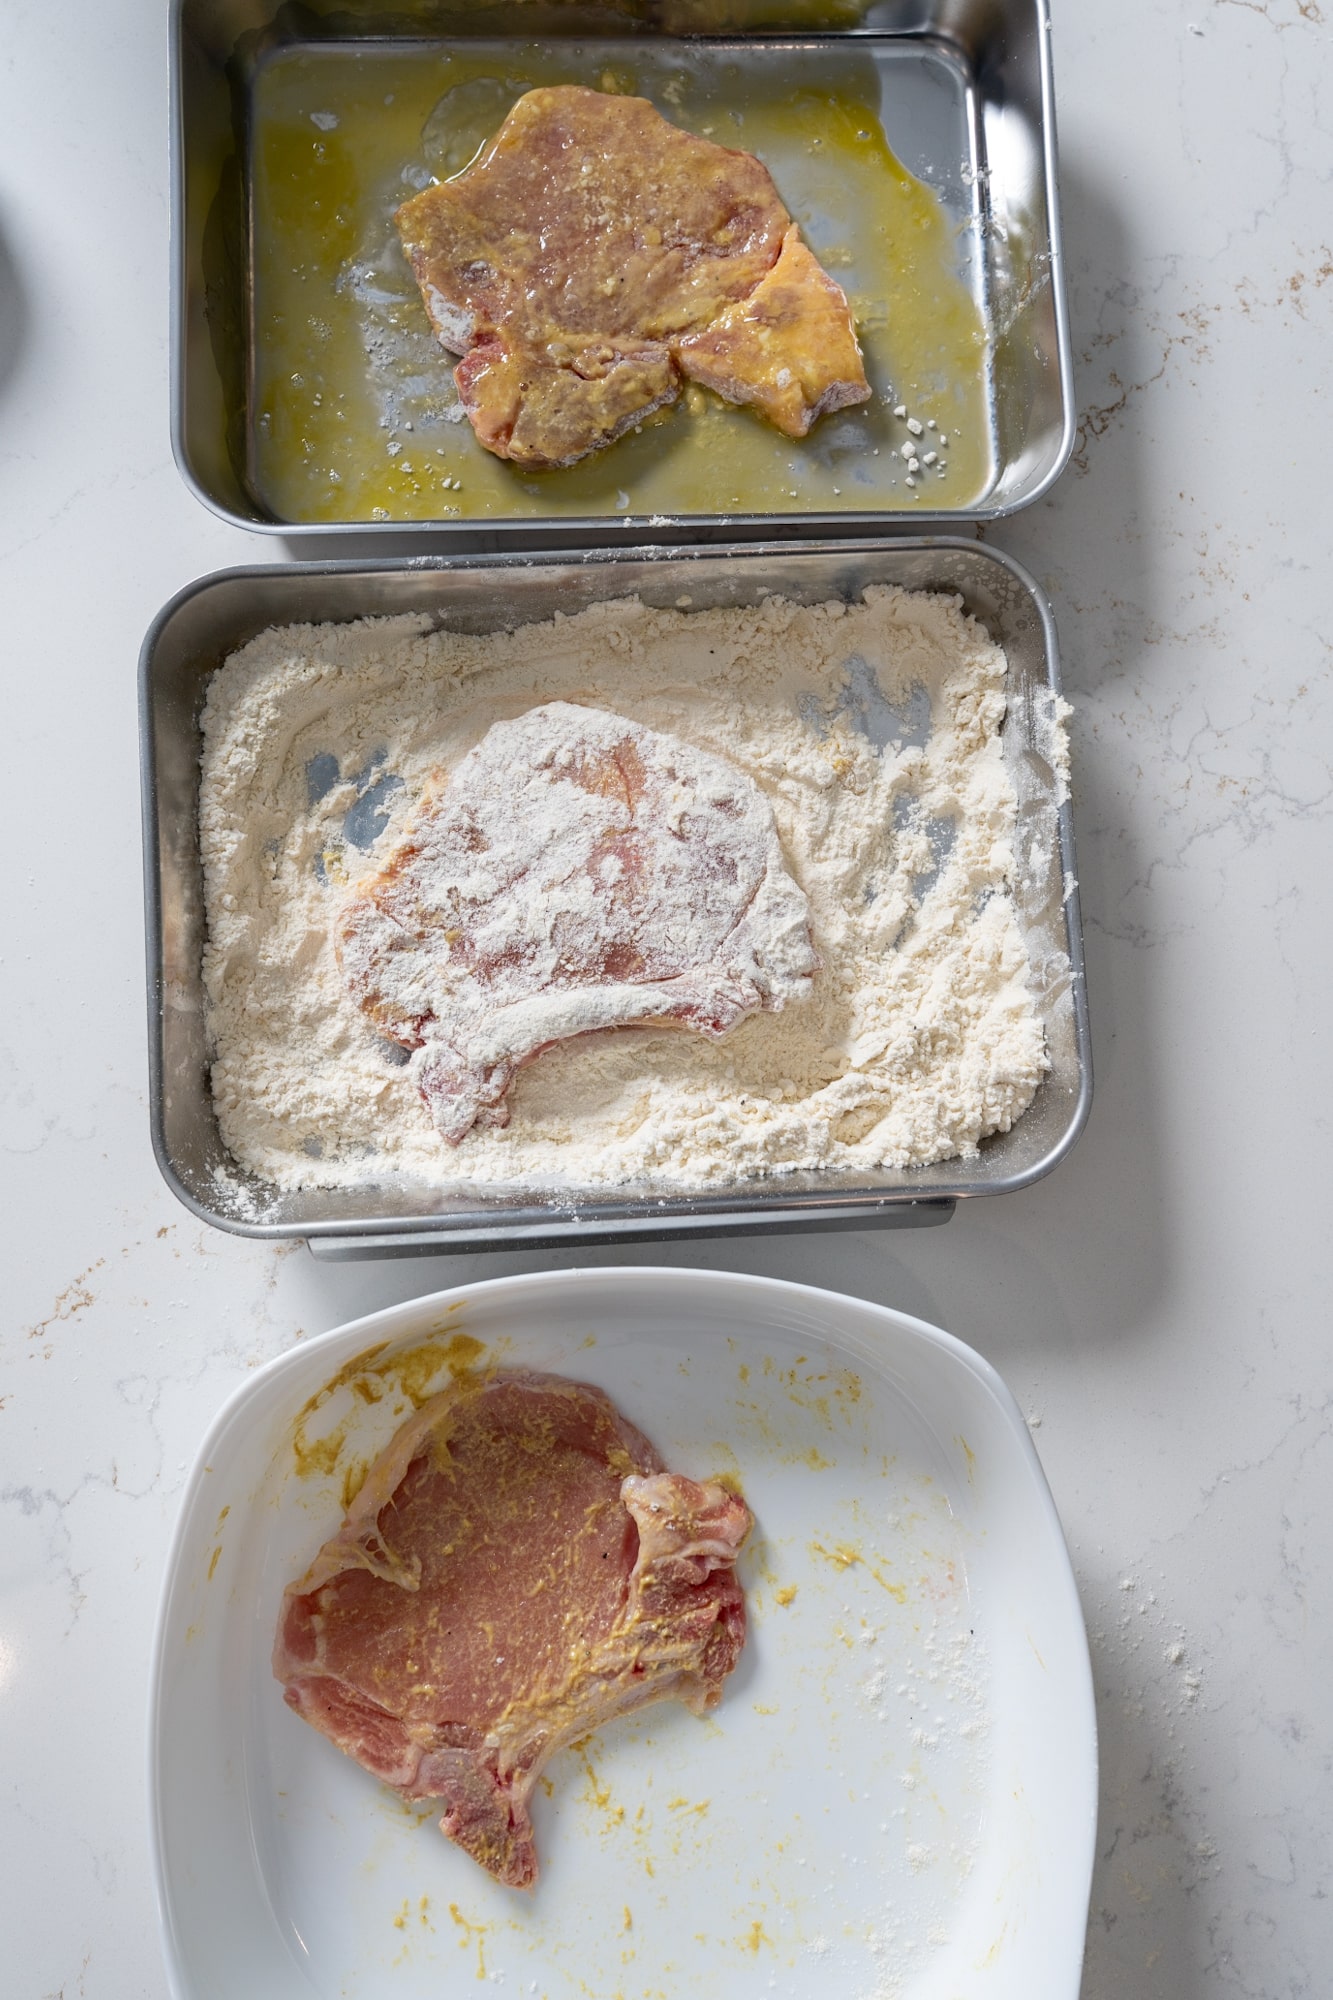
Step 2: In a shallow bowl, whisk together the flour, cornstarch, and the remaining 2 teaspoons of all-purpose seasoning. In a second bowl, beat the egg until smooth.
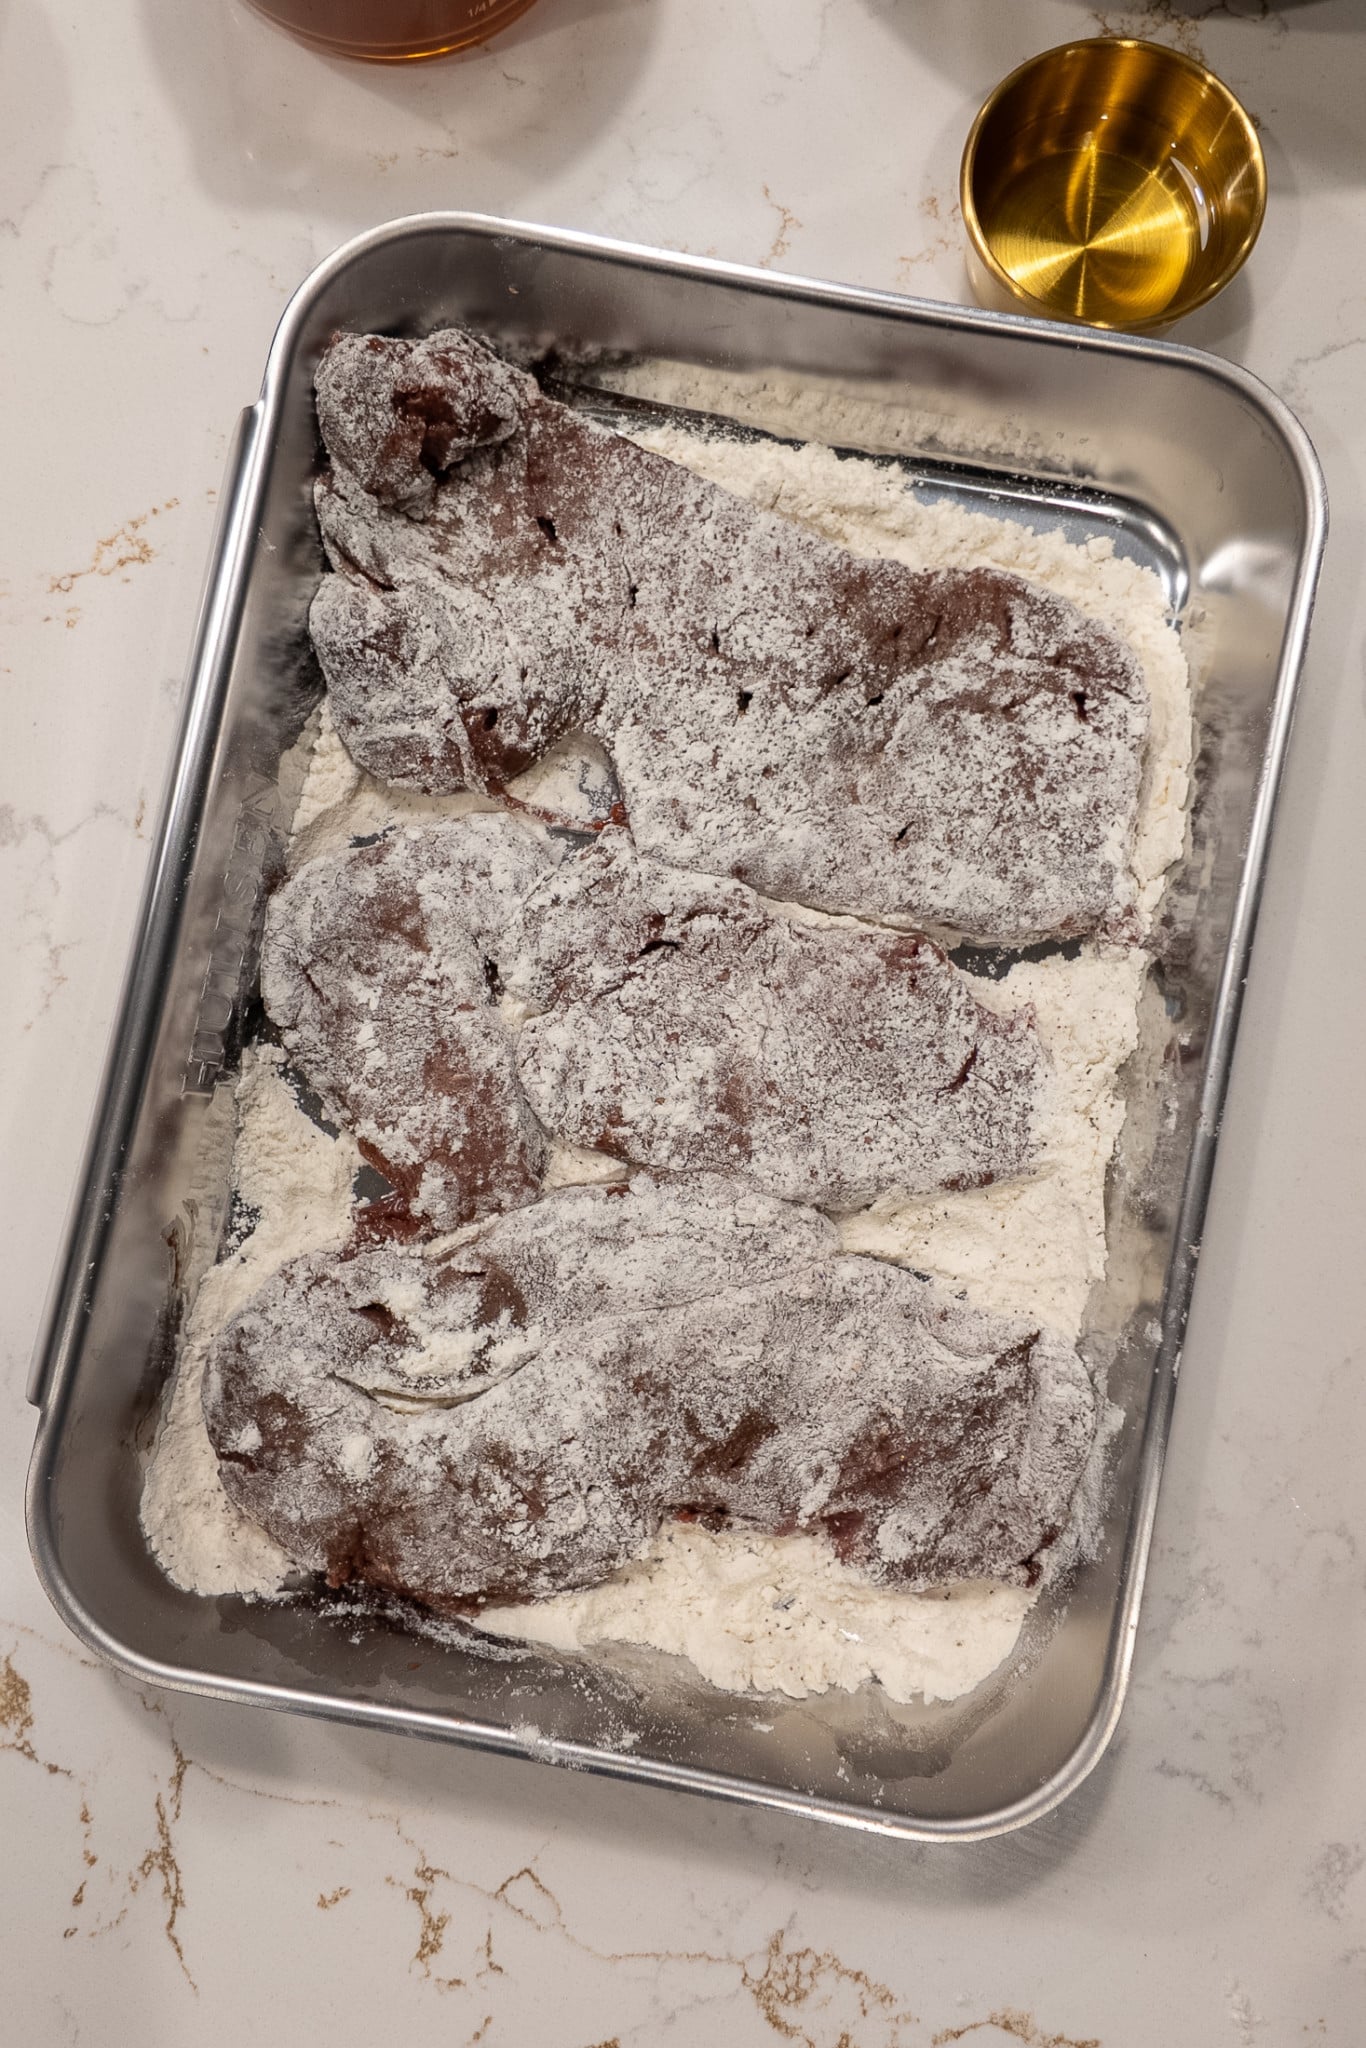
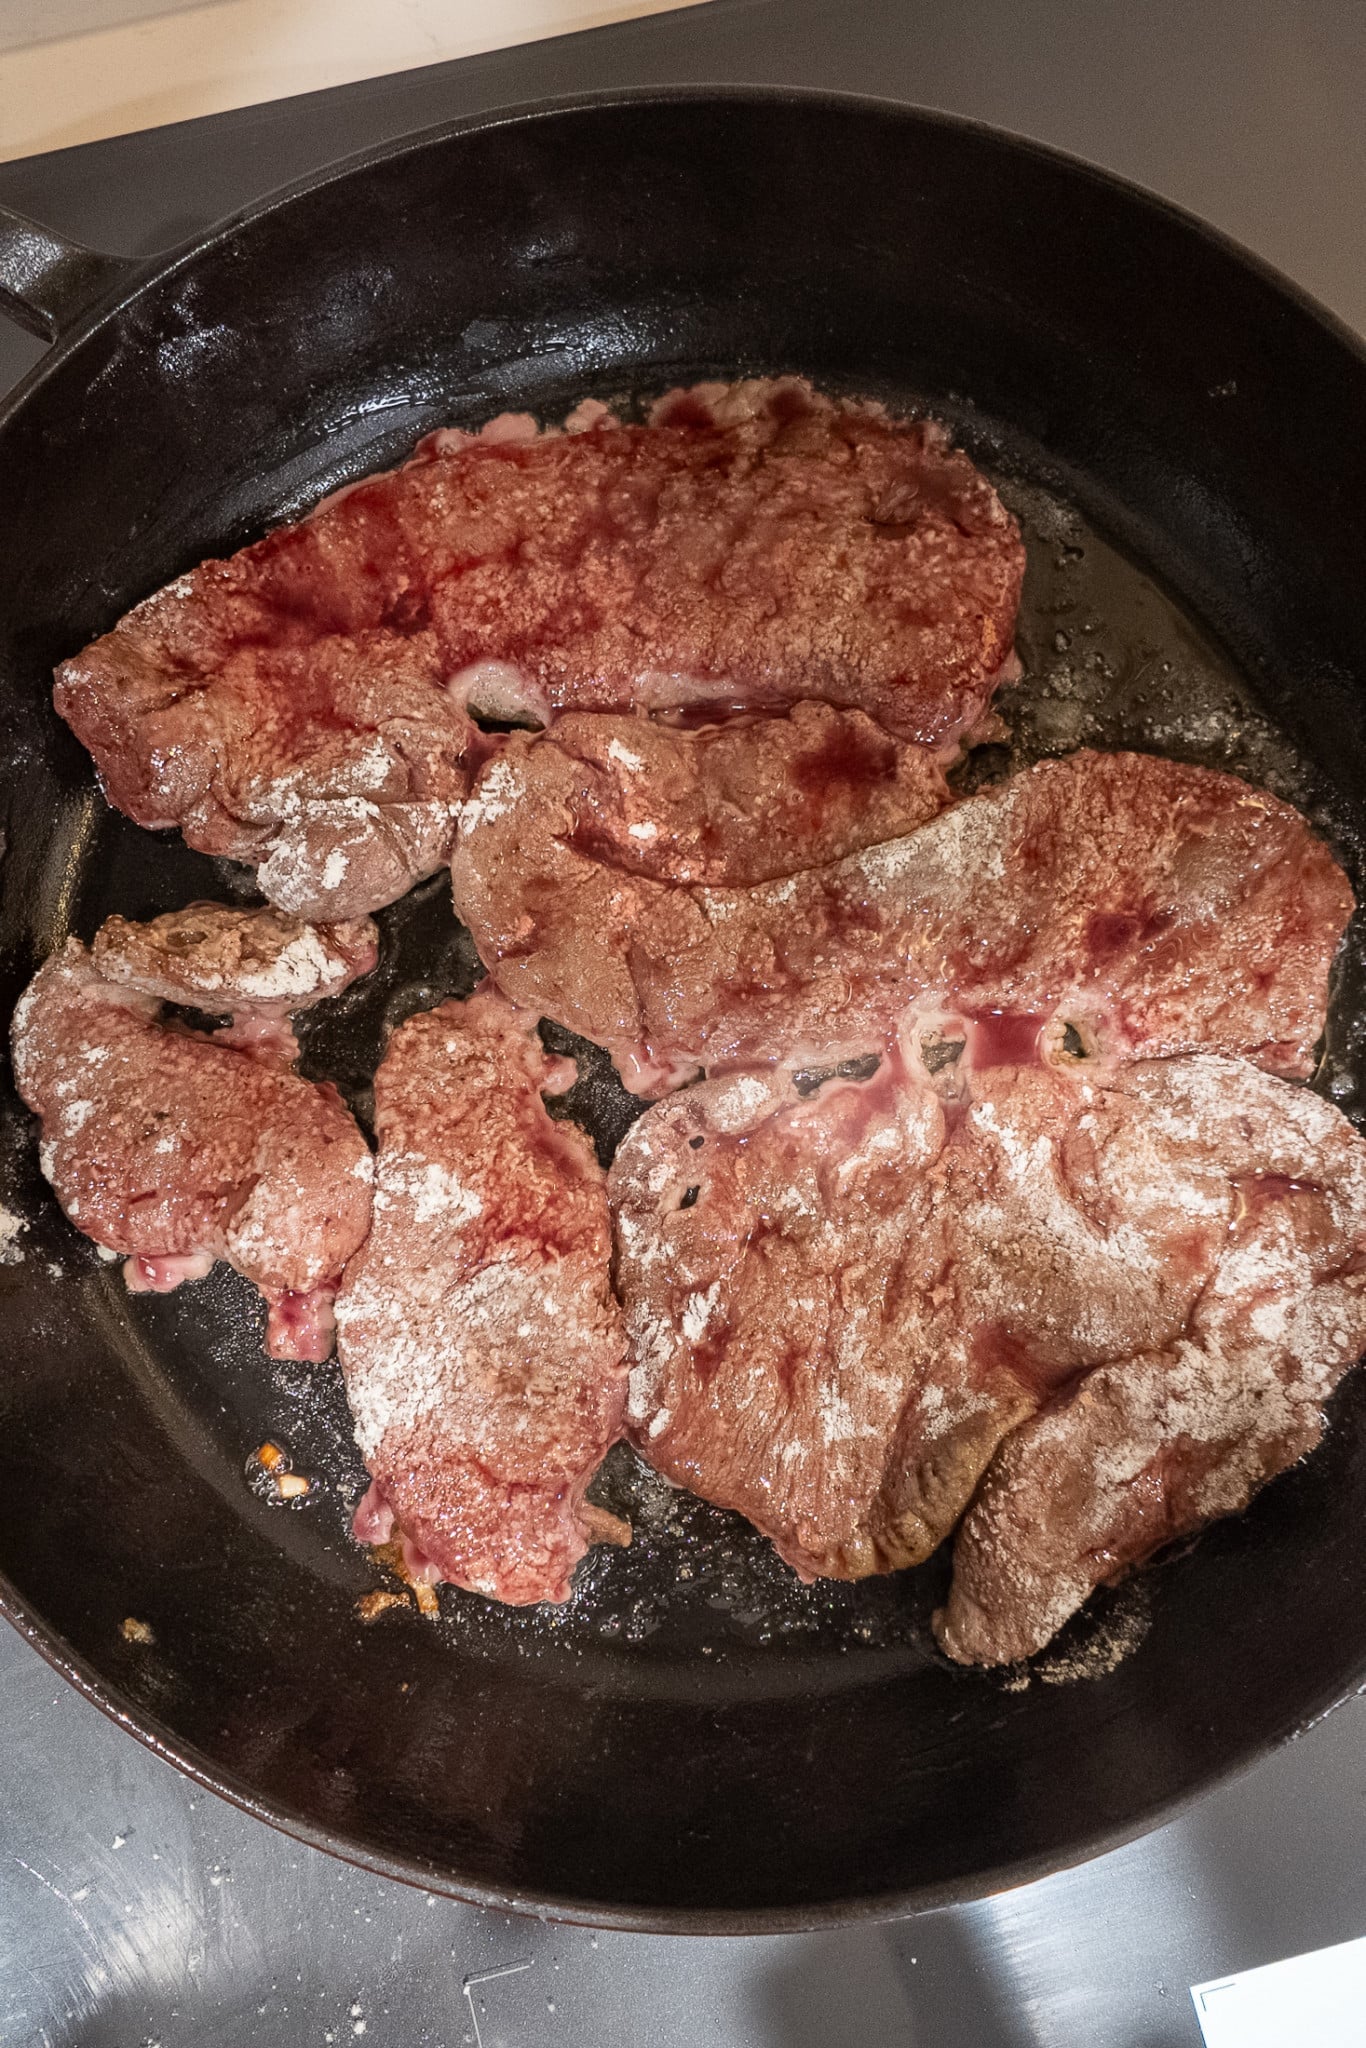
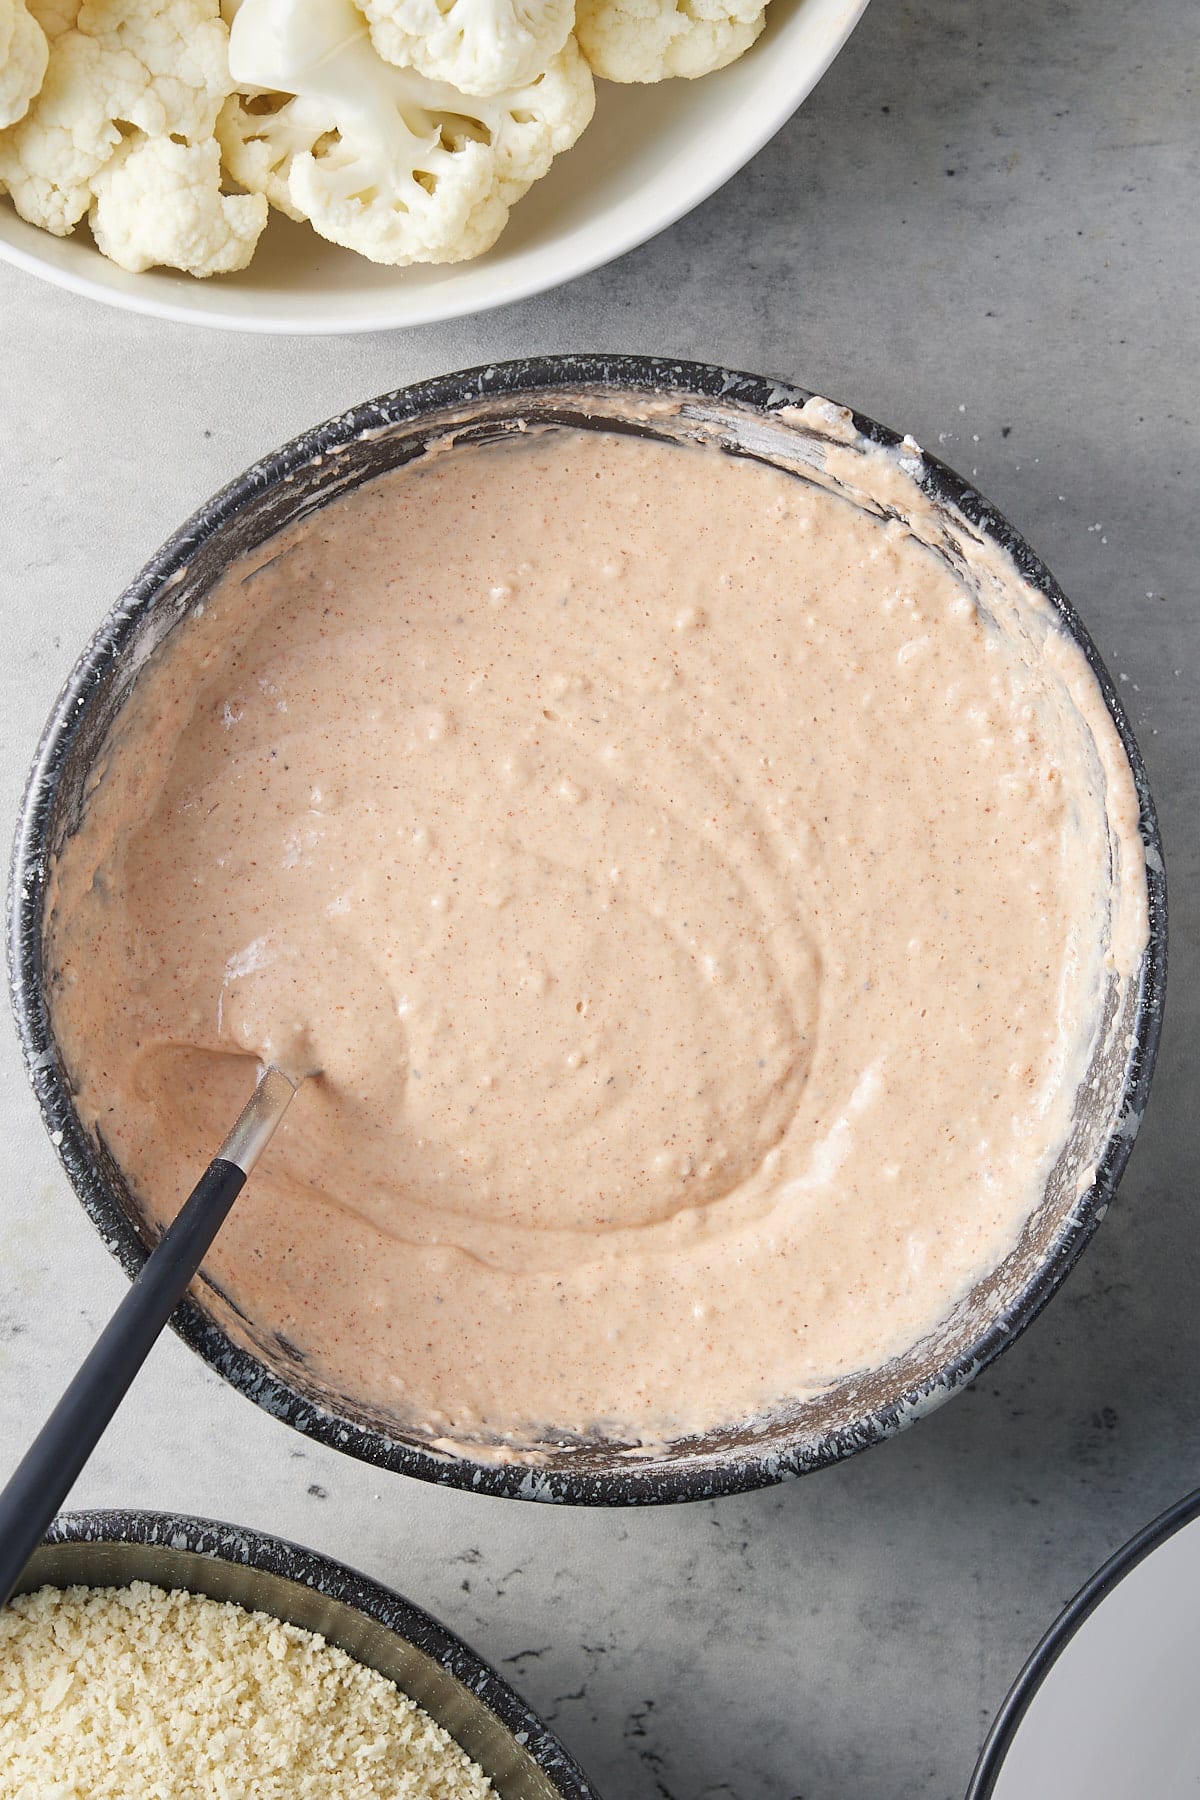
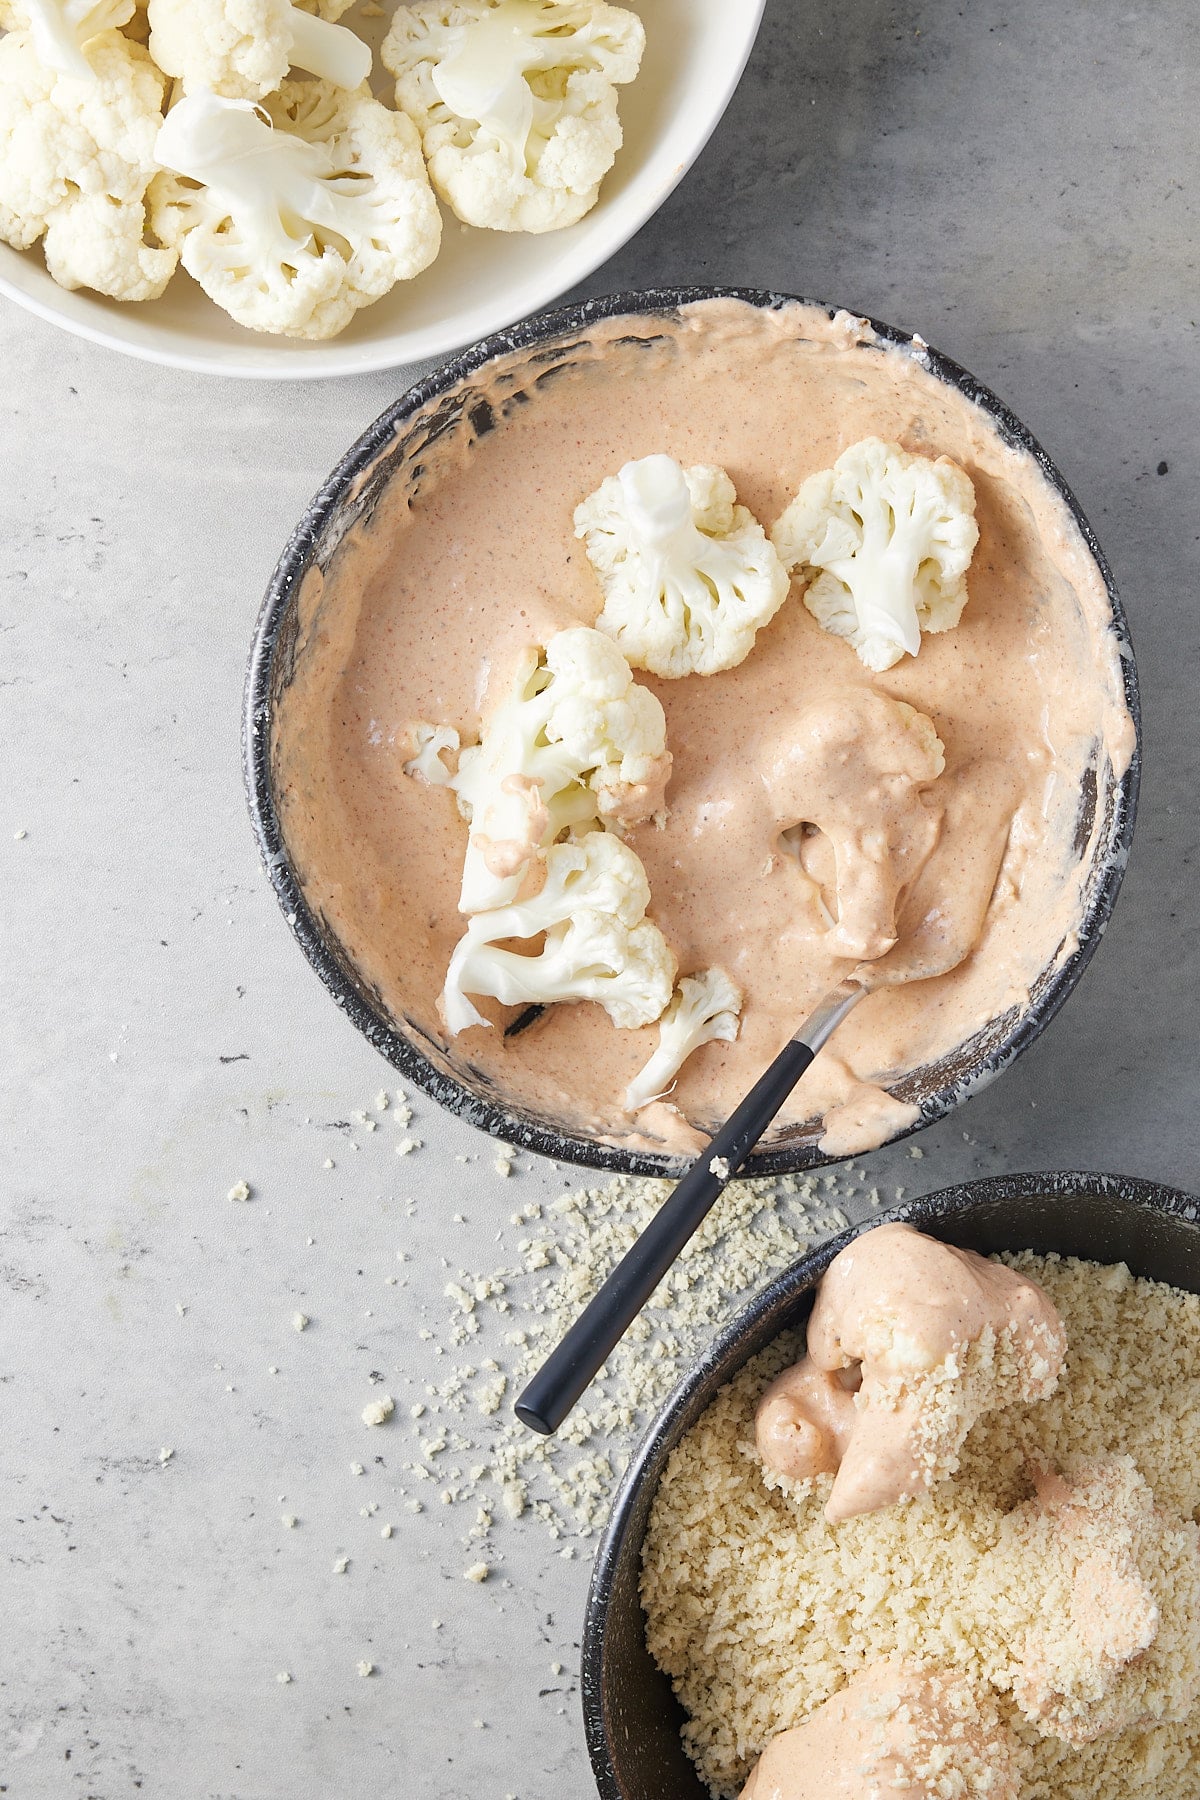
Step 3: Dredge each chop in the flour mixture, dip it into the egg, let the excess drip off, and then return it to the flour and coat evenly. Press the flour gently into the chop and shake off any excess.
Step 4: Place the coated chops on a plate and let them sit for 10 minutes. This rest helps the coating set so it doesn't slide off in the oil.
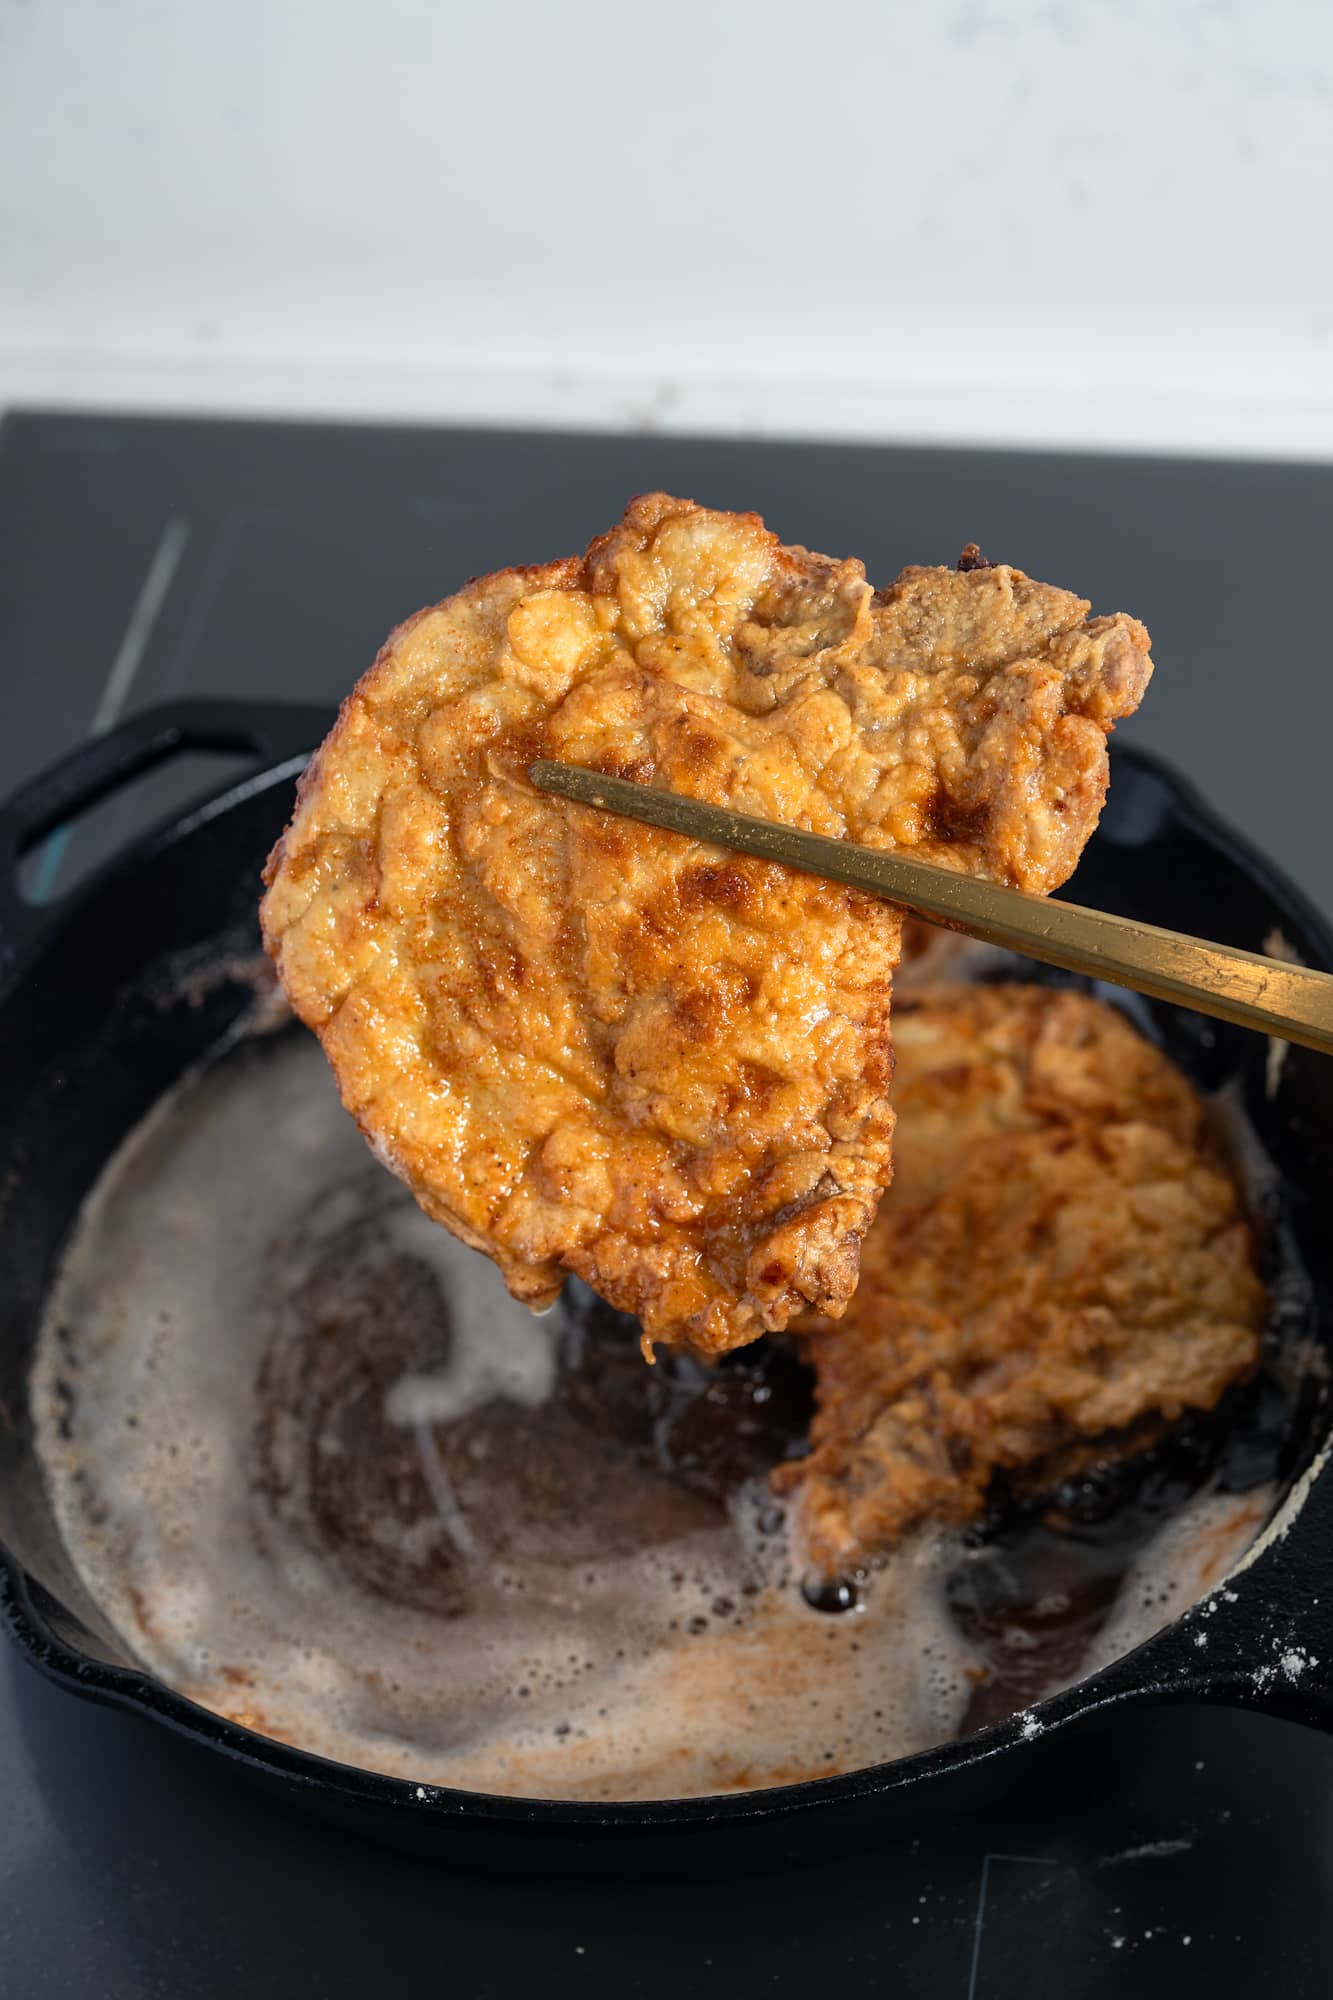
Step 5: Add oil to a large cast-iron skillet so it comes halfway up the sides of the chops, about ¼ inch deep. Heat it gradually over medium heat. The oil is ready when a pinch of flour dropped in sizzles steadily, or when it reaches 350°F.
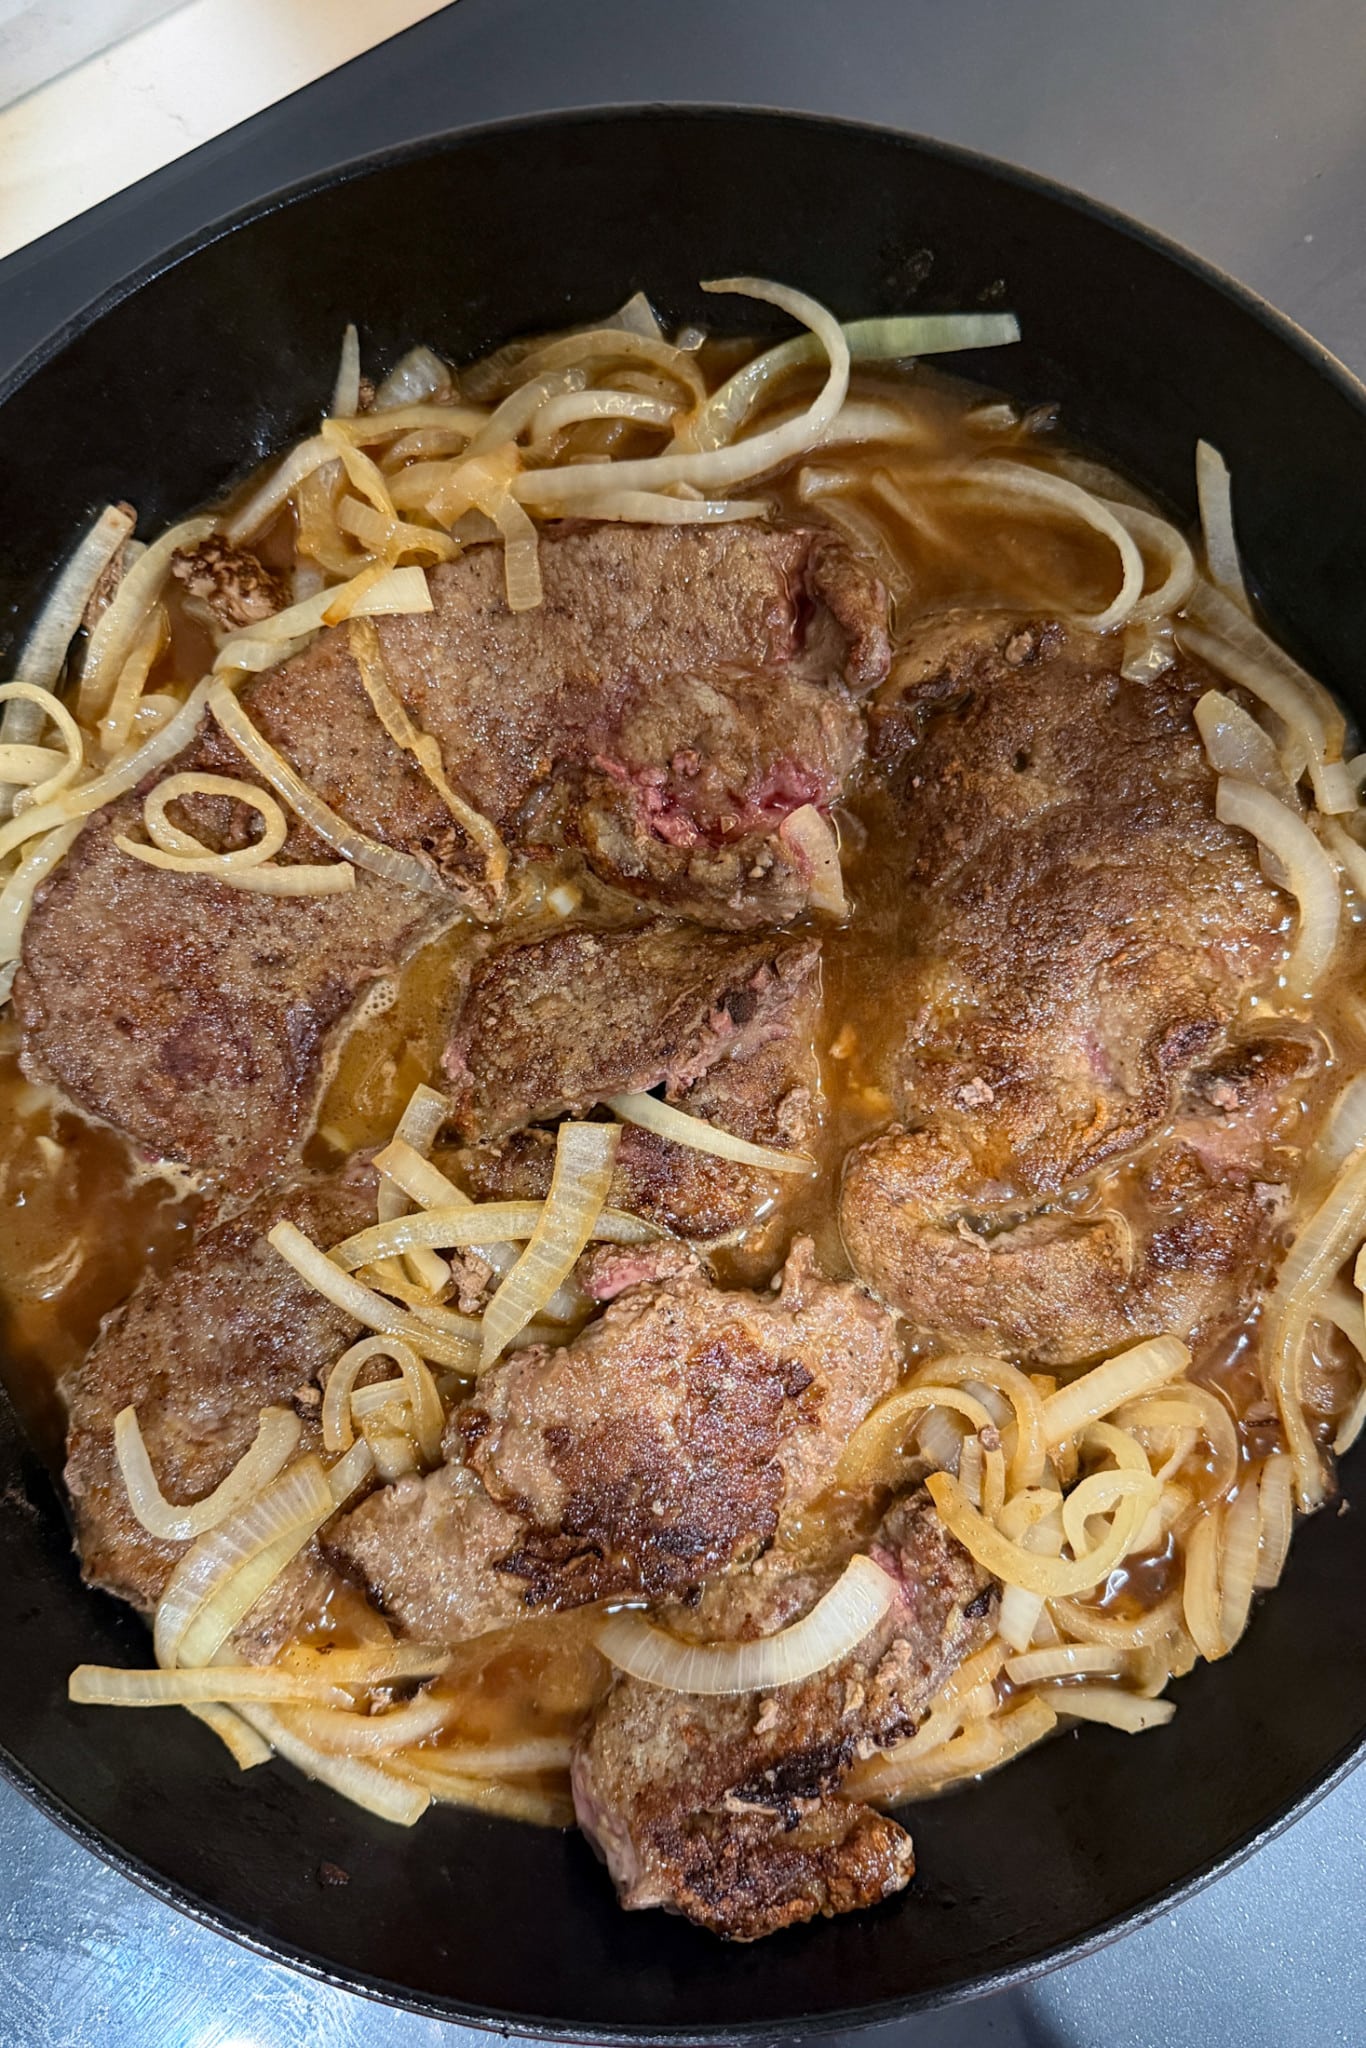
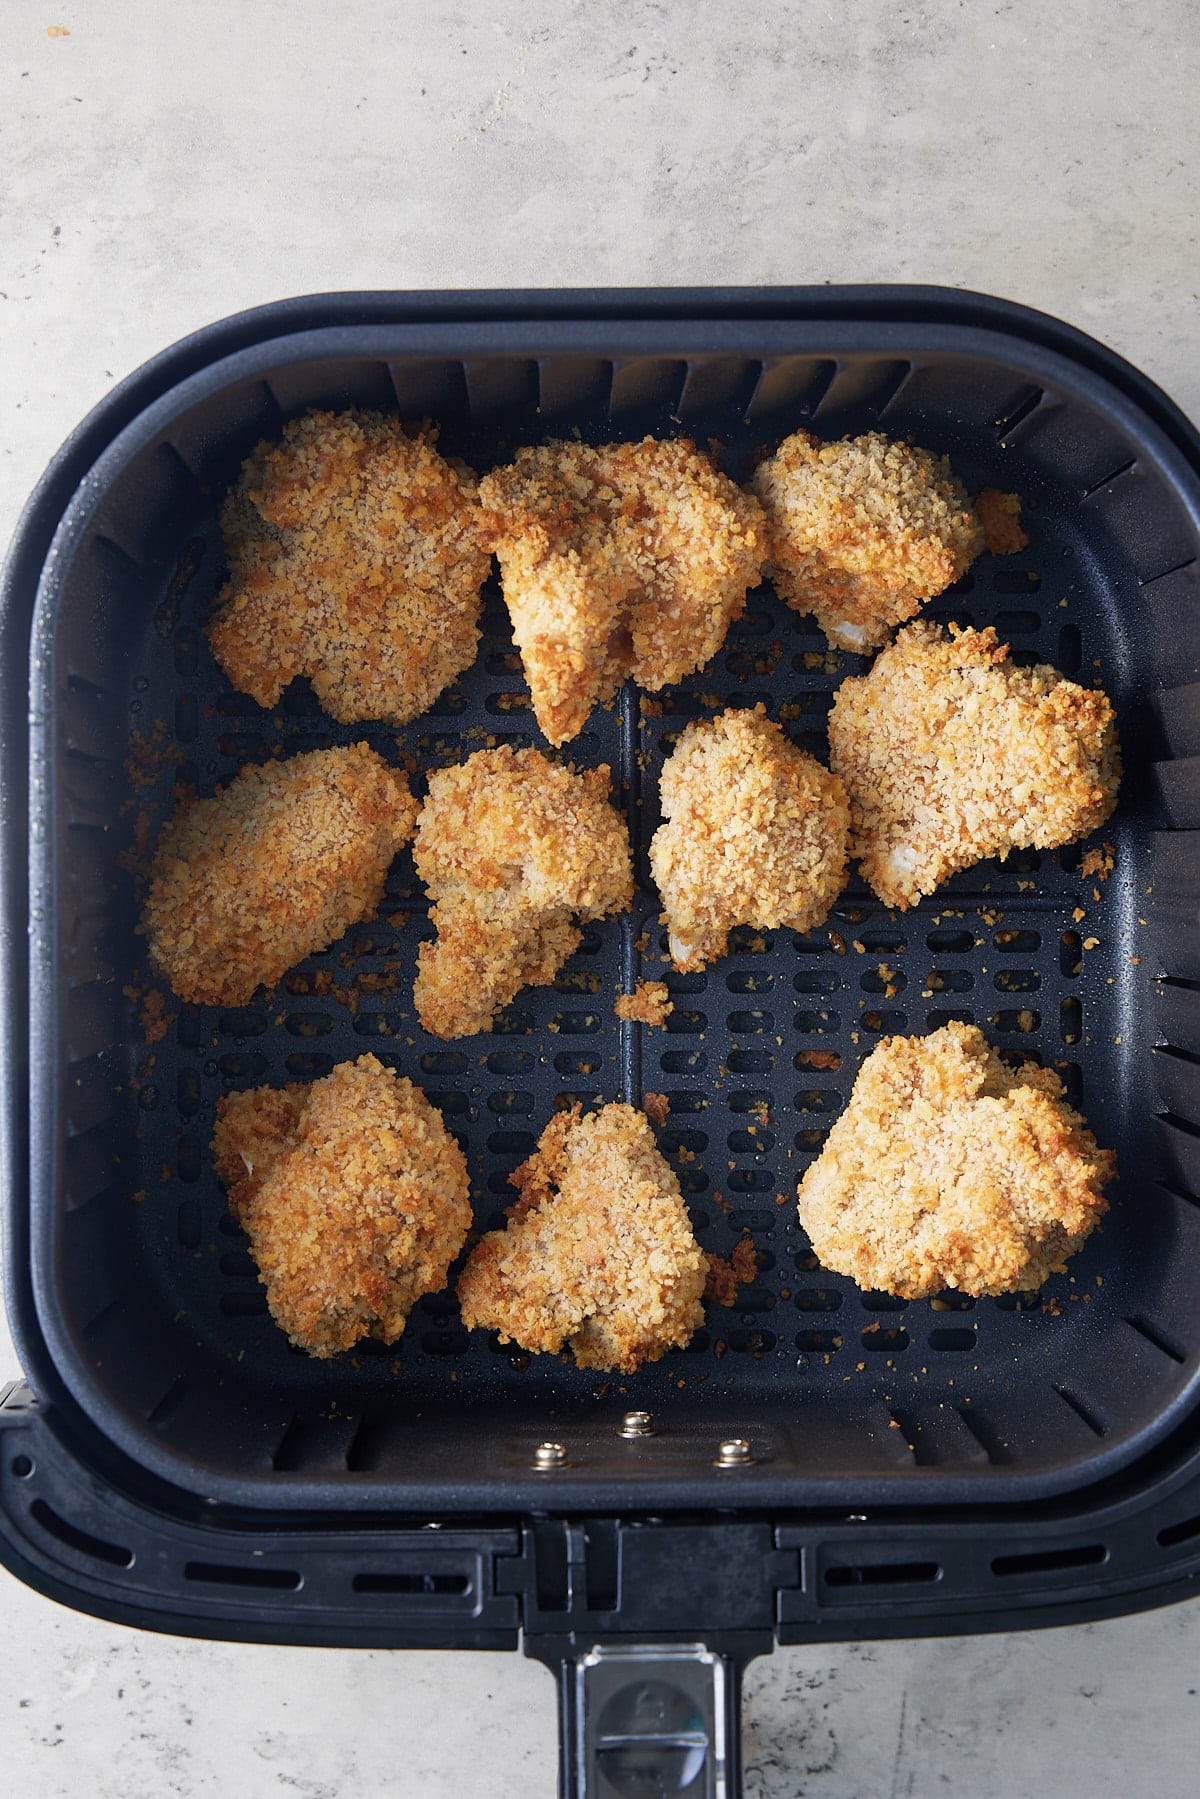
Step 6: Fry the chops for 3 to 4 minutes per side, until deep golden brown. Flip once. Don't crowd the pan; work in batches if needed, and adjust the heat to keep a steady sizzle.
Step 7: Transfer to a wire rack and let rest for a few minutes before serving. The rack keeps the bottom crust from going soggy.
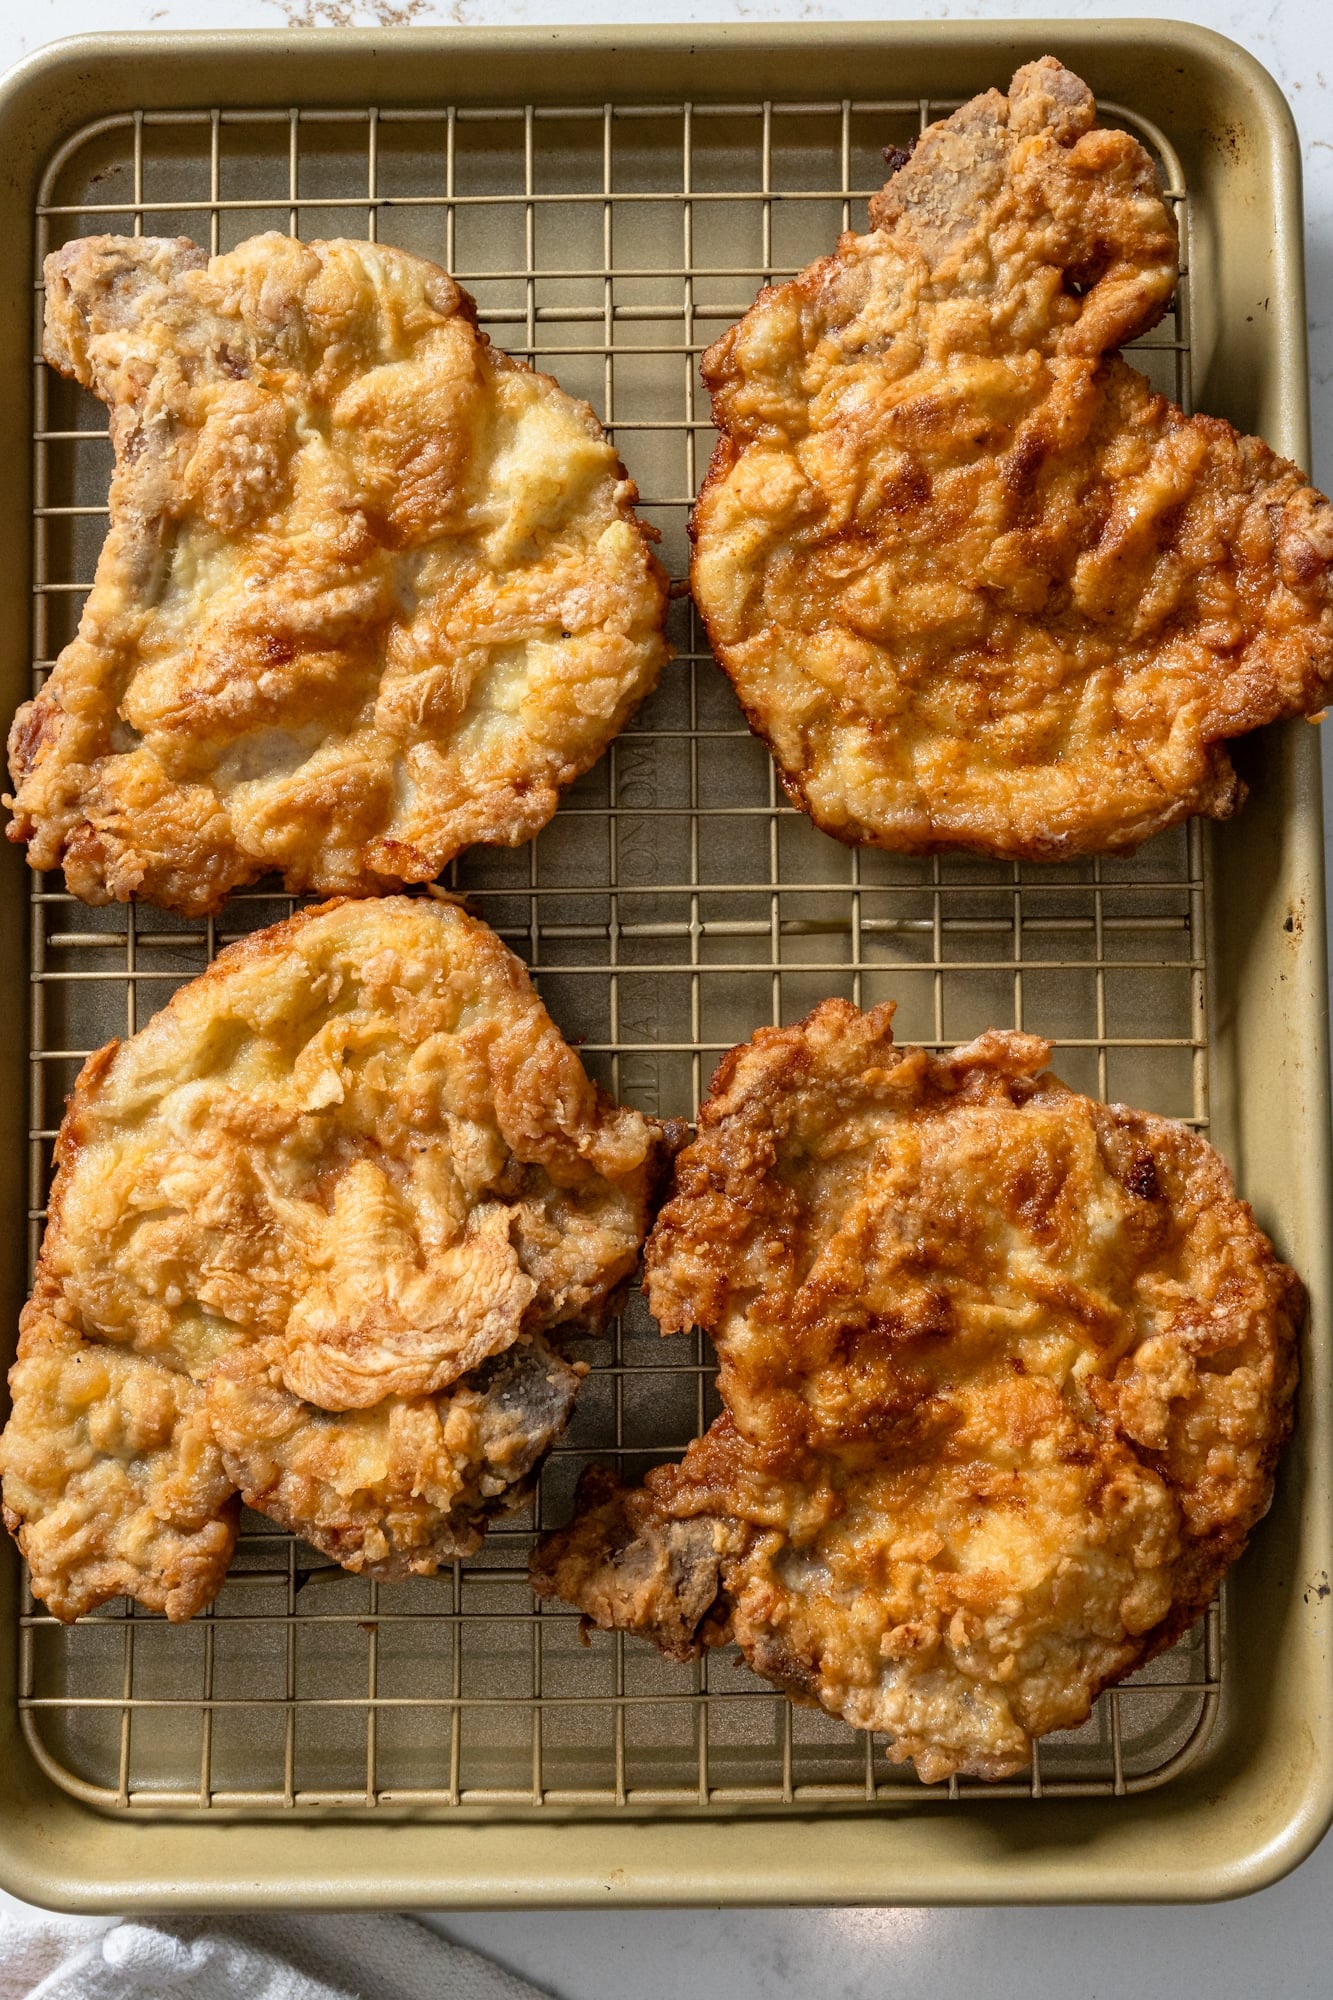
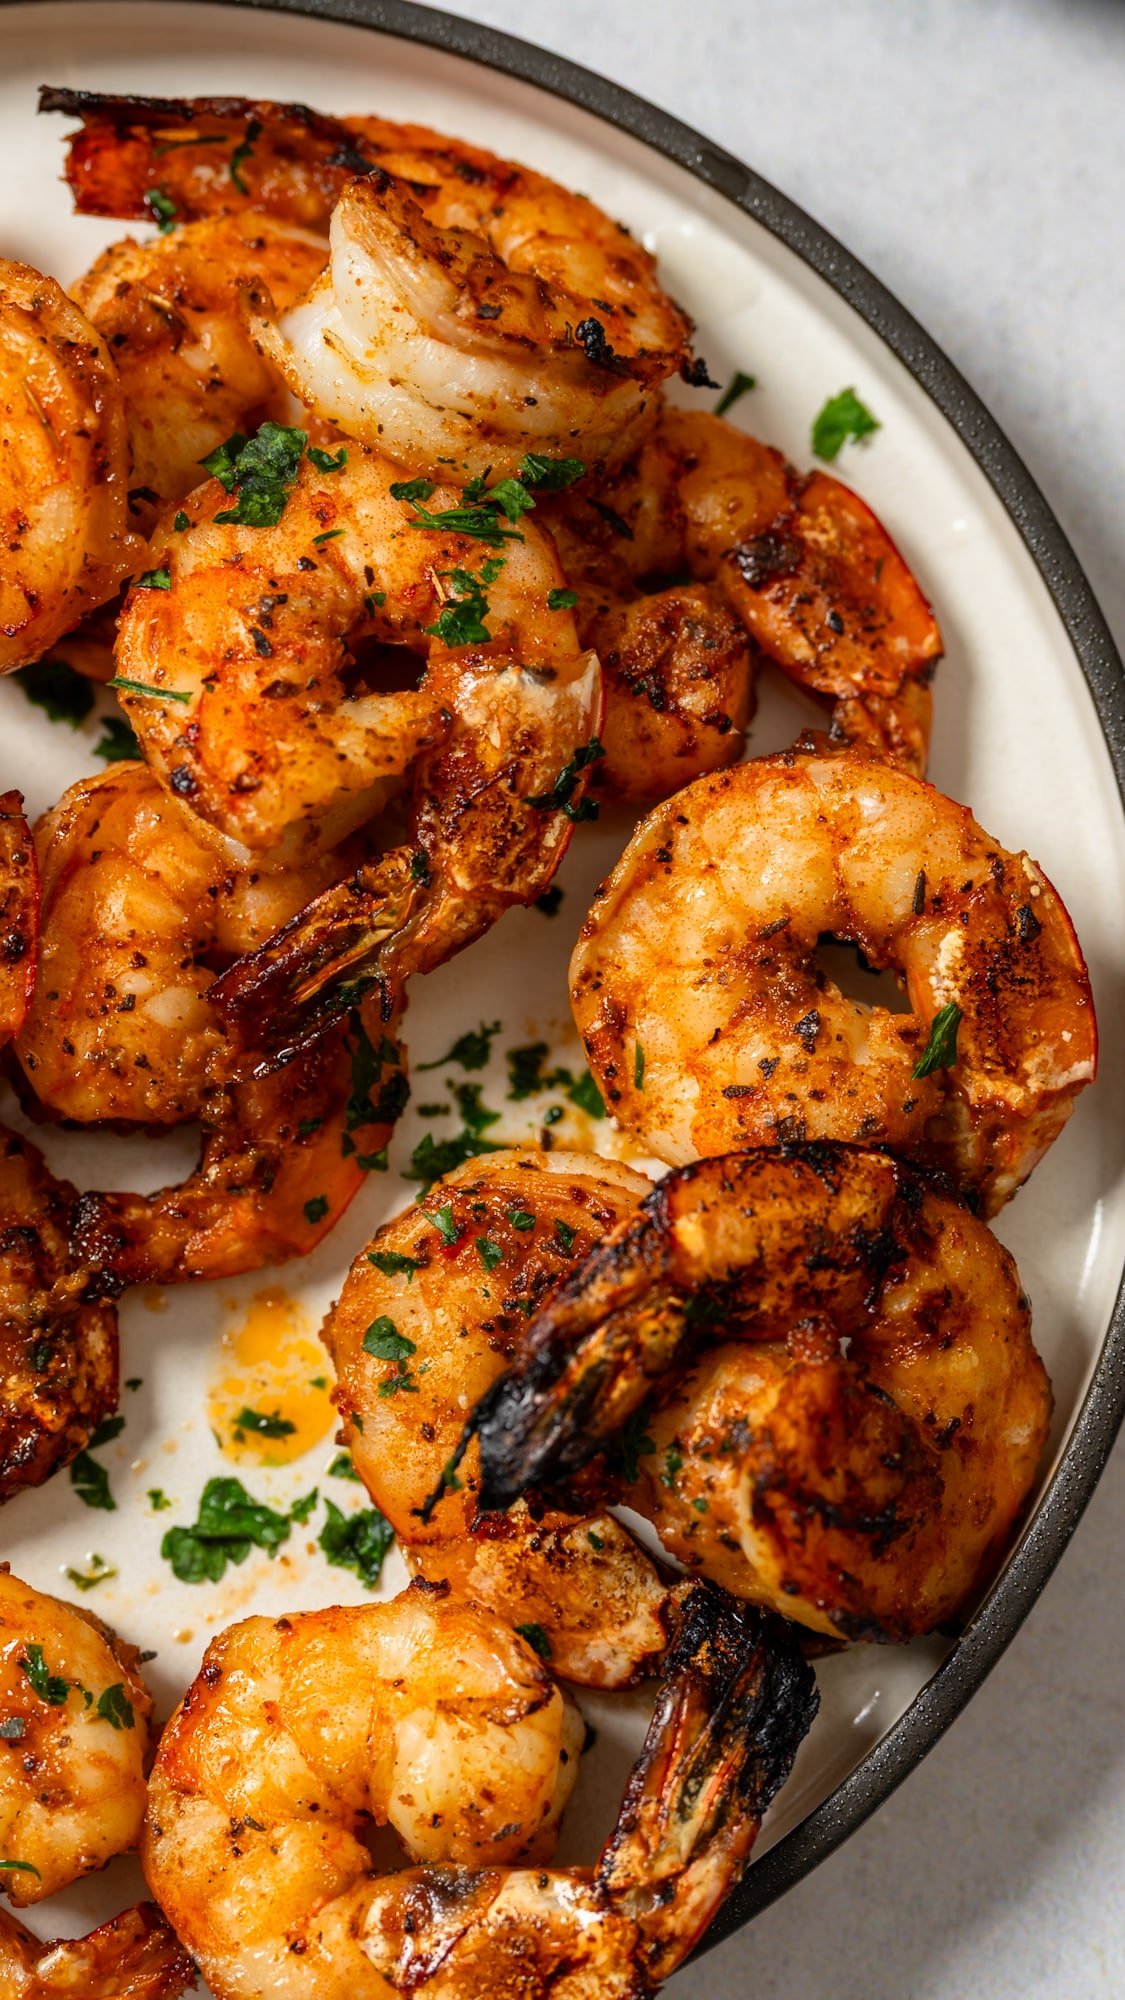
Serve and enjoy. Season with additional salt and pepper if desired.
Tanya's Top Tips
- Start with center-cut pork chops and trim off any excess fat cap. The fat curls up while the chop fries and lifts the breading right off, plus it renders into the oil and changes how everything cooks.
- Use a cast-iron skillet. It holds heat steady and gives you the most even browning.
- Get the oil hot enough before the chop hits it. Cold oil is what causes the breading to soak up grease rather than crisp. Bring it up gradually so it heats through evenly, then test with a pinch of flour. If it sizzles steadily, you're good.
- Stick to 2 to 4 chops in one batch of oil. Any more than that and the oil starts getting dirty, and your later chops won't fry as cleanly as the first ones.
- Don't crowd the pan. Adding too many chops at once drops the oil temperature fast, and that's when you get a greasy crust. Two chops at a time are plenty for a 10-inch skillet.
- Rest the coated chops for 10 minutes before frying and rest the cooked chops on a wire rack instead of a paper towel. The rack lets steam escape so the crust stays crispy on all sides.
Recommended Tools


What to Serve with these Fried Pork Chops
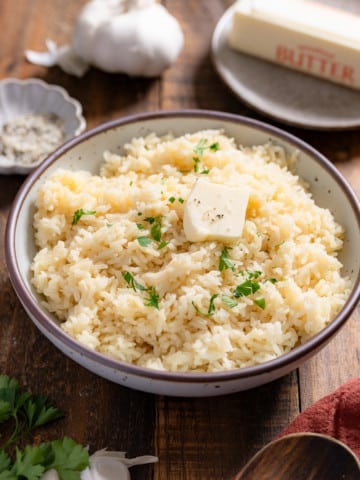
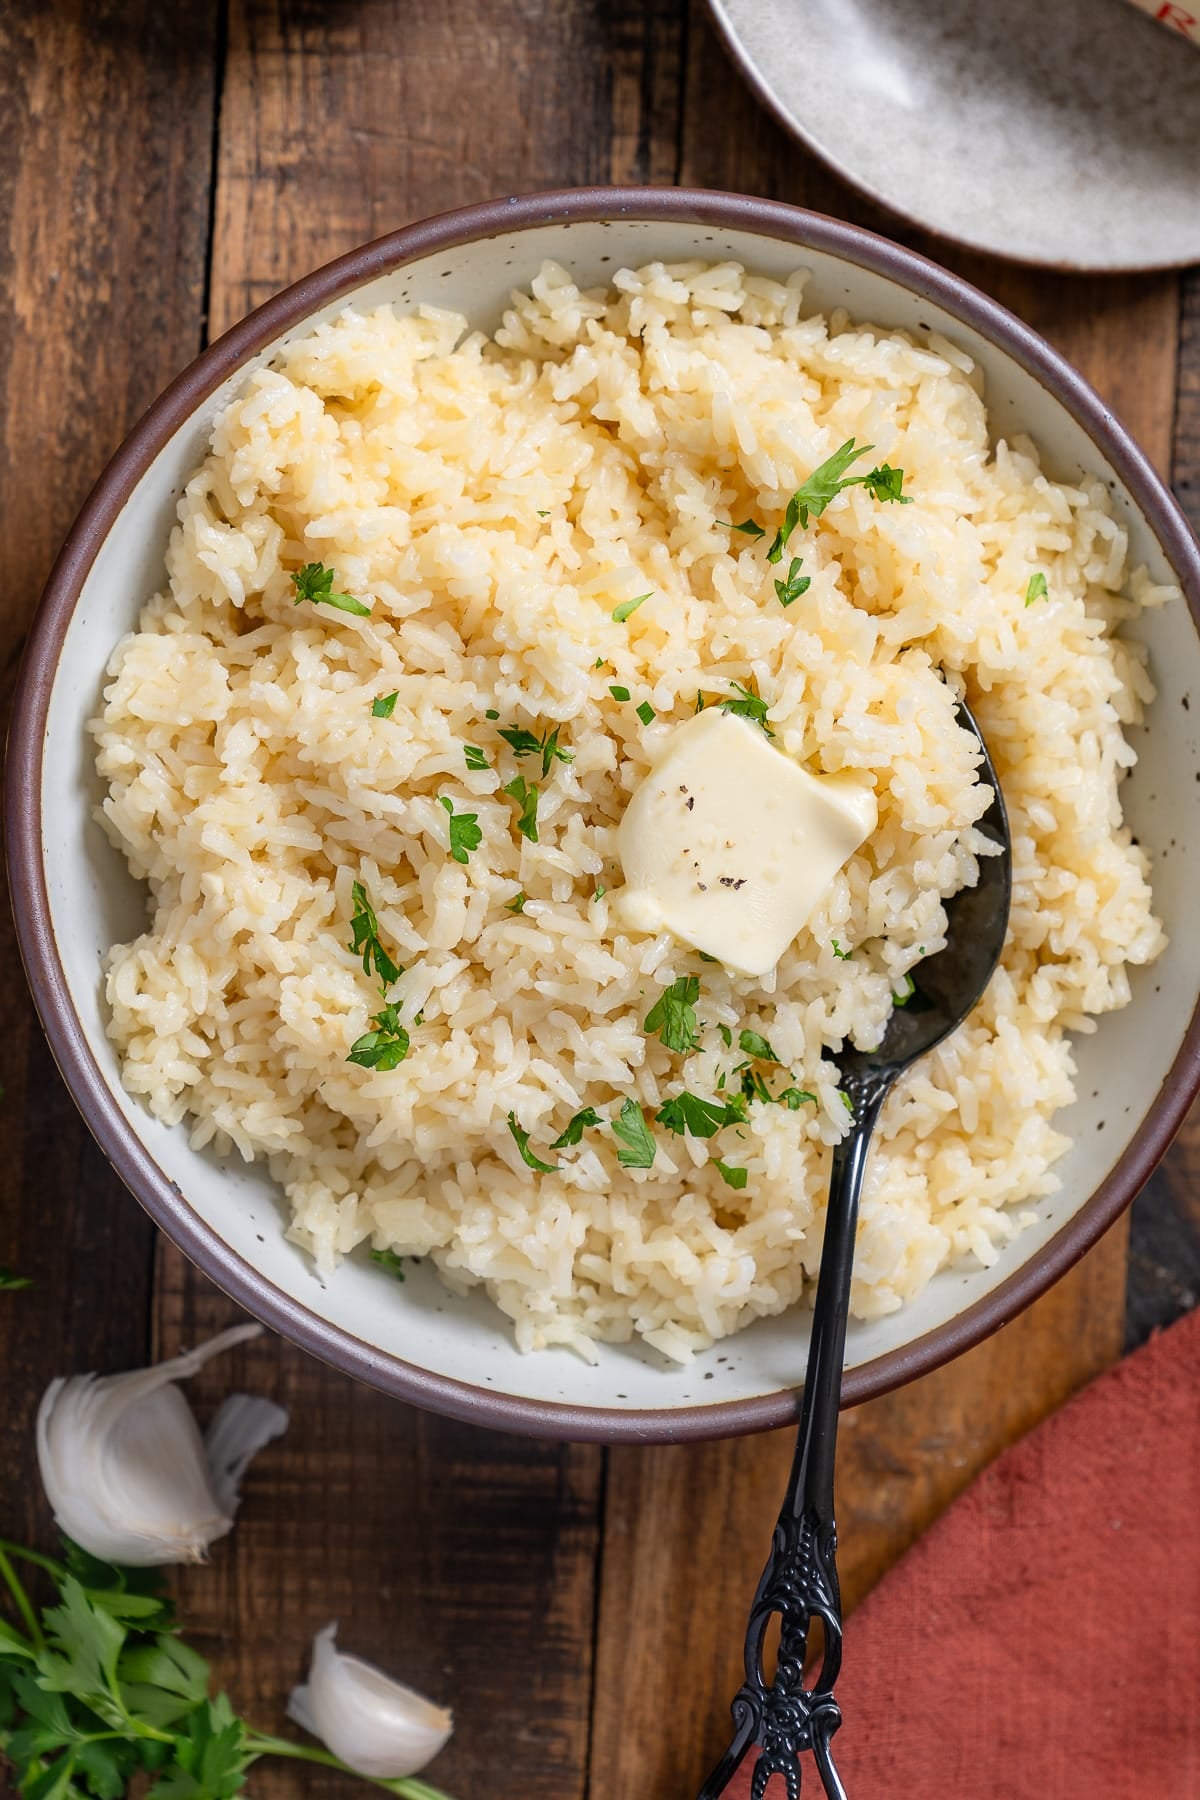
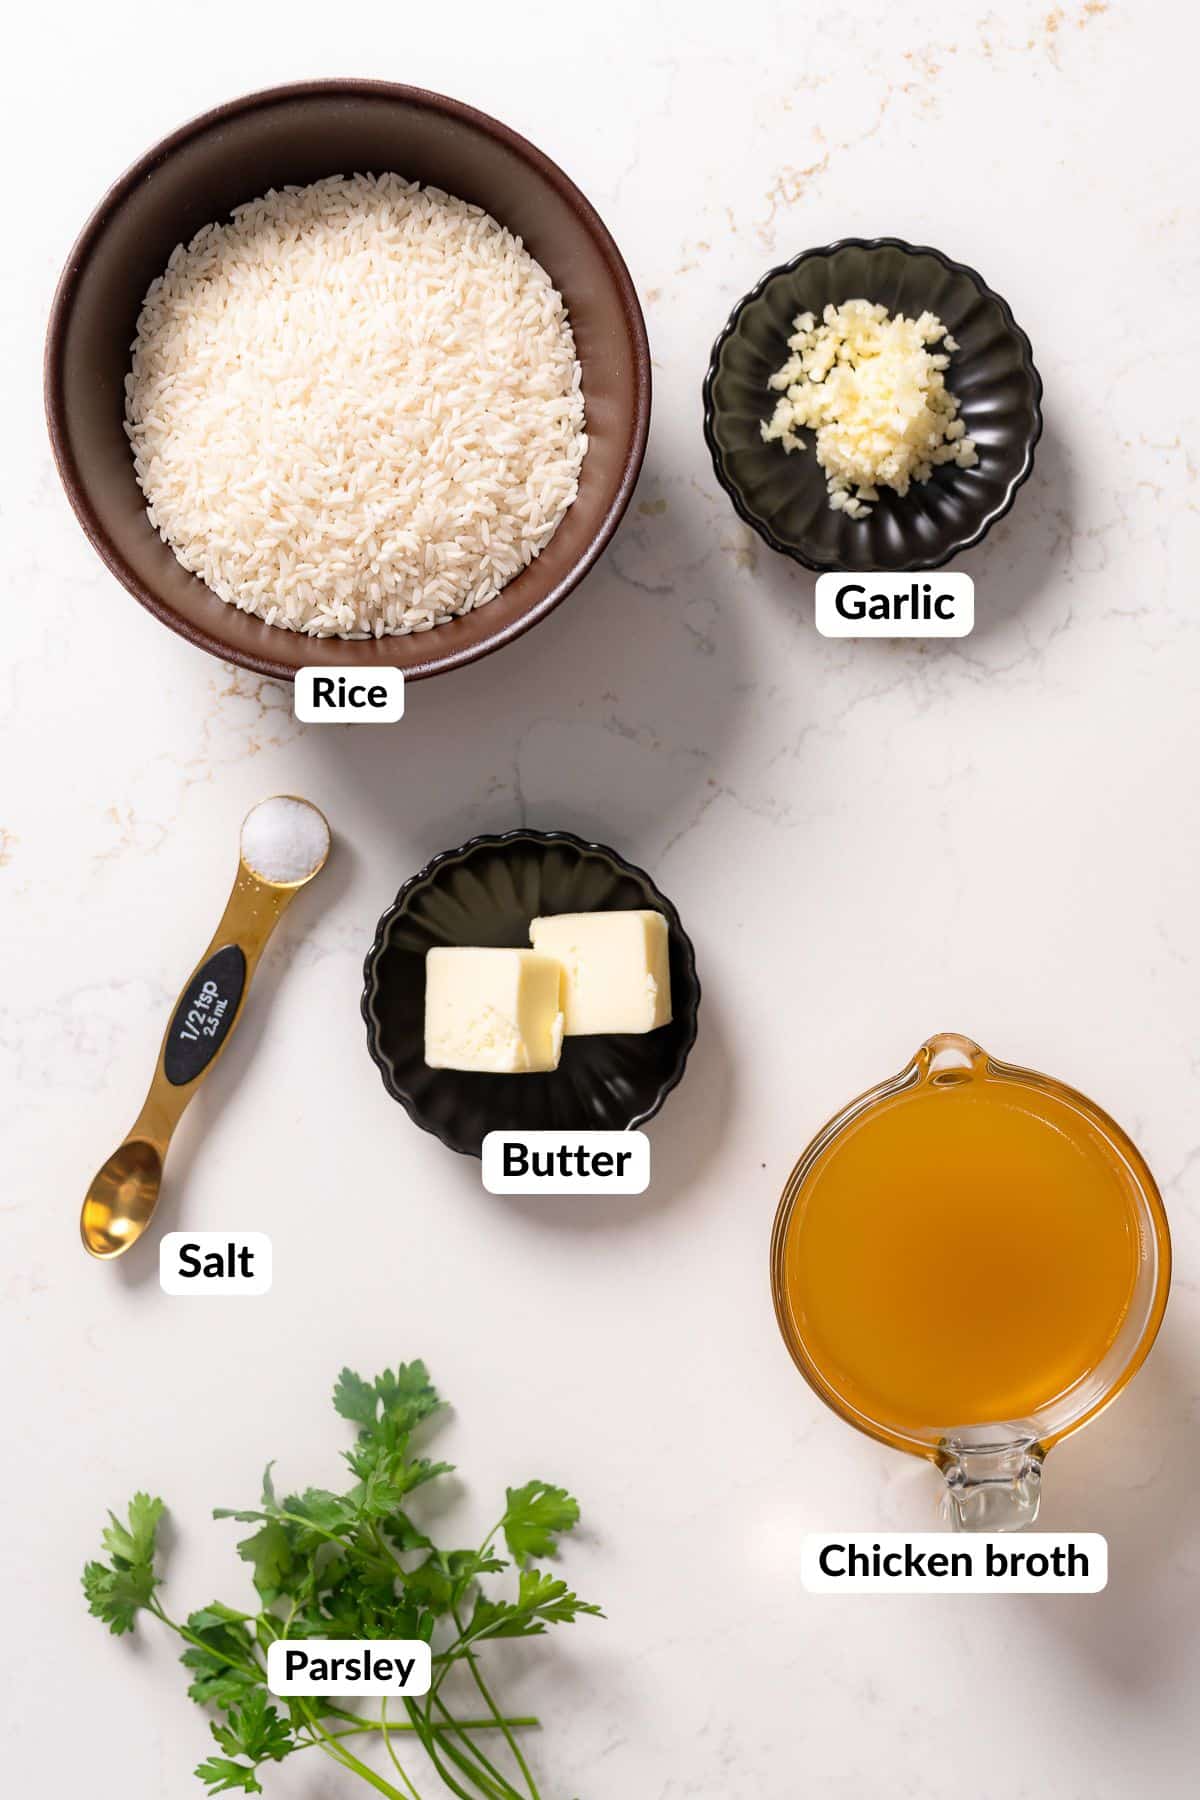
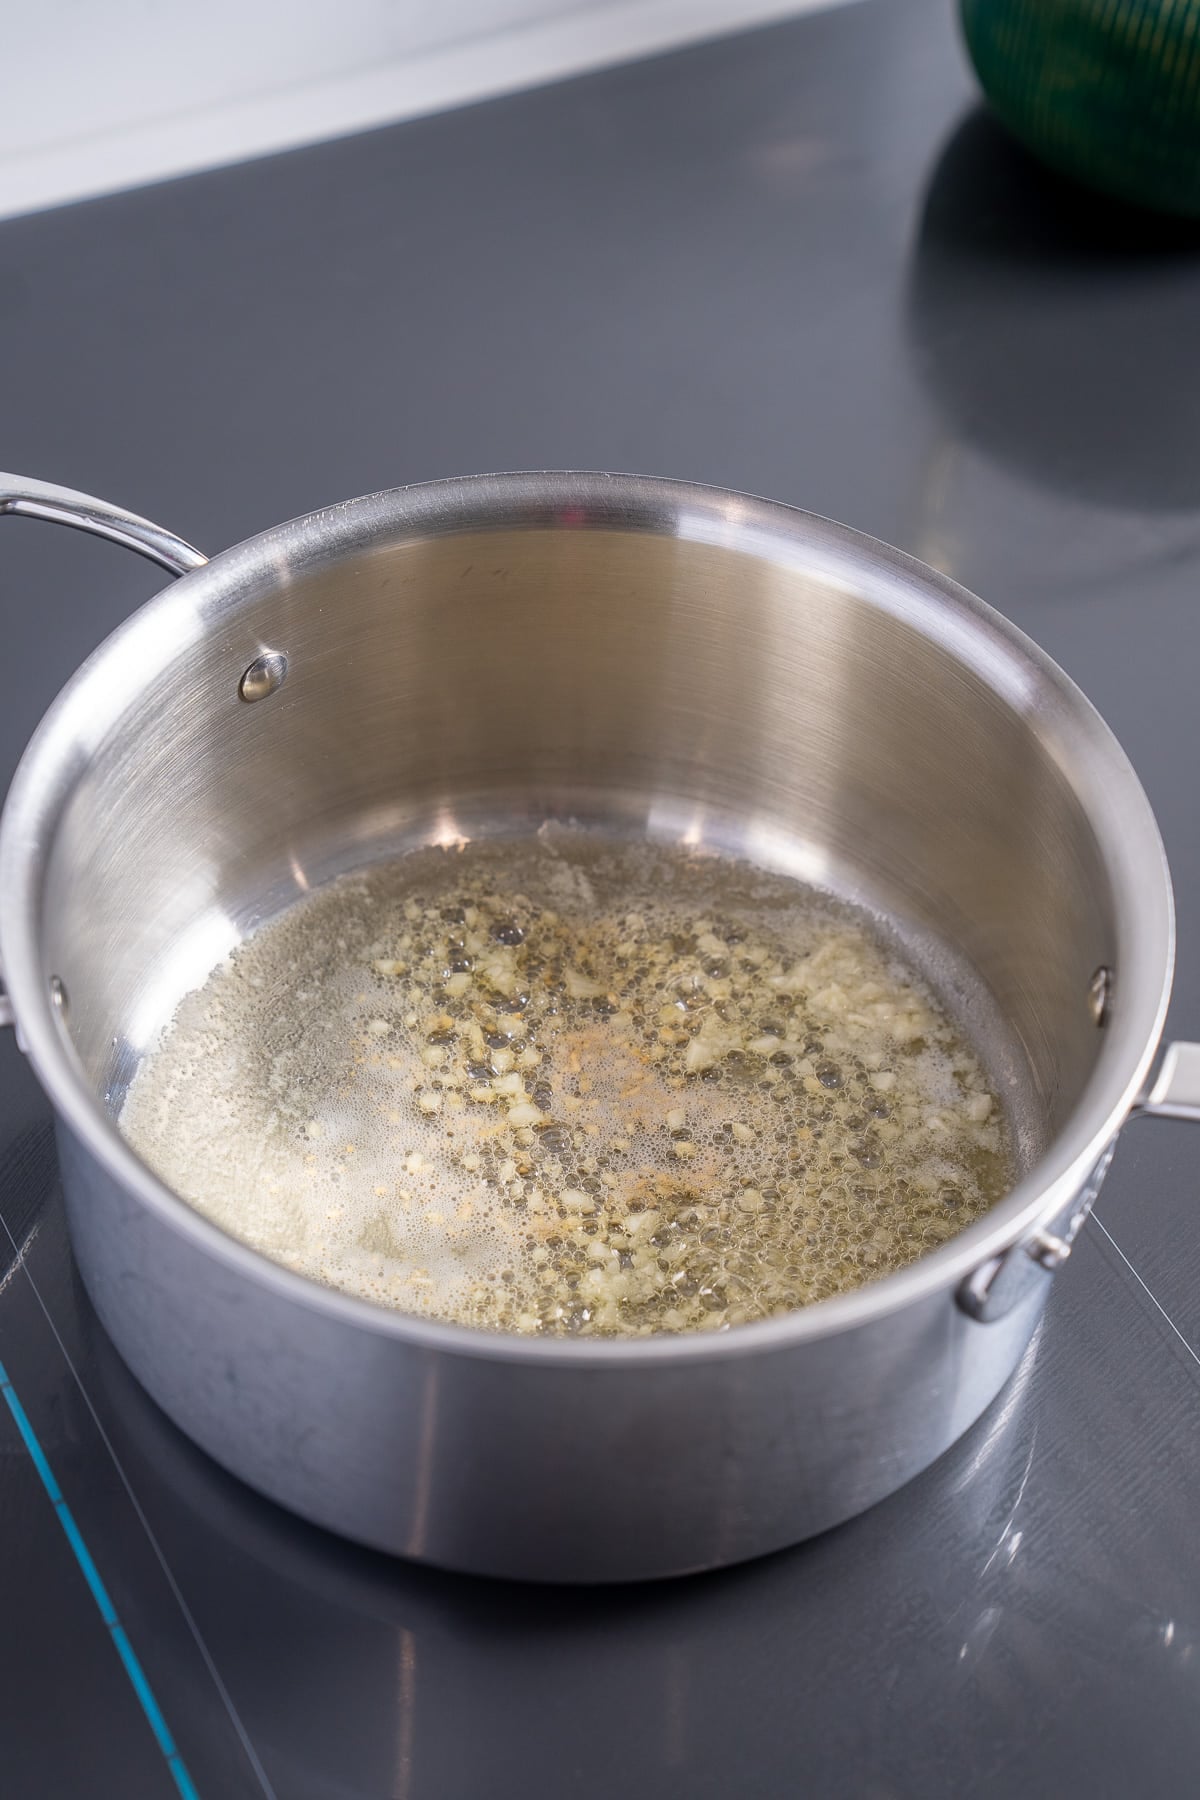
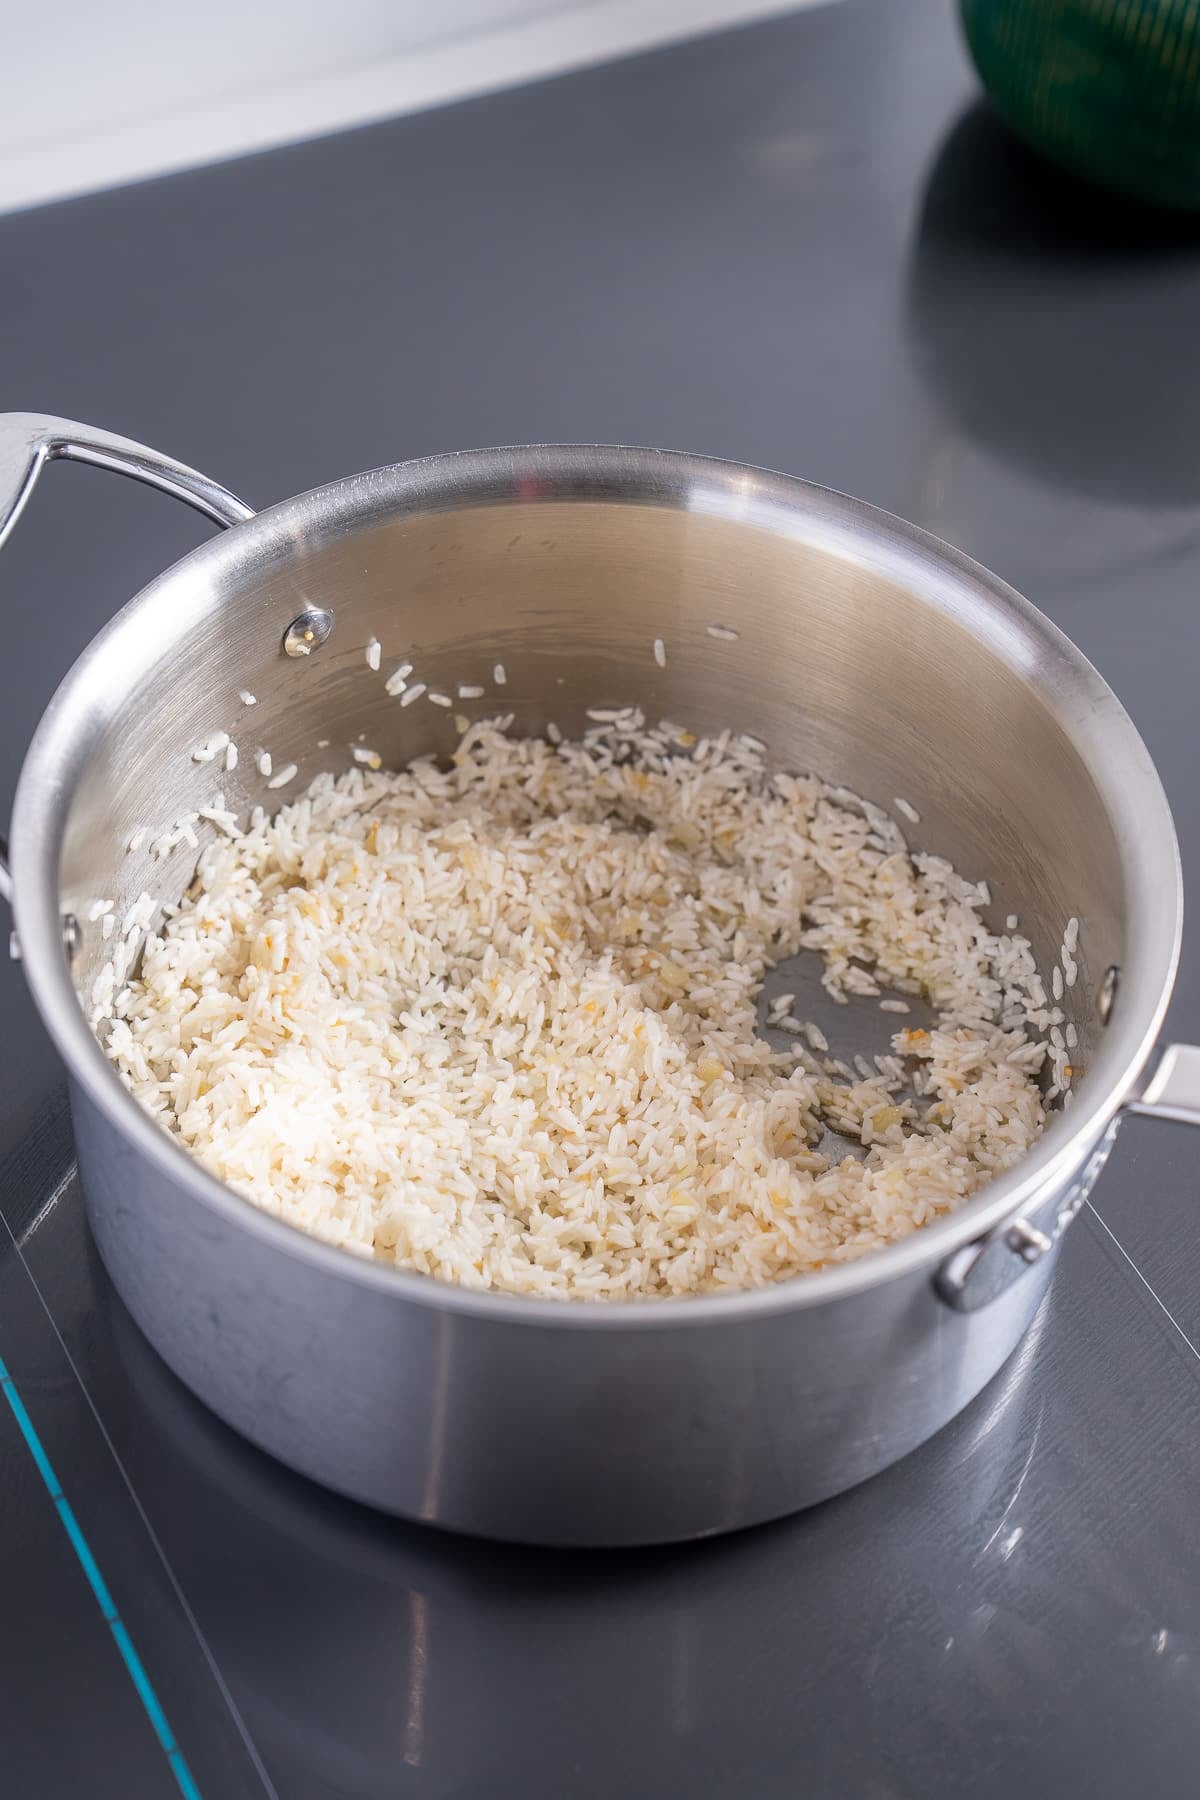
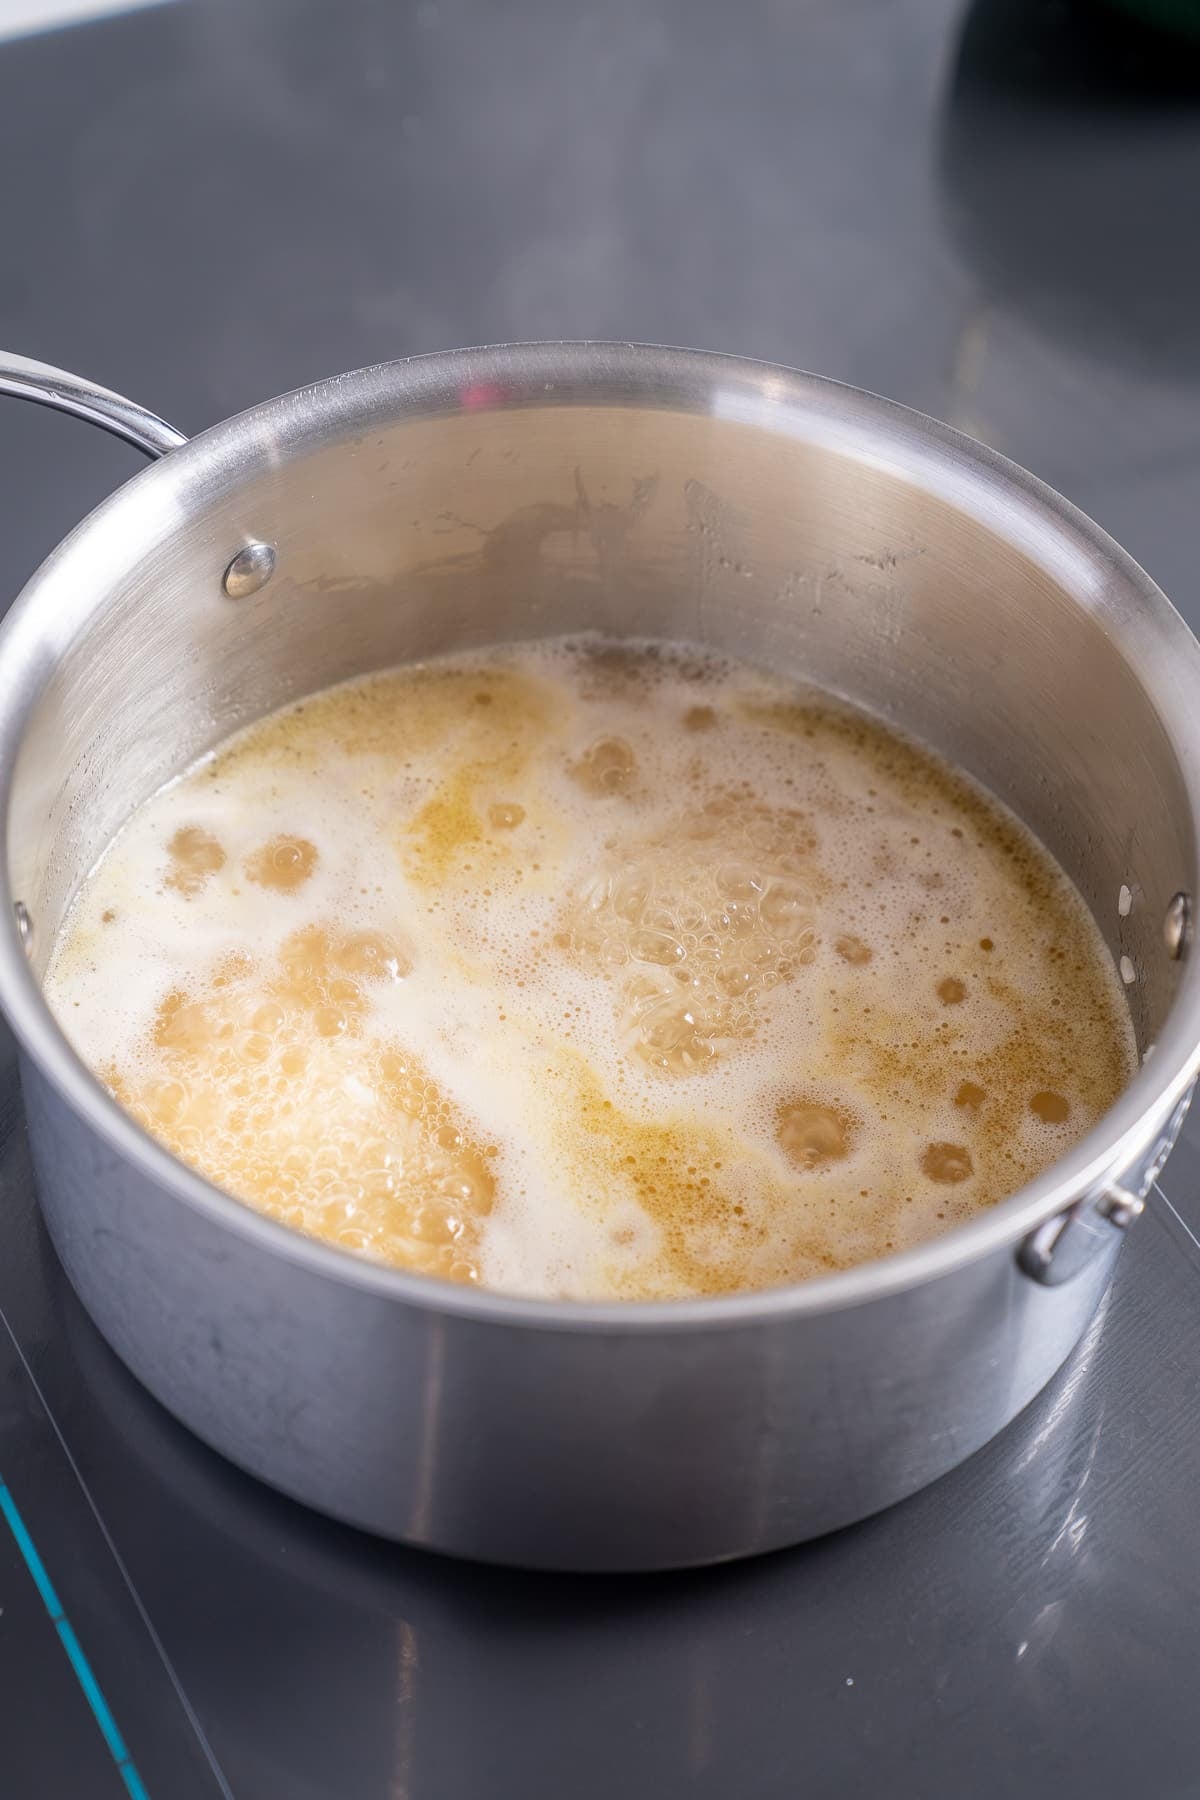
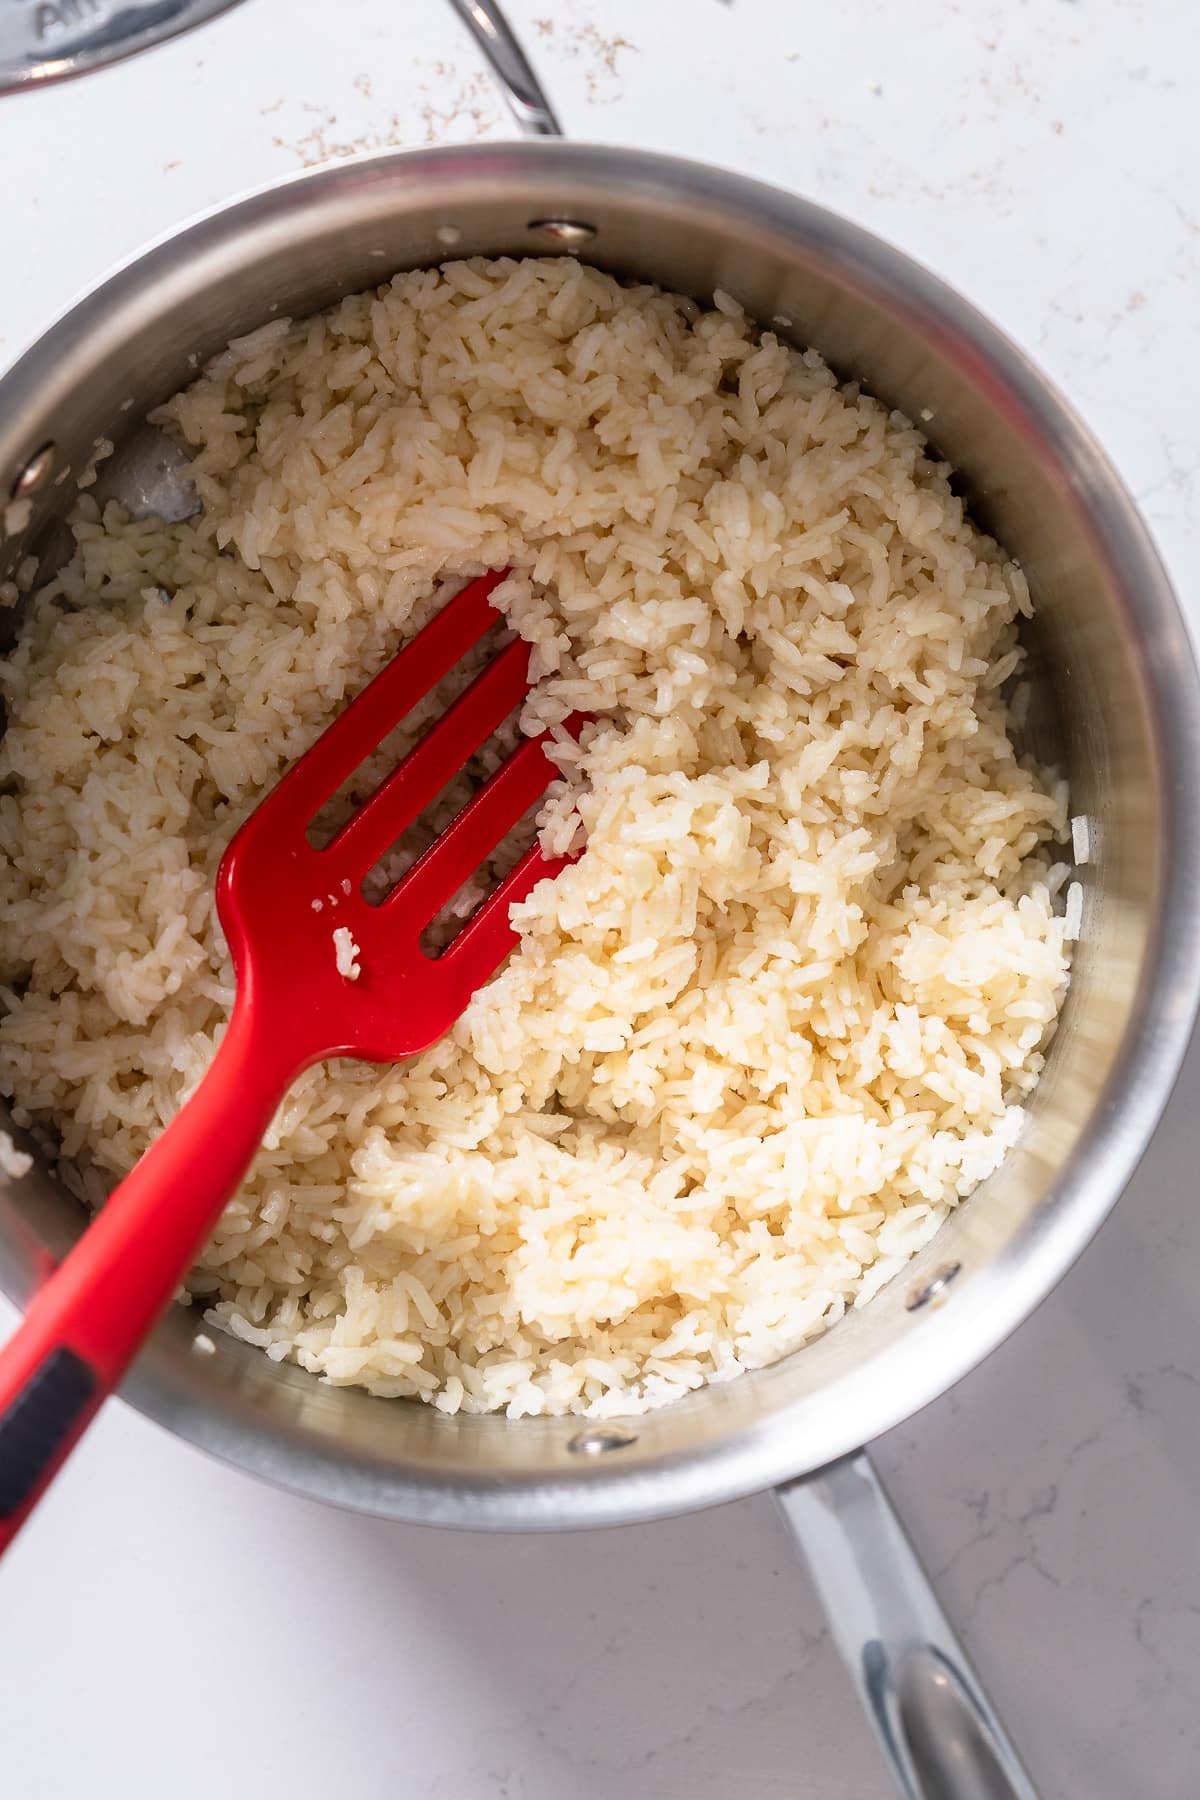
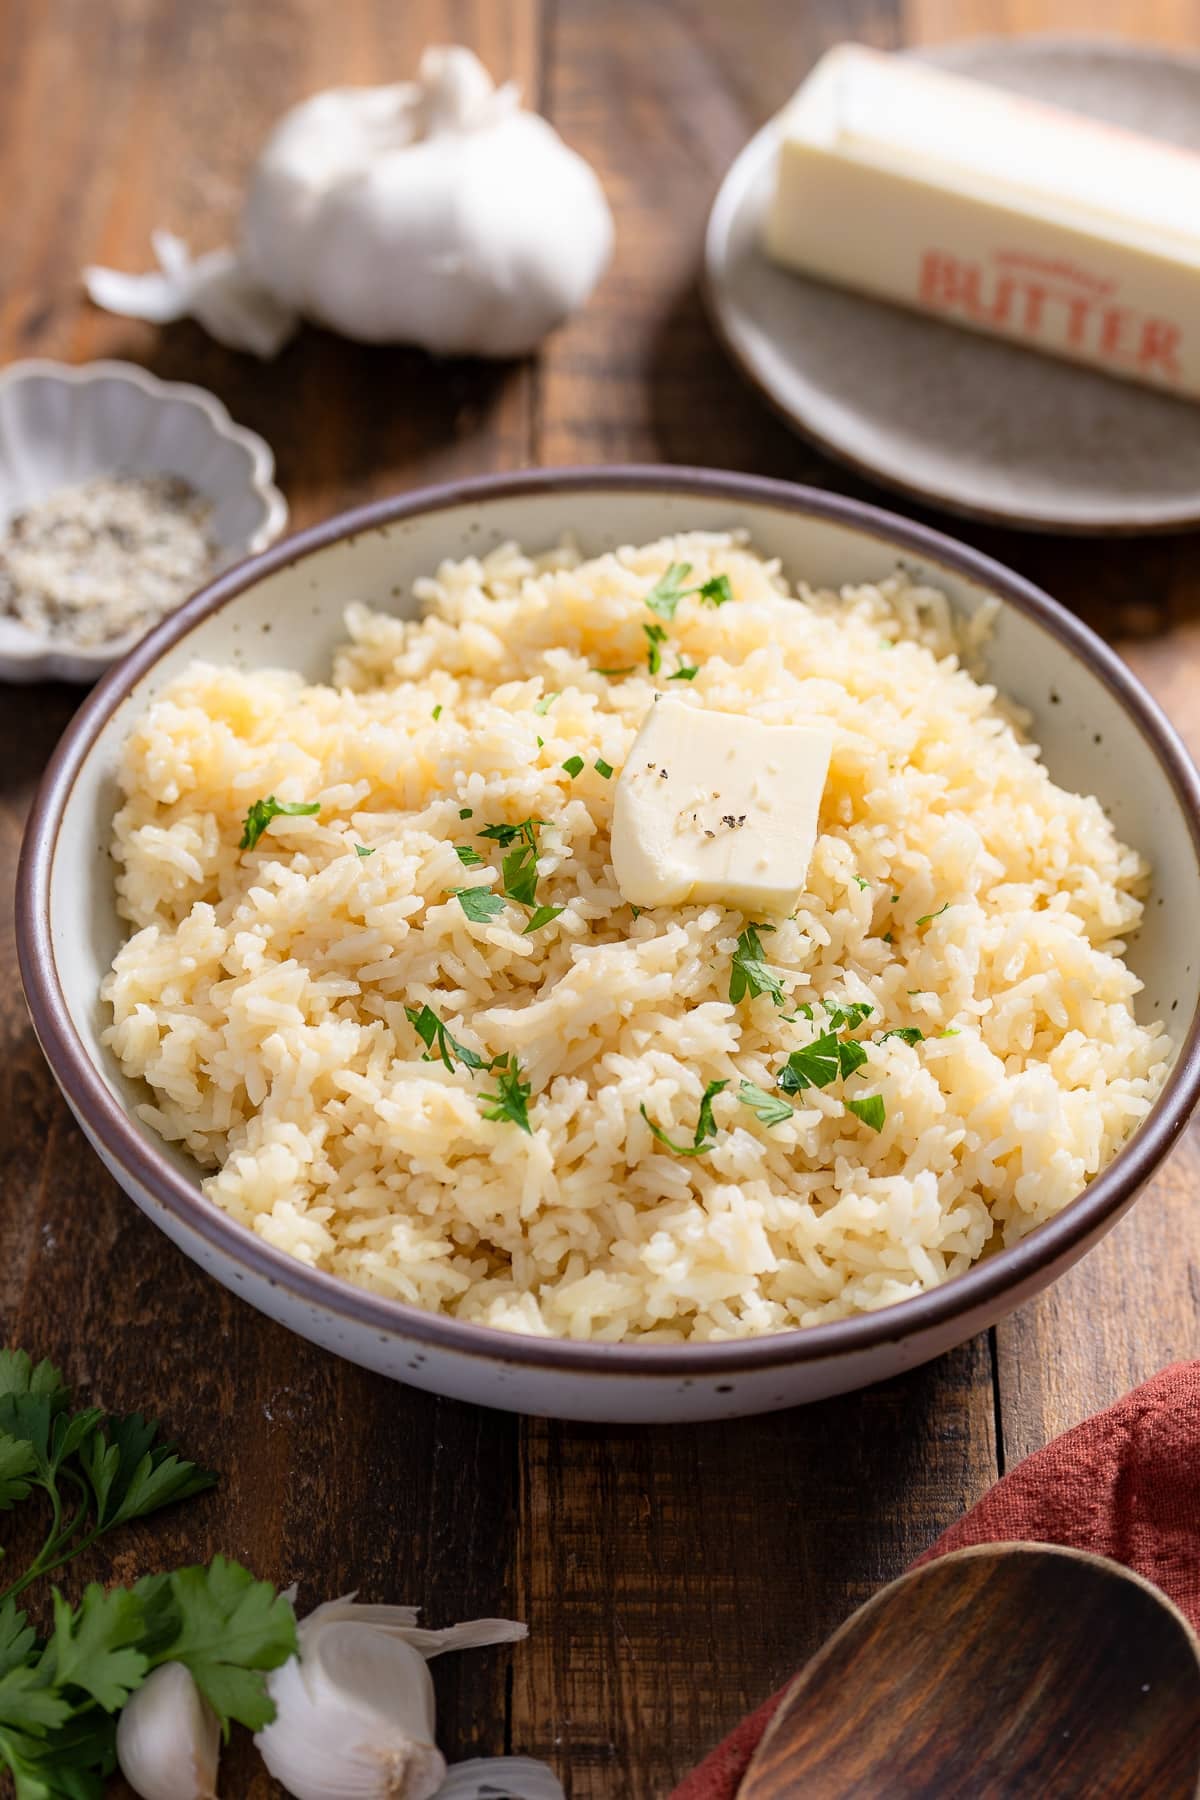
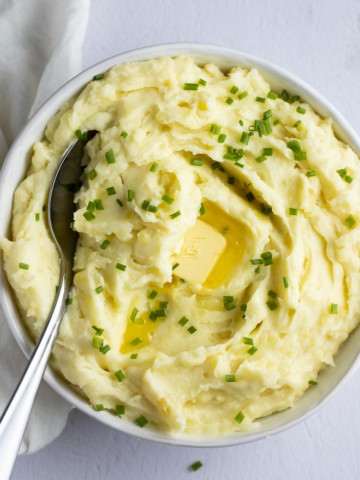
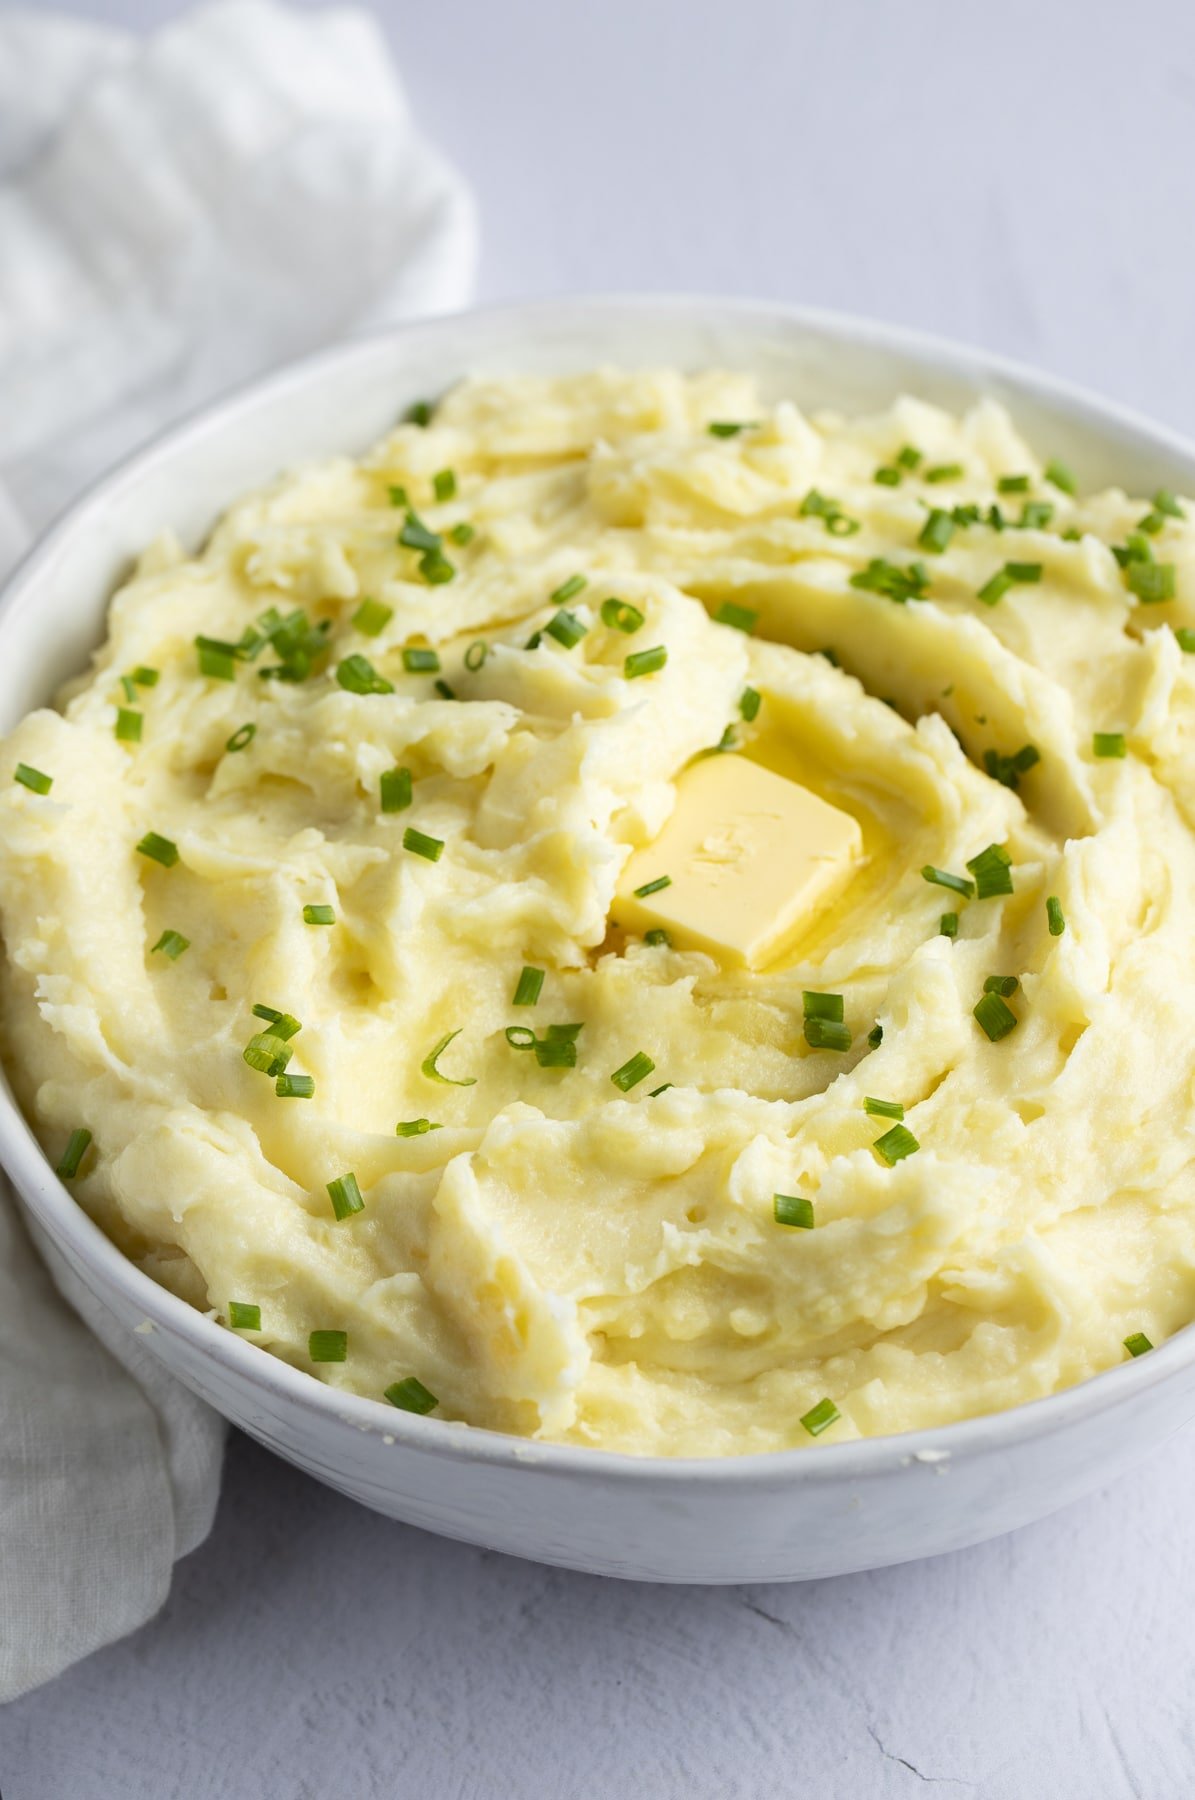
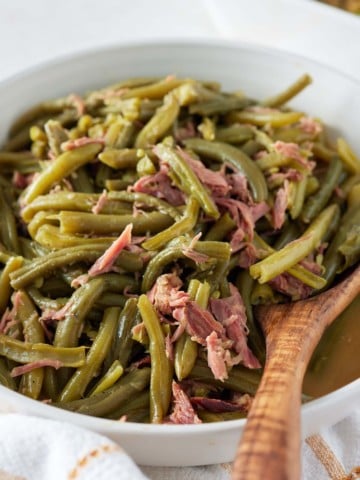
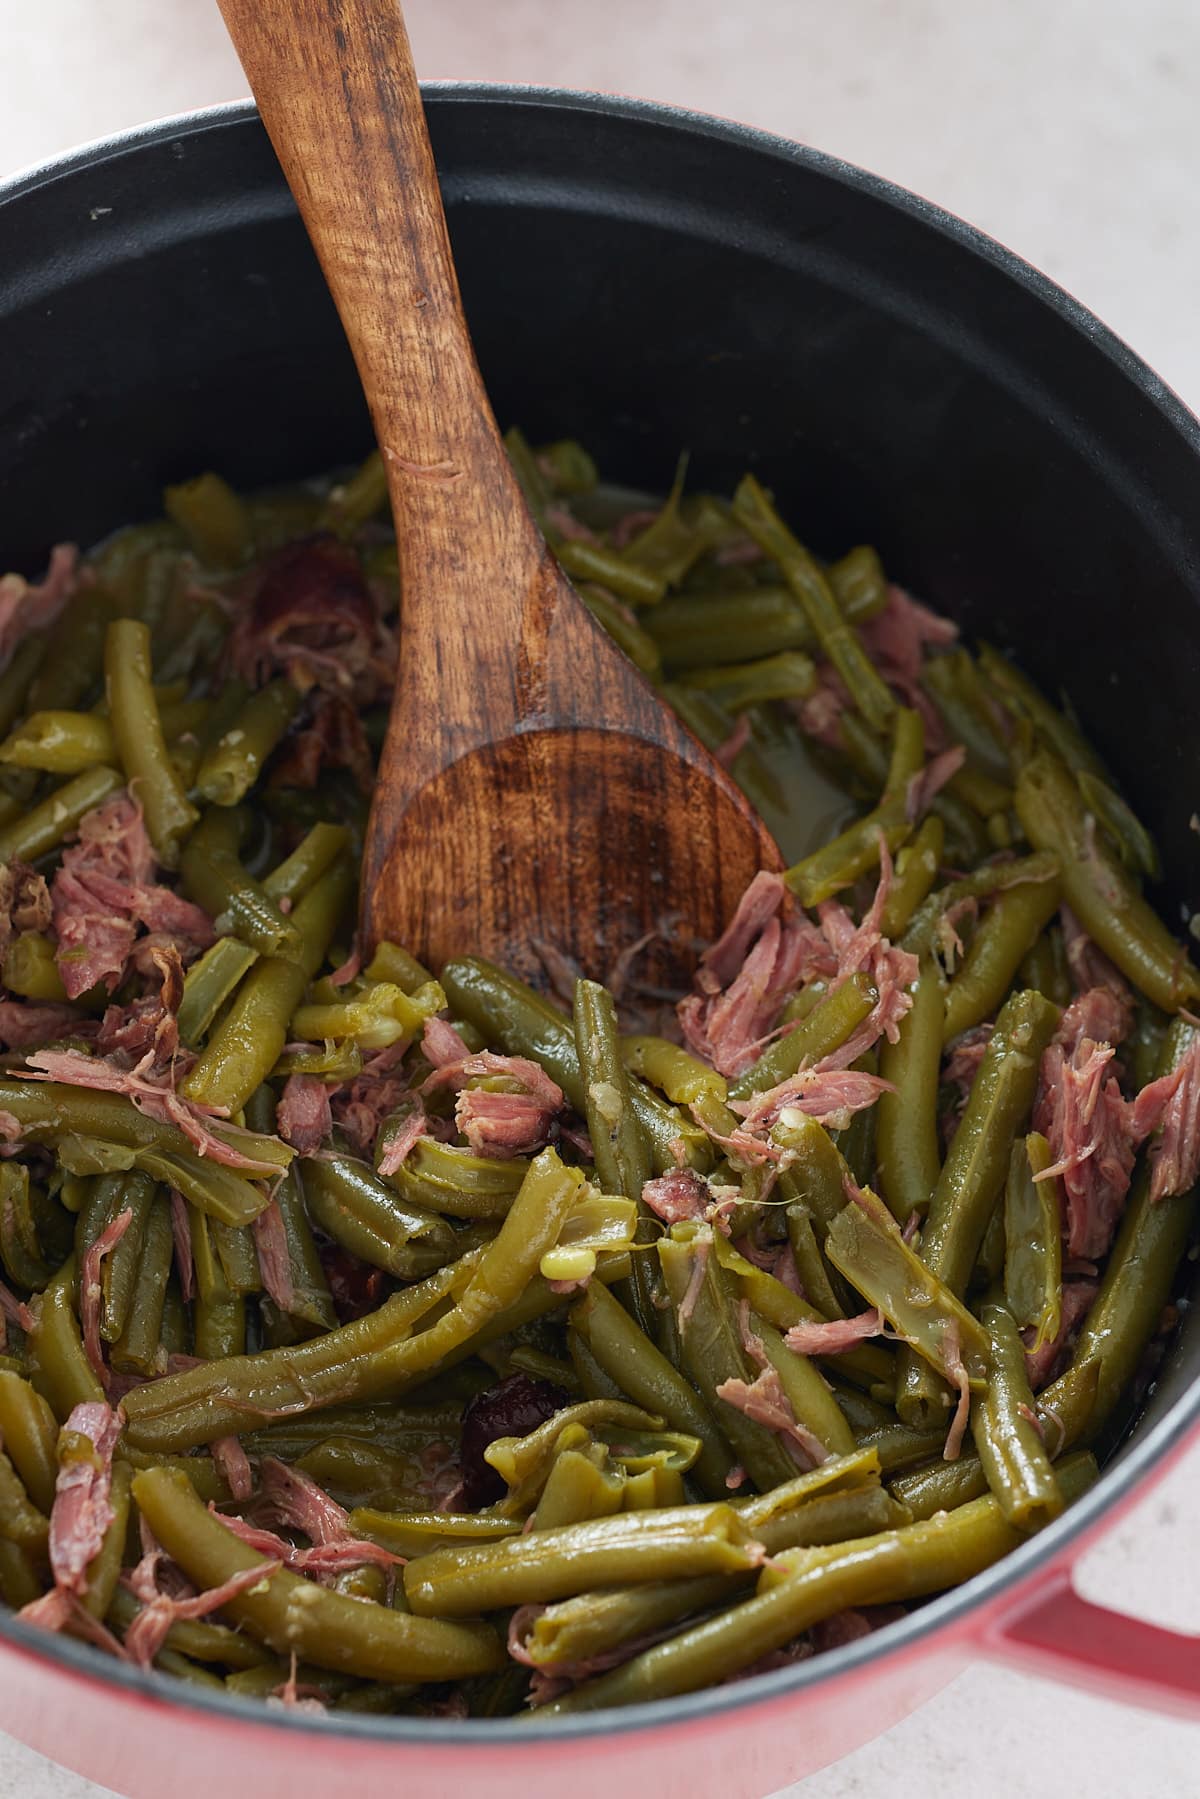
These pork chops make a great dinner or breakfast option. I like to serve them with creamy mashed potatoes, a flavored rice like this garlic butter rice, and steamed vegetables. For breakfast, they're great with some creamy grits, or if you're using boneless chops, consider making a fried pork chop sandwich.
I hope you love these fried pork chops as much as we do. If you're looking for more crispy, comforting recipes, try these out:
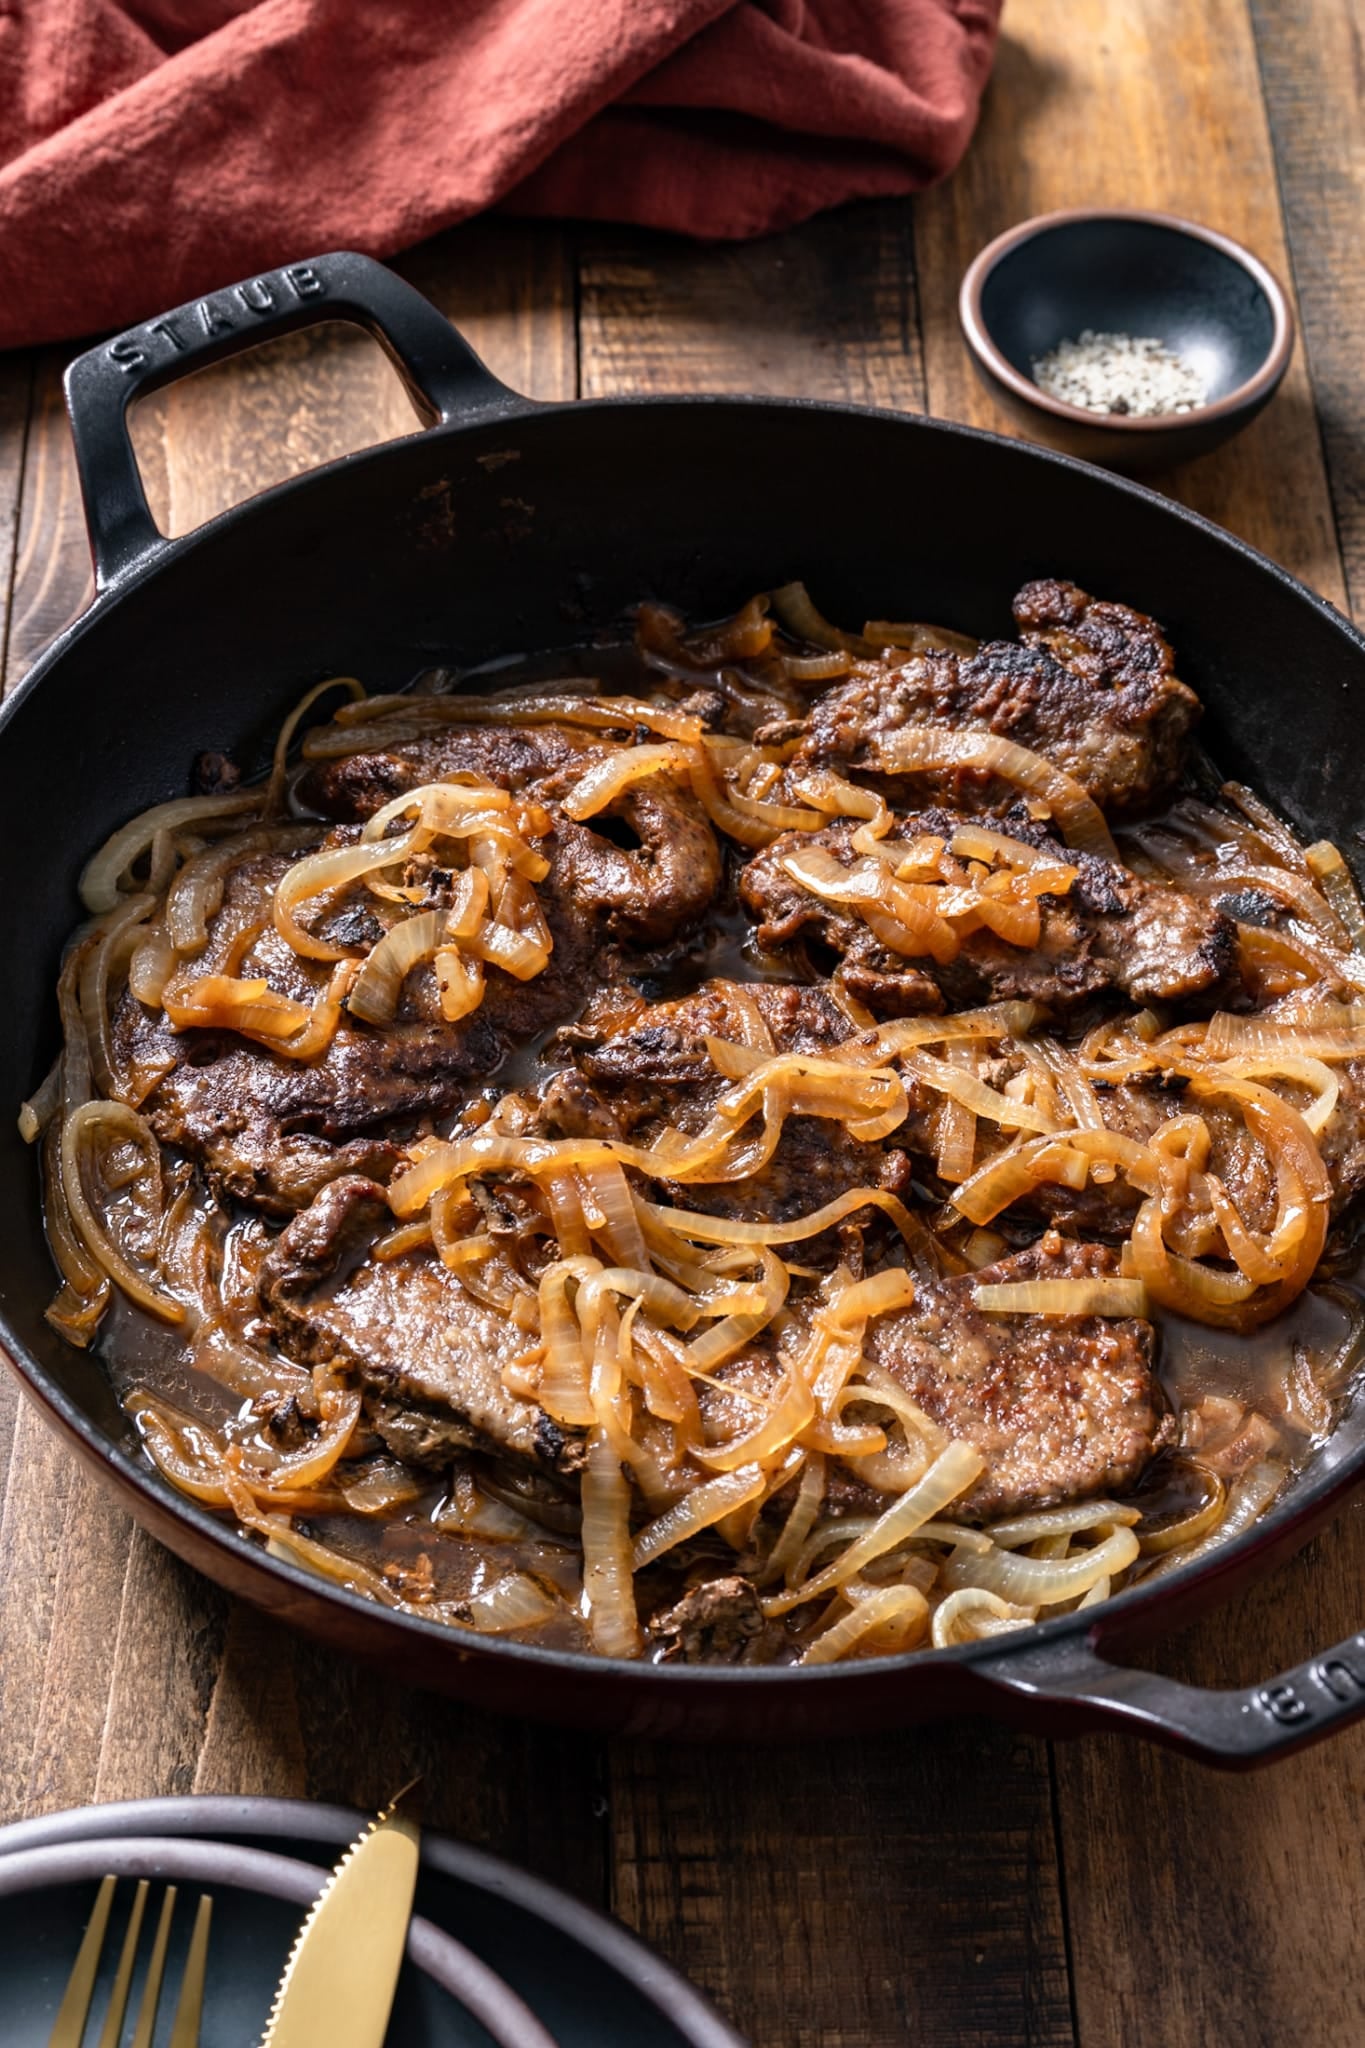
Smothered Pork Chops - Tender pork chops in a rich onion gravy.
Juicy Pan-Seared Pork Chops- A quick stovetop chop for busy weeknights.

Fried Pork Chops Recipe
Equipment
Ingredients
- 4 pork chops about ½ inch thick (center cut, fat cap trimmed)
- 1 tablespoon Dijon mustard
- 1 tablespoon all-purpose seasoning divided
- 1 cup all-purpose flour
- 2 tablespoons cornstarch
- 2 large eggs
- 1 cup oil for frying about ¼ inch in pan
Instructions
- Pat pork chops dry and trim any excess fat cap. Rub all over with Dijon mustard and season both sides with 1 teaspoon of all-purpose seasoning.
- In a shallow bowl, combine the flour, cornstarch, and remaining 2 teaspoons of all-purpose seasoning. In a second bowl, beat 2 large eggs until smooth.
- Coat each chop in the flour mixture, dip into the egg letting the excess drip off, then return to the flour and coat evenly. Press lightly and shake off excess.
- Place coated chops on a plate and let sit for 10 minutes.
- Add about 1 cup of oil to a 10-inch cast iron skillet, enough to come up about ¼ inch. Heat over medium heat, bringing it up to temperature gradually. The oil is ready when a pinch of flour sizzles steadily or it hits about 350°F.
- Fry pork chops for 3 to 4 minutes per side, until golden brown. Flip once and don't overcrowd the pan. Adjust heat as needed to maintain a steady sizzle.
- Transfer to a clean wire rack and rest a few minutes before serving.
Notes
- Resting the coated chops for 10 minutes is what helps the breading stay on during frying.
- Use a wire rack instead of paper towels for resting cooked chops so the bottom crust stays crisp.
- For thicker chops, add 1 to 2 minutes per side.
- Pork chops are safely cooked when the internal temperature reaches 145°F. For best results, use a quick-read thermometer to check the internal temperature.
How to Store Fried Pork Chops
Storage: Store leftover pork chops in an airtight container in the refrigerator for up to 3 days. The crust will soften some, but the flavor holds up well.
Freezing: Freeze cooked, cooled chops in a single layer, then transfer to a freezer bag. They keep for up to 2 months.
Reheating: For the crispiest results, reheat in a 375°F oven or air fryer for 5 to 7 minutes. Skip the microwave if you can; it makes the crust go limp.