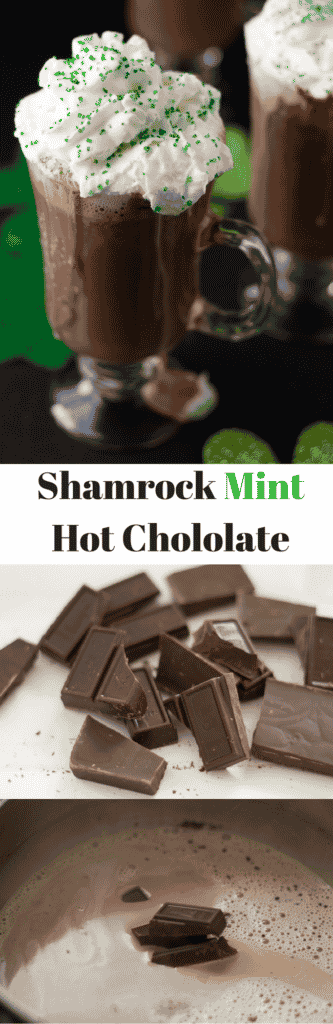
This Shamrock Mint Hot Chocolate Recipe is perfect for St. Patrick's Day! Well, it's perfect any day of the year. If you like chocolate and mint, you are in for a real treat.

You’ll find the full recipe with ingredient amounts and instructions in the recipe card at the bottom of this post. Be sure to check out the blog post itself for extra tips and tricks!
The weather in NC has been so flip floppy, with one day it being cold and windy till the next day it being bikini weather. Well my body isn't bikini ready yet soooo womp womp. Either way, I like hot drinks year round, no matter what the weather. My husband thought I was crazy when we went to South Florida and I ordered hot coffee in 90 degree weather. I don't know, there's just something about that warm drink in my belly.
Despite the wacky warm weather, I found it the perfect time to talk about this Shamrock Mint Hot Chocolate recipe since St. Patrick's Day is near.
Now I won't act like I thought of this idea for Shamrock Mint Hot Chocolate out of the green....hehe, get it? I actually found out that McDonalds has a Shamrock Hot Chocolate when I was searching around for a recipe for the green Shamrock Milkshake. Rather than getting in my car and driving to McDonalds to try this hot chocolate, I walked to my kitchen and made my own...and I loved it. I've never had the McDonald's Shamrock Hot Chocolate and I probably never will because this one is so good. And you simply can't beat homemade hot chocolate.
So what makes this Shamrock Hot Chocolate so special?? Mint of course. If you follow the blog, you probably know that I love mint chocolate. Funny thing is that my hubby and daughter, who claim they can't stand mint and chocolate mixed together, actually liked this hot chocolate.
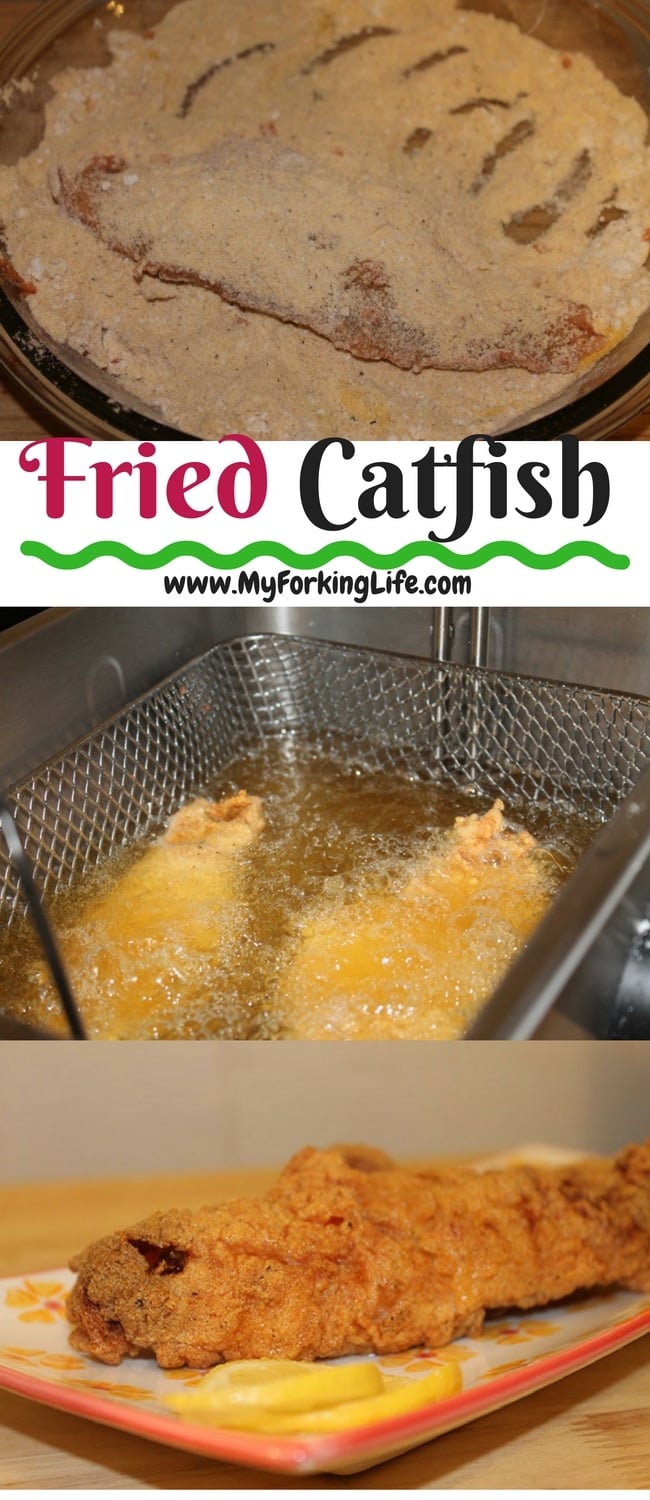
Easy to make...let's see, shall we...
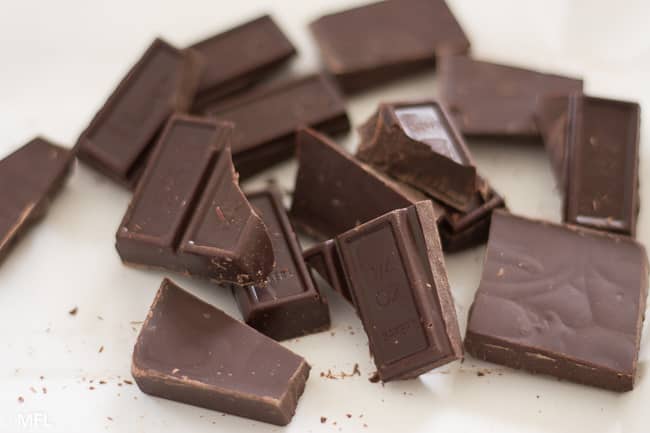
First, grab some semisweet chocolate and break it into pieces...
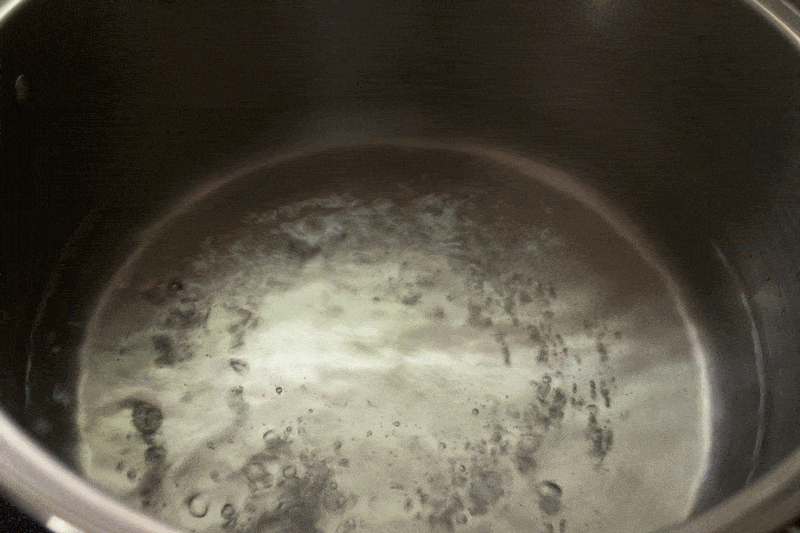
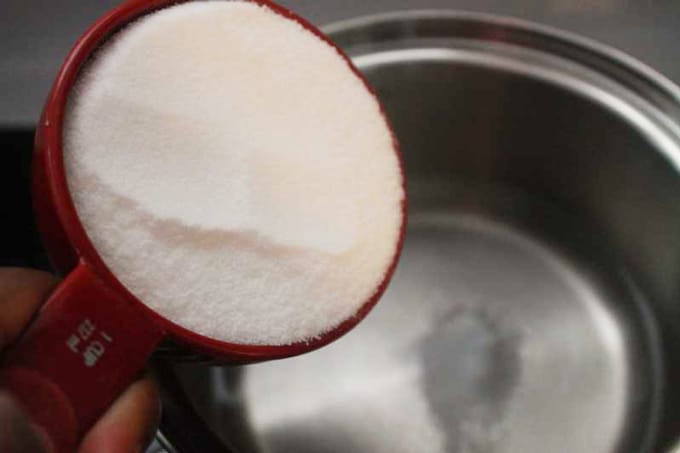
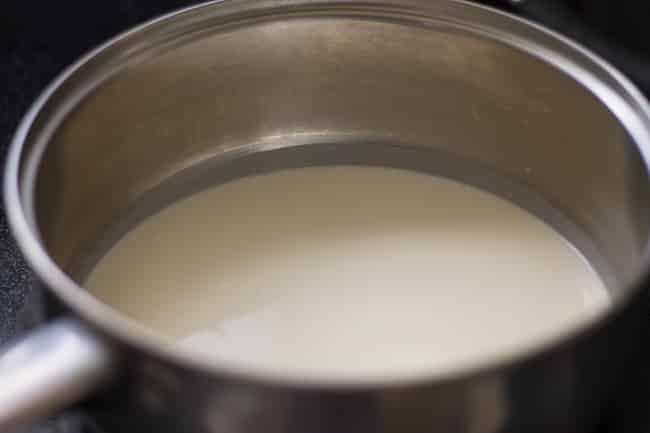
Then heat 1 cup heavy cream, 1 cup milk, and 3 tablespoon sugar over medium low heat just until it starts to bubble...
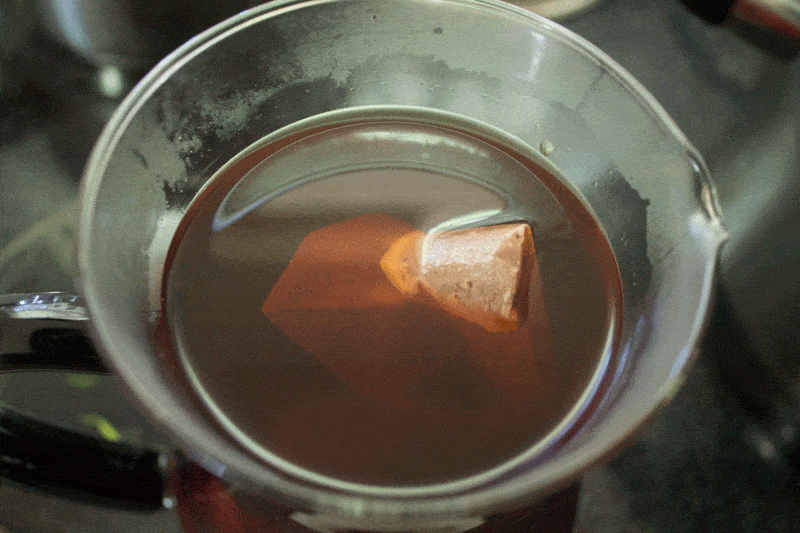
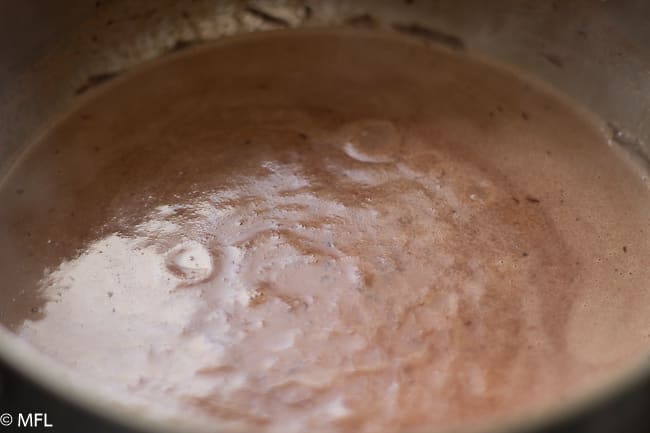
Then whisk in 3 tablespoon cocoa powder until it becomes dissolved. Then add your chocolate pieces...

Stir until melted. Add ½ teaspoon peppermint extract...
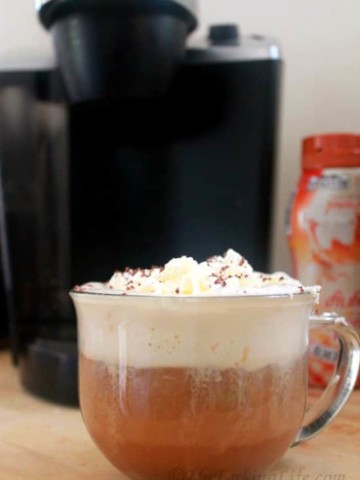
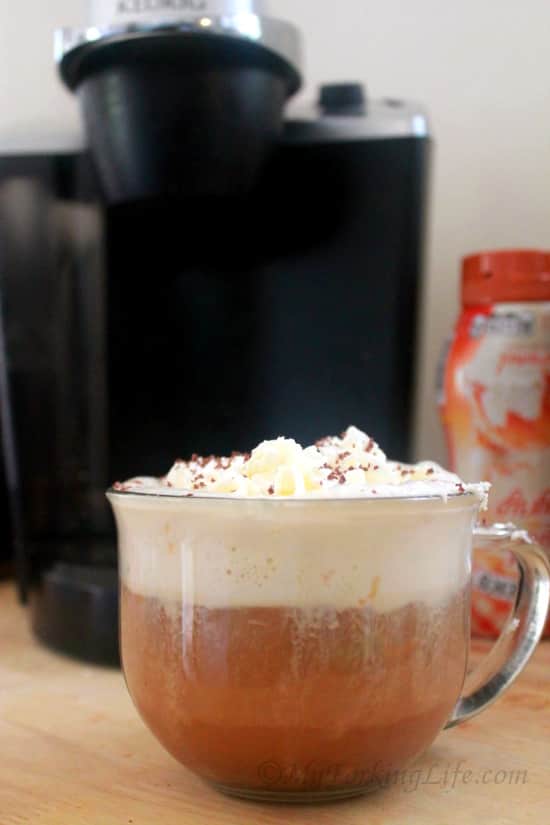
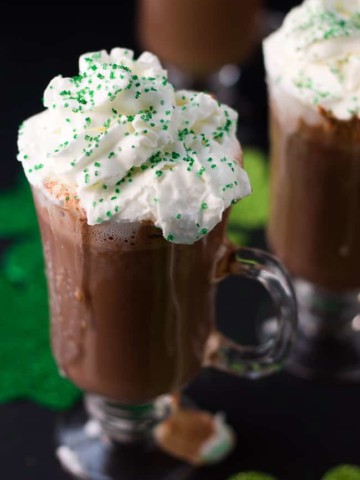
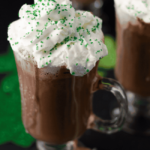
Pour in mugs (tall glass ones are pretty) and top with whipped cream and green sprinkles. Enjoy 🙂
Shamrock Mint Hot Chocolate
Ingredients
- 4 oz semisweet chocolate chopped
- 1 cup heavy cream
- 1 cup milk
- 3 Tbsp sugar
- 3 Tbsp cocoa powder
- ½ teaspoon peppermint extract
- Whipped Cream for topping optional
- Green sugar sprinkles for topping optional
Instructions
- Heat milk, cream, sugar in medium saucepan over medium low heat until it starts to get warm and you start to see little bubbles. Add cocoa powder and whisk until dissolved. Add chocolate and stir until it is all melted. Add peppermint extract.Add to glasses or mugs. Top with whipped cream and green sugar sprinkles.
Nutrition
Pin Shamrock Mint Hot Chocolate for Later