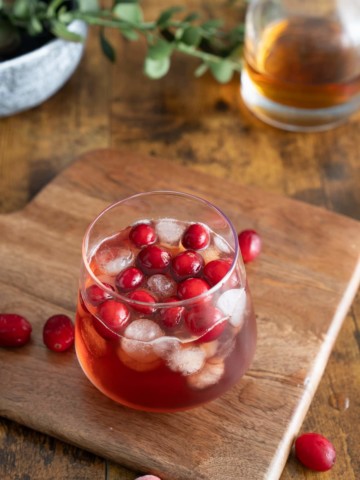
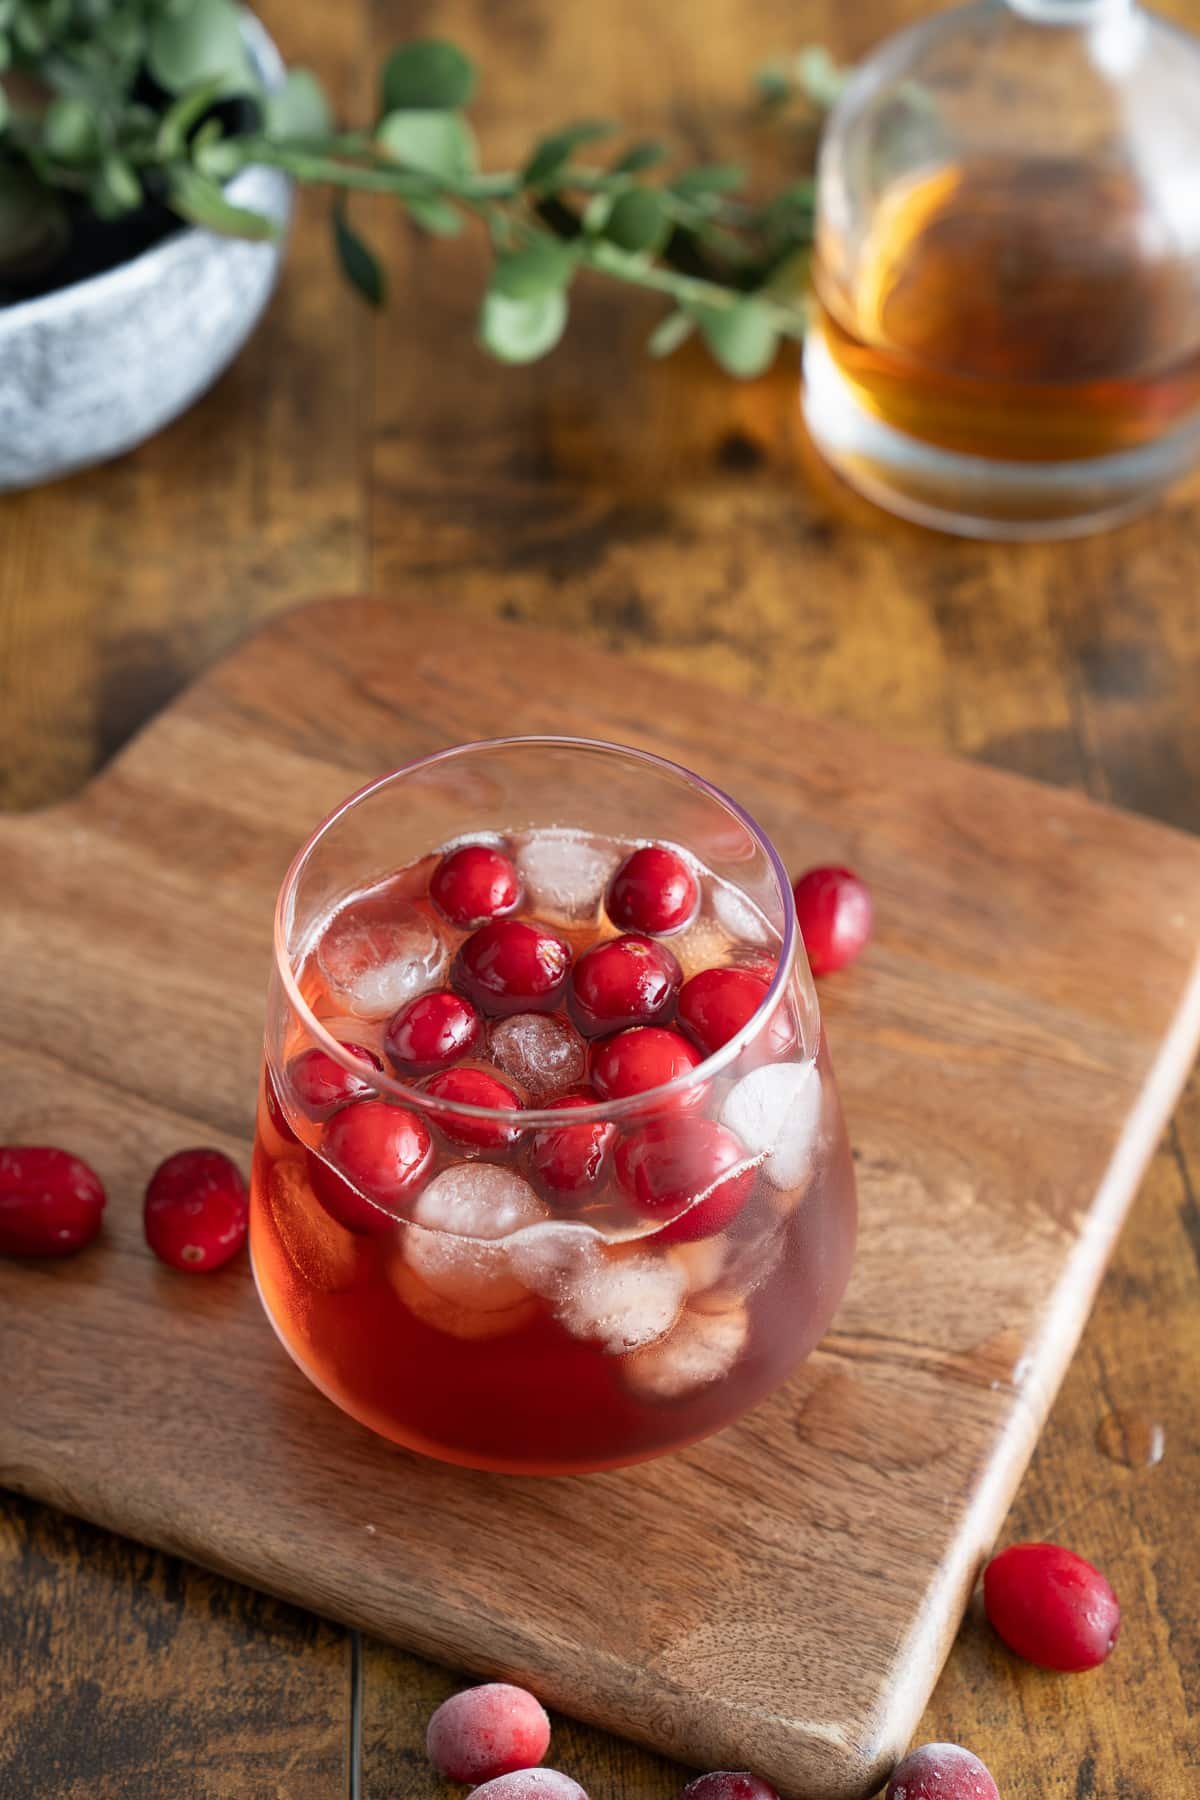
When you combine the smooth, smoky flavor of whiskey with the tart sweetness of cranberry juice, you create this tasty cocktail. This cocktail is both bold and refreshing and it never fails to impress.
This post contains affiliate links, please read my full disclaimer here.
You’ll find the full recipe with ingredient amounts and instructions in the recipe card at the bottom of this post. Be sure to check out the blog post itself for extra tips and tricks!
On a recent trip with my hubby, we met a couple who introduced us to this Whiskey Cranberry cocktail. As a person who loves a good Bourbon, served neat, let's just say I wasn't sure how I would like it. Well, I loved it and it's one of my favorite ways to enjoy a whiskey cocktail.
This is the perfect drink for Fall, or anytime you want a nice, cozy, yet refreshing cocktail! Some of my other favorite classic cocktails are the Hennessy Sidecar, Cranberry Moscow Mule, and Bourbon Hot Toddy.
Ingredients Needed
Ingredient amounts and full recipe instructions are on the printable recipe card at the bottom of the post.
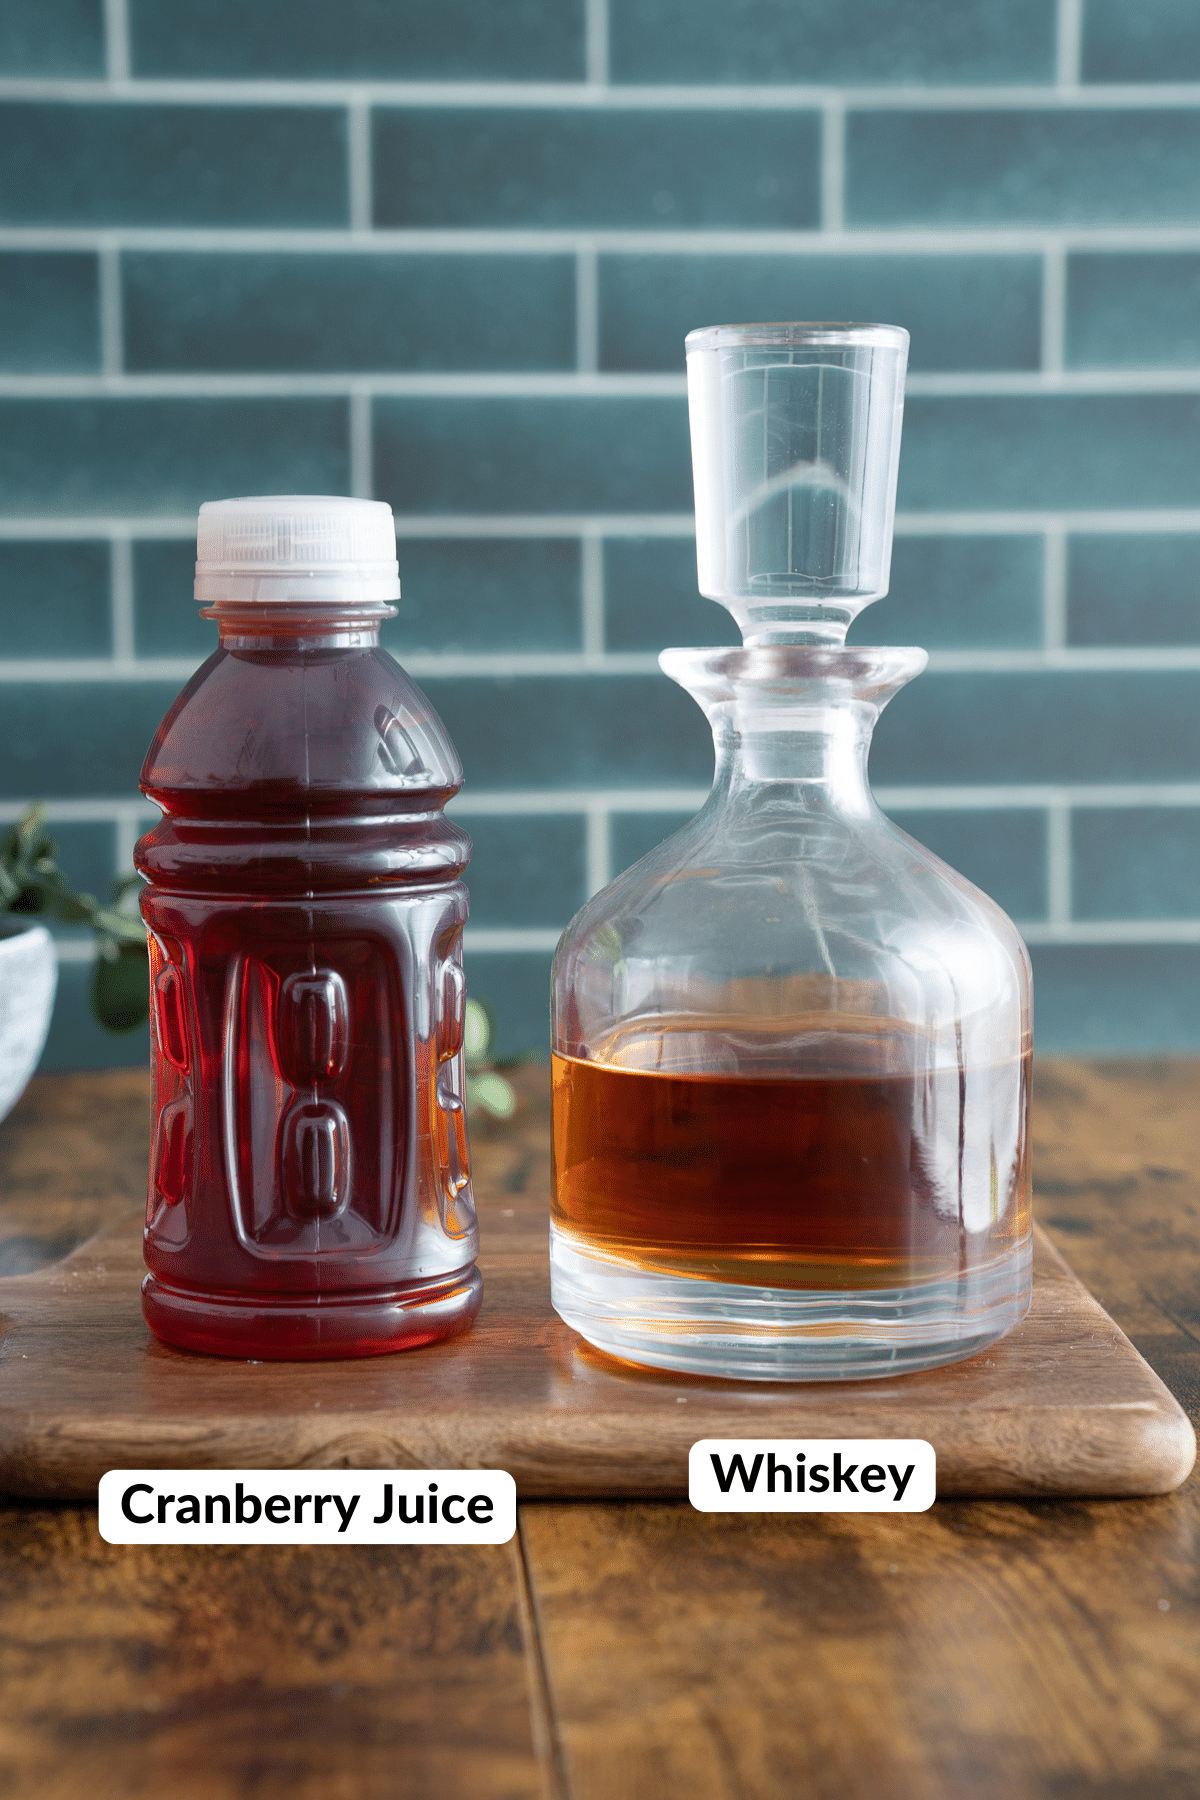
- Whiskey: You can use any whisky of your choosing such as bourbon, rye, or Irish whiskey. I tend to use Woodford Reserve in this recipe.
- Cranberry juice: Cranberry juice adds the sweet and tart taste to this drink while also giving it a vibrant color.
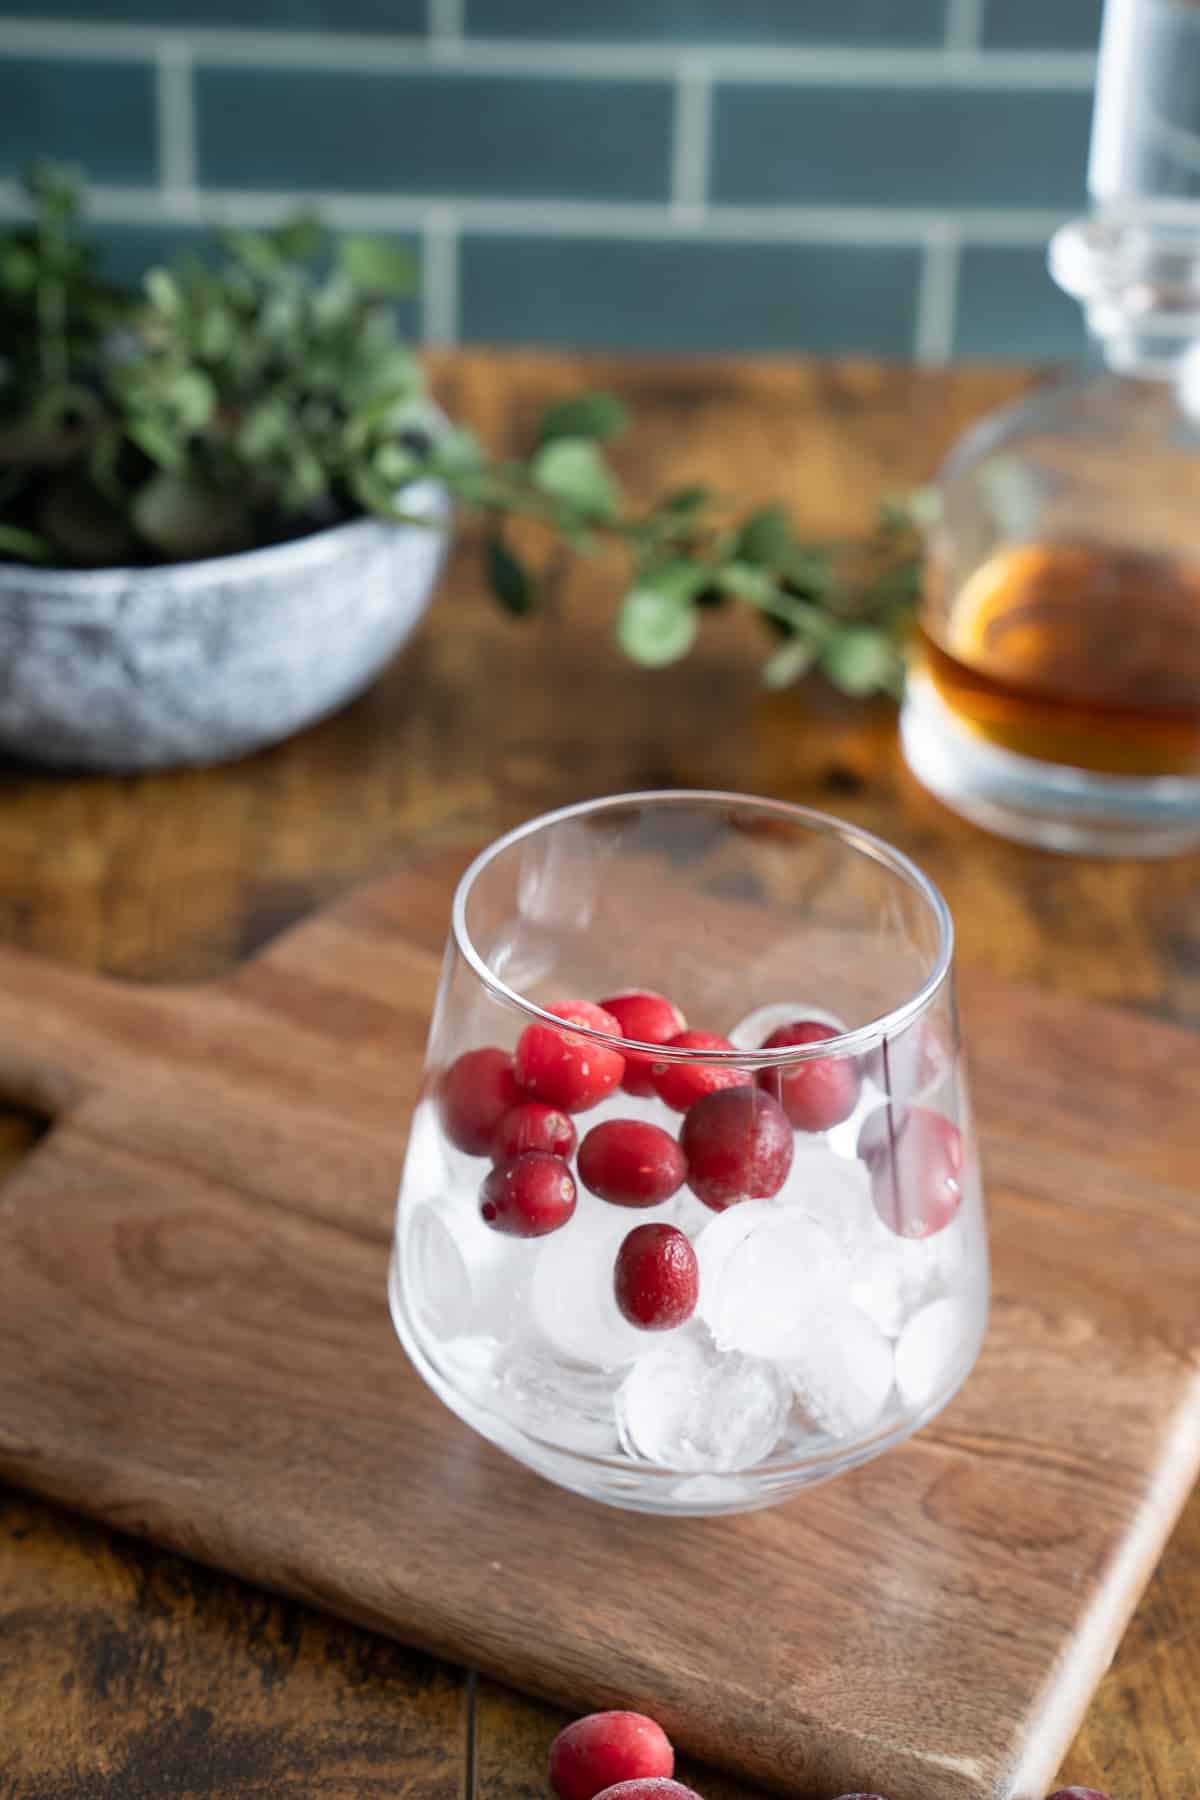
- Ice: To keep the drink chilled and help mellow out the strong flavors of the whisky.
- Frozen cranberries: For garnish.
Tools Needed
- Glass
- Stirrer or bar spoon
- Measuring jigger or measuring cup
How To Make Whisky Cranberry Cocktail
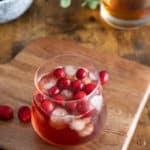
First, fill a glass with ice. Add a few frozen cranberries if desired.
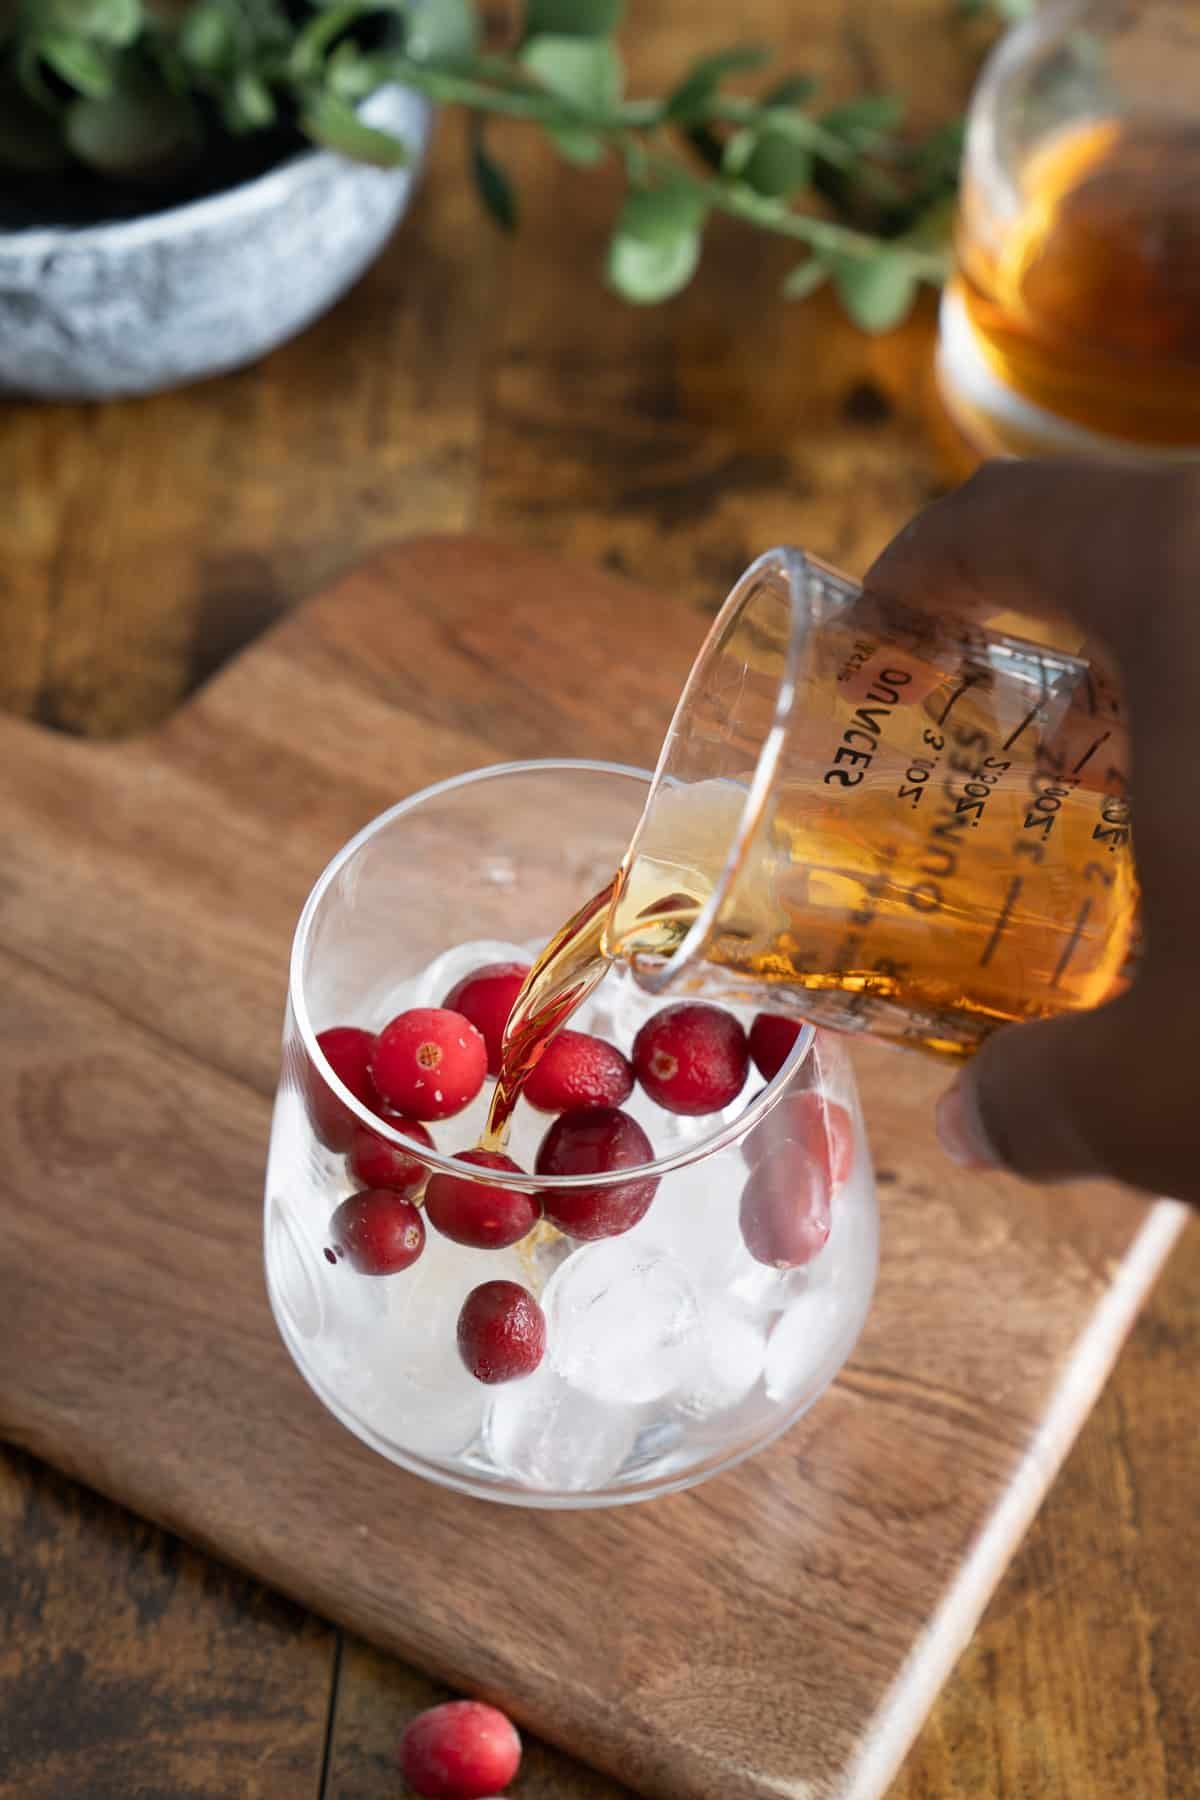
Pour the whiskey into the glass.
Top with cranberry juice.
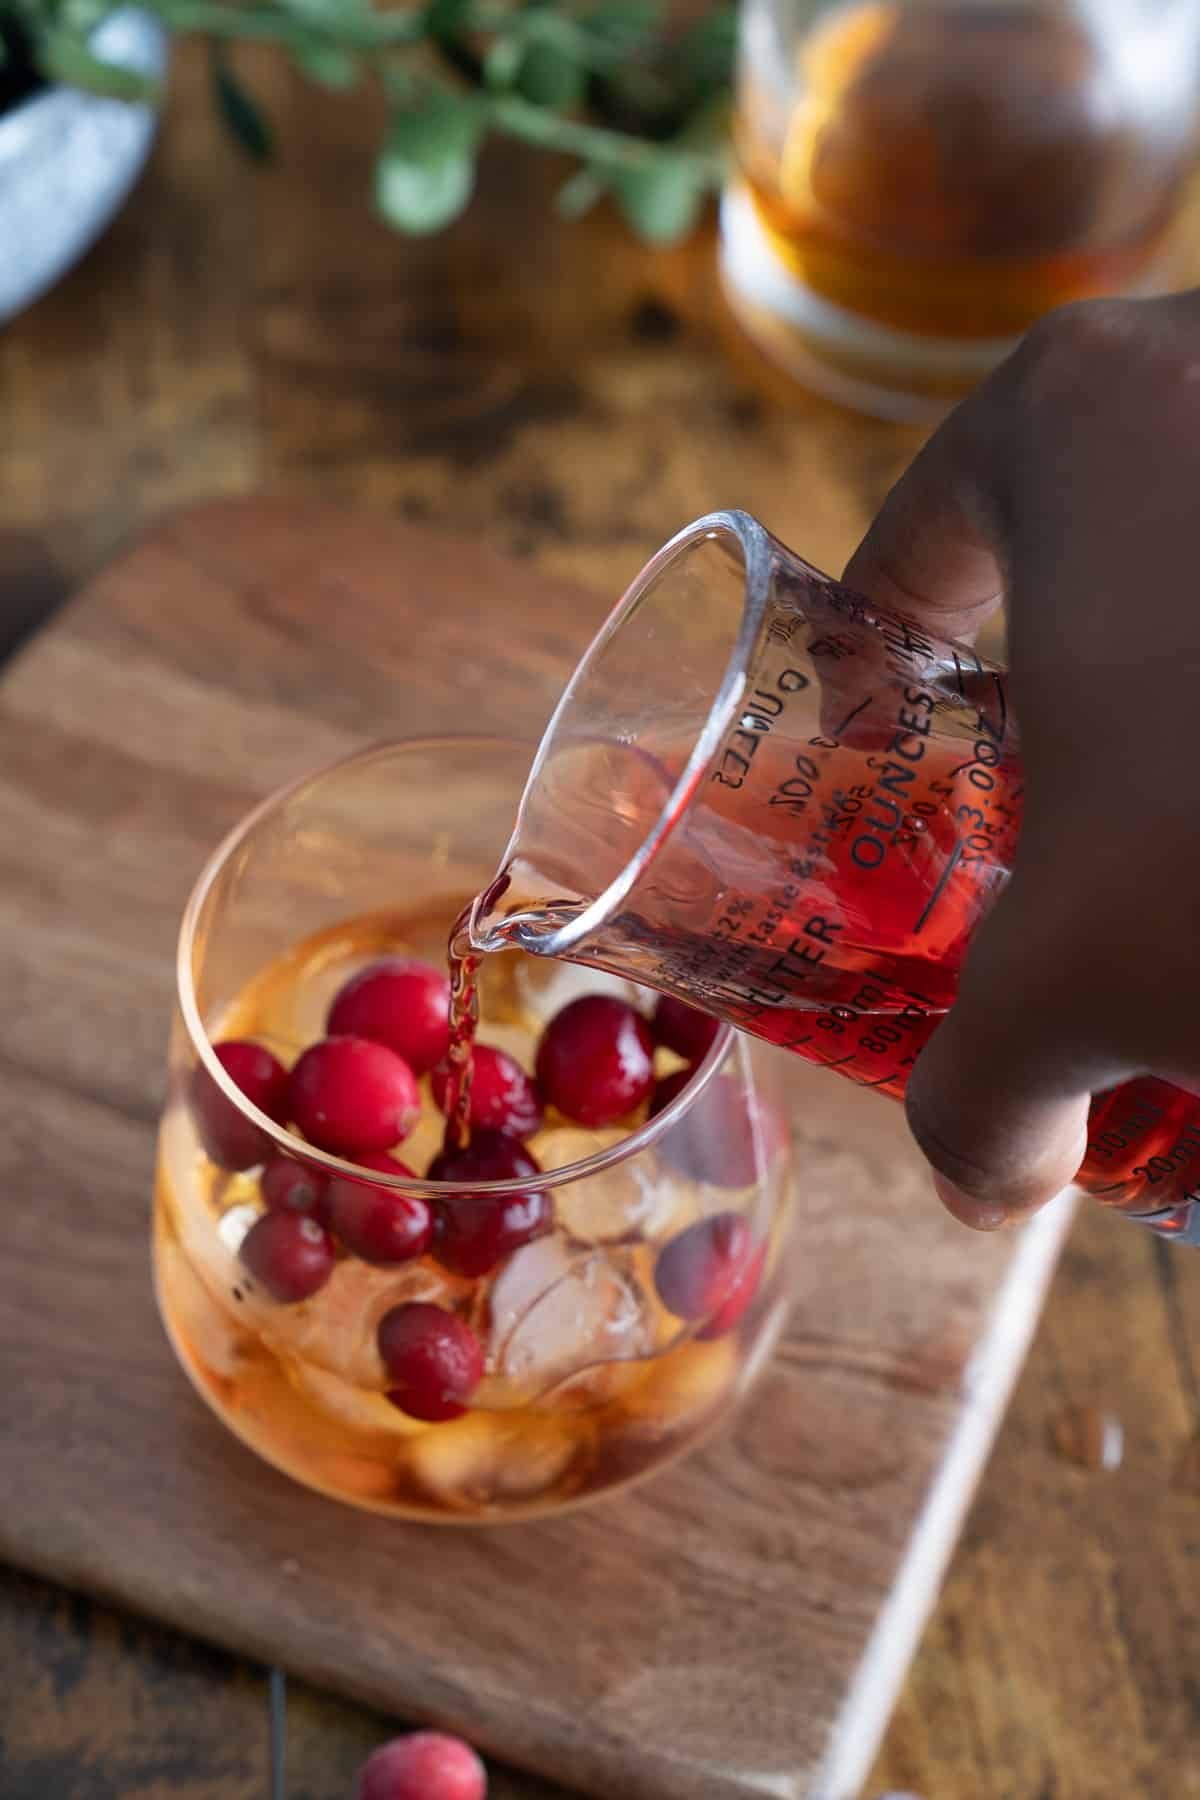
Stir gently to combine.
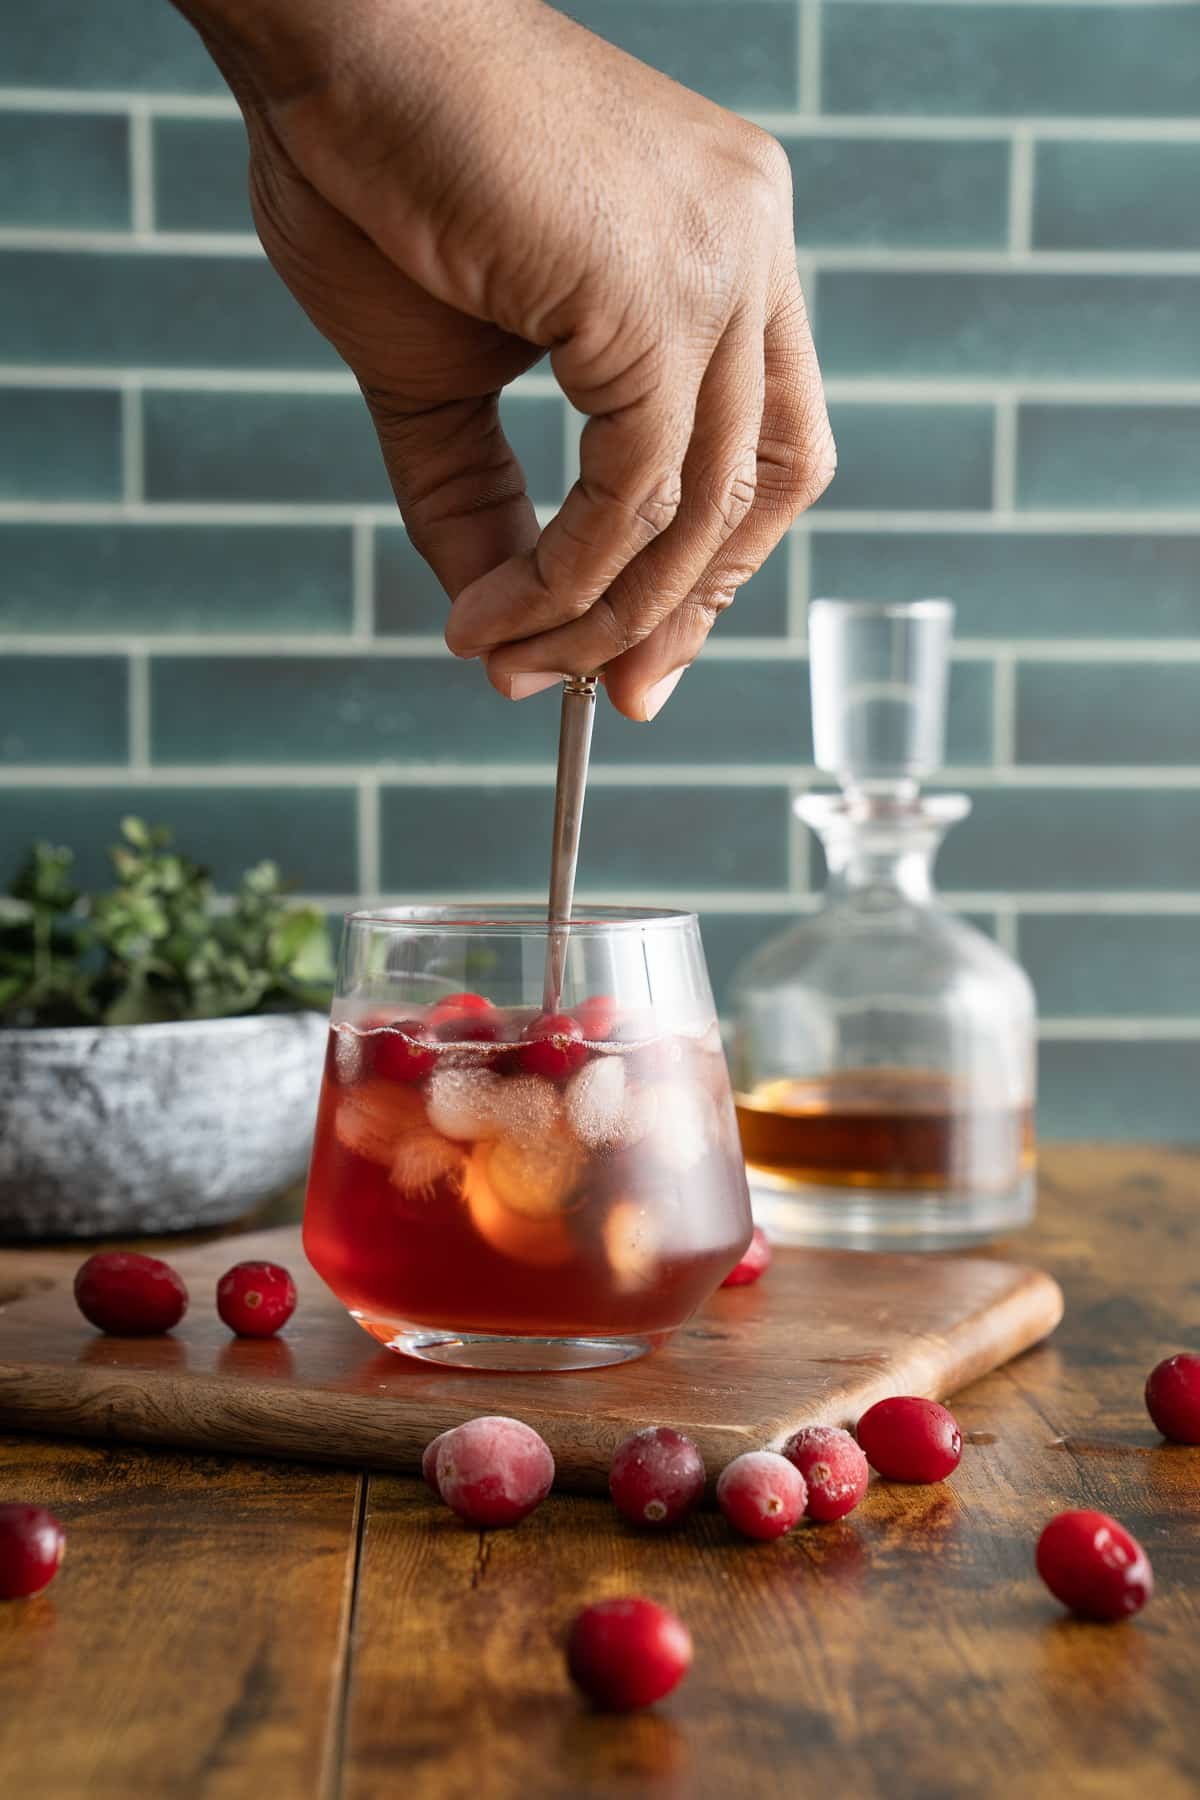
Serve and enjoy.
How to Store
This drink is best enjoyed fresh but if needed you can store it in the fridge. Keep the cocktail in a covered container or pitcher while in the refrigerator with no ice. This helps maintain its freshness. Do not store in the fridge longer than 24 hours.
How to make a Batch Serving of this Whiskey Cranberry Cocktail
To make a batch serving of this cocktail, or to prep beforehand, simply scale the ingredients up while maintaining the same proportions. Do not add ice to the pitcher, but pour over ice when ready to serve.
Both bourbon and rye whiskey are popular choices, but you can use any whiskey you prefer. The flavor profile of the whiskey will influence the final taste of the cocktail so it's best to go with the type you enjoy.
Adjust the sweetness by varying the amount of cranberry juice. For extra sweetness you can try adding a bit of simple syrup or honey to taste.
Yes, you can mix the whiskey and cranberry juice ahead of time. However, it’s best to add ice and garnishes just before serving. This keeps the drink fresh and cold.
You can use fresh cranberries to make homemade cranberry juice or syrup. This adds a stronger flavor and a touch of freshness to the cocktail.
I hope you like this whisky cranberry cocktail recipe as much as we do! Looking for more cocktail recipes? Try these out:
If you have tried this or any other recipe on my blog, please rate it and let me know how it turned out in the comments below!
Whiskey Cranberry Cocktail
Ingredients
- 2 ounces whiskey your choice of bourbon, rye, or Irish whiskey
- 4 ounces cranberry juice adjust to your desired sweetness level
- Ice
- Frozen cranberries for garnish
Instructions
- Fill a glass with ice. Add a few frozen cranberries if desired.
- Pour the whiskey into the glass.
- Top with cranberry juice.
- Stir gently to combine.
- Serve and enjoy.