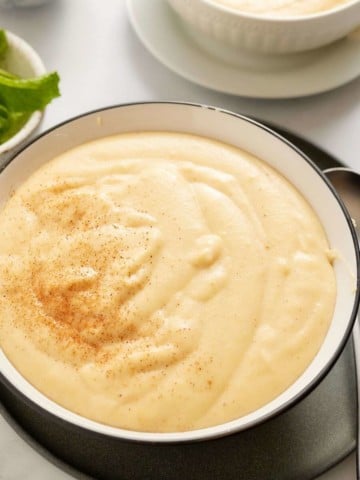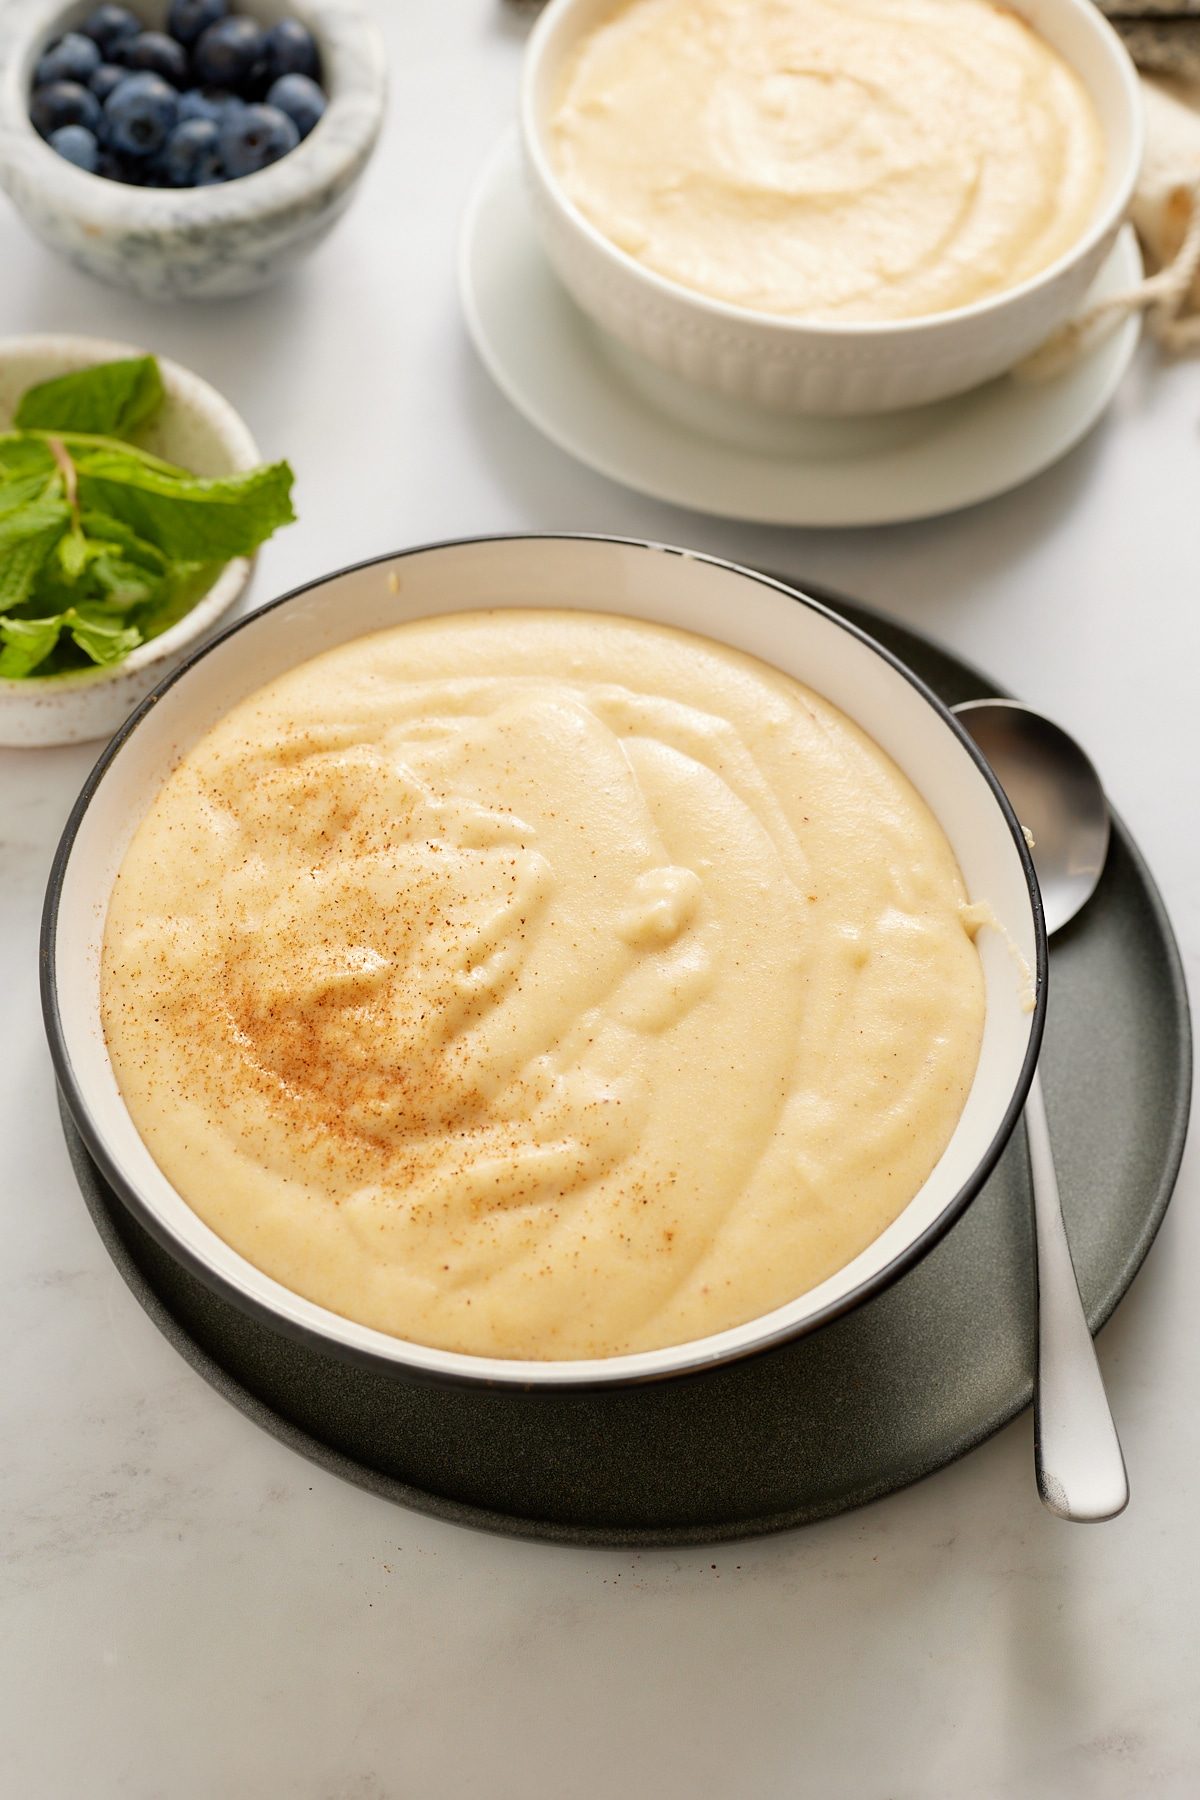
Grits casserole is a warm, comforting Southern dish made with creamy, cheesy grits and savory sausage baked to perfection. Easy to make and packed with flavor, it will become a new family favorite.

This post contains affiliate links, please read my full disclaimer here.
You’ll find the full recipe with ingredient amounts and instructions in the recipe card at the bottom of this post. Be sure to check out the blog post itself for extra tips and tricks!
Creamy grits are a breakfast must-have in my house. Making this classic dish into a breakfast casserole is easy and turns basic cheese grits into a tasty meal. I love that I can easily serve this for breakfast and even bring it as a side dish for family gatherings. You can make it however you want by adding your favorite cheese, bacon, or vegetables to make it your own.
This dish is perfect for the Holidays, especially when you have a lot of company over. It's a one-pan meal that everyone will want a bowl of.
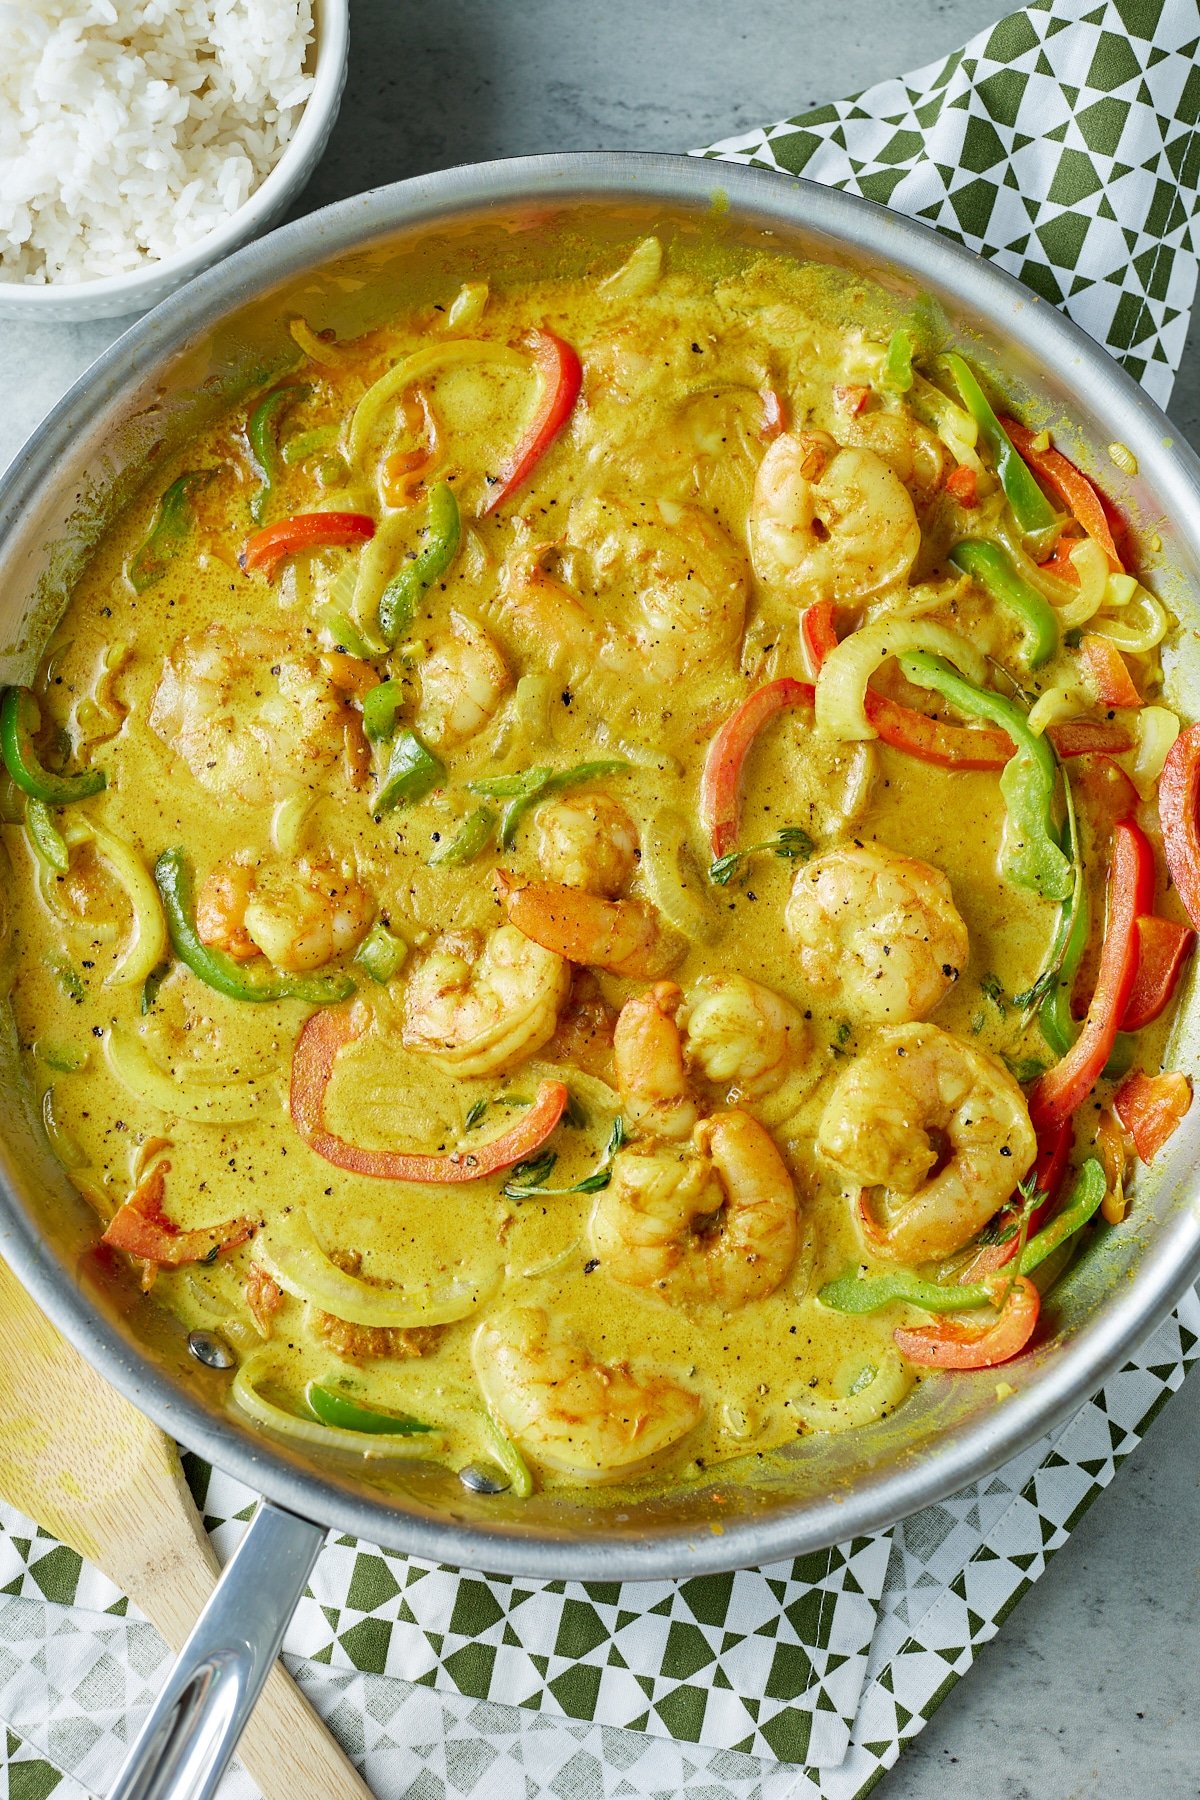
If you like this recipe, you'll love this shrimp and grits one too.
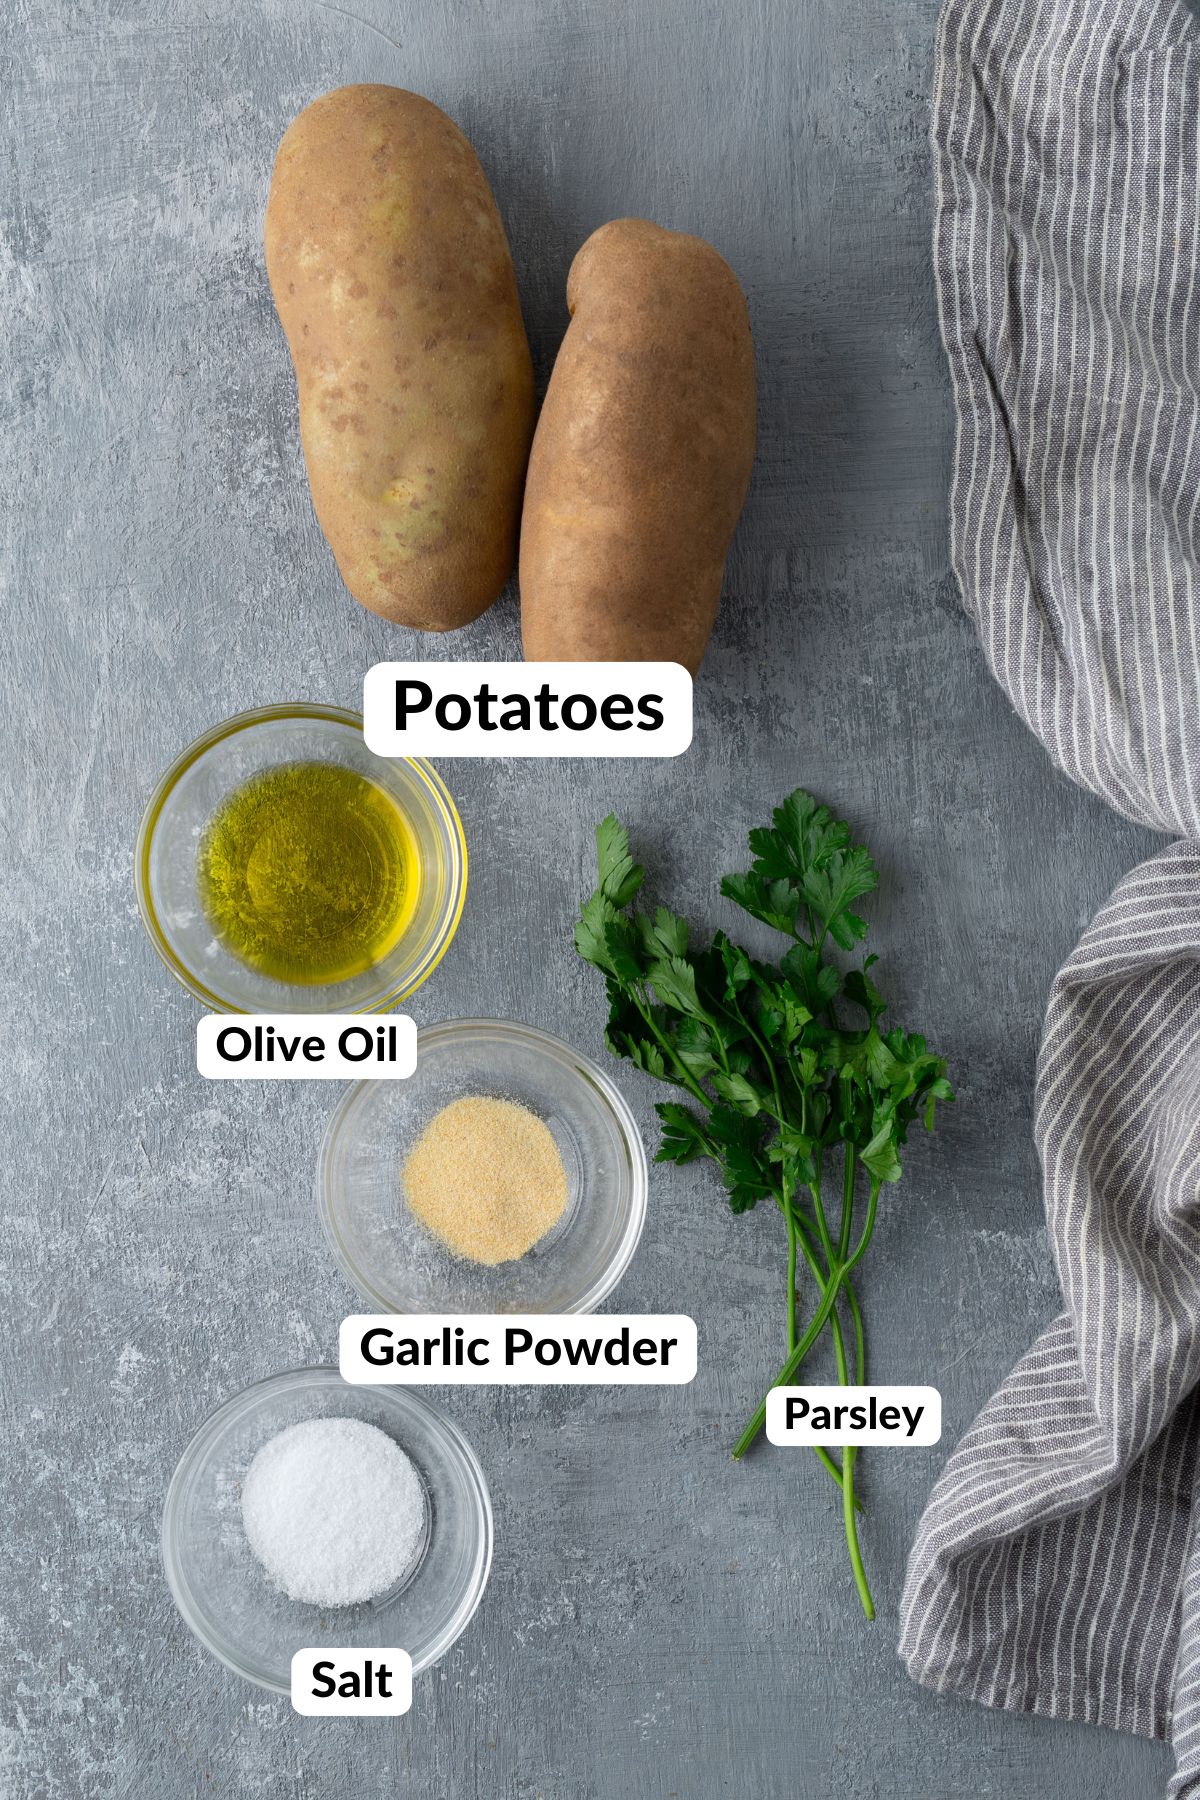
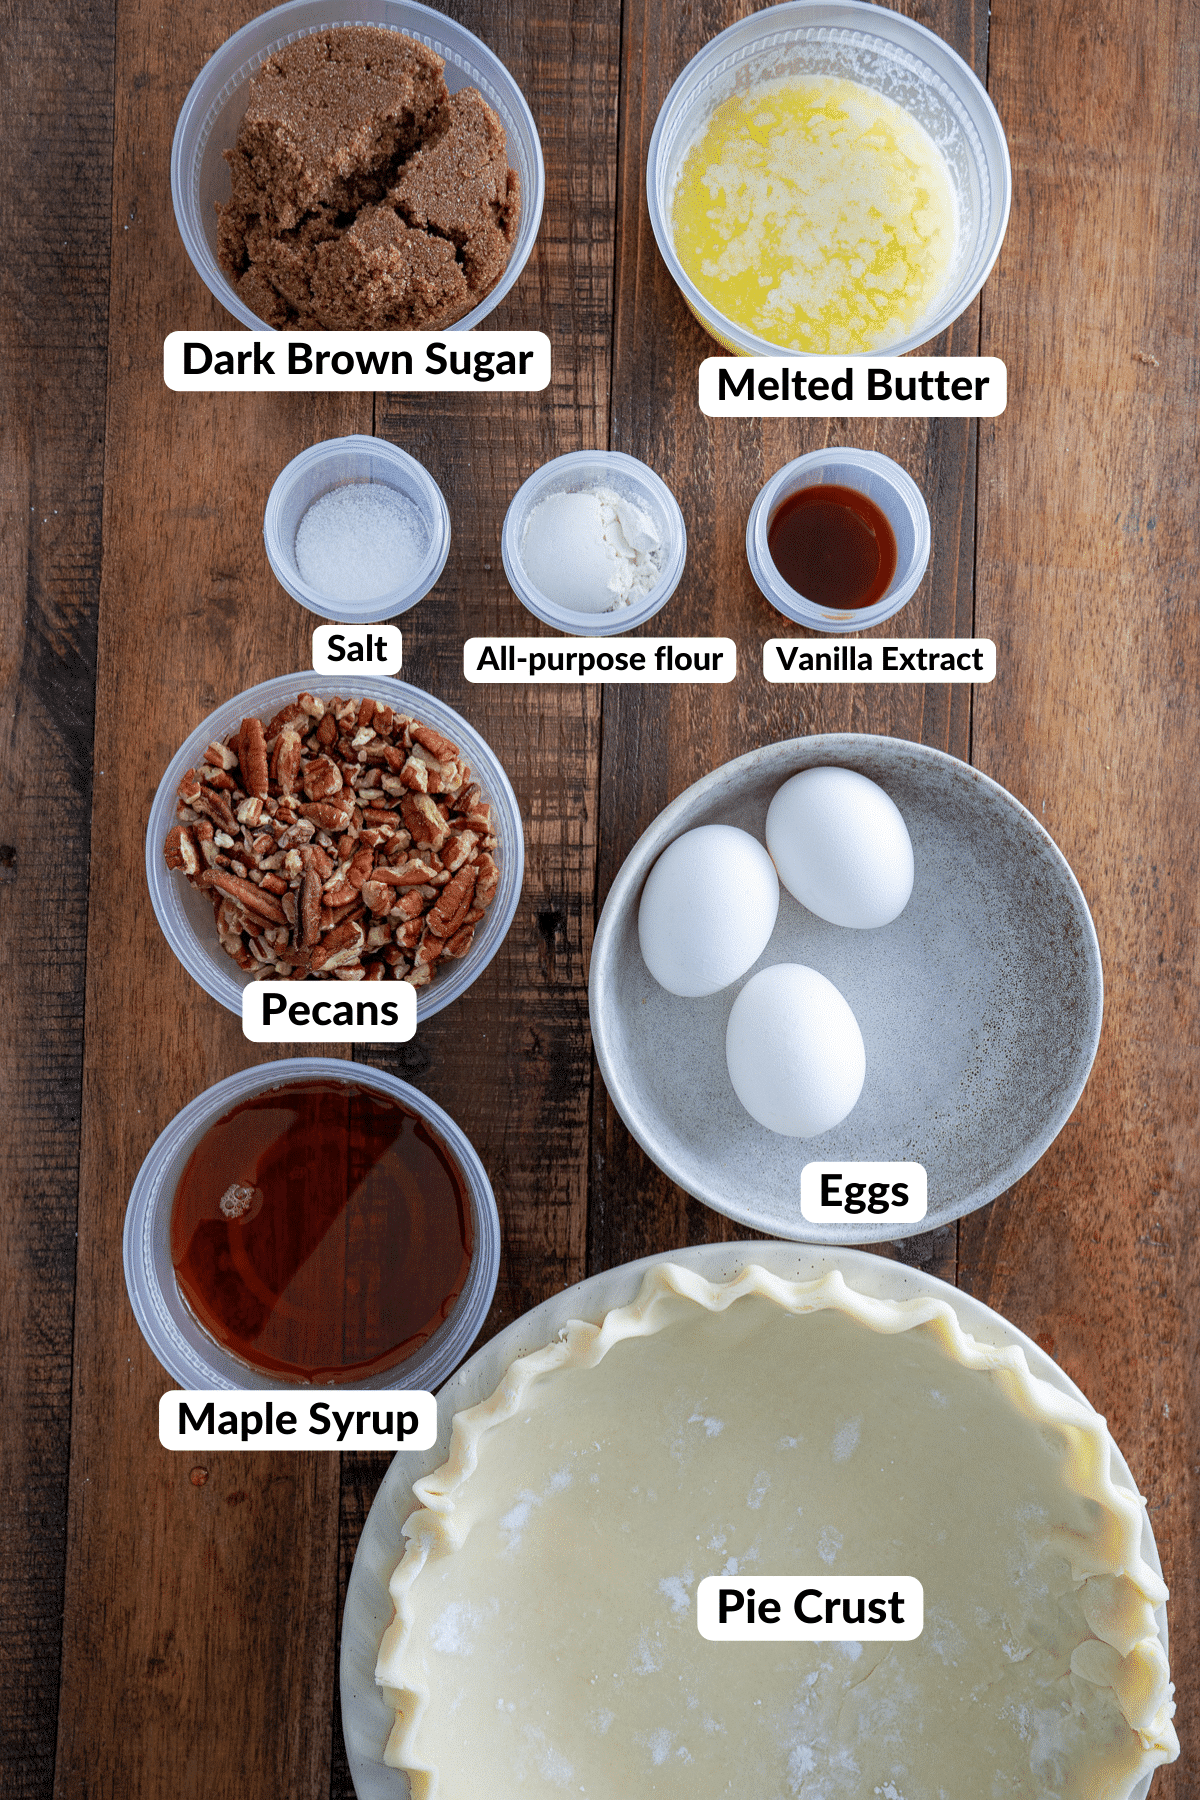
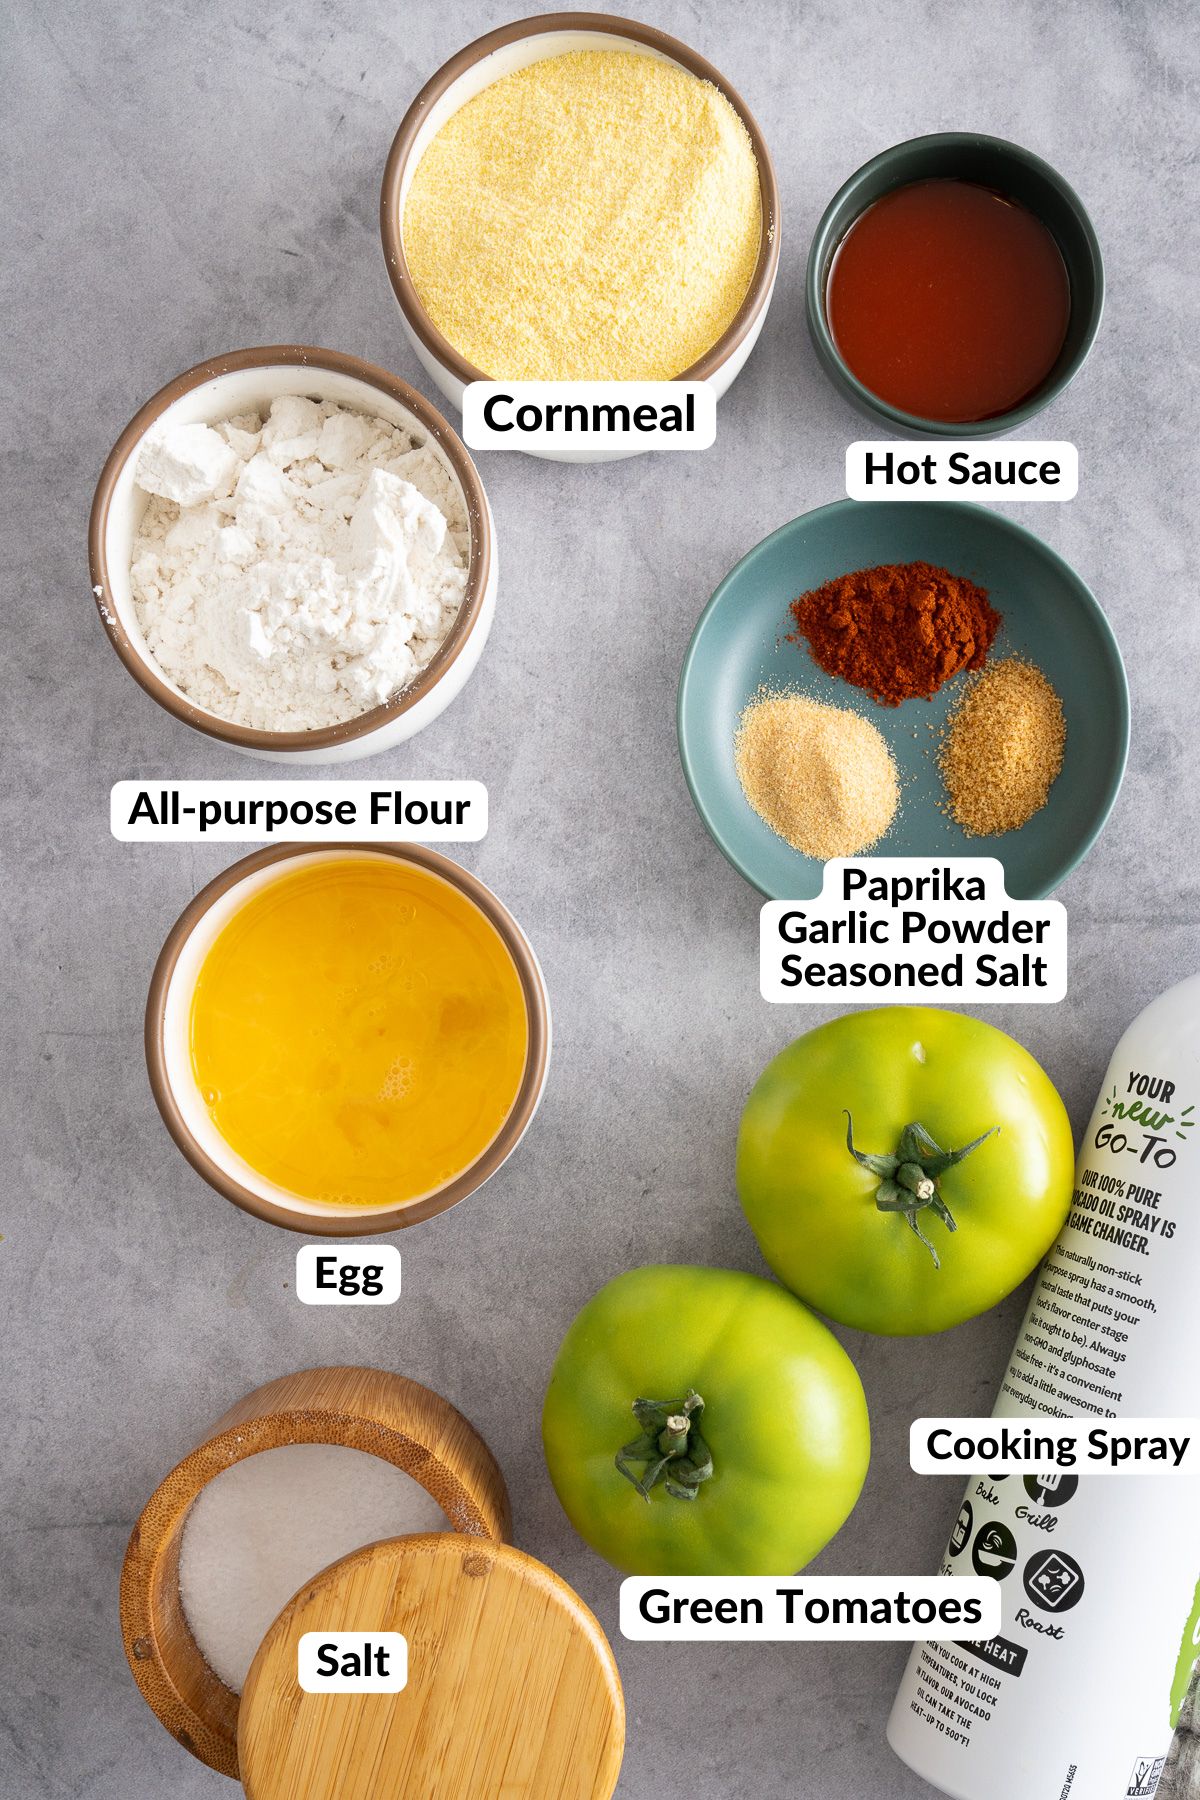
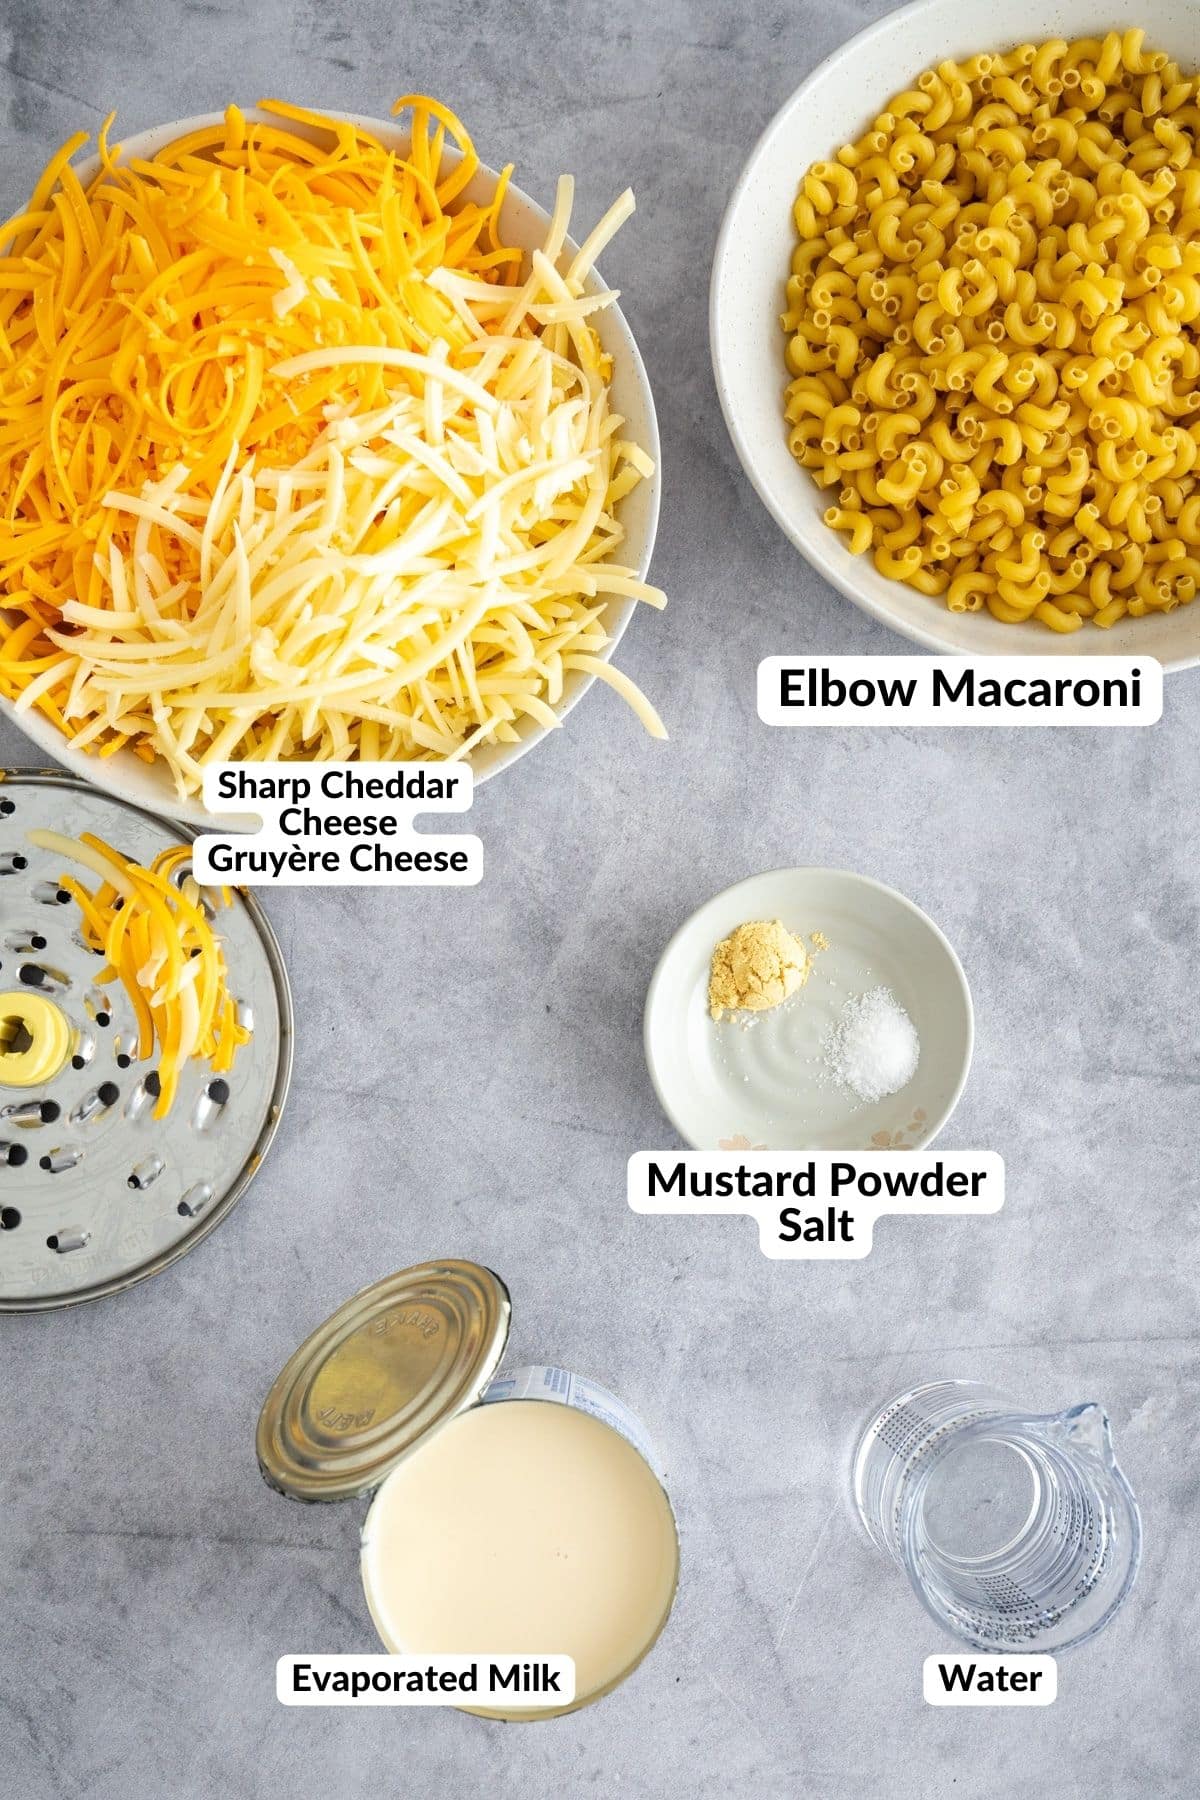
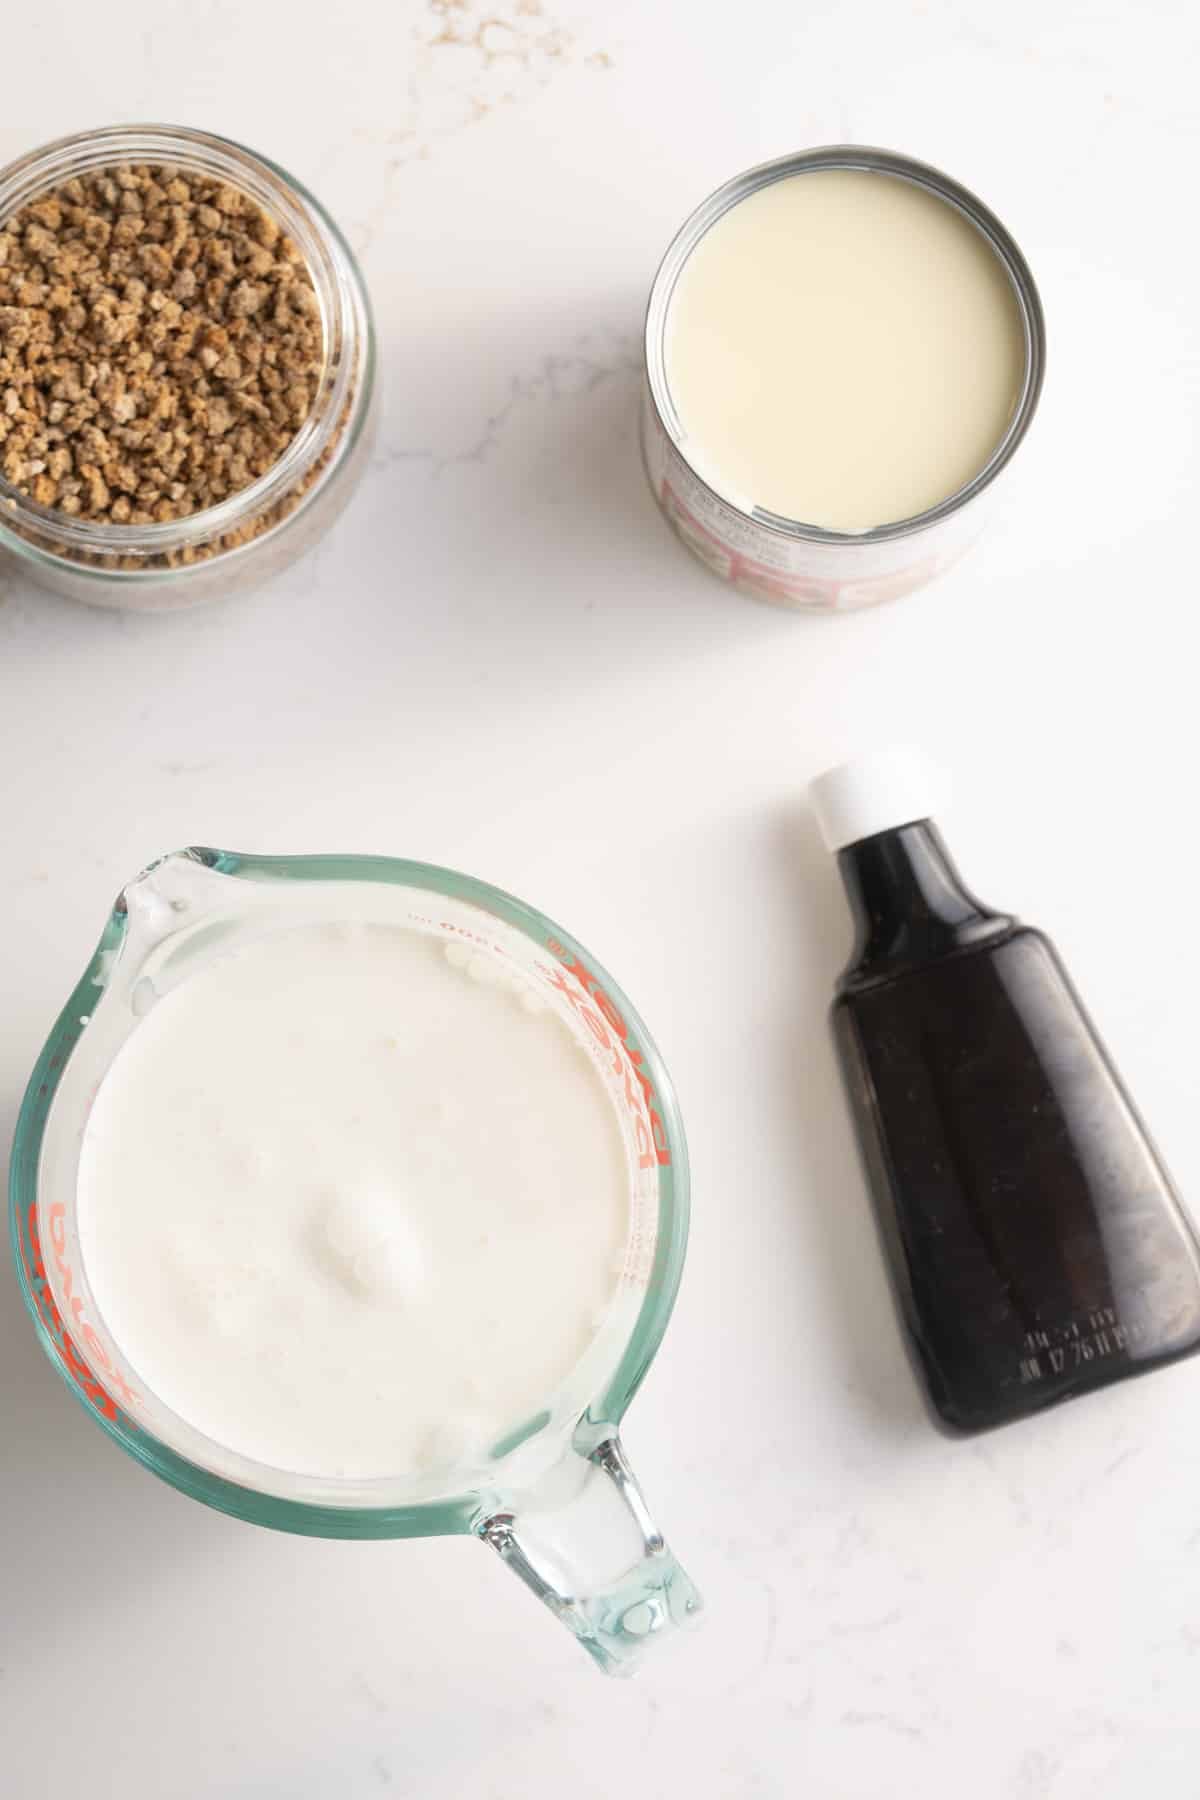
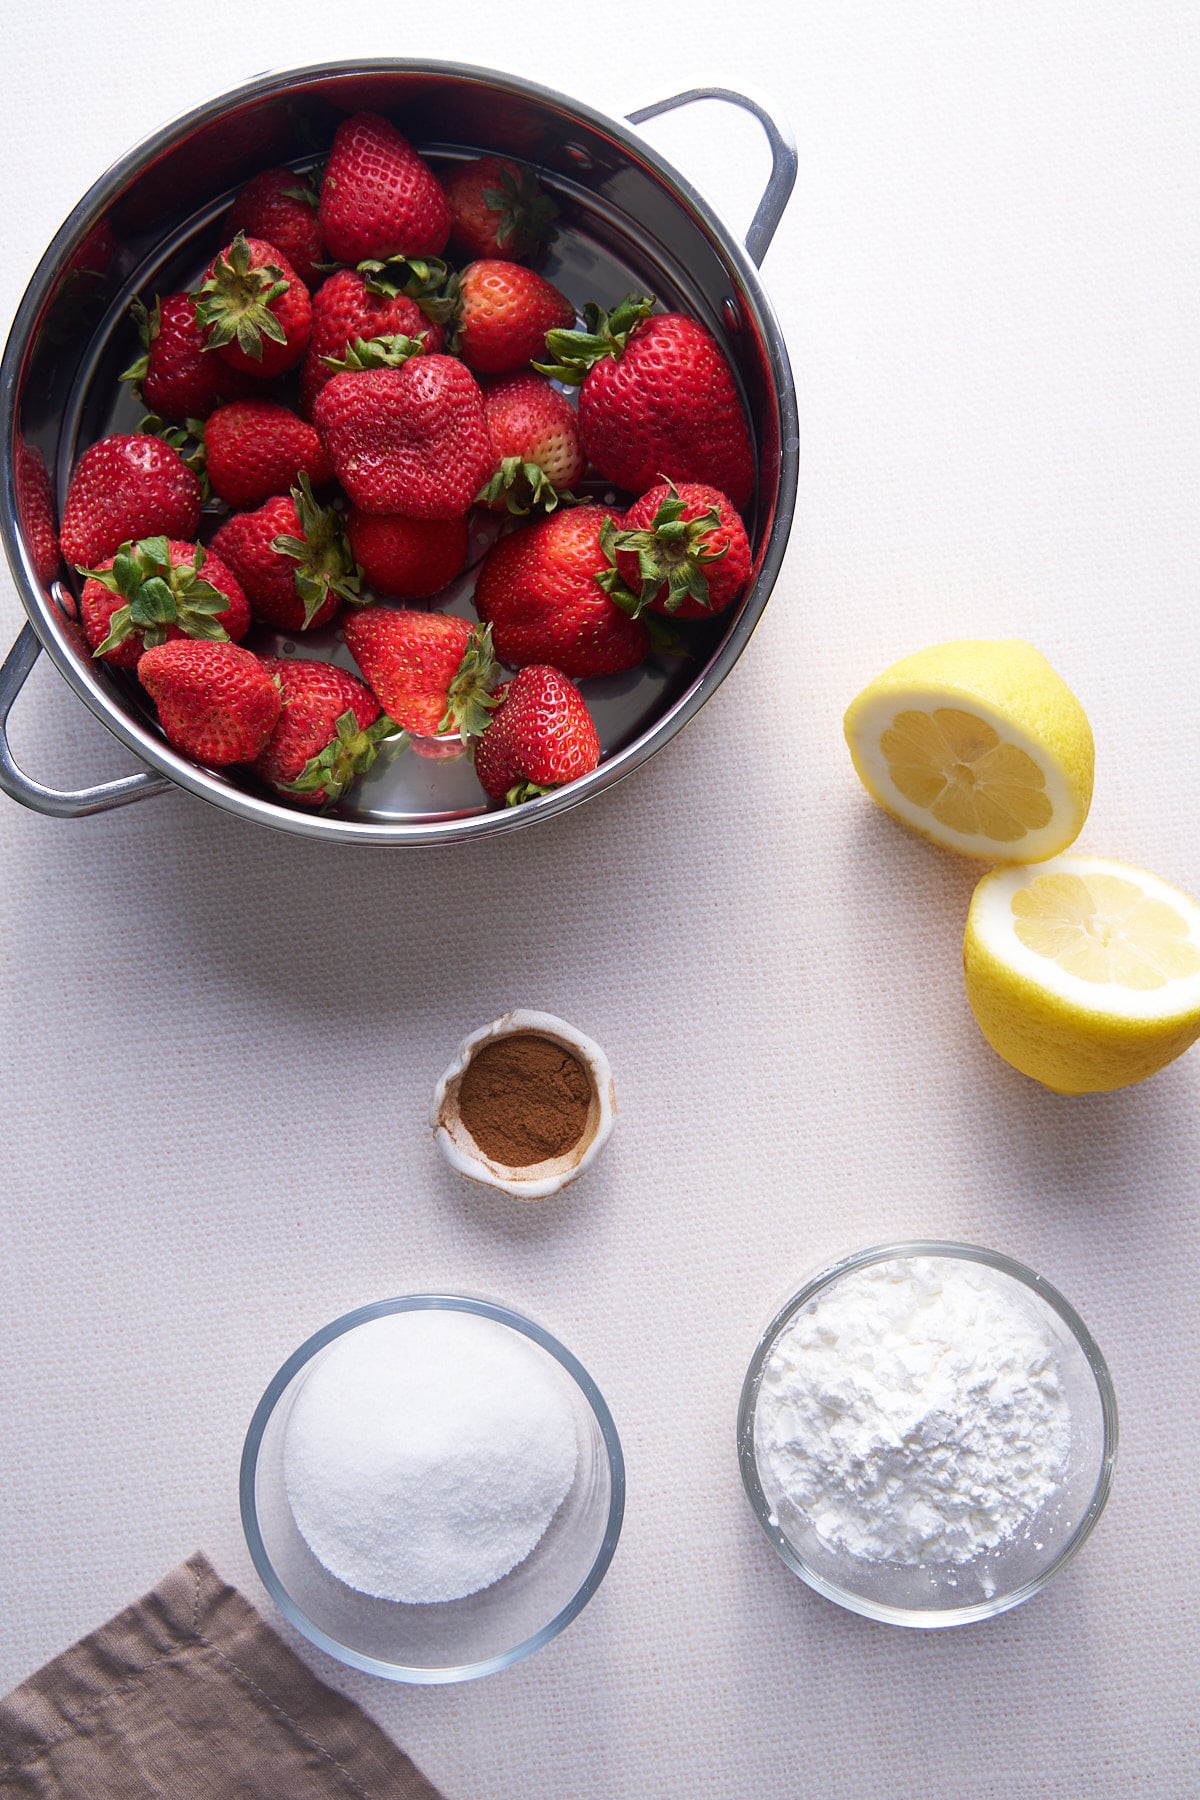
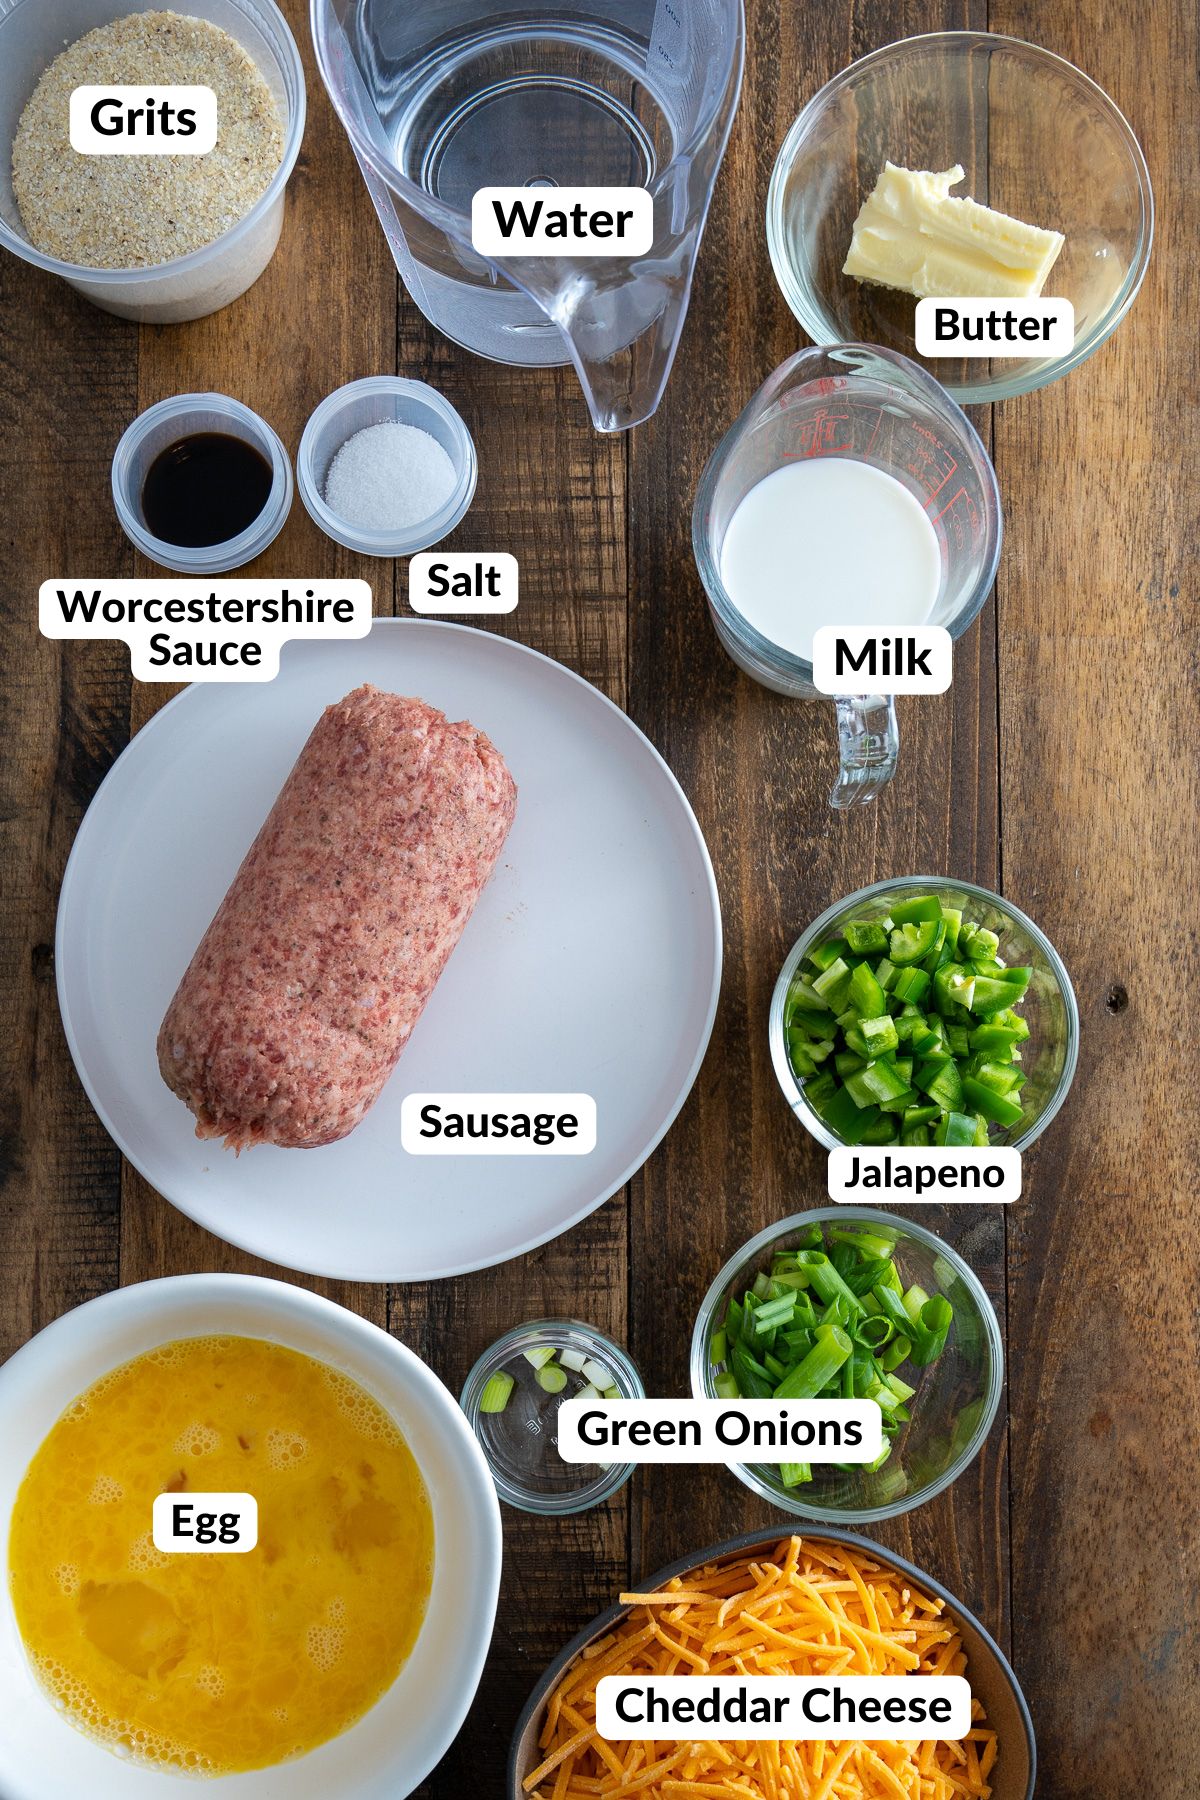
Ingredients Needed
Ingredient amounts and full recipe instructions are on the printable recipe card at the bottom of the post.
- Grits: For this recipe, I recommend using stone-ground, old-fashioned grits, or 5-minute grits. I do not suggest using instant grits.
- Liquids: Water, Milk, and Eggs
- Unsalted Butter: Contributes to the rich flavor and smooth texture.
- Salt: Enhances the overall flavor.
- Meat: I use breakfast sausage. You can use other breakfast meats like bacon, or chorizo.
- Other Ingredients: Sharp Cheddar Cheese, Jalapenos, Worcestershire Sauce, and Green Onions
TOOLS NEEDED
- 9x13 inch baking dish or casserole dish
- Large skillet
- Large saucepan
- Whisk
- Stirring spoon
- Measuring cups and spoons
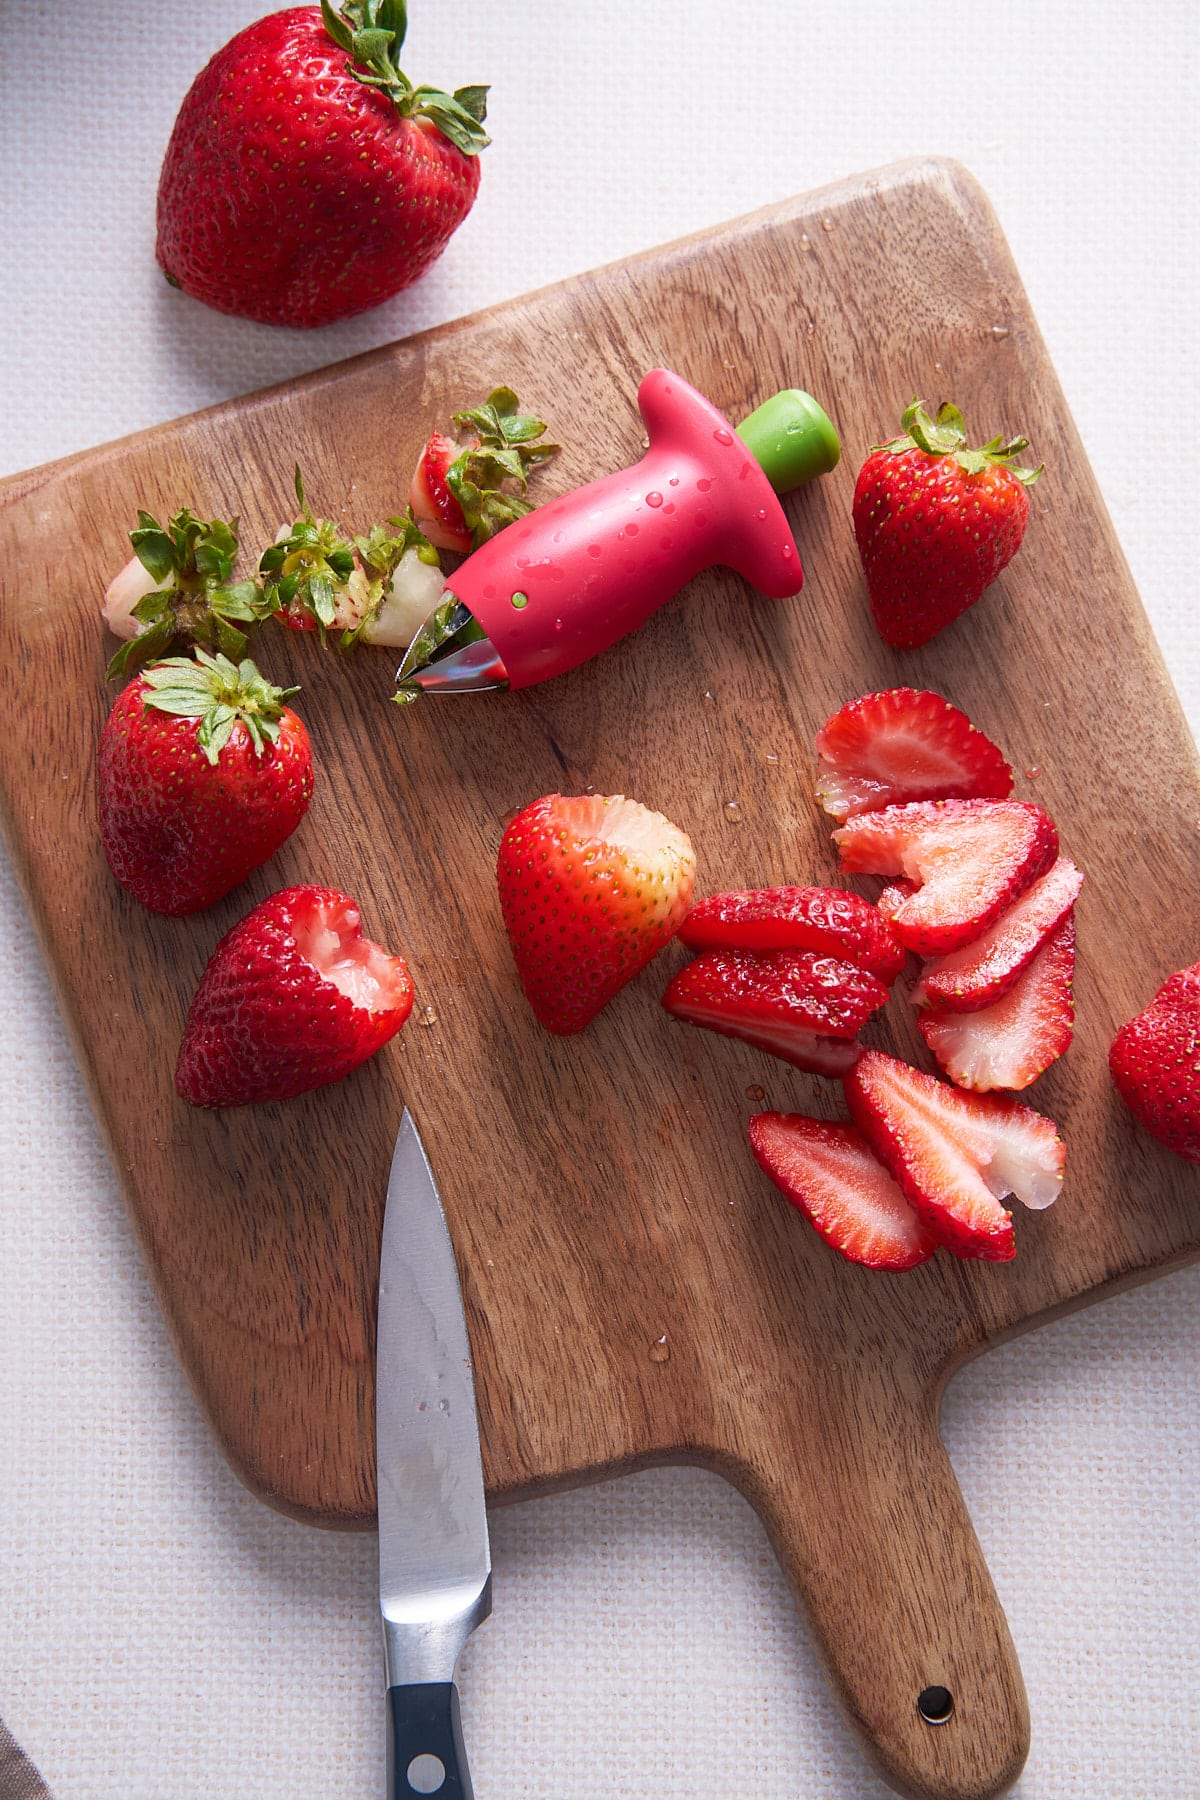
- Knife and cutting board
How to Make a Grits Casserole
First, preheat your oven to 350°F (175°C). Grease your 9x13-inch baking dish or casserole dish, then set aside.
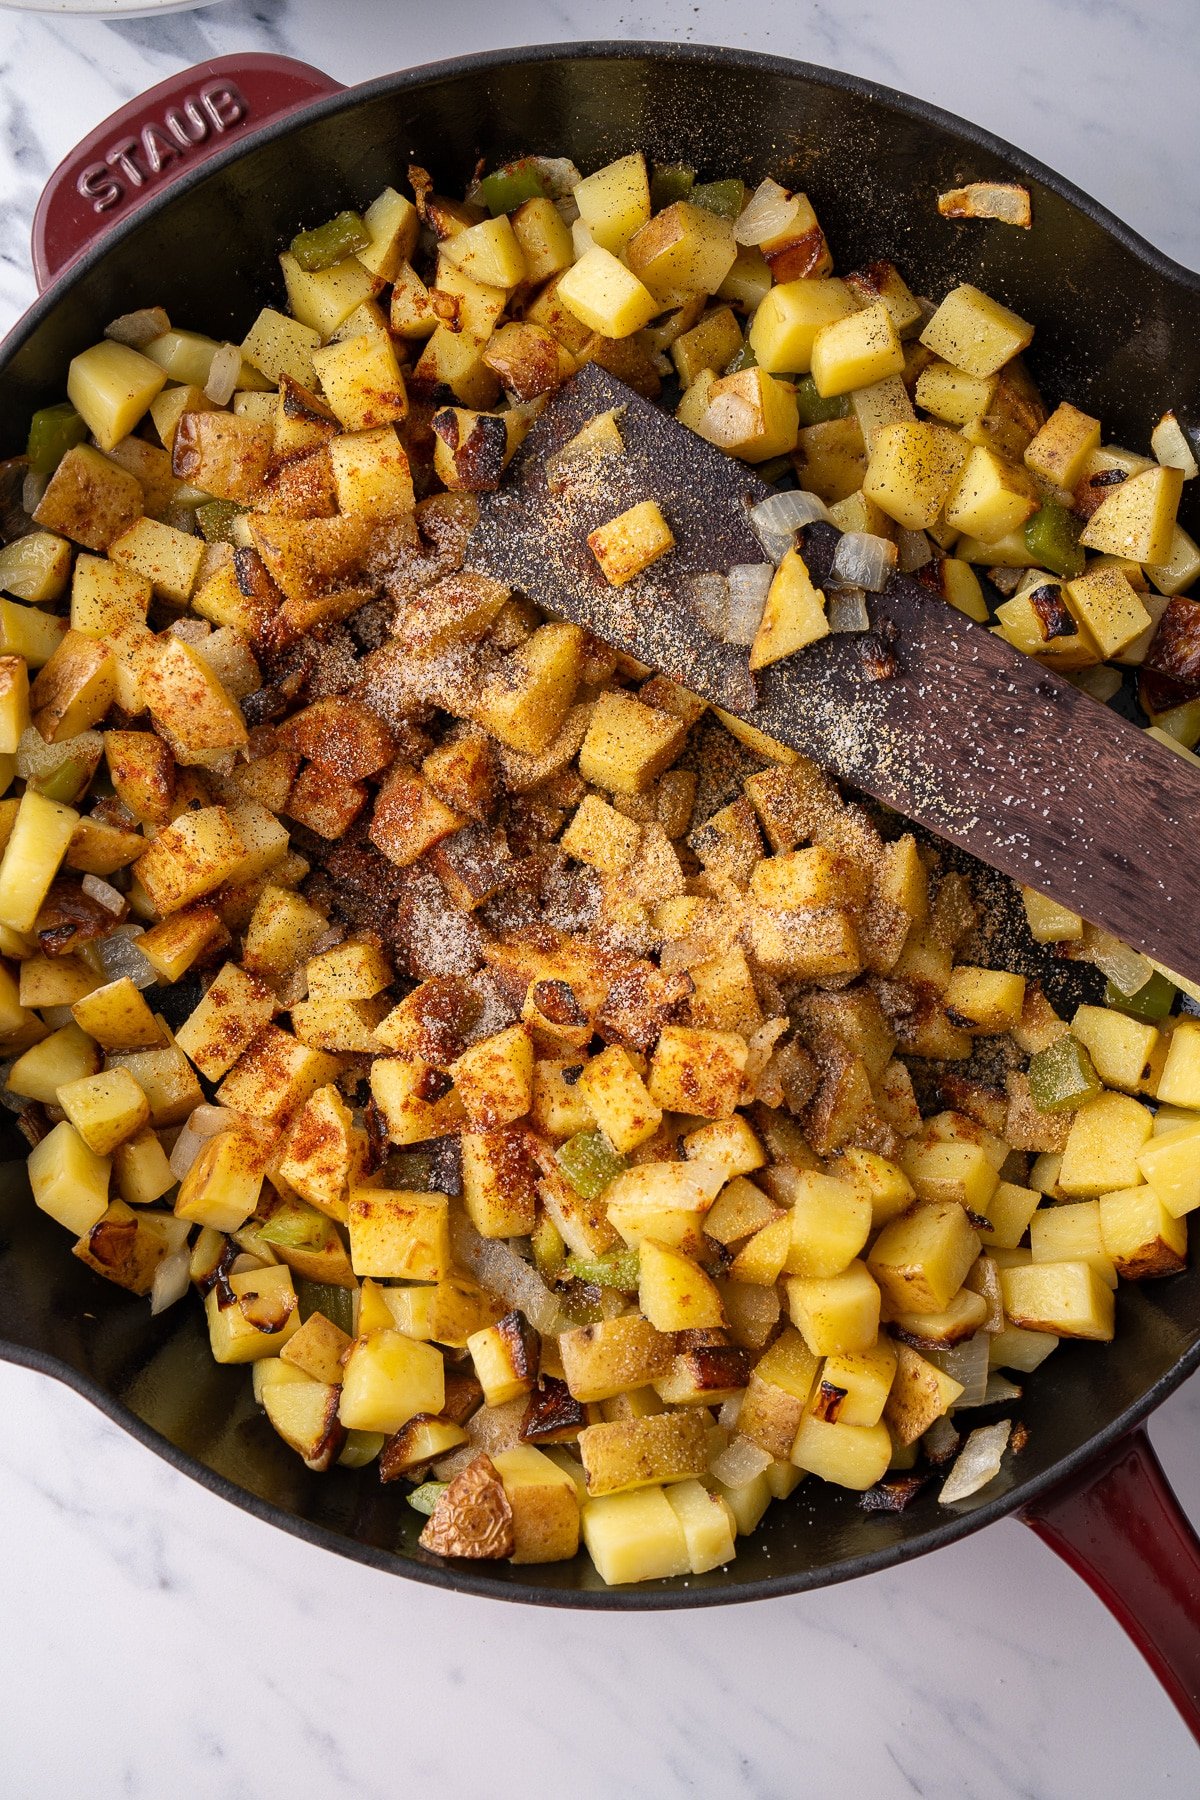
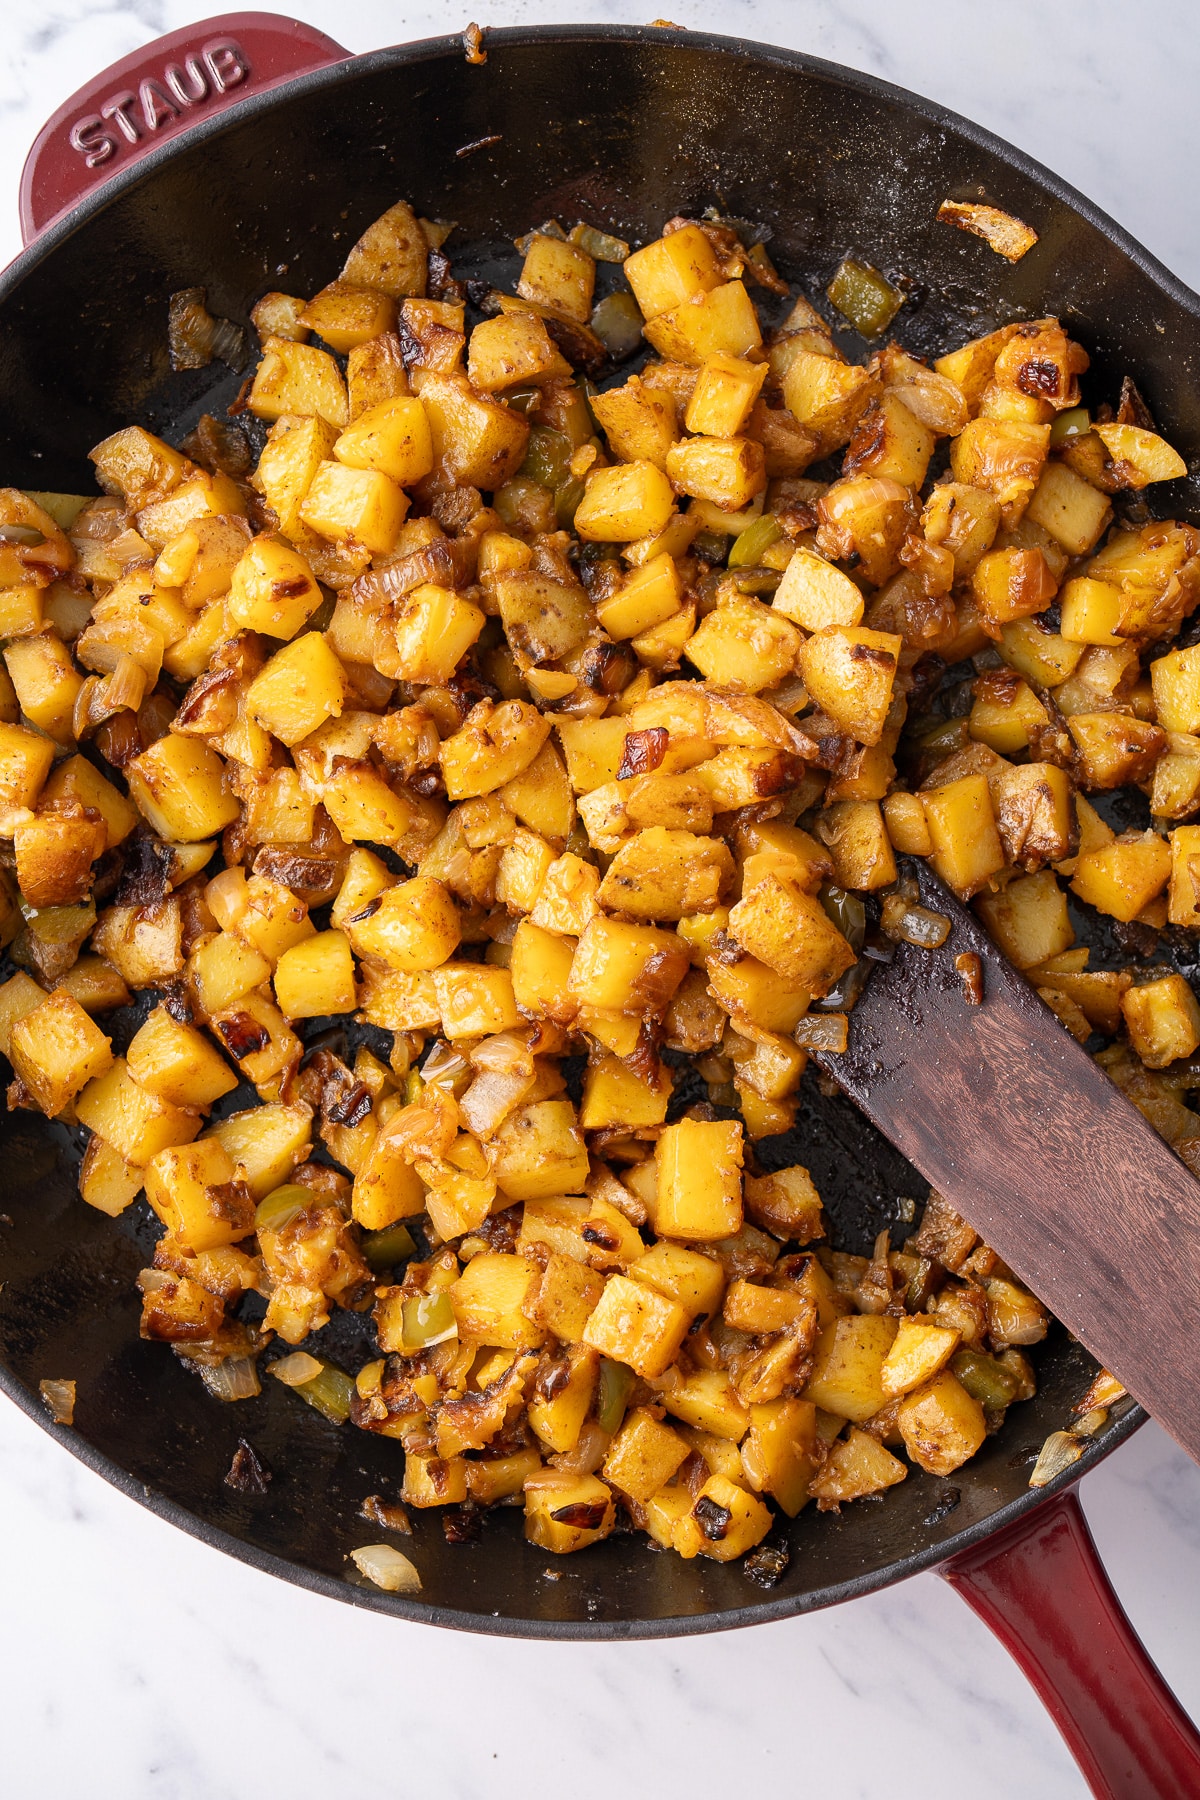
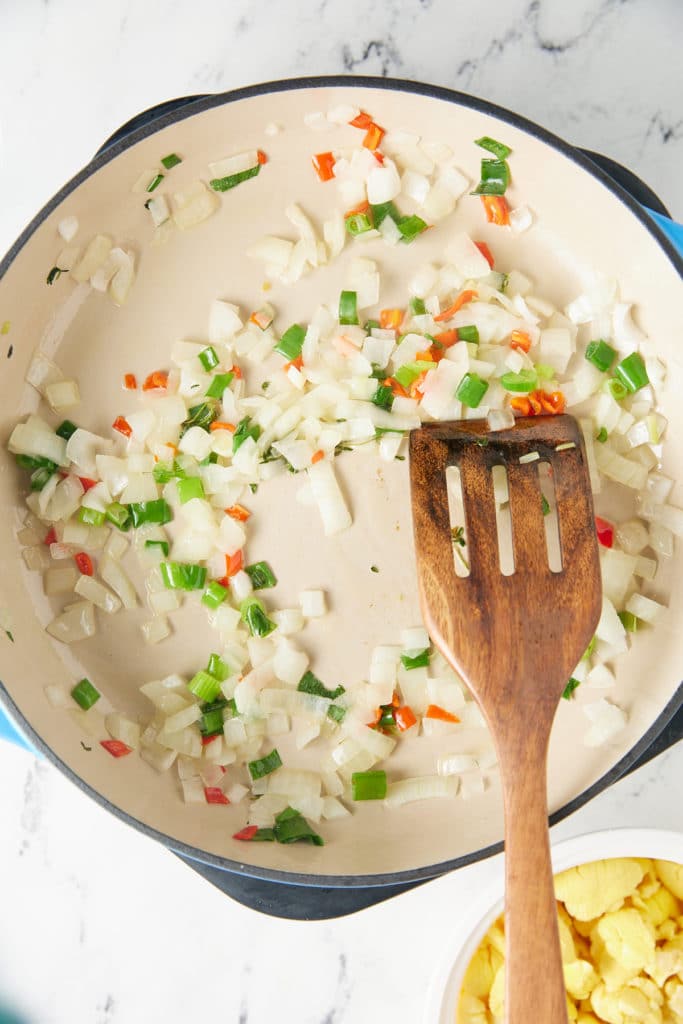
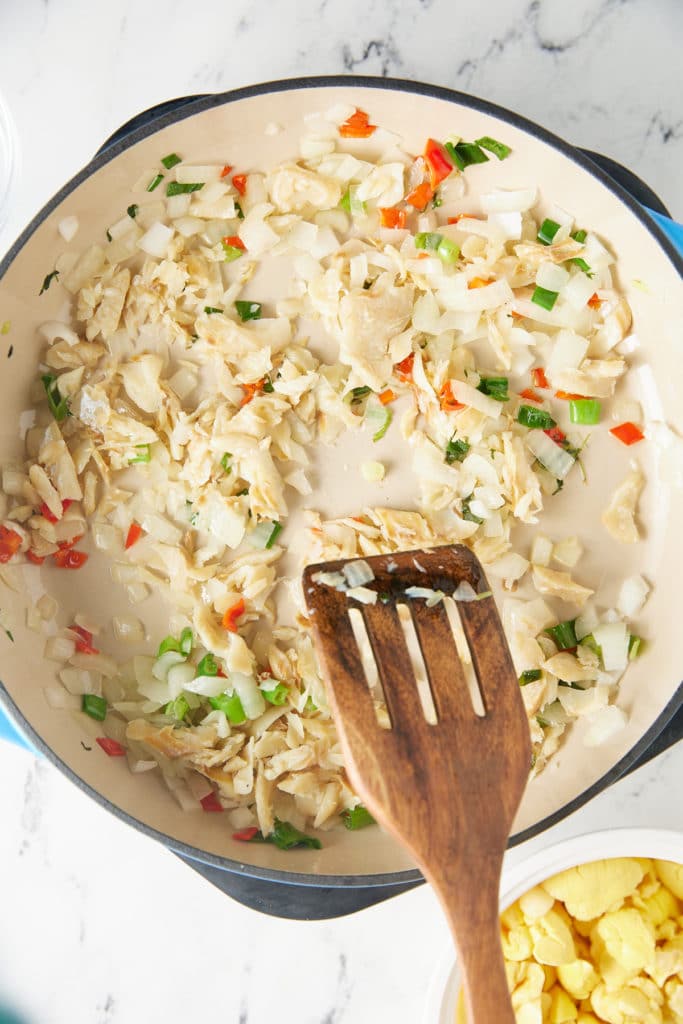
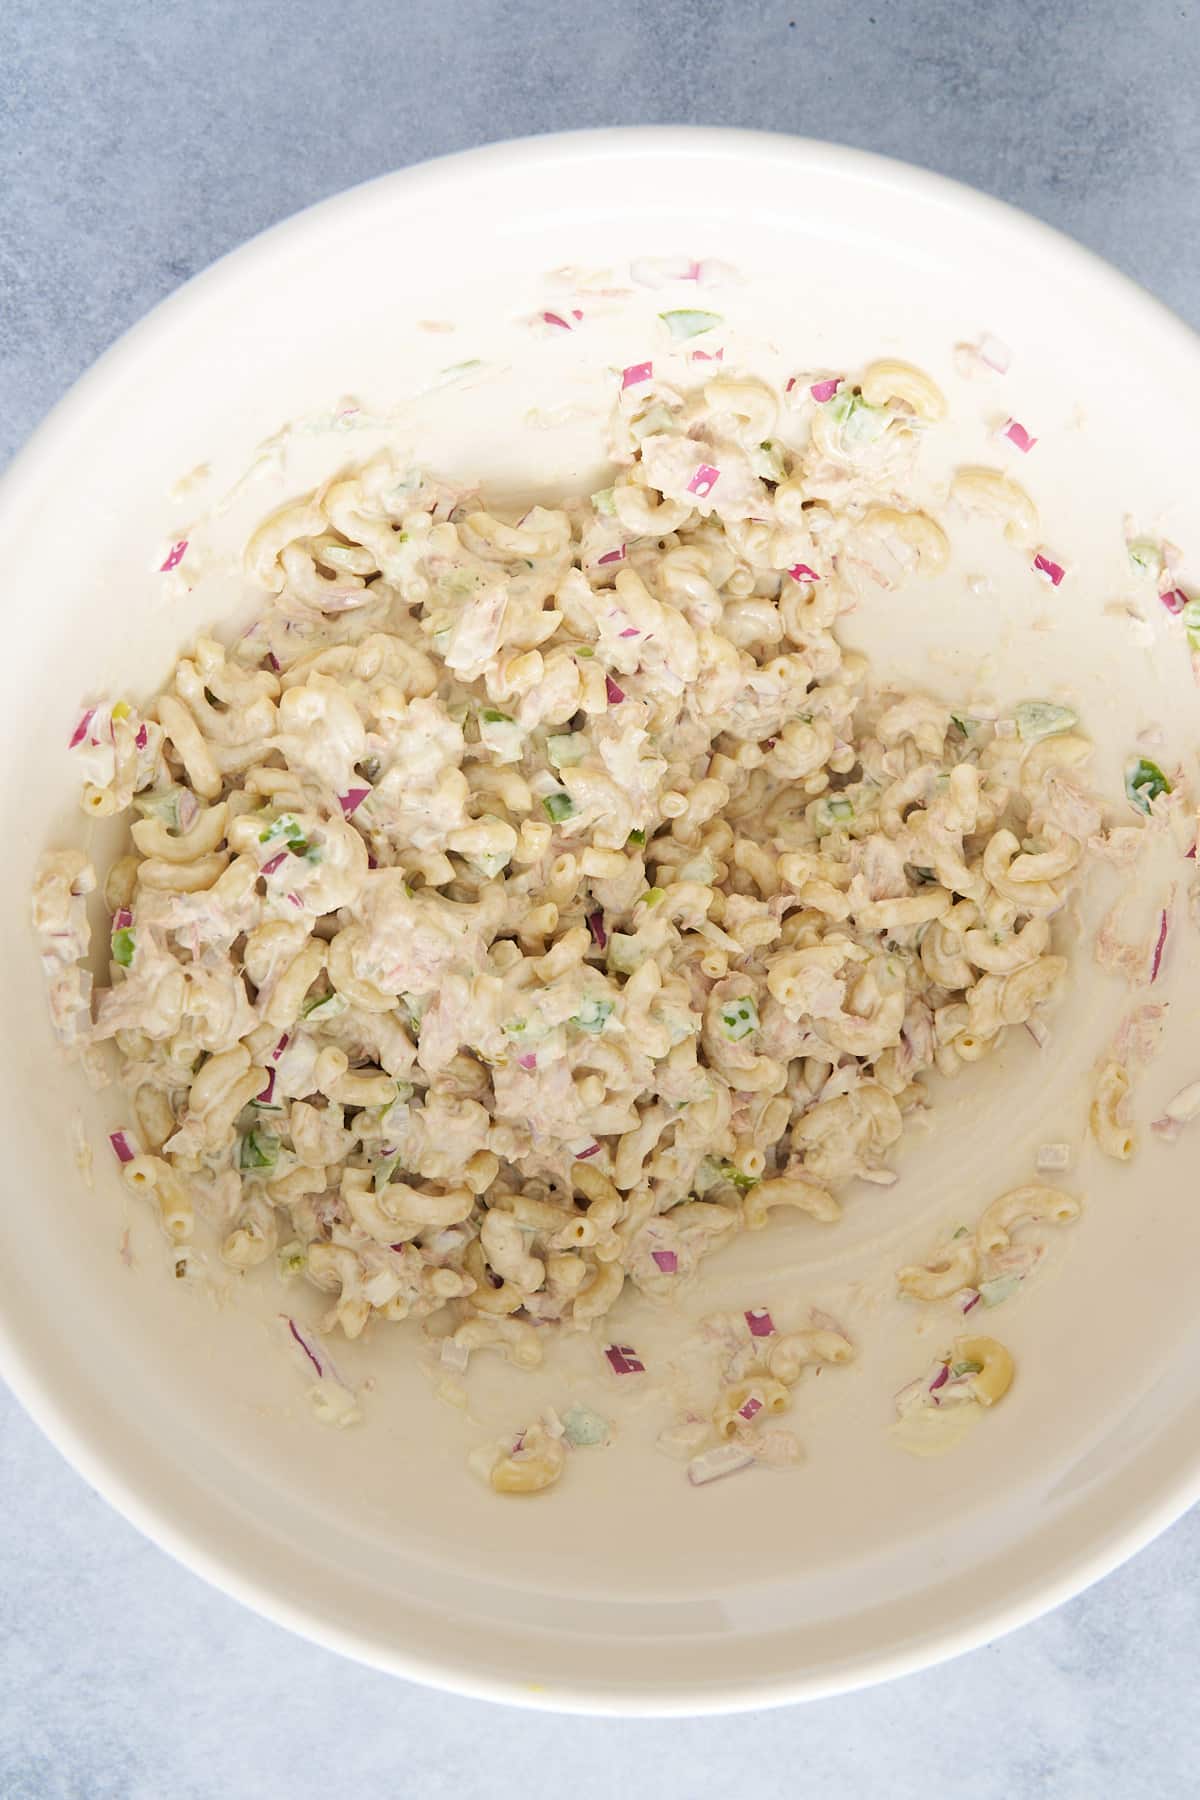
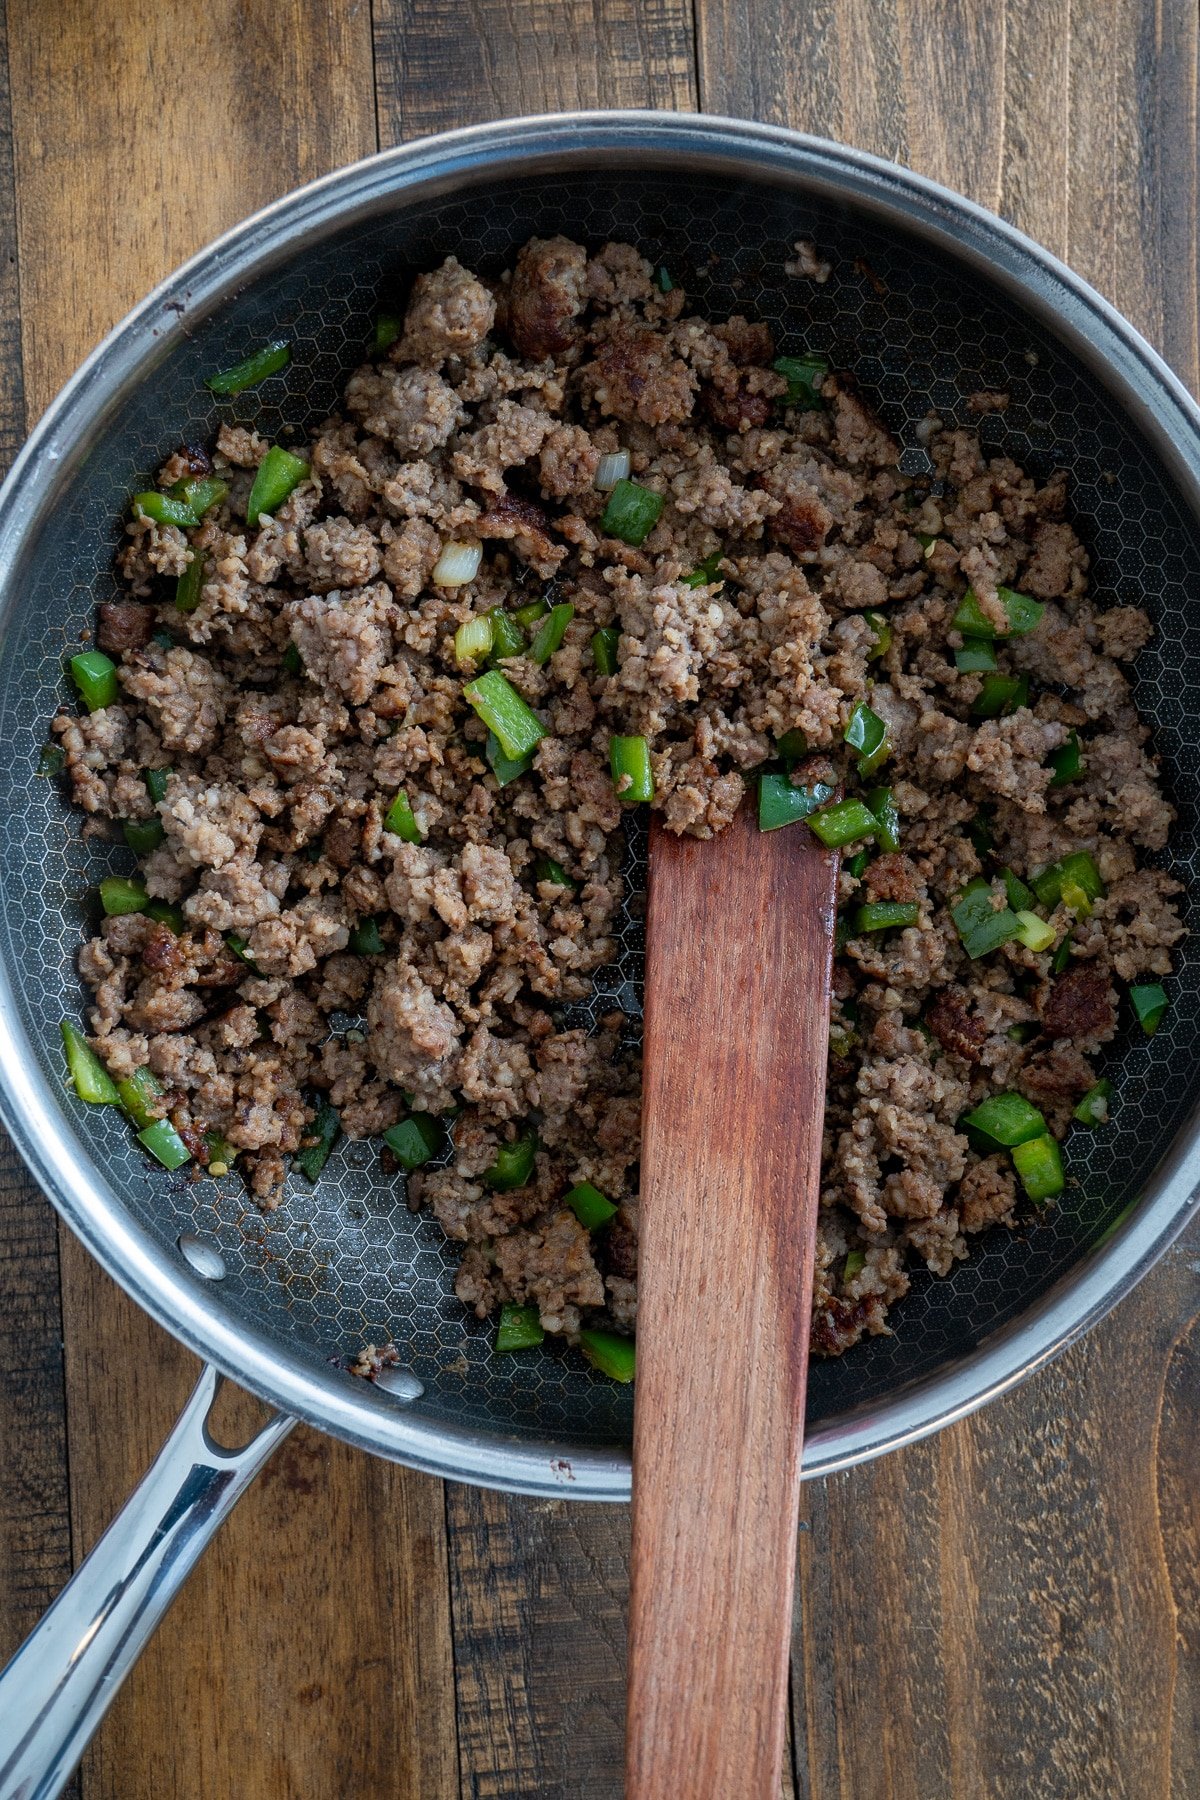
Place breakfast sausage in a large skillet over medium-high heat and cook until it browns. Add Worcestershire sauce. Cook the chopped jalapenos and green onion whites with the sausage until the sausage is brown and the jalapenos are soft.
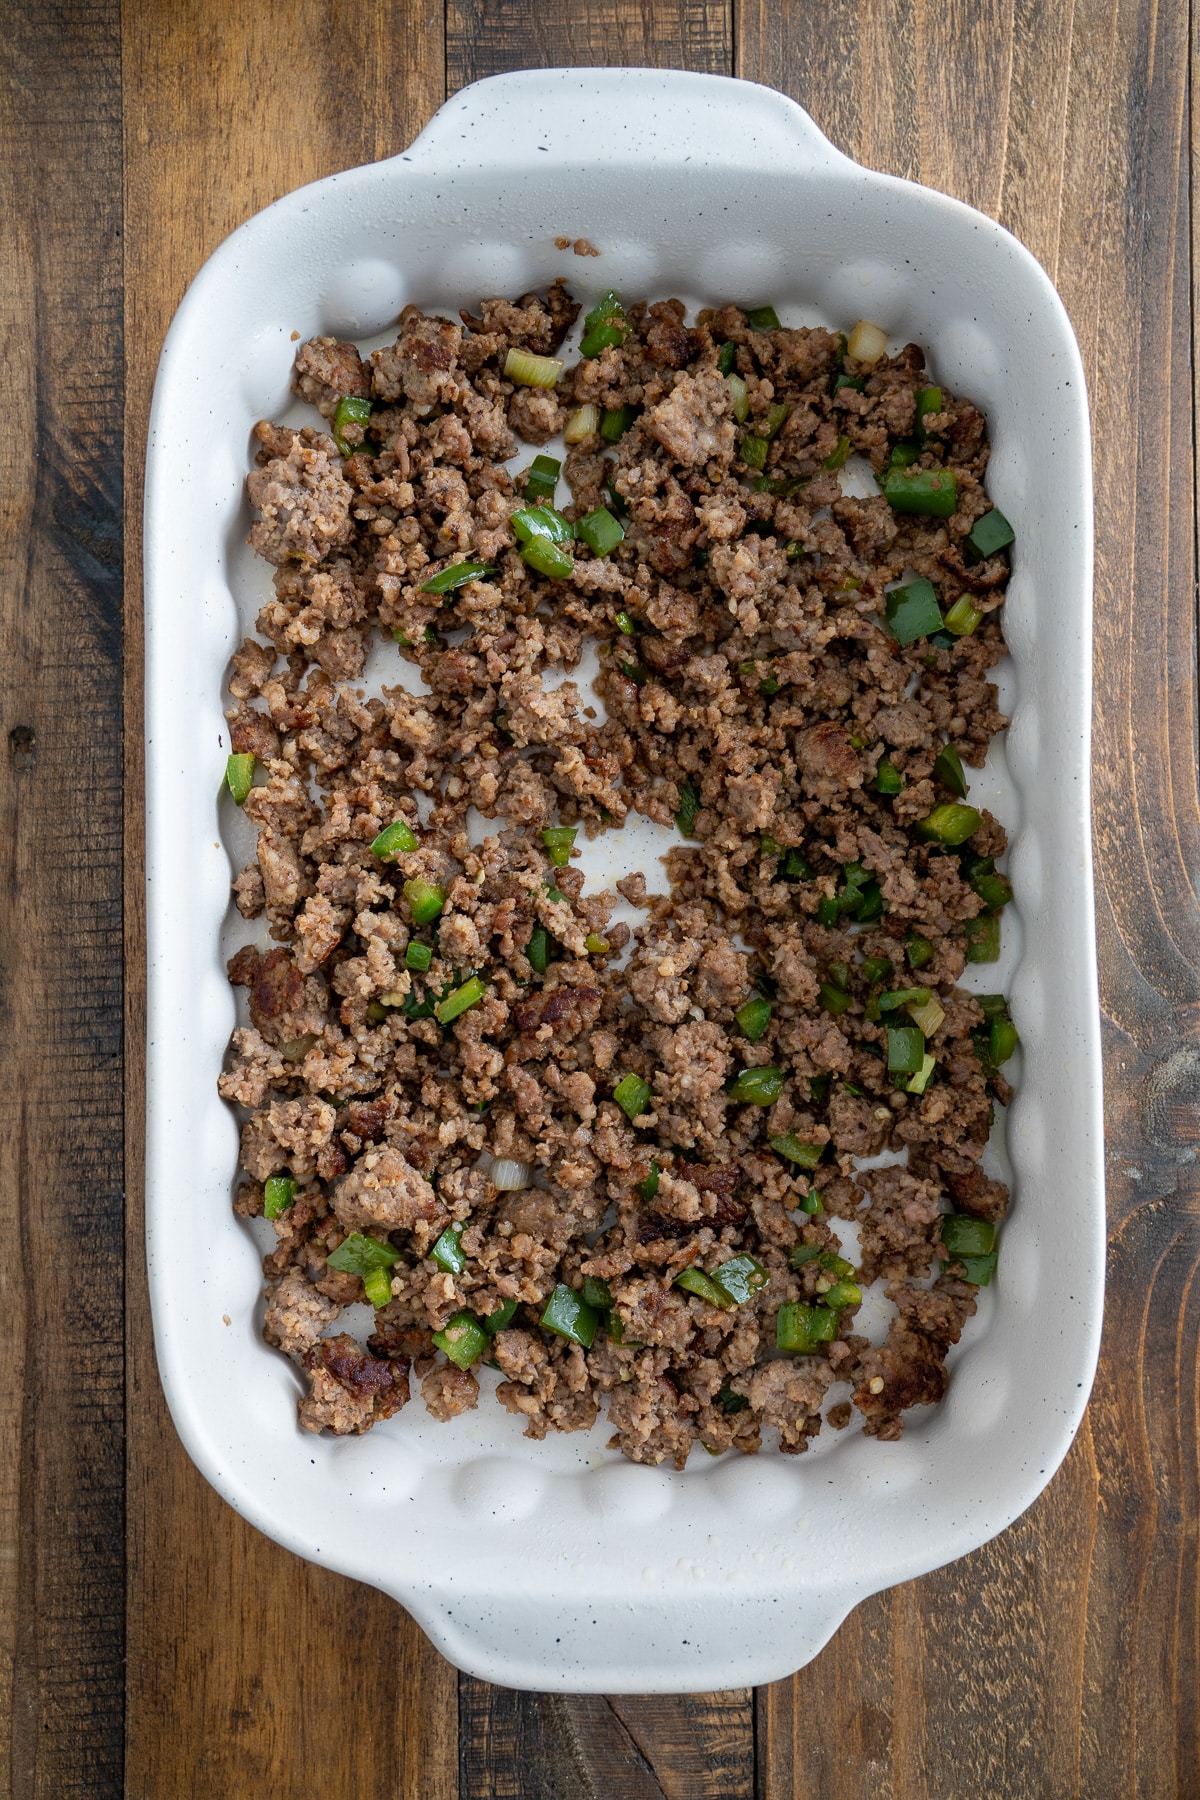
Drain any of the excess fat from the skillet and pour the sausage into the bottom of the 9x13 baking dish.
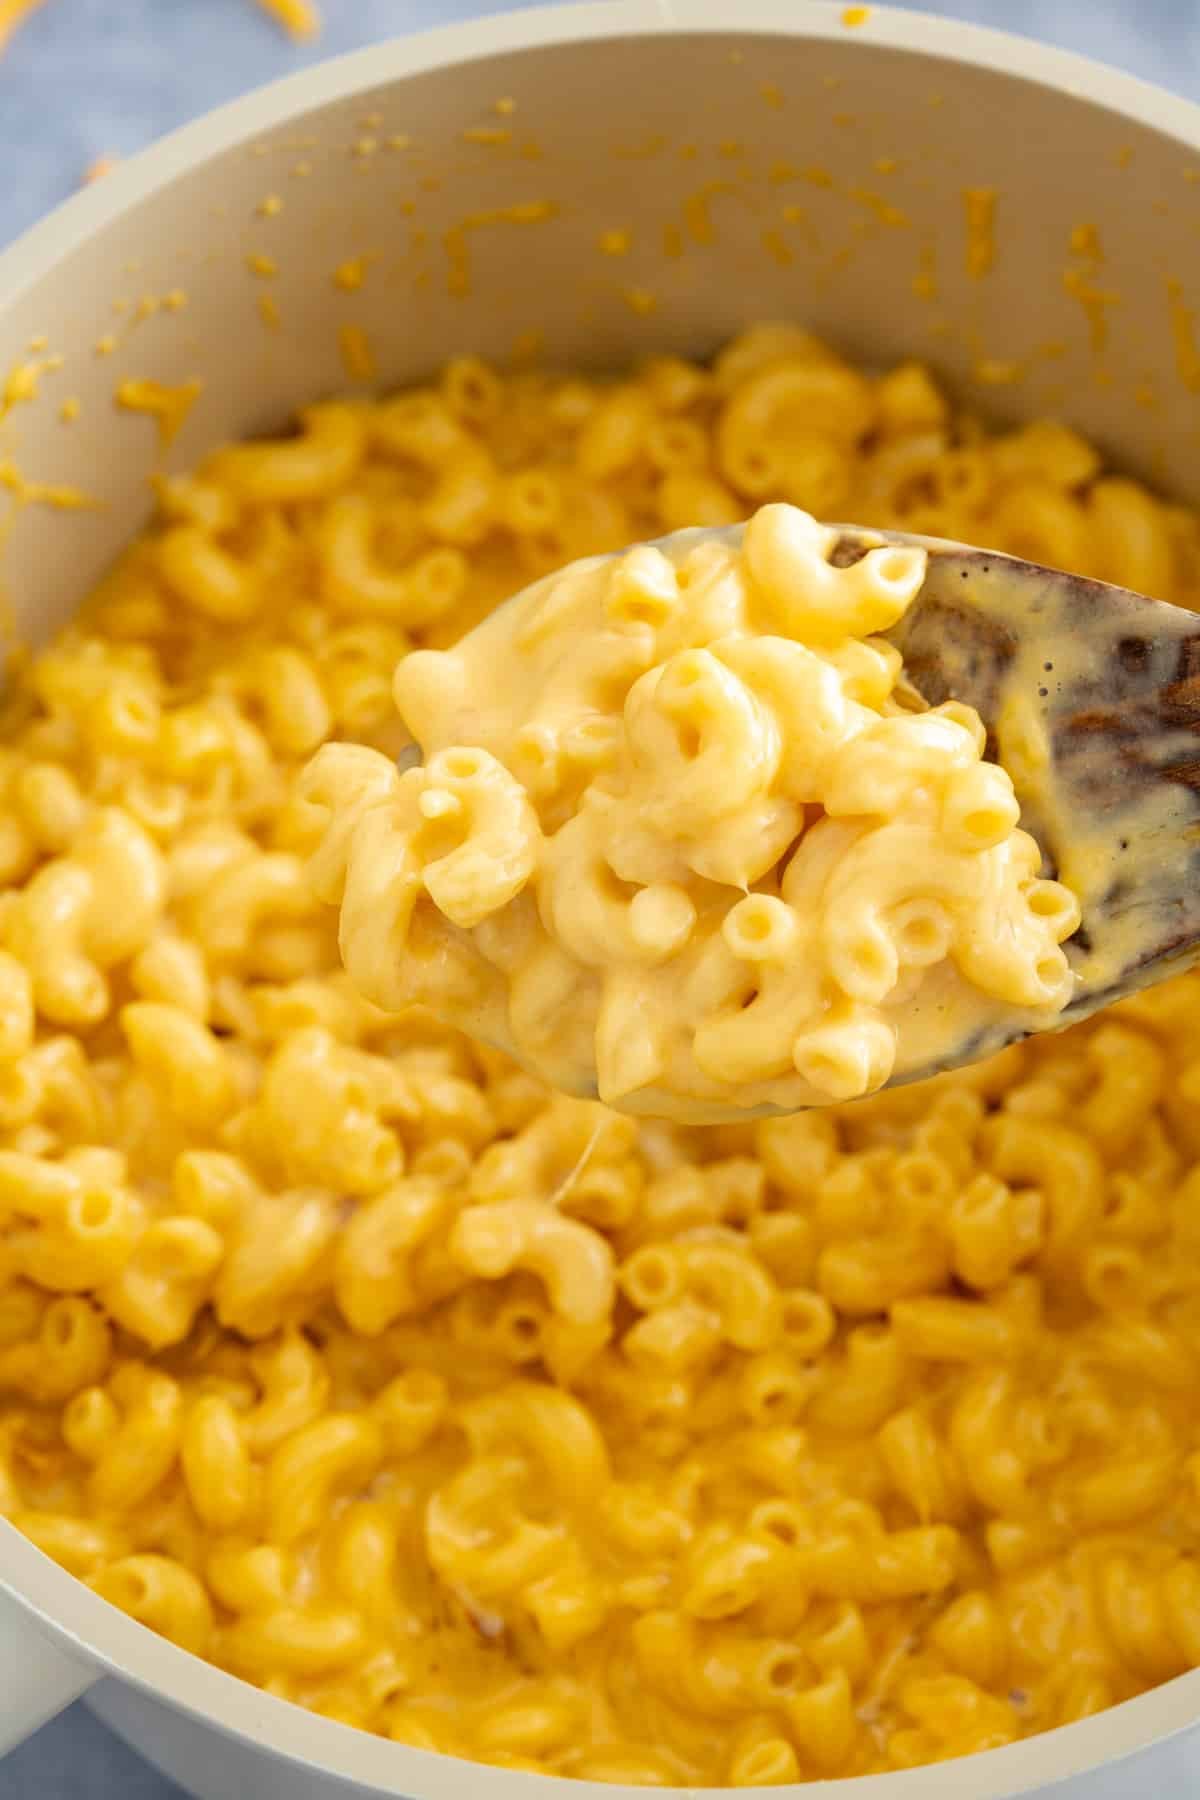
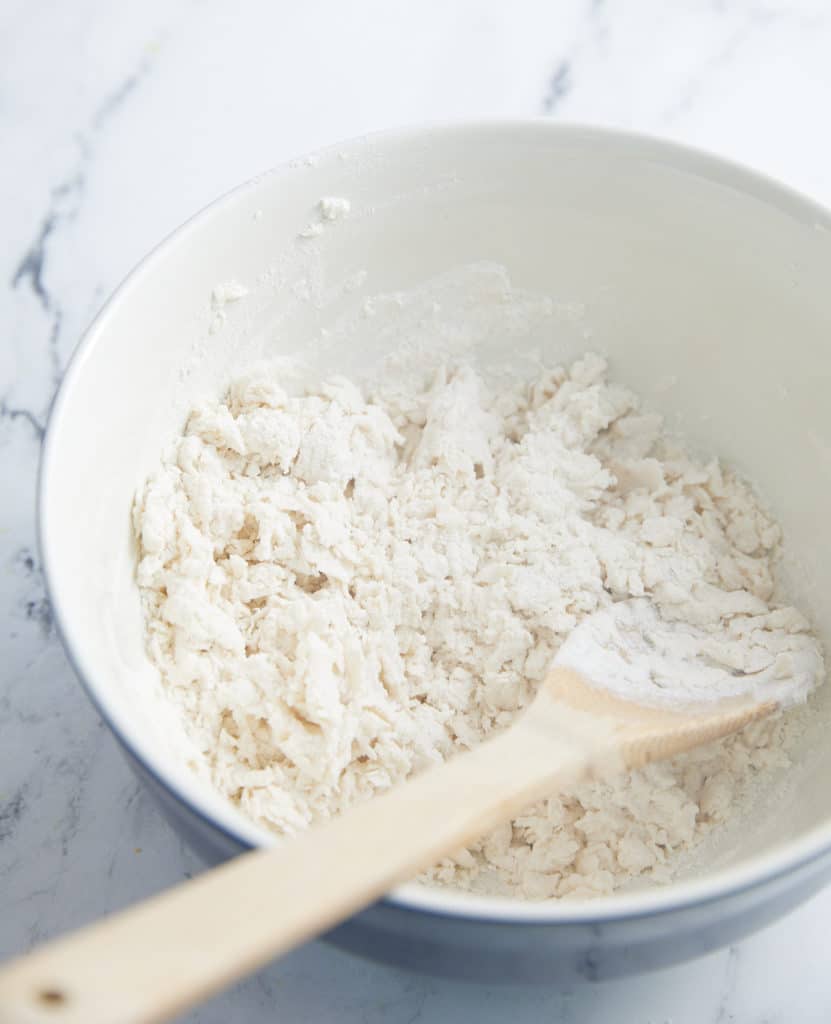
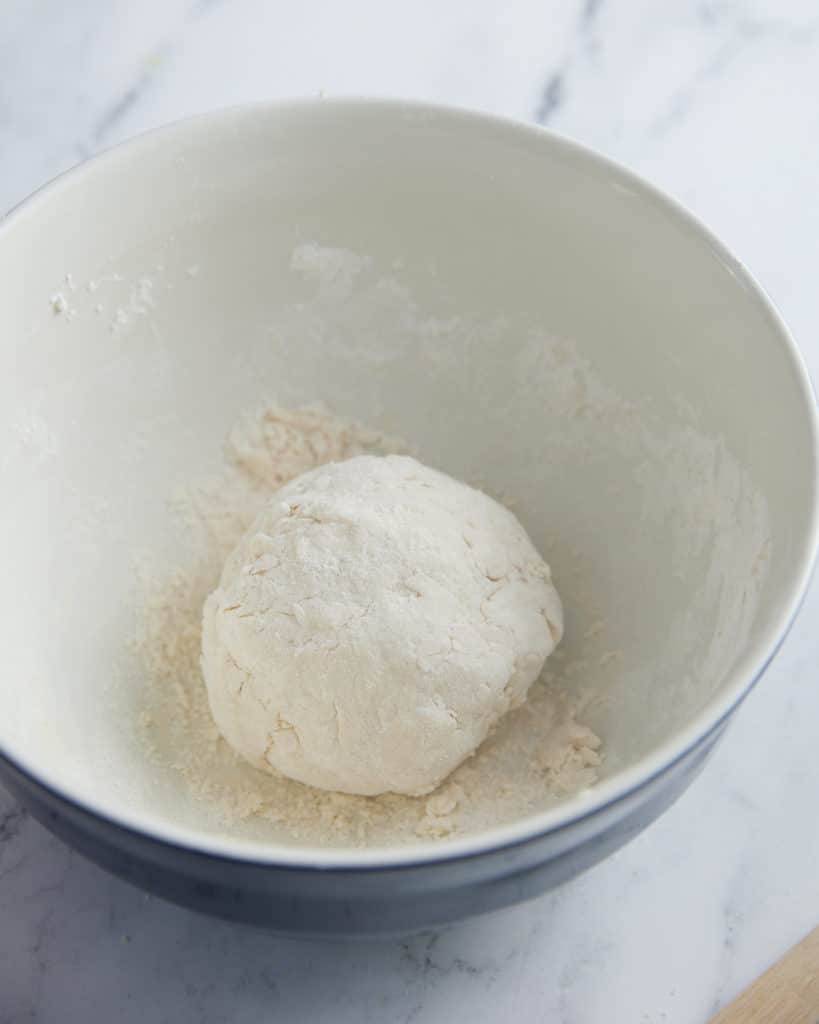
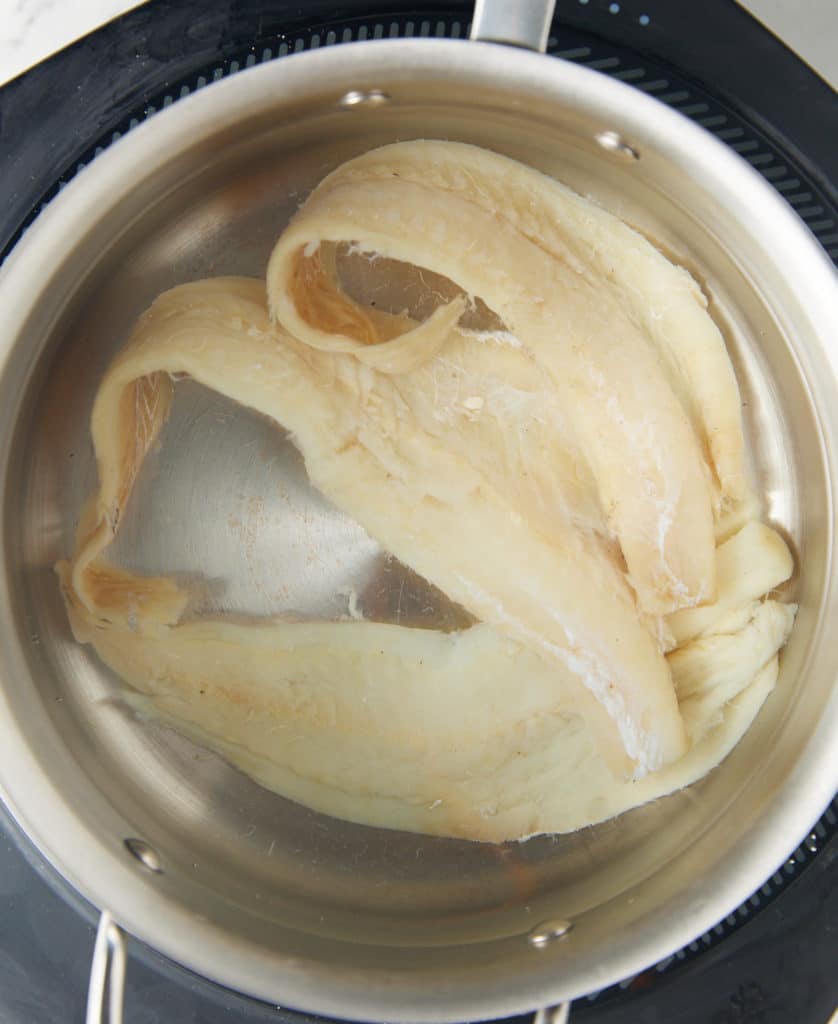
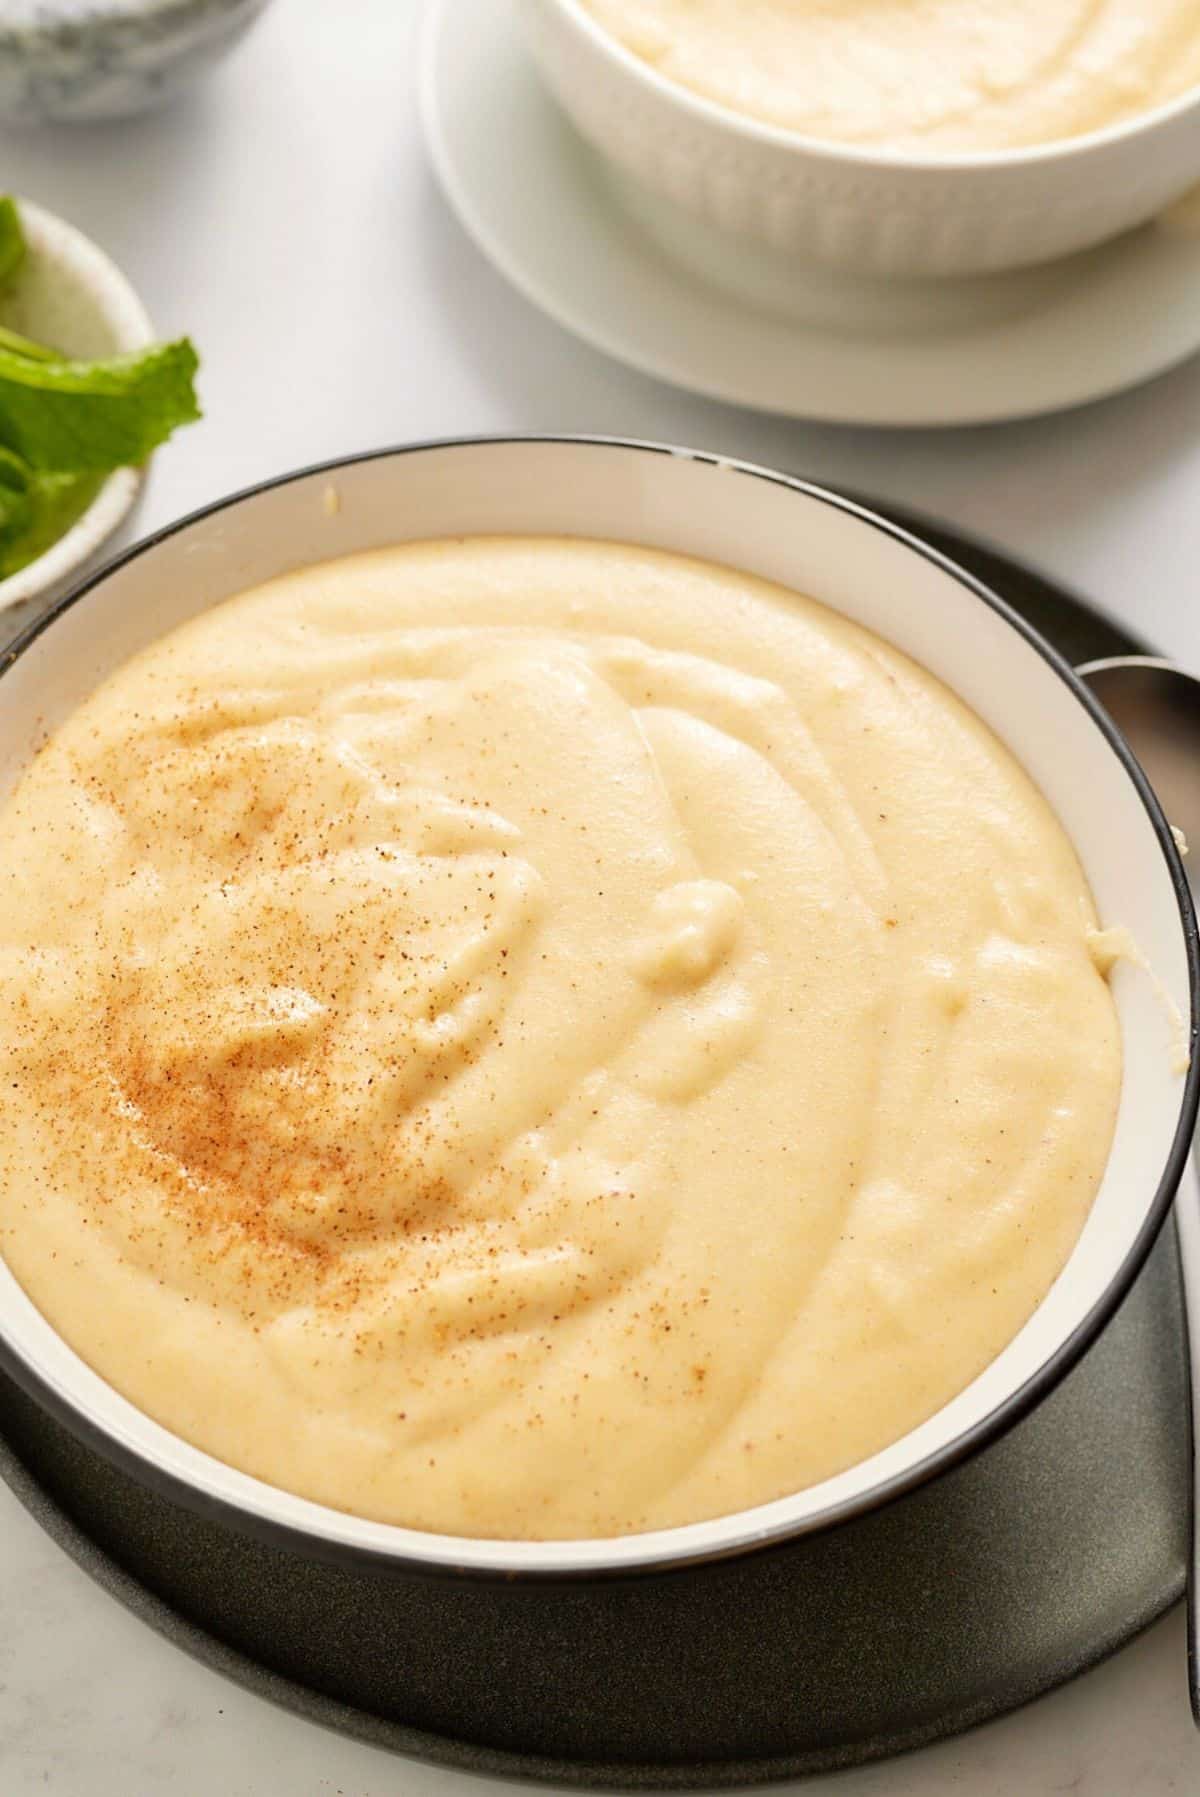
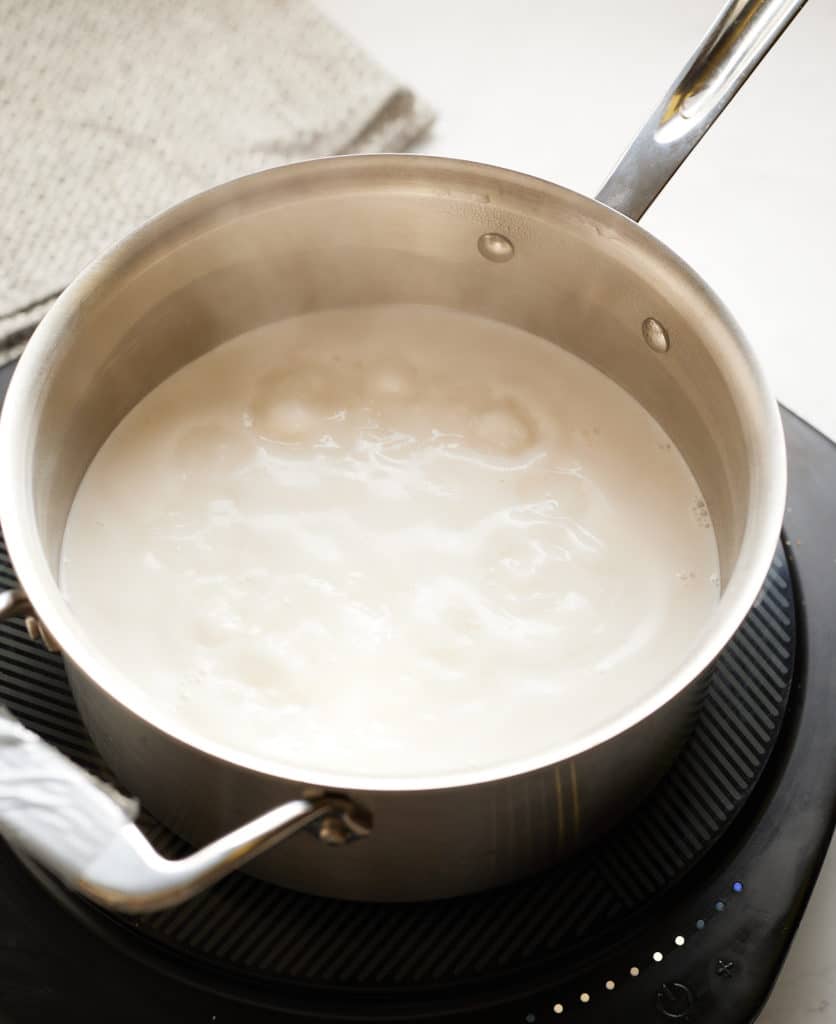
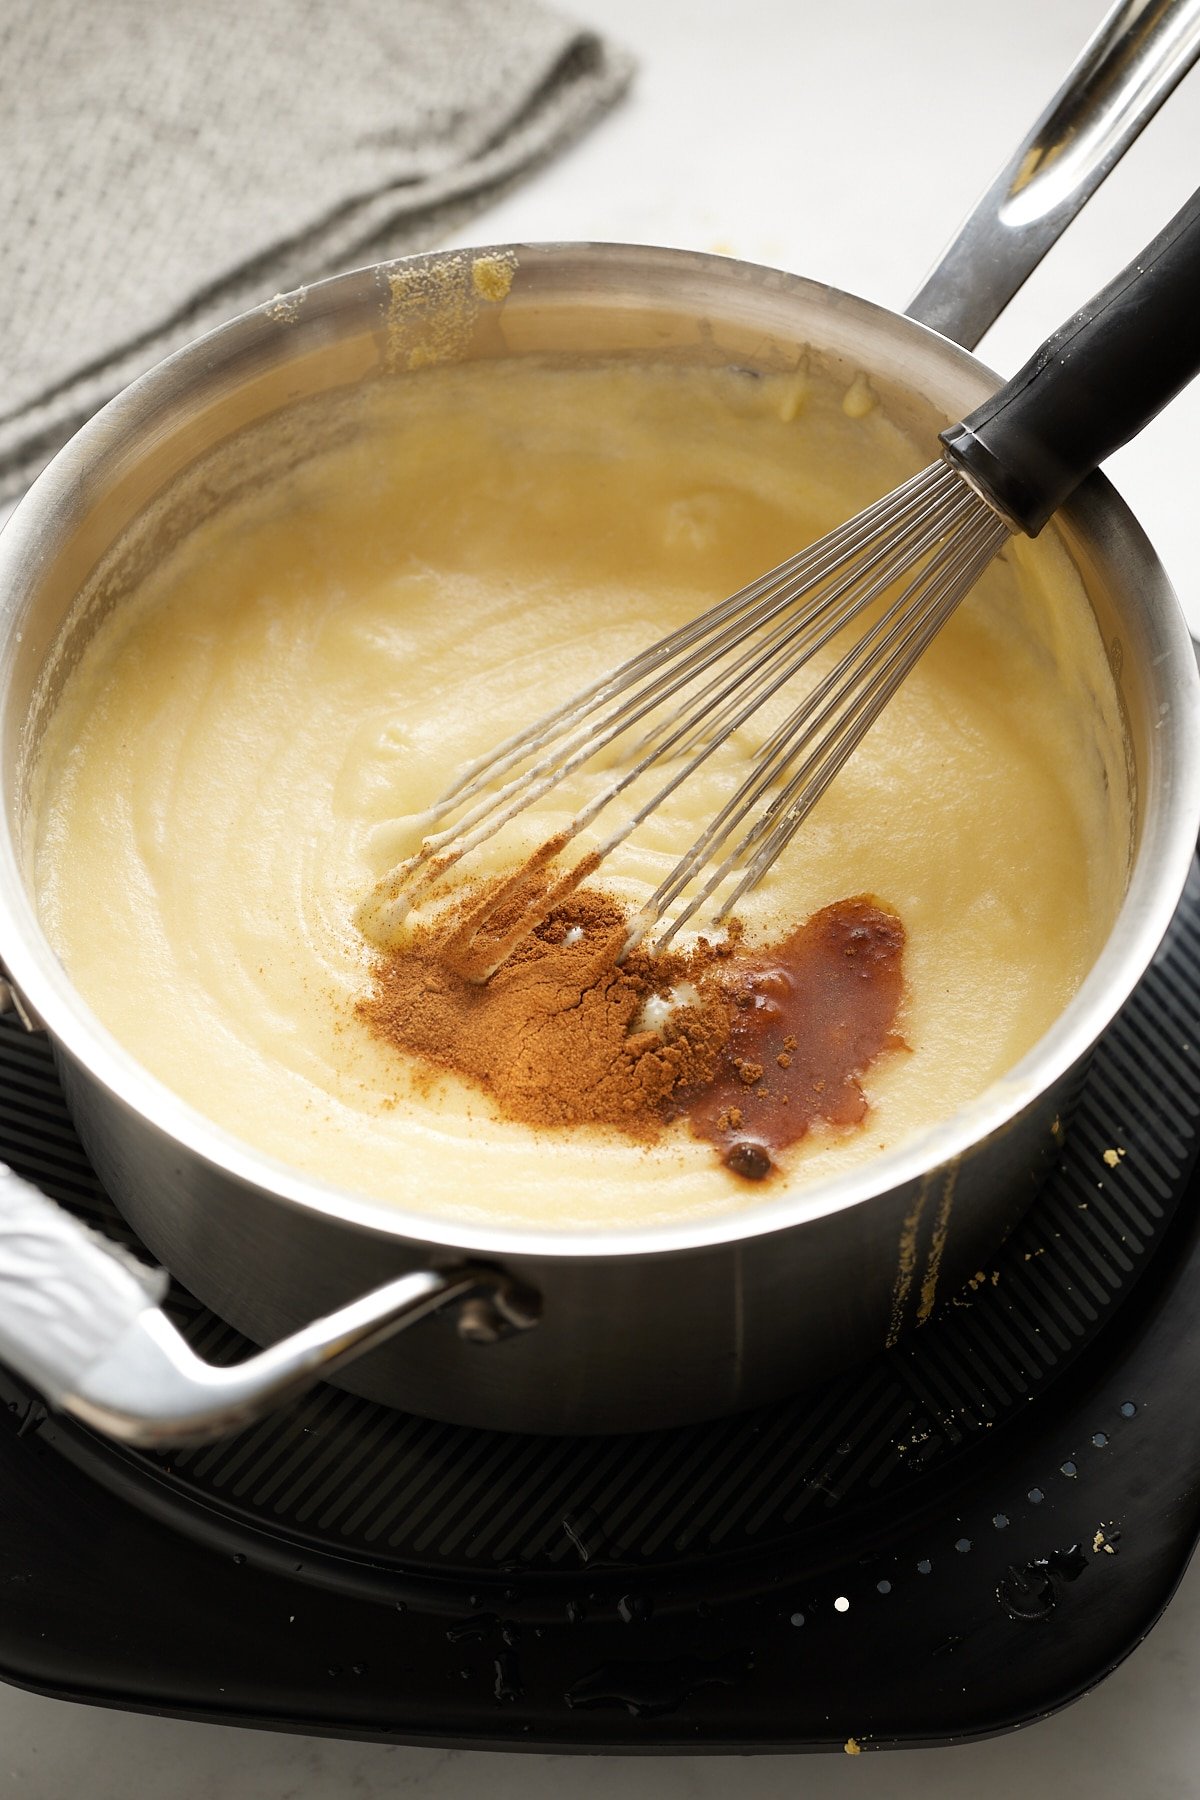
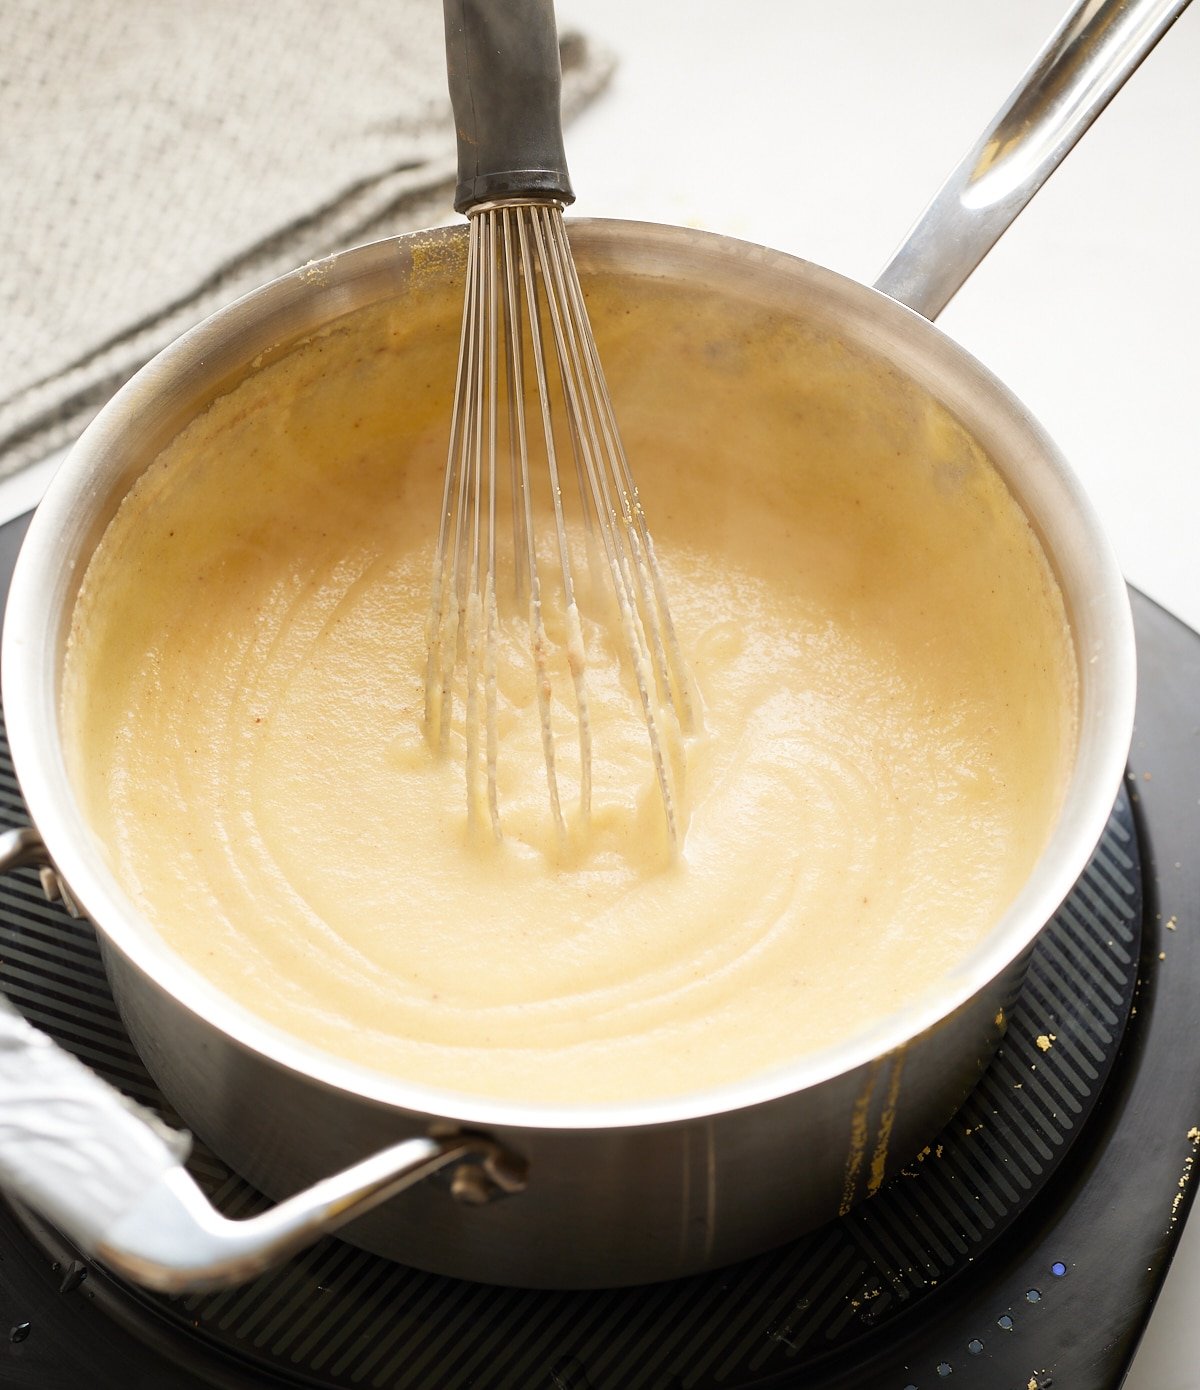
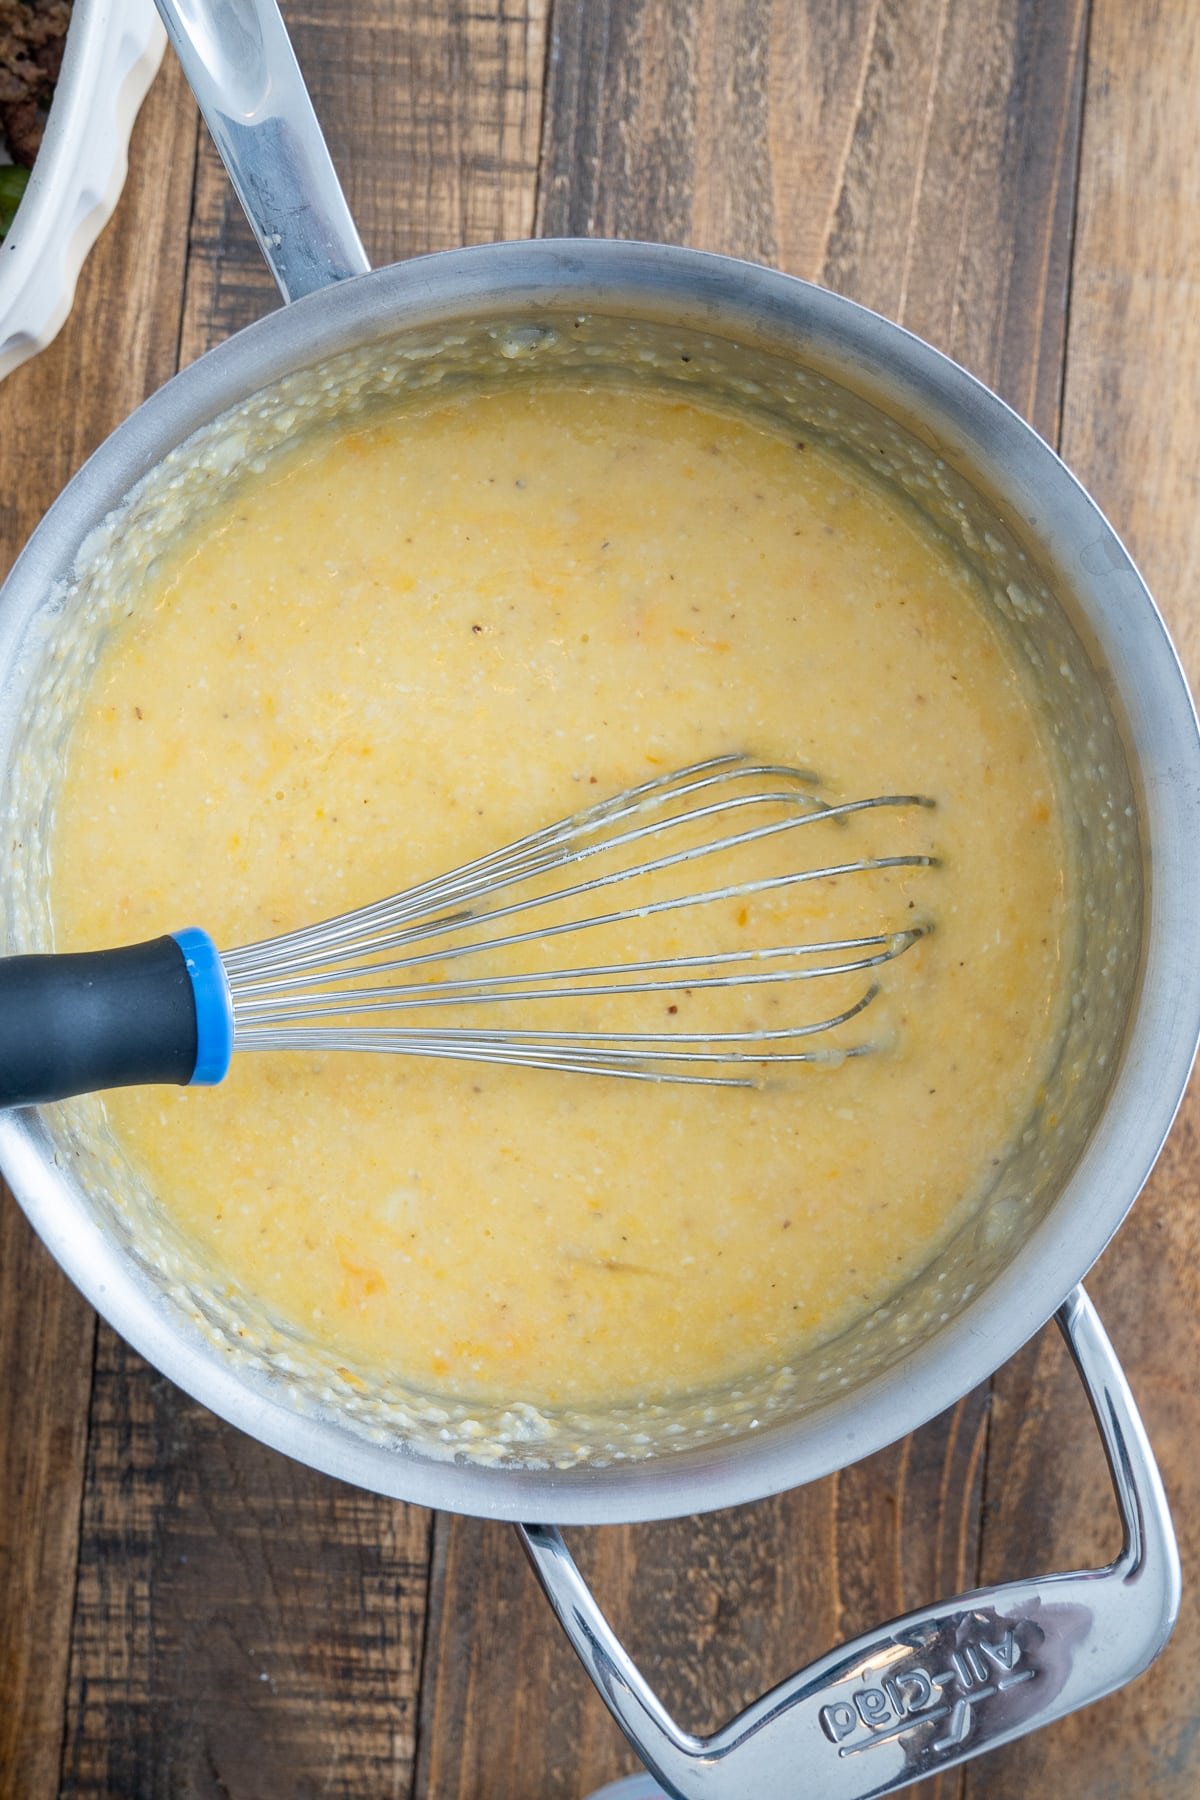
Meanwhile, bring 4 cups of water and 1 teaspoon of salt to a boil in a large saucepan. Gradually whisk in the grits. Reduce the heat to low and cook, stirring frequently, until the grits are thick and creamy, about 10-12 minutes.
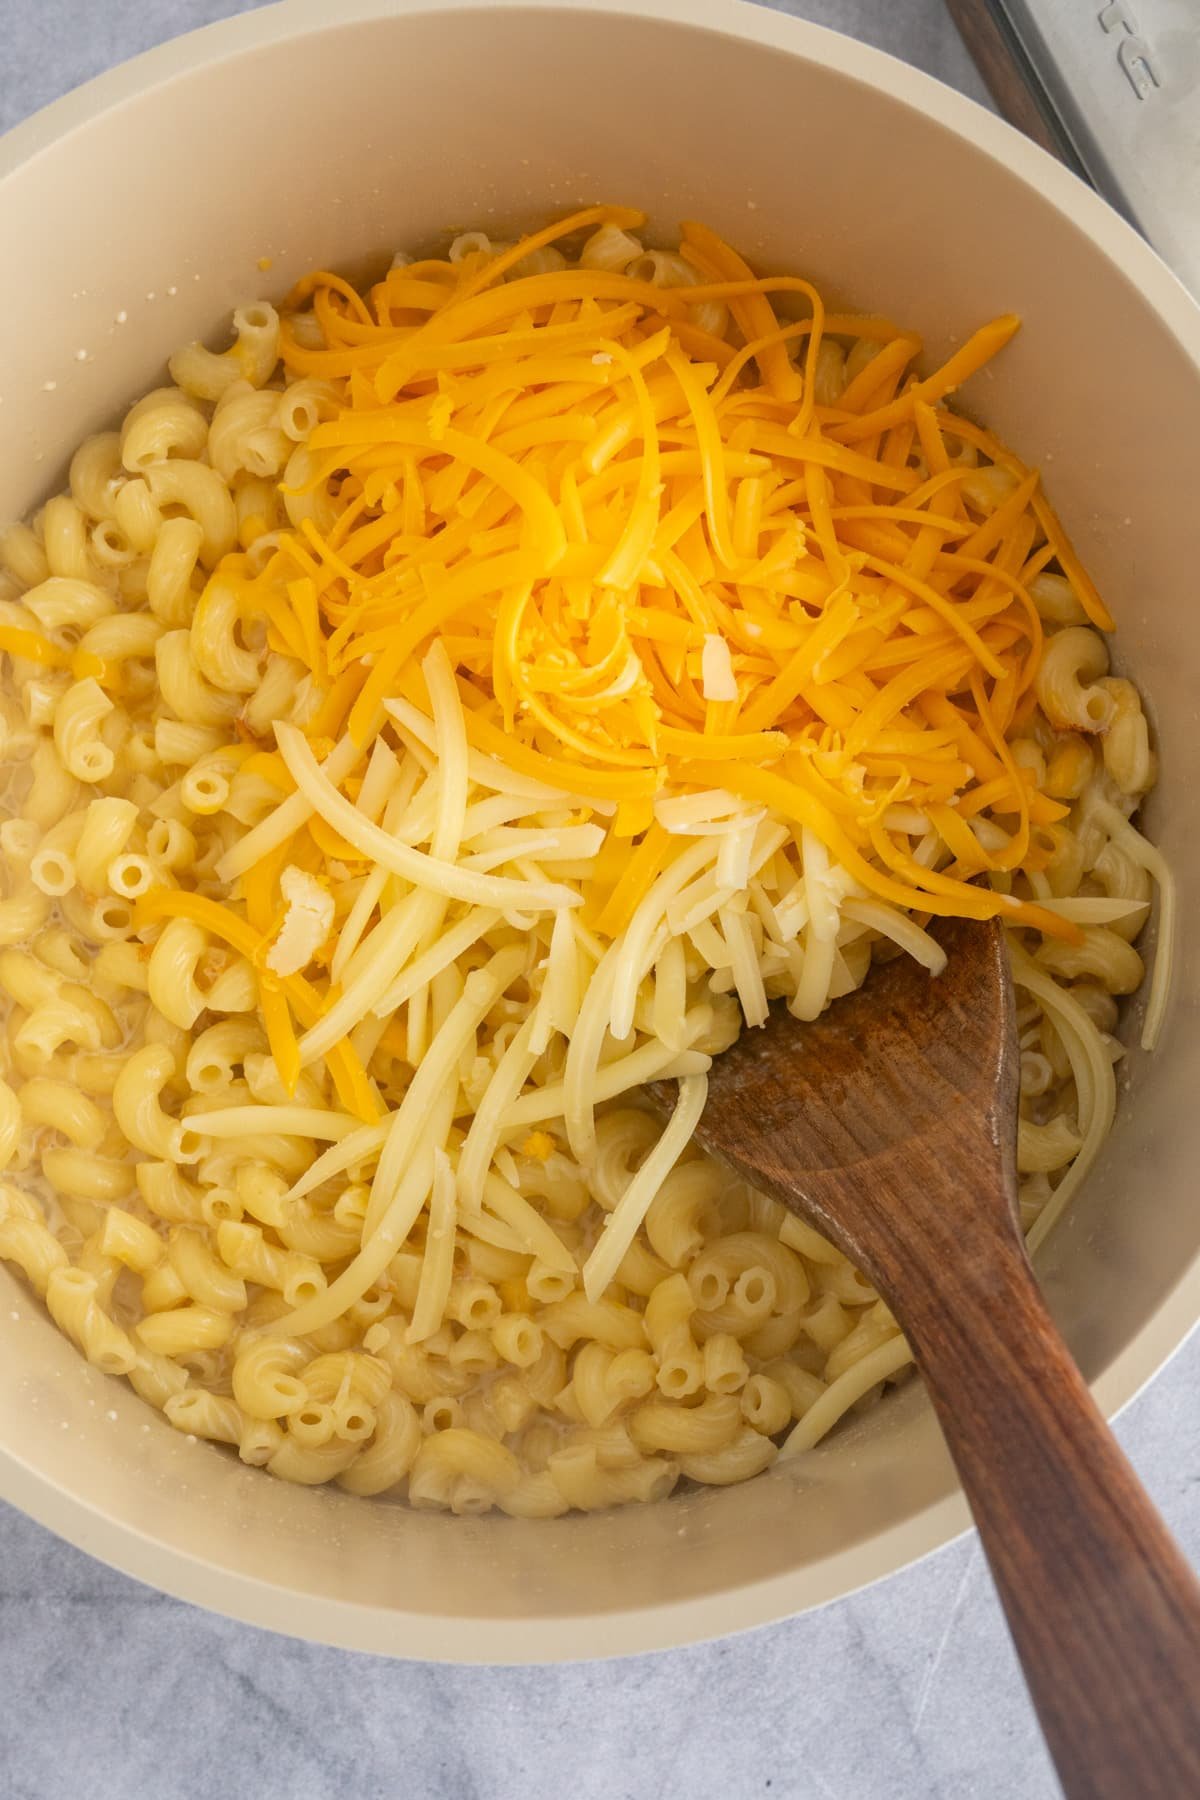
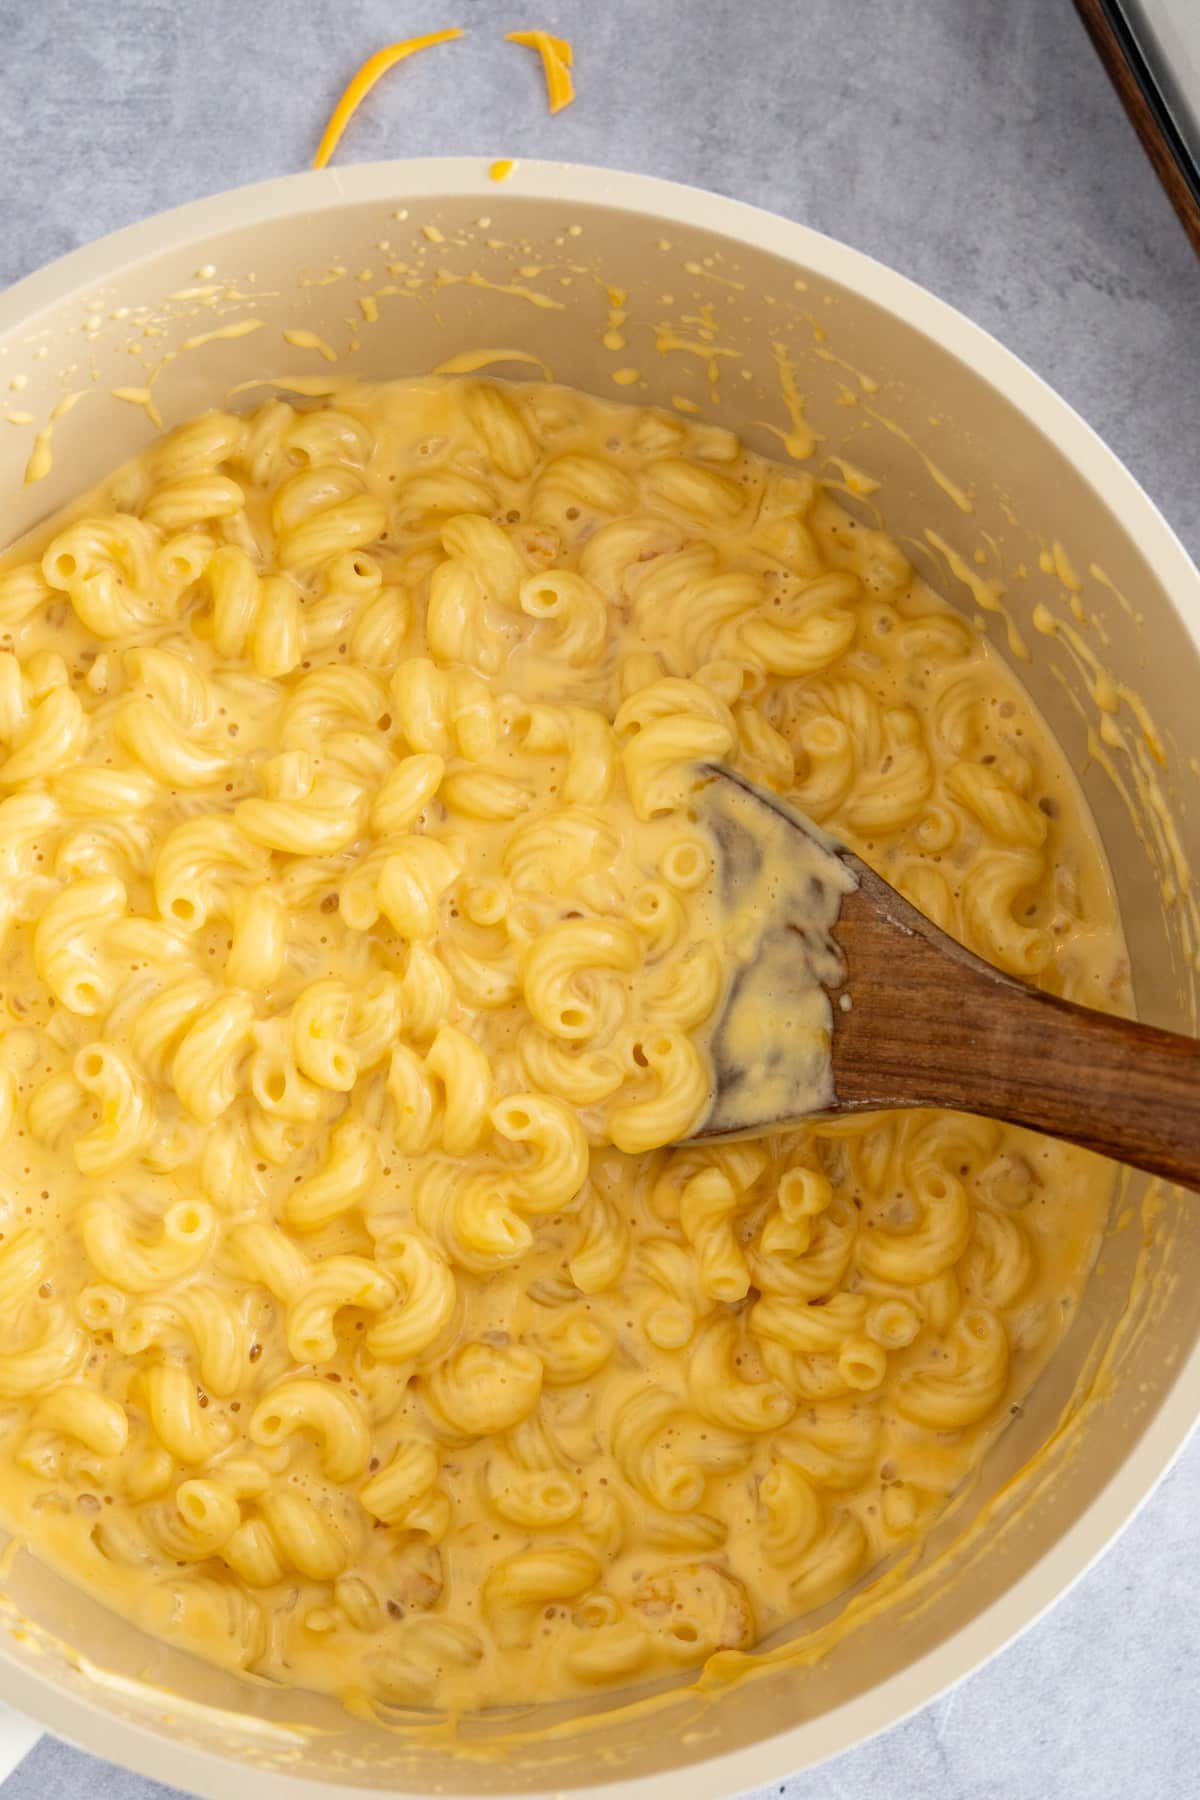
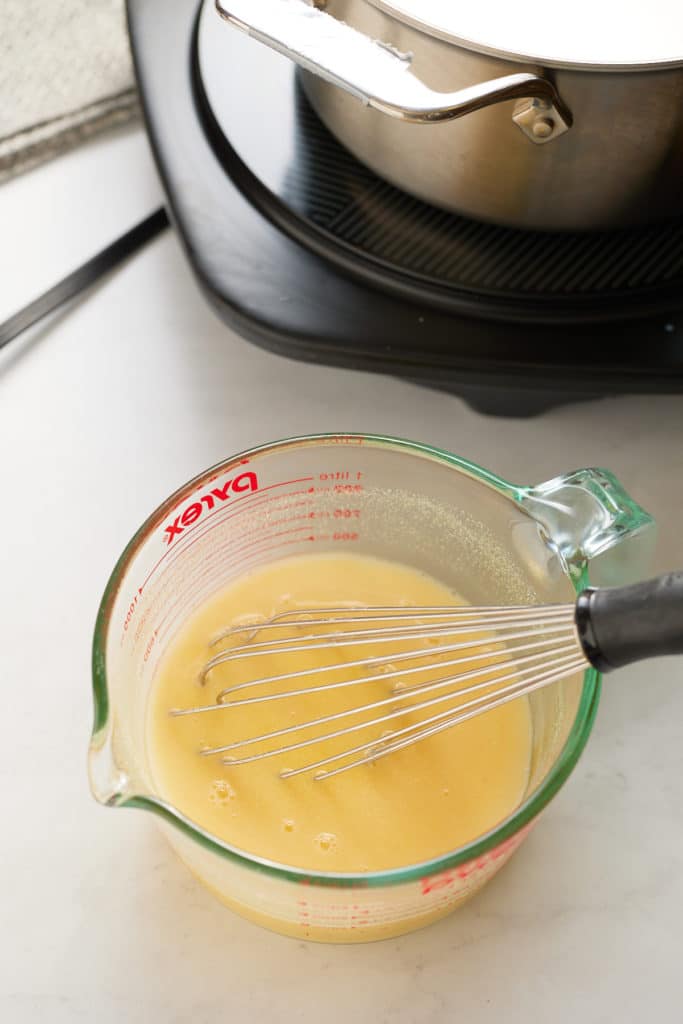
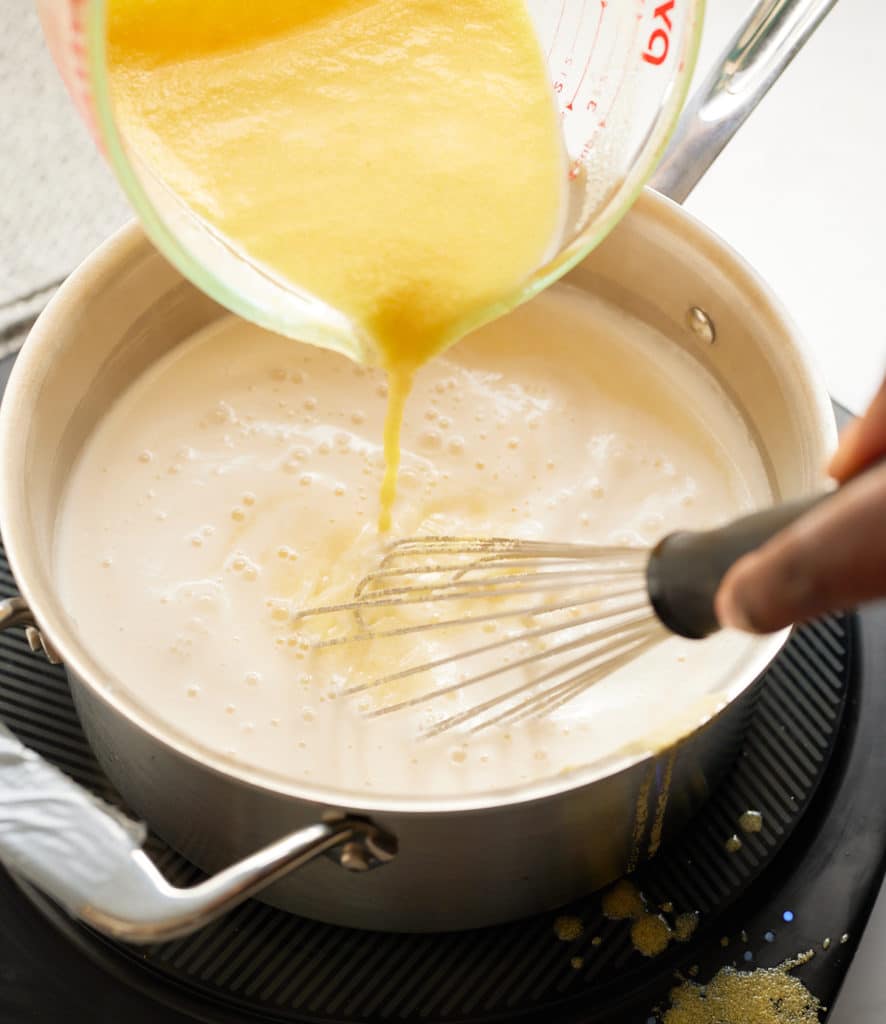
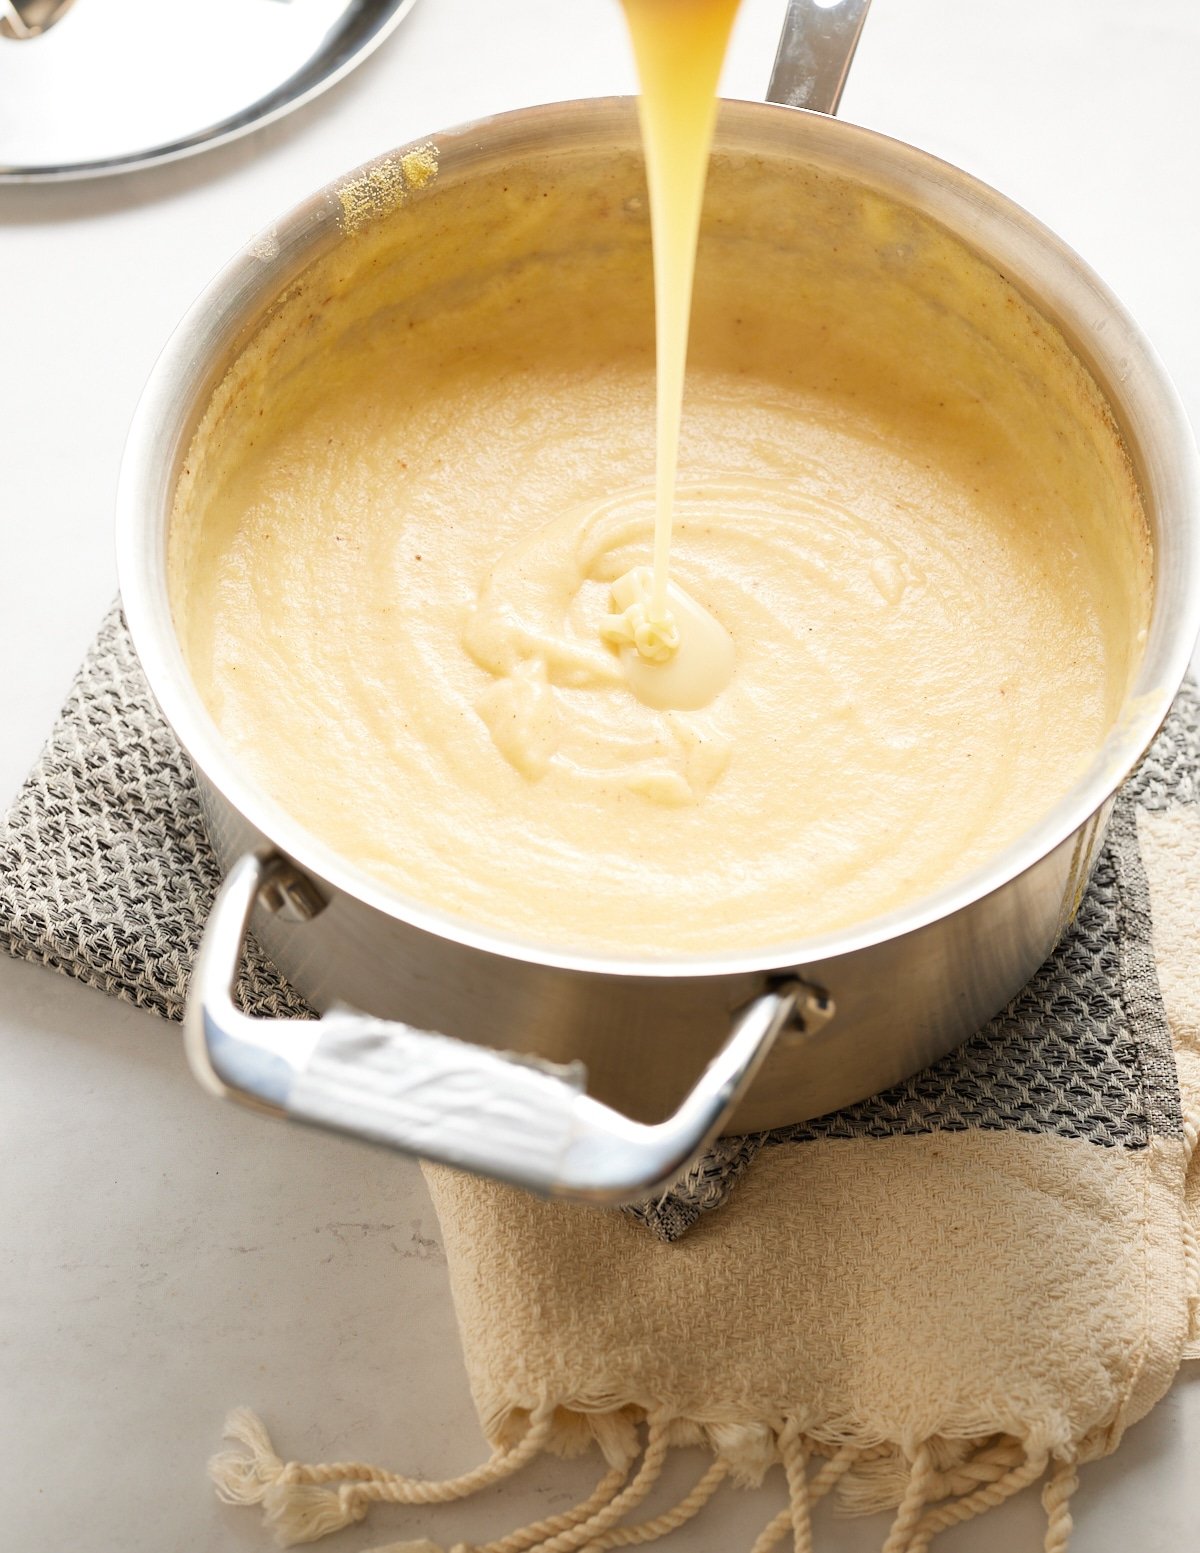
Take the saucepan off the heat. Mix in butter and 1 ½ cups of cheddar cheese until melted and well combined. Slowly stir in the milk and beat the eggs until the mixture is smooth.
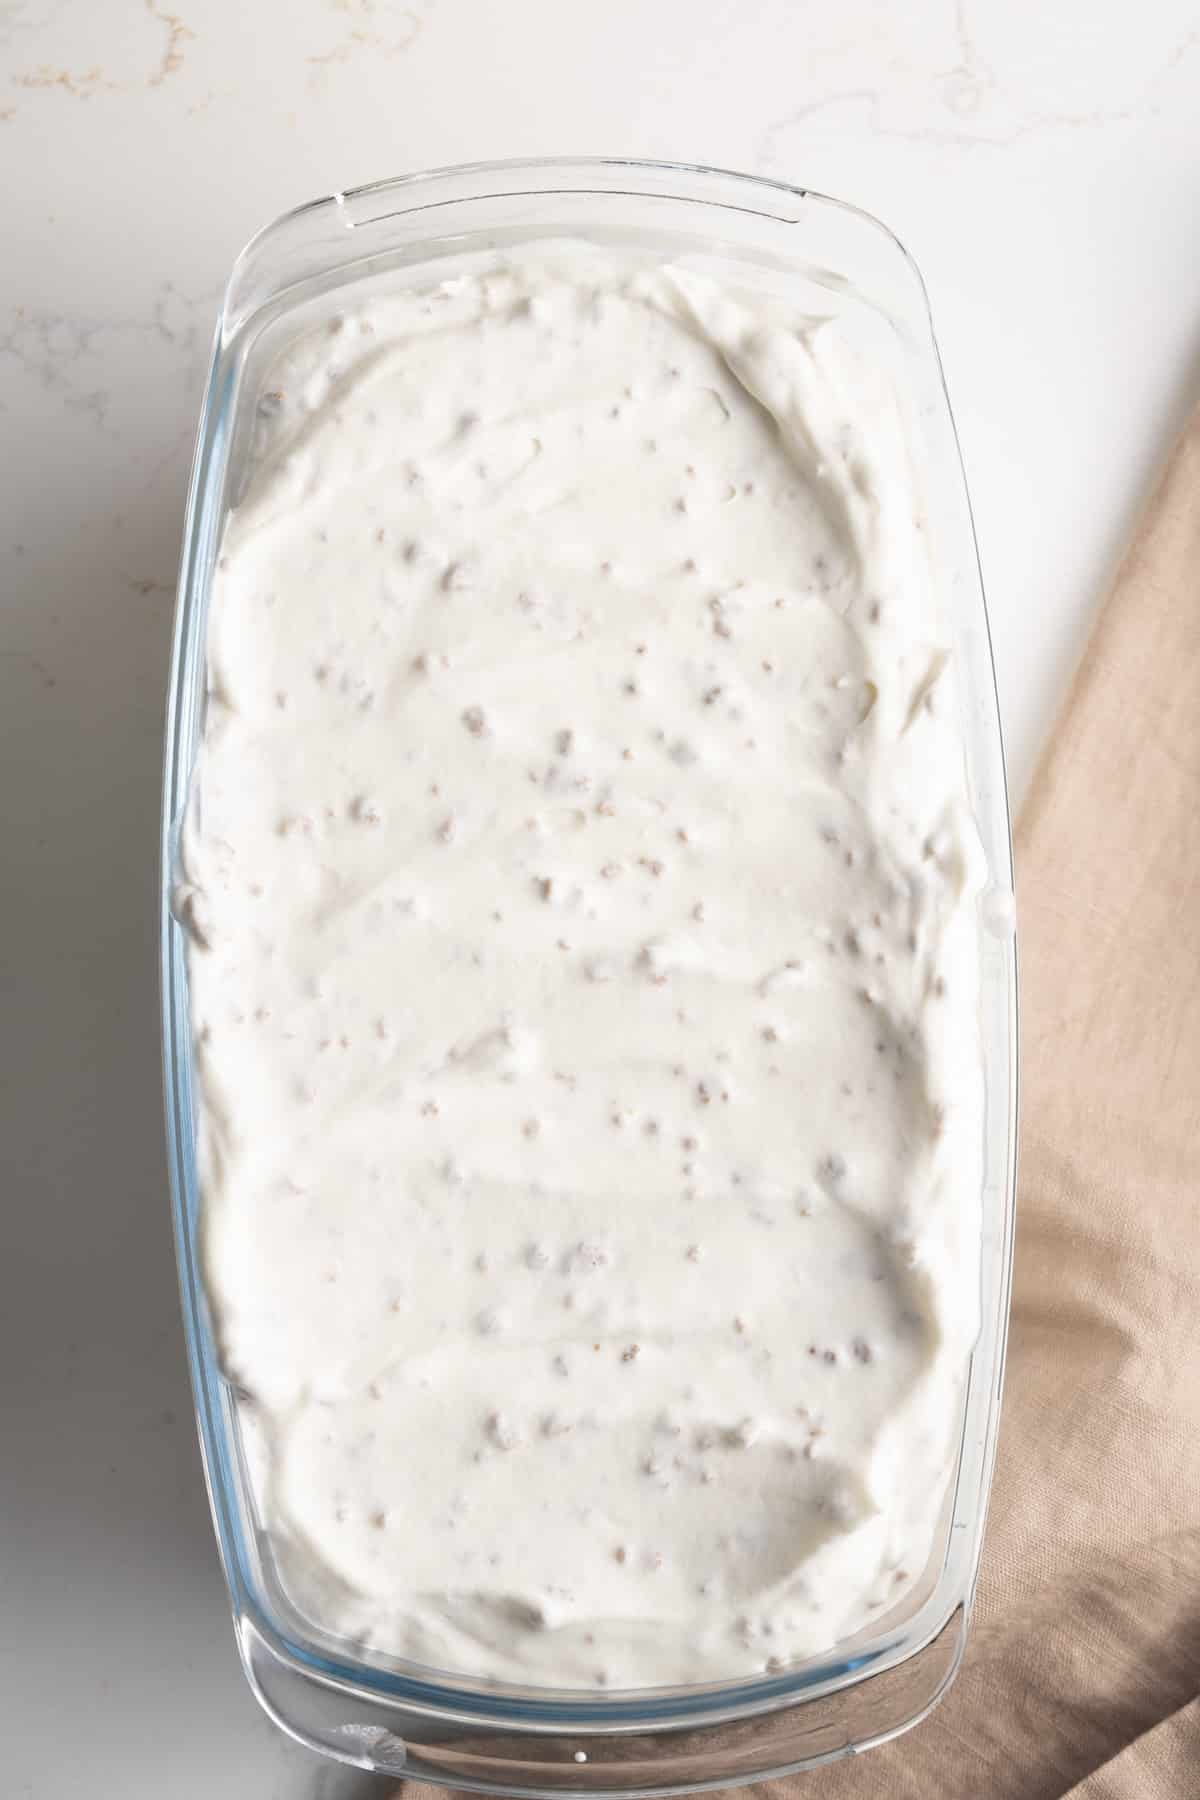
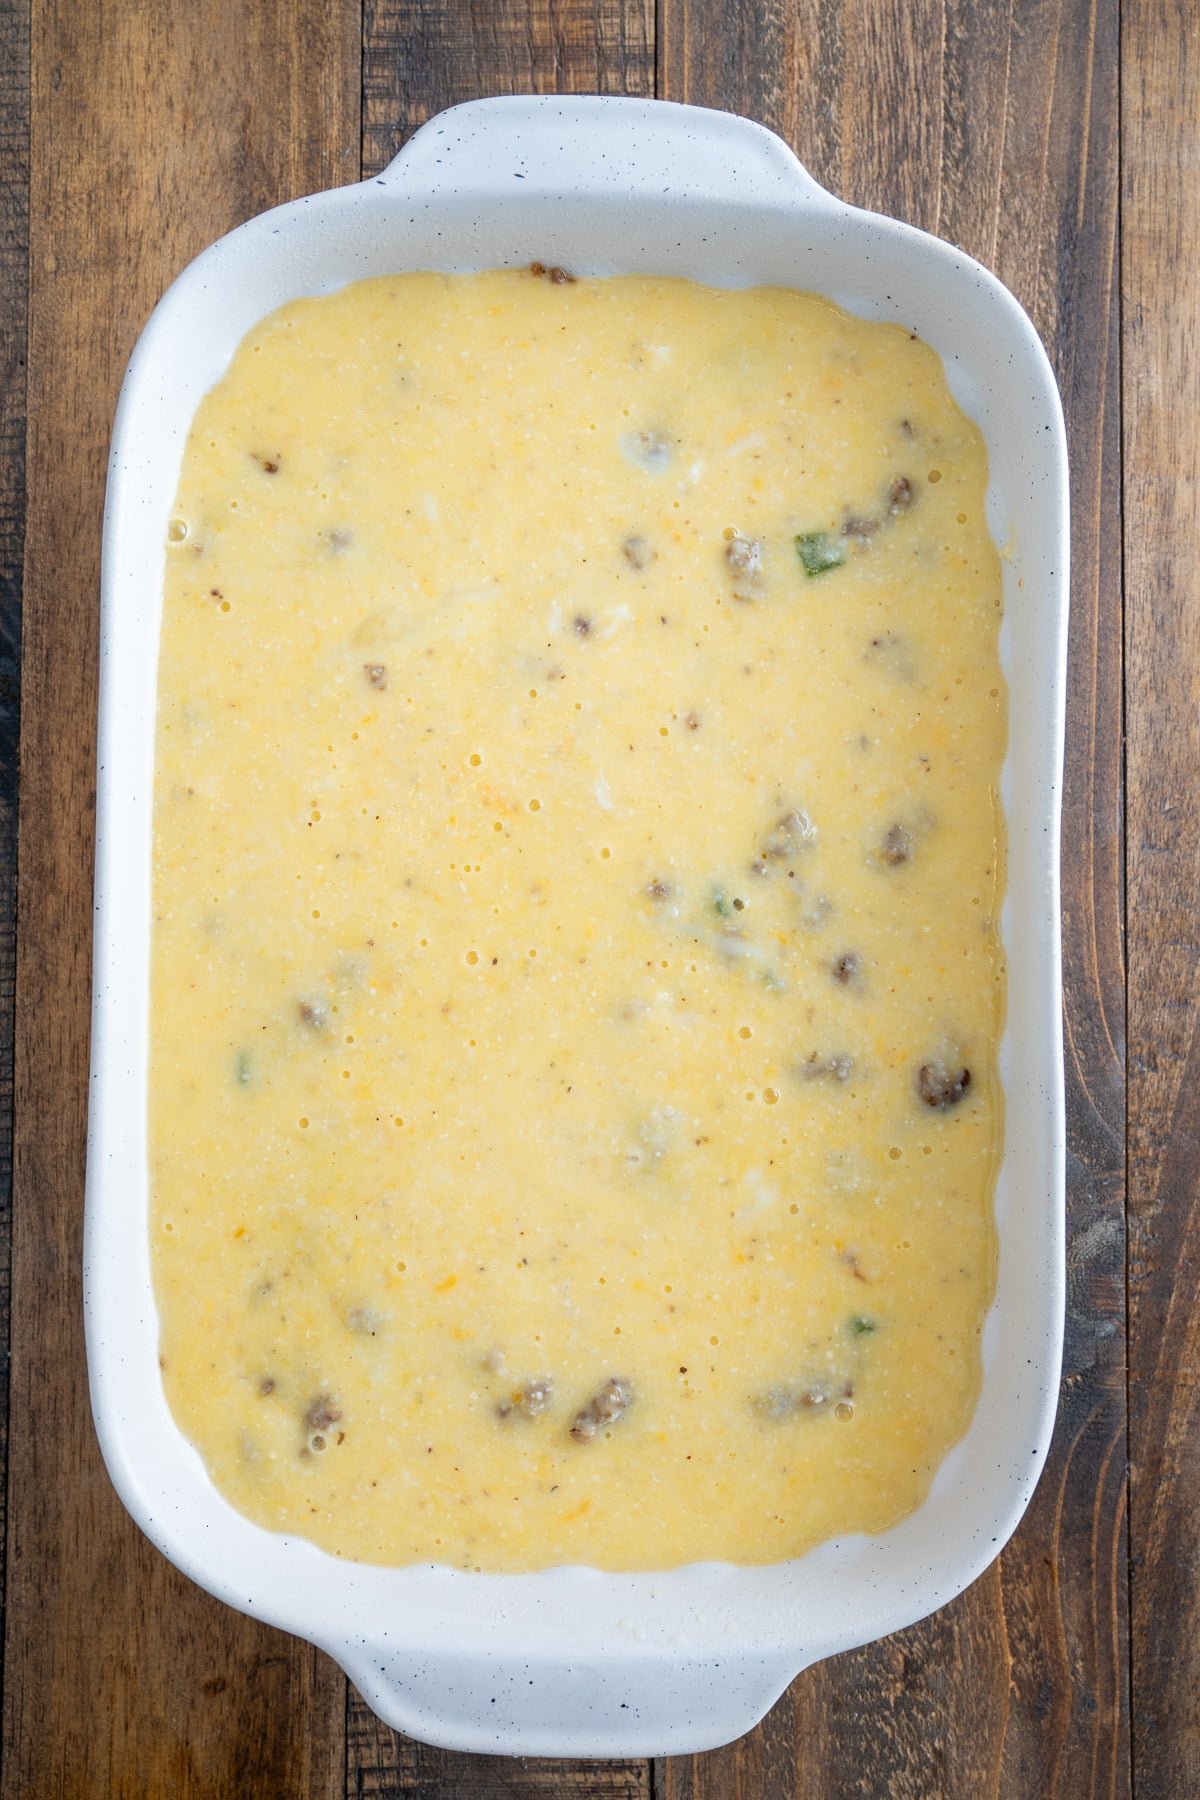
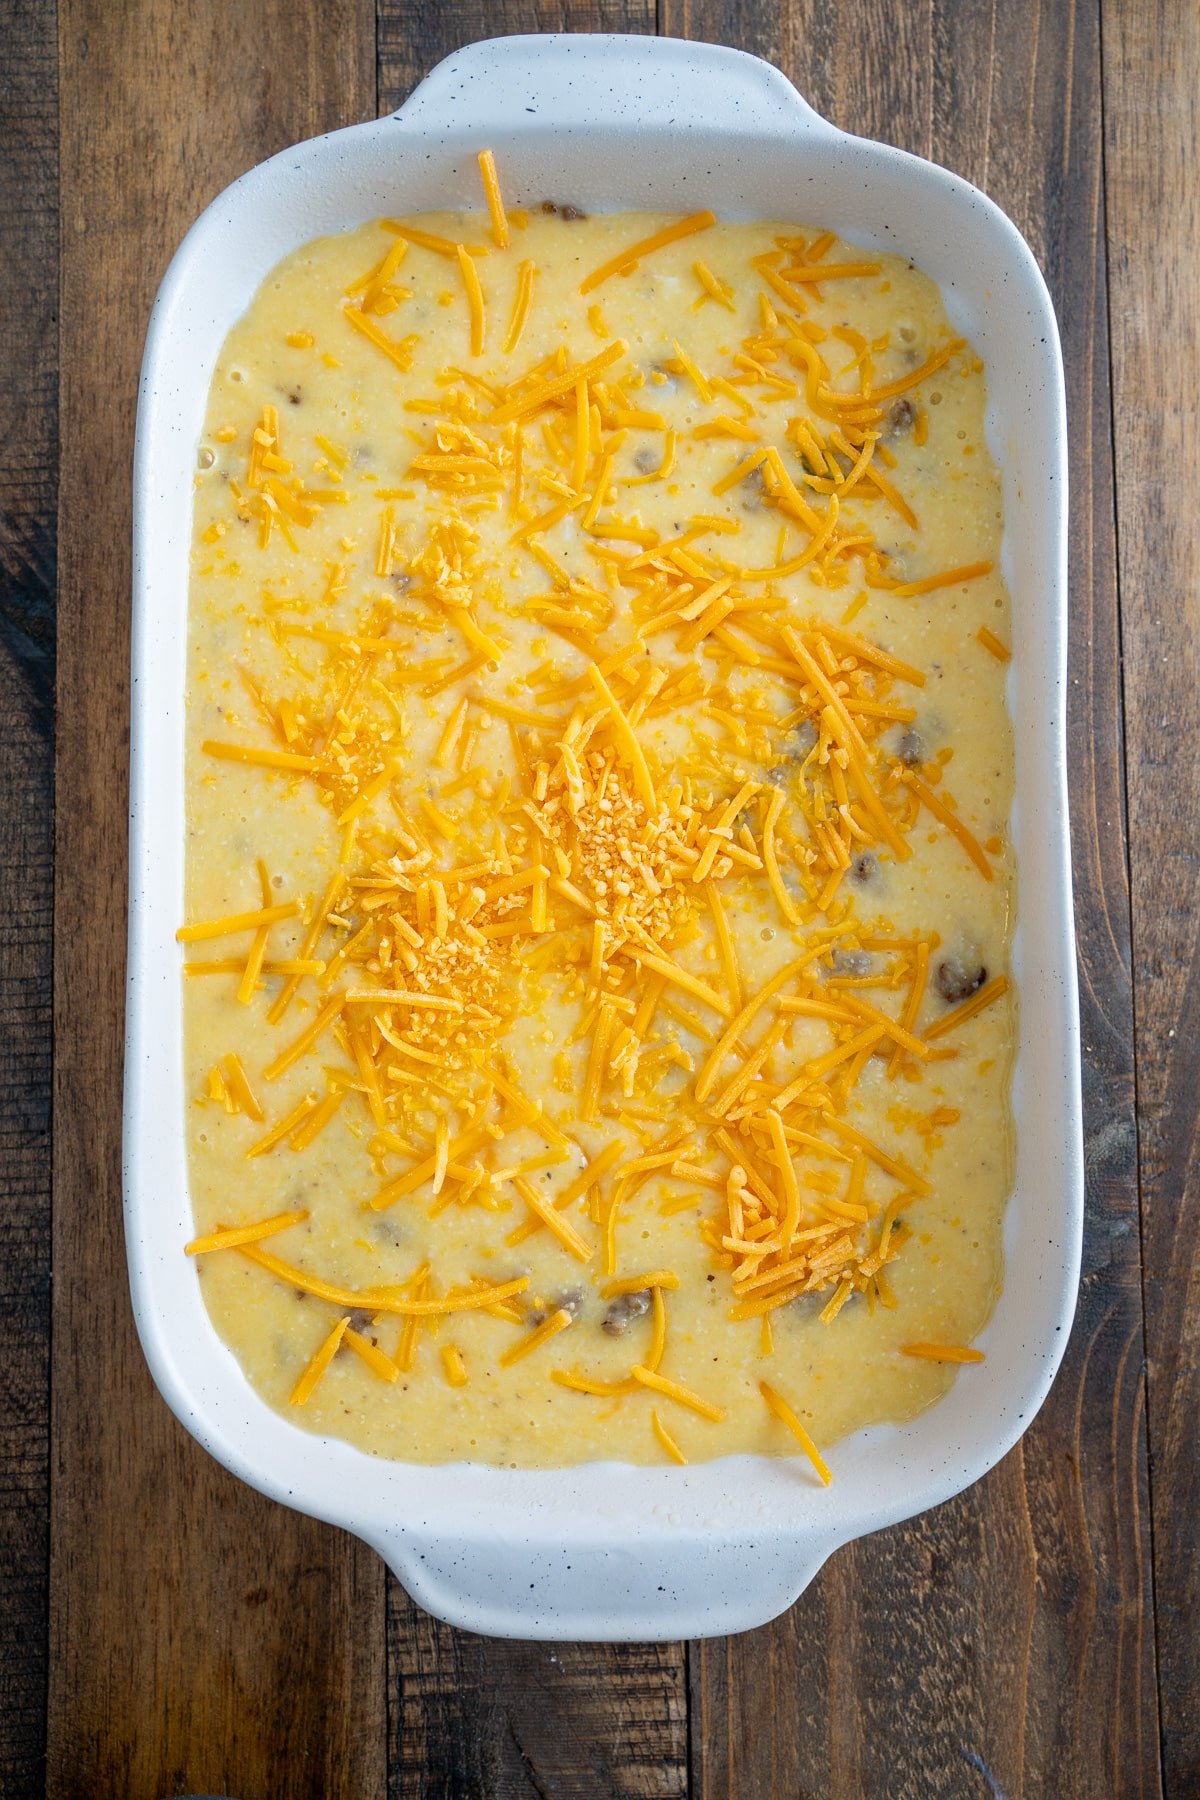
Next, pour the grits mixture into the greased baking dish over the sausage. Sprinkle the remaining ½ cup of shredded cheddar cheese evenly over the top.
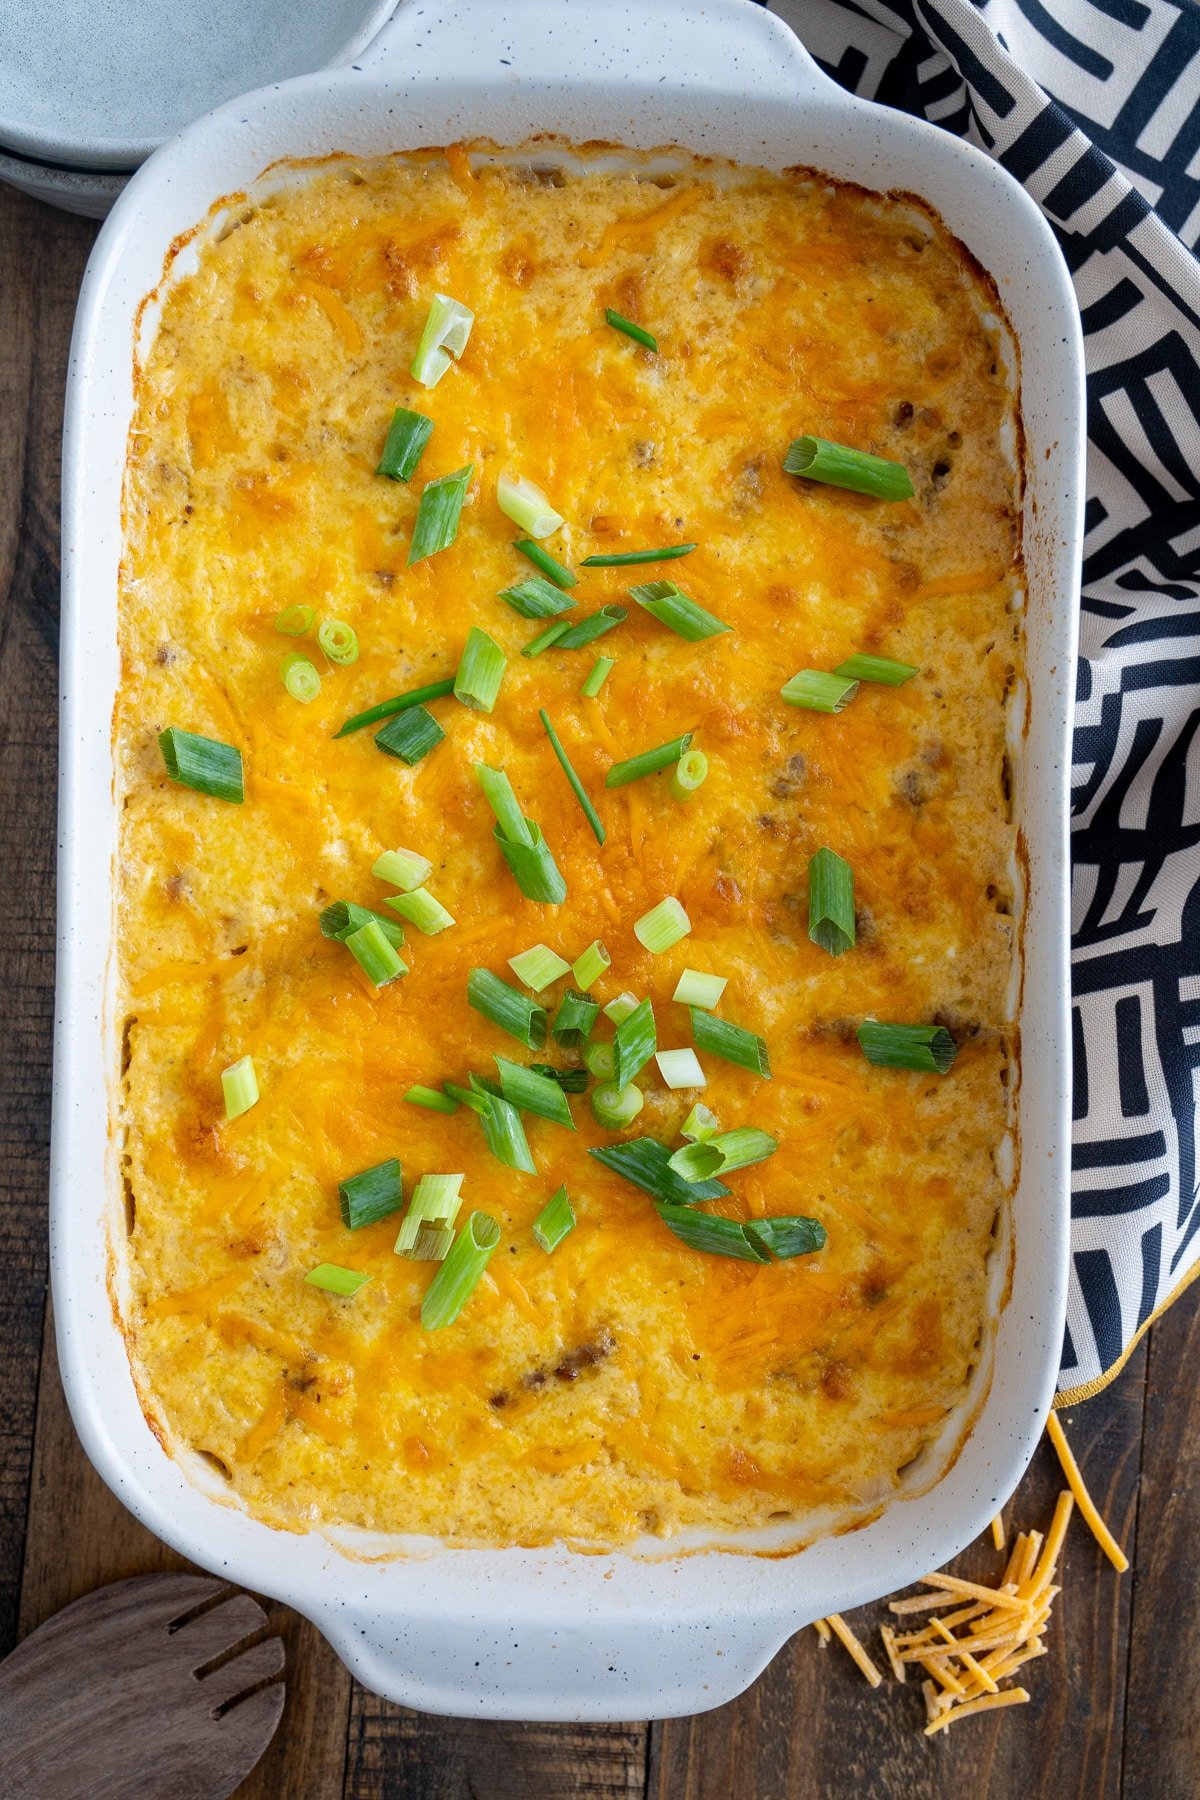
Now, bake the casserole in the oven for 45-50 minutes, or until it sets and the top turns golden brown.
Allow the casserole to cool for several minutes prior to serving.
HOW TO STORE
Leftover grits casserole can be stored in an airtight container in the refrigerator for up to 4 days or frozen for up to 4 weeks. Reheat in the oven at 350 degrees Fahrenheit until warmed through, adding a splash of milk if needed.
If you want to prepare this in advance, I suggest fully baking the casserole and storing it in the refrigerator overnight.
Variations
- You can substitute a low-sodium chicken broth if you want a little more flavor to your grits.
- Feel free to change up the cheese. I used cheddar cheese, but you could use parmesan, gouda, or even mozzarella.
- For this cheese grits casserole, feel free to add more cheese if you want it extra cheesy.
FAQS
- This recipe uses regular grits but you can substitute them for stone ground grits for a richer flavor. Quick grits are also fine to use if you're in a hurry. Just note that the grits won't be as thick. I do not recommend instant grits as they aren't as creamy.
- You can add more cheese if you prefer a more cheesy grits casserole.
NOTES
- Feel free to adjust the seasonings and ingredients to your taste.
- This casserole is perfect for breakfast, brunch, or even as a side dish for dinner.
I hope you like this grits casserole as much as we do! Looking for more grit recipes? Try these out:
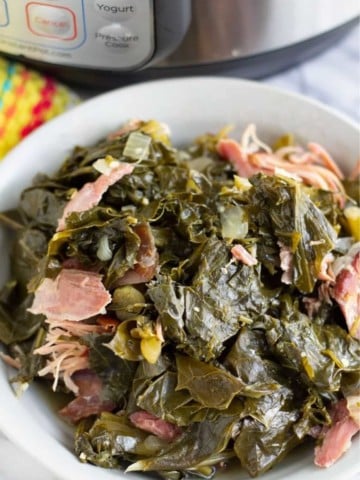
Creamy Instant Pot Grits with Cheddar and Jalapeño
Southern Style Shrimp and Grits
If you have tried this or any other recipe on my blog, please rate it and let me know how it turned out in the comments below!

Grits Casserole Recipe
Ingredients
- 1 pound breakfast sausage
- 2 jalapenos chopped with seeds removed
- 4 cups water
- 1 cup grits
- 1 teaspoon salt
- ¼ cup butter ½ a stick
- 2 cups shredded sharp cheddar cheese
- ½ cup milk
- 4 large eggs beaten
- 1 Tablespoon Worcestershire sauce
- 2 green onions white and green, separated
Instructions
- Preheat your oven to 350°F (175°C). Grease a 9x13-inch baking dish or casserole dish. Set aside.
- In a large skillet over medium-high heat, cook the breakfast sausage until it begins to brown. Add Worcestershire sauce, the chopped jalapenos, and whites of green onions and continue cooking until the sausage is fully browned and the jalapenos are softened. Drain any excess fat from the skillet. Pour sausage in bottom of 9x13 baking dish.
- Meanwhile, bring 4 cups of water and 1 teaspoon of salt to a boil in a large saucepan. Gradually whisk in the grits. Reduce the heat to low and cook, stirring frequently, until the grits are thick and creamy, about 10-12 minutes.
- Remove the saucepan from the heat and stir in the butter and 1 ½ cups of shredded cheddar cheese until melted and well combined. Slowly stir in the milk, and beaten eggs until the mixture is smooth.
- Pour the grits mixture into the greased baking dish over the sausage. Sprinkle the remaining ½ cup of shredded cheddar cheese evenly over the top.
- Bake in the preheated oven for 45-50 minutes, or until the casserole is set and the top is golden brown.
- Let the casserole cool for a few minutes before serving.
Notes
- Feel free to adjust the seasonings and ingredients to your taste.
- This casserole is perfect for breakfast, brunch, or even as a side dish for dinner.