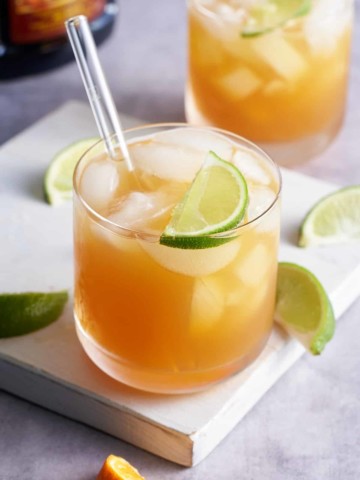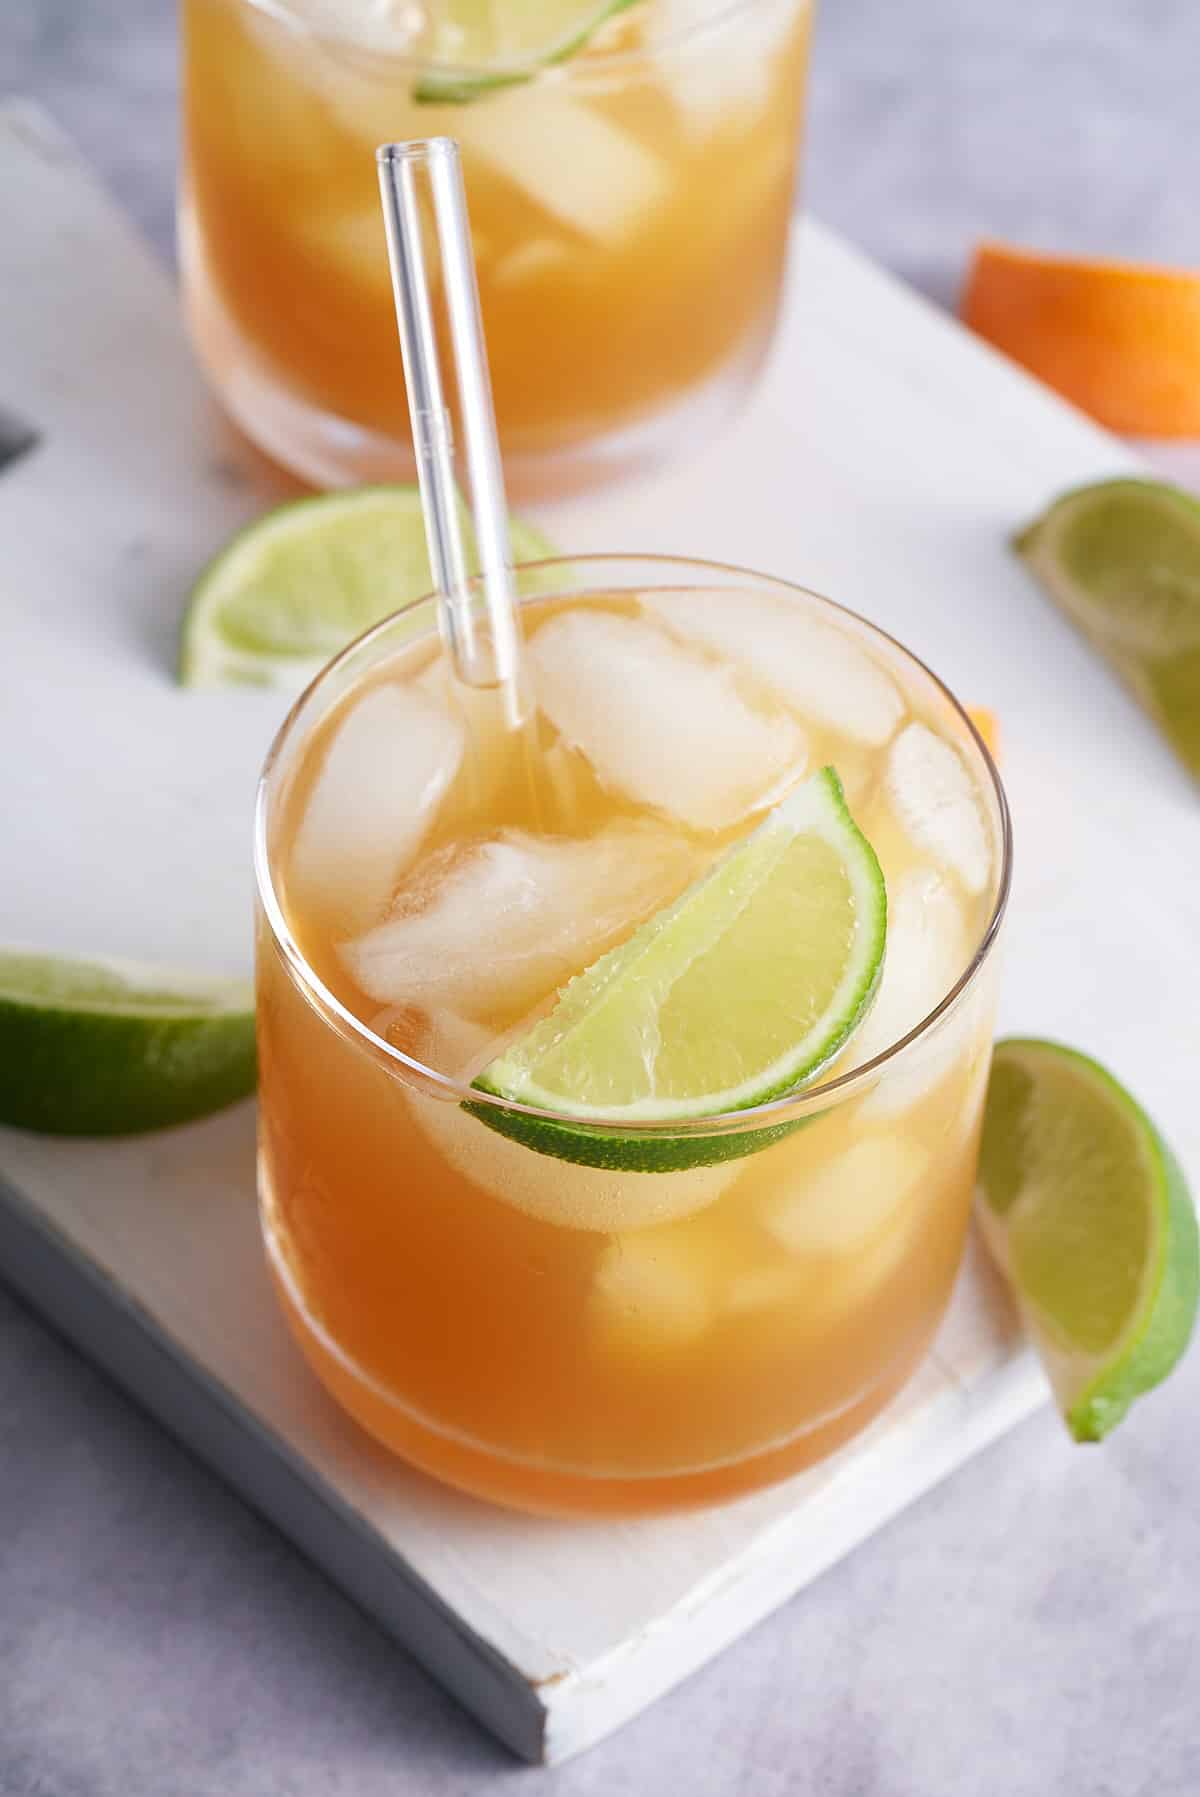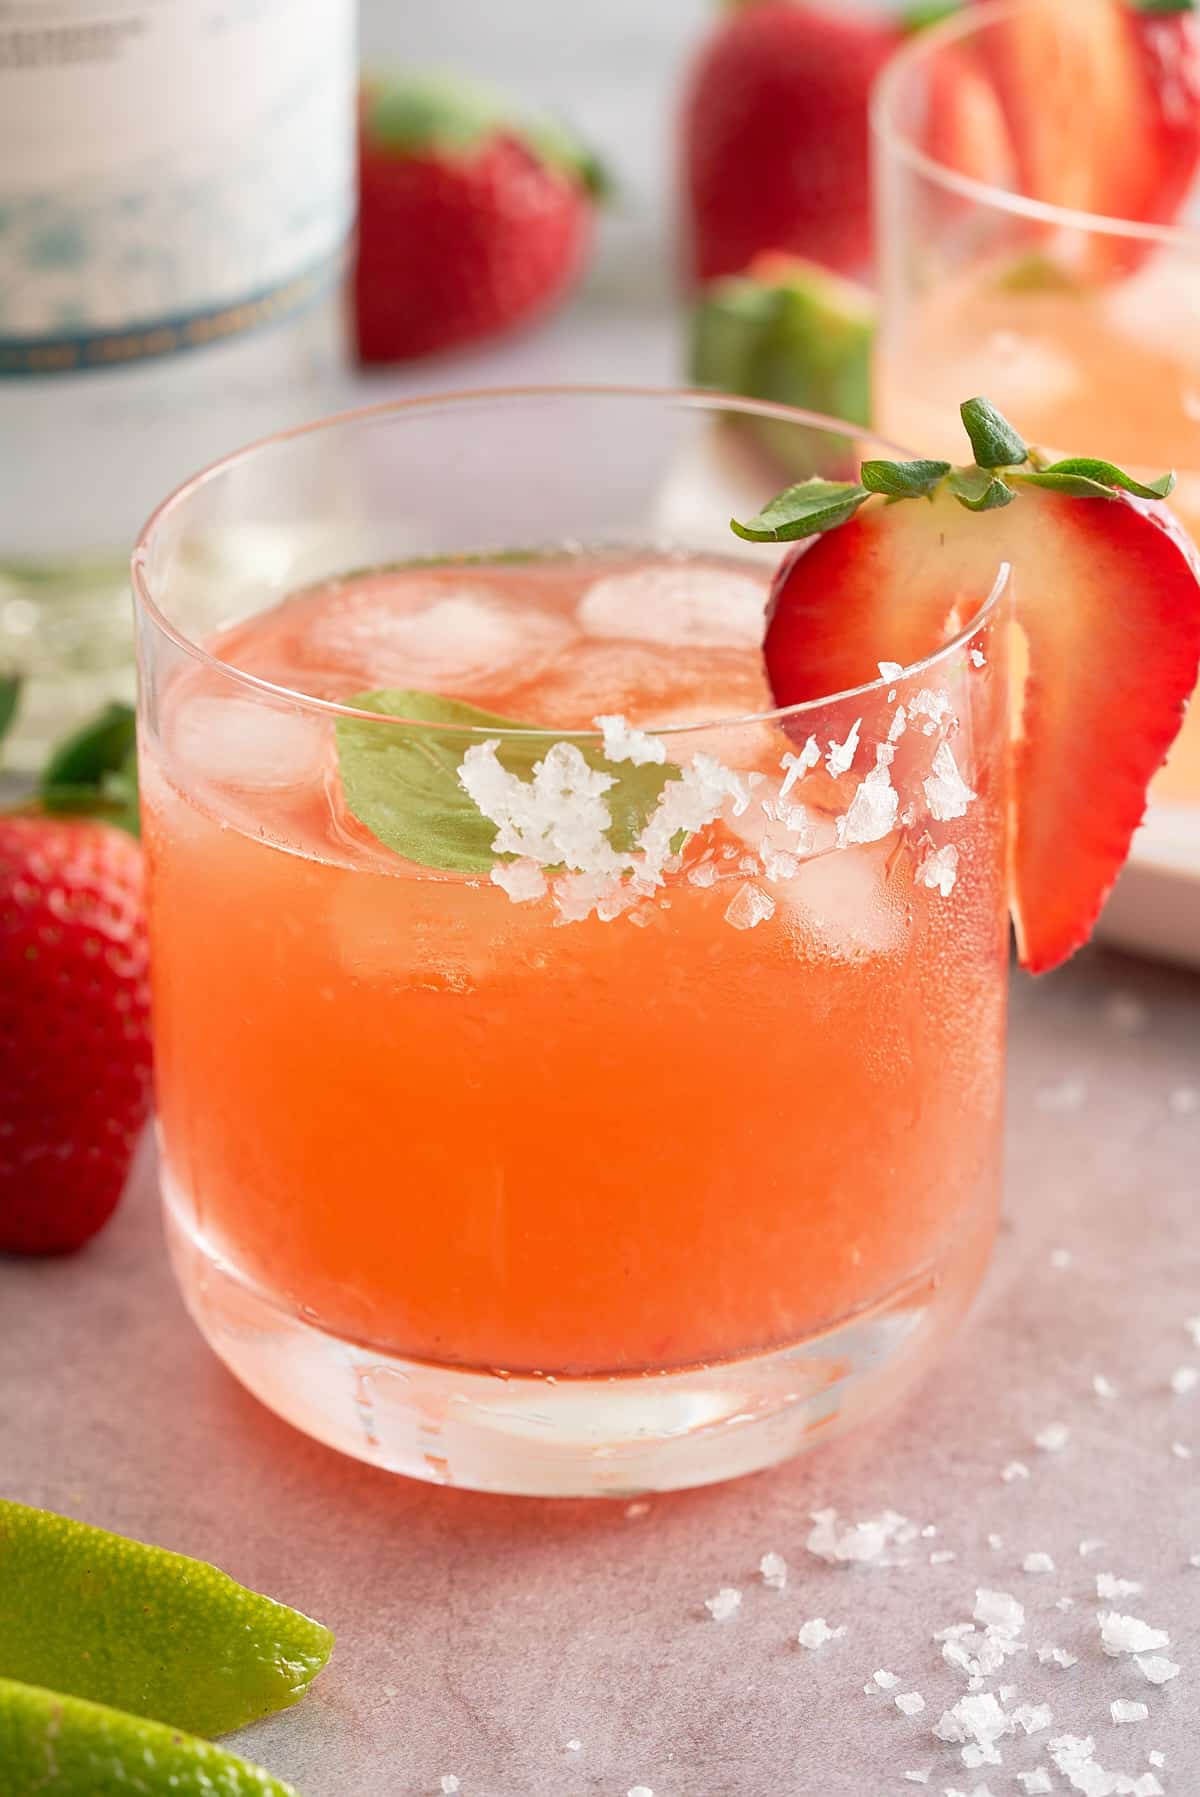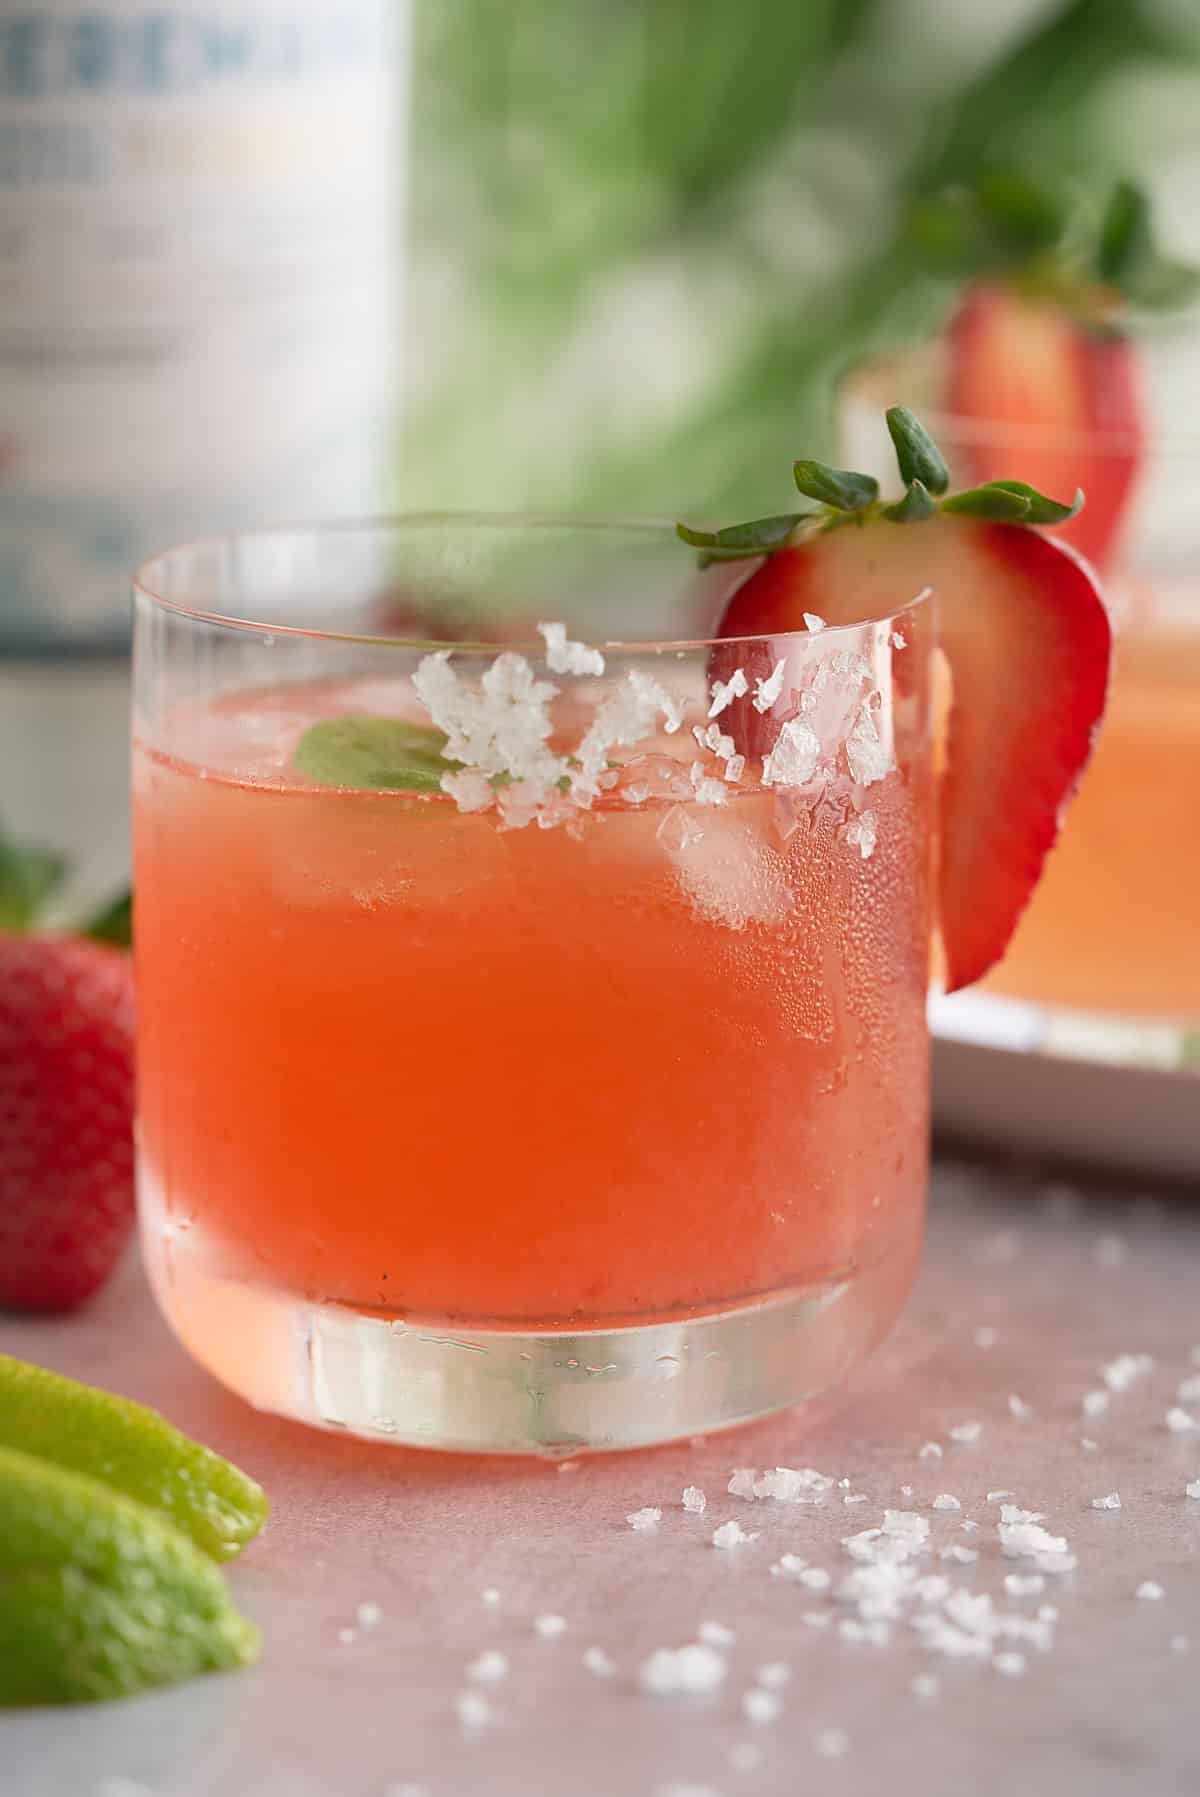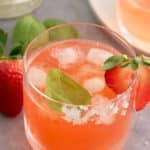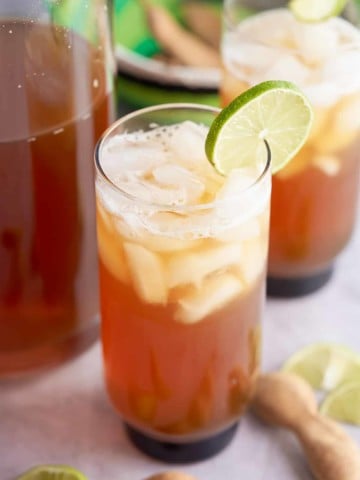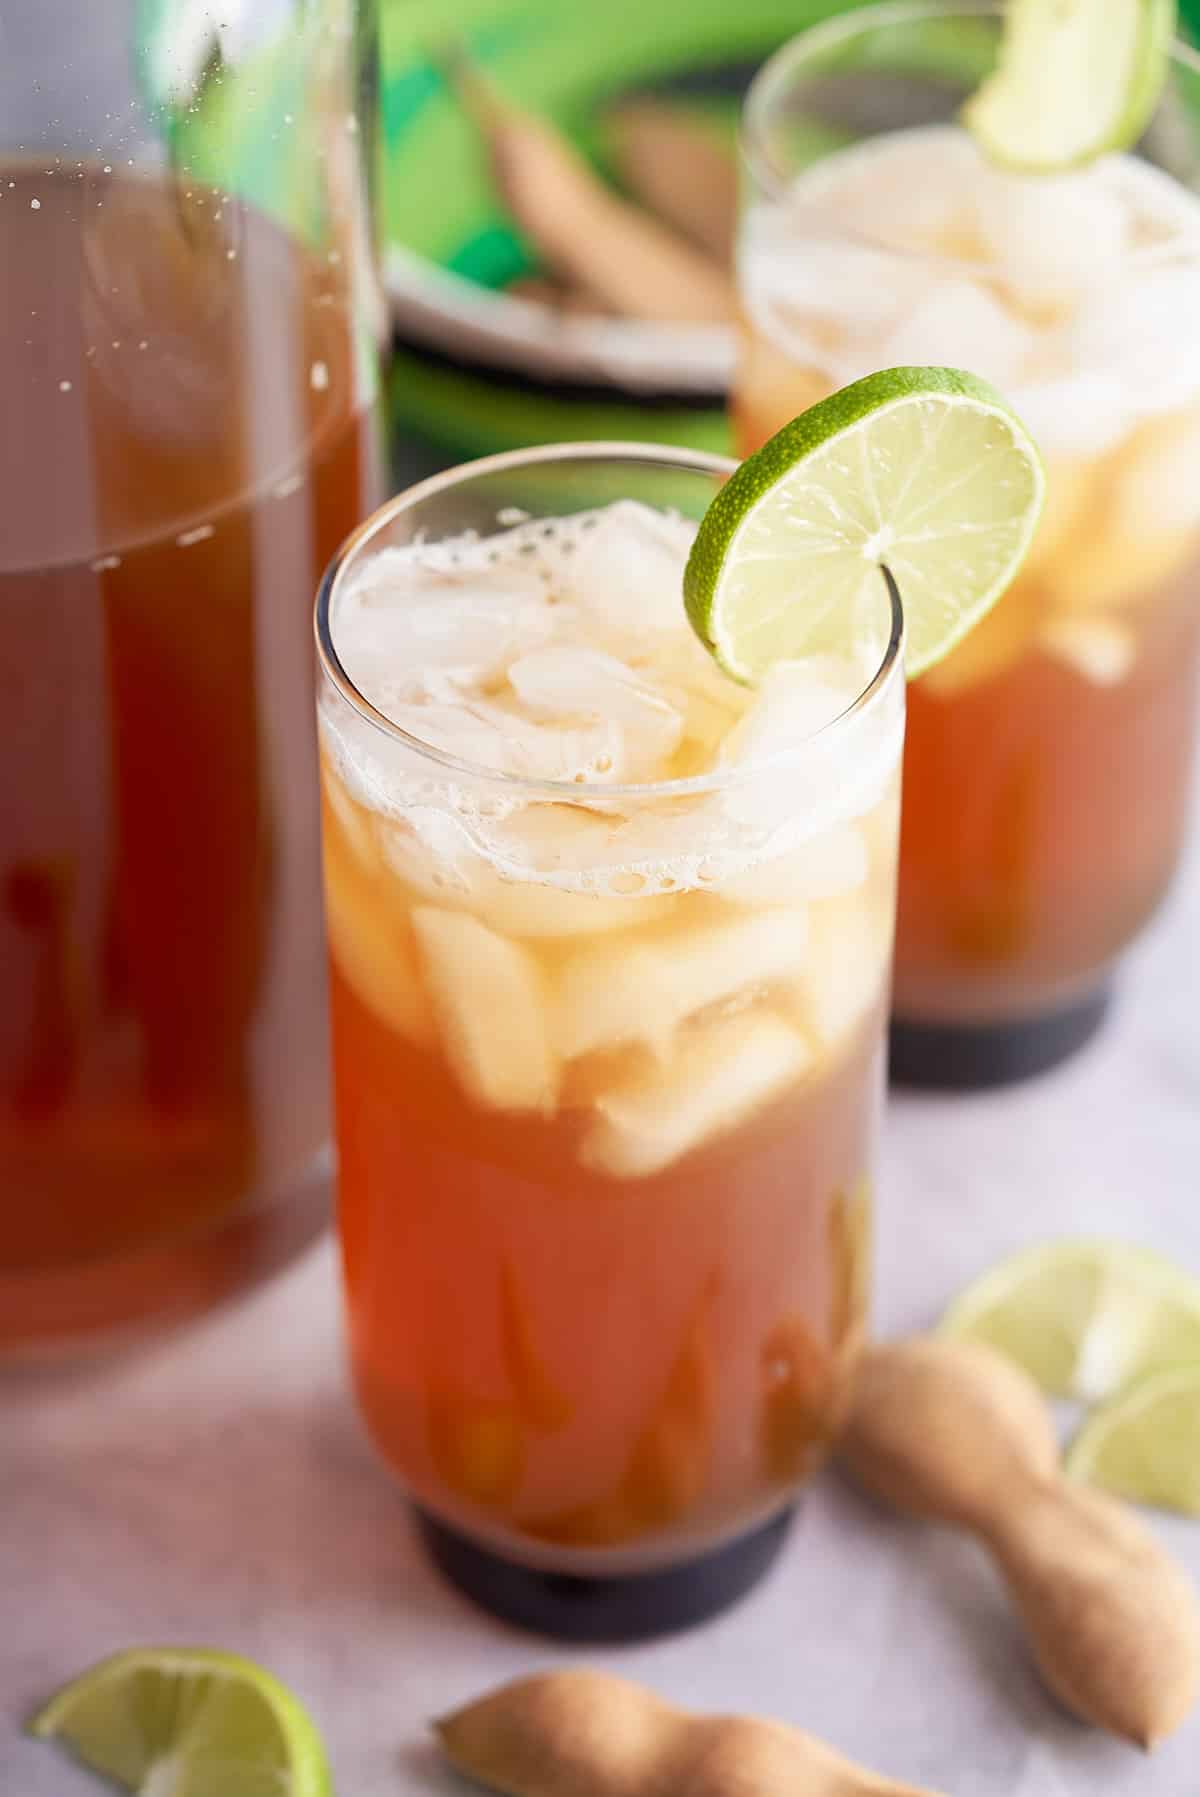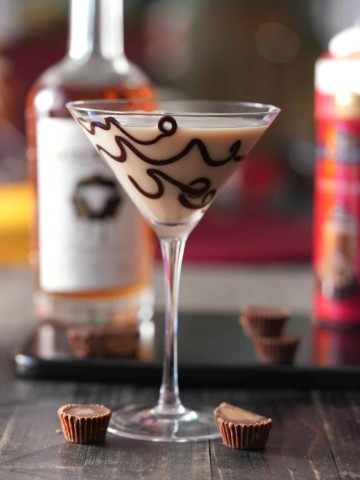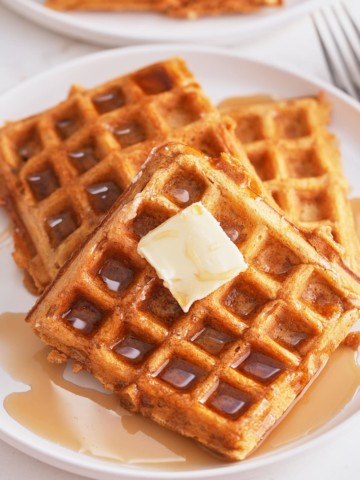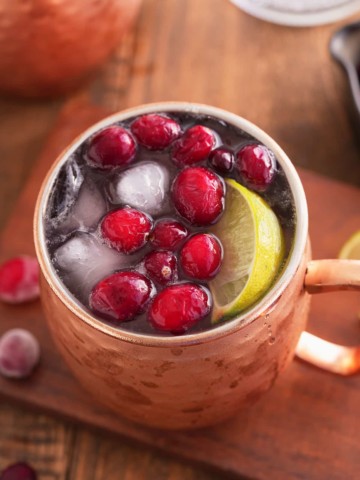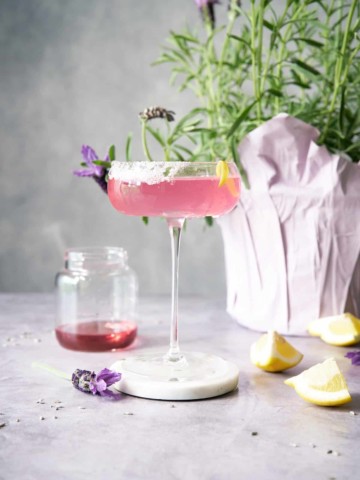
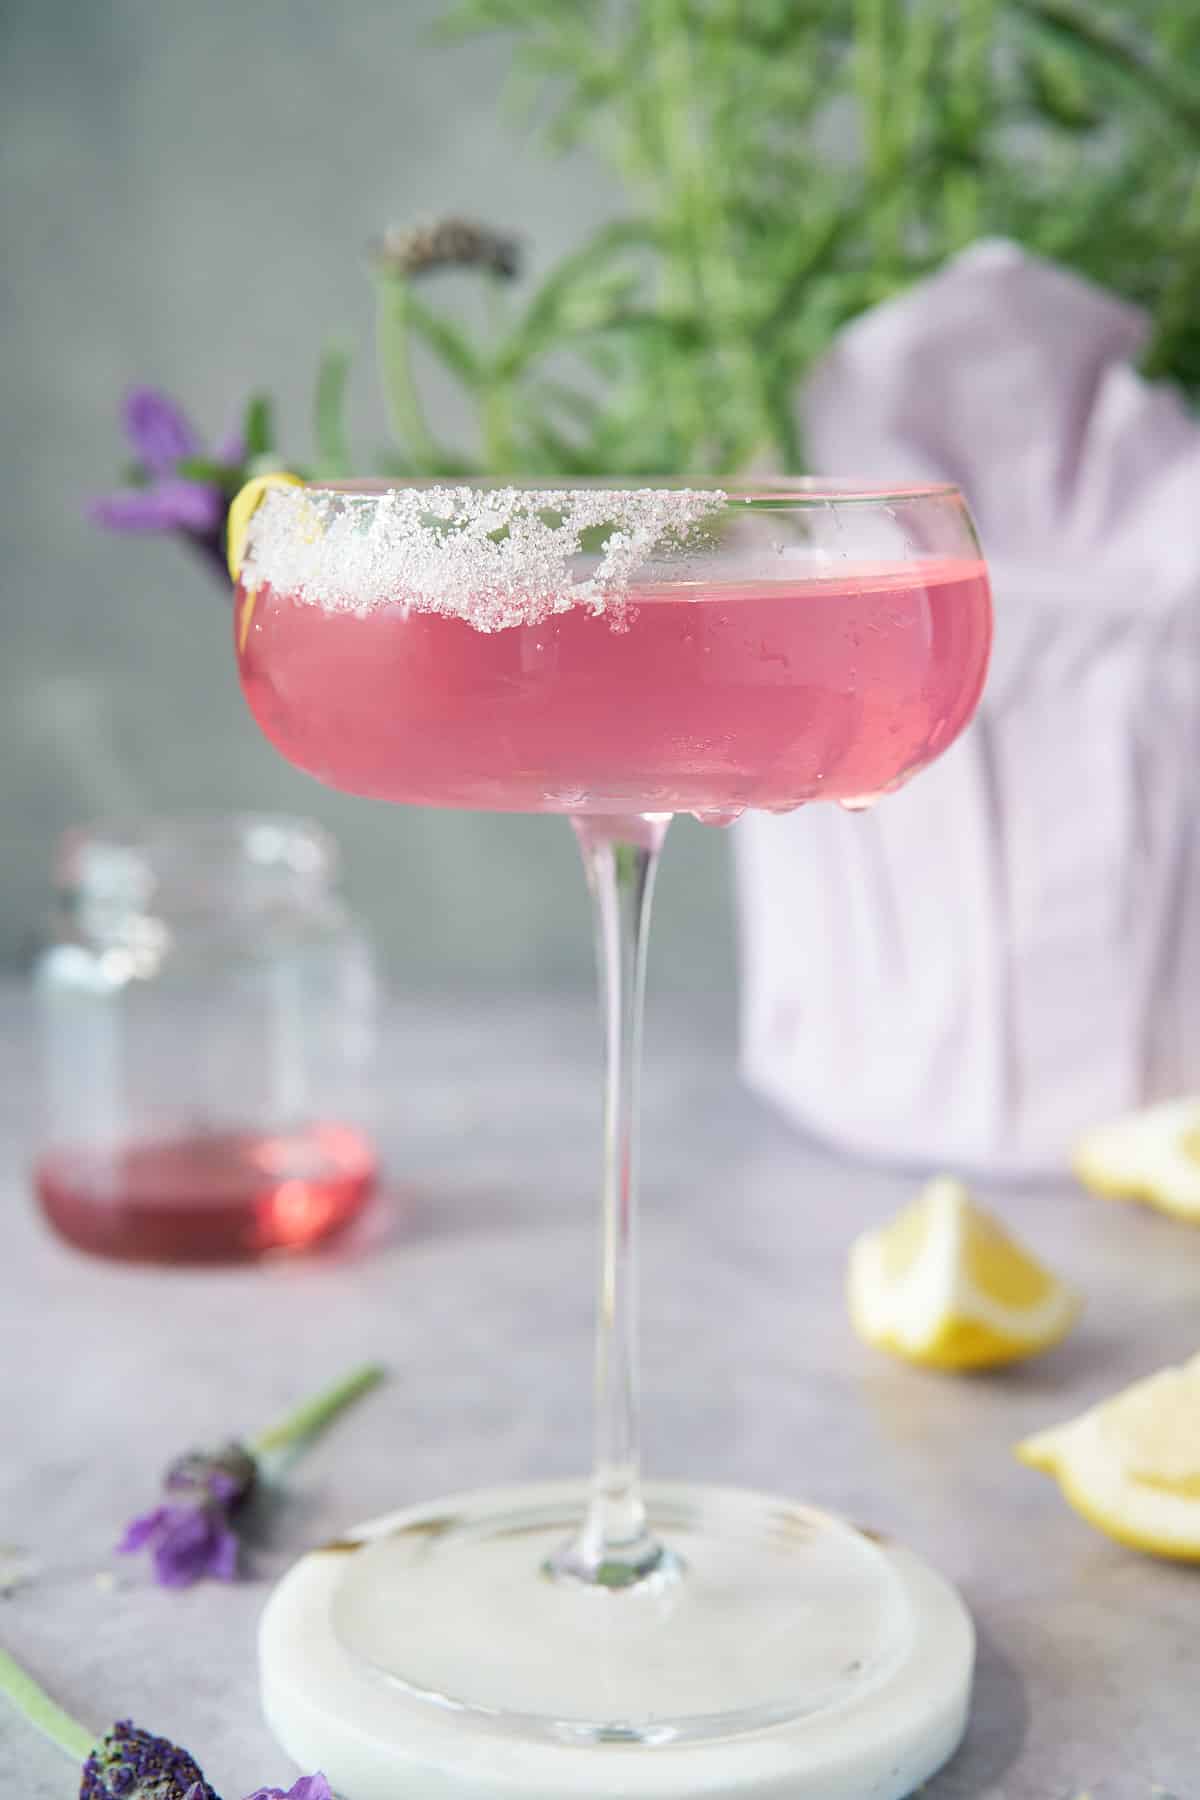
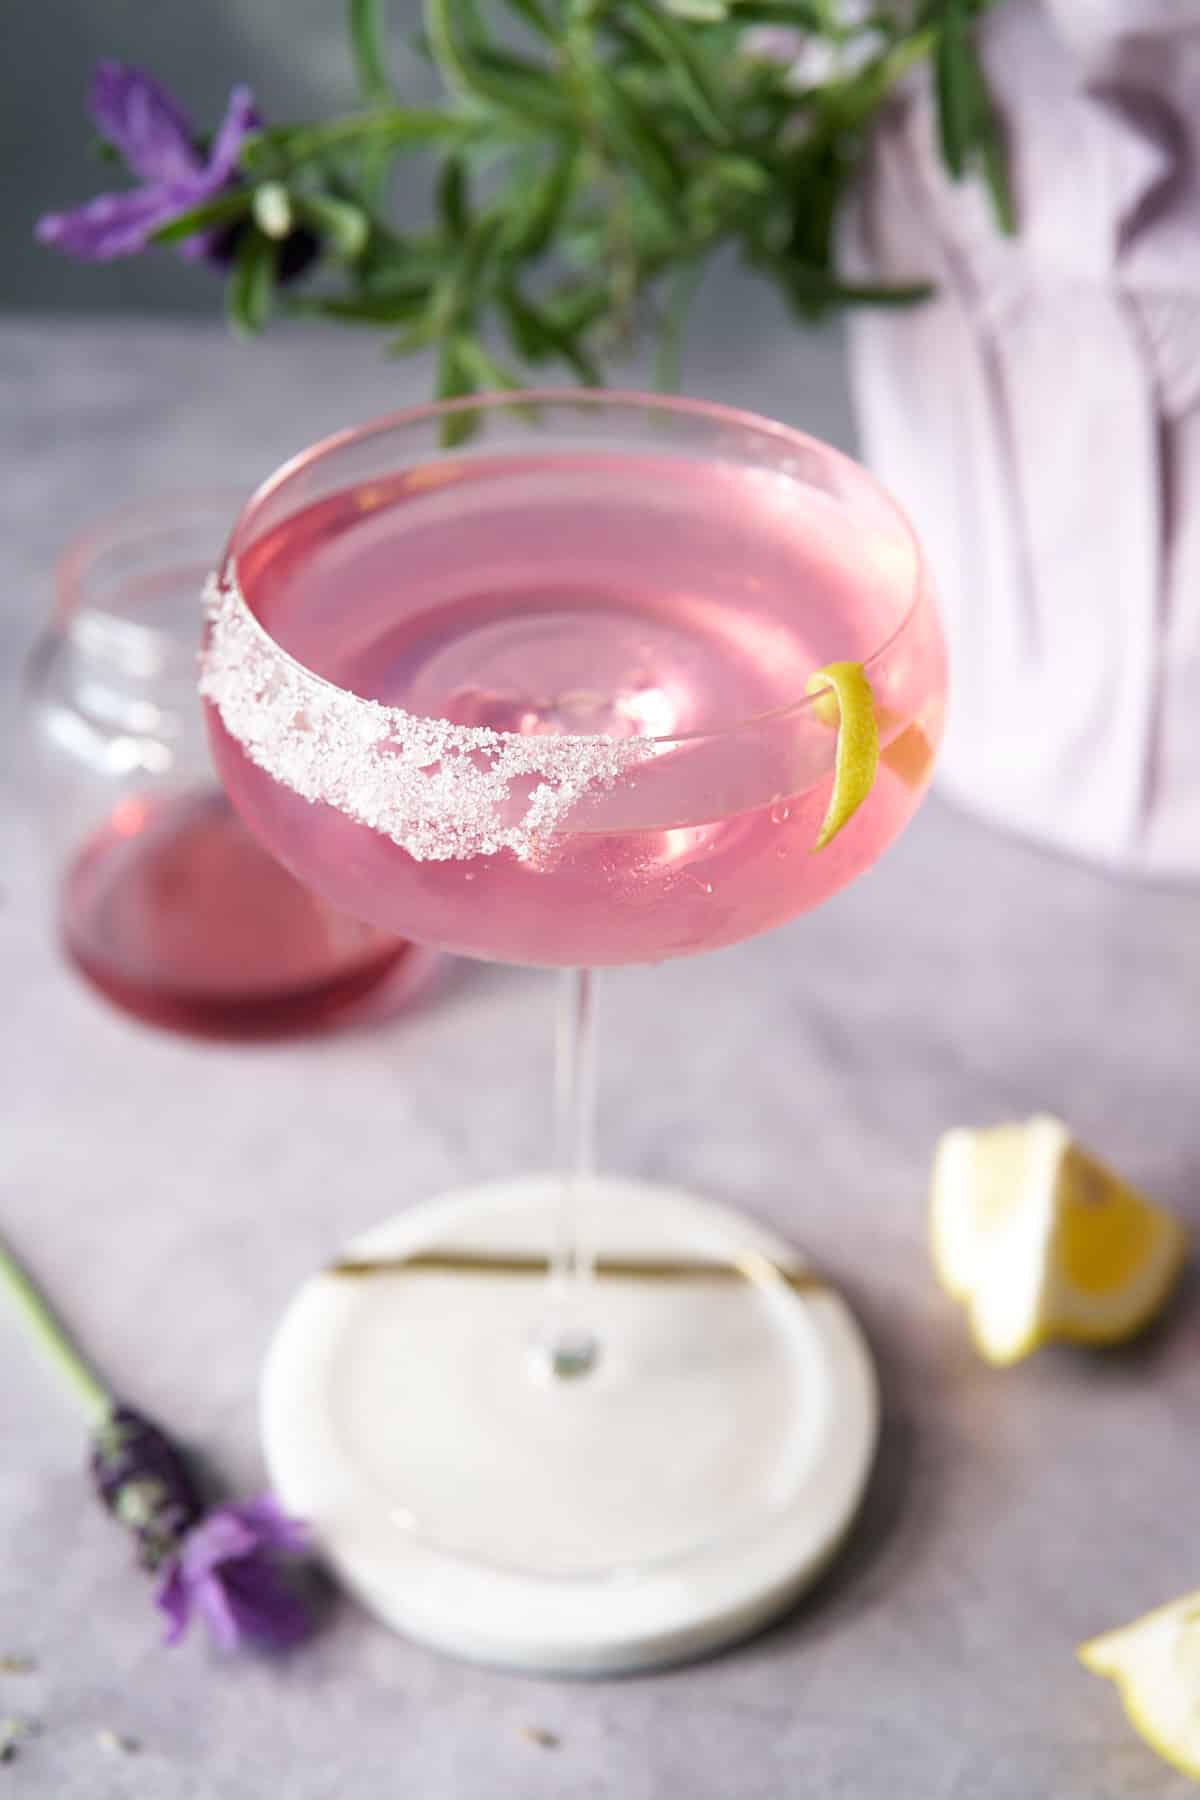
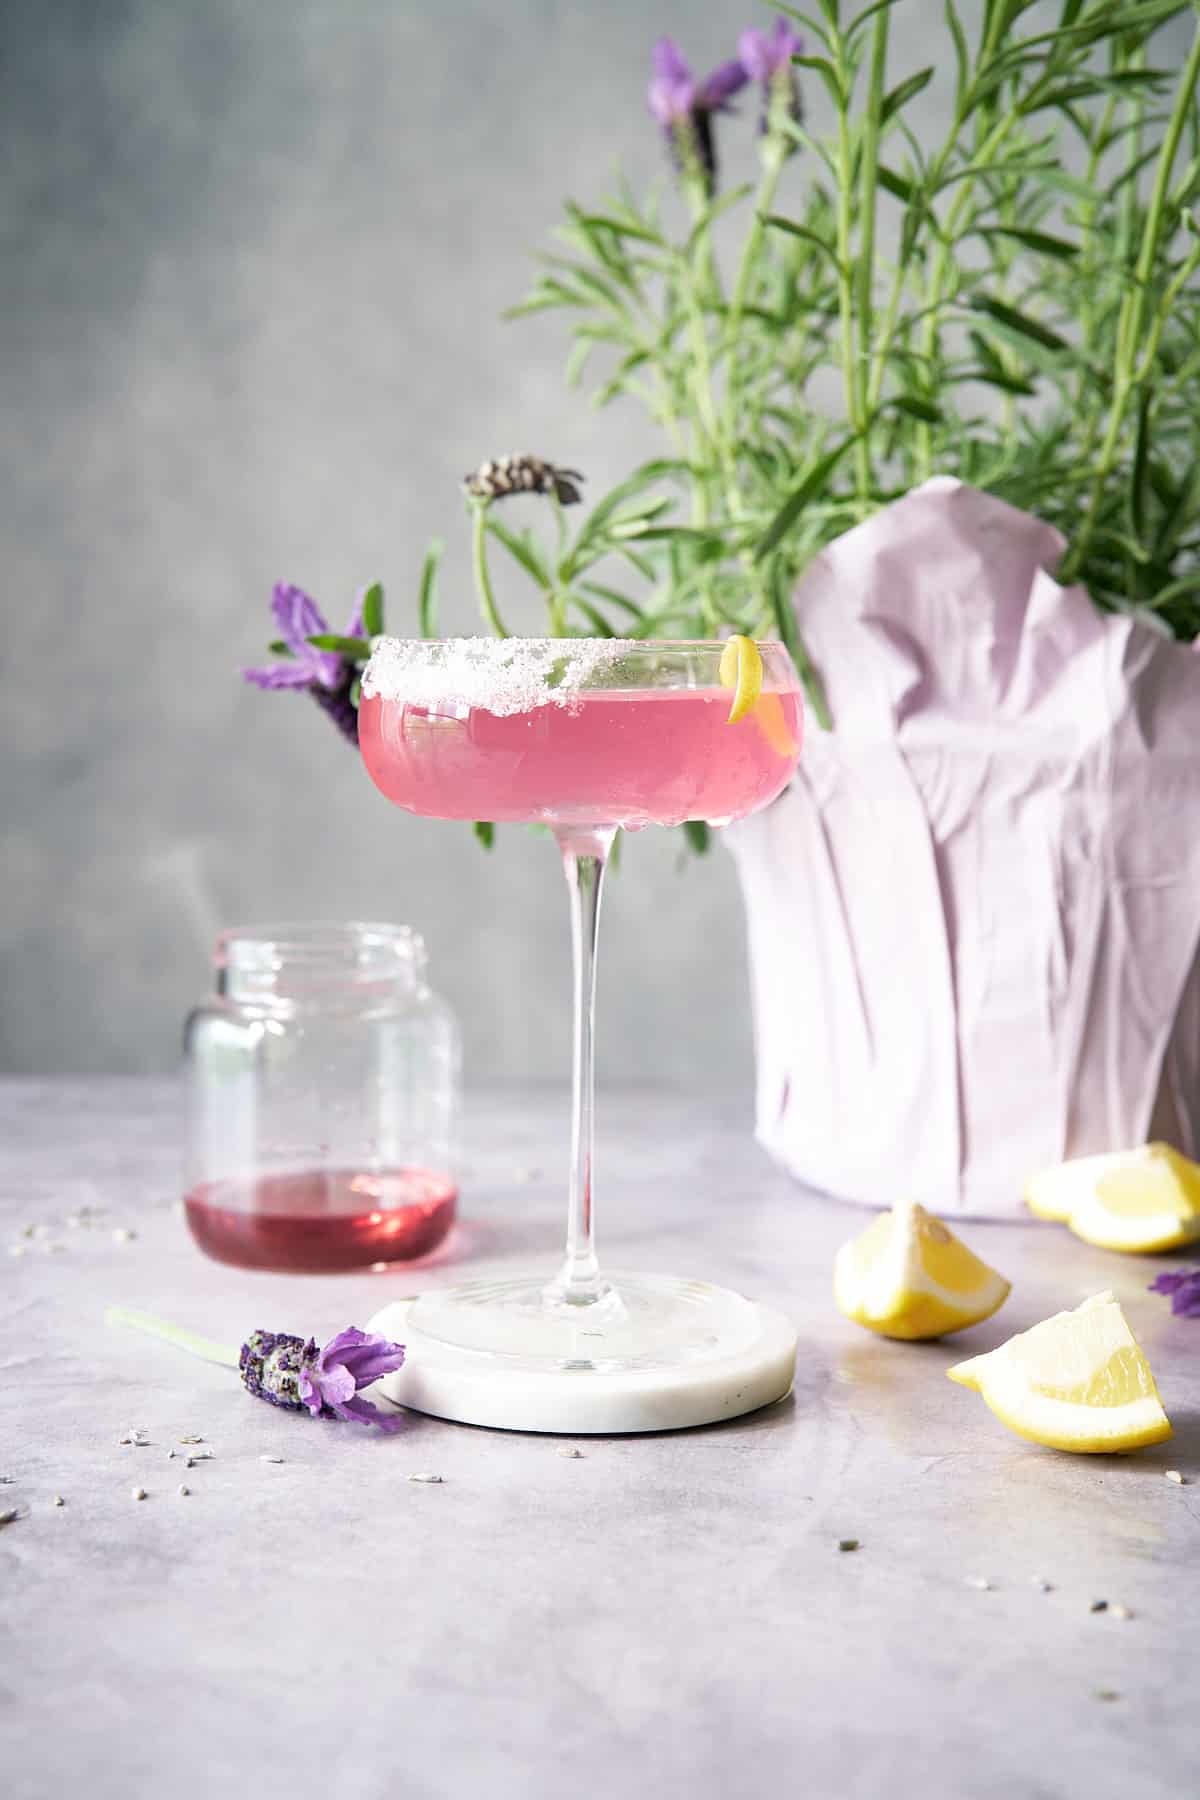
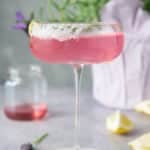
This Lavender Martini elegantly marries the botanical complexity of gin with the delicate, floral notes of lavender. With just 3 ingredients, this is the perfect twist on the classic martini. This post is meant for an audience of 21 and over.
This post contains affiliate links, please read my full disclaimer here.
The full recipe with ingredients/instructions is available on the recipe card at the bottom of the post. Important tips/tricks are also included in the blog post.
Spring gets me loving a few ingredients, lavender and lemon being my favorite two. I love making simple syrups, and I add my lavender syrup to many drinks and cocktails. This lavender martini contains few ingredients, just gin, lavender syrup, and lemon juice.
Gin is the basic ingredient in a classic martini, while lavender and lemon are the perfect flavor combo.
If you like martinis, try my bourbon martini recipe or watermelon martini.
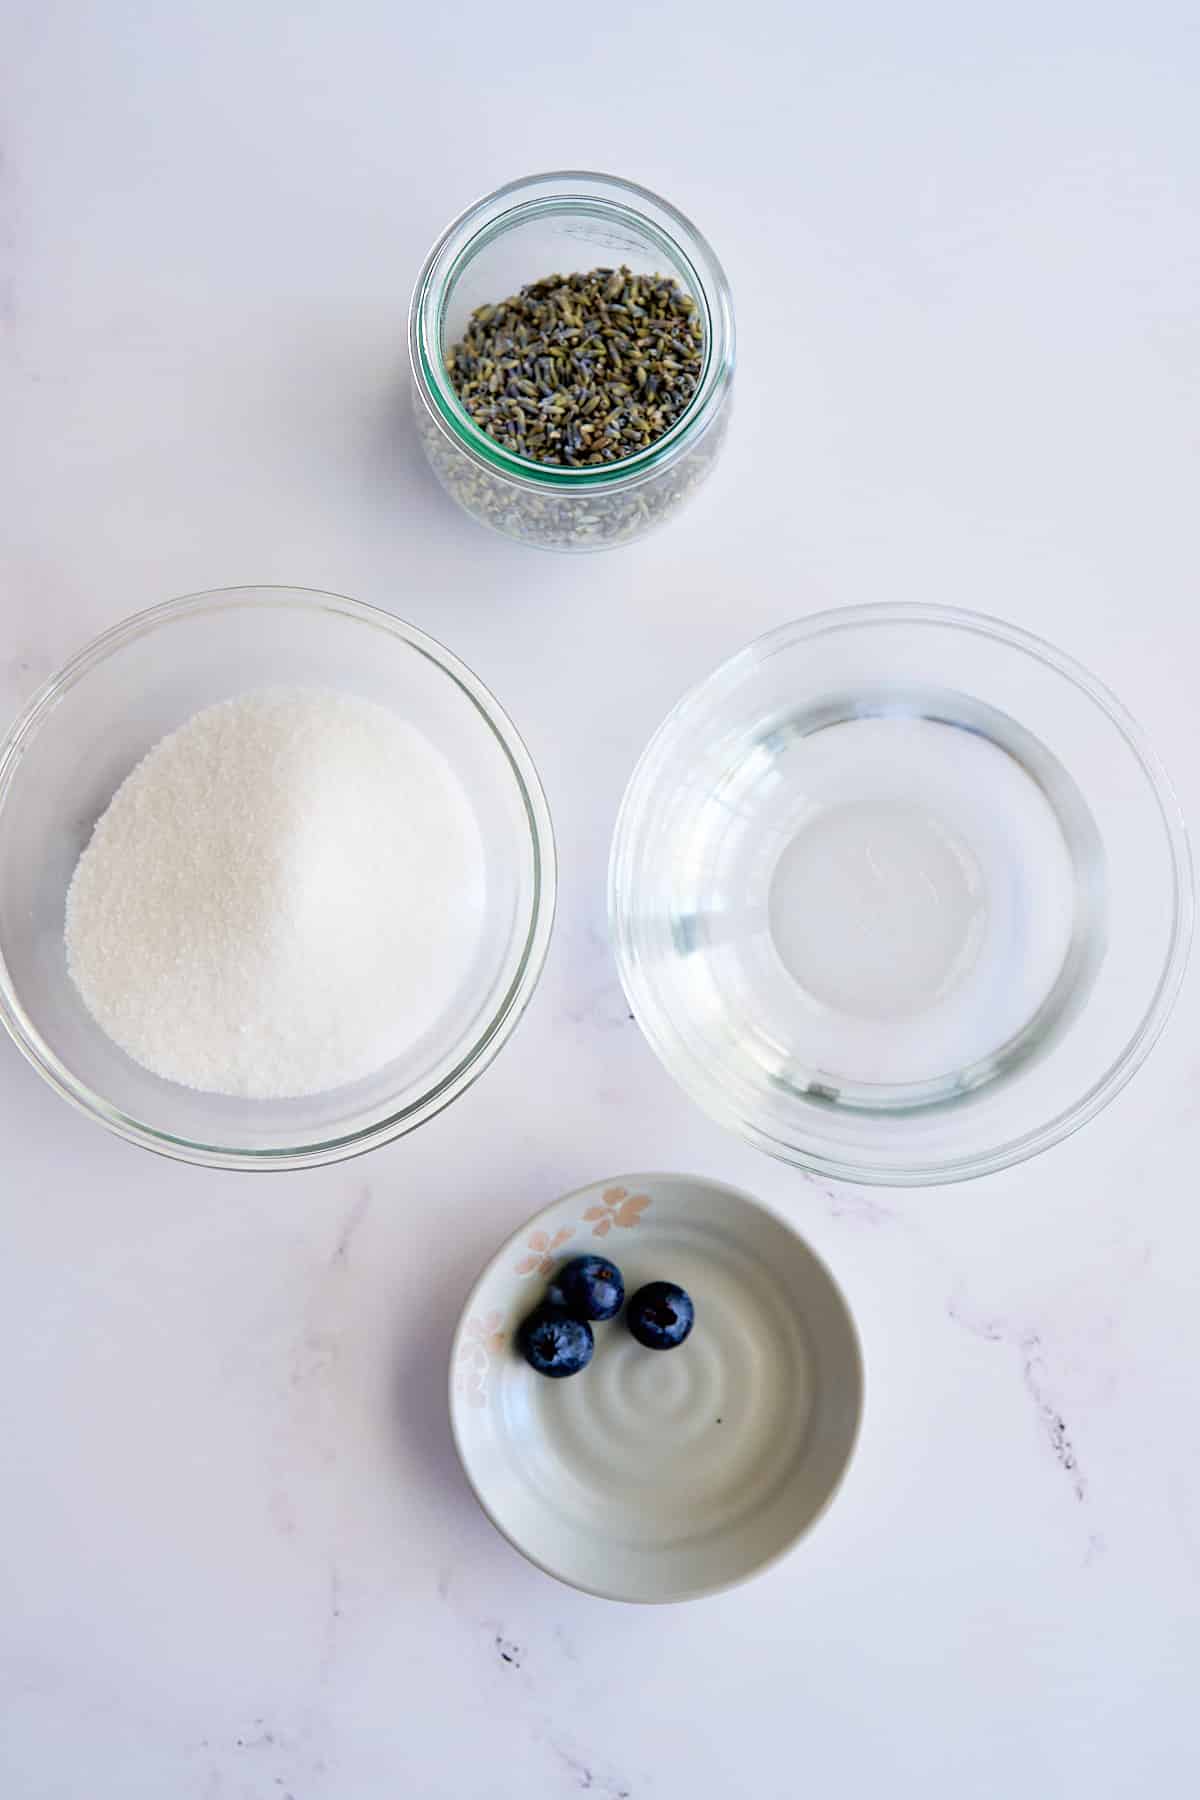
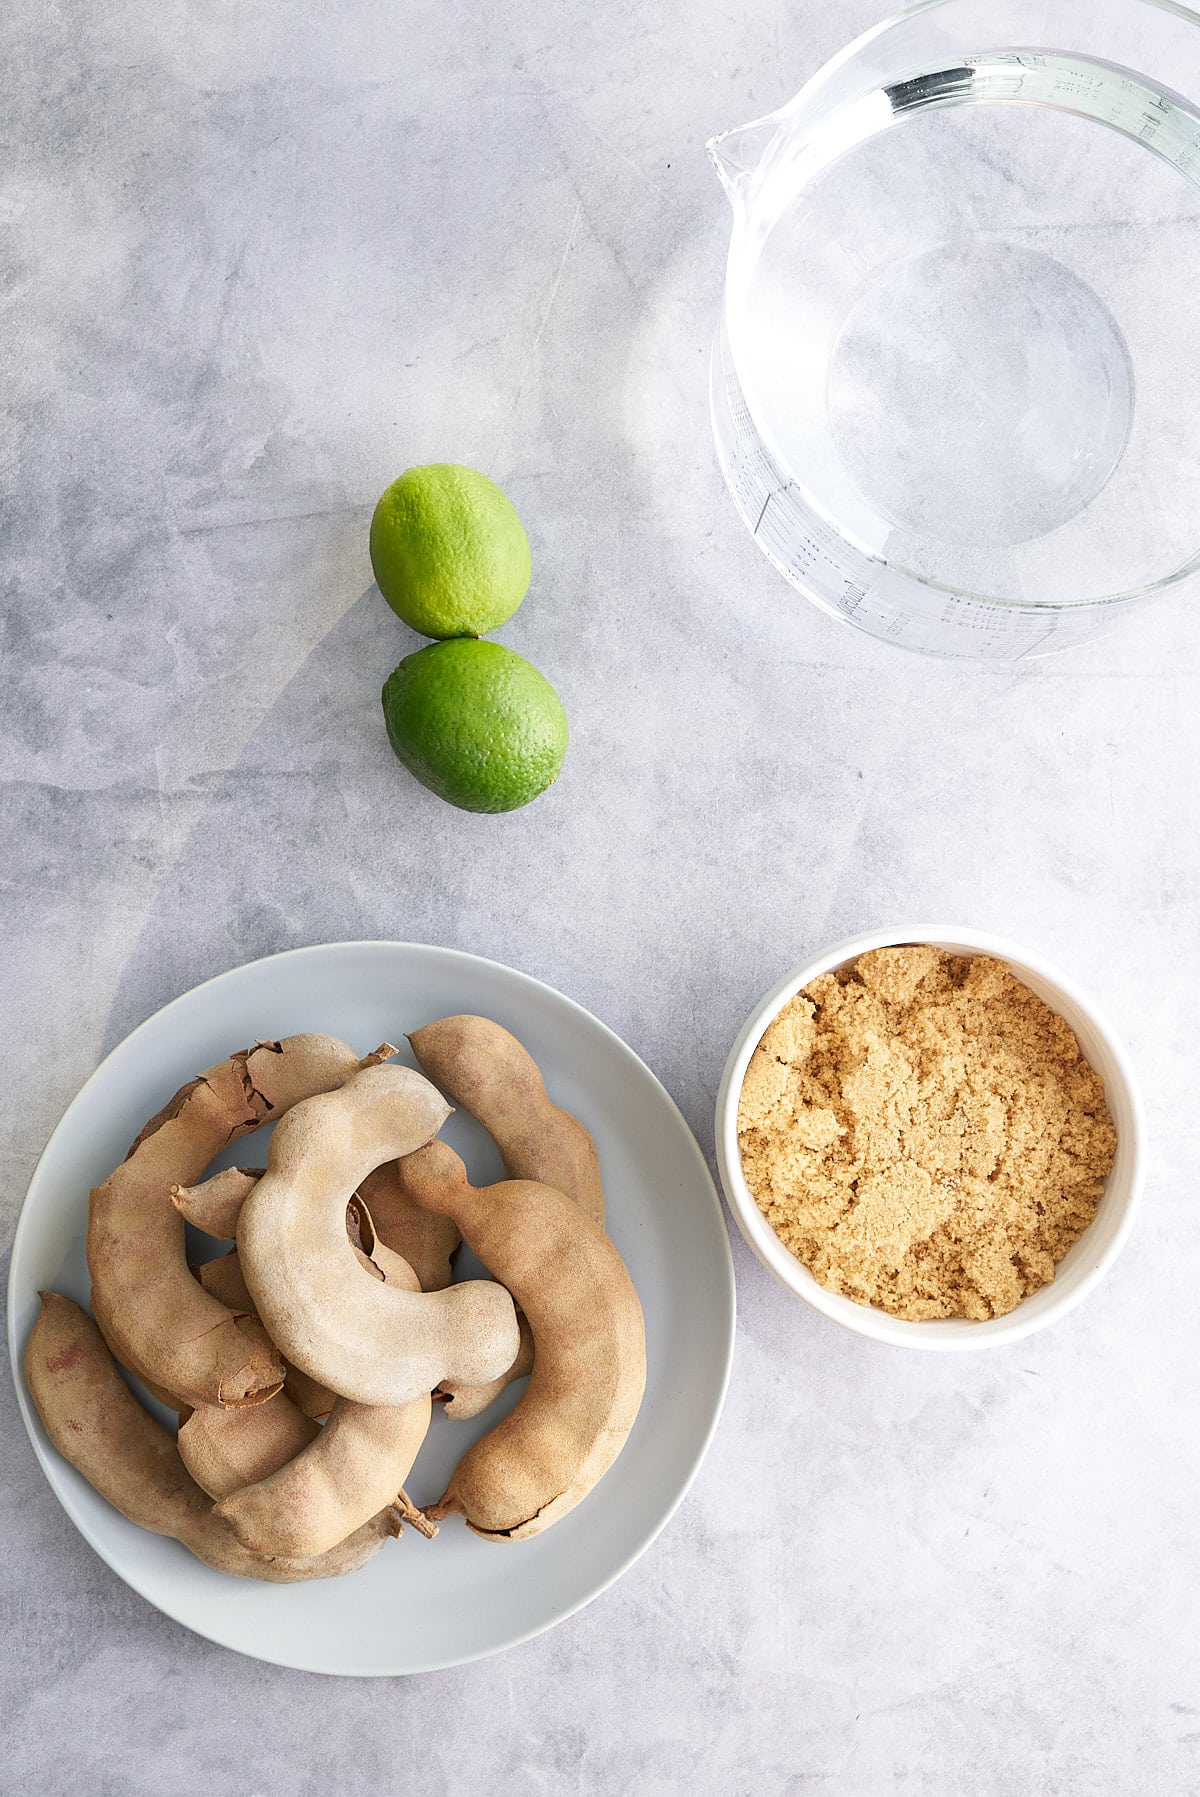
Ingredients for Lavender Martini
- Gin: A juniper-flavored spirit with a botanical profile, serving as the cocktail's base.
- Lavender Syrup: Sweet and floral, adding a soothing lavender essence.
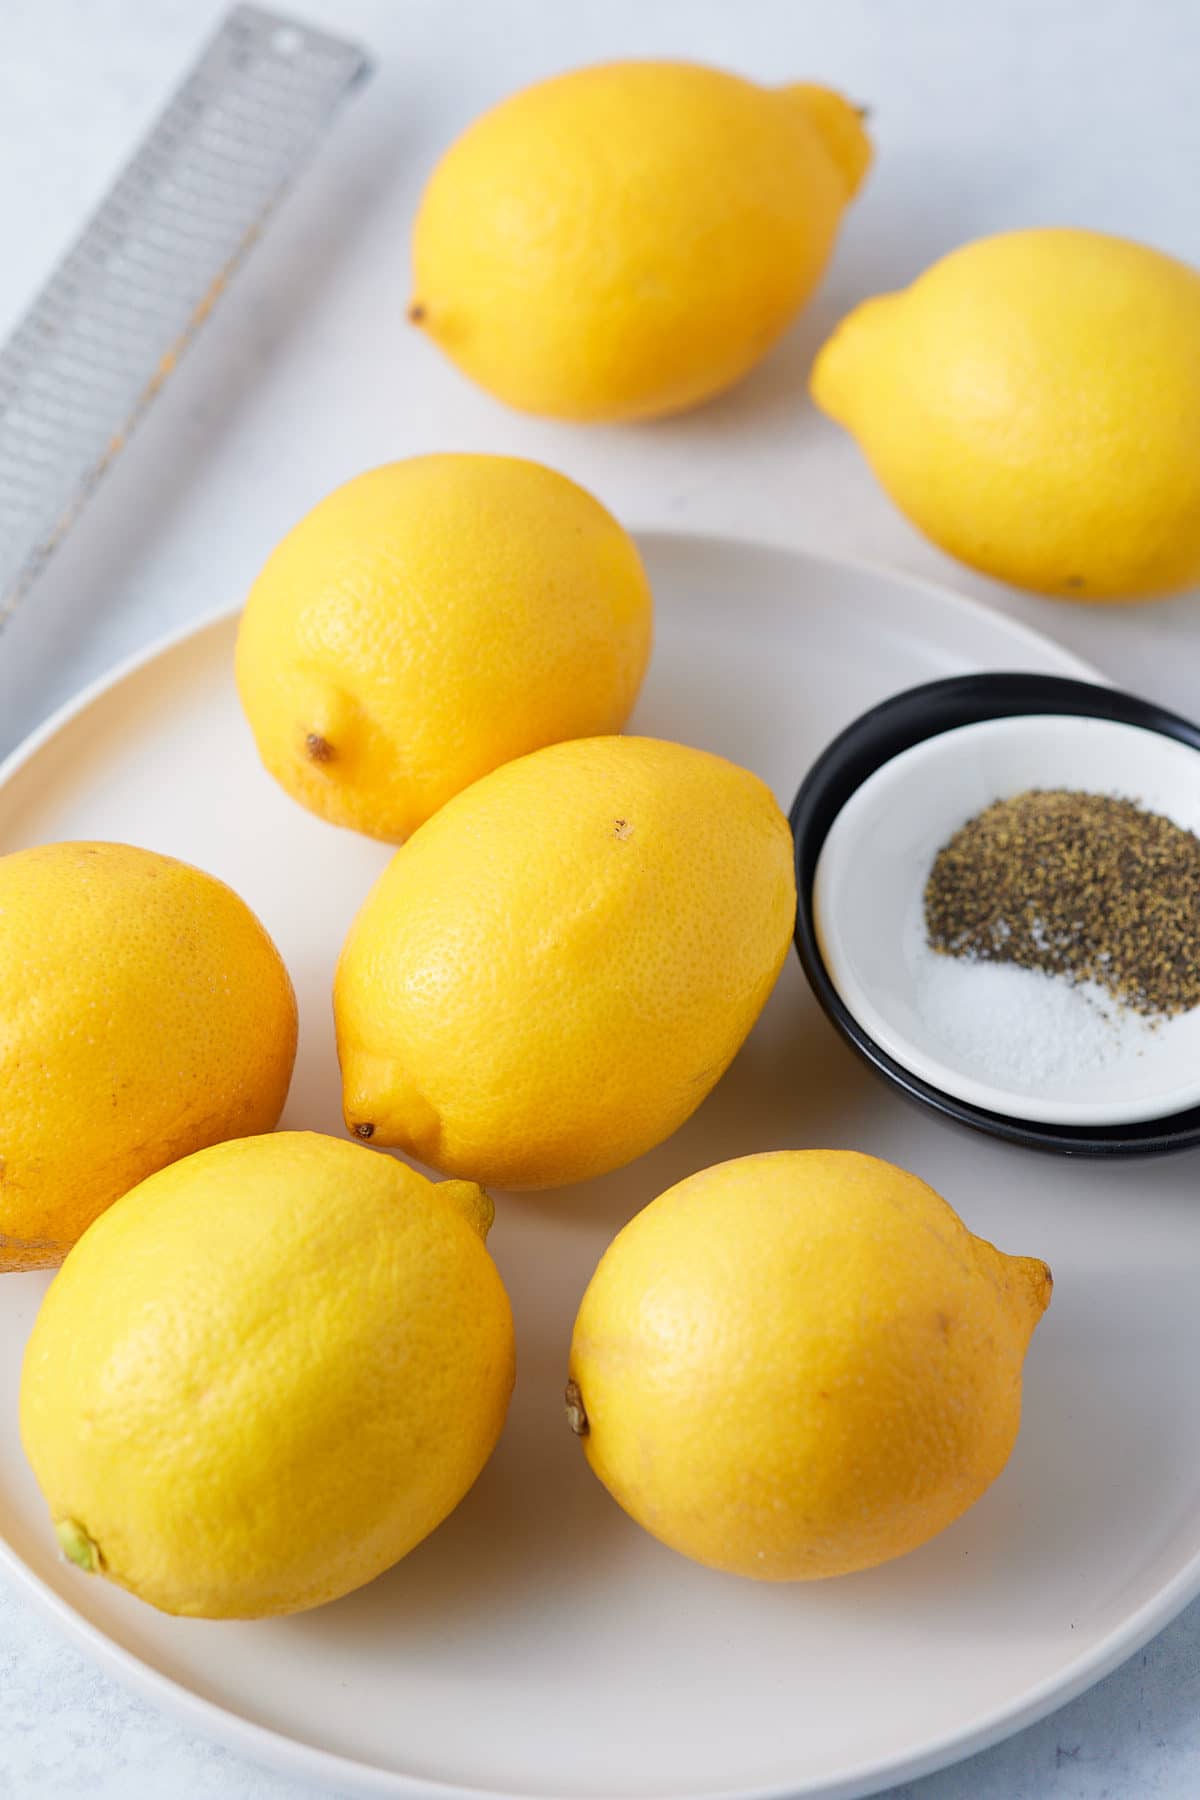
- Lemon Juice: Fresh lemon juice works wonderfully in this drink. You could also use the stuff in a bottle if preferred.
How to make a Lavender Martini
In a cocktail shaker, combine gin, lavender syrup, and lemon juice.
Put ice in the shaker, close lid, and shake for 10-15 seconds to mix and cool ingredients.
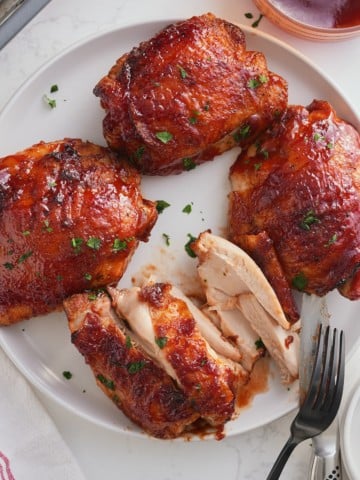
Strain the mixture into a martini glass, ensuring no ice pieces escape.
Garnish with a lemon twist or a lavender sprig and enjoy.
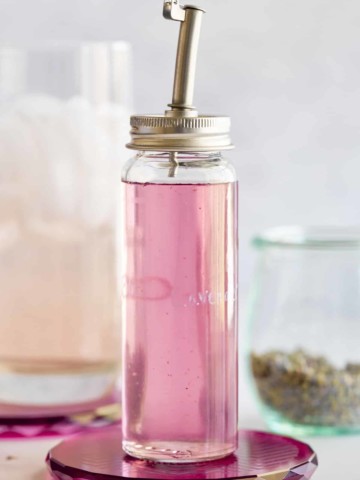
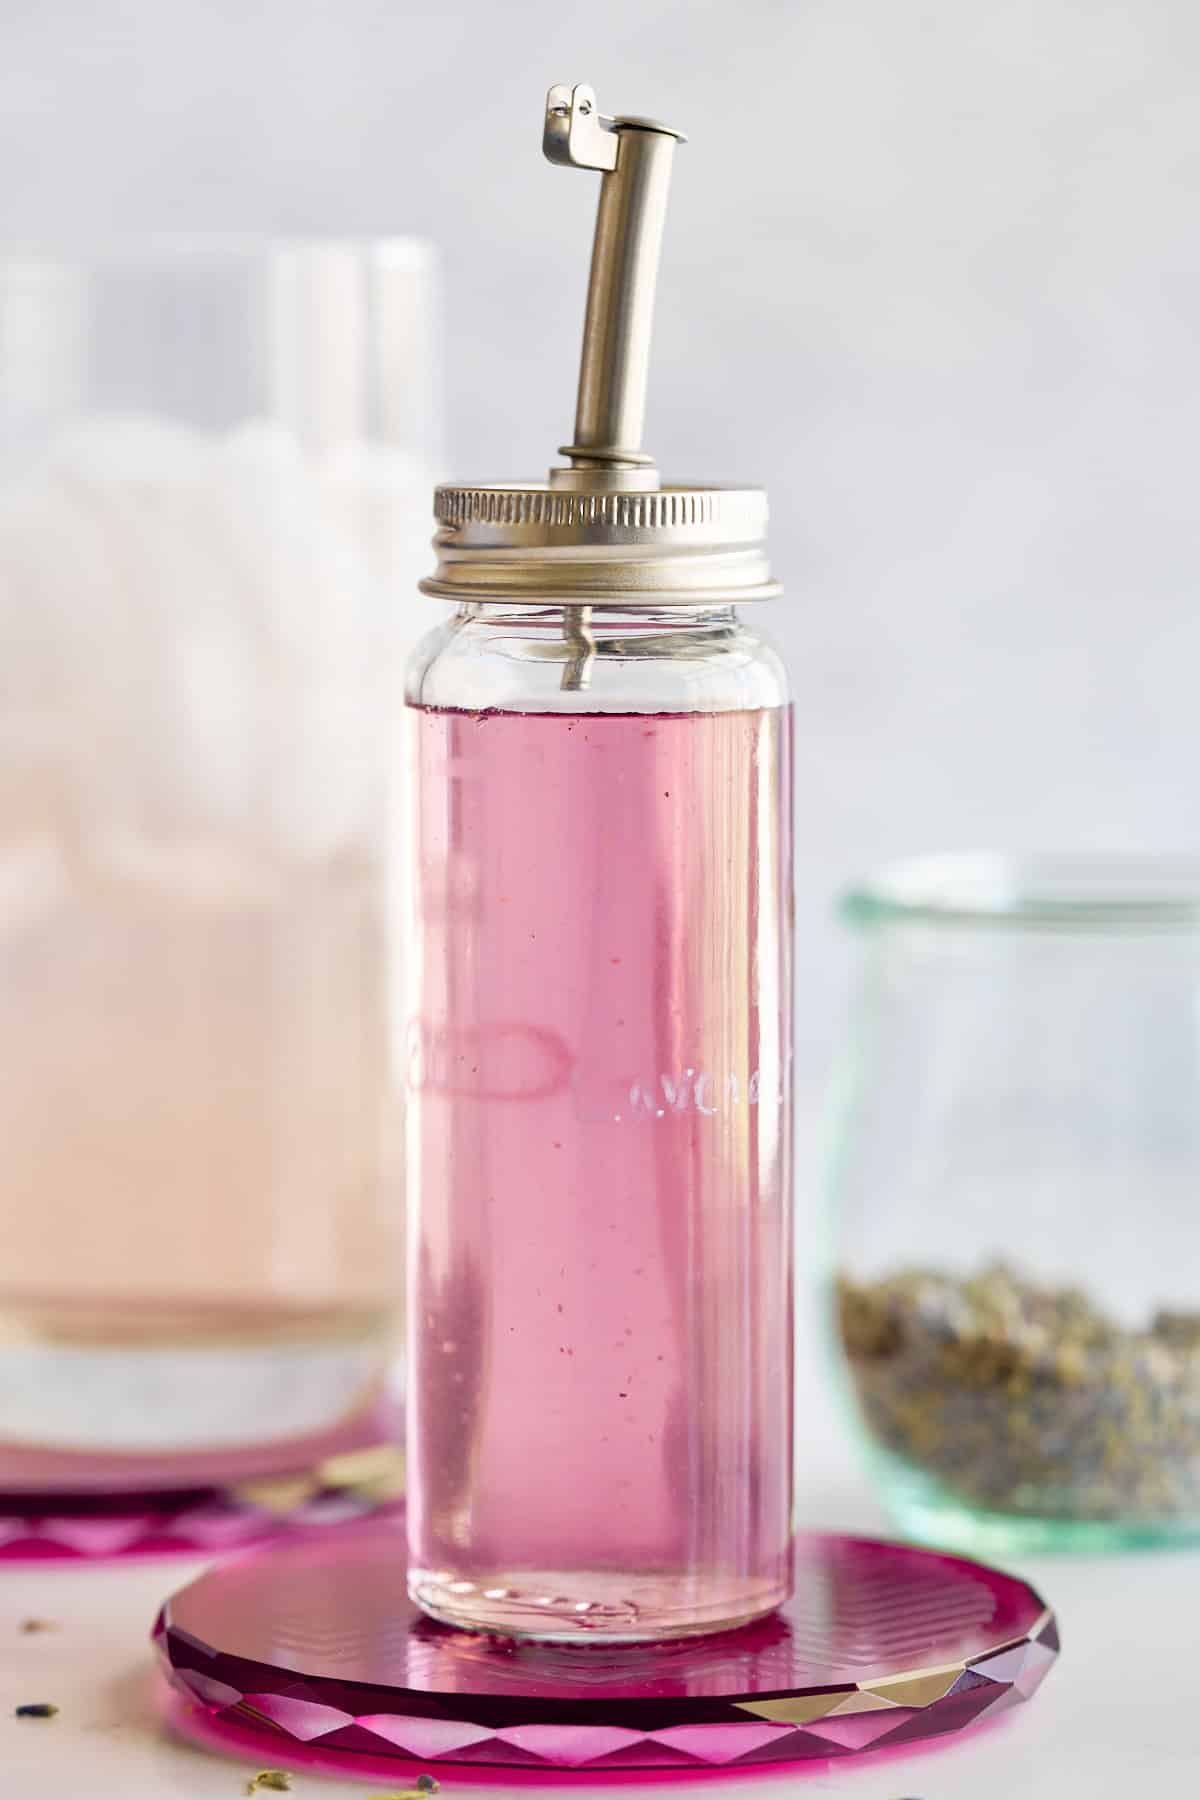
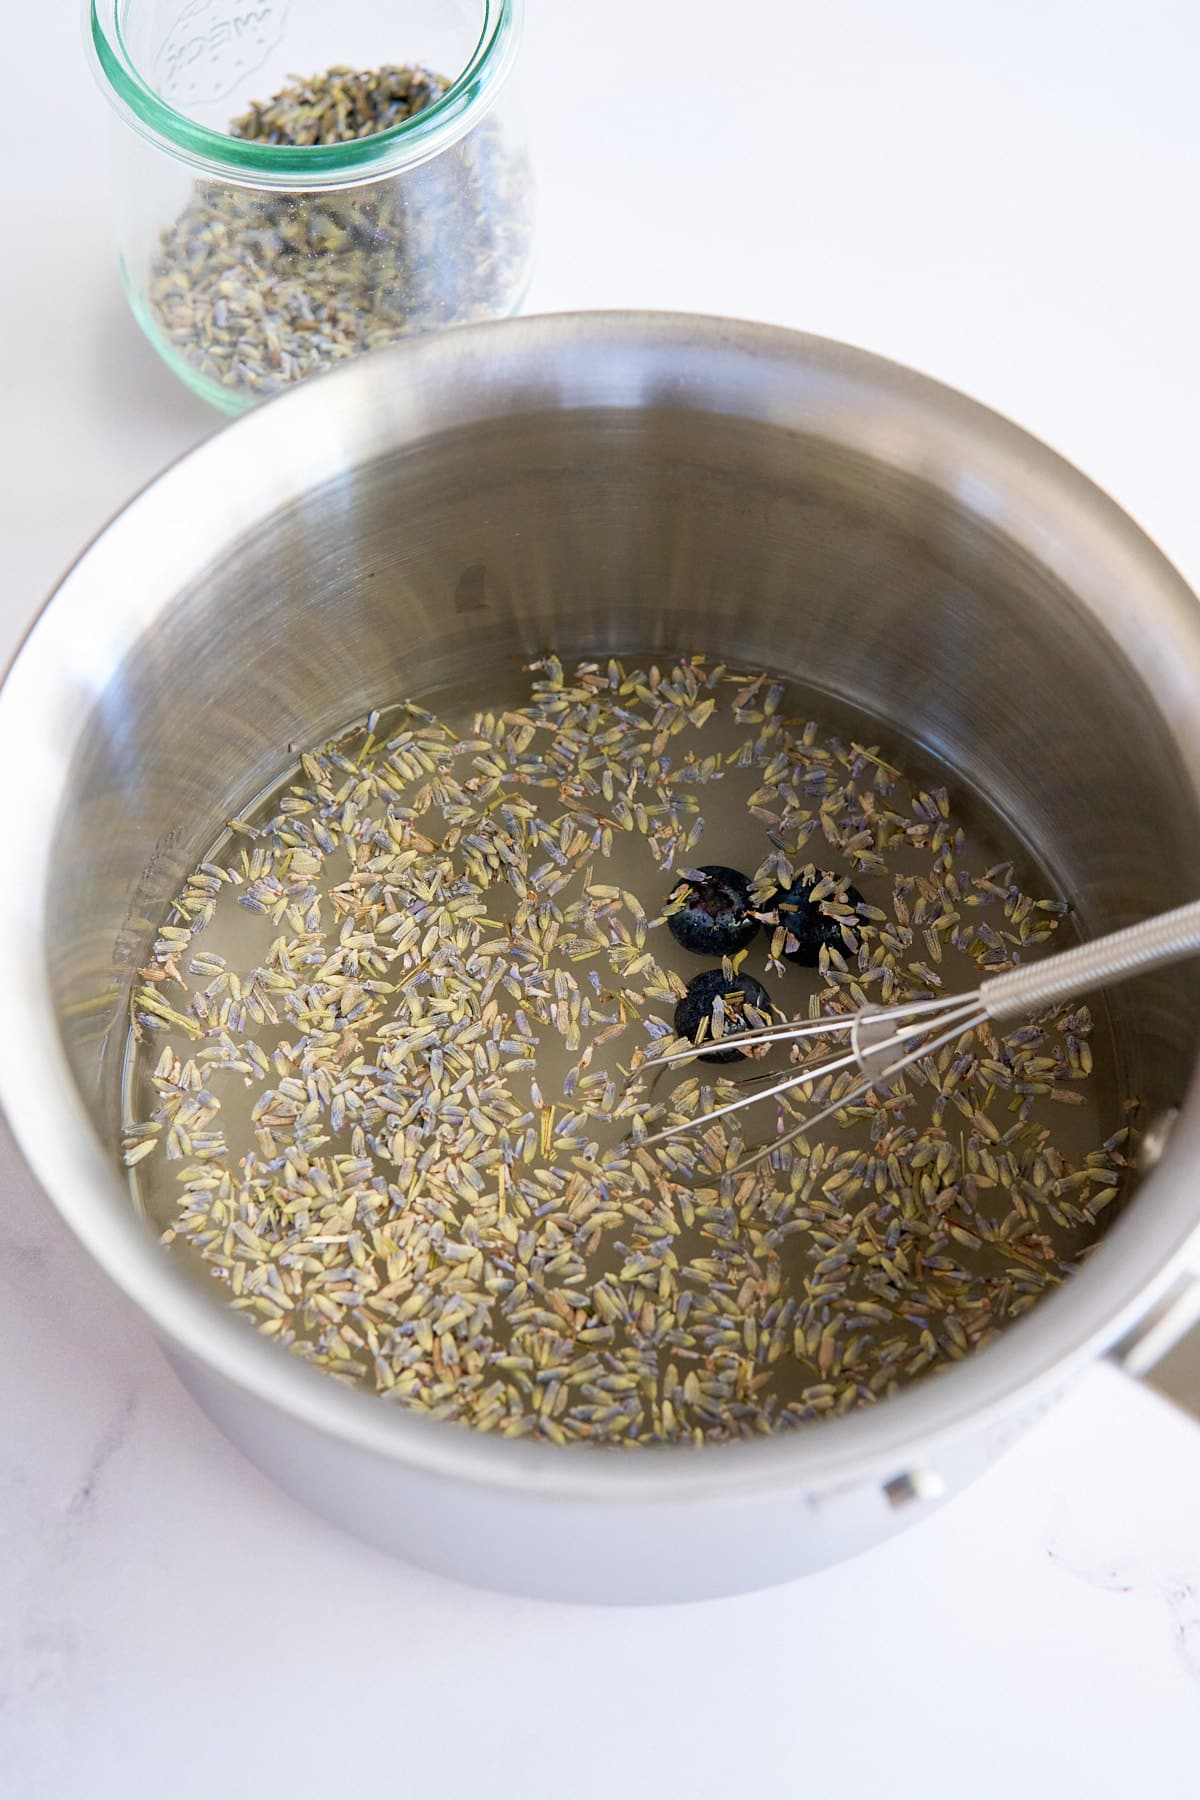
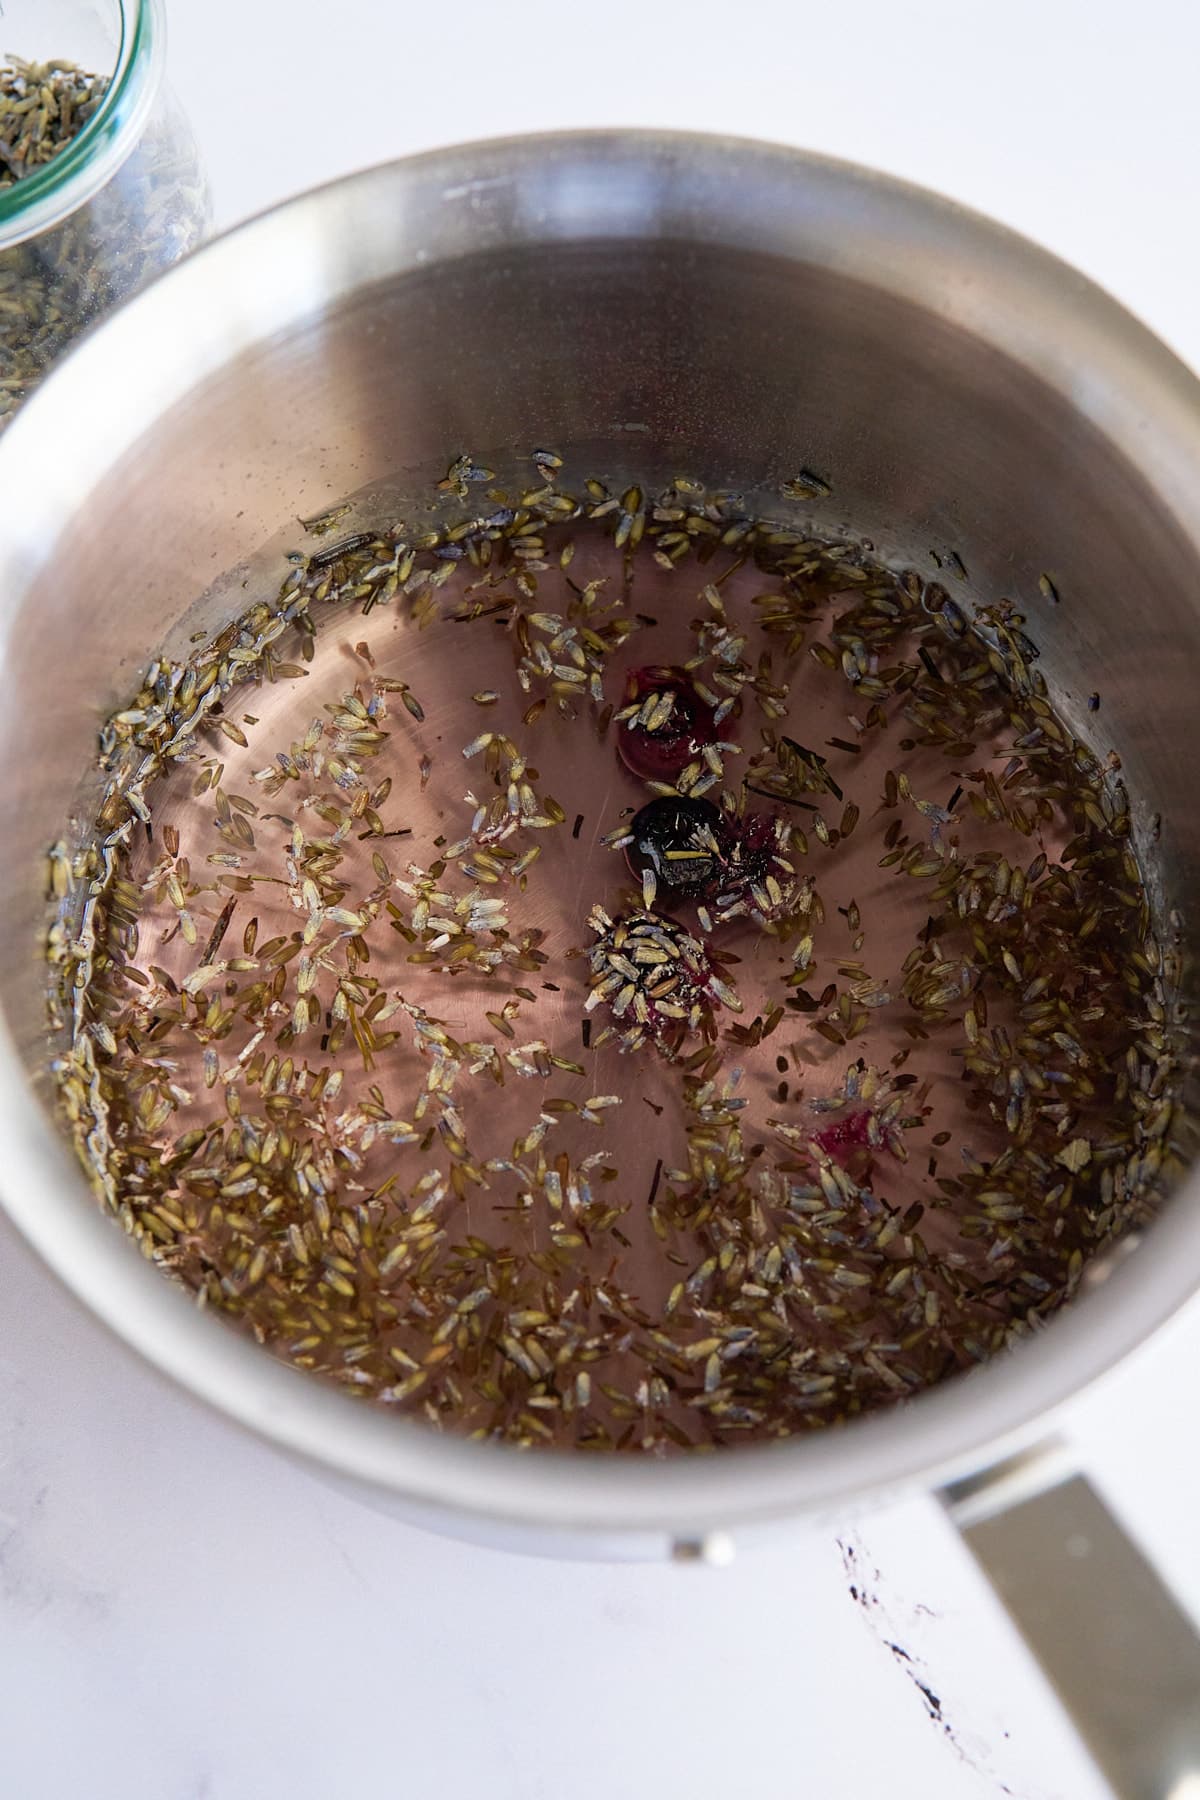
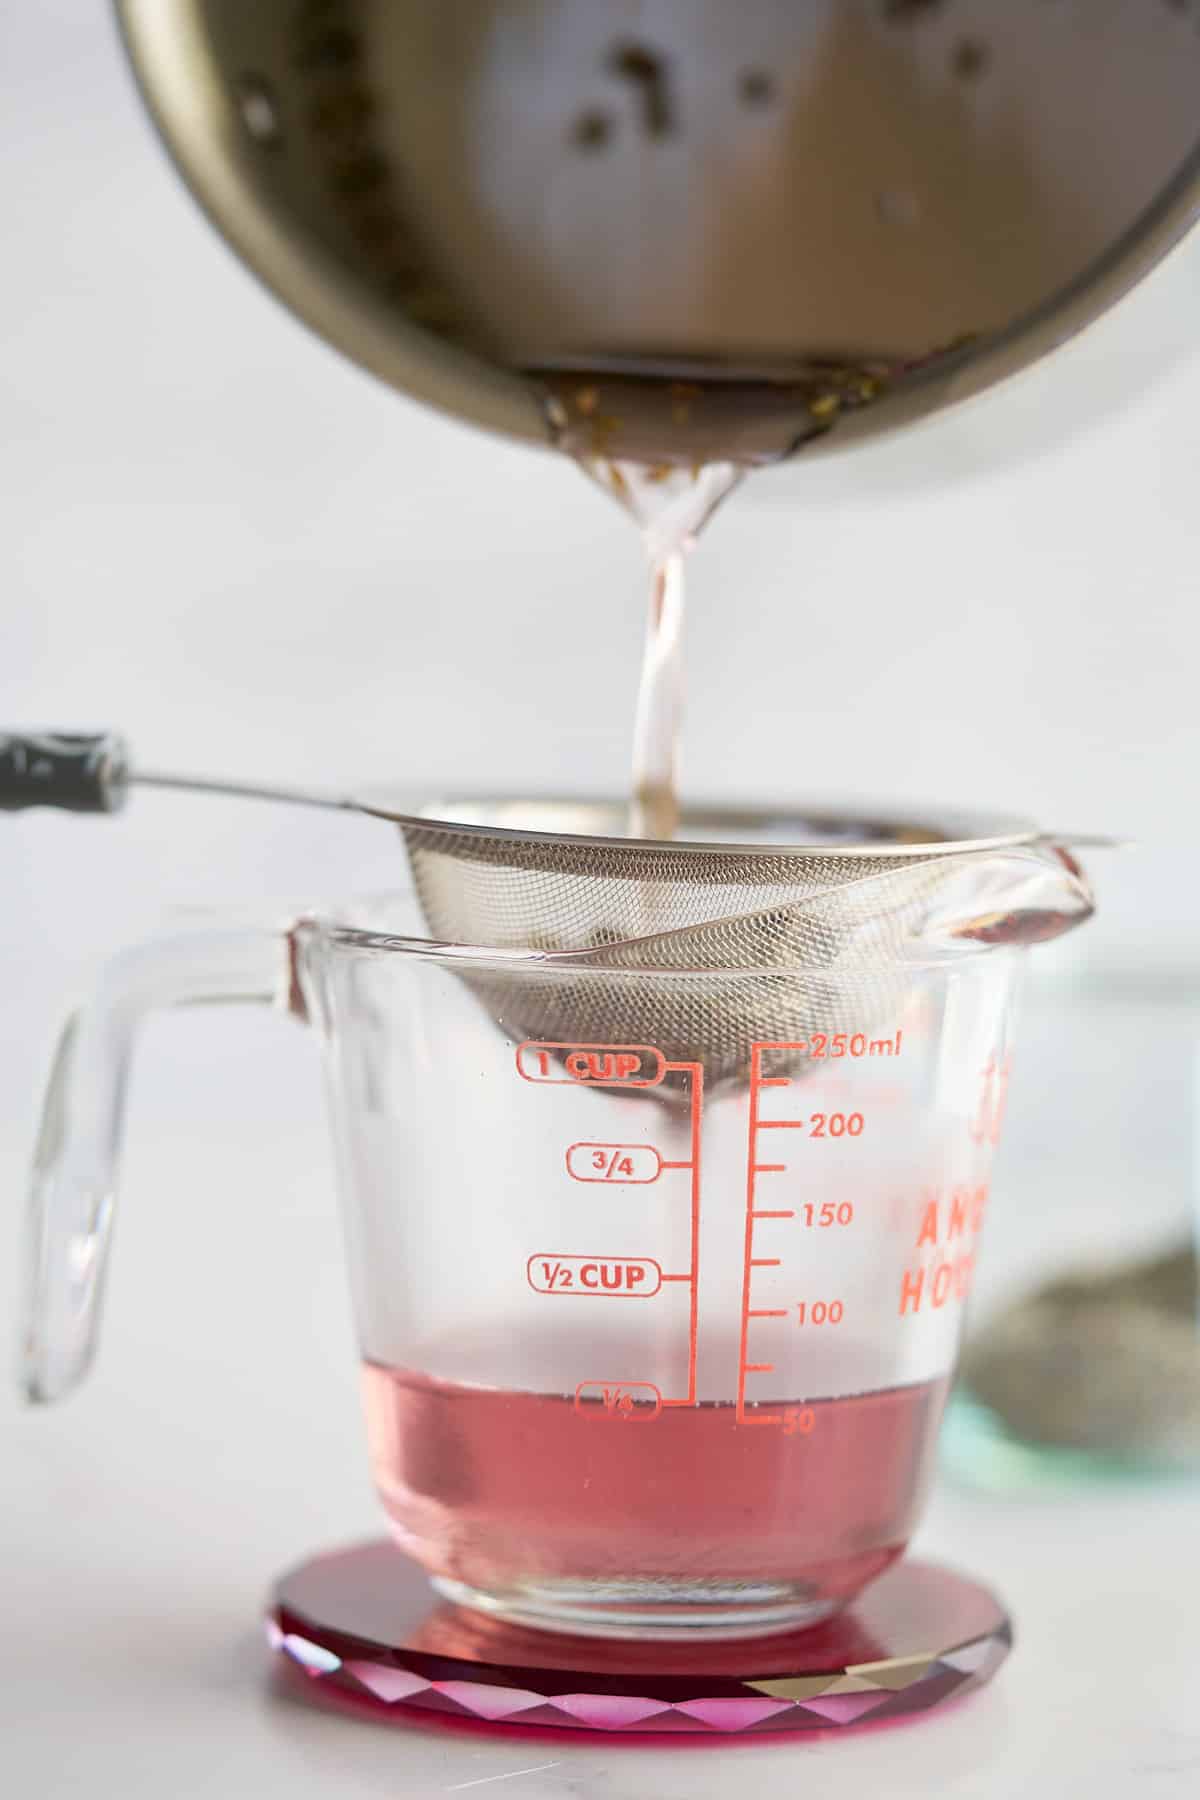
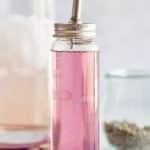
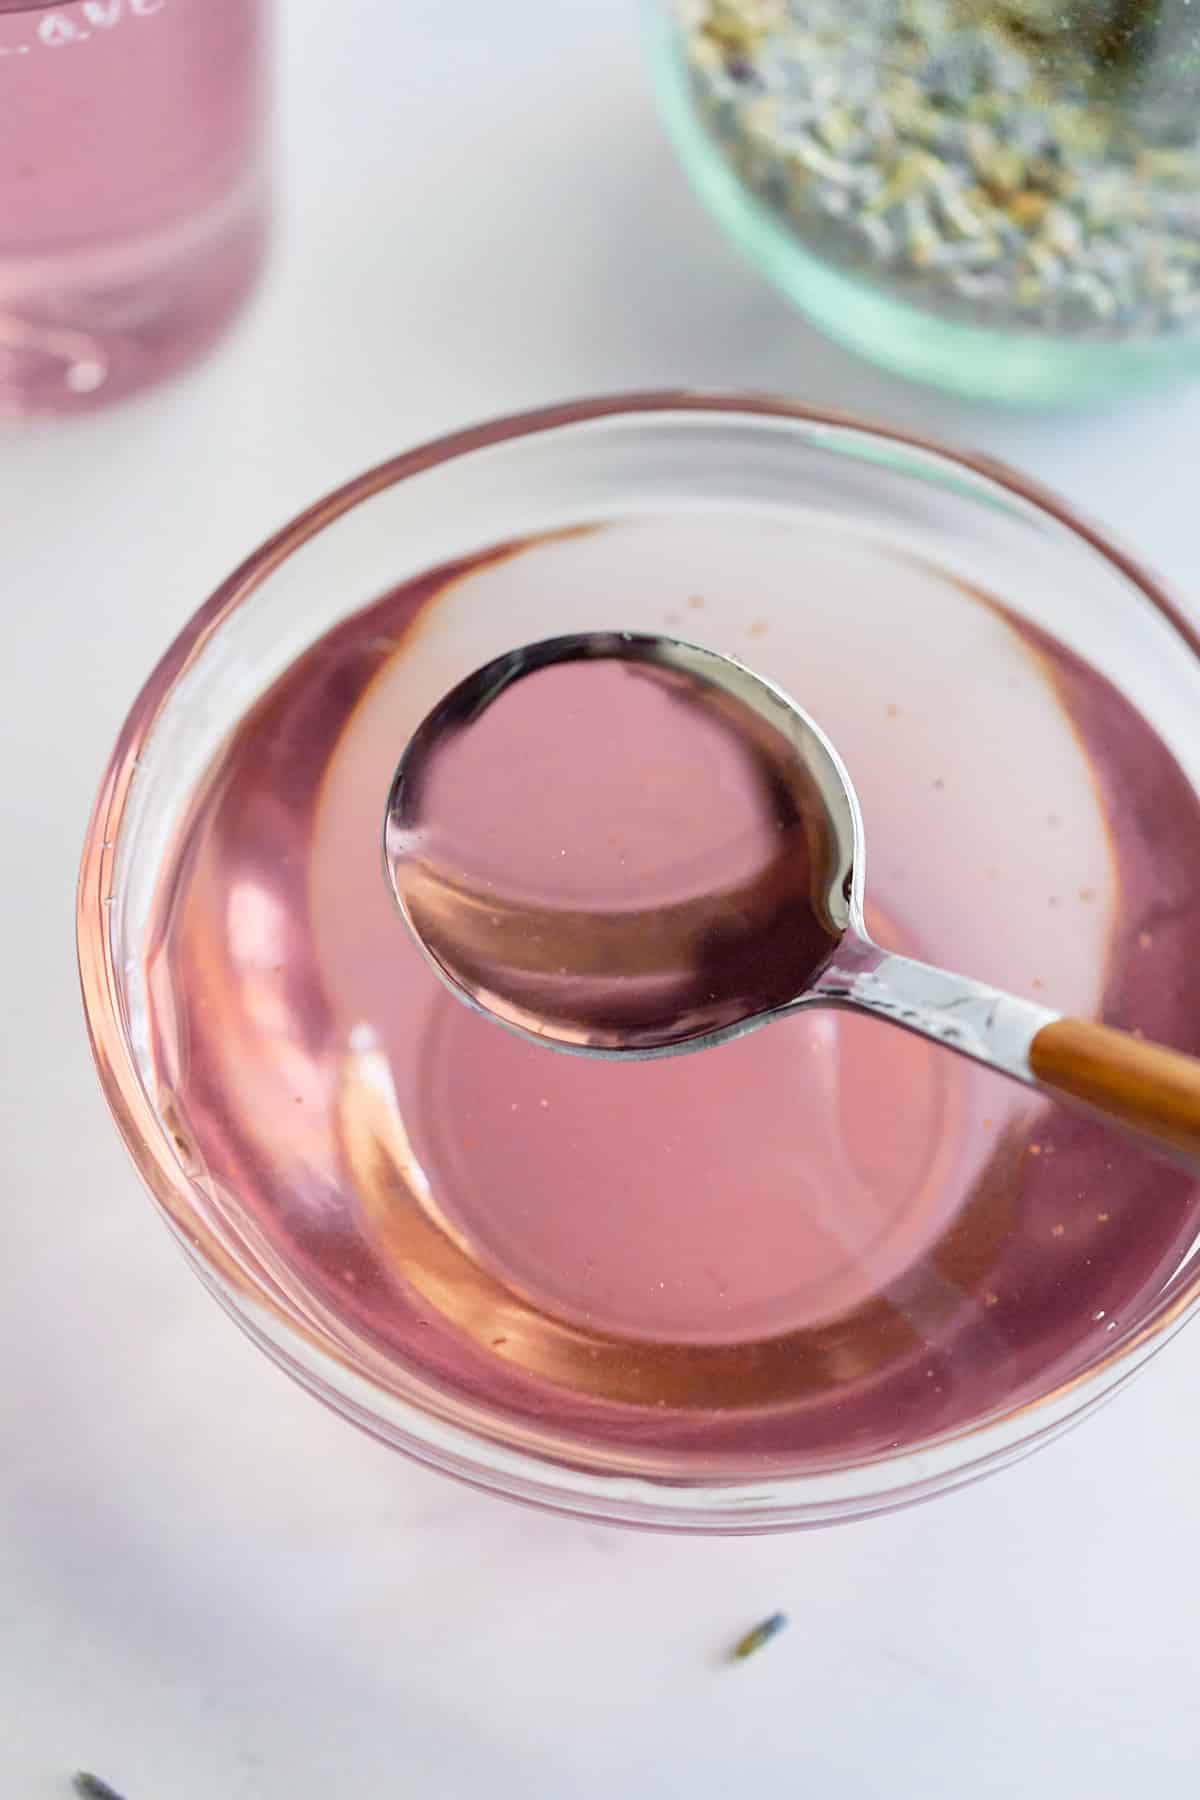
How to make Homemade Lavender Syrup
I make my own lavender simple syrup to add to this cocktail. In a saucepan, add ½ cup white granulated sugar, ½ cup water, and 1 Tablespoon culinary lavender buds. Simmer over medium heat for about 15-20 minutes. Cool the syrup to room temperature before straining and using it in the cocktail.
Expert Tips
These tips will help you make the best Lavender Martini recipe you’ve ever tried.
- If you don't have a shaker, just mix all the ingredients in a glass with ice and stir until well mixed.
- This drink is best when served immediately. However, you can also prepare it in advance and store it in the fridge for up to 24 hours. When ready to serve, add the ice and stir well.
- Don’t add the ice cubes until you are ready to serve; otherwise, you risk them melting and diluting the cocktail.
- Serving more people, no problem. Increase the recipe and prepare in a large jug rather than a cocktail shaker.
Frequently Asked Questions
While dried lavender can infuse gin with floral notes, it's more potent and can easily overpower. Lavender syrup provides a more balanced sweetness and flavor.
Absolutely! Replace the gin with a non-alcoholic spirit or seedlip and use non-alcoholic lavender syrup for a delightful mocktail version.
Simmer equal parts water and sugar with a handful of culinary-grade lavender buds. Strain after cooling for a clear, fragrant syrup.
I hope you like this drink recipe as much as we do. If you’re looking for more martini recipes, try these out:
If you tried a recipe from my blog, please leave a rating and comment on how it turned out. Your feedback is appreciated!
Lavender Martini Recipe
Ingredients
- 2 ounces gin
- 1 ounce lavender syrup
- ½ ounce lemon juice
Instructions
- In a cocktail shaker, combine gin, lavender syrup, and lemon juice.
- Put ice in the cocktail shaker, close lid, and shake for 10-15 seconds to mix the ingredients..
- Strain the mixture into a martini glass, ensuring no ice pieces escape.
- Garnish with a lemon twist or a lavender sprig, and enjoy.
Notes
- If you're not a fan of gin, feel free to substitute the gin with vodka.
- Fresh lemon juice works wonderfully in this drink. You could also use the stuff in a bottle if preferred.