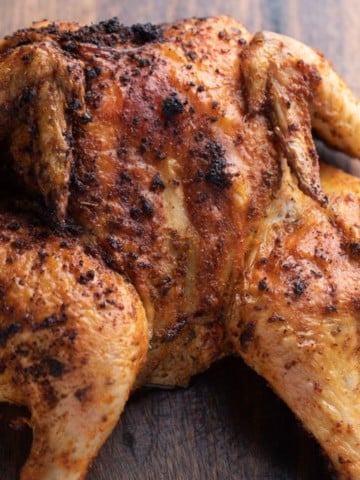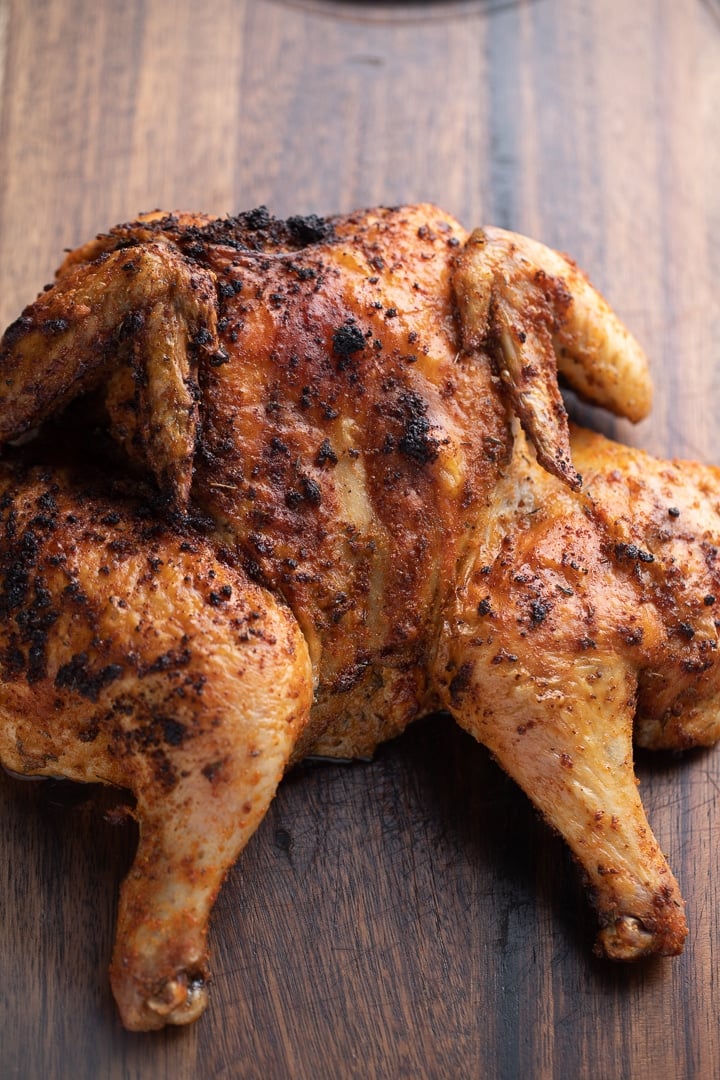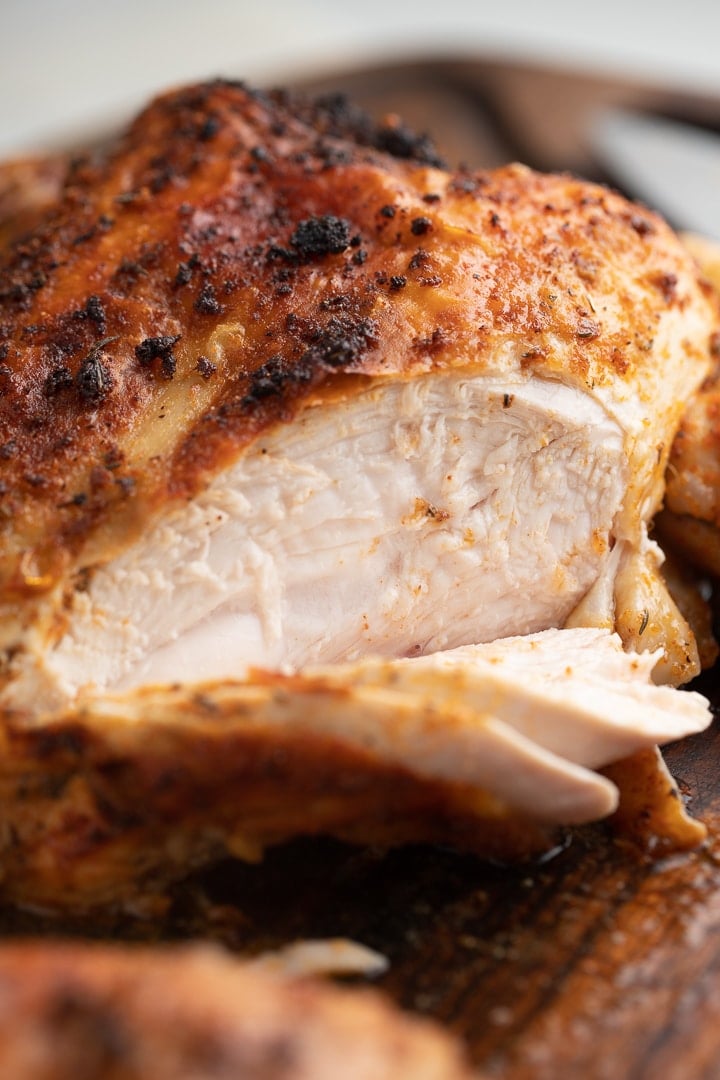
Broiled chicken is your go-to for quick, juicy, and flavorful meals—perfect for busy nights. Whether chicken breasts, thighs, or wings, broiling brings out big flavor with minimal effort.
You’ll find the full recipe with ingredient amounts and instructions in the recipe card at the bottom of this post. Be sure to check out the blog post itself for extra tips and tricks!
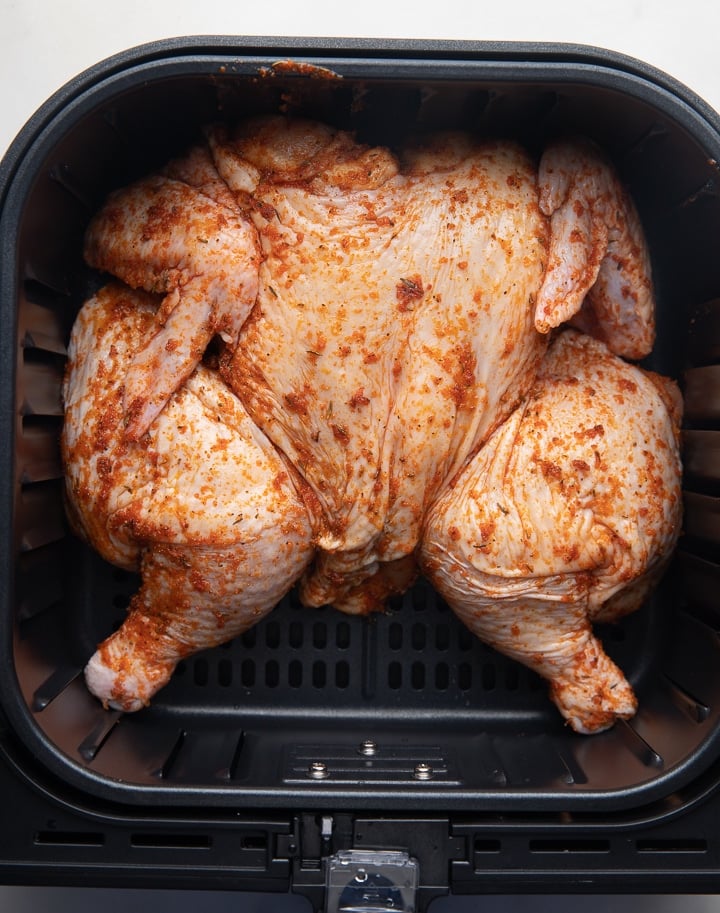
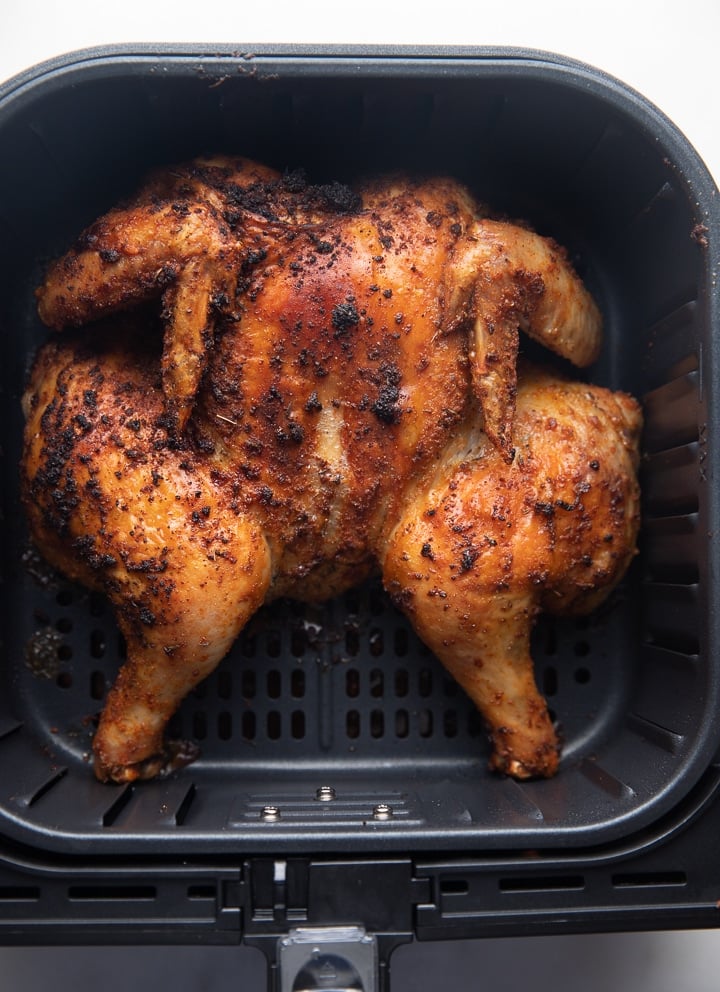
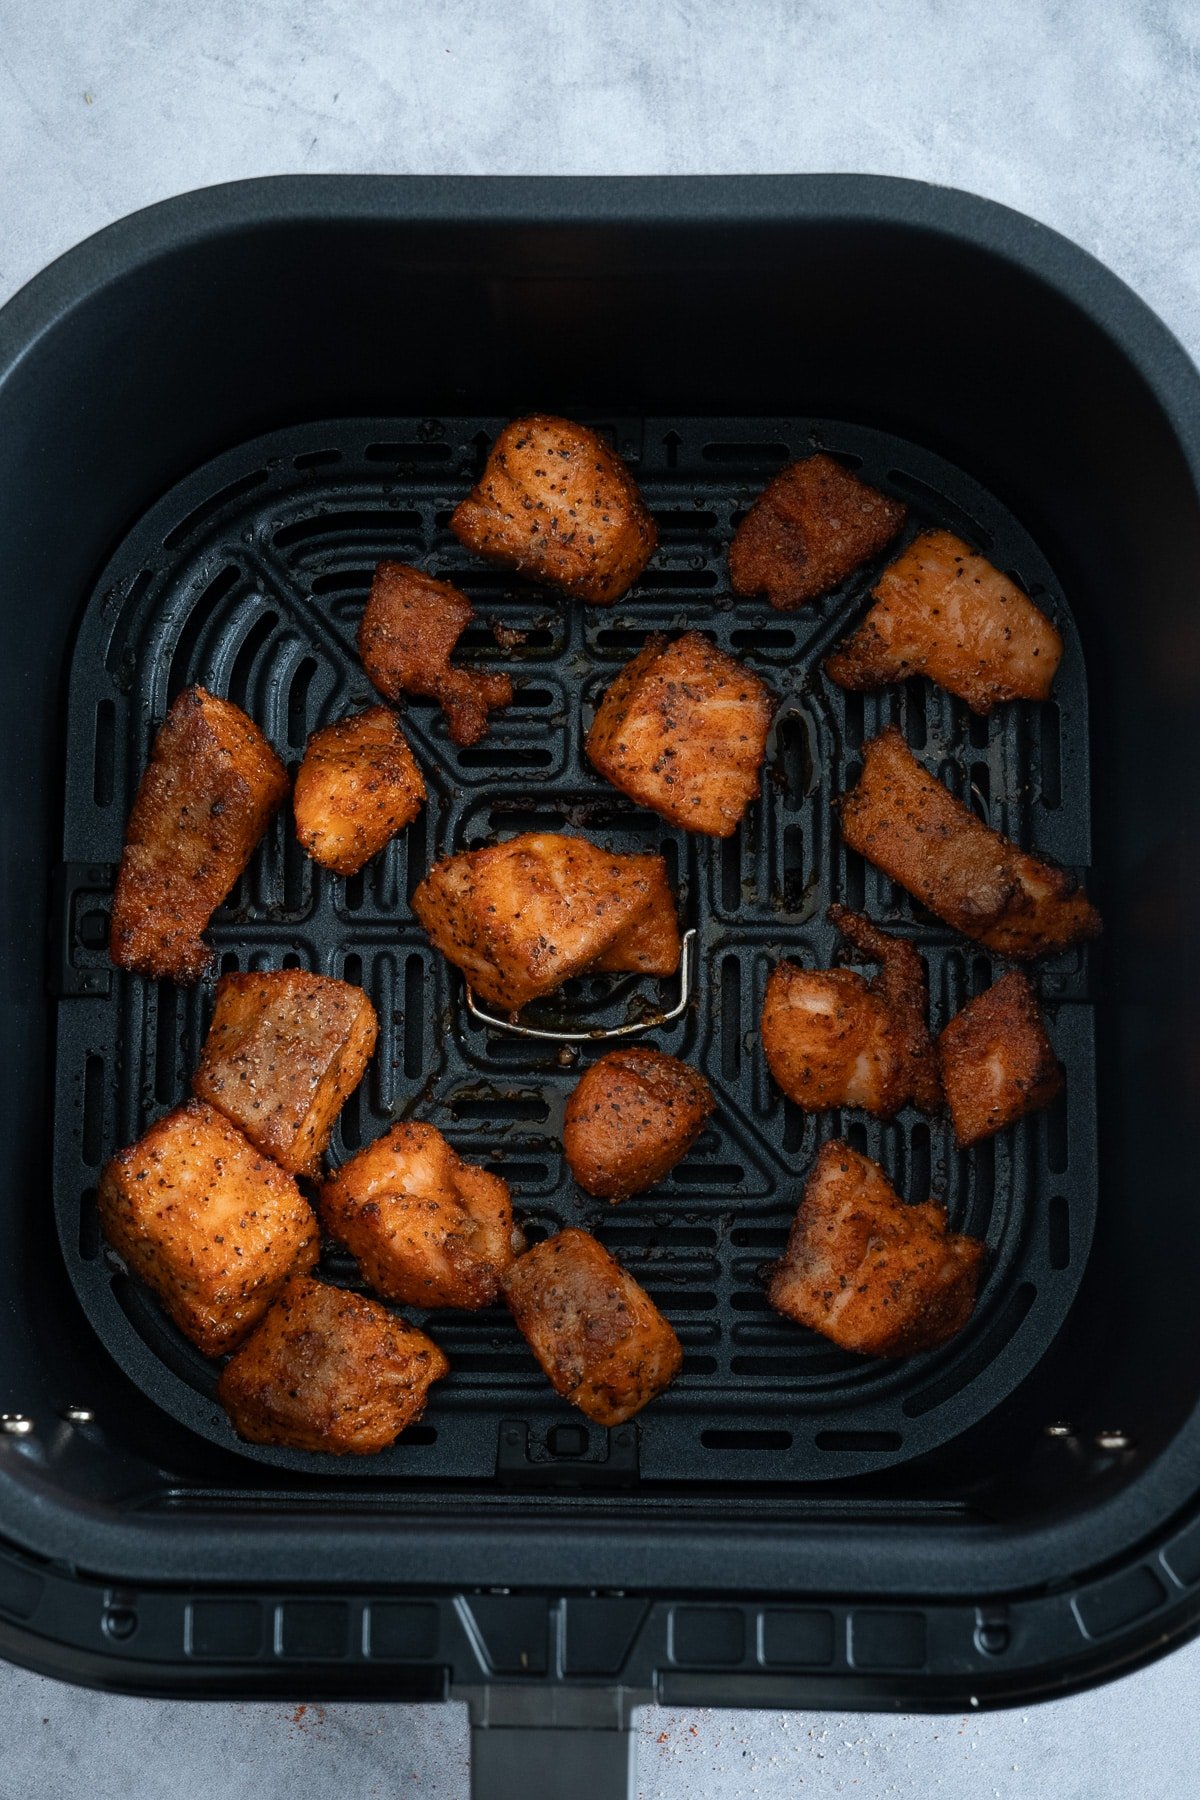
I like having my go-to easy ways to make protein. Whether chicken in the air fryer or fish in the oven, having a solid, easy method of making juicy broiled chicken has become one of my favorites.
I first discovered this method in the How to Cook Everything book, and it quickly earned a spot in my weeknight rotation. It's quick, reliable, and delivers tender chicken every time—very fast- no fuss.
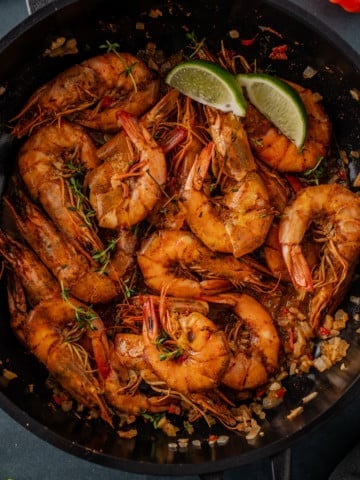
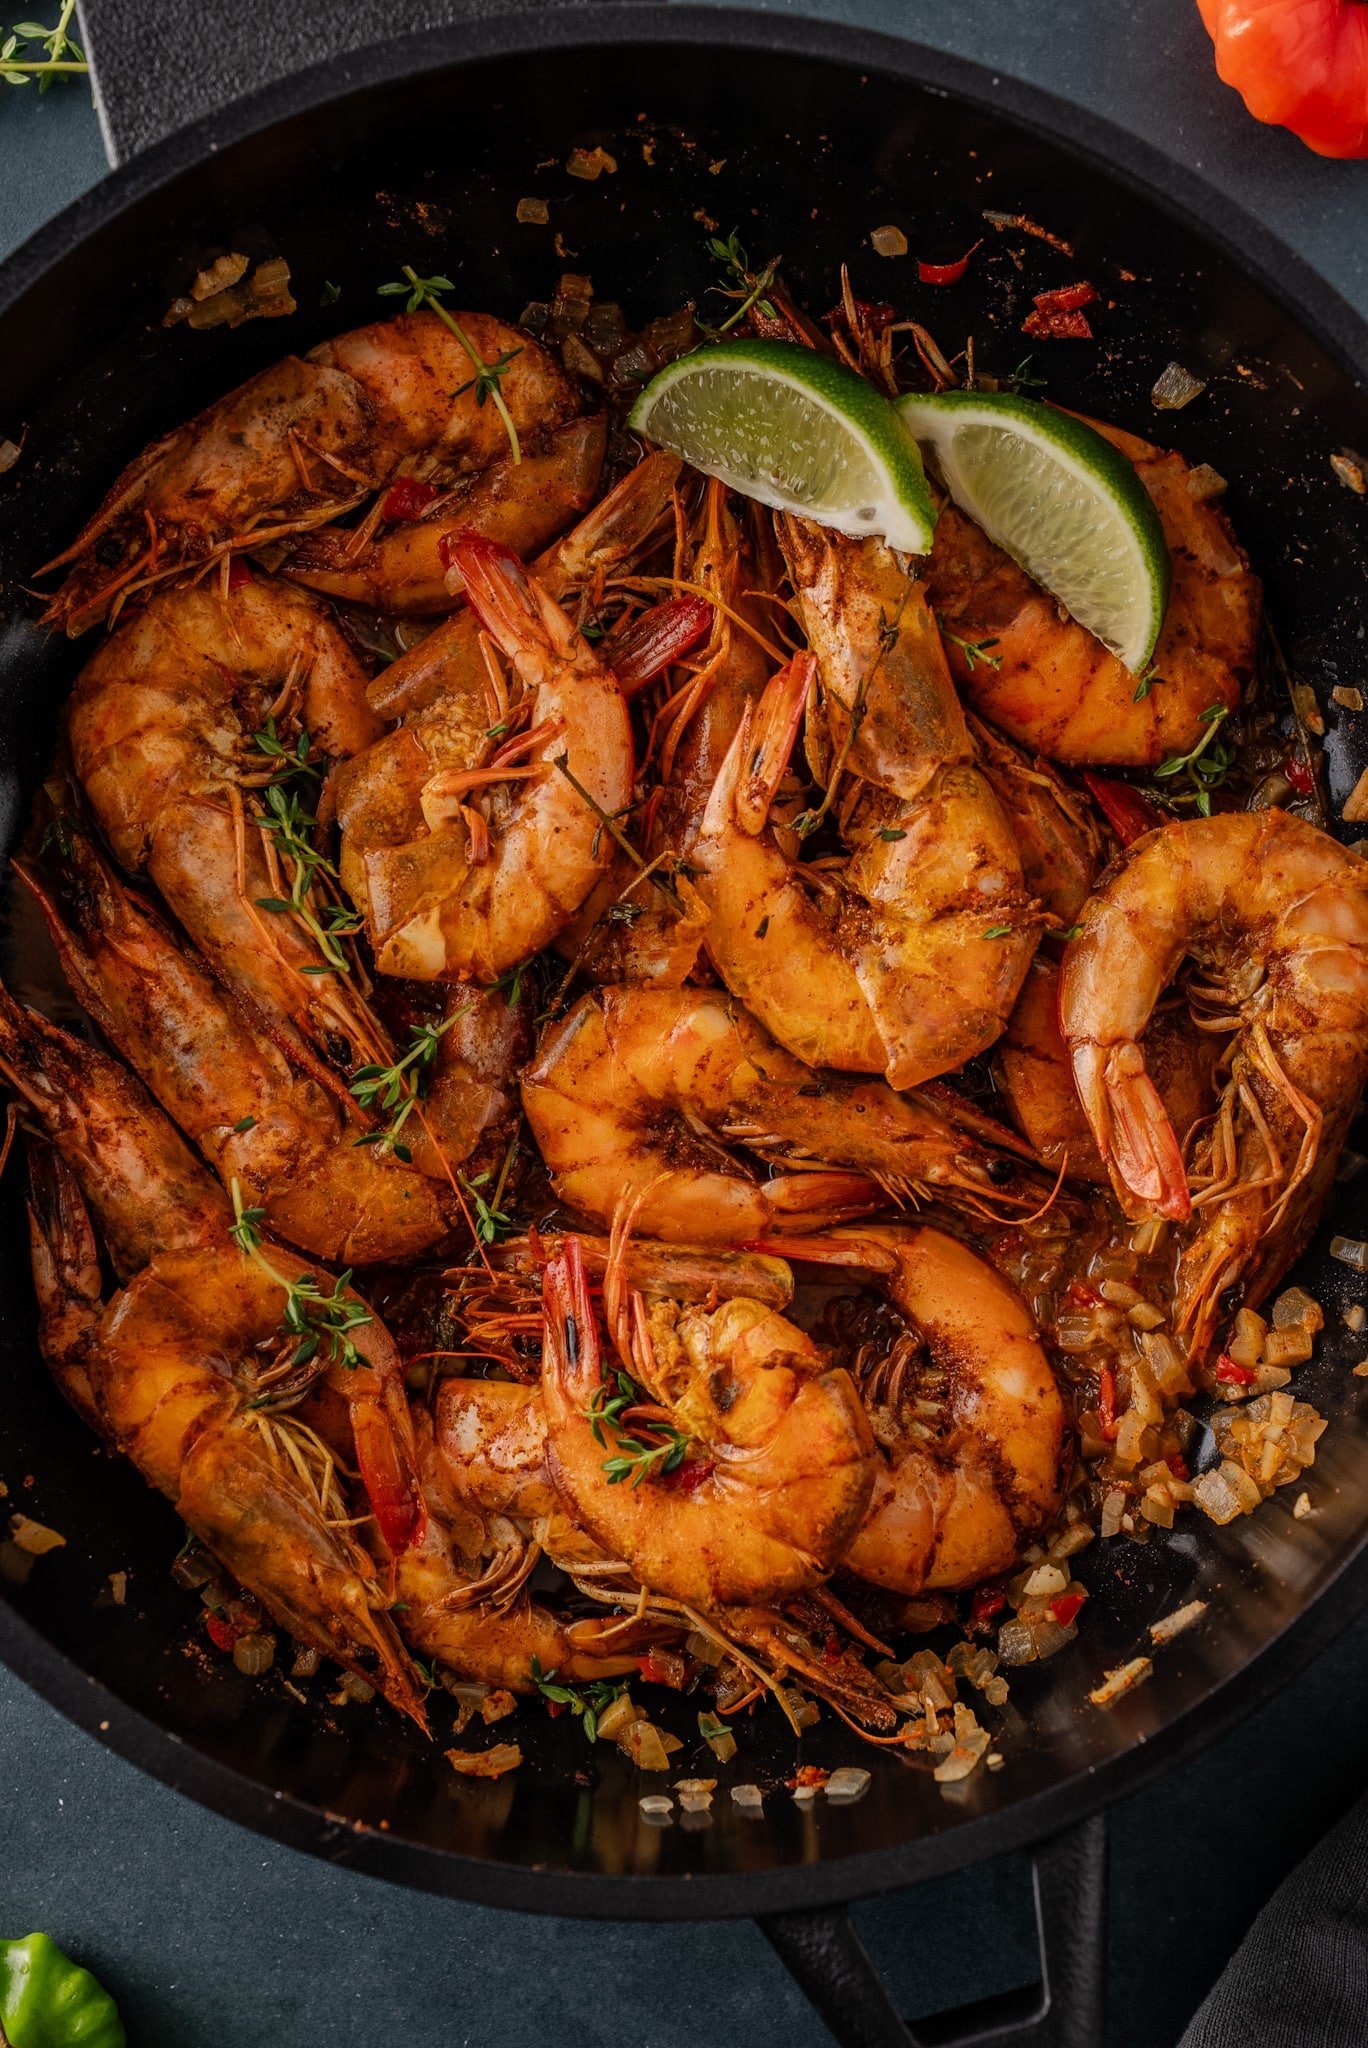
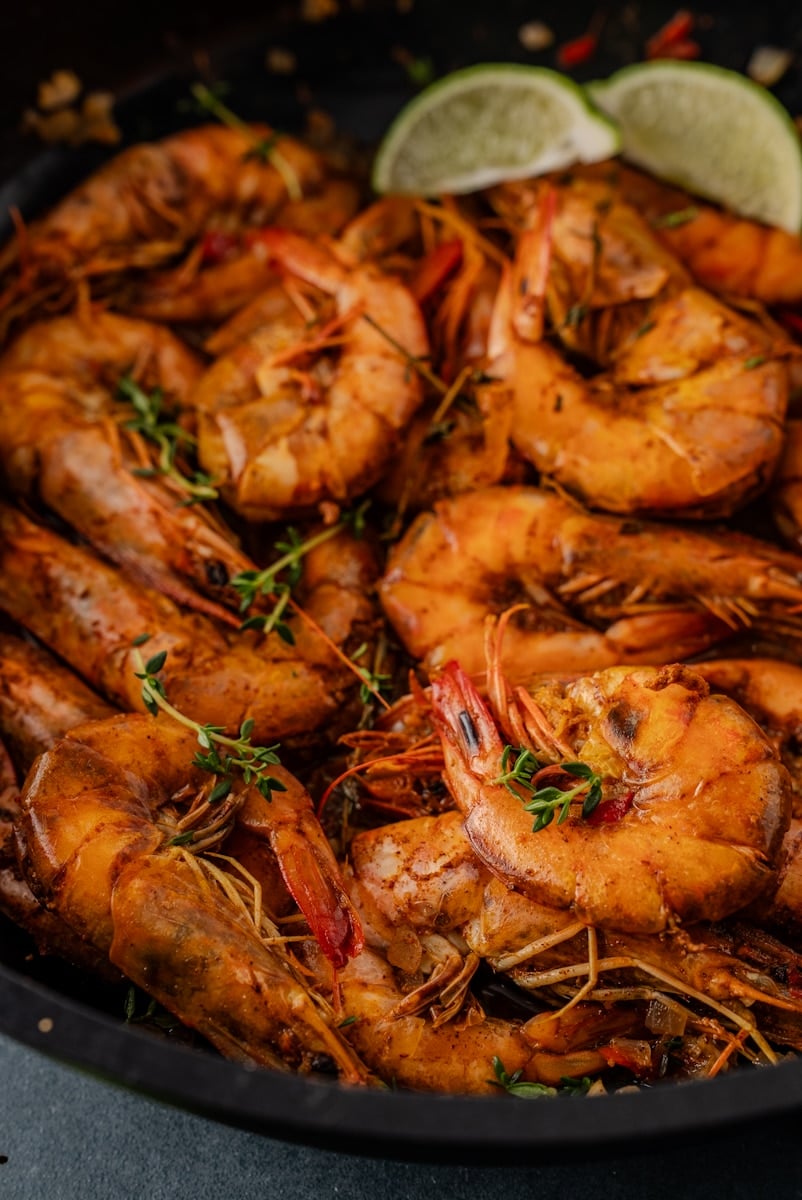
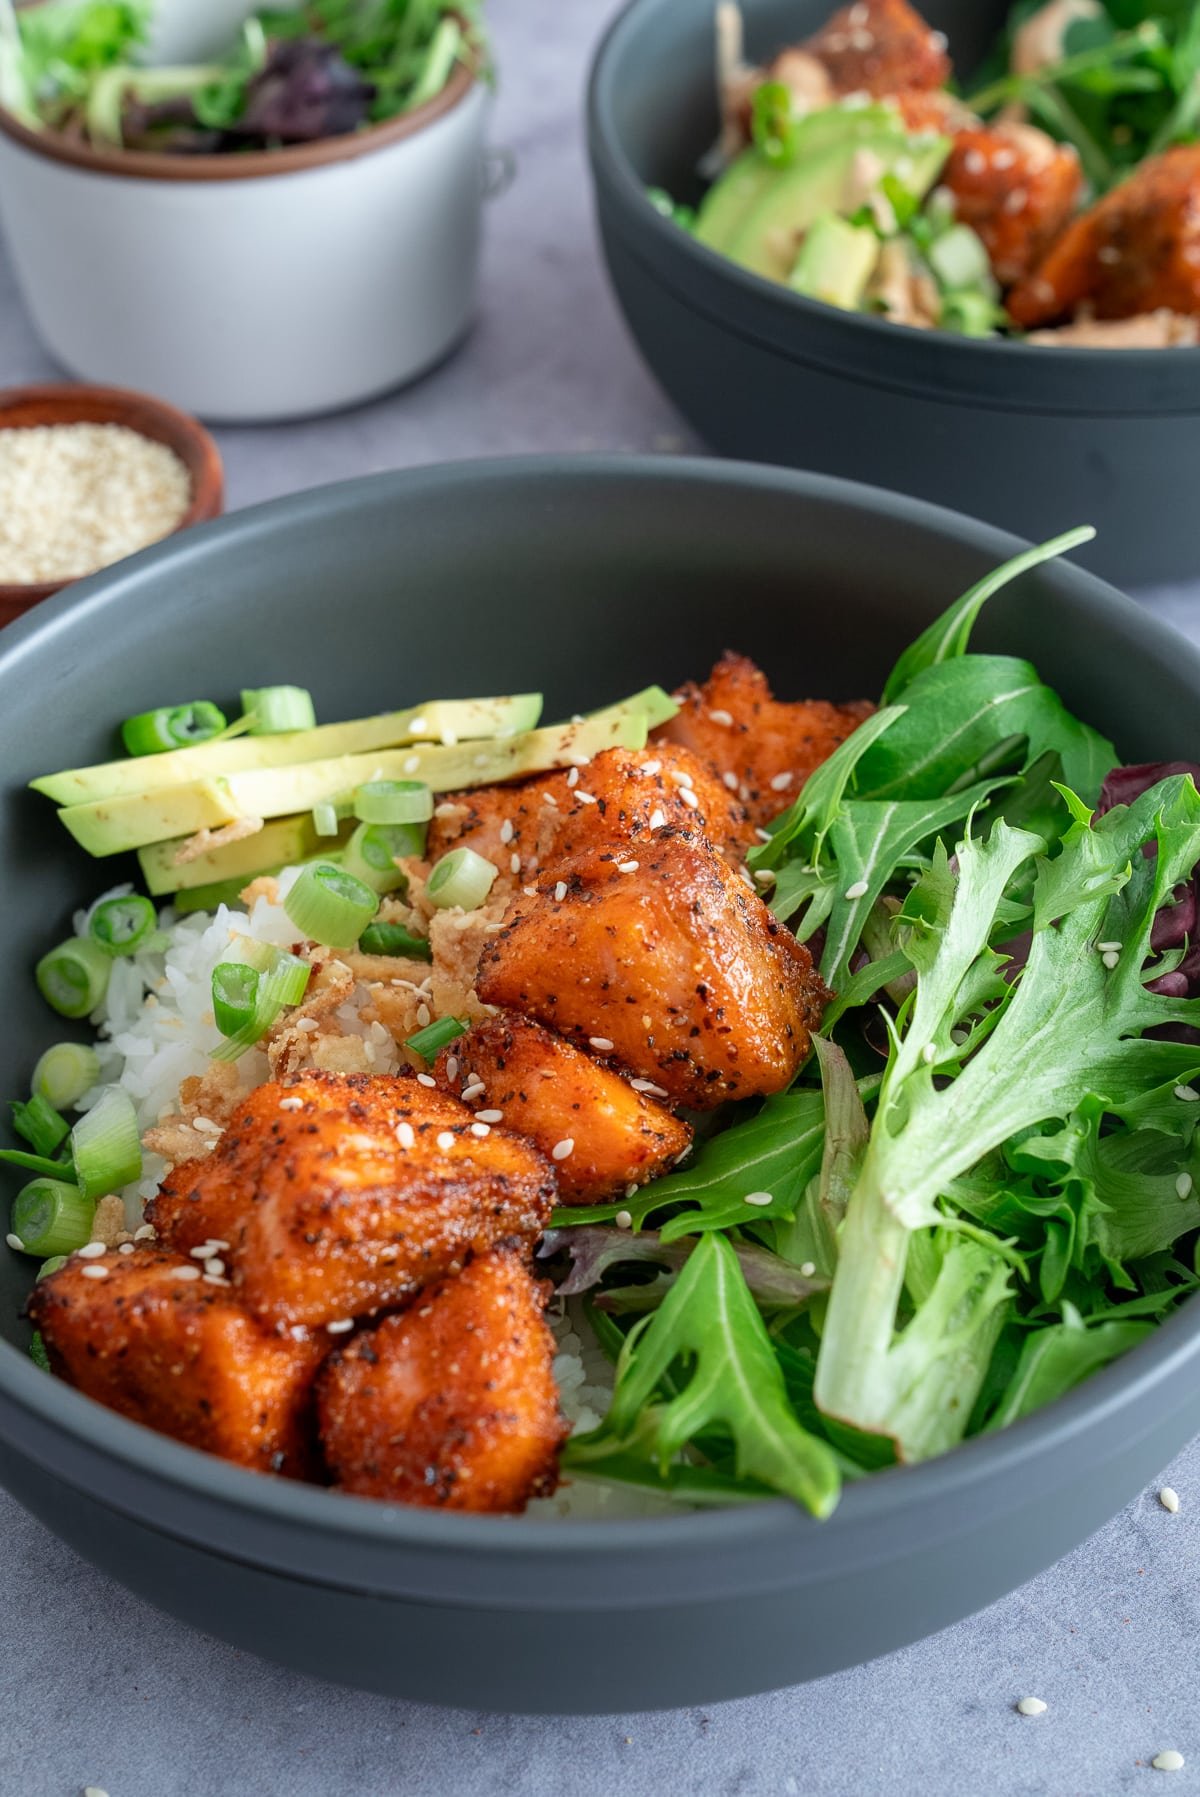
This chicken is great for dinner entrees or meal prep. I like to make a batch at the beginning of the week and use it in pasta and salads for quick meals. If you like this method of cooking, check out my broiled shrimp recipe.
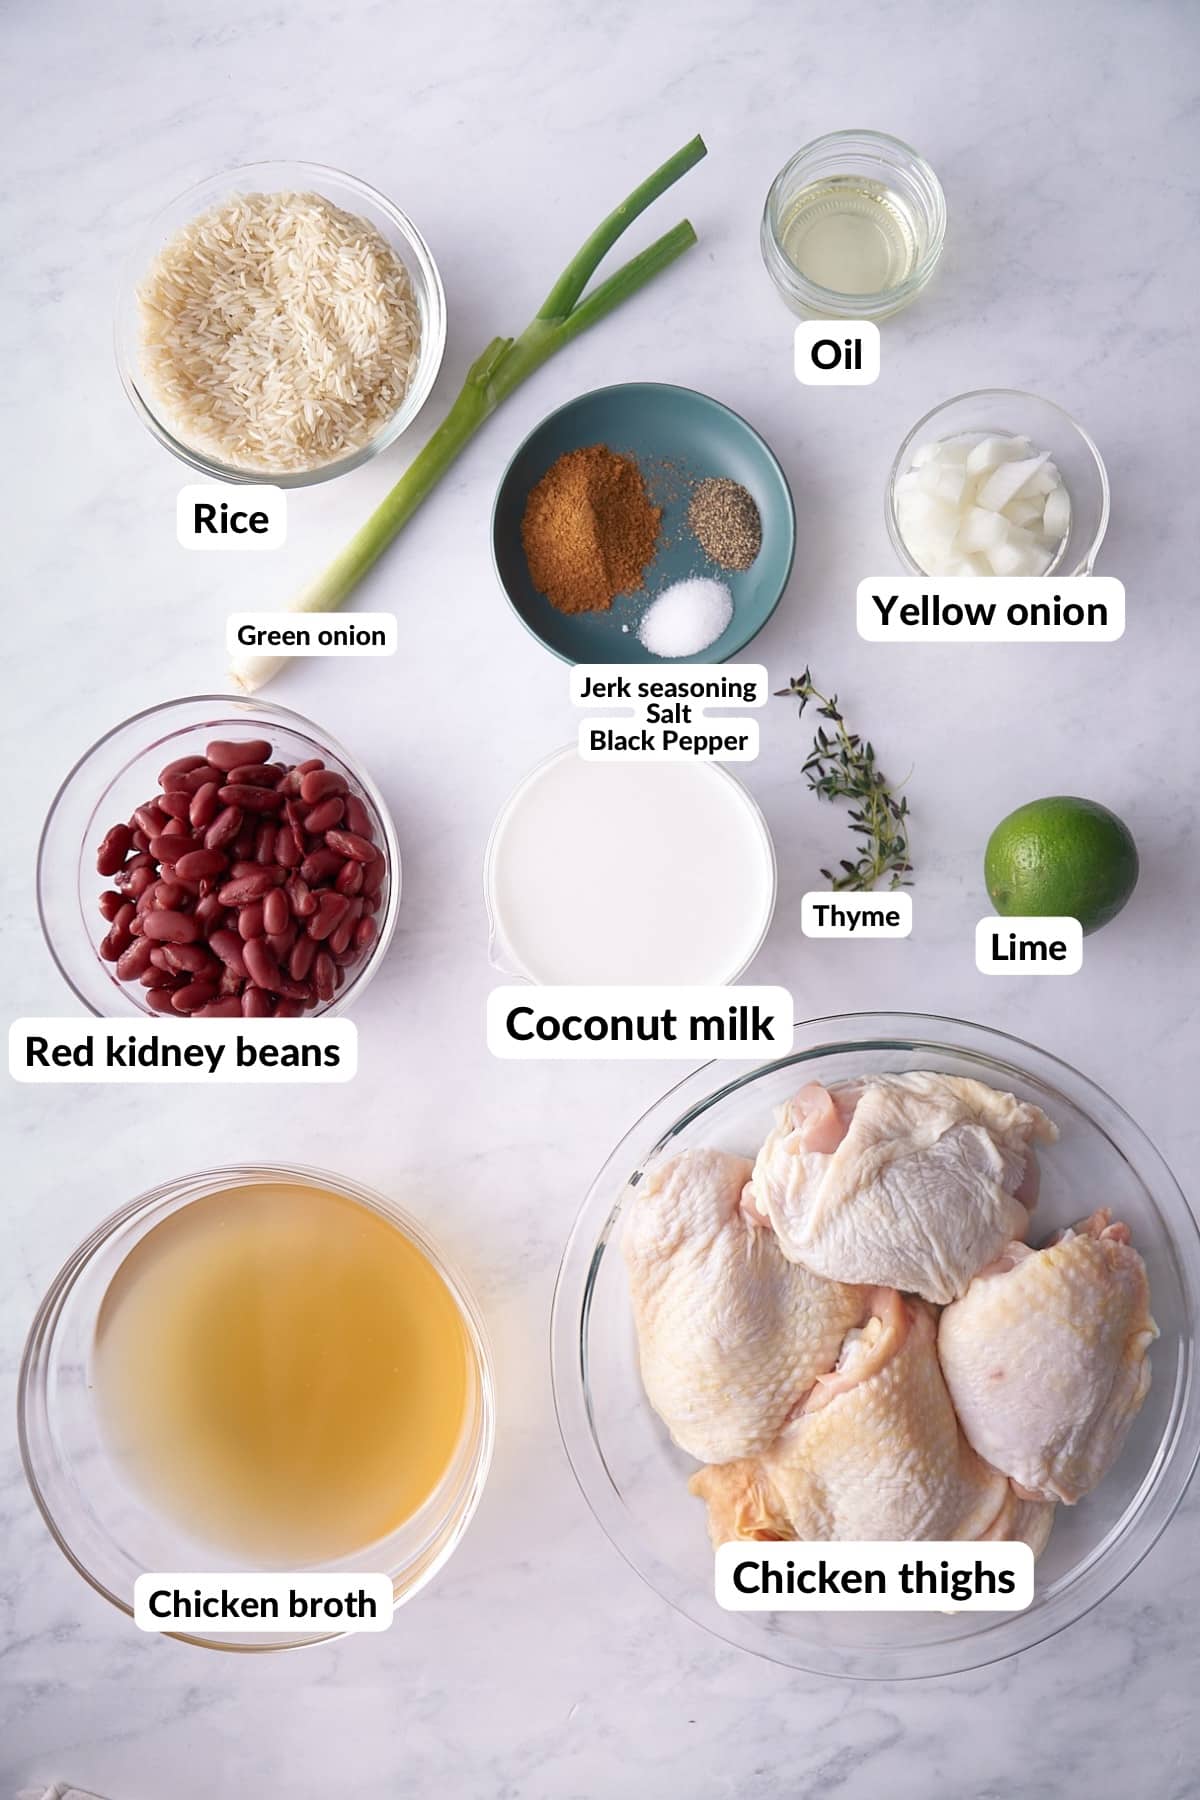
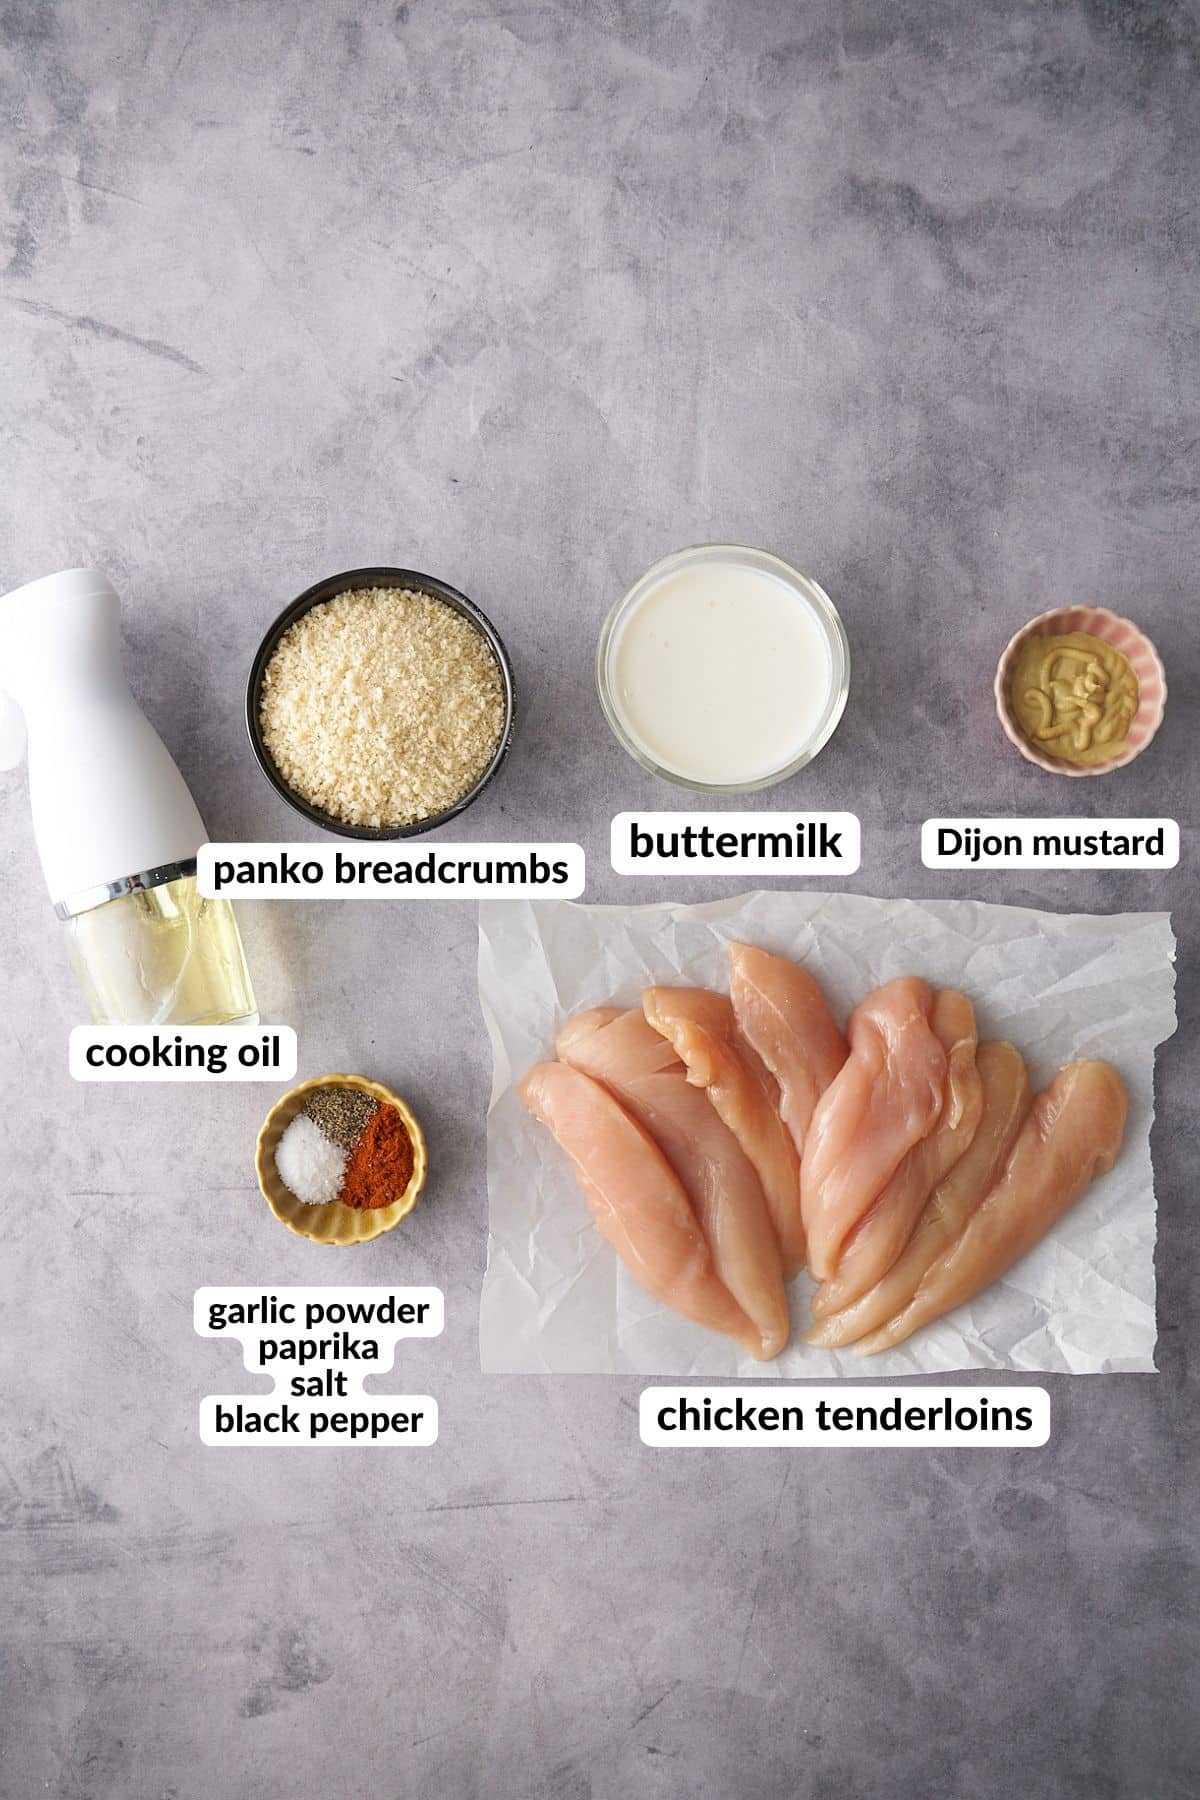
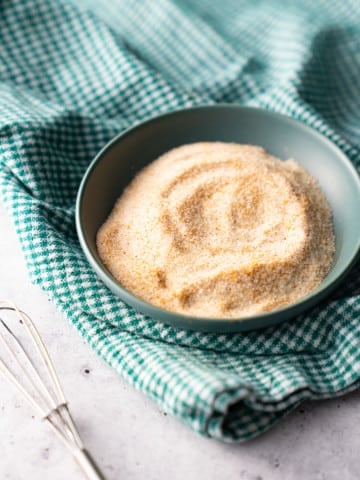
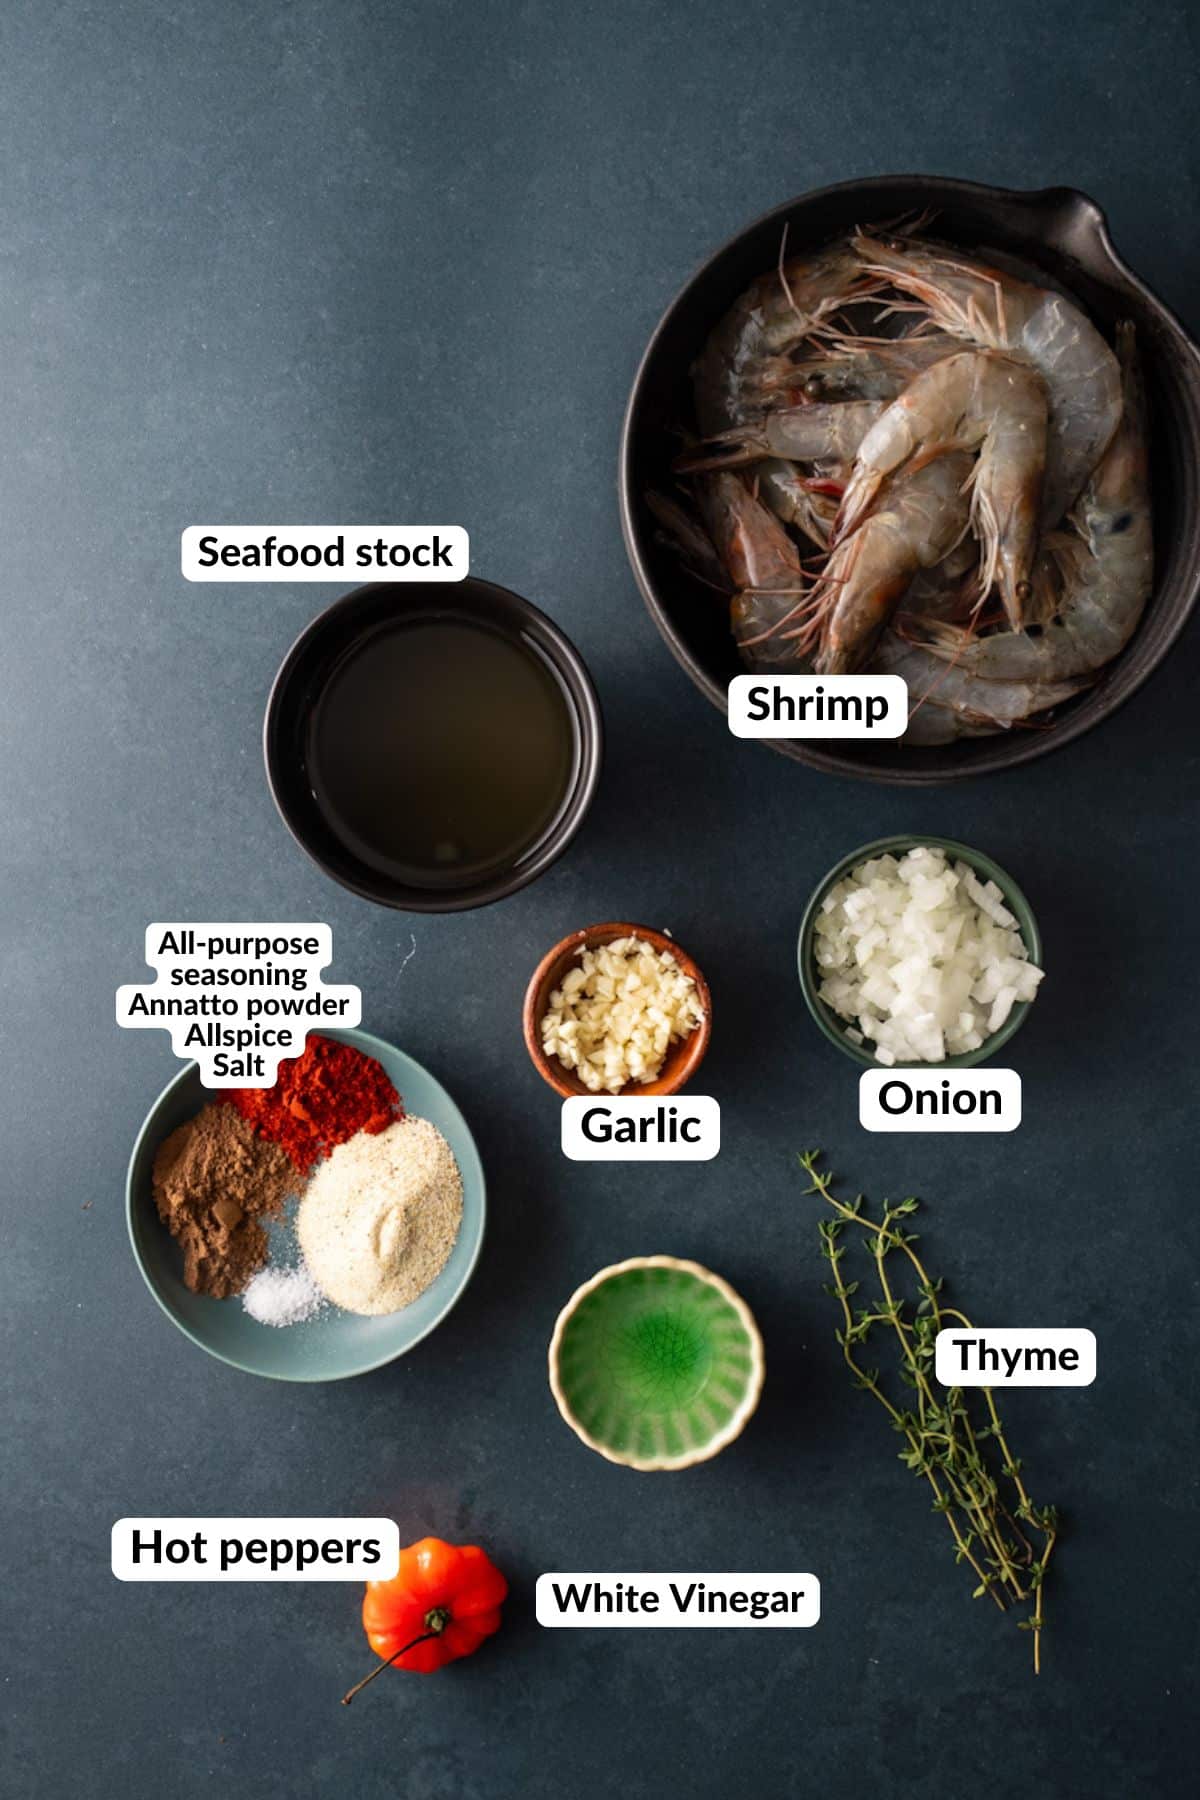
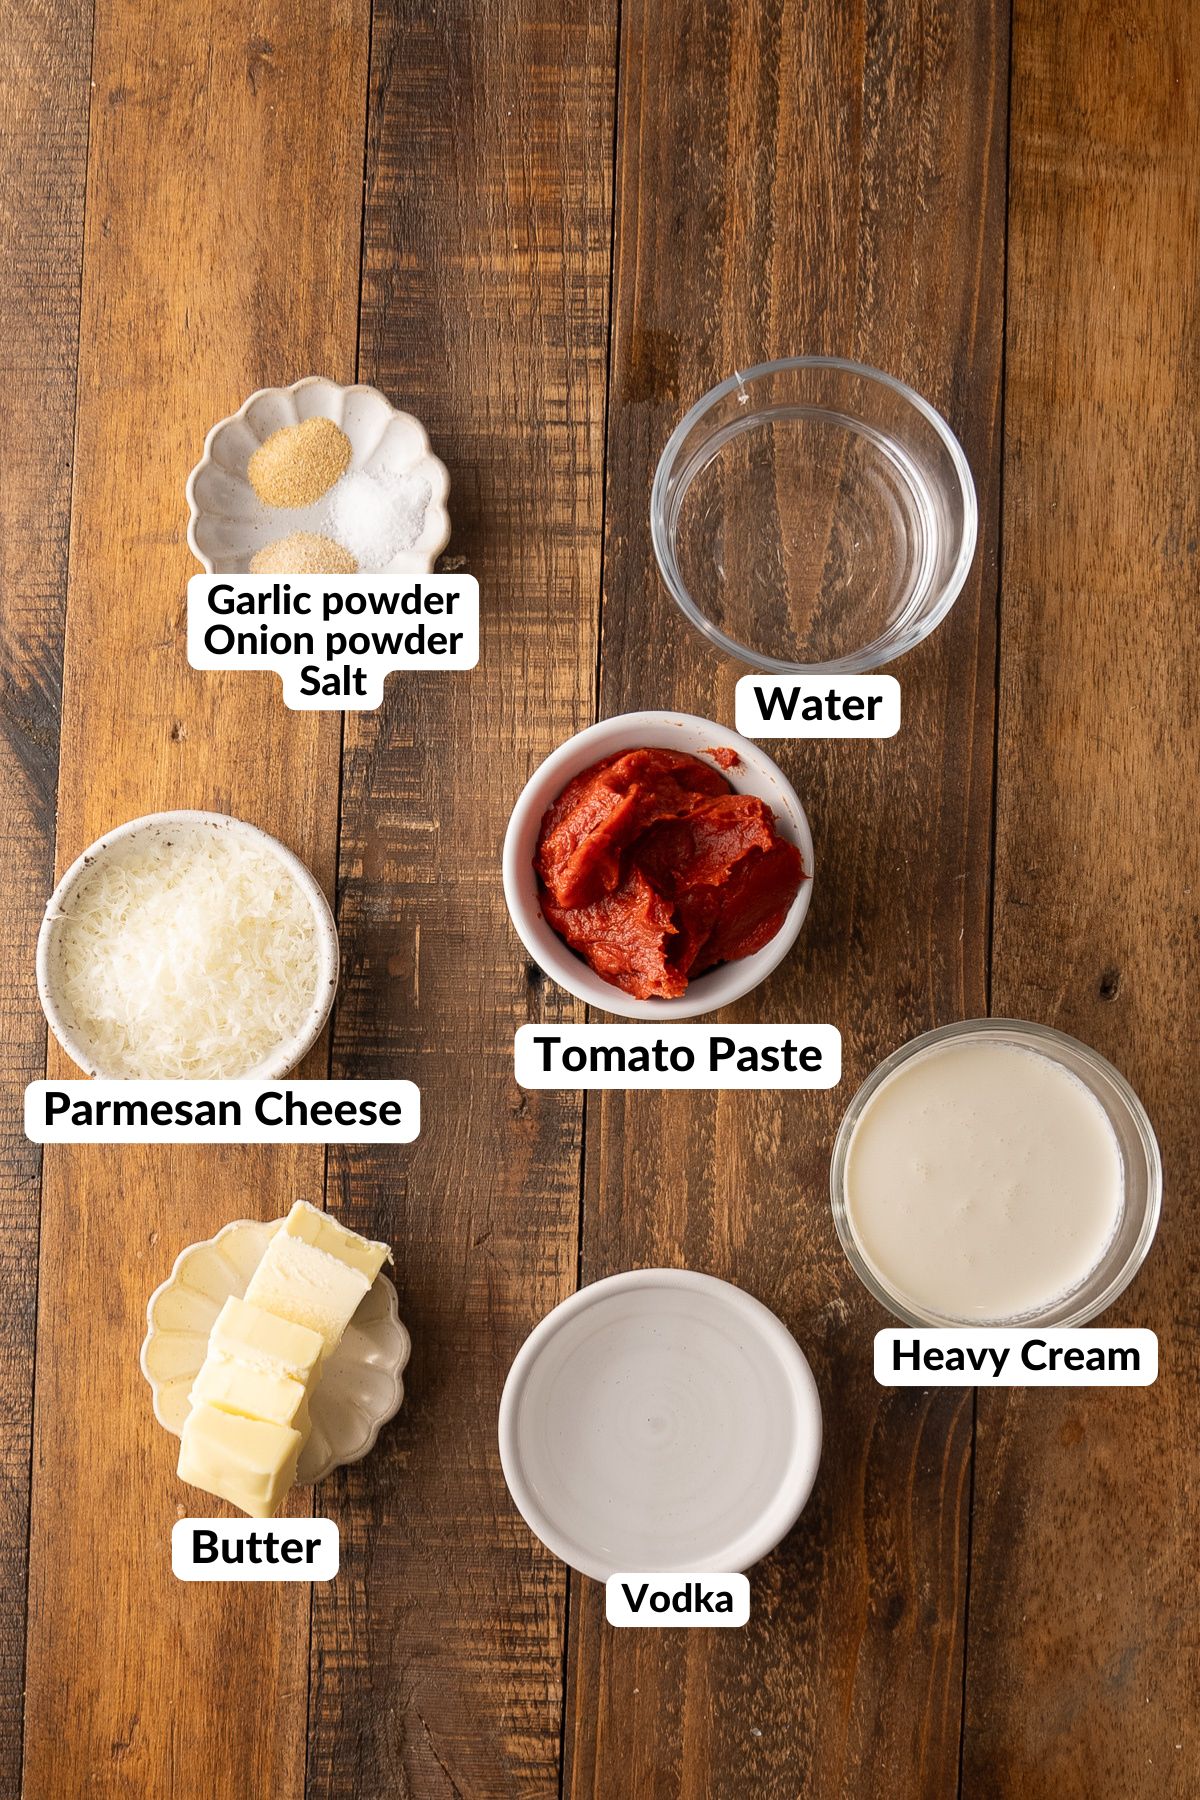
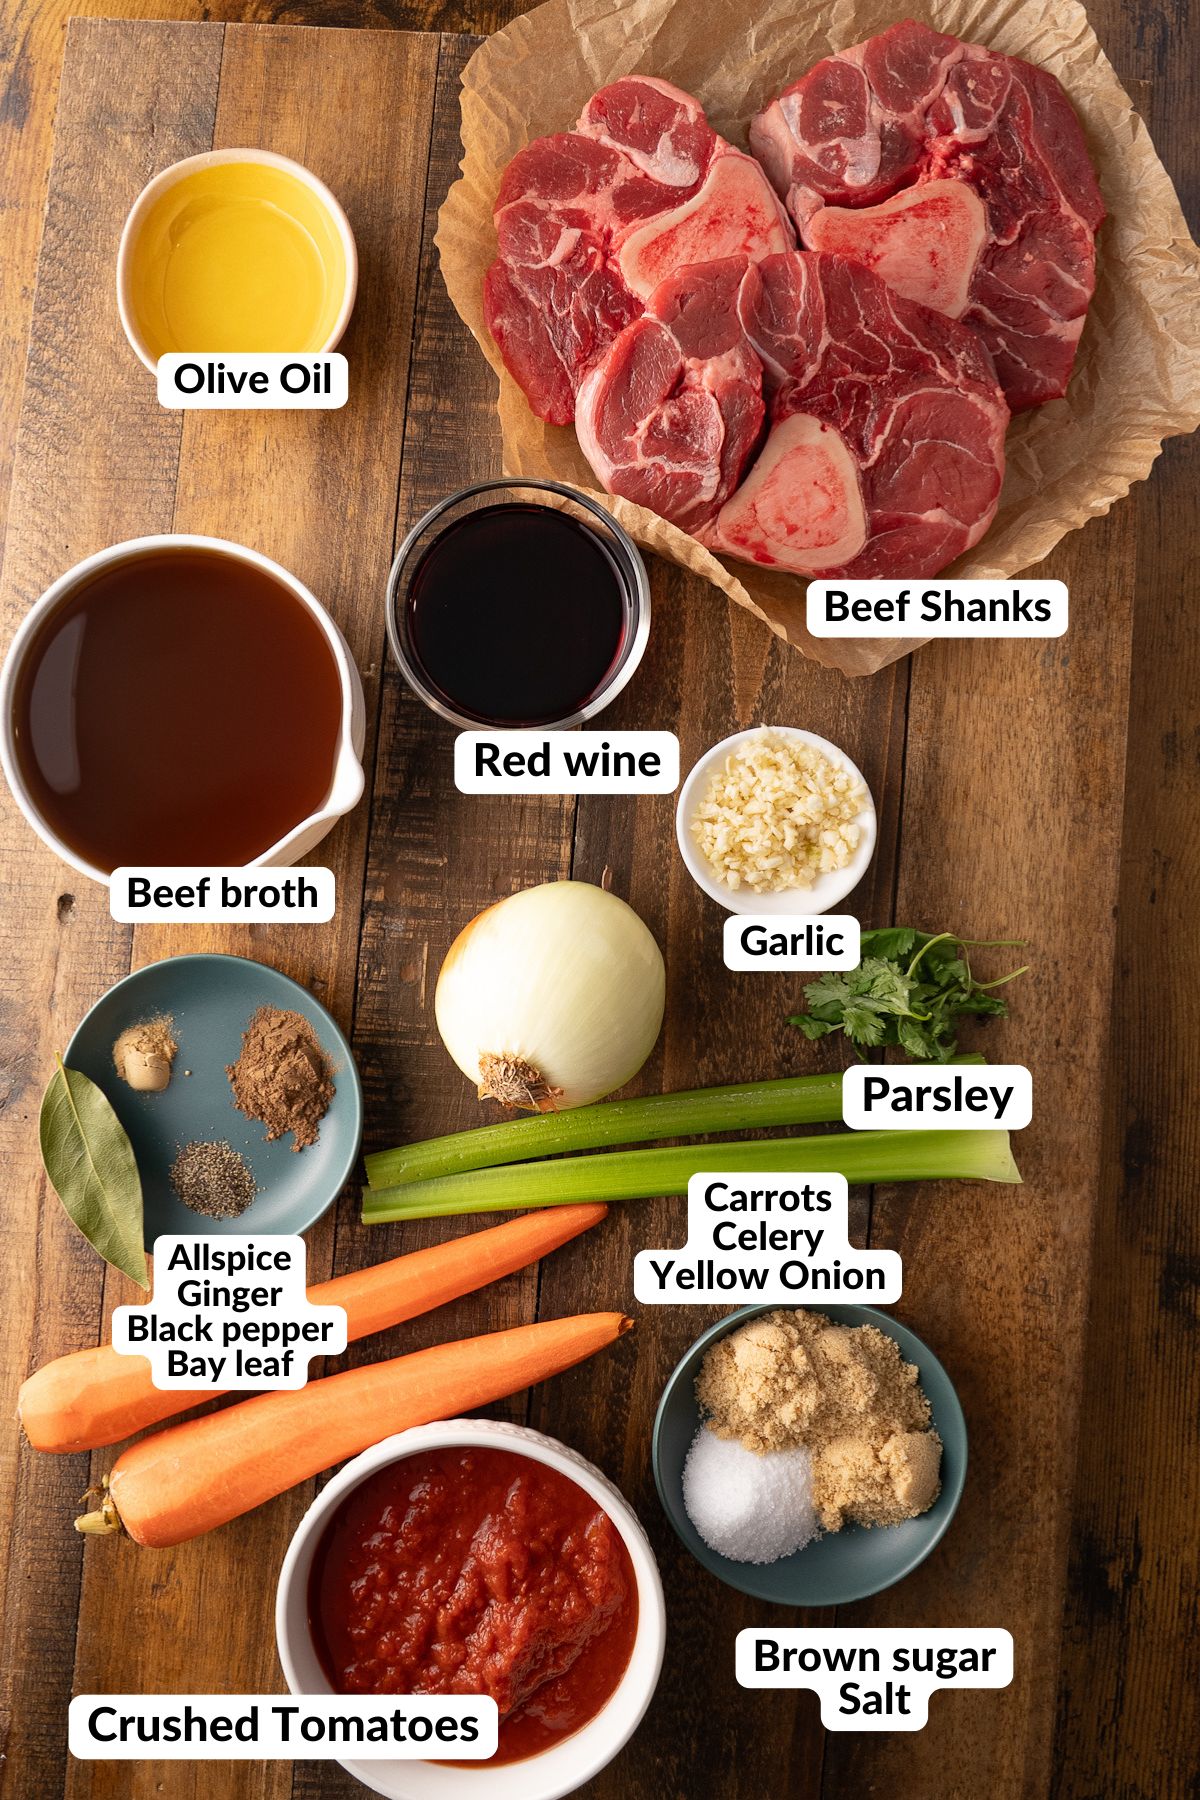
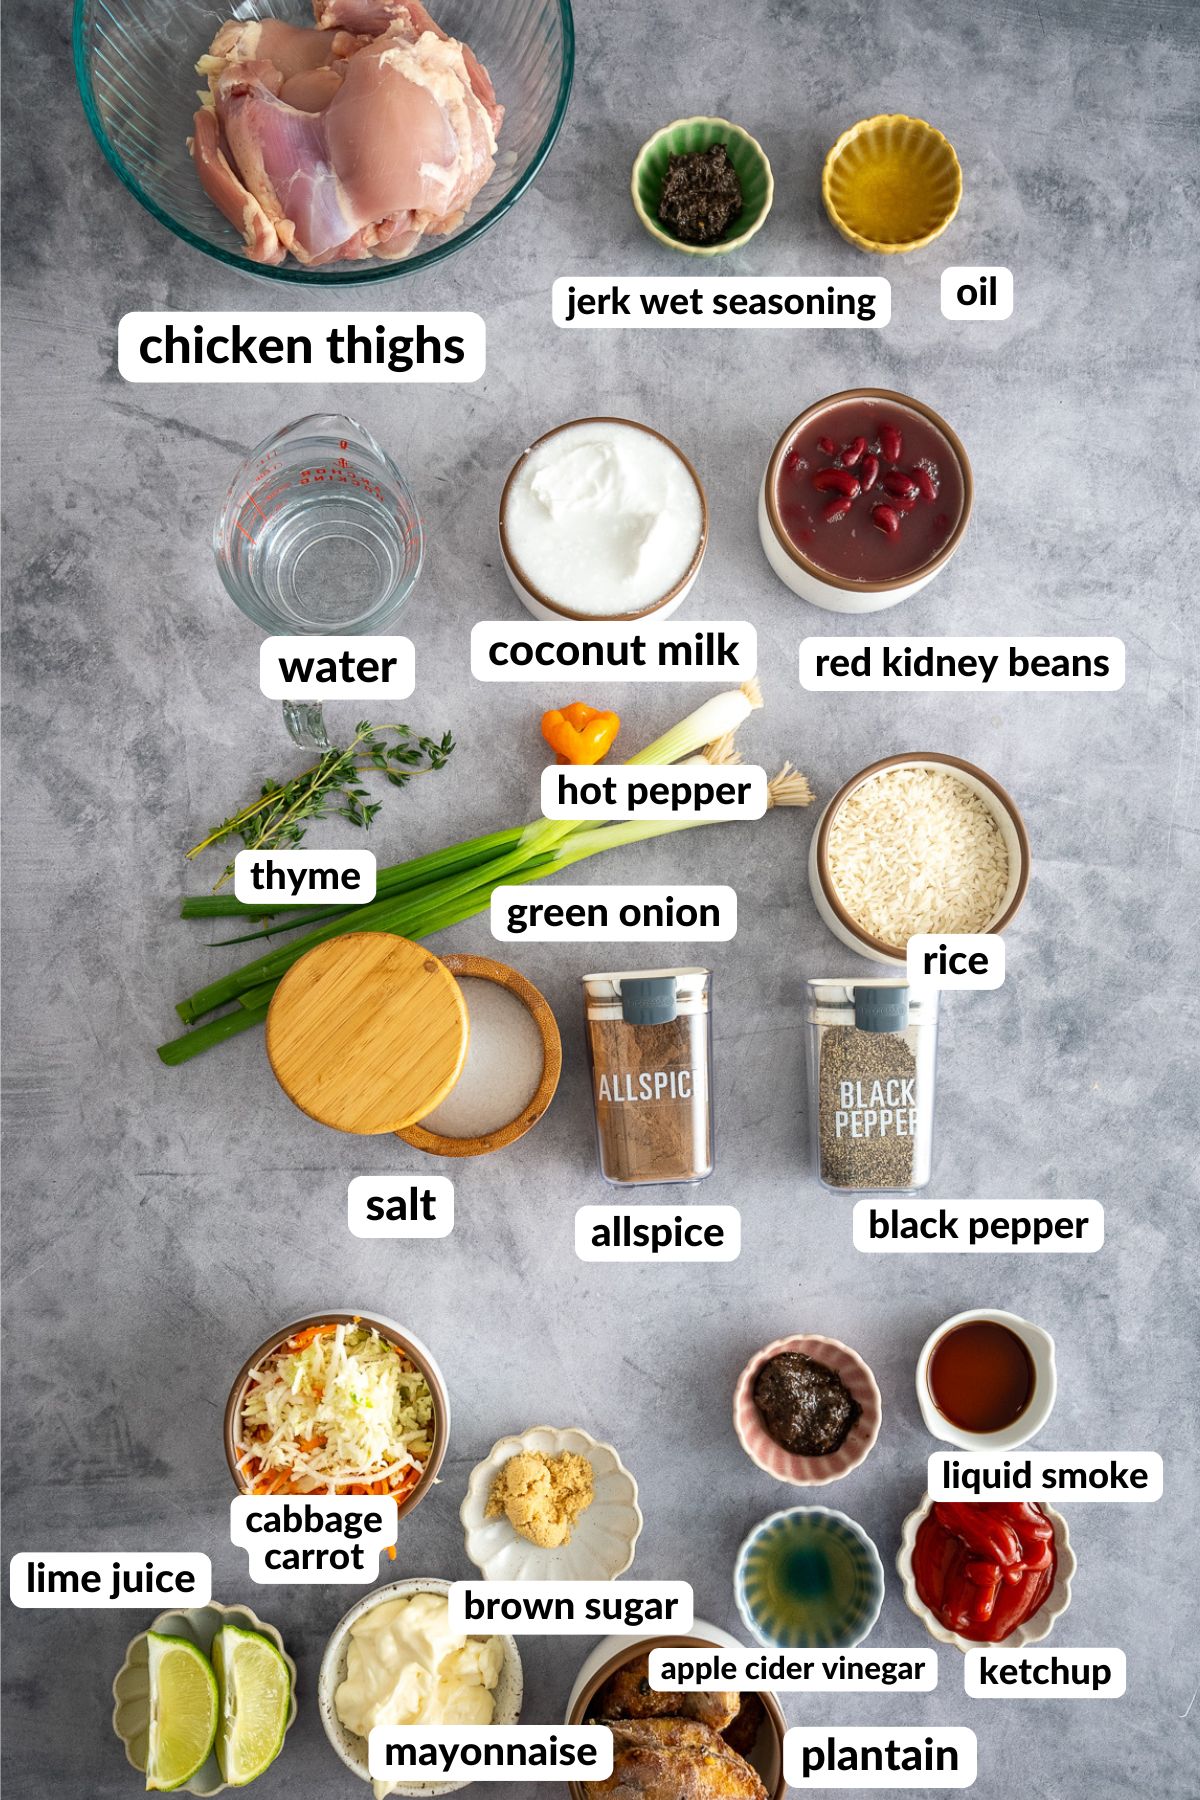
A Quick Look at the Ingredients
Ingredient amounts and full recipe instructions are on the printable recipe card at the bottom of the post.
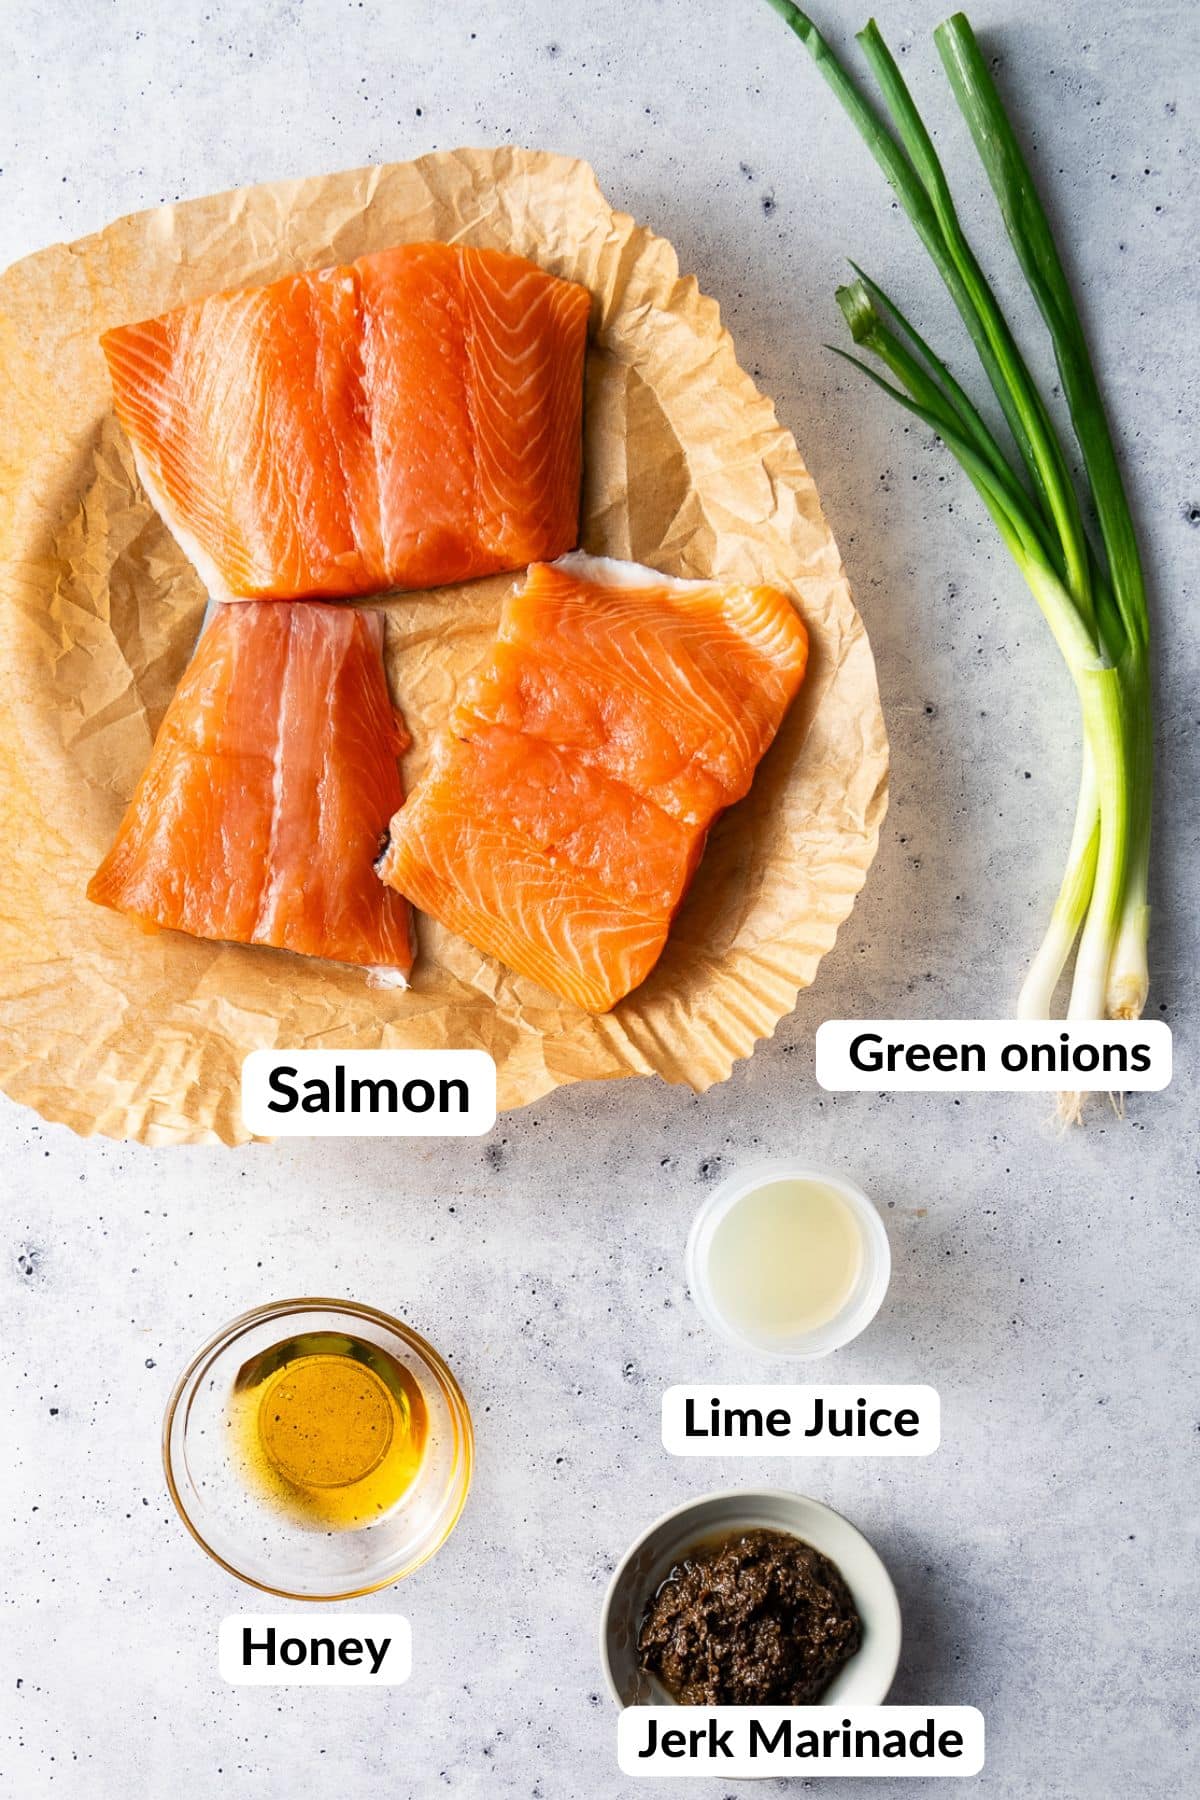
- Chicken—I usually broil boneless, skinless chicken breasts. I opt for medium-sized breasts, about 6-8 ounces each.
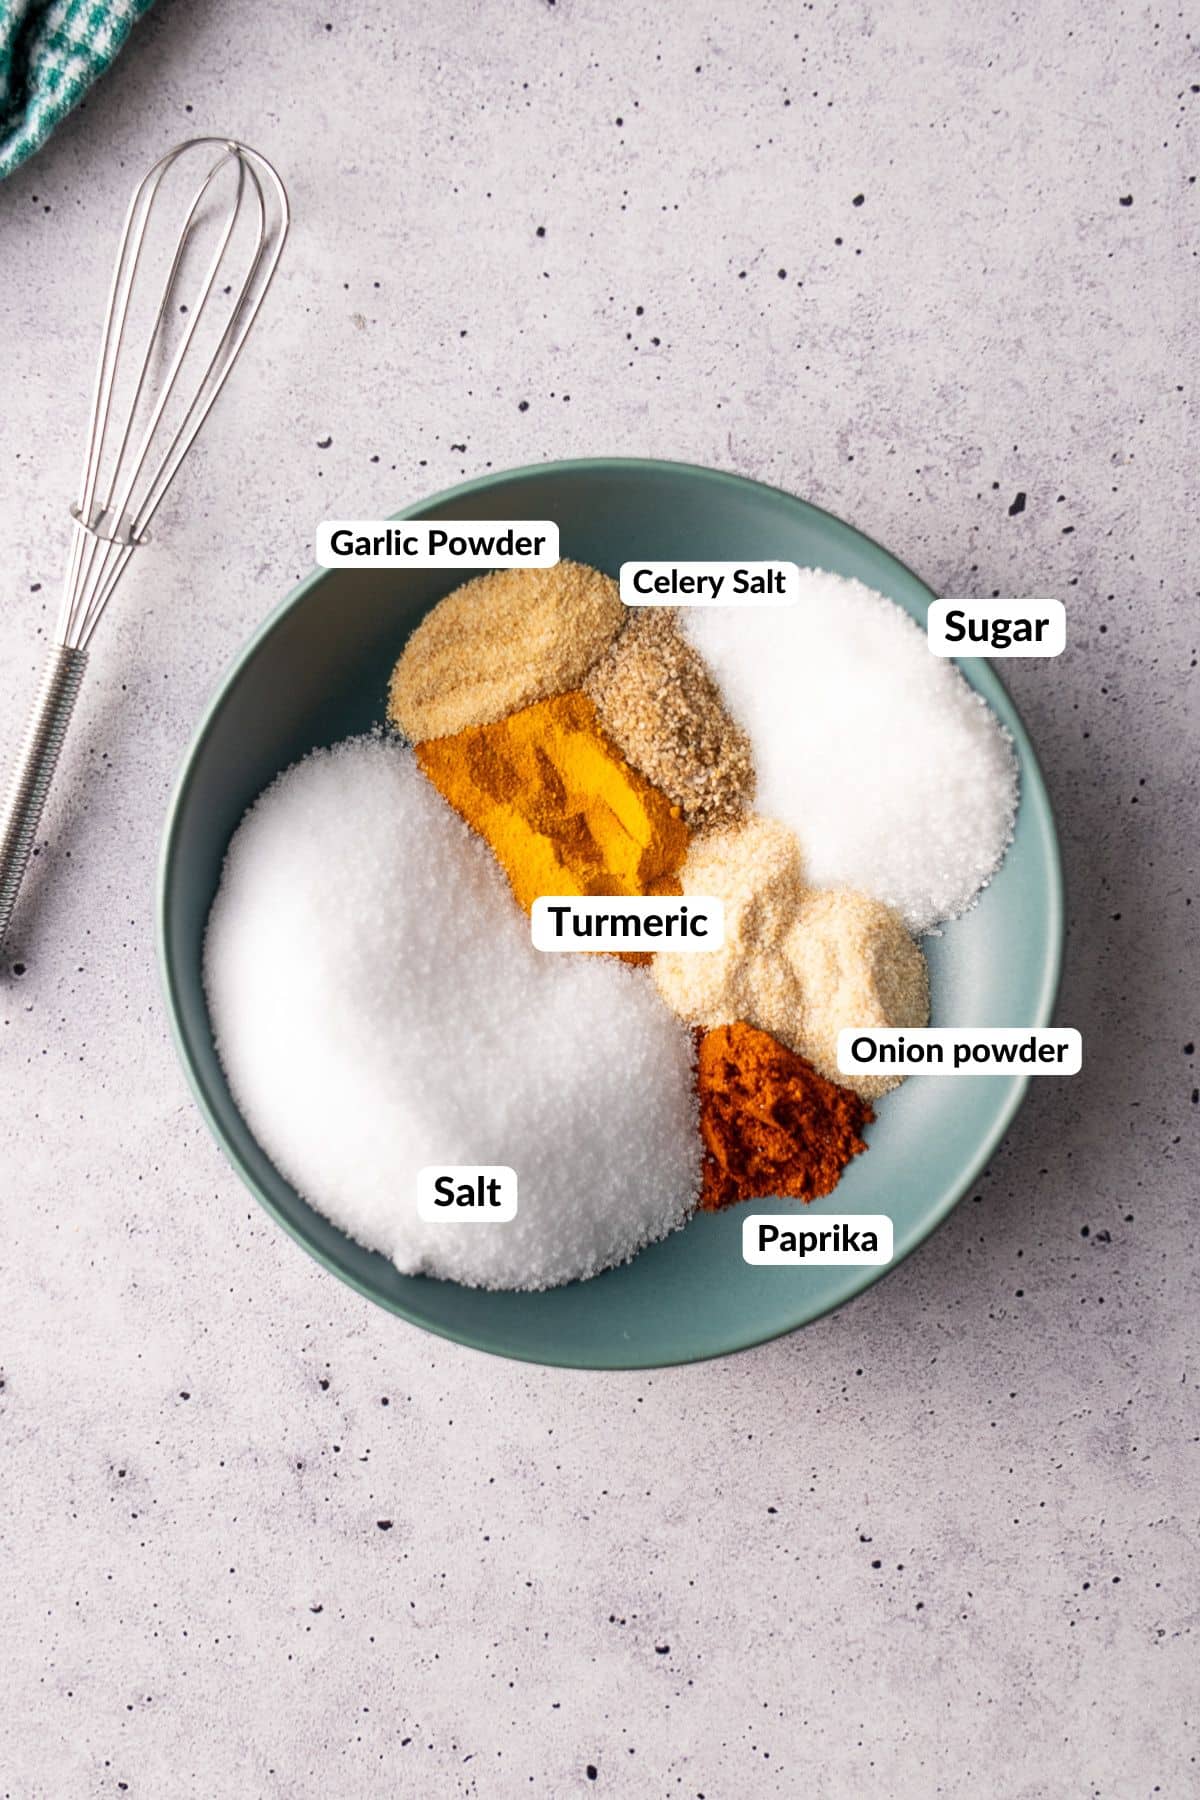
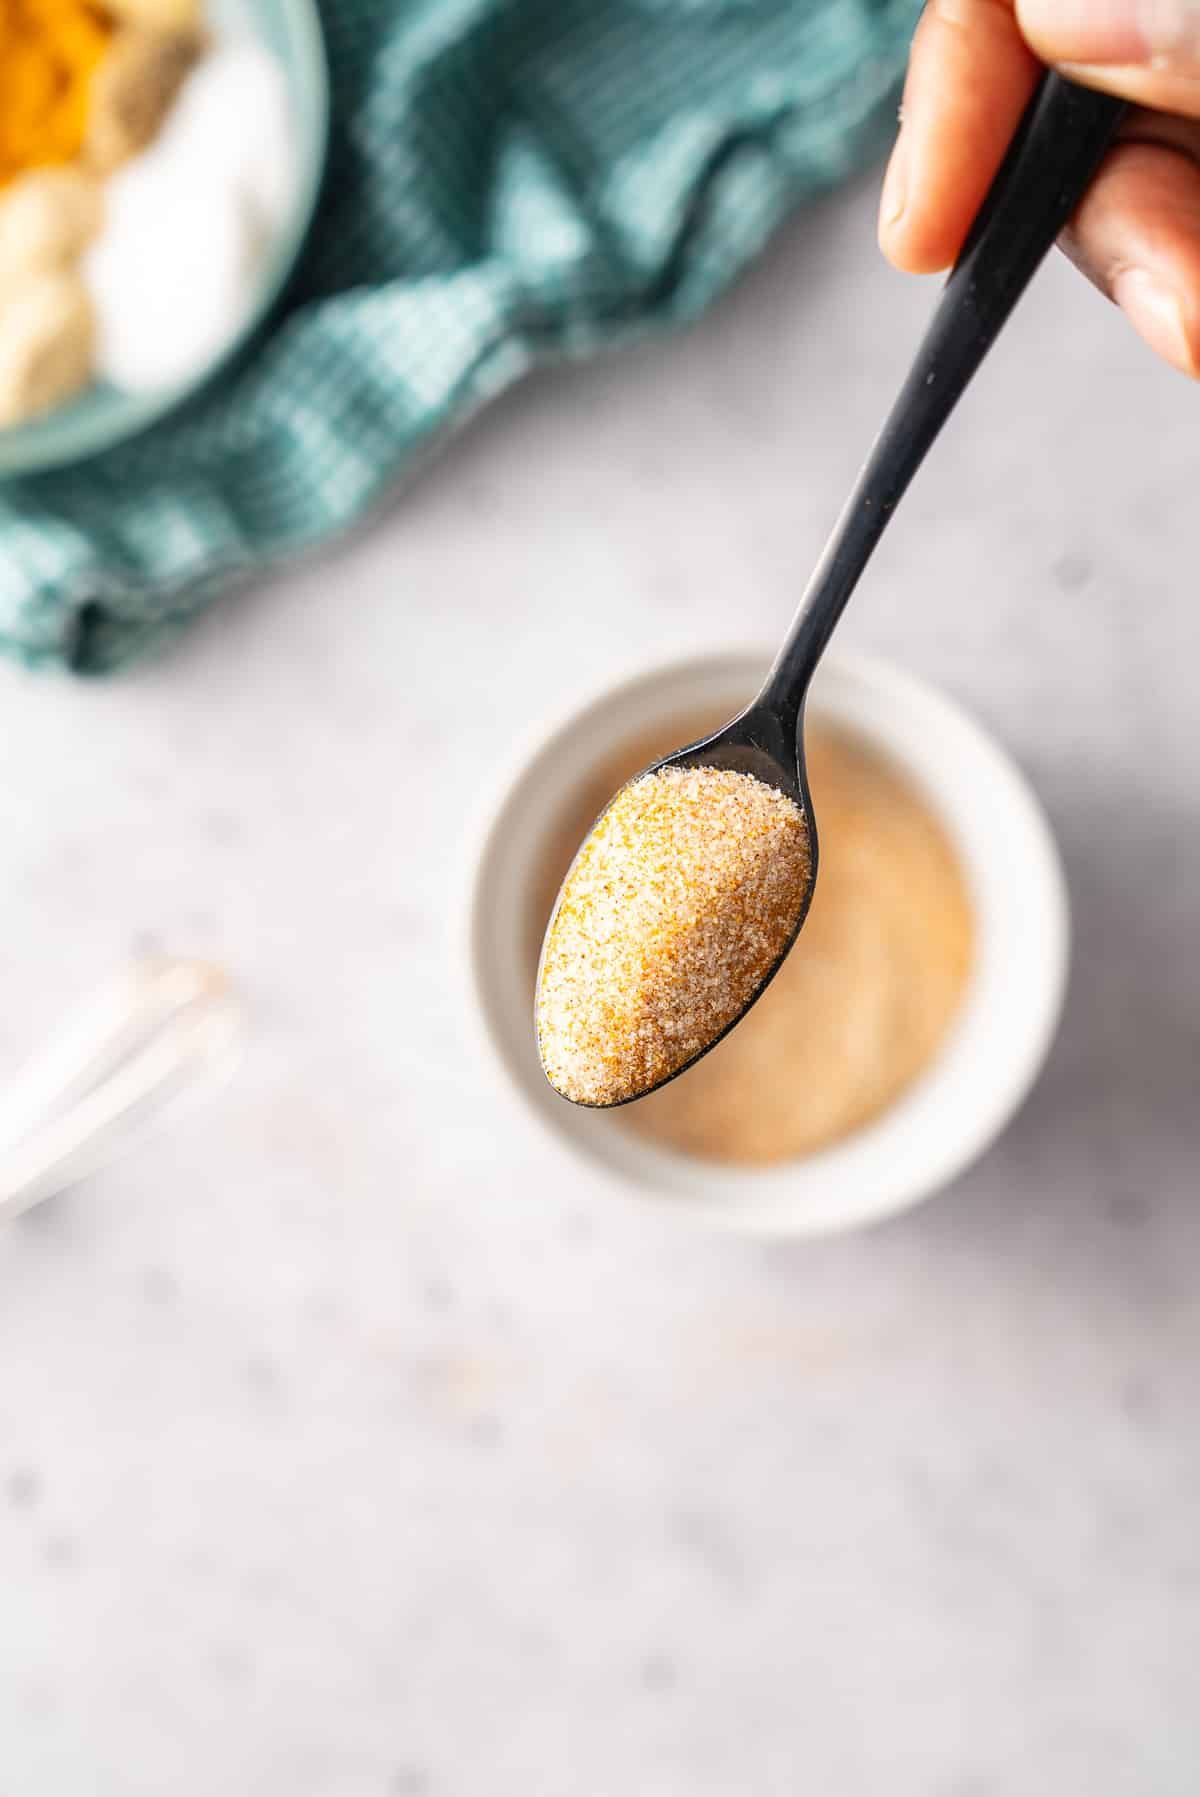
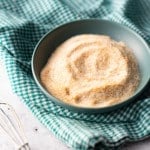
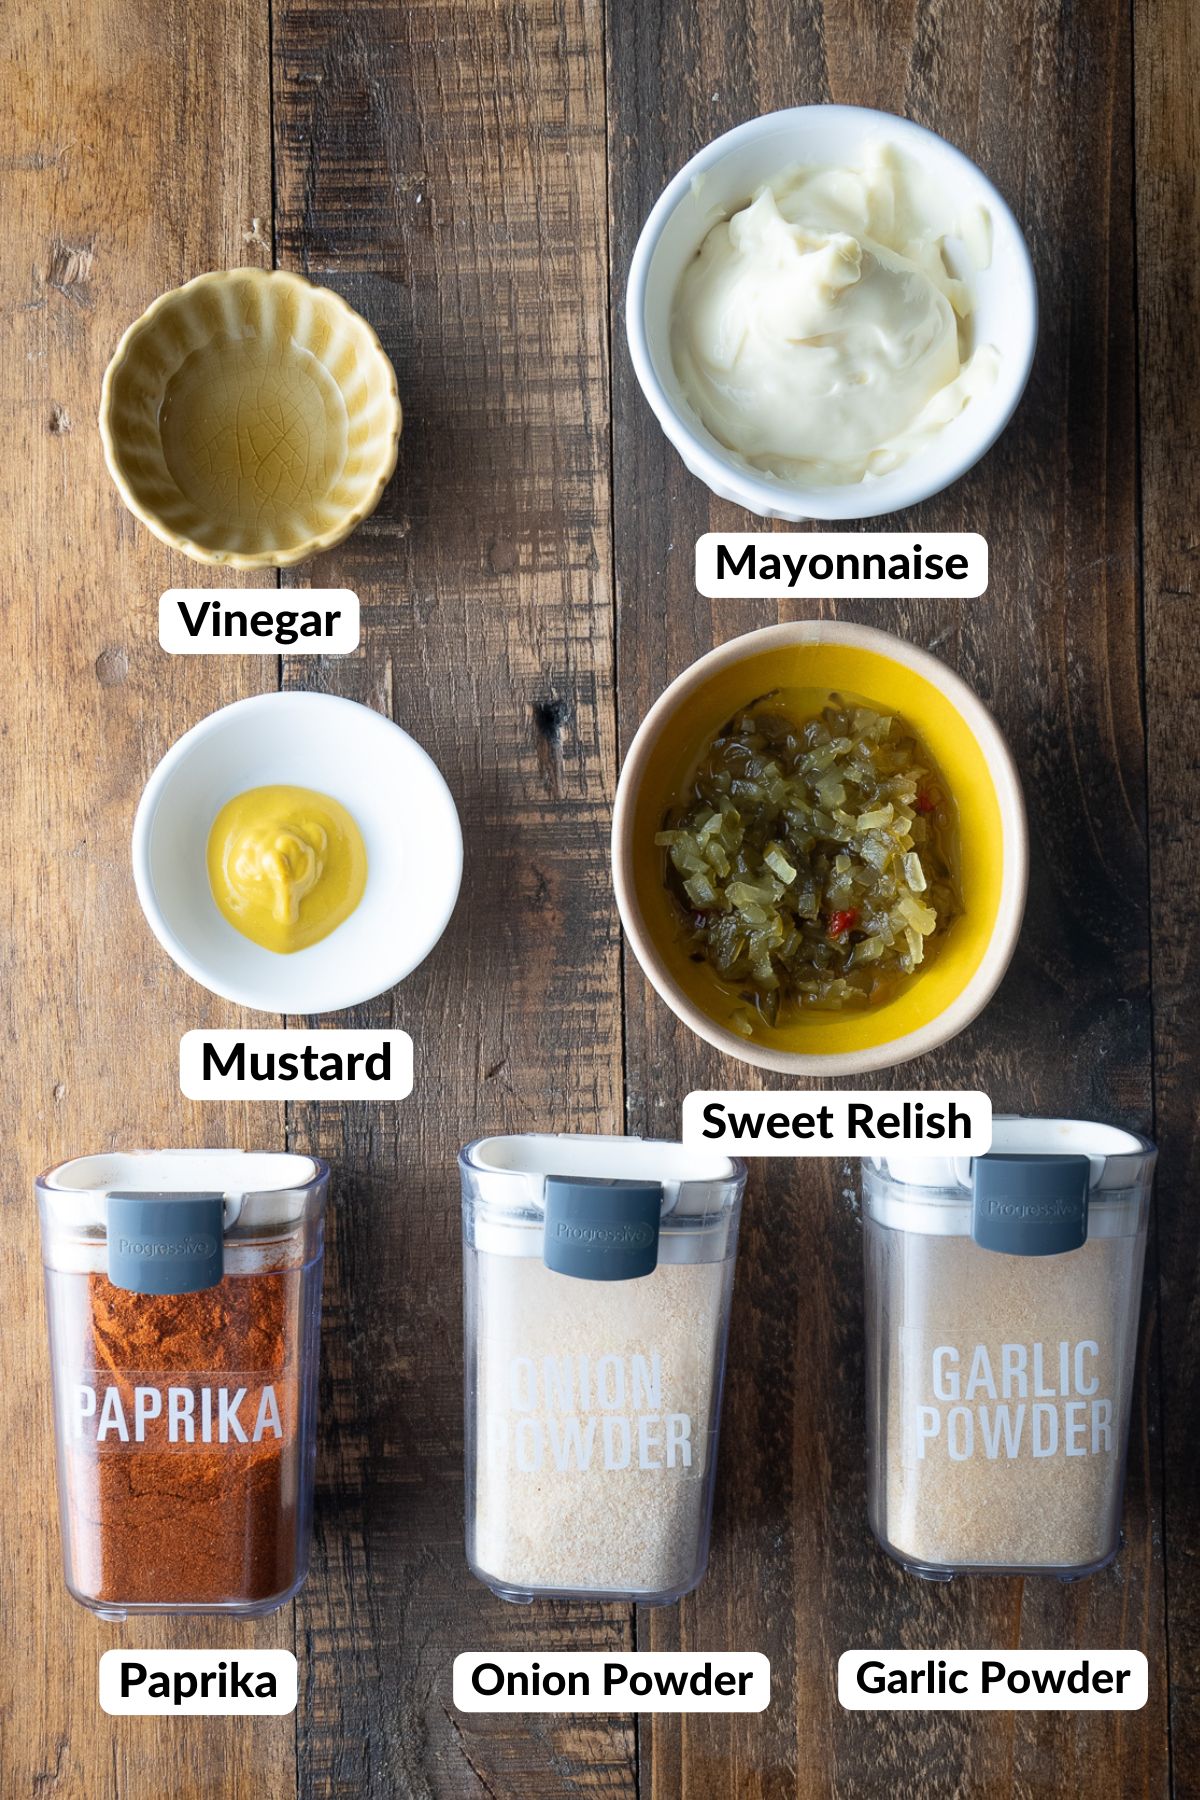
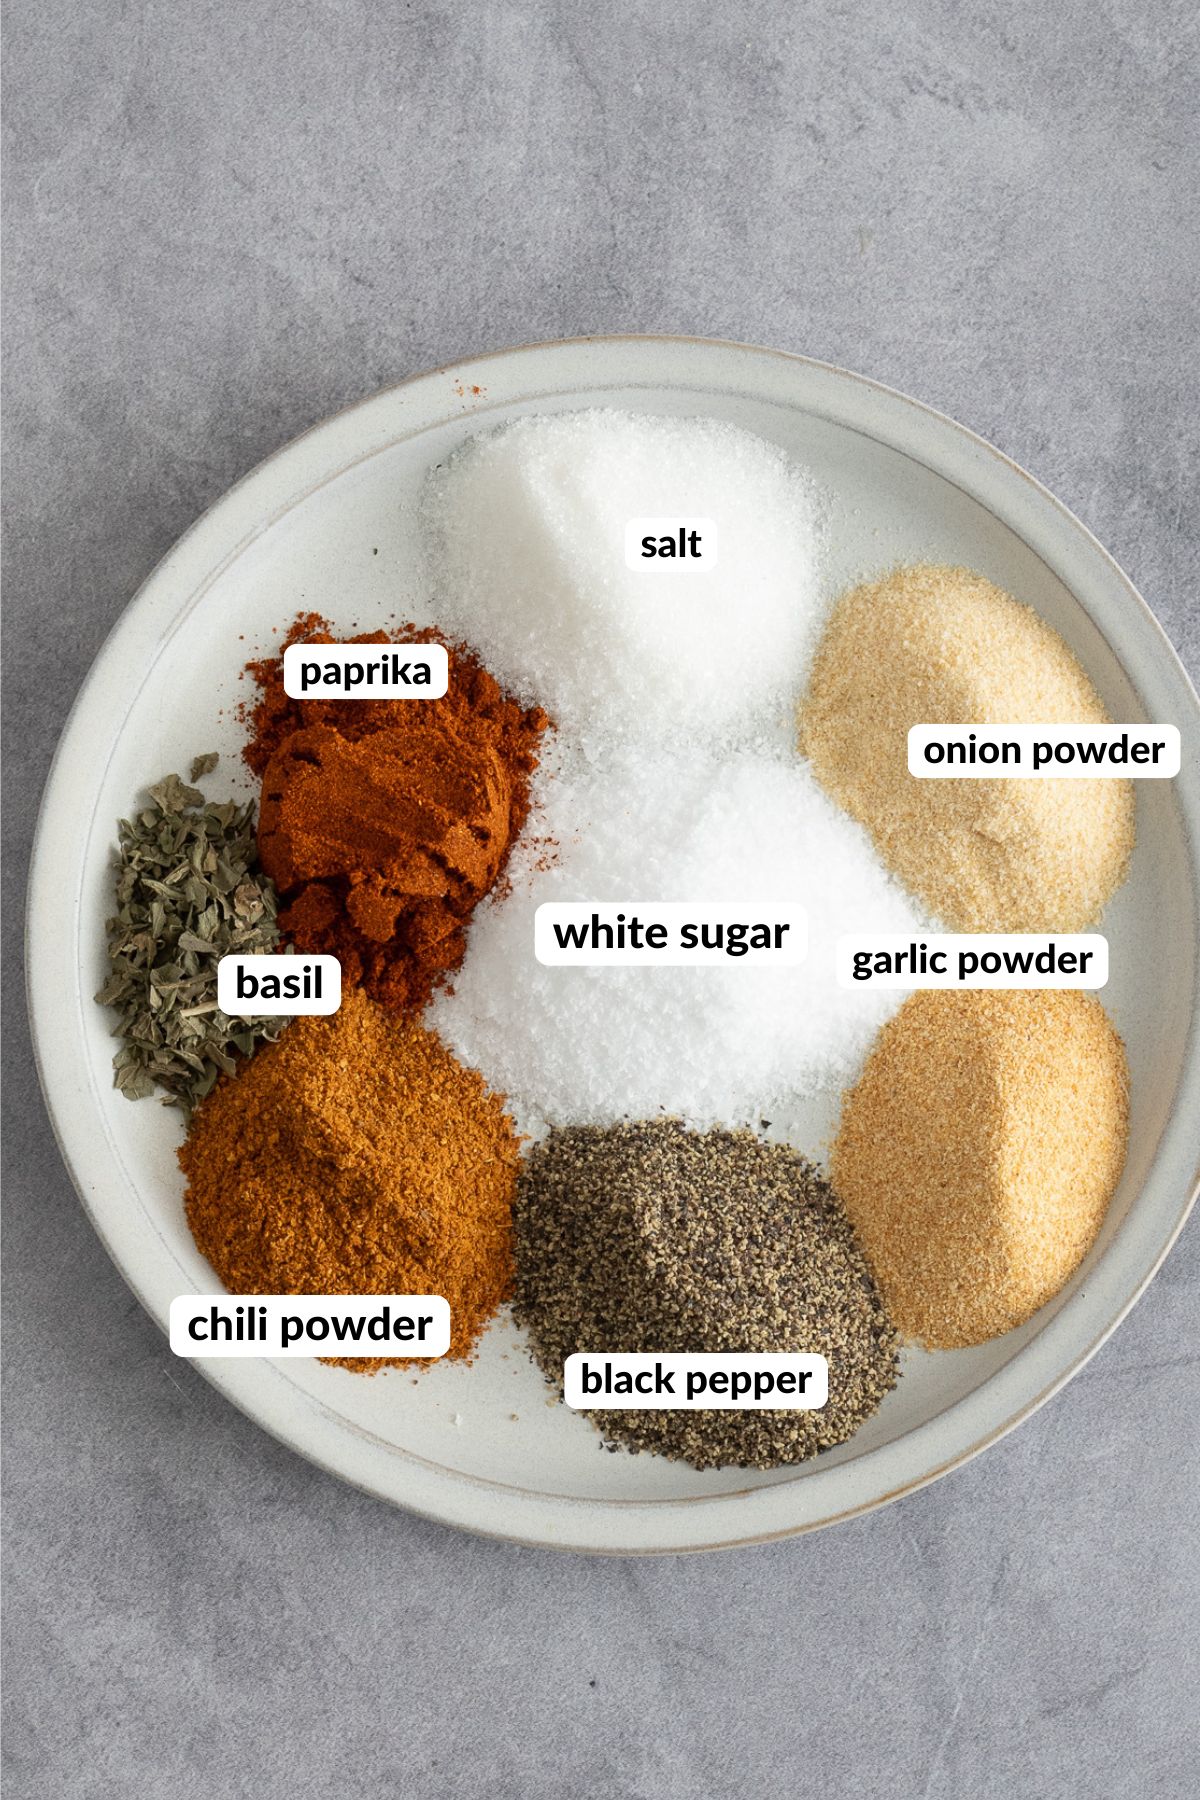
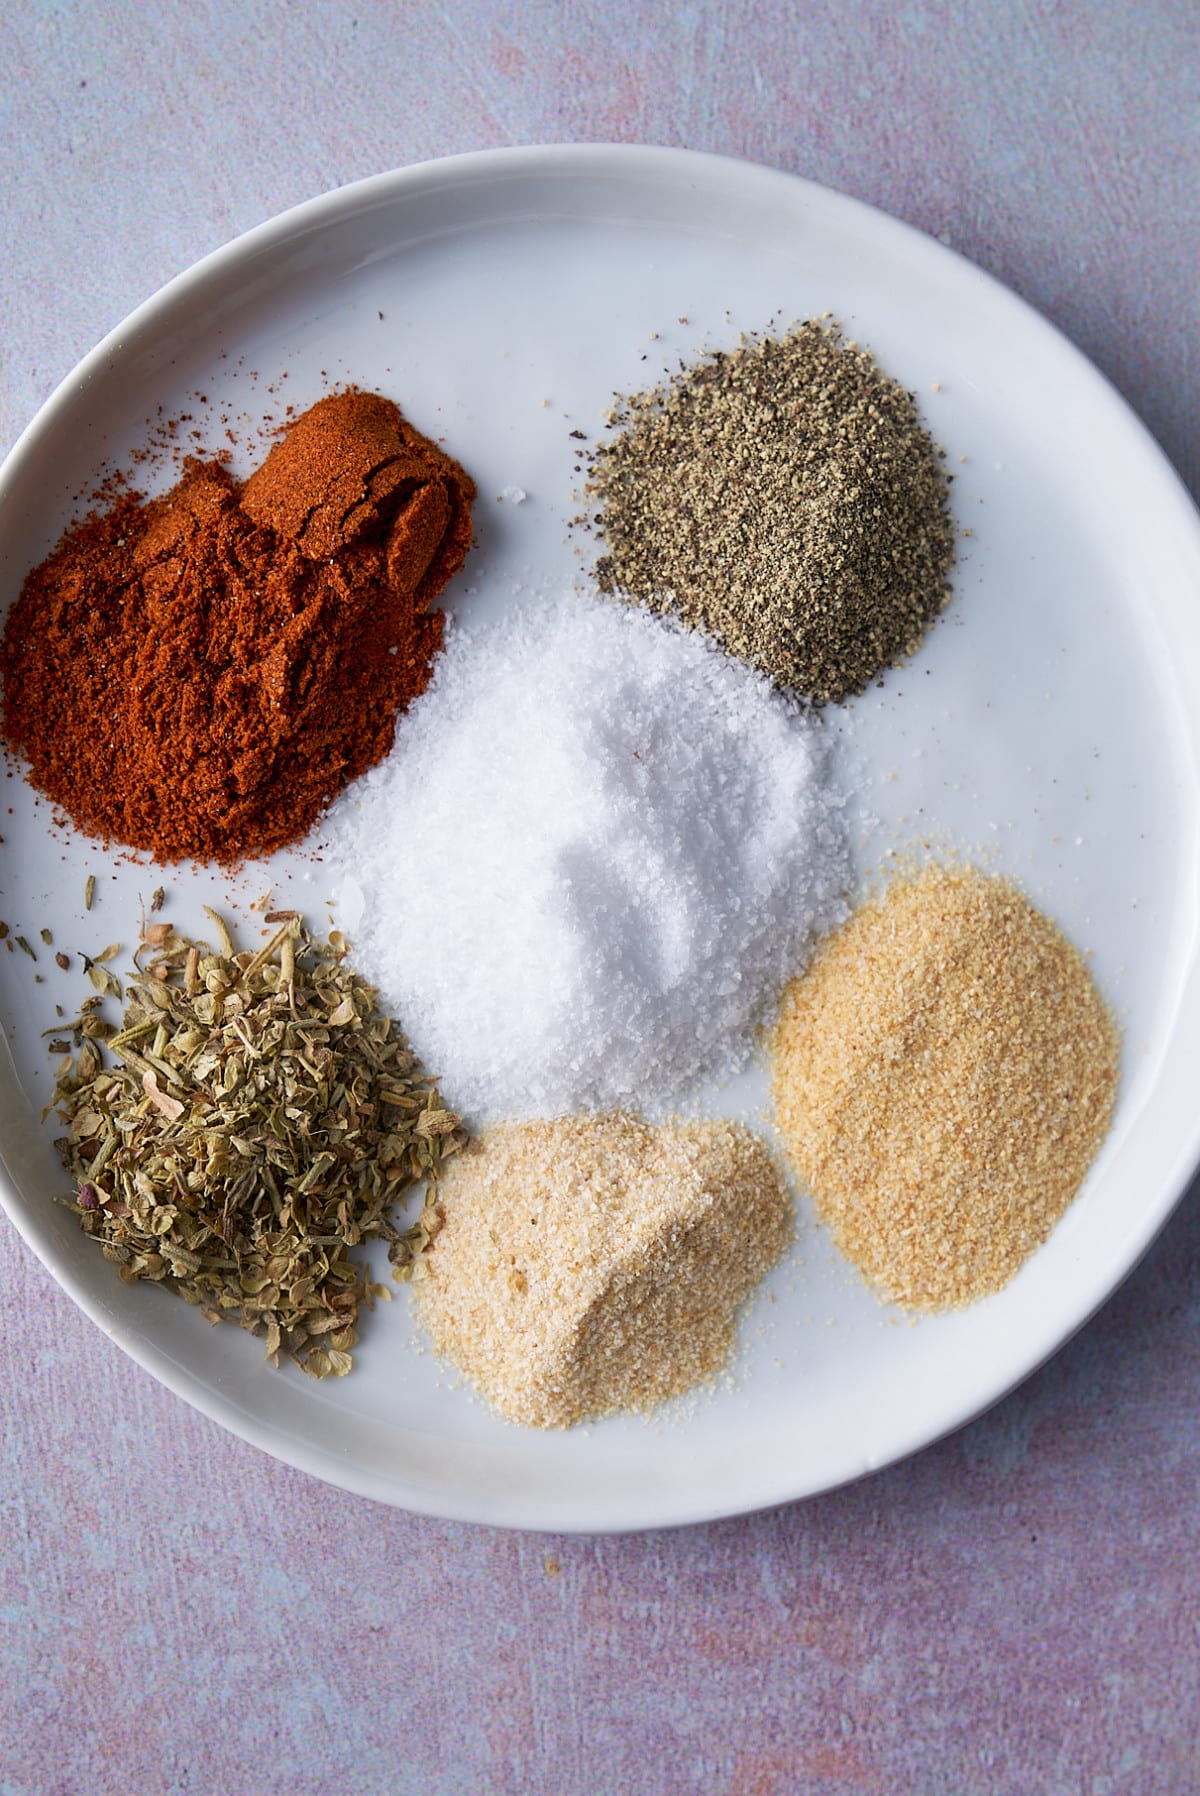
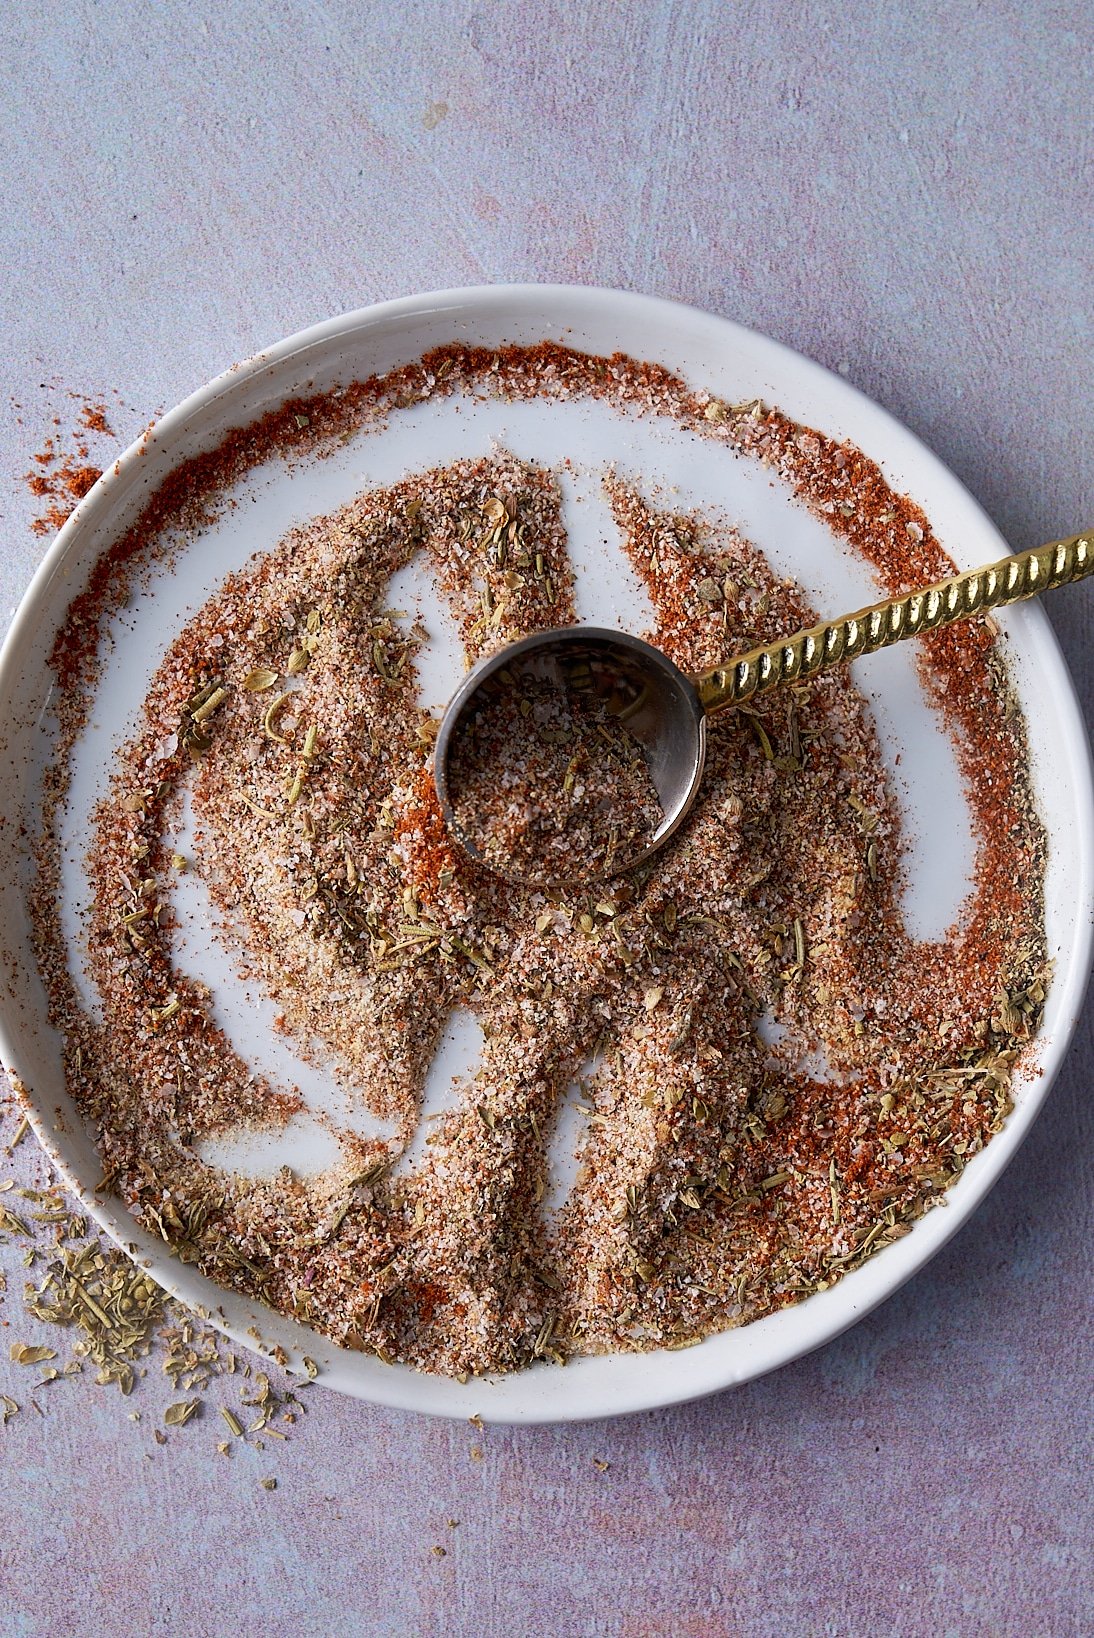
- Seasoning - Kosher salt, paprika, black pepper, garlic powder, onion powder, Italian seasoning
- Olive oil—I always add a little oil when broiling or baking chicken breasts. That helps them brown.
Tools Needed
- Oven with broiler setting
- Wire rack and baking sheet or broiler pan
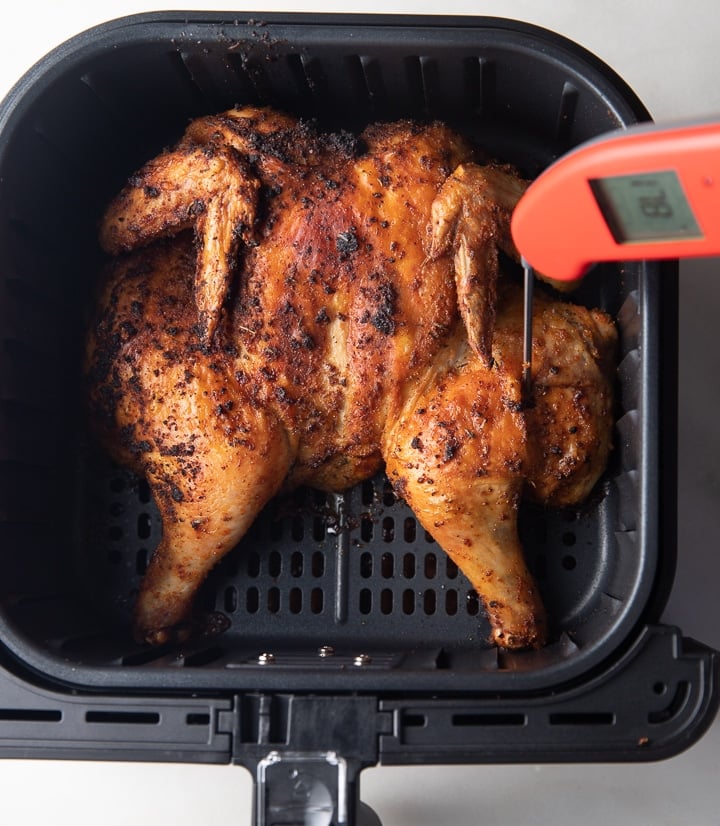
- Meat thermometer
- Tongs
- Small mixing bowl
How to Broil Chicken Breast in the Oven
Preheat the Broiler: Set your oven to broil on HIGH and position the rack 5–6 inches from the heating element.
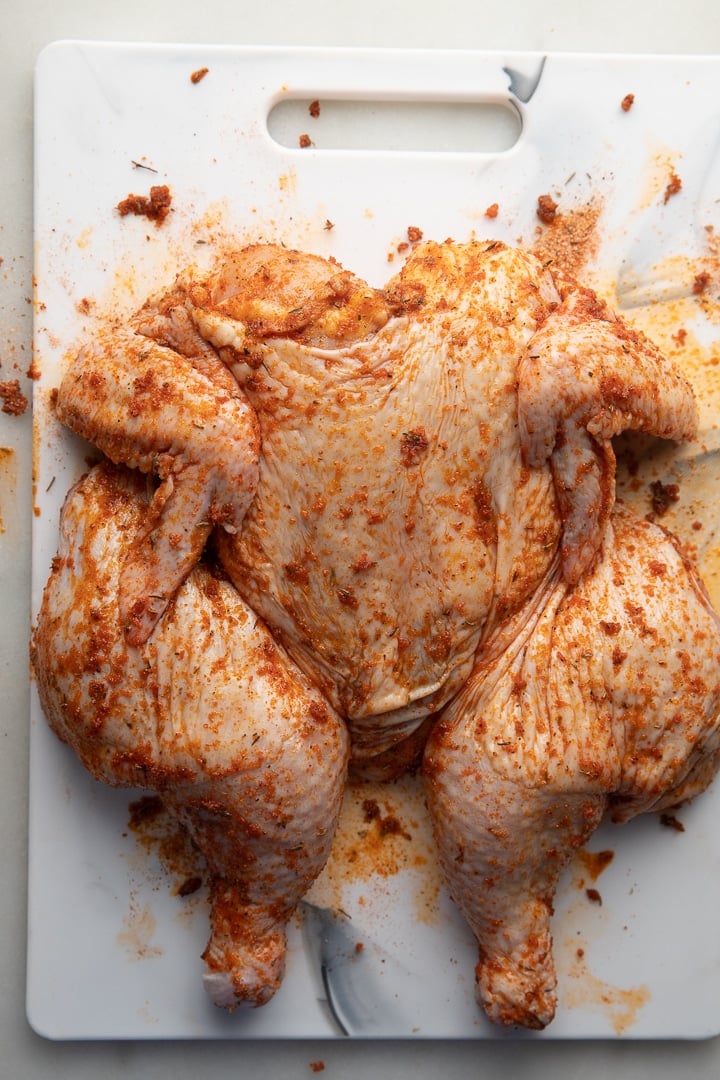
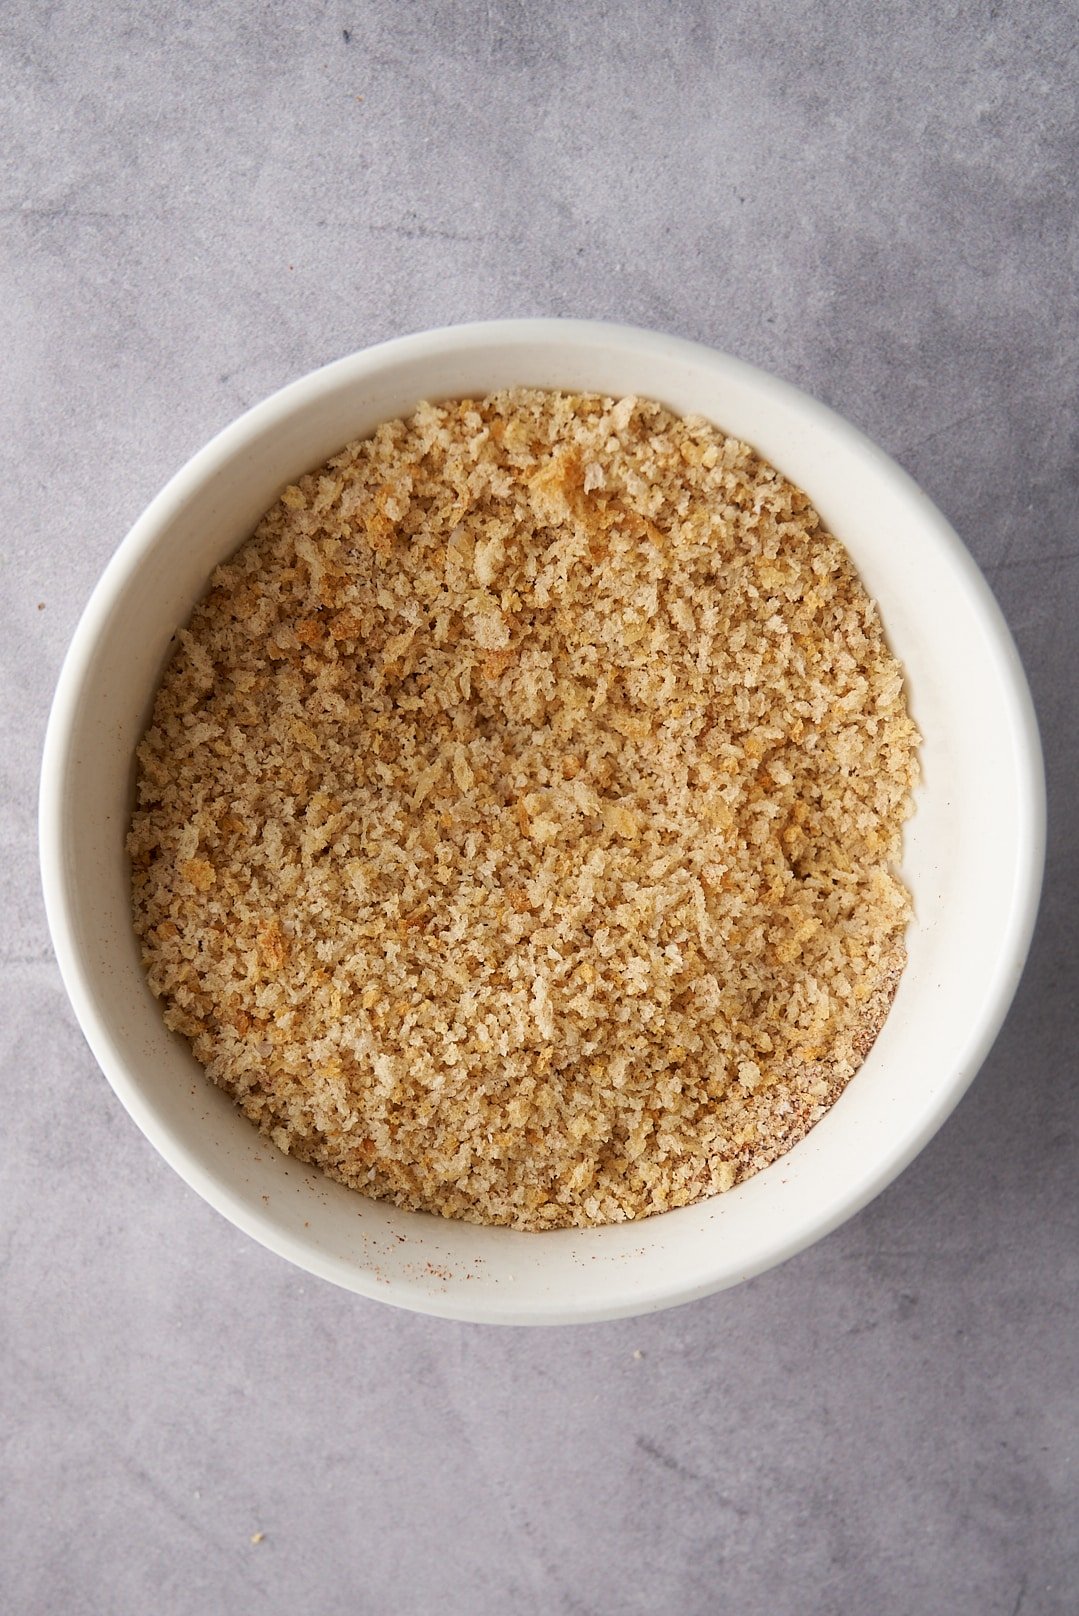
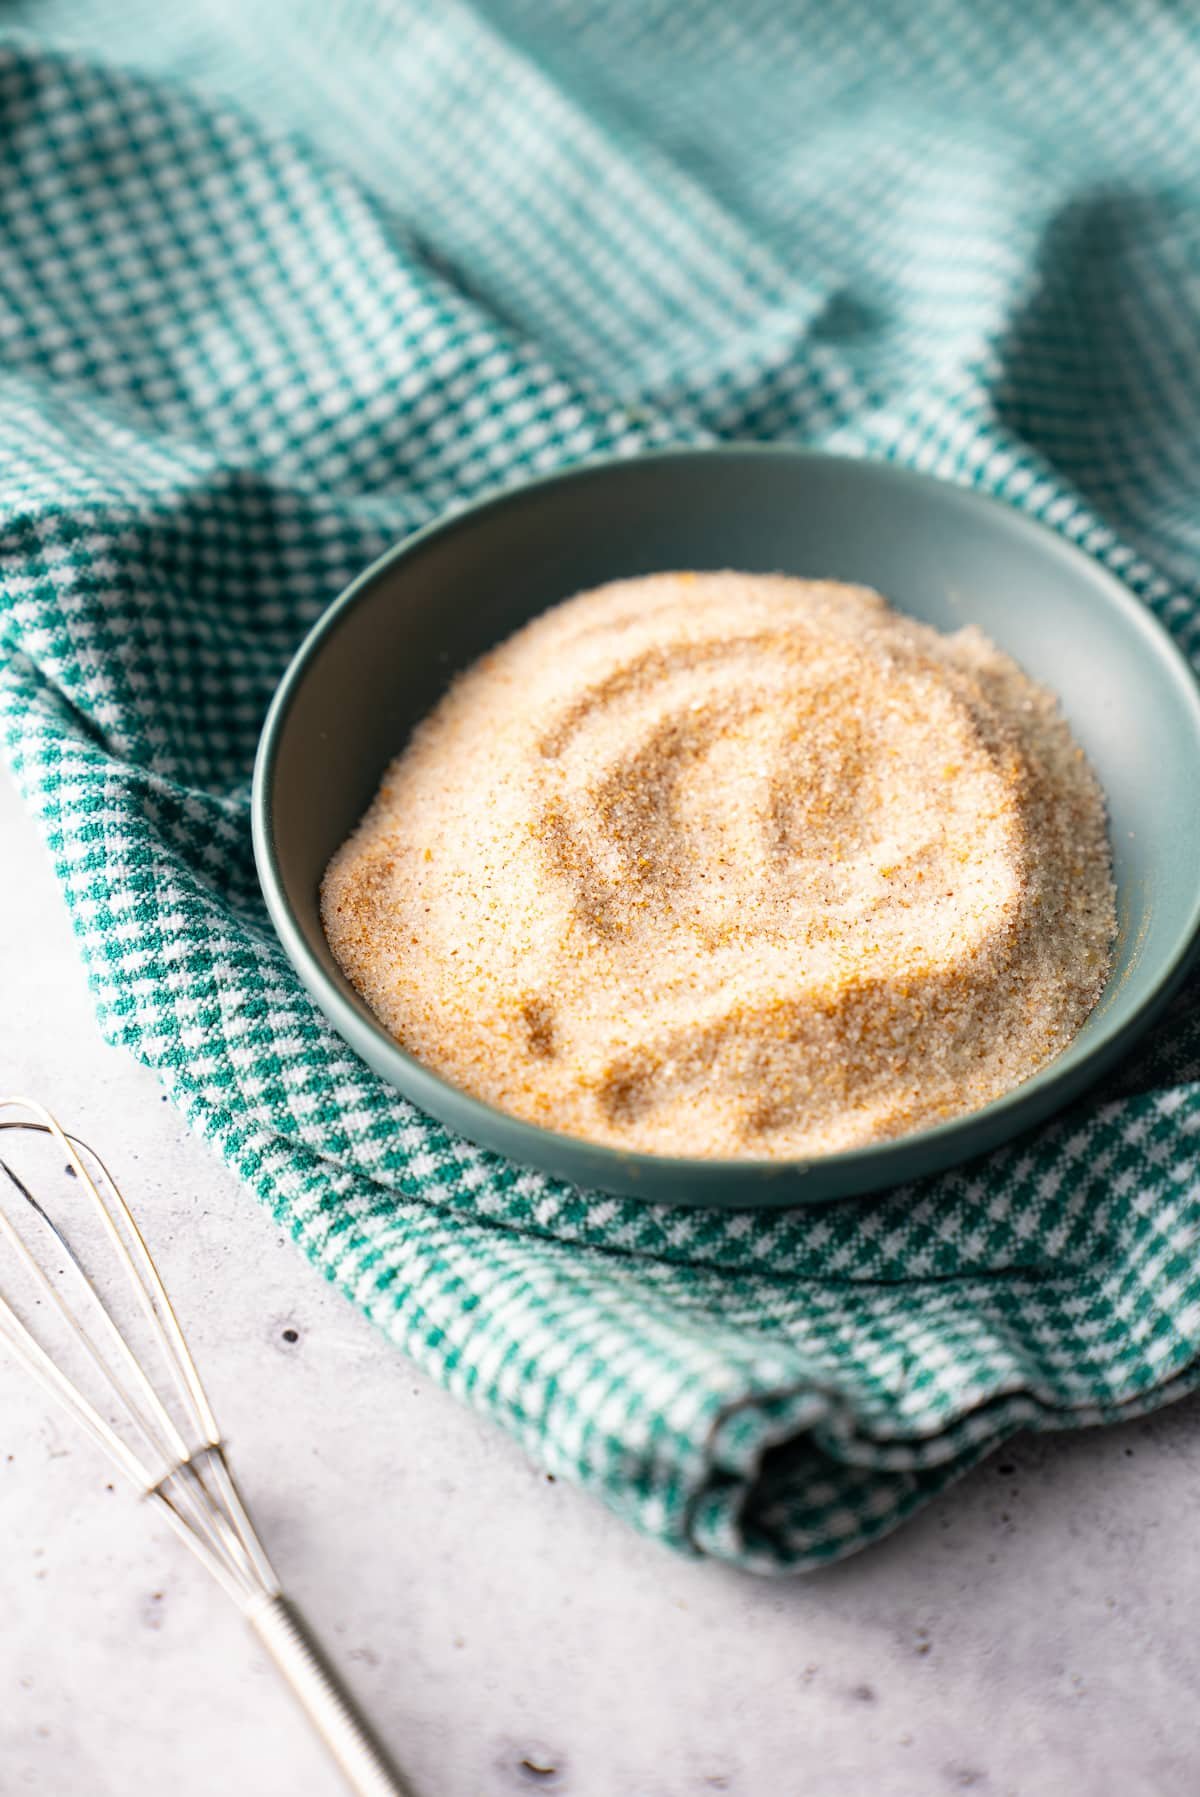
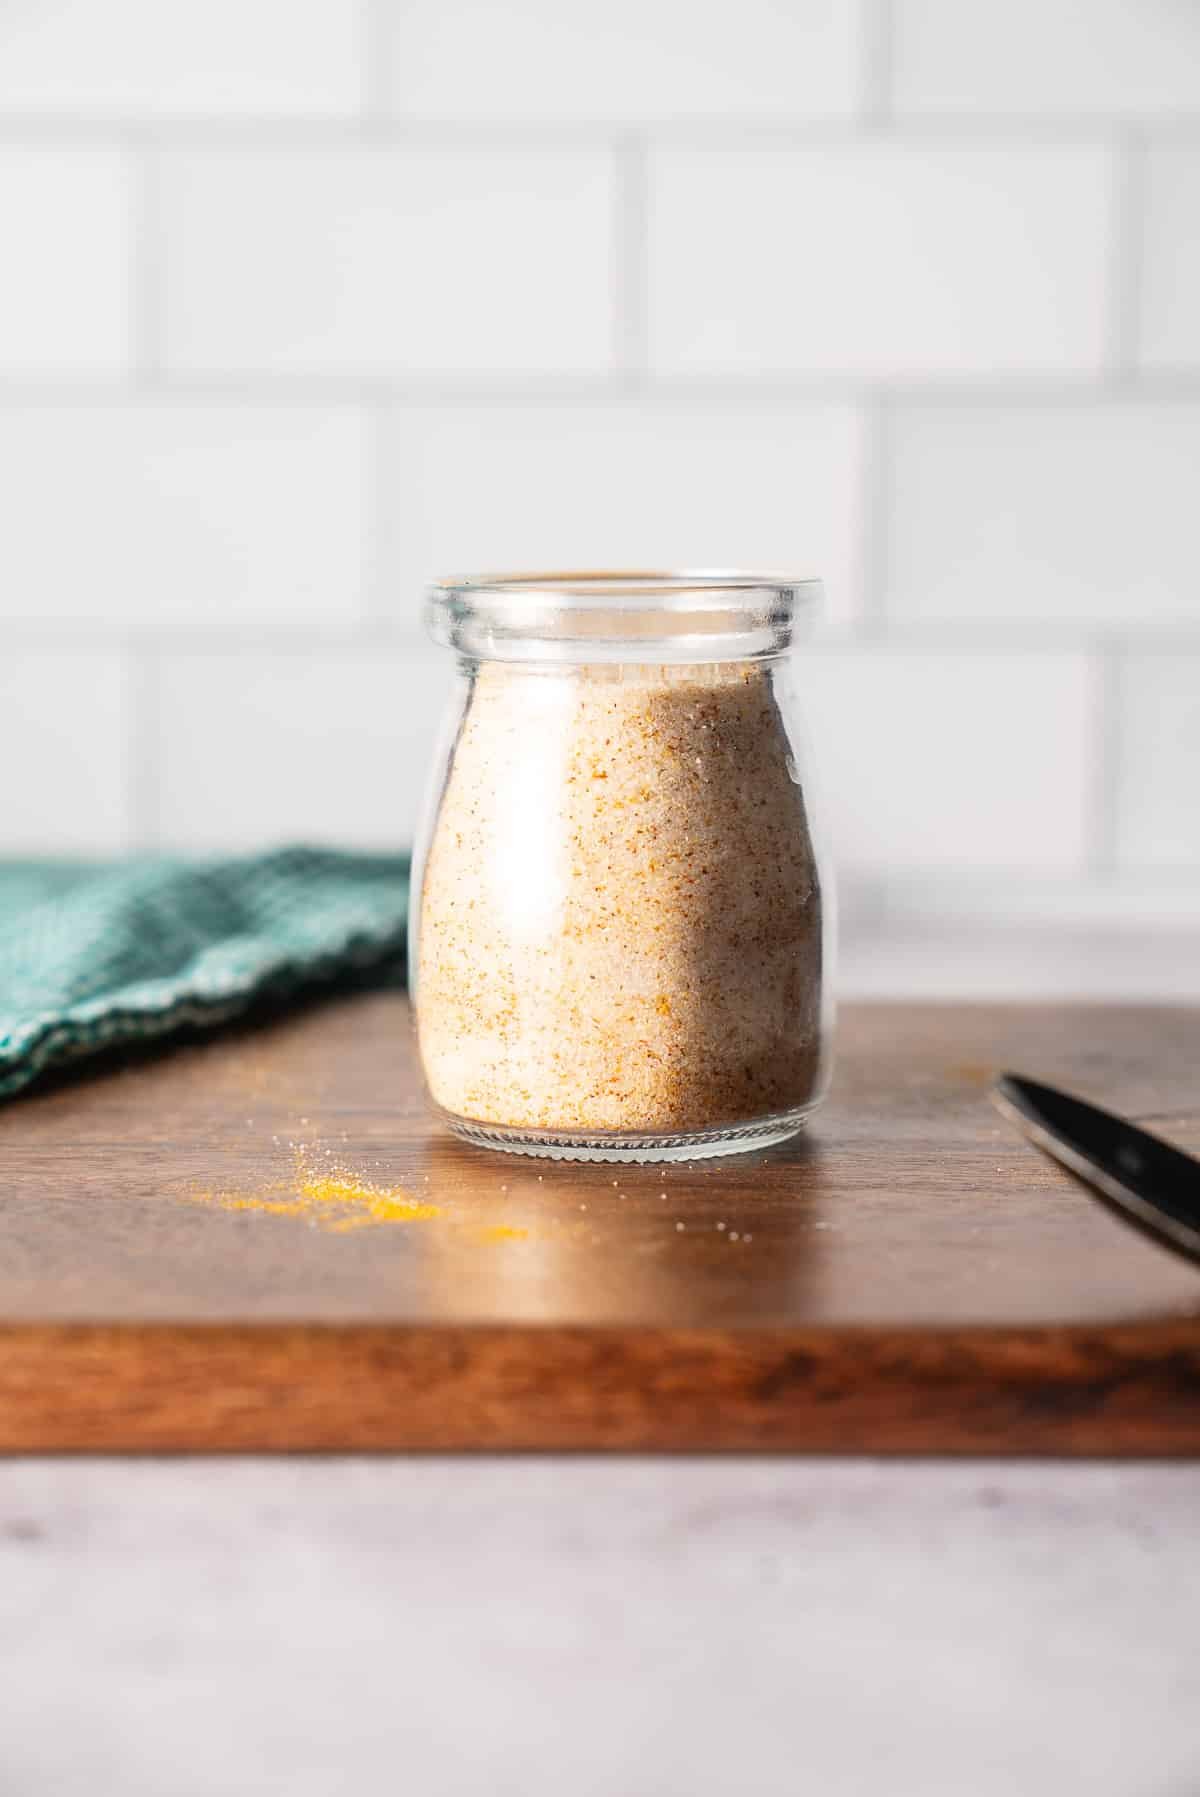
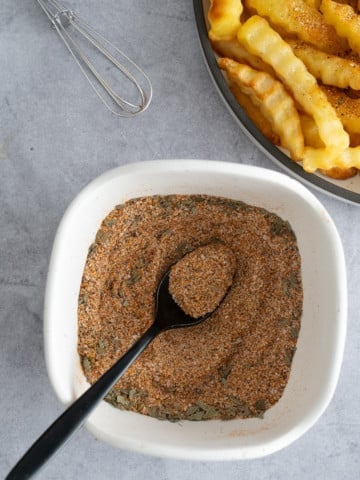
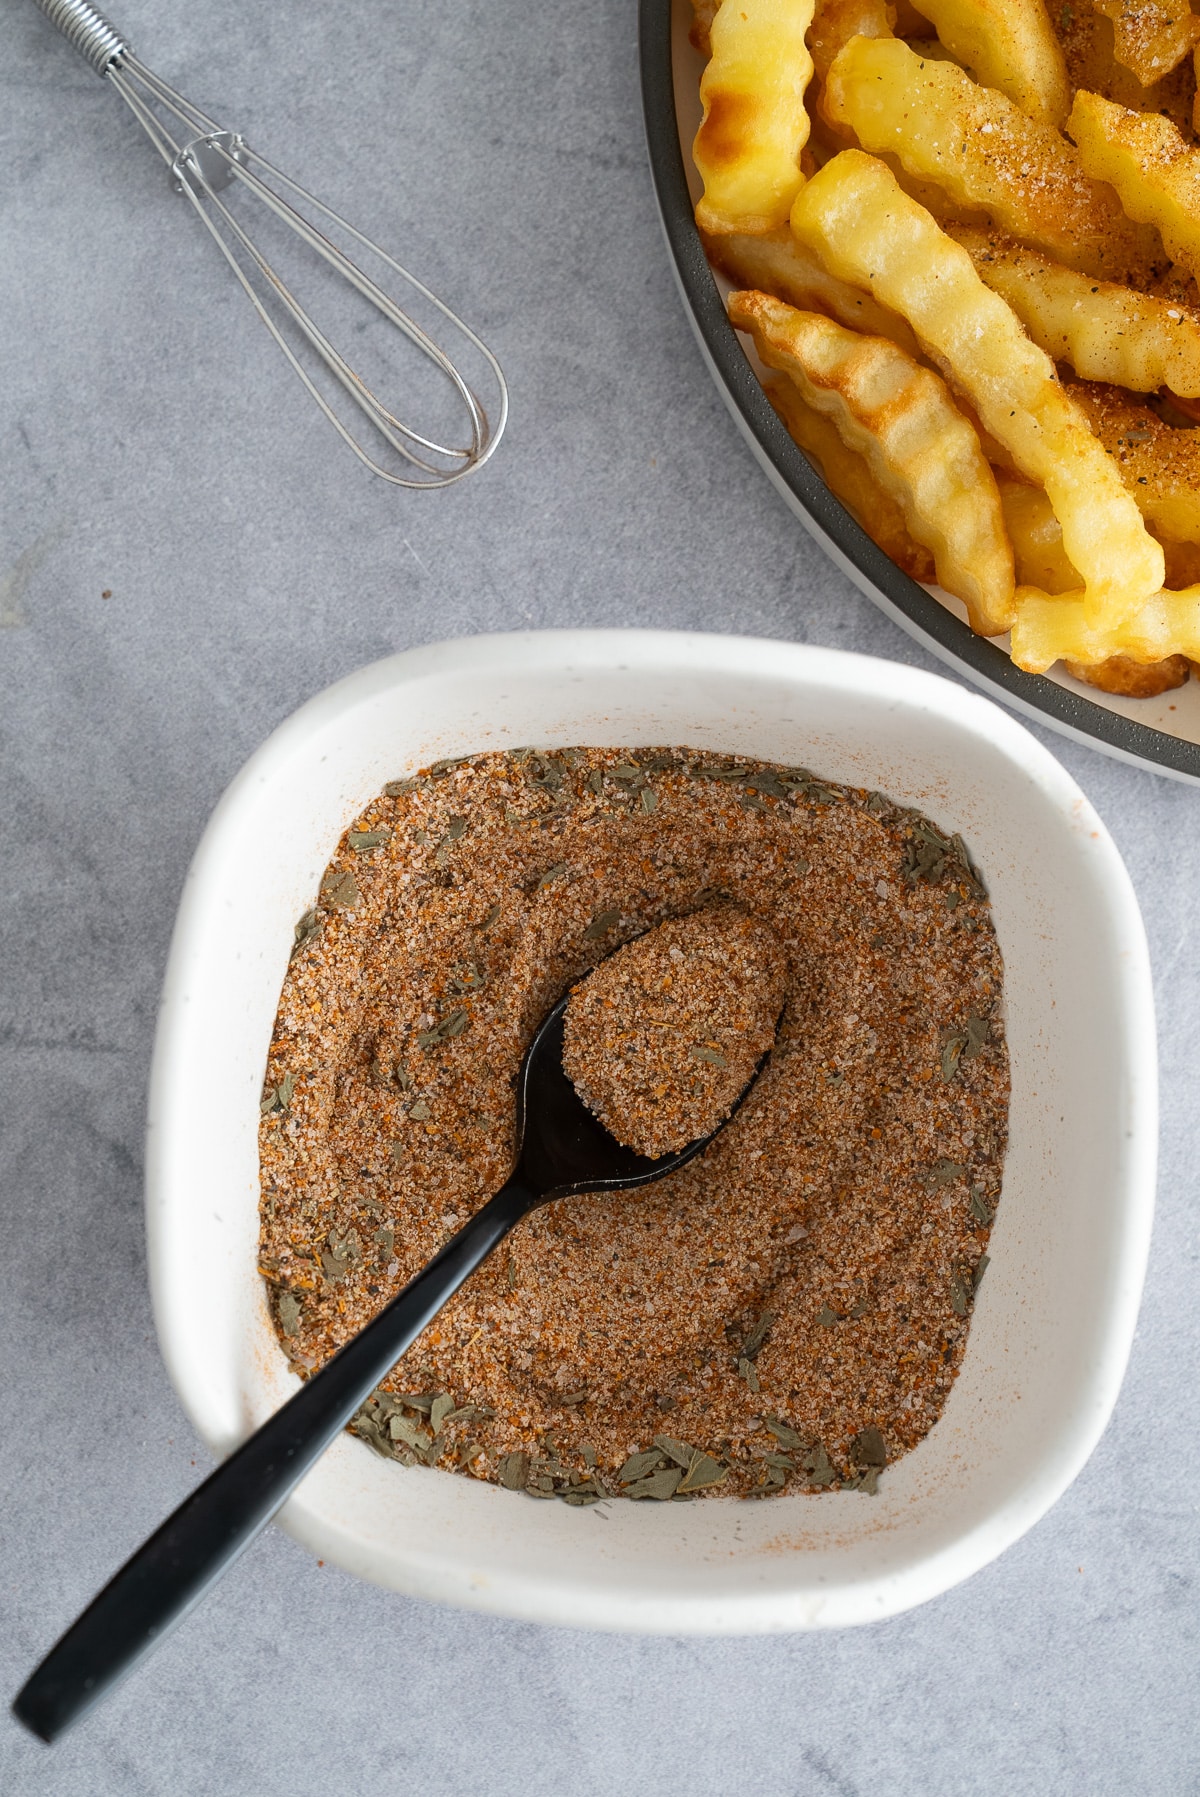
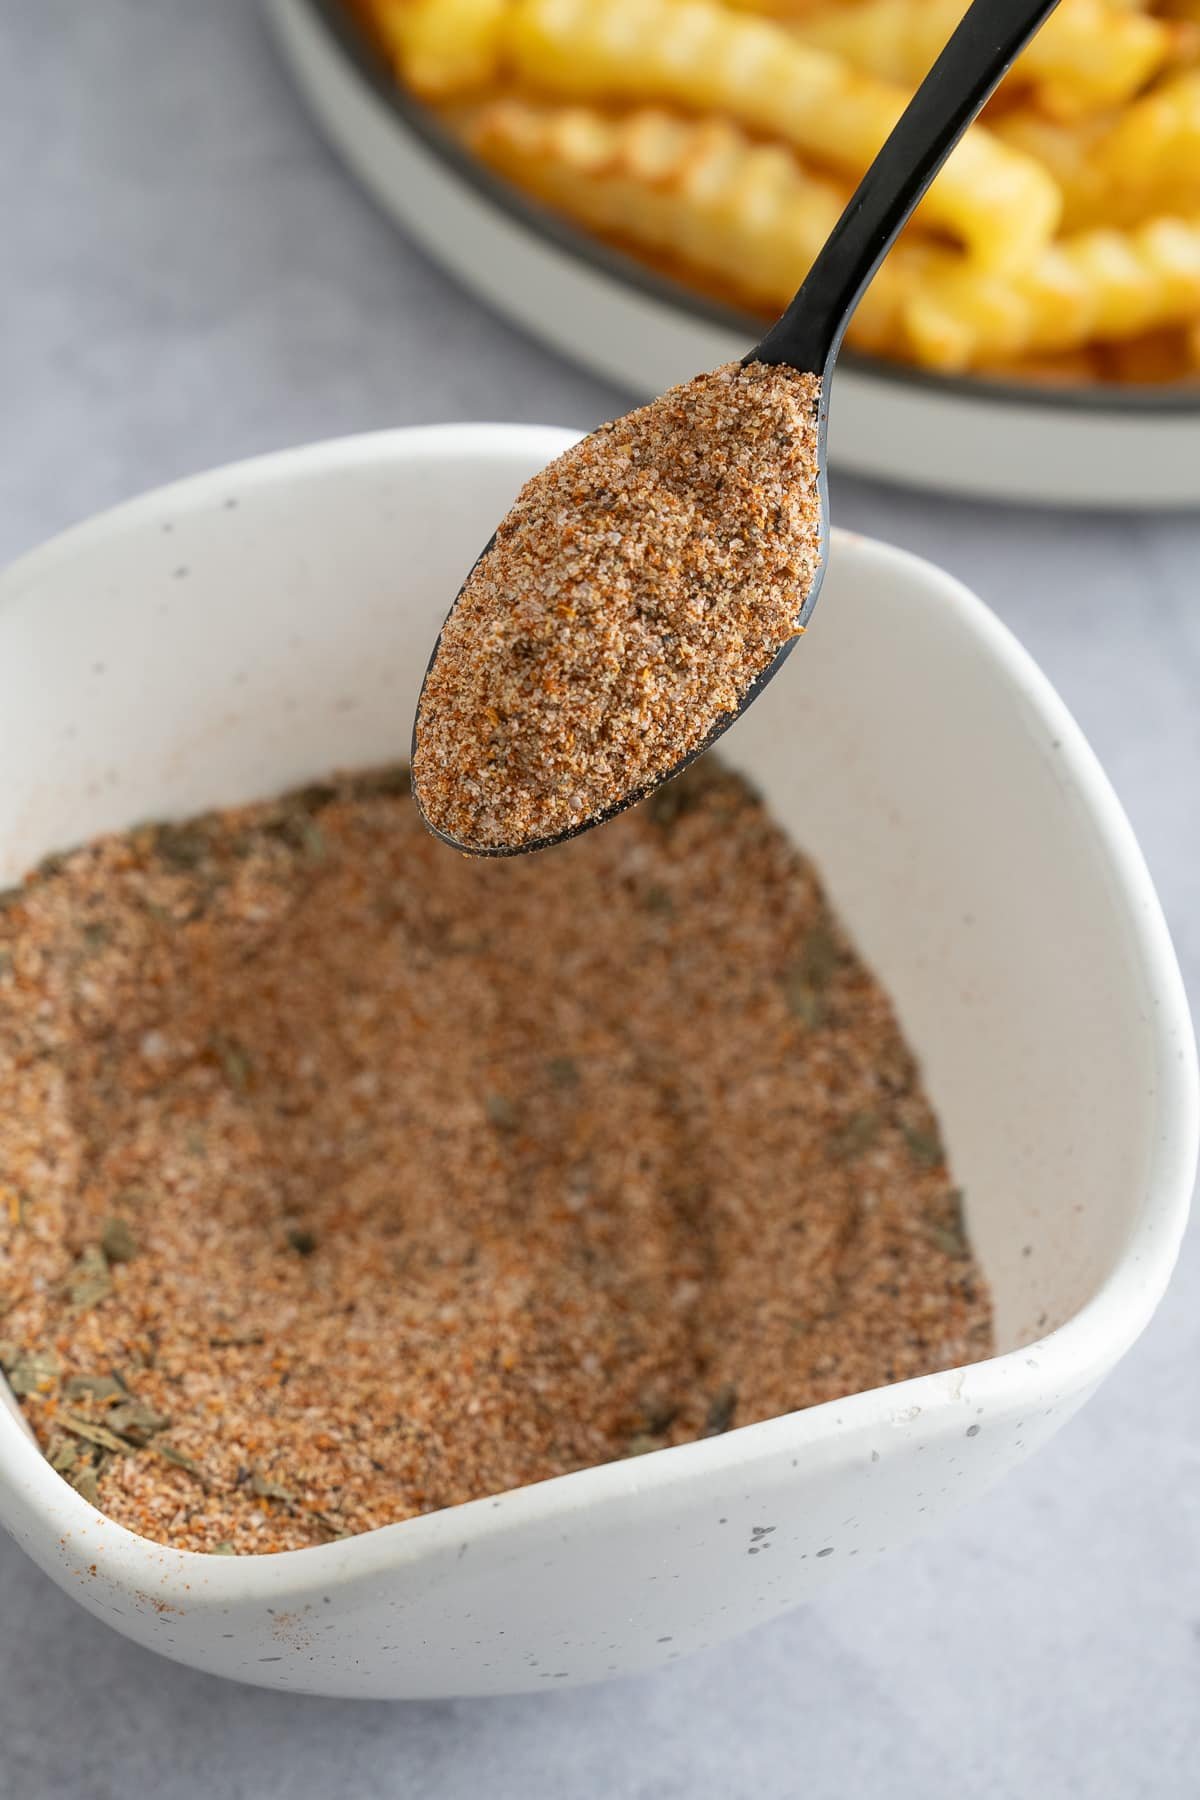
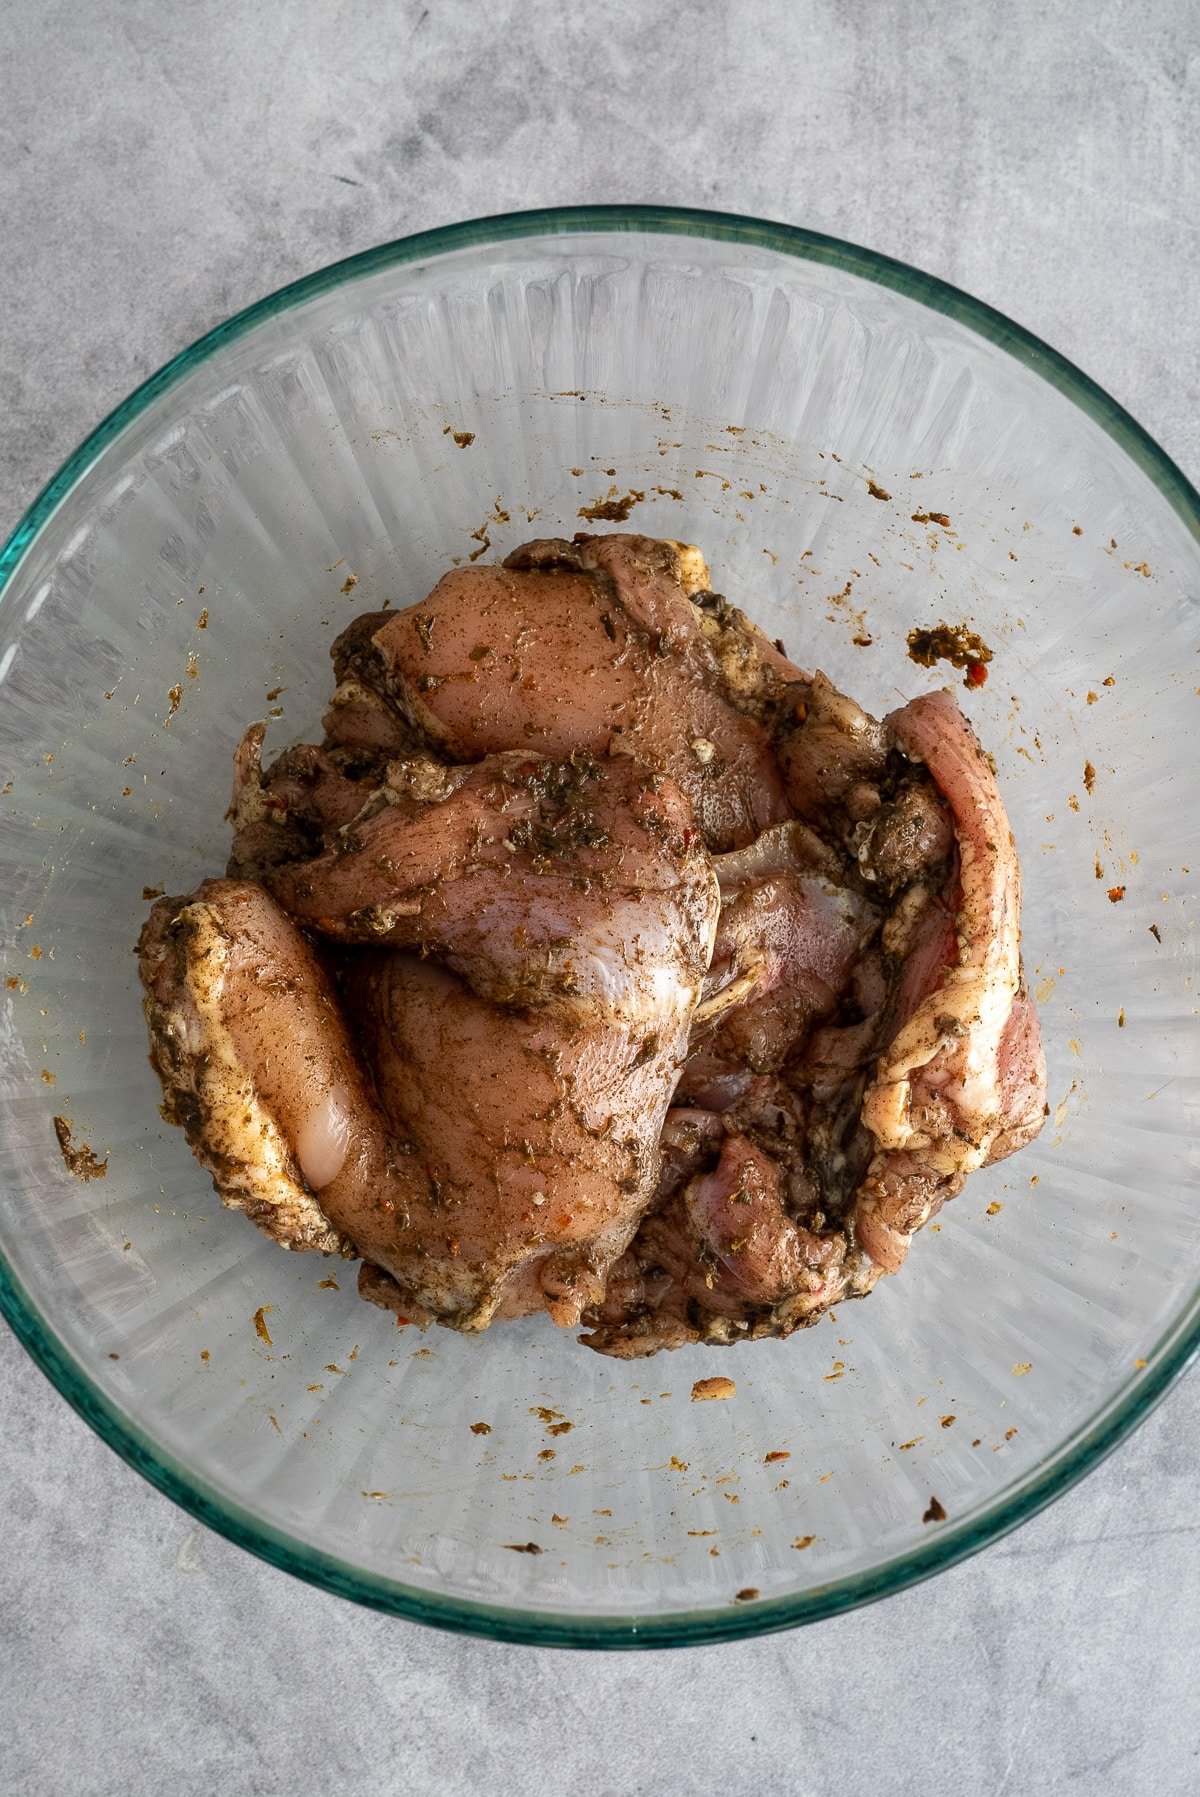
Prepare the Seasoning: In a small bowl, mix kosher salt, black pepper, paprika, garlic powder, onion powder, and Italian seasoning.
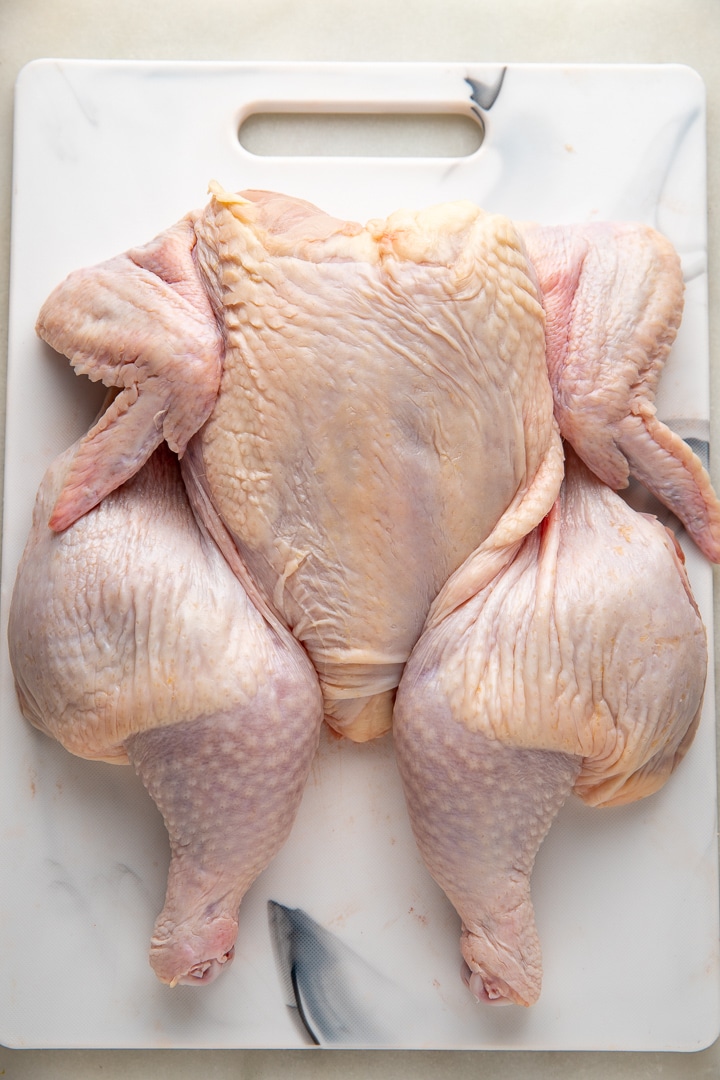
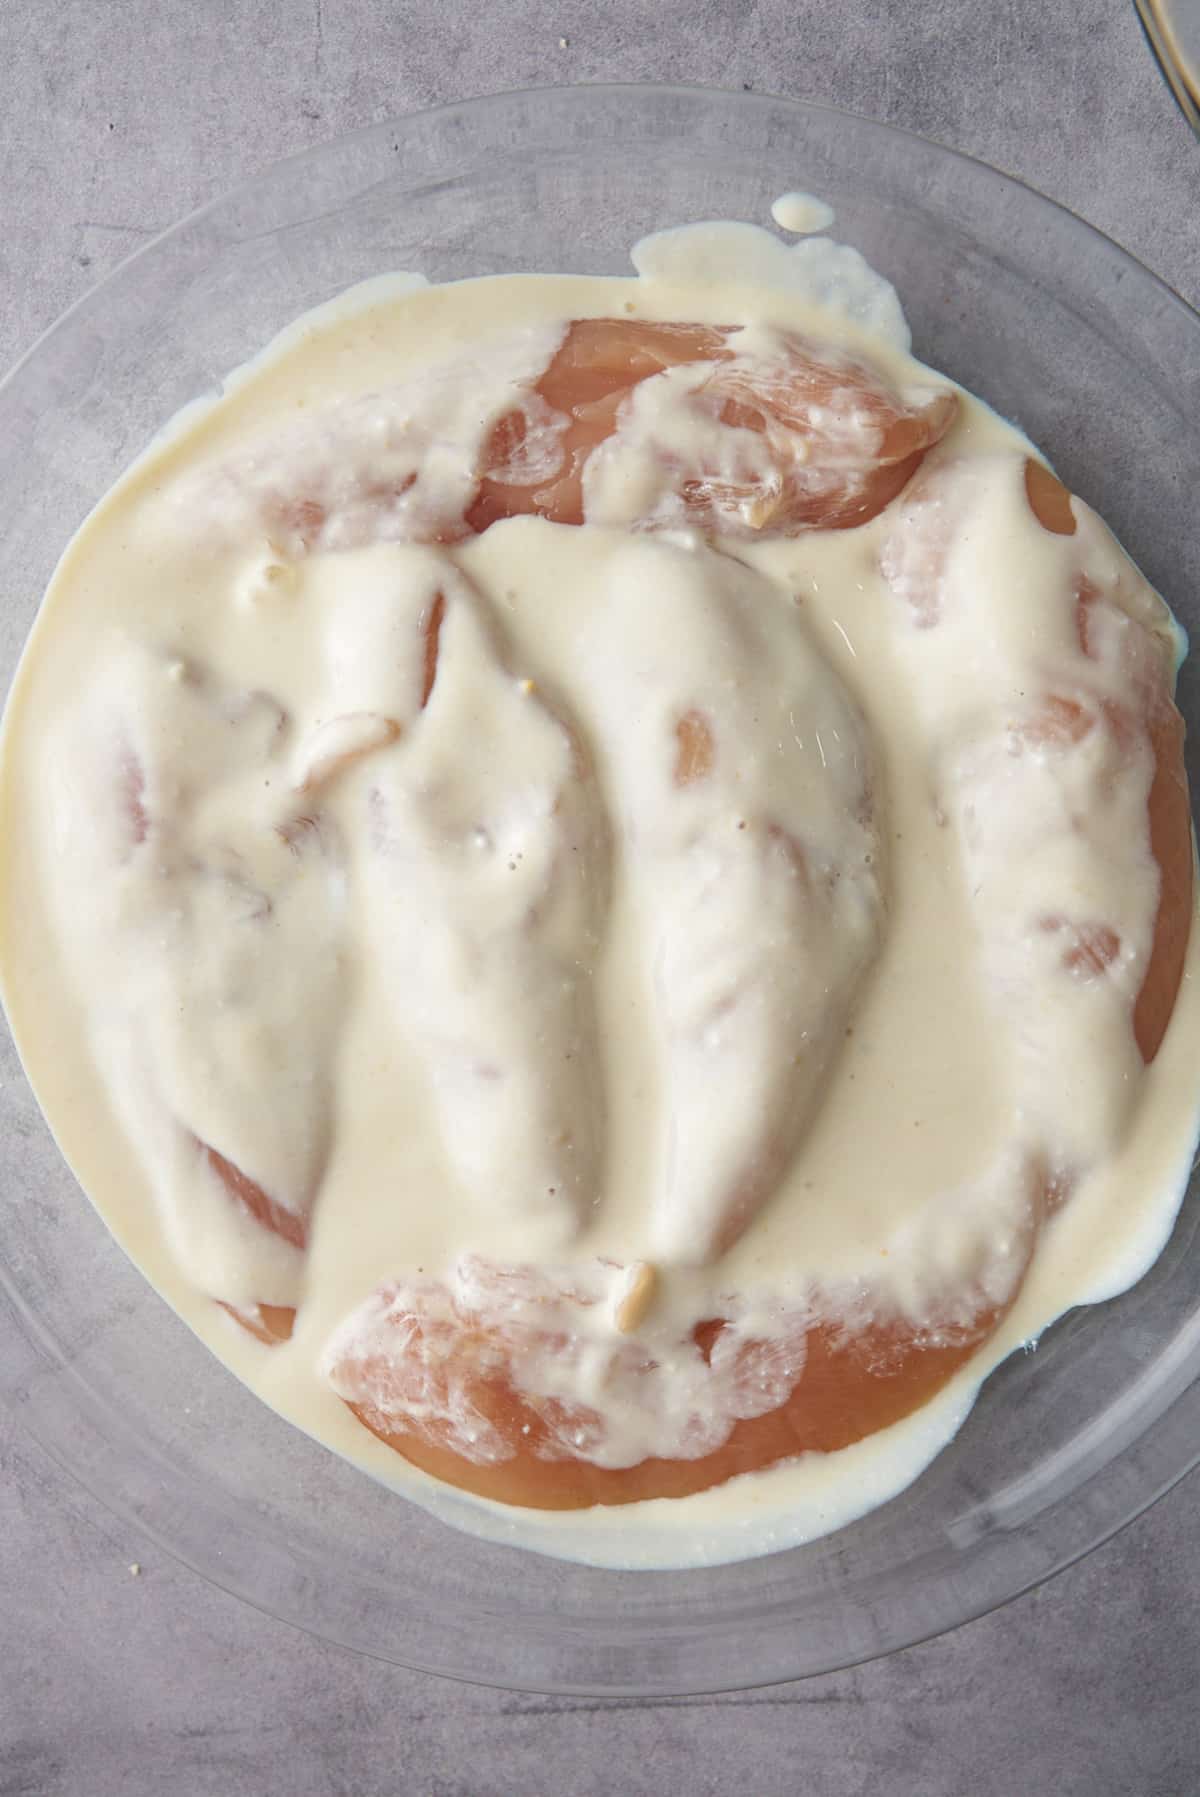
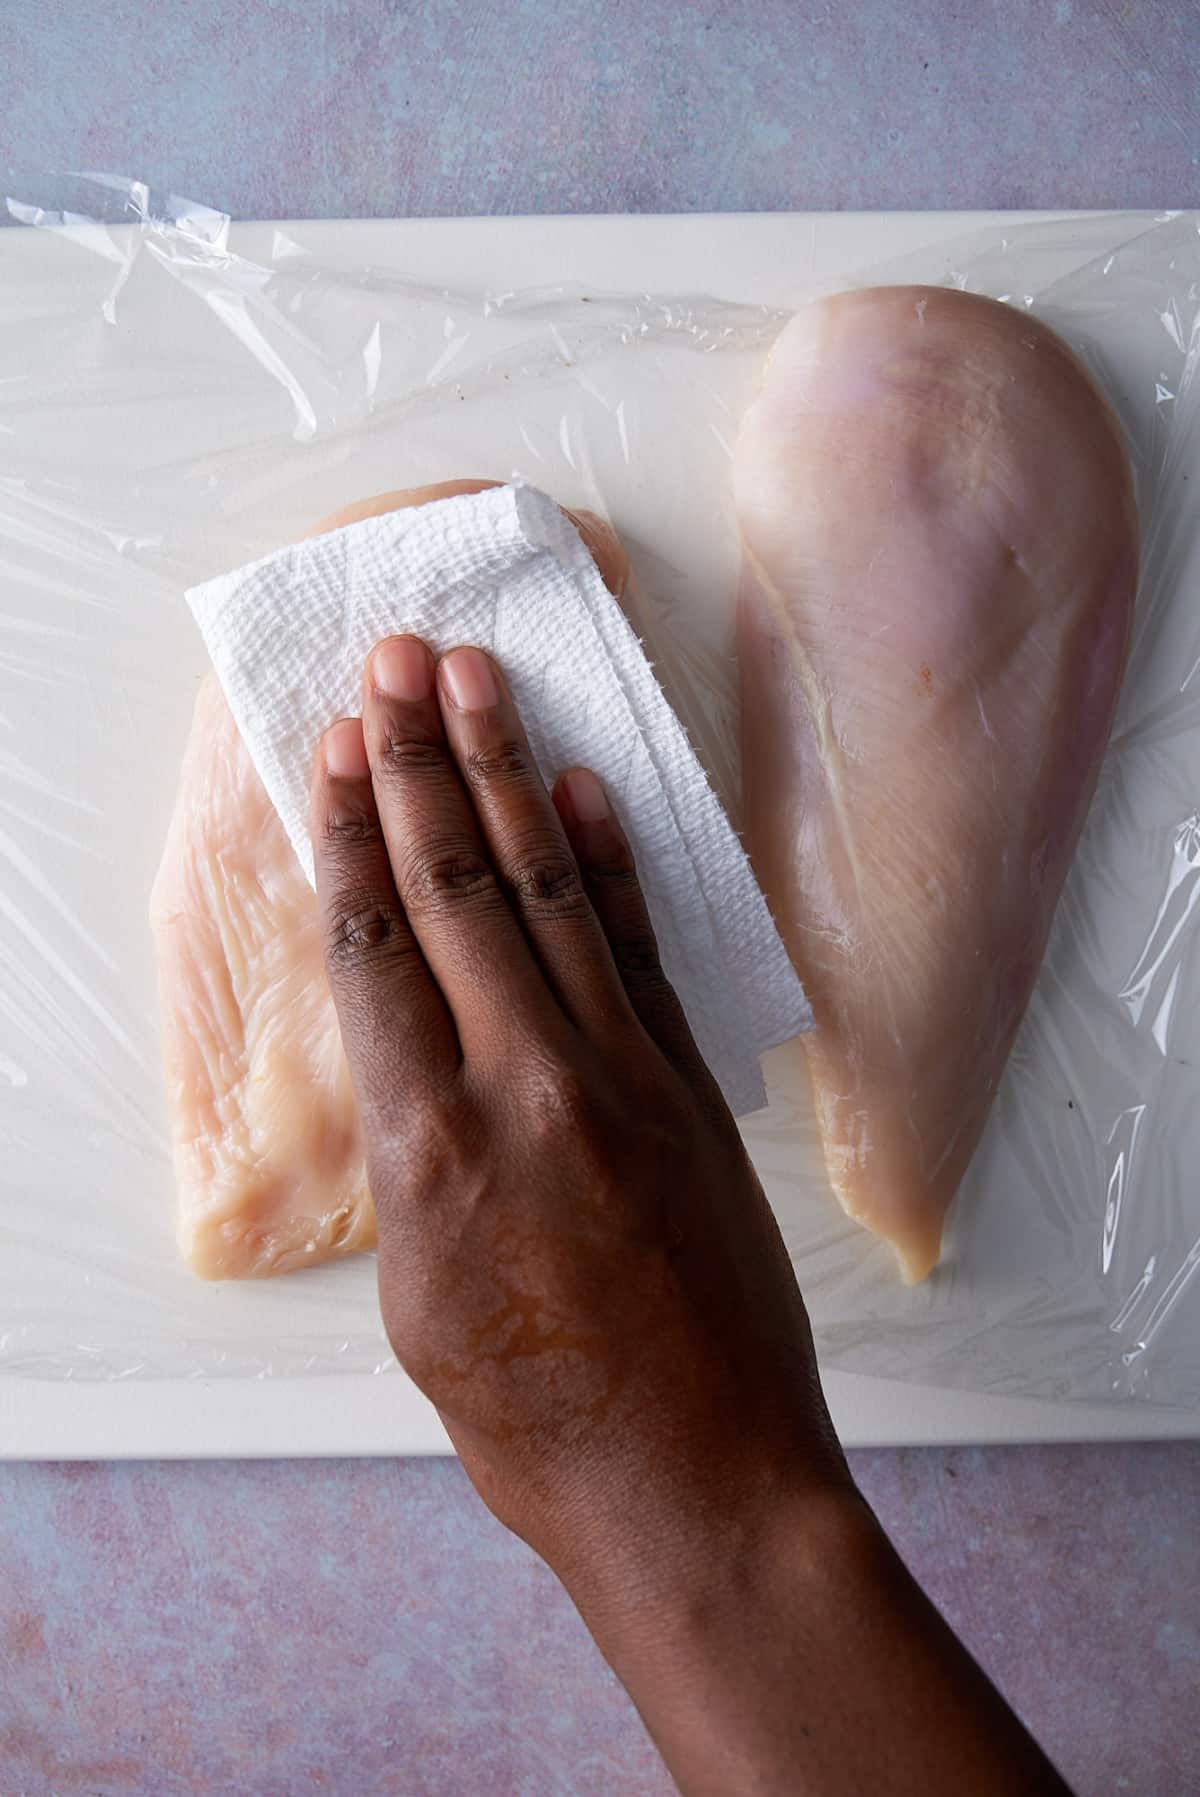
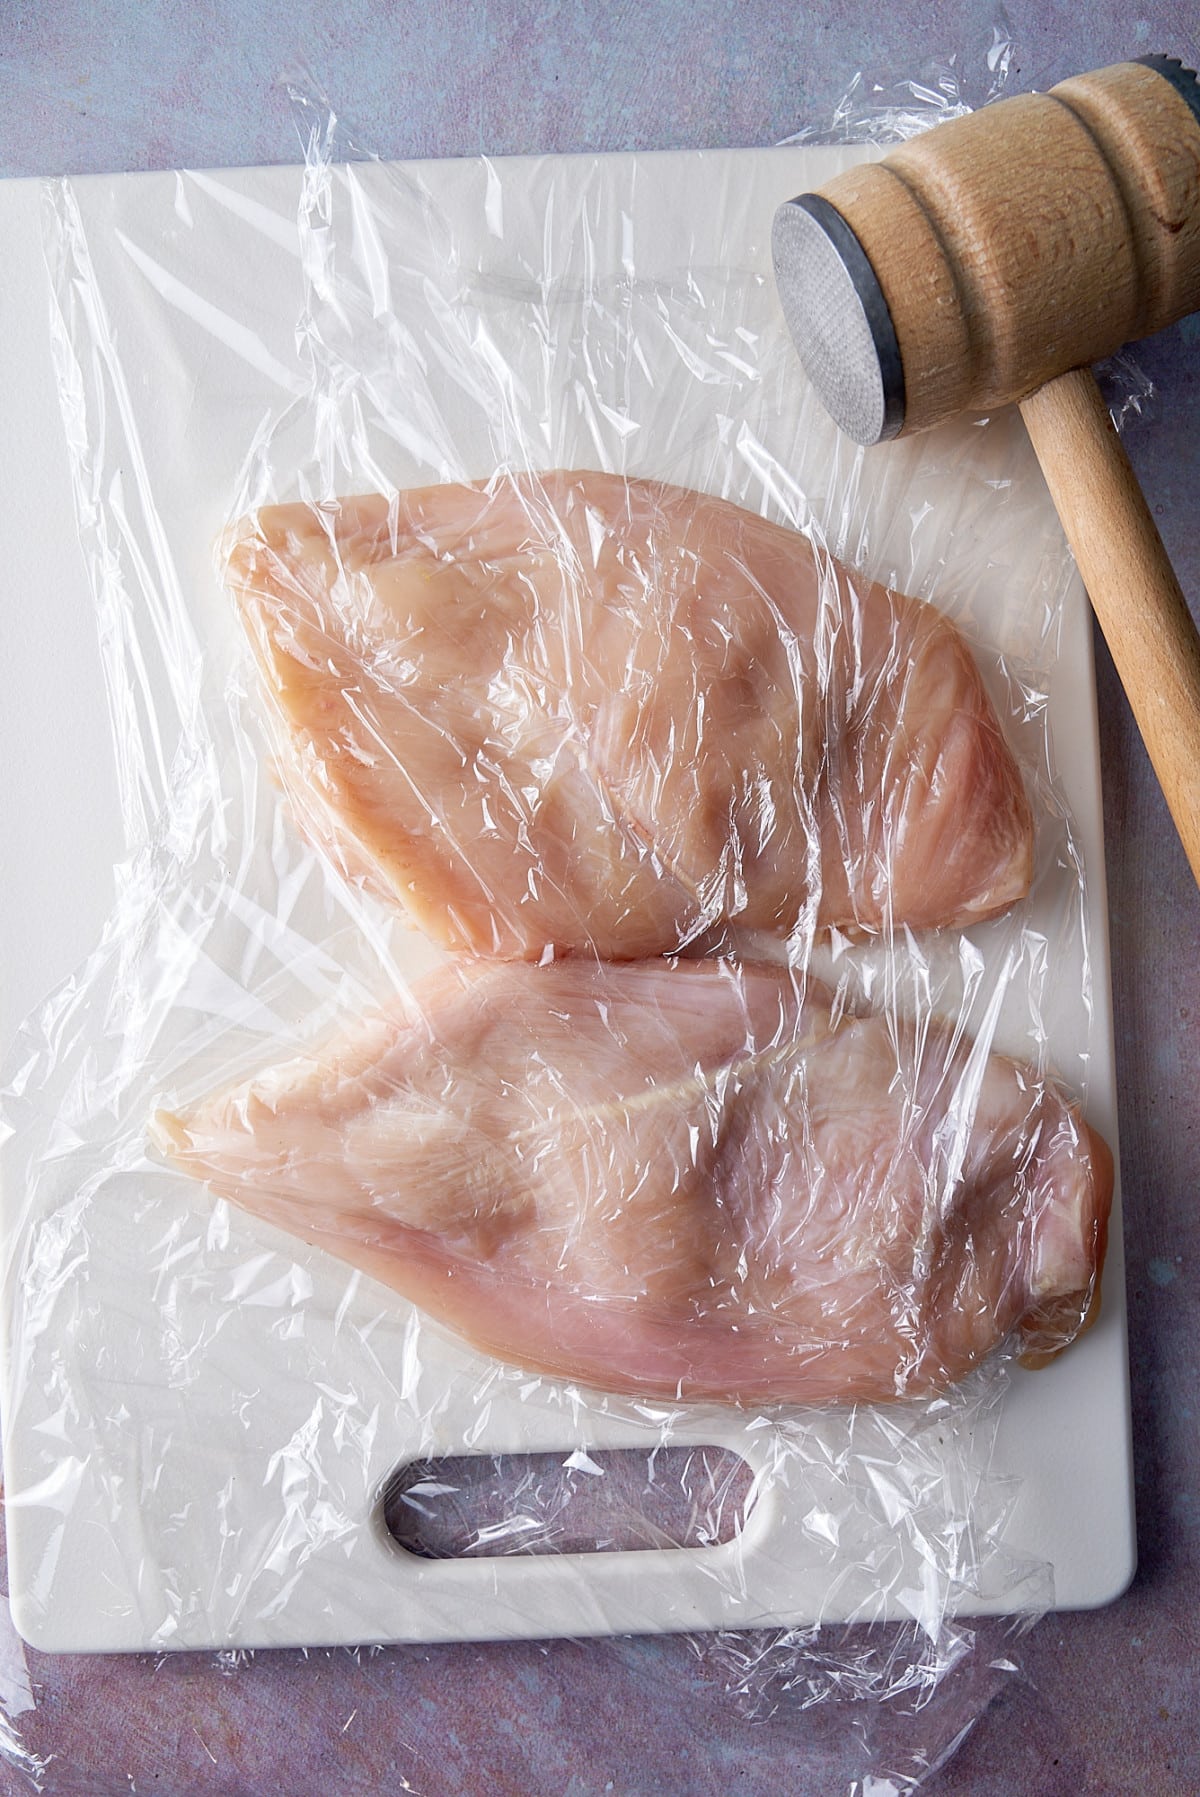
Prep the Chicken: Pat the chicken breasts dry with paper towels. Next, place them between two sheets of plastic wrap or inside a large zip-top bag, then set them on a cutting board.
Gently pound them to an even thickness—around ½ inches is ideal. This step helps the chicken cook evenly and stay juicy. Lightly rub both sides with olive oil. Lightly grease the wire rack.
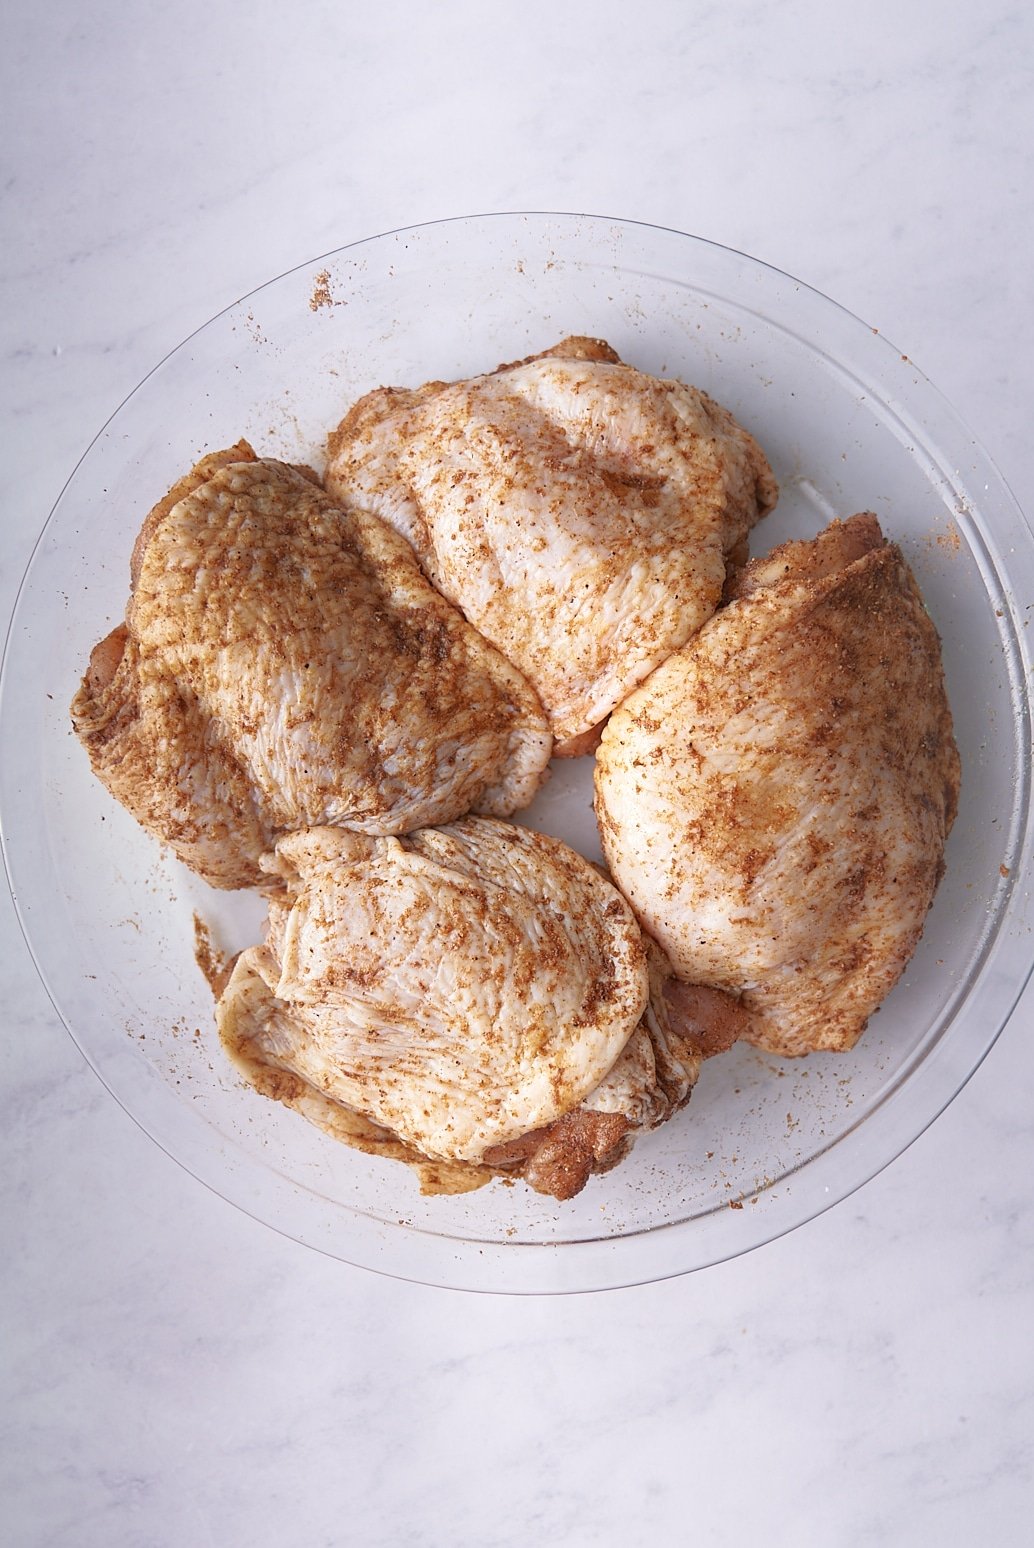
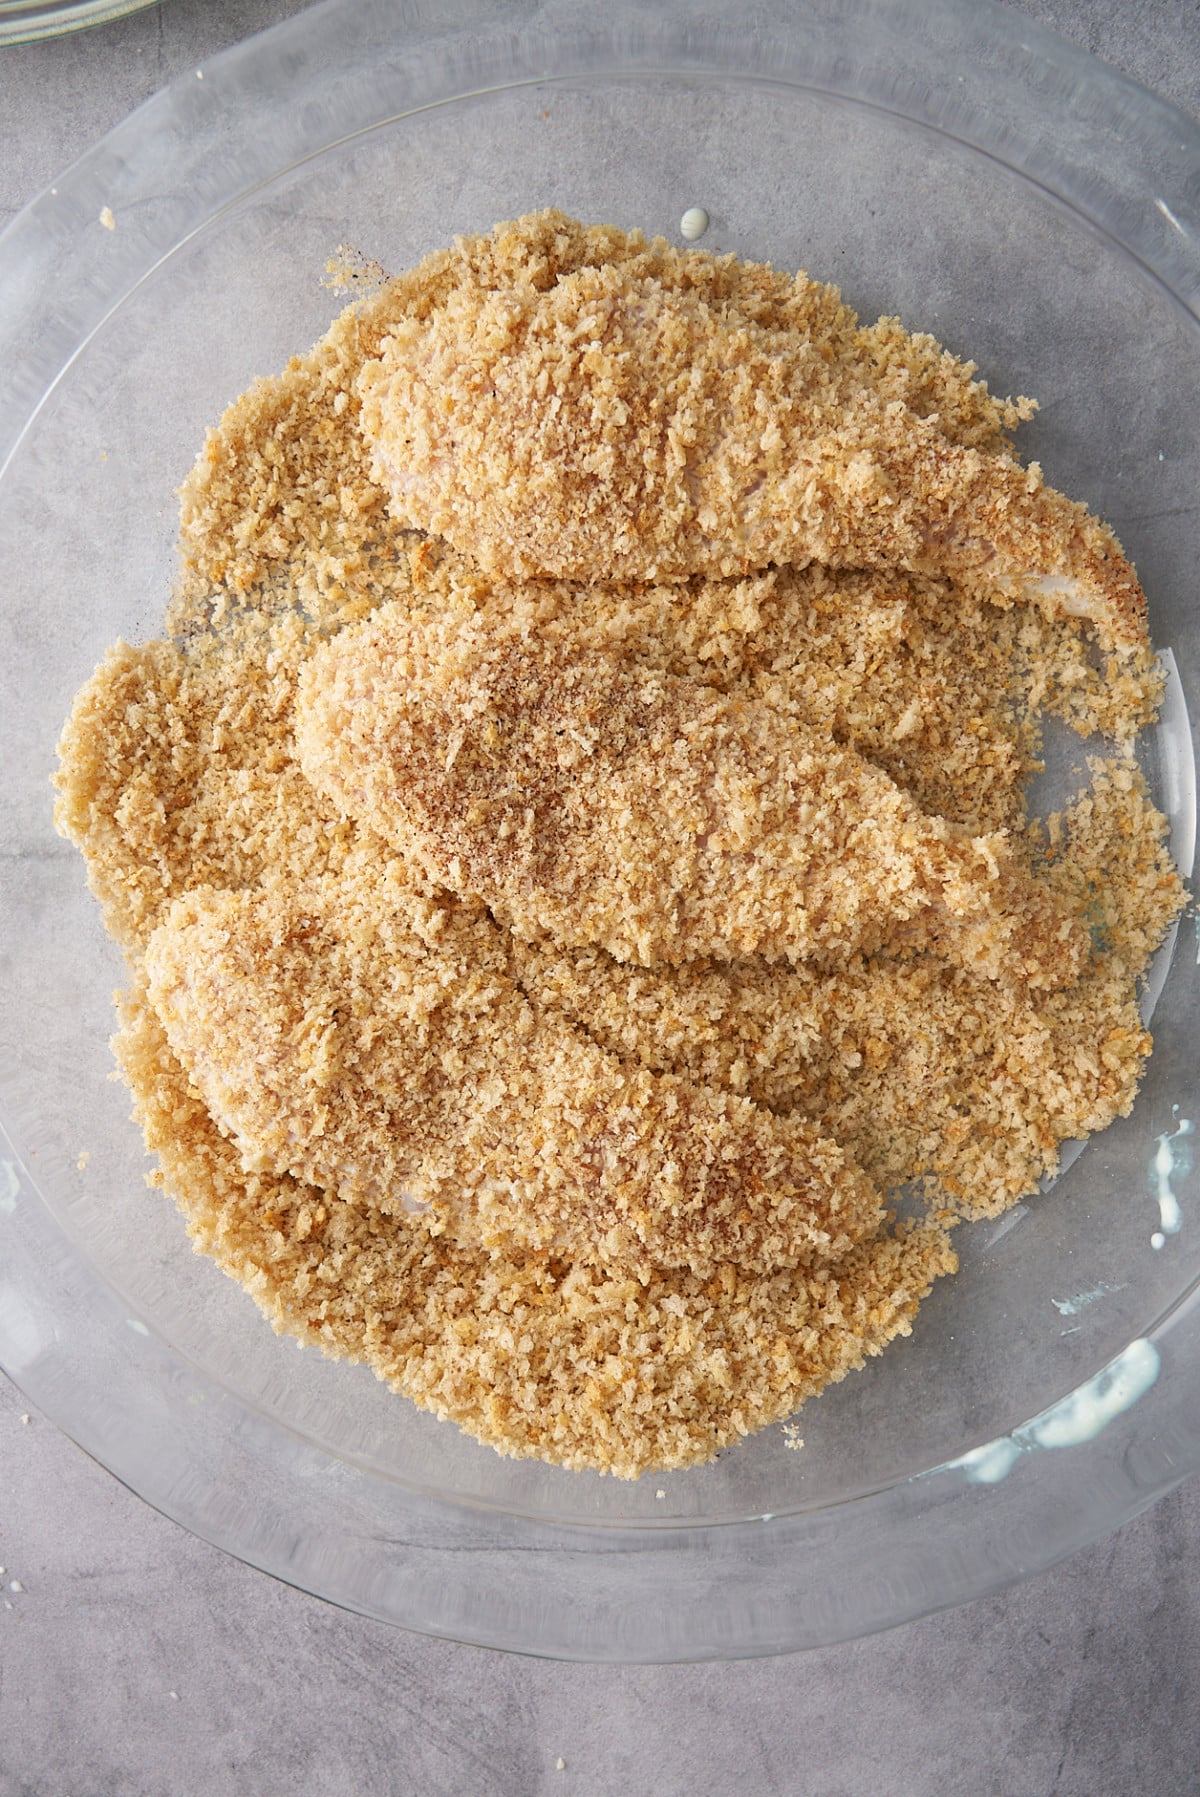
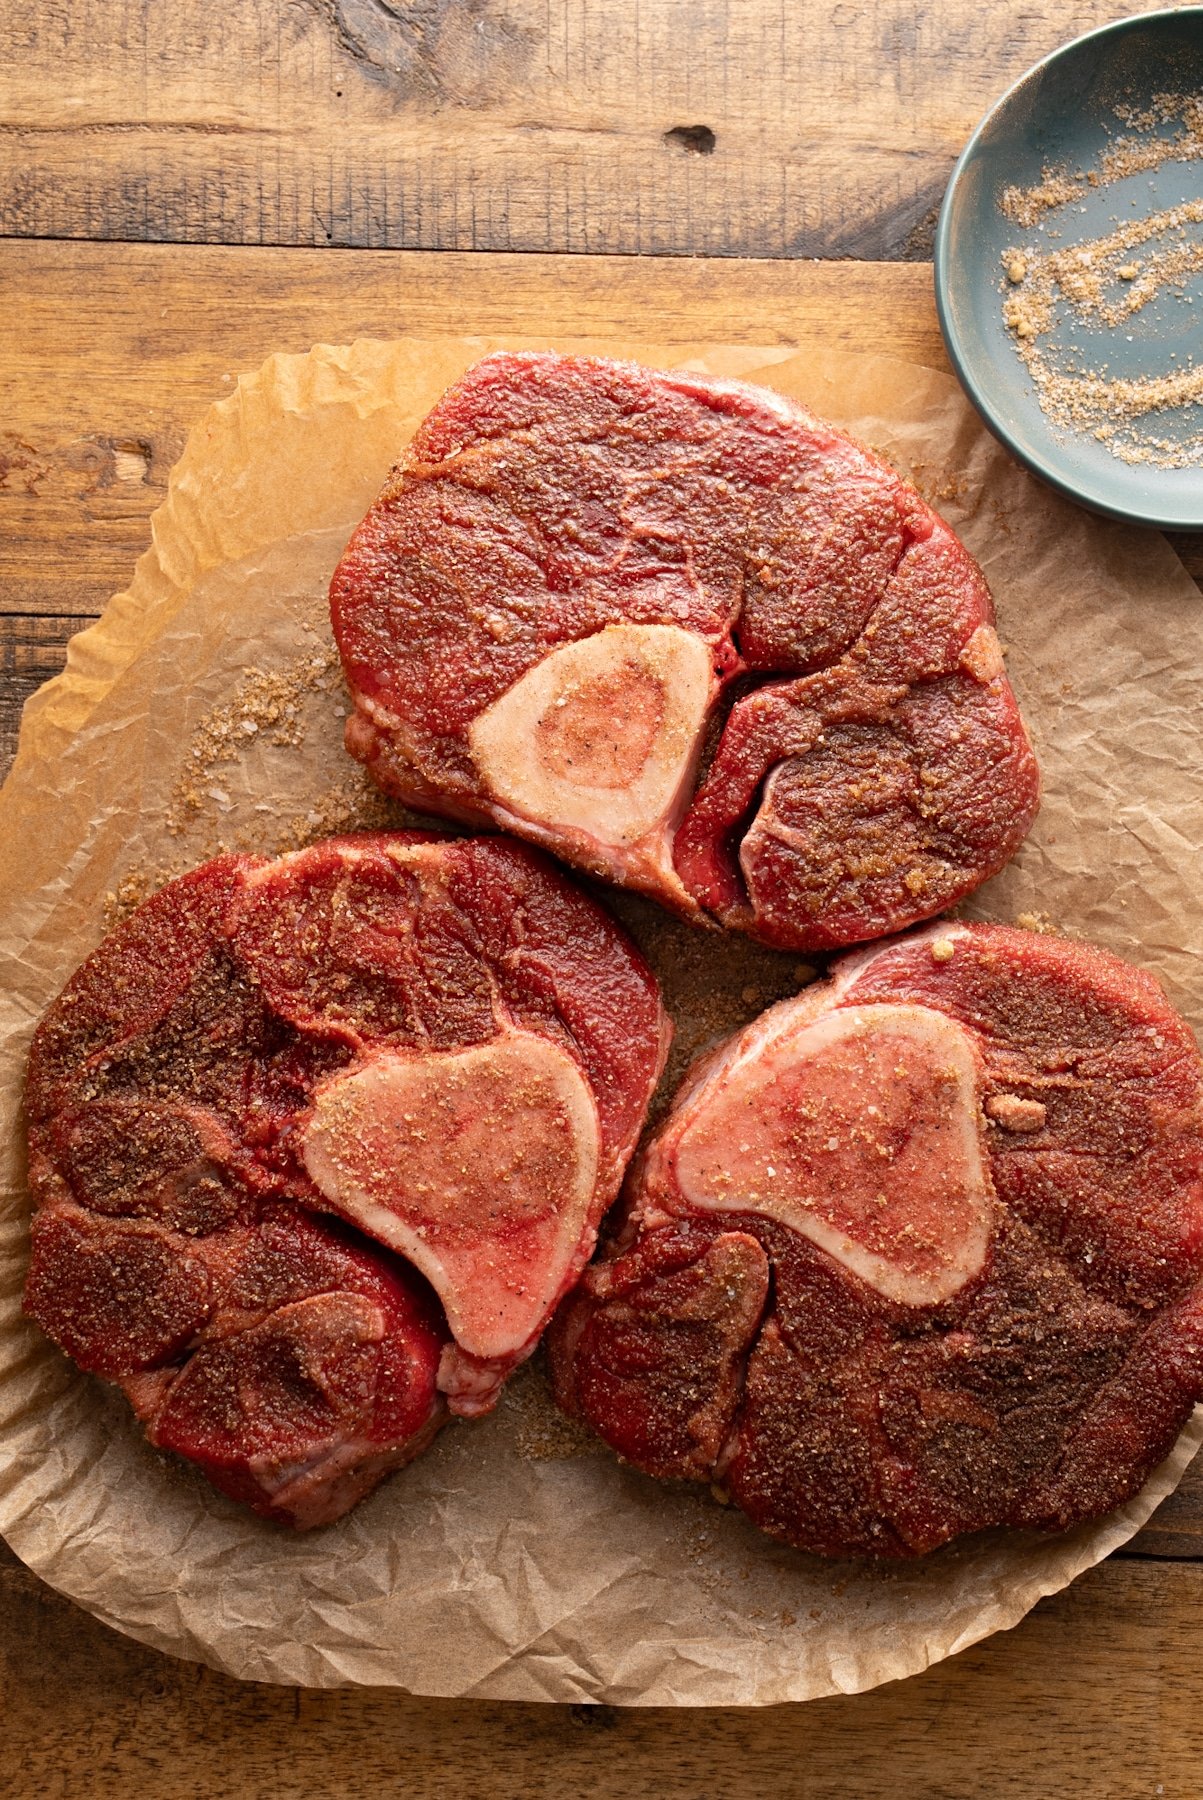
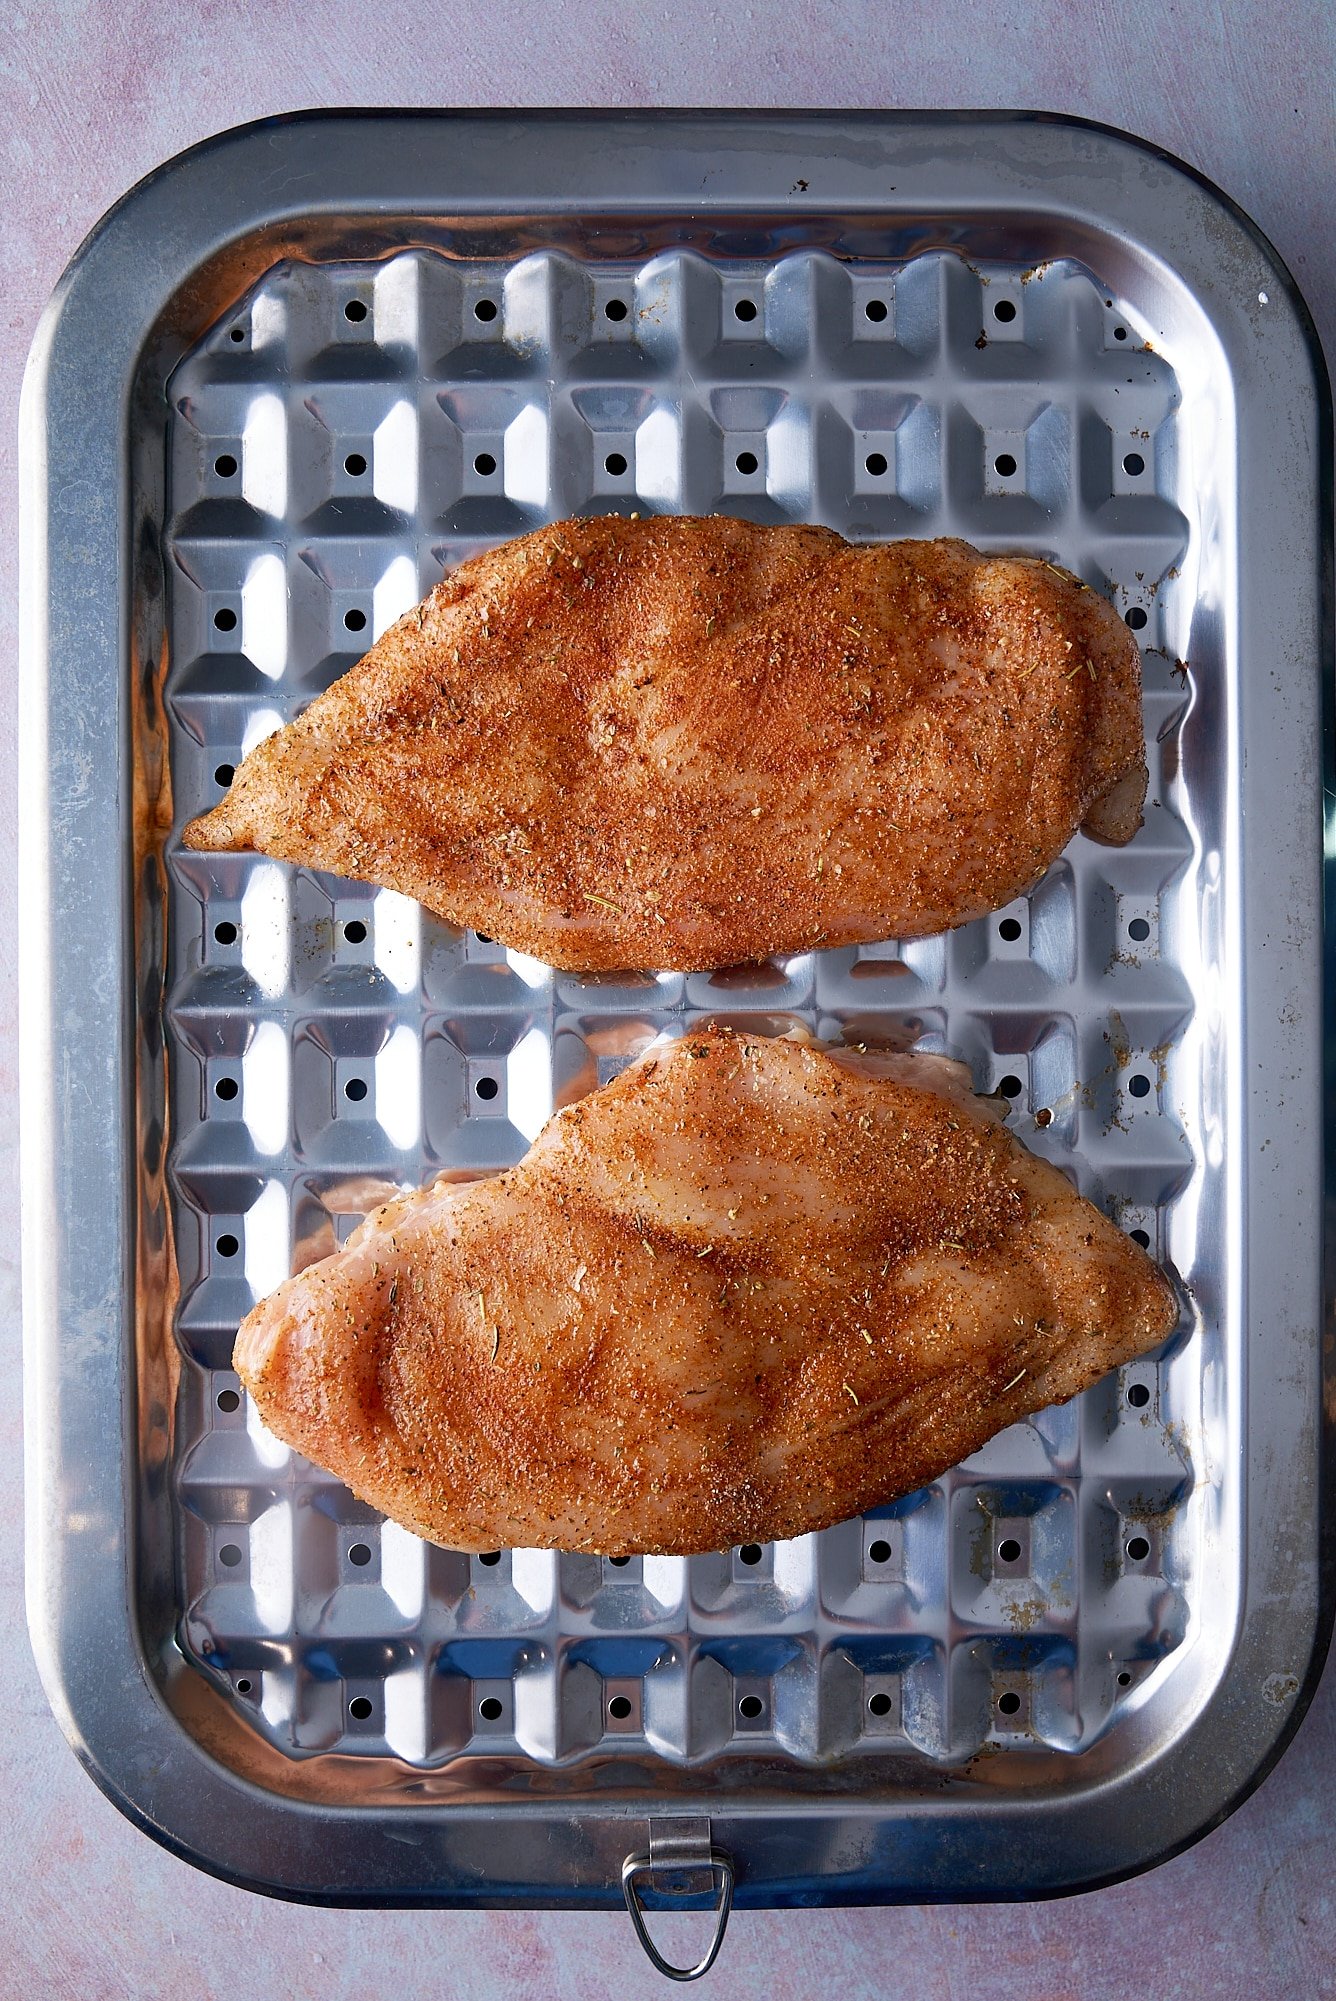
Season: Sprinkle the spice mix evenly over both sides of the chicken breasts.
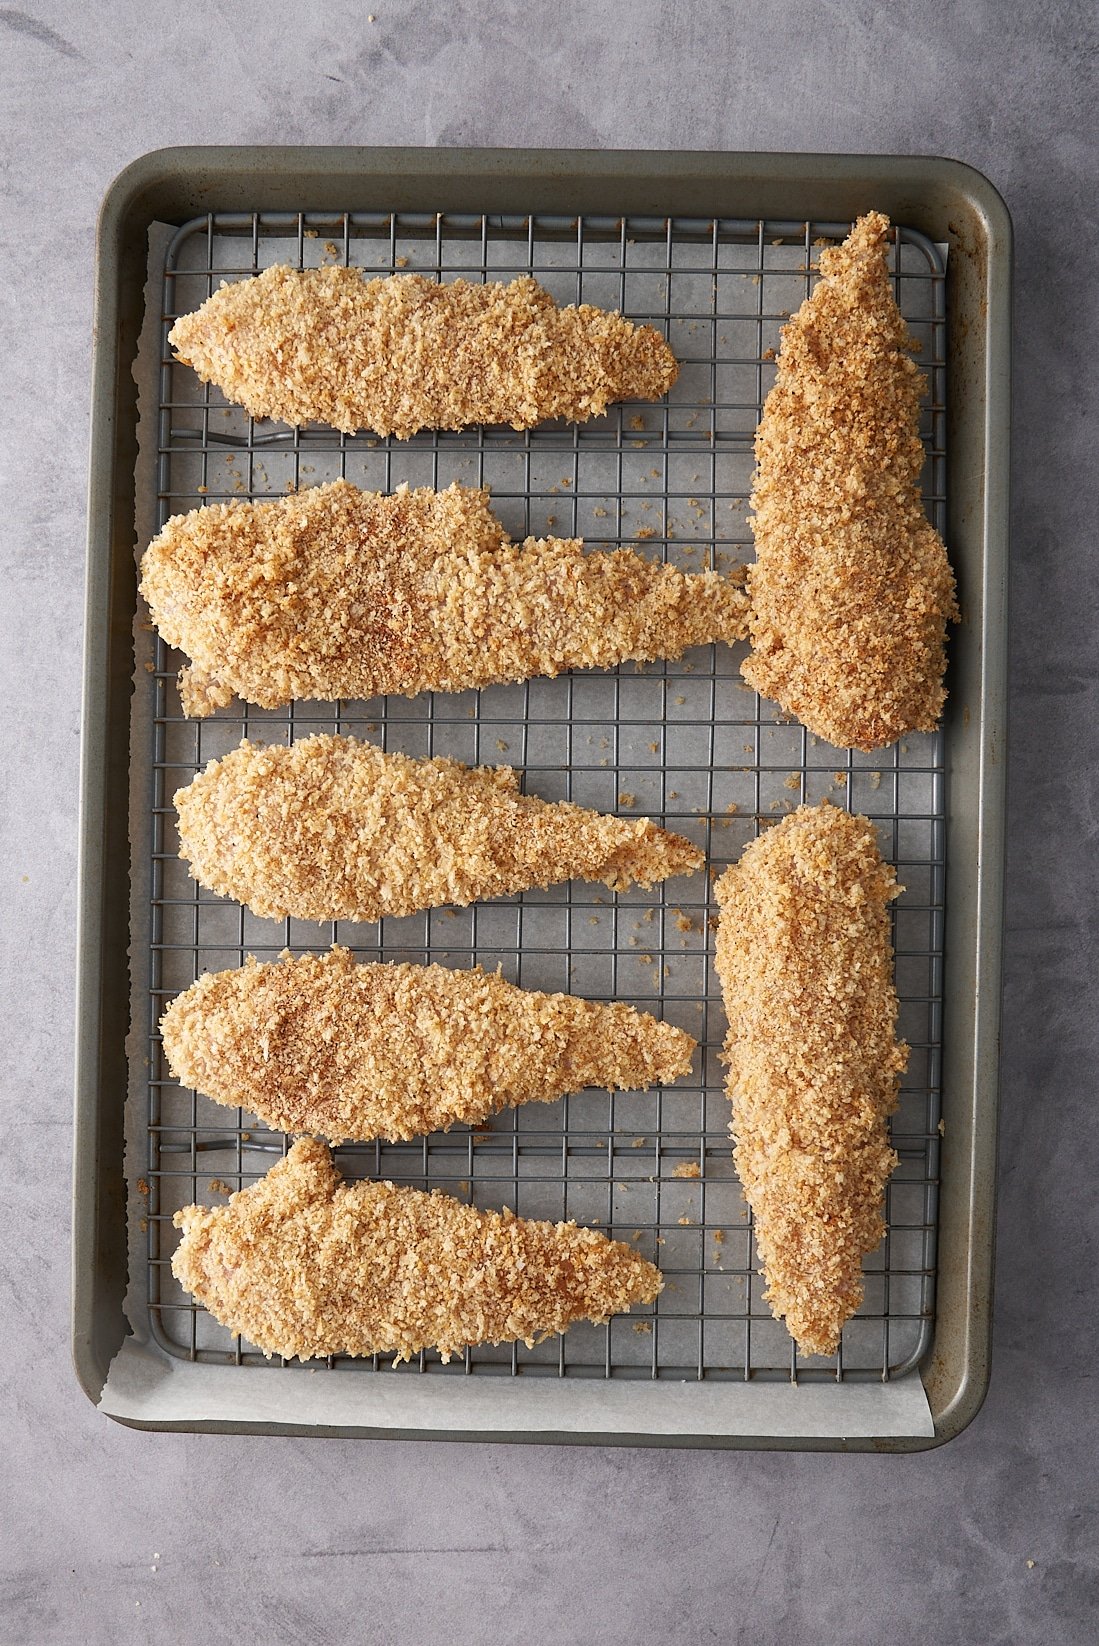
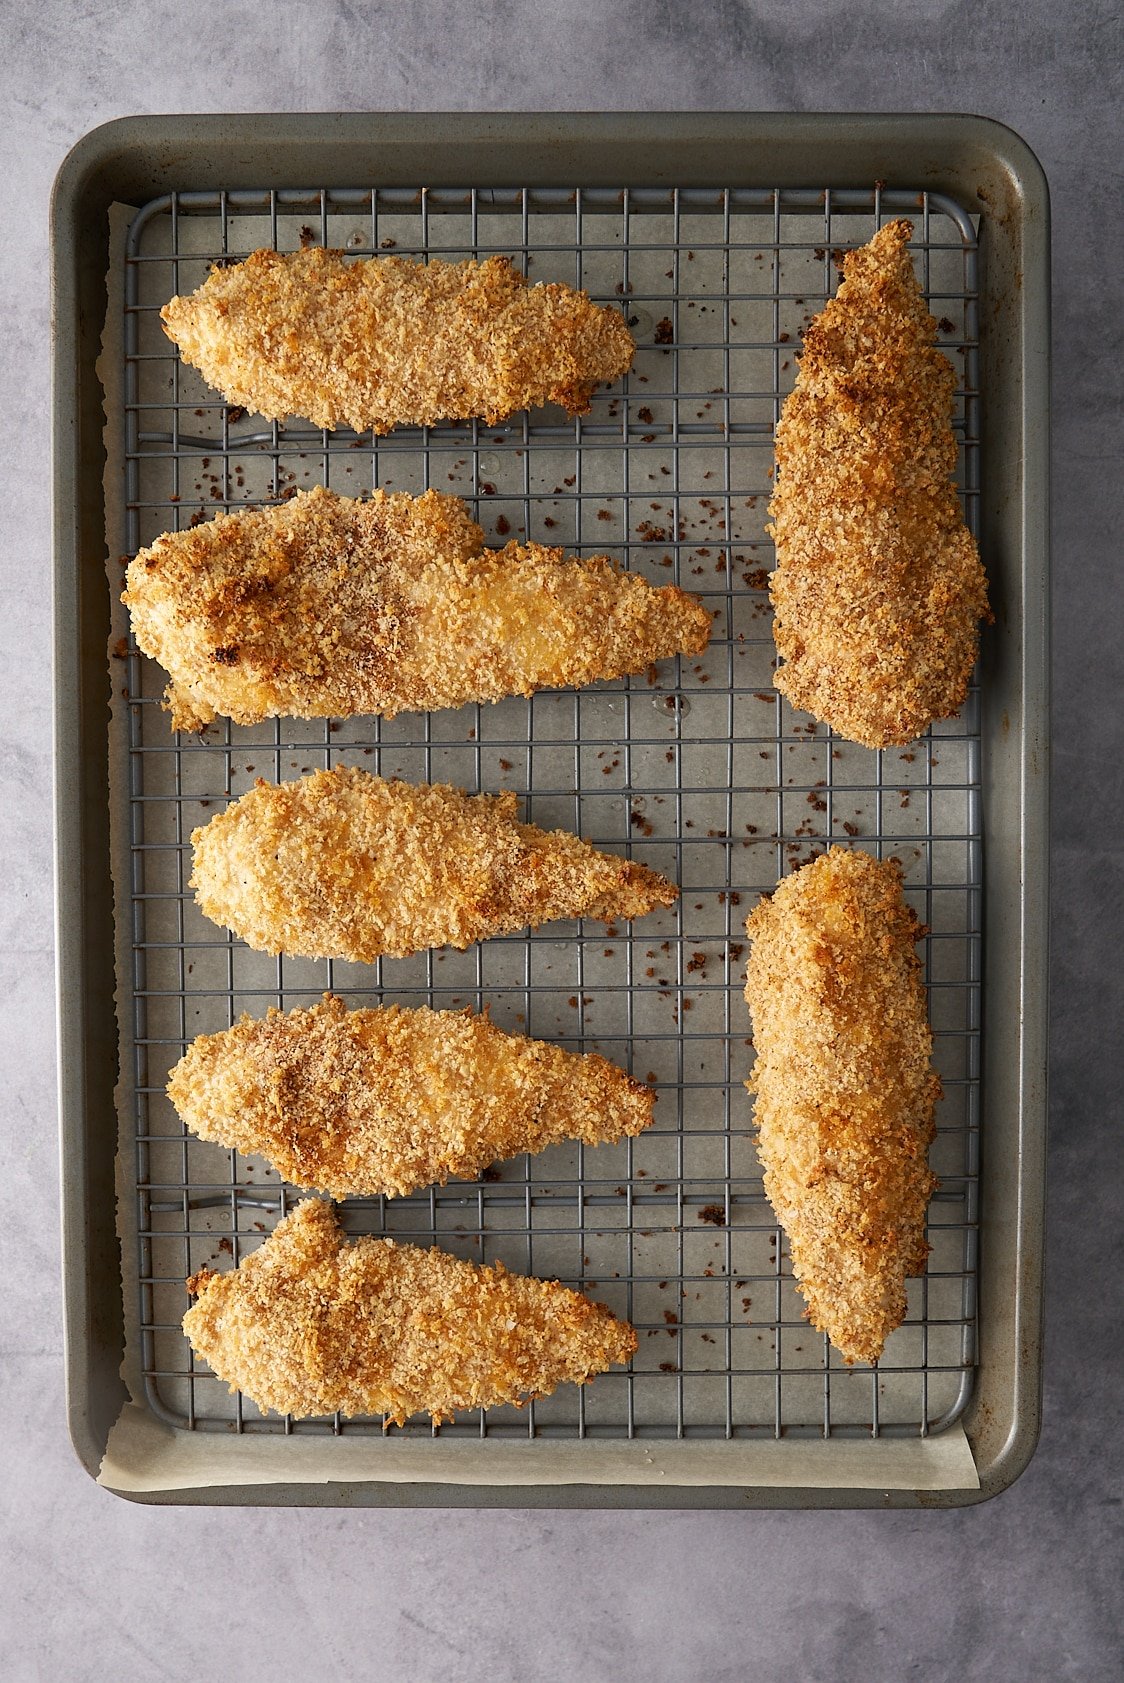
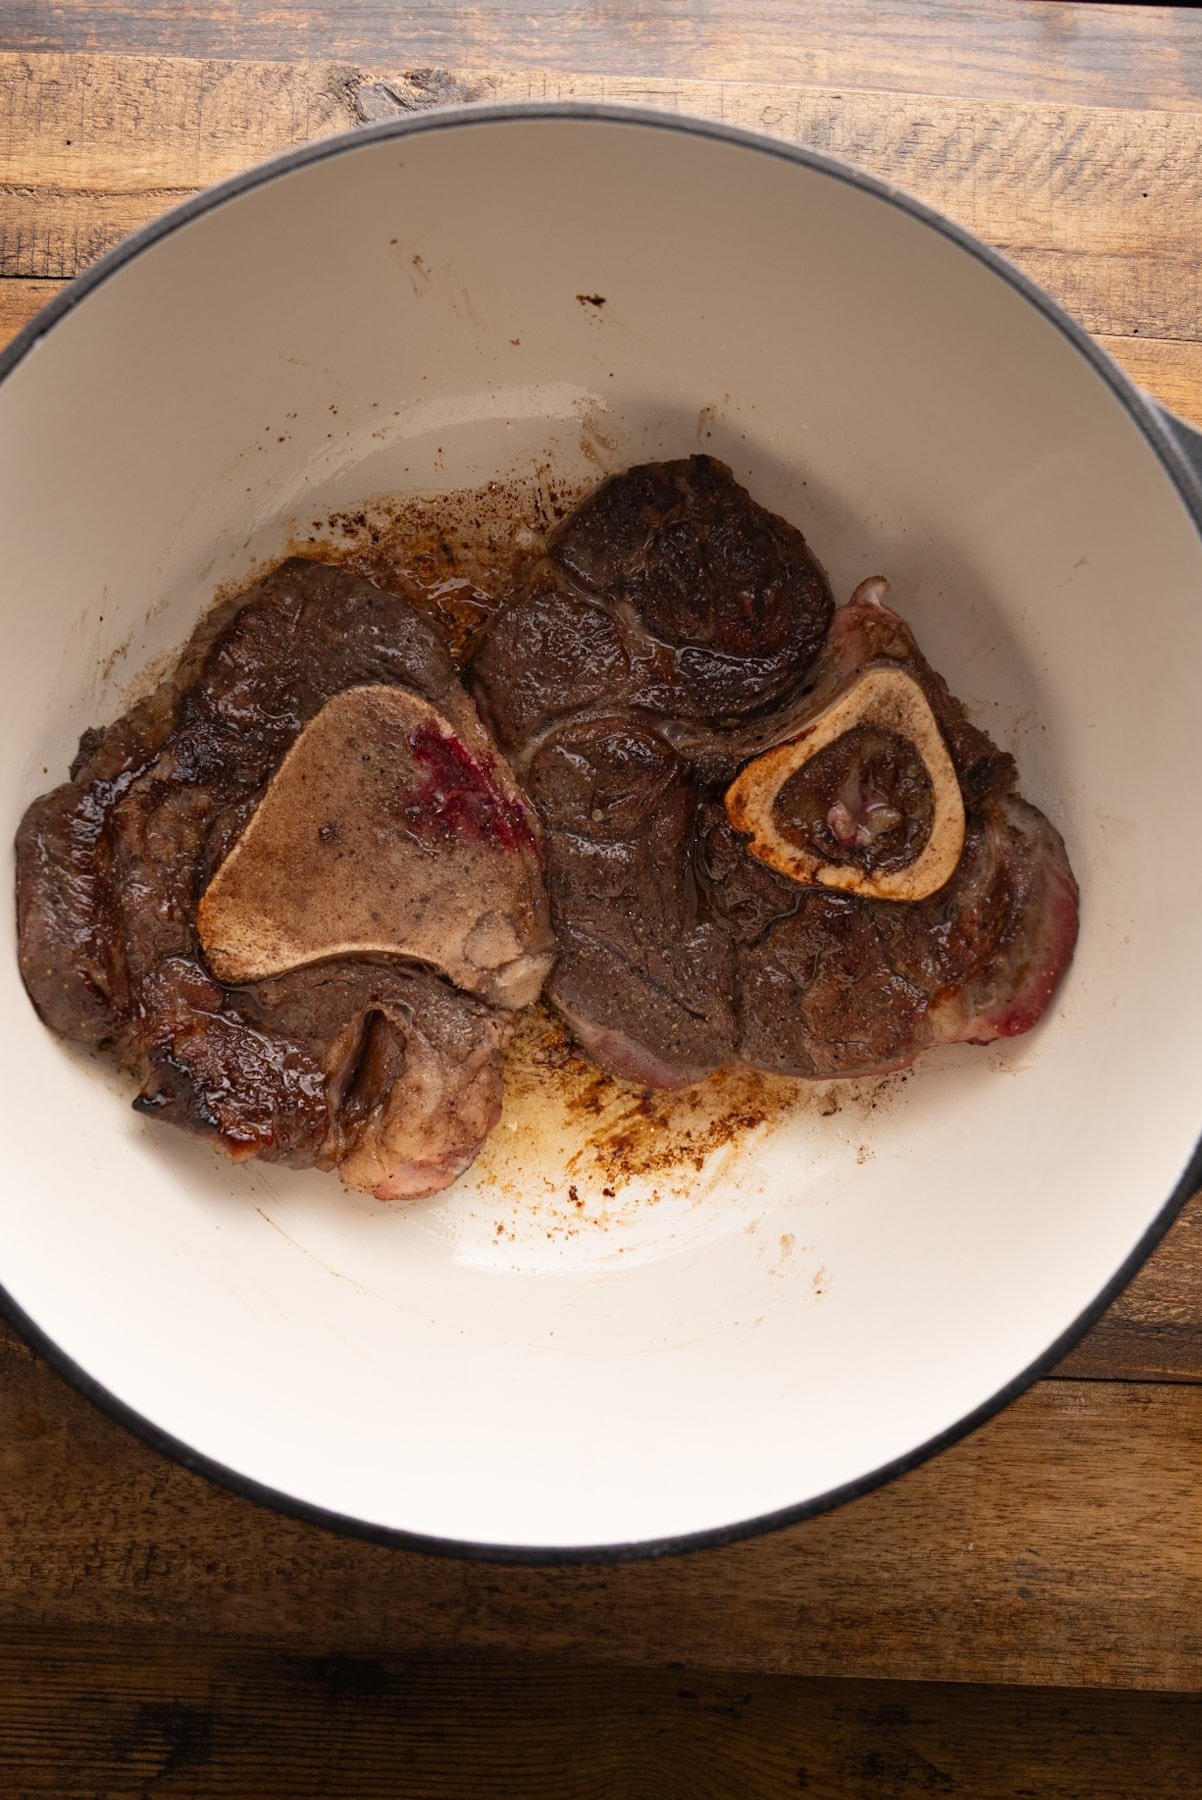
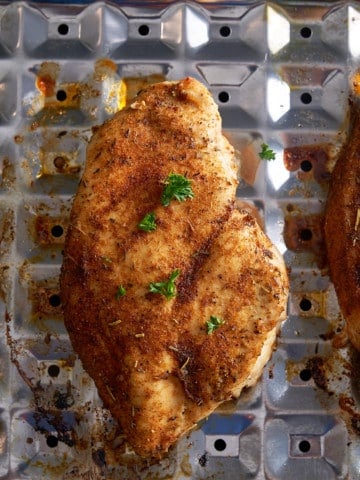
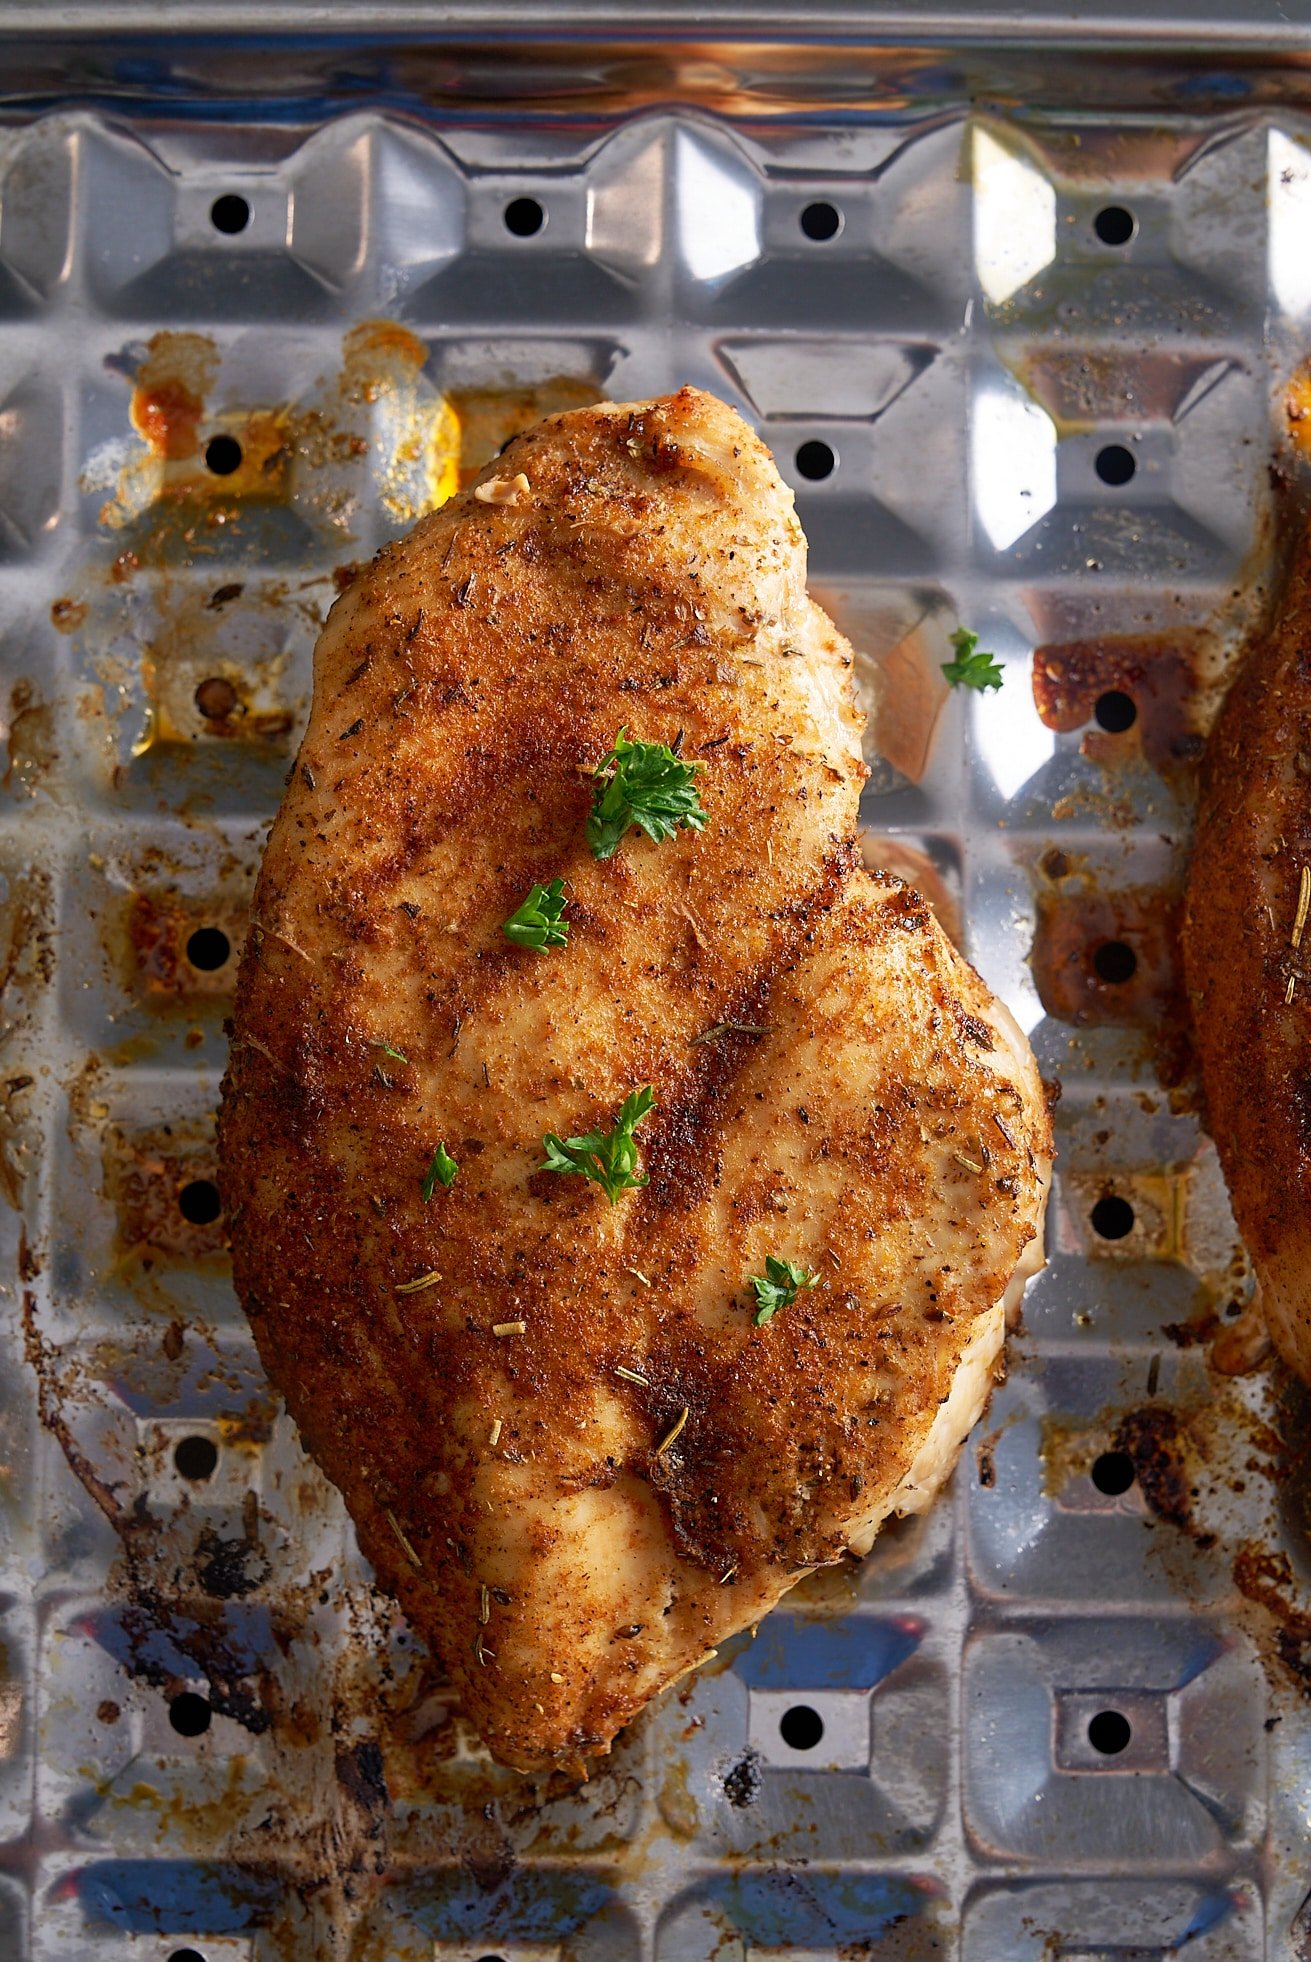
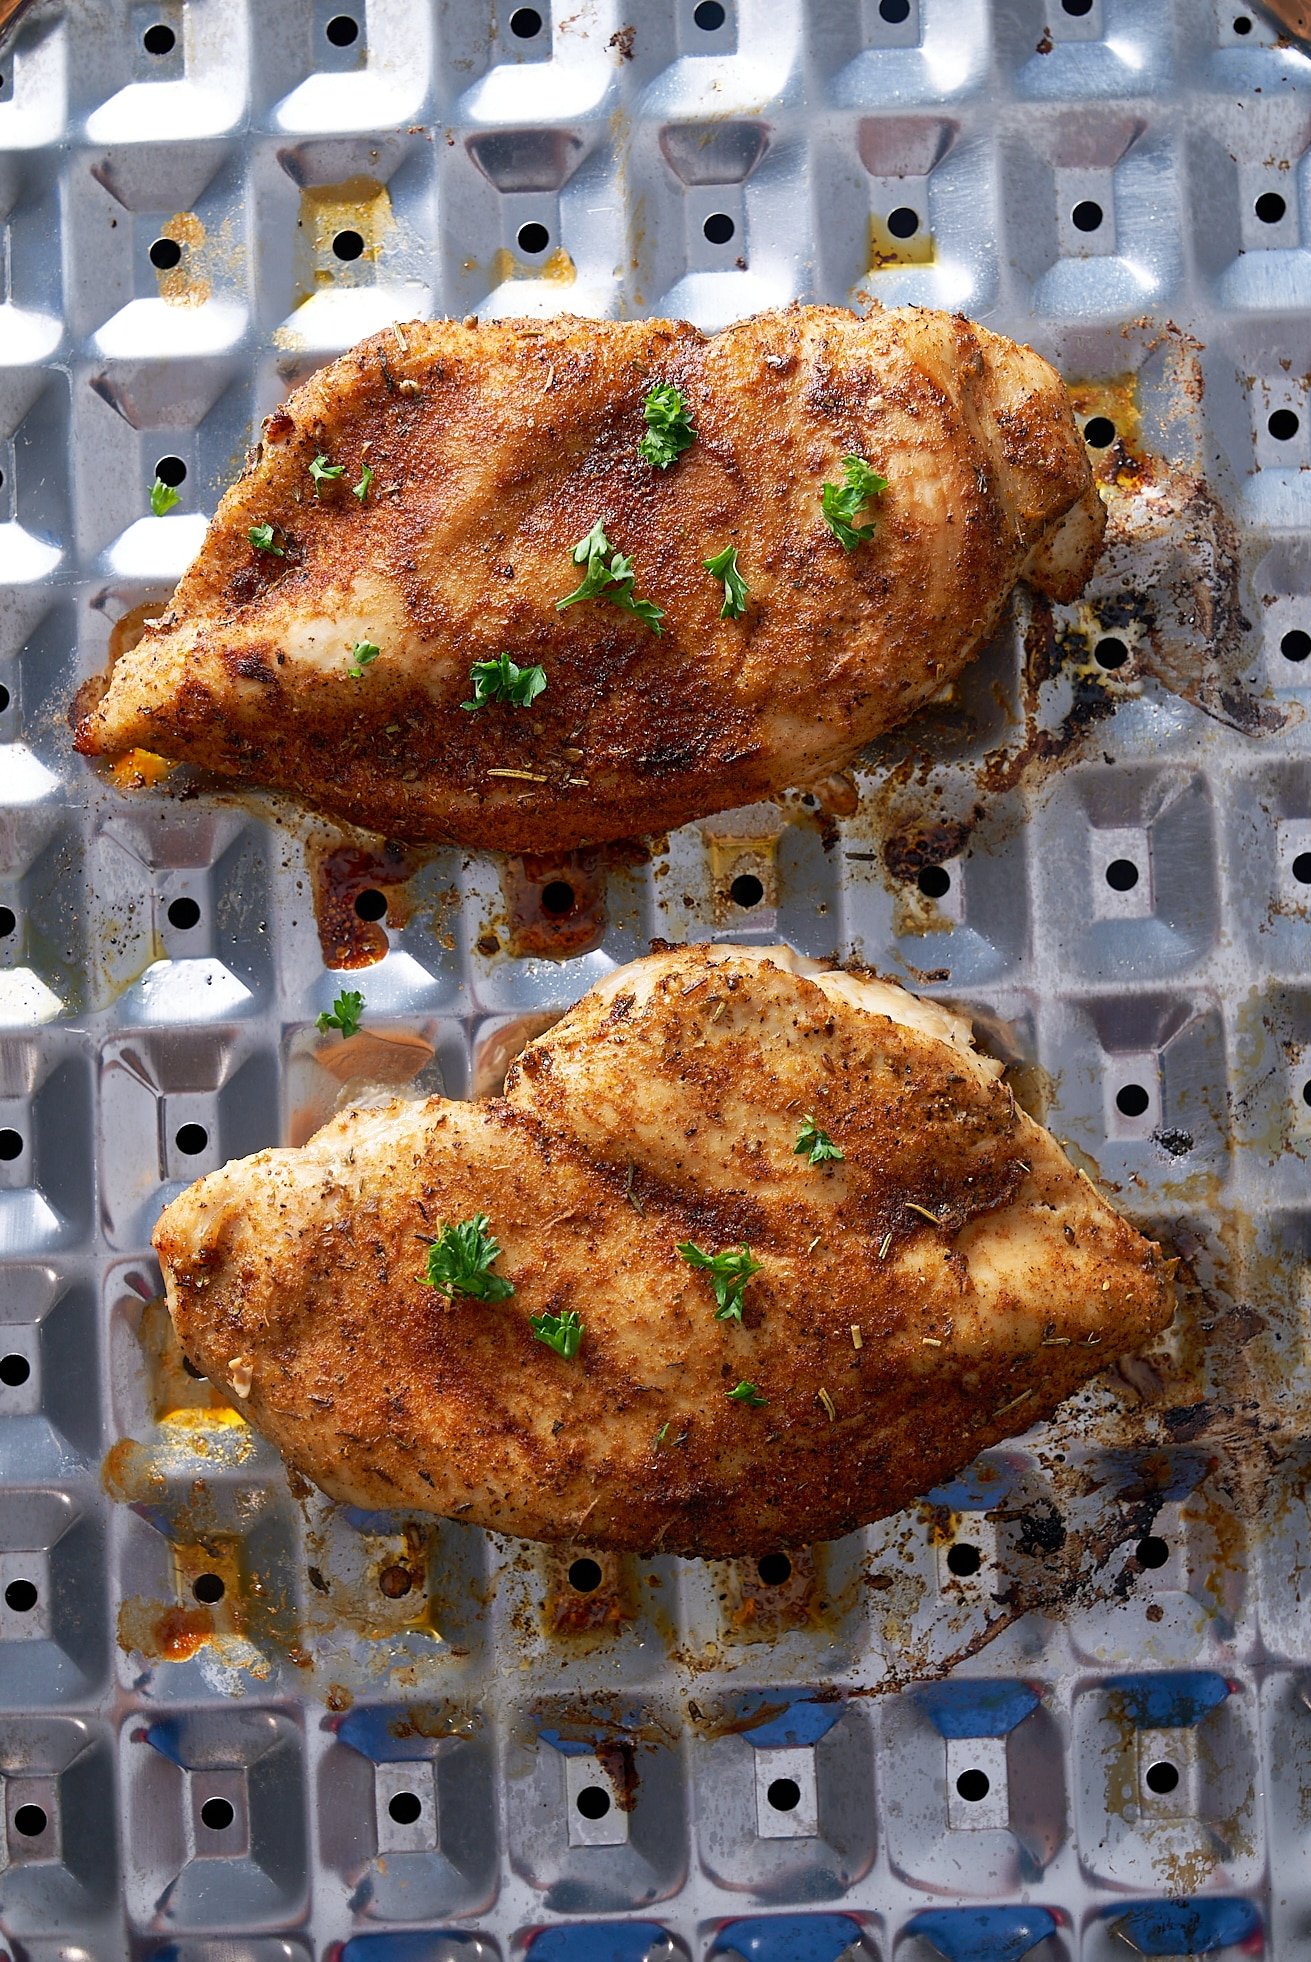
Broil: Arrange the chicken skin-side up on the greased wire rack over a baking sheet. Broil for 6–8 minutes per side, or until the internal temperature reaches 165°F (74°C).
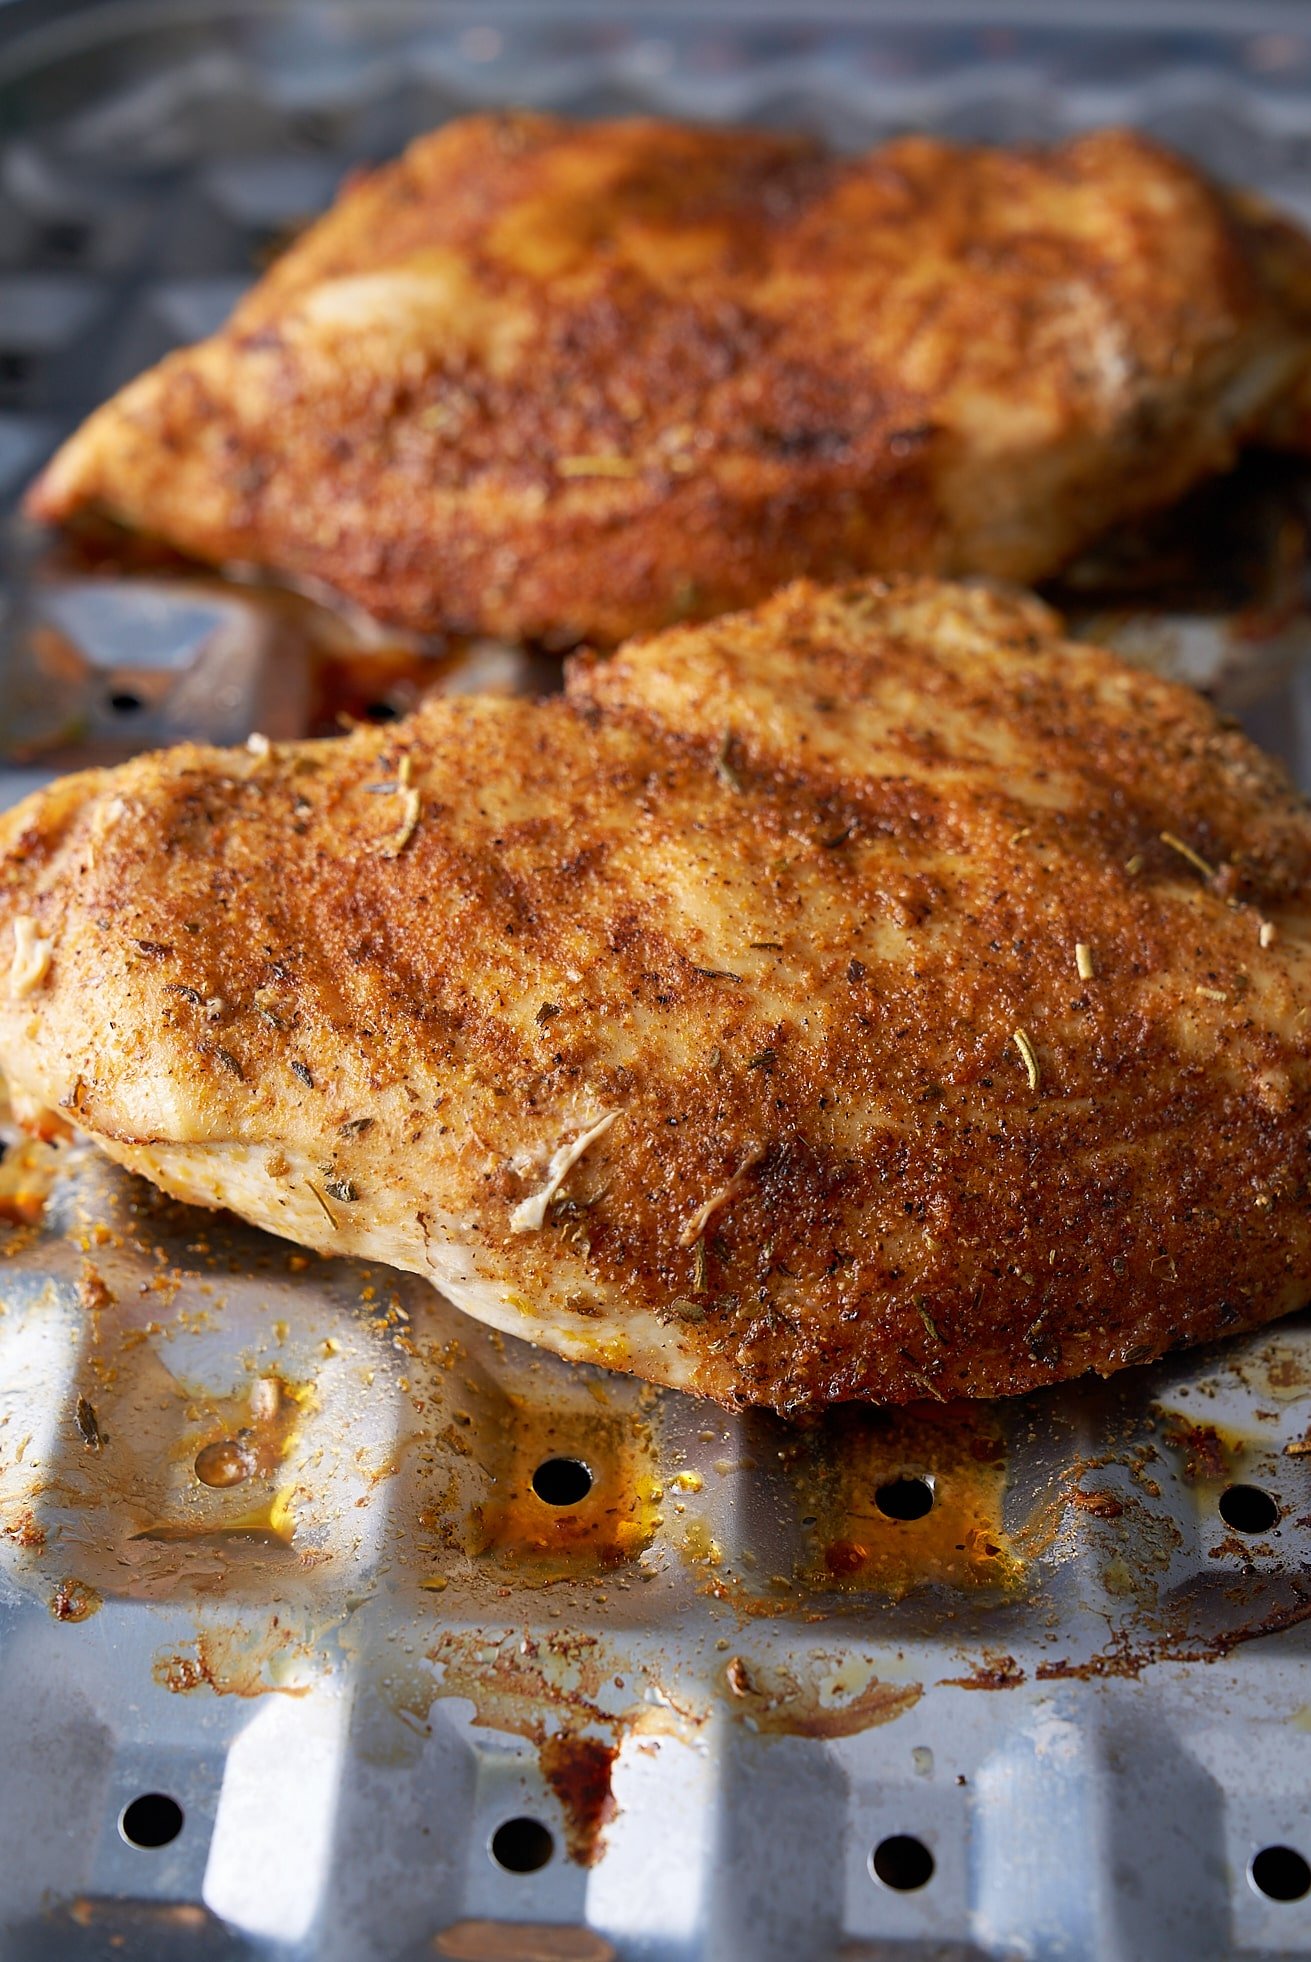
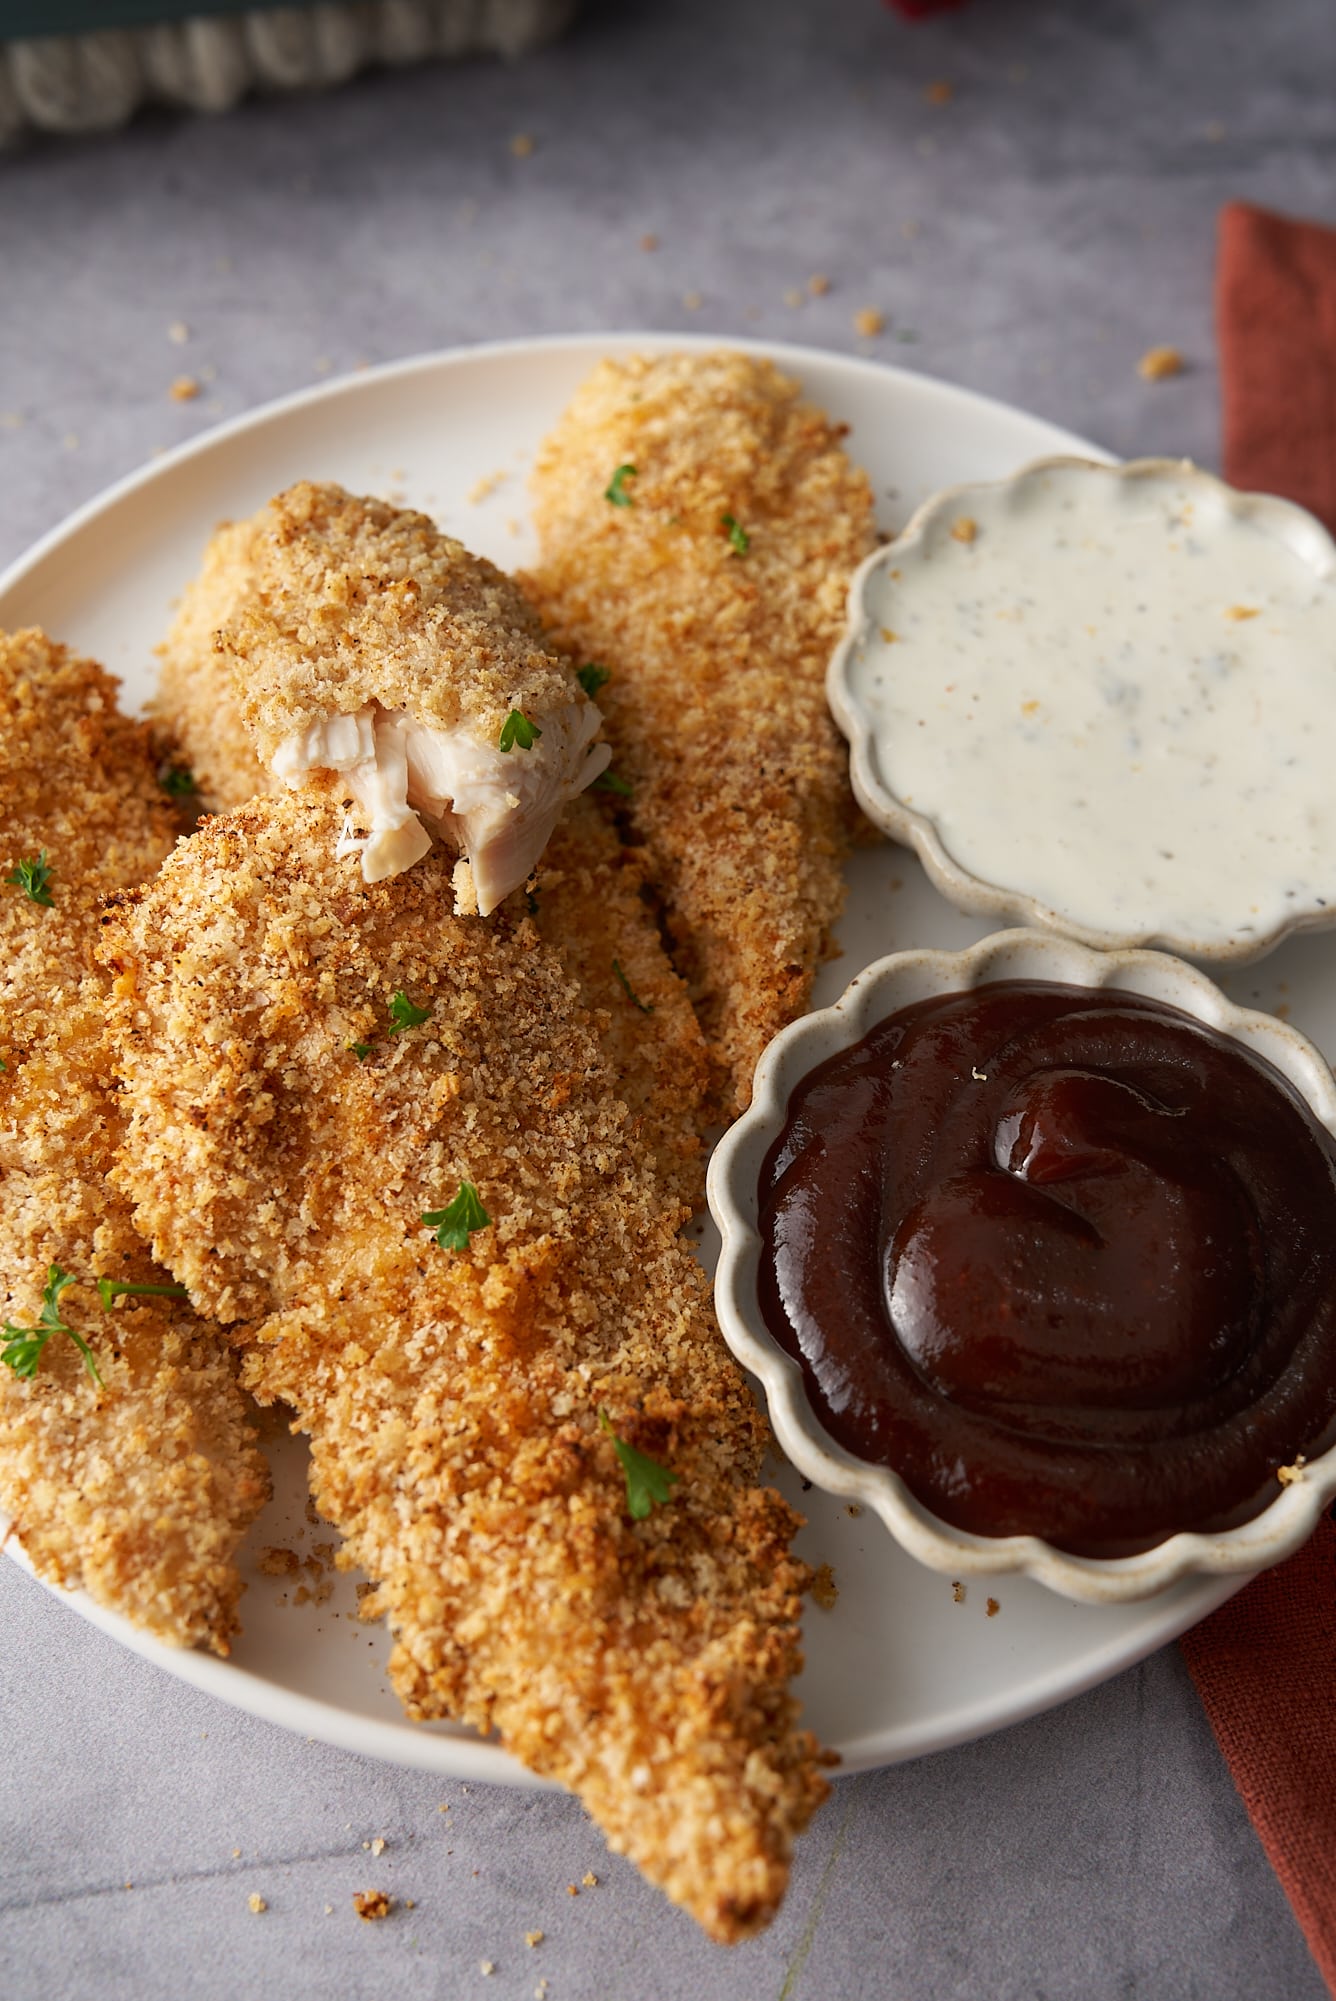
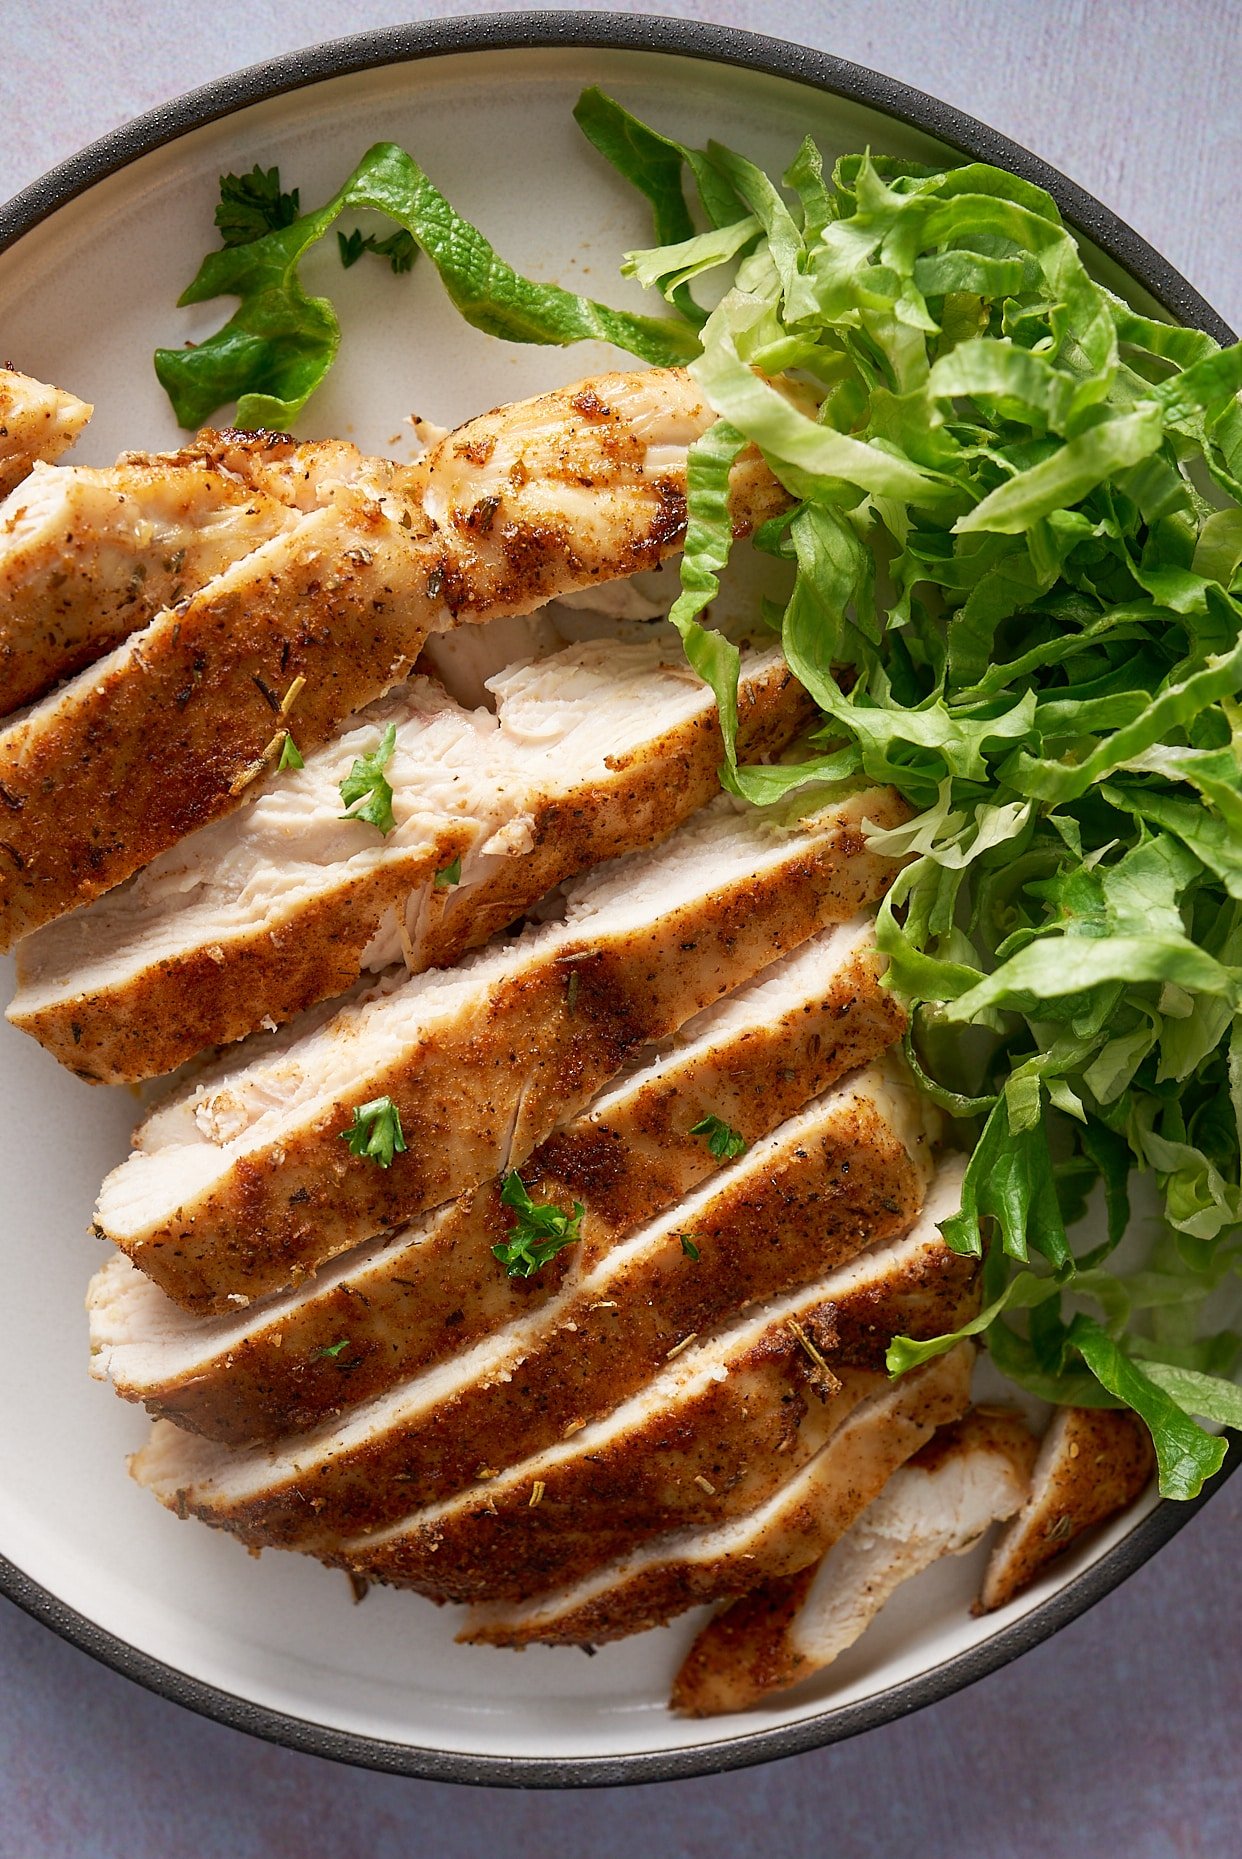
Rest: Remove from the oven and let the chicken rest for 5 minutes before slicing.
Choosing the Right Chicken
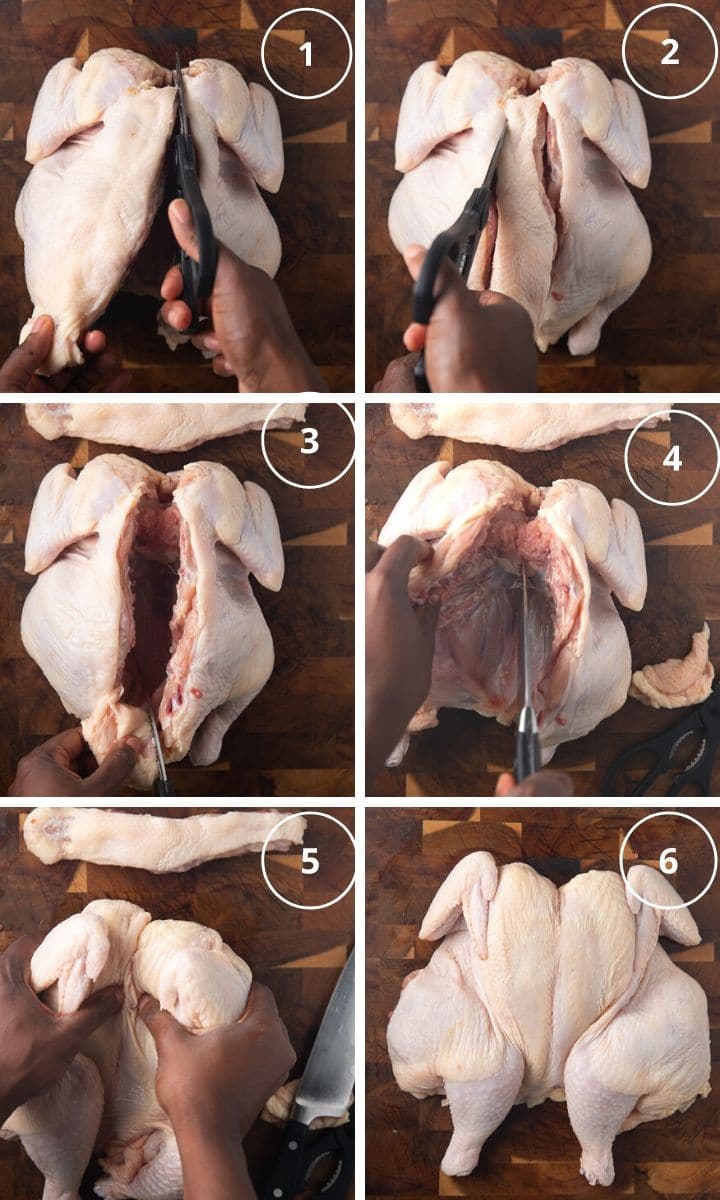
Boneless, skinless breasts or thighs are my go-to for broiling—they cook fast and stay juicy. You can also use tenders or cut up a whole chicken and adjust the time.
I look for fresh chicken without added hormones or unnecessary preservatives. Season simply with salt and pepper, or add flavor with paprika, garlic, or lemon pepper.
Broiling Times for Other Chicken Cuts
| Chicken Cut | Broil Time (Total) | Notes |
| Boneless, skinless breasts | 12–16 minutes | Flip halfway; check for 165°F internal temp. |
| Bone-in, skin-on thighs | 20–25 minutes | Flip halfway; the skin should be crispy. |
| Drumsticks | 25–30 minutes | Flip halfway |
| Wings | 20–24 minutes | Flip halfway; ensure crispy skin. |
Make Ahead
You can season the chicken and refrigerate it up to 24 hours in advance. This allows the flavors to penetrate the meat, resulting in a more flavorful dish. Remove chicken from the marinade before broiling to ensure it cooks properly.
Storage Instructions
- Refrigerator: Store leftovers in an airtight container for up to 4 days.
- Freezer: Freeze cooked chicken for up to 3 months. Thaw in the fridge overnight before reheating.
- Reheating: Warm in a 350°F oven until heated through, or microwave in 30-second intervals.
Variations for this Broiled Chicken Recipe
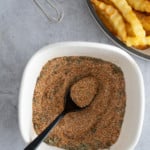
- Have fun with the seasonings. I like switching between jerk seasoning, Cajun seasoning, all-purpose seasoning, chicken seasoning, or just salt and pepper.
- Use a marinade—Feel free to marinate your breast before broiling. Avoid using a marinade with too much sugar, which can burn quickly under the broiler's high heat.
Broiling is a favorite method for cooking chicken due to its flavorful and juicy results.
Tanya's Top Tips
- If your chicken breasts are on the larger side, split them in half for even cooking. I also suggest pounding them to an even thickness—about ½ inches—so they cook quickly and stay nice and juicy under the broiler.
- Use a meat thermometer to ensure your chicken reaches exactly 165°F without overcooking.
- Let the chicken rest after broiling so the juices redistribute—just 5 minutes makes a big difference in keeping it moist and flavorful.
- Use a foil-lined baking sheet for easy cleanup.
- Use a cookie sheet as an alternative to a broiler pan for convenience and easy cleaning.
- Use a cooling rack to elevate the chicken for even cooking.
- Position the chicken close to the heat source for optimal broiling results.
Looking for other delicious chicken recipes? Try these out:
I hope you love this recipe as much as we do. If you have tried this or any other recipe on my blog, please rate it and let me know how it turned out in the comments below! Your feedback is invaluable and helps us grow. I appreciate your support!

Juicy Broiled Chicken
Ingredients
- 1 ¼ teaspoon kosher salt
- 1 teaspoon paprika
- ½ teaspoon black pepper
- ½ teaspoon garlic powder
- ½ teaspoon onion powder
- ½ teaspoon Italian seasoning
- 2 boneless skinless chicken breasts (about 6–8 ounces each)
- 1 tablespoon olive oil
Instructions
- Preheat the broiler to HIGH and position the oven rack 5–6 inches from the heating element.
- In a small bowl, combine the salt, paprika, black pepper, garlic powder, onion powder, and Italian seasoning. Set aside.
- Pat the chicken breasts dry with paper towels.Next, place them between two sheets of plastic wrap or inside a large zip-top bag, then set them on a cutting board. Gently pound them to an even thickness—around ½ inches is ideal. Lightly rub both sides with olive oil. Lightly grease the broiler pan or wire rack.
- Sprinkle the spice mix evenly over both sides of the chicken.
- Place the chicken on a greased wire rack set over a baking sheet. Broil for 6–8 minutes per side, or until the internal temperature reaches 165°F.
- Remove from the oven and let the chicken rest for 5 minutes before slicing.