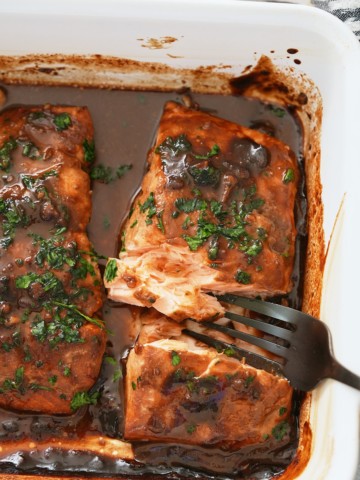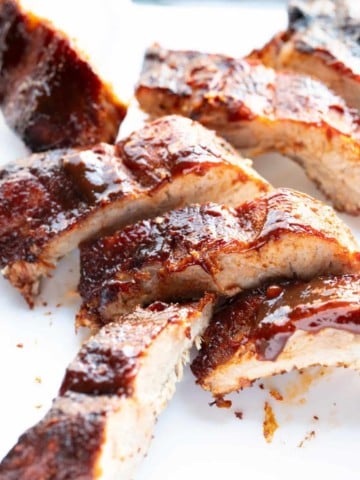
These Tender and Saucy BBQ Air Fryer Ribs are the perfect quick and easy recipe for pork ribs. These ribs can be ready for your dinner table in less than 40 minutes and are full of amazing flavor.
This post contains affiliate links, please read my full disclaimer here.
You’ll find the full recipe with ingredient amounts and instructions in the recipe card at the bottom of this post. Be sure to check out the blog post itself for extra tips and tricks!
Every once in a while, someone in my family gets a hankering for ribs. Before, we would drive to a BBQ restaurant. However, now I believe it would be better to prepare ribs at home.
My initial rib recipe would have me cook ribs low and slow in the oven. But one day, I said…let’s try these ribs in the air fryer. We all agreed that air fryer ribs are pretty darn good.
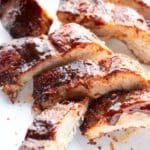
The benefit of ribs in the air fryer is that they cook quickly and easily. They are tender and juicy ribs, with a bit of tug but do not fall off the bone. If fall-off-the-bone ribs are more your speed, I suggest another cooking method.
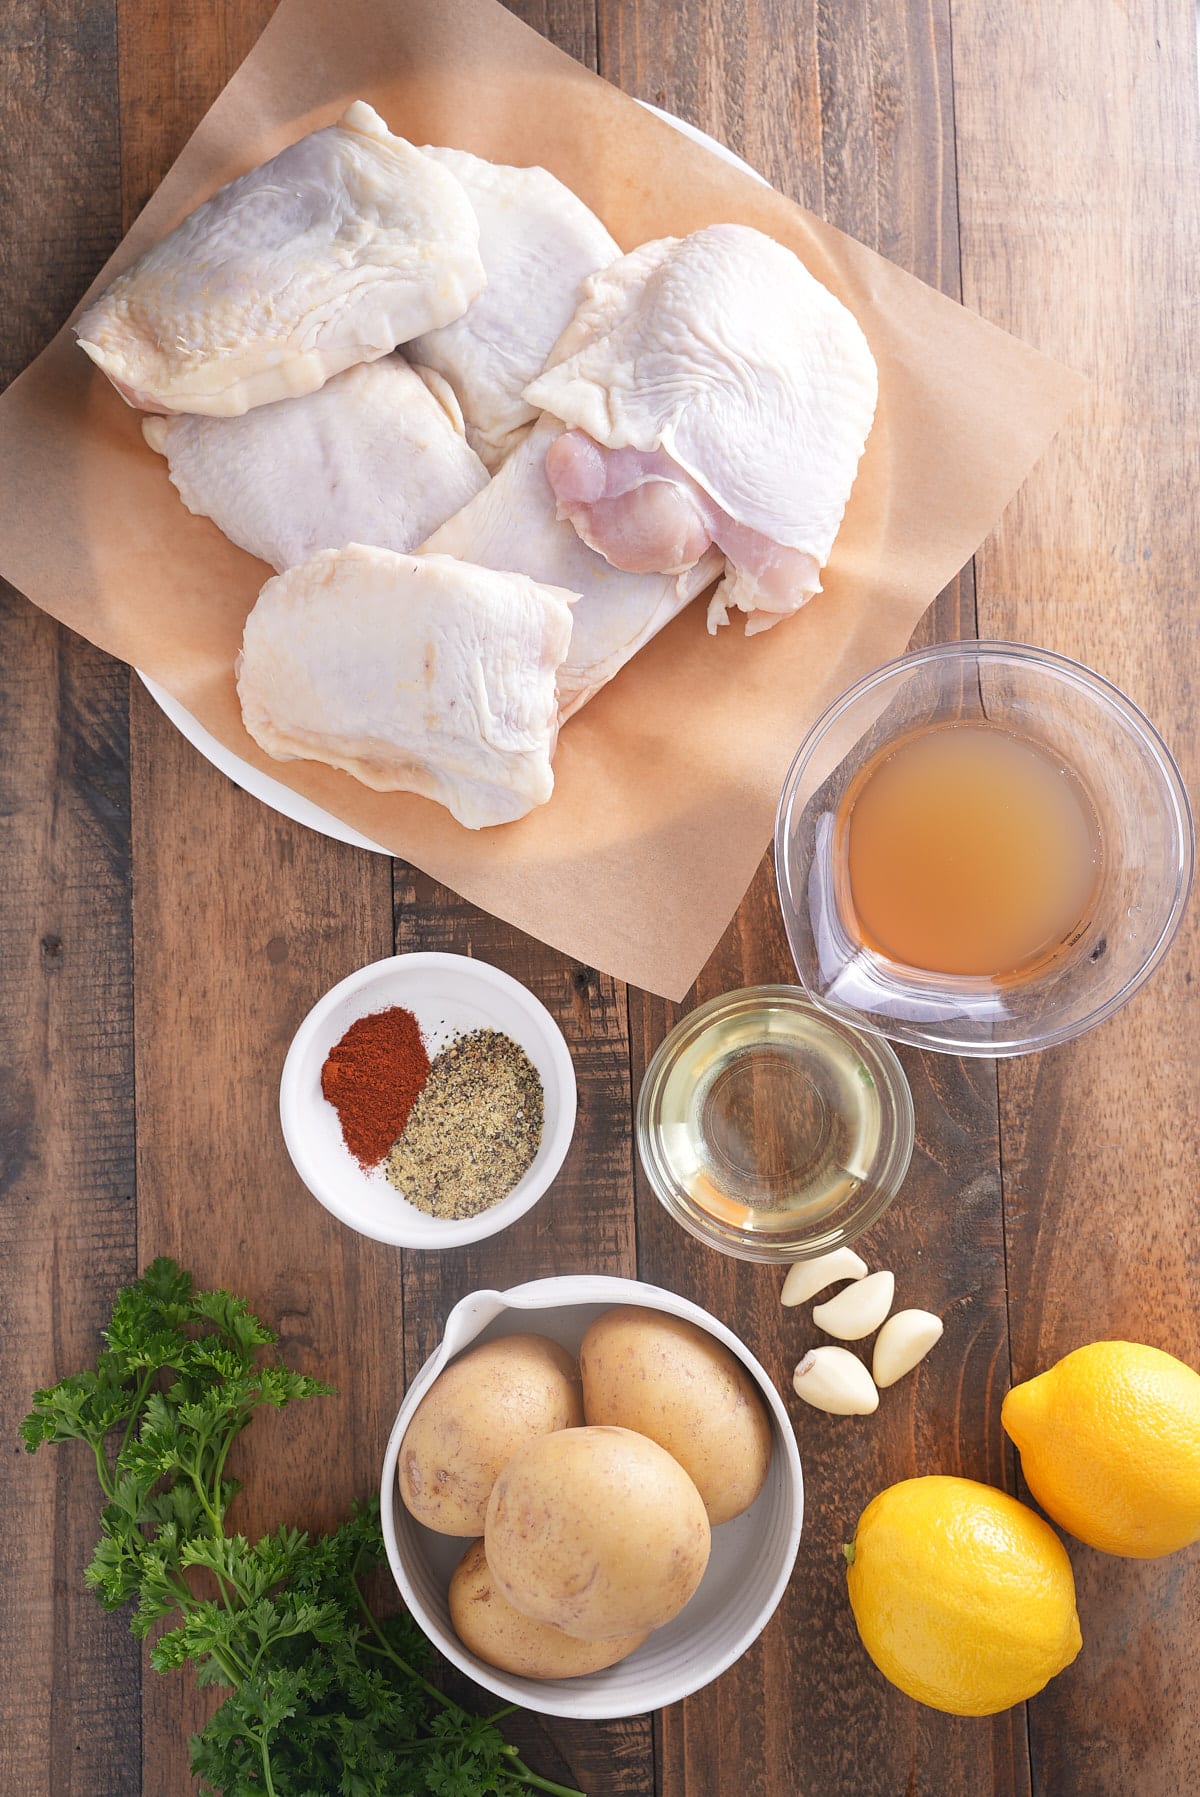
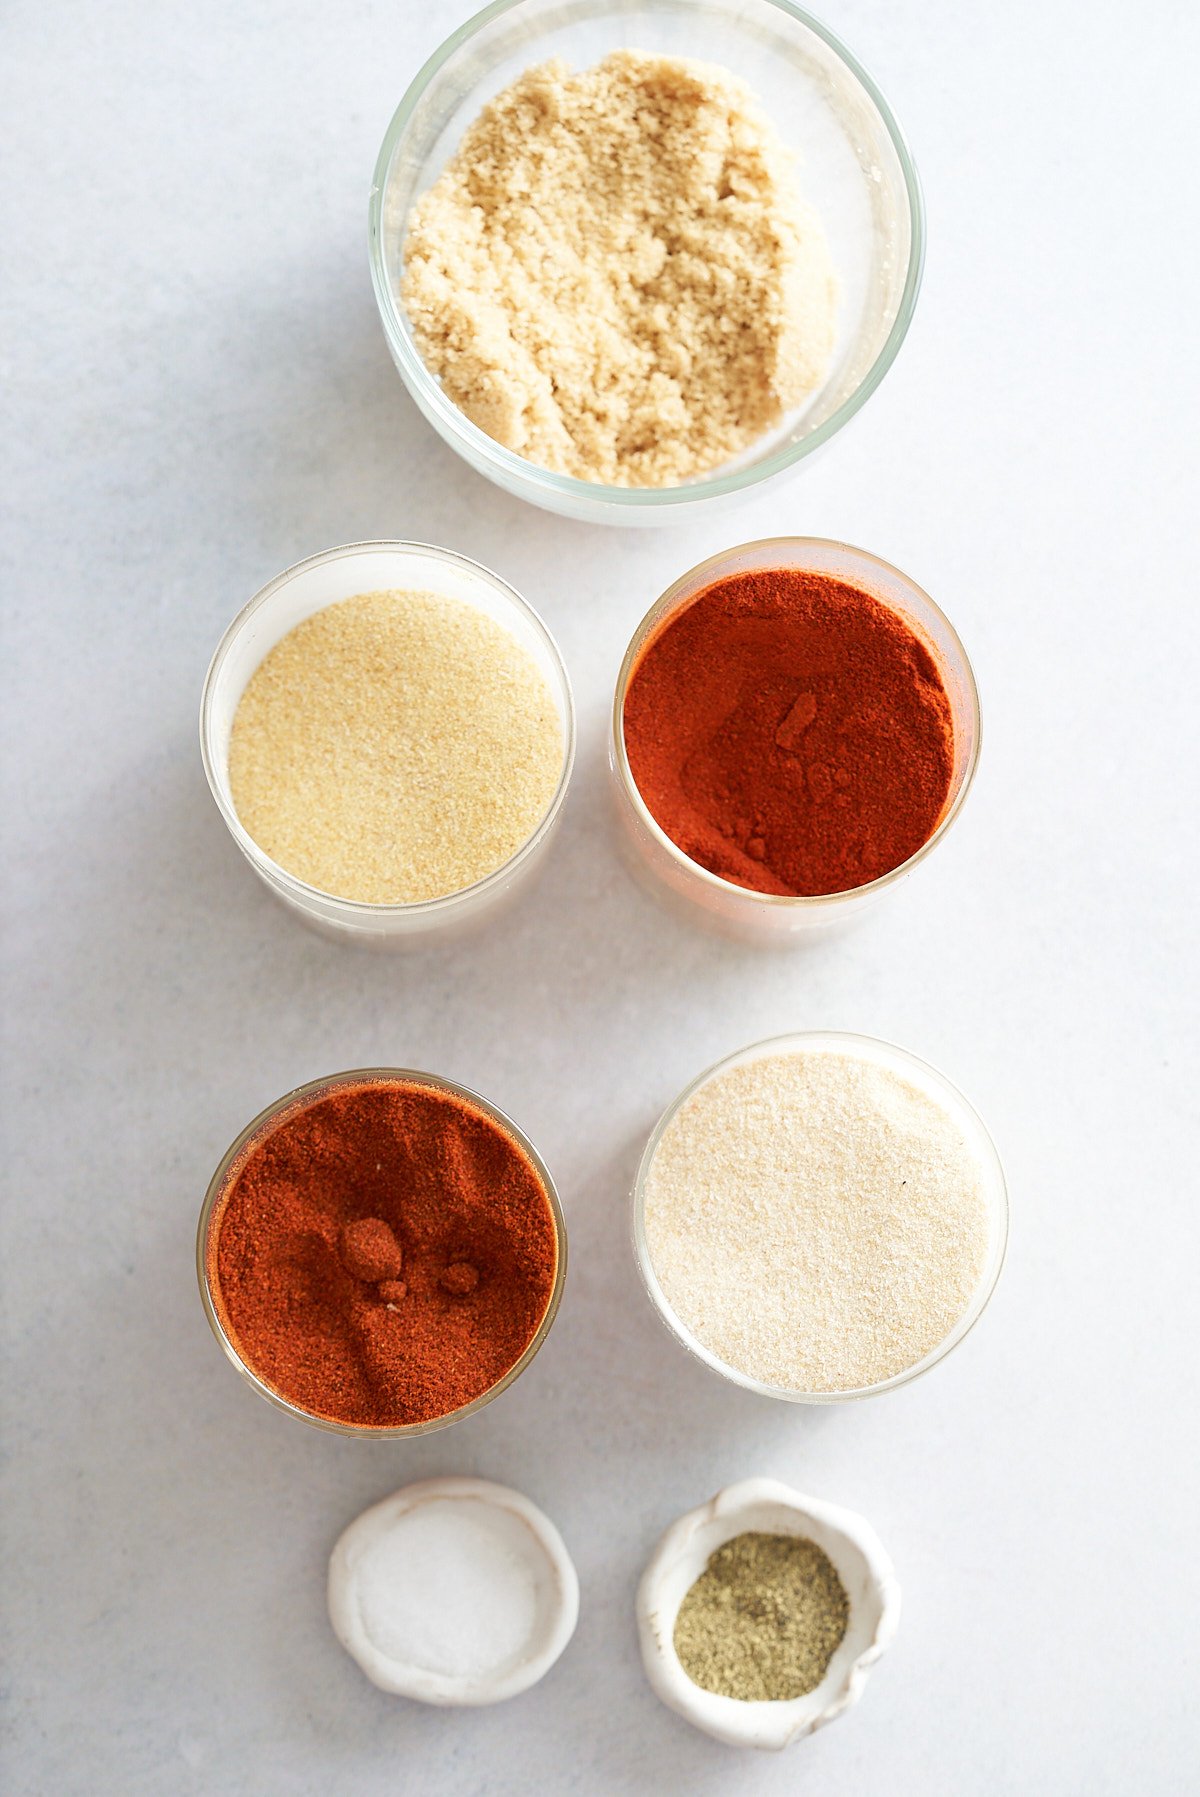
Ingredients for BBQ Ribs
- Pork Baby Back Ribs - Baby back ribs are tender and lean, coming from the upper ribcage of the pig.
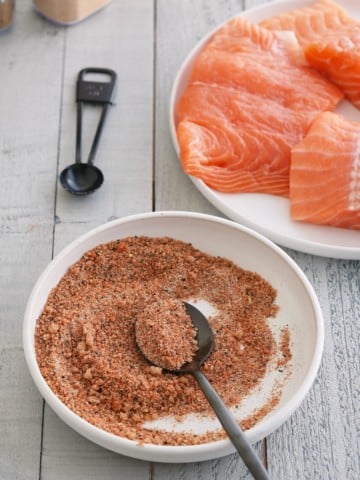
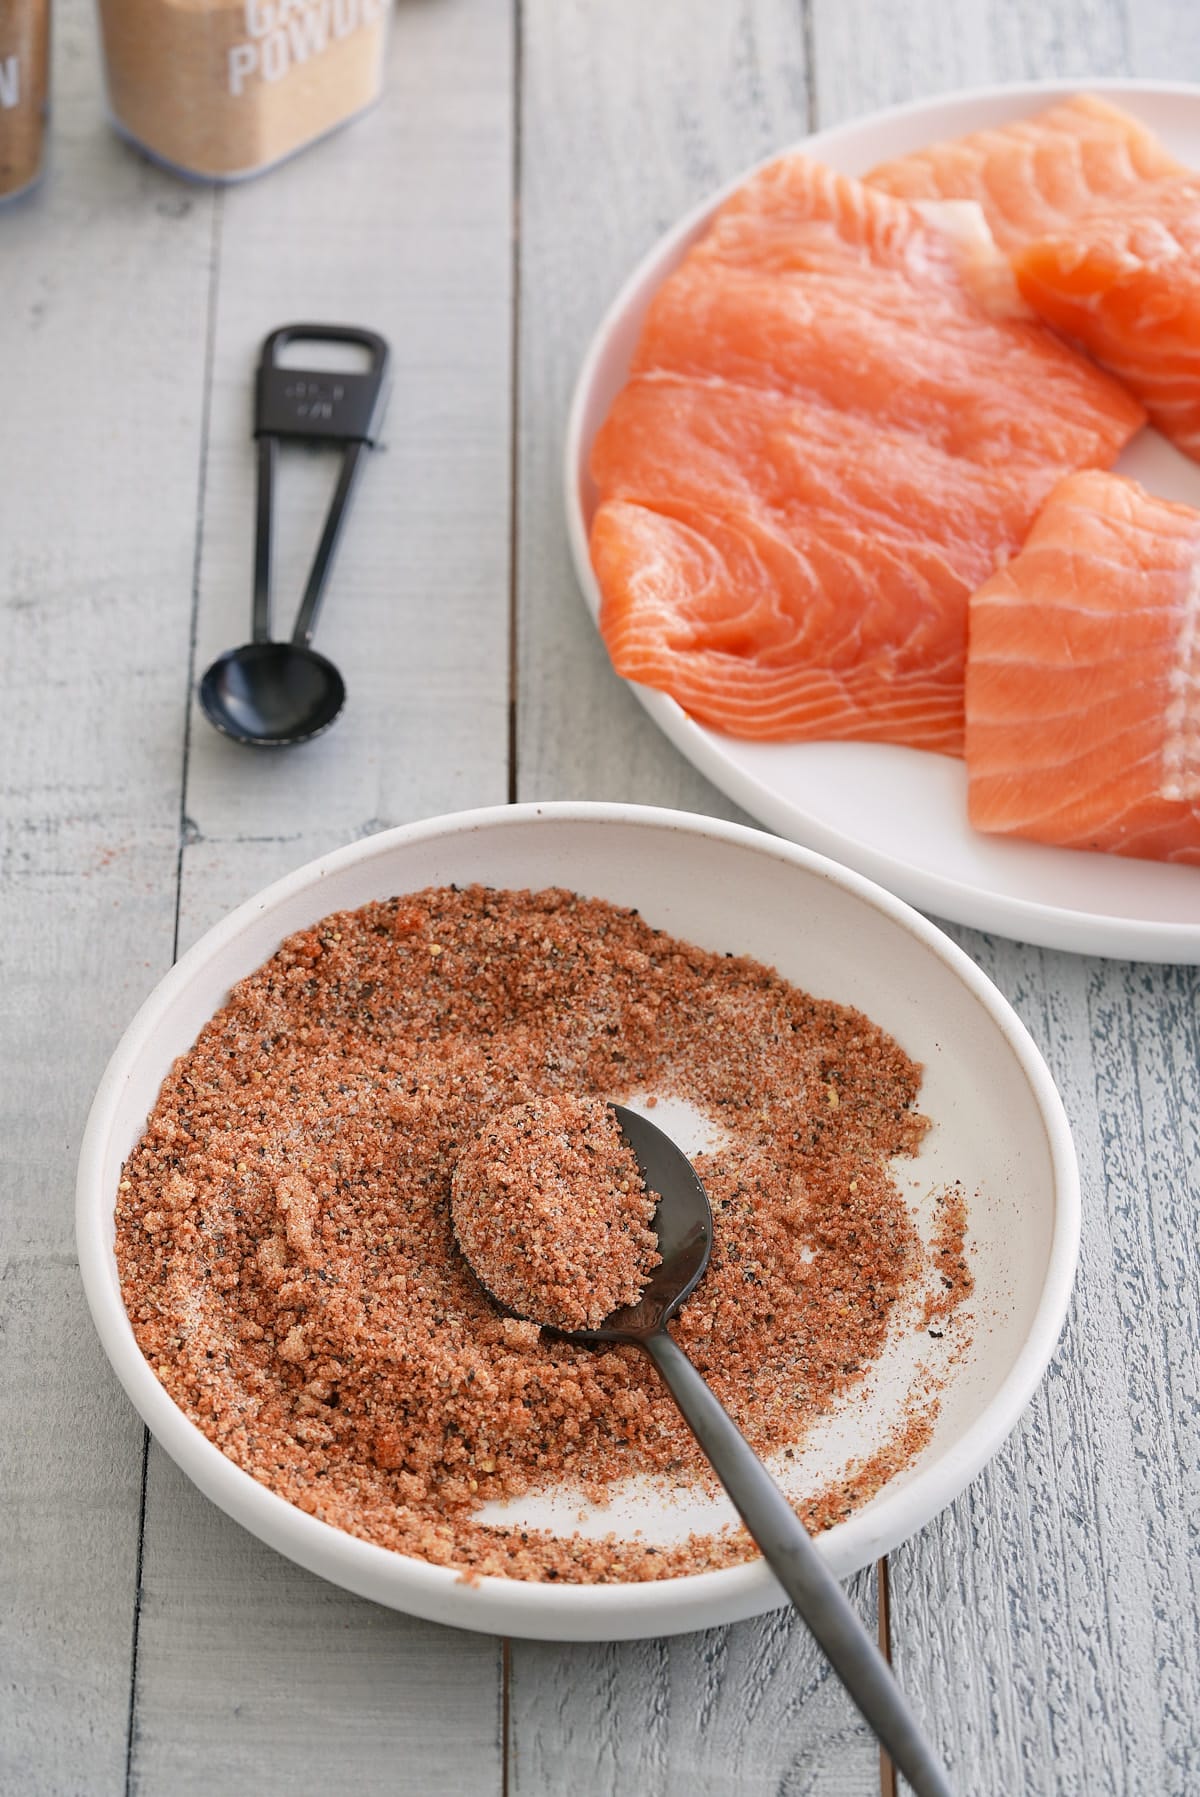
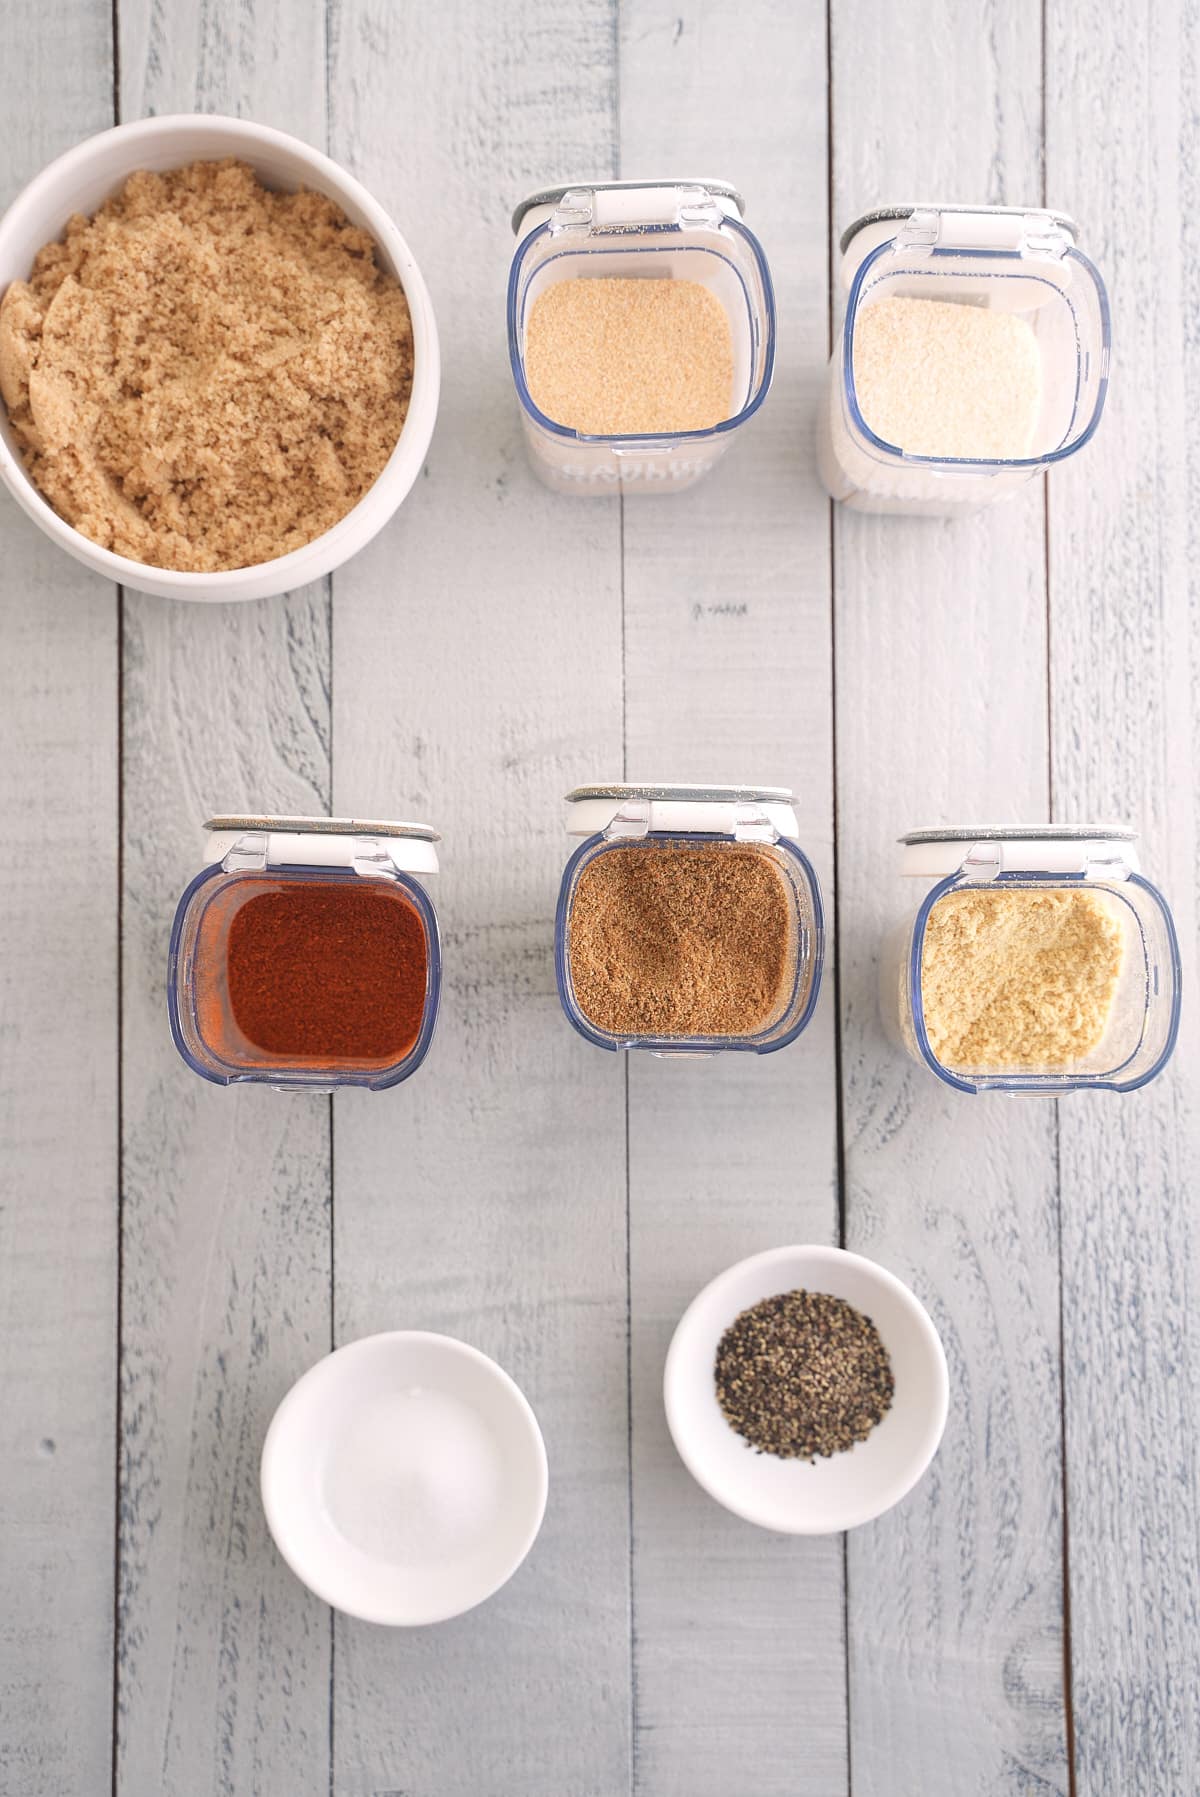
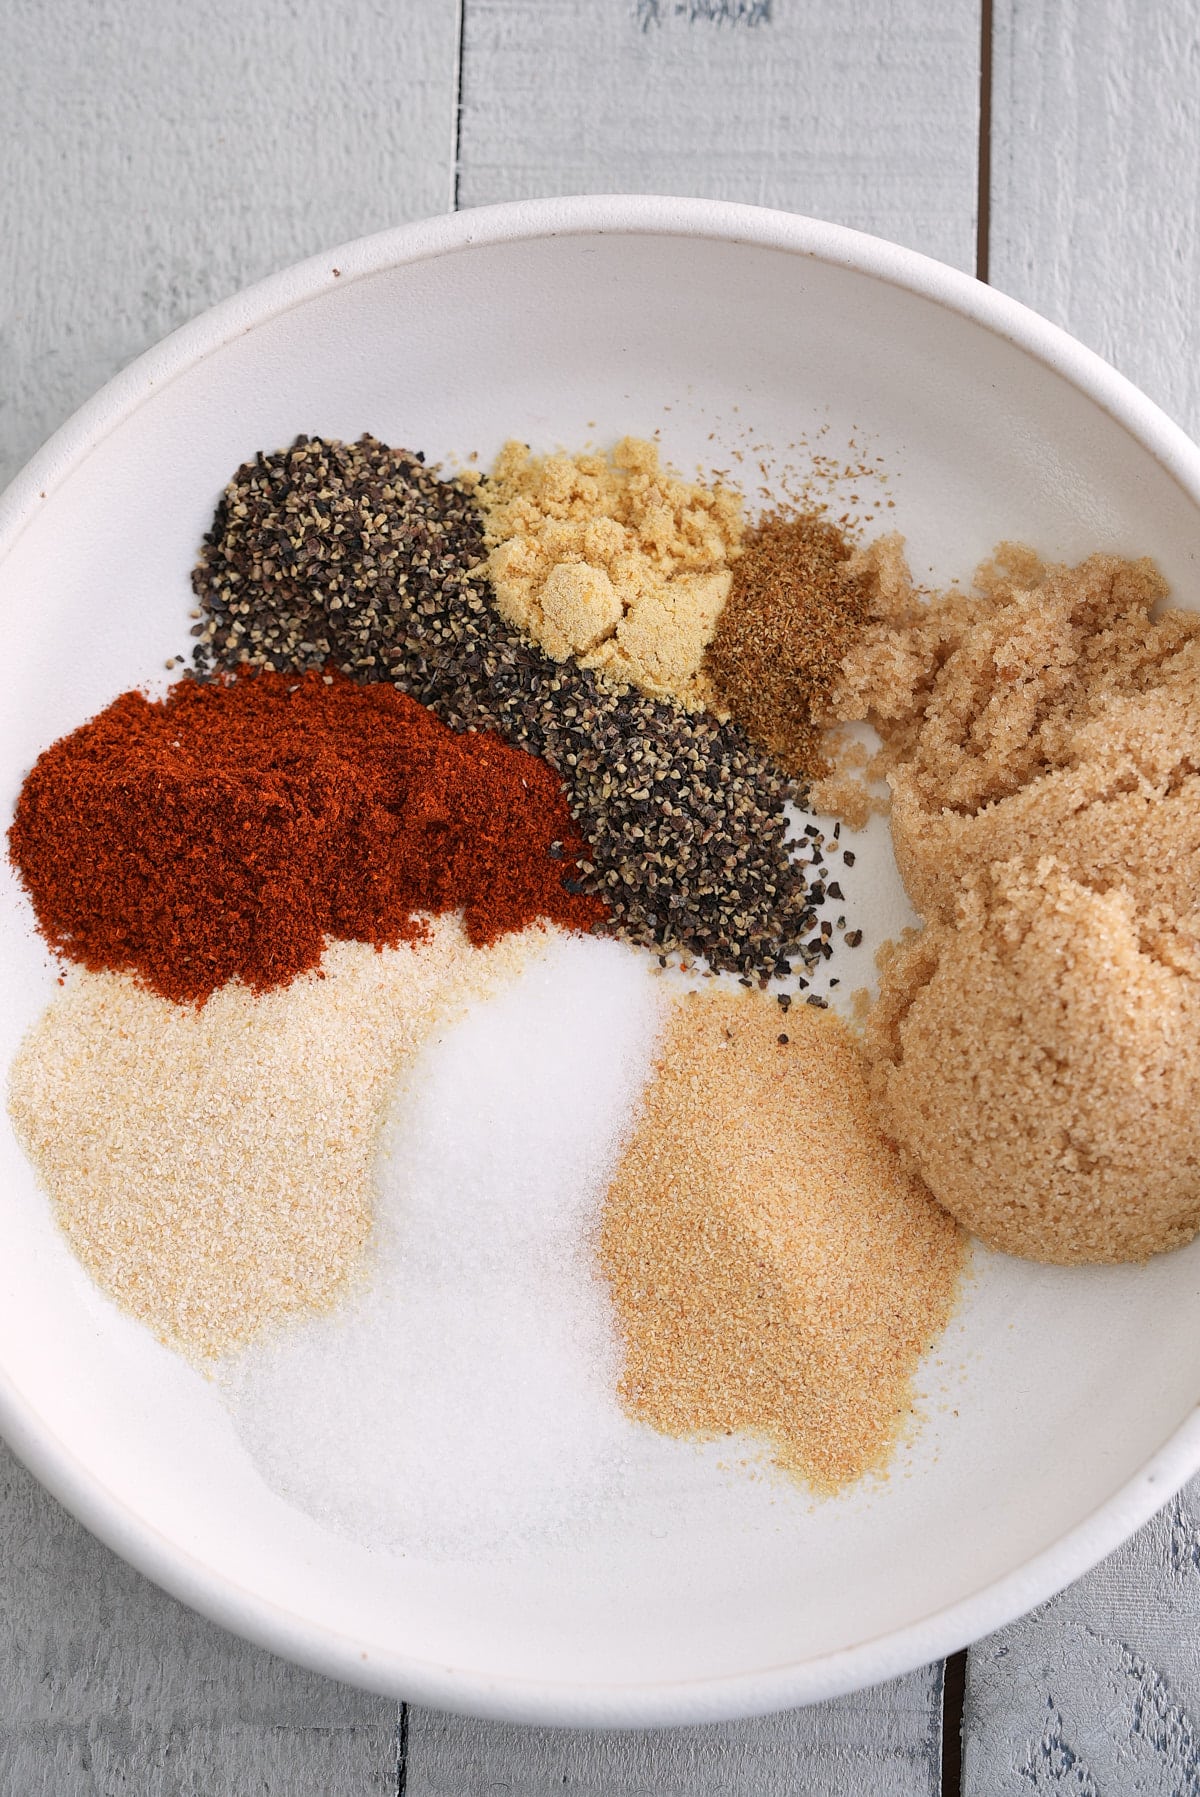
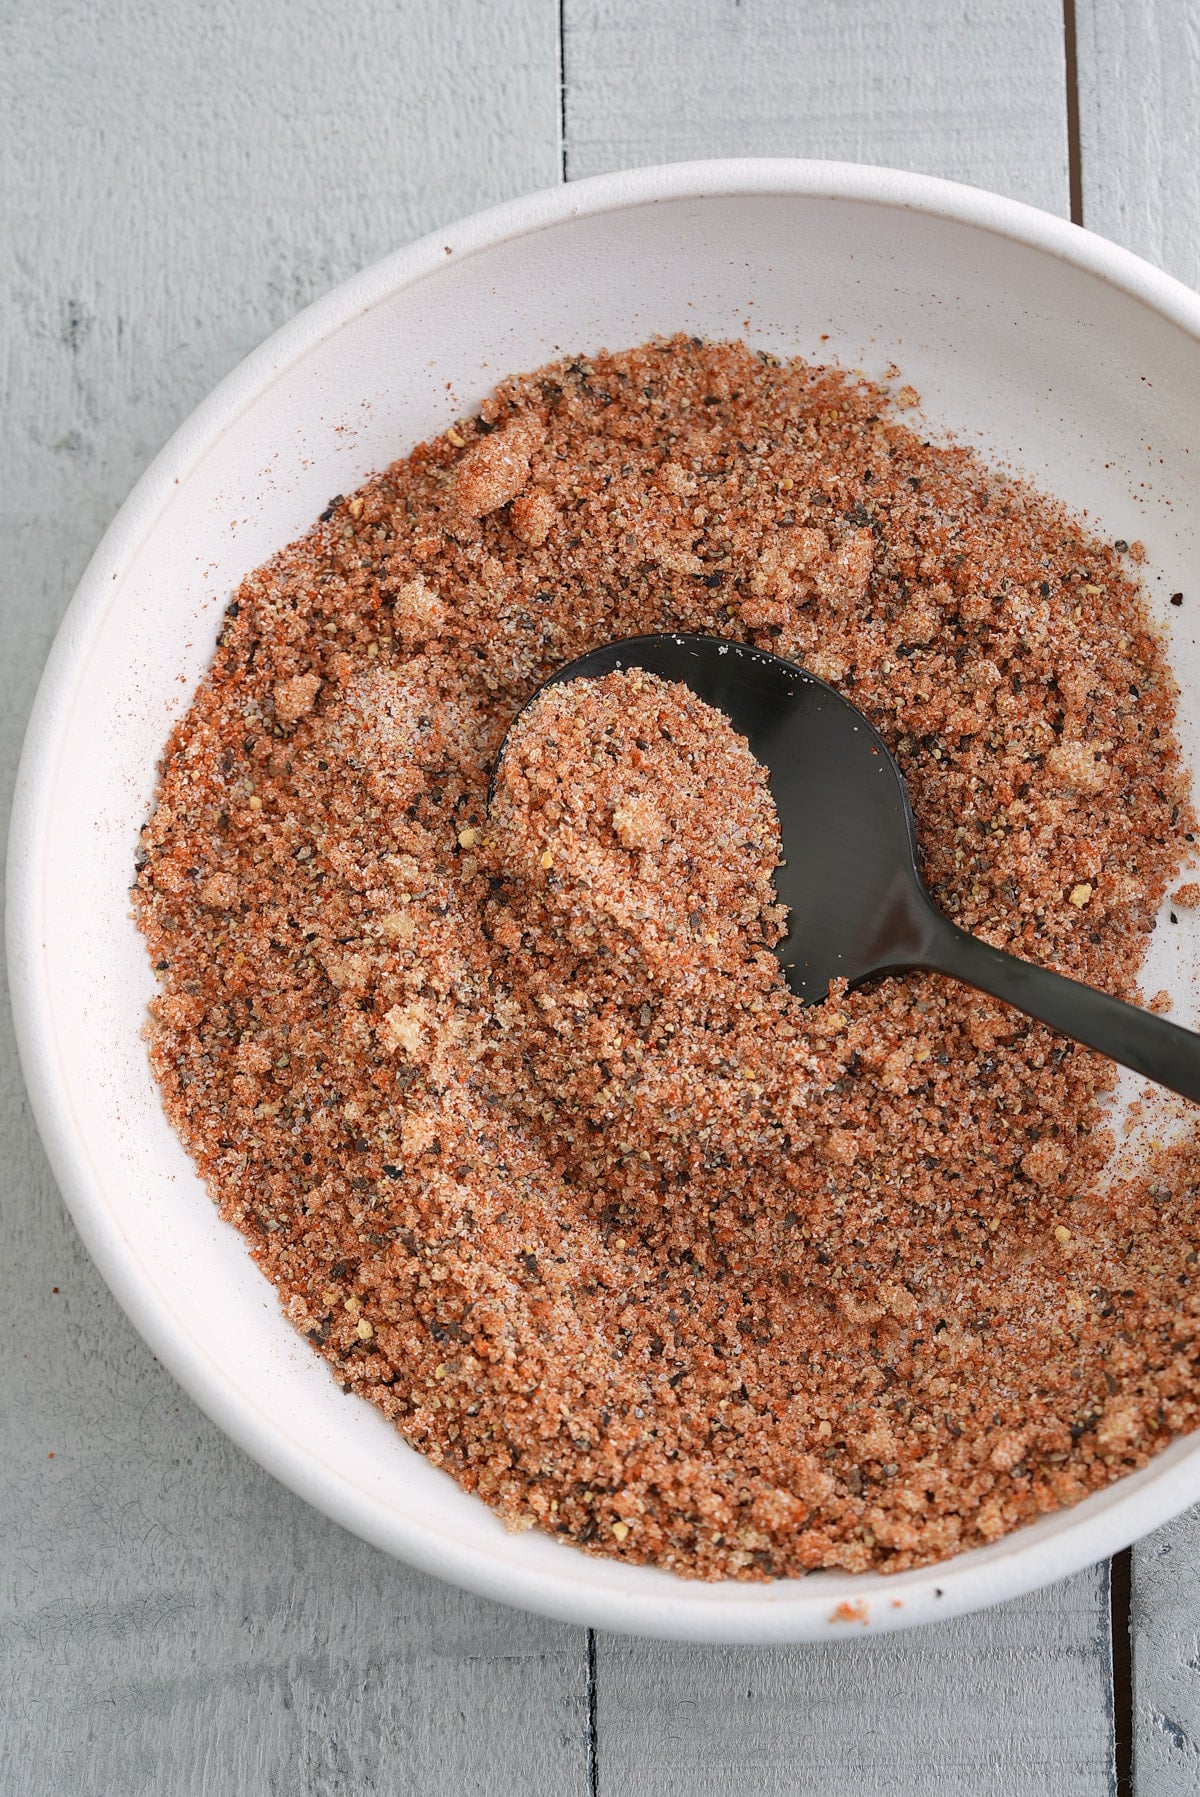
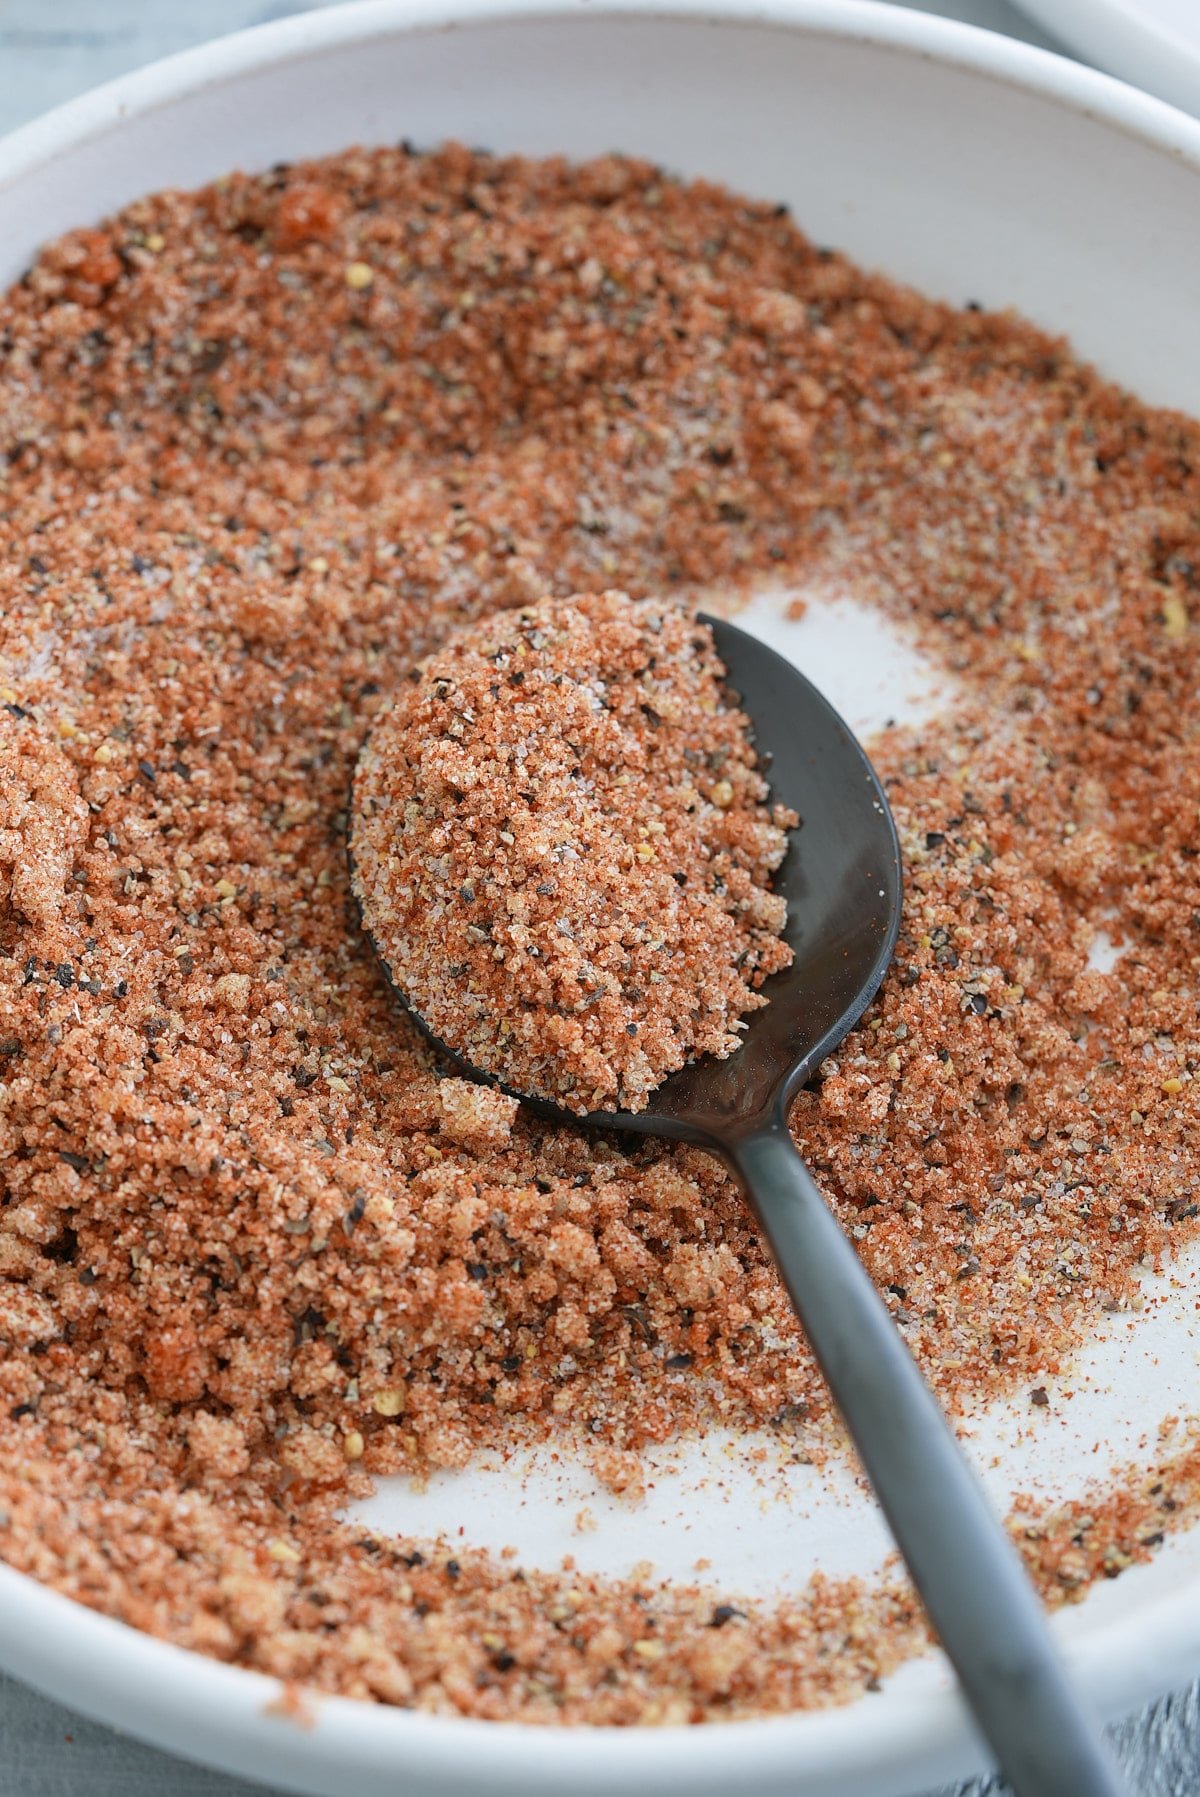
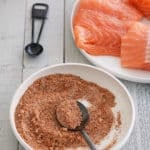
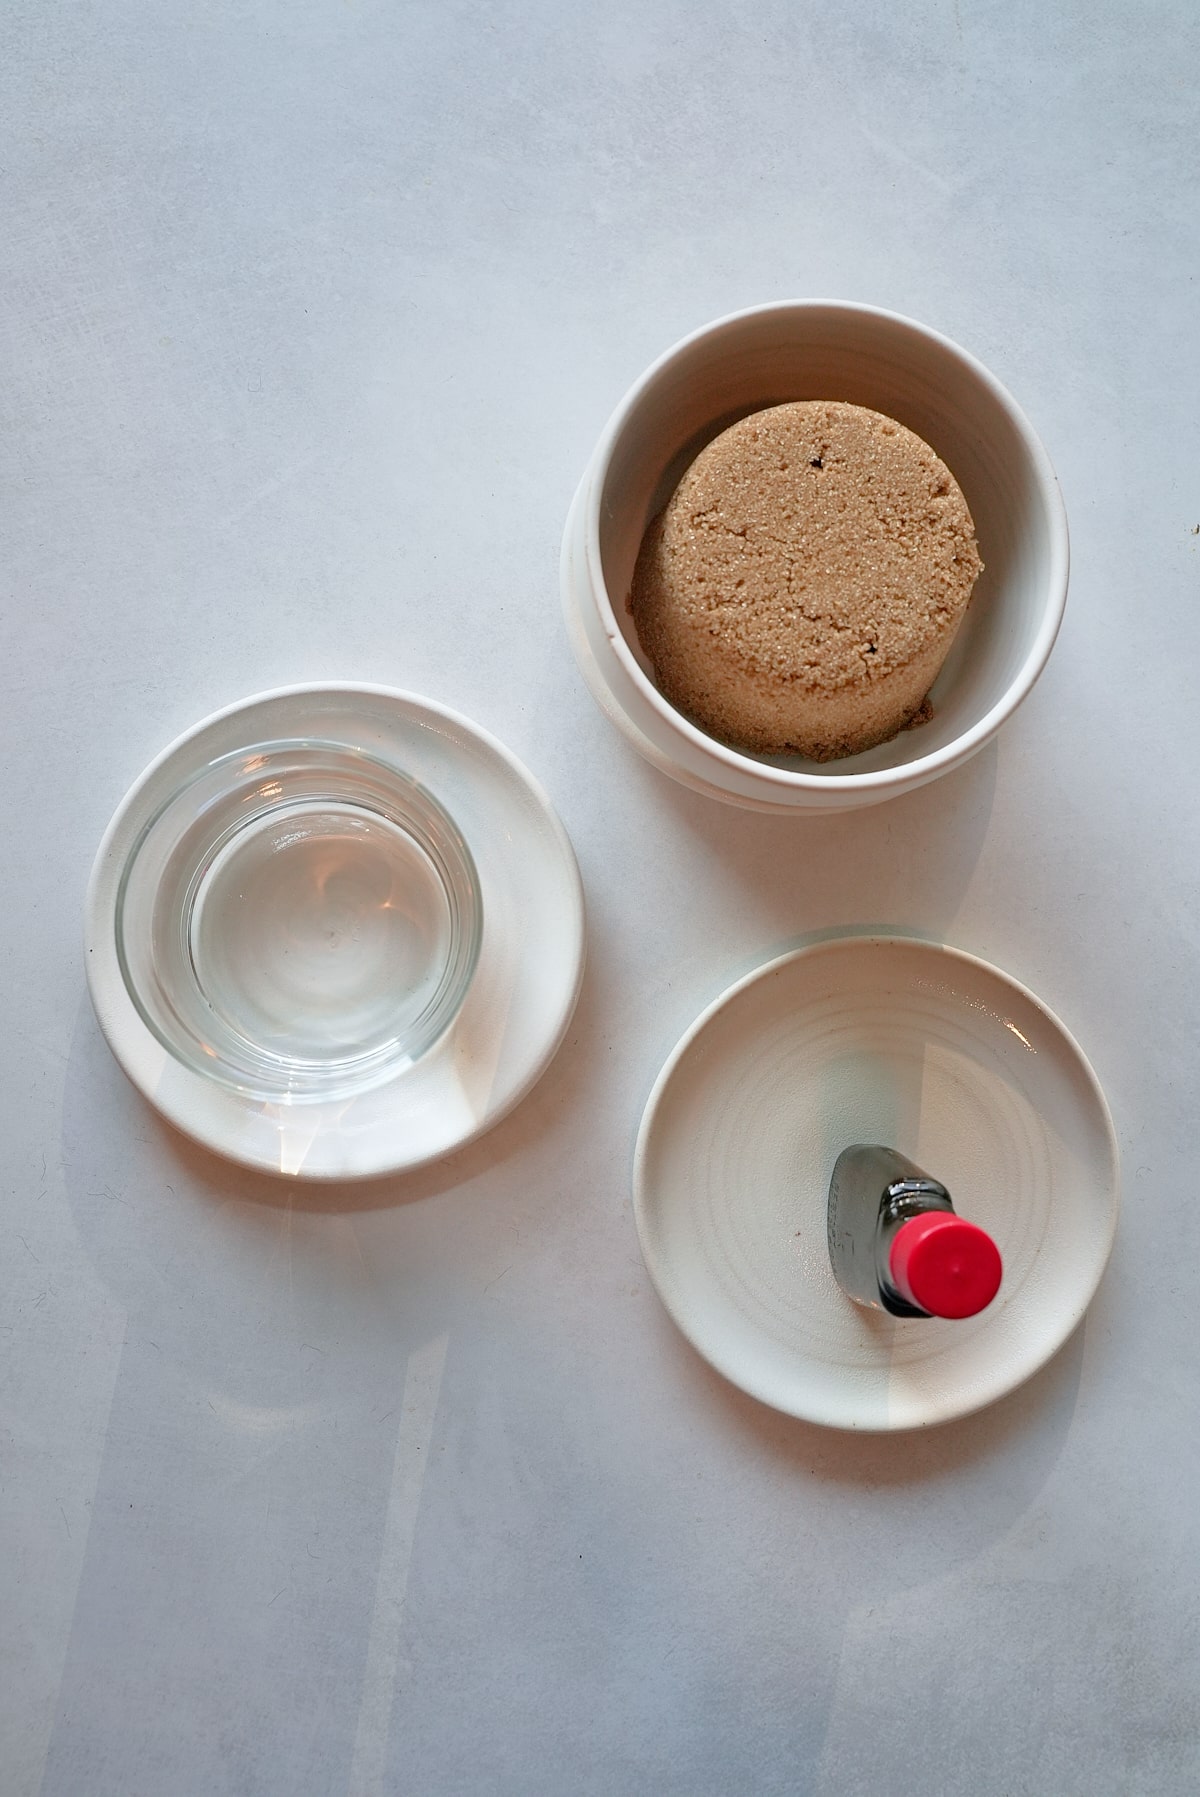
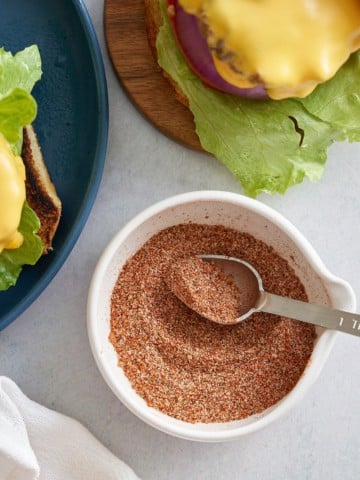
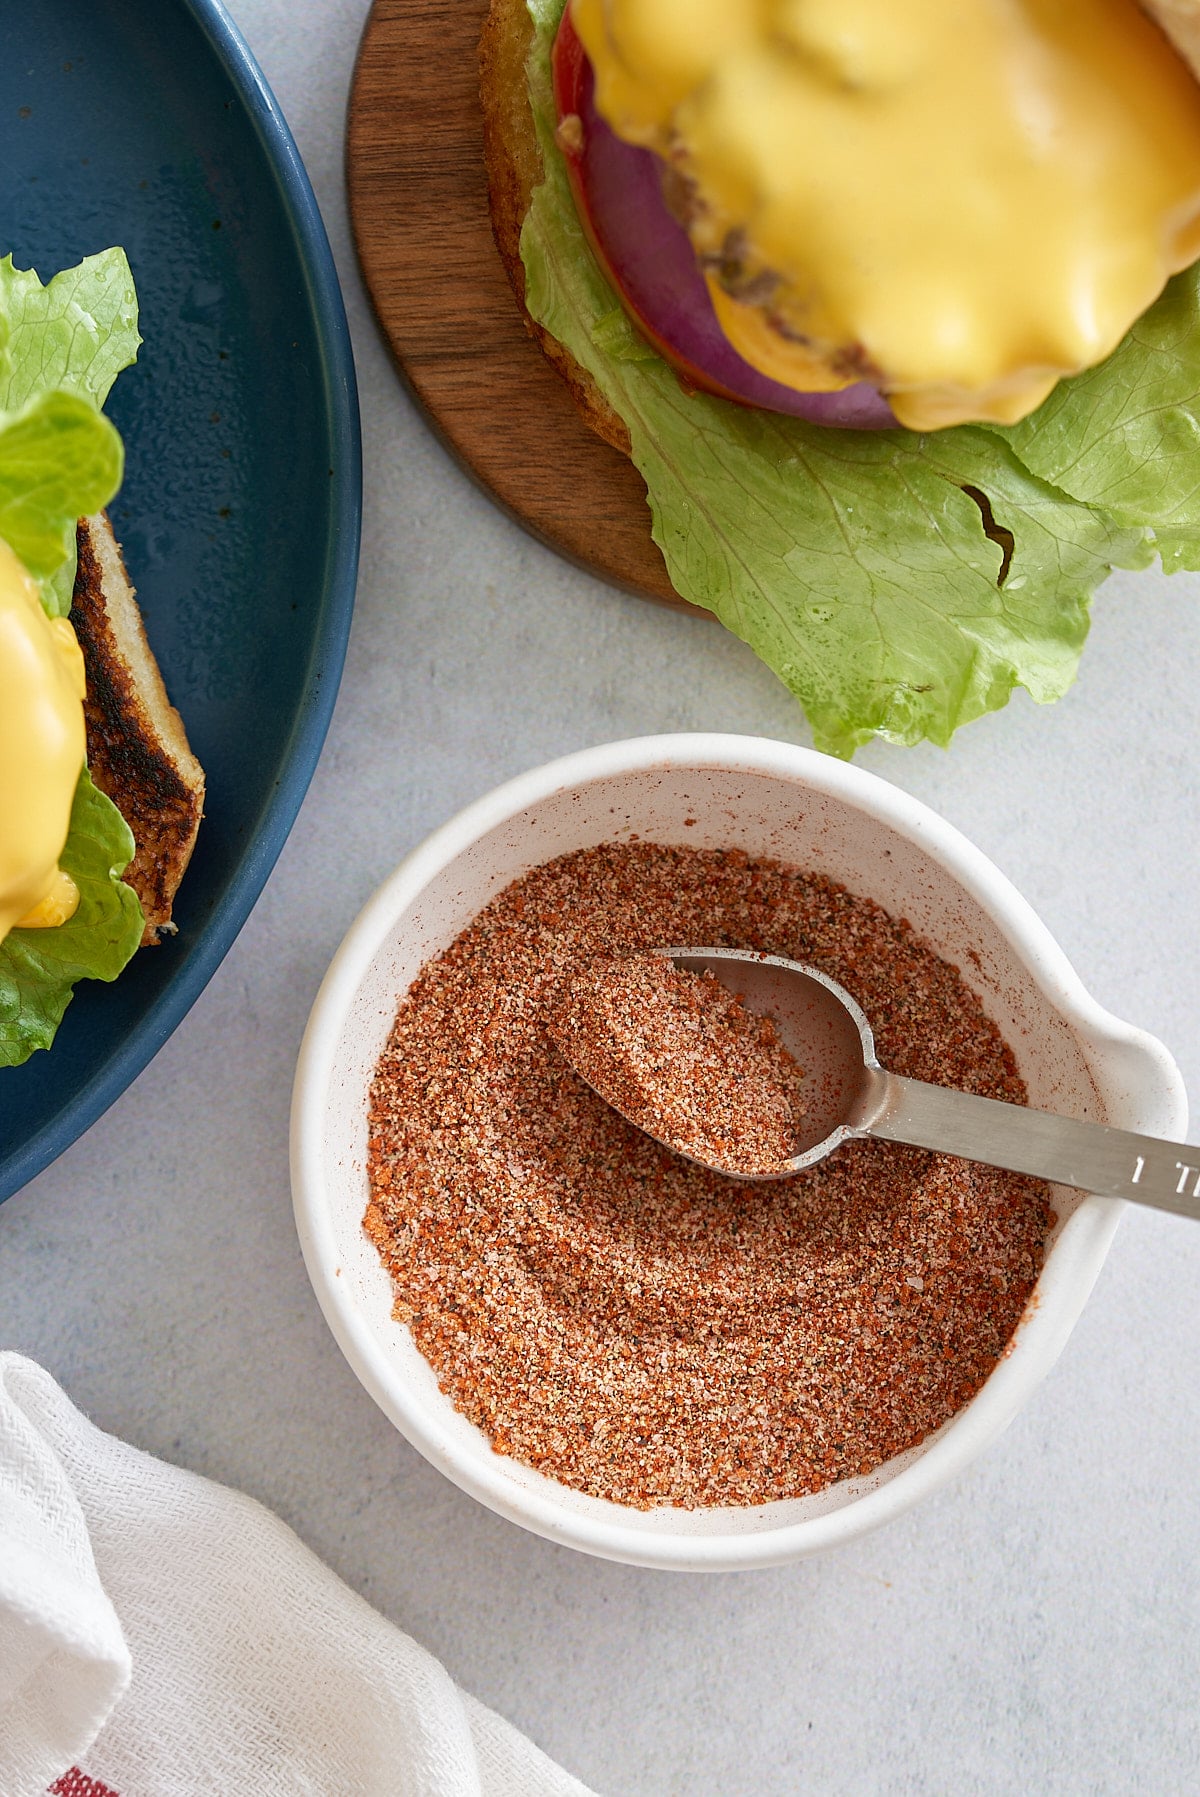
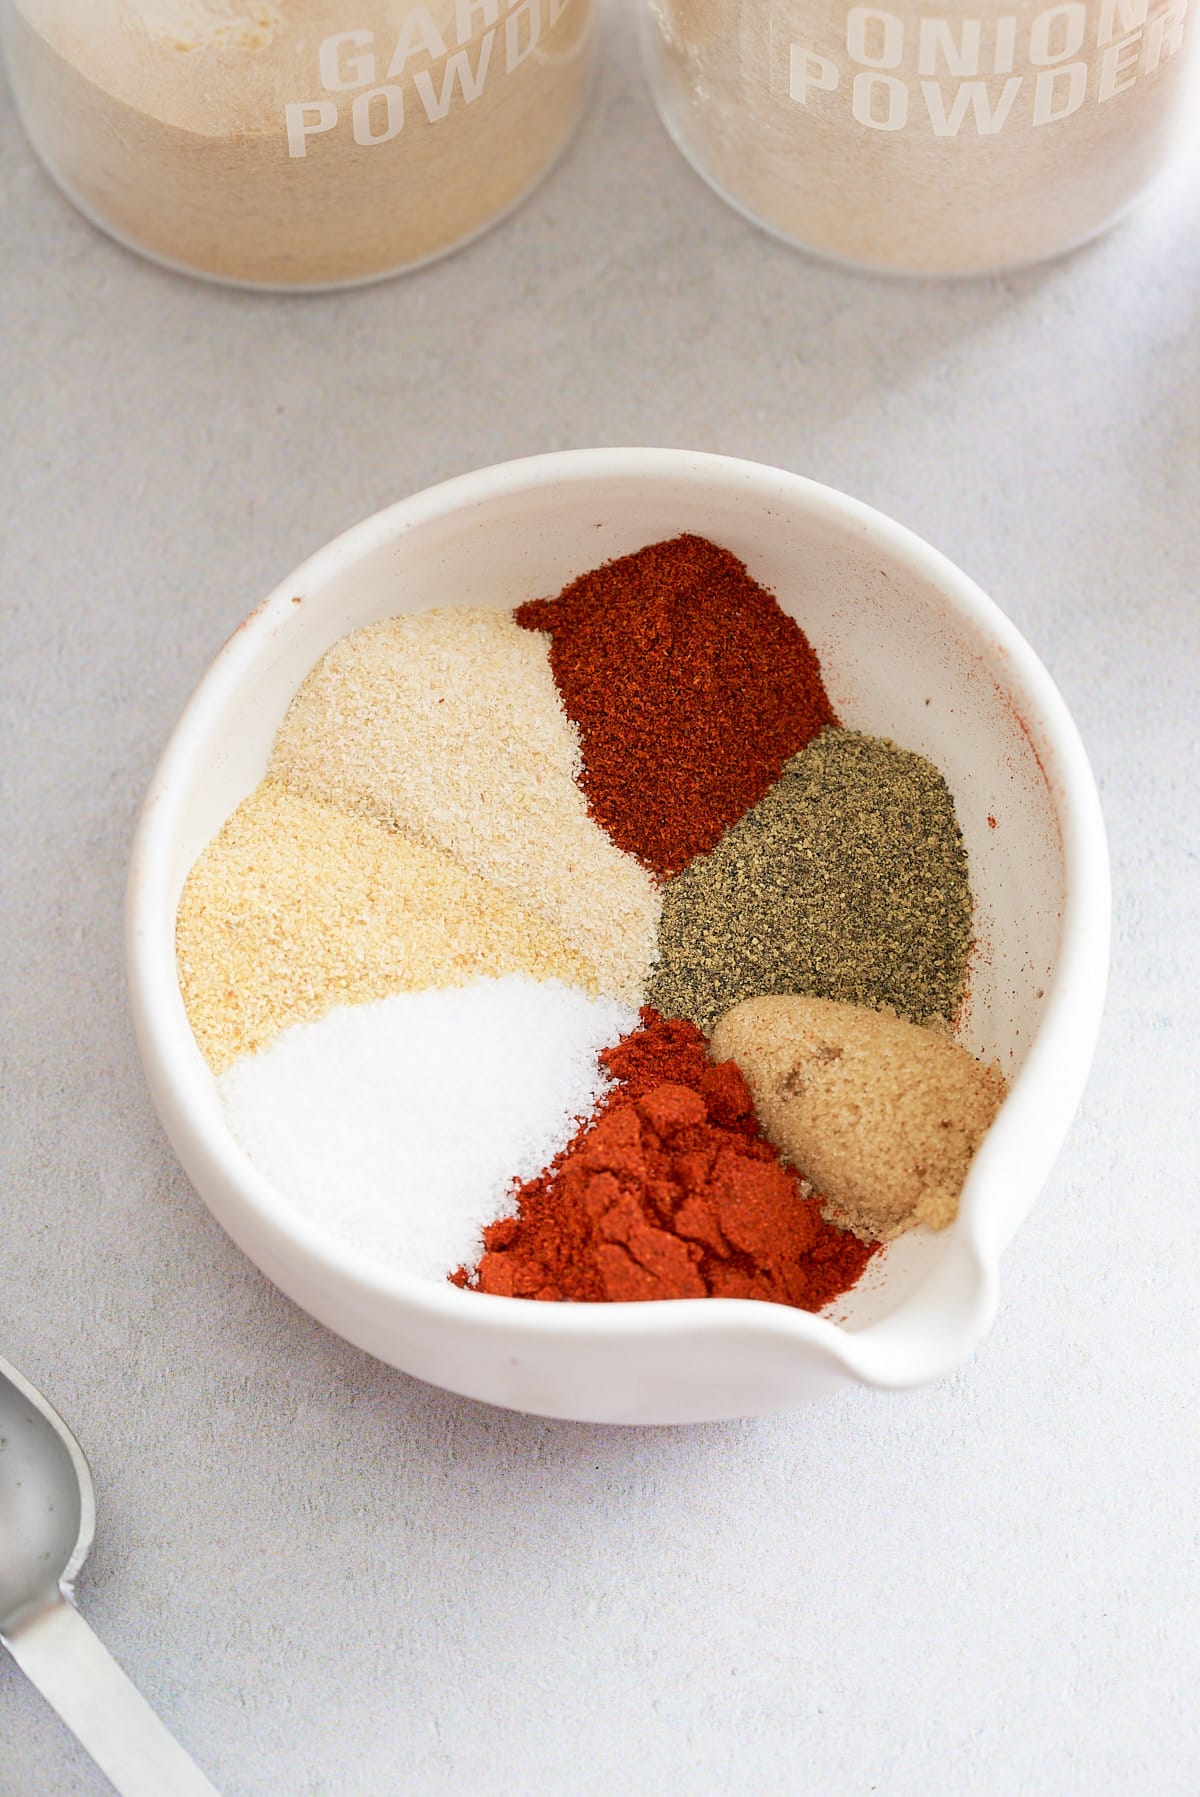
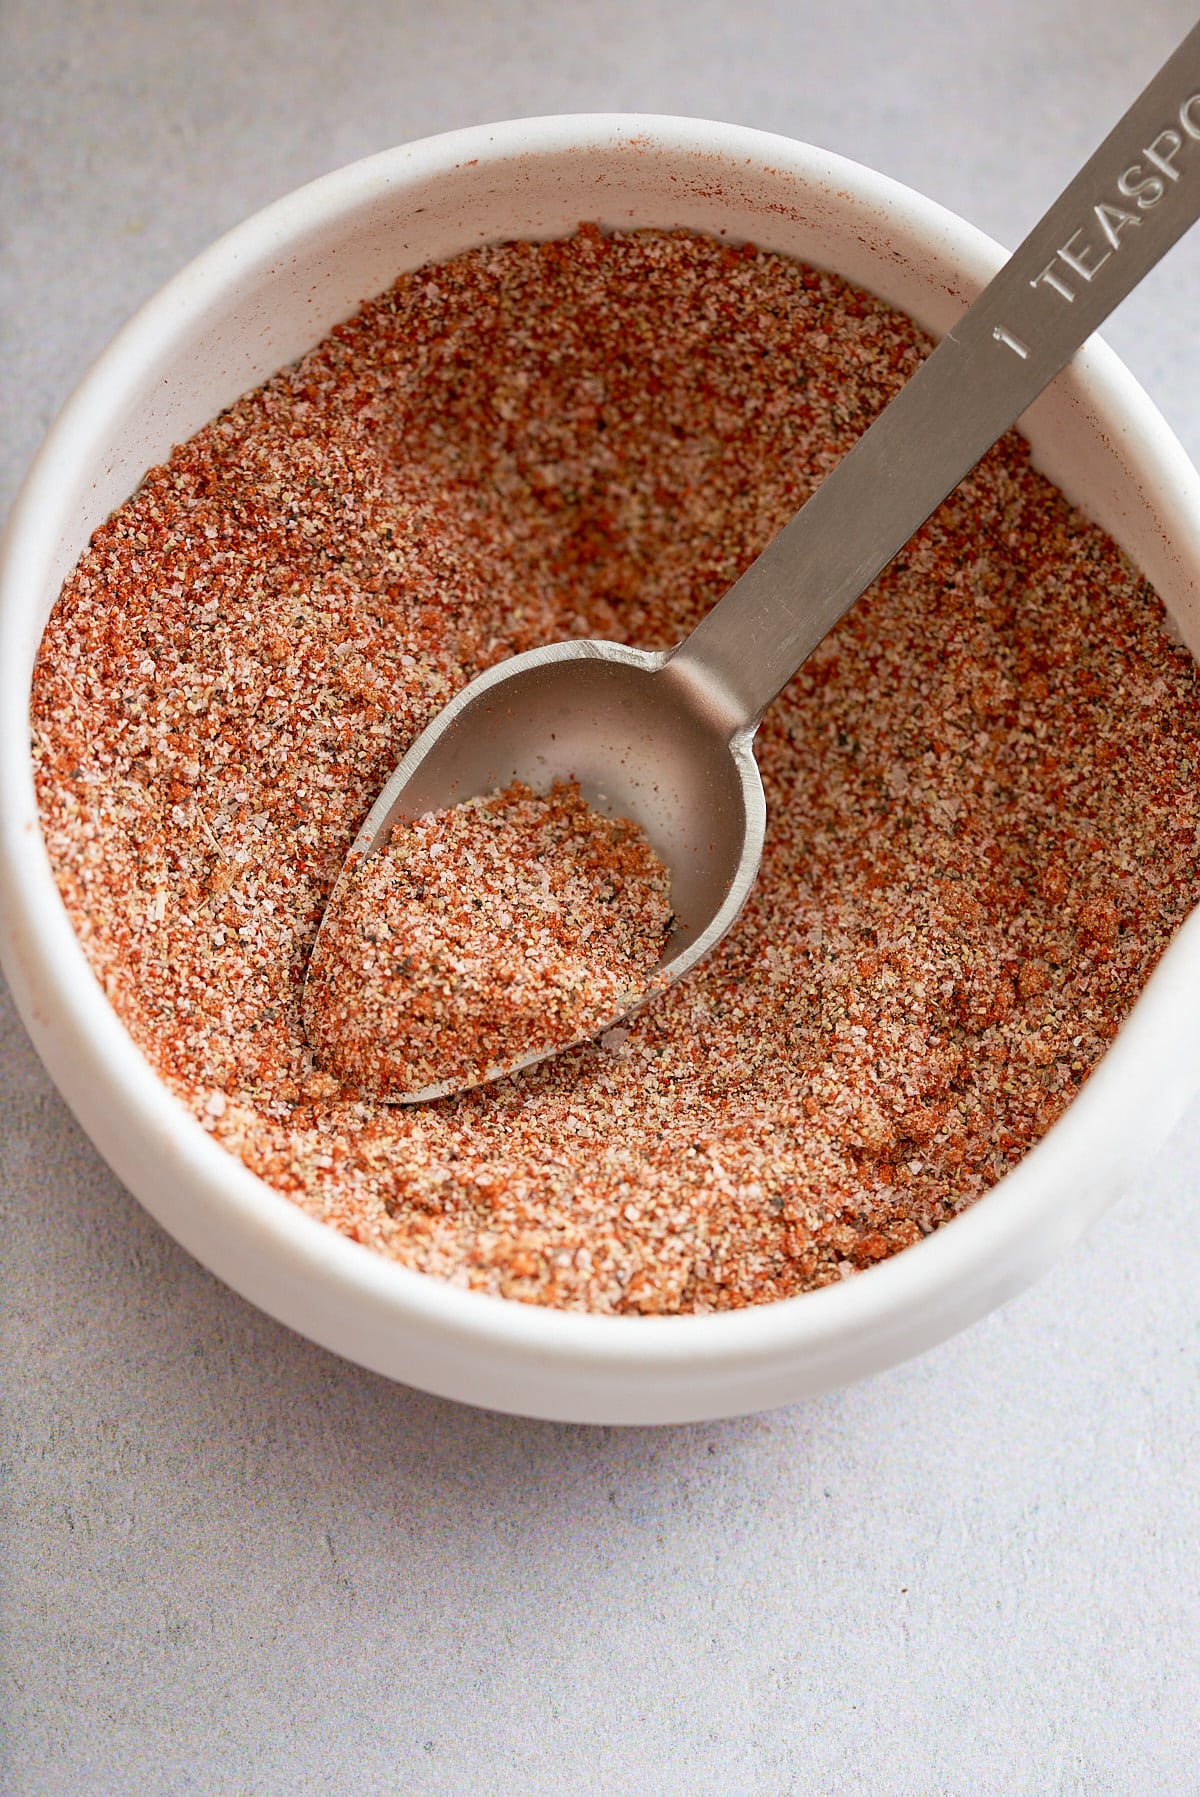
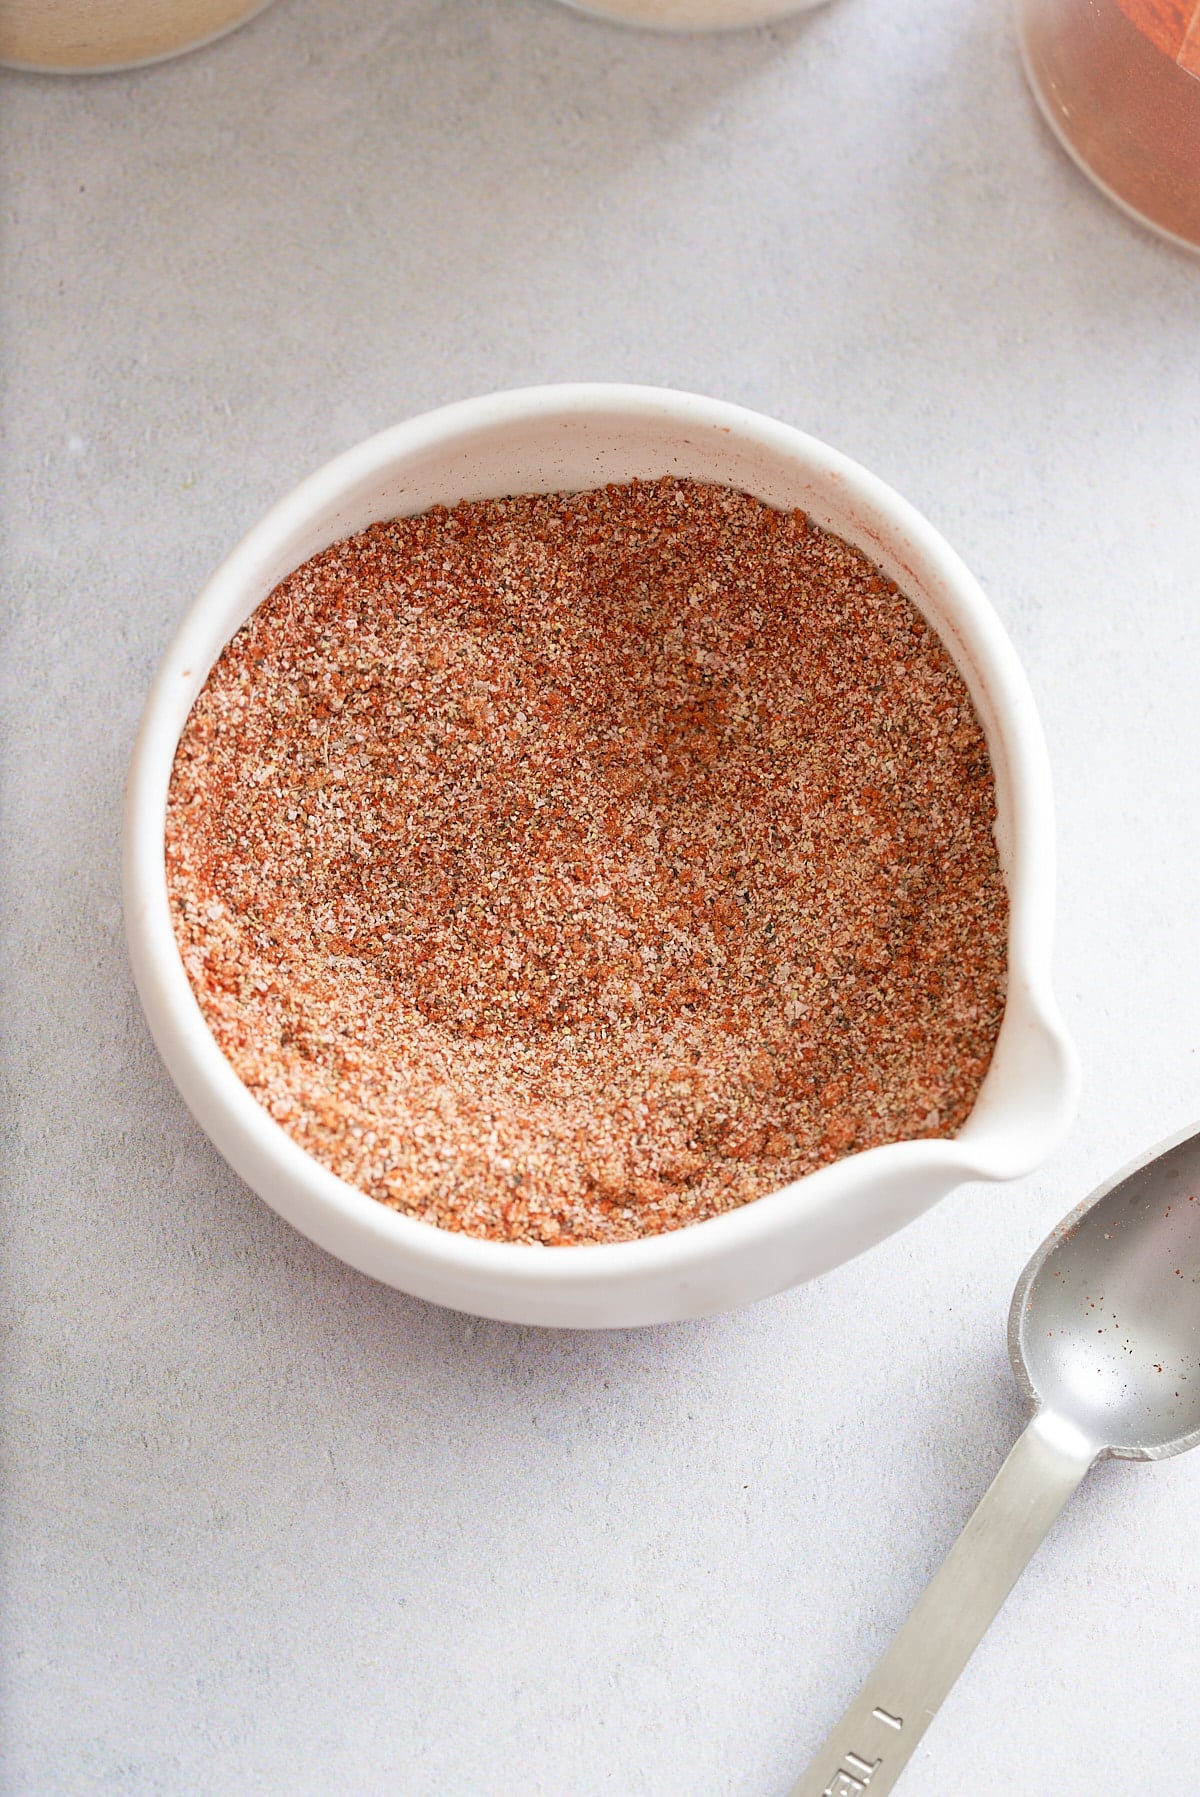
- BBQ Seasoning - I love my homemade BBQ seasoning for these ribs but feel free to use your favorite store-bought brand.
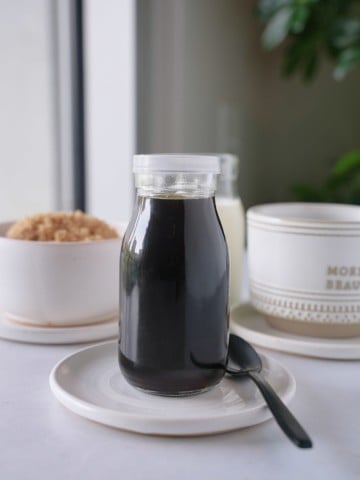
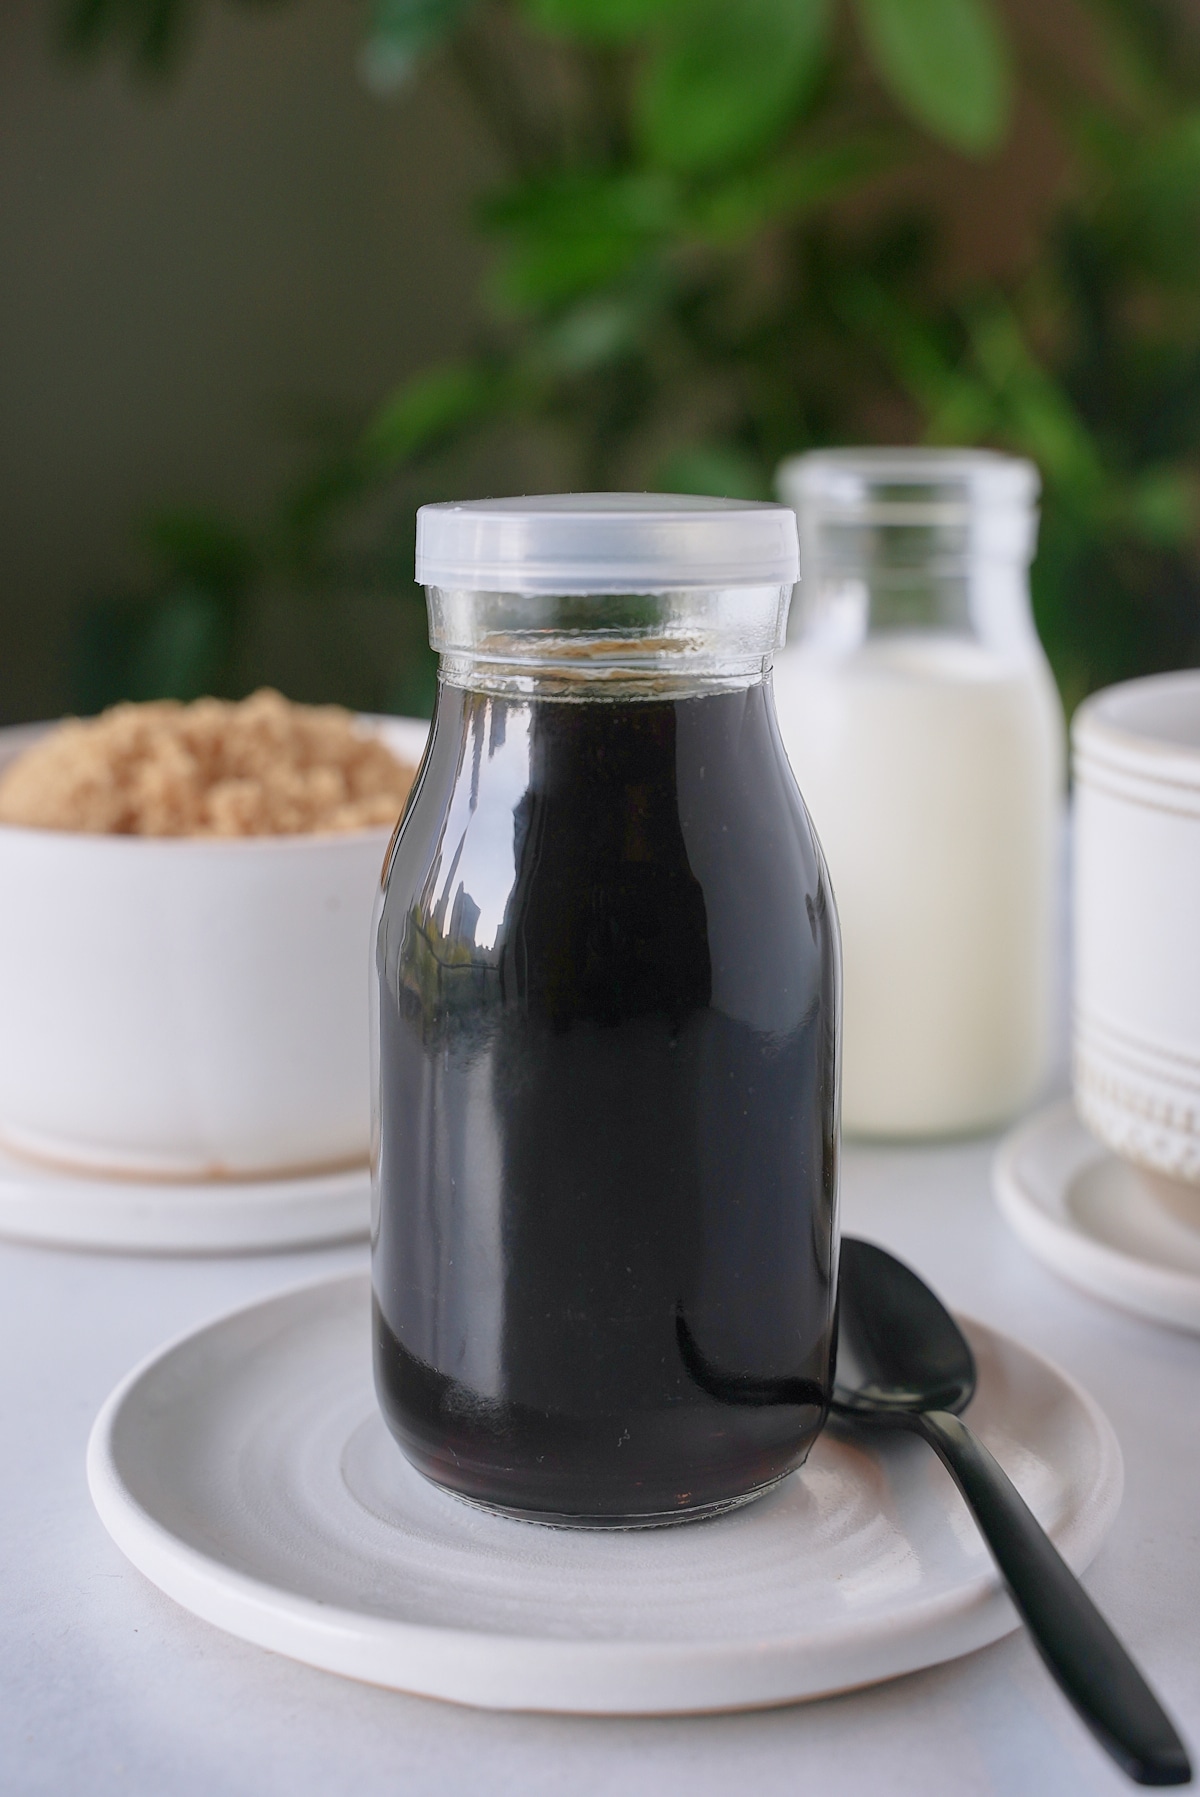
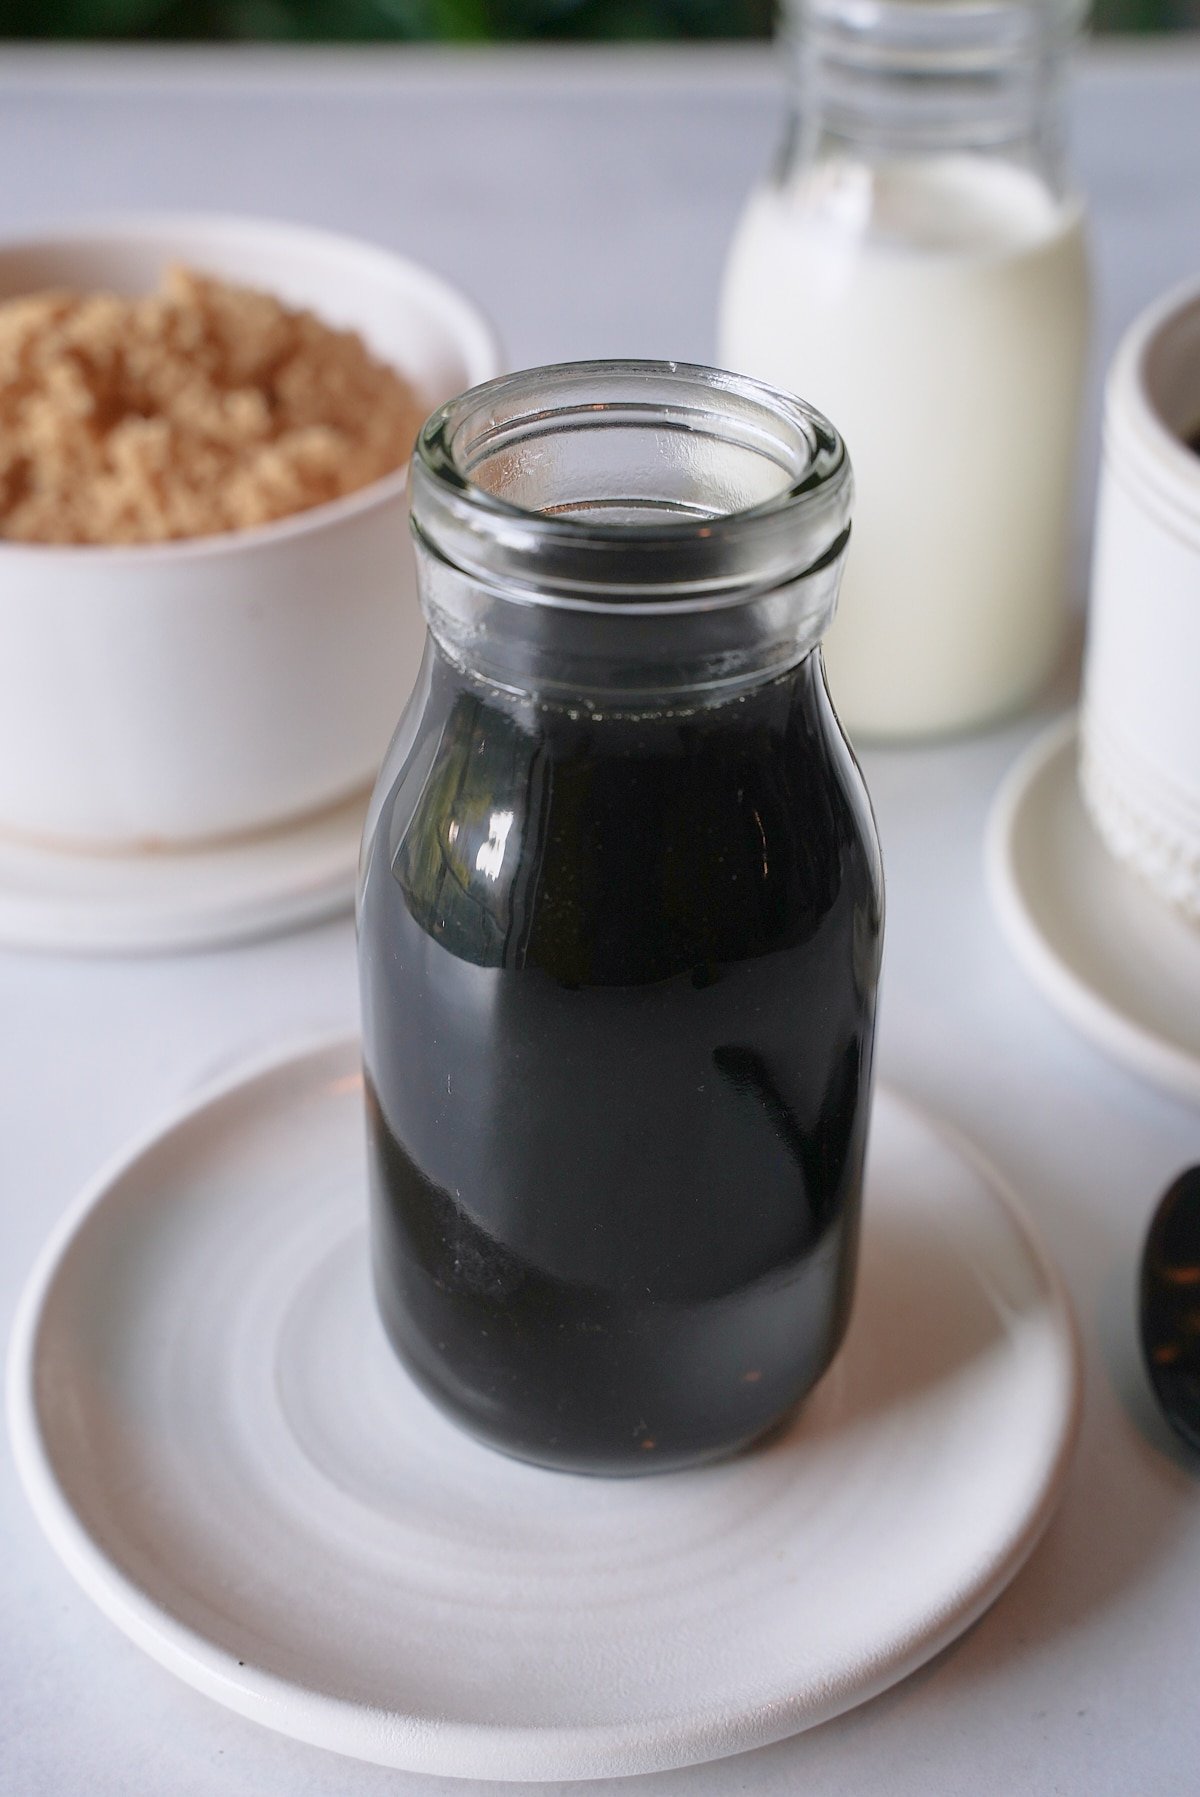
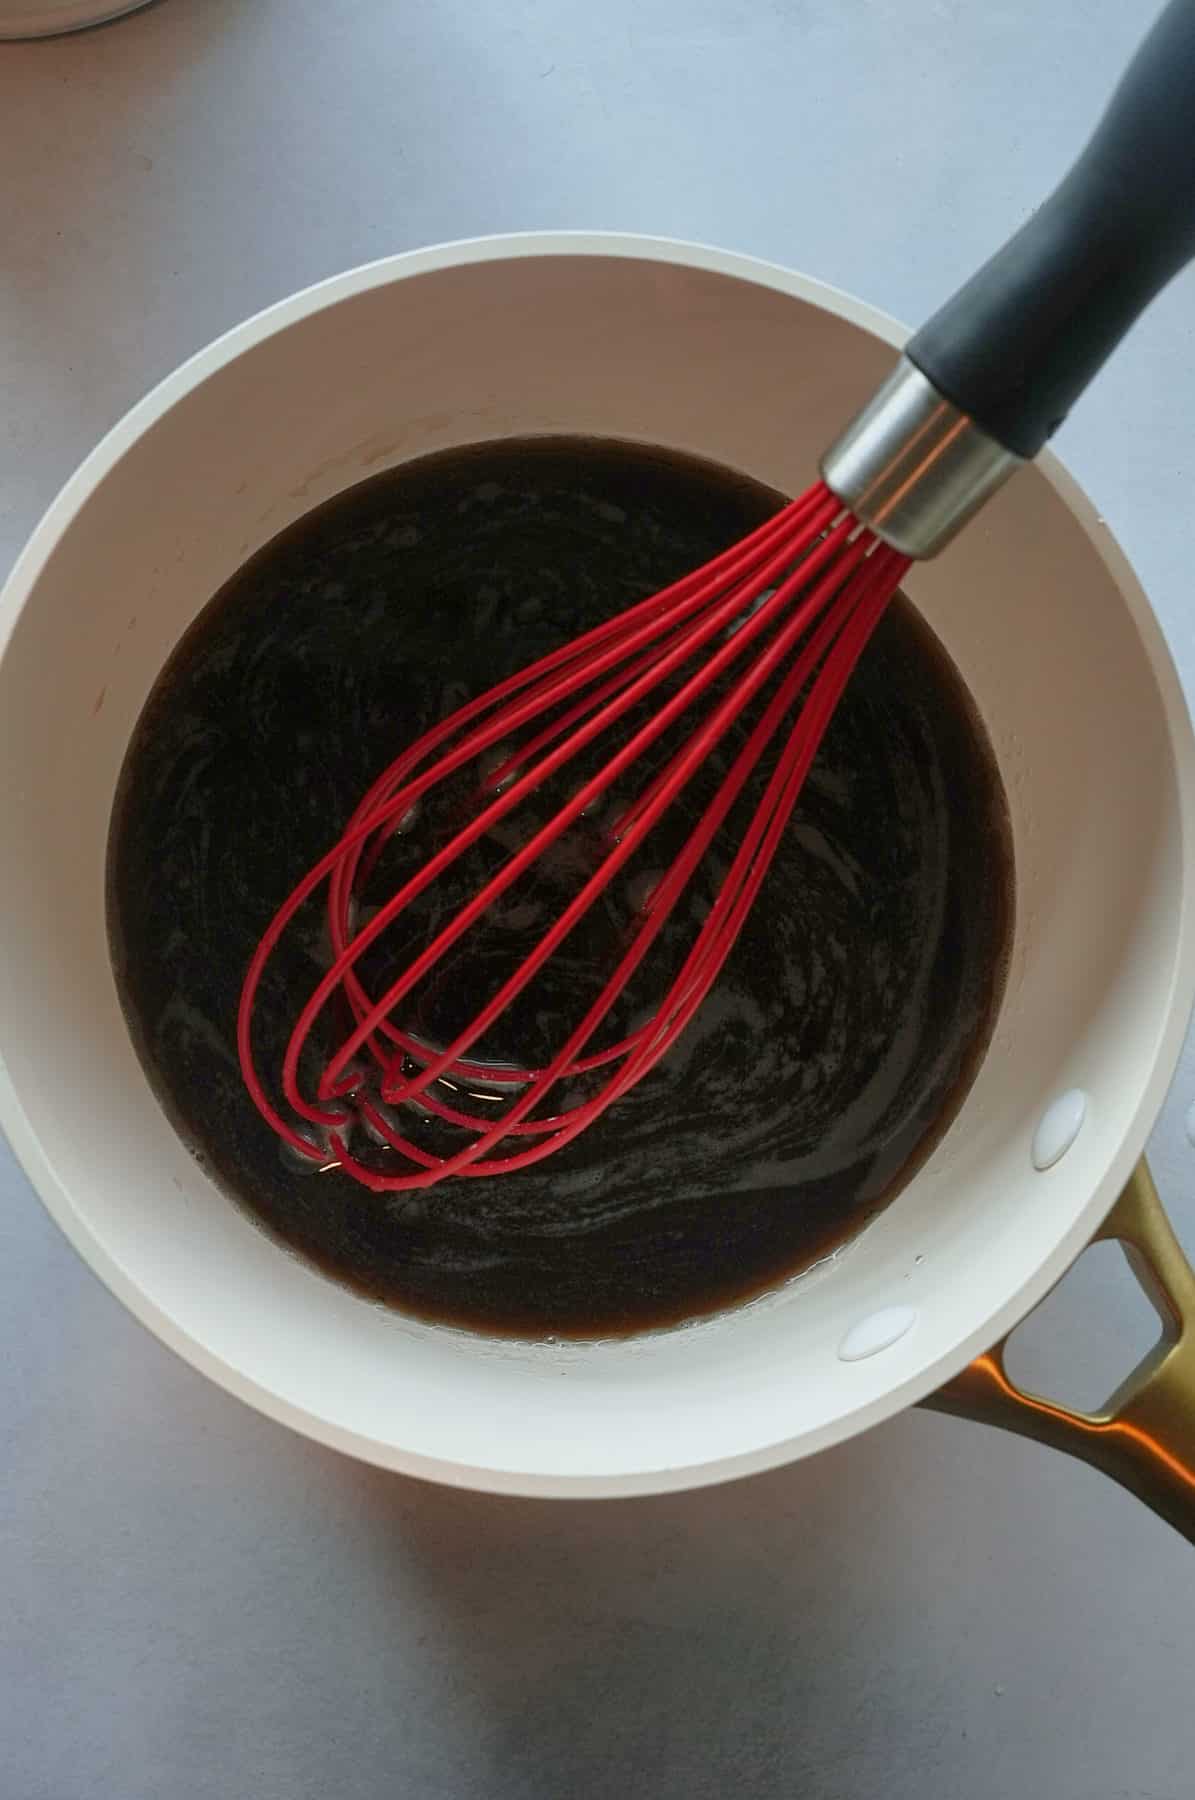
- BBQ Sauce - Another shout-out to my homemade sticky BBQ sauce. You can use your favorite BBQ Sauce. I'll occasionally use Sweet Baby Ray's.
How to make Ribs in an Air Fryer
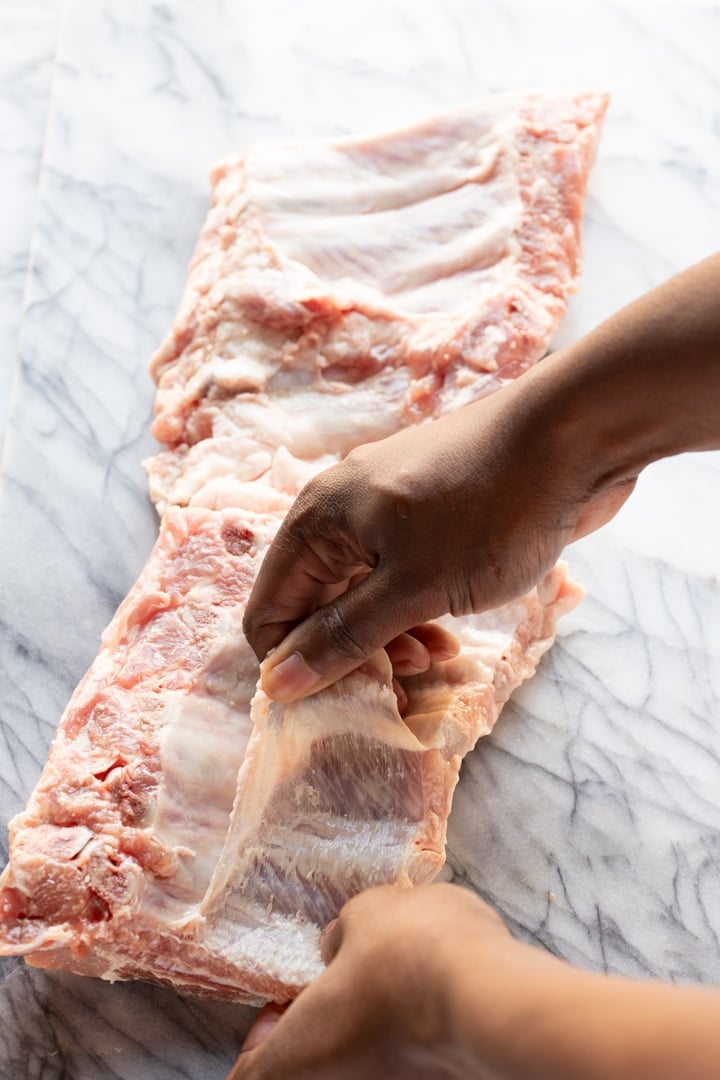
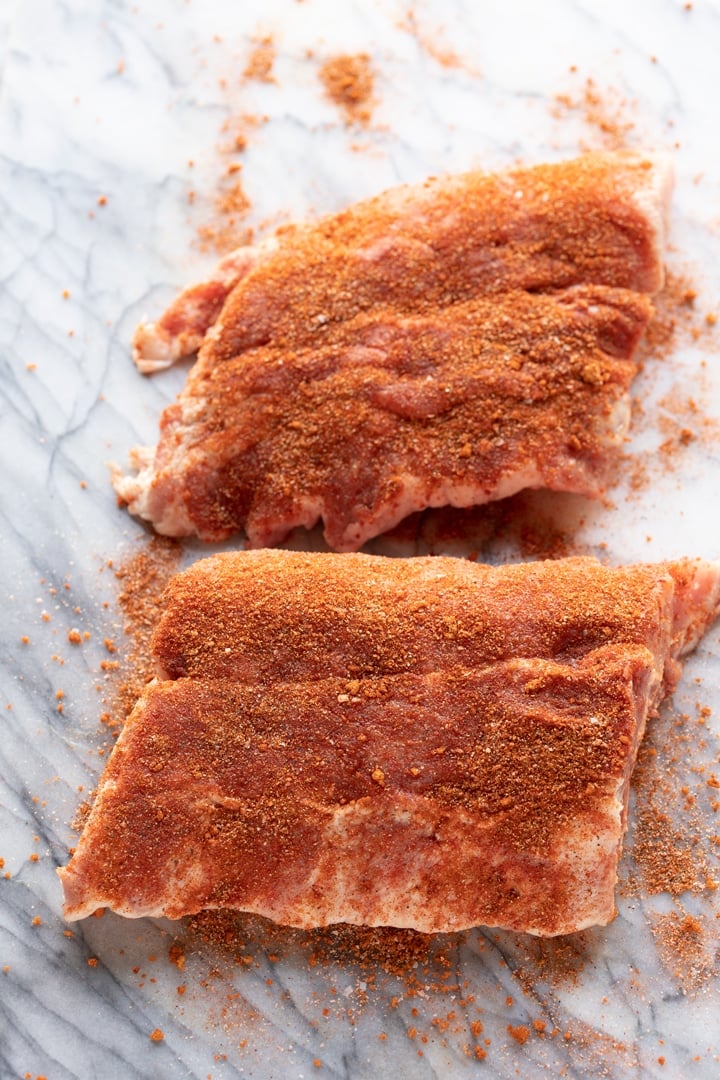
First, cut a full rack of pork baby back ribs in half to fit into the air fryer basket. Then, remove the membrane from the back of the ribs.
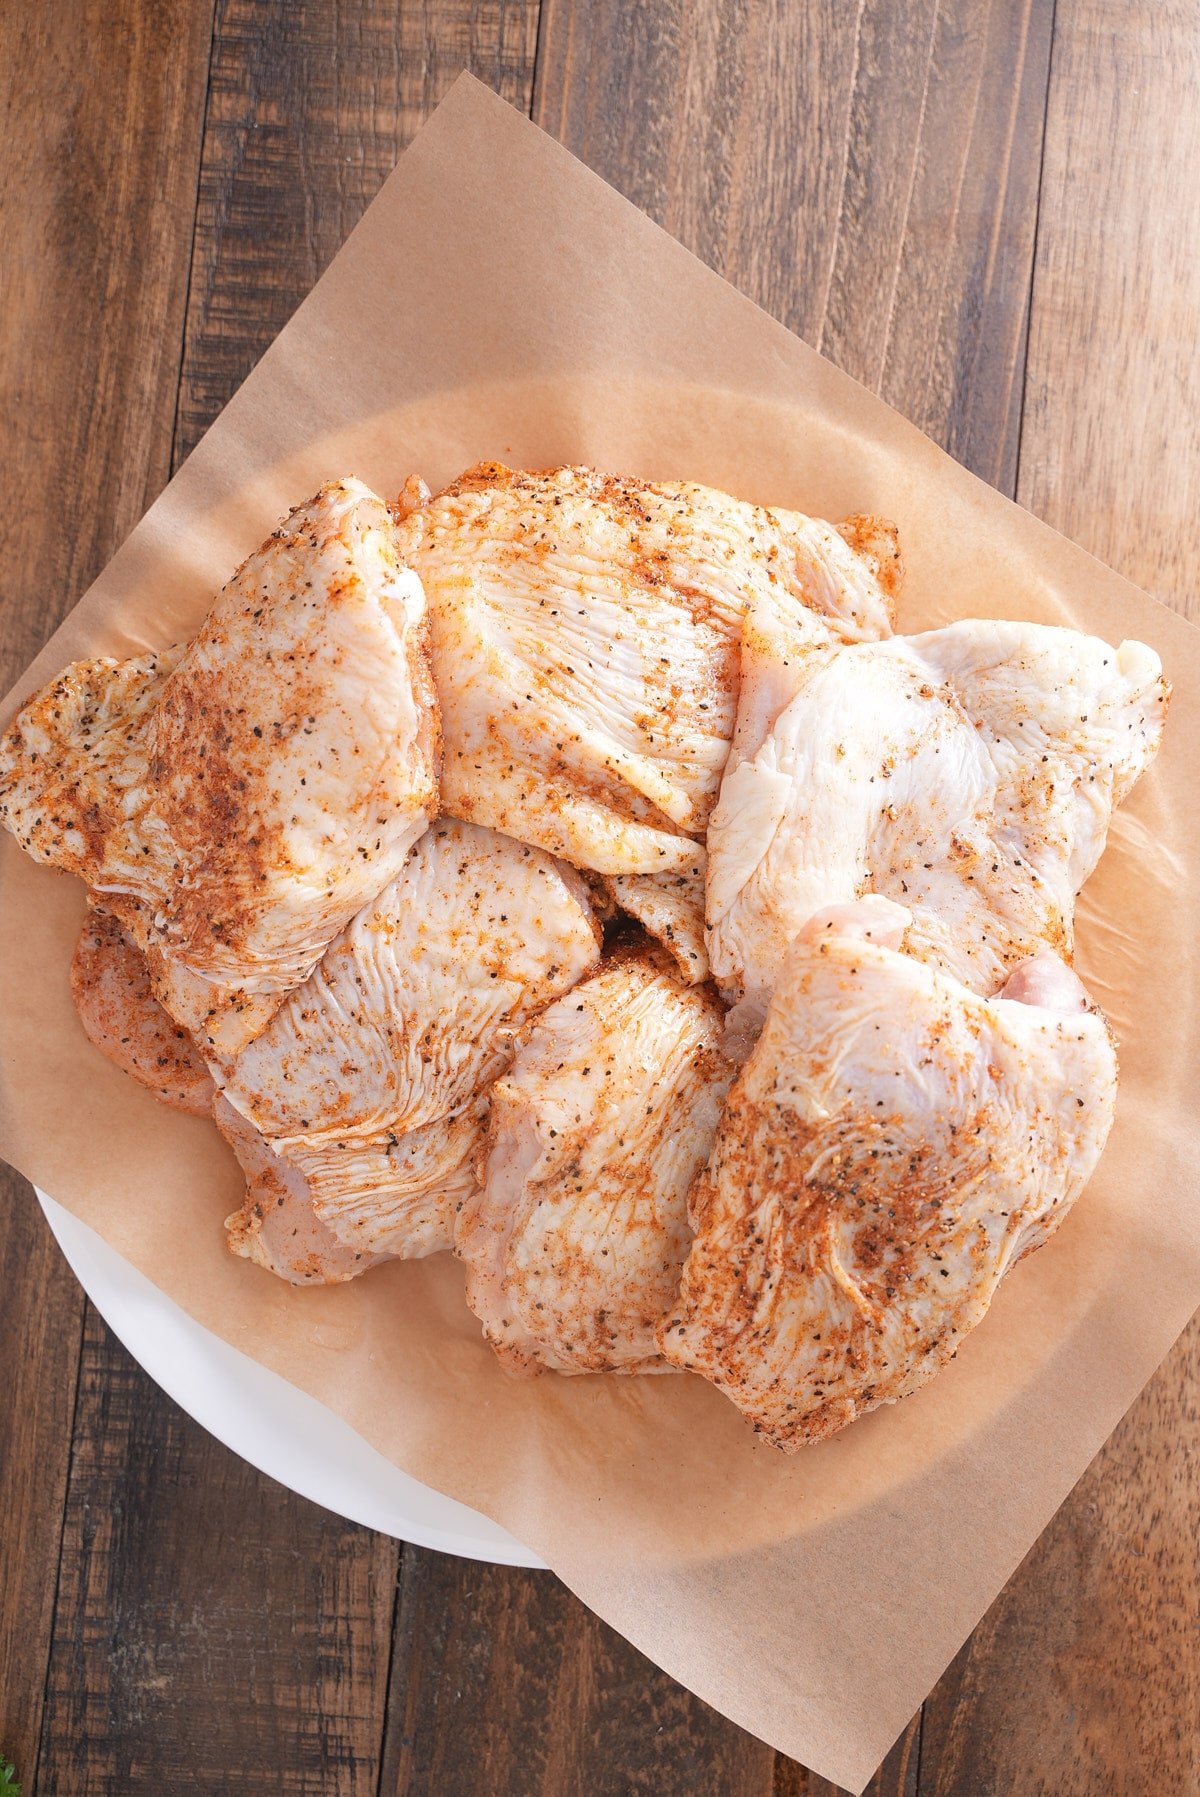
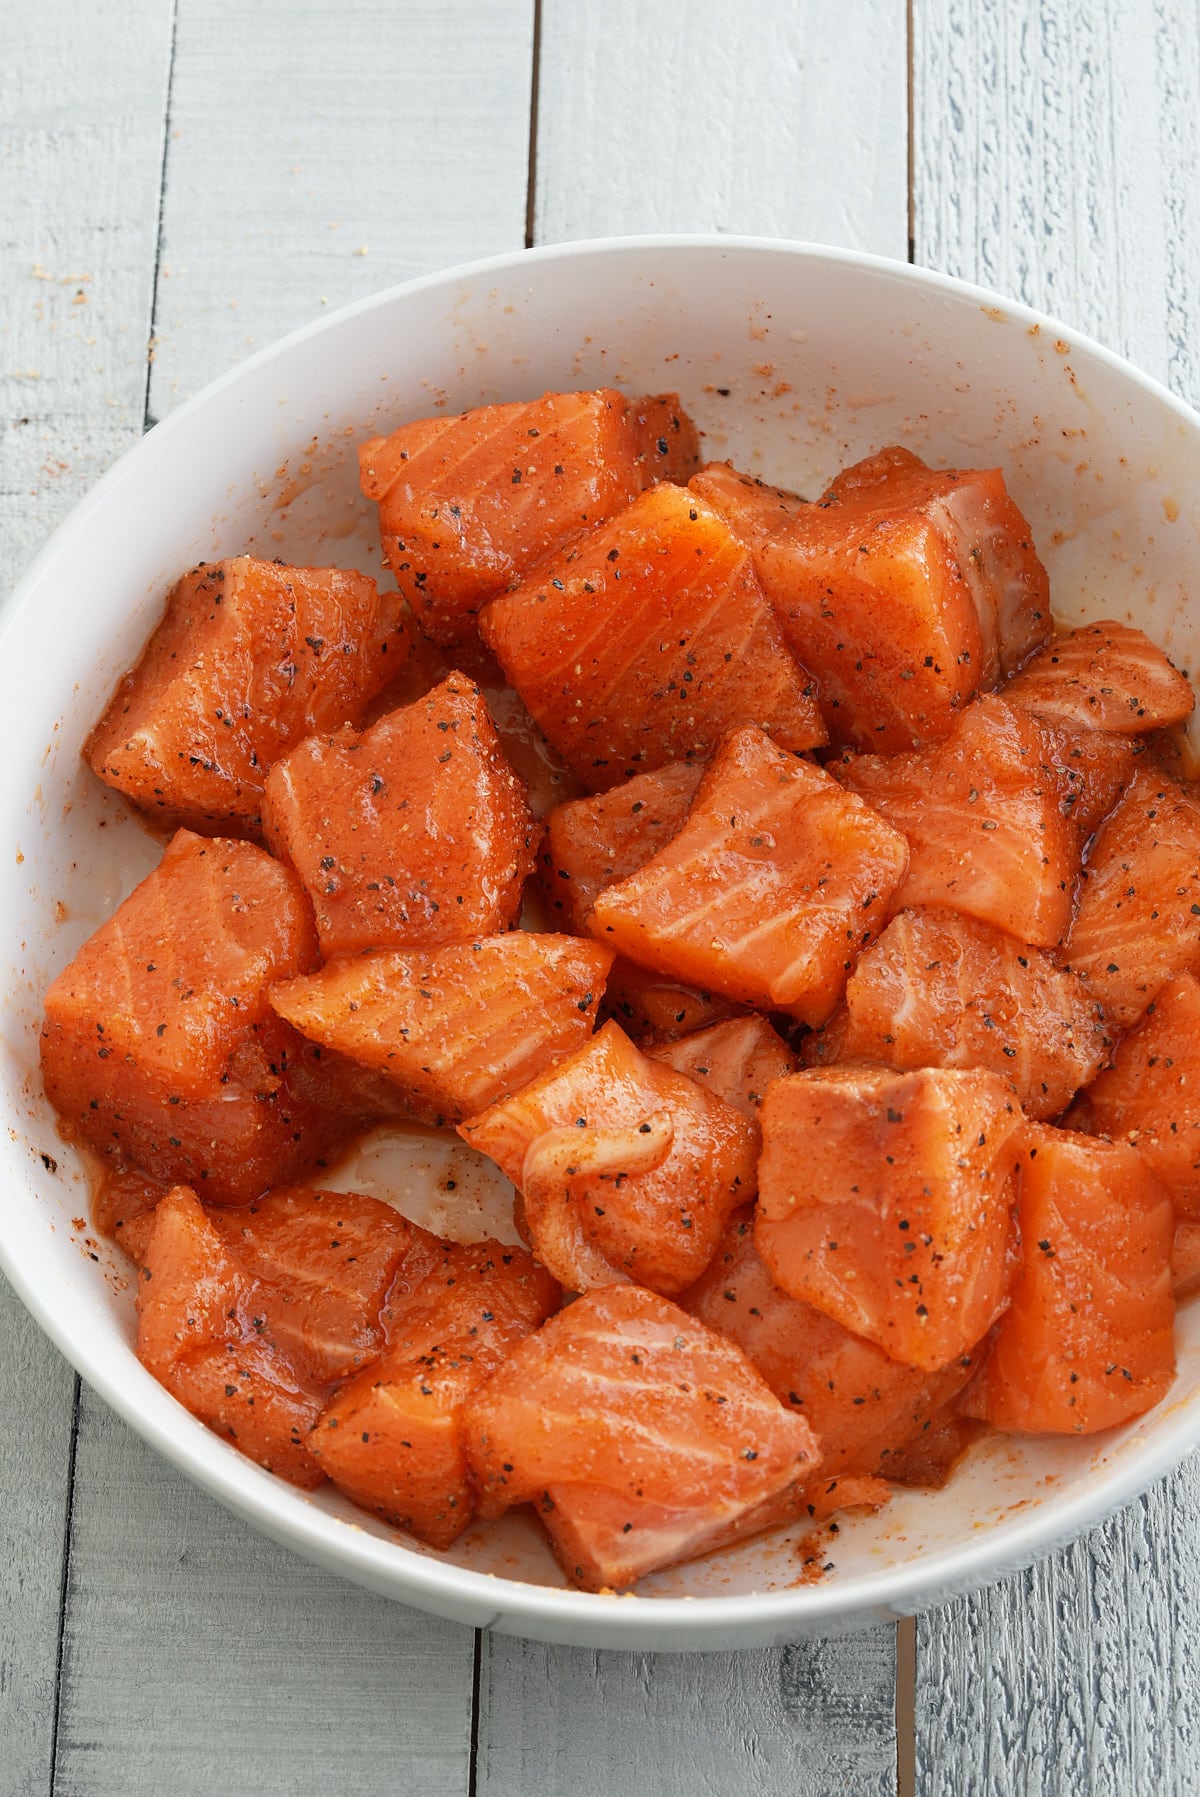
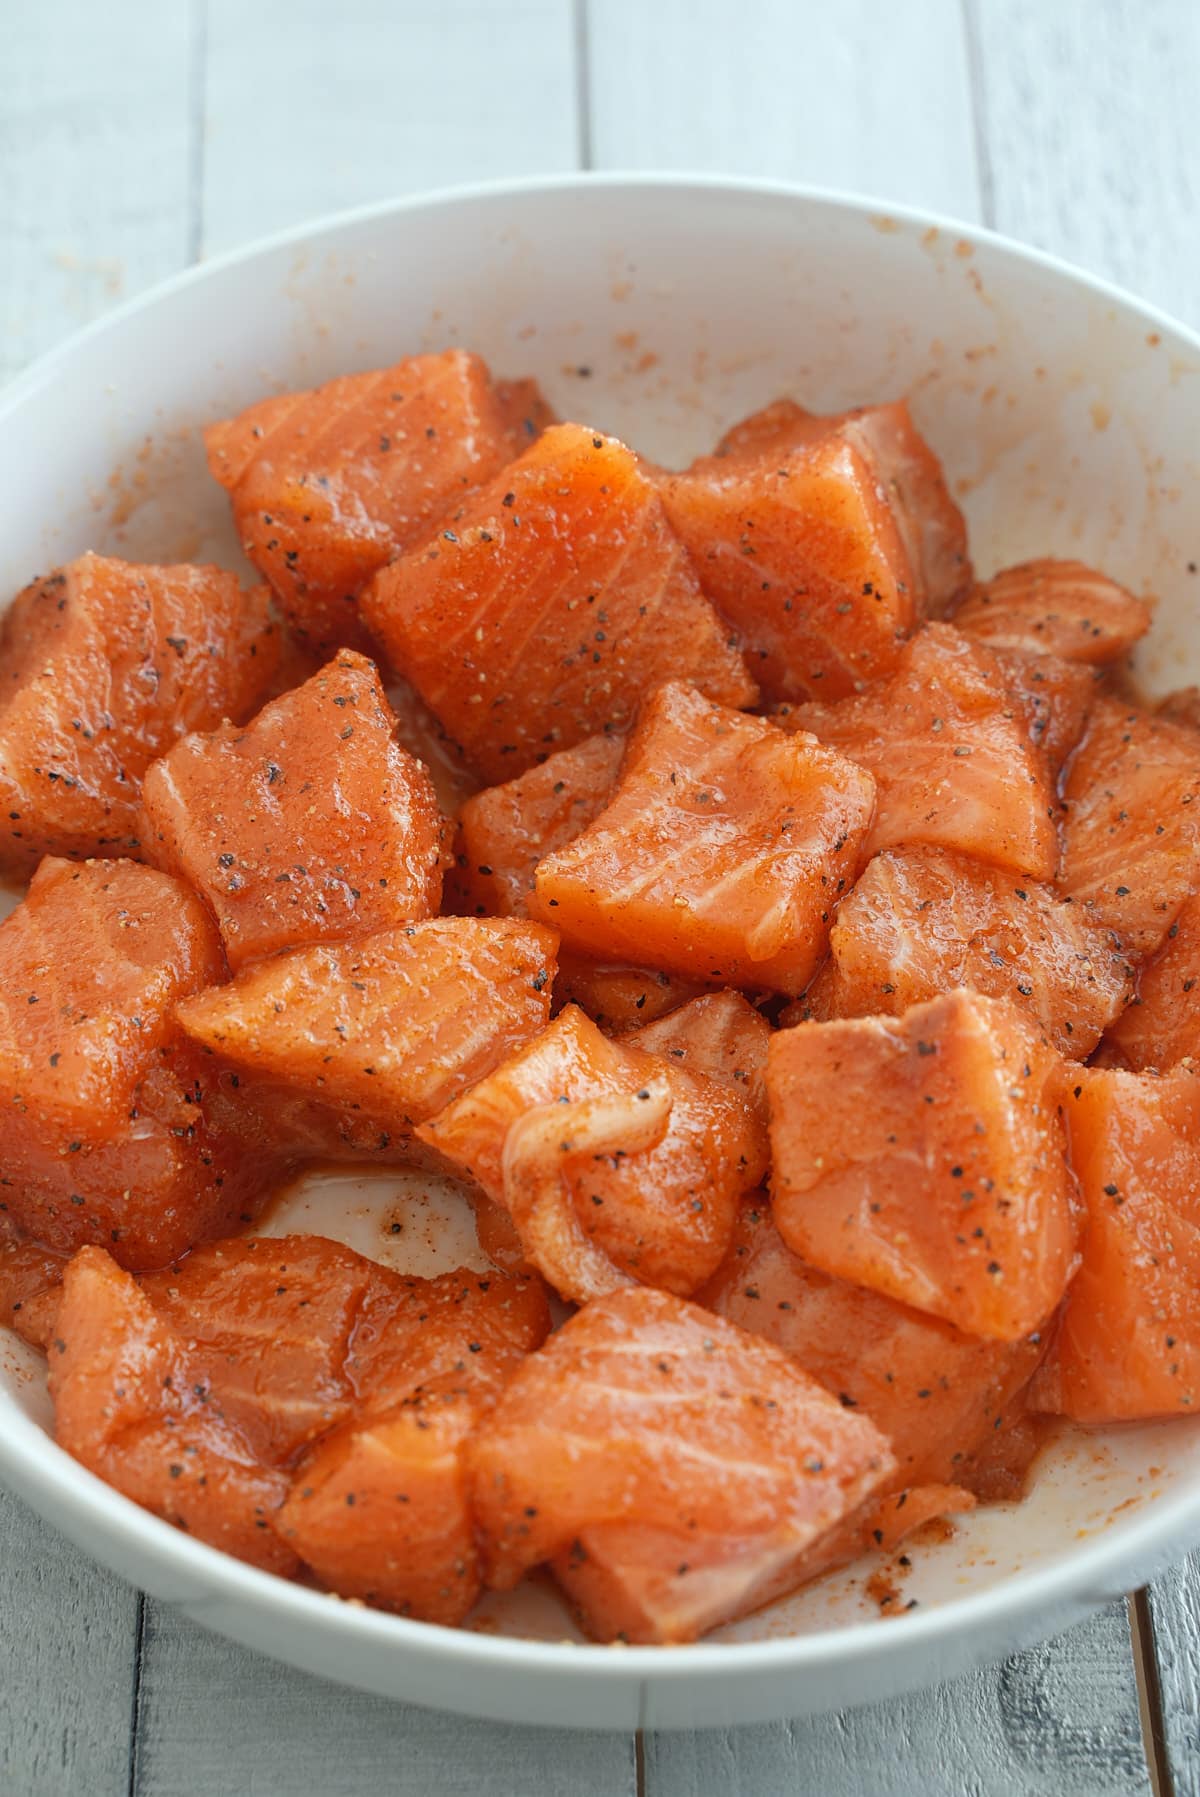
Then season the ribs with your favorite BBQ spice rub, covering both sides of the ribs.
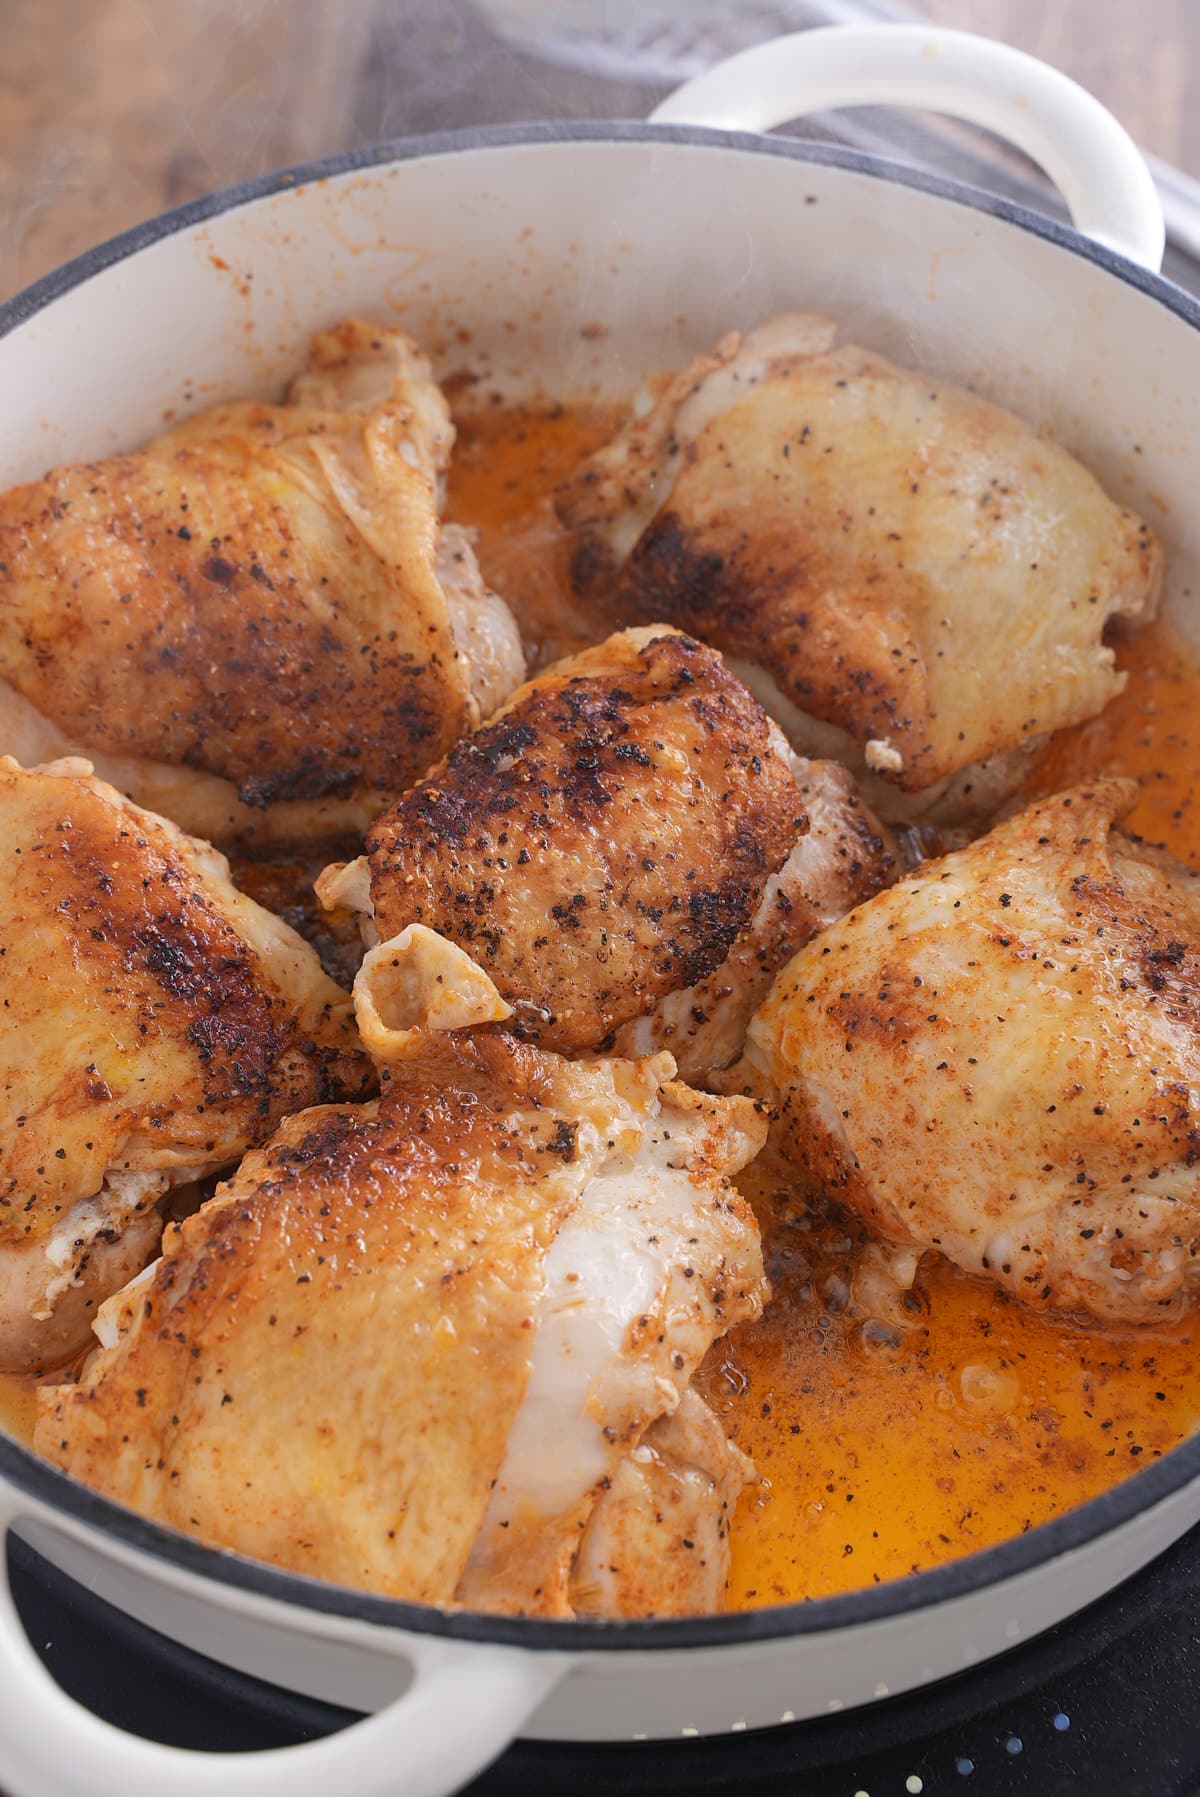
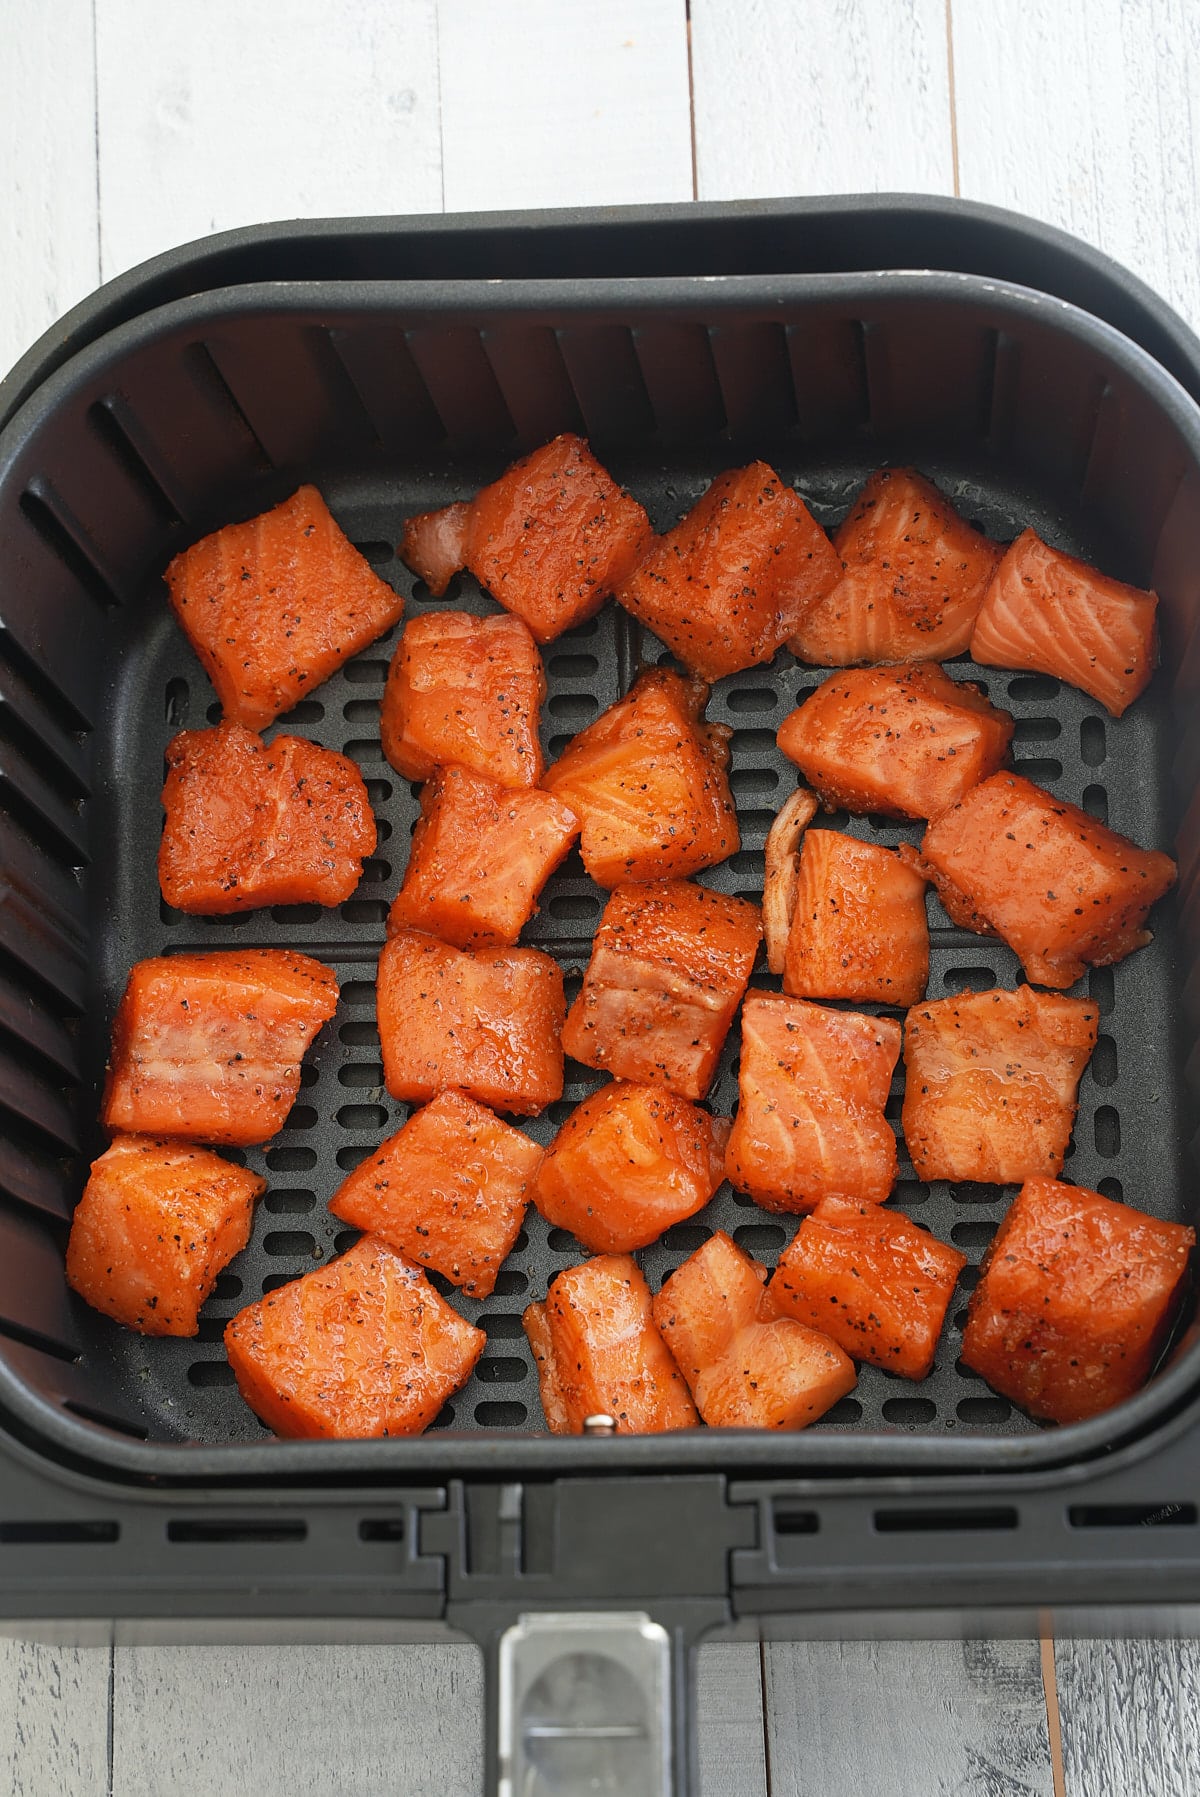
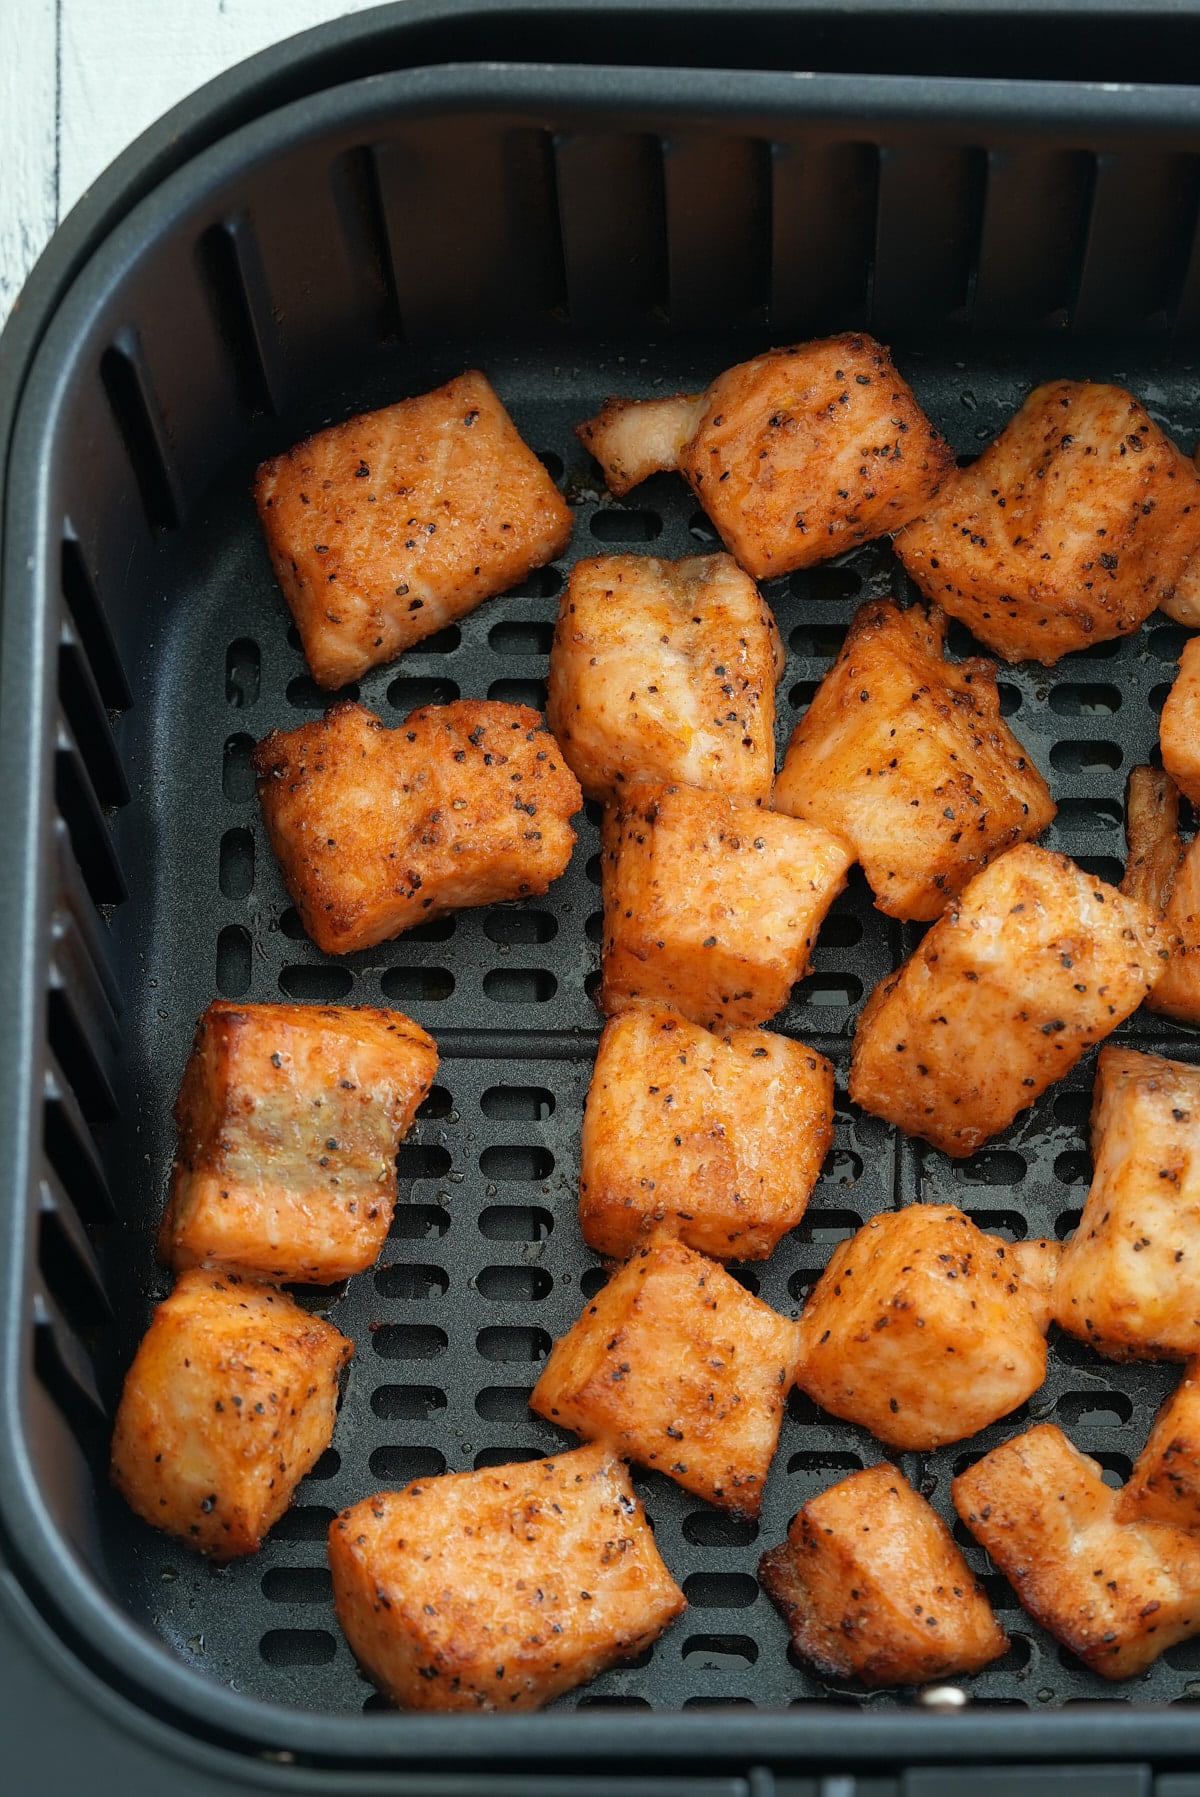
Preheat the air fryer to 380 degrees Fahrenheit for a few minutes, then place the ribs in the basket, meat side down, and cook for 20 minutes.
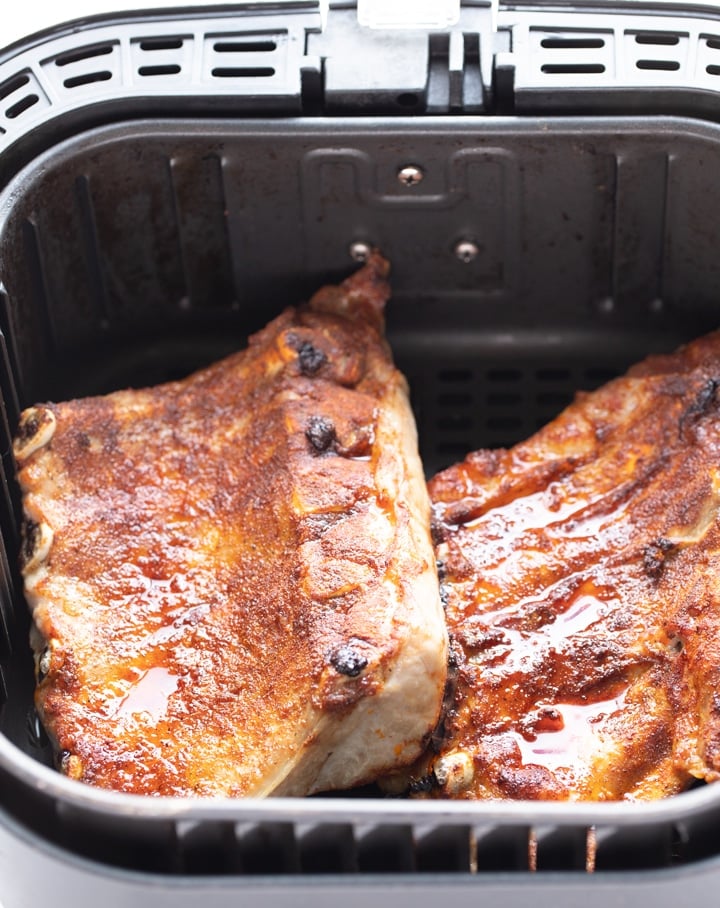
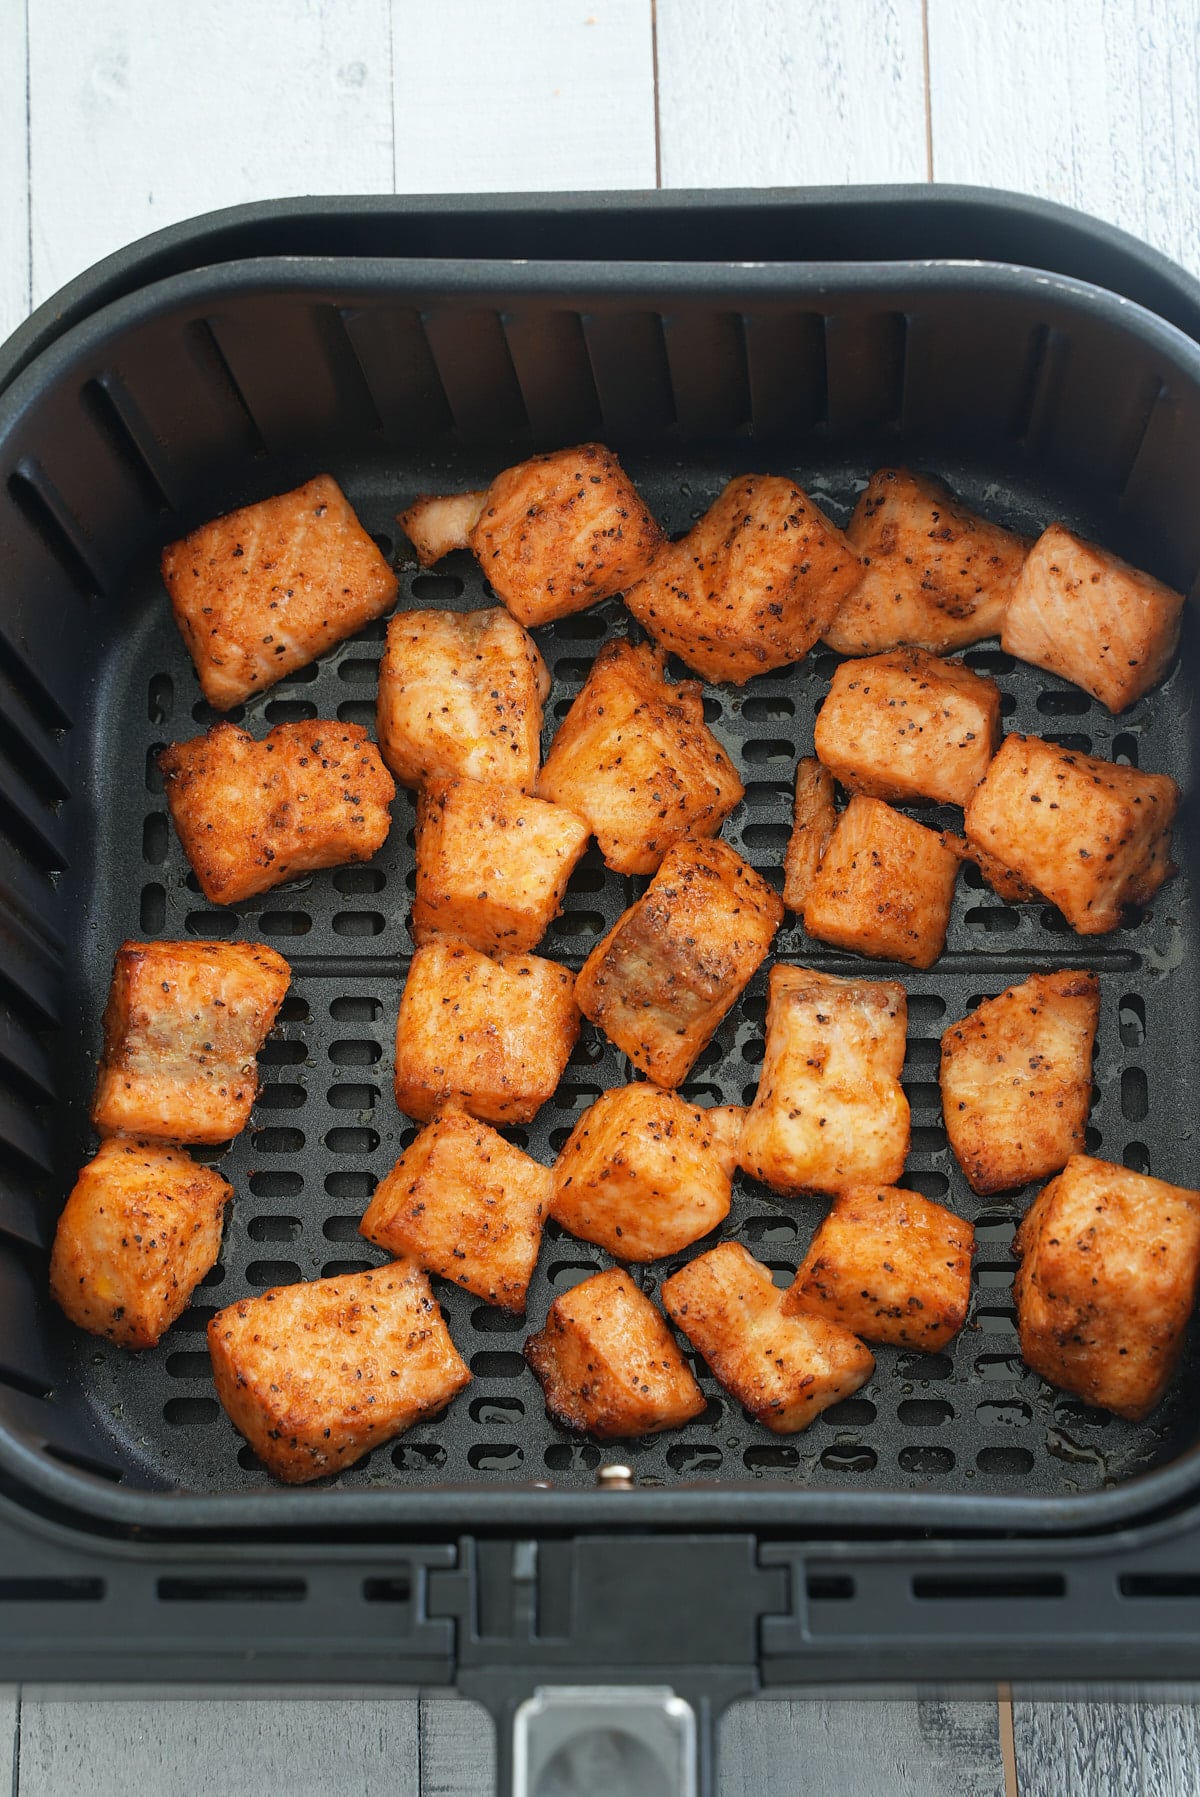
Once the 20 minutes is up, grab a pair of tongs, flip the ribs over, and cook for an additional 10 minutes at 380 degrees Fahrenheit.
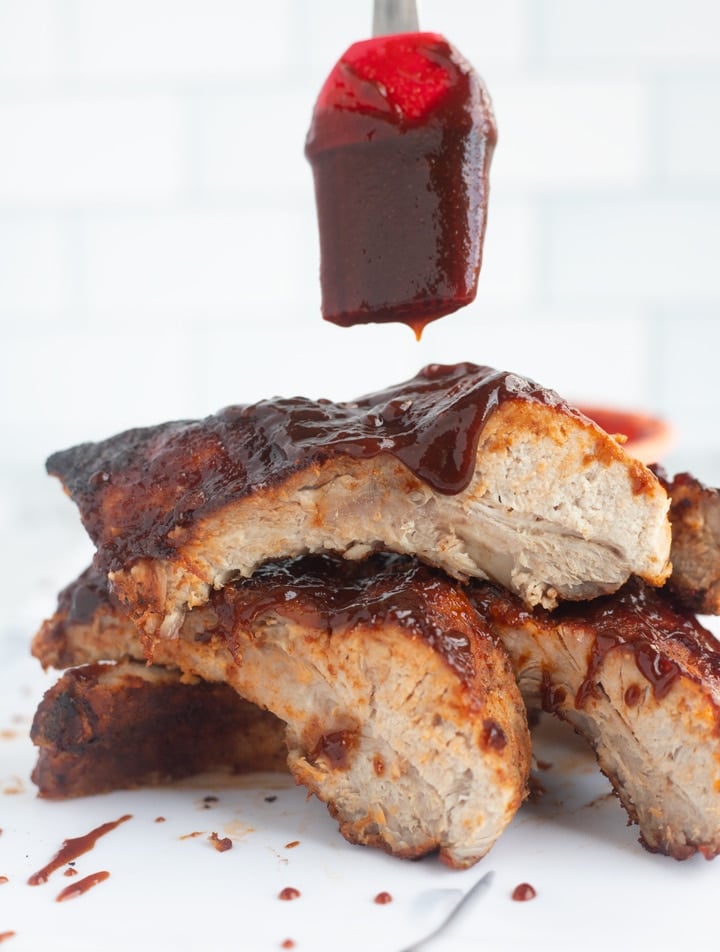
Once the timer is up, open the basket and cover the ribs with your favorite BBQ sauce.
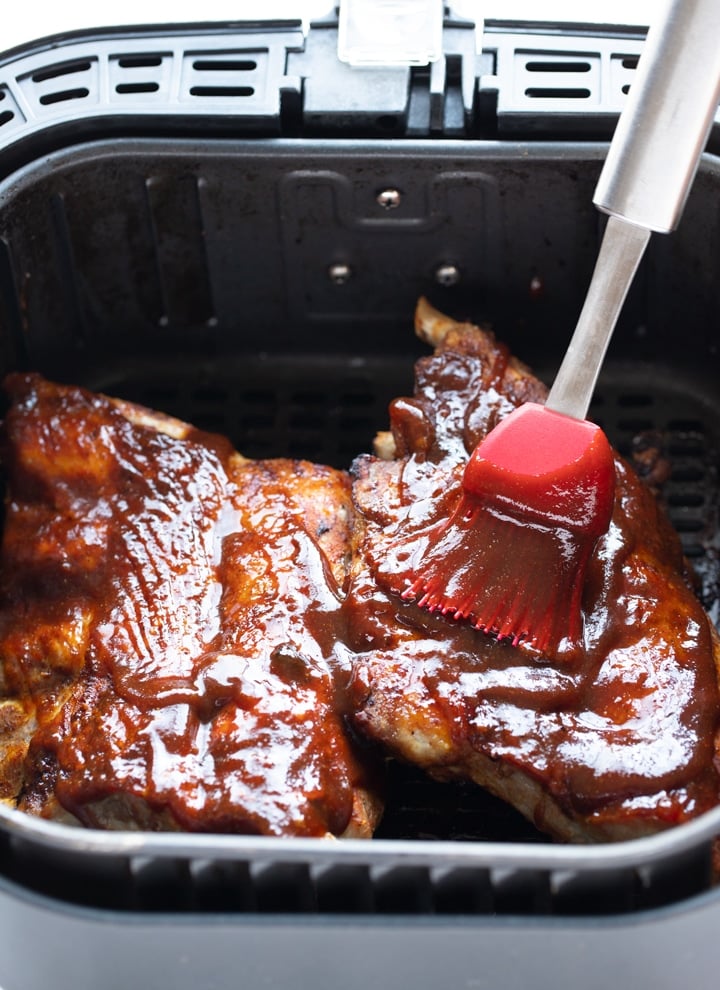
Close the Air Fryer basket and cook for 5 minutes at 400 degrees Fahrenheit.

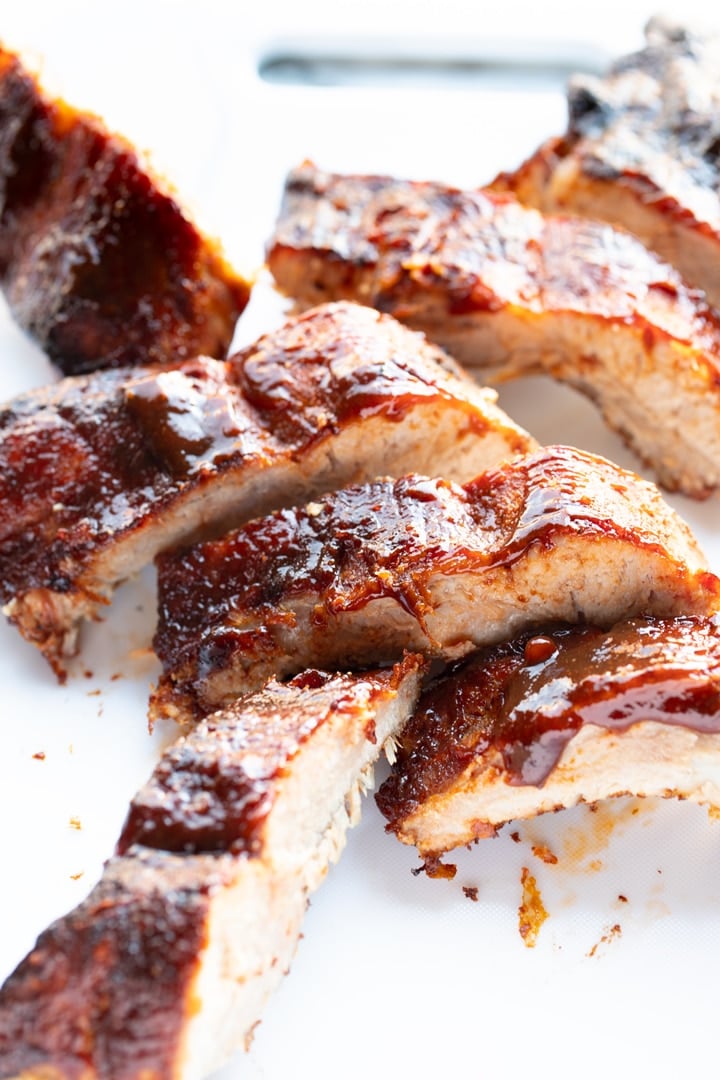
Remove and allow the ribs to rest for a few minutes. Feel free to cover it with additional BBQ sauce if you like saucy ribs.
Tanya's Tips
- For a deeper flavor infusion, marinate the ribs with the BBQ rub for at least 2 hours or overnight in the refrigerator before air frying. This extra time allows the spices to penetrate the meat, providing a more flavorful result.
- Using a meat thermometer ensures the ribs reach a safe and juicy internal temperature. I prefer to cook ribs to a higher internal temperature of around 190°F to 203°F (88°C to 95°C).
- Baste the ribs with some BBQ sauce during the last 5-10 minutes of cooking. Avoid basting too soon, as the sugar in the BBQ sauce may burn if exposed to heat for too long.
Flavor Variations
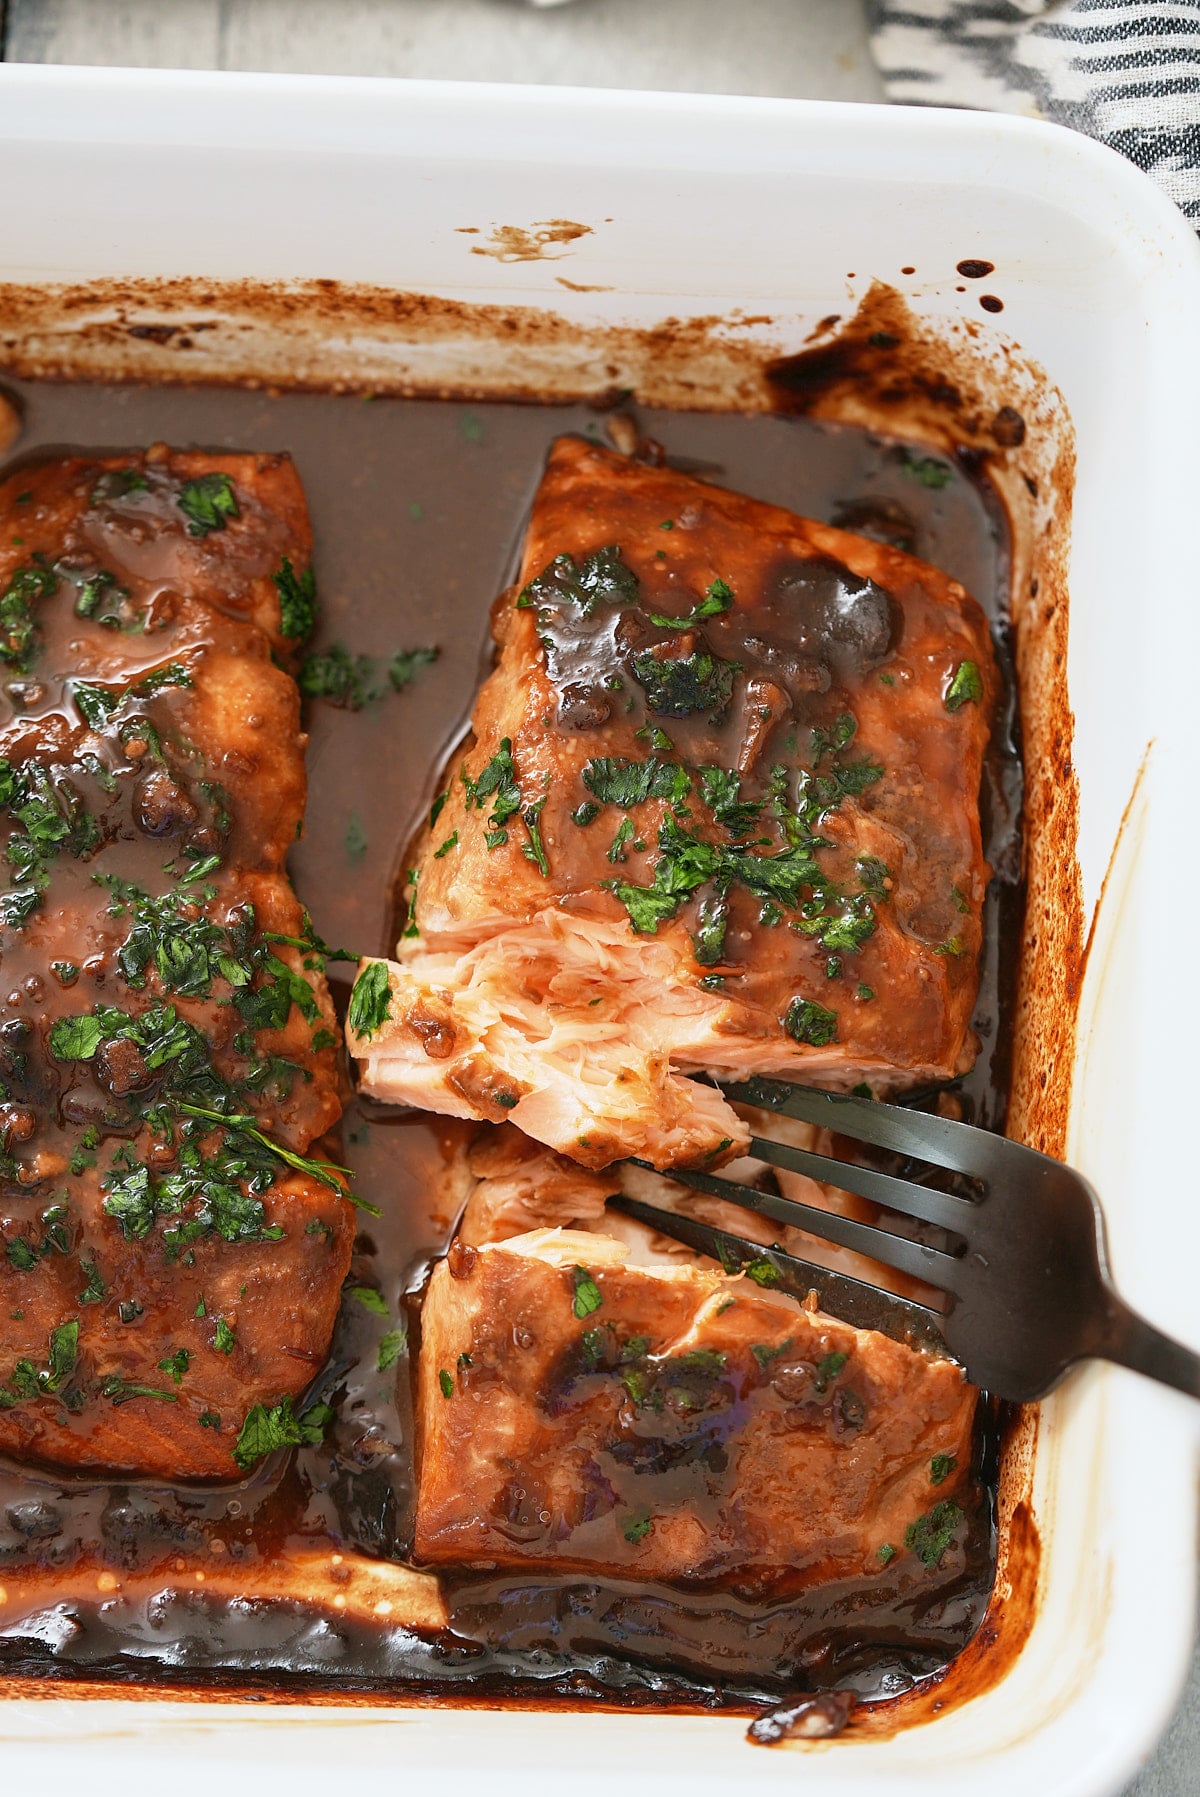
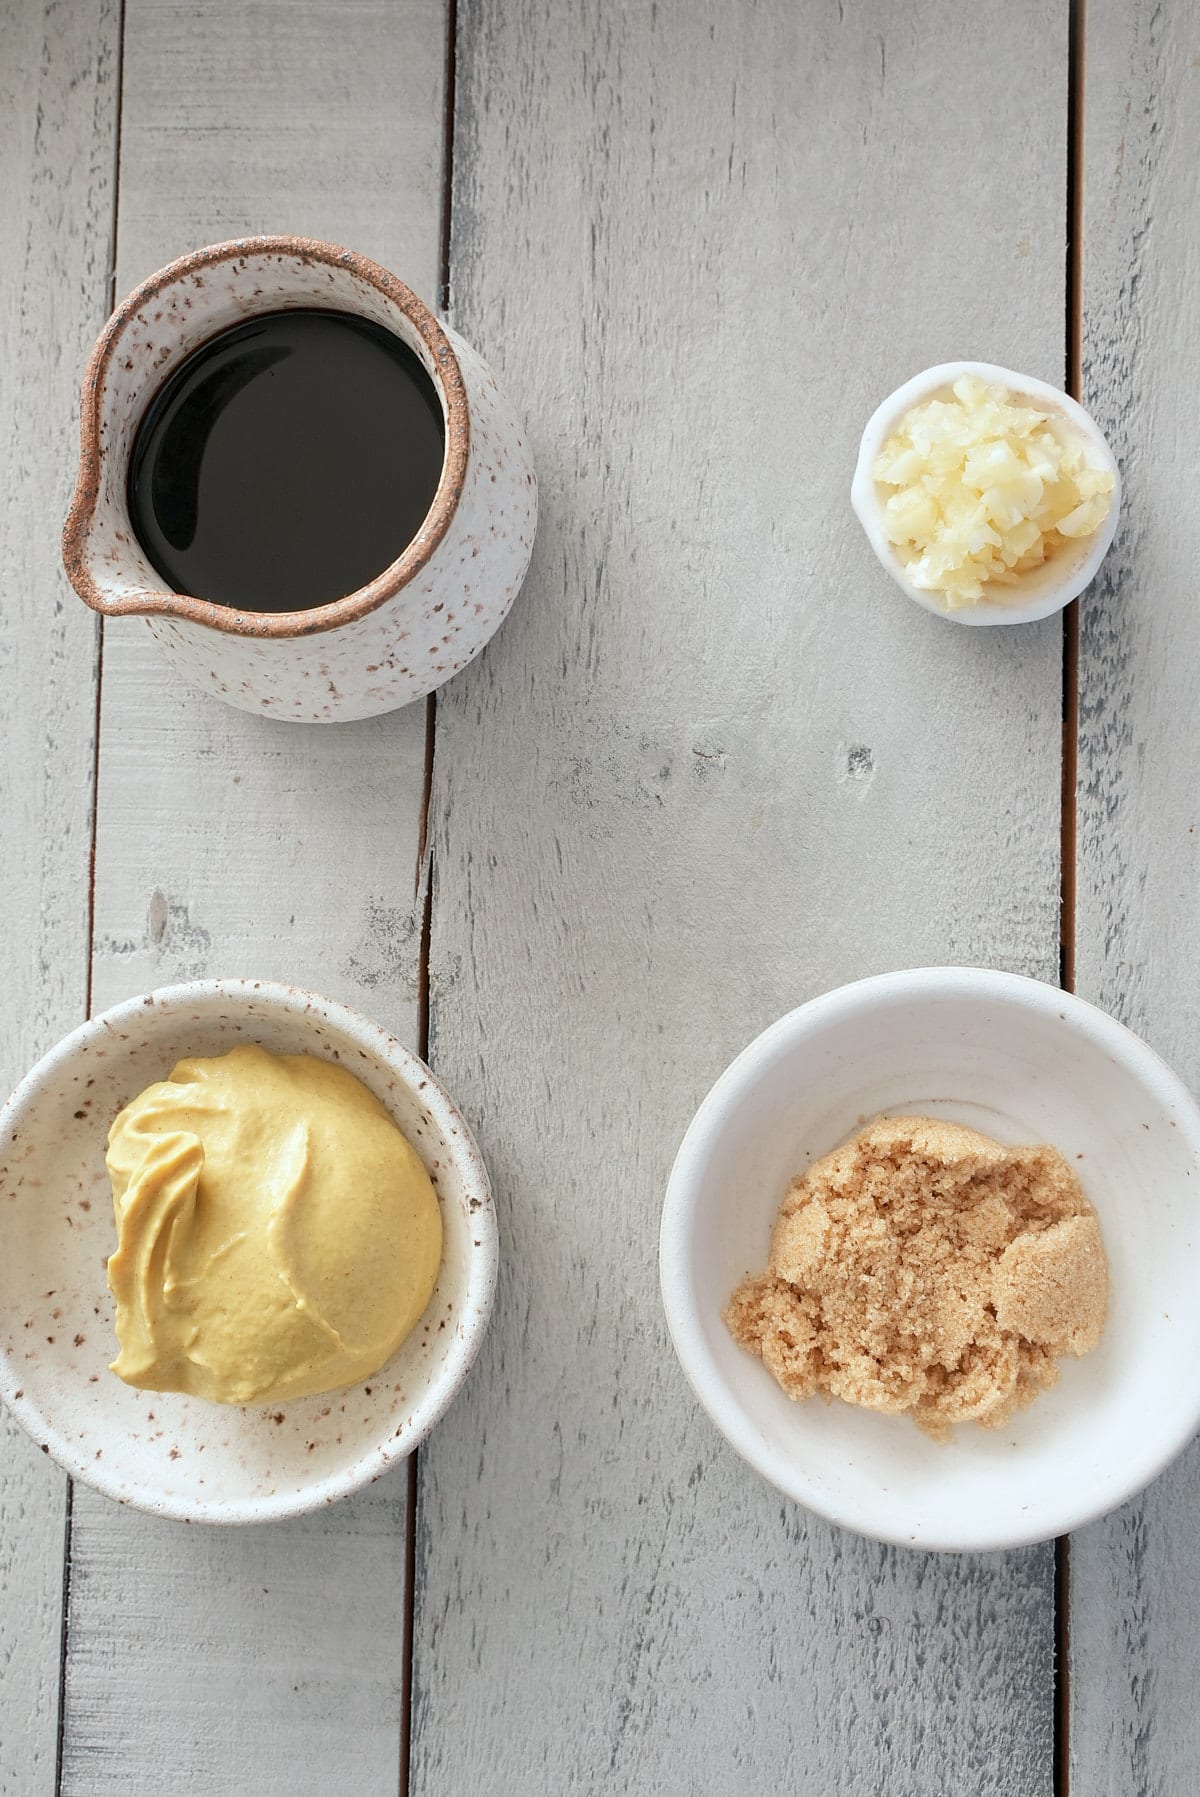
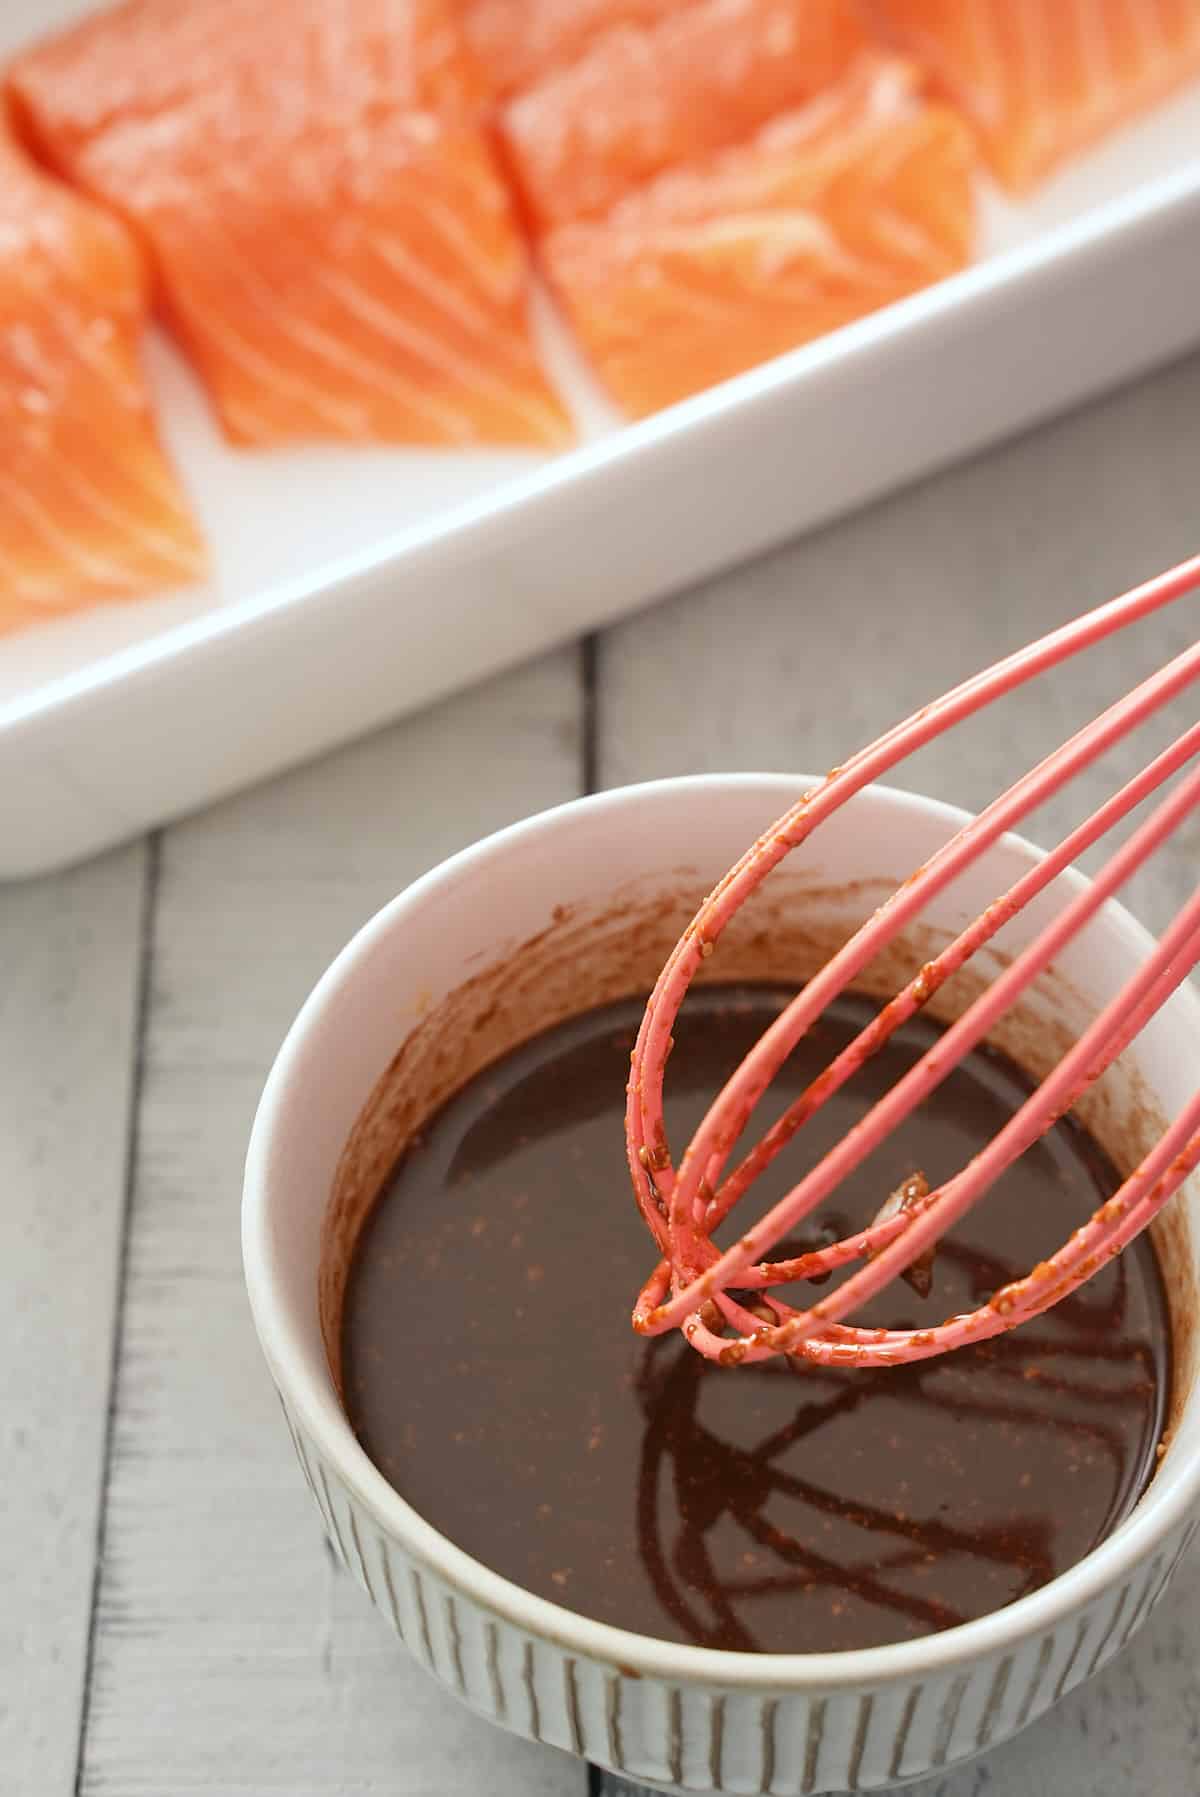
- Honey Garlic Ribs: Swap out the BBQ rub and sauce for a honey garlic glaze. Combine honey, minced garlic, soy sauce, and a touch of ginger to create a sweet and savory coating for your ribs. Brush the glaze on the ribs during the last few minutes of cooking to avoid burning.
- Spicy Chipotle Ribs: For a spicy kick, create a chipotle rub using ground chipotle powder, smoked paprika, brown sugar, onion powder, garlic powder, salt, and black pepper. You could also blend a couple of canned chipotle peppers in adobo sauce with your BBQ sauce for extra heat and smokiness.
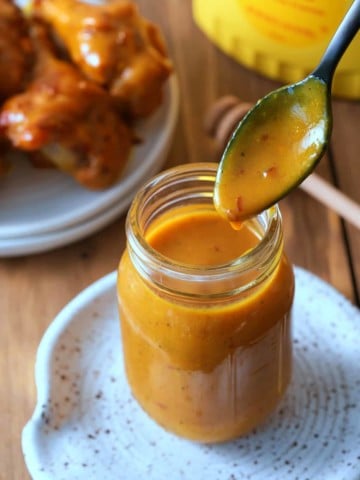
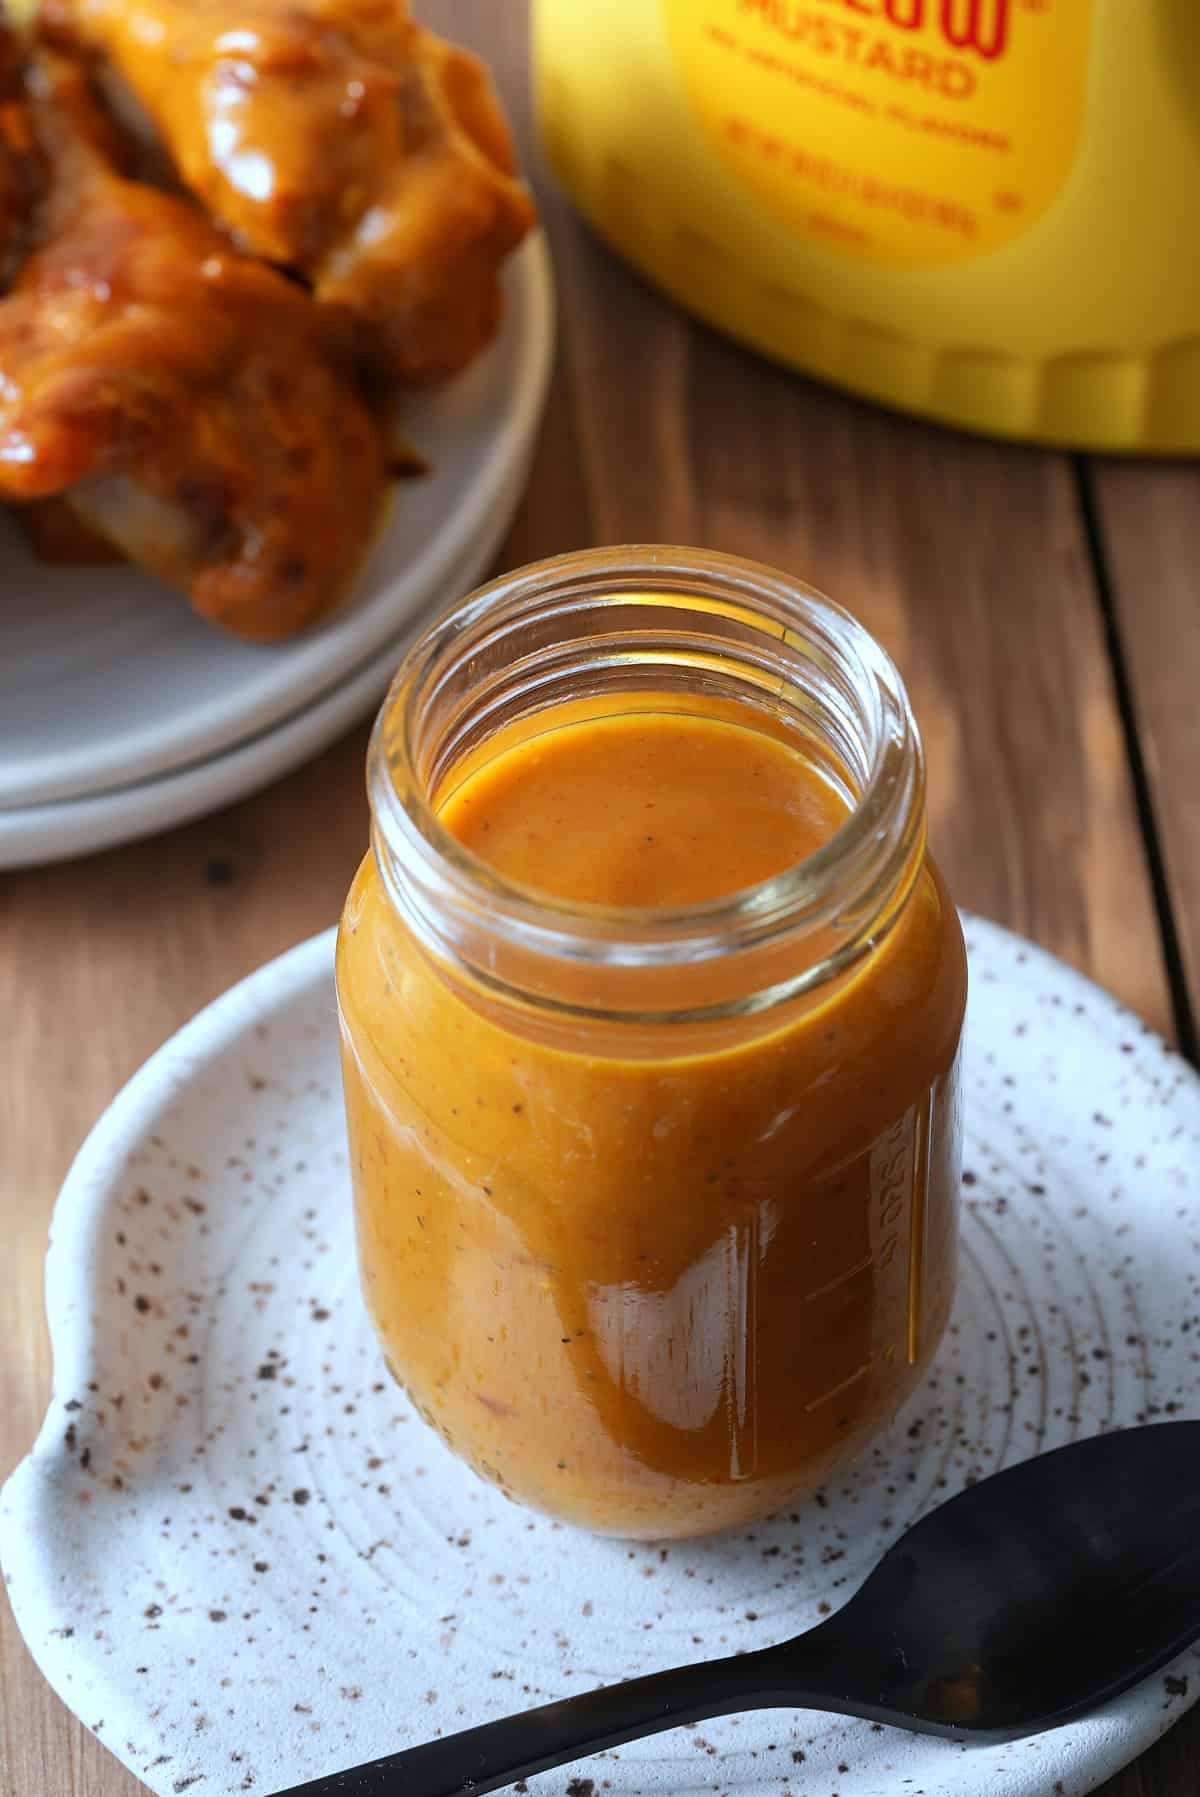
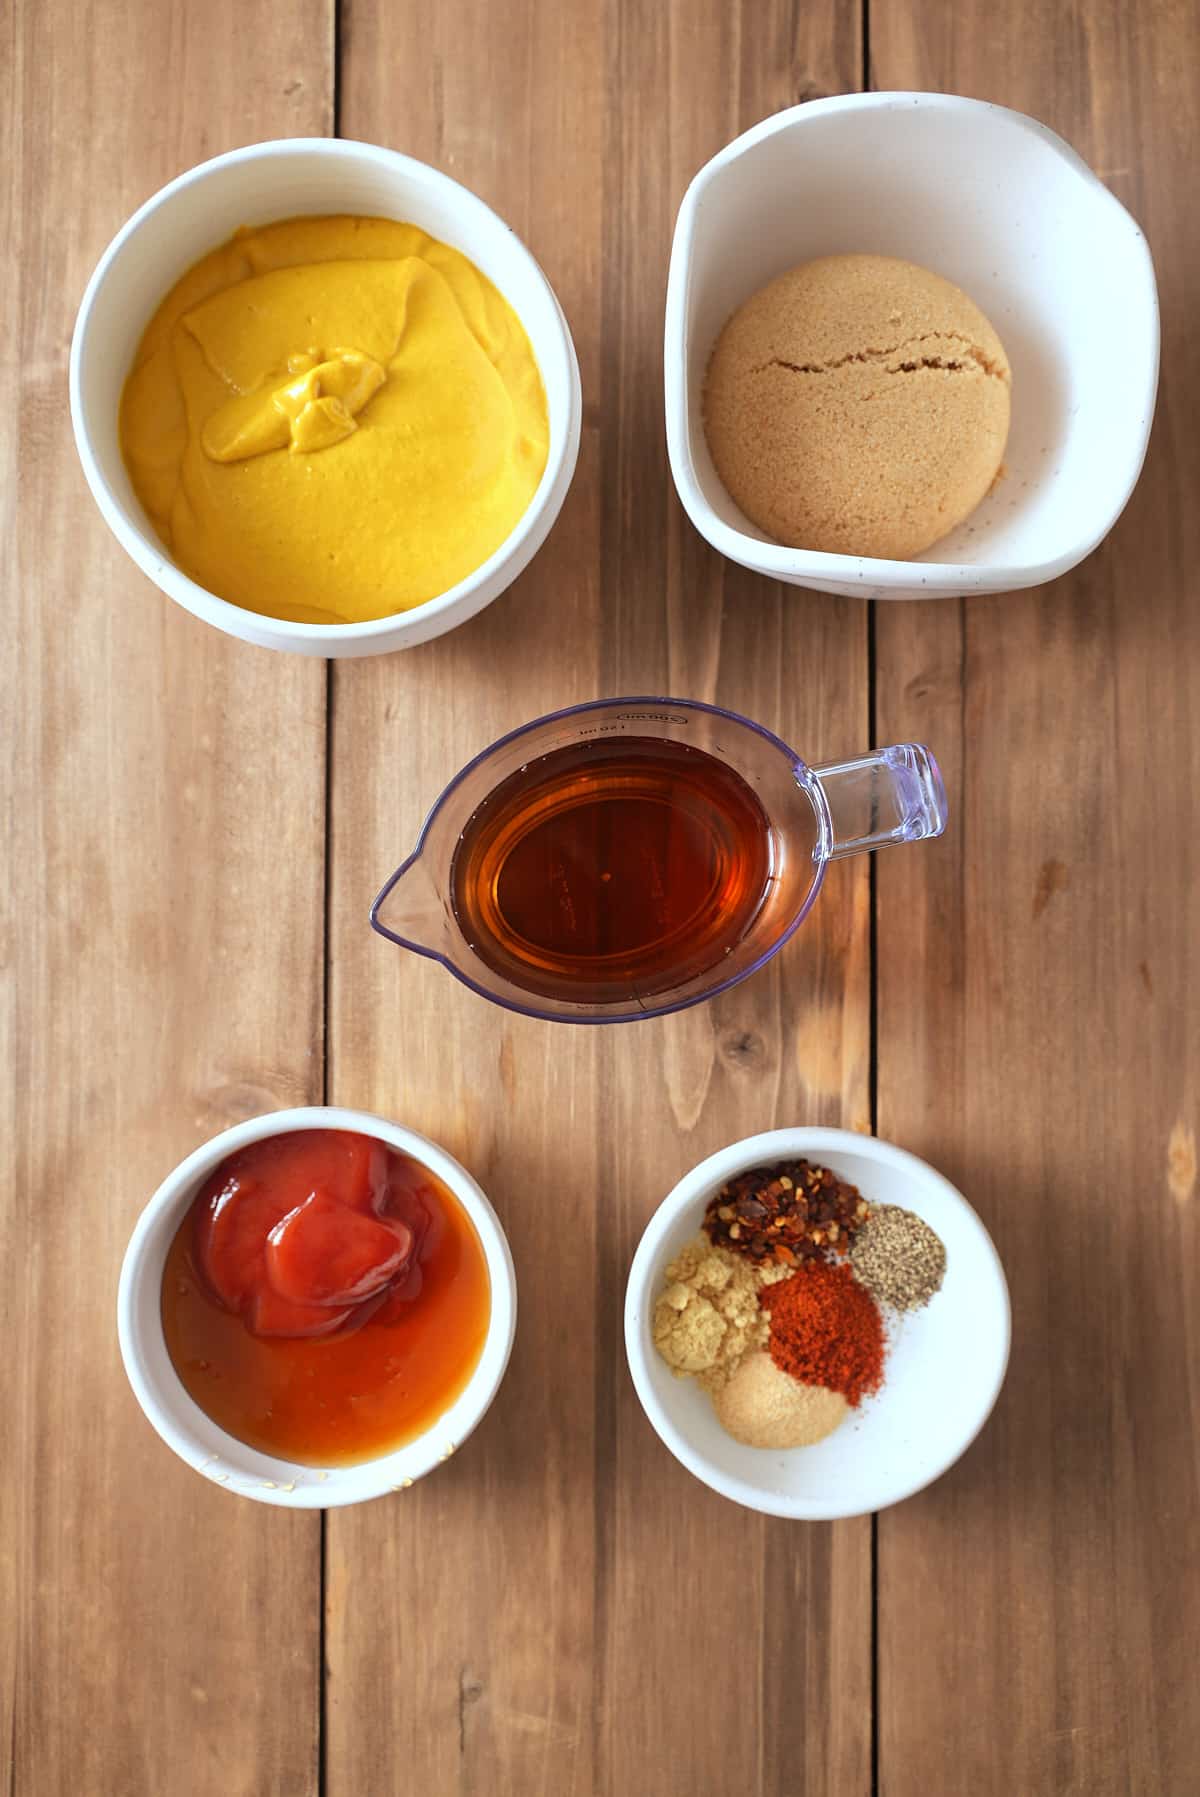
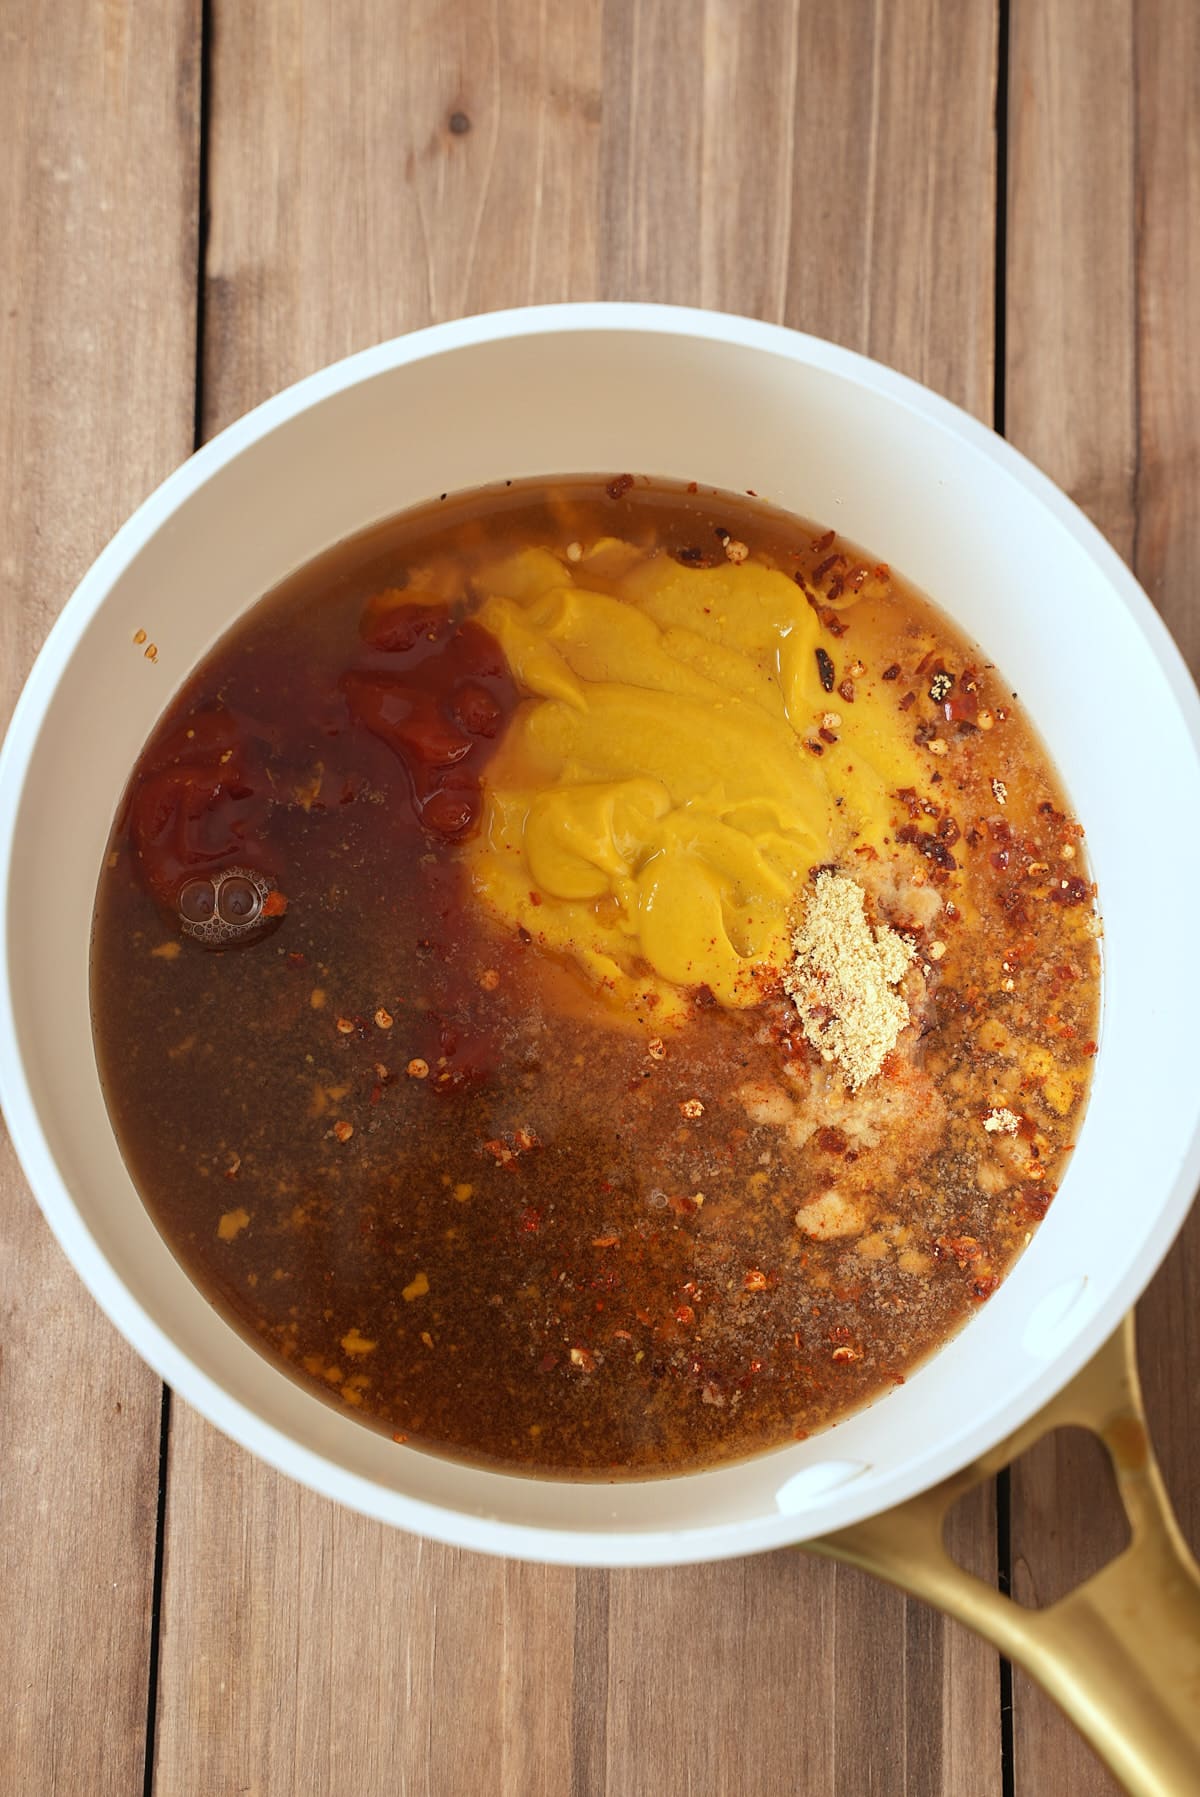
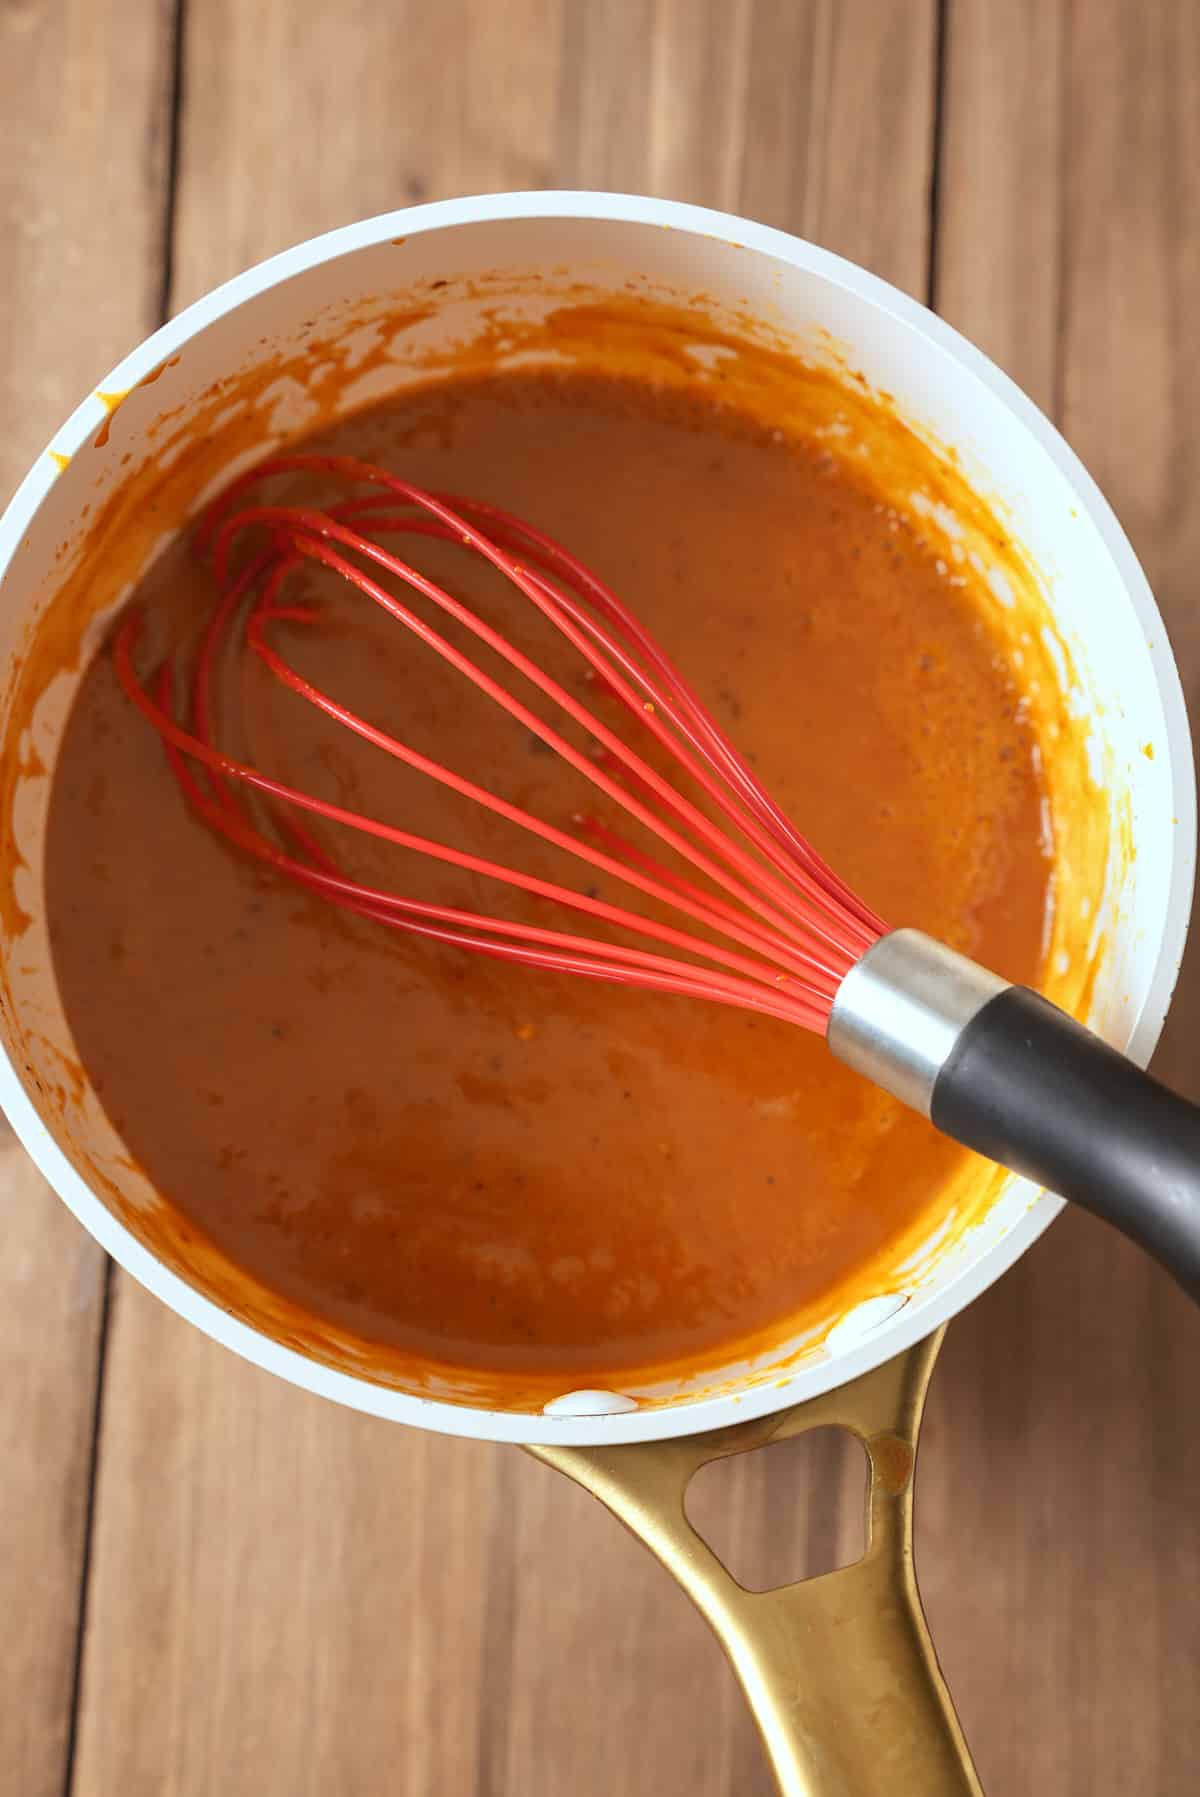
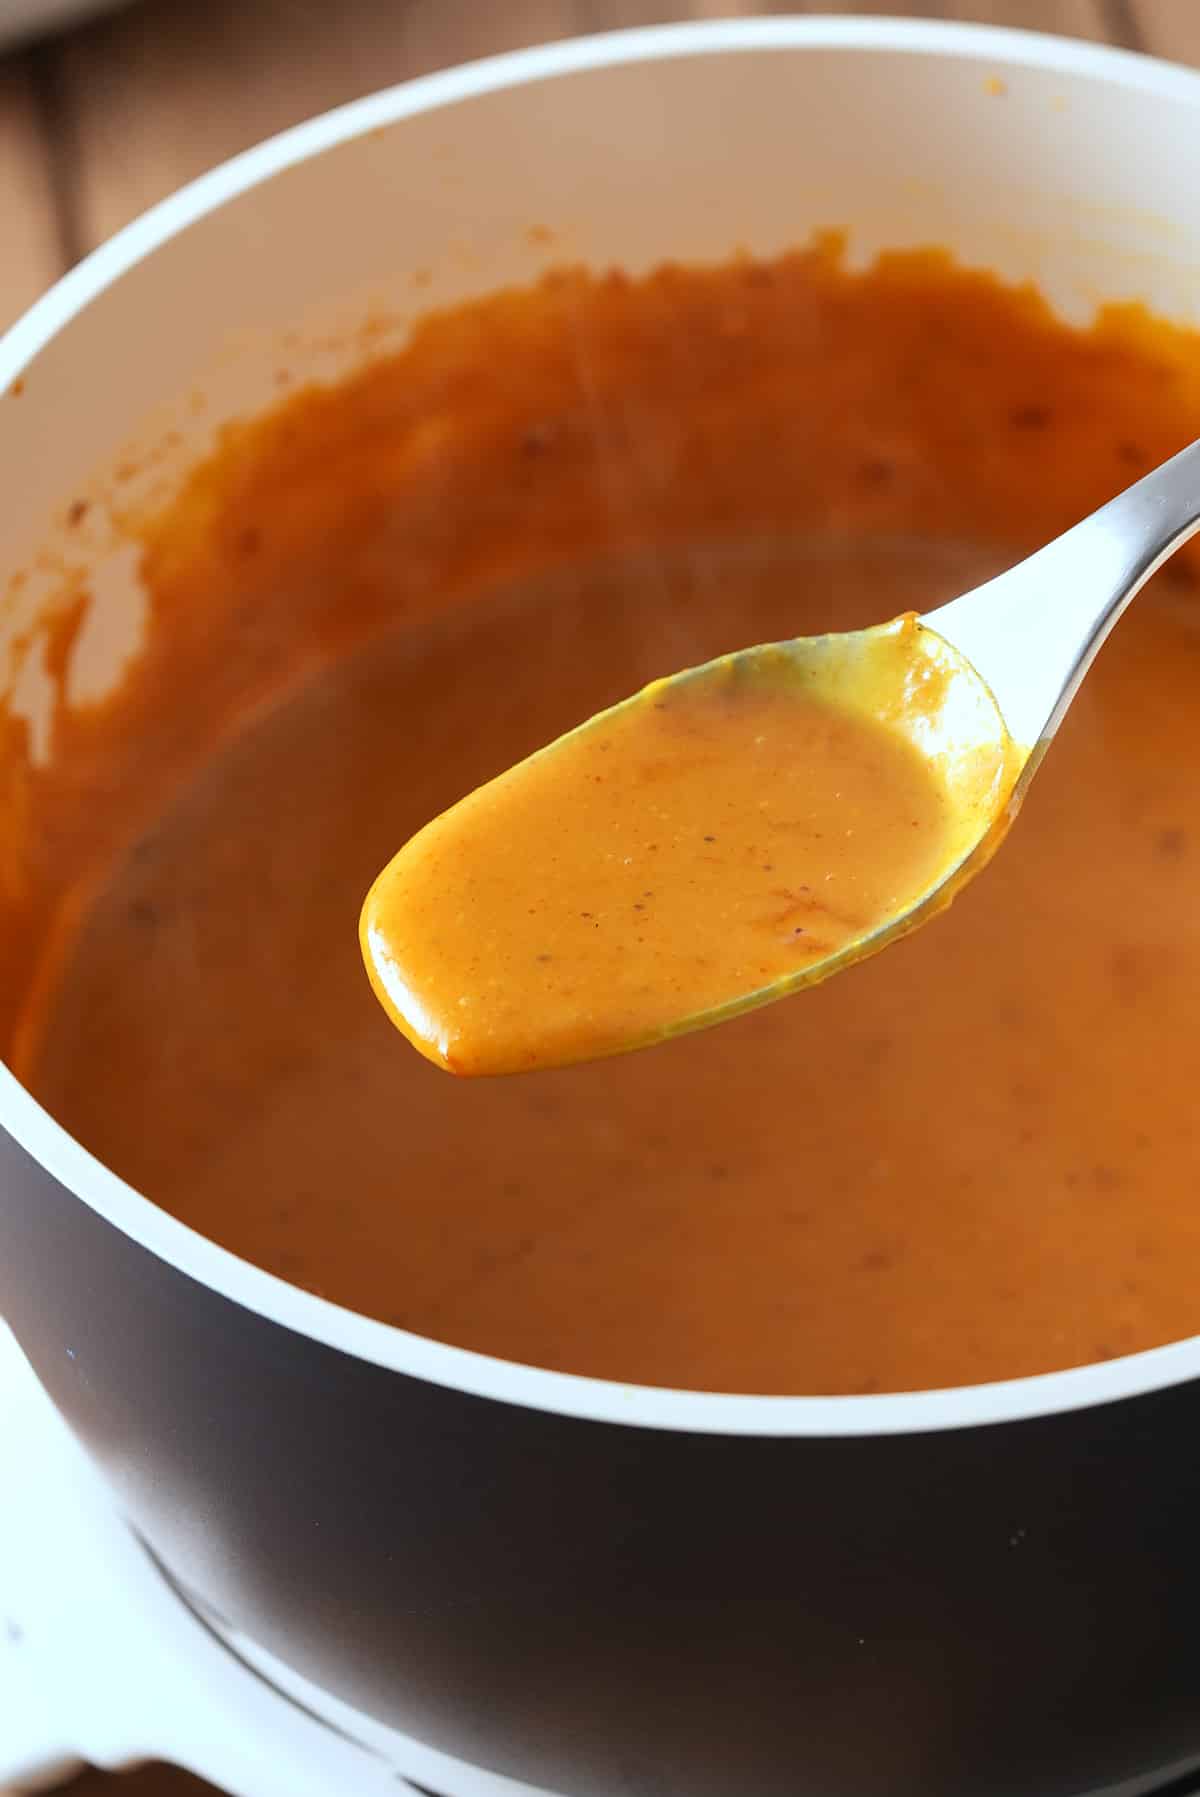
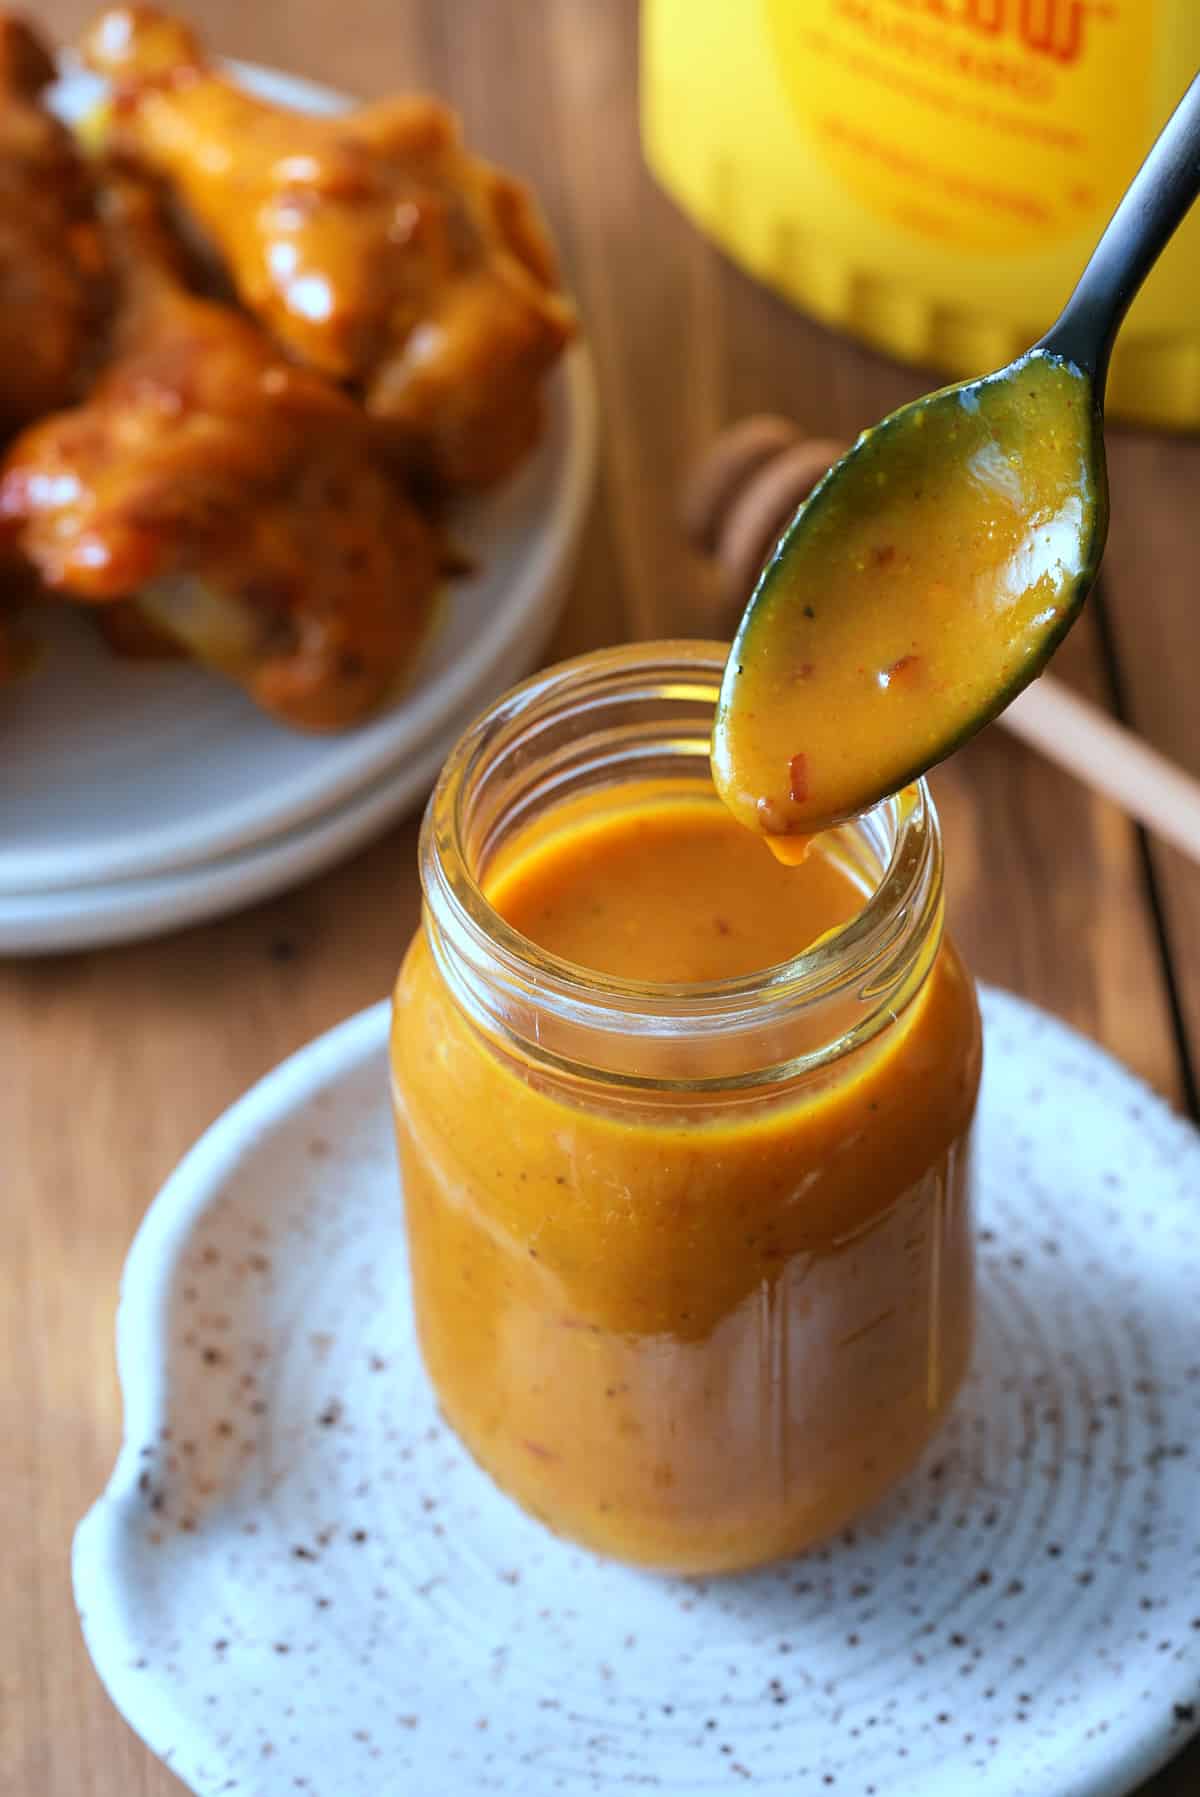
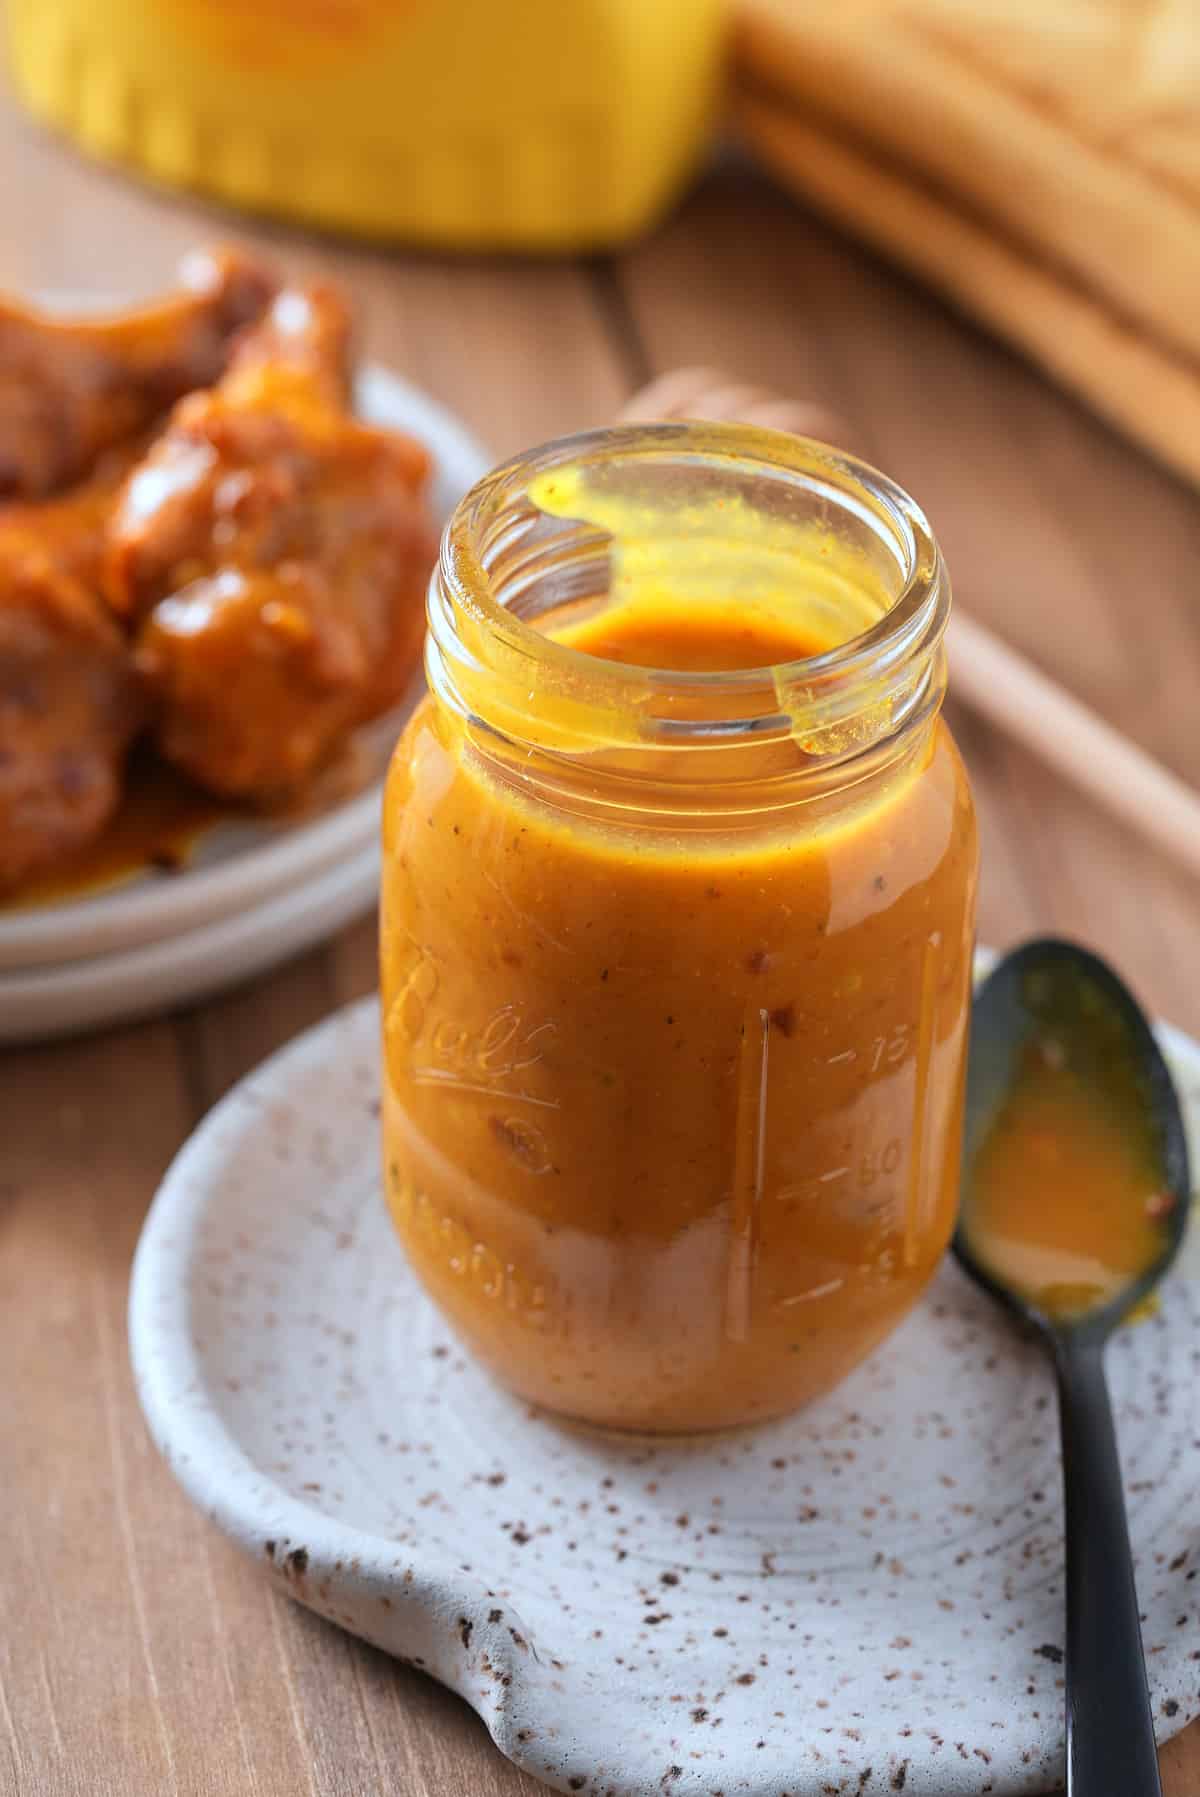
- Carolina Gold BBQ Ribs: For a unique twist, consider creating a Carolina Gold BBQ sauce variation for your ribs. After preparing and air frying your ribs as usual, during the last 5-10 minutes of cooking, generously brush them with Carolina Gold BBQ Sauce, allowing it to caramelize slightly, imparting a tangy and sweet flavor with a hint of mustard tang. The Carolina Gold BBQ Sauce can also be offered on the side for extra dipping.
How to store
To refrigerate: These ribs are best consumed immediately but can be stored in an airtight container in the refrigerator for up to 3-4 days.
To freeze: After cooking, allow the ribs to cool to room temperature before wrapping them tightly with plastic wrap or aluminum foil to preserve their moisture and flavor. After wrapping, put them in a sealed bag, mark them with the date, and keep them in the freezer for 3 months.
To reheat: When you're ready to eat the ribs, it's best to thaw them in the refrigerator overnight, then reheat them in the oven at 350°F until they're warmed through or in the air fryer at 350°F for about 7-8 minutes.
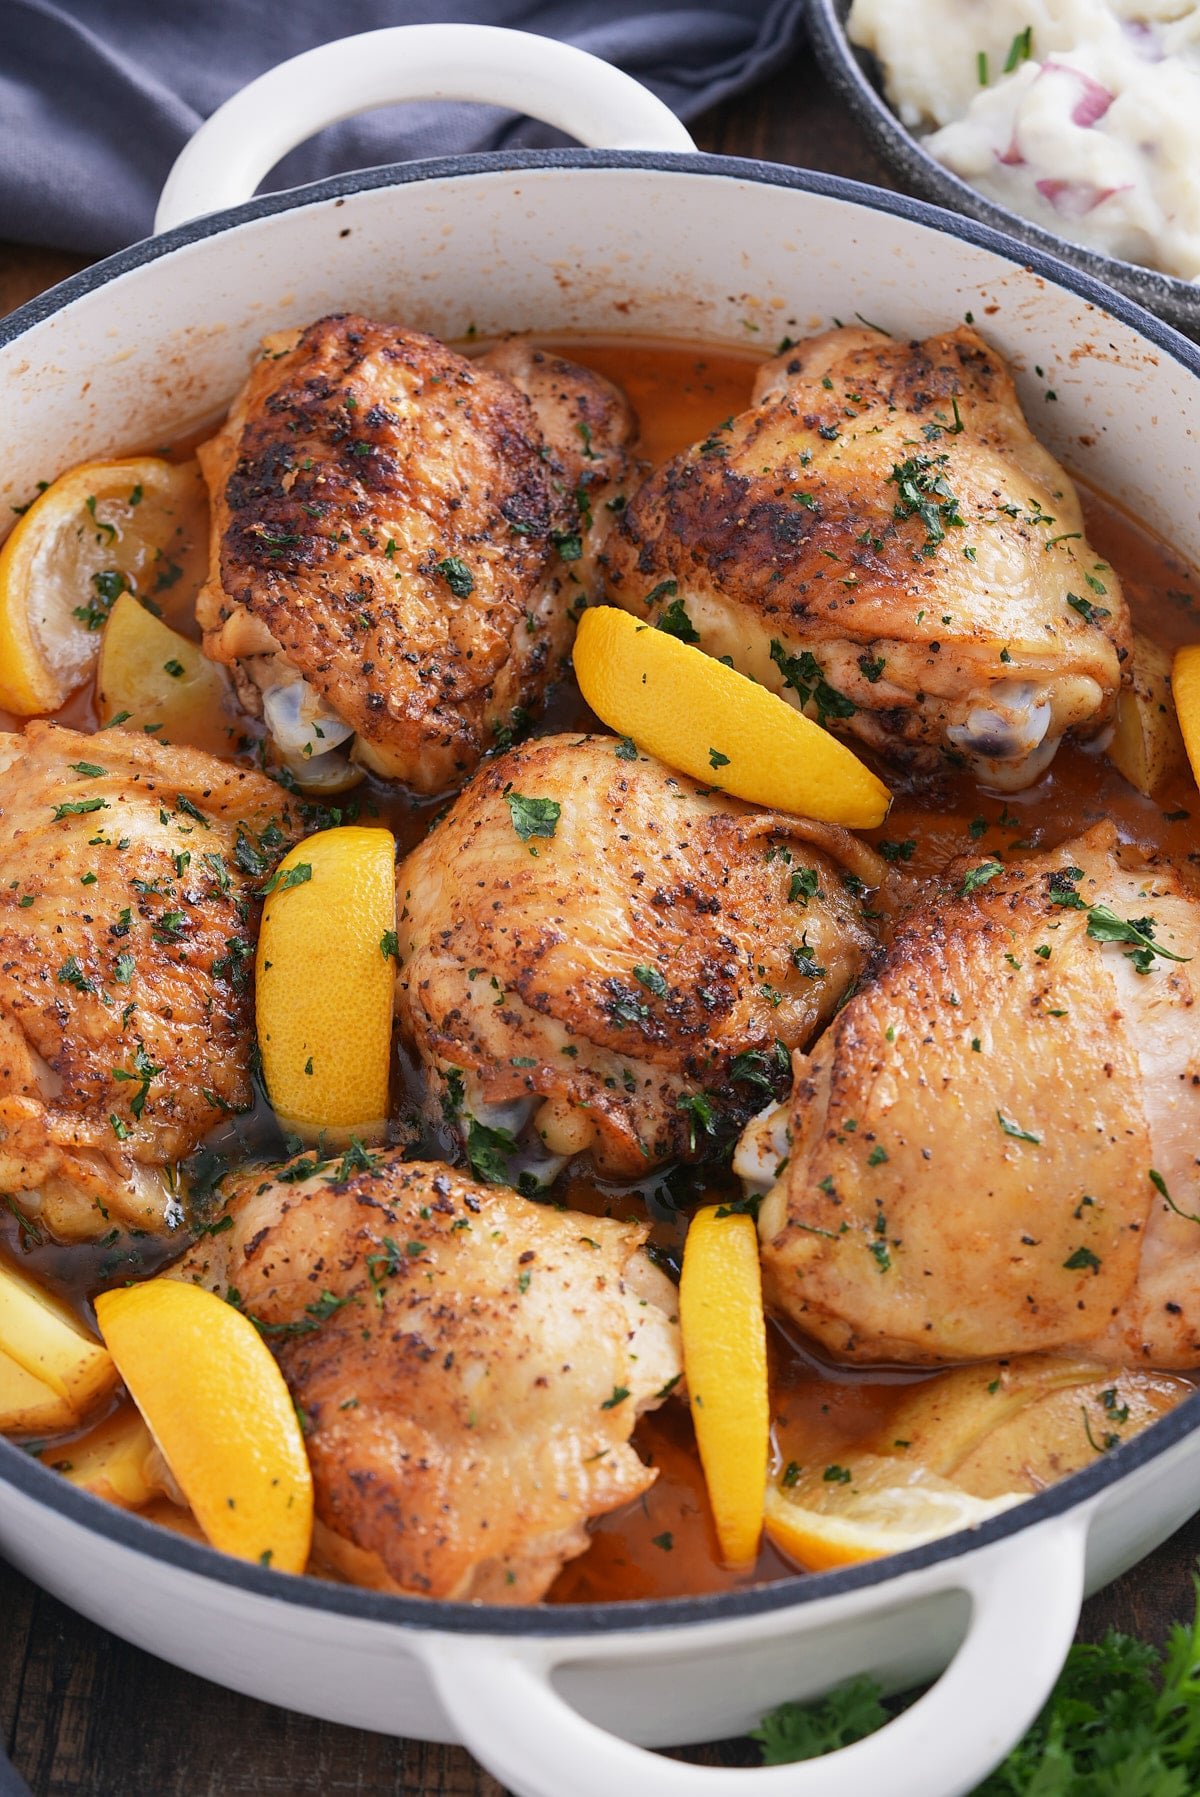
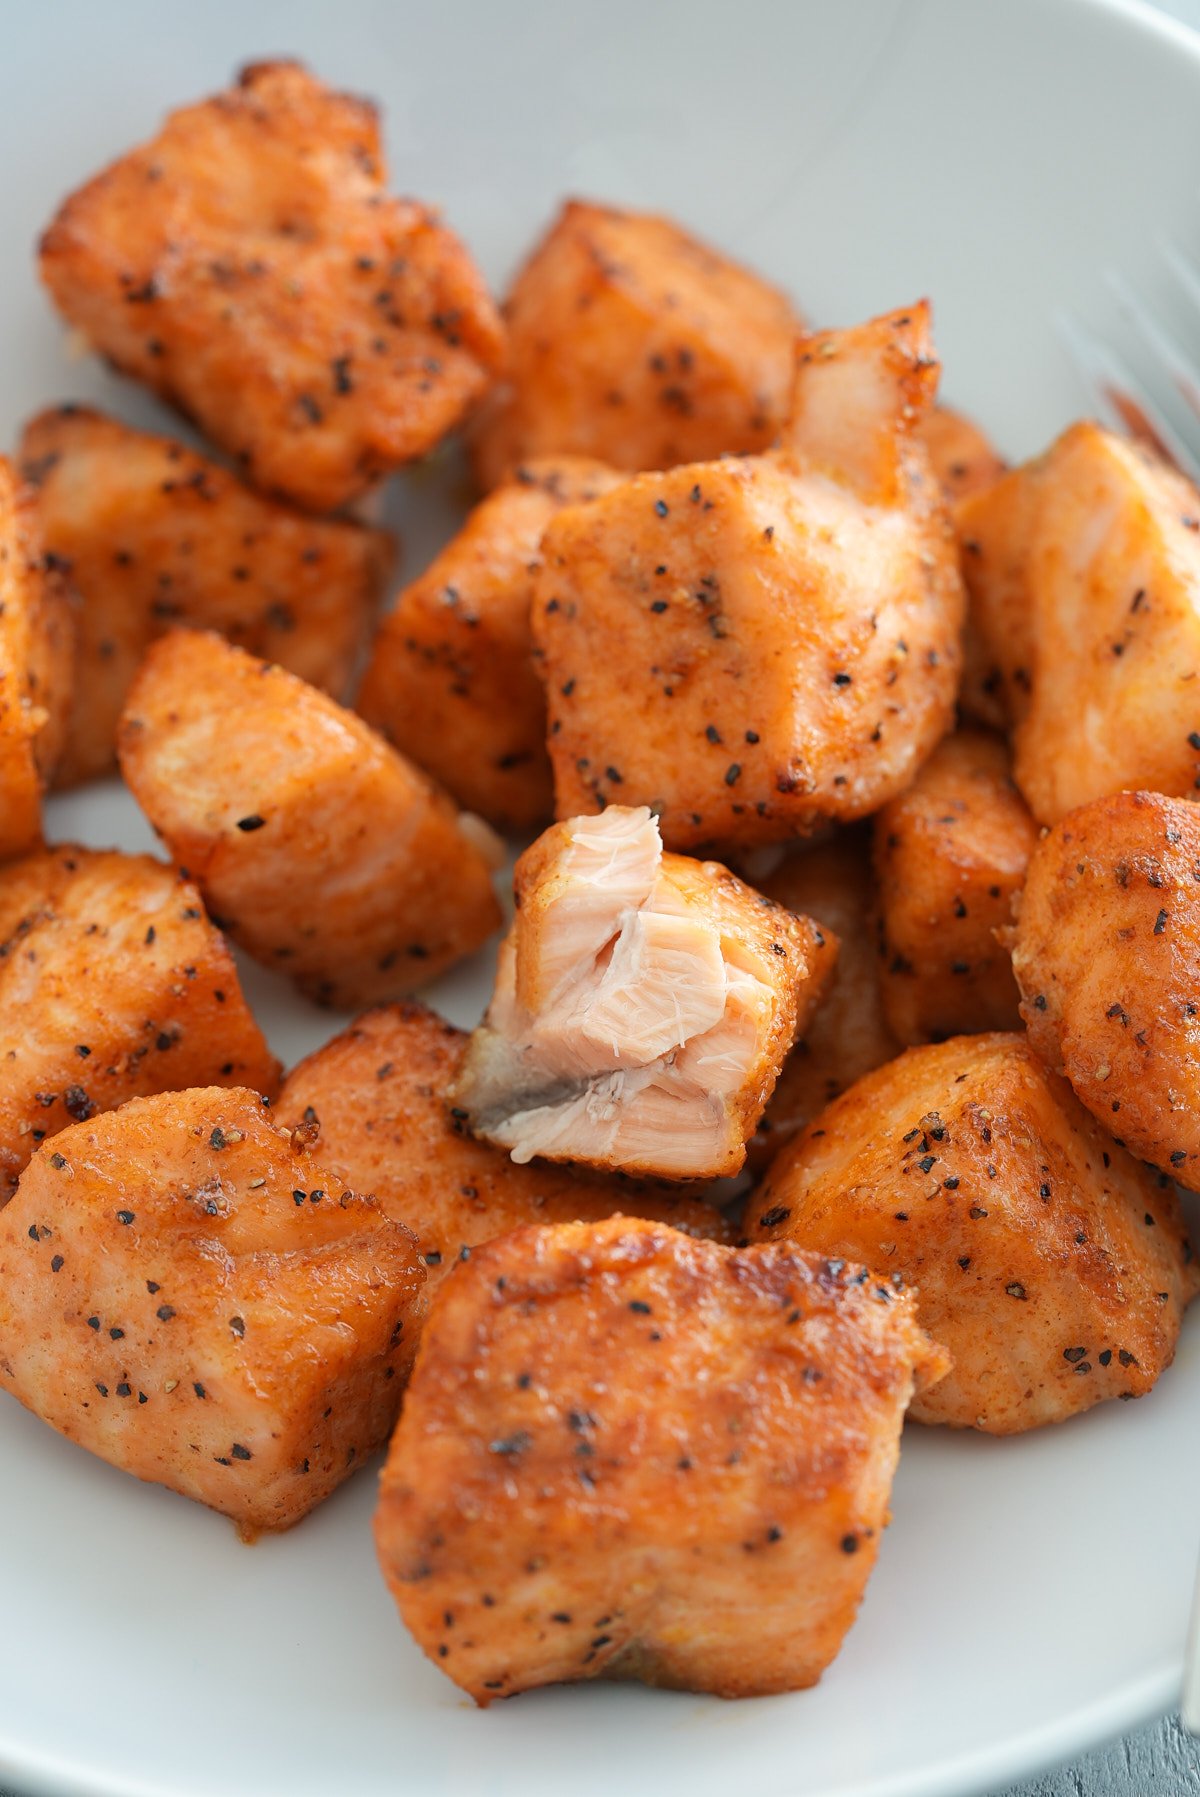
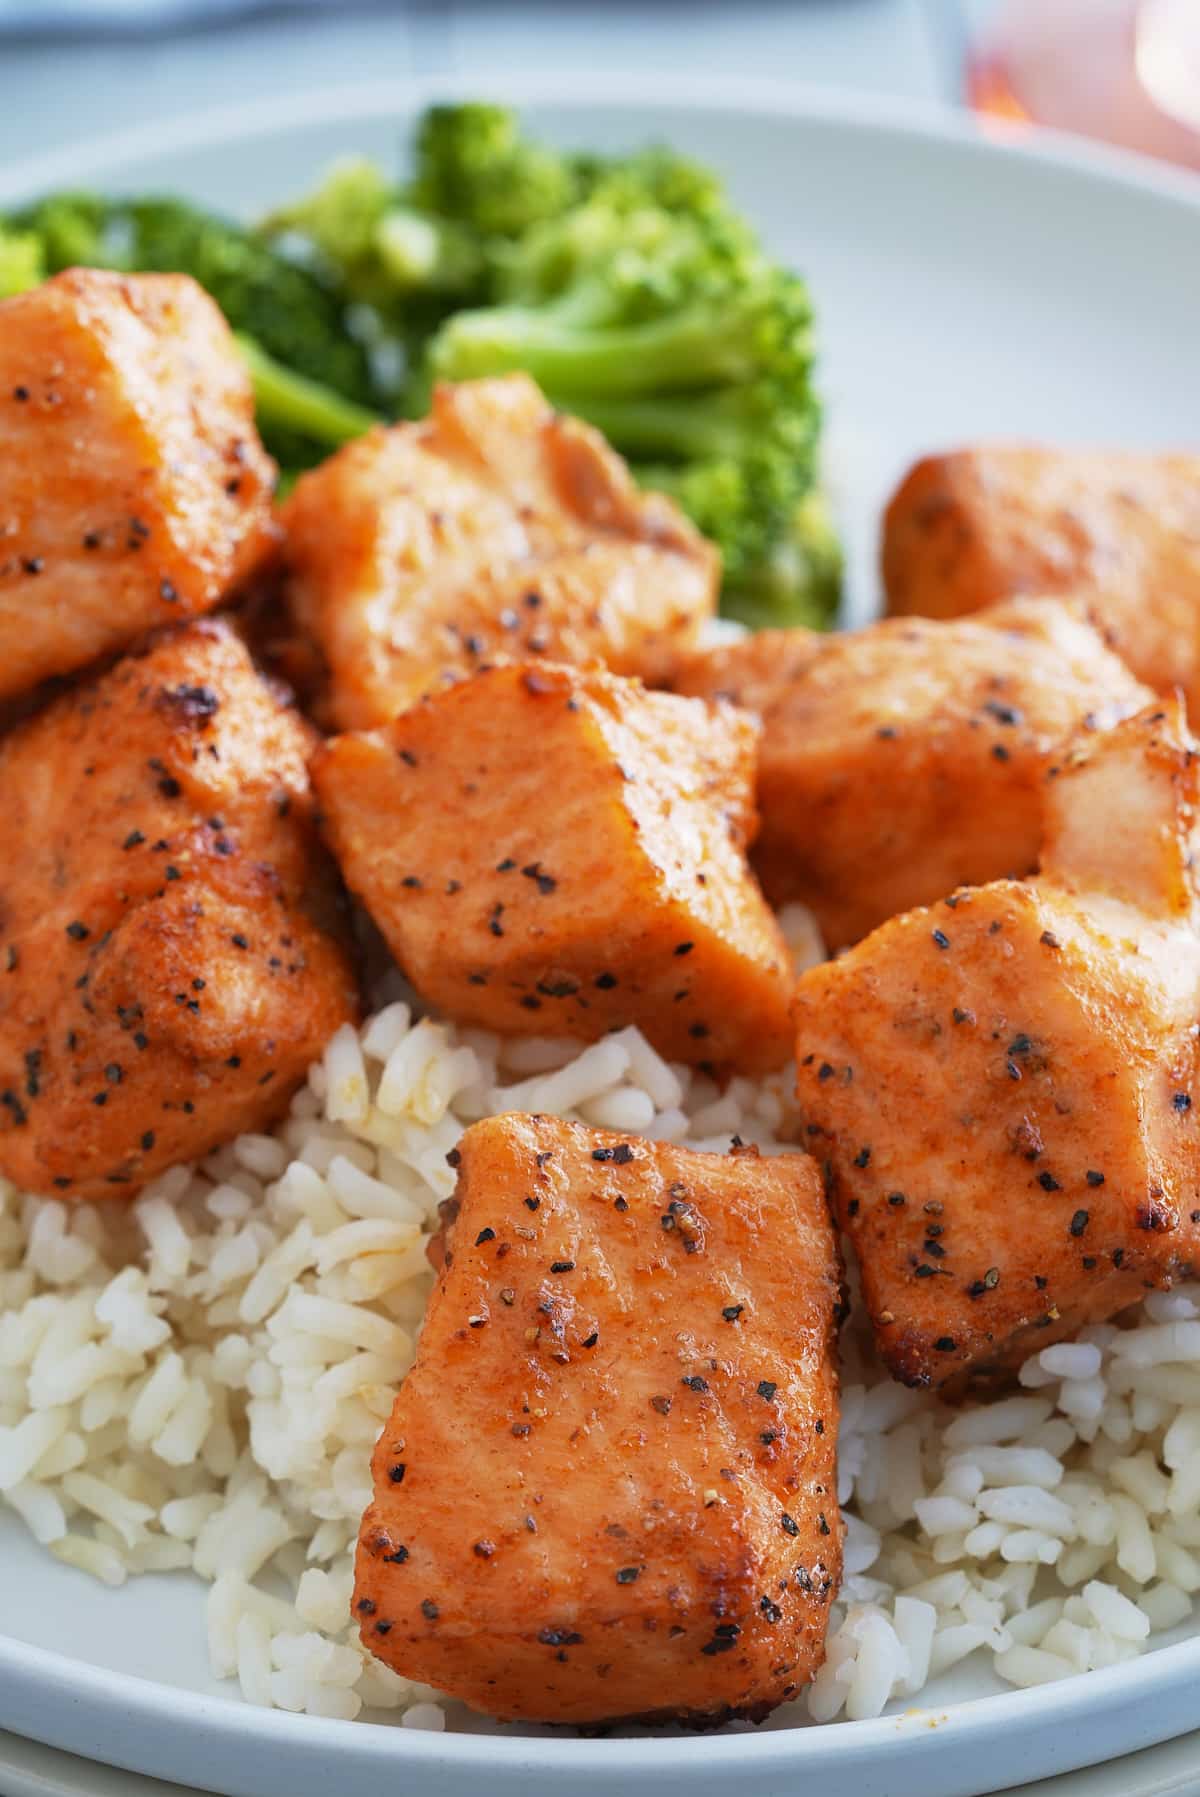
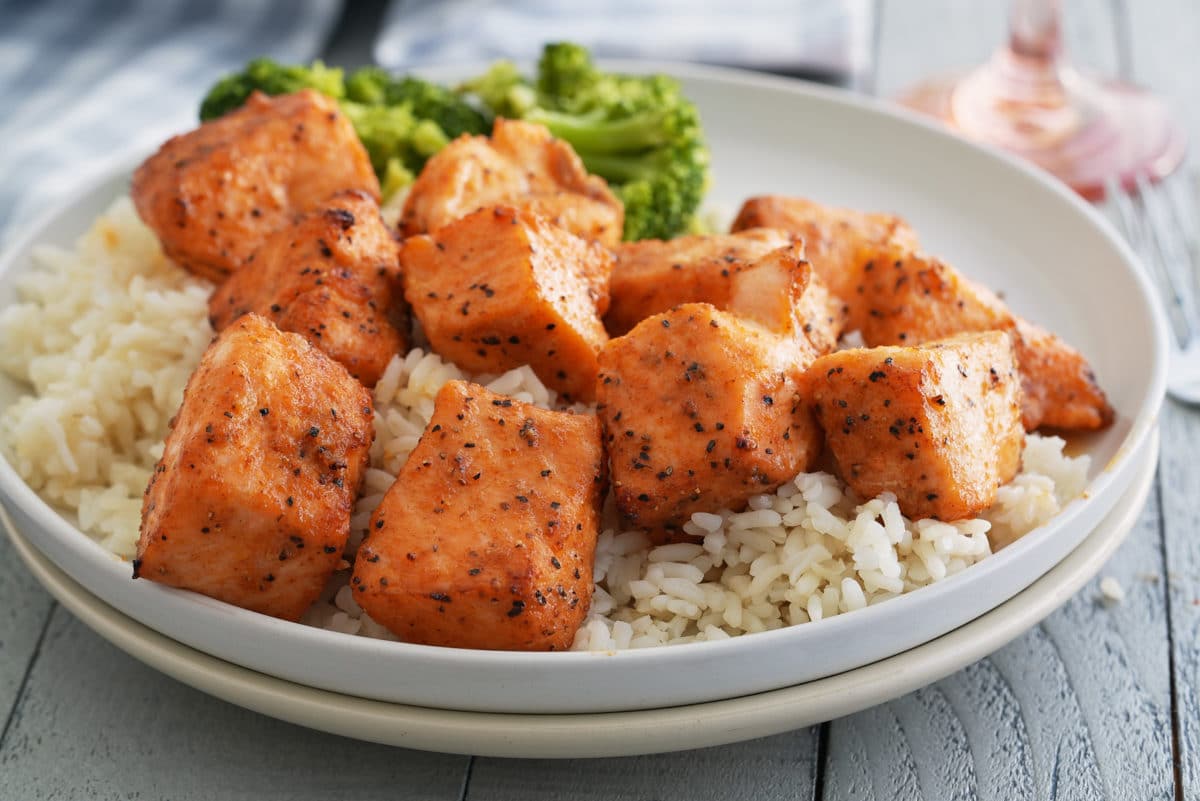
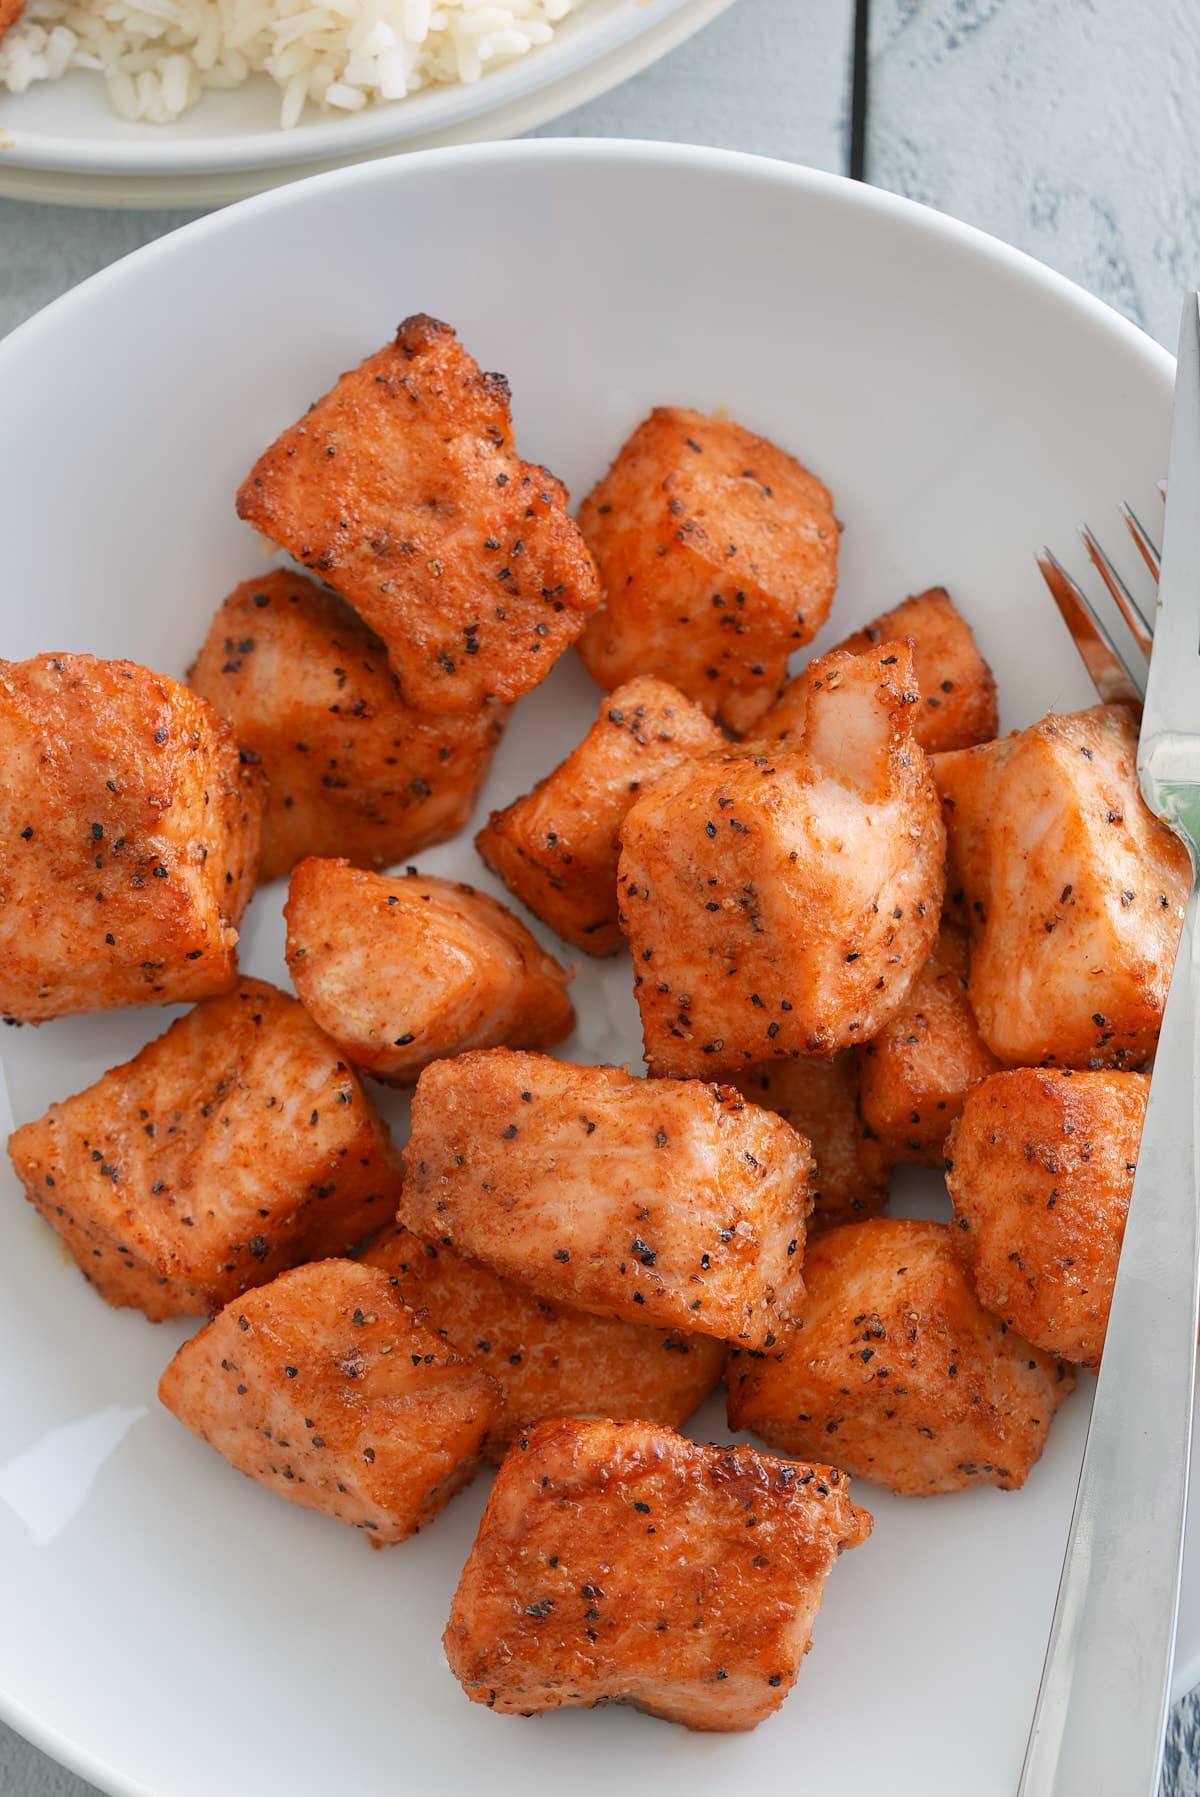
And there you have it, amazing tender BBQ ribs.
Looking for more air fryer recipes? Try these out:
- Air Fryer Chicken Legs (Also BBQ)
- Air Fryer Steak with Garlic Herb Butter
- Air Fryer Pork Chops
- Air Fried Jamaican Jerk Pork
These ribs are great served with these recipes:
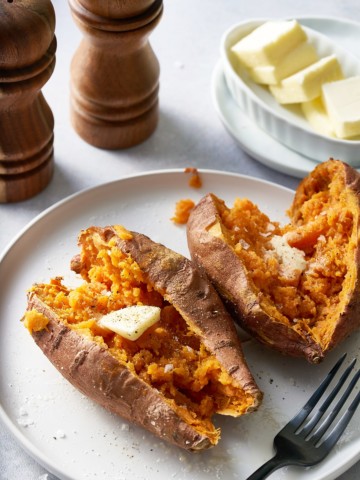
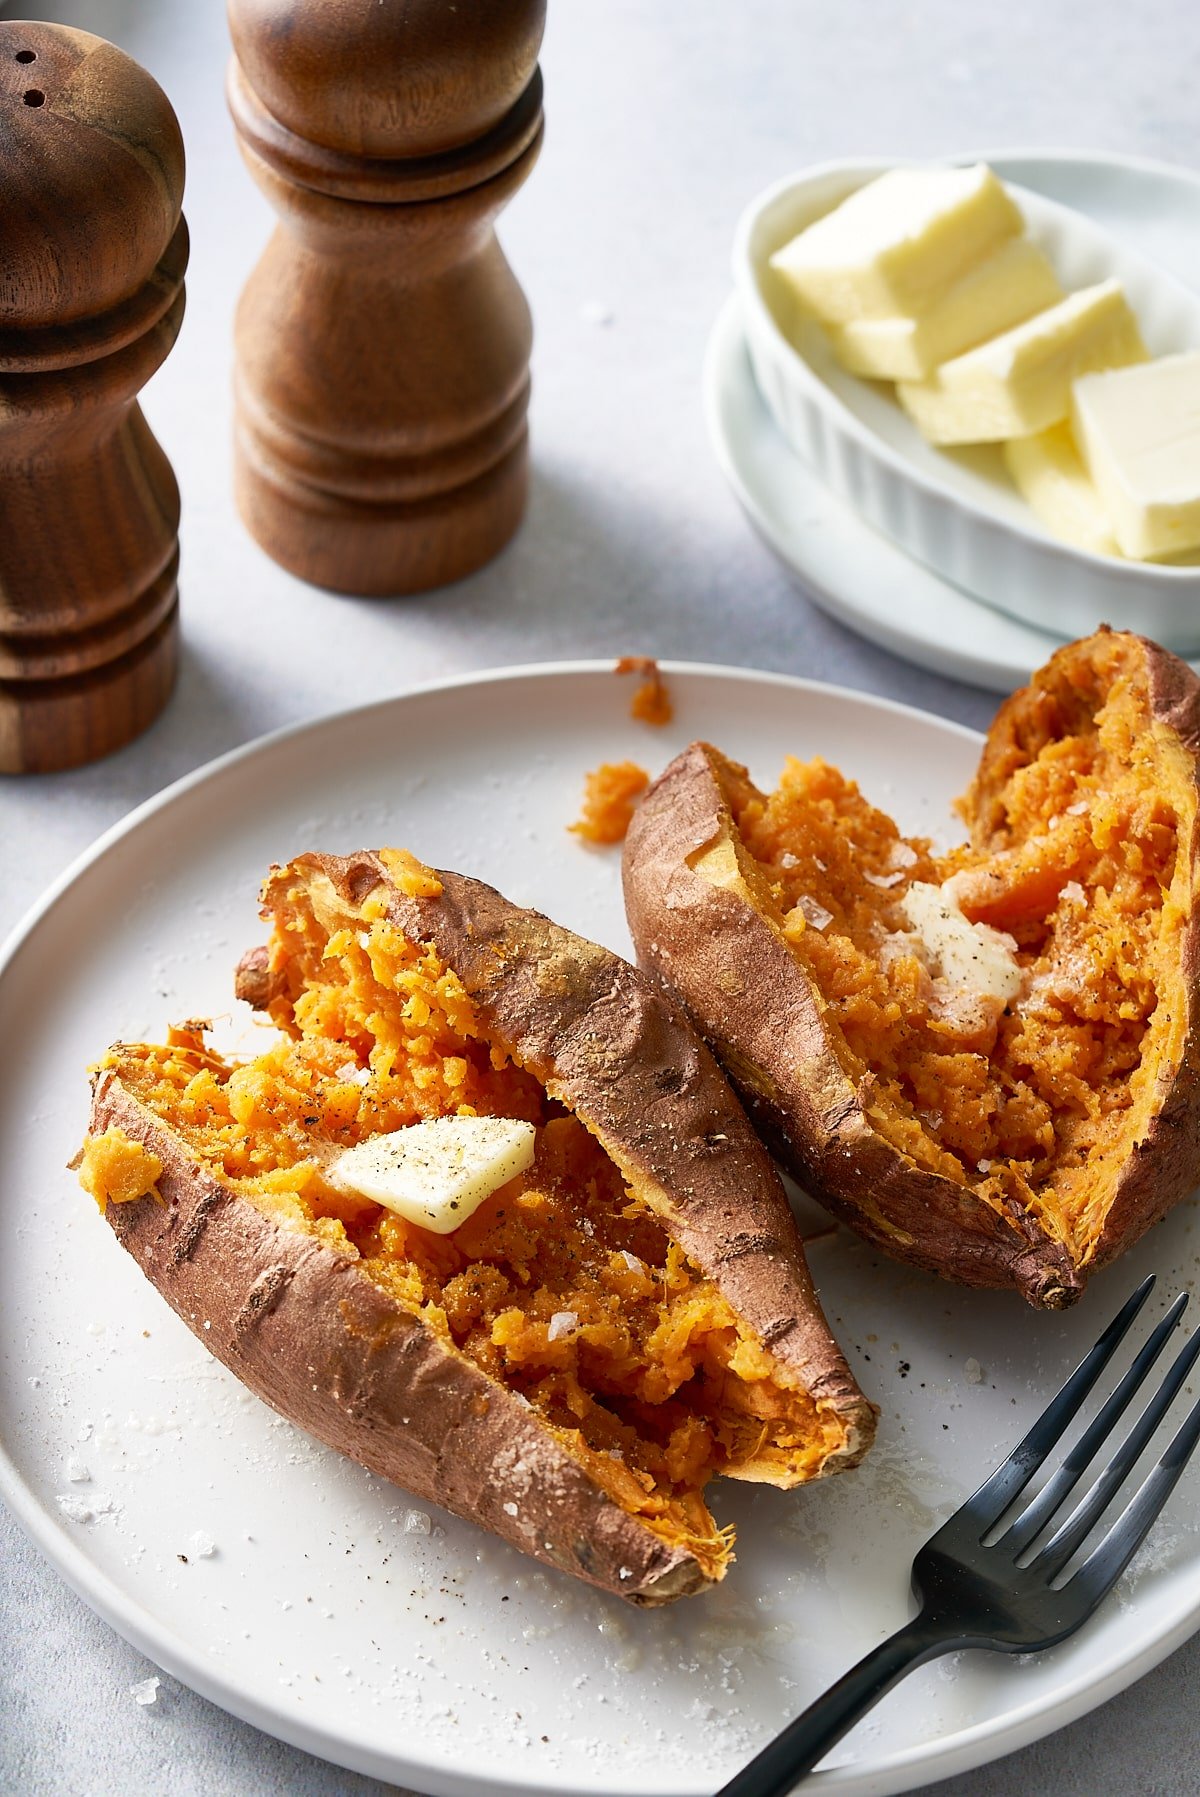
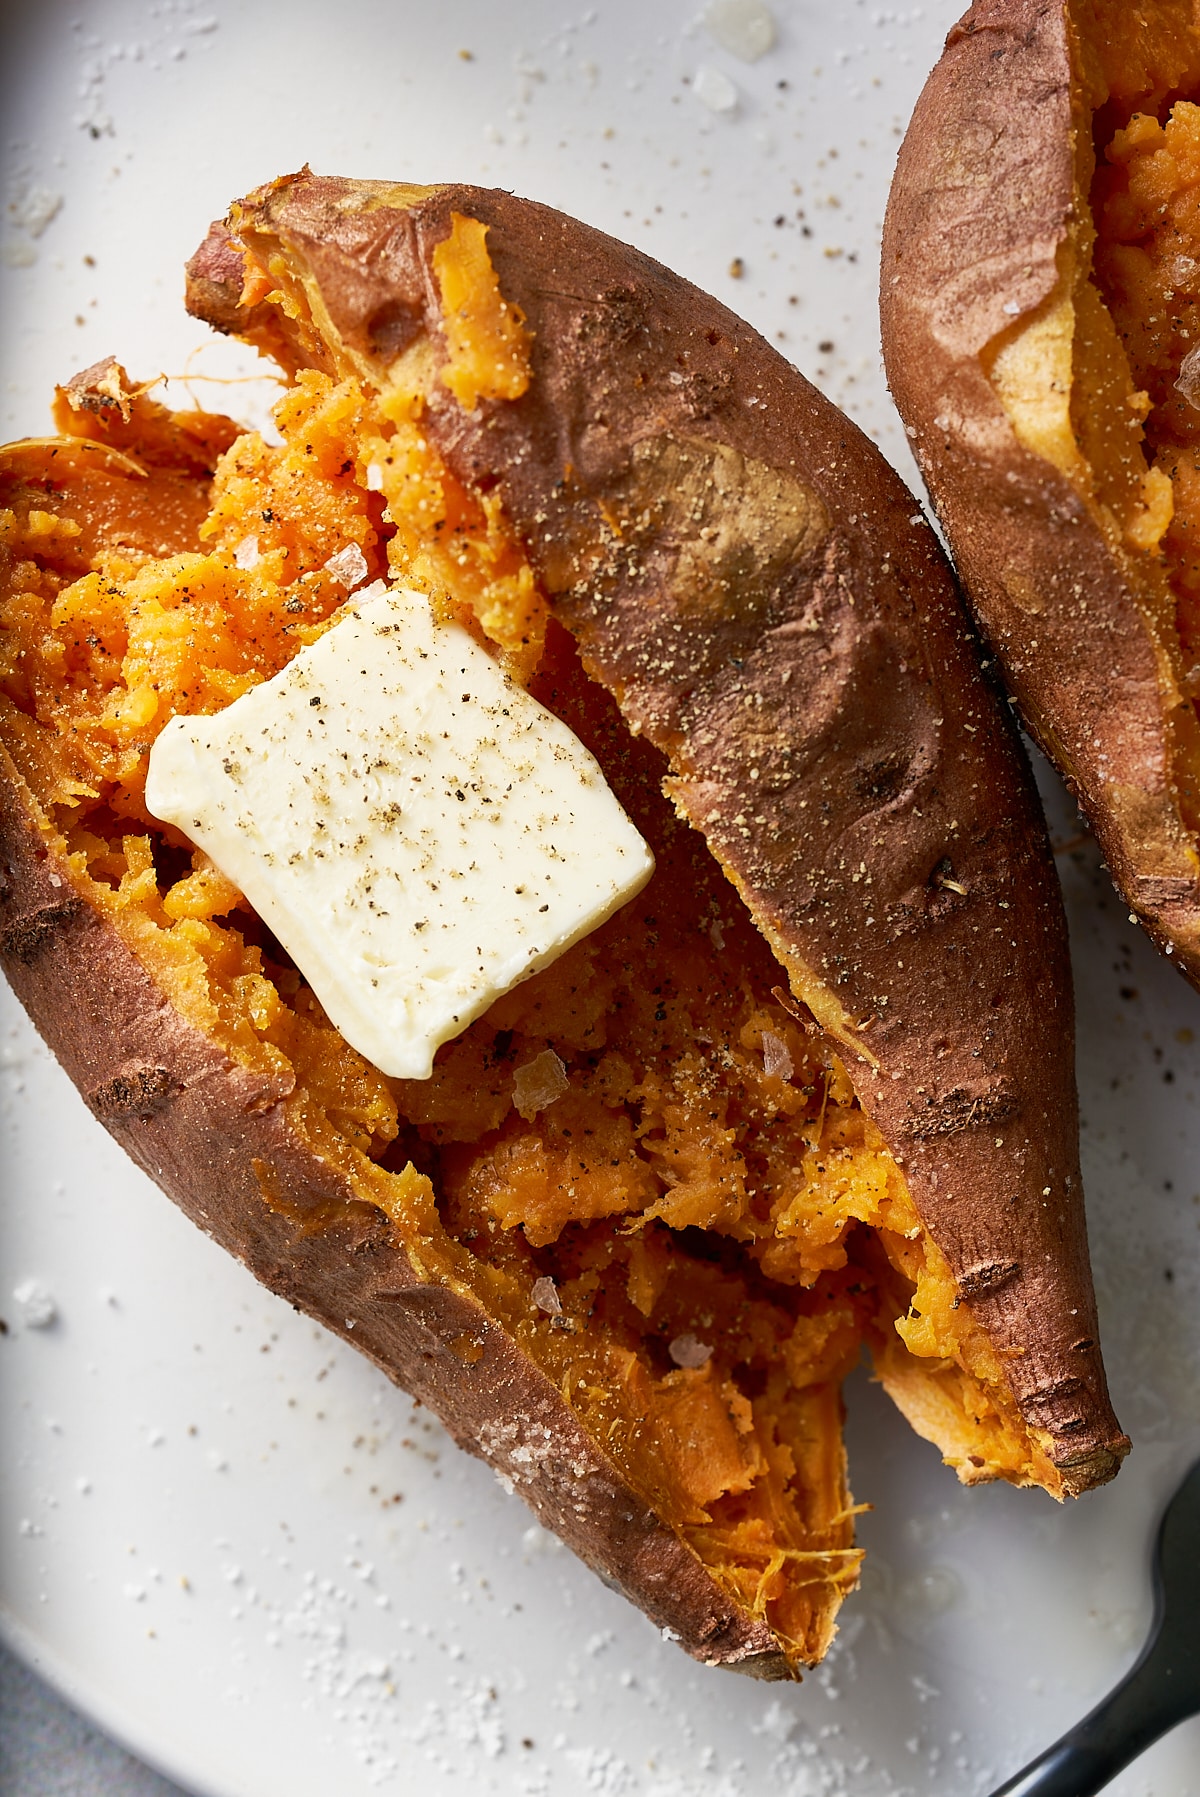
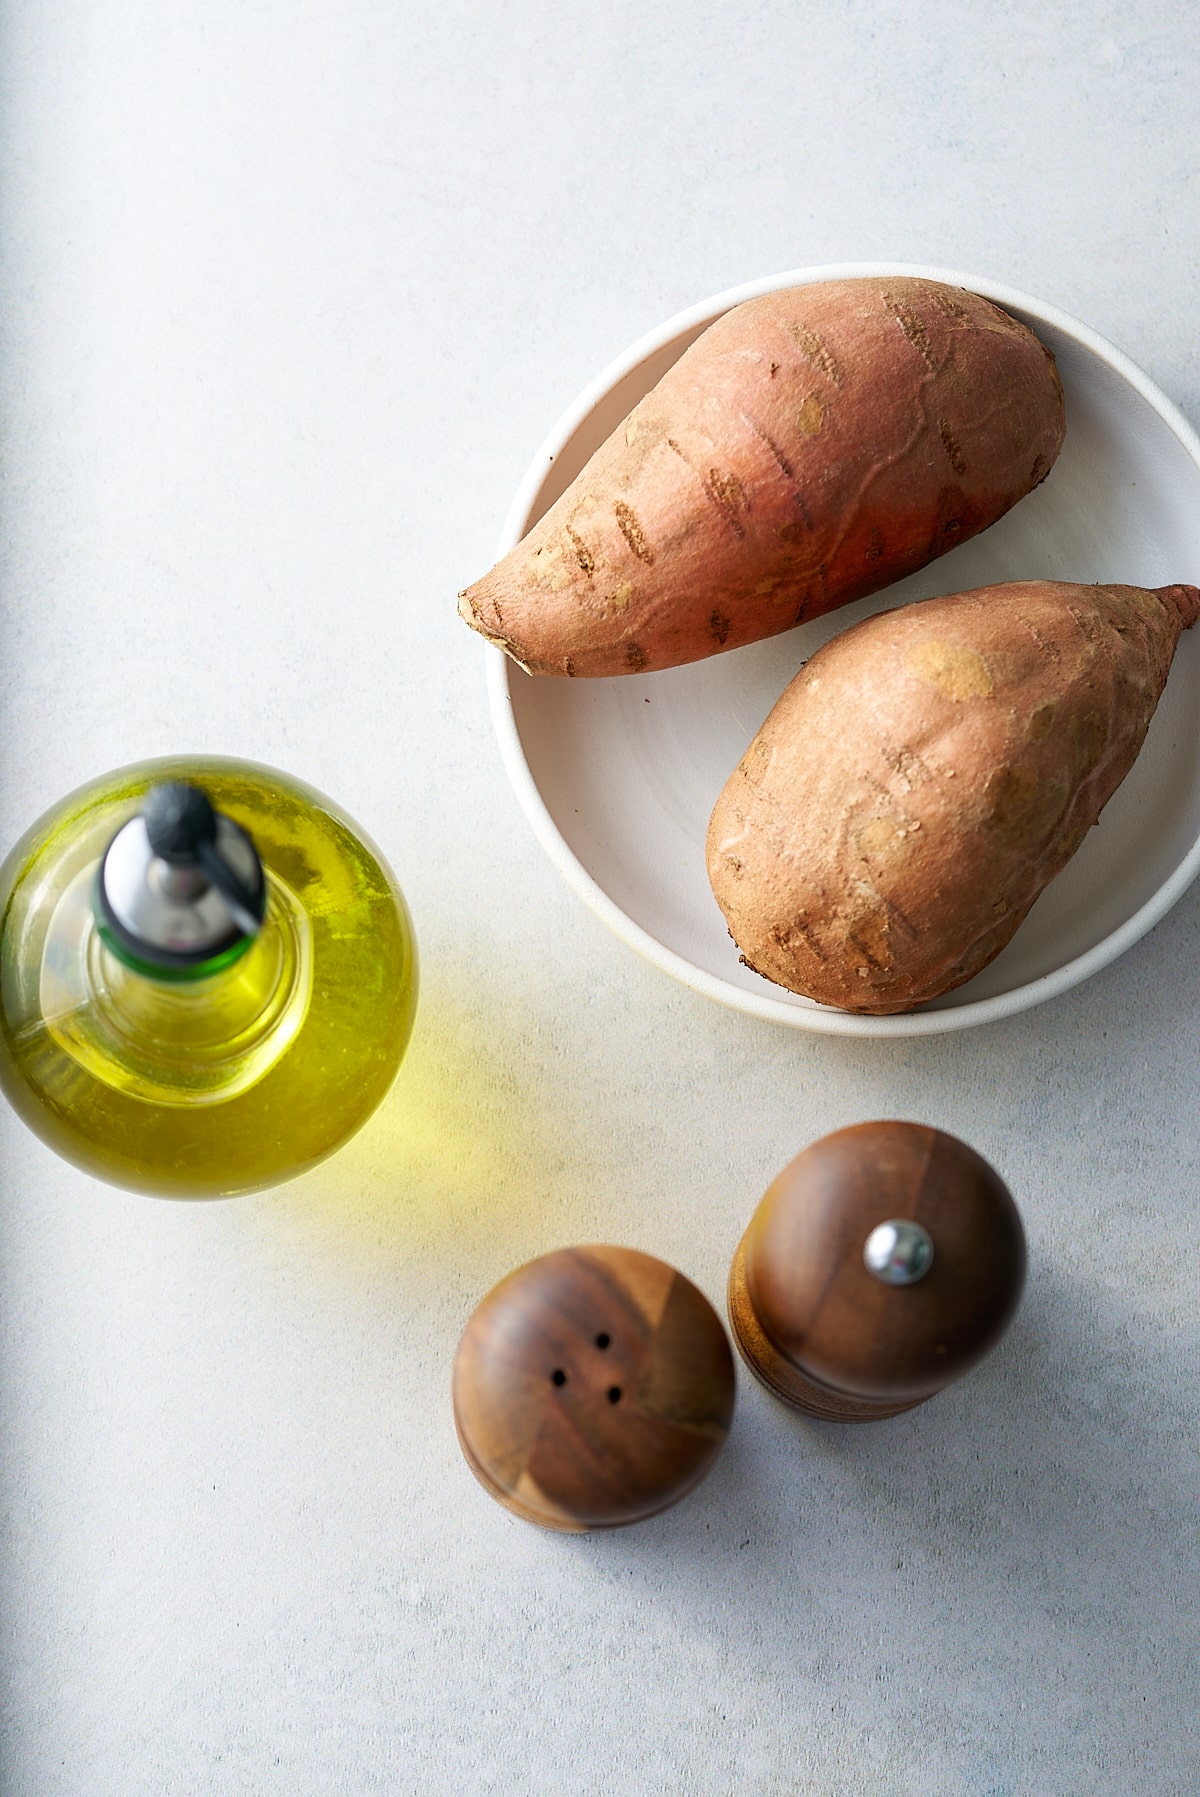
- Air Fryer Baked Sweet Potato with Hot Honey Butter
- French Fries
- Cheddar and Sour Cream Corn on the Cob
- Coleslaw
Ribs in an air fryer typically take about 30 minutes at 380°F, depending on the thickness and your preferred level of doneness.
I don't use foil for this method. The ribs remain tender and juicy without the foil.
This Recipe has a full Length Video Tutorial. You can watch the full video on YouTube by clicking HERE.
Easy BBQ Air Fryer Ribs
Equipment
Ingredients
Instructions
- Season the ribs with bbq spice rub, covering both sides of the ribs.
- Preheat the air fryer to 380 degrees Fahrenheit for a few minutes, then place the ribs in the air fryer basket, meat side down and cook for 20 minutes.
- Once the 20 minutes is up, grab a pair of tongs and flip the ribs over, and cook for an additional 10 minutes on 380 degrees.
- Once the timer is up, open the basket and cover with the bbq sauce. Return to Air fryer and cook for 5 minutes on 400 degrees Fahrenheit.
- Remove and allow the ribs to rest for a few minutes. Feel free to cover with additional bbq sauce if you like saucy ribs.
Video
Notes
- The cook times in this recipe are for pork baby back ribs. Beef ribs will likely take longer to cook.
- I used my large air fryer (5.3qt) to ensure all my ribs would fit into the basket.
Nutrition
This recipe post was originally posted on January 14, 2020. It has been updated with additional helpful information and suggestions.