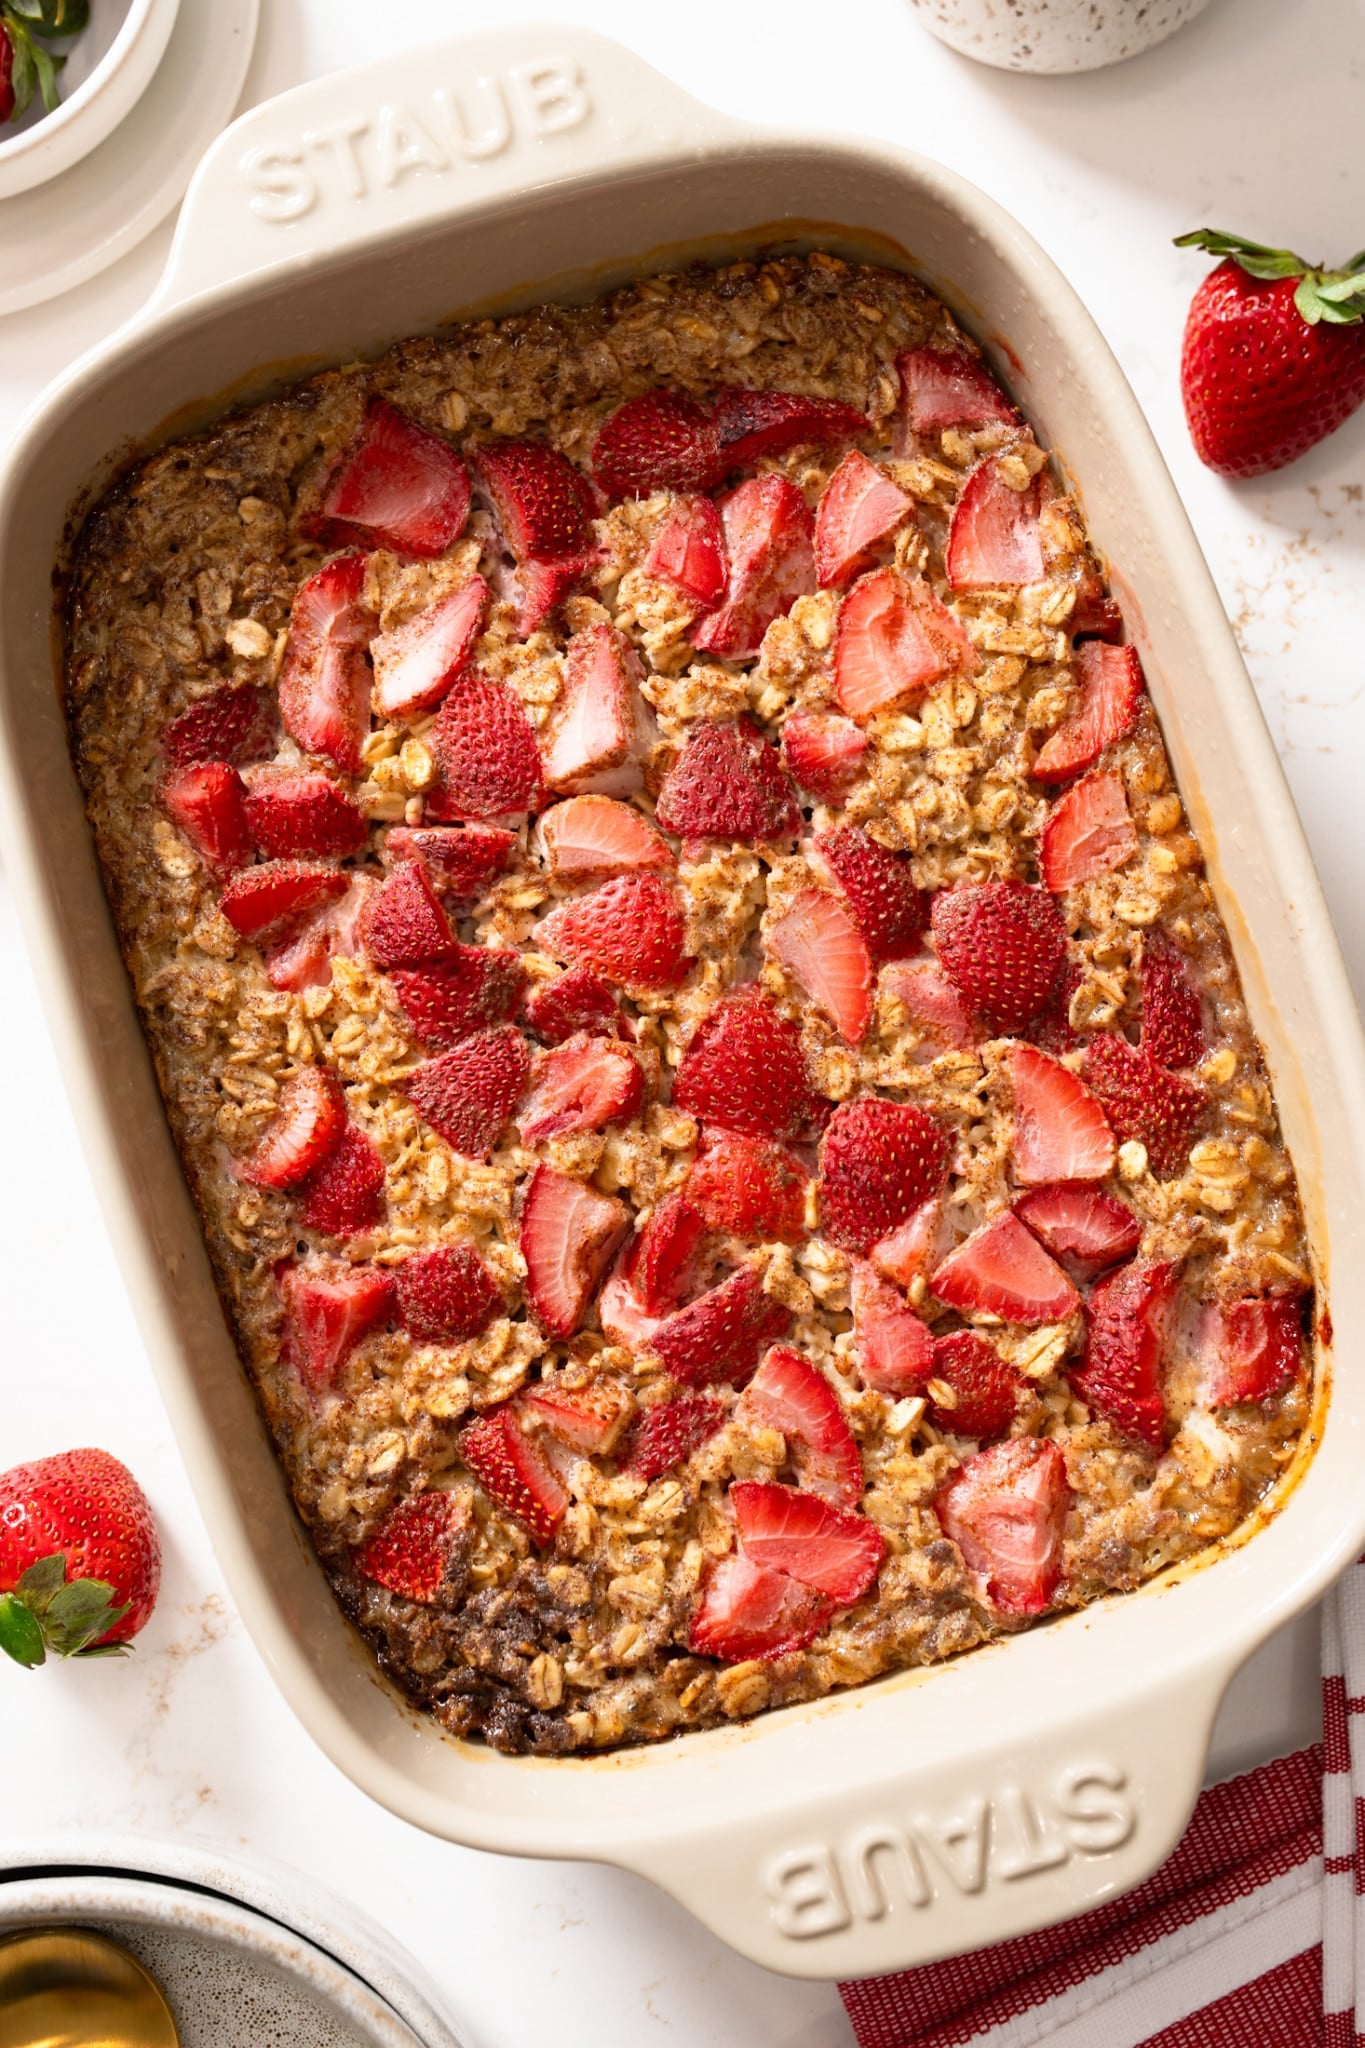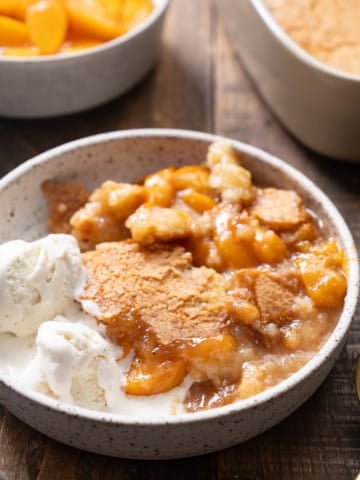
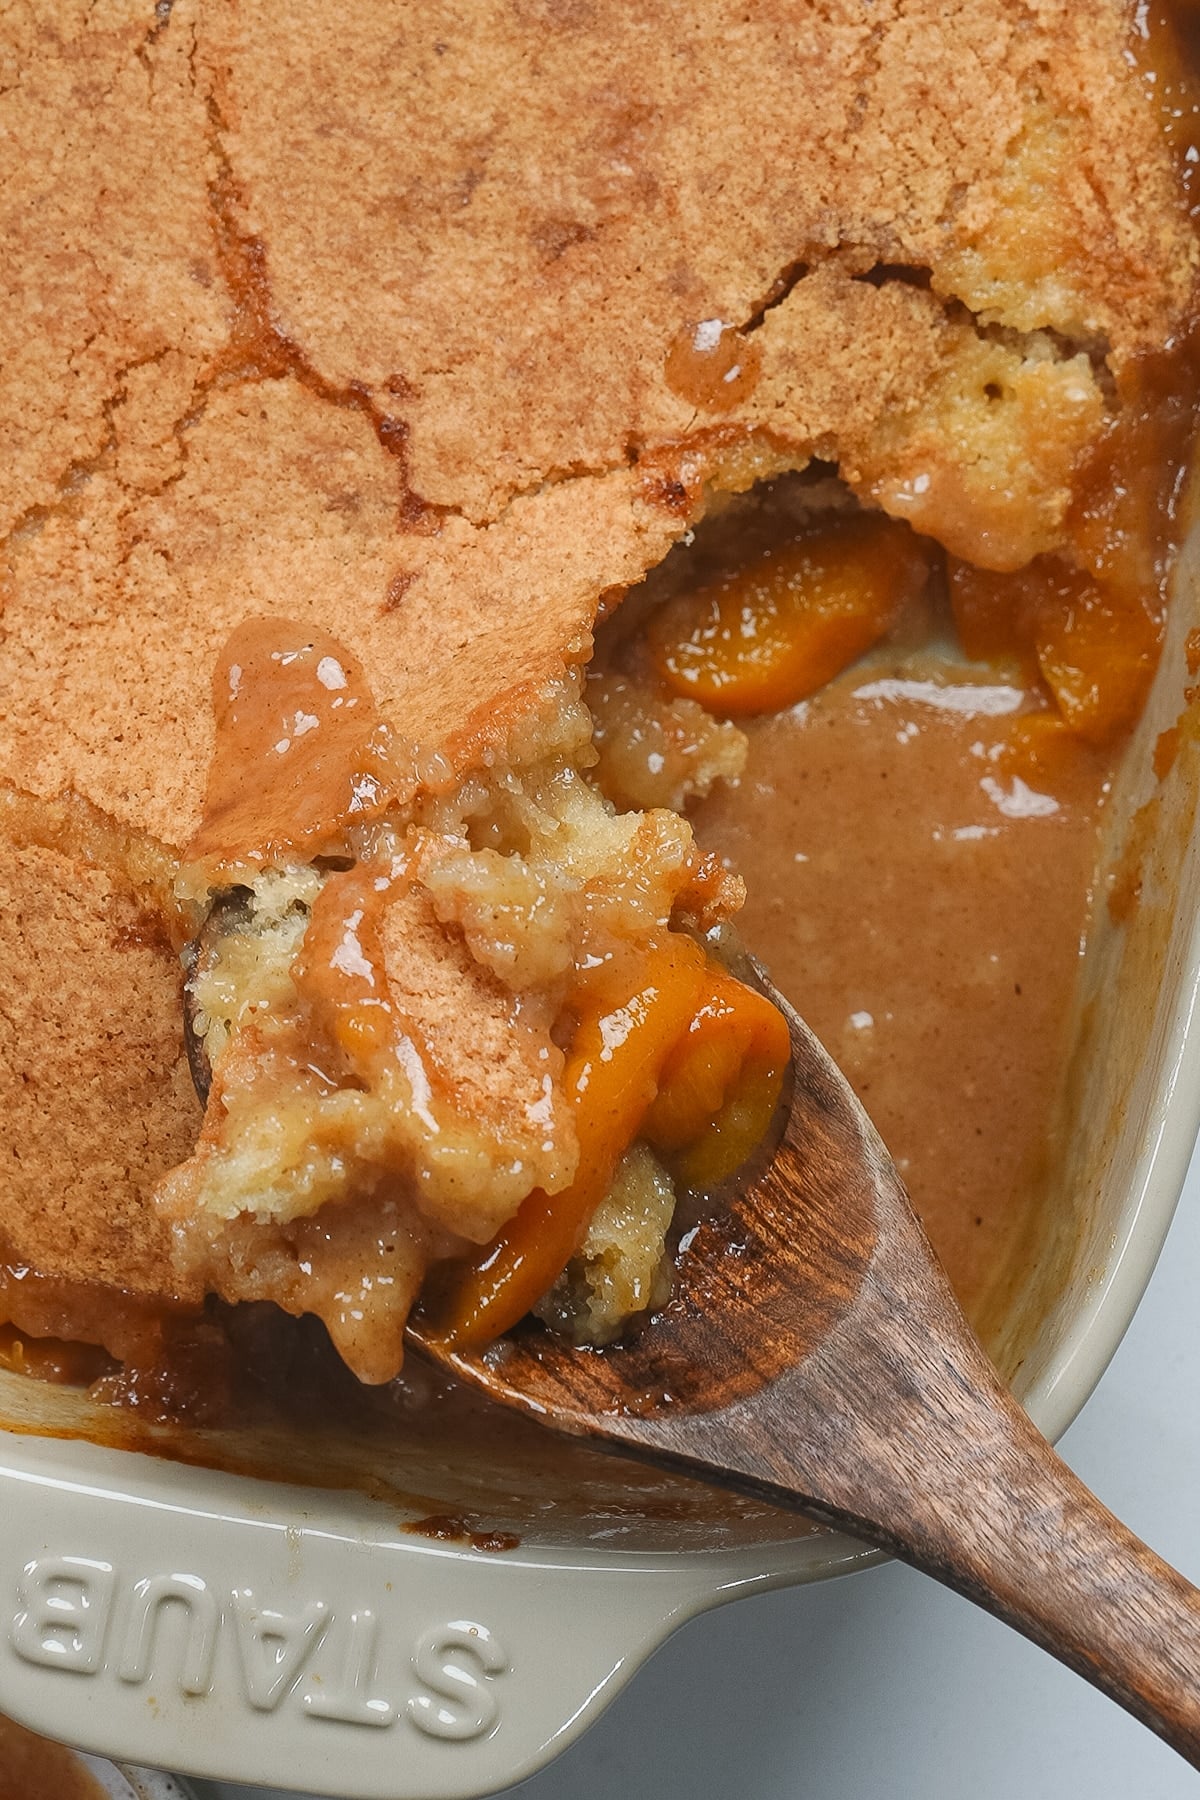
This peach cobbler has a crispy biscuit topping over a thick, syrupy peach filling. It's made with canned peaches and pantry staples, and comes together with minimal effort.
You’ll find the full recipe with ingredient amounts and instructions in the recipe card at the bottom of this post. Be sure to check out the blog post itself for extra tips and tricks!

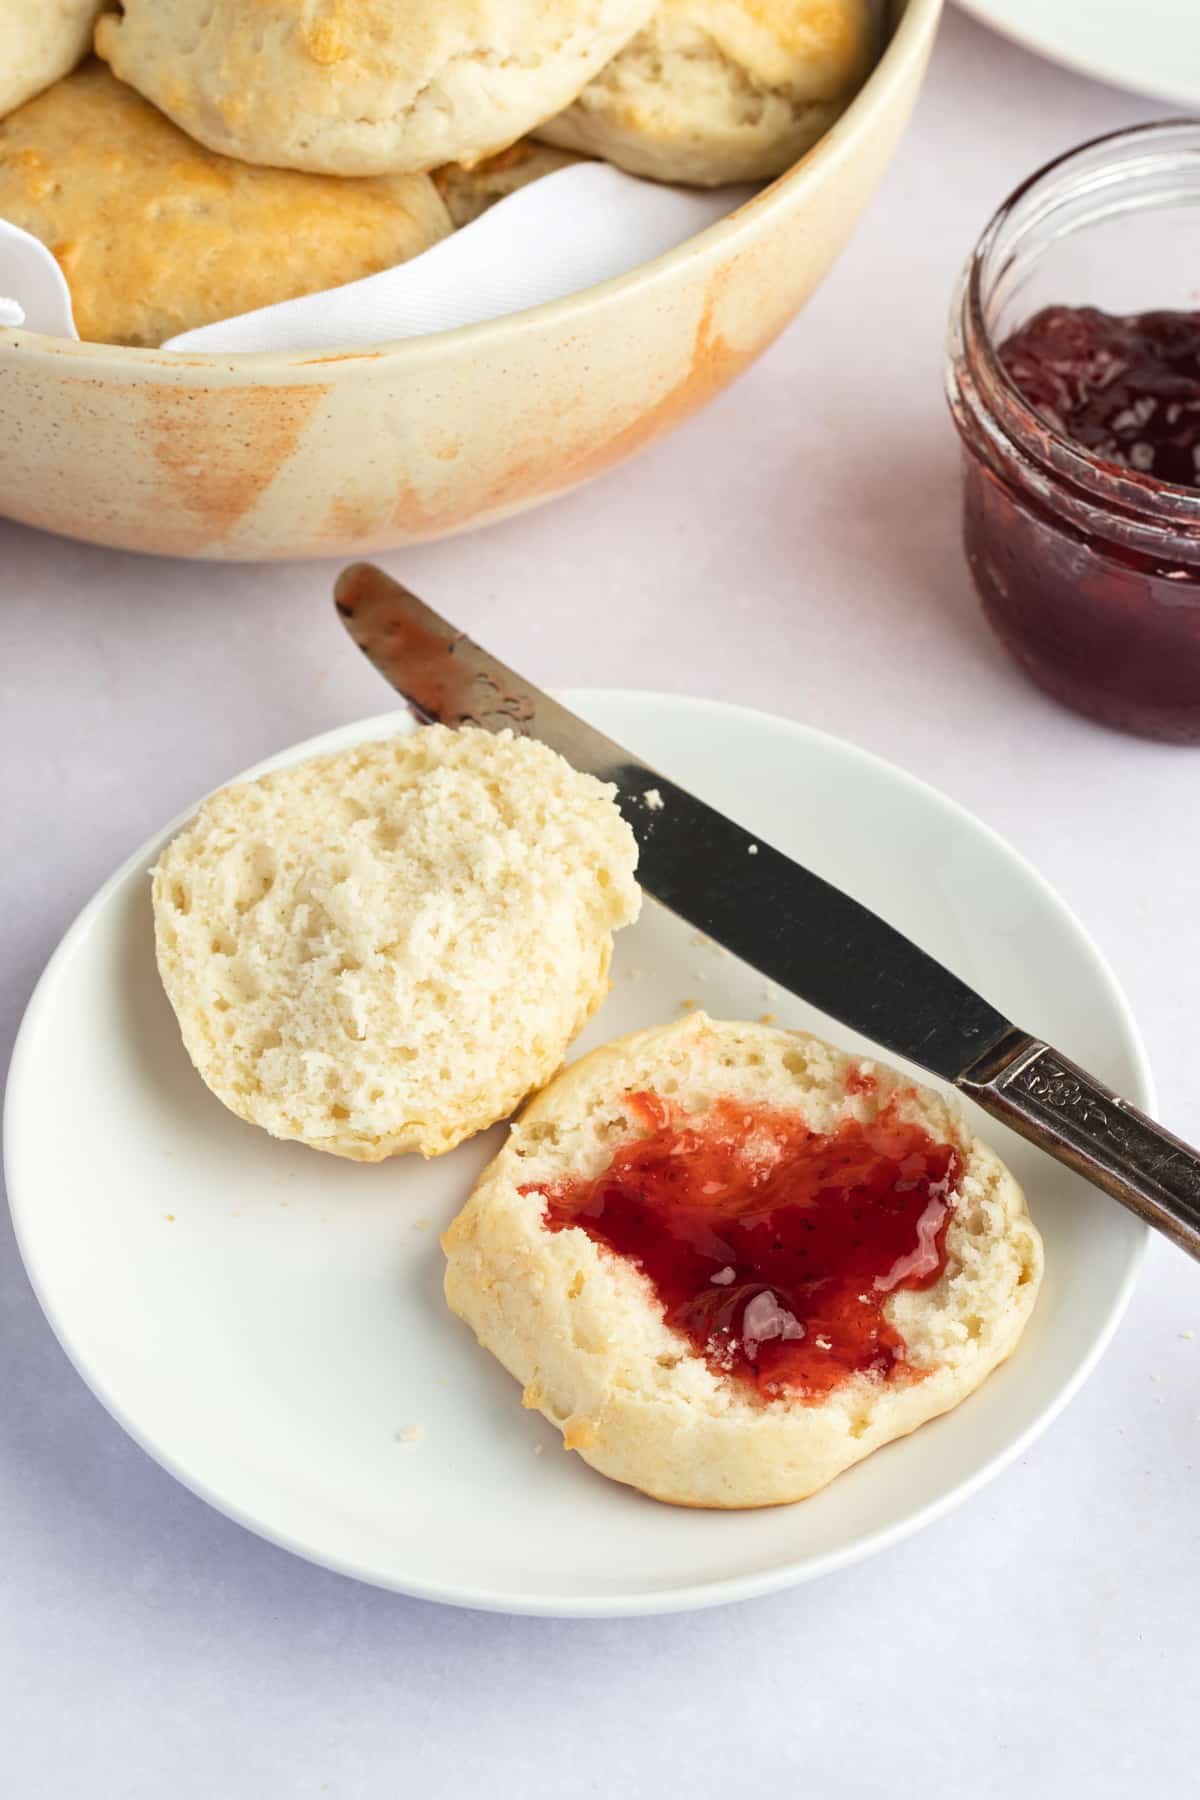
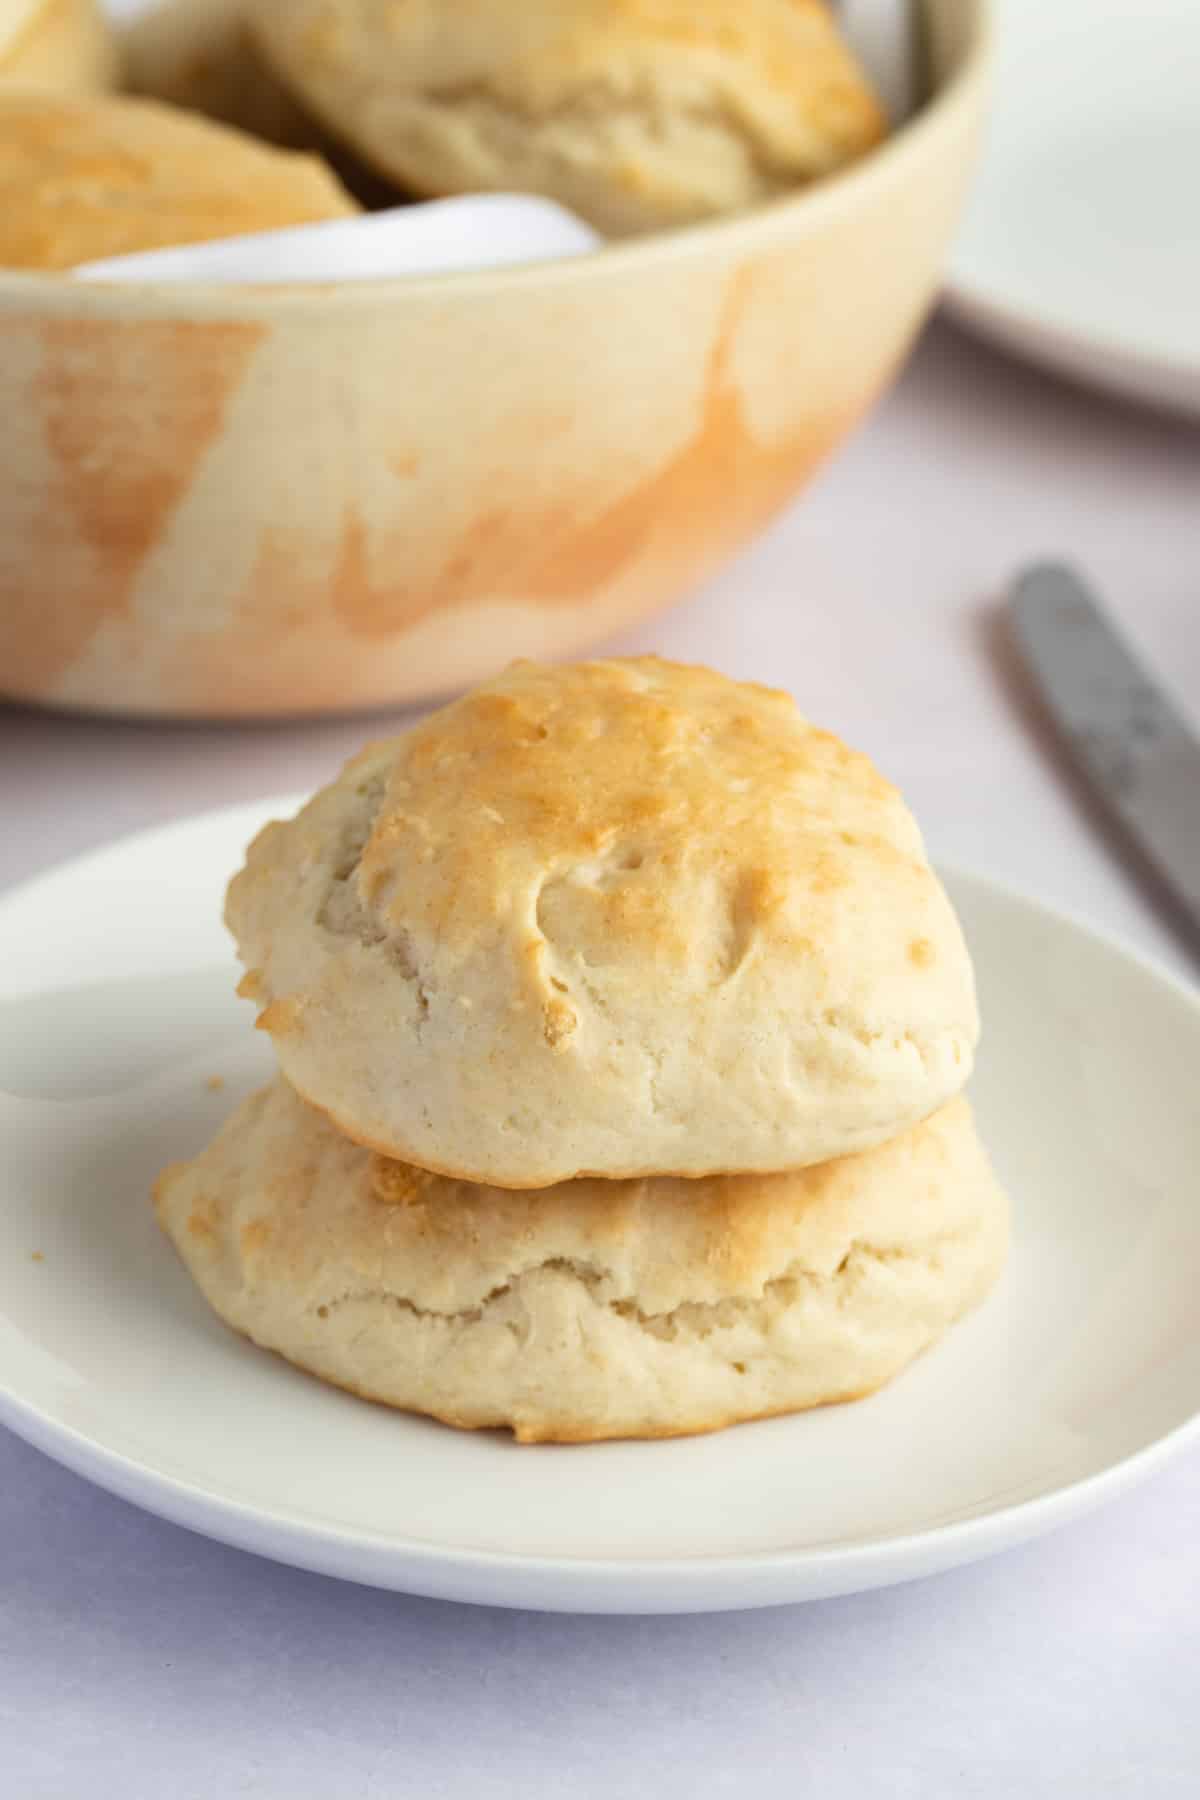
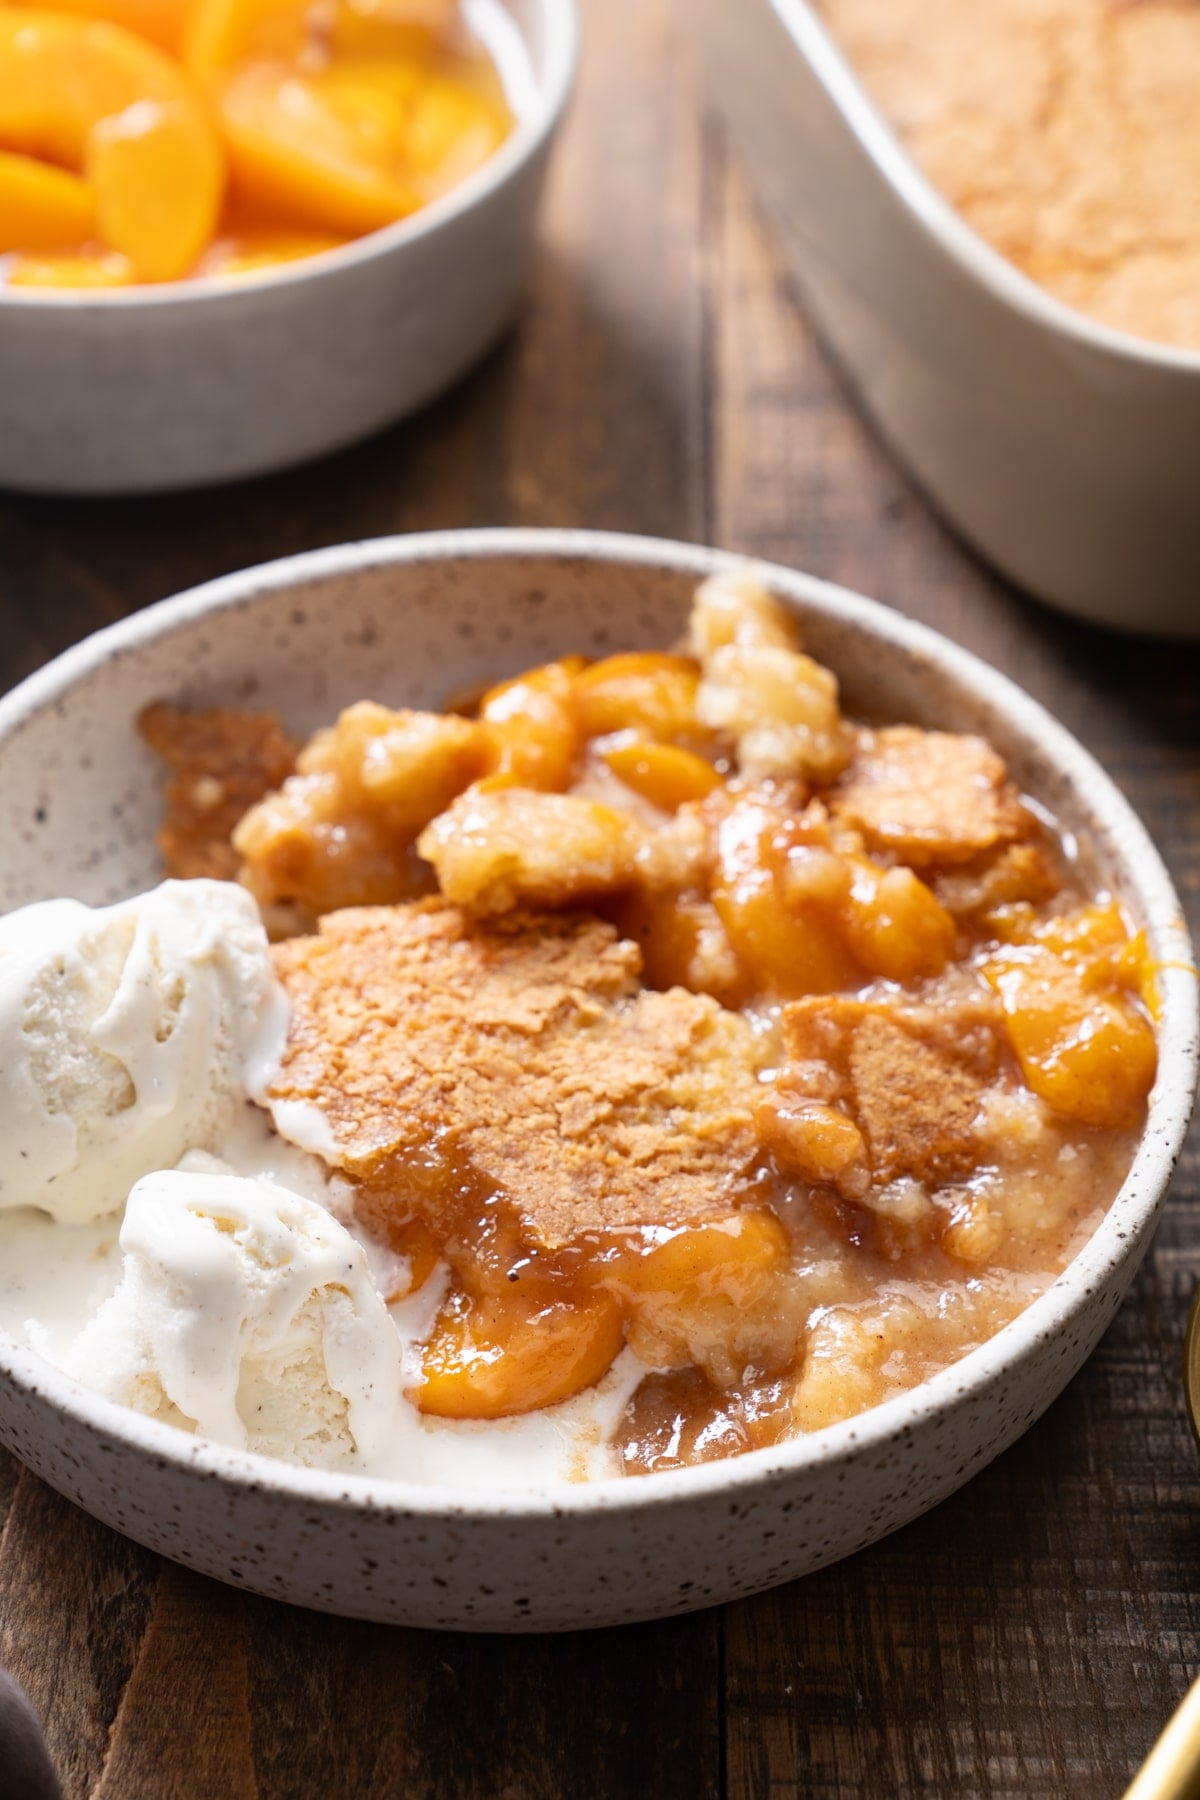
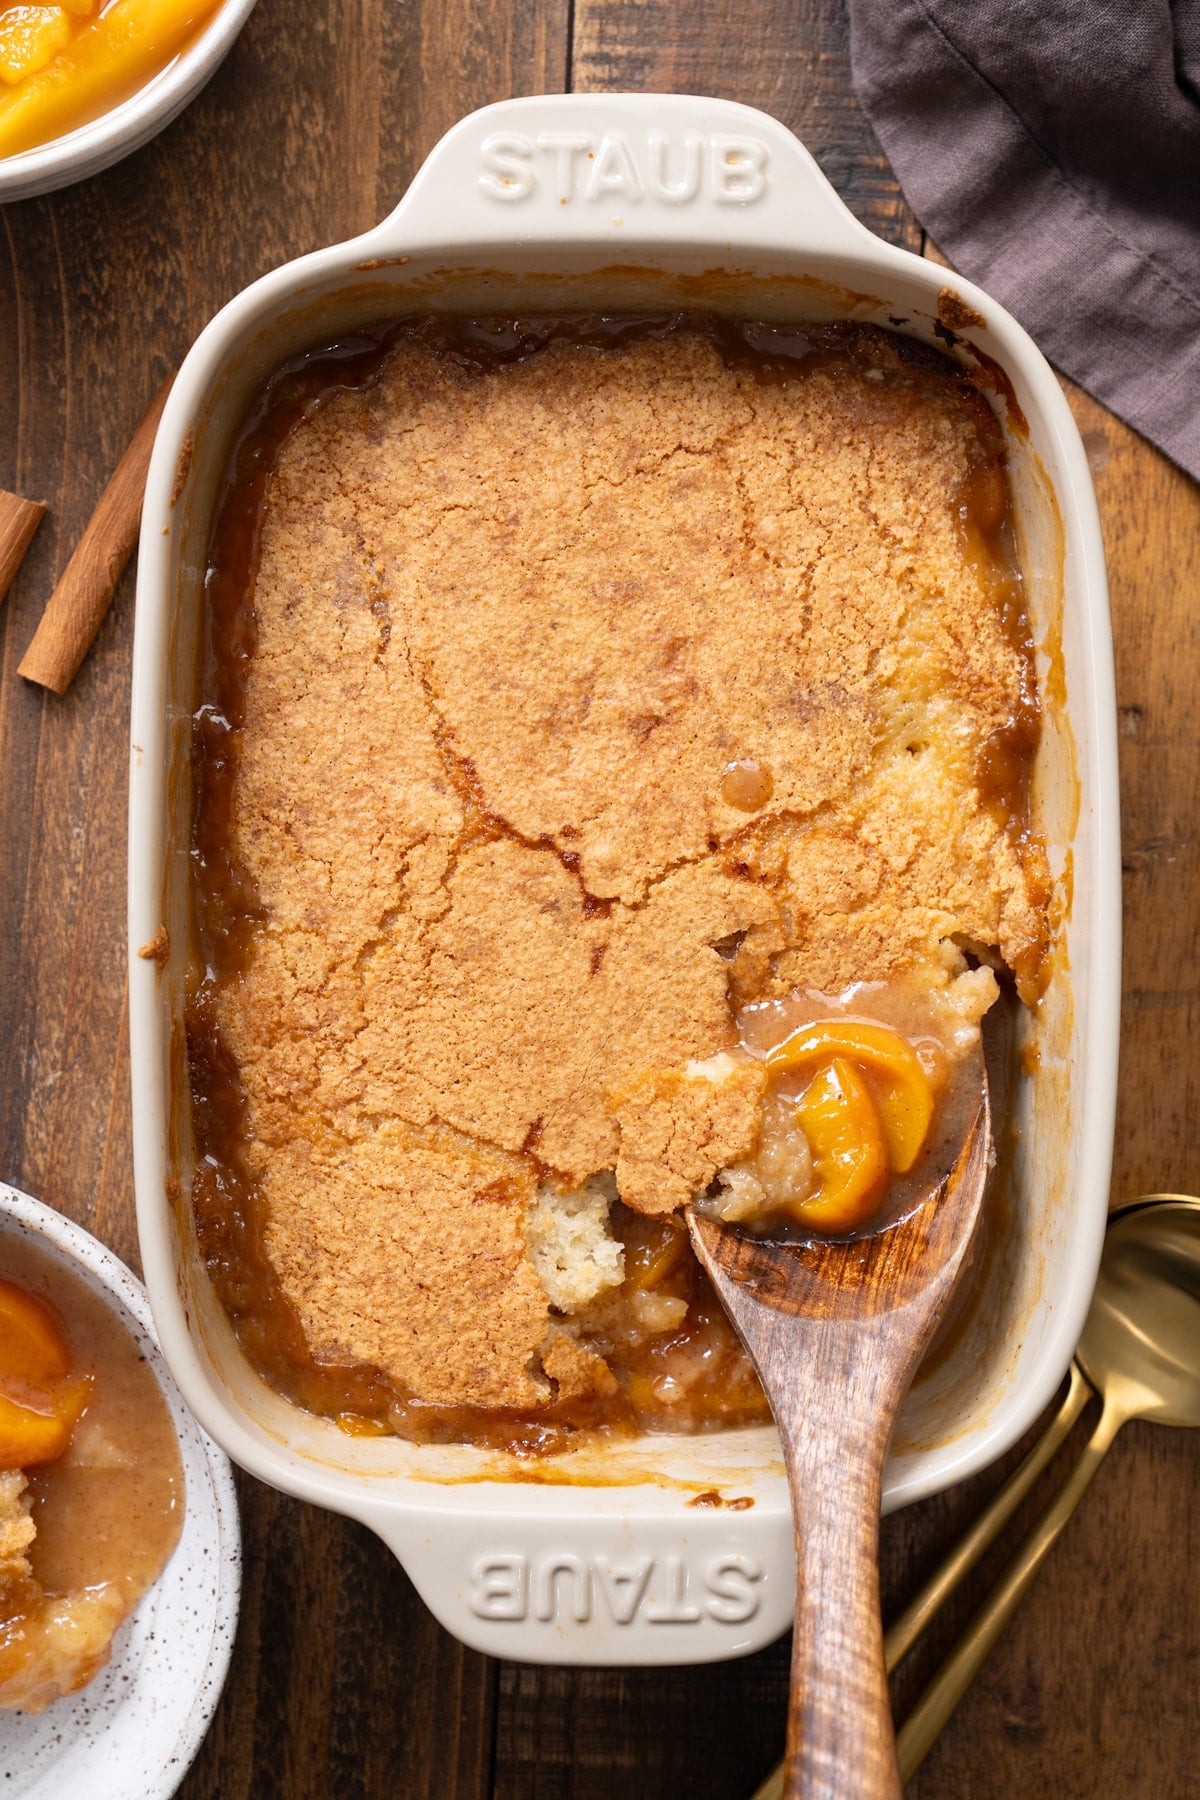
I've made a lot of cobblers over the years, and I can say with full confidence that this is the best peach cobbler I've ever had. The biscuit topping comes out crispy on top, soft underneath where it meets the peaches, and the filling's juices thicken and turn syrupy as it bakes. It's exactly what a cobbler should be.
I use canned peaches because they work year-round, and the quality is consistent. You can use fresh or frozen peaches as well.
If you love this kind of Southern dessert, check out my Slow Cooker Peach Cobbler for a hands-off version.
Happy Baking,
Tanya
Peach Cobbler at a Glance
- Prep Time: 15 minutes
- Bake Time: 40–50 minutes
- Total Time: About 1 hour and 10 minutes (including cooling)
- Serves: 6
- Best For: Weeknight desserts, potlucks, year-round baking
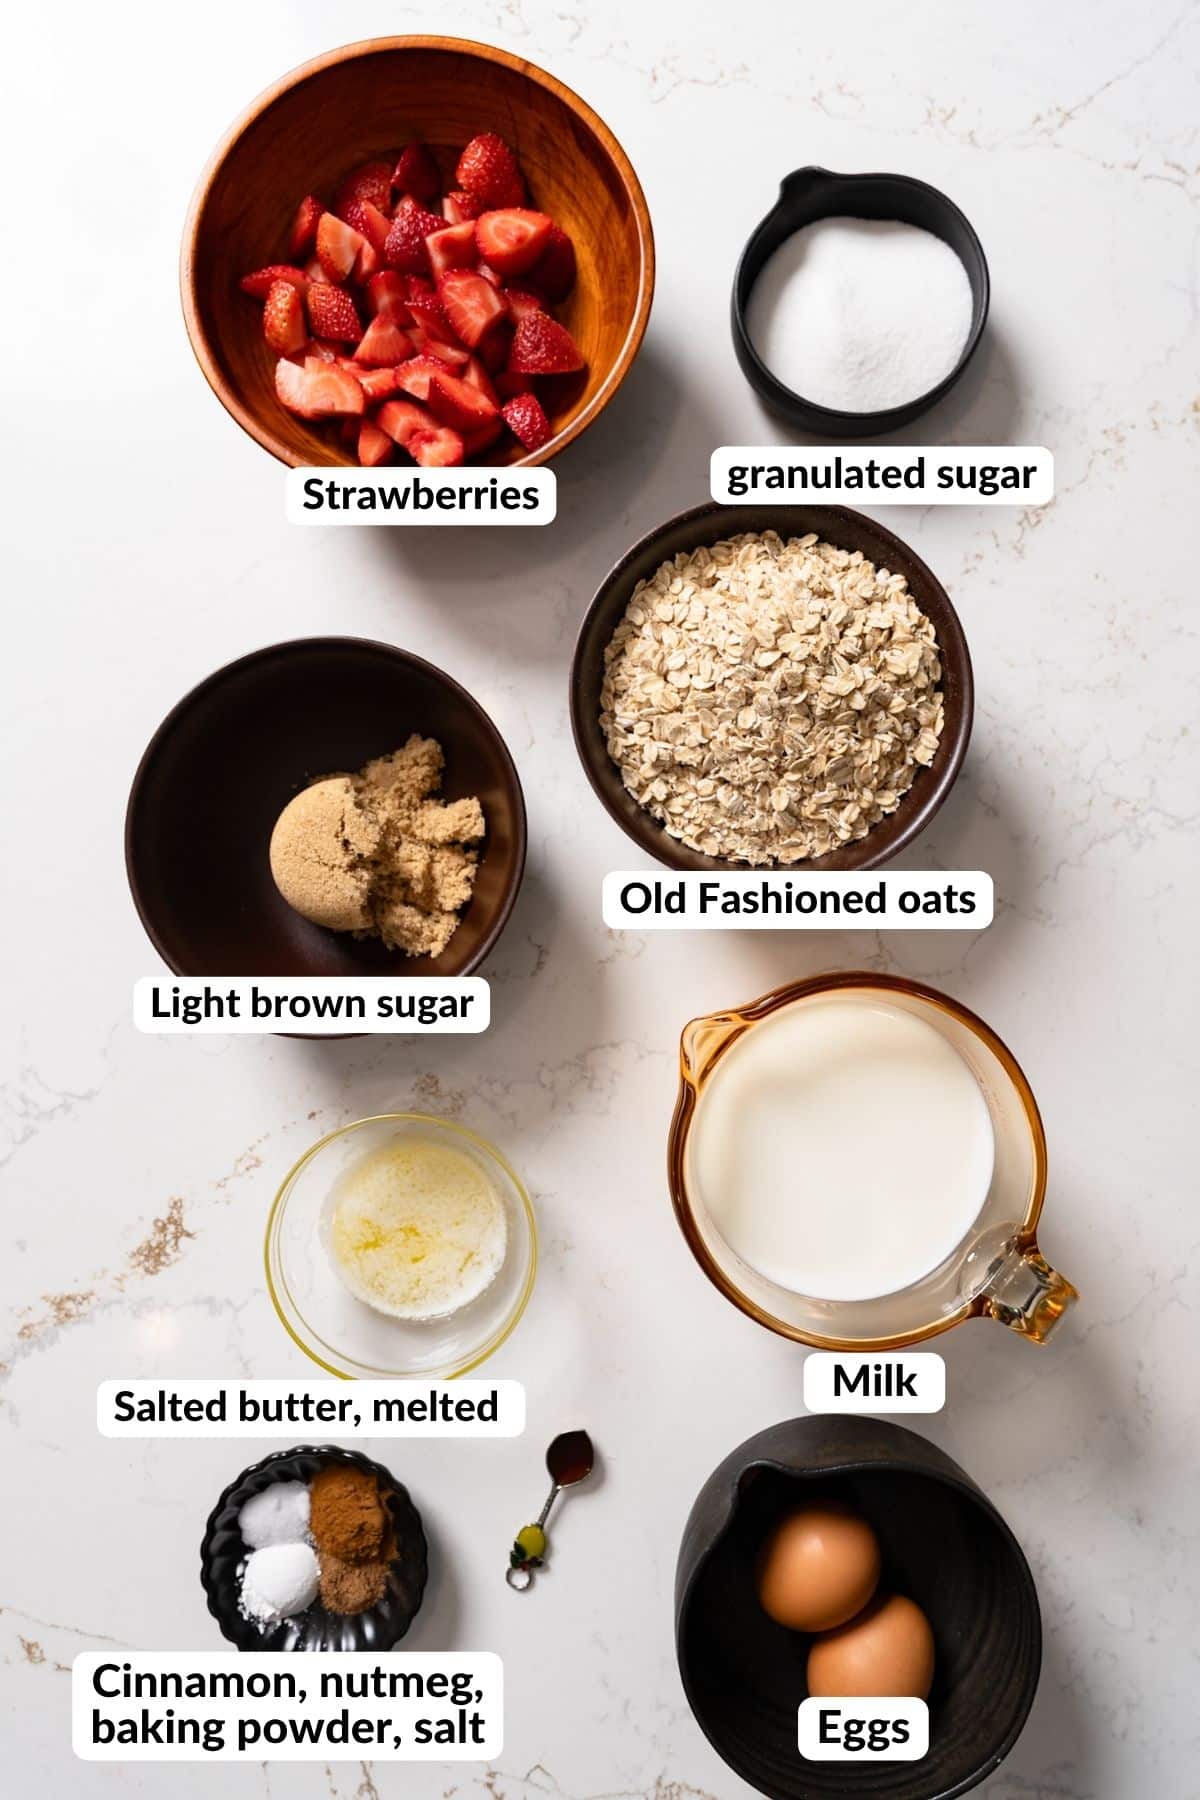
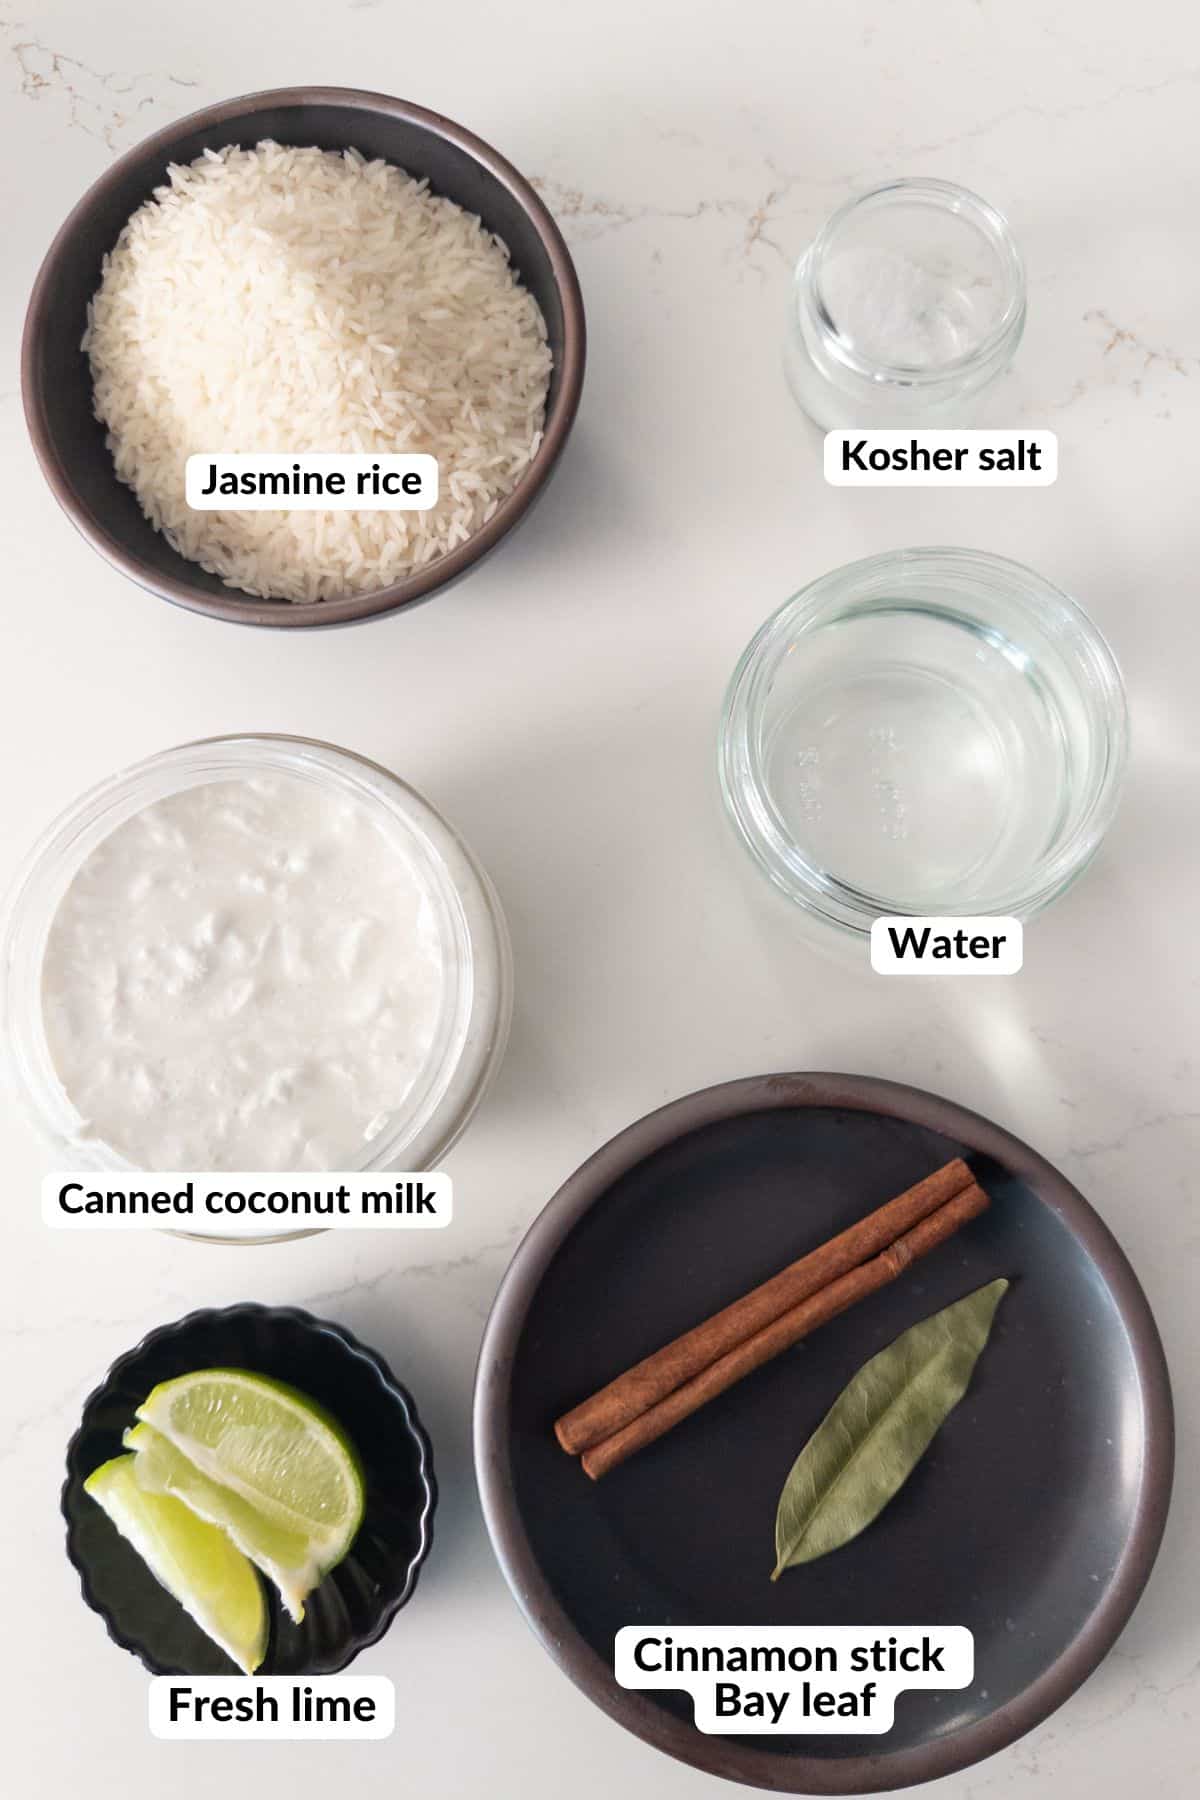
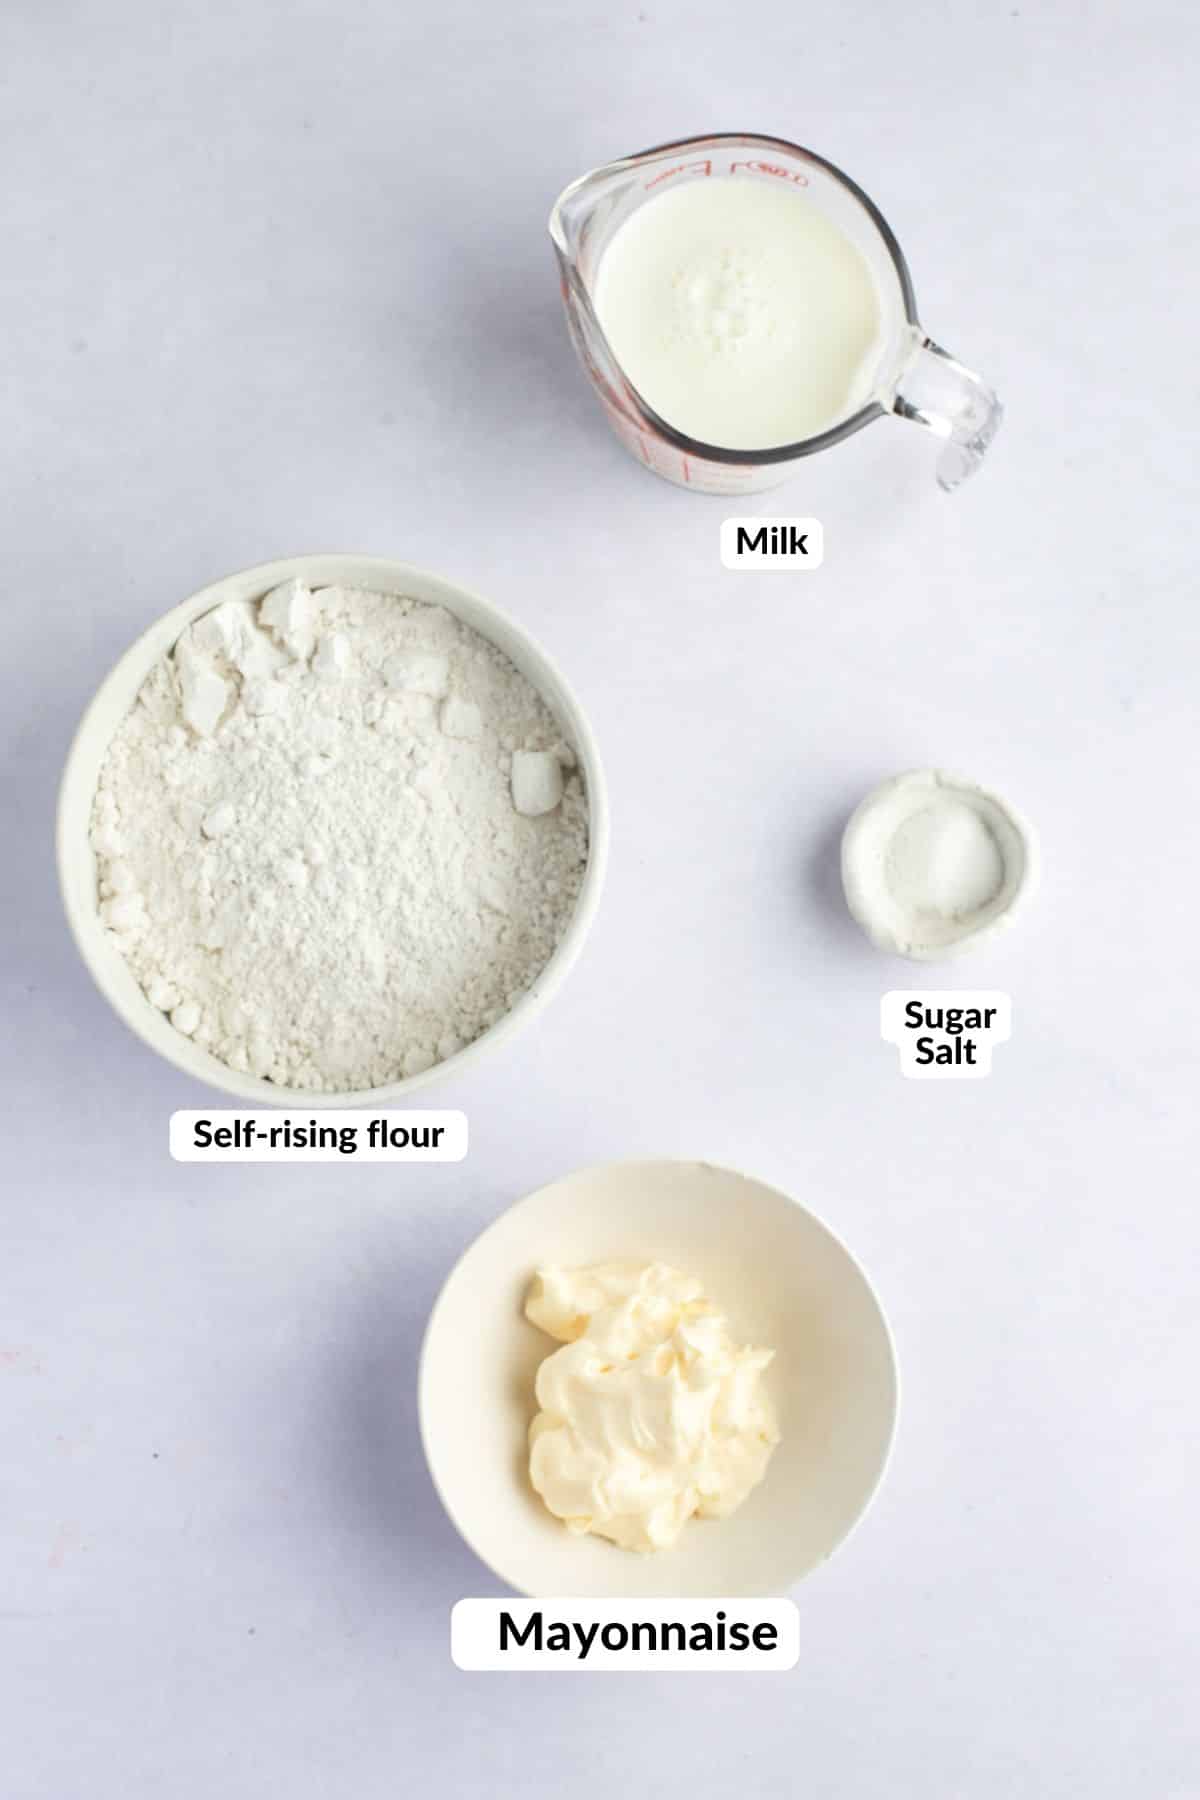
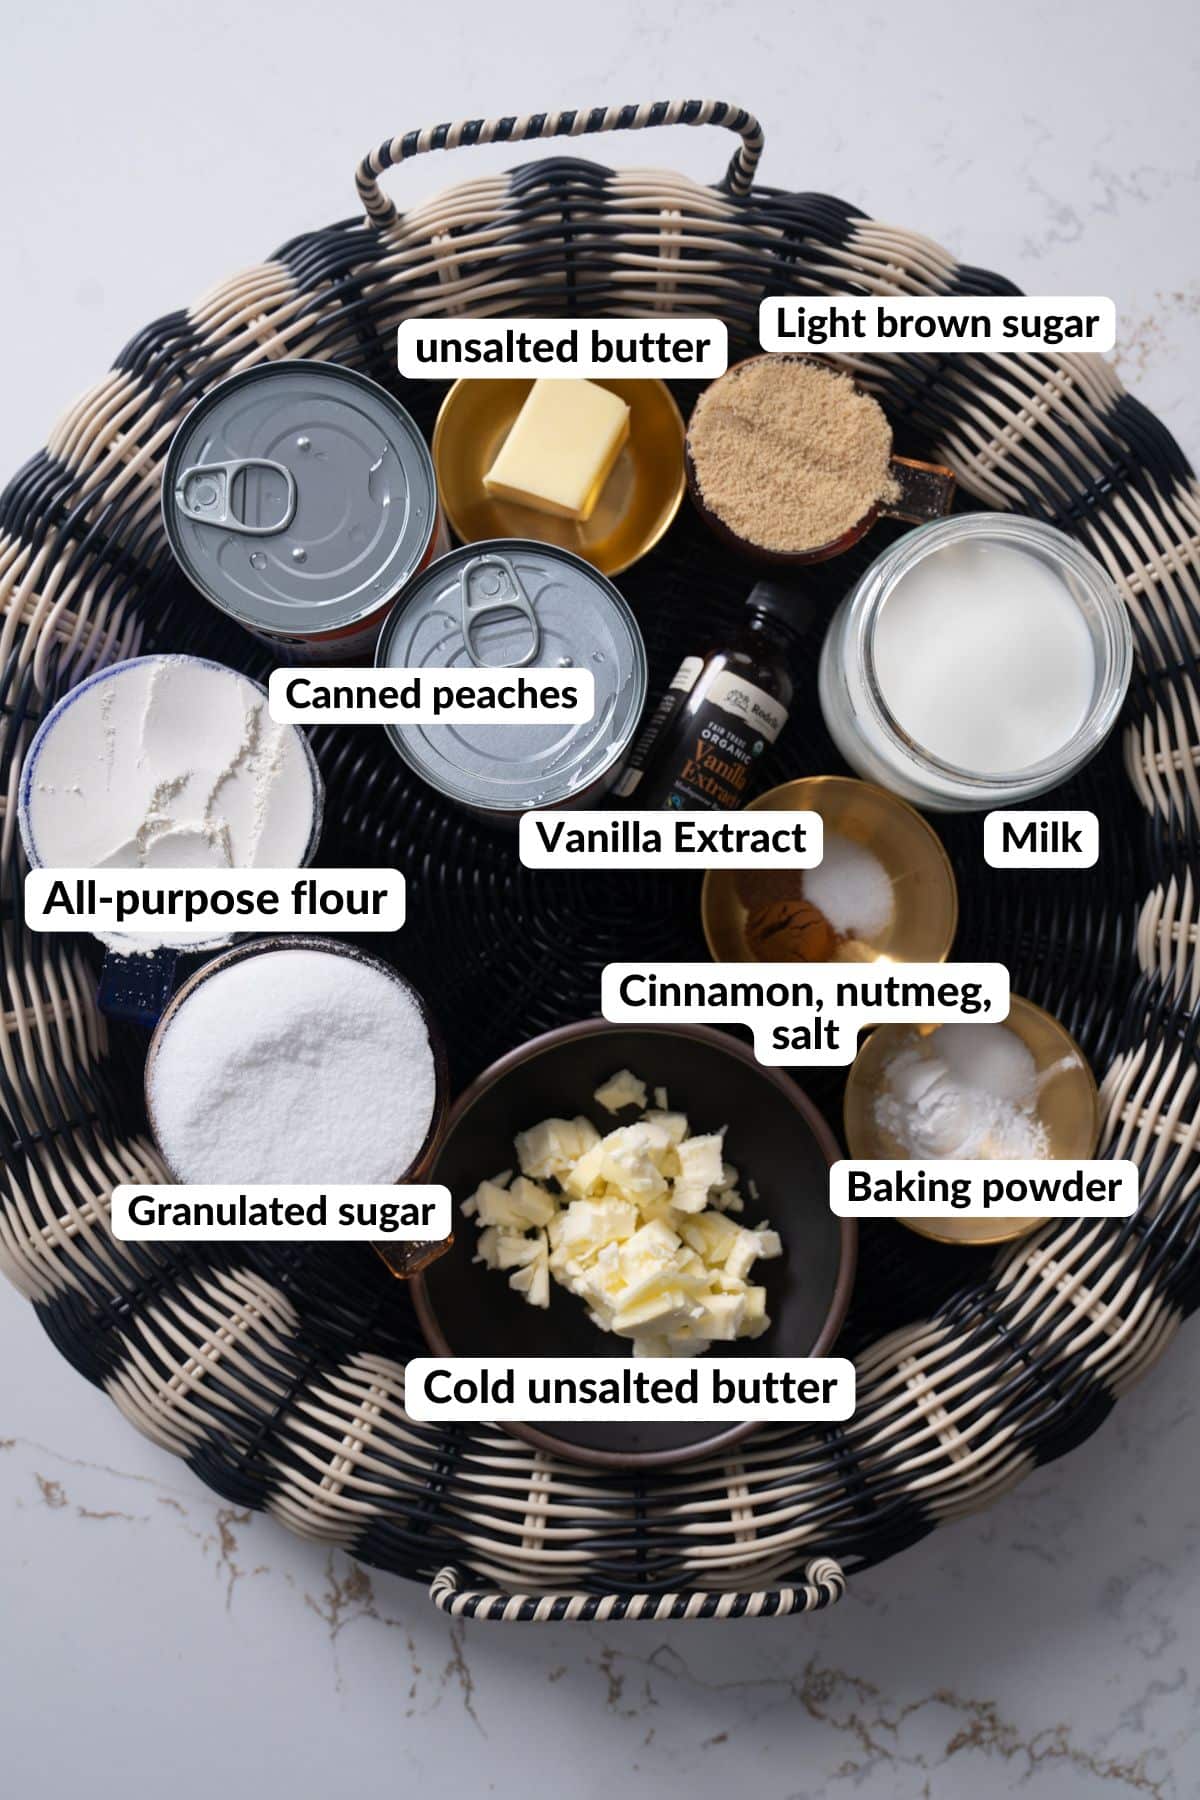
A Quick Look at the Ingredients
Ingredient amounts and full recipe instructions are on the printable recipe card at the bottom of the post.
For the Peach Filling
- Canned peaches (2 cans, 15 oz each) — one can drained, one undrained. That second can of juice is what gives the filling its syrupy texture.
- Unsalted butter — melted in the baking dish first to coat the bottom.
- Light brown sugar — adds a deeper sweetness than granulated and works well with the peach juice.
- Vanilla extract — just enough to round out the flavor.
- Ground cinnamon and nutmeg — warm spice that goes well with peaches.
- Salt — just a pinch to balance the sweetness.
For the Biscuit Topping
- All-purpose flour — the base of the topping.
- Granulated sugar — sweetens the biscuit and helps it get golden on top.
- Baking powder — gives the topping lift.
- Salt — a little to balance the sugar.
- Cold unsalted butter (cut into cubes) — this is key. Very cold butter is what creates that flaky, crumbly texture. If your butter gets warm, pop it back in the freezer for a few minutes before using.
- Milk — brings the batter together.
How to Make Peach Cobbler
This is a straightforward bake. Mix the filling, make the topping, layer, and bake. Here's how it goes. Full directions can also be found in the recipe card below.
Prep the Baking Dish
Preheat your oven to 350°F (175°C). Lightly grease a 2-quart baking dish (an 8×8-inch works great).
Add the 3 tablespoons of butter directly to the dish and place it in the oven for a few minutes until melted. Remove and tilt the pan so the bottom is fully coated.

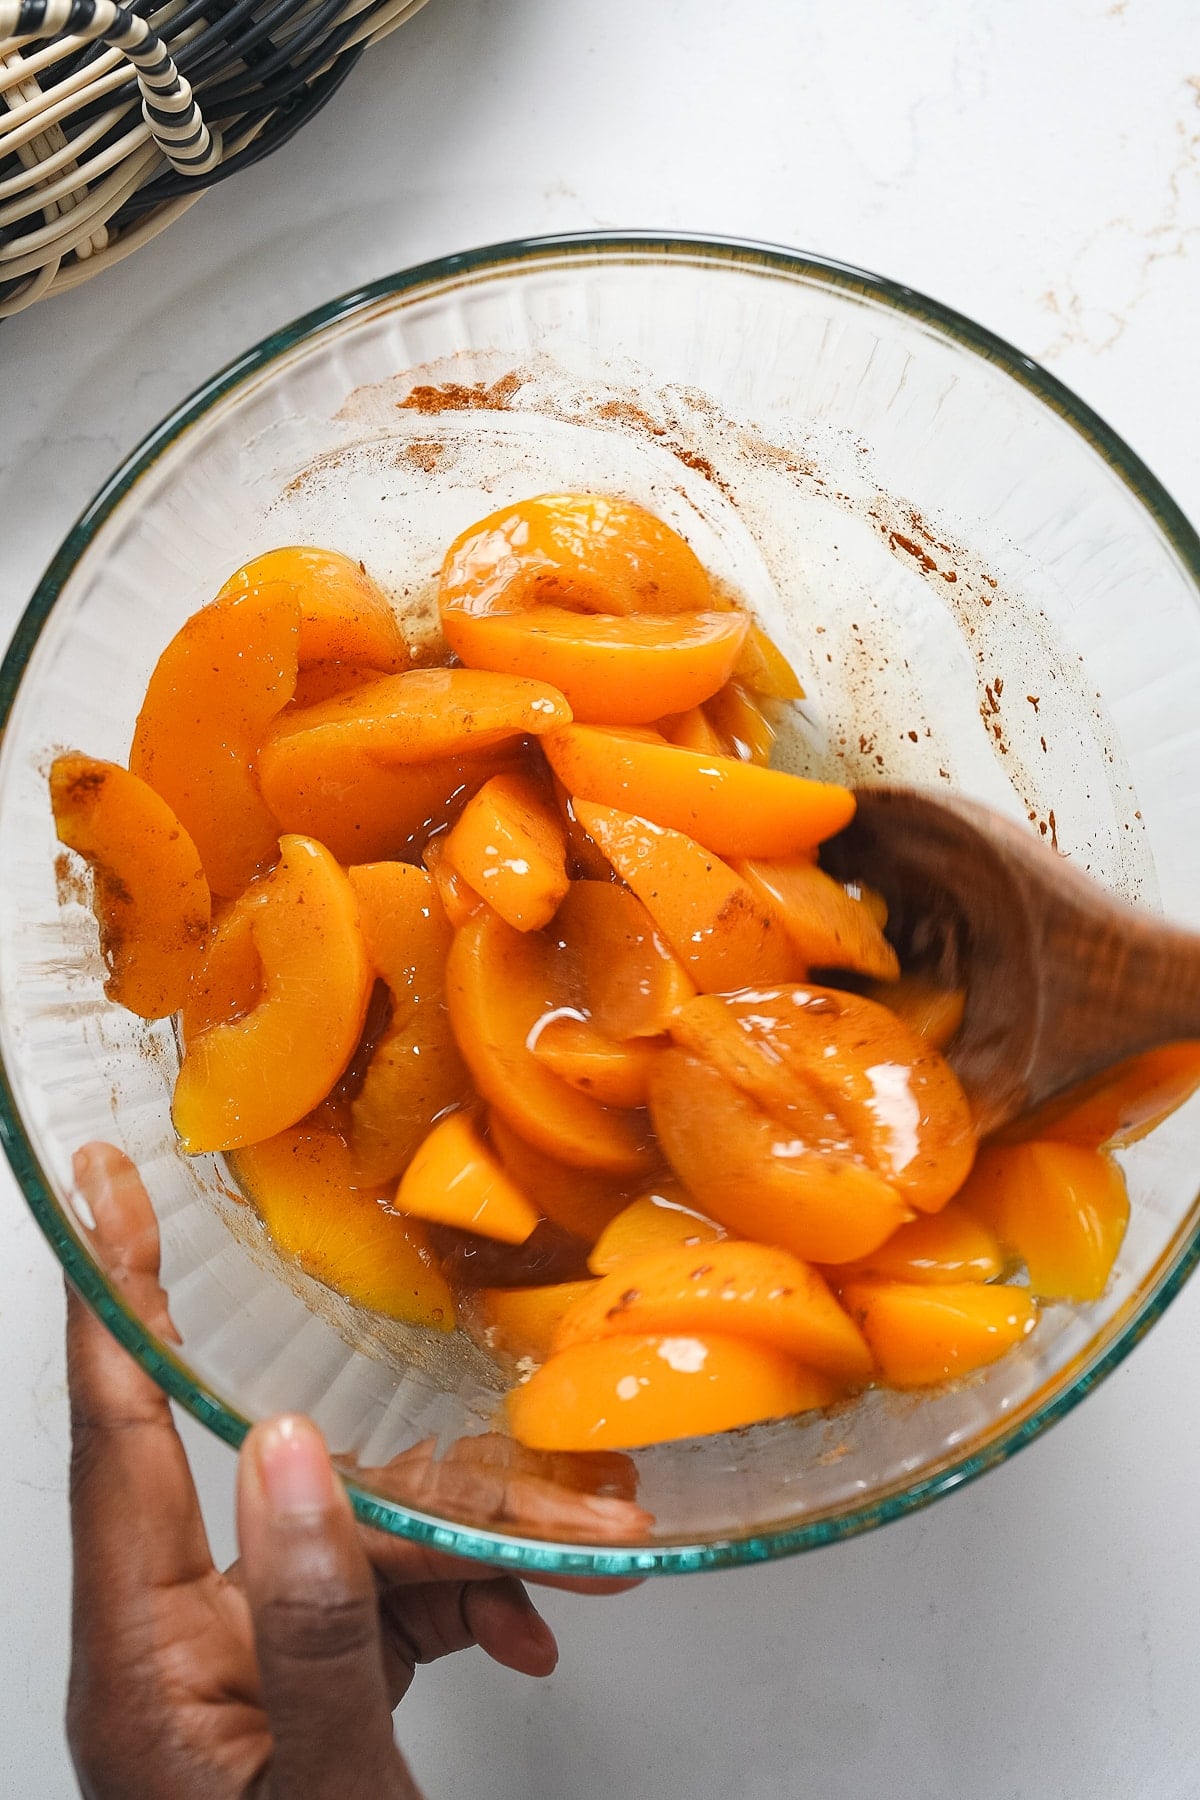
Season the Peaches
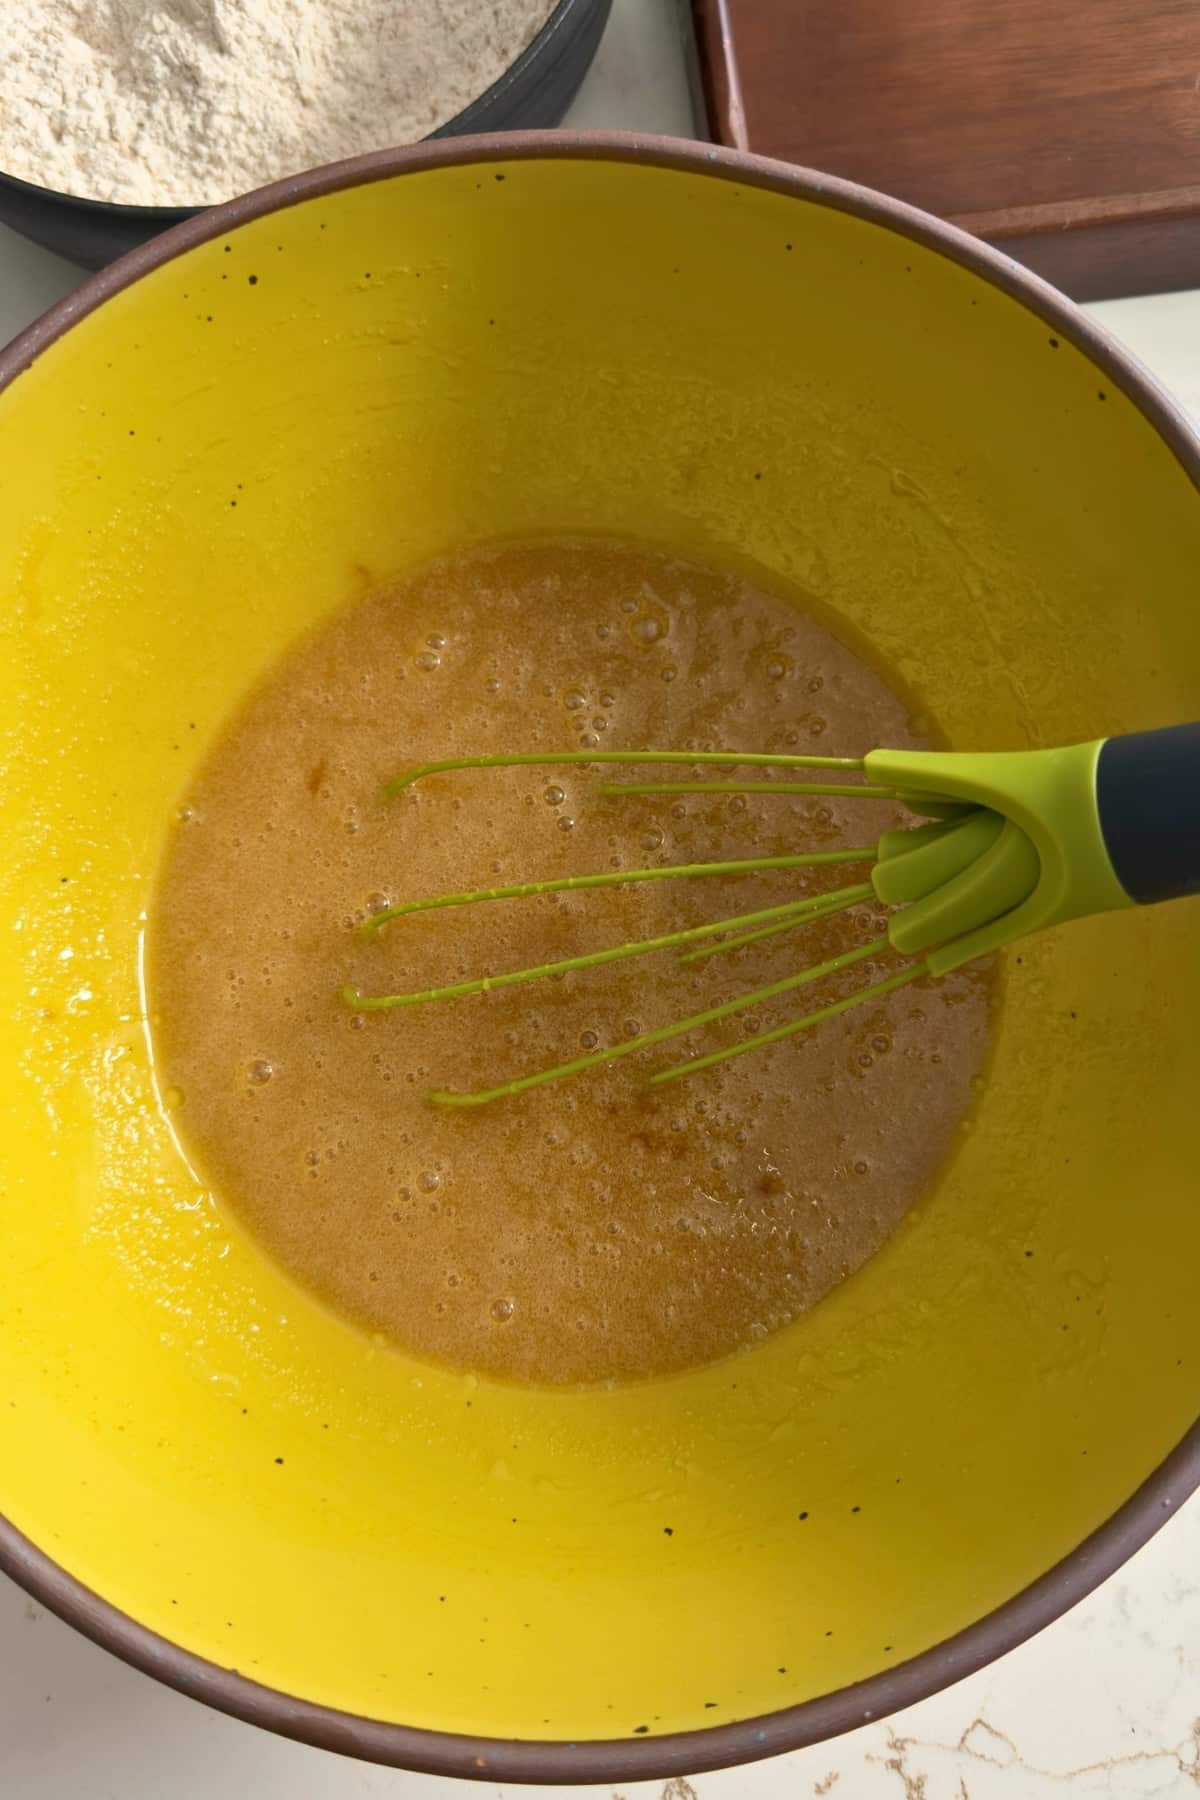
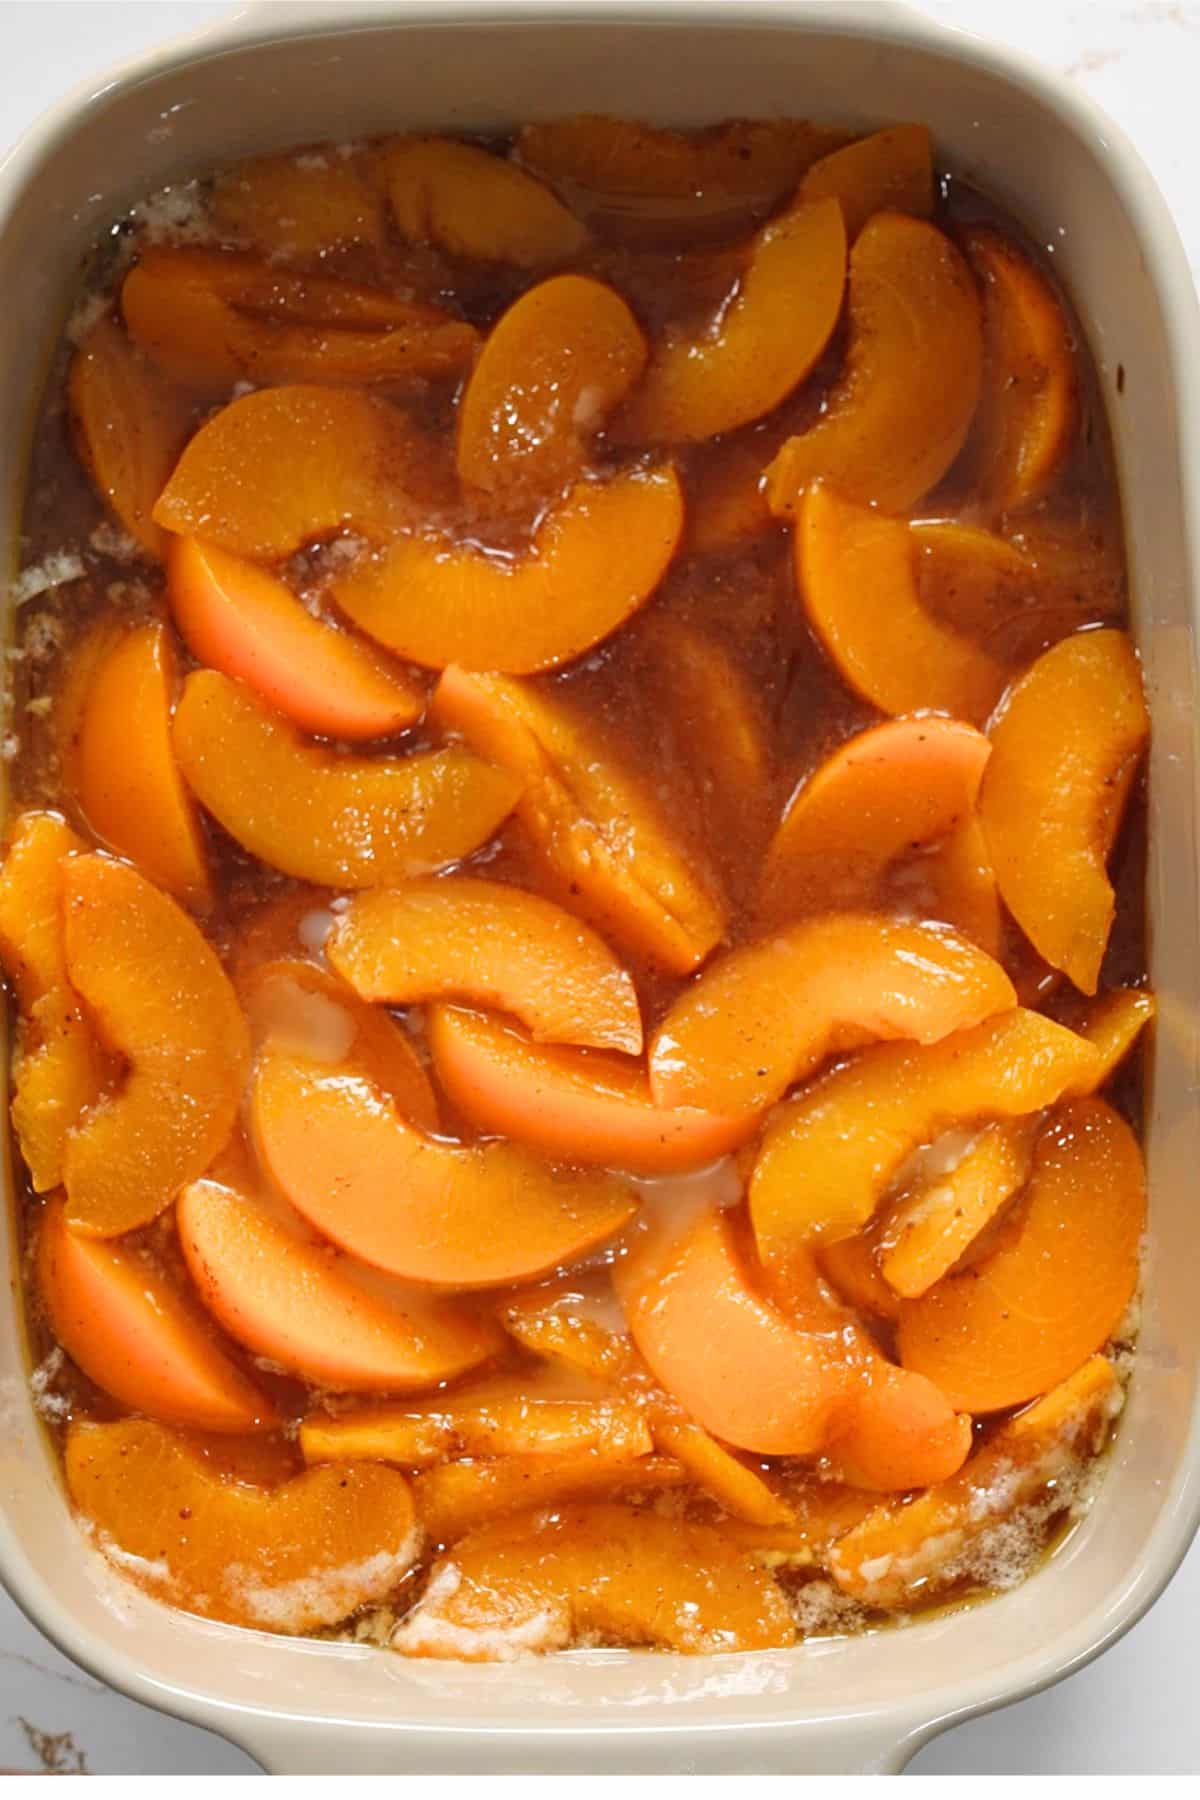
In a large bowl, combine the peaches (1 can drained, 1 can with its juice), brown sugar, vanilla, cinnamon, nutmeg, and salt. Stir until the peaches are well coated.
Pour the peach mixture into the buttered baking dish and spread it into an even layer.
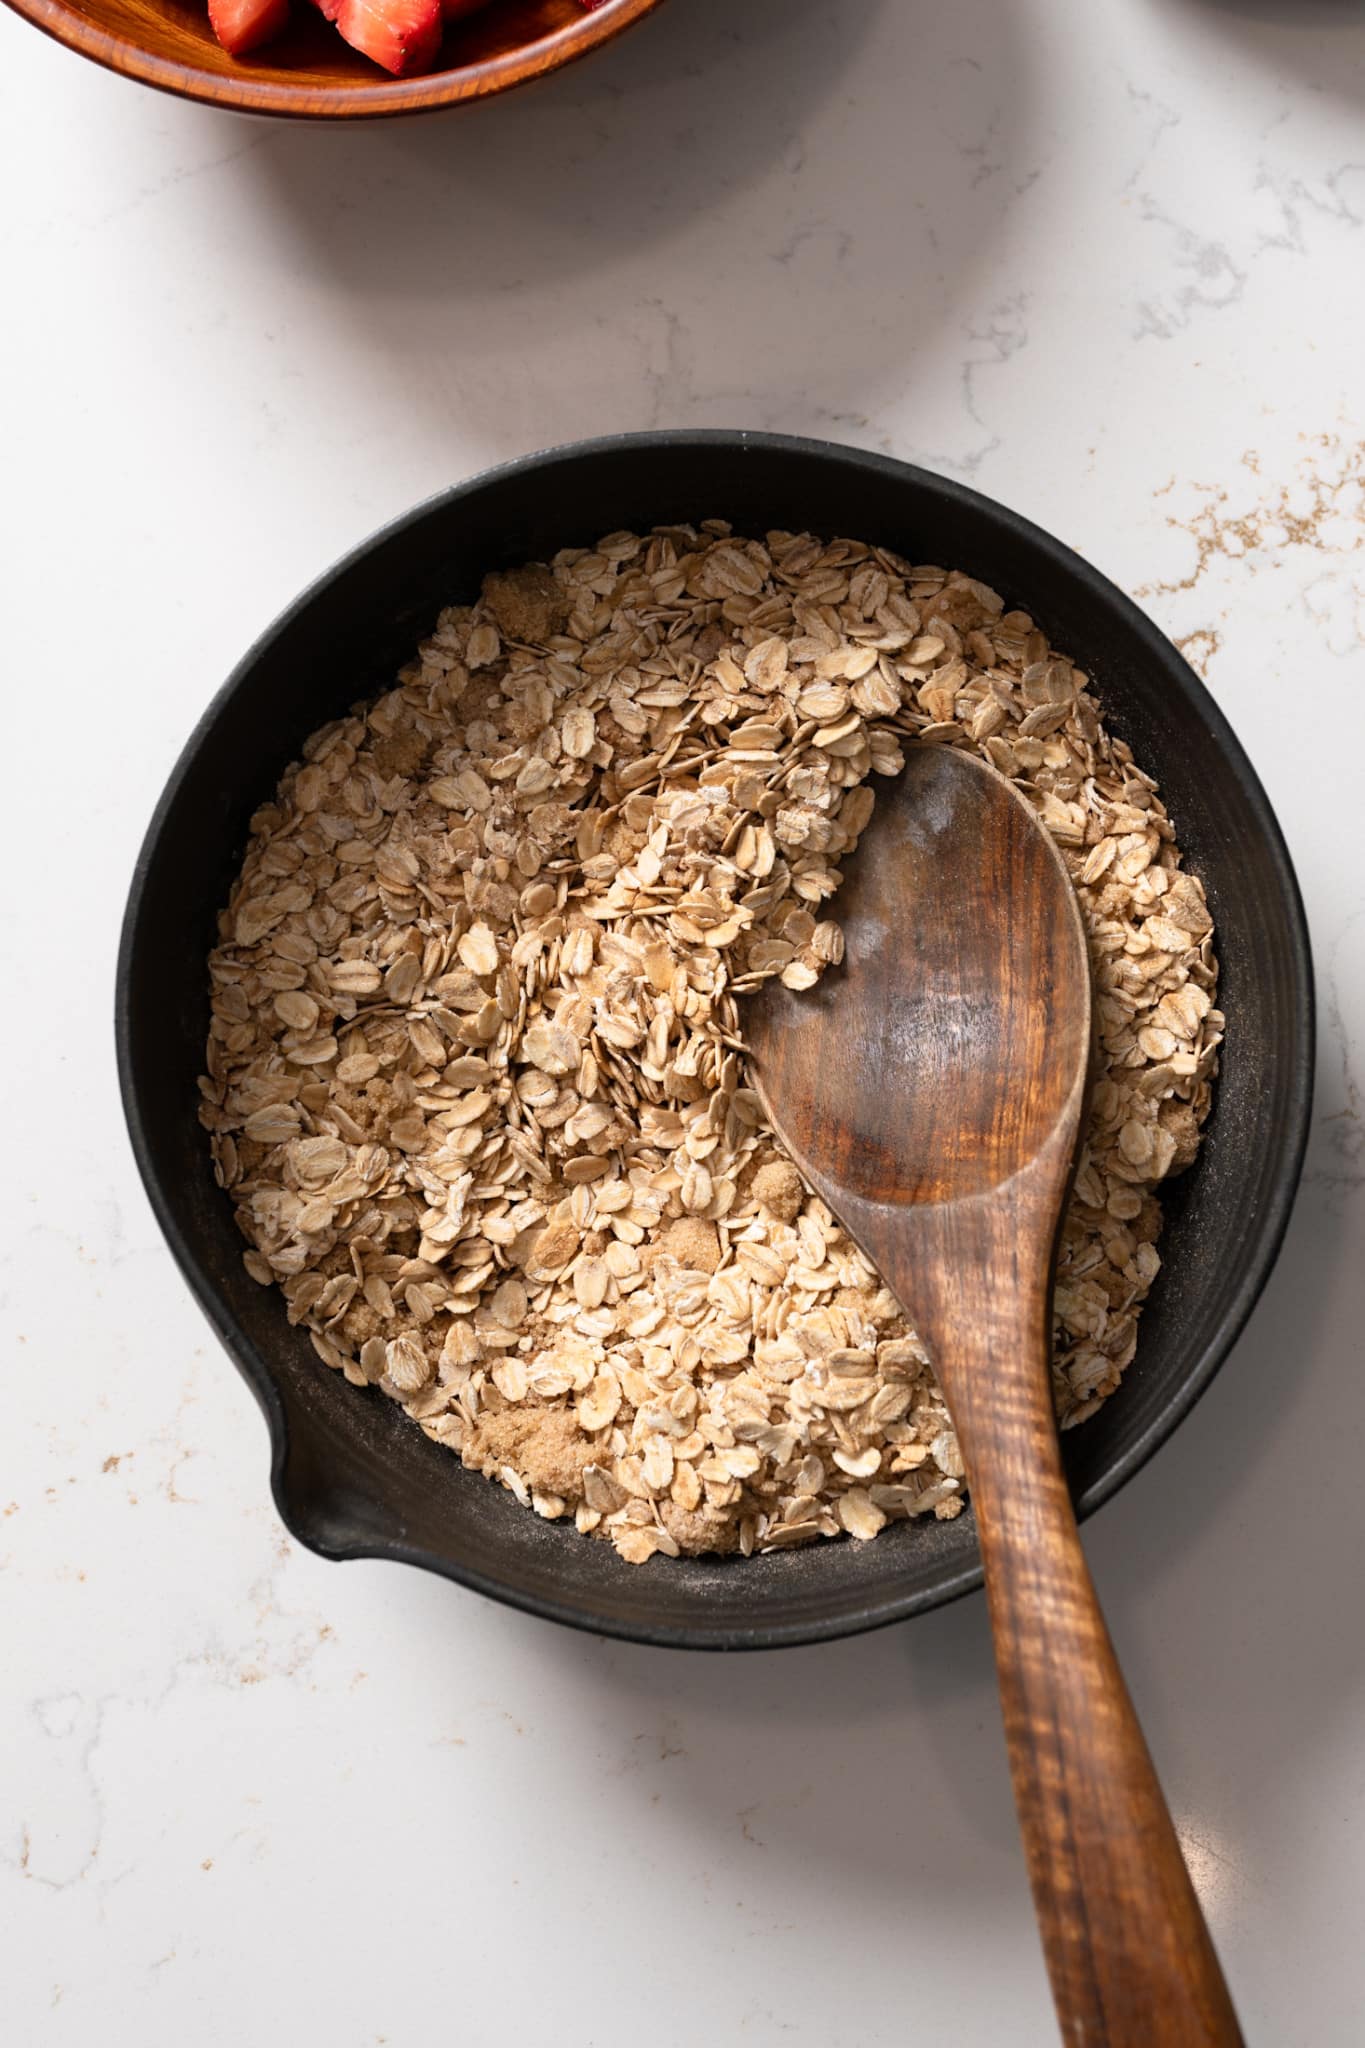
Make the Biscuit Topping
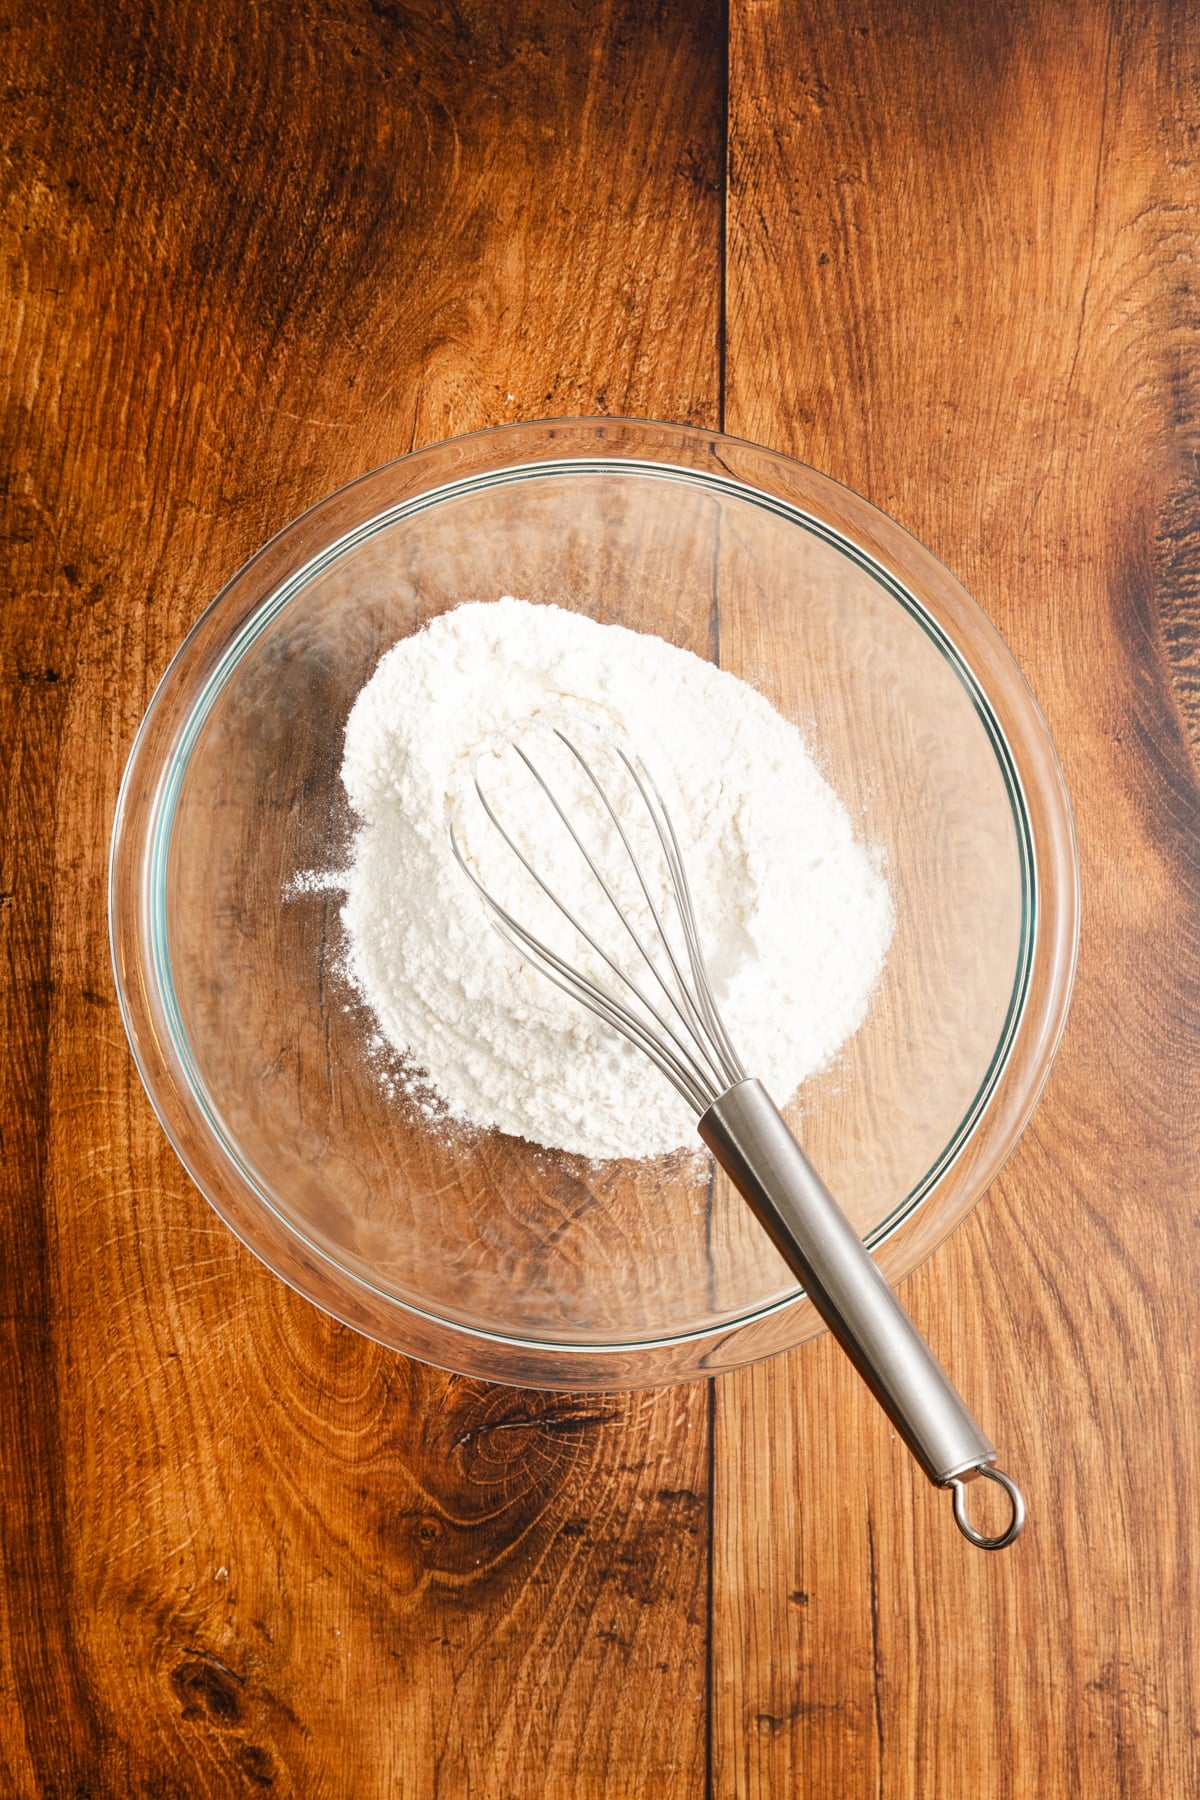
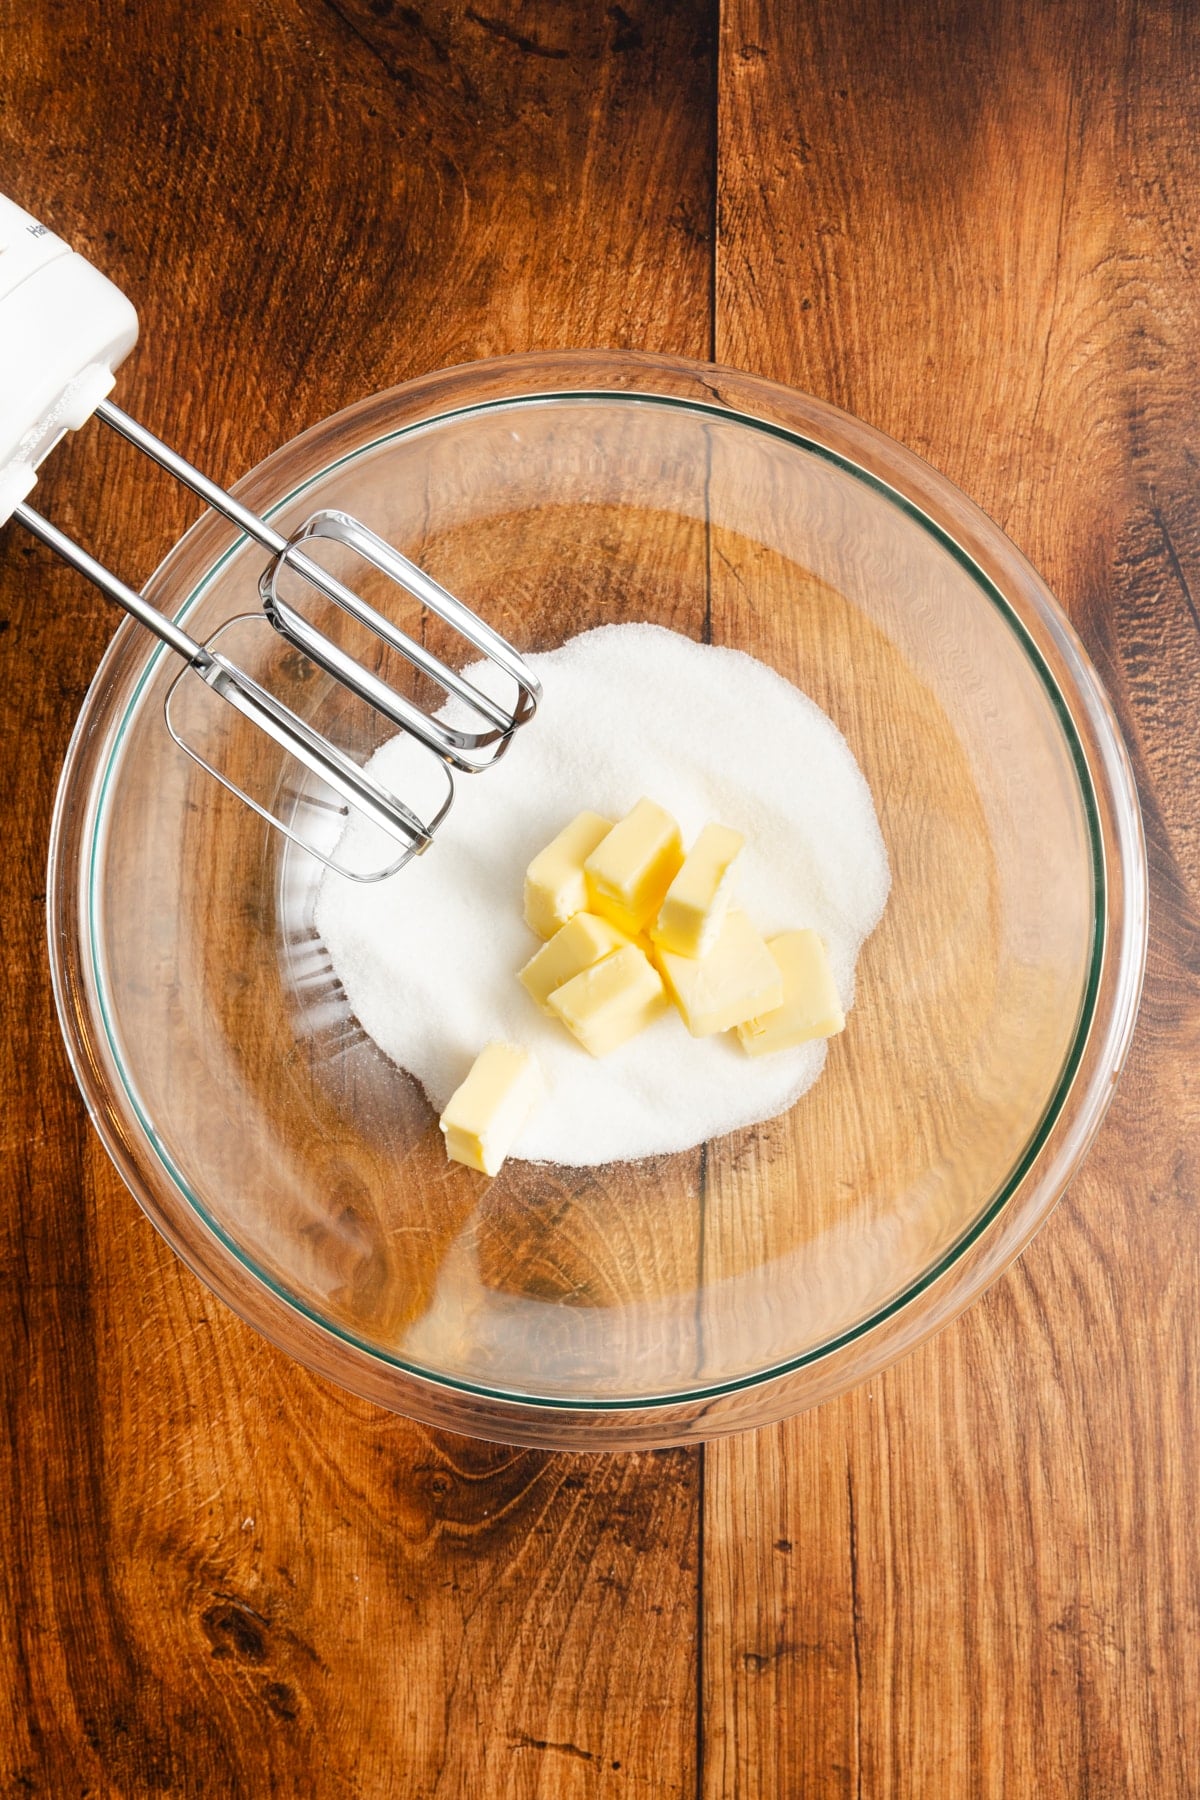
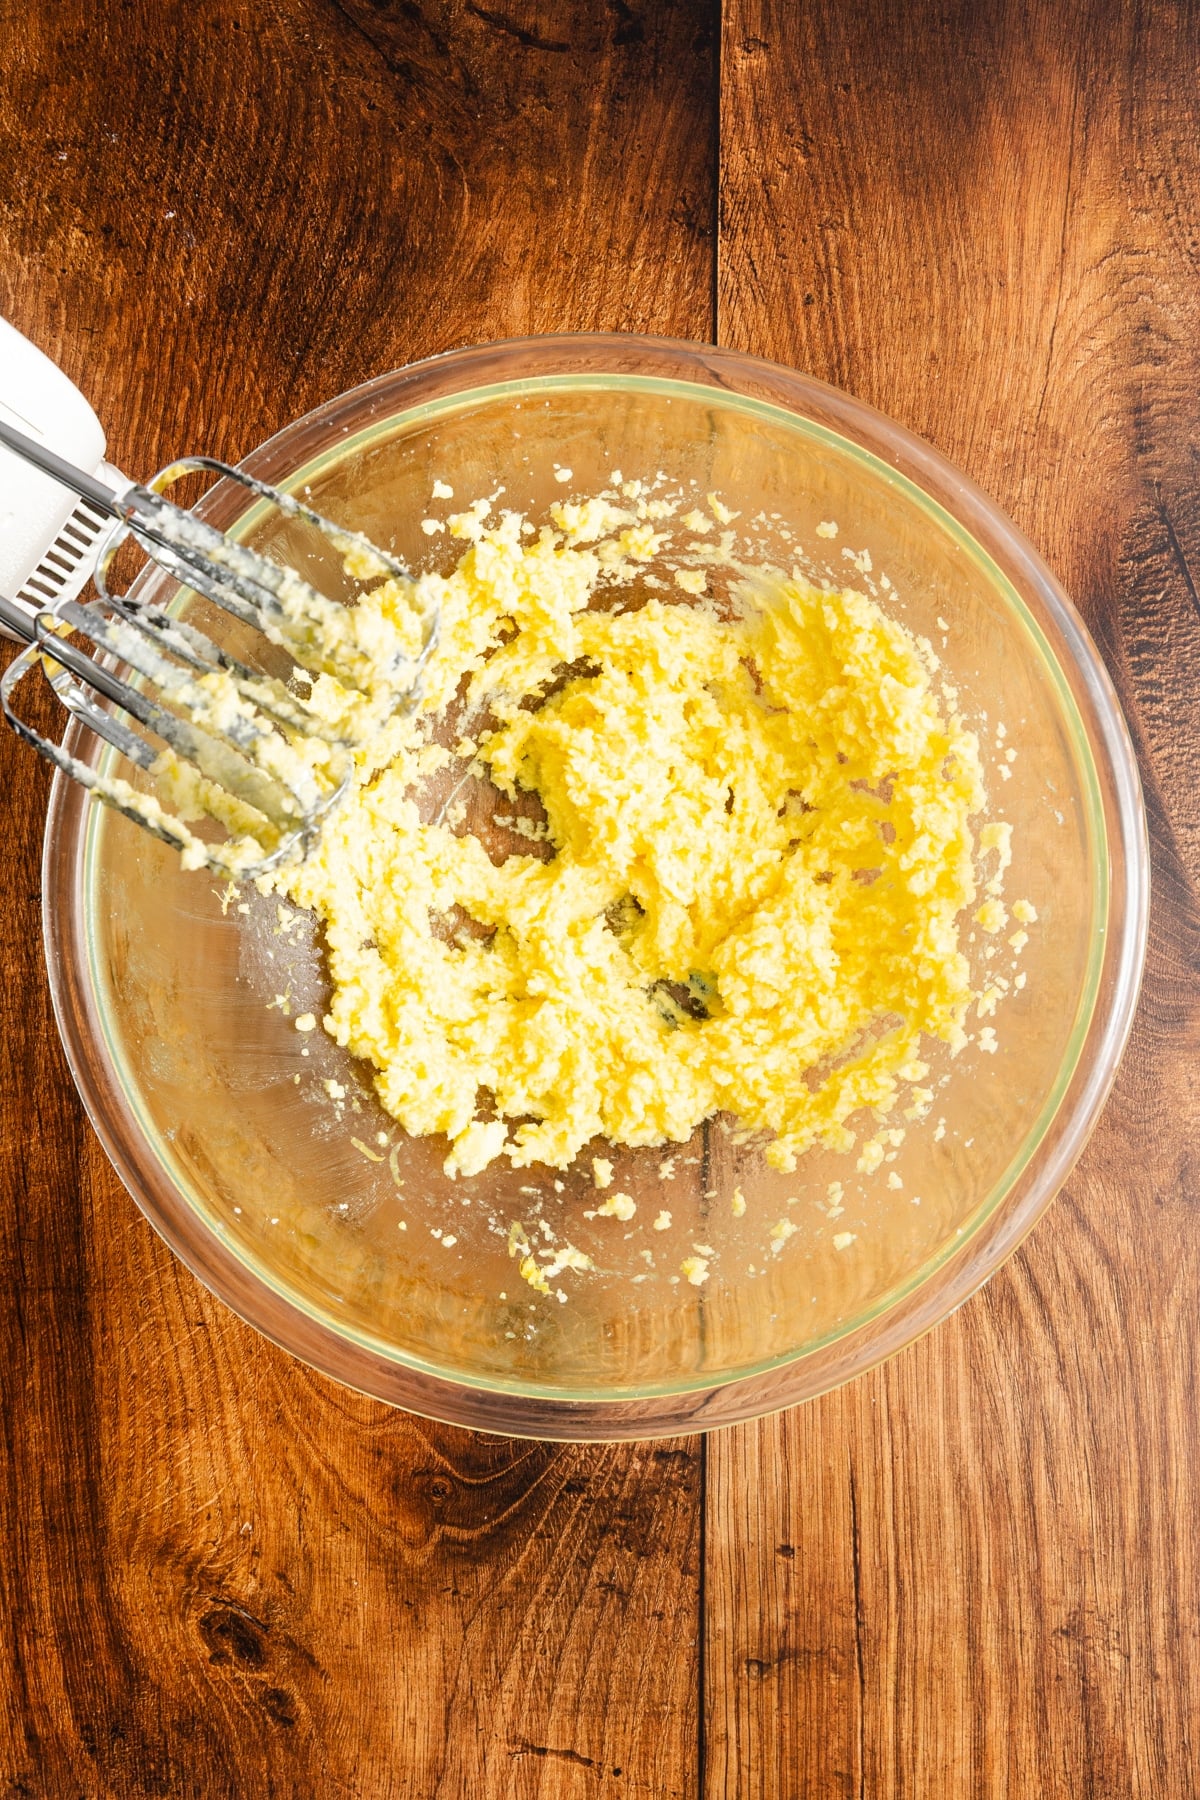
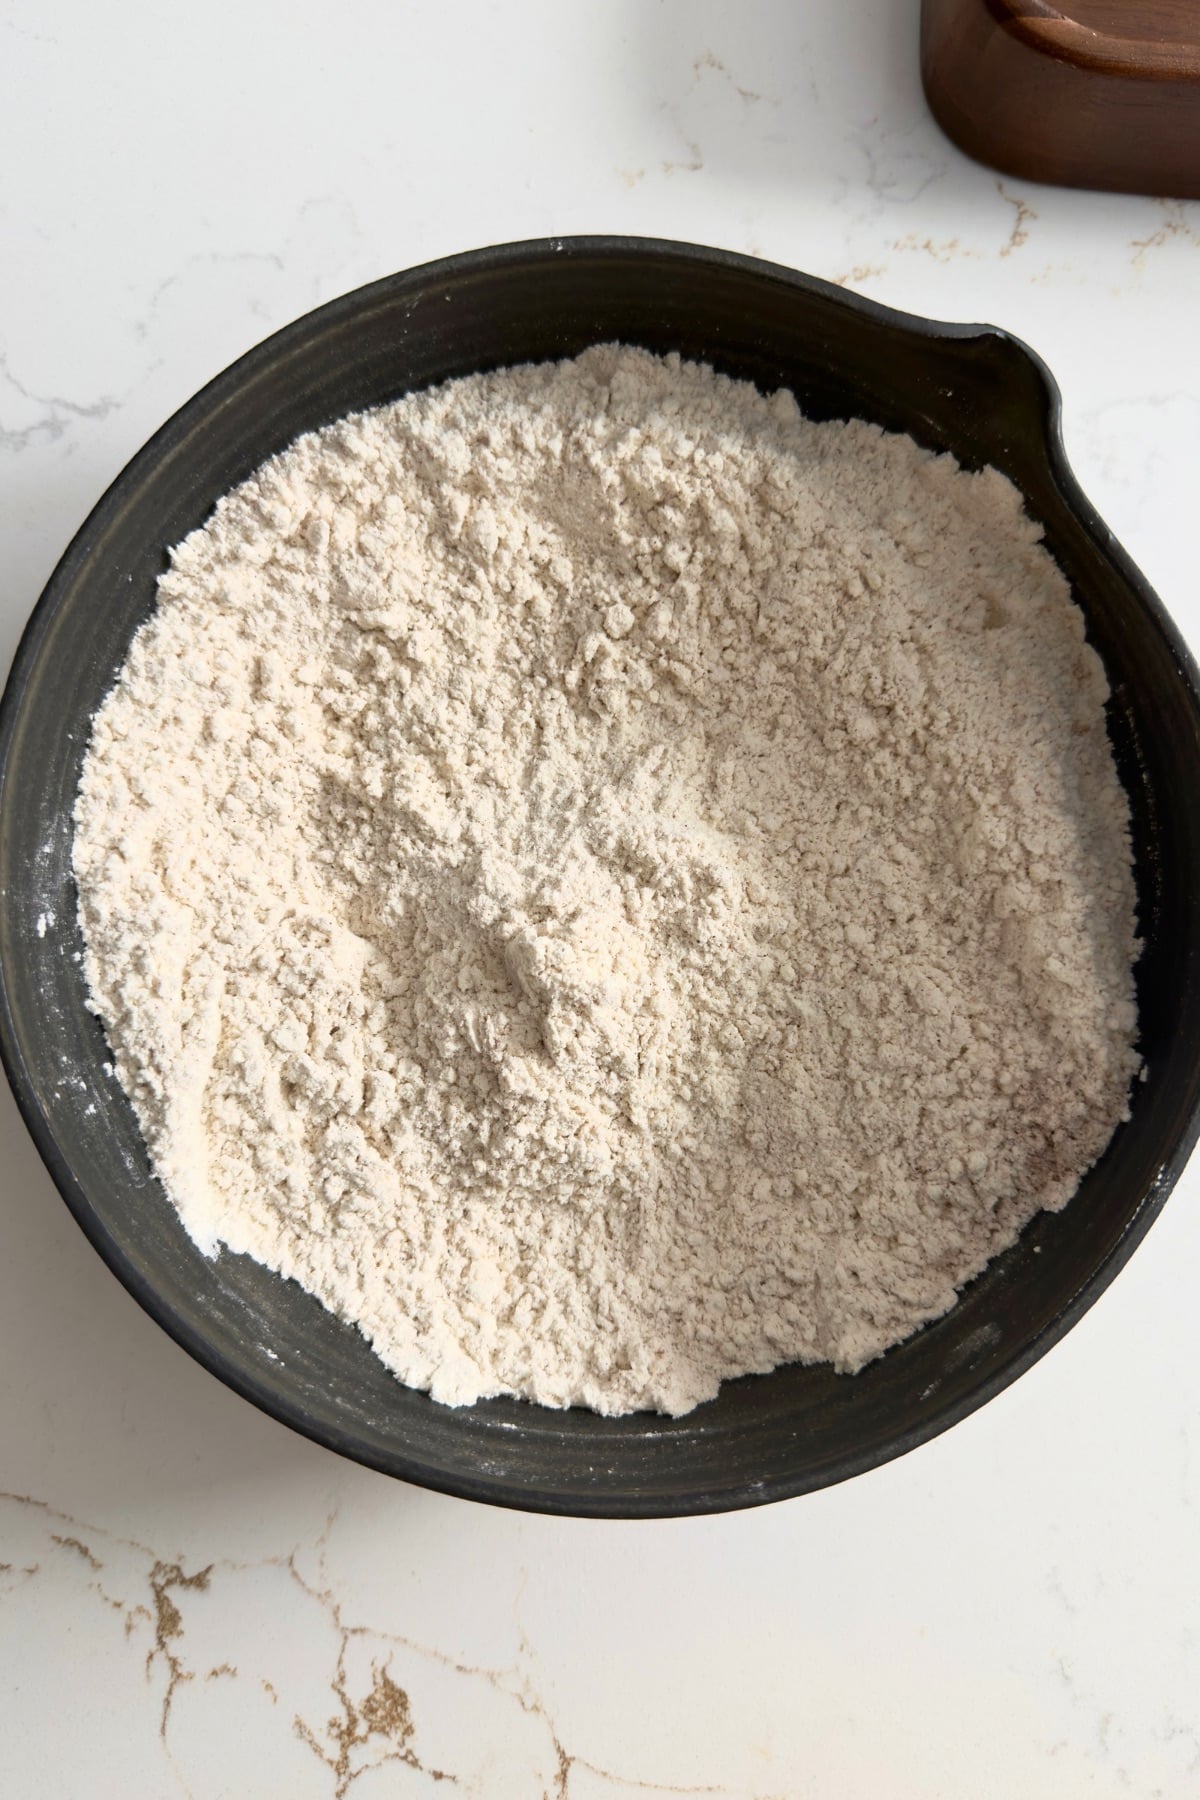
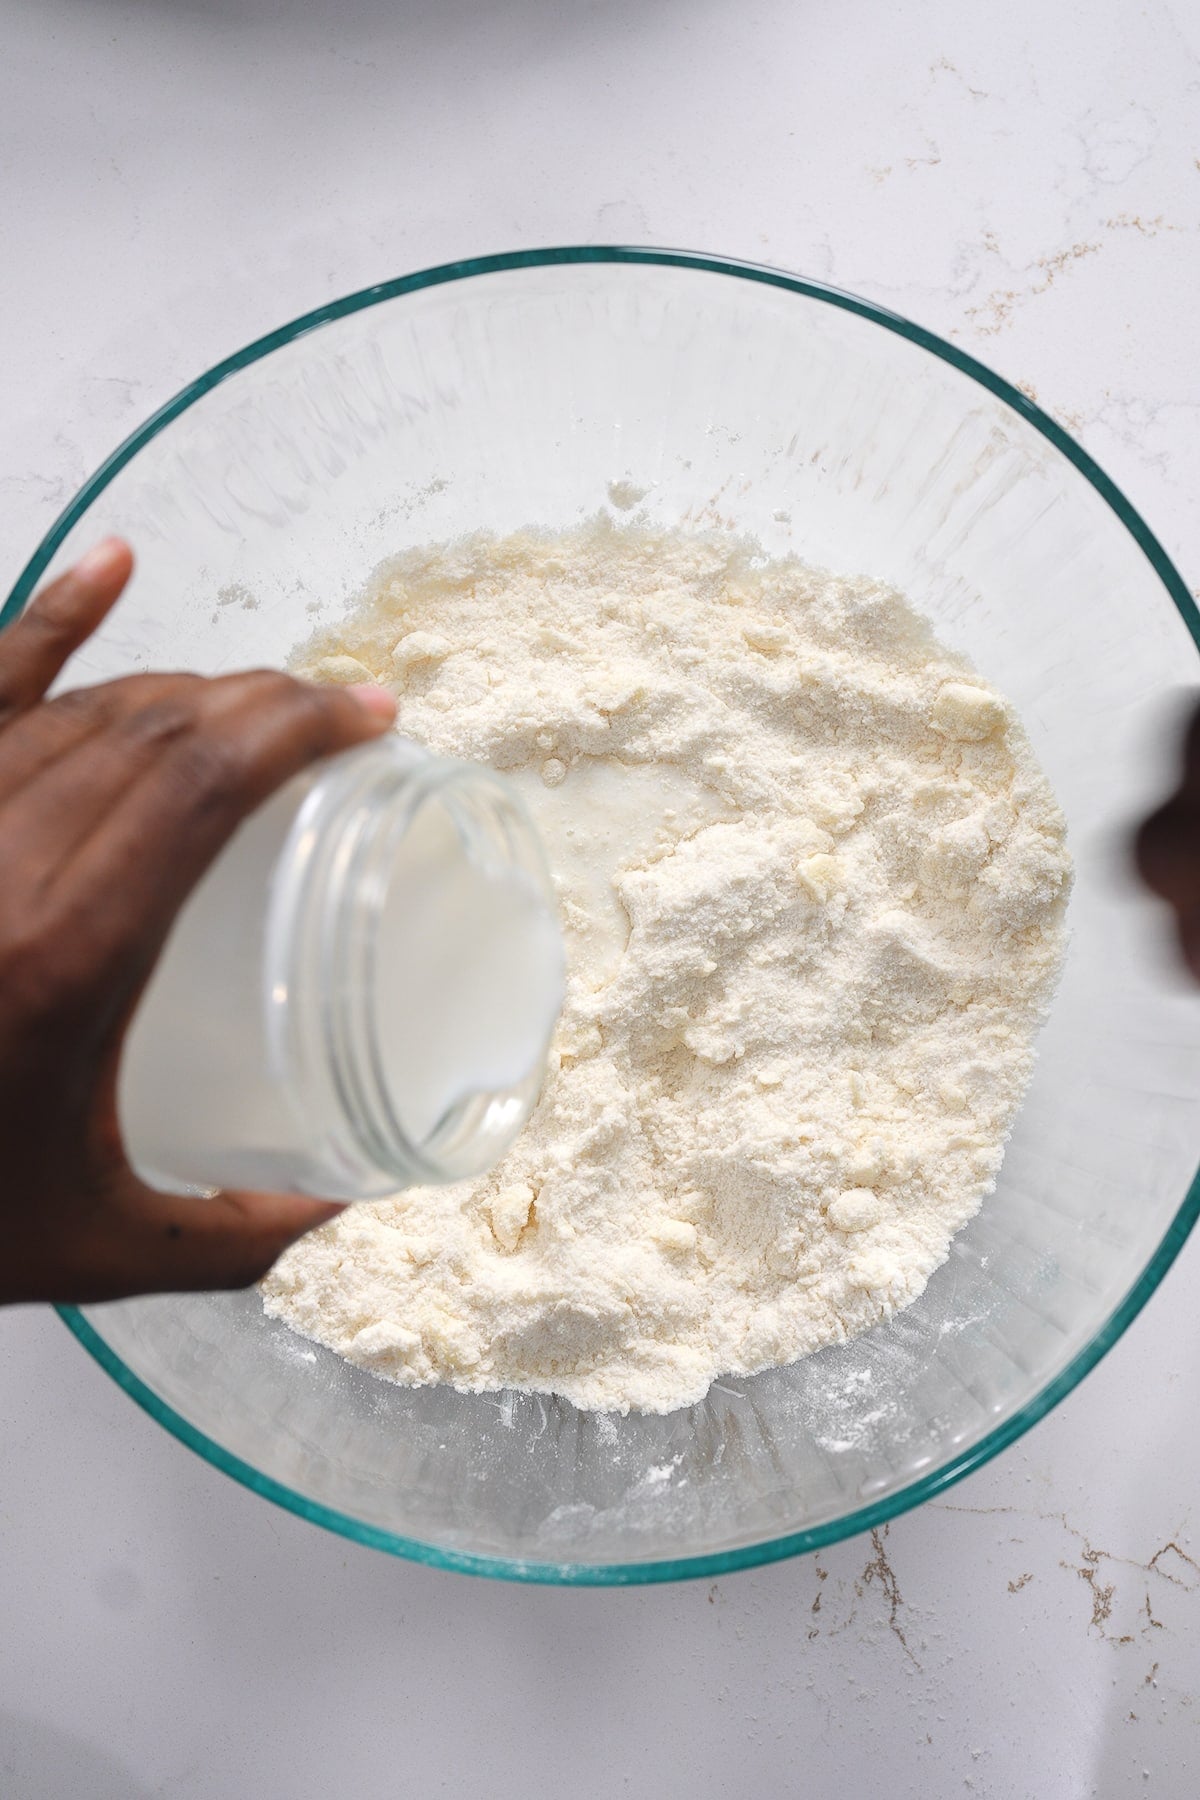
In a separate bowl, whisk together the flour, granulated sugar, baking powder, and salt. Add the cold cubed butter and work it into the dry ingredients with a pastry cutter or your fingertips until the mixture resembles coarse crumbs.
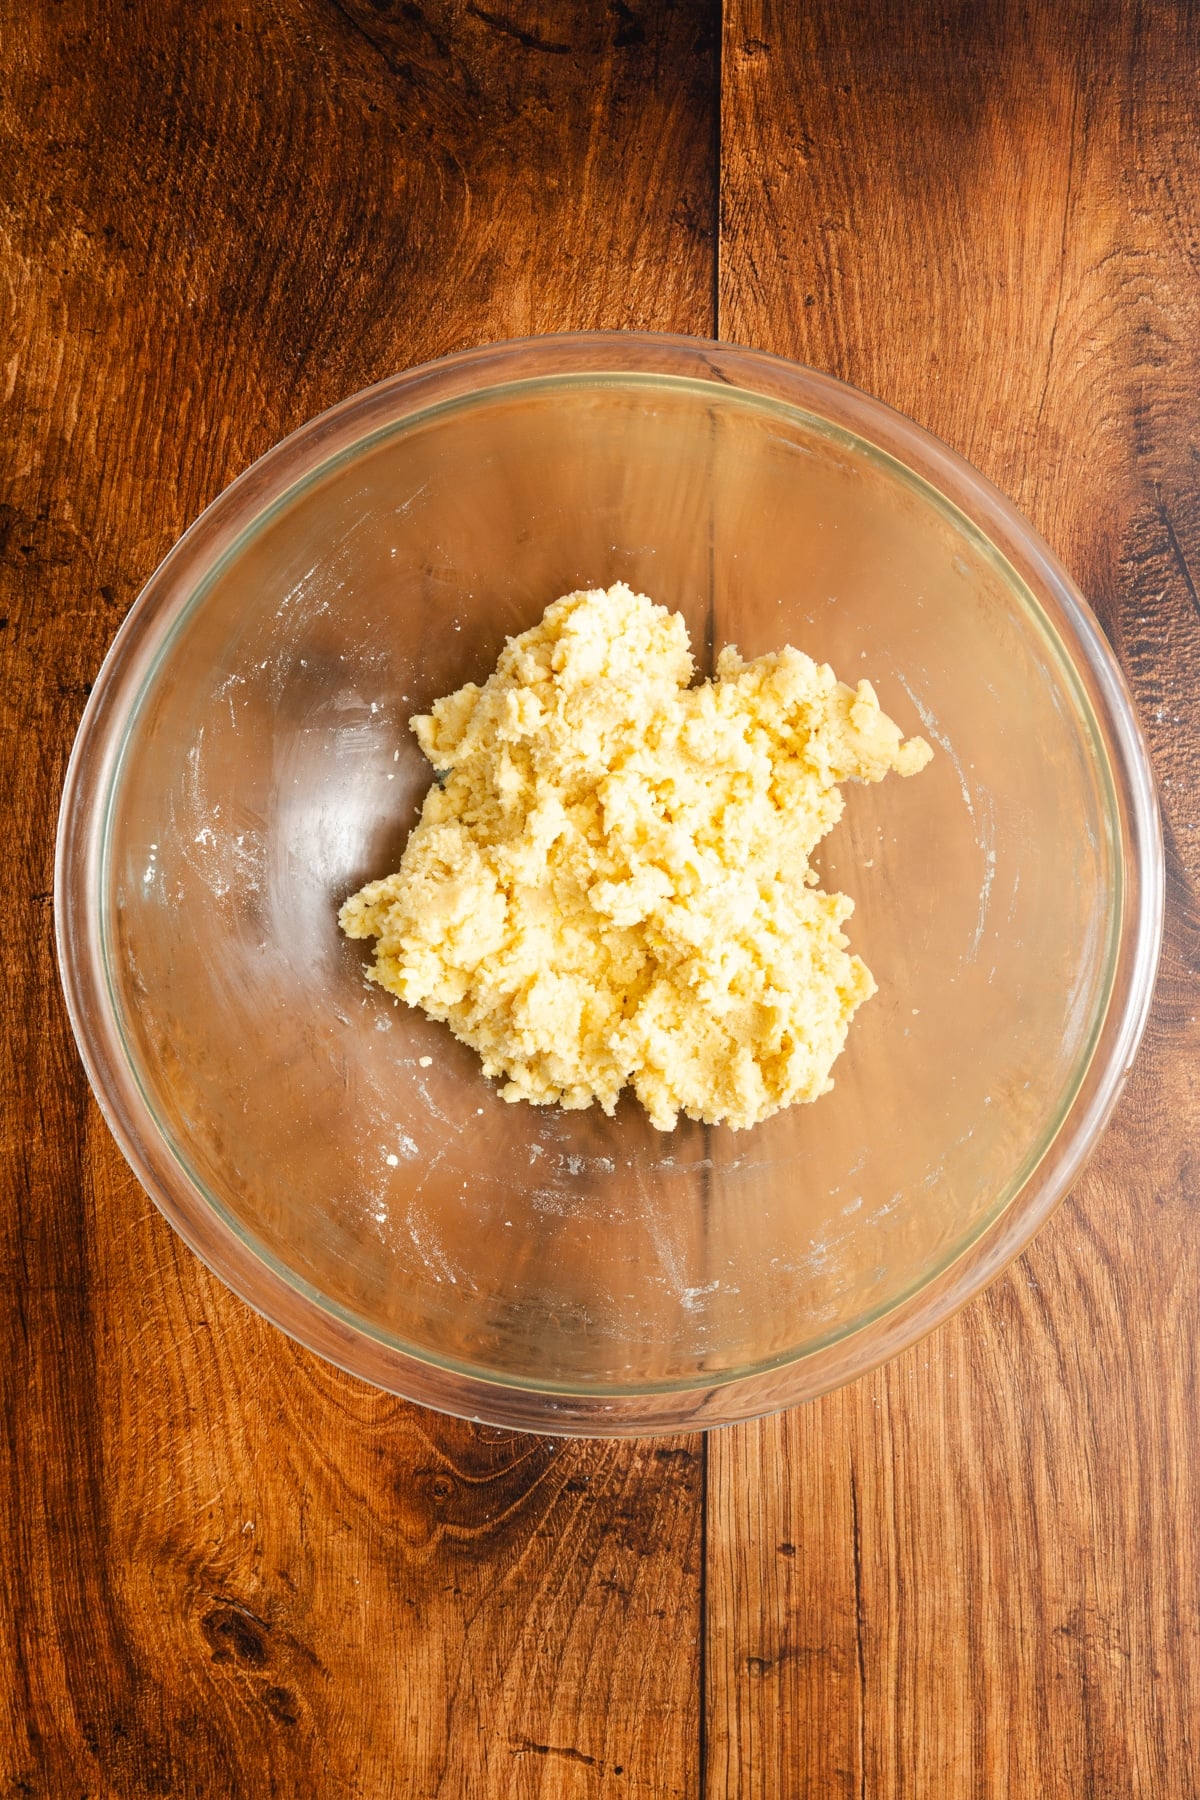
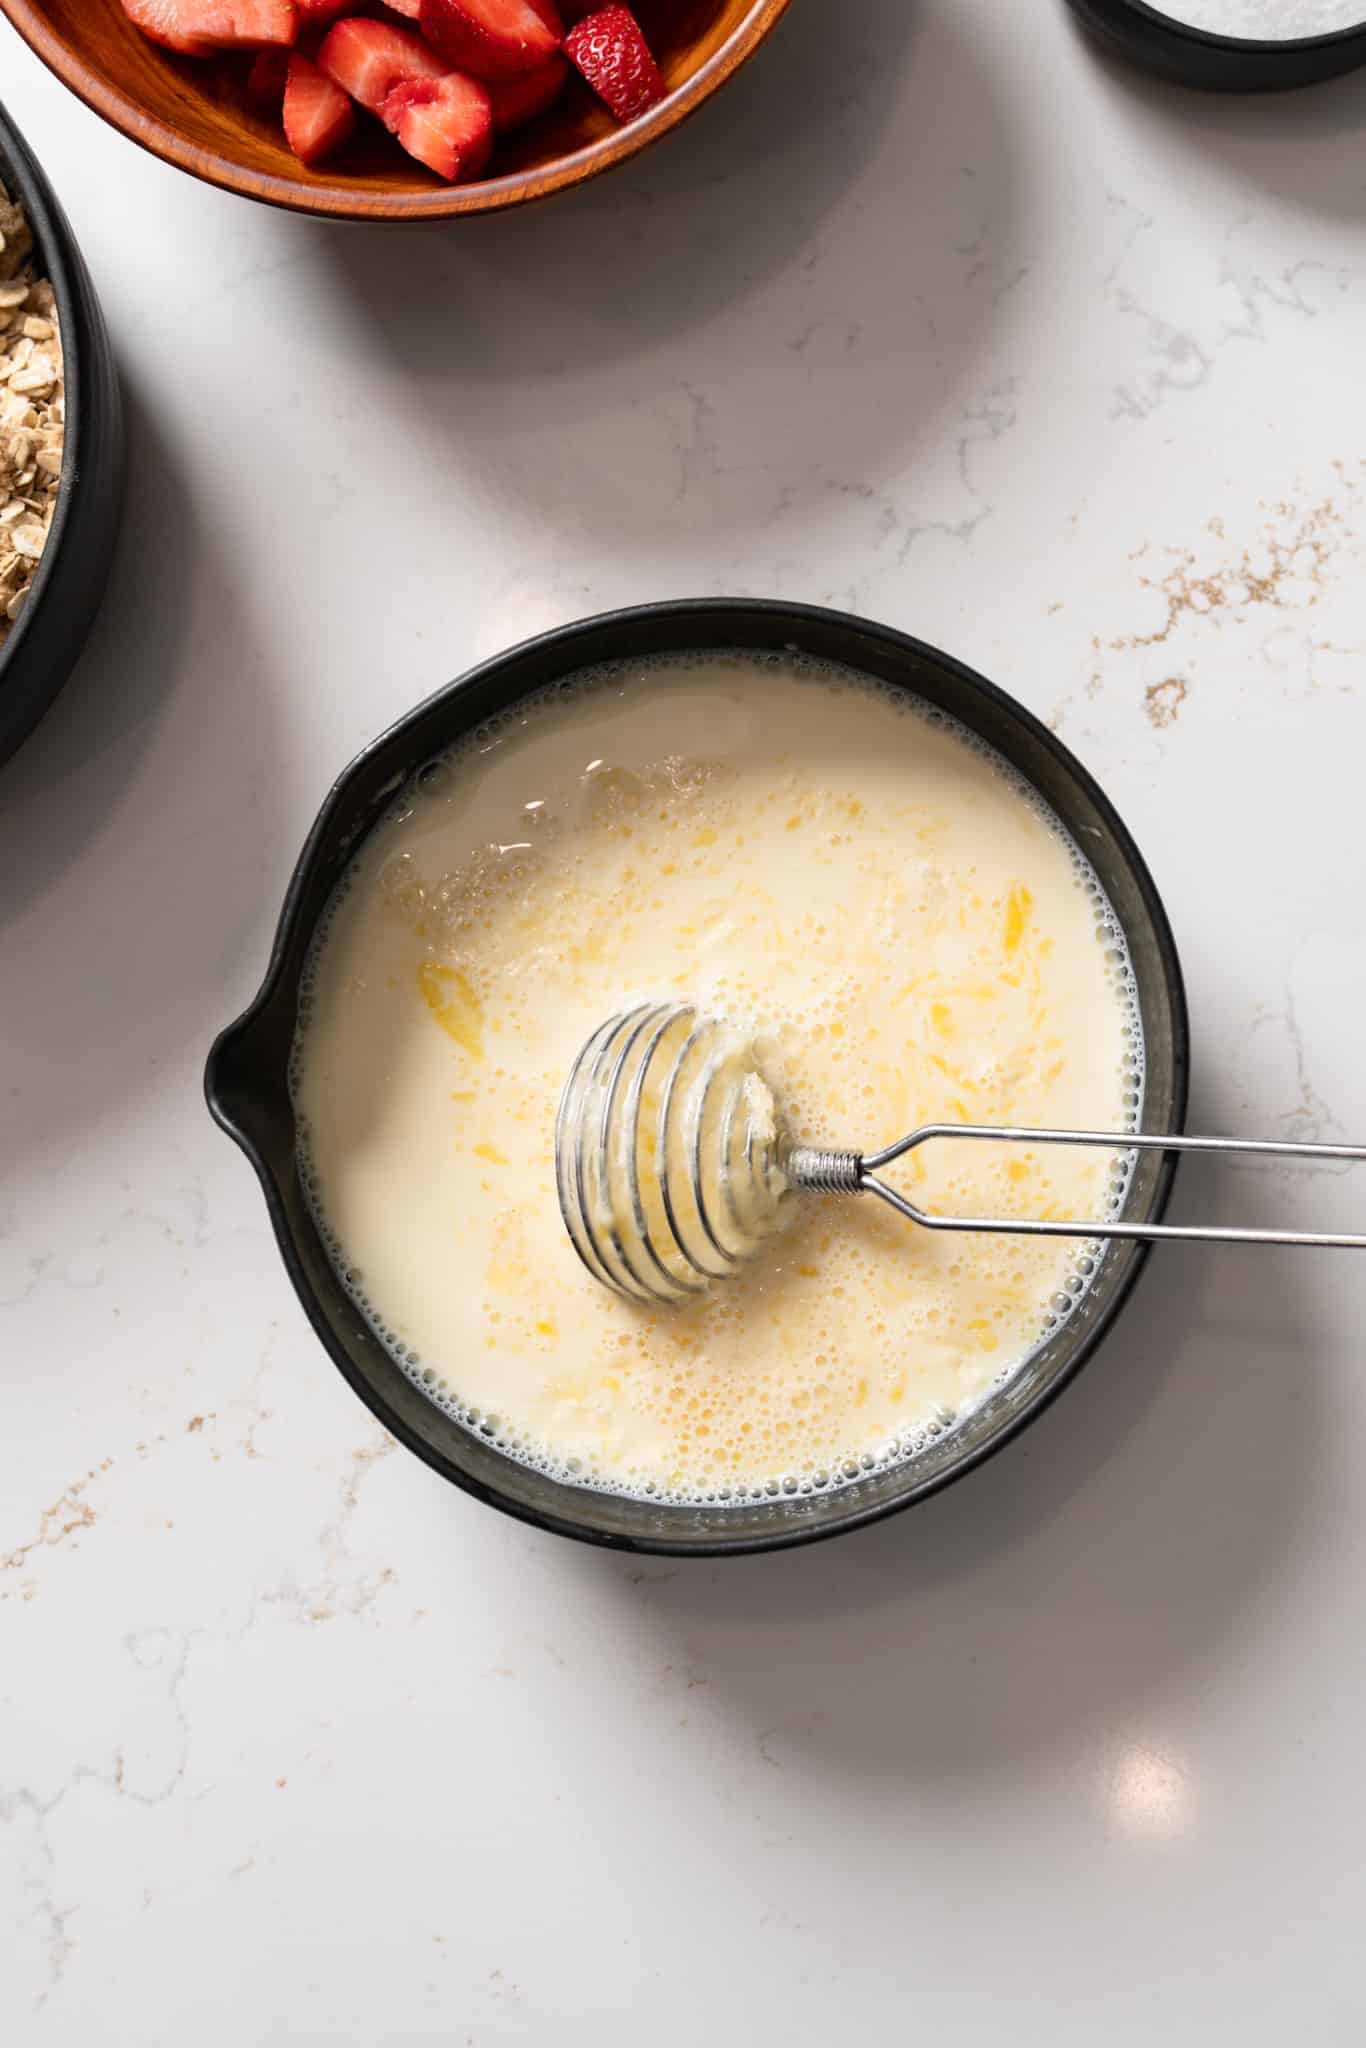
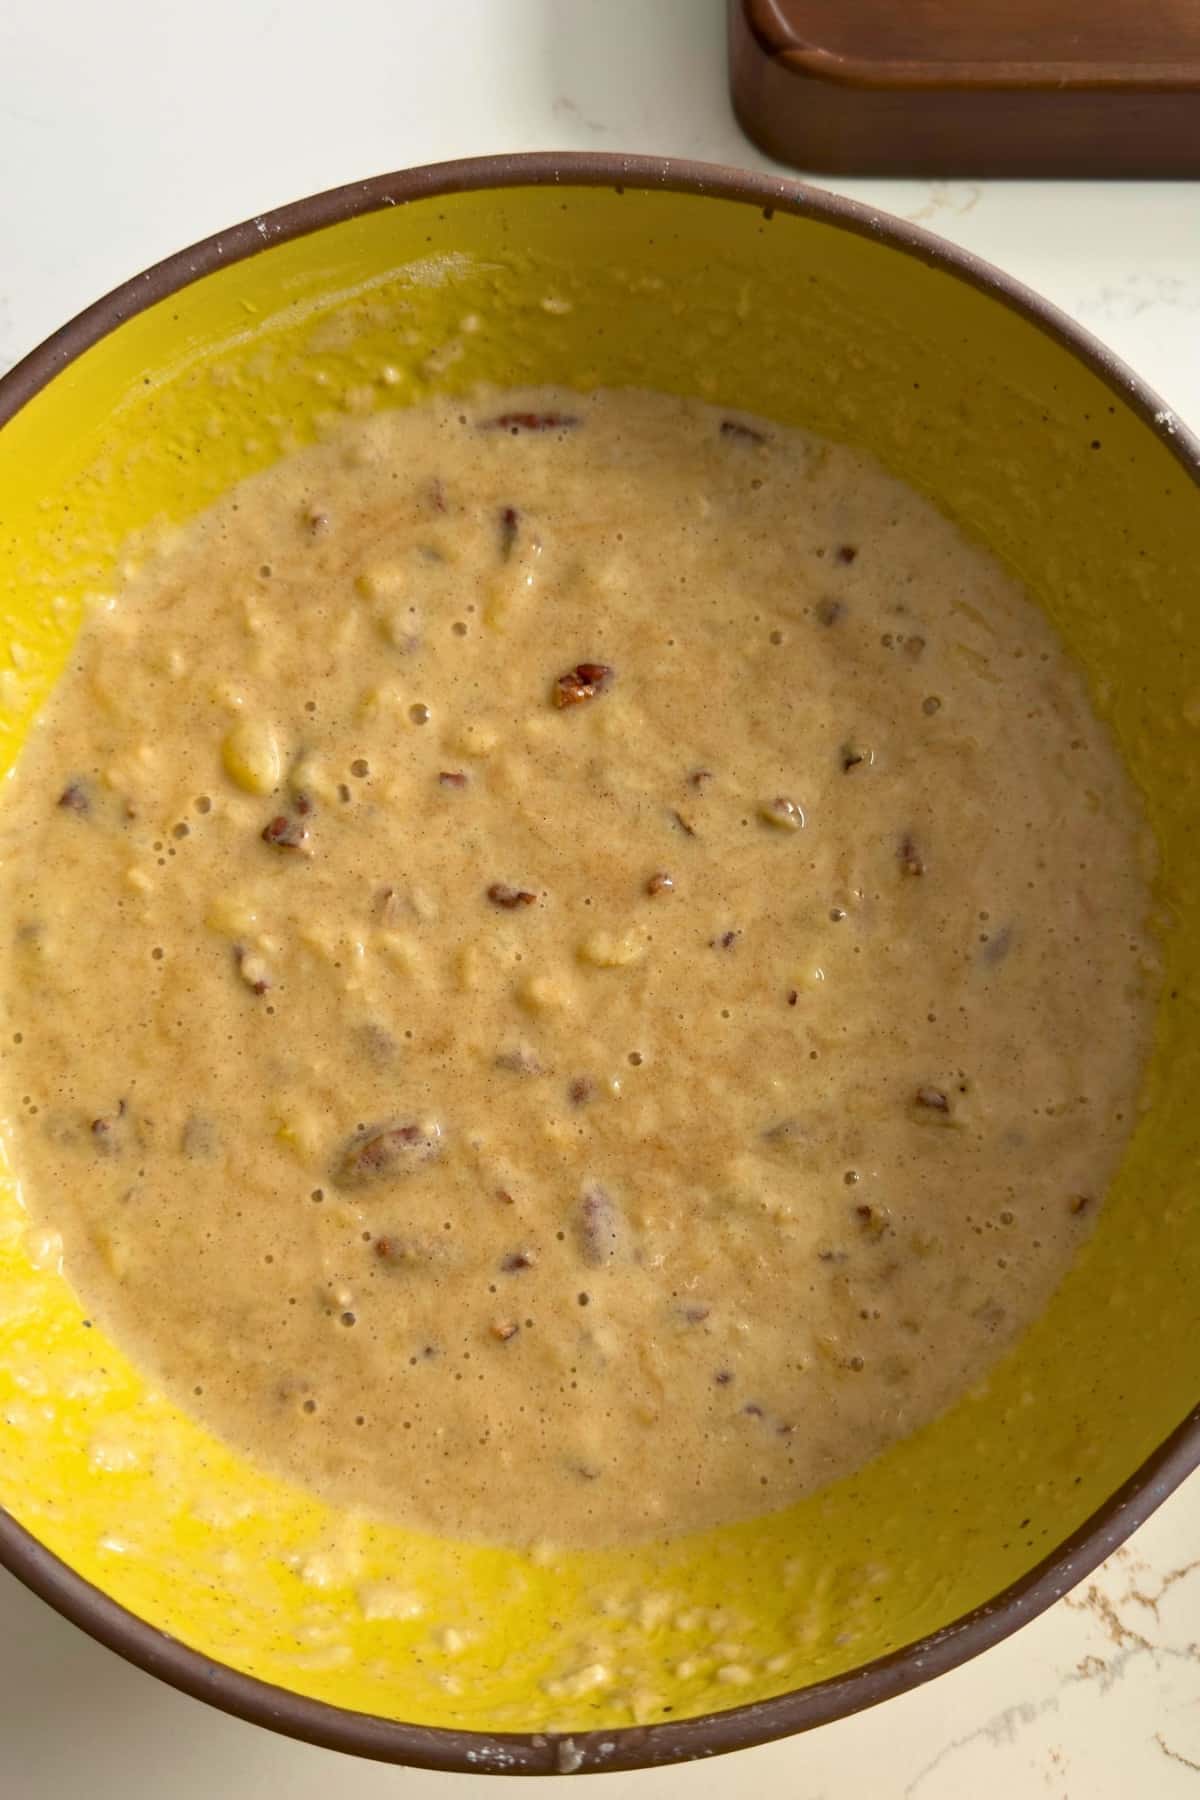
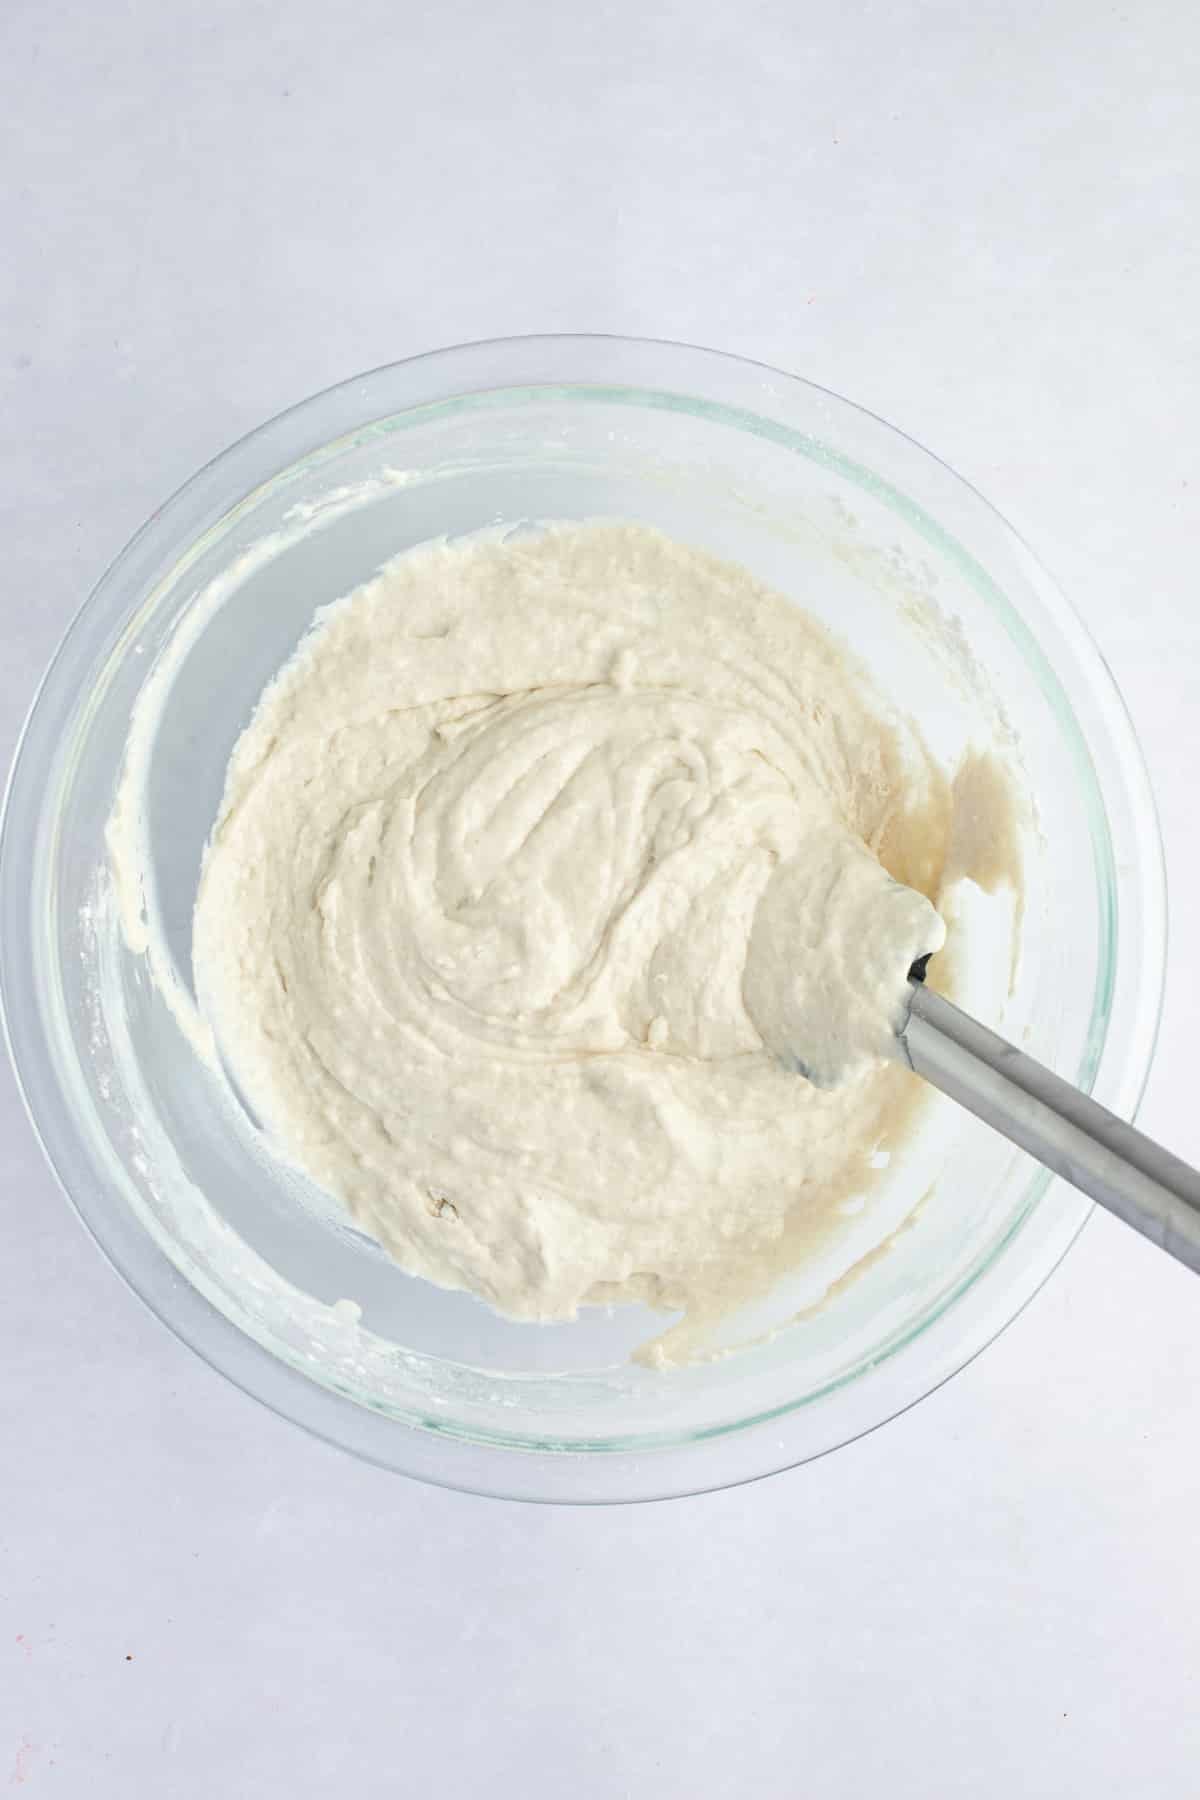
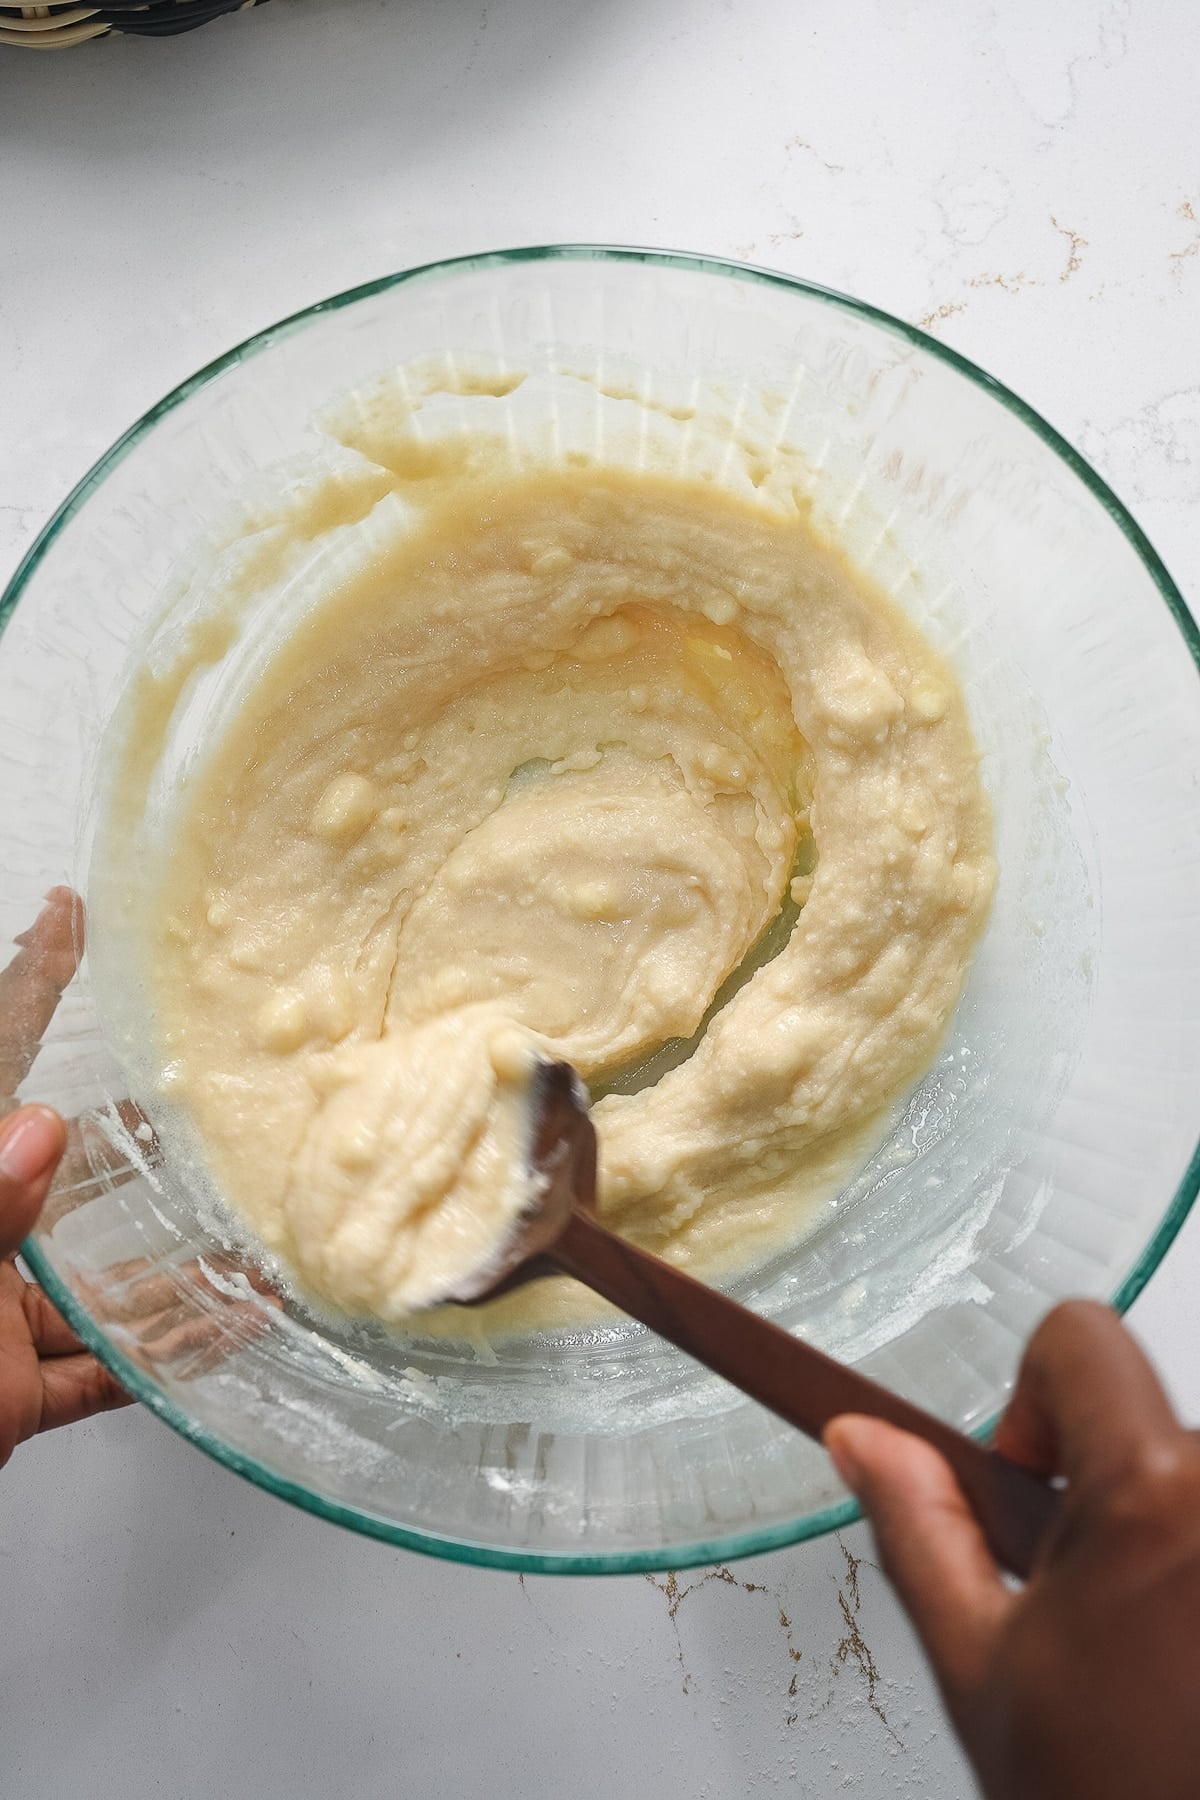
Pour in the milk and stir just until a thick batter forms. Do not overmix; a few lumps are fine.
Top and Bake
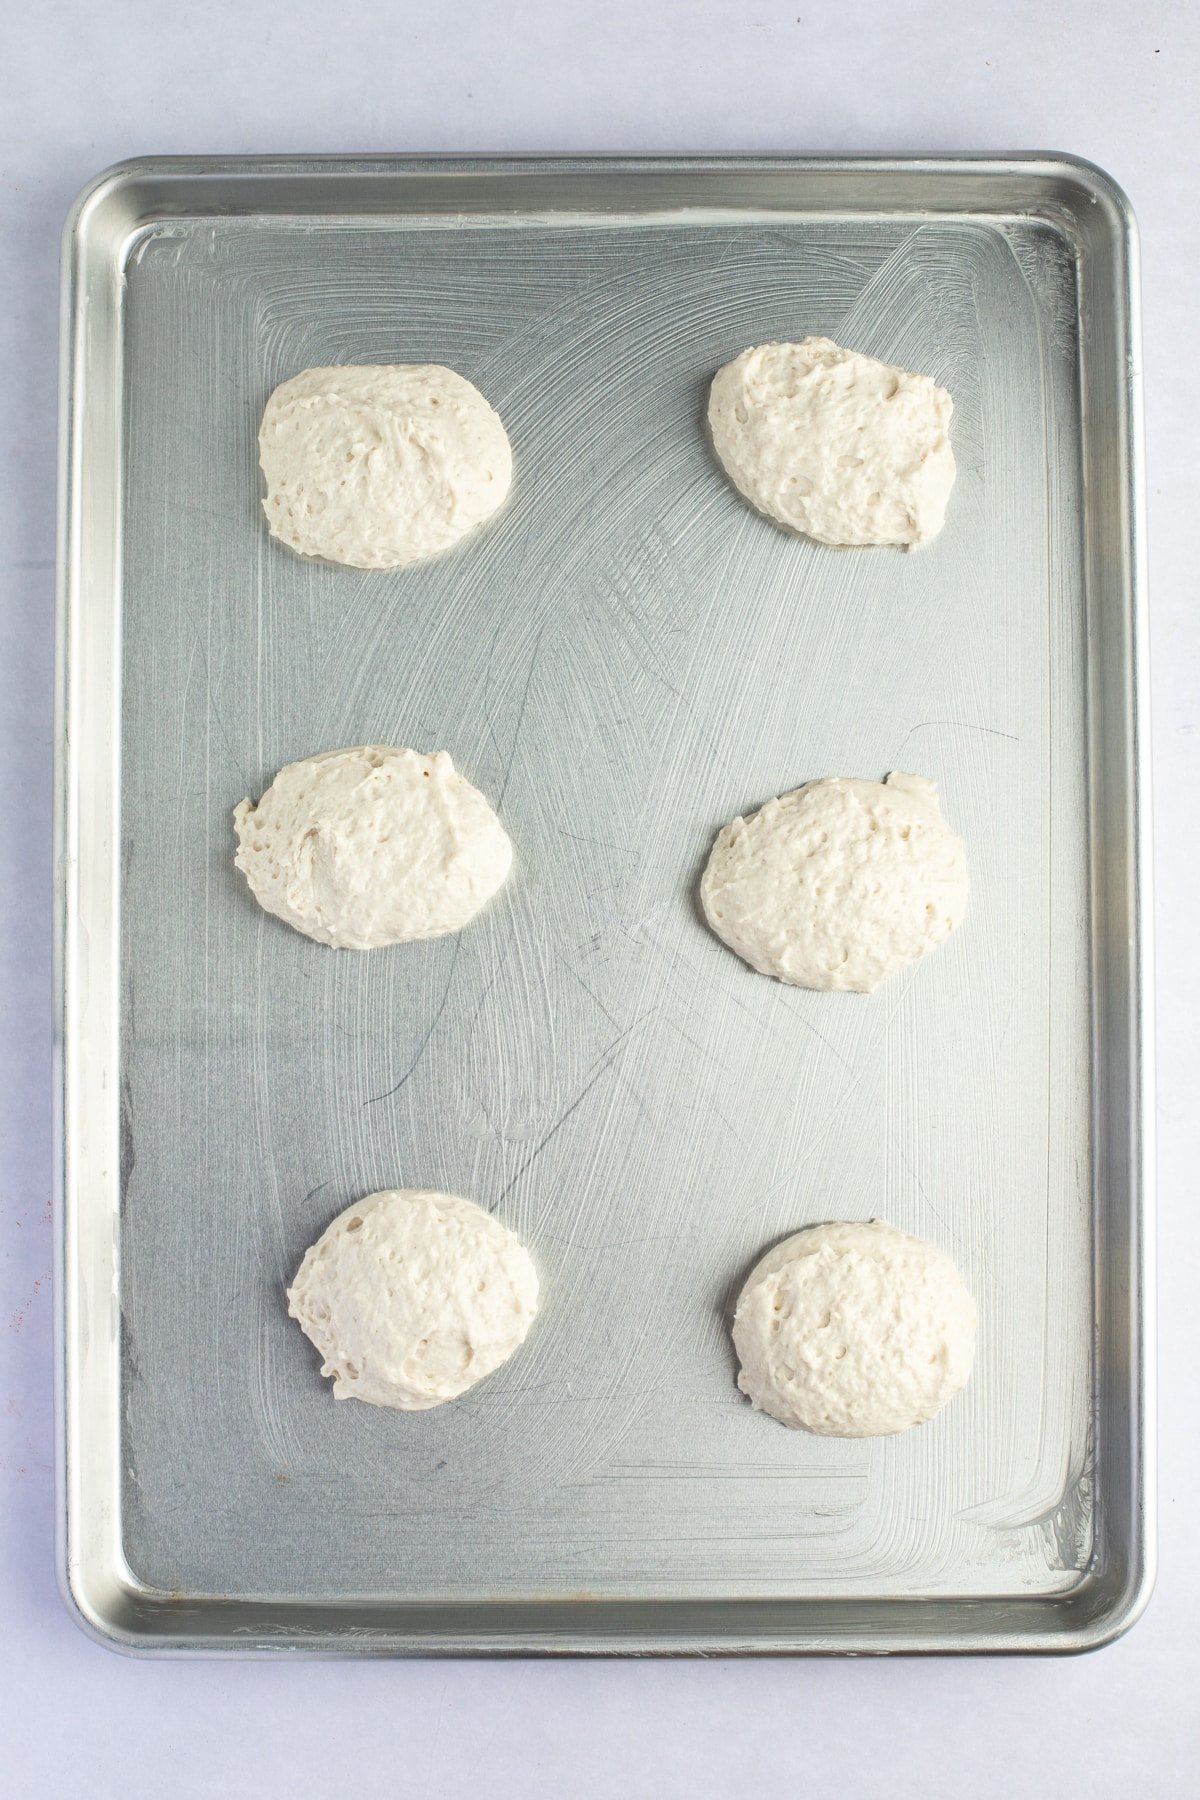
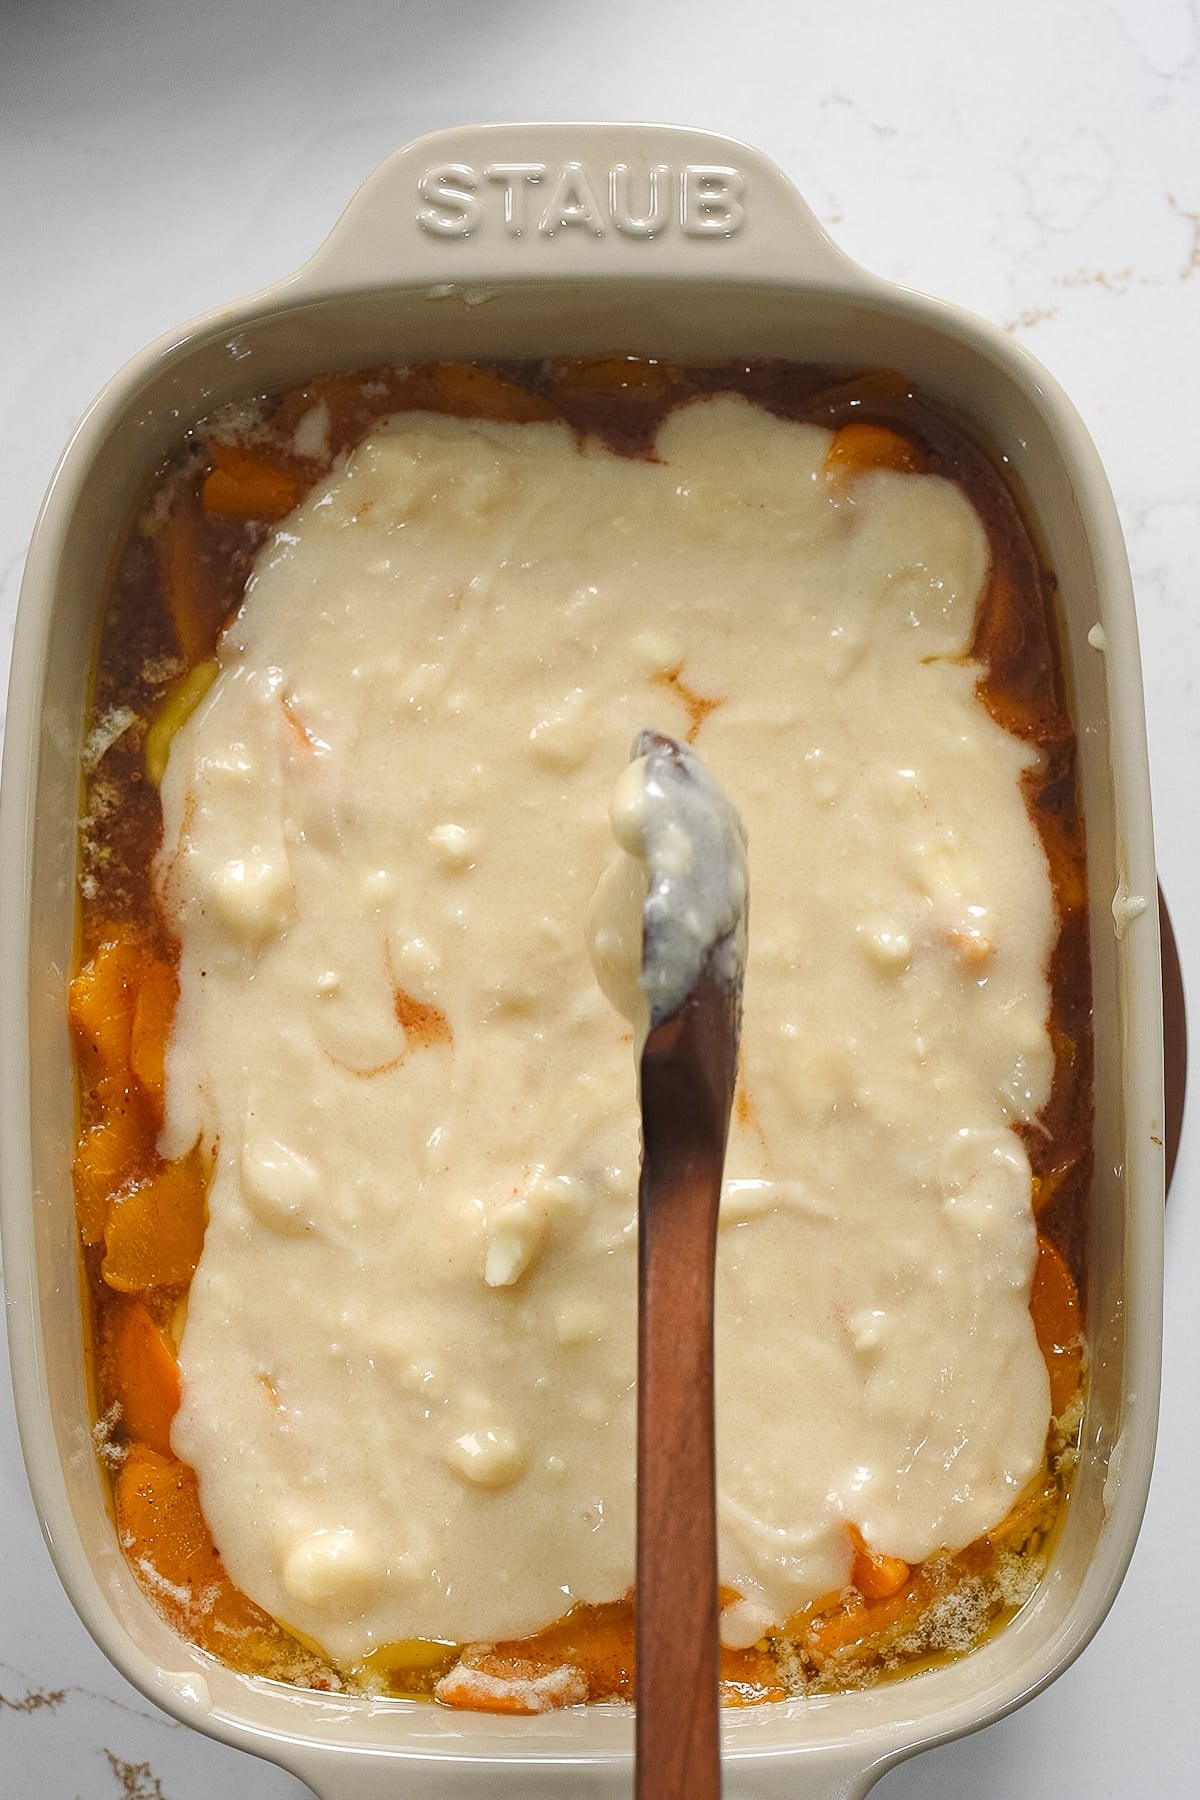
Drop the biscuit mixture in large spoonfuls over the peaches. Spread gently, leaving some gaps so the filling can bubble through. The batter will not cover the entire baking dish. Focus on covering the middle, and leave the edges exposed.
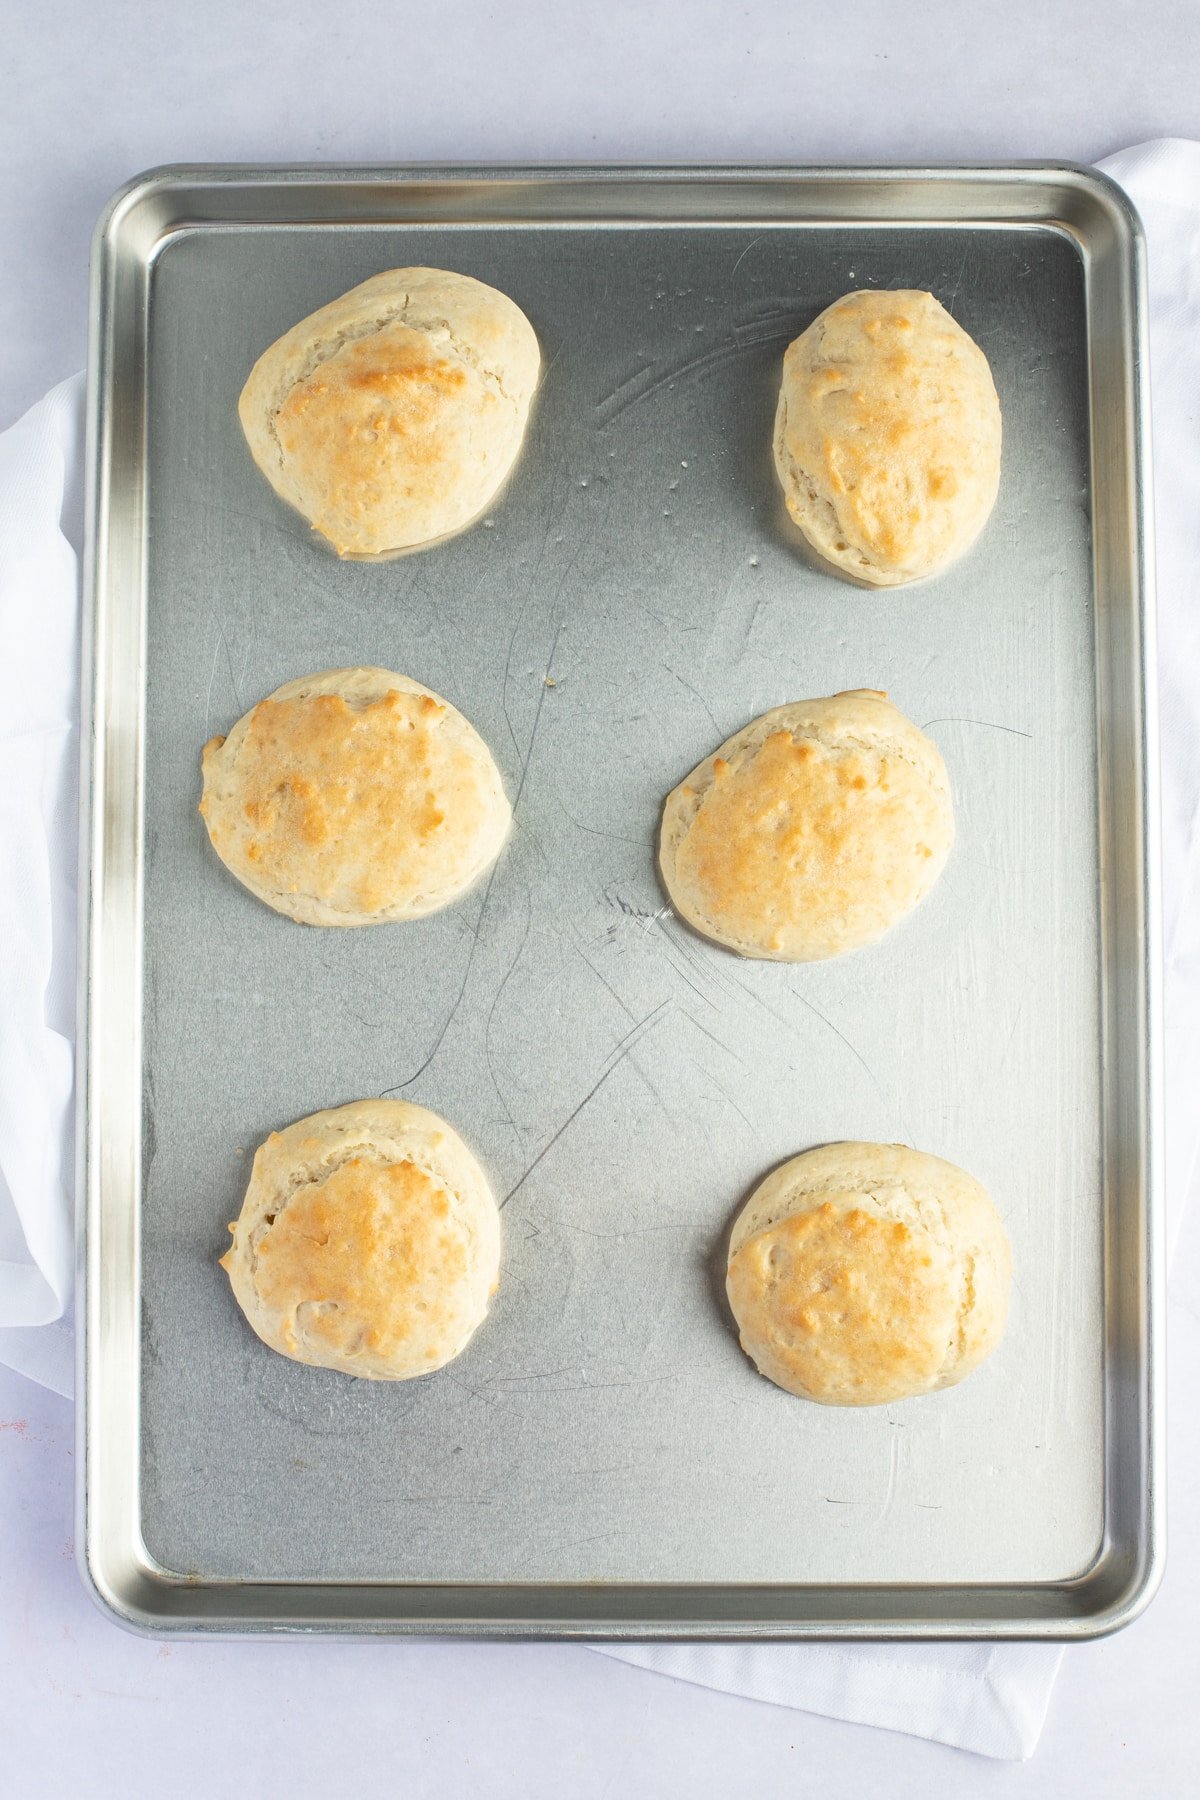
Bake for 40–50 minutes, until the topping is golden brown and set in the center and the filling is bubbling around the edges.
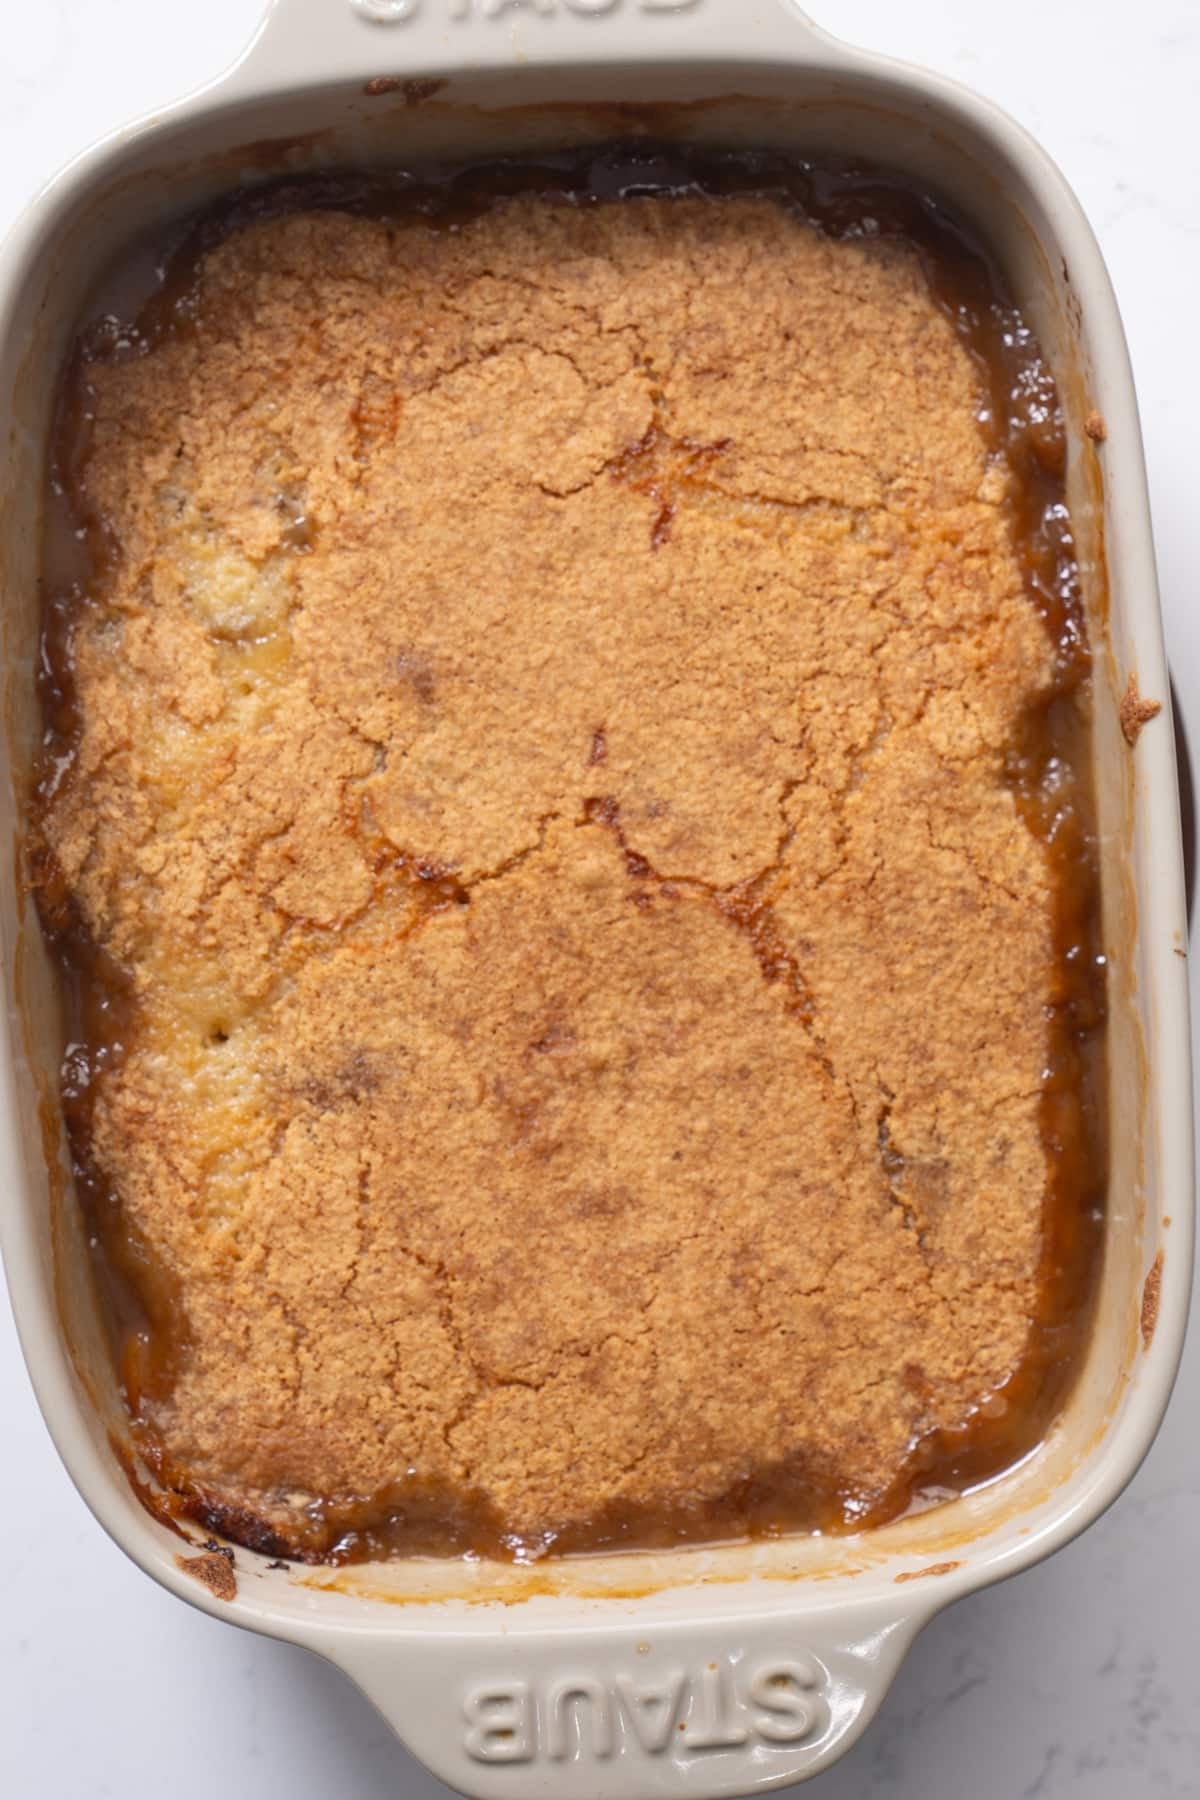
Cool and Serve
Let the cobbler cool for at least 15–20 minutes before serving. This gives the juices time to thicken up. Serve warm, ideally with a scoop of vanilla ice cream.
Variations
- Fresh peaches: If you want to use fresh peaches when they're in season, use about 4–5 medium peaches, peeled and sliced. Toss them with a little sugar and let them sit for 10 minutes to release their juices before using.
- Frozen peaches: Thaw completely and drain some of the liquid before using.
- Peach and blueberry: Add a handful of fresh or frozen blueberries to the peach filling for a fun variation.
- Spice it up: Add a pinch of ground ginger or cardamom alongside the cinnamon for a more complex spice profile.
Serving Suggestions
- Serve warm with a big scoop of vanilla ice cream.
- A dollop of whipped cream also works well if you want something lighter. Try pairing it with my Rum Raisin Ice Cream for a fun twist.
- This cobbler is good enough to eat on its own, but if you're serving a crowd, it pairs well alongside other Southern desserts.
Make Ahead and Storage
Storage: Let the cobbler cool completely, then cover the dish or transfer to an airtight container. It keeps in the refrigerator for up to 4 days. The topping will soften a bit over time, but the flavor is still great.
Freezing: You can freeze peach cobbler for up to 3 months. Cover tightly with plastic wrap and foil. Keep in mind that both refrigerating and freezing will soften the biscuit topping over time as it absorbs moisture from the filling. To get the best texture back, reheat in a 325°F (160°C) oven rather than the microwave. It won't fully crisp up again, but it helps. If the crispy topping matters to you, another option is to freeze just the peach filling and make a fresh biscuit topping when you're ready to bake.
Reheating: Reheat individual portions in the microwave for 60–90 seconds, or warm the whole dish in a 325°F (160°C) oven for about 15 minutes. To help crisp the topping back up, use the oven instead of the microwave.

Tanya's Top Tips
- Keep your butter for the biscuits very cold. Cold butter is what gives the biscuit topping its texture. If your kitchen is warm and the butter starts to soften while you're working, pop the cubed butter in the freezer for 5–10 minutes before adding it to the flour.
- A 2-quart baking dish (8×8-inch) is ideal. You can use a 9×9-inch dish, but the filling will be a little shallower. I wouldn't go smaller than that, or you risk overflow.
- You can test the cobbler for doneness by sticking a toothpick into the biscuit topping. It should come out clean.
Related Recipes
I hope you love this peach cobbler as much as we do. If you're looking for more dessert recipes, try these:
- Slow Cooker Peach Cobbler — a hands-off version that's great for days when you want dessert without babysitting the oven.
- Easy Southern Peach Cobbler Cake — a cake spin on the classic cobbler, perfect for feeding a crowd.
- Homestyle Apple Crisp Recipe — if you love this cobbler, the apple crisp is another easy fruit dessert worth making.

Peach Cobbler Recipe
Ingredients
Peach Filling
- 3 tablespoons unsalted butter
- 2 (15 ounce) cans of peaches in fruit juice 1 can drained, 1 can undrained
- ⅓ cup packed light brown sugar
- 1½ teaspoons vanilla extract
- ½ teaspoon ground cinnamon
- ¼ teaspoon ground nutmeg
- ⅛ teaspoon salt
Biscuit Topping
- 1 cup all-purpose flour
- 1 cup granulated sugar
- 2 teaspoons baking powder
- ½ teaspoon salt
- ¼ cup cold unsalted butter cut into cubes
- ½ cup milk
Instructions
- Preheat oven to 350°F (175°C). Lightly grease a 2-quart baking dish (8×8-inch). Add butter to the dish and place in the oven for a few minutes until melted. Tilt to coat the bottom evenly.
- Meanwhile, in a large bowl, combine peaches (1 drained, 1 with juice), light brown sugar, vanilla extract, cinnamon, nutmeg, and salt. Stir until the peaches are well coated.
- Carefully remove the baking dish from the oven. Pour peach mixture into the buttered baking dish and spread evenly.
- In a separate bowl, whisk together all-purpose flour, granulated sugar, baking powder, and salt. Add cold cubed butter and work in with a pastry cutter or fingertips until the mixture resembles coarse crumbs.
- Pour in milk and stir just until a thick batter forms.
- Drop biscuit mixture in large spoonfuls over the peaches. Gently spread over the peaches. The batter will not cover the entire baking dish. Focus on covering the middle, and leave the edges exposed.
- Bake for about 40-50 minutes, until topping is golden brown and set and filling is bubbling around the edges.
- Let cool for 15–20 minutes before serving. Serve warm, ideally with vanilla ice cream.
Notes
- Very cold butter makes a big difference in the topping texture. If your butter starts to soften, freeze it for a few minutes before using.
- Do not drain both cans of peaches. The juice from one undrained can creates the syrupy filling.
- Allow resting time before serving. The juices thicken as the cobbler cools.
- Storage: refrigerate for up to 4 days; freeze for up to 3 months.