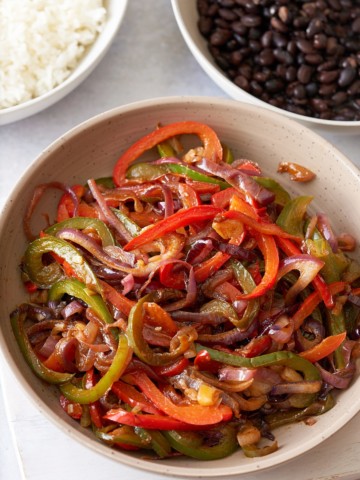
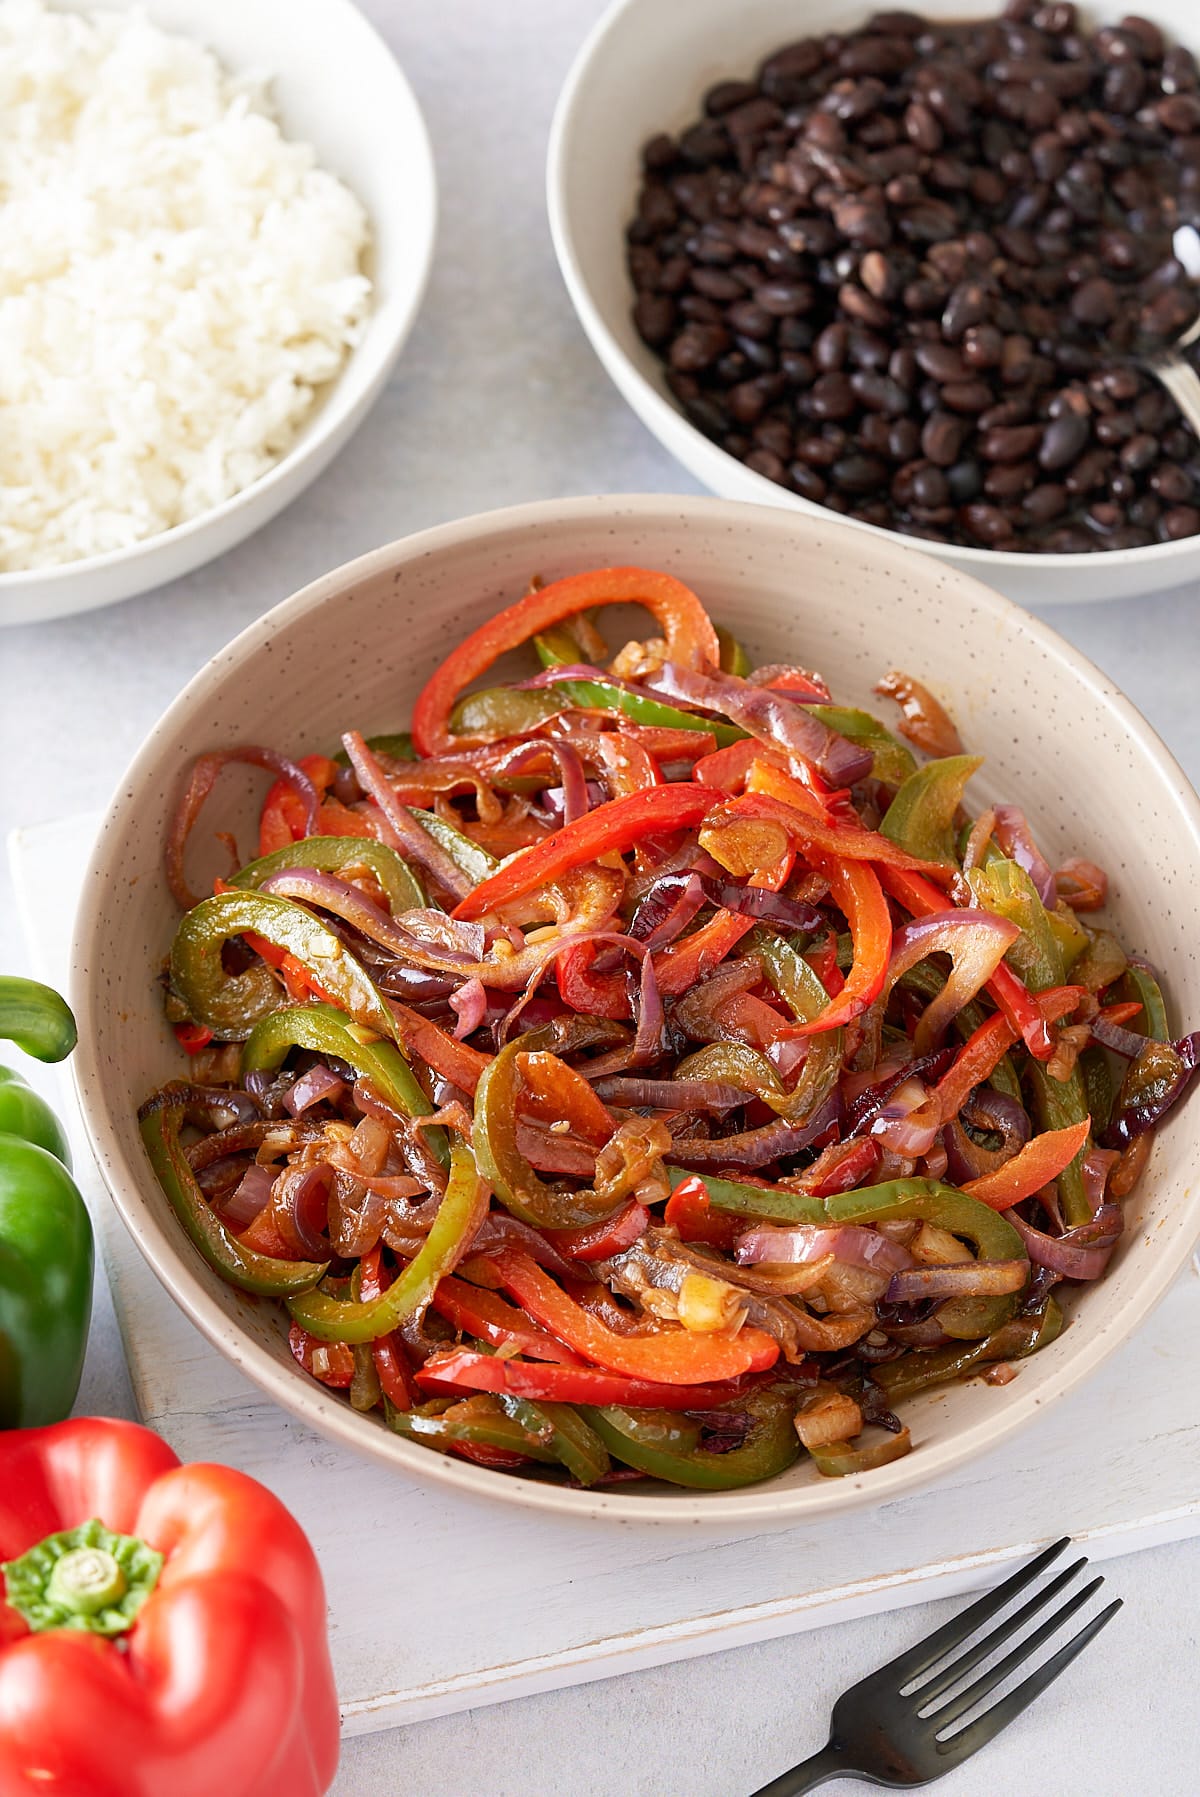
If you are looking for a great-tasting vegetable side that can be prepared in minutes, then try my Easy Fajita Vegetables. Sliced red onion and a variety of different colored bell peppers are stir-fried quickly in fajitas seasoning for a healthy vegetable side dish that is packed full of flavor.

This post contains affiliate links, please read my full disclaimer here.
You’ll find the full recipe with ingredient amounts and instructions in the recipe card at the bottom of this post. Be sure to check out the blog post itself for extra tips and tricks!
Healthy fajita veggies are the perfect mid-week side when you are pushed for time but want to put something tasty and nutritious on the table. Hands-on preparation is minimal; the whole dish can be prepared, cooked, and on the table in around 20 minutes.
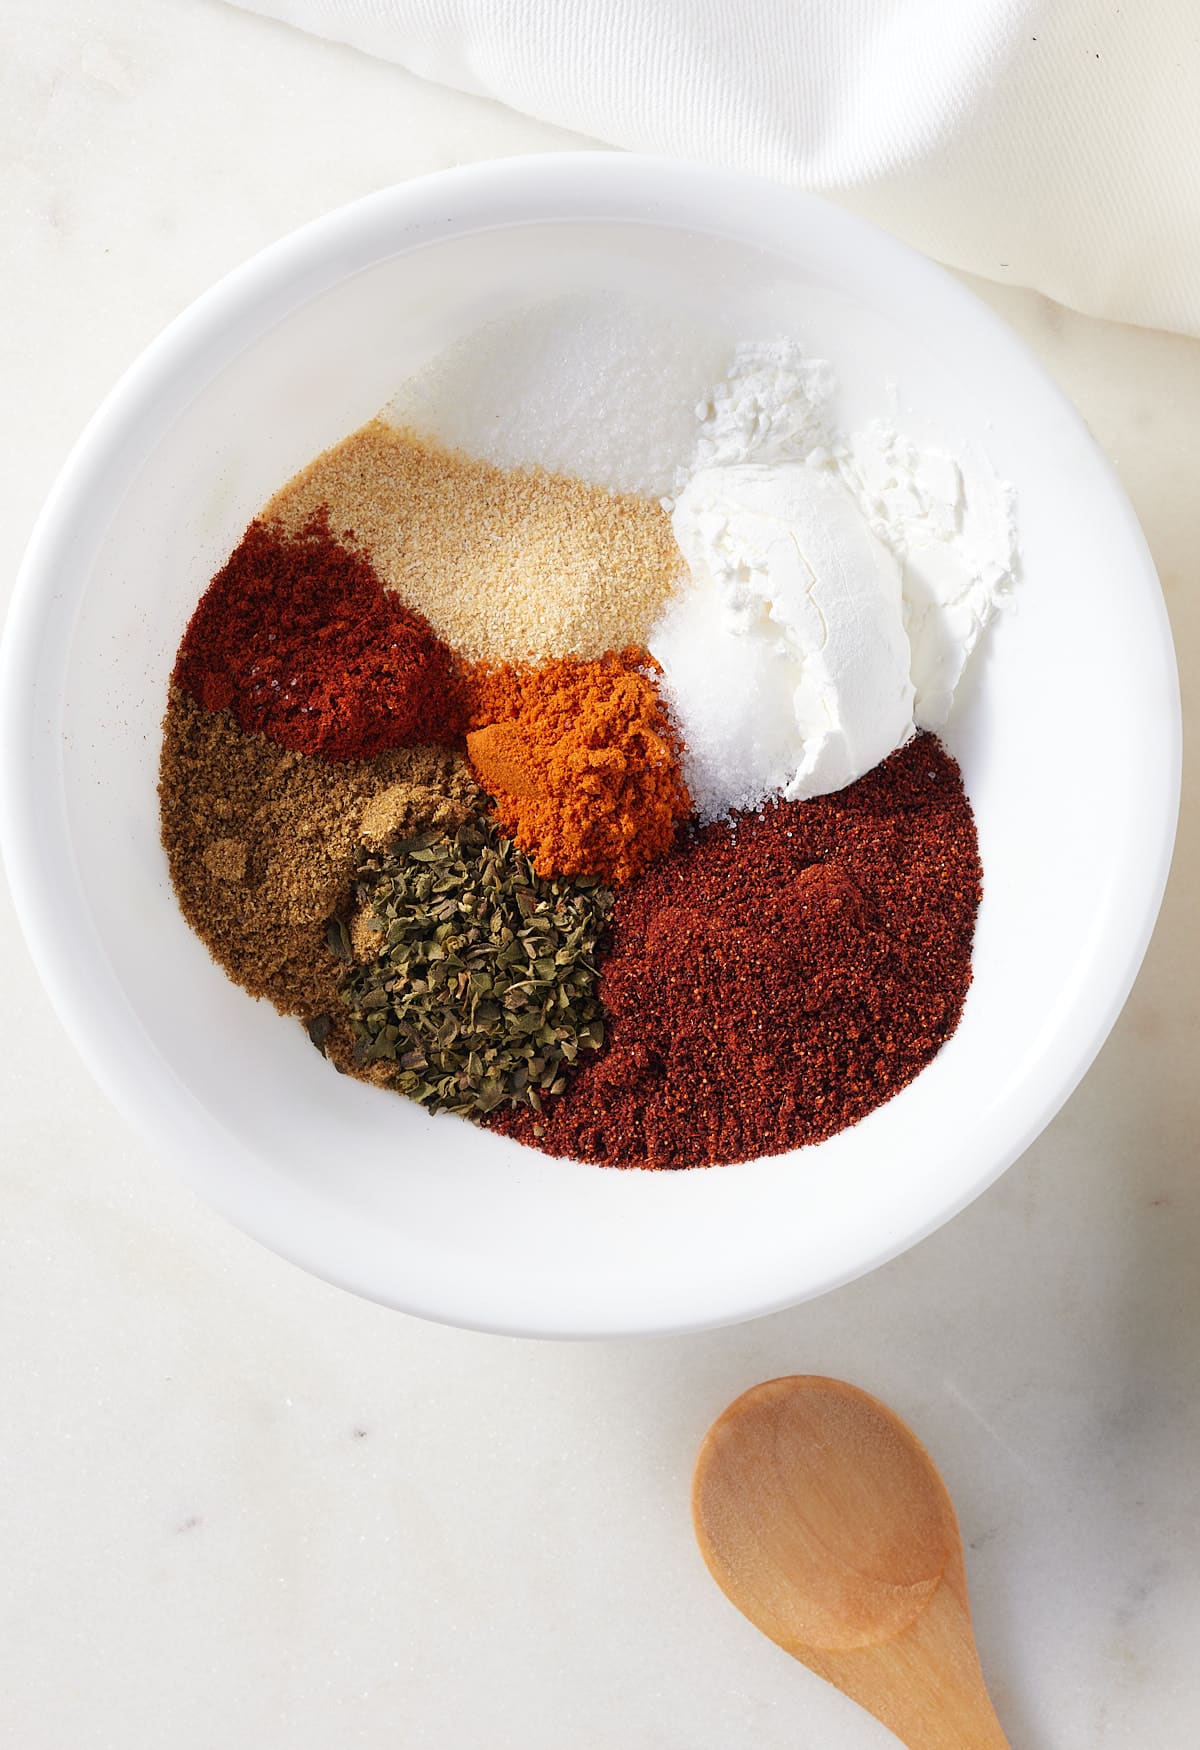
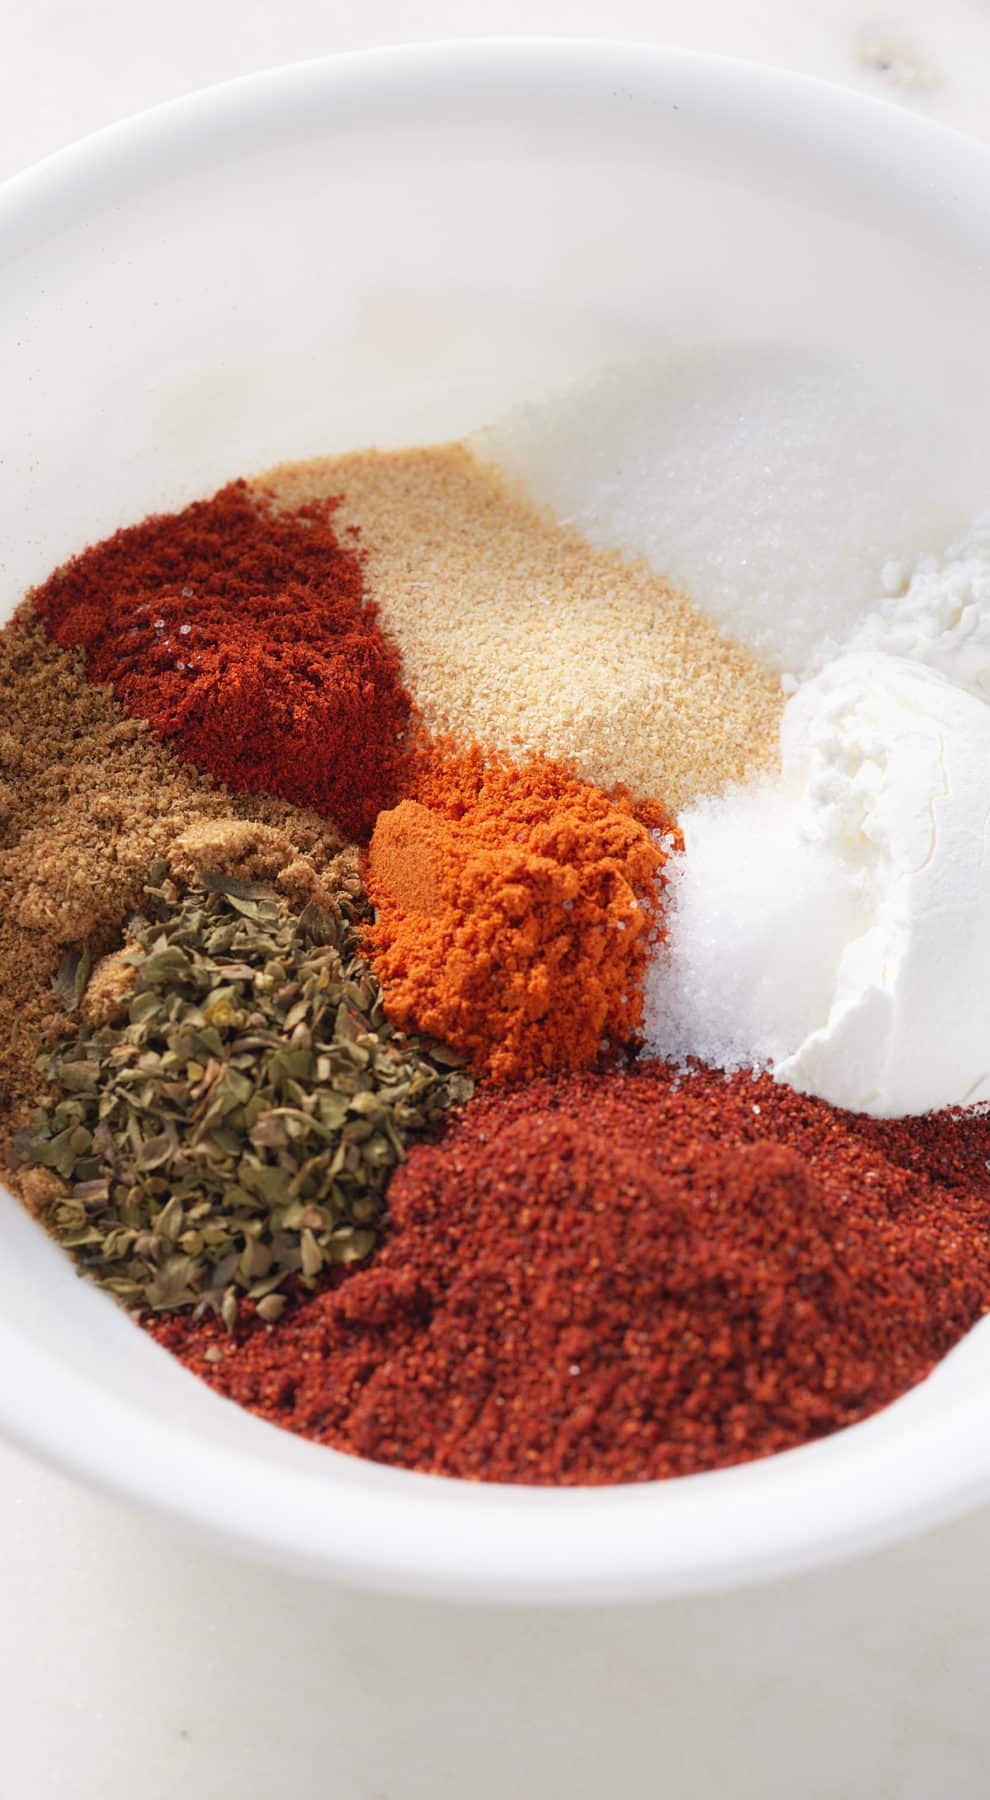
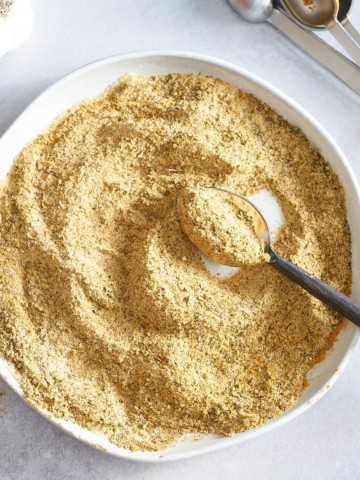
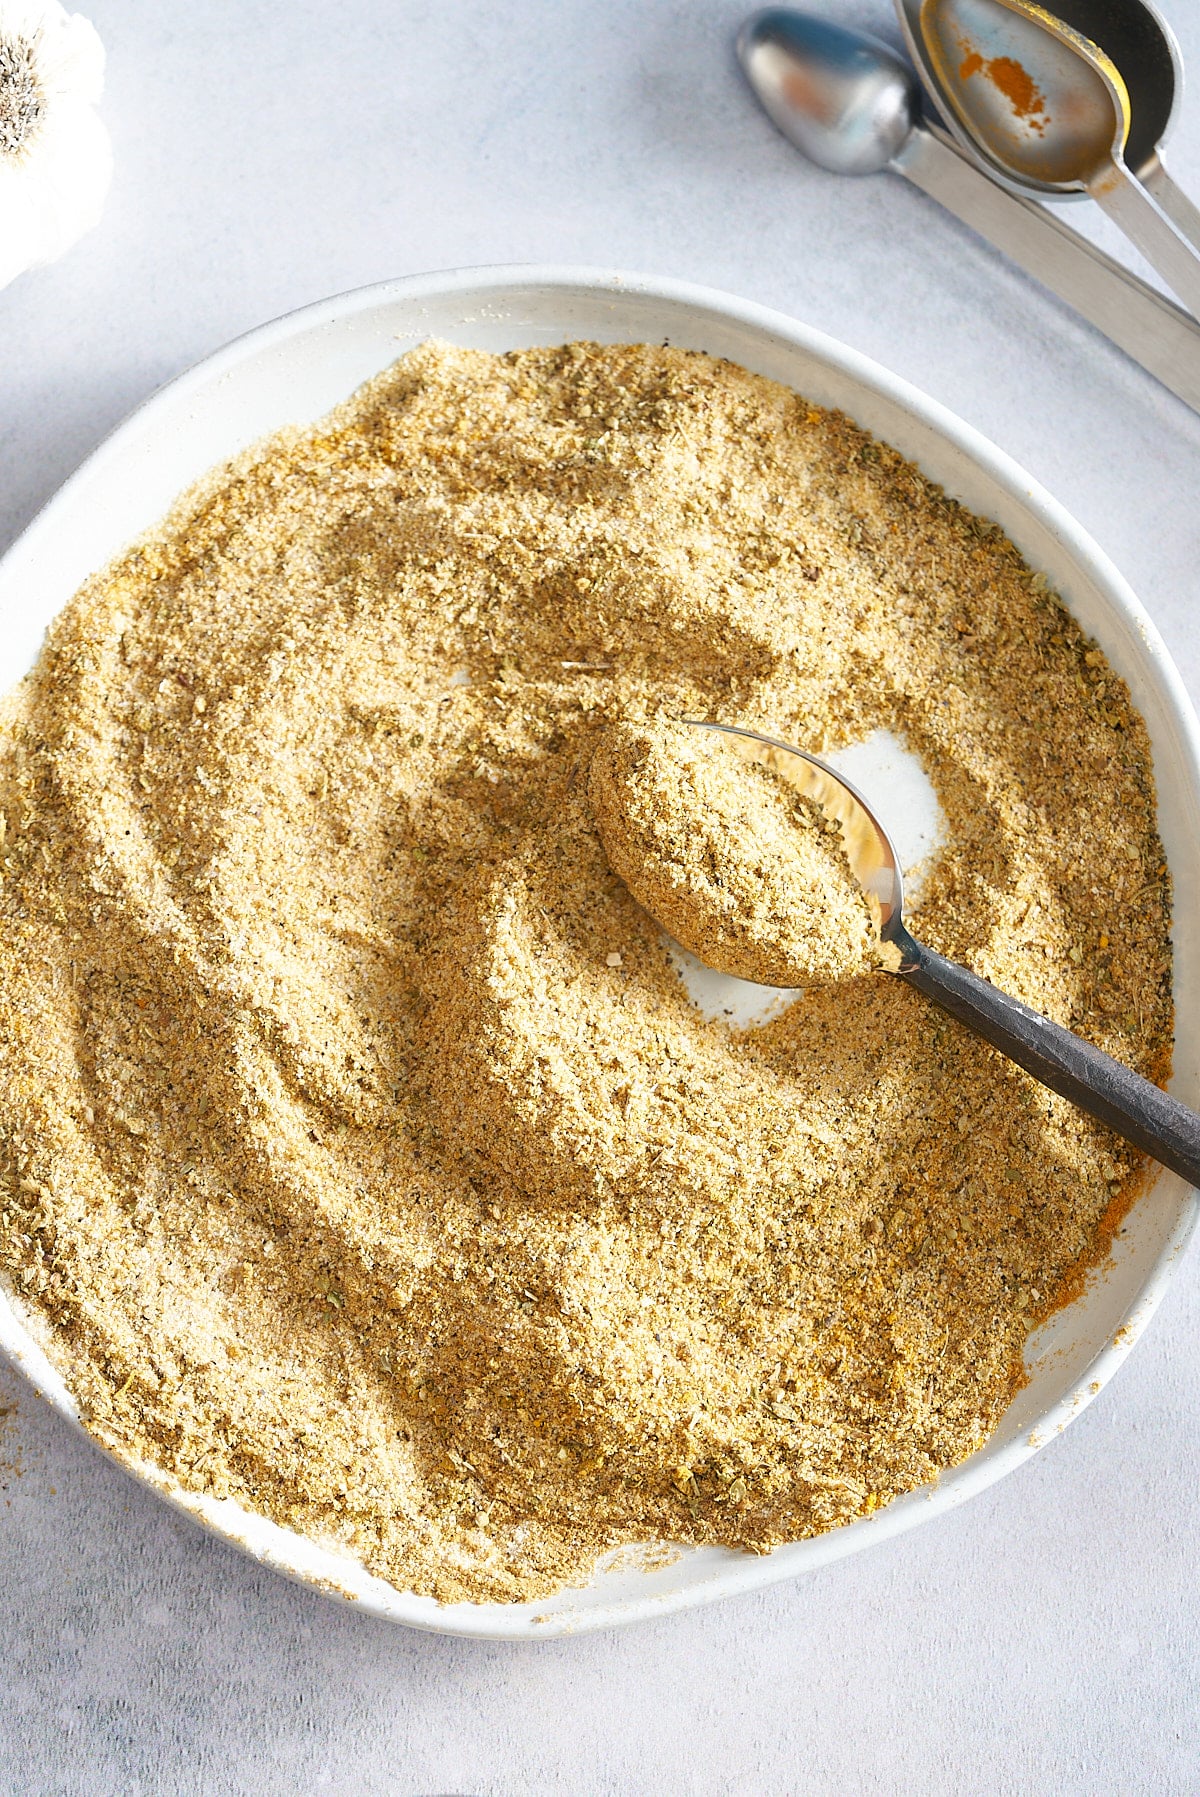
I make vegetable fajitas with peppers and onions and season them with my homemade Fajitas Seasoning. Making your own seasoning blends is super simple, but you can use your favorite store-bought blend if you prefer.
My family loves Mexican dishes, they are always packed full of flavor, and it's empty plates all around when I serve them. If you enjoy Mexican-inspired food, try my Air Fryer Steak Fajitas, Juicy Ground Turkey Tacos, Air Fryer Mexican Street Corn, or my Crispy Pork Carnitas.
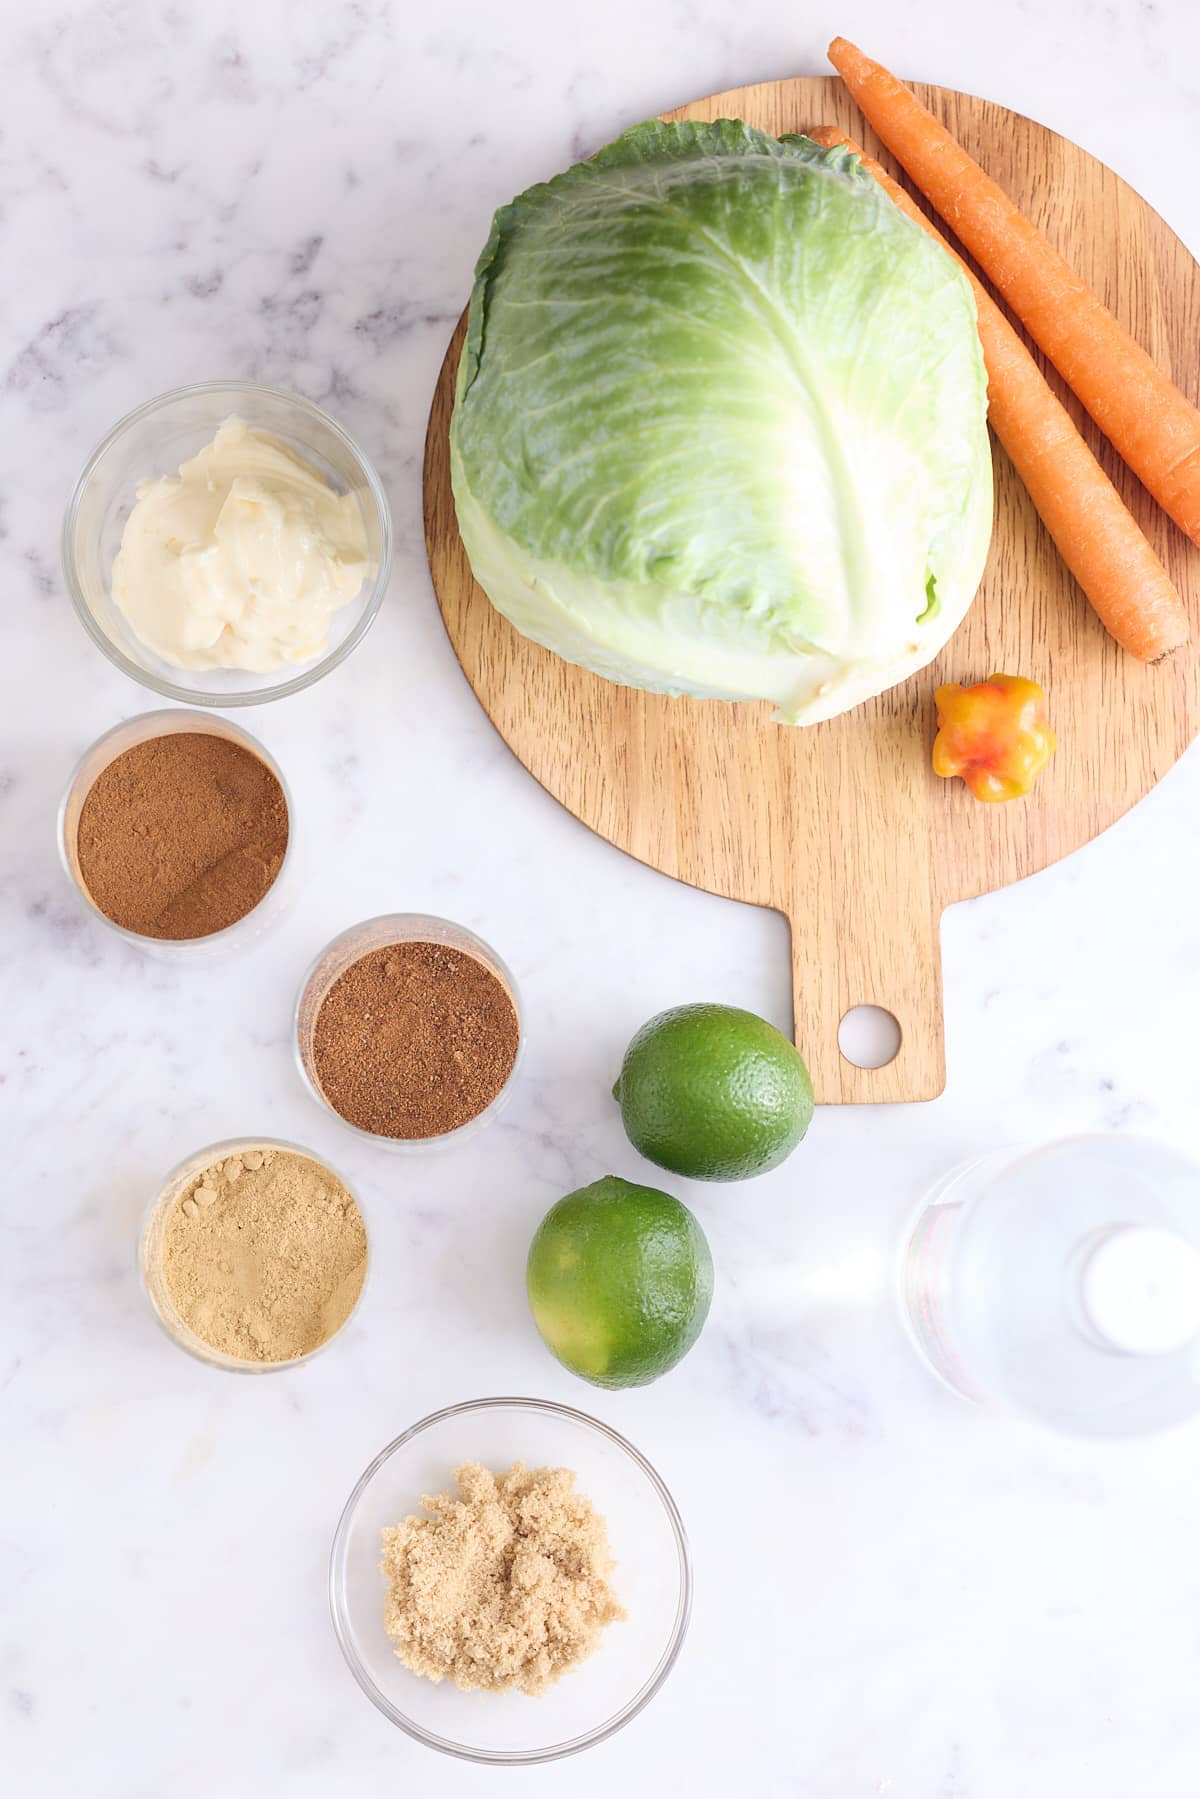
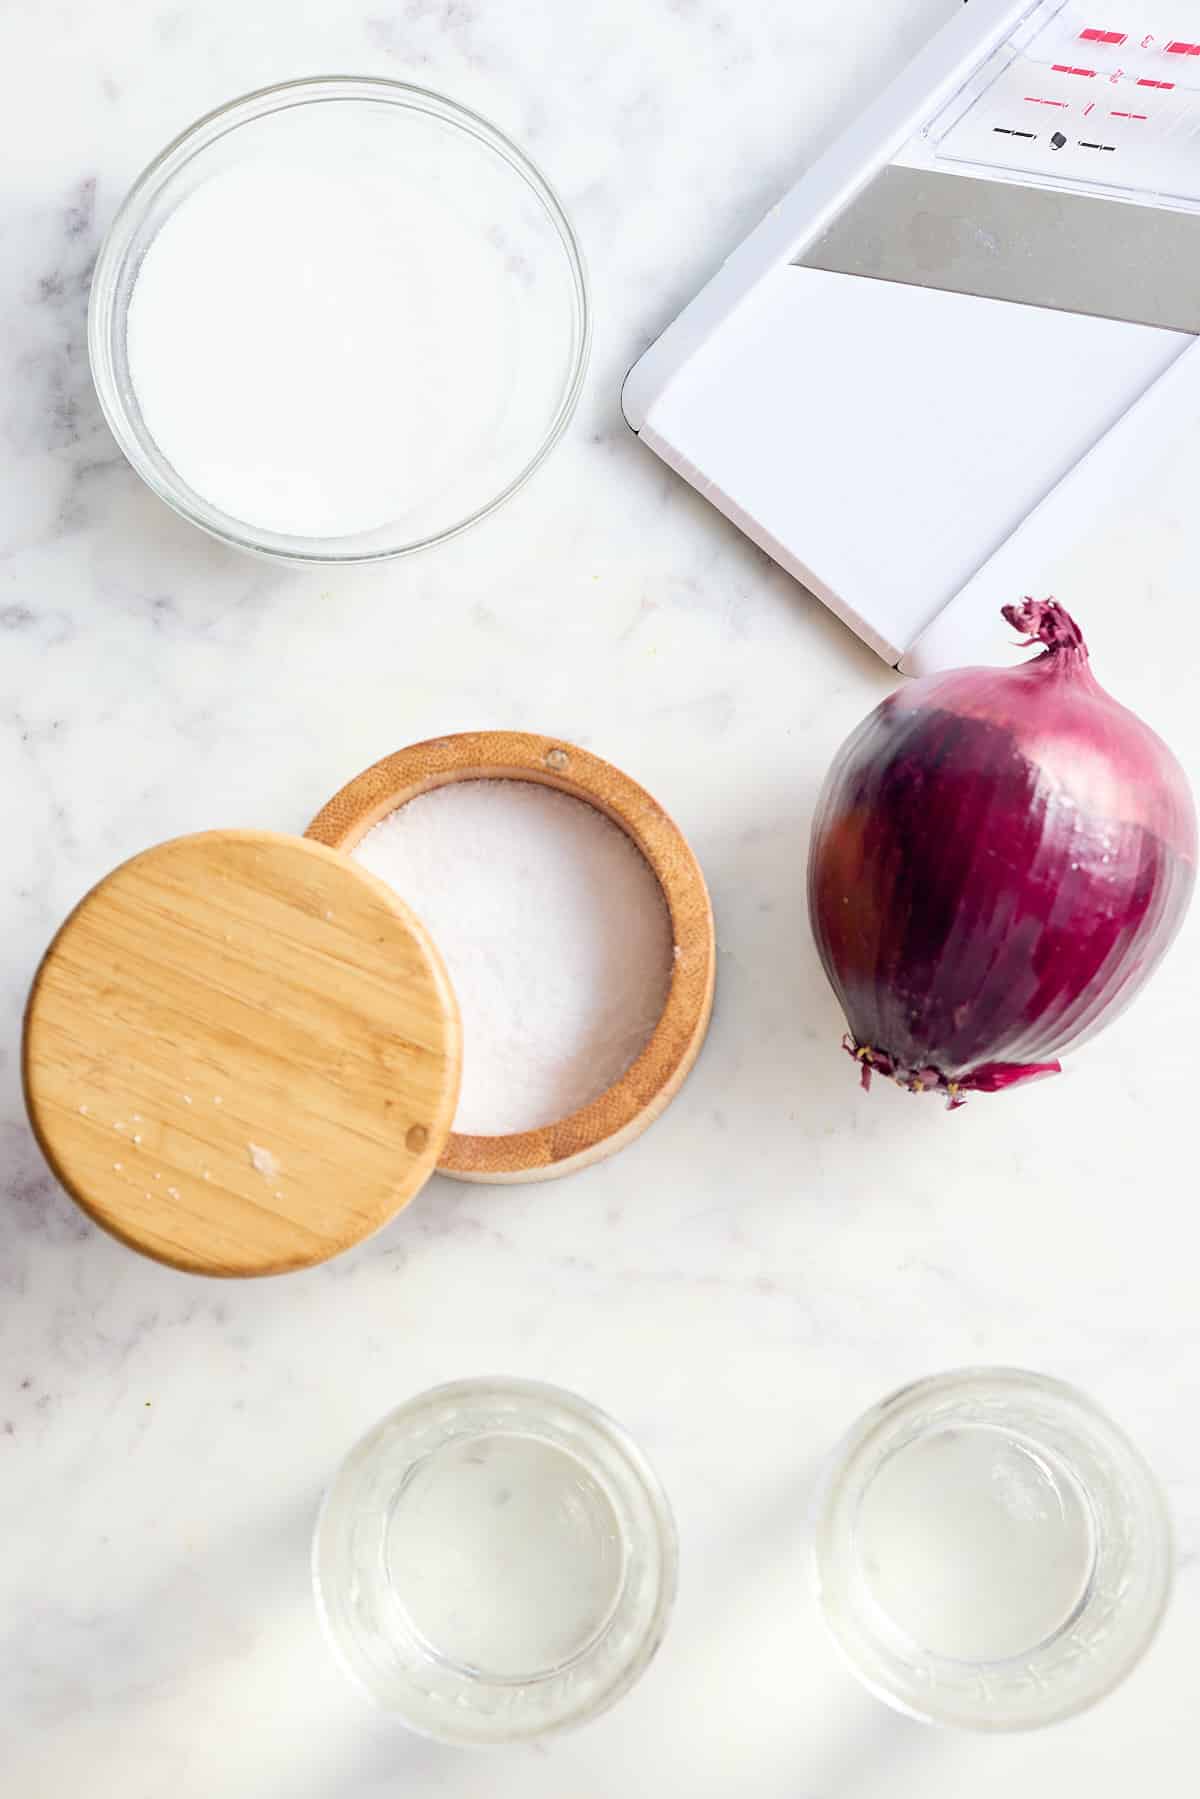
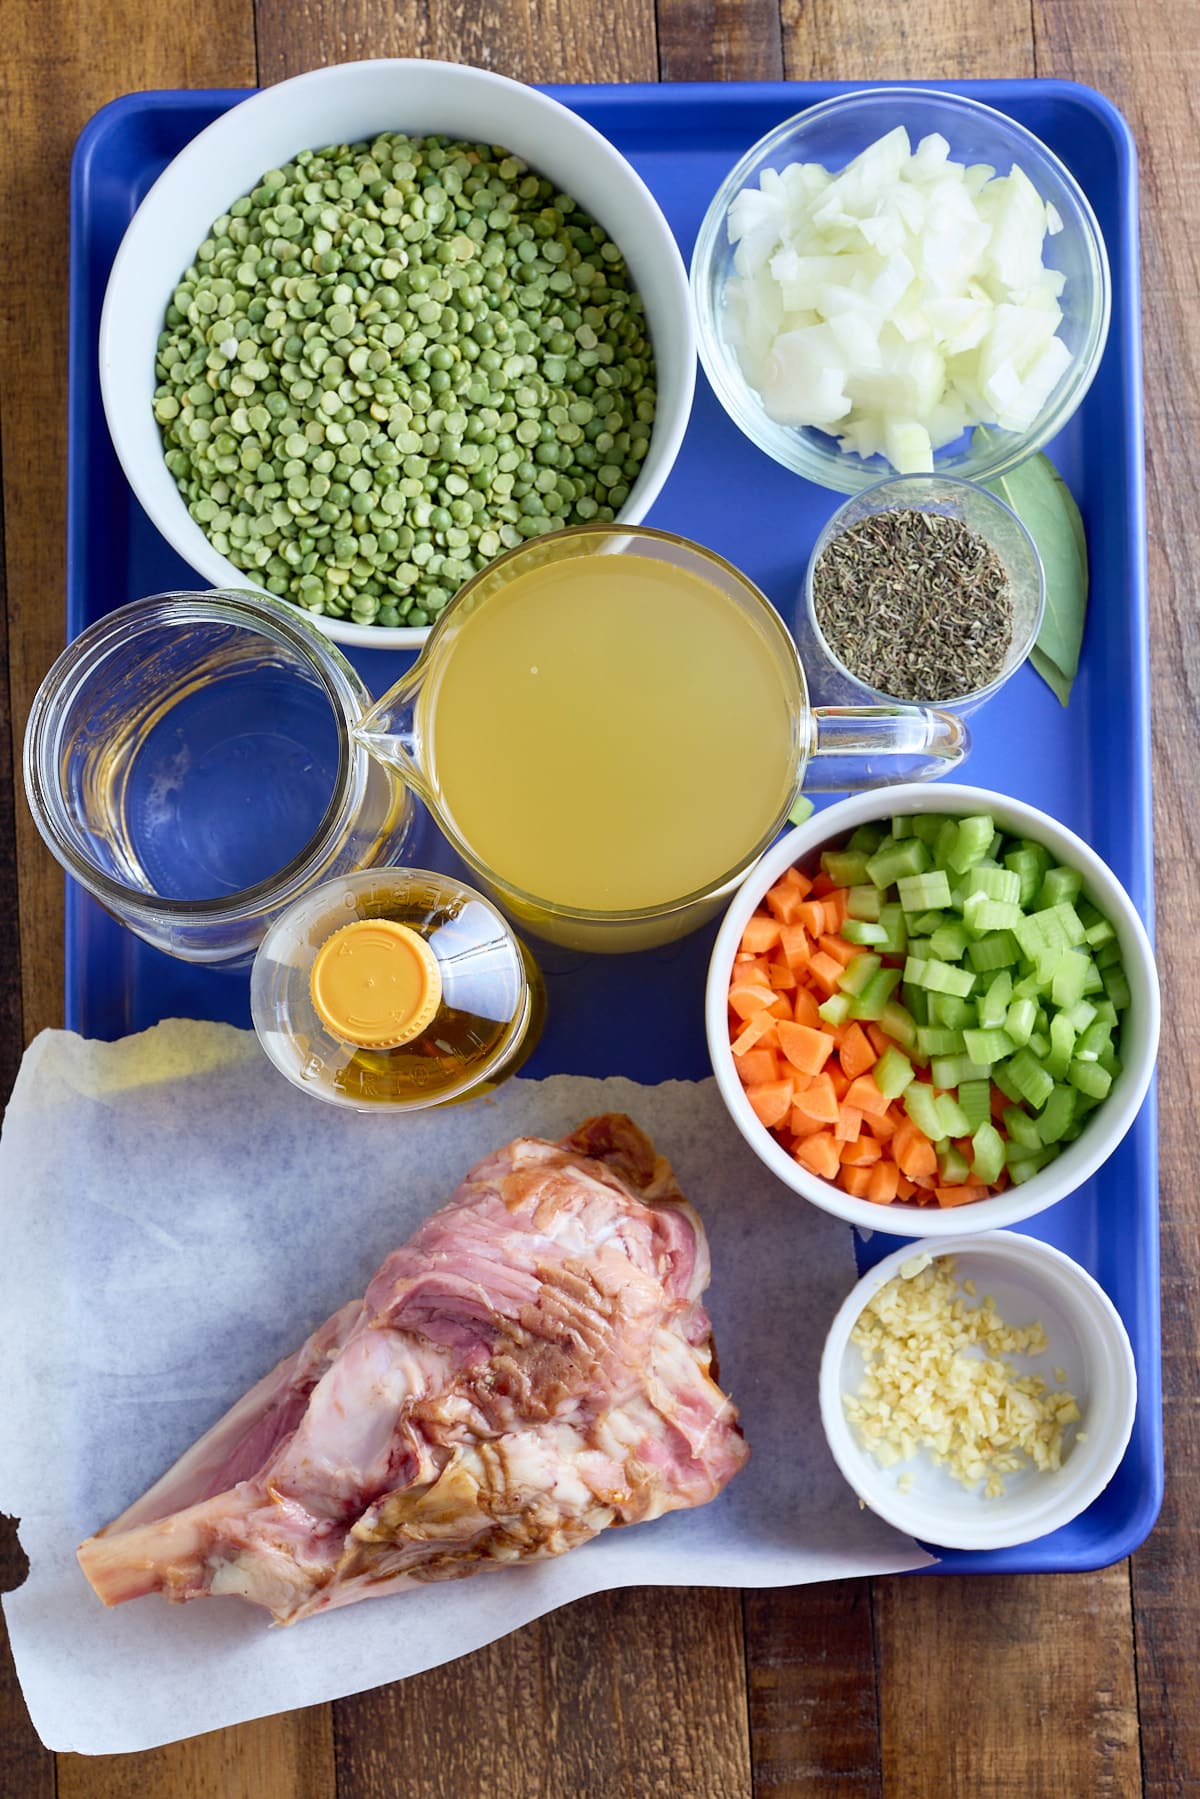
Ingredients
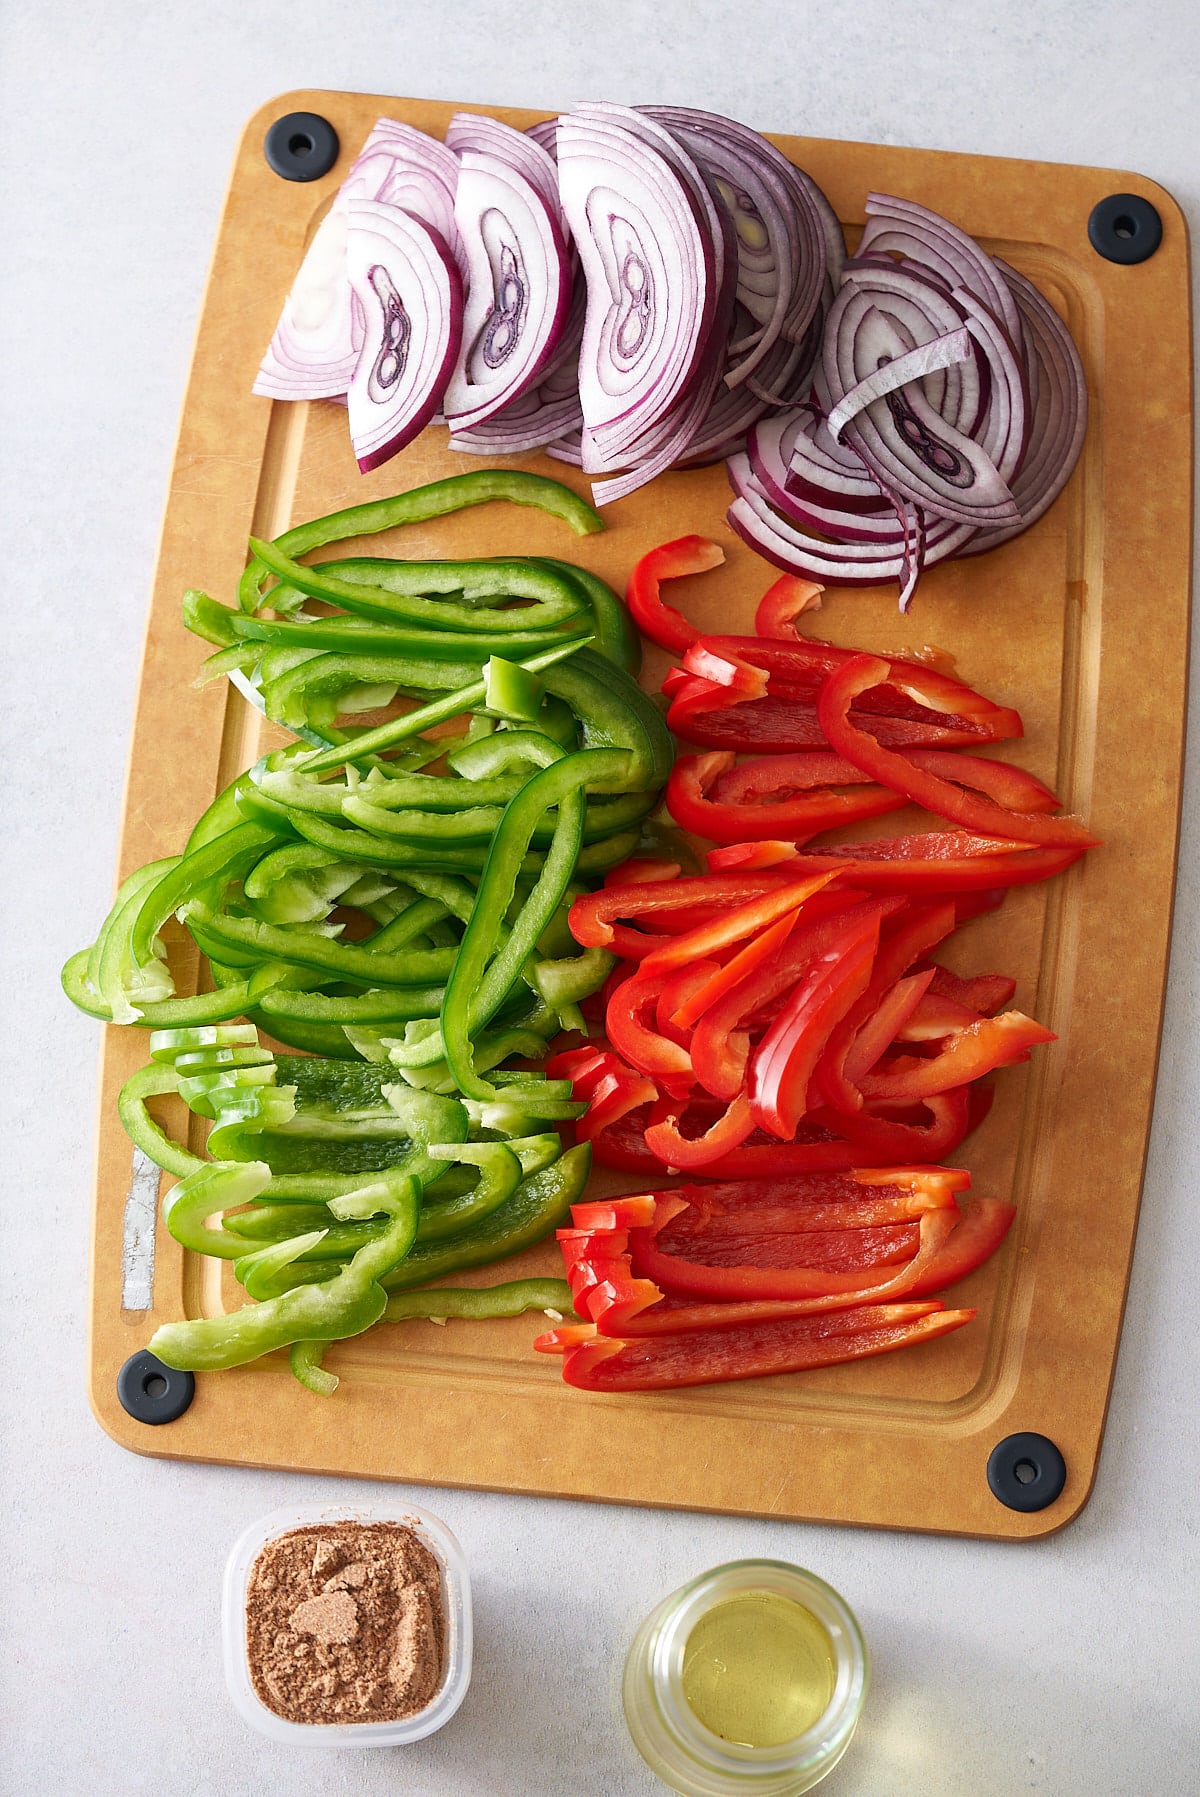
Here's what you will need to make the best fajita vegetables:
- Olive oil - I use regular olive oil as extra virgin olive oil has too low a burn temperature.
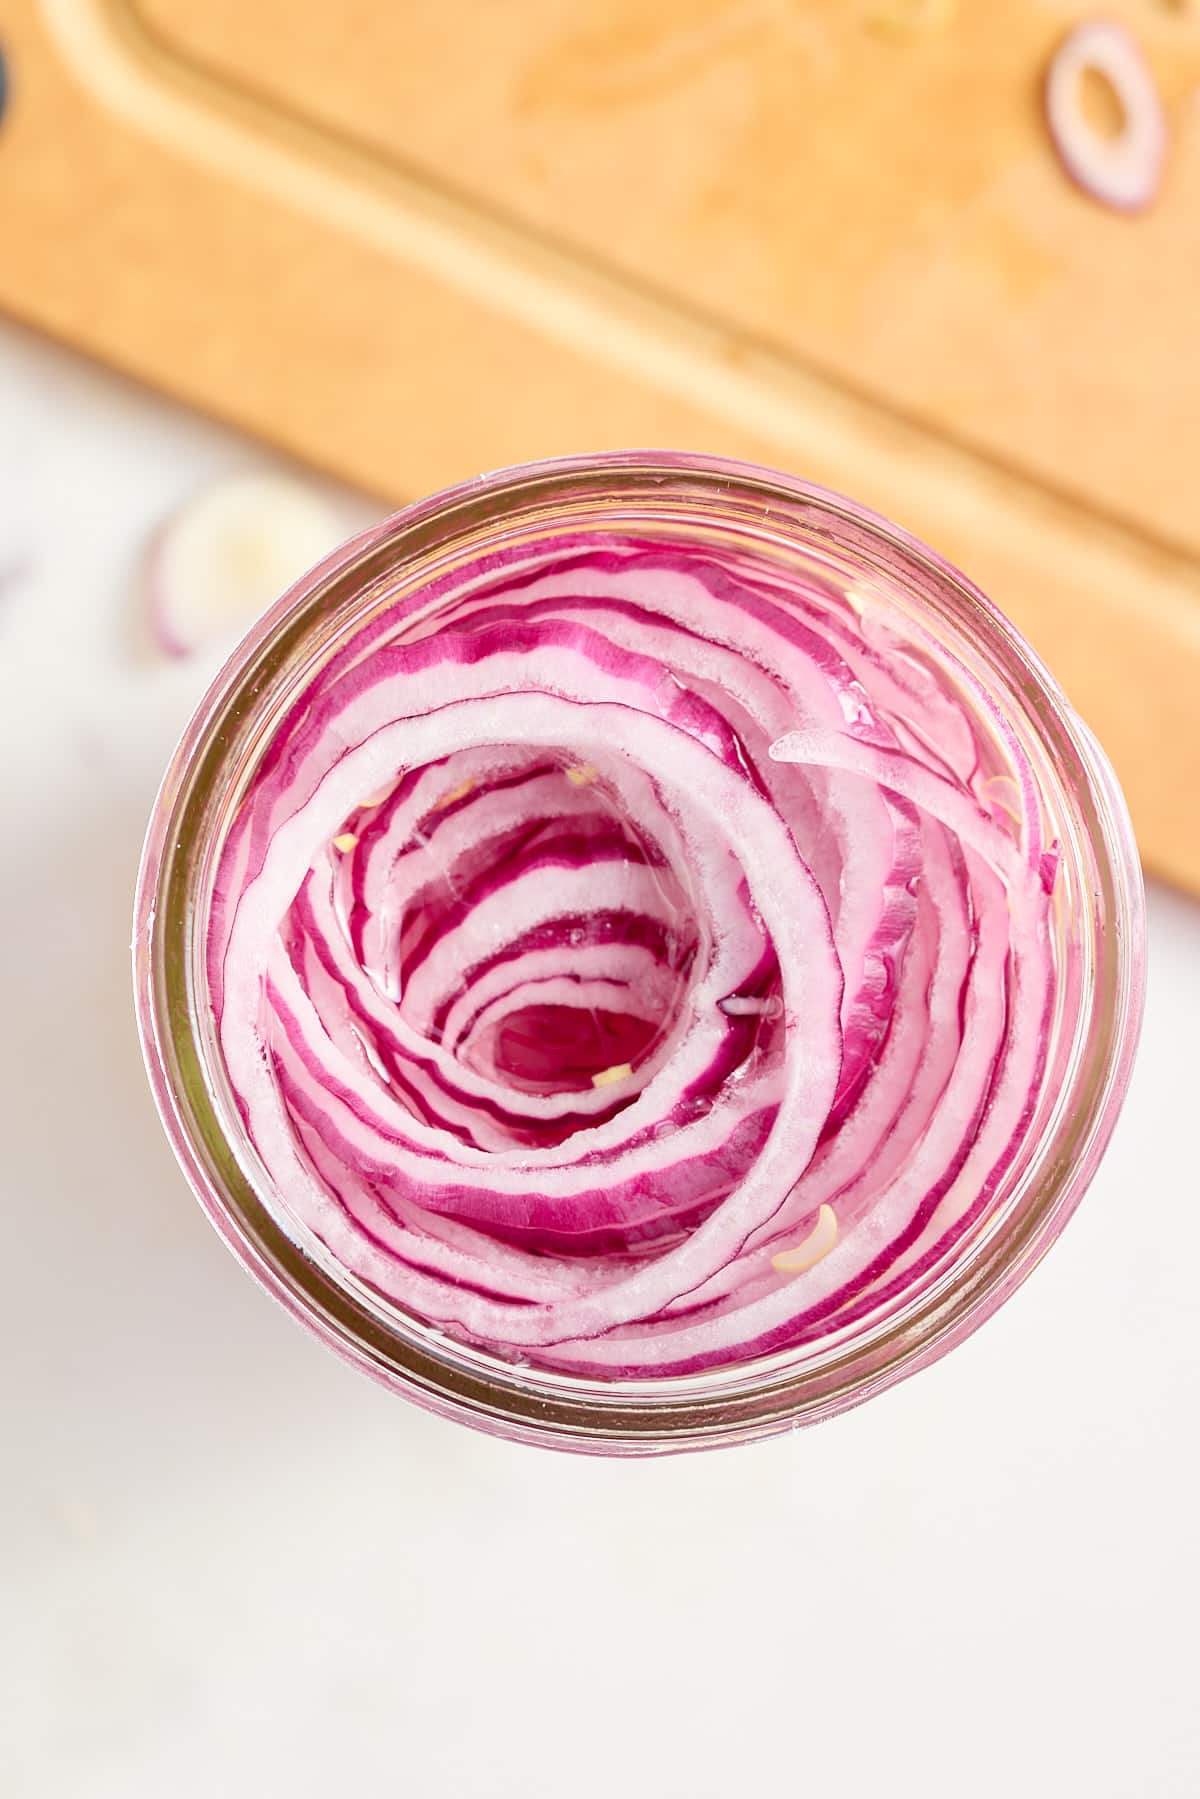
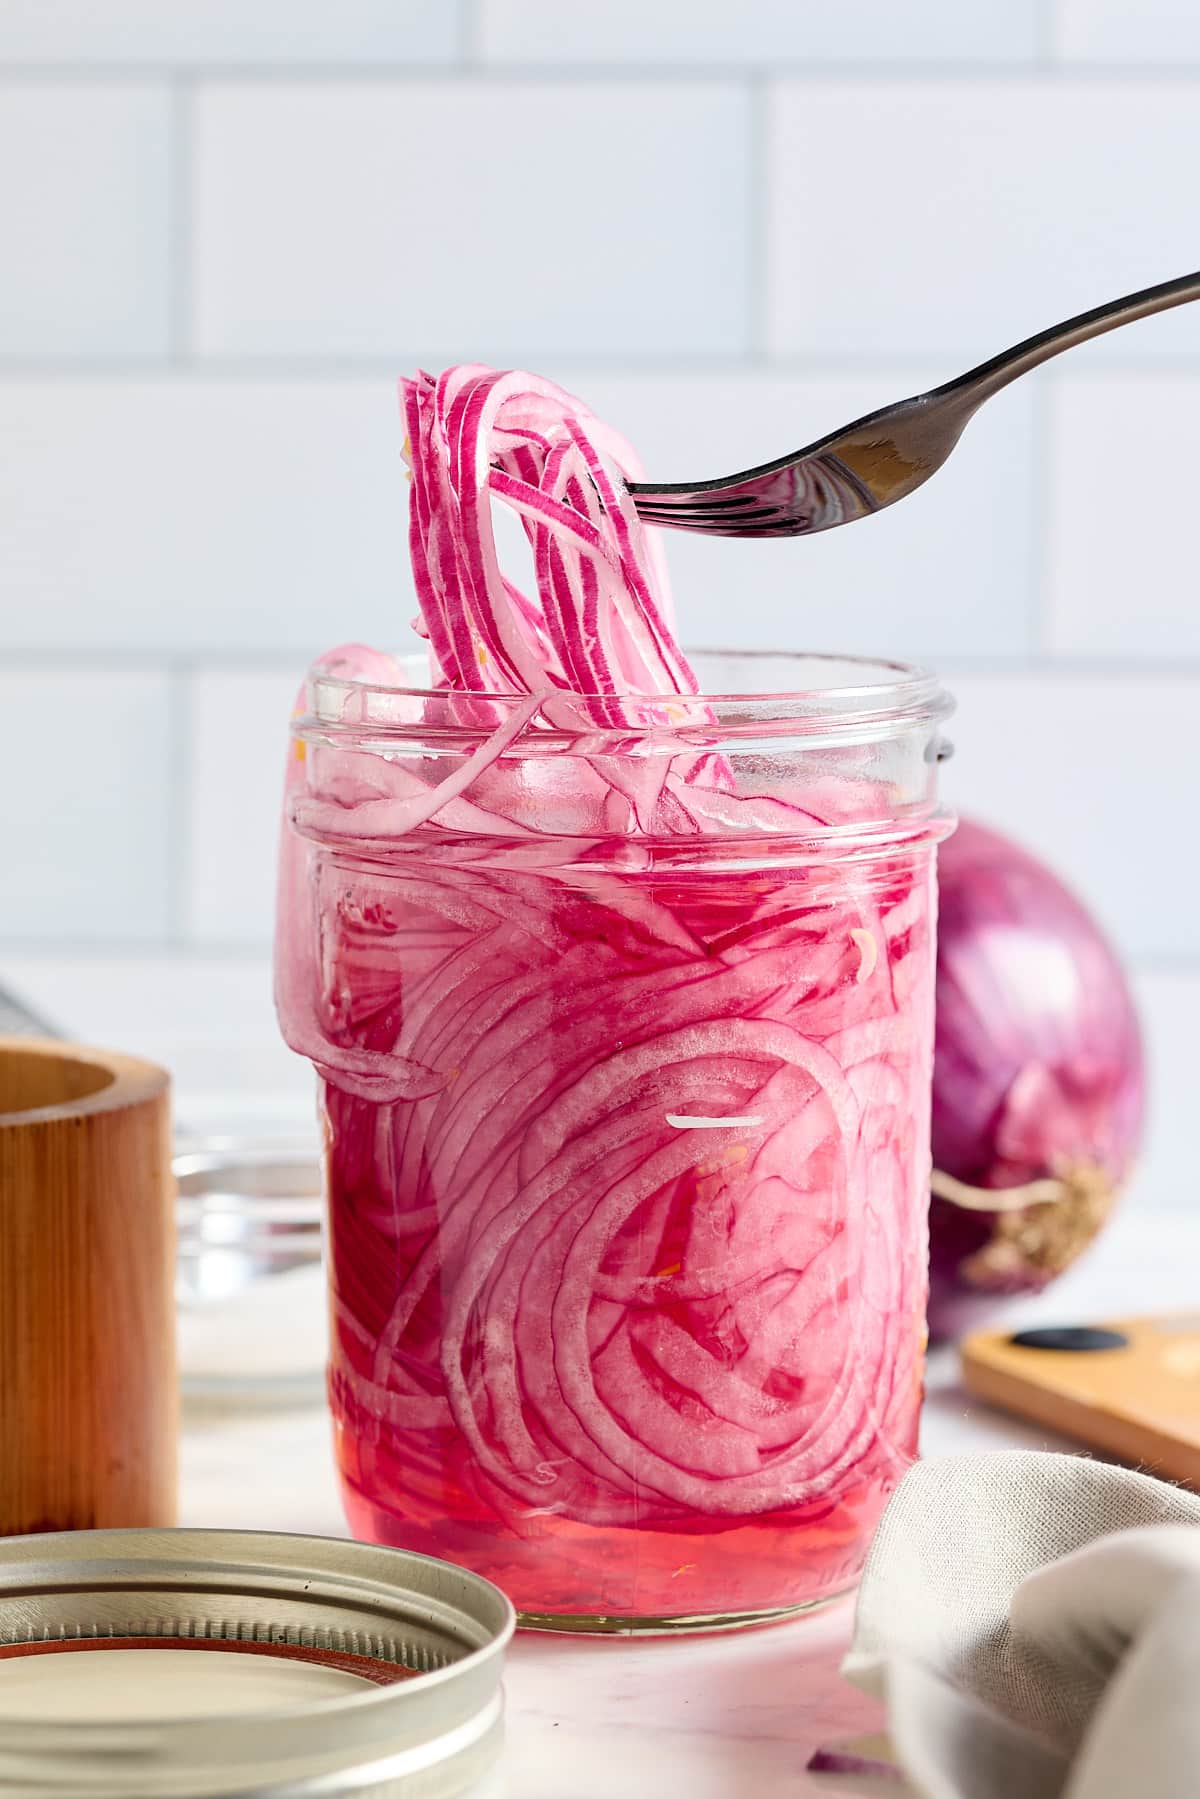
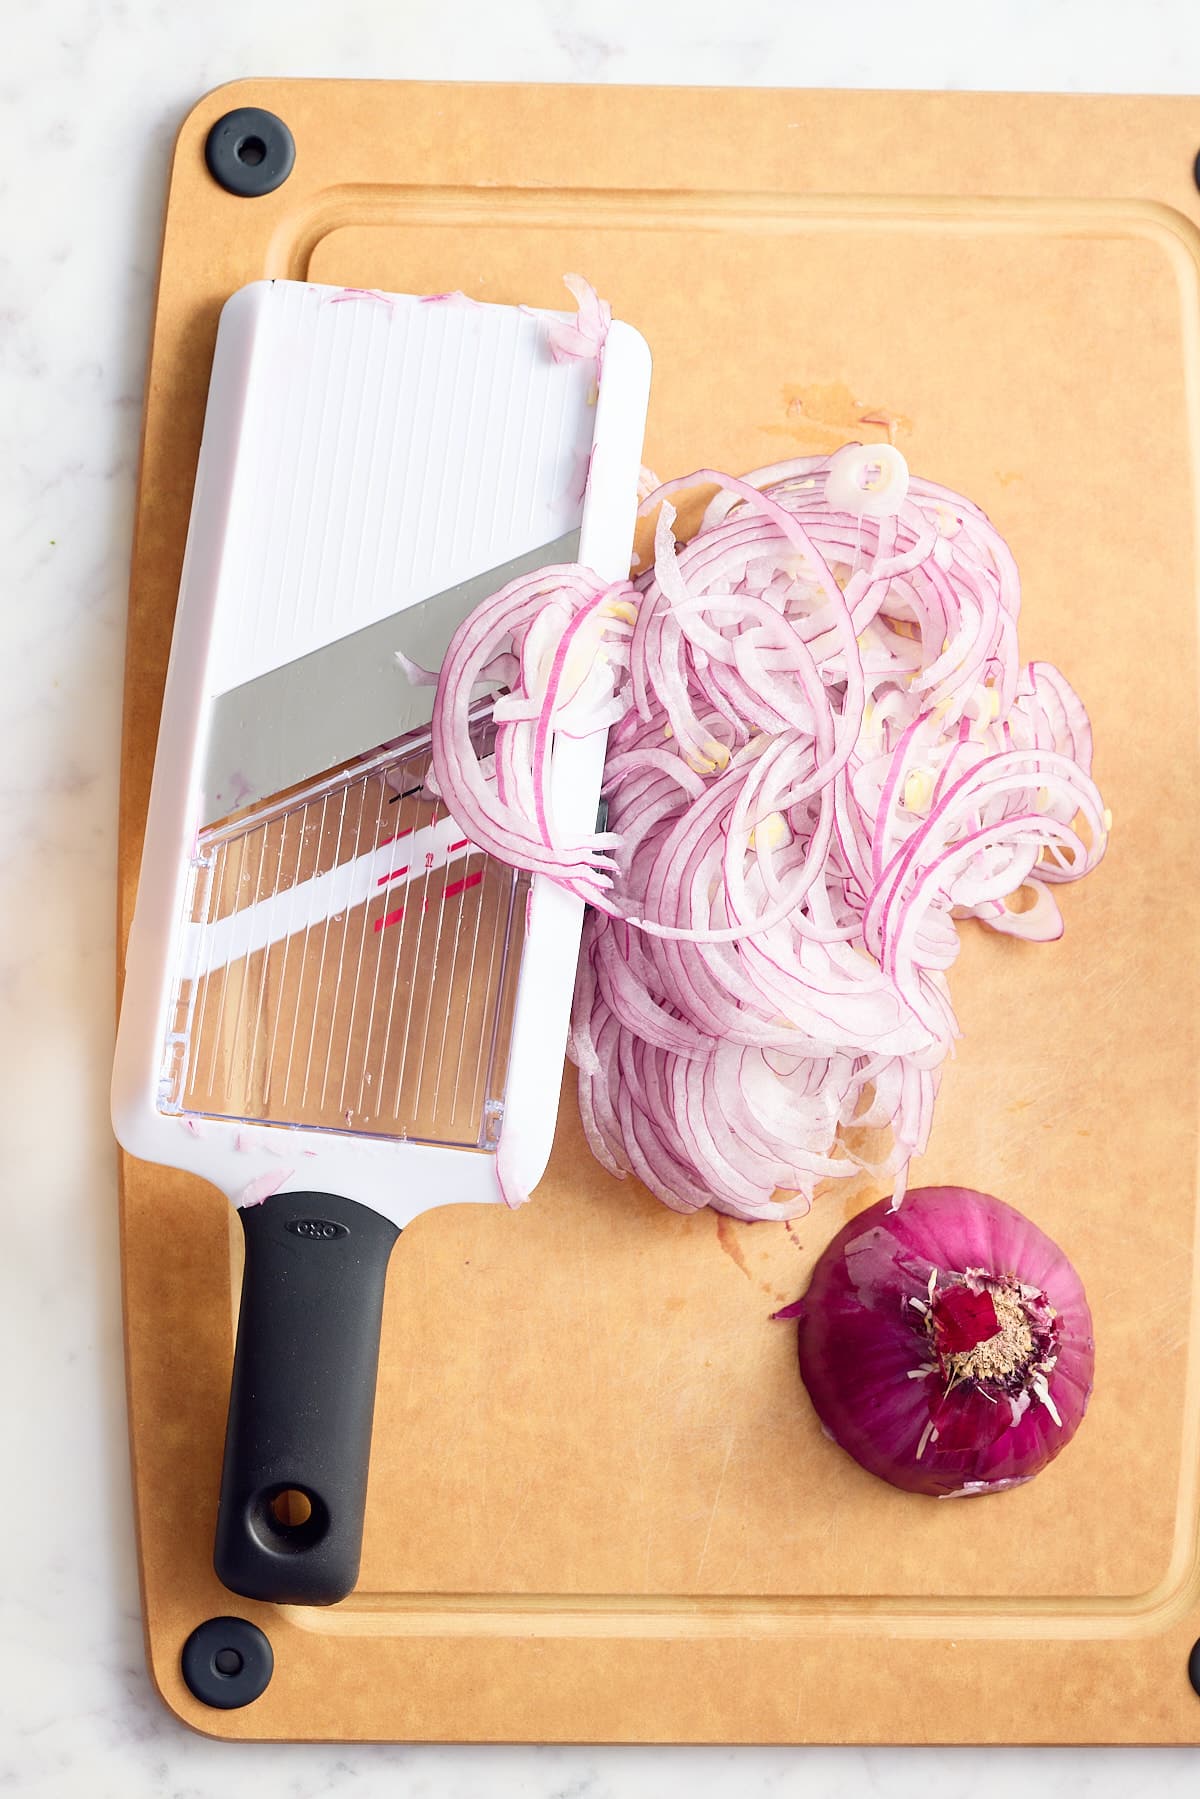
- Red onion - has a great mild flavor; you could also use a regular onion or shallots.
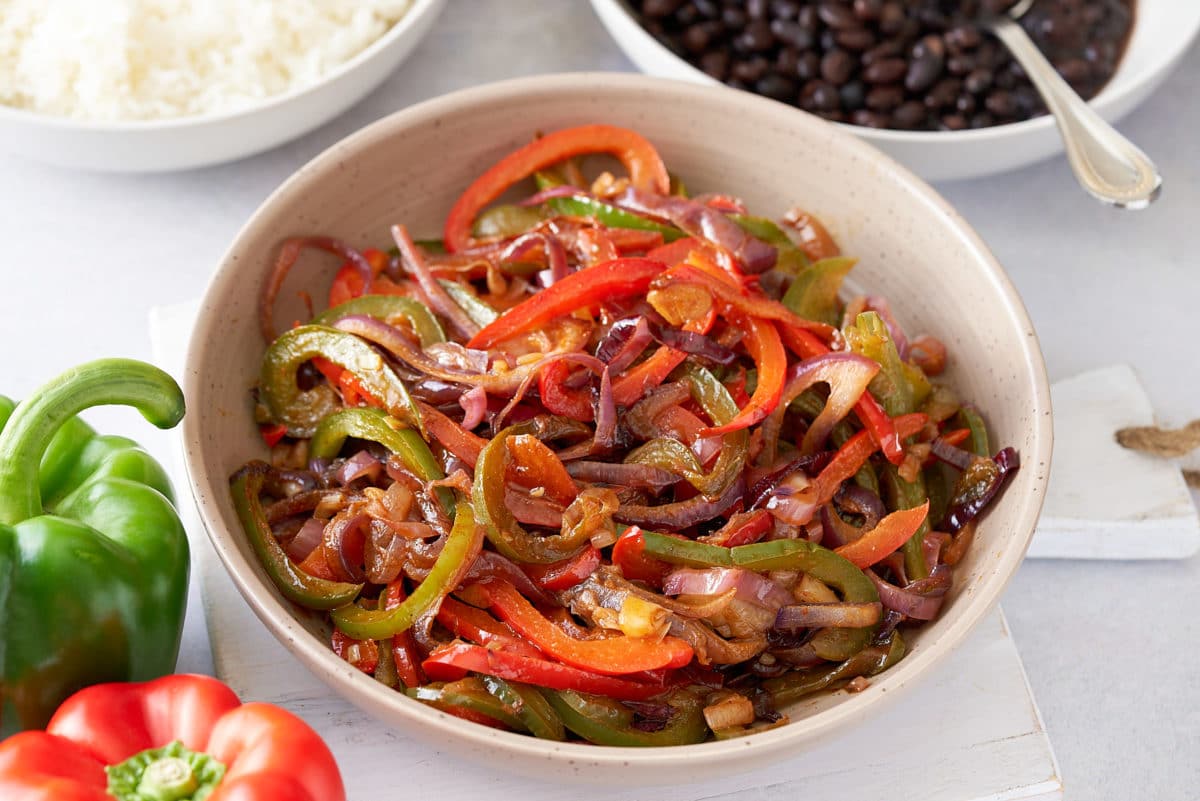
- Bell peppers - I used red and green bell pepper, but you can use any color.
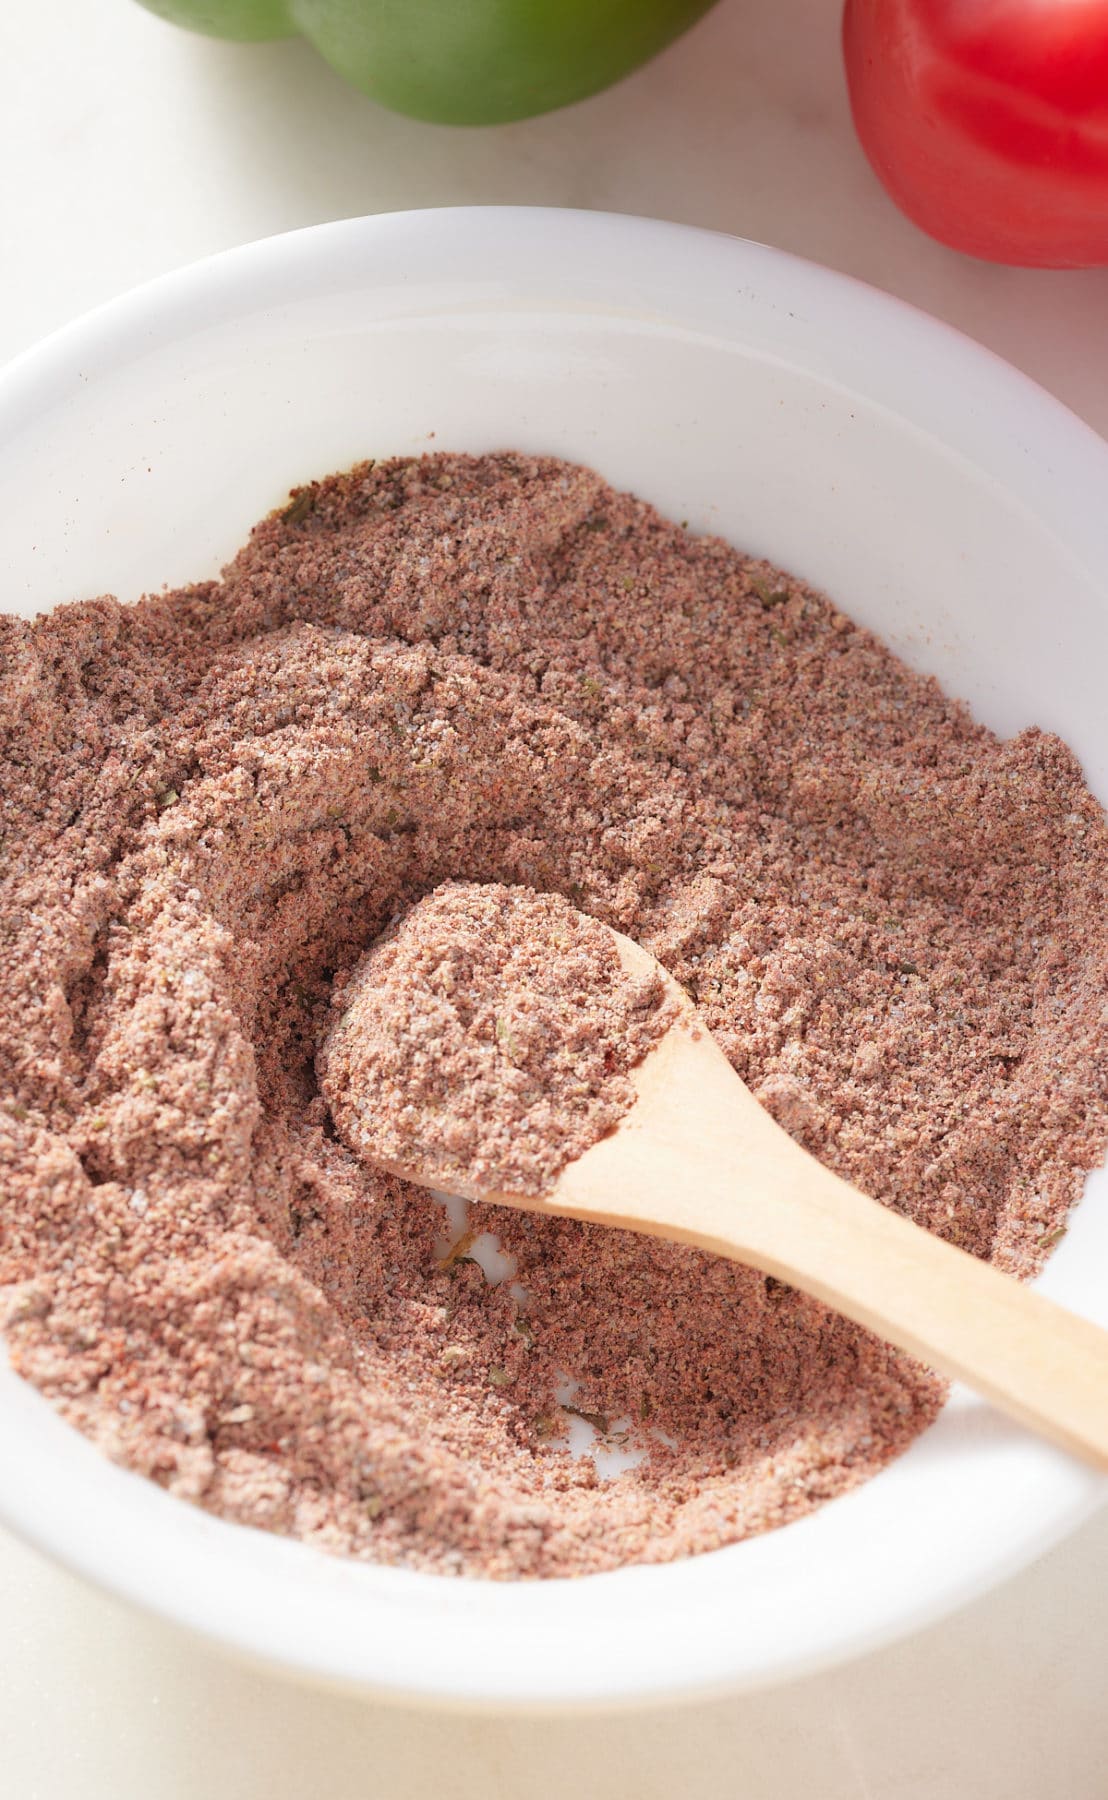
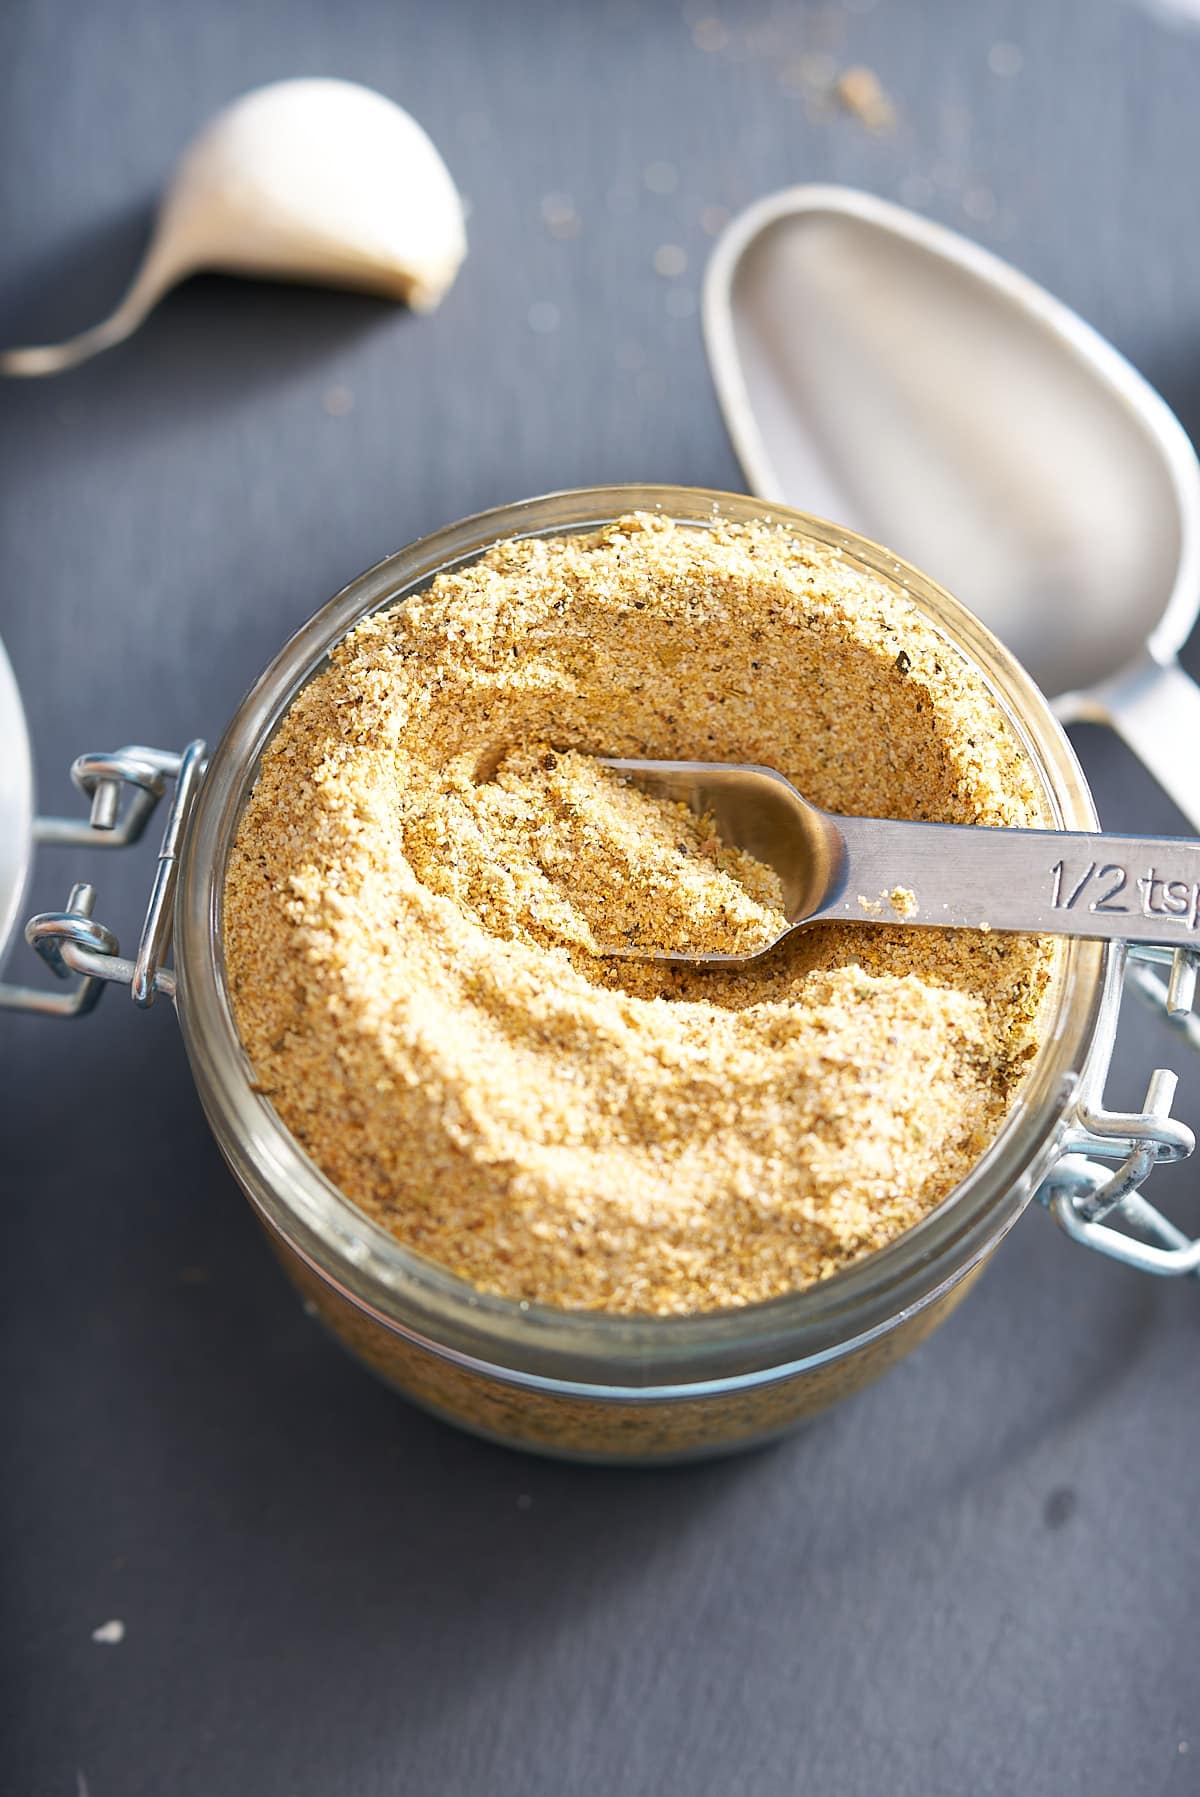
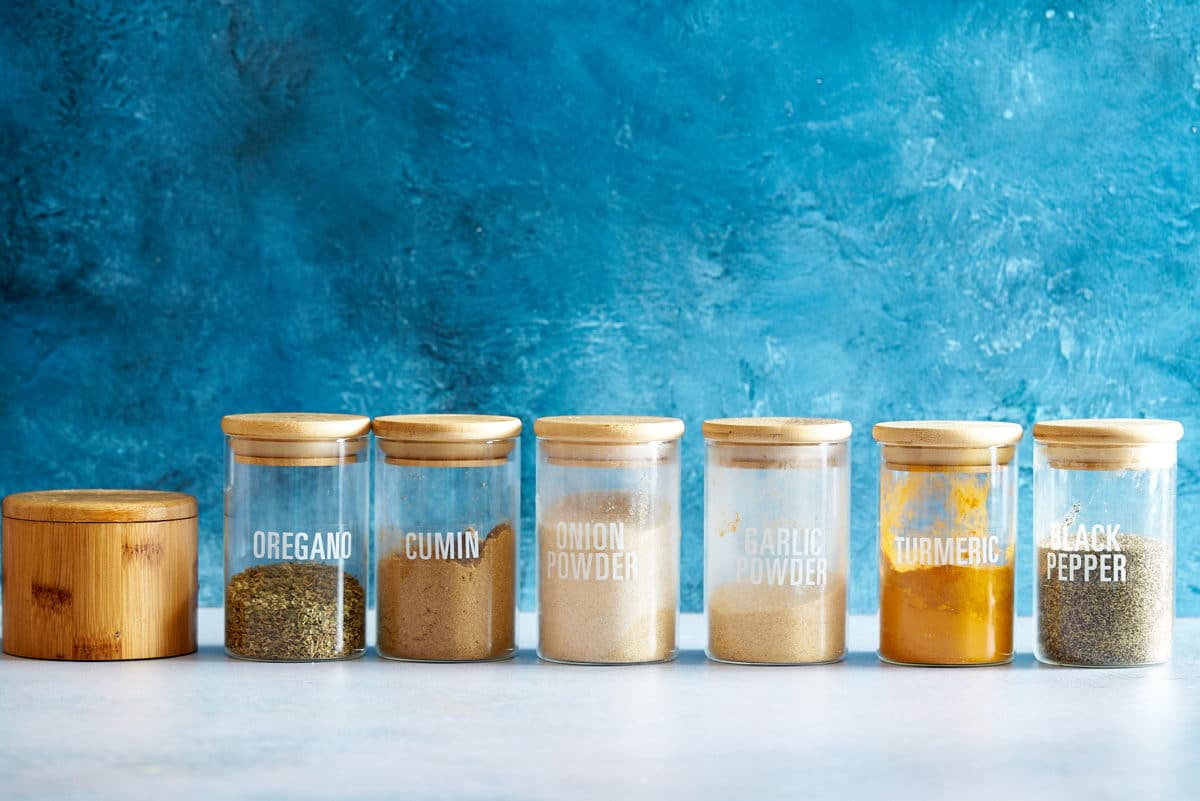
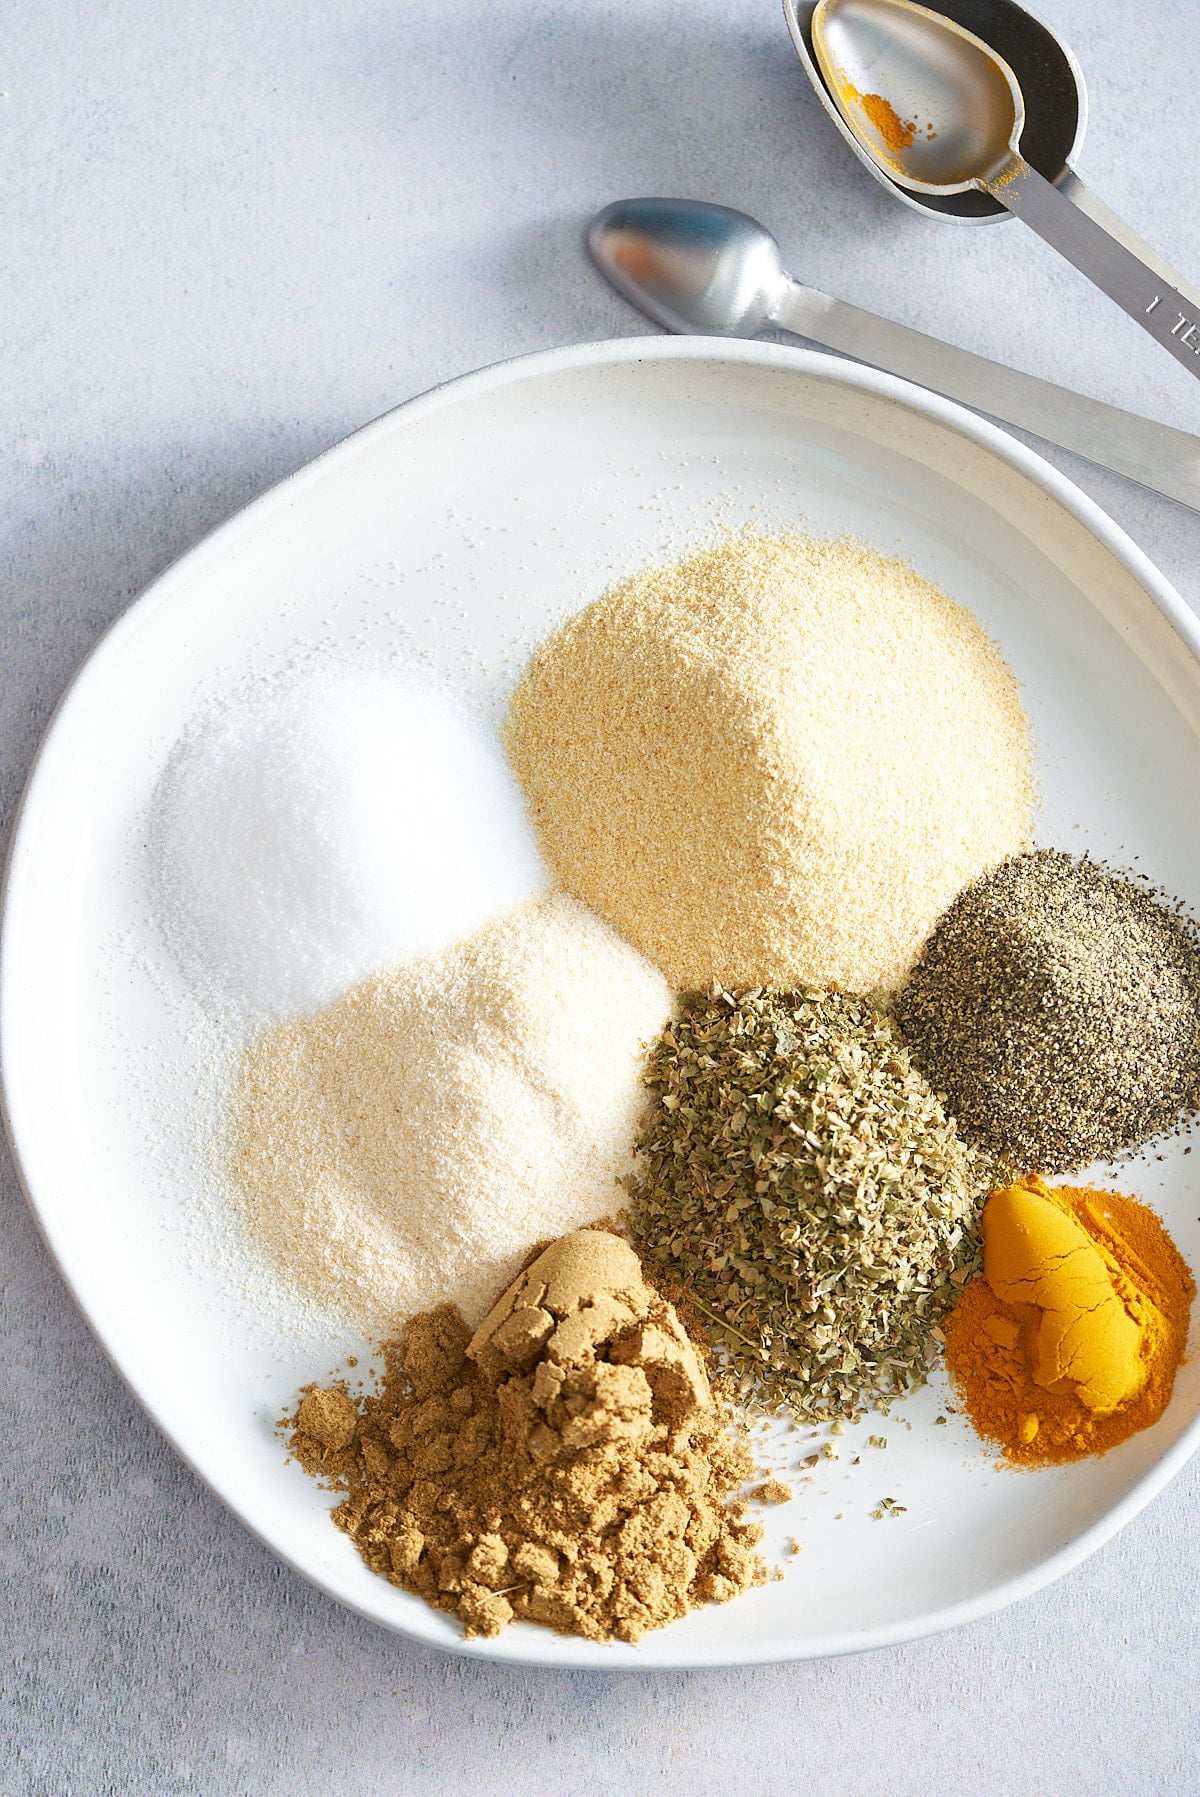
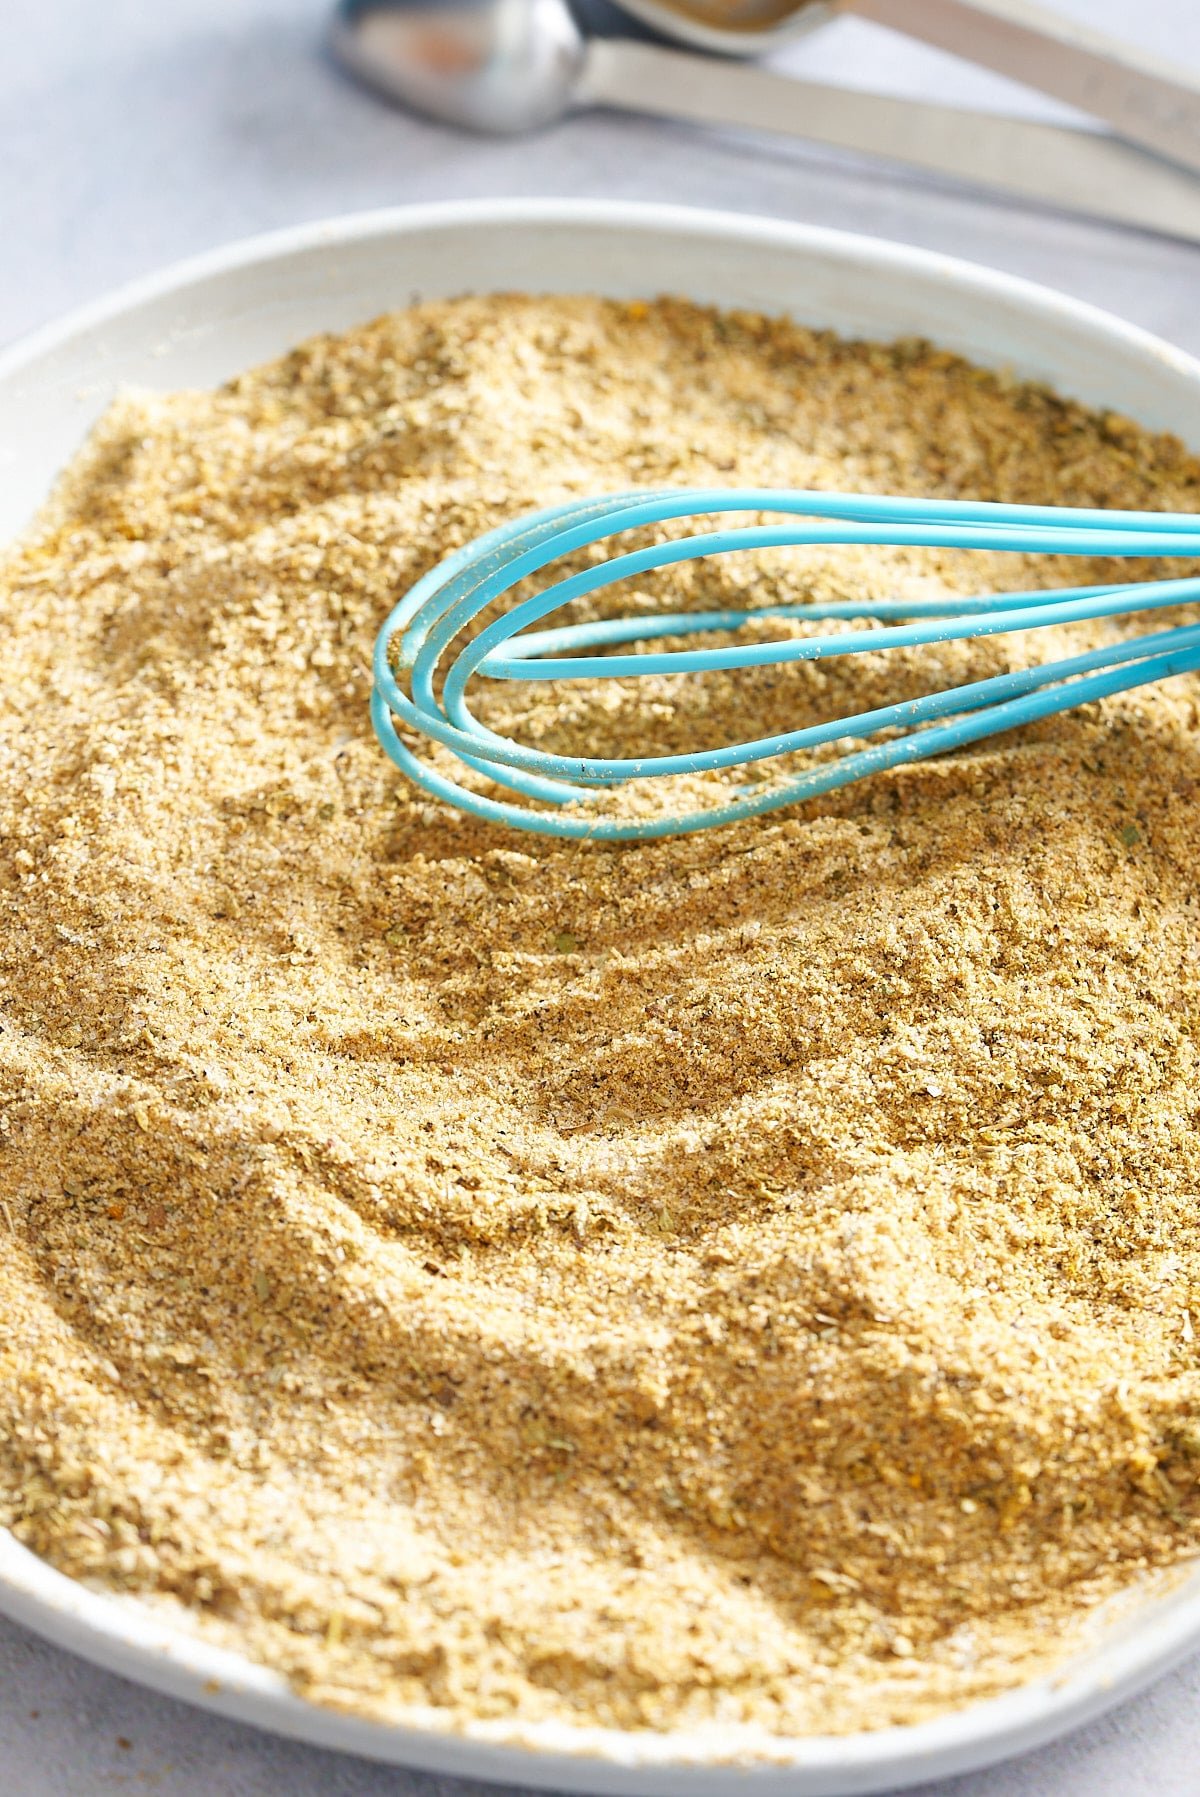
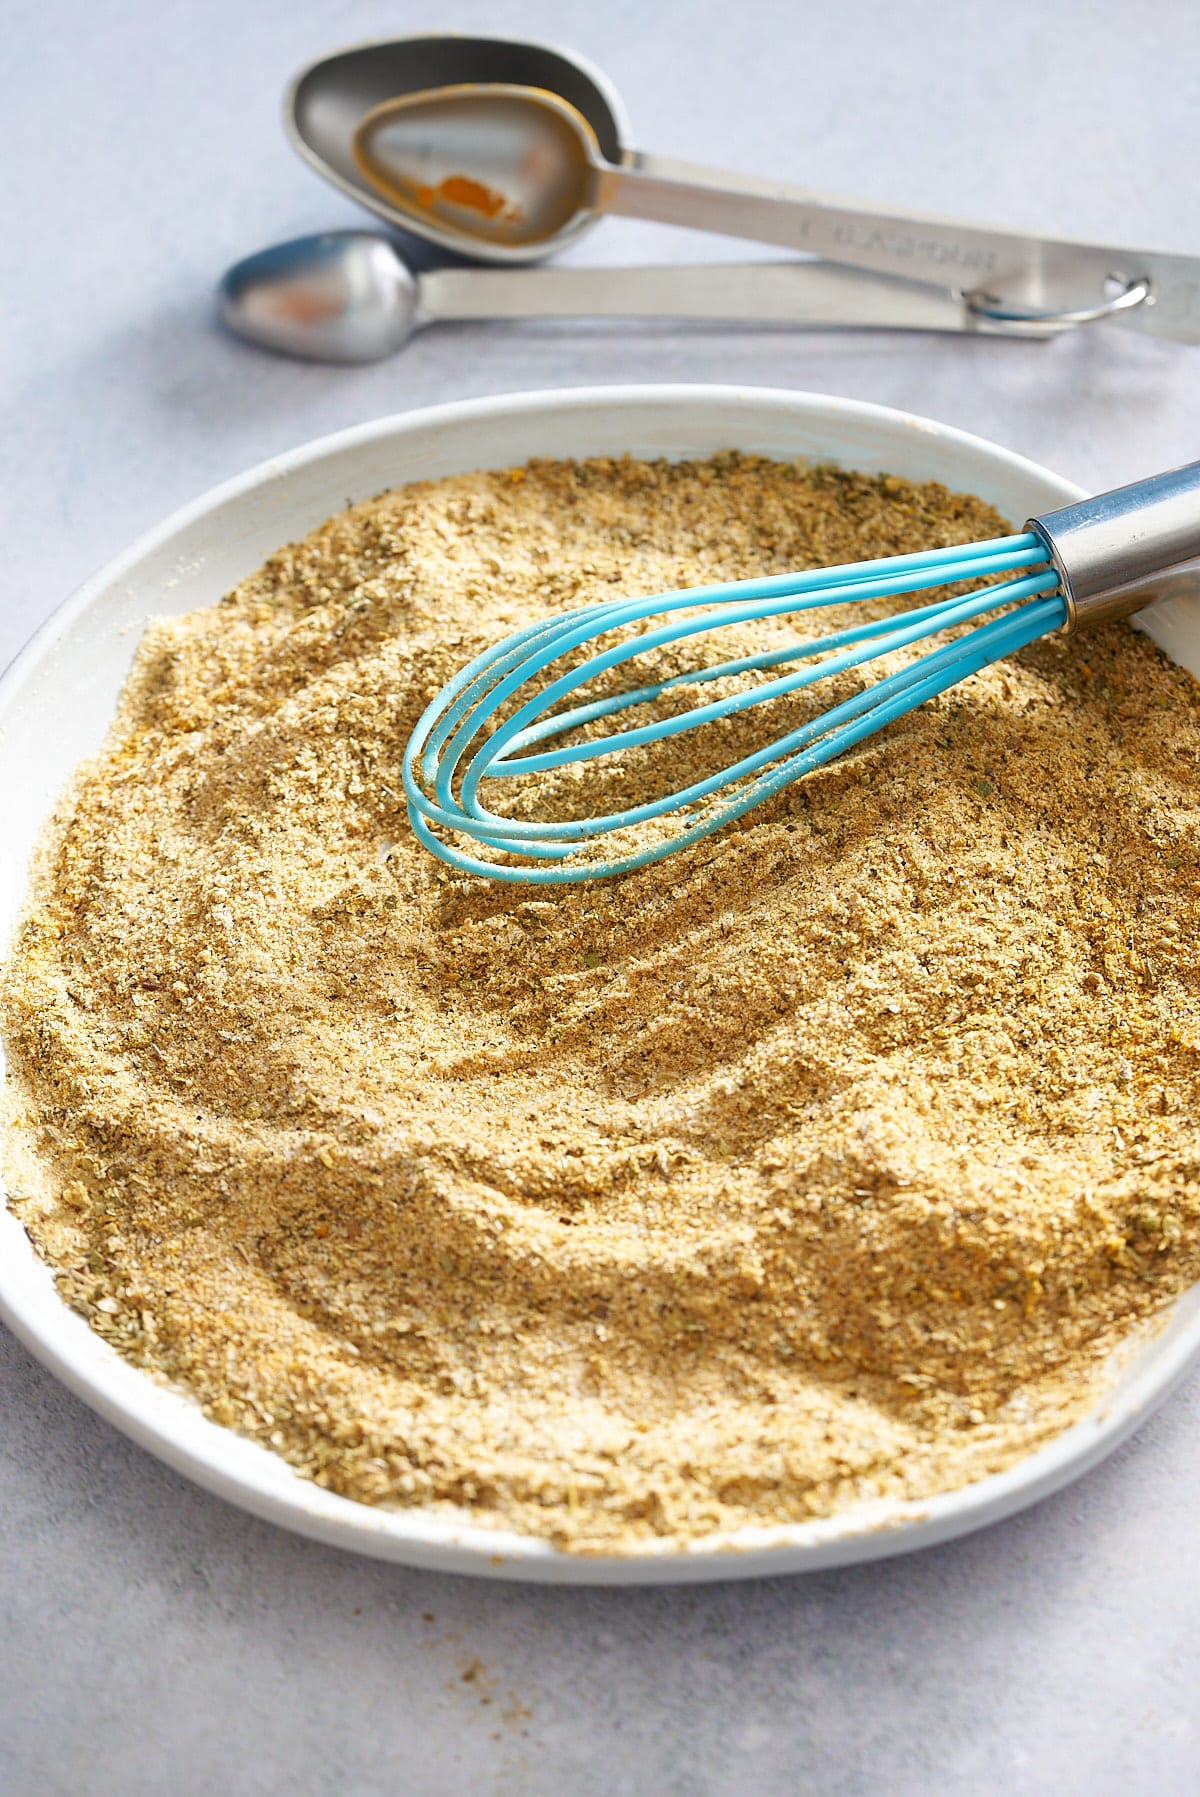
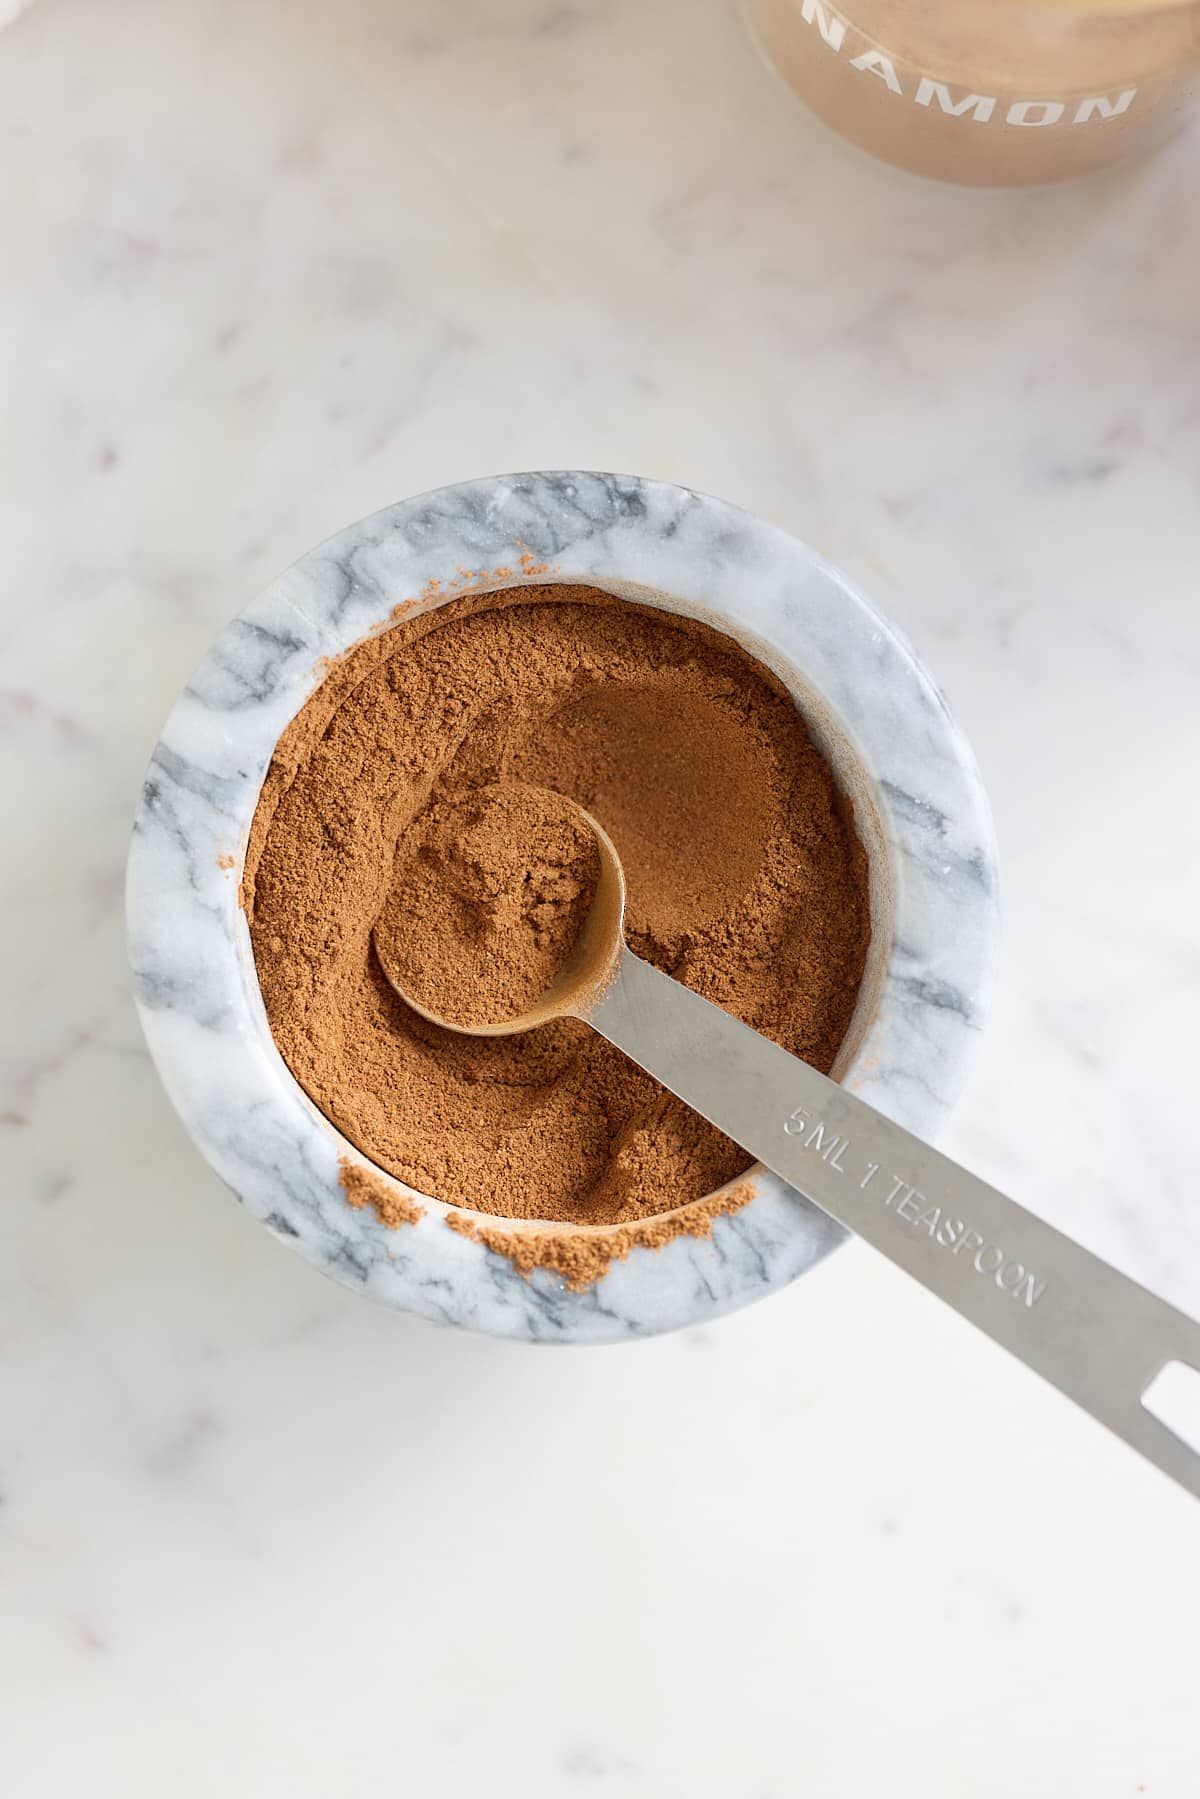
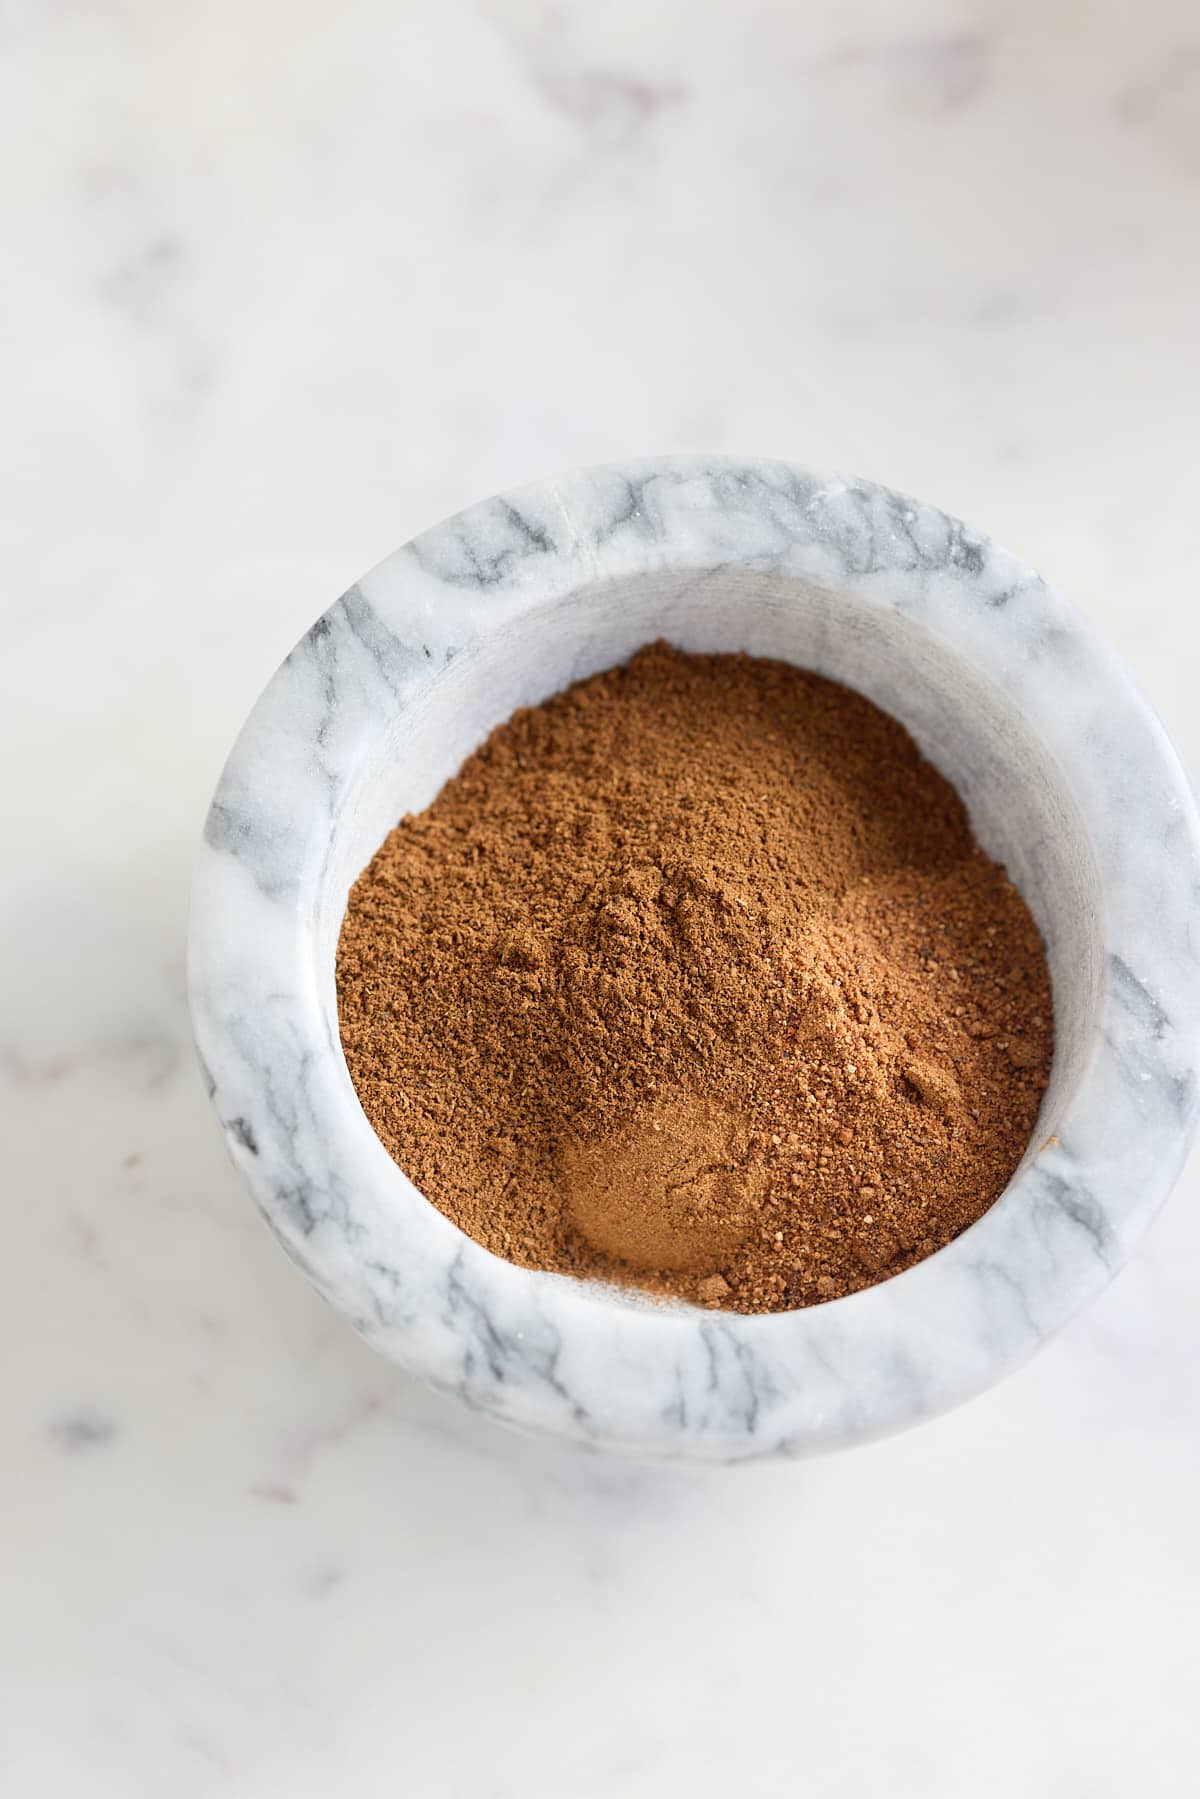
- Fajita seasoning - I use my seasoning blend, which is simple to make, but you can use a store-bought blend if you choose.

How to make fajita vegetables
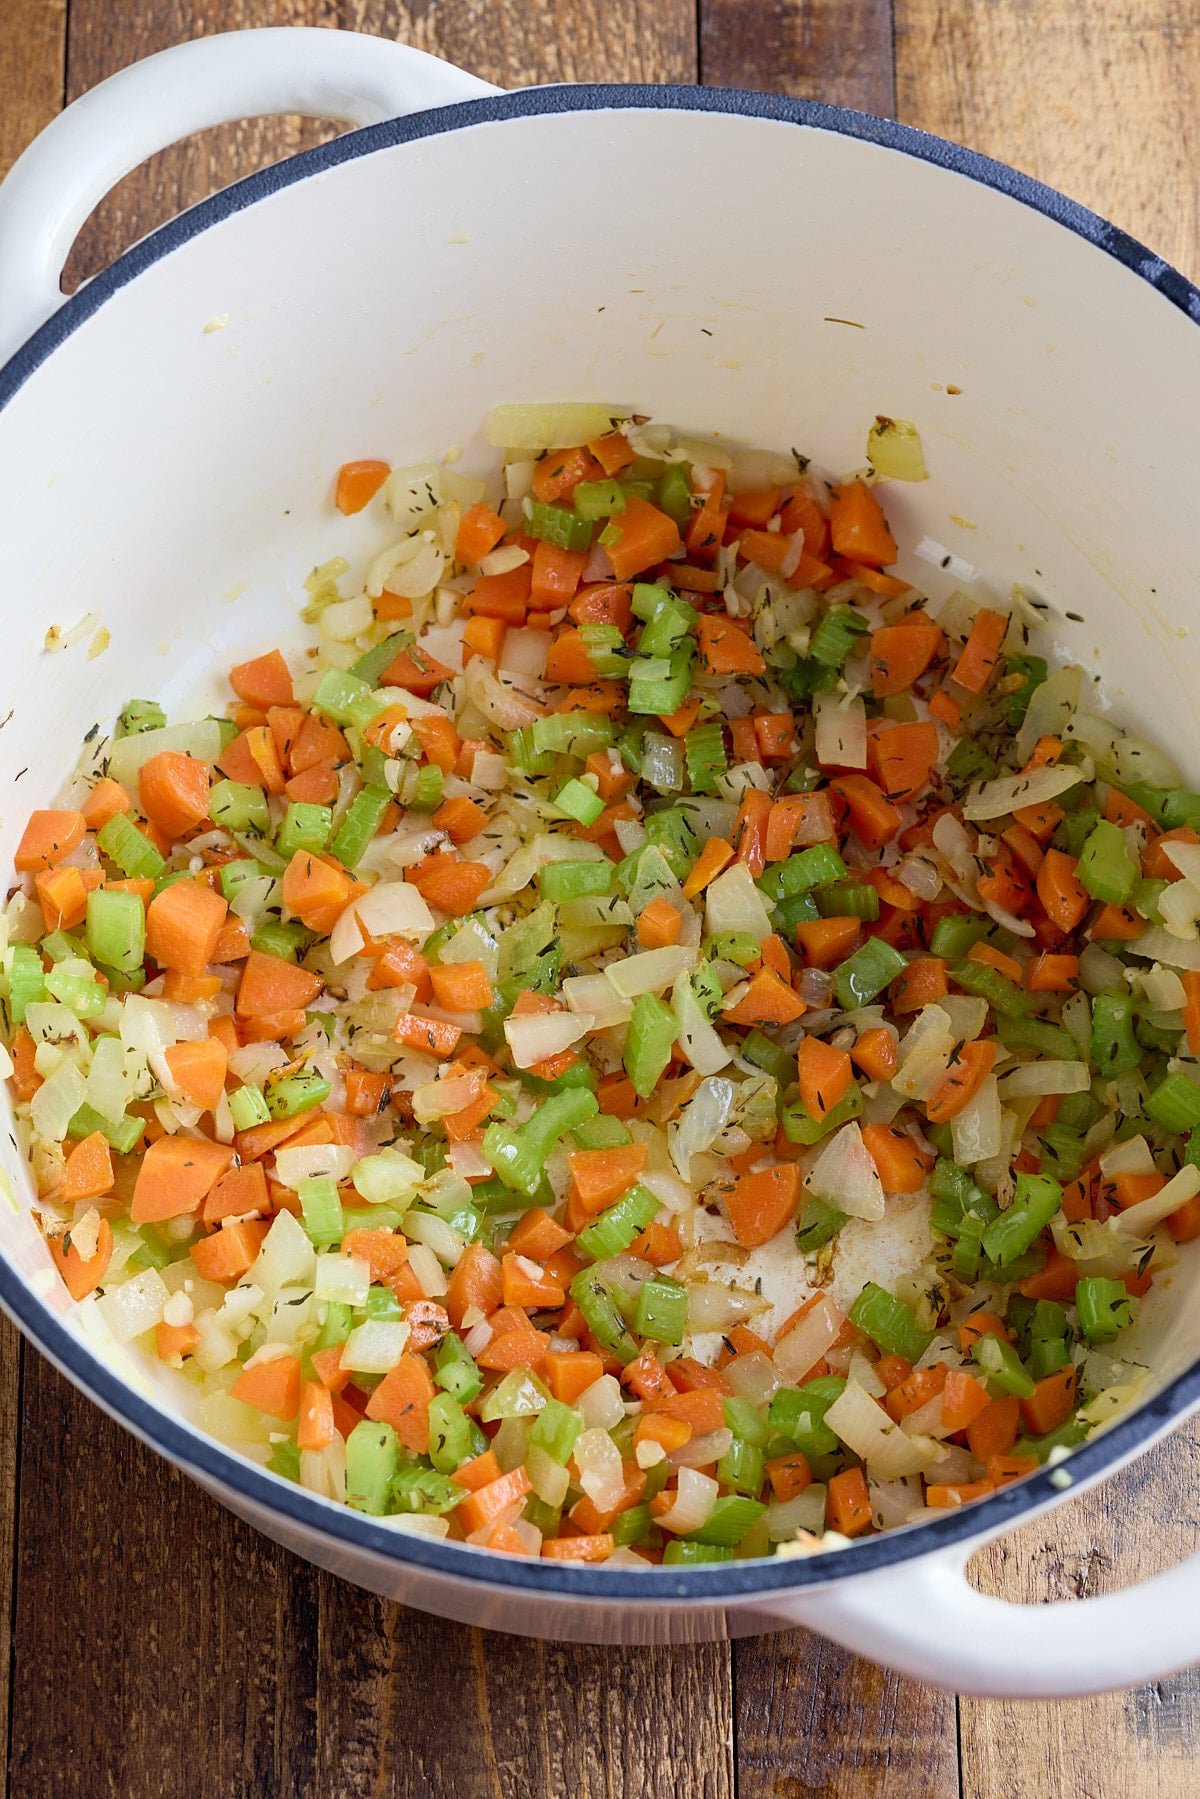
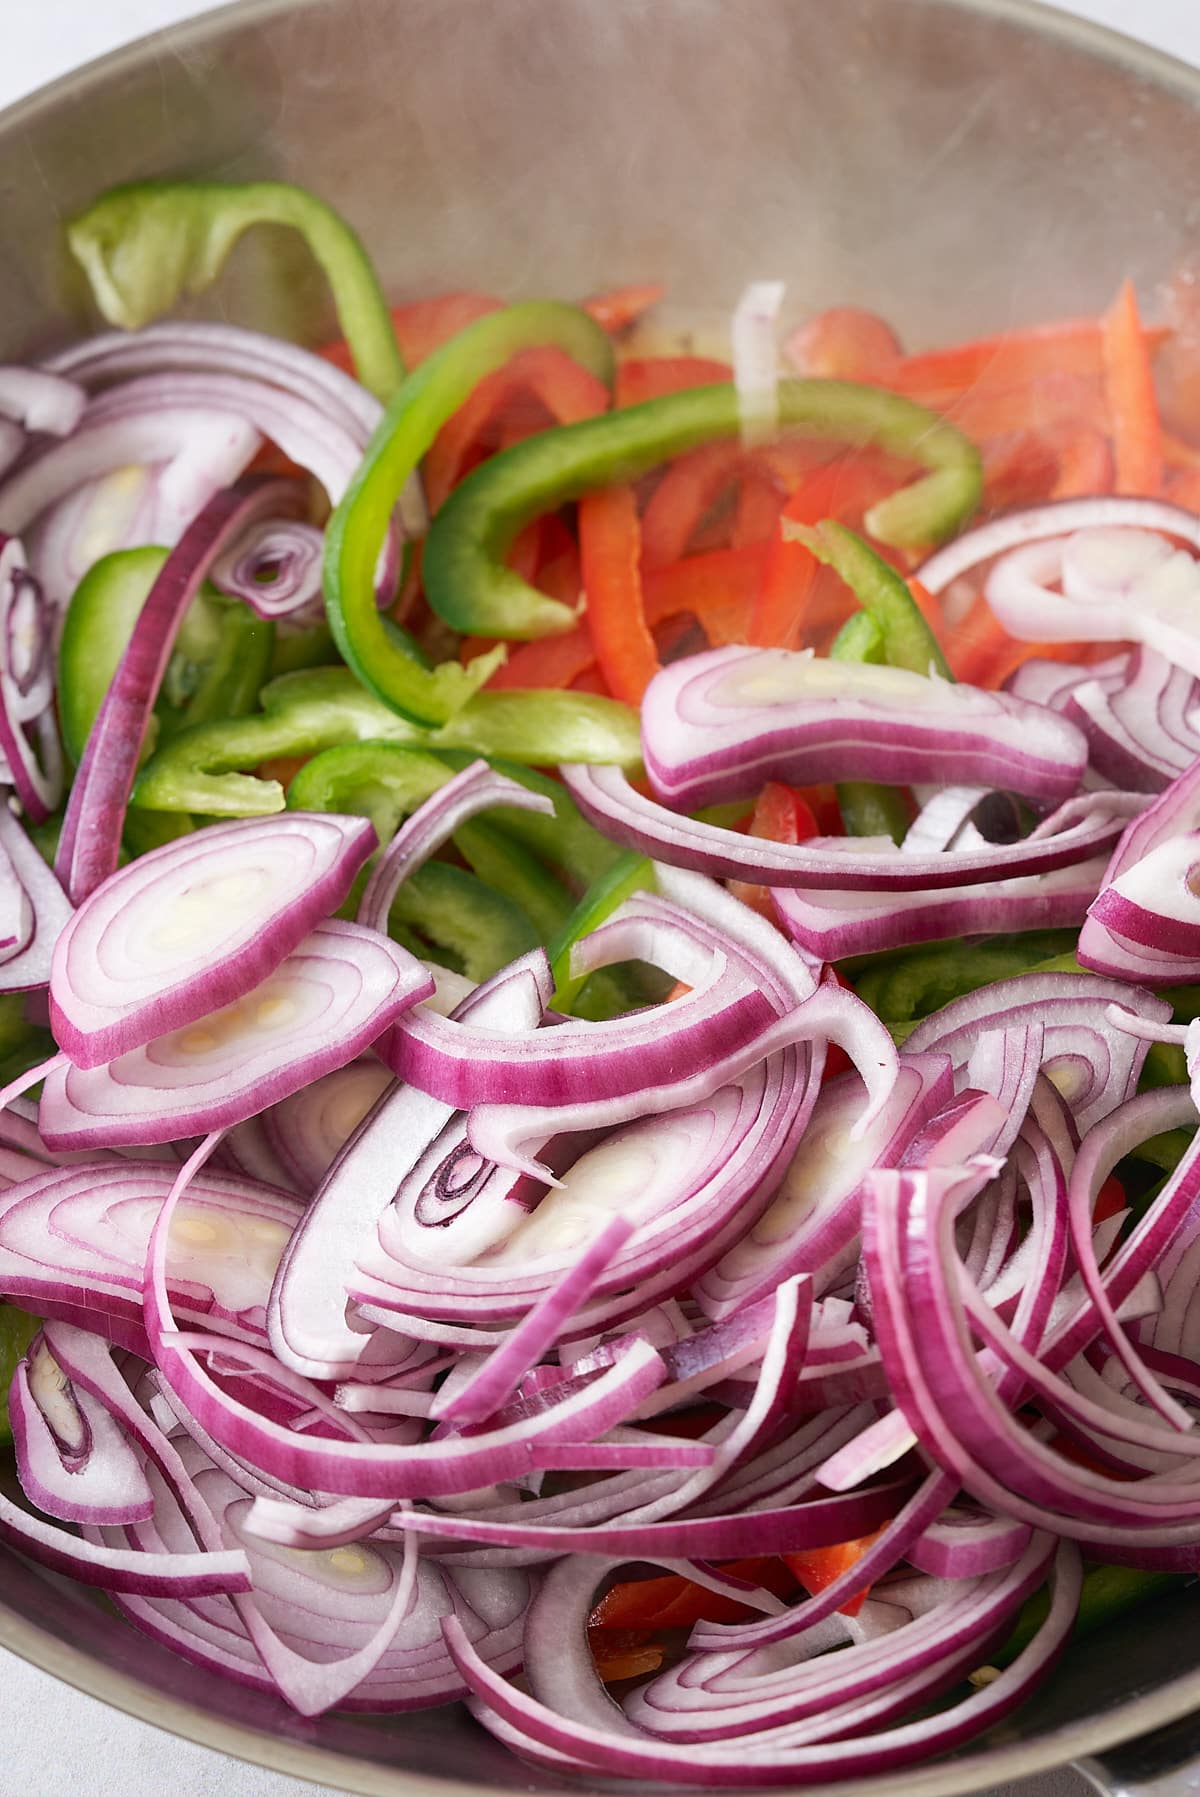
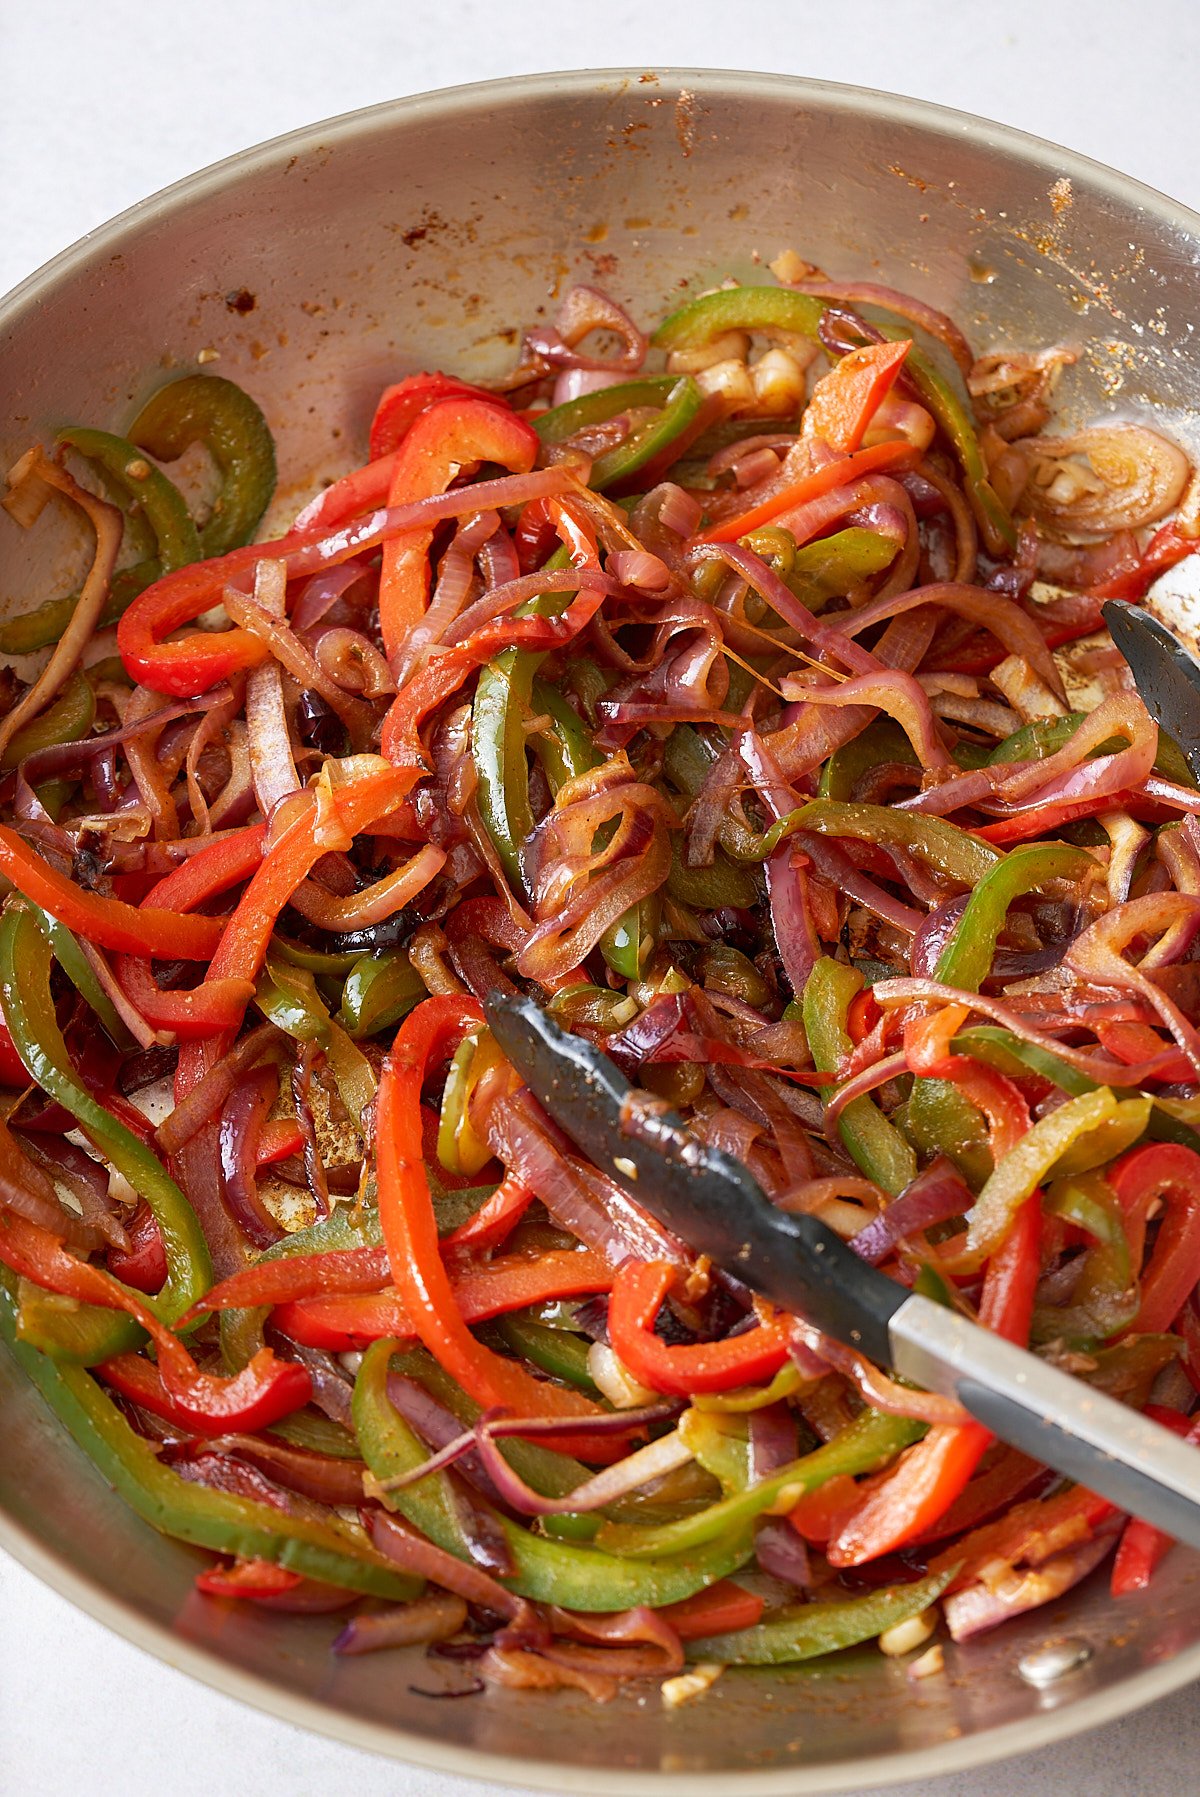
Heat the oil in a large skillet or frying pan over medium-high heat.
Add the sliced onion and bell peppers to the pan. Cook them undisturbed for 3-4 minutes, then stir fry them for 4 minutes or until they soften and get slightly charred.
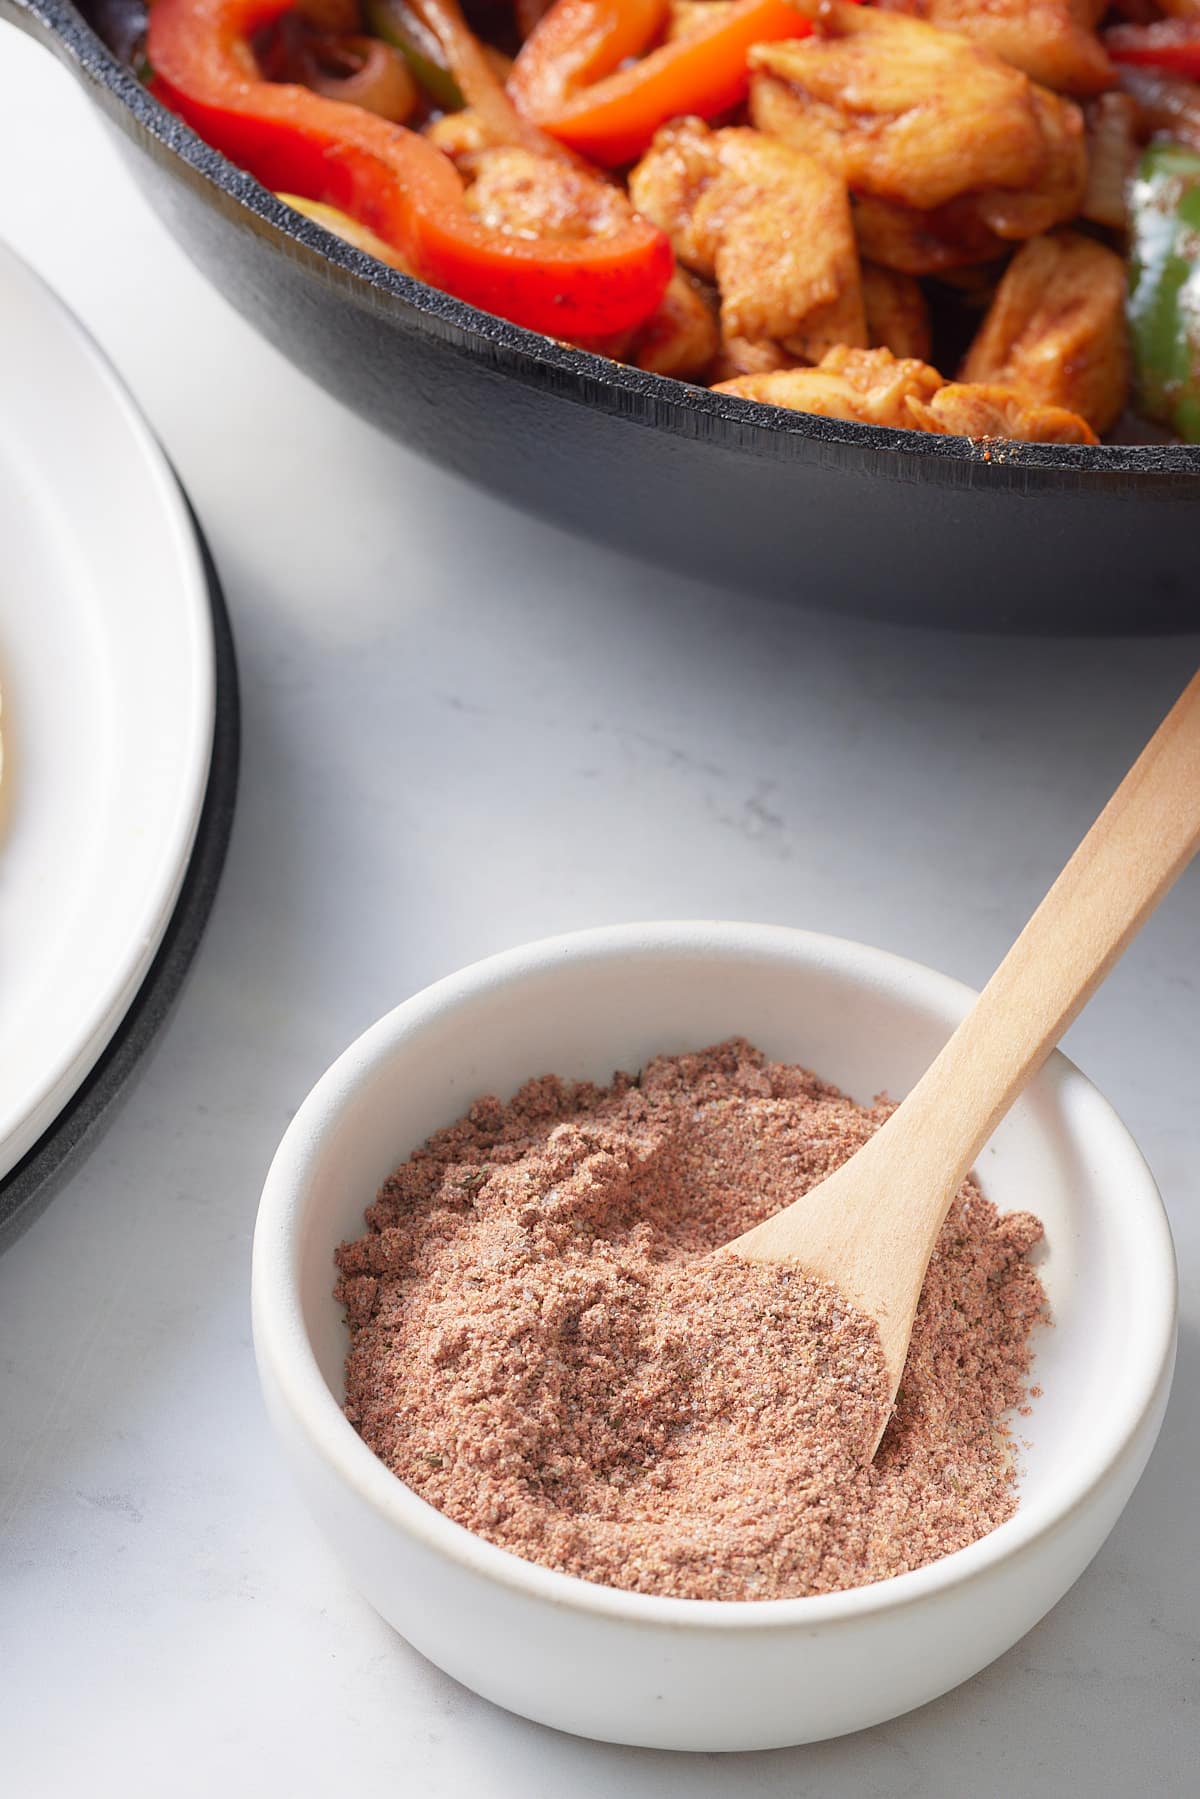
Sprinkle the fajita seasoning evenly over the vegetables in the pan. Toss well to coat them with the seasoning.
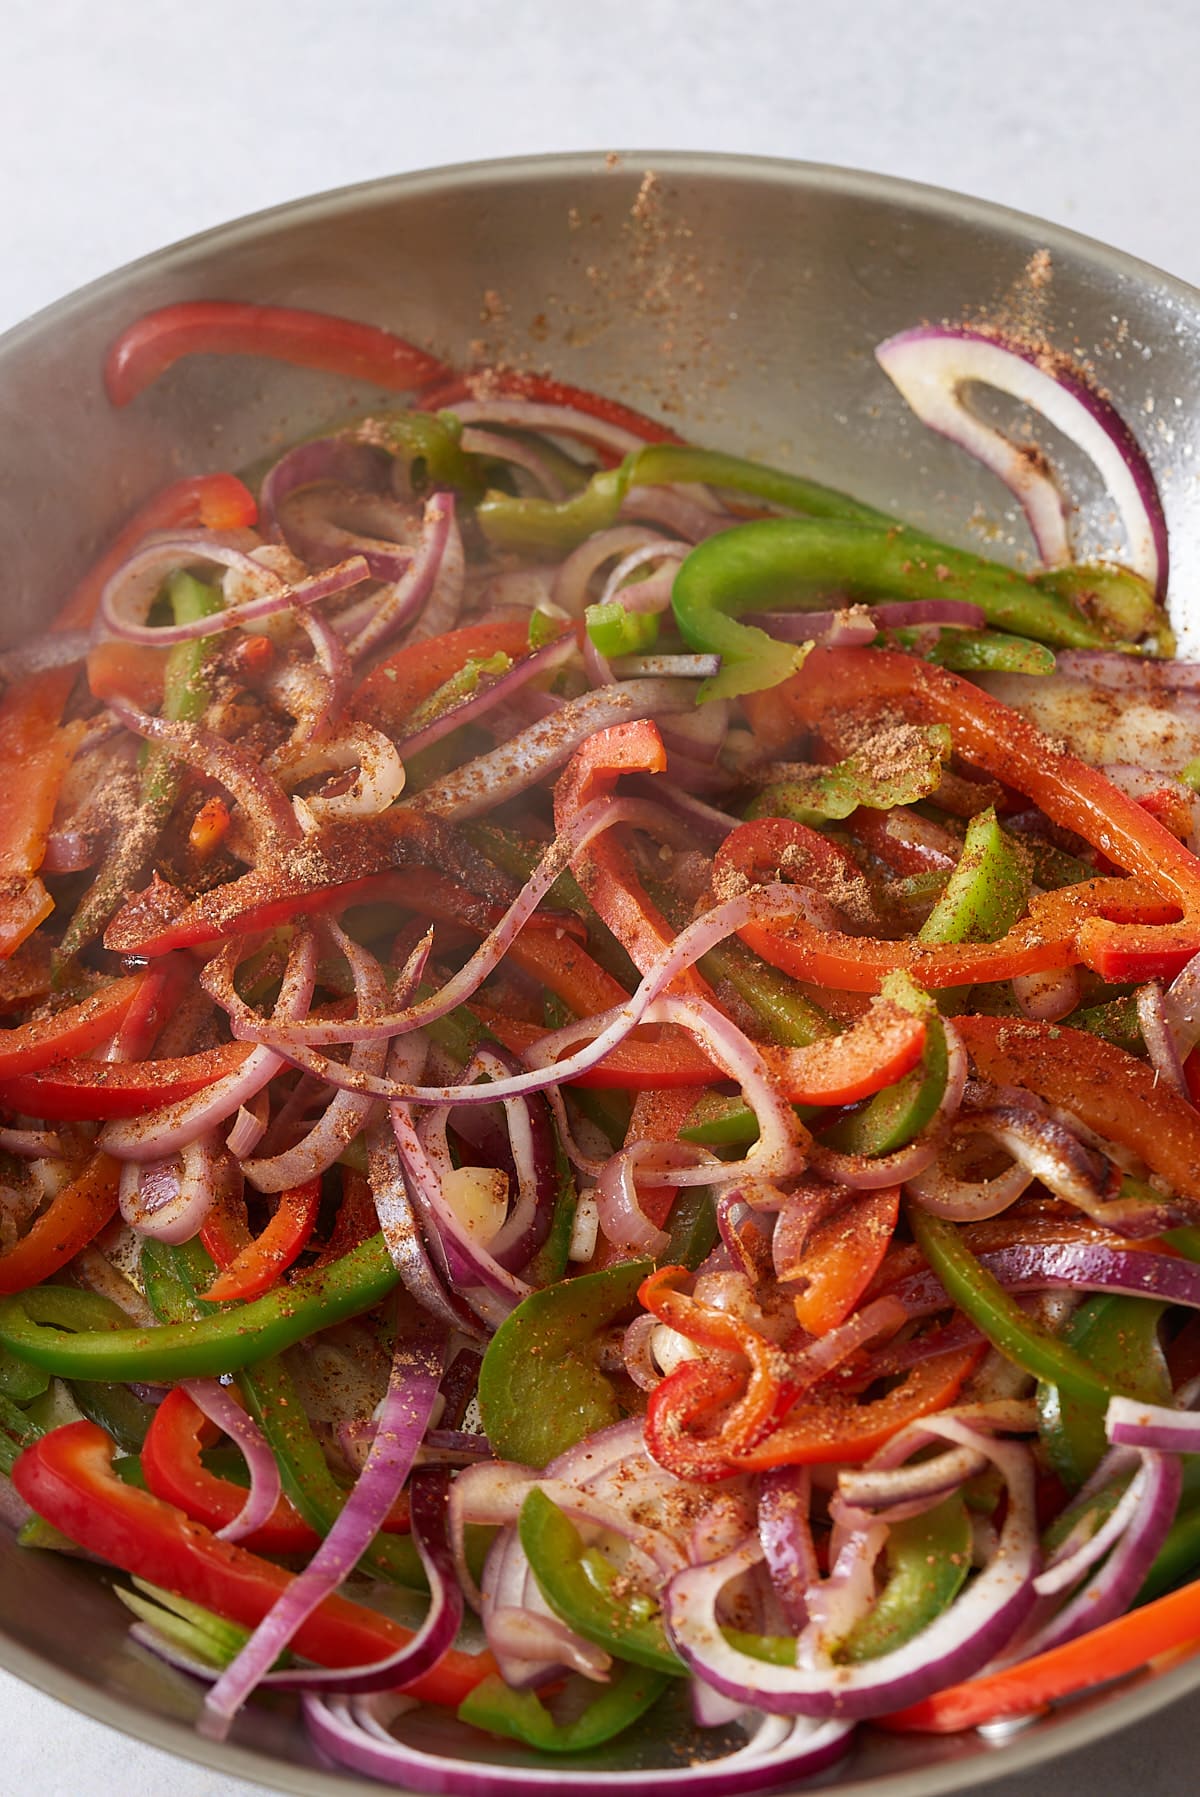
Continue cooking for 5-10 minutes until the vegetables are cooked to your desired softness. The longer you cook, the softer they will be.
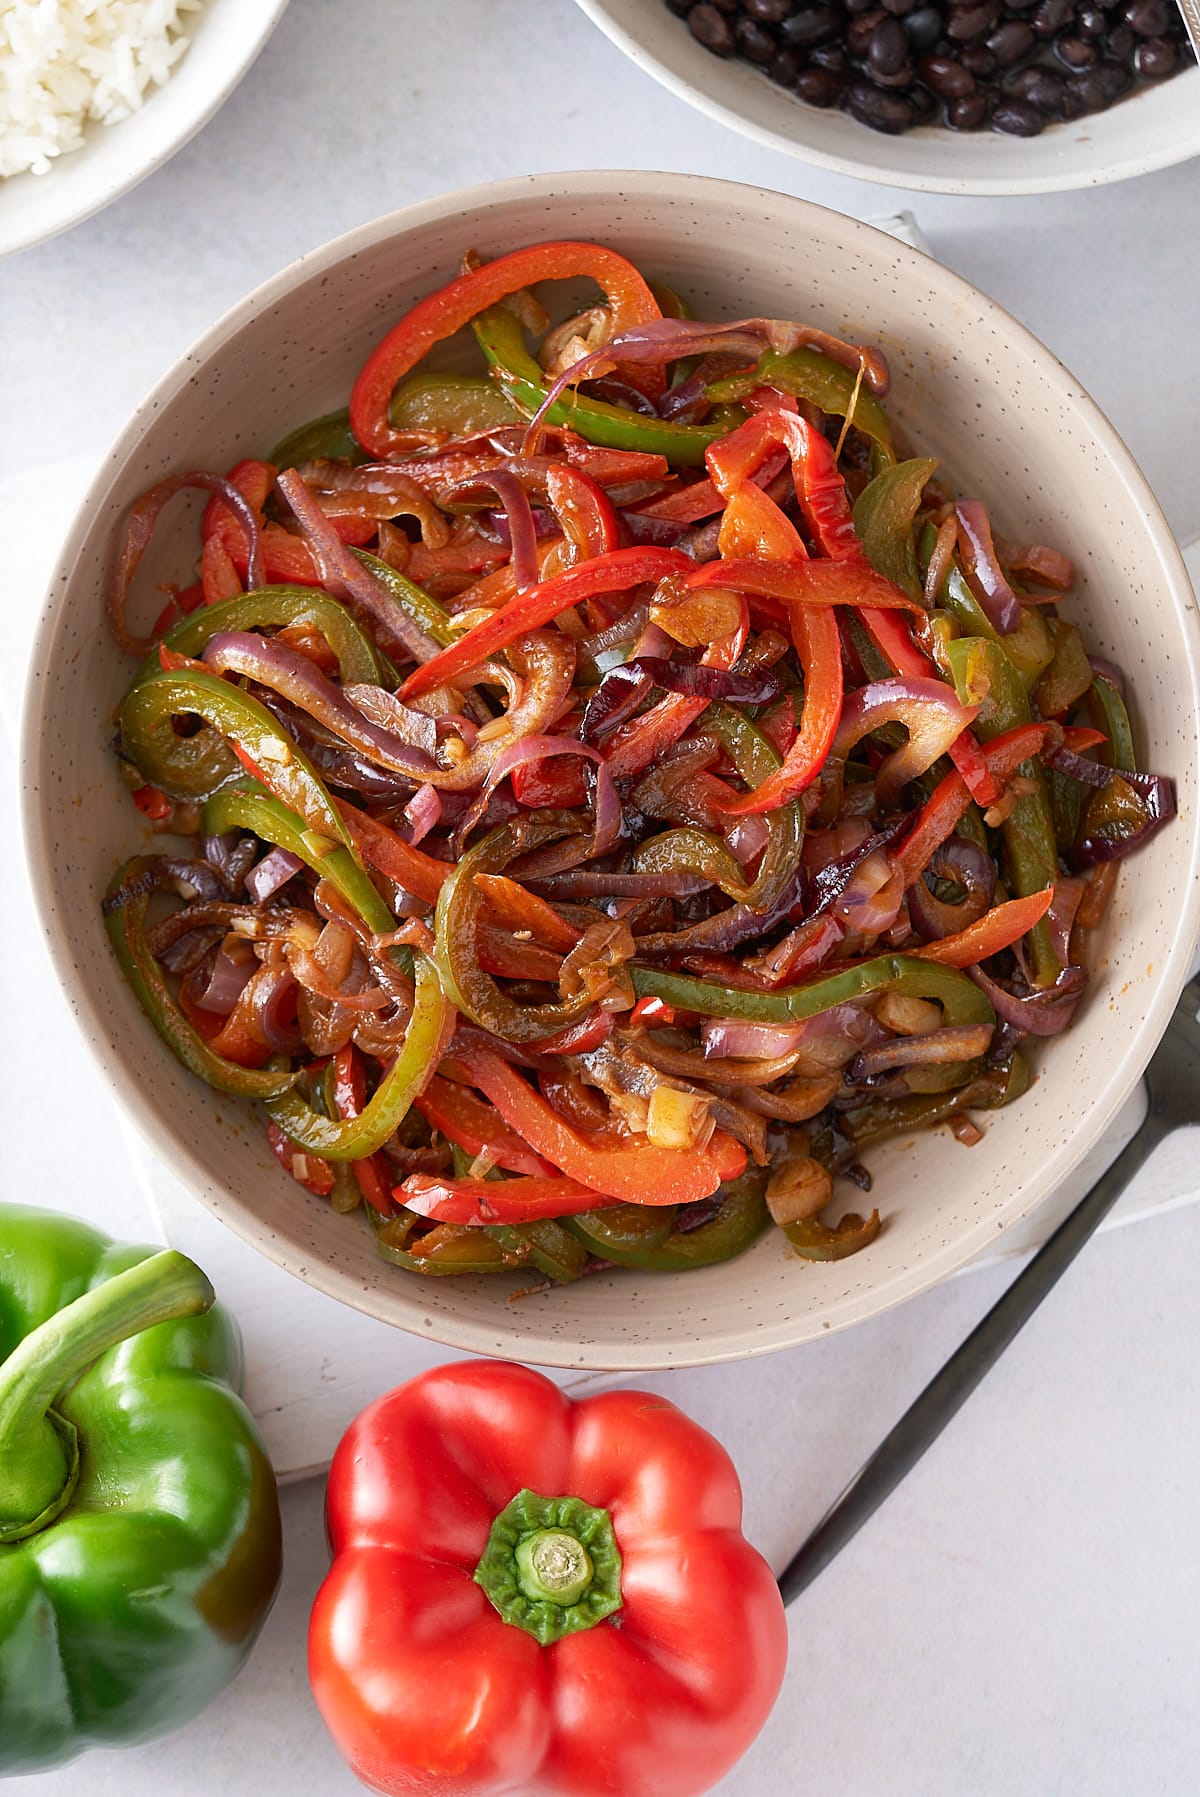
Remove the pan from heat and transfer the fajita vegetables to a serving dish.
Expert Tips
These tips will help you make the best fajita vegetables you've ever tried.
- I only prepare the vegetables just before I cook them; that way they remain crispy and juicy and don't dry out.
- Get the pan nice and hot before you start cooking the vegetables.
- The trick is to cook the vegetables long enough so that they get a nice char around the edges but not so long as they become soggy.
Flavor variations
Feel free to mix the vegetables or the spices to suit your tastes!
- Bell peppers and onions are traditional, but mushrooms, zucchini, or even carrot could work well too.
- If you like your food extra spicy, add some freshly sliced red chili peppers, some red pepper flakes, or a dash of your favorite hot sauce.
- Add a touch of smoky spice flavor with some chipotle paste.
- For a burst of fresh herb flavor, garnish with some chopped cilantro.
How to serve fajita vegetables
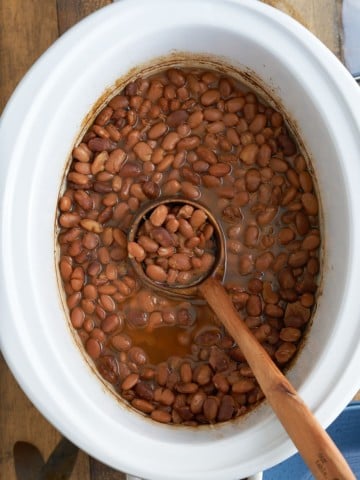
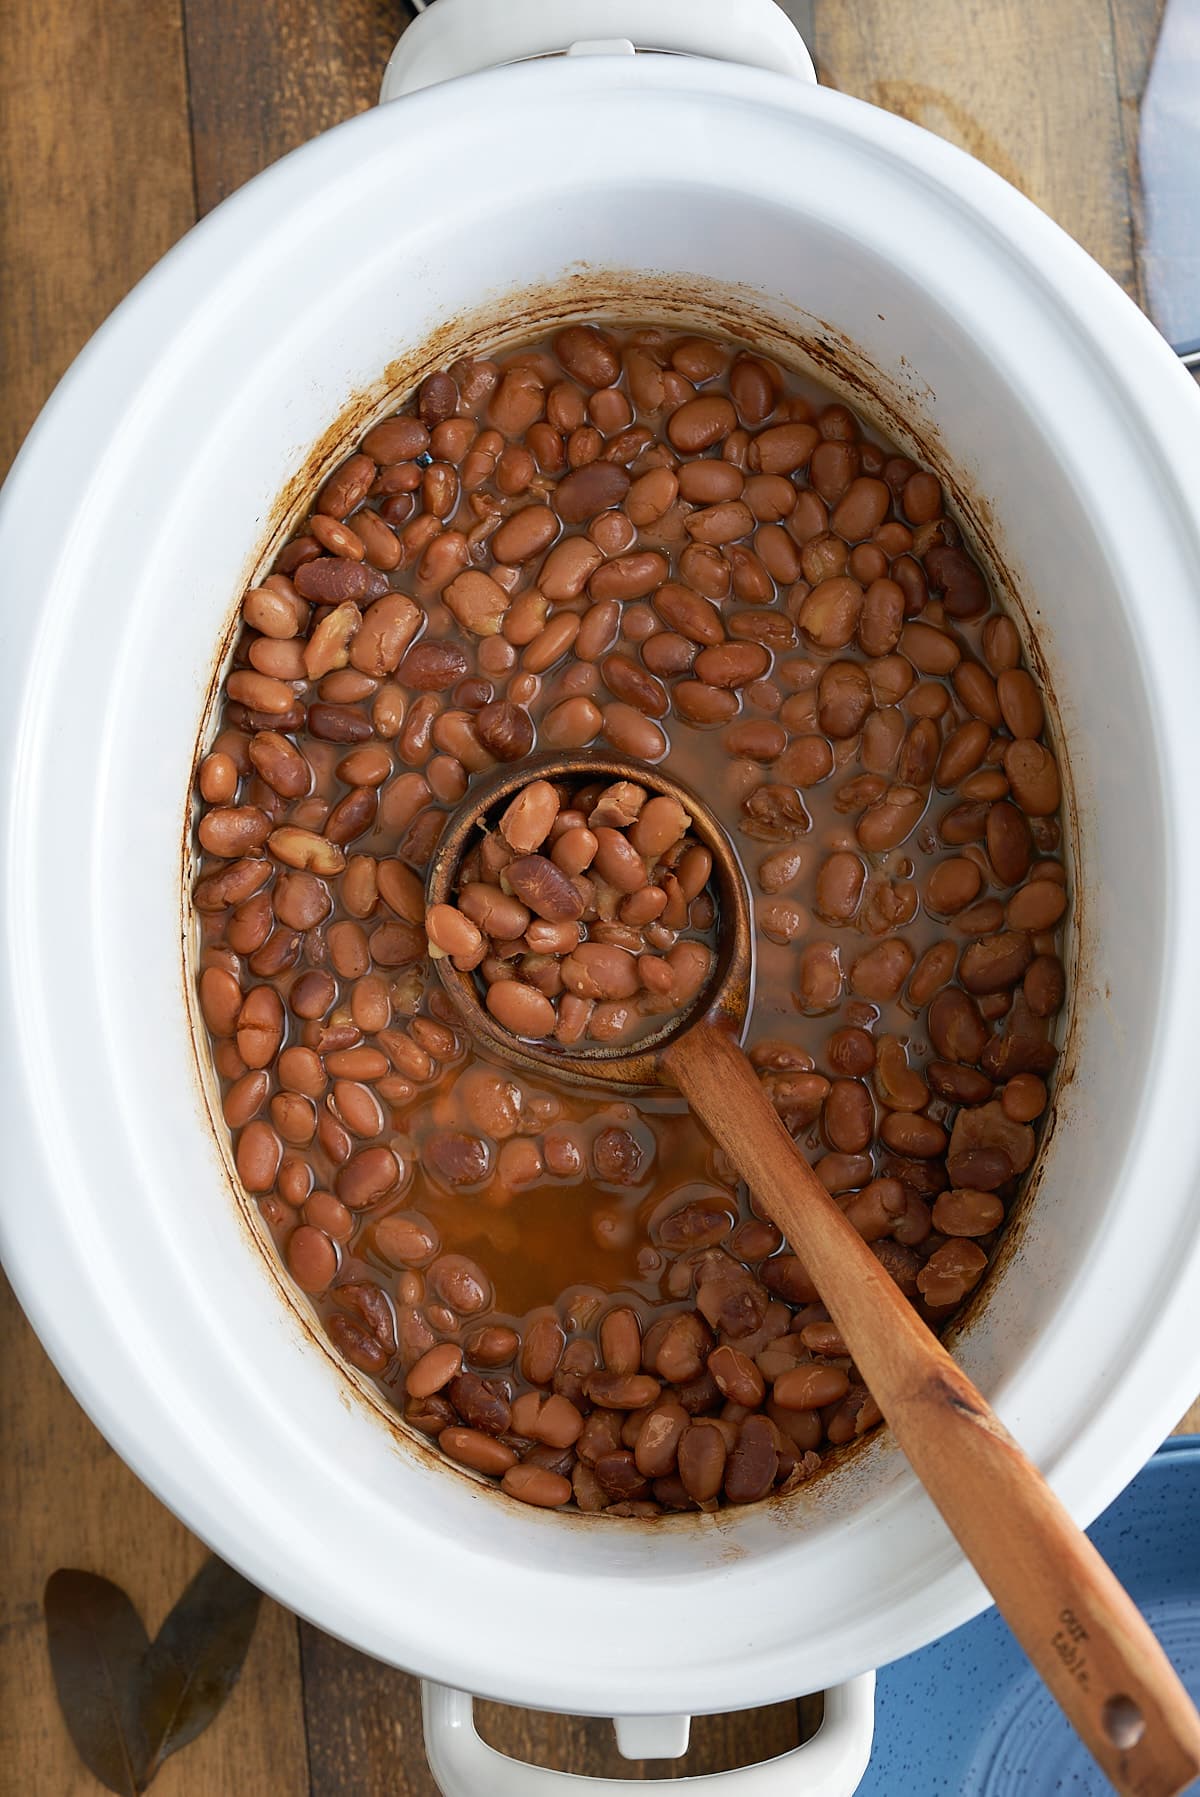
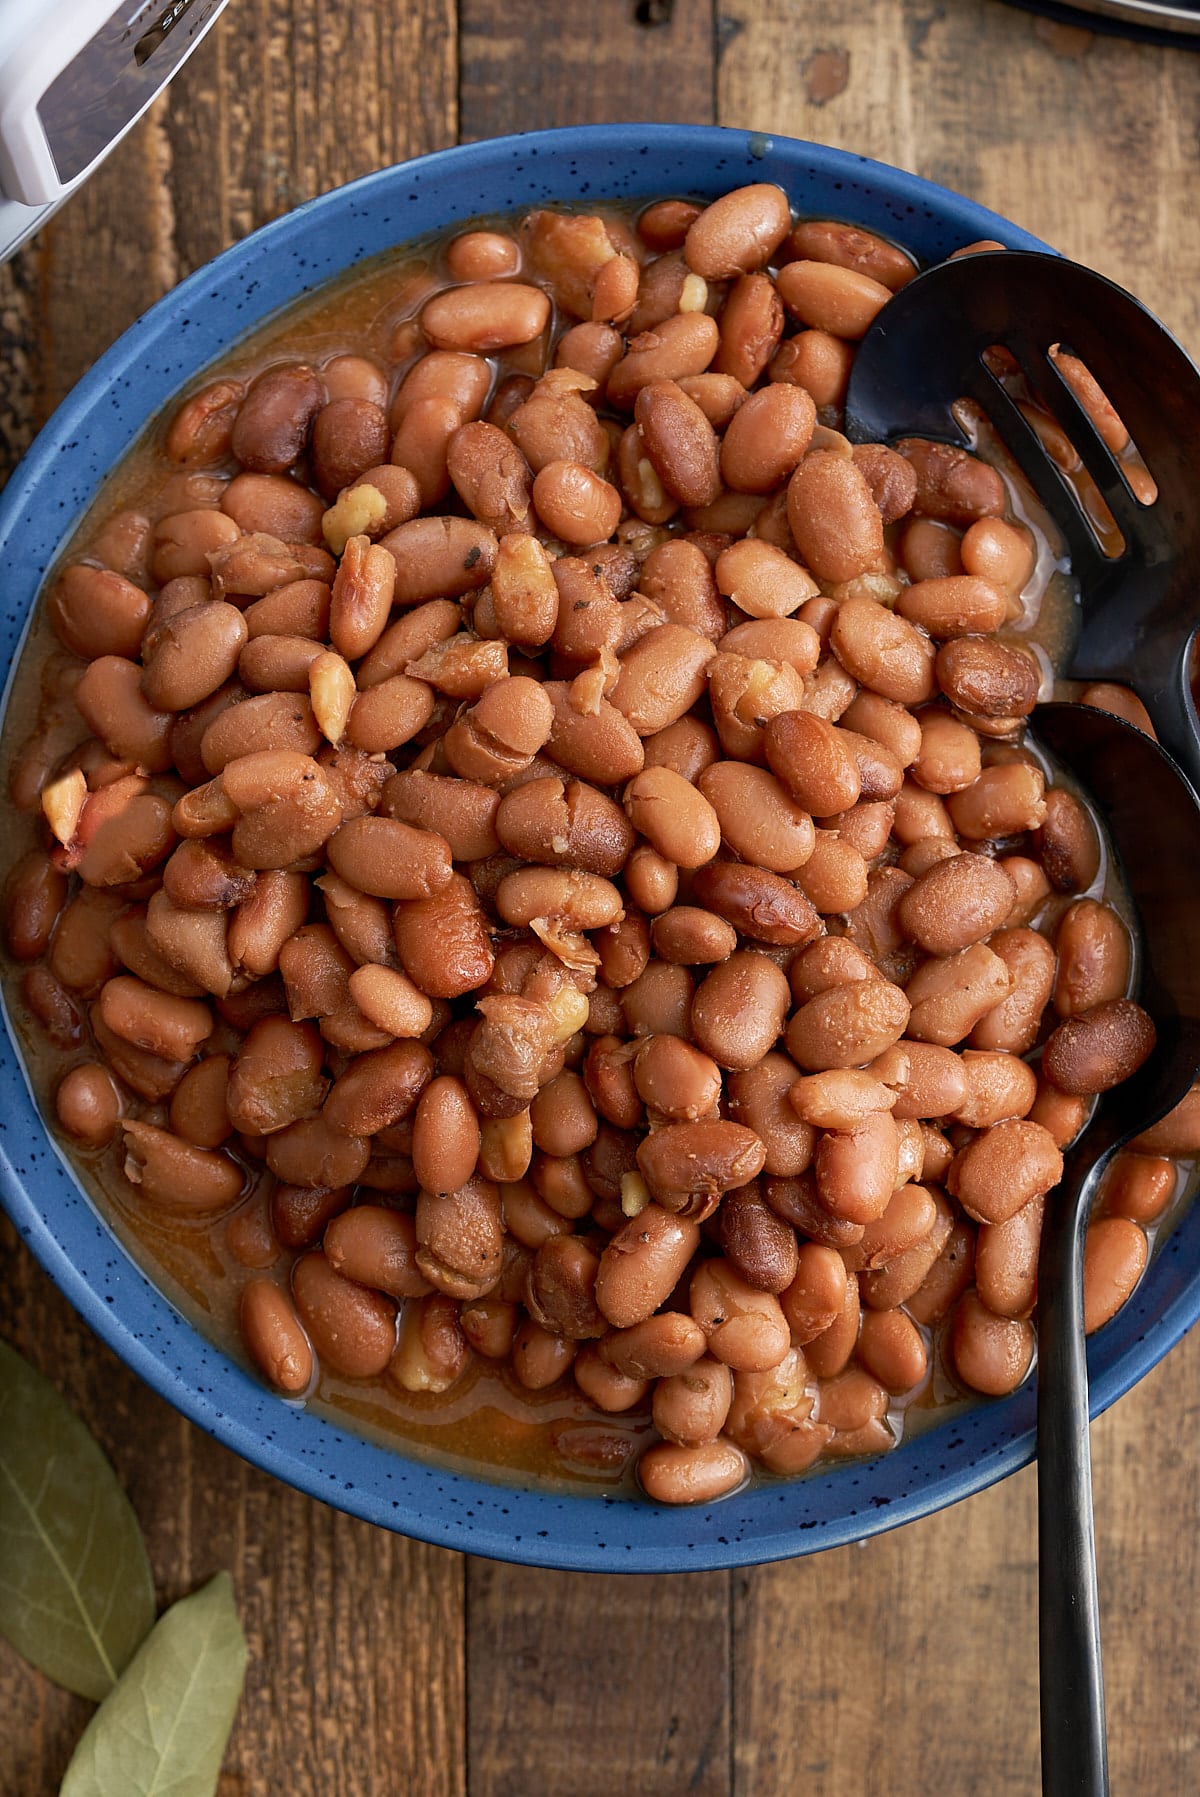
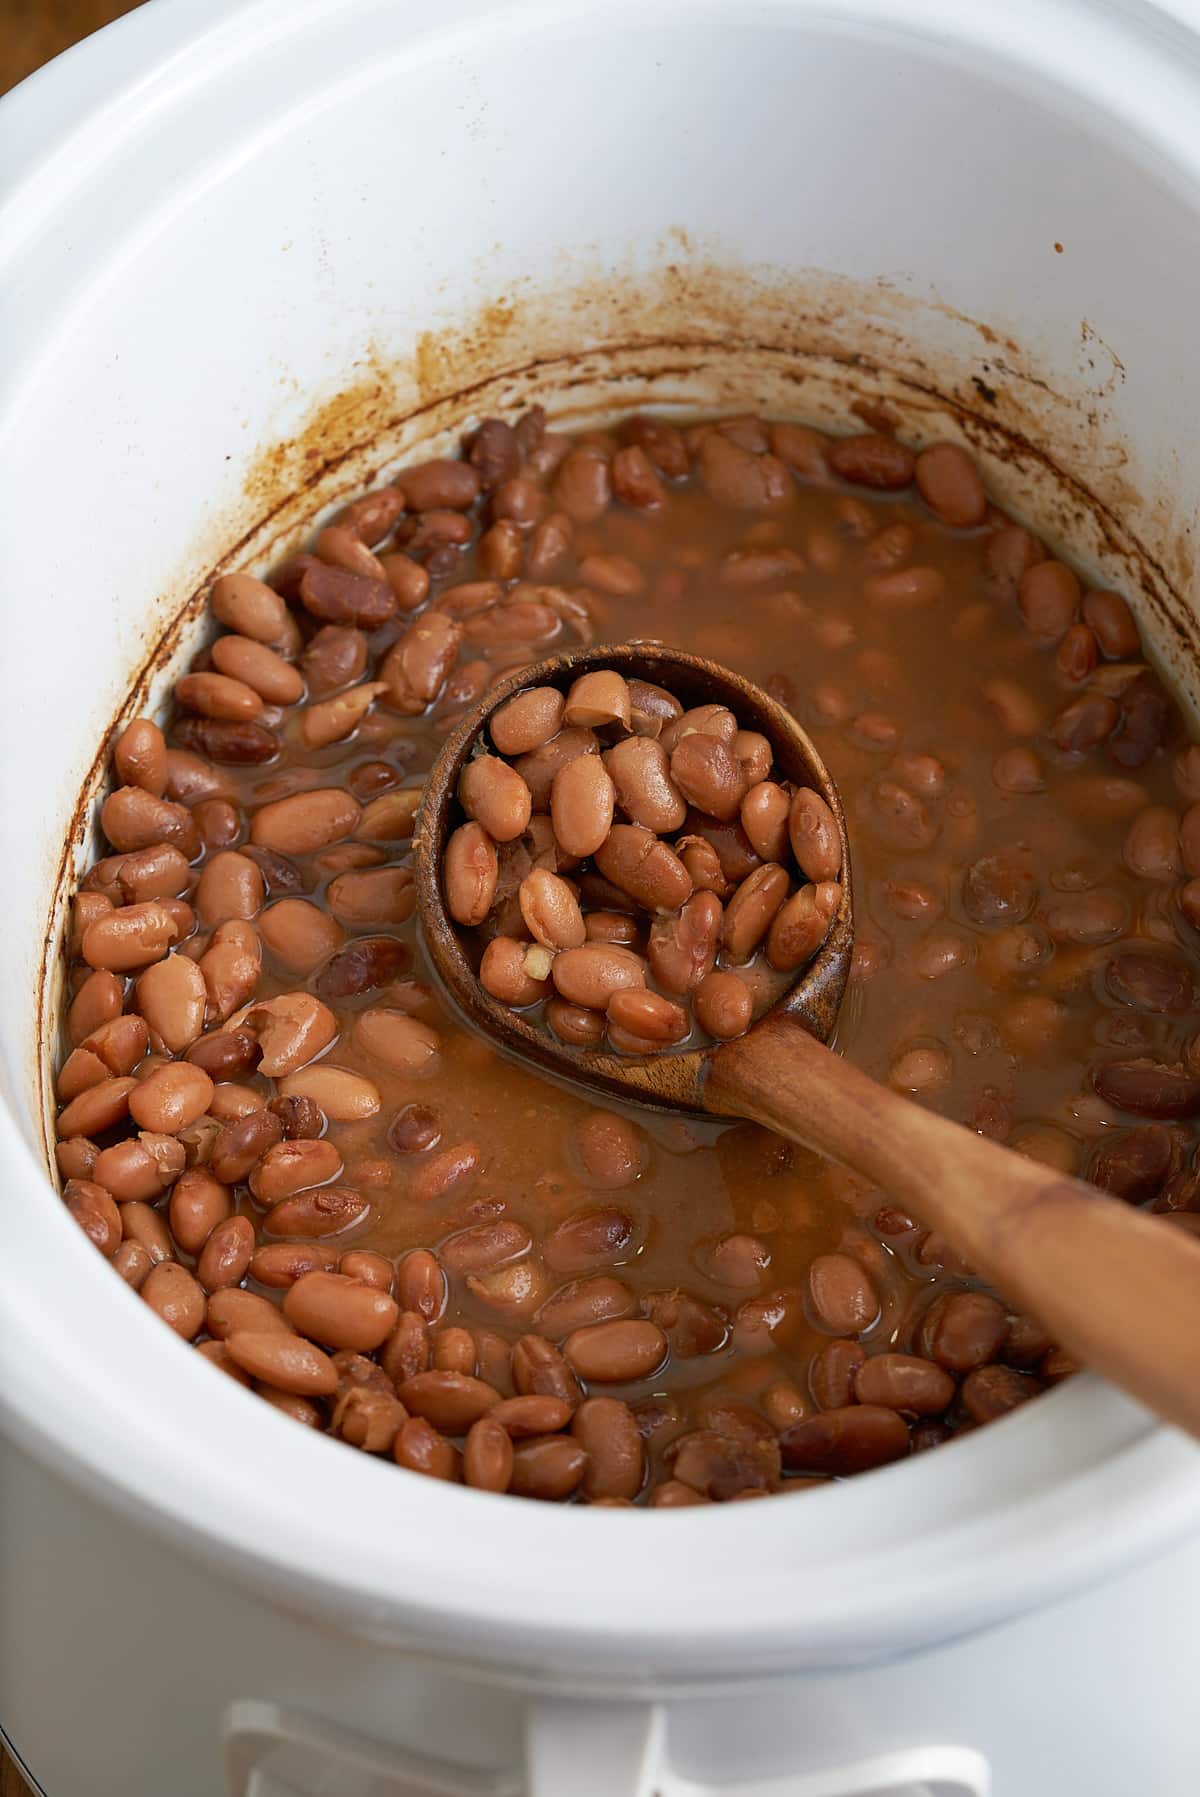
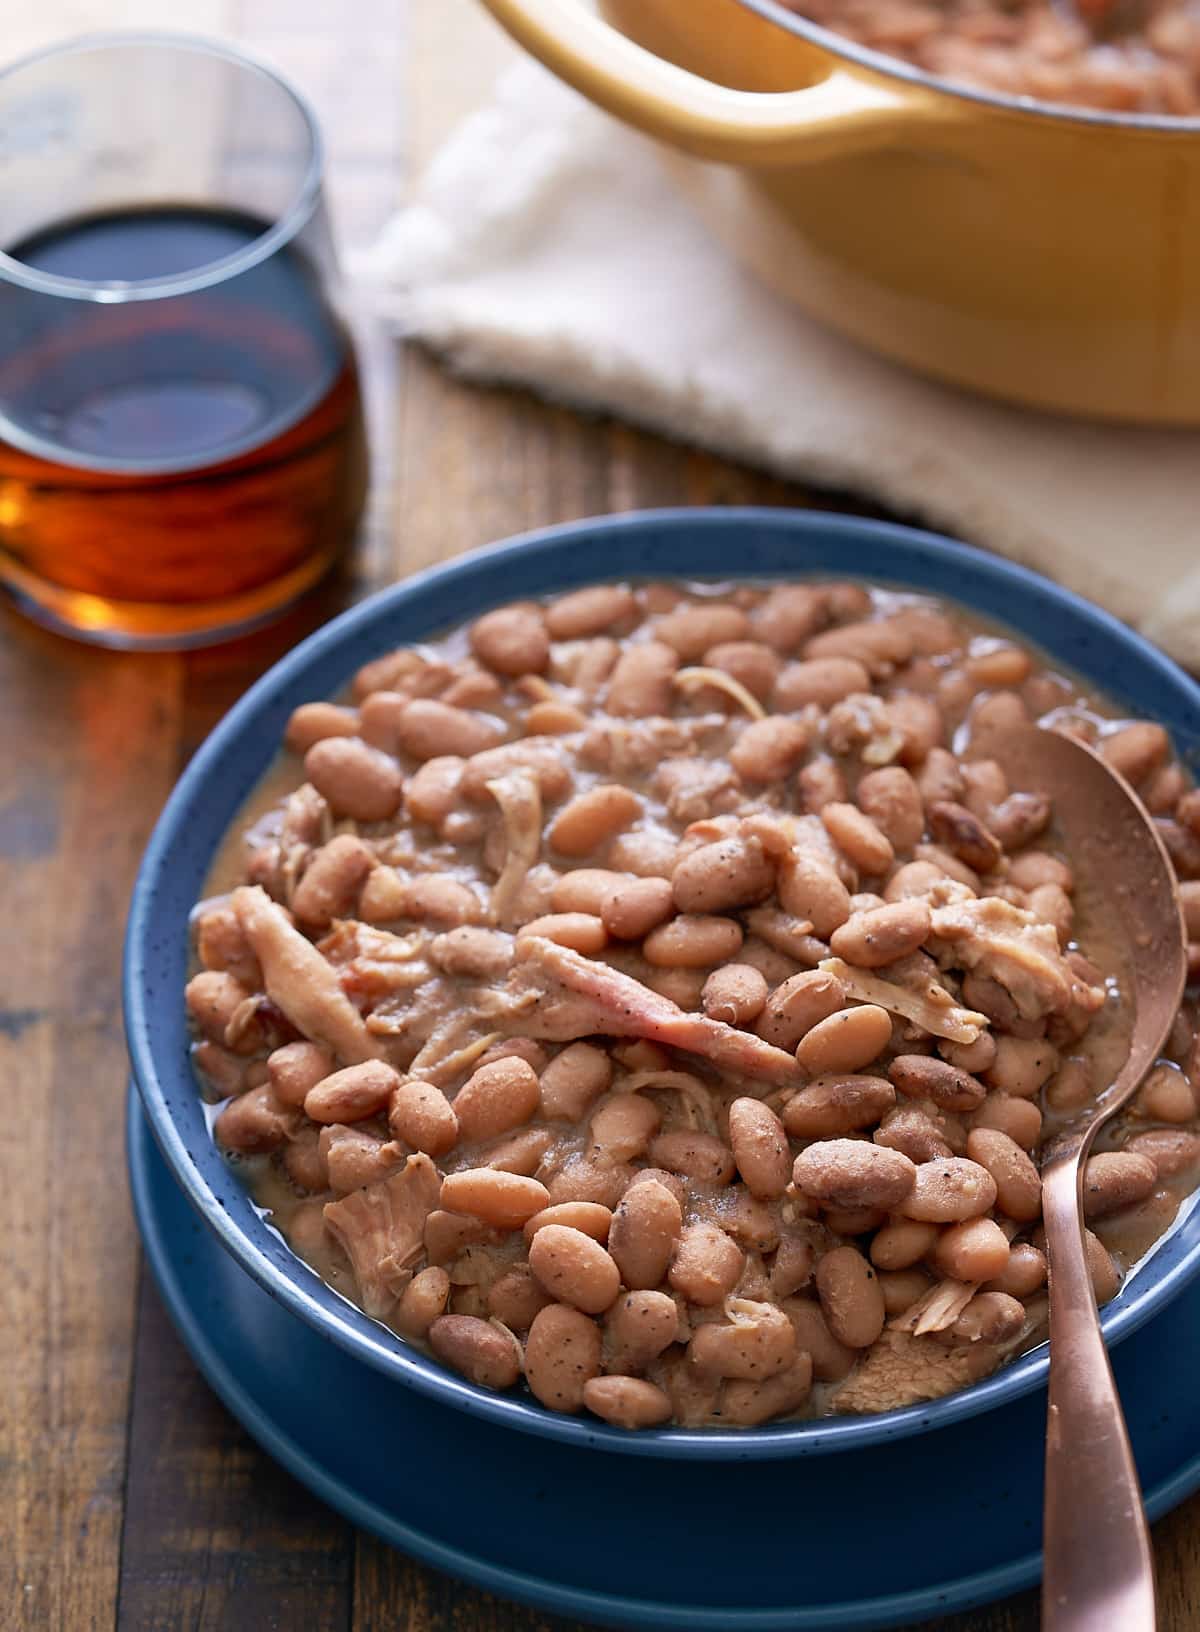
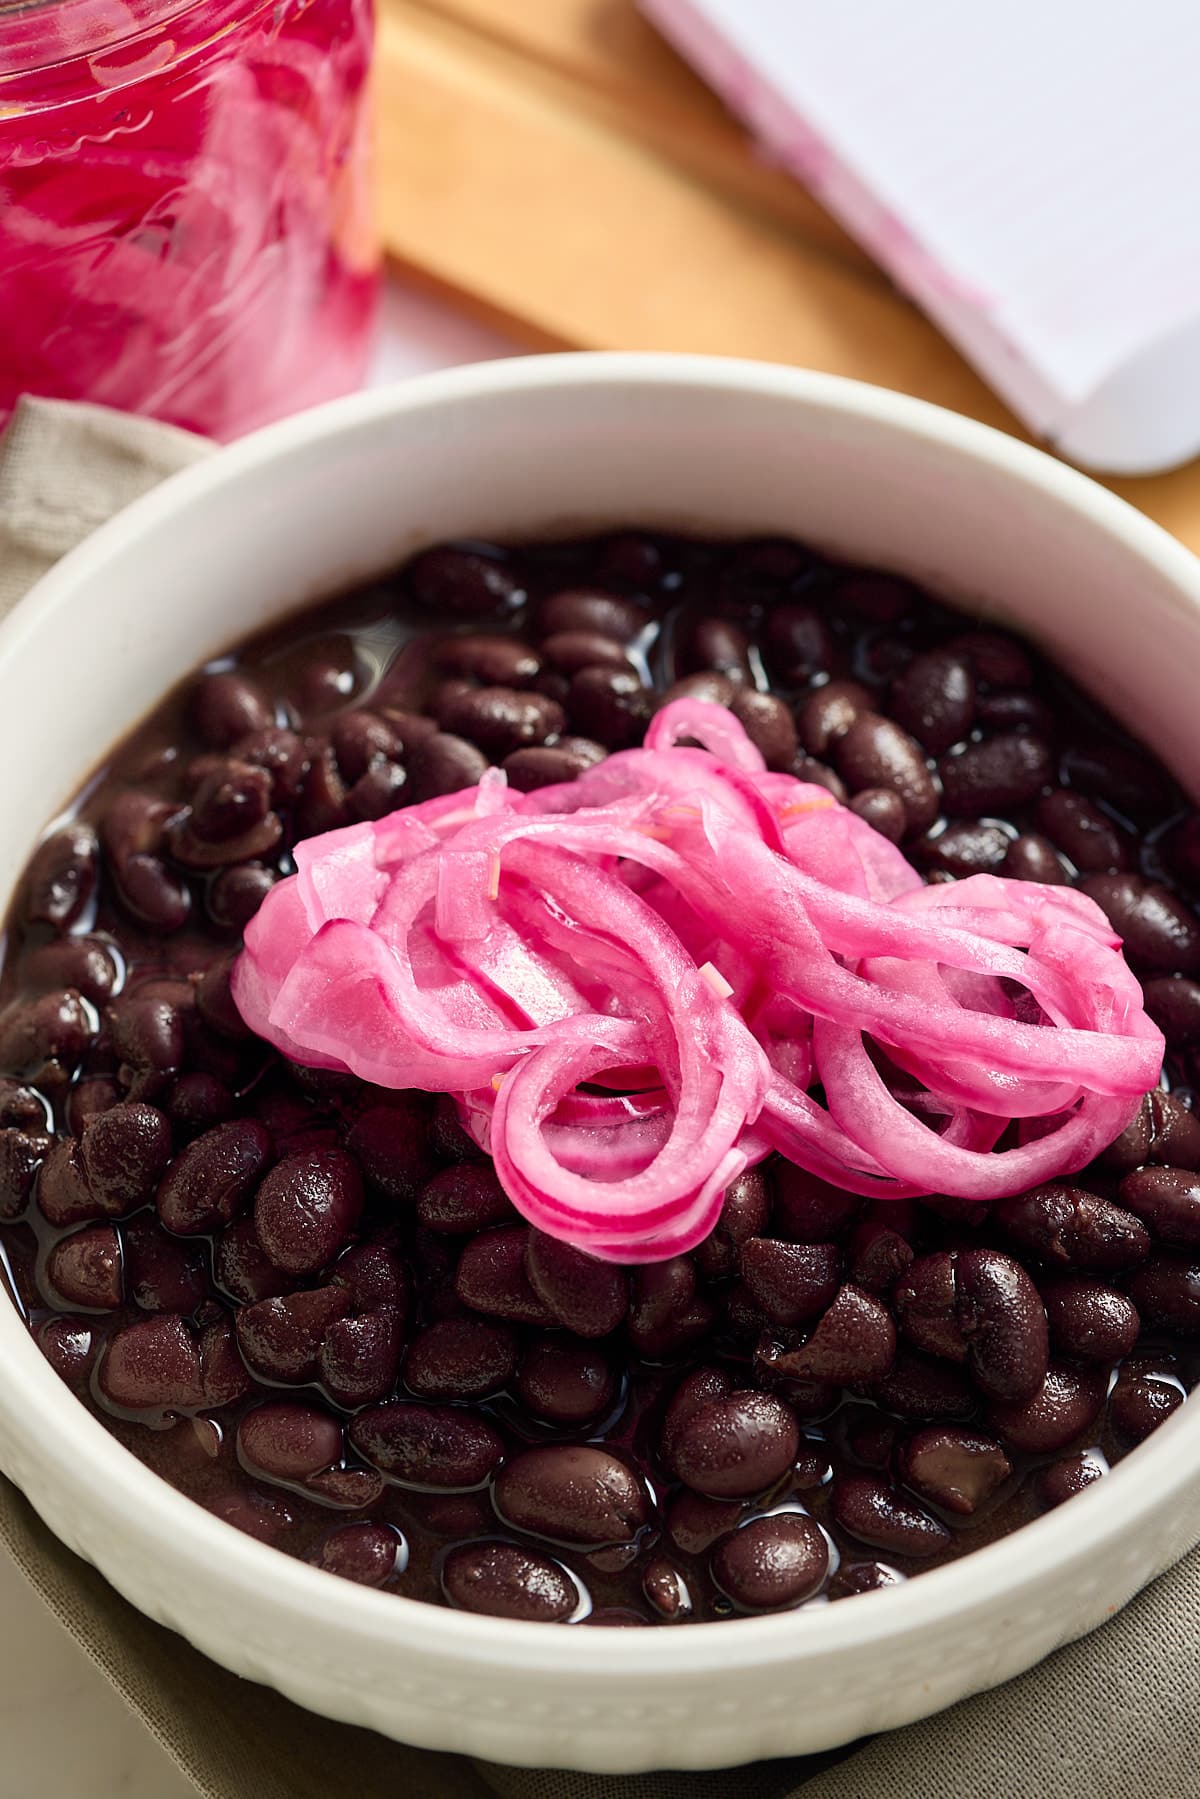
Serve the flavorful fajita vegetables as a side dish alongside my Slow Cooker Black Beans and some steamed white rice. They work with a variety of Mexican-inspired dishes; try them in fajitas or tacos or as a burrito filling.
They are also perfect to serve with all of your favorite weeknight meals like my Air Fryer Chicken Breast or my Turkey Burgers.
How to store
To refrigerate: Fajita vegetables are best served hot, straight from the pan. However, leftovers can be stored in an airtight container in the refrigerator for 2-3 days. When ready to enjoy, place in a hot frying pan to warm through, not overcooking the vegetables.
FAQs
No, there is no need to marinate the vegetables; the flavor comes from the freshness of the vegetables combined with the fajitas seasoning.
Yes, this healthy vegetable side dish is low in fat and sugar. The onions and peppers are high in fiber, vitamins, and minerals, and a serving of this vegetable dish will go towards your all-important 5-a-day.
For speed, I cook my fajita vegetables in a frying pan. However, if you have the oven on, you can also cook fajita vegetables in the oven.
Toss the onions and peppers in olive oil and fajita seasoning, then place onto a nonstick baking sheet. Place the sheet into a hot oven at 425F/220C and roast the vegetables for 20 minutes.
If you have tried this fajita vegetable recipe, or any other recipe on my blog, please rate it and let me know how it turned out in the comments below!

Fajita Vegetables
Ingredients
- 2 Tablespoons olive oil
- 1 large red onion thinly sliced
- 2 bell peppers (any color) thinly sliced
- 2 teaspoons fajita seasoning
Instructions
- Heat the oil in a large skillet or frying pan over medium-high heat.
- Add the sliced onion and bell peppers to the pan. Cook them undisturbed for 3-4 minutes, then stir fry them for 4 minutes or until they soften and get slightly charred.
- Sprinkle the fajita seasoning evenly over the vegetables in the pan. Toss well to coat them with the seasoning.
- Continue cooking for 5-10 minutes until the vegetables are cooked to your desired softness. The longer you cook, the softer they will be.
- Remove the pan from heat and transfer the fajita vegetables to a serving dish.
- Serve the flavorful fajita vegetables as a side dish, in fajitas or tacos, or as a burrito filling.