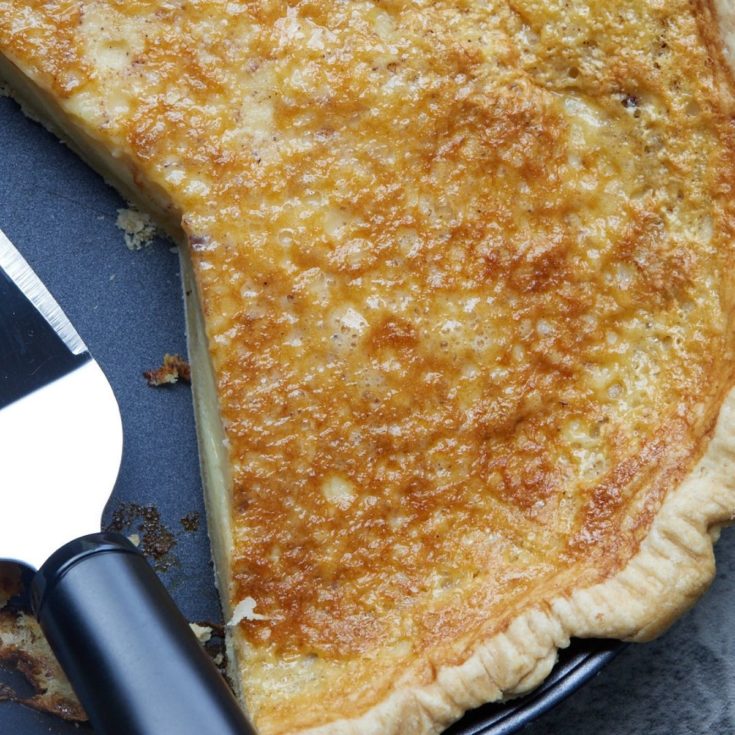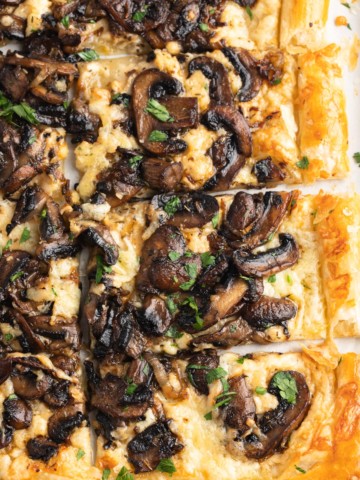
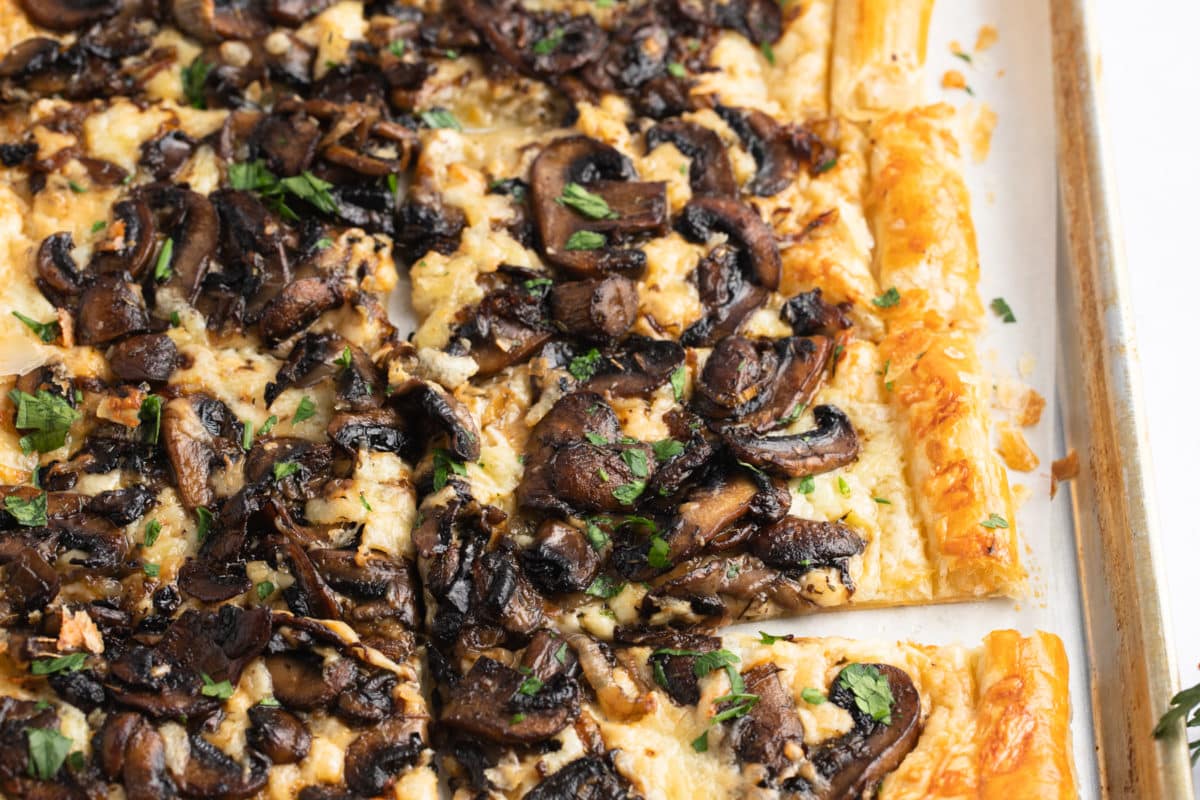
Perfect for a lunch or light dinner, this puff pastry mushroom tart is one tasty meat-free recipe. With flavors of onion, garlic, thyme and balsamic, and with two types of cheese, this simple recipe is sure to impress.
This post contains affiliate links, please read my full disclaimer here.
You’ll find the full recipe with ingredient amounts and instructions in the recipe card at the bottom of this post. Be sure to check out the blog post itself for extra tips and tricks!
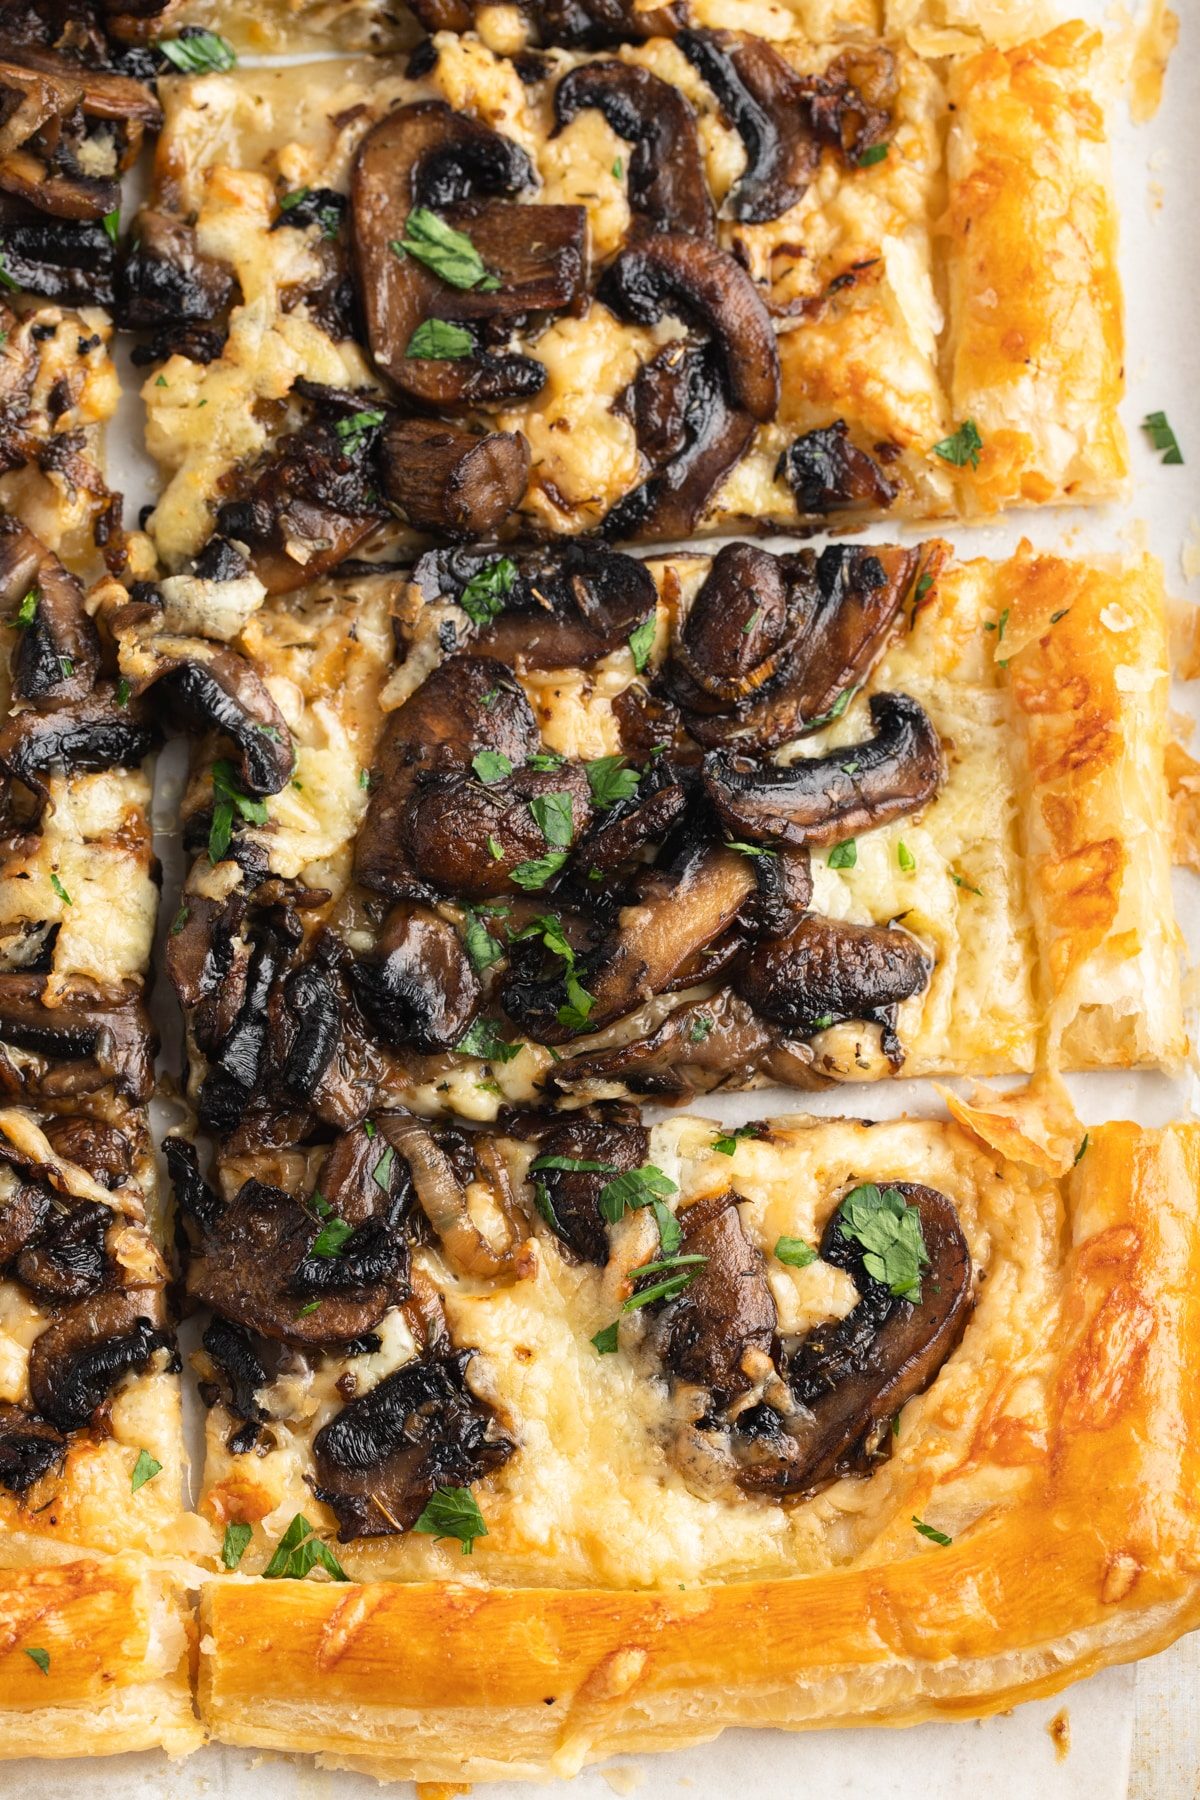
This simple recipe is a must for all of my mushroom and cheese lovers! Perfect for a light lunch, brunch or dinner, this mushroom tart is wonderfully flavorful and a real joy to make, serve and eat!
A puff pastry sheet is topped with gruyere and parmesan cheese, before adding the mushrooms that are cooked with shallots, garlic and balsamic. Every bite is an explosion of flavor.
Serve this up with your favorite salad side for one delicious meal.
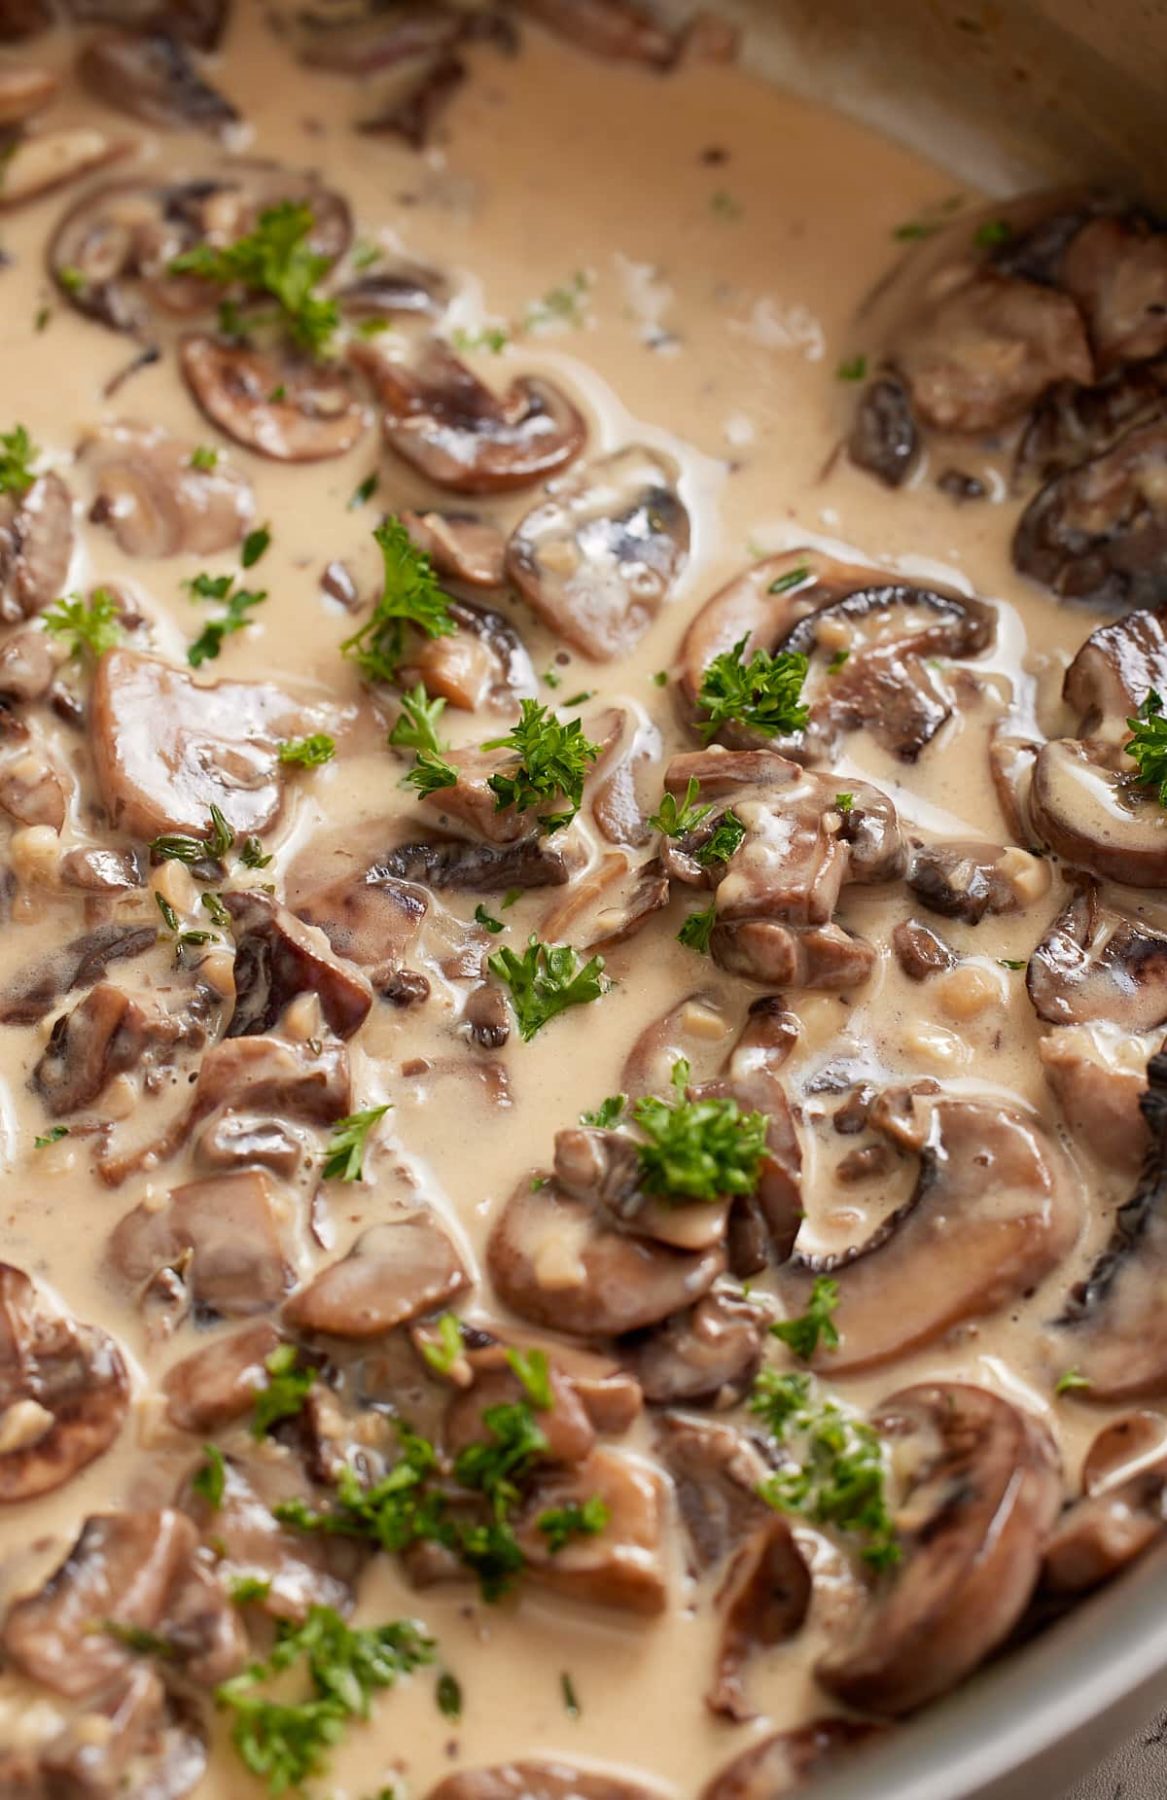
Be sure to try my Creamy Mushroom Sauce and Cream Cheese Stuffed Mushrooms too!
How to make this mushroom tart recipe
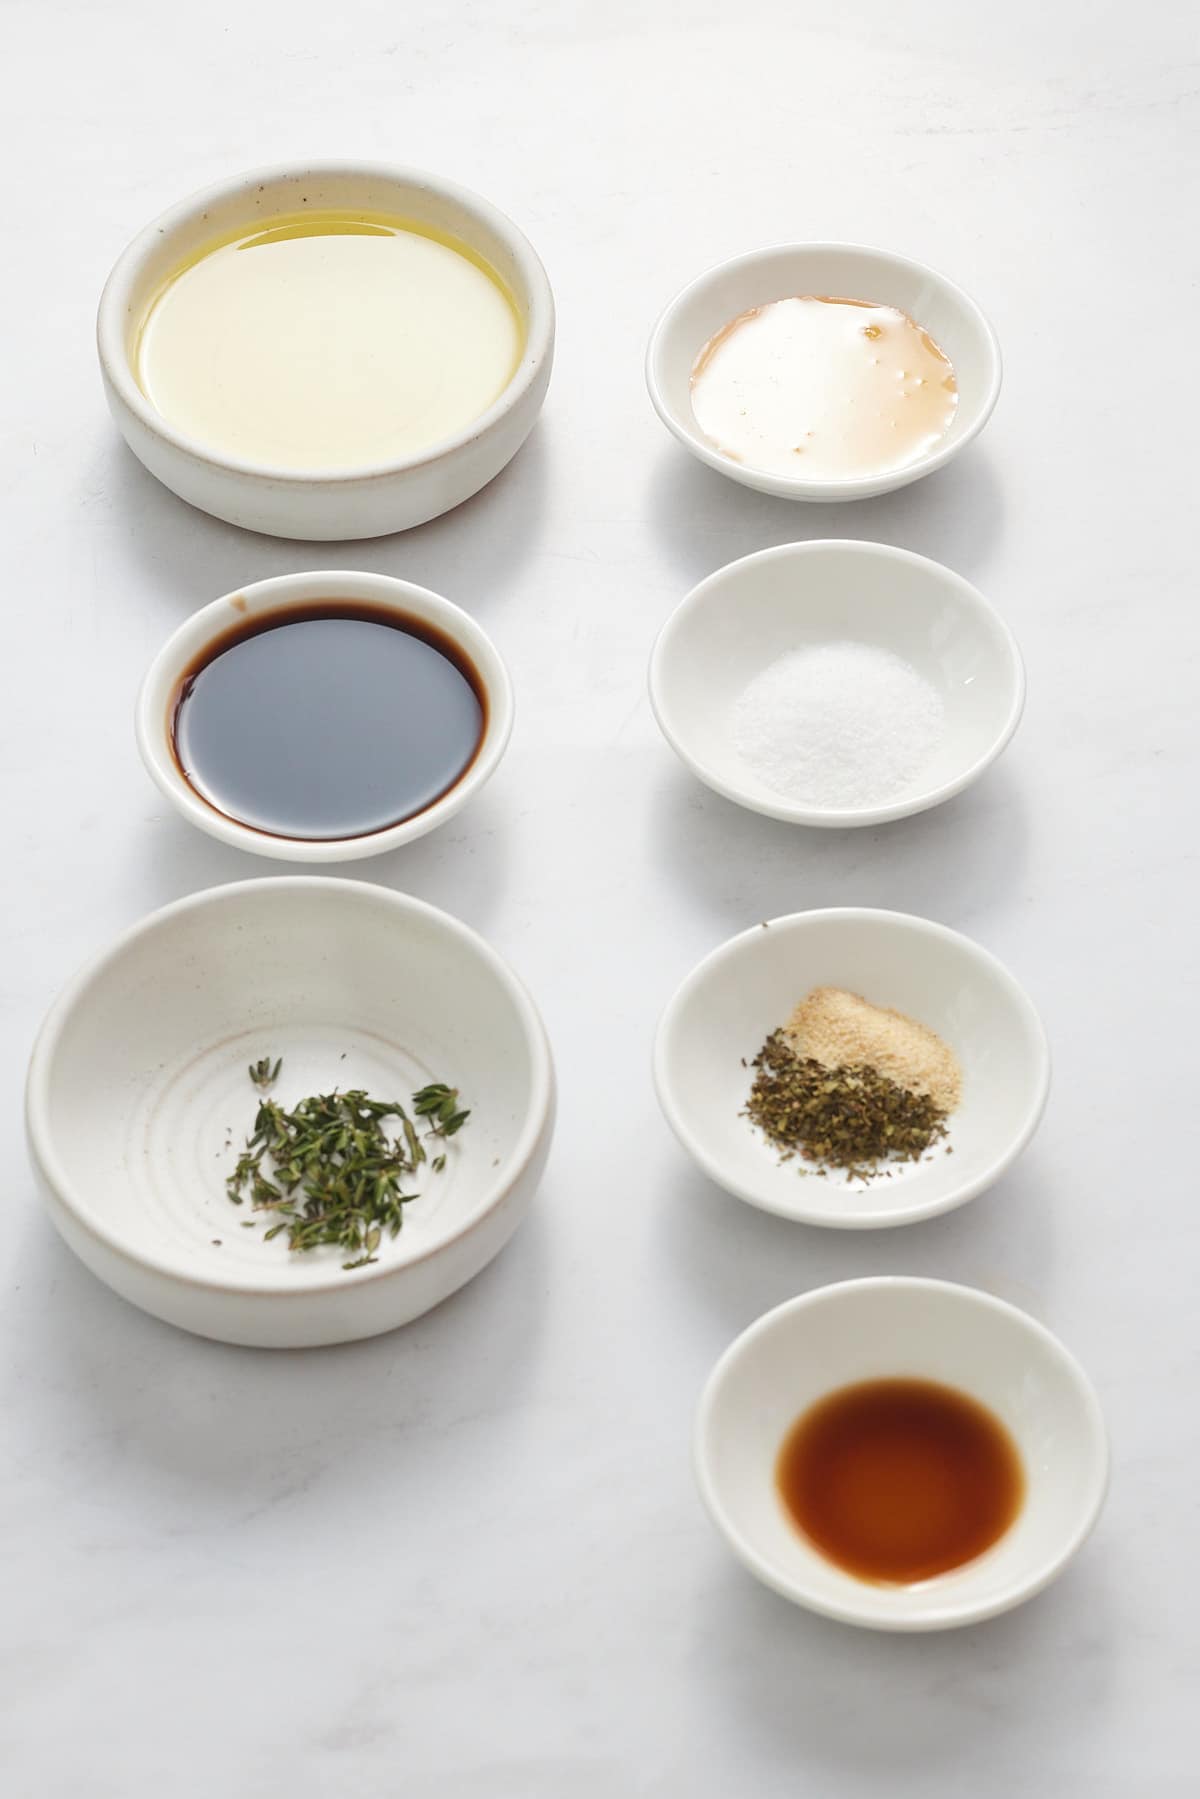
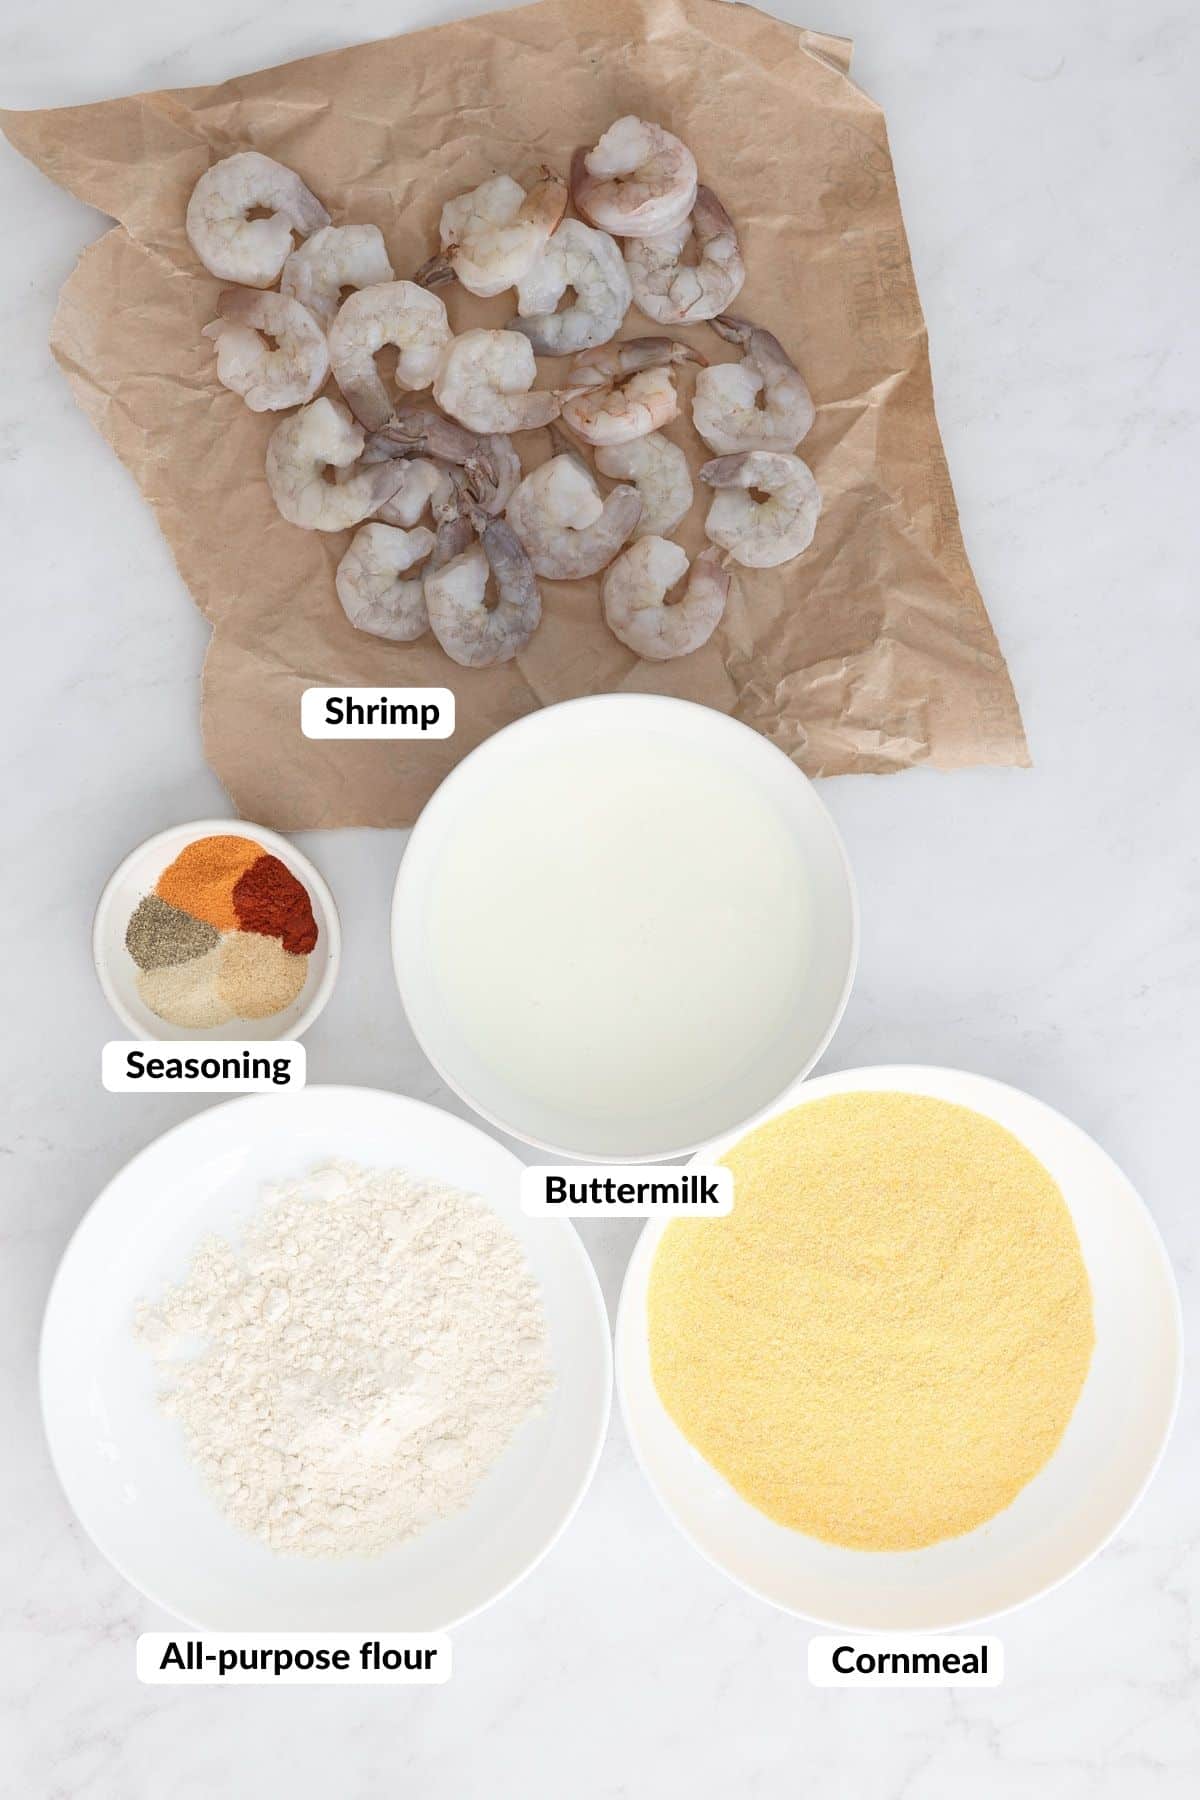
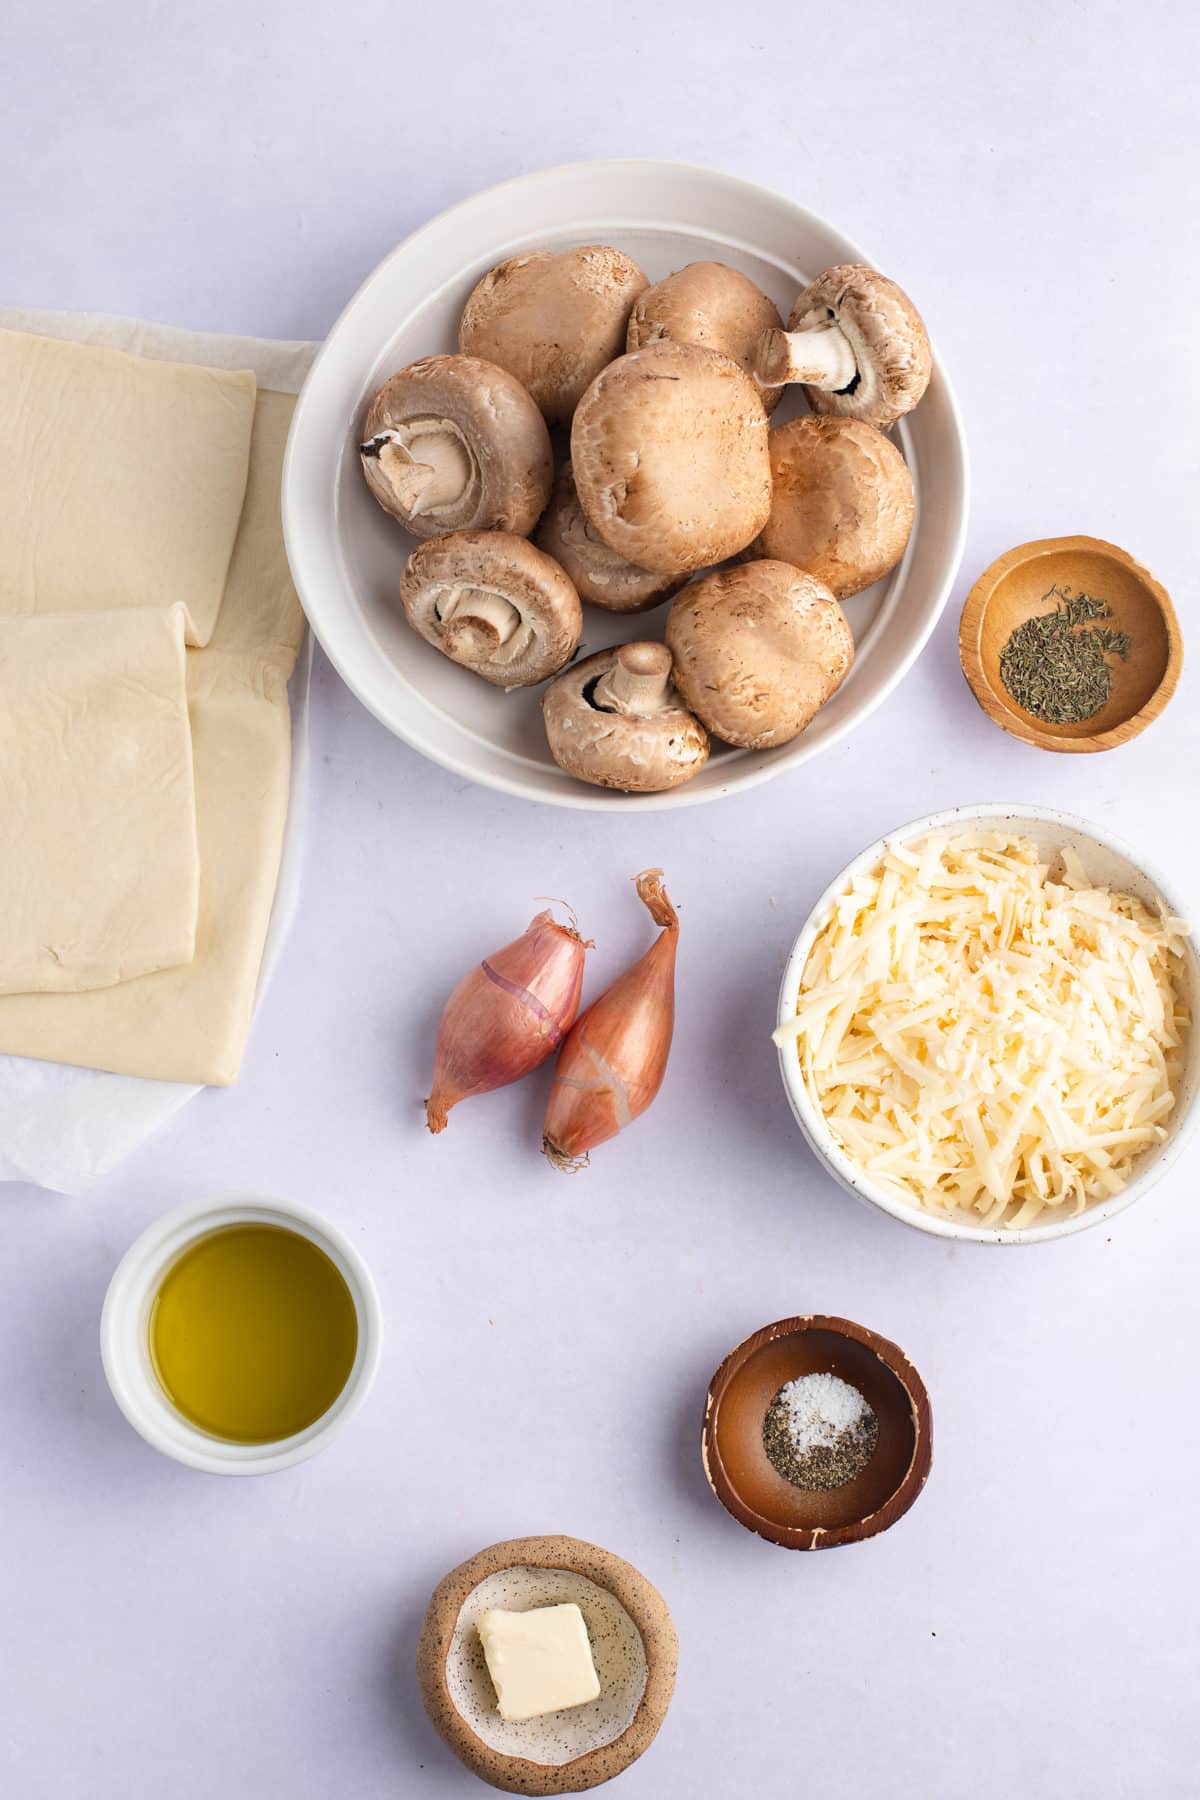
Gather your ingredients. You'll need the following:
- Mushrooms - Any kind of mushrooms works but I love using baby bella (also known as cremini) mushrooms. You could also use white button mushrooms.
- Puff Pastry - any store-bought puff pastry works fine. If frozen, make sure to defrost according to the instructions on the package. You could also use any homemade puff pastry.
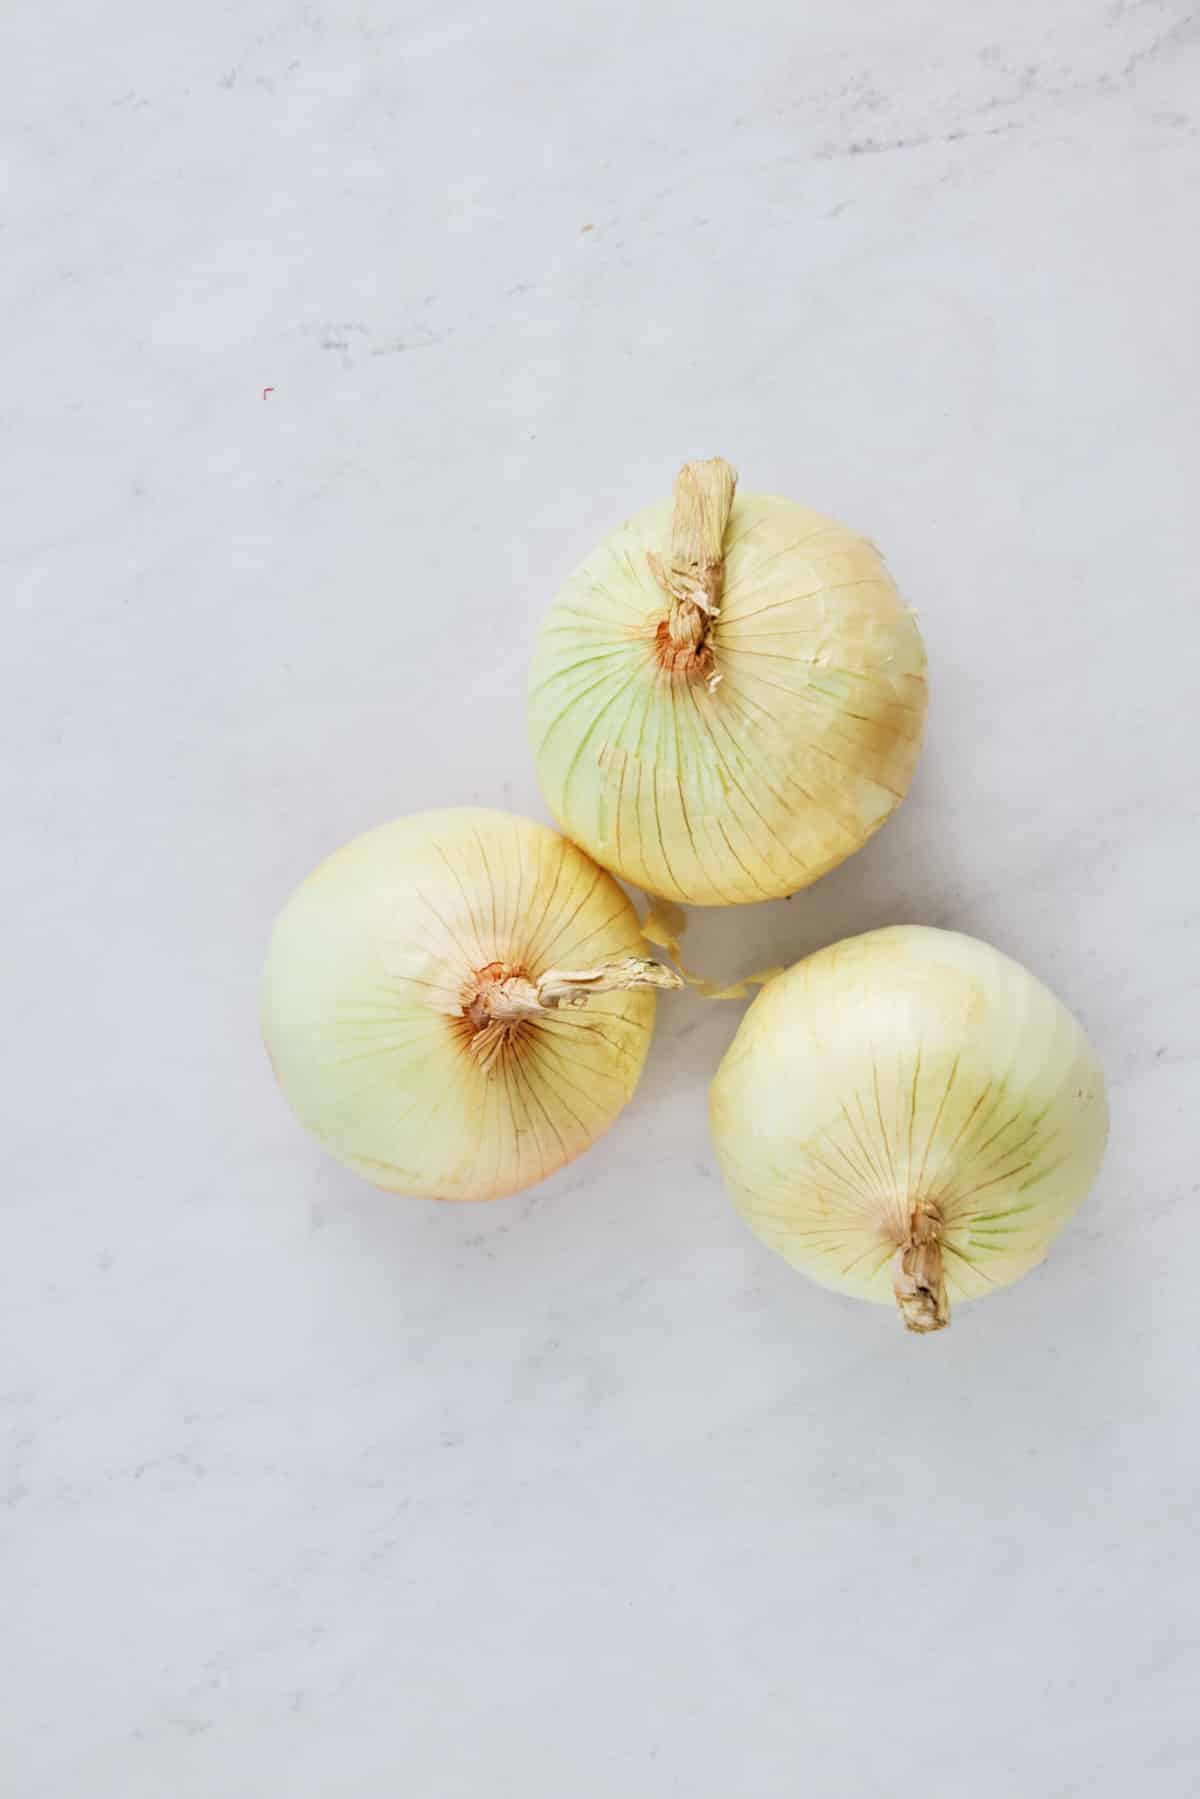
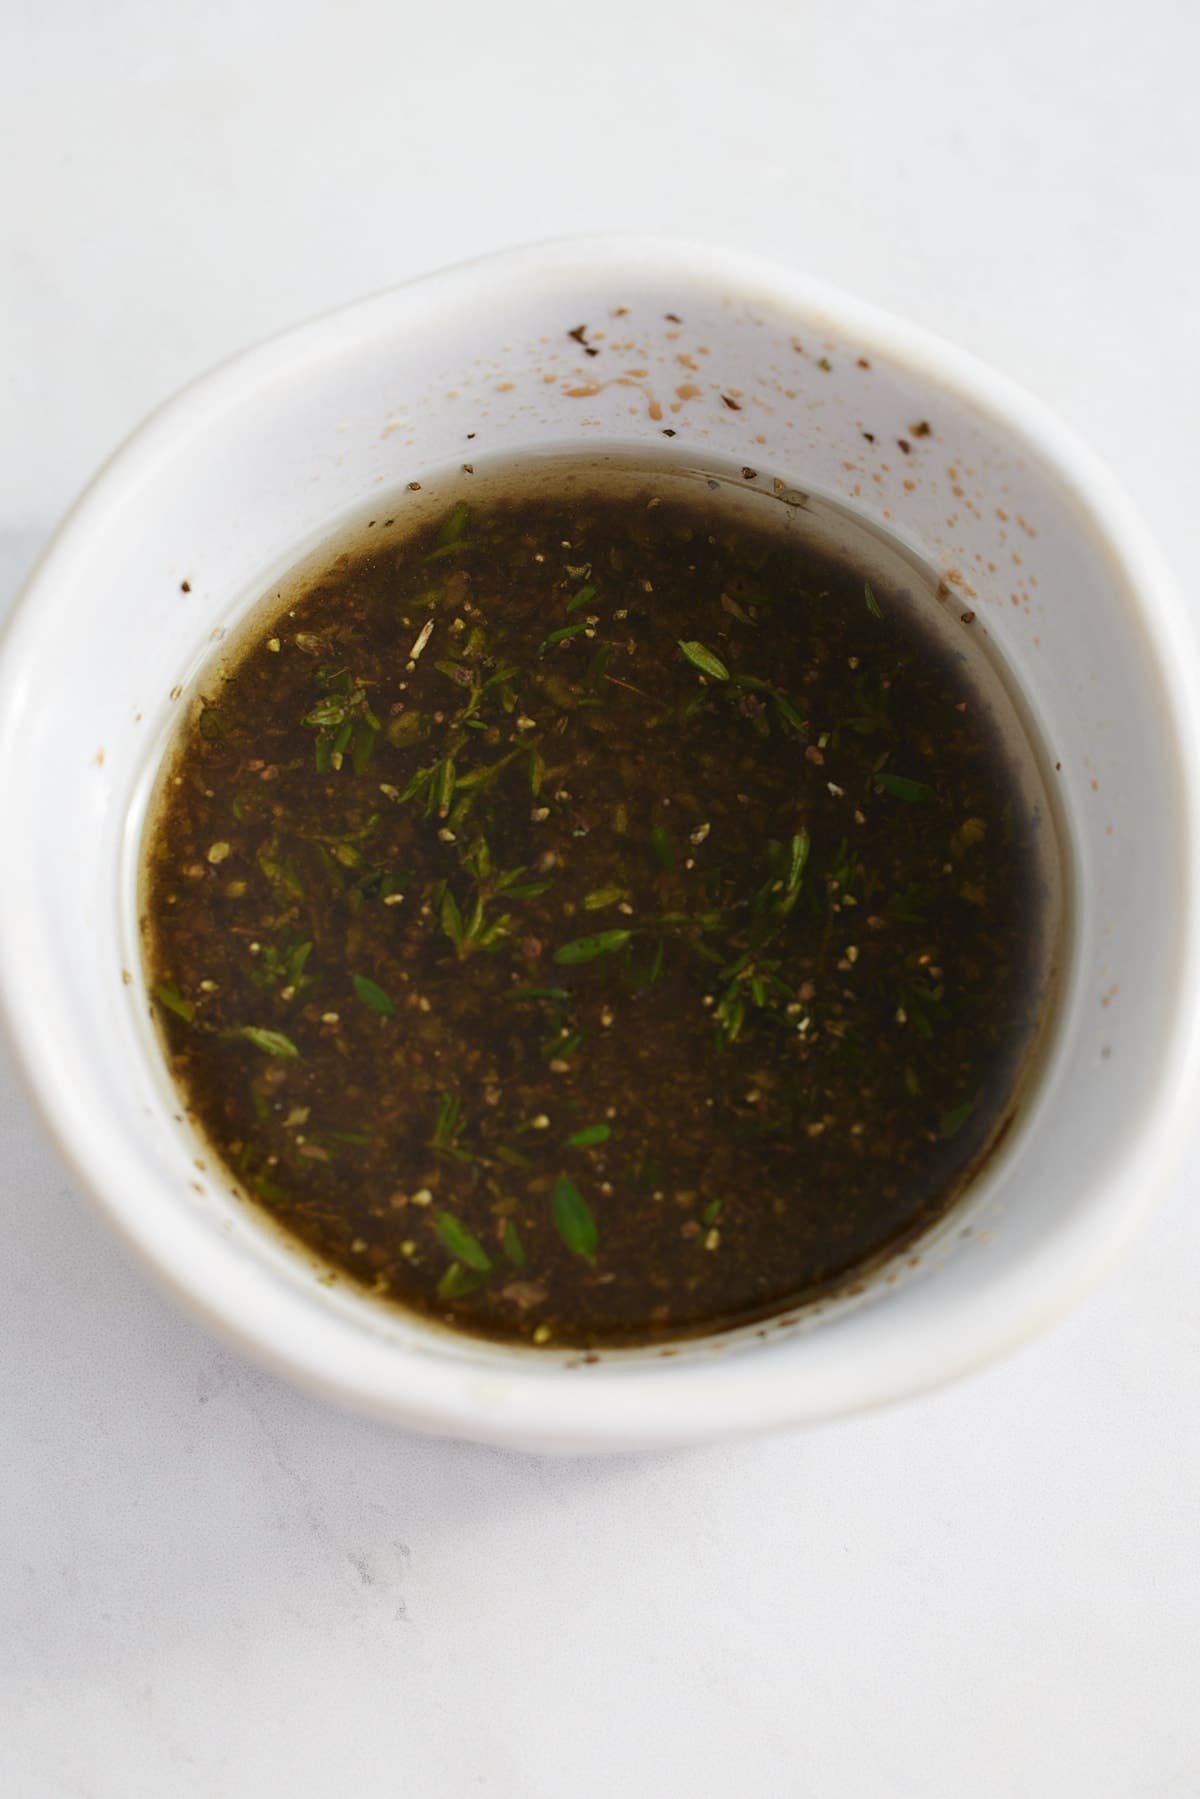
- Seasonings - shallots, dried thyme, garlic cloves, and balsamic vinegar give amazing flavor to this mushroom tart.
- Cheese - I use both gruyere cheese and parmesan cheese.
- Oil, butter, and egg - You'll need to cook the shallots, garlic and mushrooms in a little fat before adding them to the tart. An egg wash will make the puff pastry nice and golden.
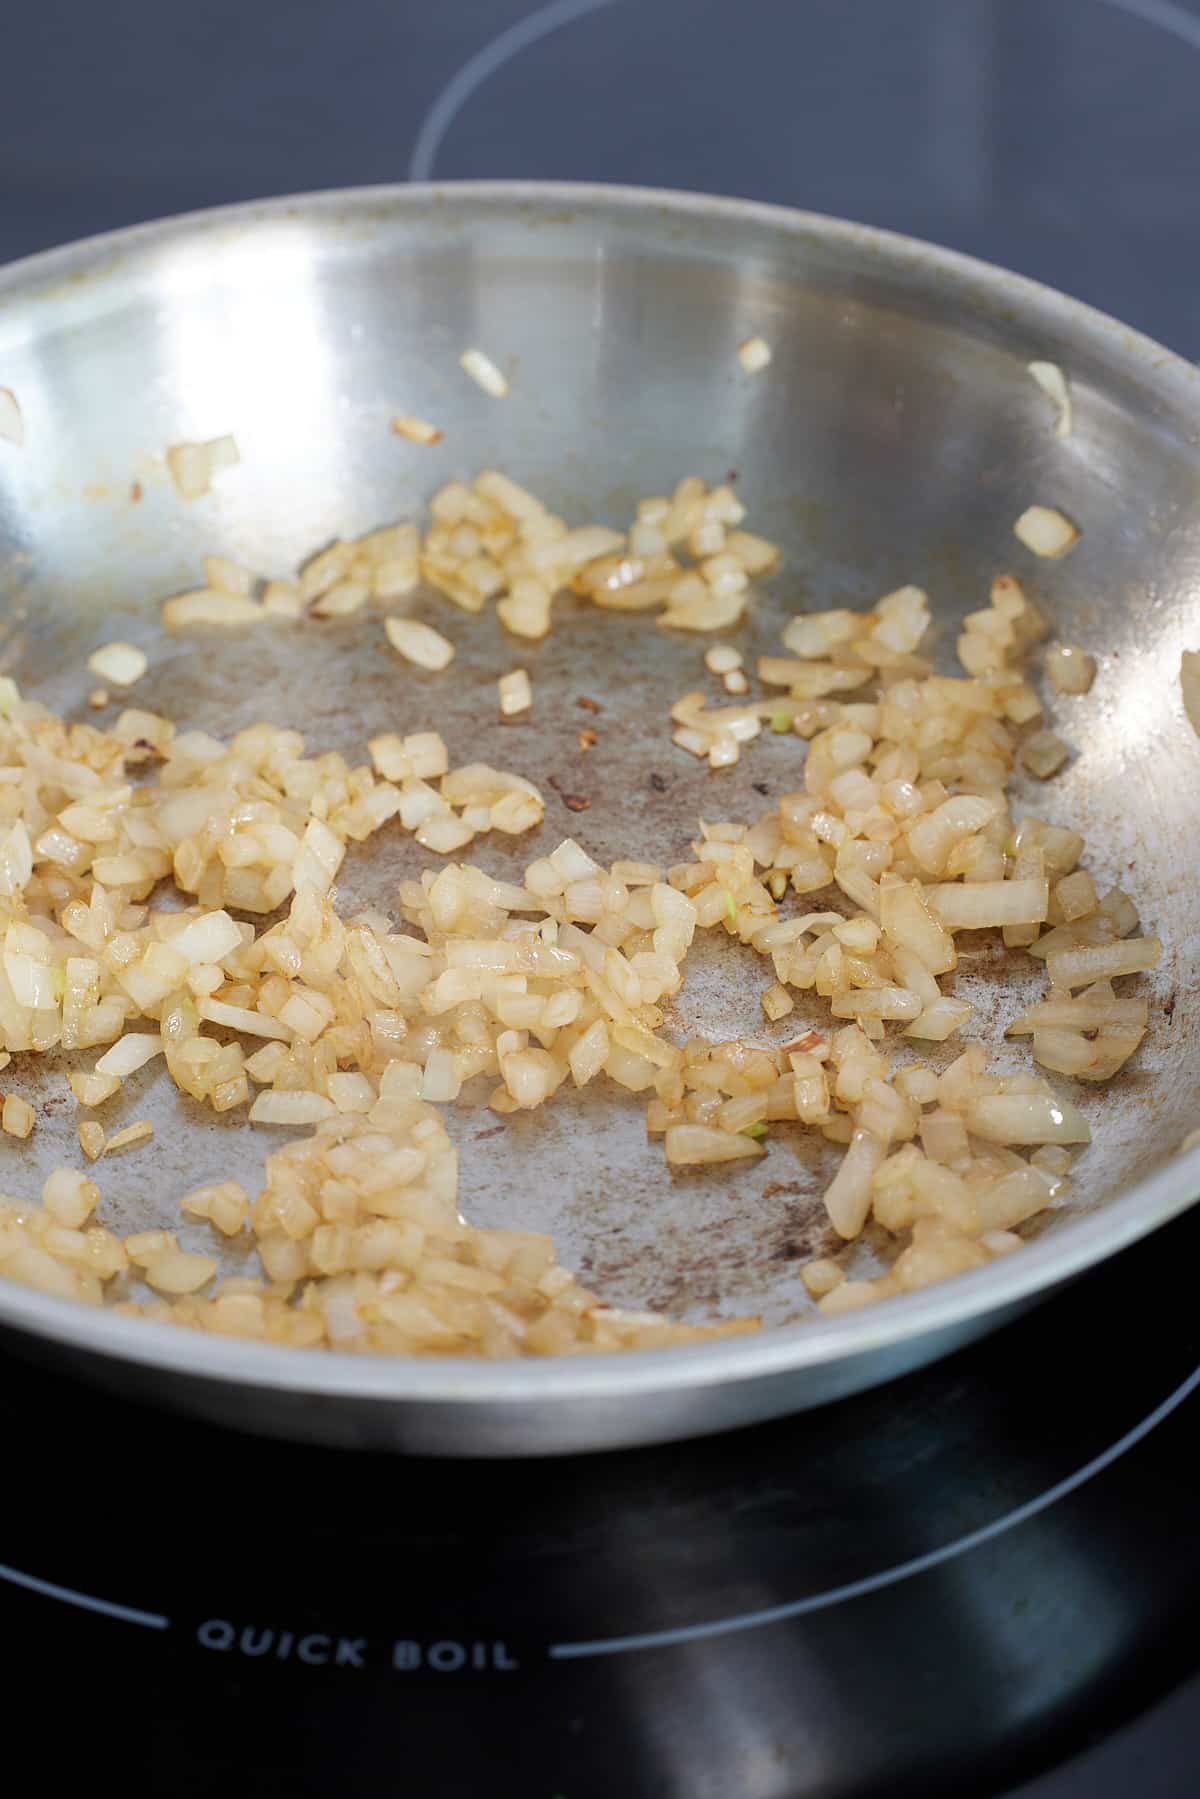
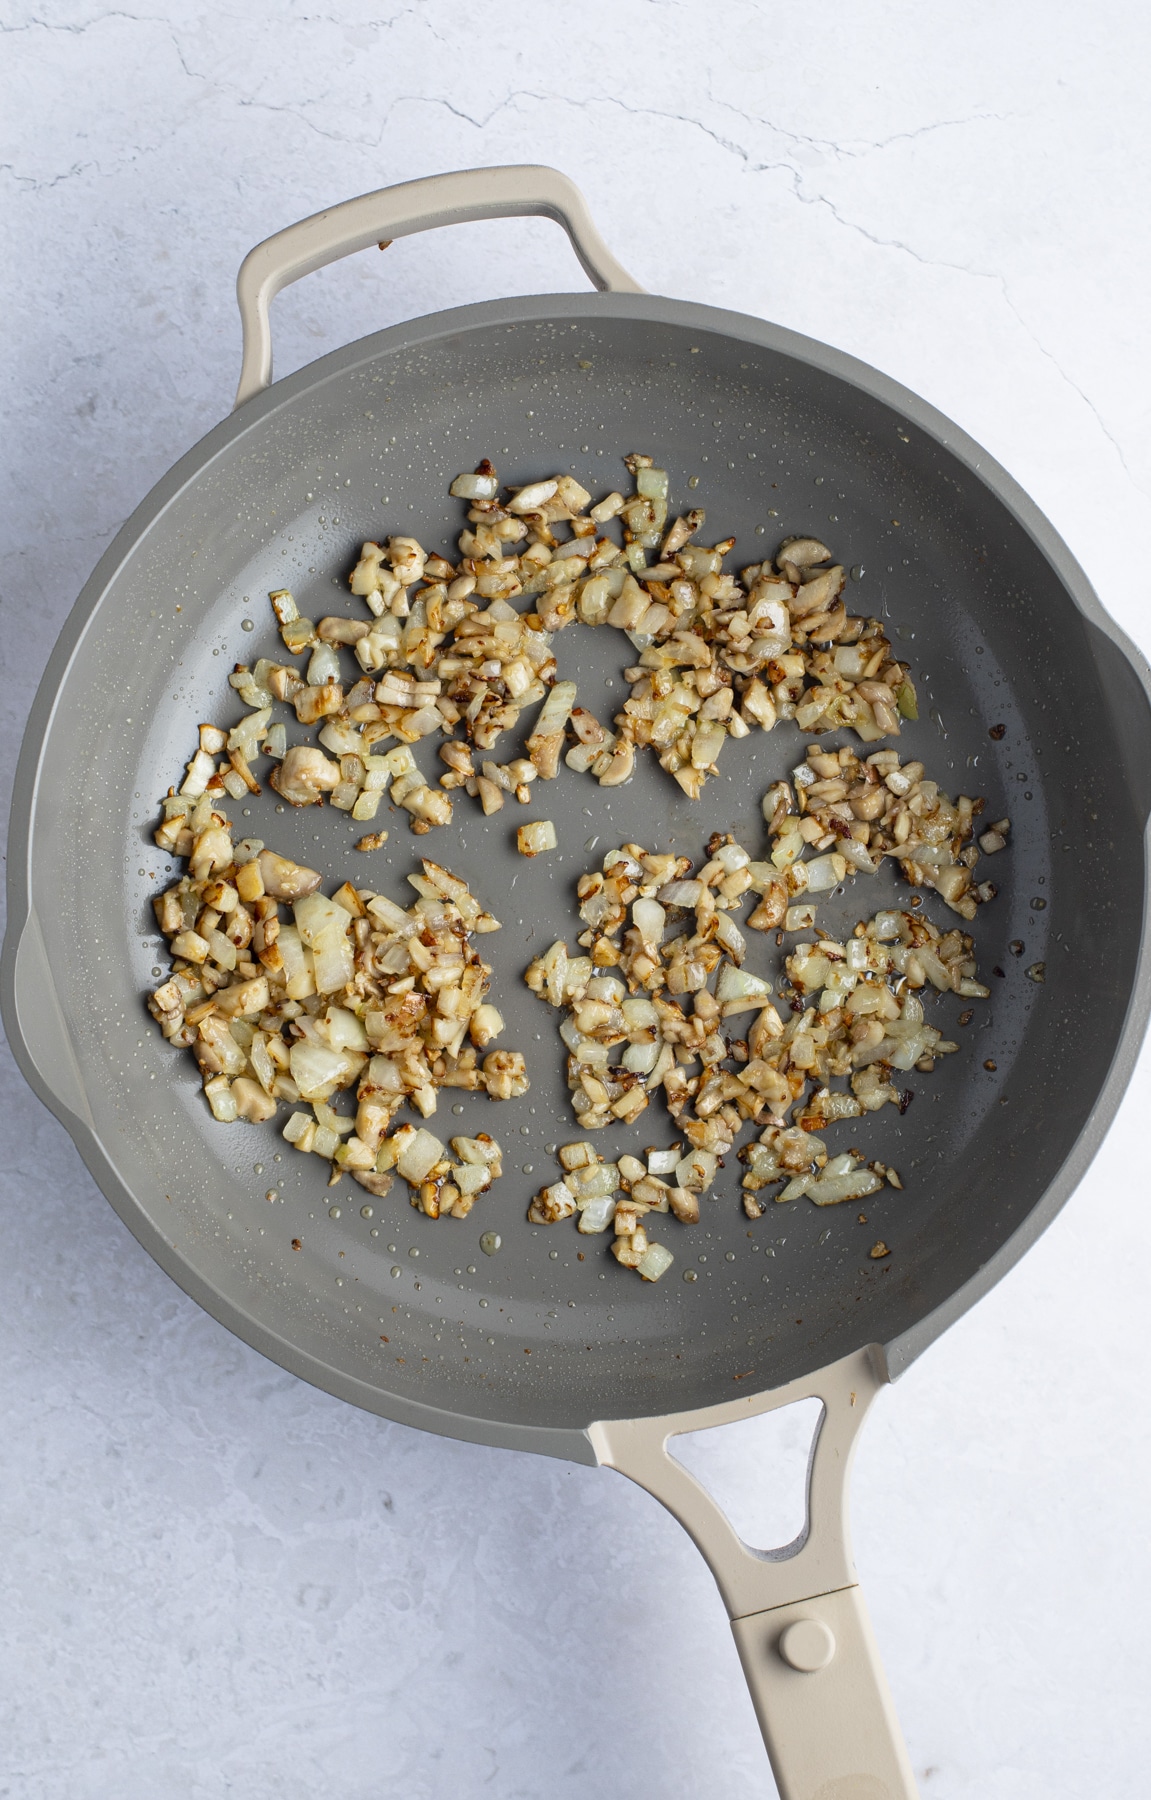
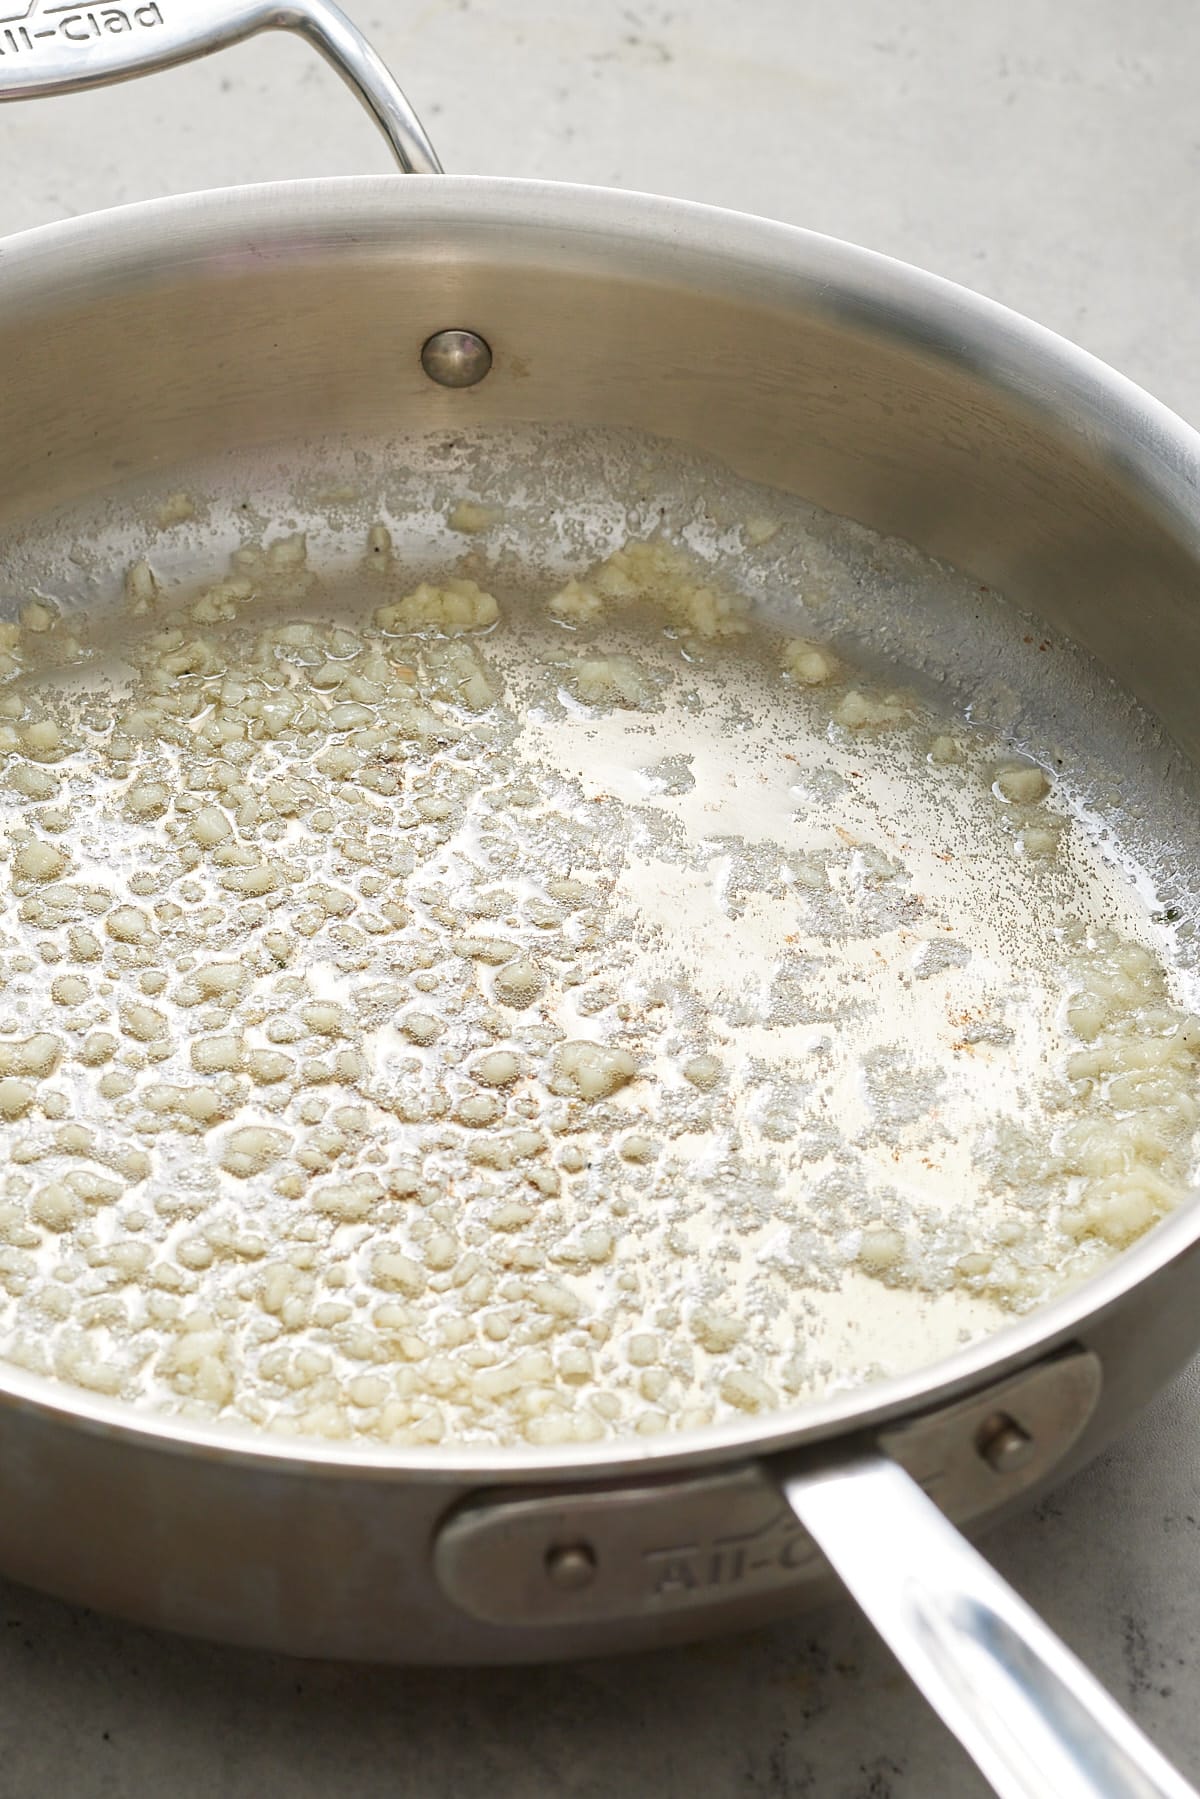
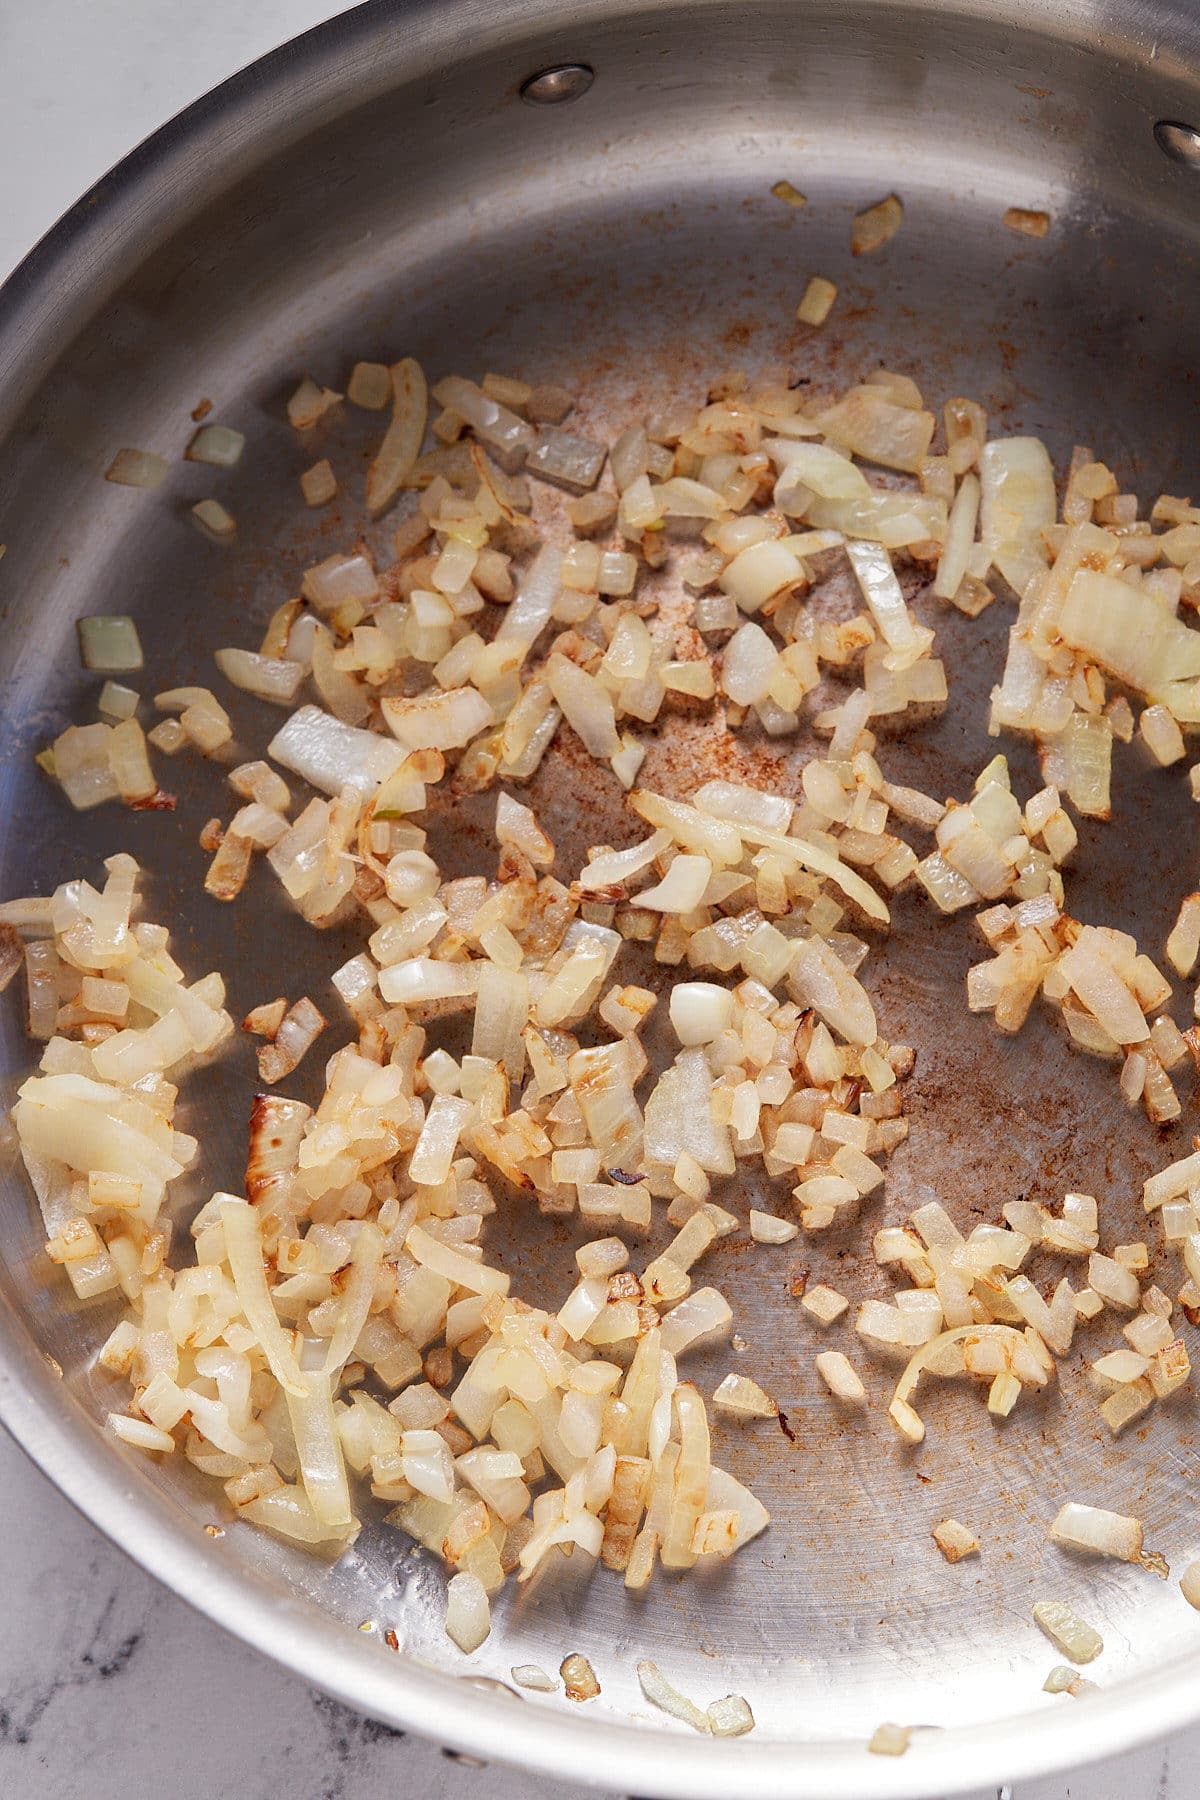
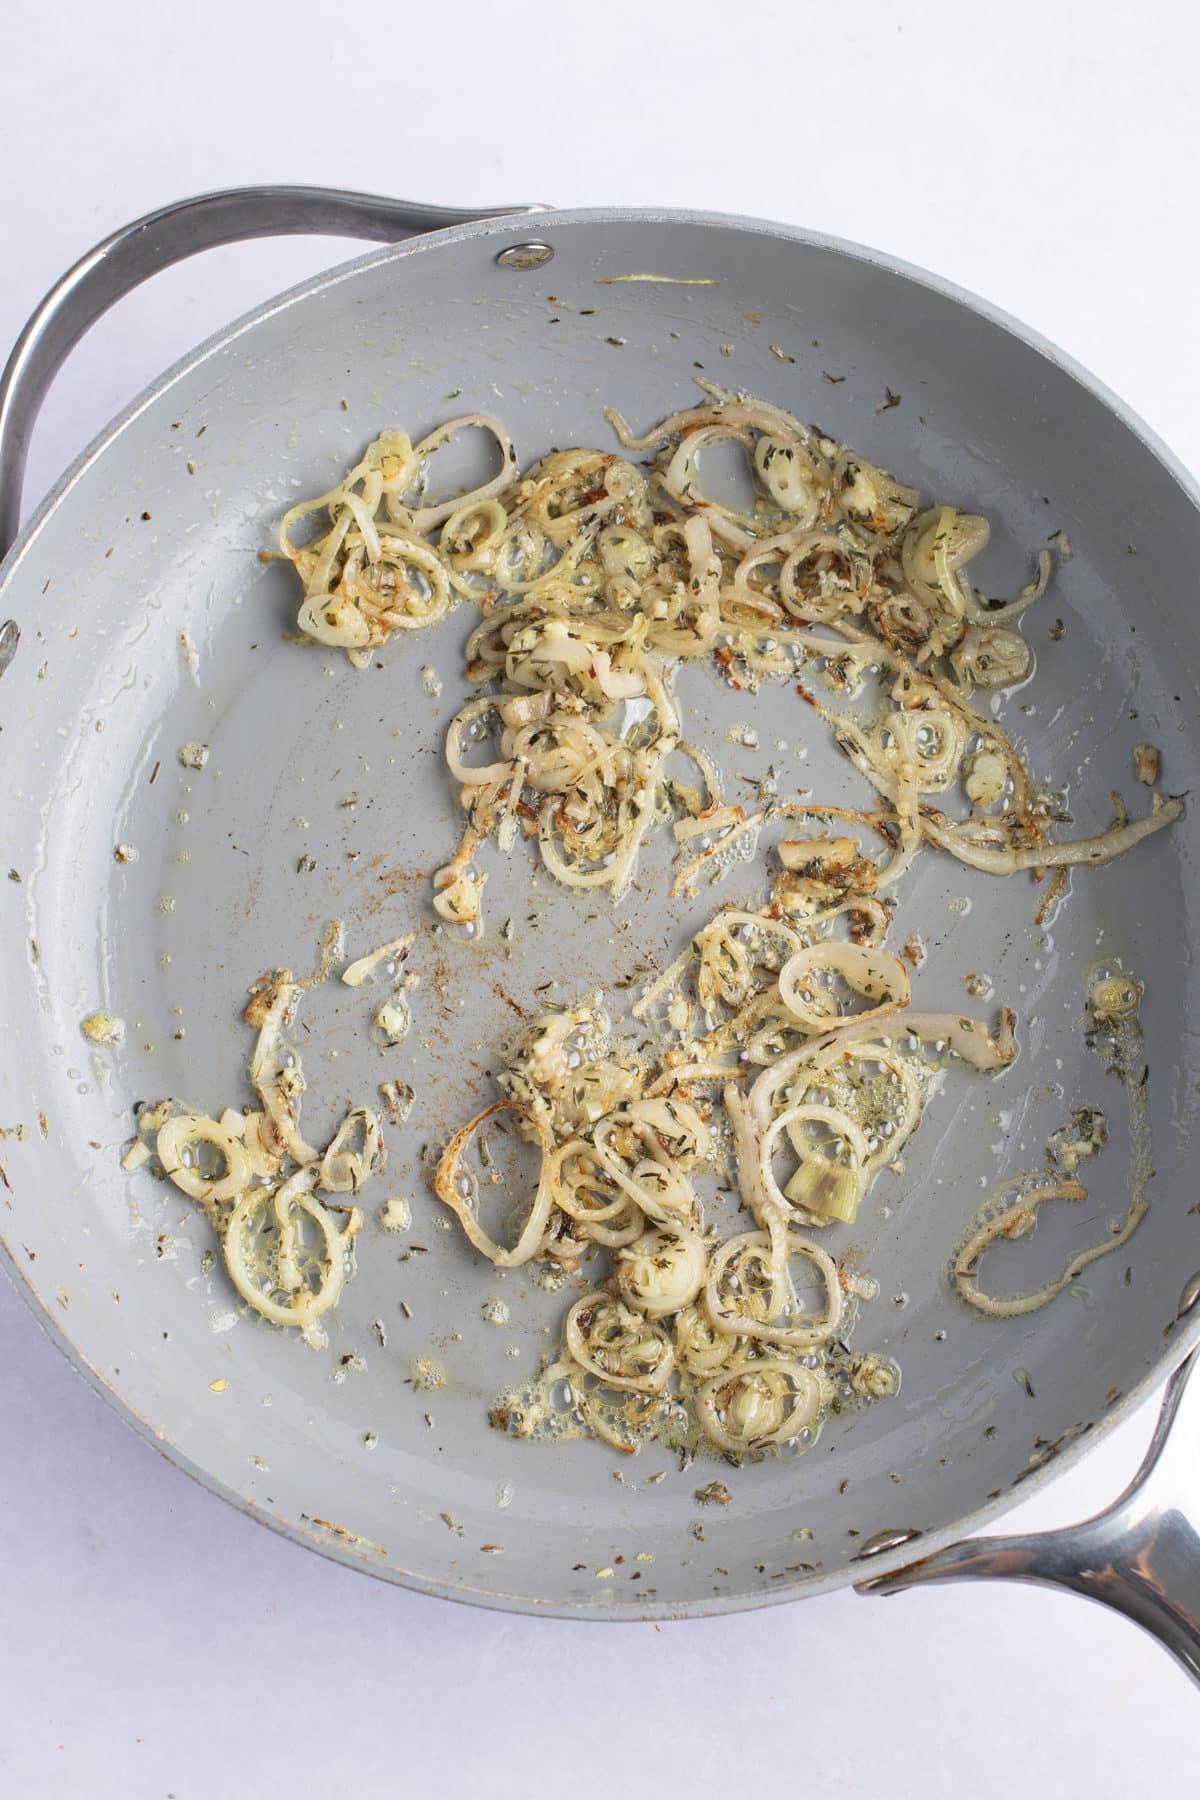
- Preheat the oven to 375 degrees Fahrenheit. Heat the butter in a skillet over medium heat. Add the shallots, and dried thyme and saute for 2-3 minutes.
- Add the garlic and saute until fragrant. Then remove the shallots and garlic from the skillet.
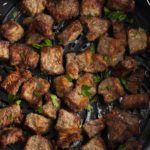
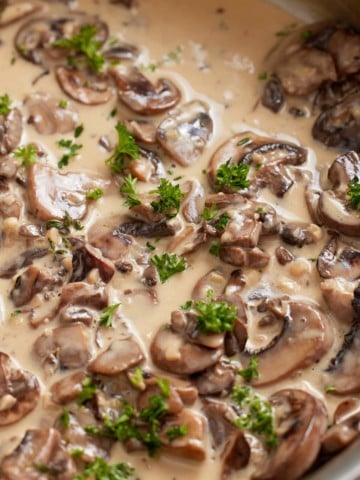
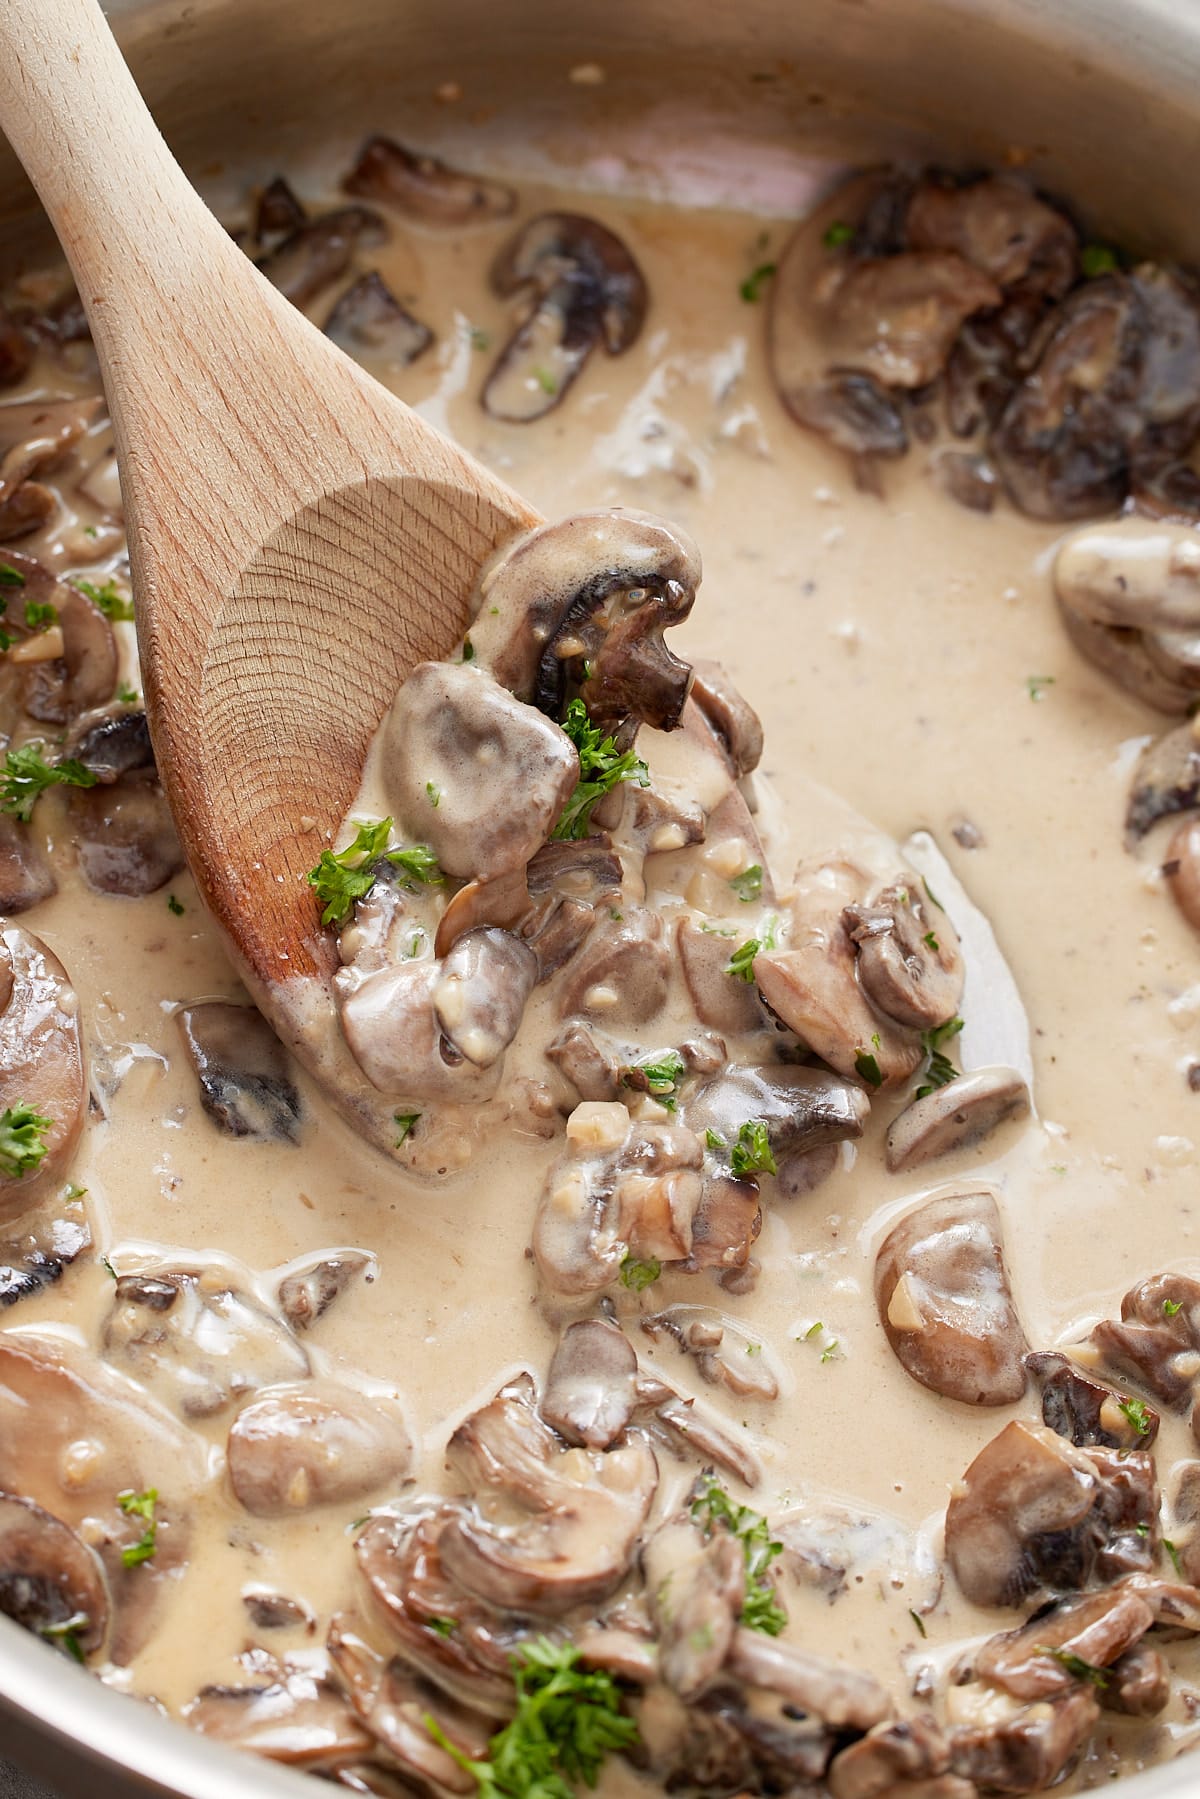
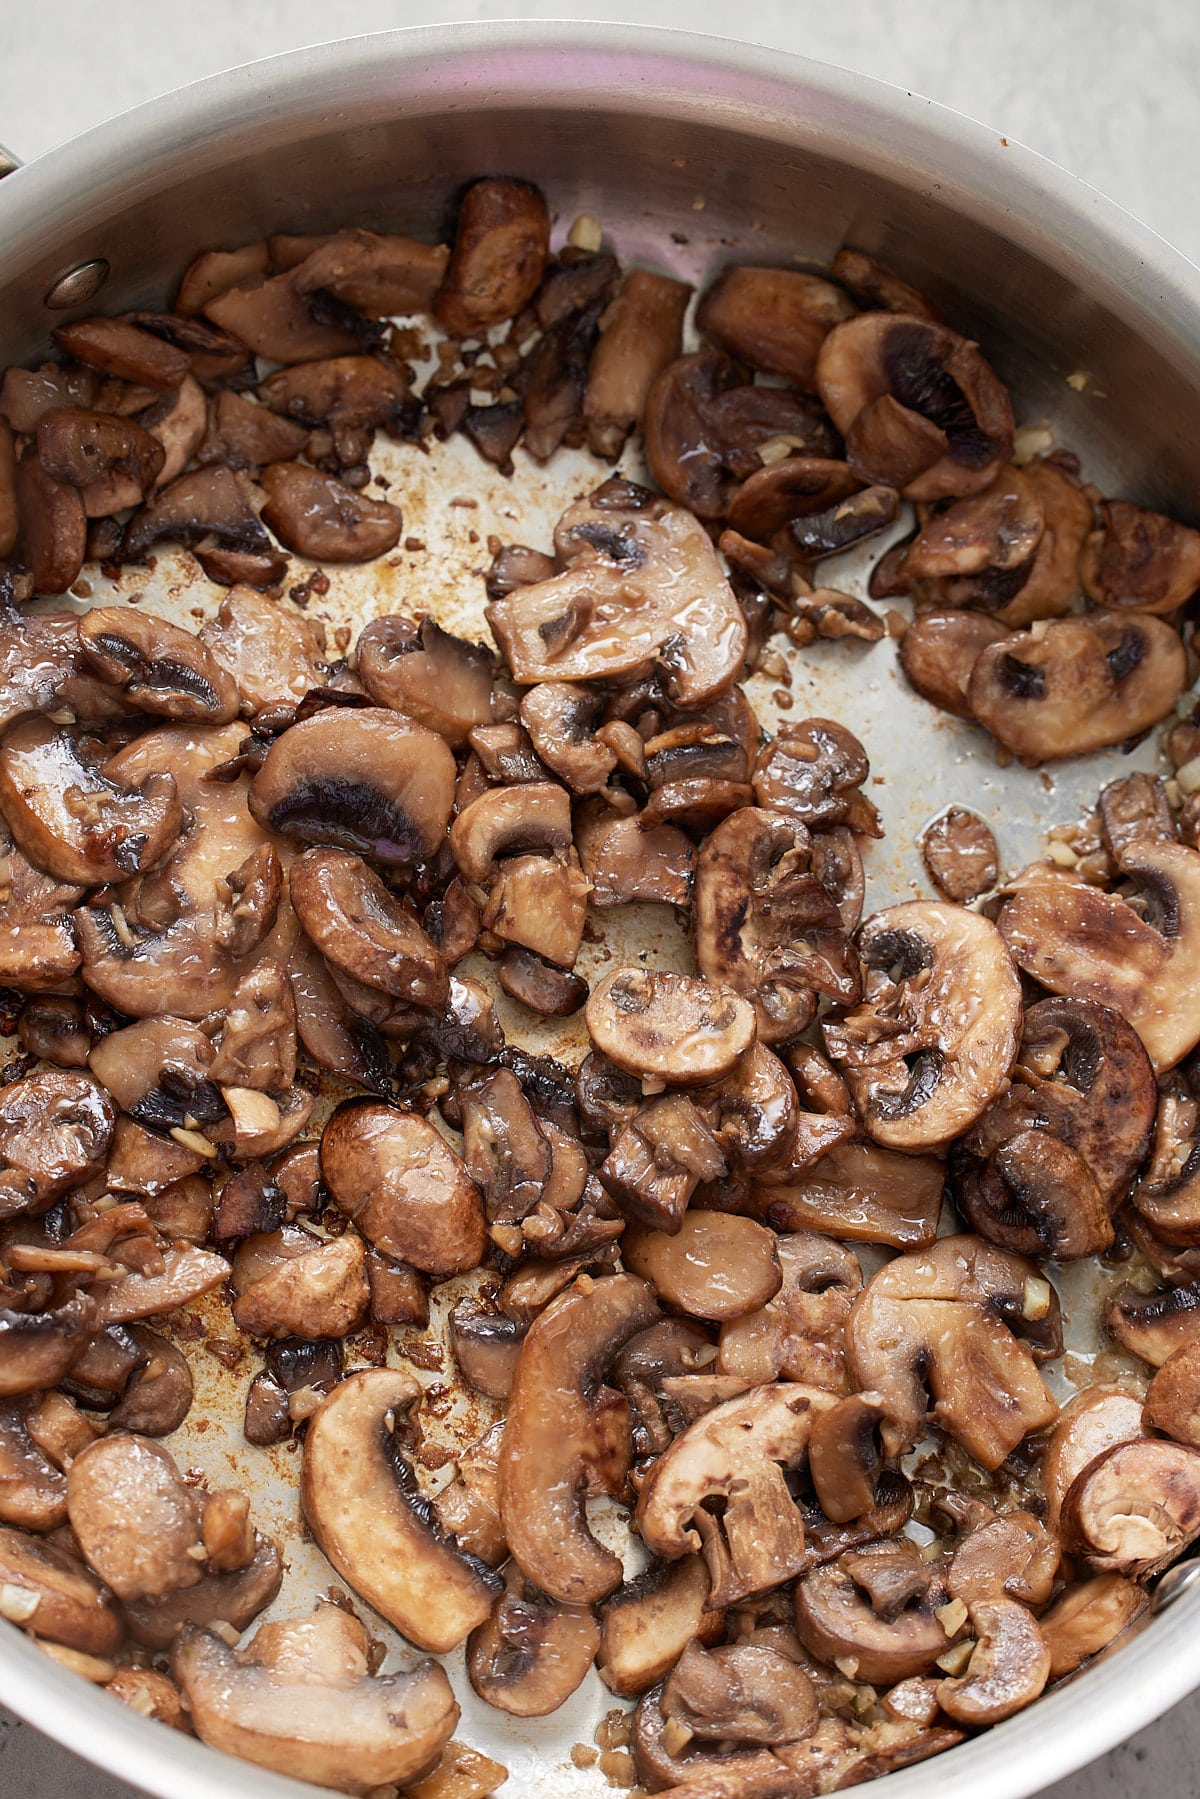
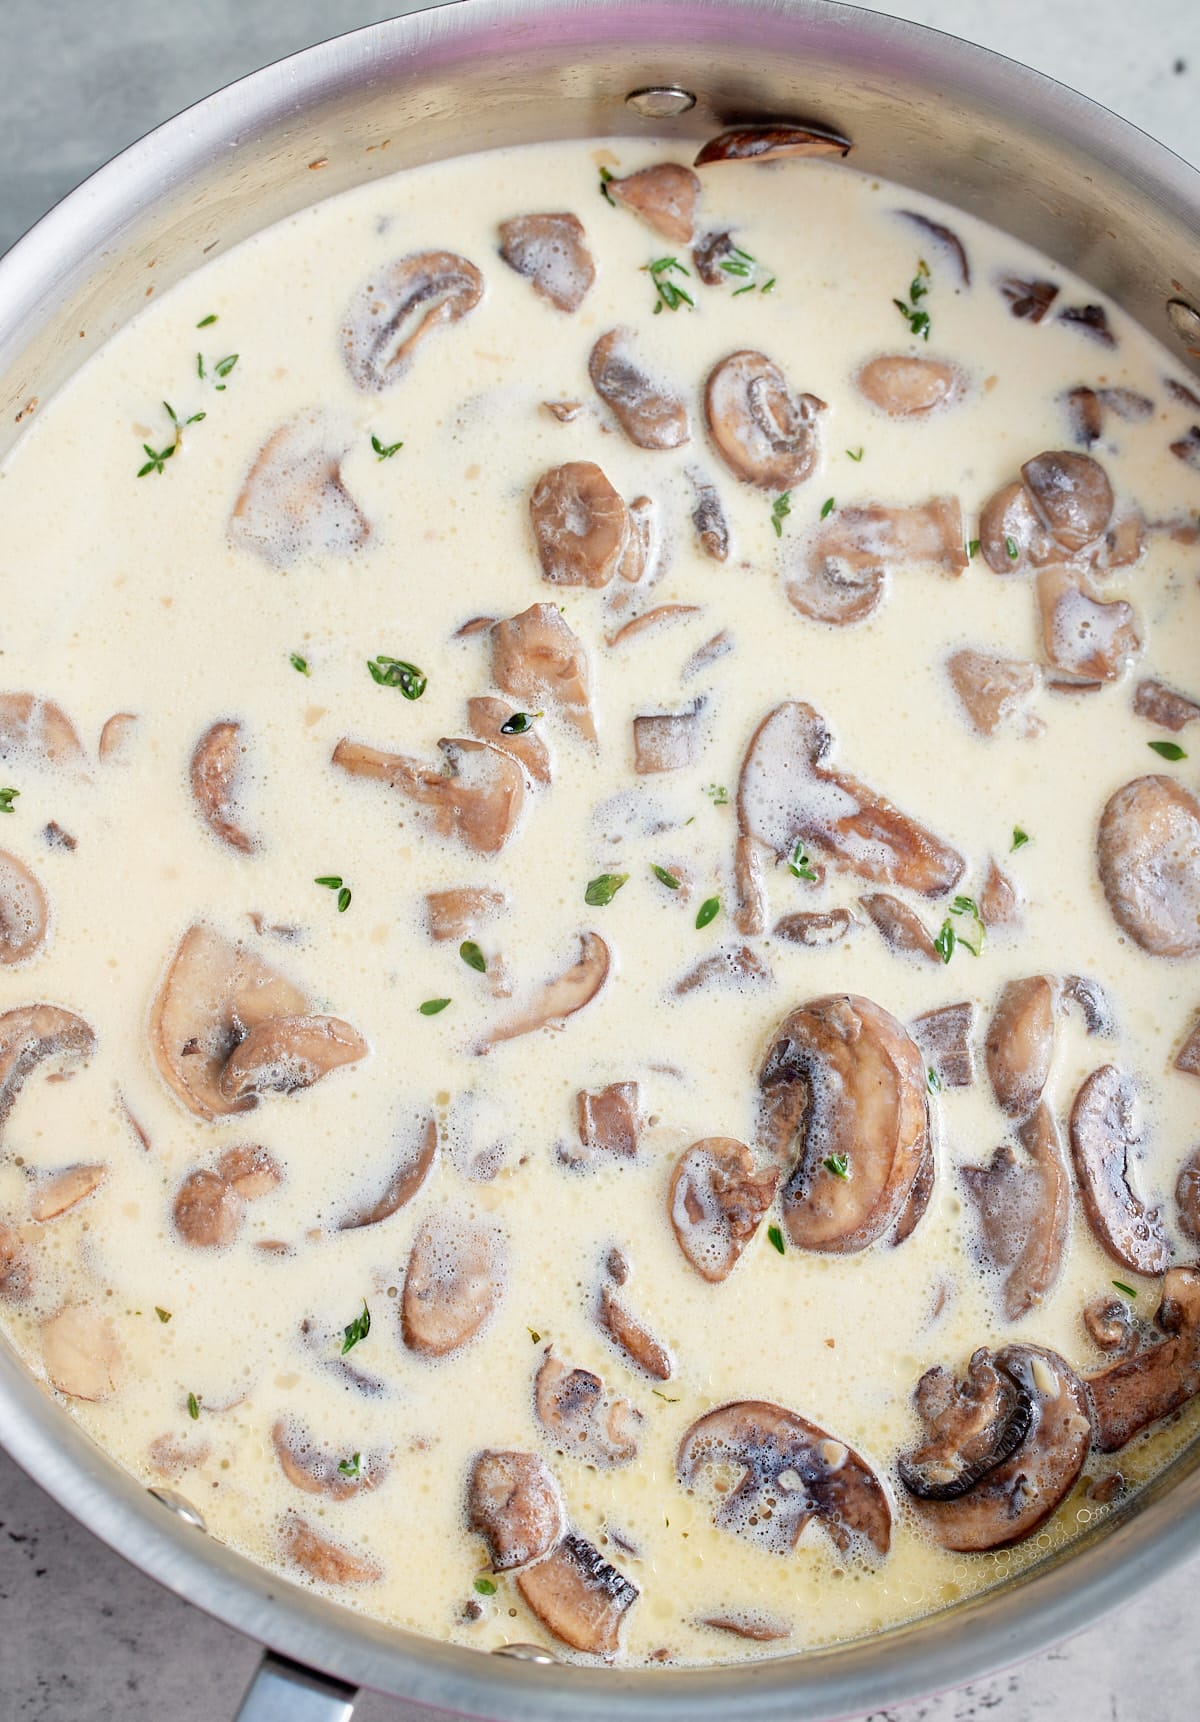
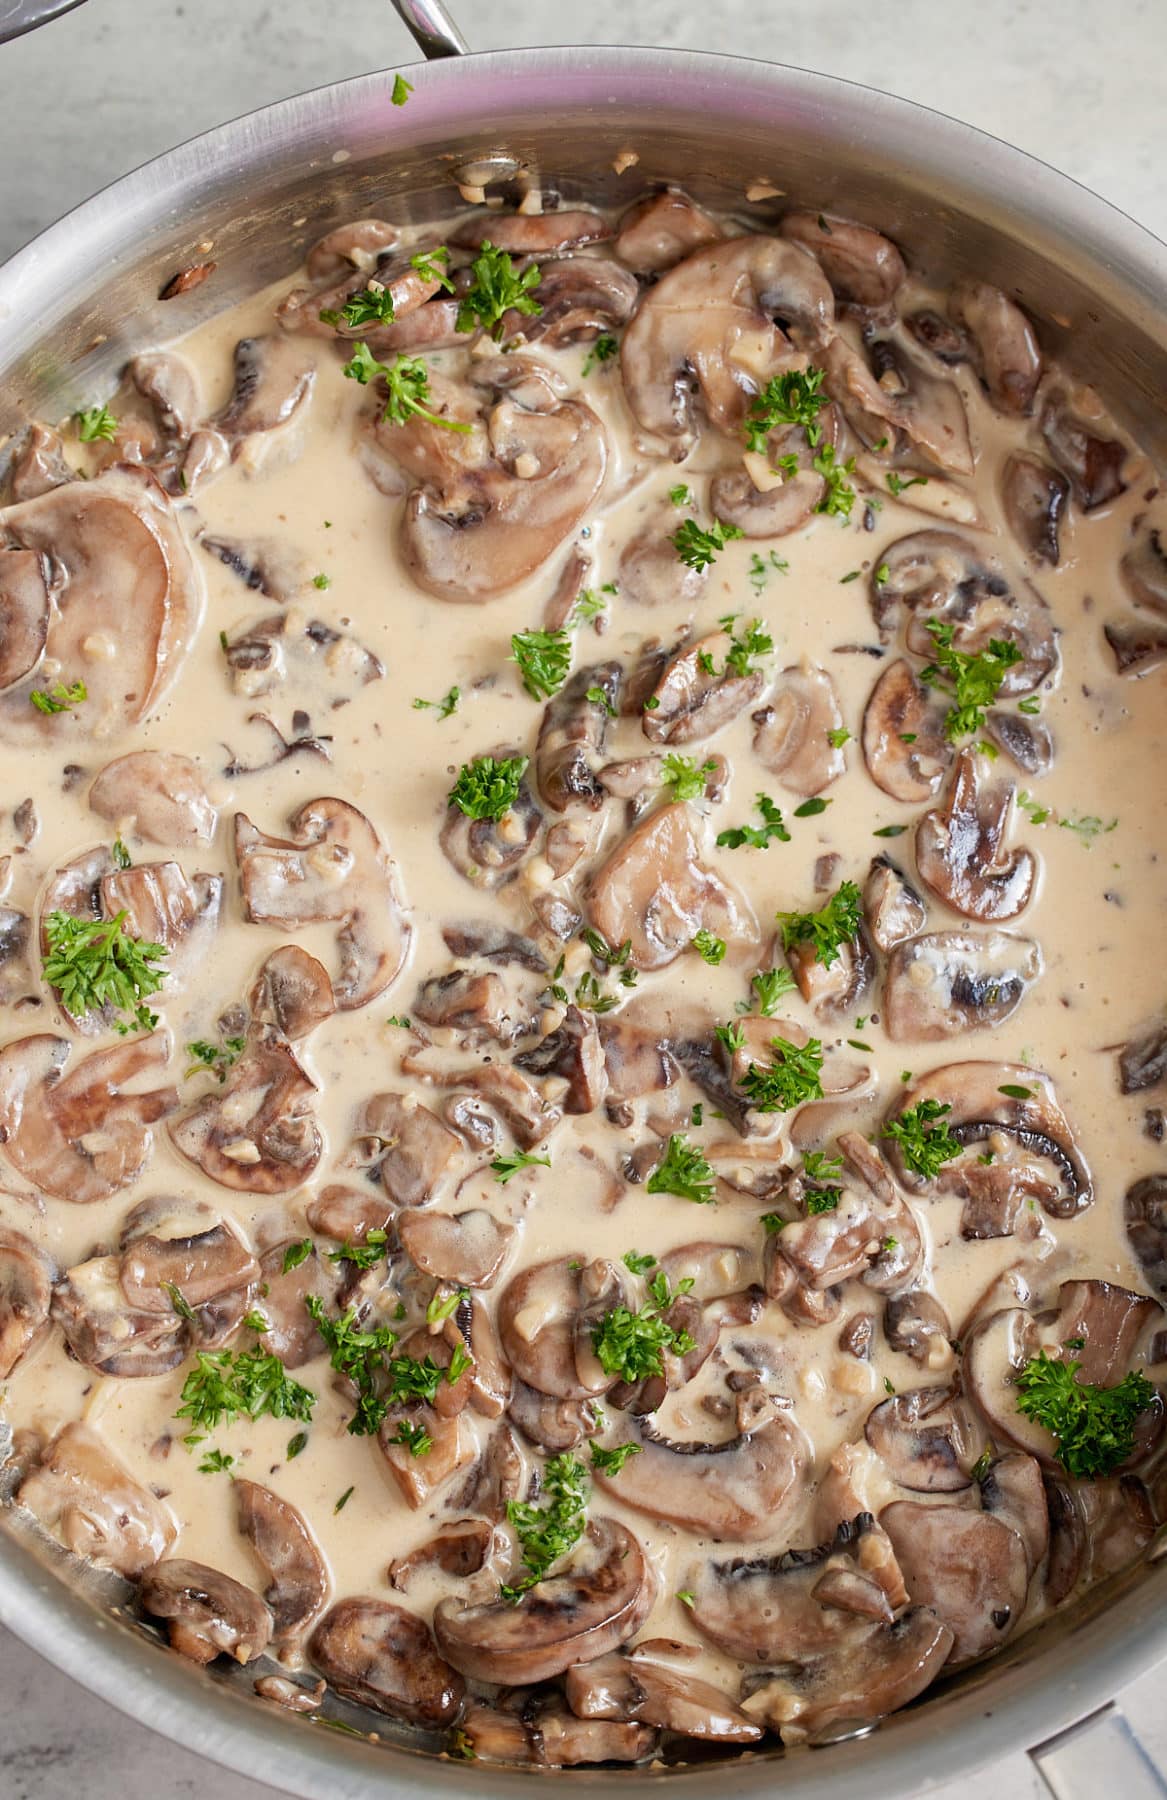
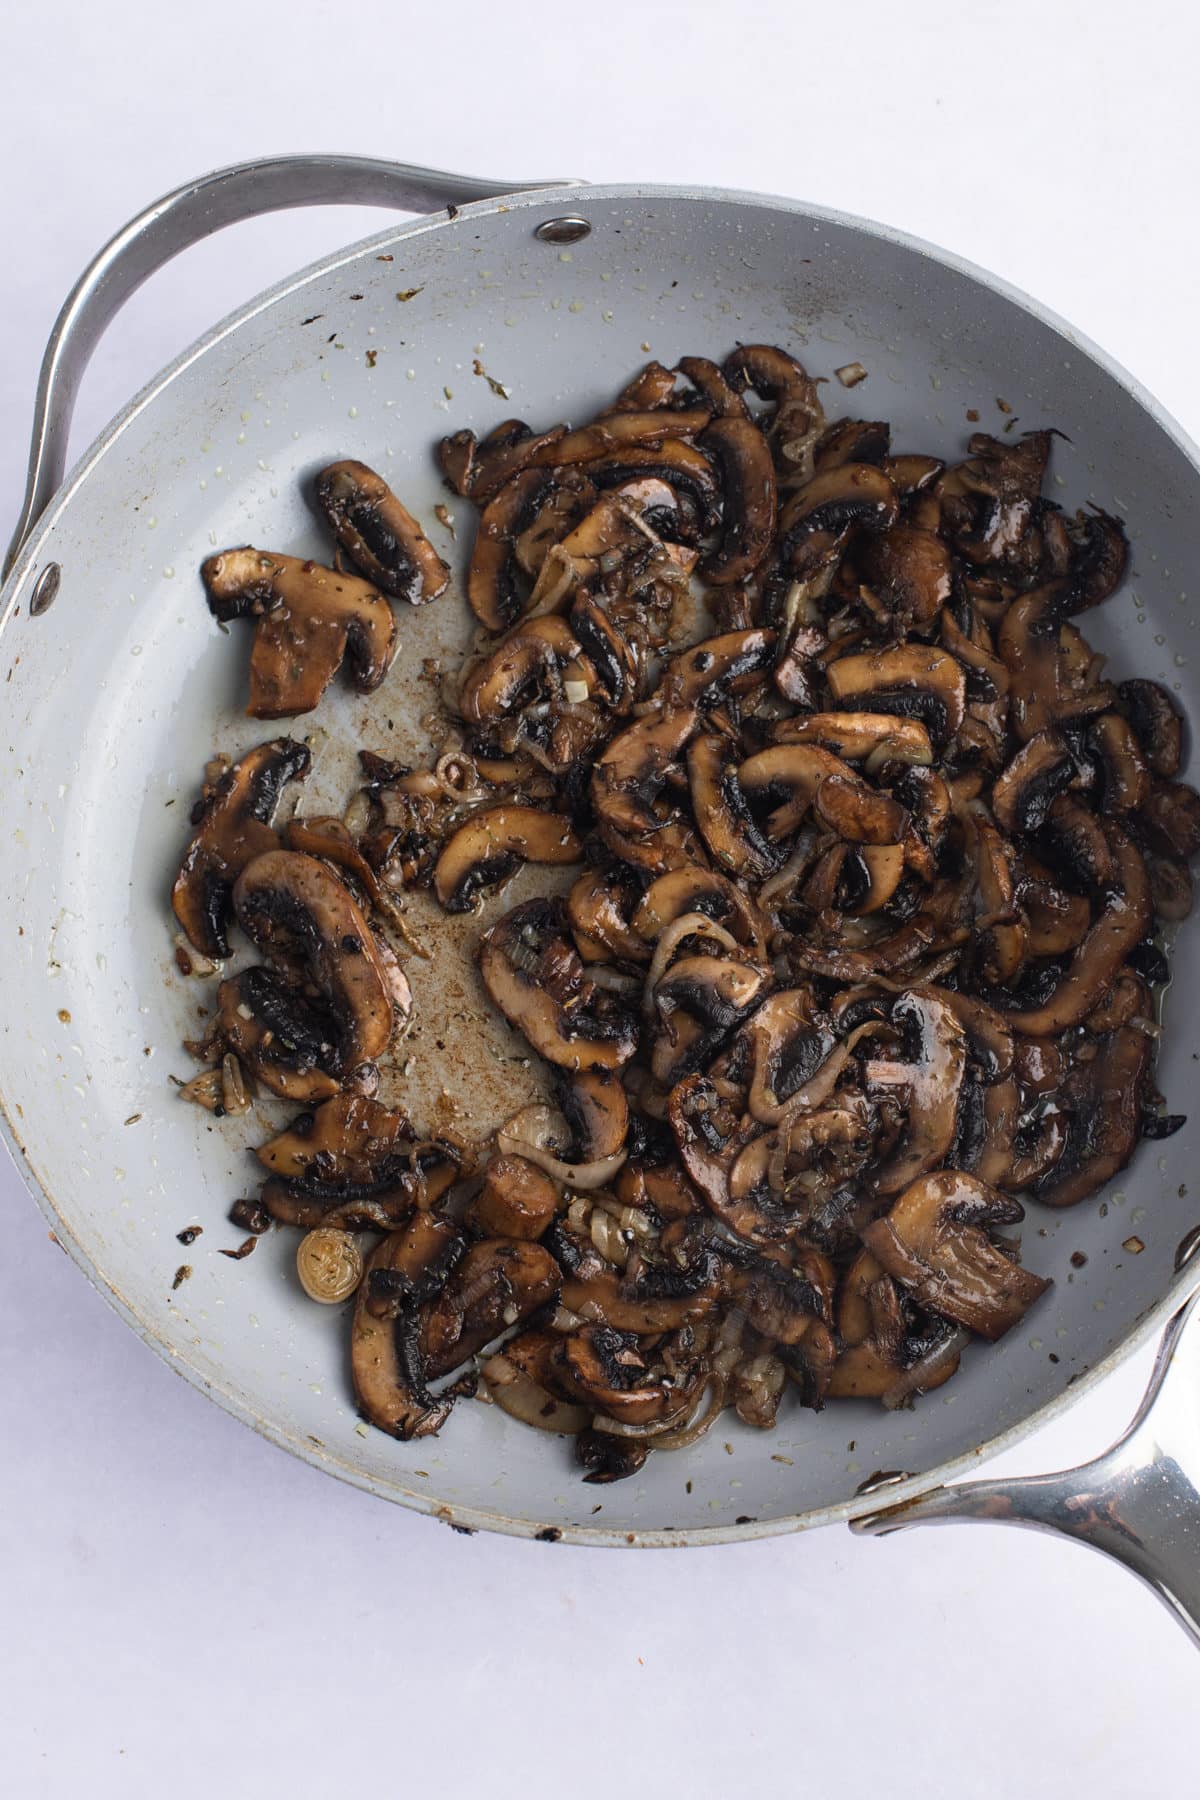
- Add the olive oil to the skillet. Once it is heated add the mushrooms in a single layer. Cook in batches if necessary, stirring occasionally.
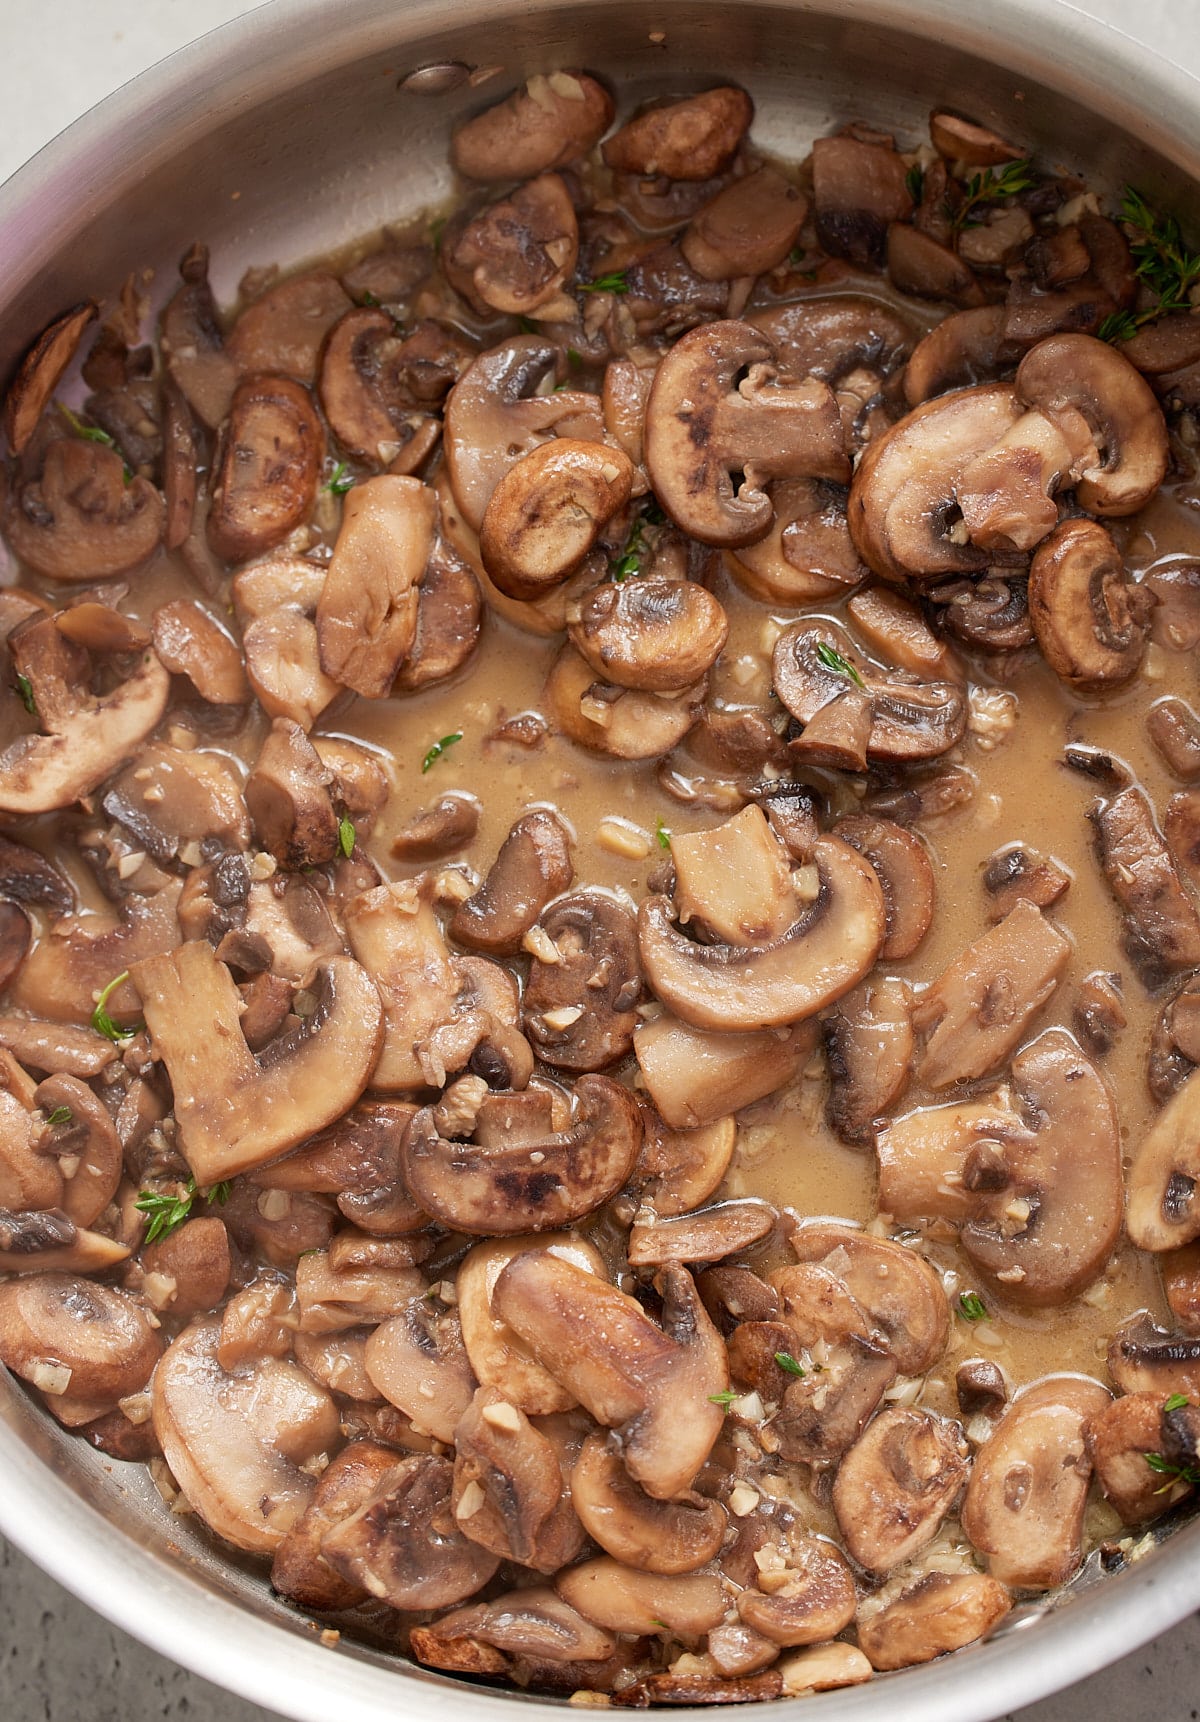
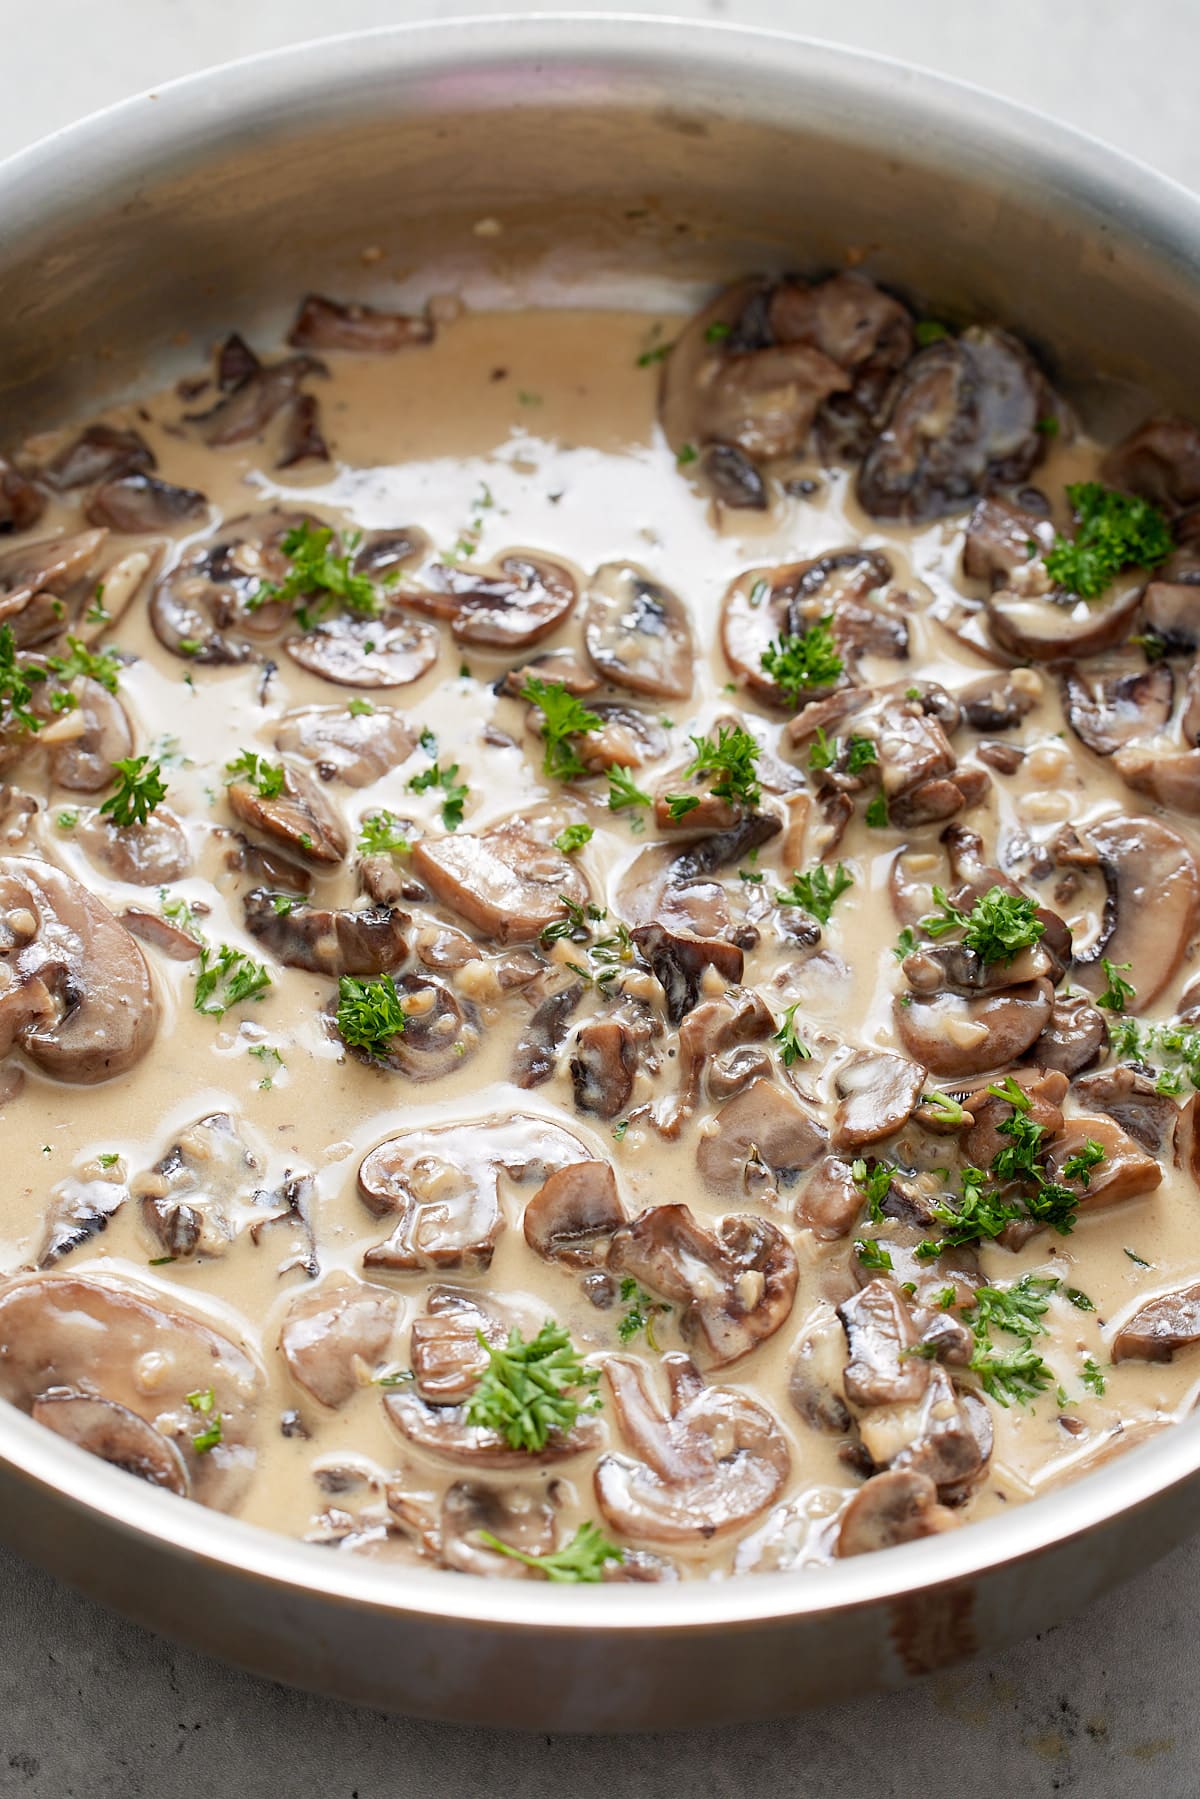
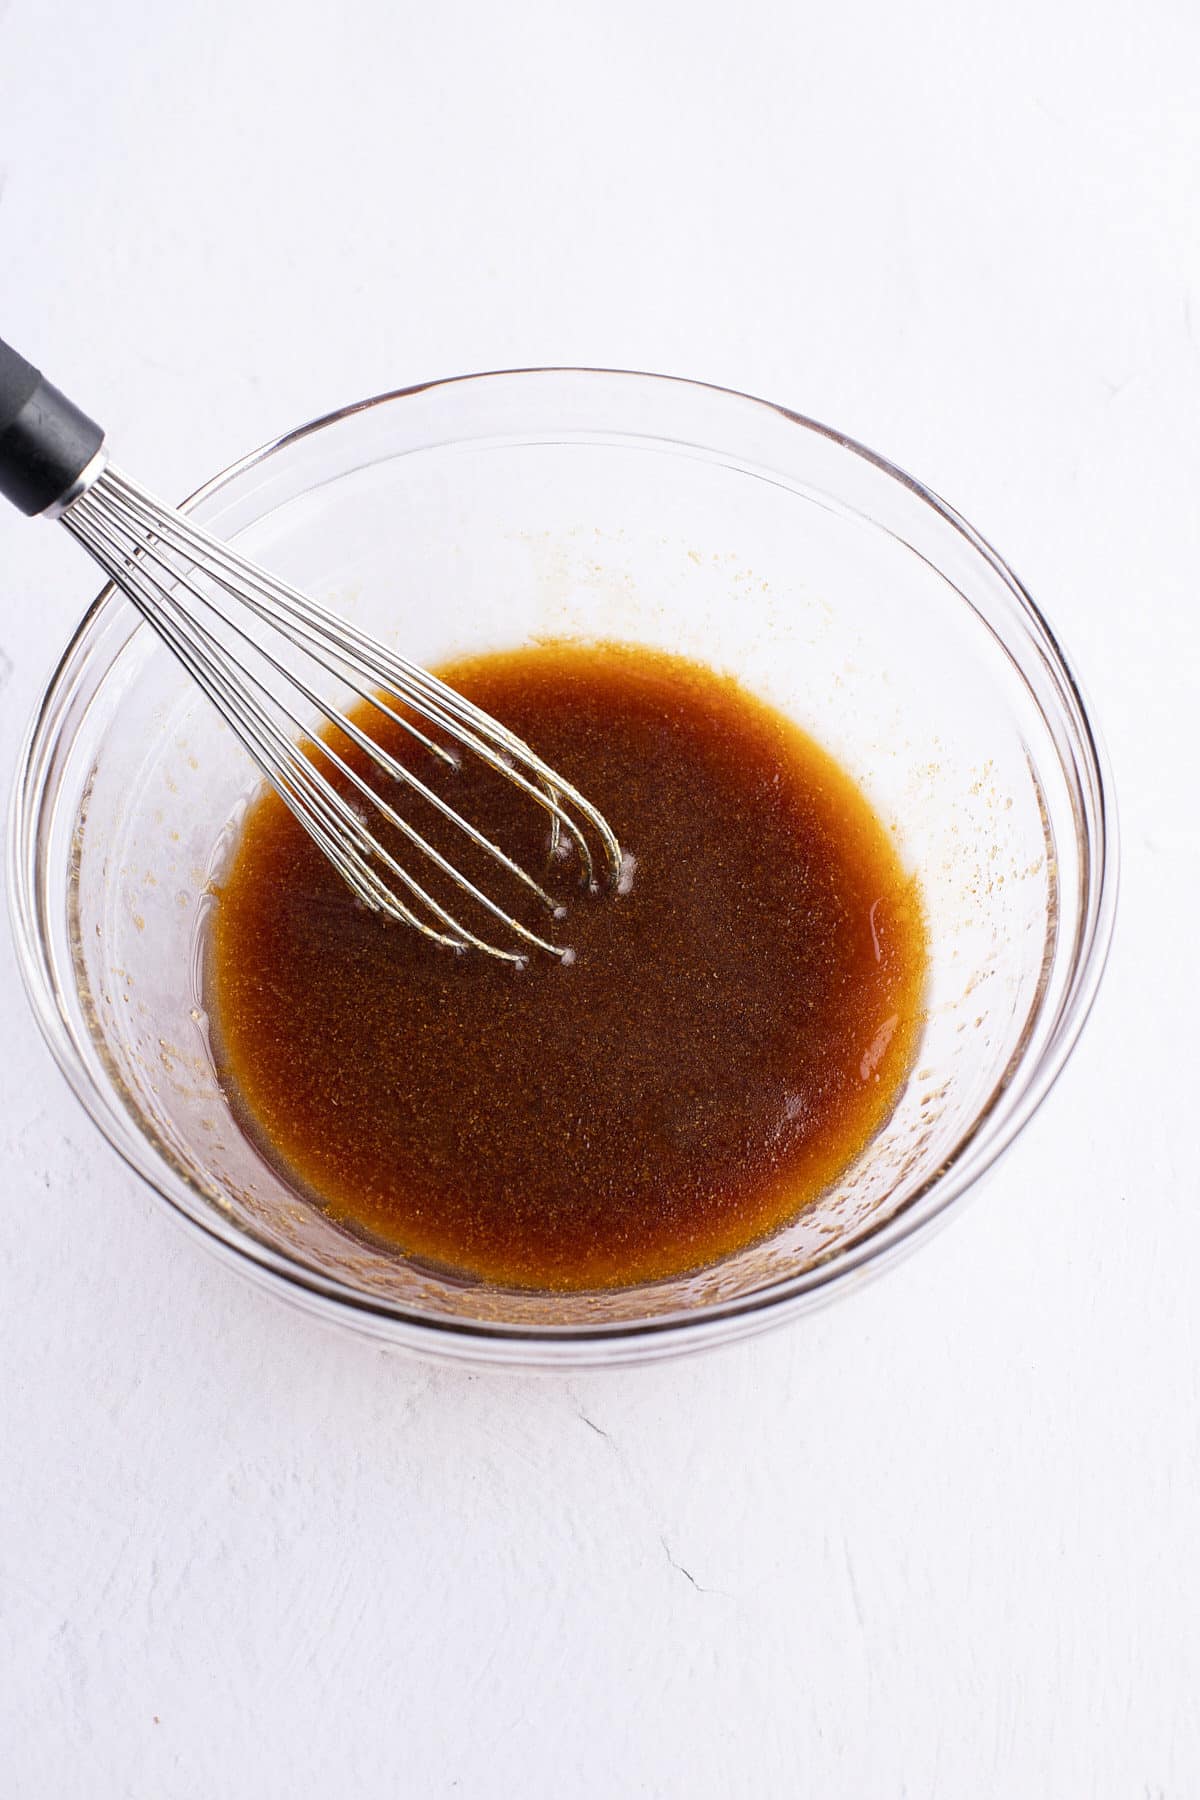
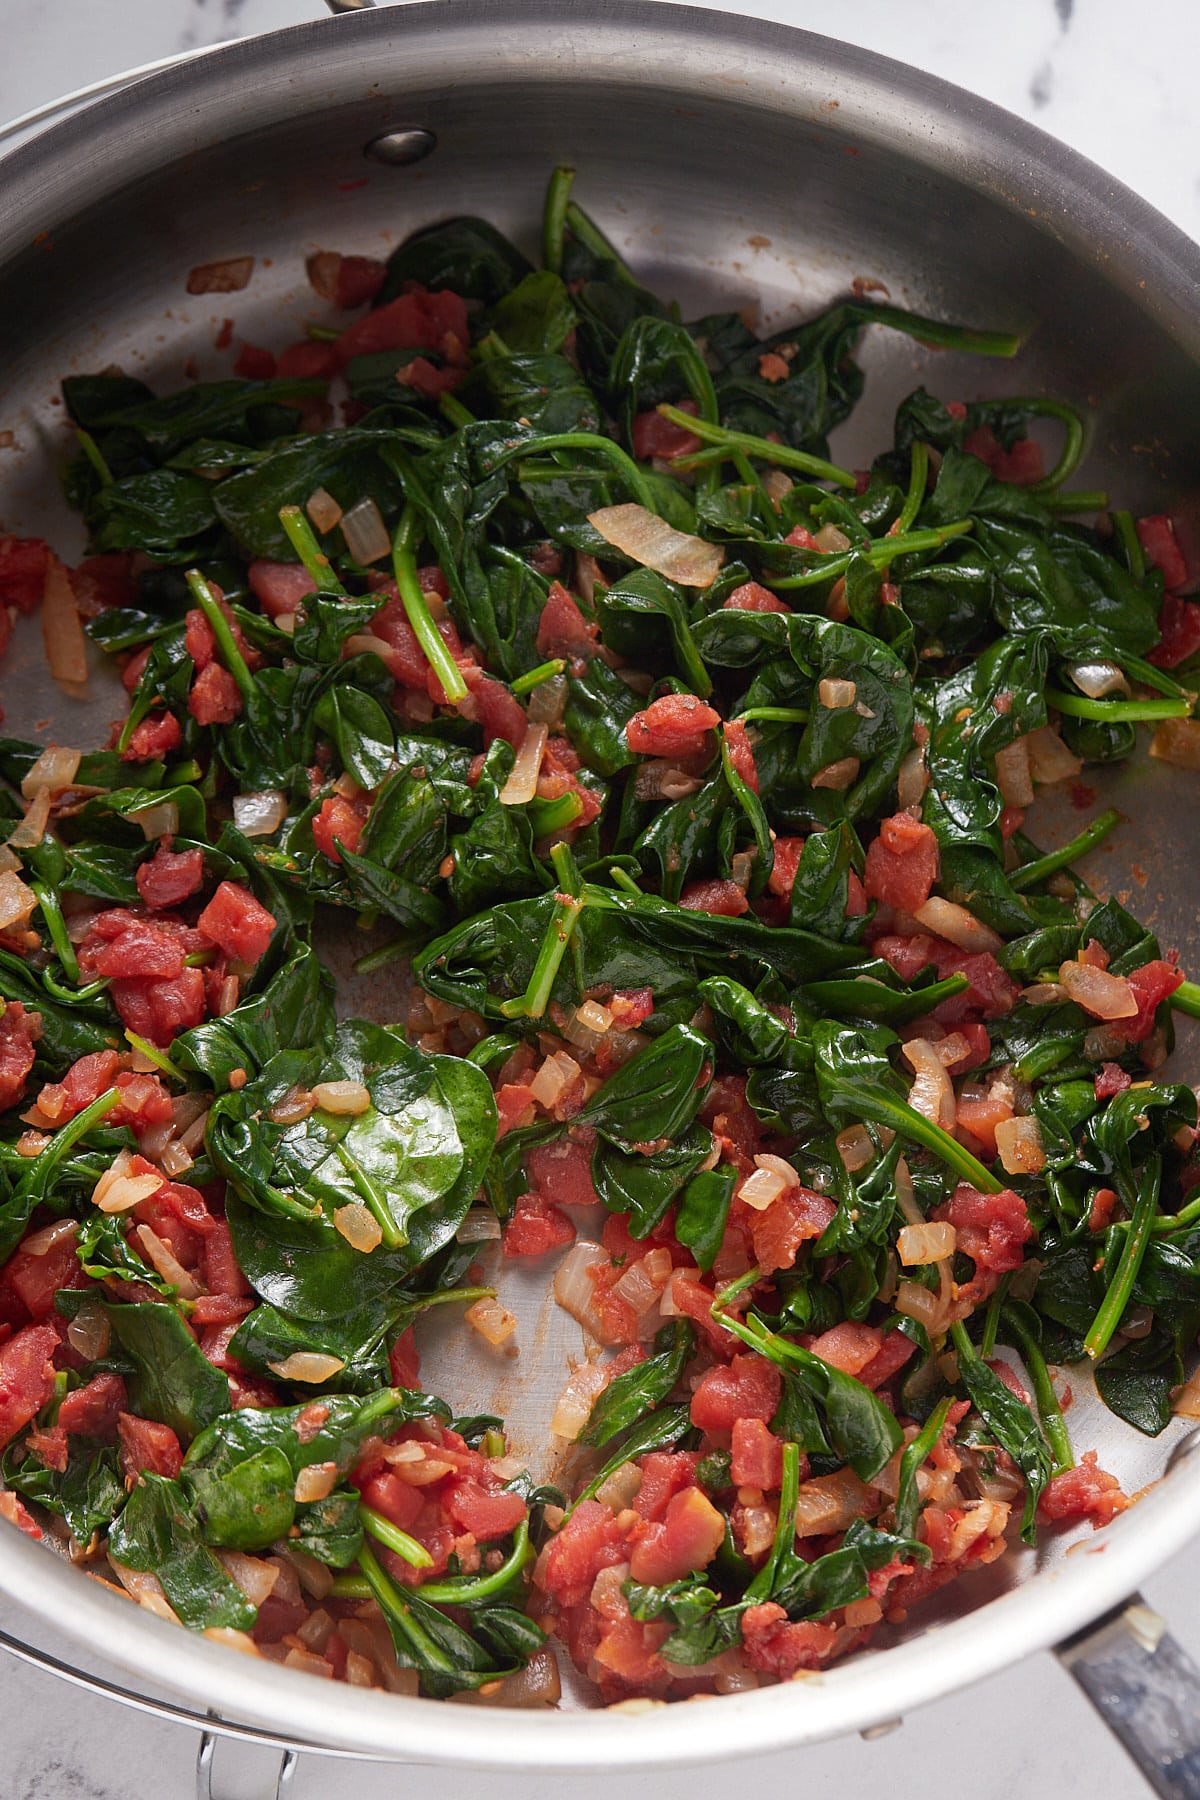
- Once the mushrooms are browned, add the shallots and garlic back into the skillet, followed by the balsamic vinegar. Cook until the vinegar caramelizes.
- Place the pastry sheet on a sheet pan and use a knife to score the edges of the puff pastry creating a border. Then poke holes in the bottom of the puff pastry using a fork. Do not poke holes in the border
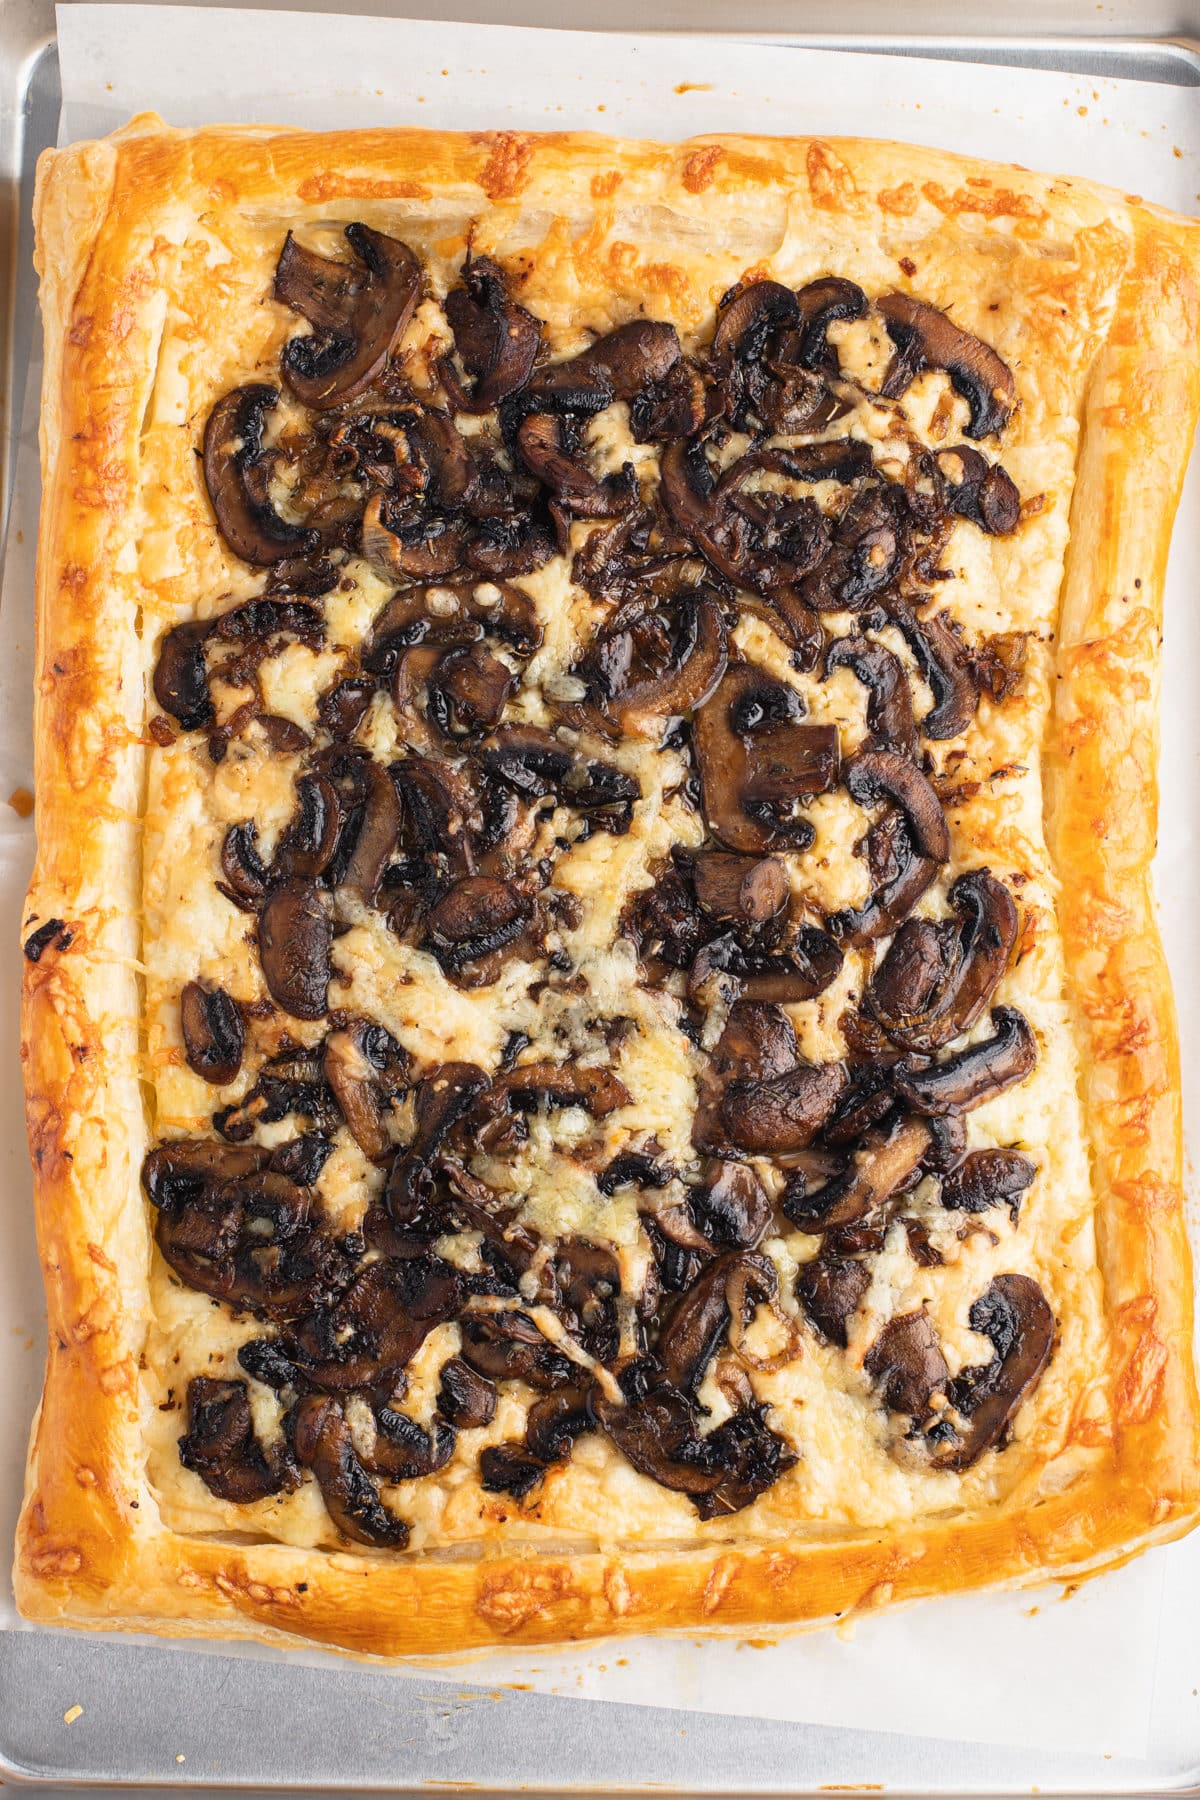
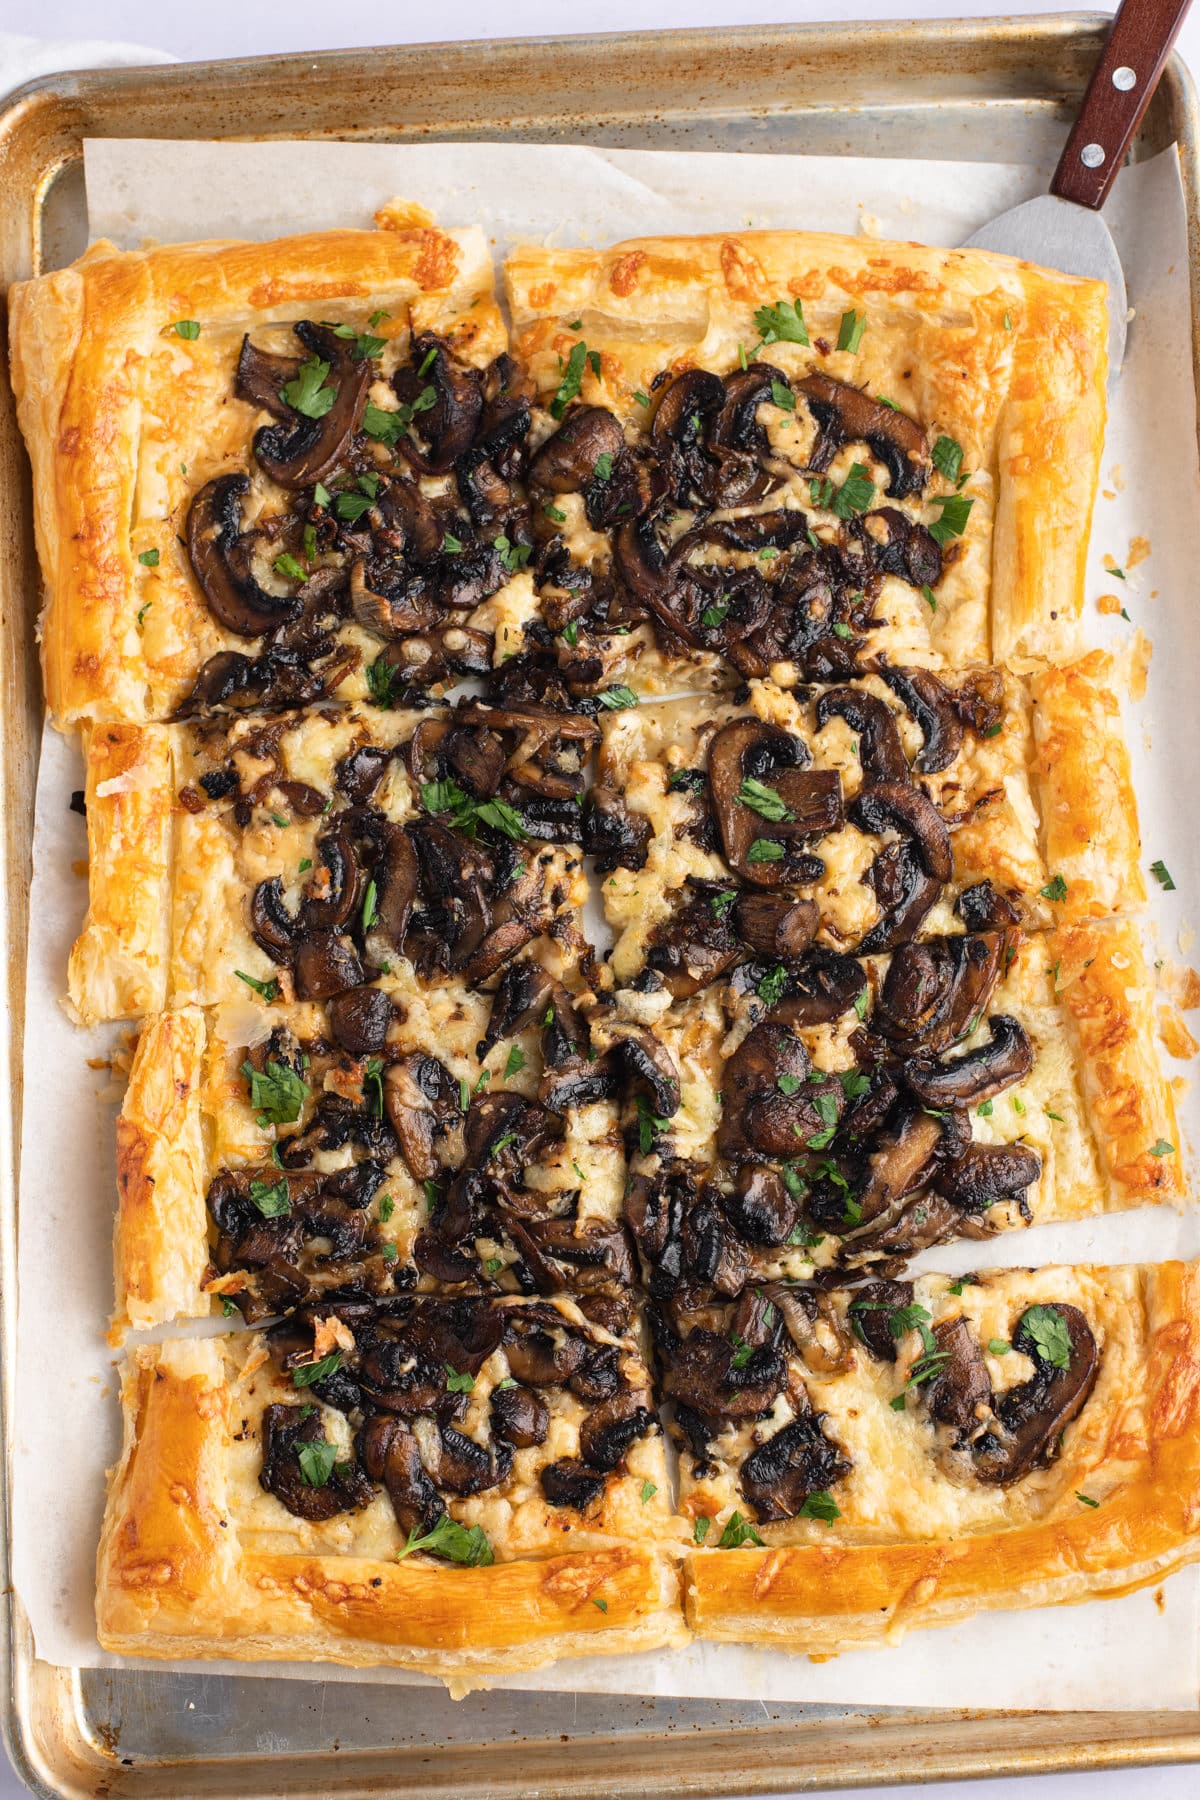
- Top the puff pastry with gruyere and parmesan cheese, followed by the mushroom mixture. Brush the egg on the border of the puff pastry. Bake in preheated oven for 20-25 minutes or until golden. Top with chopped parsley before serving.
What are the best mushrooms to use?
I used cremini mushrooms to make this tart, but you can use any fresh mushrooms you like or a mix of different varieties. Portobello, chestnut or shitake will all work great. Slice them fairly thinly before cooking, and be sure to brown them well to get rid of their moisture.
Can you make it ahead of time?
I prefer to serve this mushroom tart warm out of the oven, but leftovers will keep well covered in the fridge for up to 3 days and can be served cold or reheated. You can cook up the mushrooms a day or two ahead of time and keep the refrigerated, that way it will just take a few minutes to prep before baking.
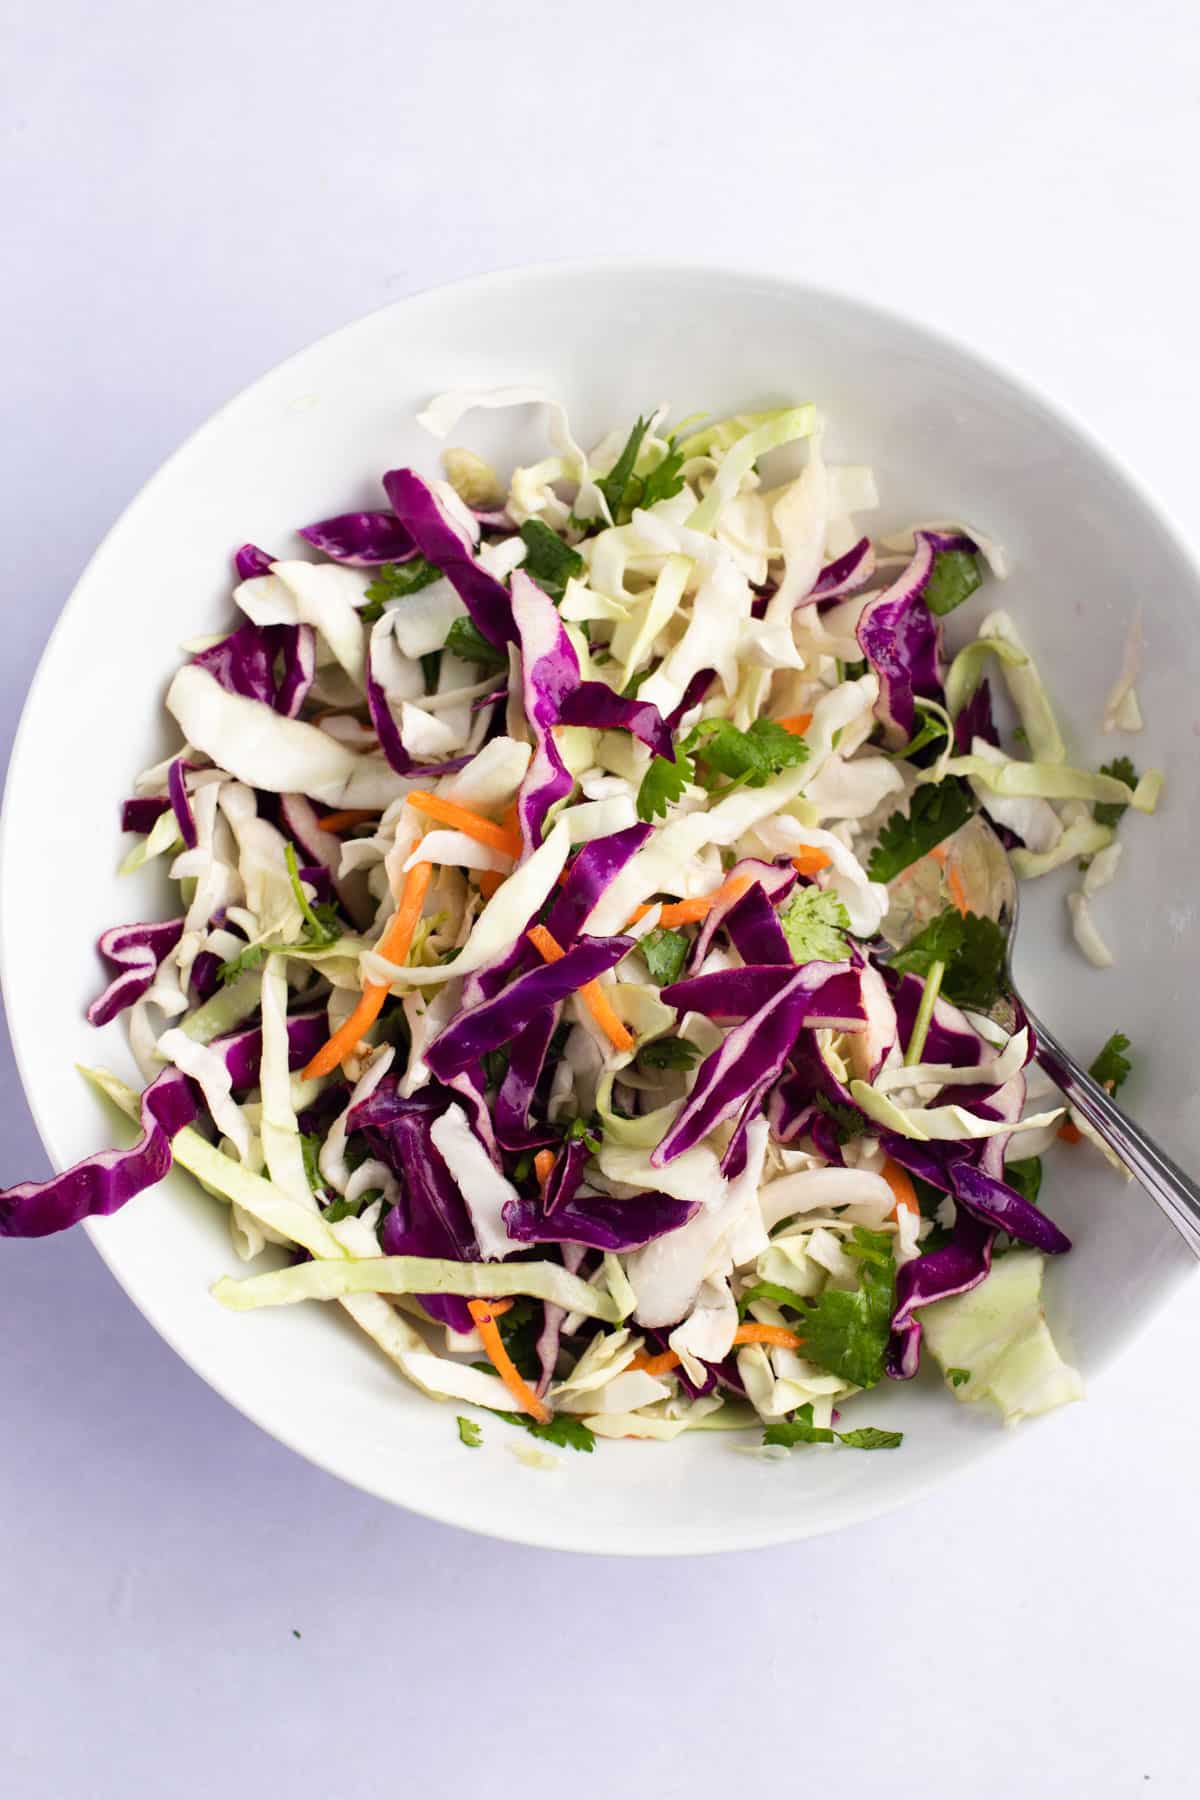
What do you serve it with?
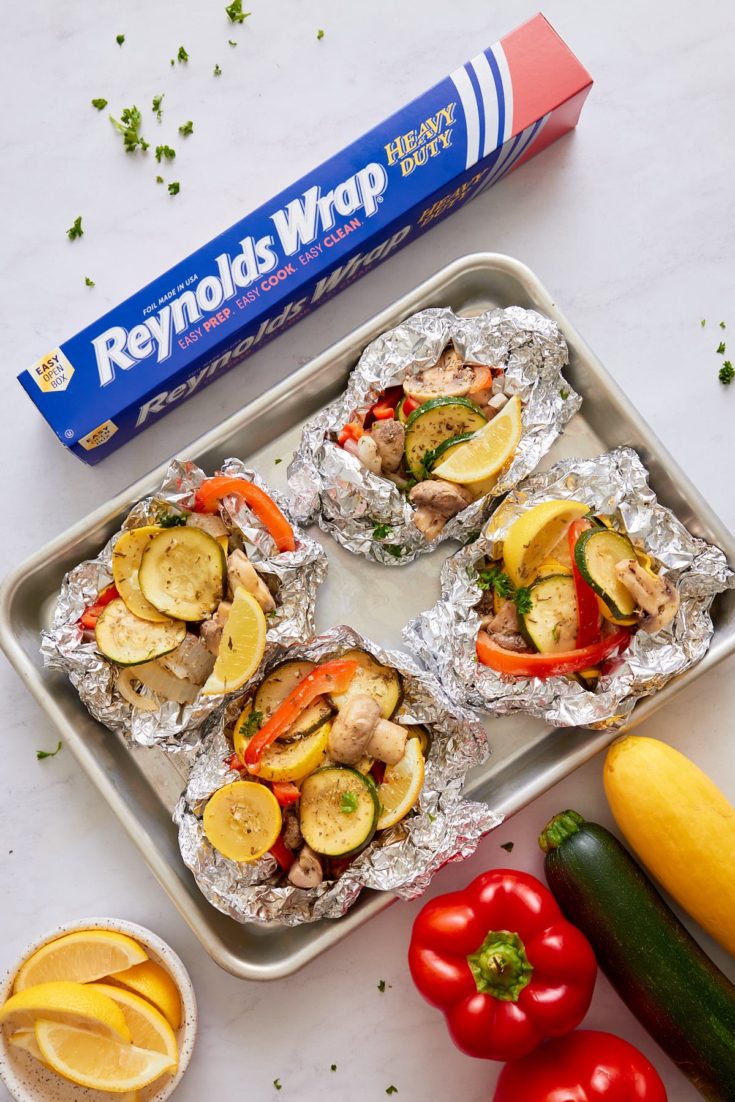
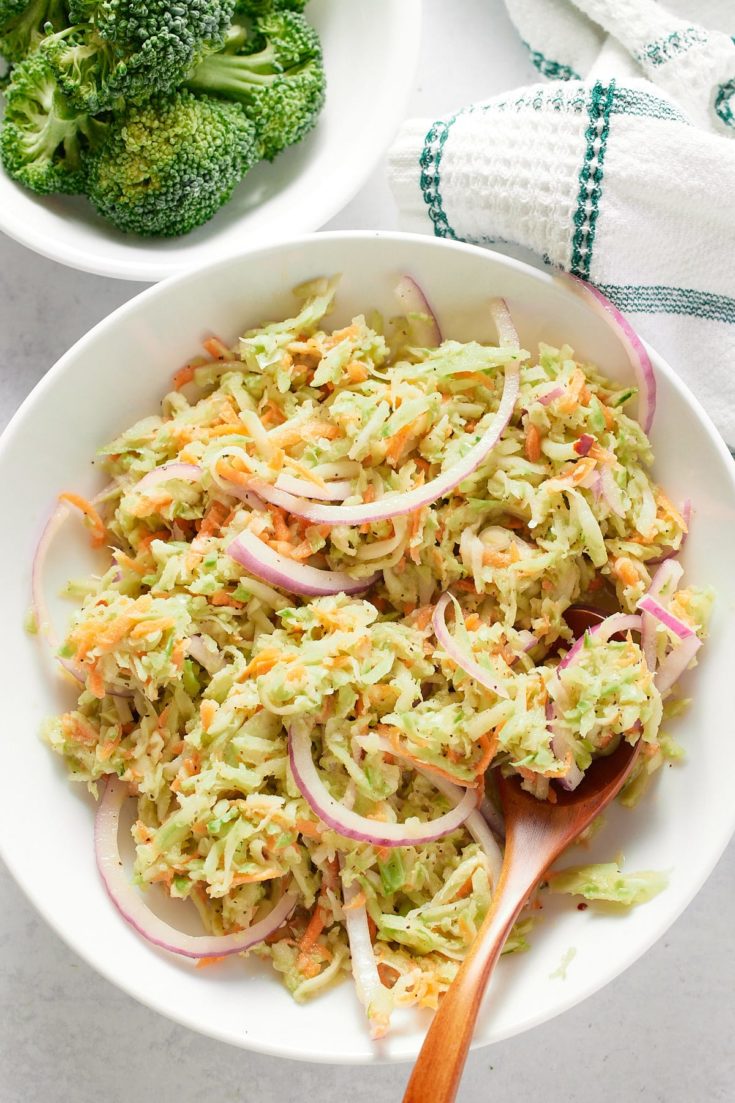
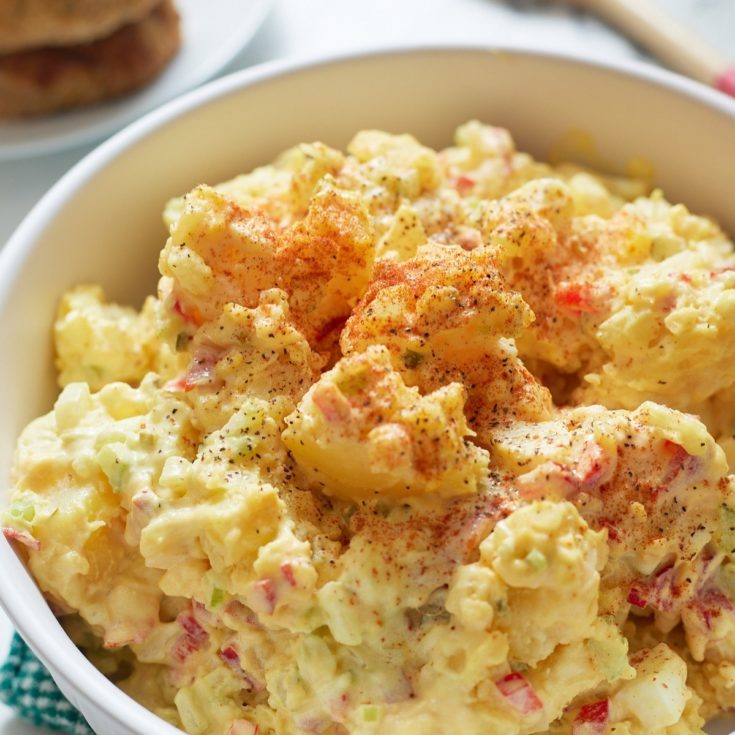
This flavorful vegetarian tart is wonderful served up with a side salad for a brunch, lunch or light dinner. I like to garnish it with some fresh parsley for a pop of color. Try it with some of these favorites salads:
Recipe Notes and Tips
- Be sure to cook the mushrooms well to remove the water that they hold. This will help to stop the pastry from getting soggy.
- If your puff pastry sheet is frozen, be sure to allow time for it to defrost before topping and baking.
- I use dried thyme, but other dried herbs can be used.
- Try adding some blue cheese or crispy bacon bits to the tart for a different flavor.
More Mushroom Recipes
- Slow Cooker Garlic Herb Mushrooms
- Air Fryer Fried Mushrooms
- Cream of Mushroom Soup
- Mushroom and Parmesan Instant Pot Risotto
Mushroom Tart
Ingredients
- 1 tablespoon butter
- 2 shallots thinly sliced
- 2 teaspoons dried thyme
- 2 garlic cloves minced
- 2 tablespoons olive oil
- 12 ounces mushrooms sliced
- 2 tablespoons balsamic vinegar
- 1 puff pastry sheet
- 1 cup shredded gruyere cheese
- ½ cup shredded parmesan cheese
- 1 egg whisked
- Parsley for serving
Instructions
- Preheat the oven to 375 degrees Fahrenheit. Heat the butter in a skillet over medium heat. Add the shallots, and dried thyme and saute for 2-3 minutes.
- Add the garlic and saute until fragrant. Then remove the shallots and garlic from the skillet.
- Add the olive oil to the skillet. Once it is heated add the mushrooms in a single layer. Cook in batches if necessary, stirring occasionally.
- Once the mushrooms are browned, add the shallots and garlic back into the skillet, followed by the balsamic vinegar. Cook until the vinegar caramelizes.
- Place the pastry sheet on a sheet pan and use a knife to score the edges of the puff pastry creating a border. Then poke holes in the bottom of the puff pastry using a fork. Do not poke holes in the border
- Top the puff pastry with gruyere and parmesan cheese, followed by the mushroom mixture. Brush the egg on the border of the puff pastry. Bake in preheated oven for 20-25 minutes or until golden. Top with parsley before serving.
Notes
- Be sure to cook the mushrooms well to remove the water that they hold. This will help to stop the pastry getting soggy.
- If your puff pastry sheet is frozen, be sure to allow time for it to defrost before topping and baking.
- I use dried thyme, but other dried herbs can be used.
- Try adding some blue cheese or crispy bacon bits to the tart for a different flavor.