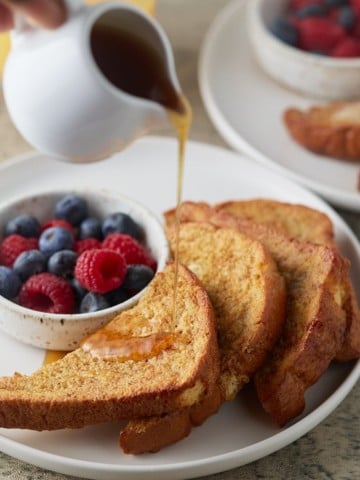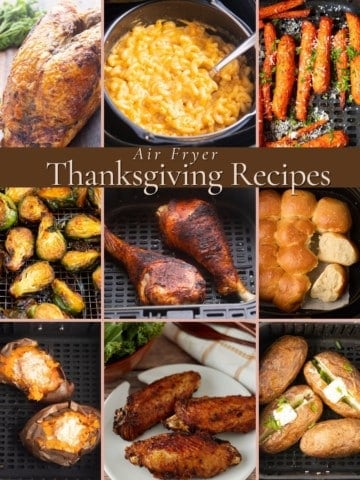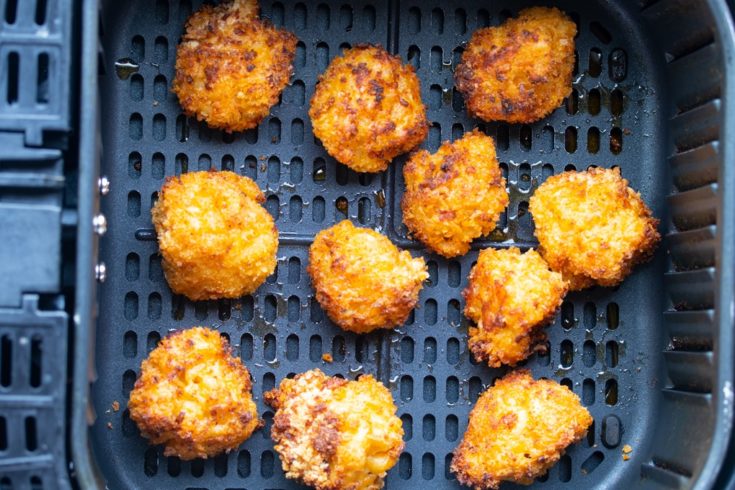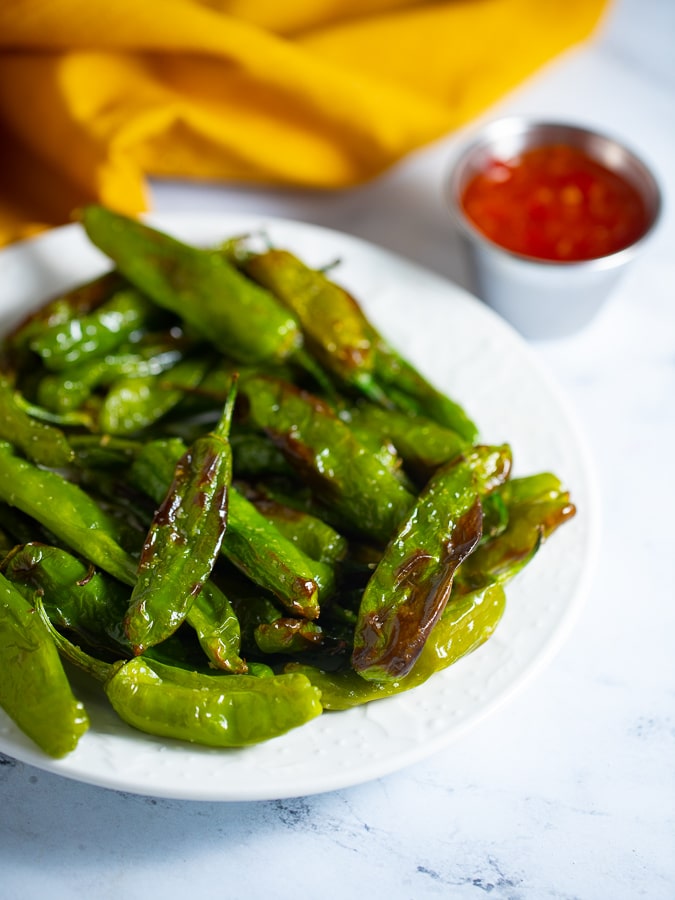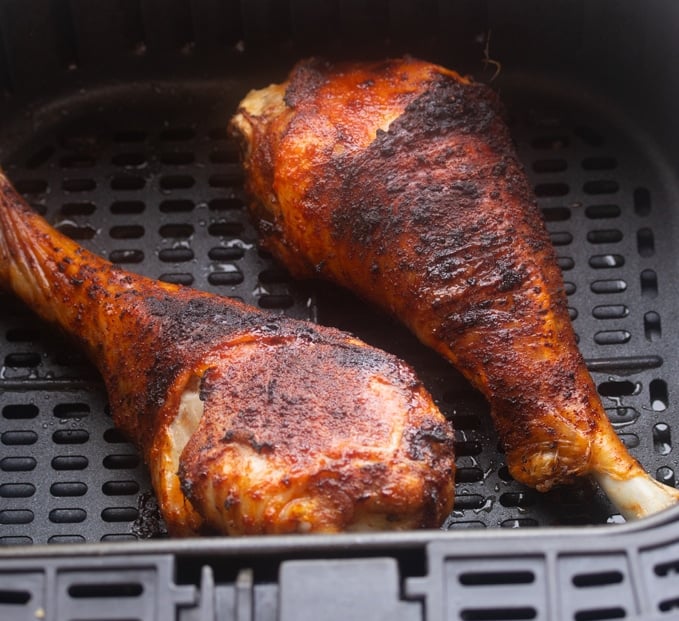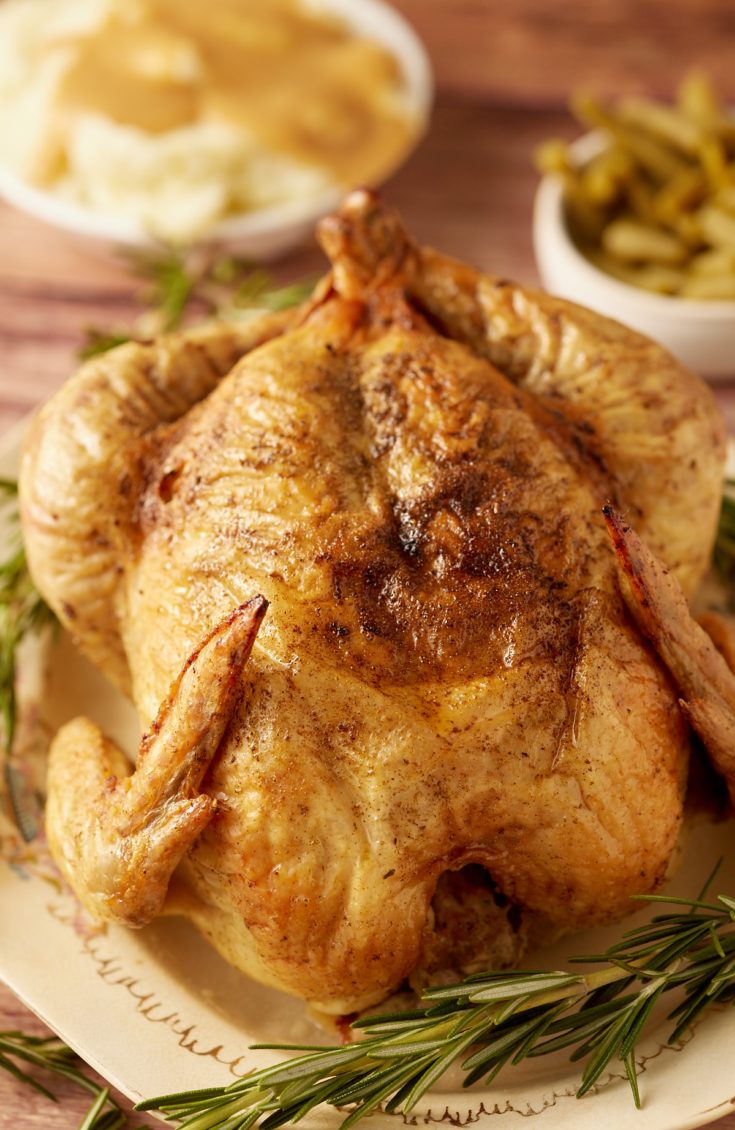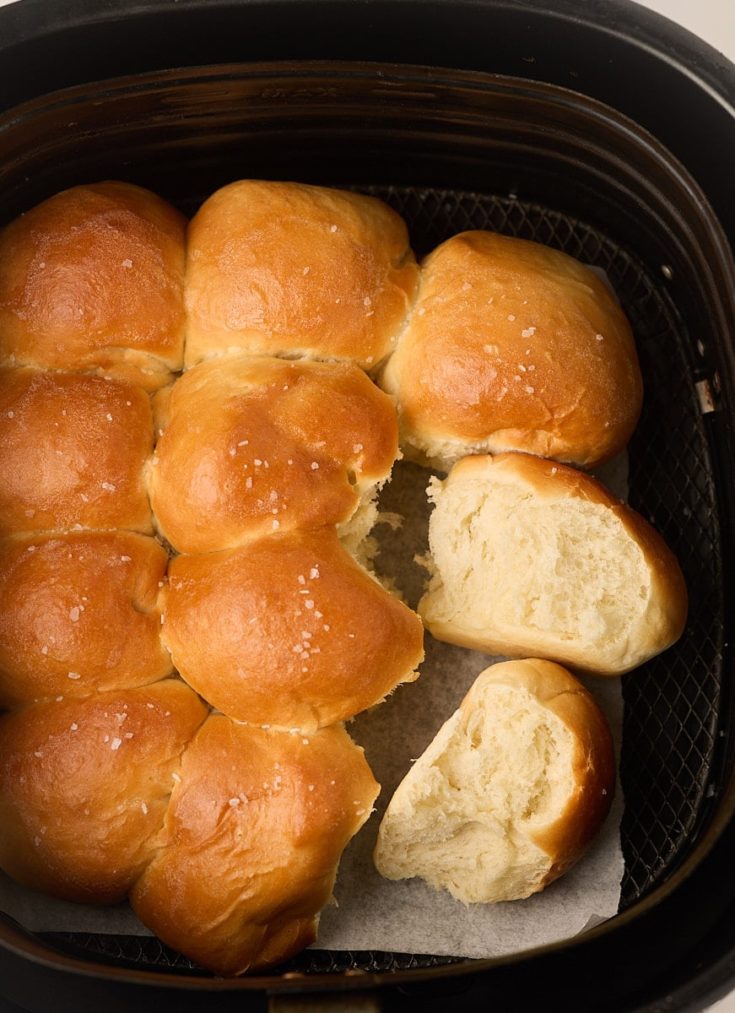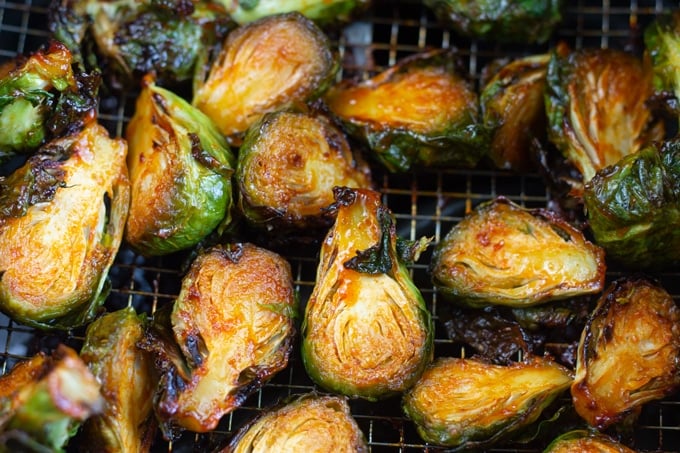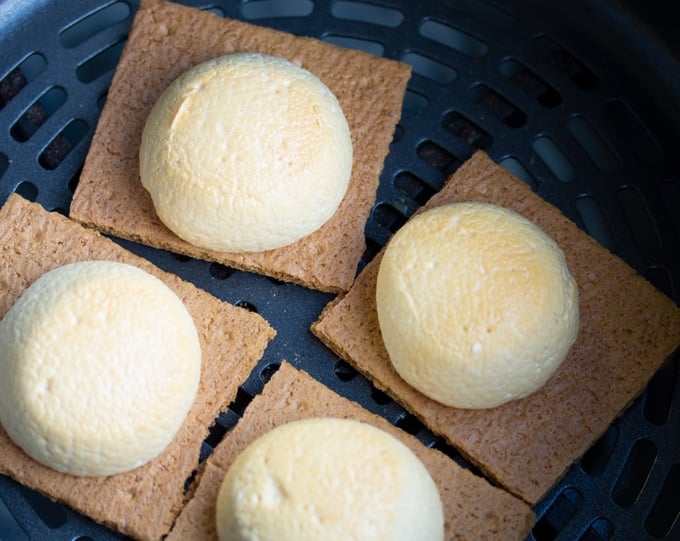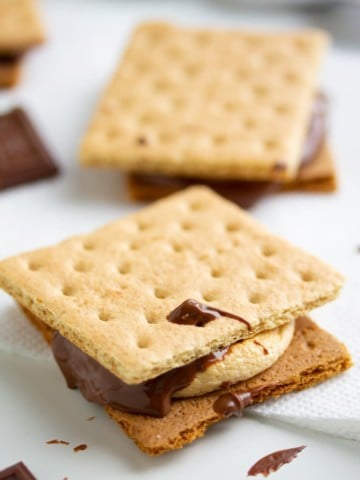
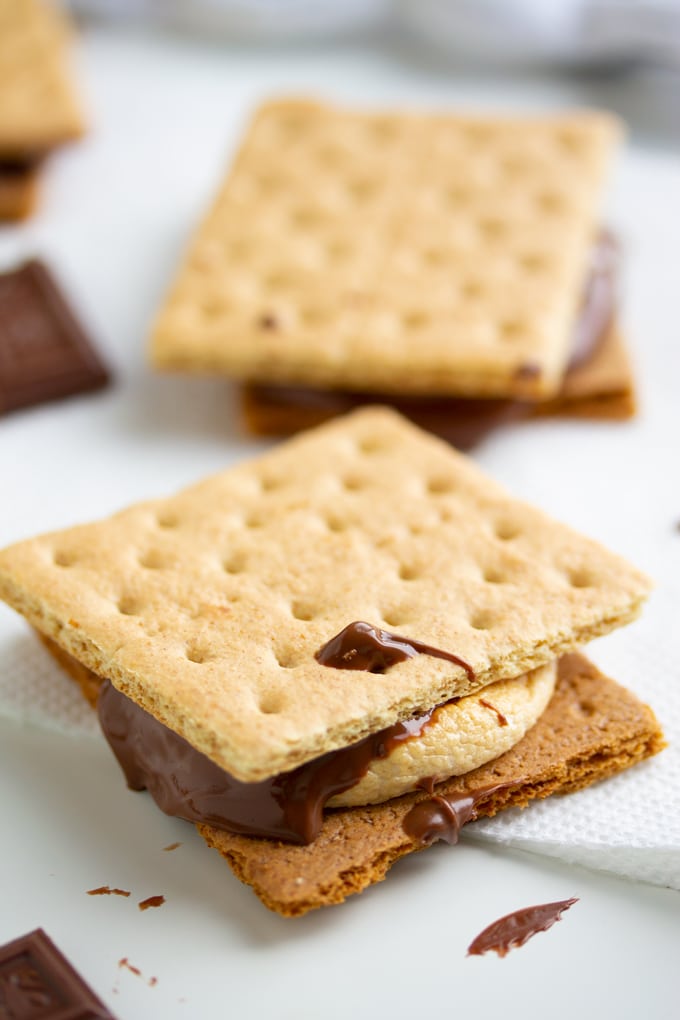
When it comes to S’mores, you don’t need a campfire when you have an Air Fryer. Here's how to make Indoor S'mores in an Air Fryer.
This post may contain affiliate links, please read my full disclosure here.
[Read more...]
When it comes to S’mores, you don’t need a campfire when you have an Air Fryer. Here's how to make Indoor S'mores in an Air Fryer.
This post may contain affiliate links, please read my full disclosure here.
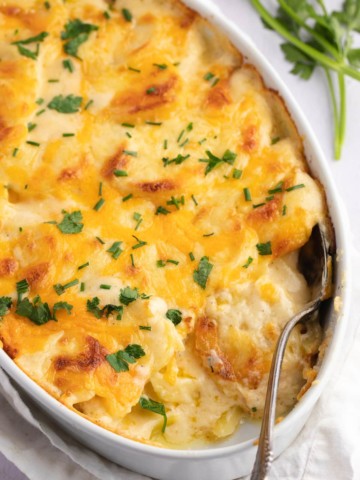
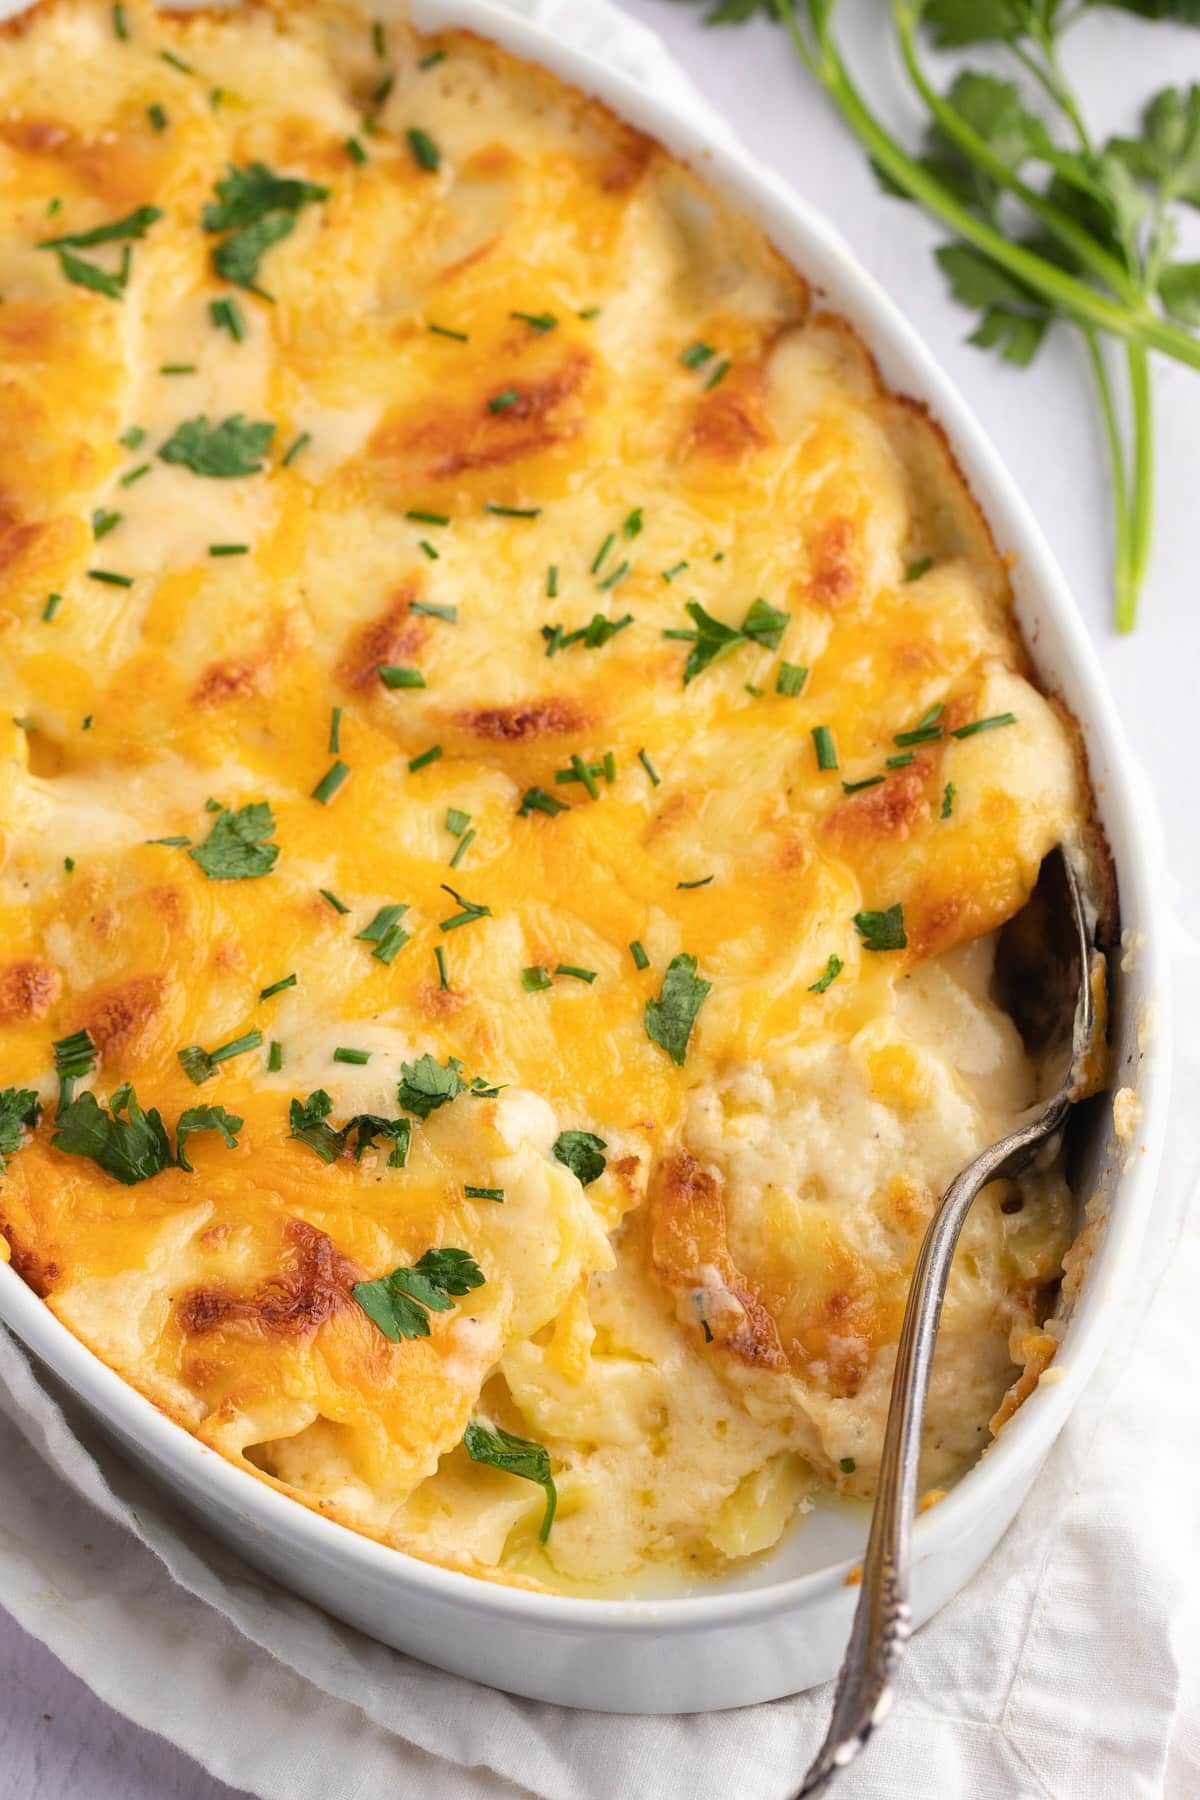
[Read more...]Indulgent, rich and super cheesy, these easy scalloped potatoes are a must make side dish. Simple to make, sliced potatoes are smothered in a cheesy and creamy sauce and then baked to gooey perfection. This classic recipe is always a crowd pleaser.
This post contains affiliate links, please read my full disclaimer here.
You’ll find the full recipe with ingredient amounts and instructions in the recipe card at the bottom of this post. Be sure to check out the blog post itself for extra tips and tricks!
There is never a bad time for some indulgent cheesy scalloped potatoes! They are perfect for special occasions like Easter, Thanksgiving and Christmas, but honestly, I love to make these whenever I get the chance!
Made with three types of cheese (cheddar, gouda and parmesan) this is one cheesy and delicious side dish. The cream sauce is wonderfully seasoned and perfectly rich, and the sliced potatoes come out so tender.
Baked in the oven, the cooking time is totally hands off, and they are easy to prep with just a few basic ingredients. Find out why this recipe is a favorite with my family!
Be sure to try my Garlic Mashed Potatoes and Air Fryer Baked Potatoes too!
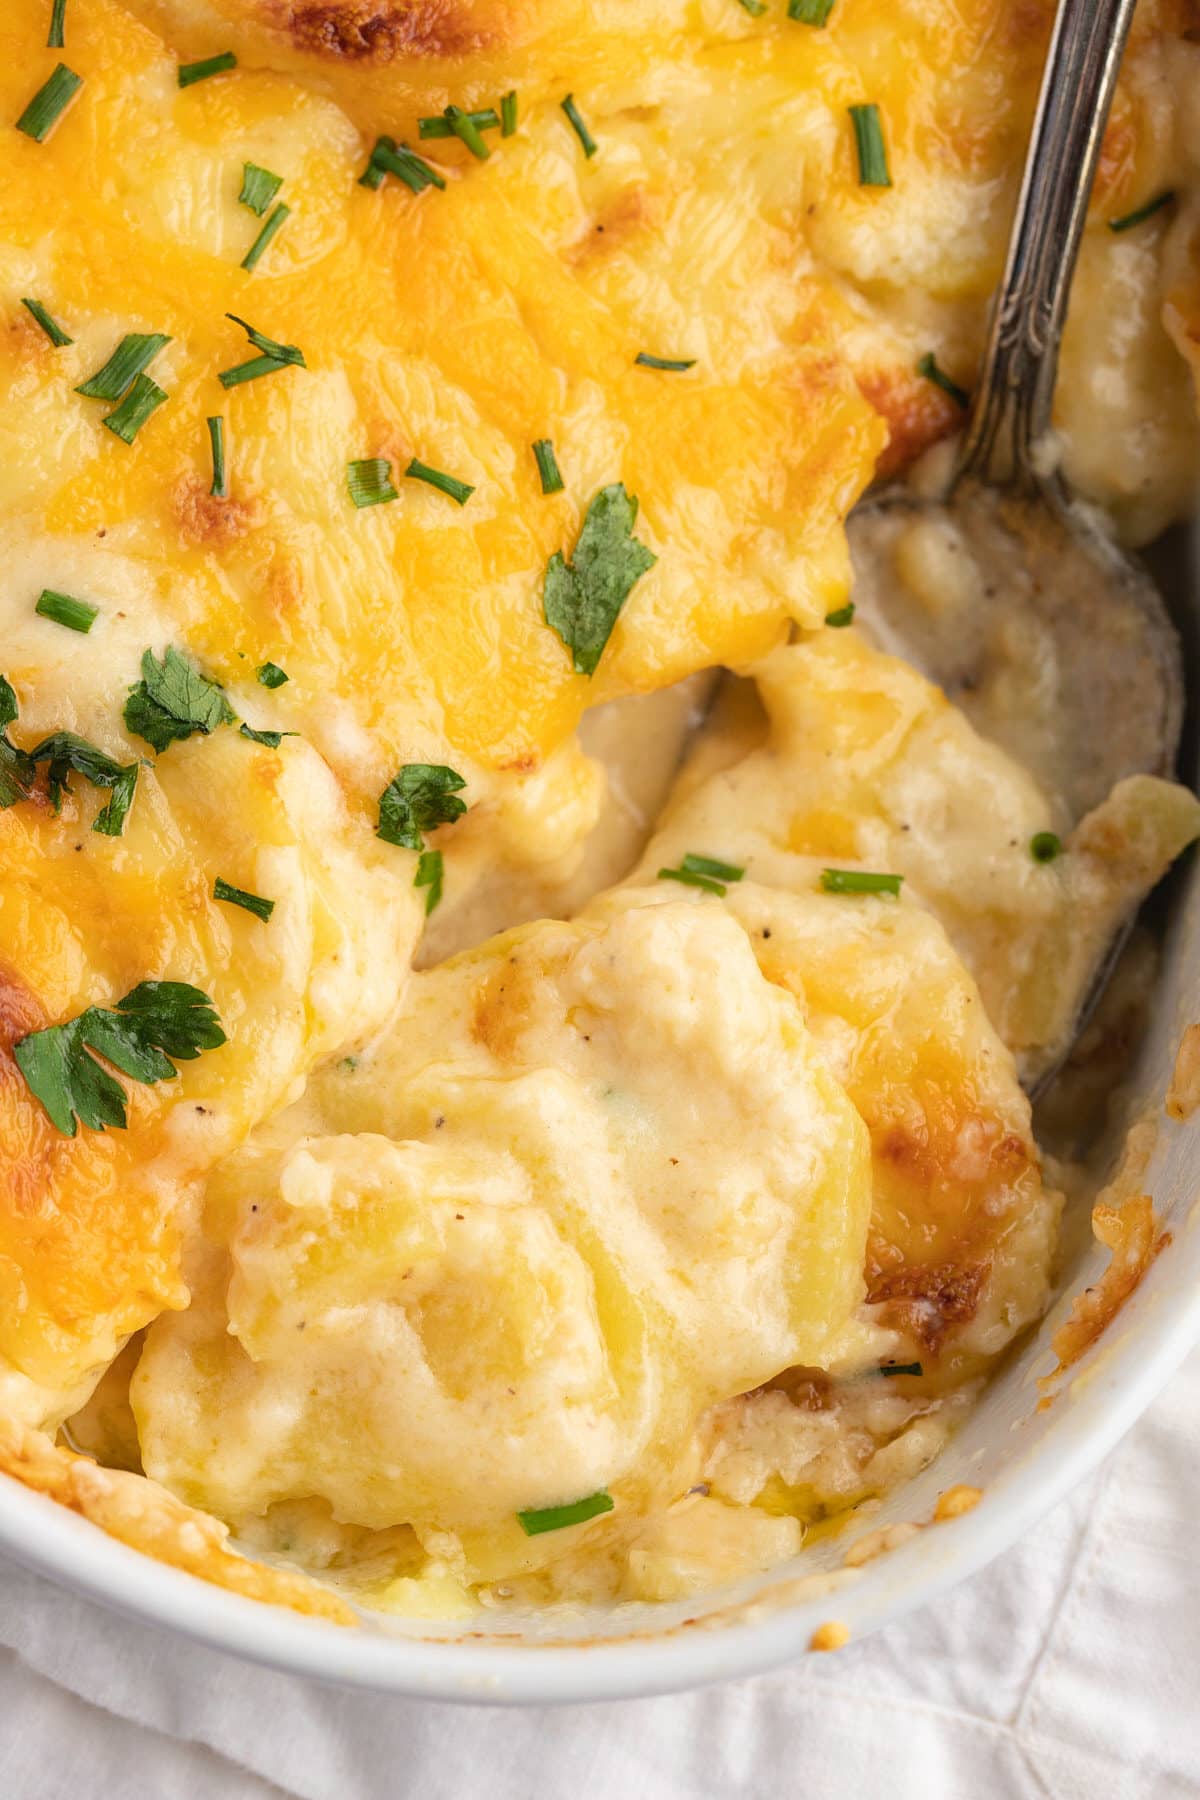
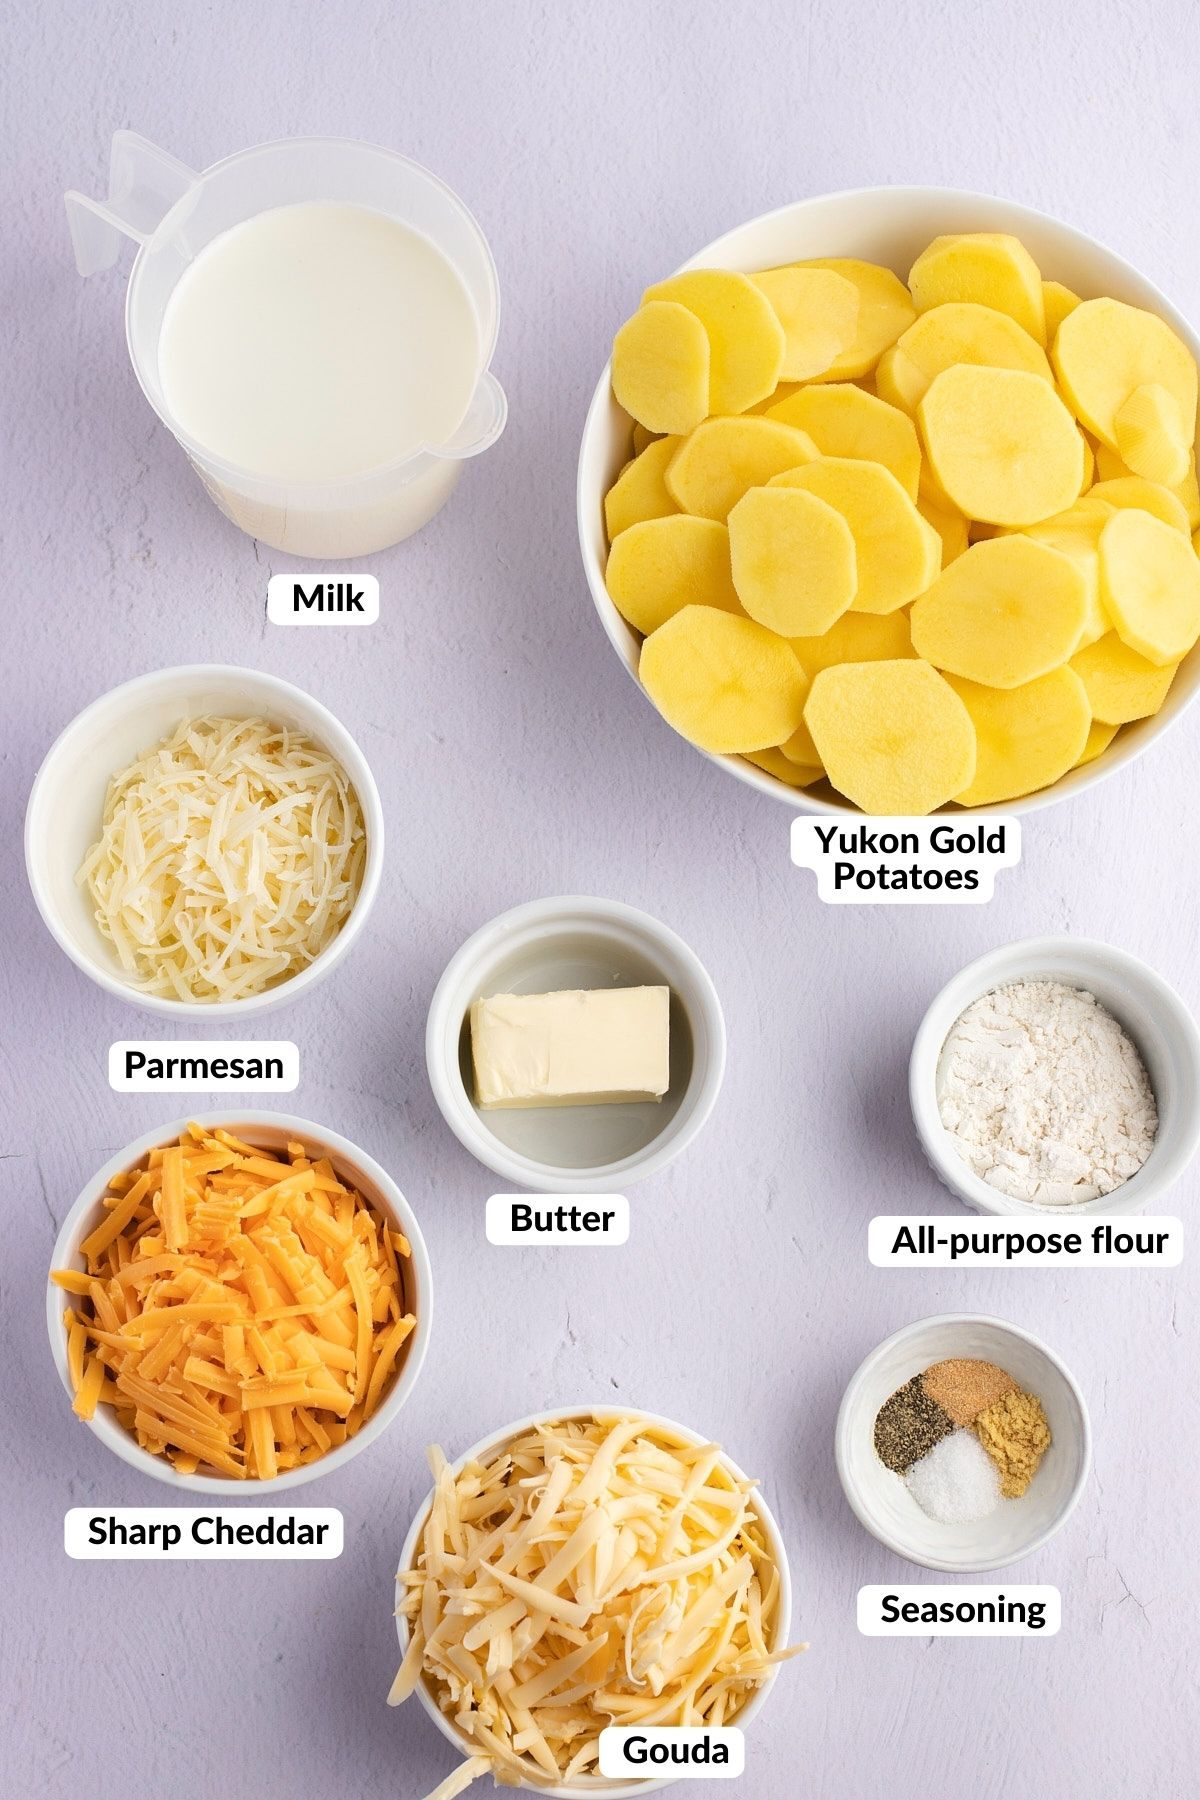
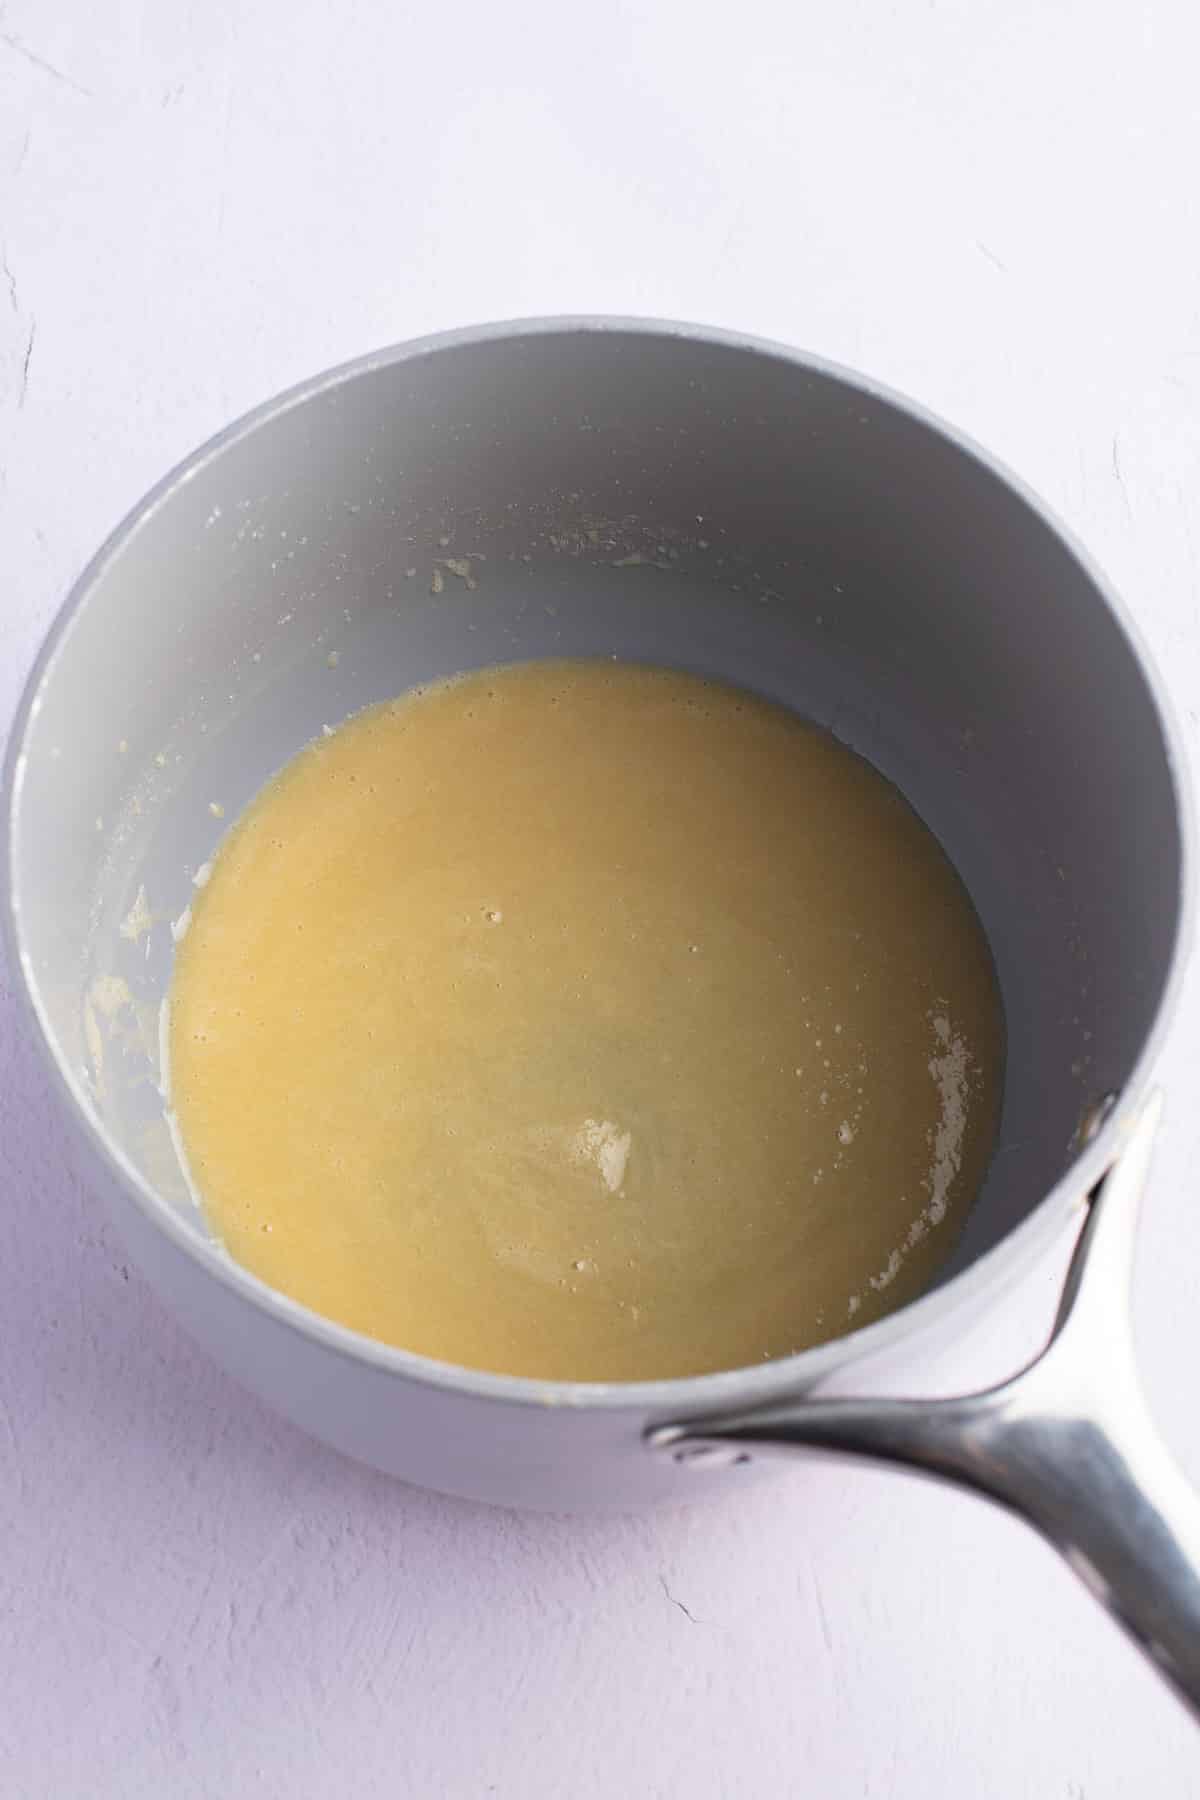
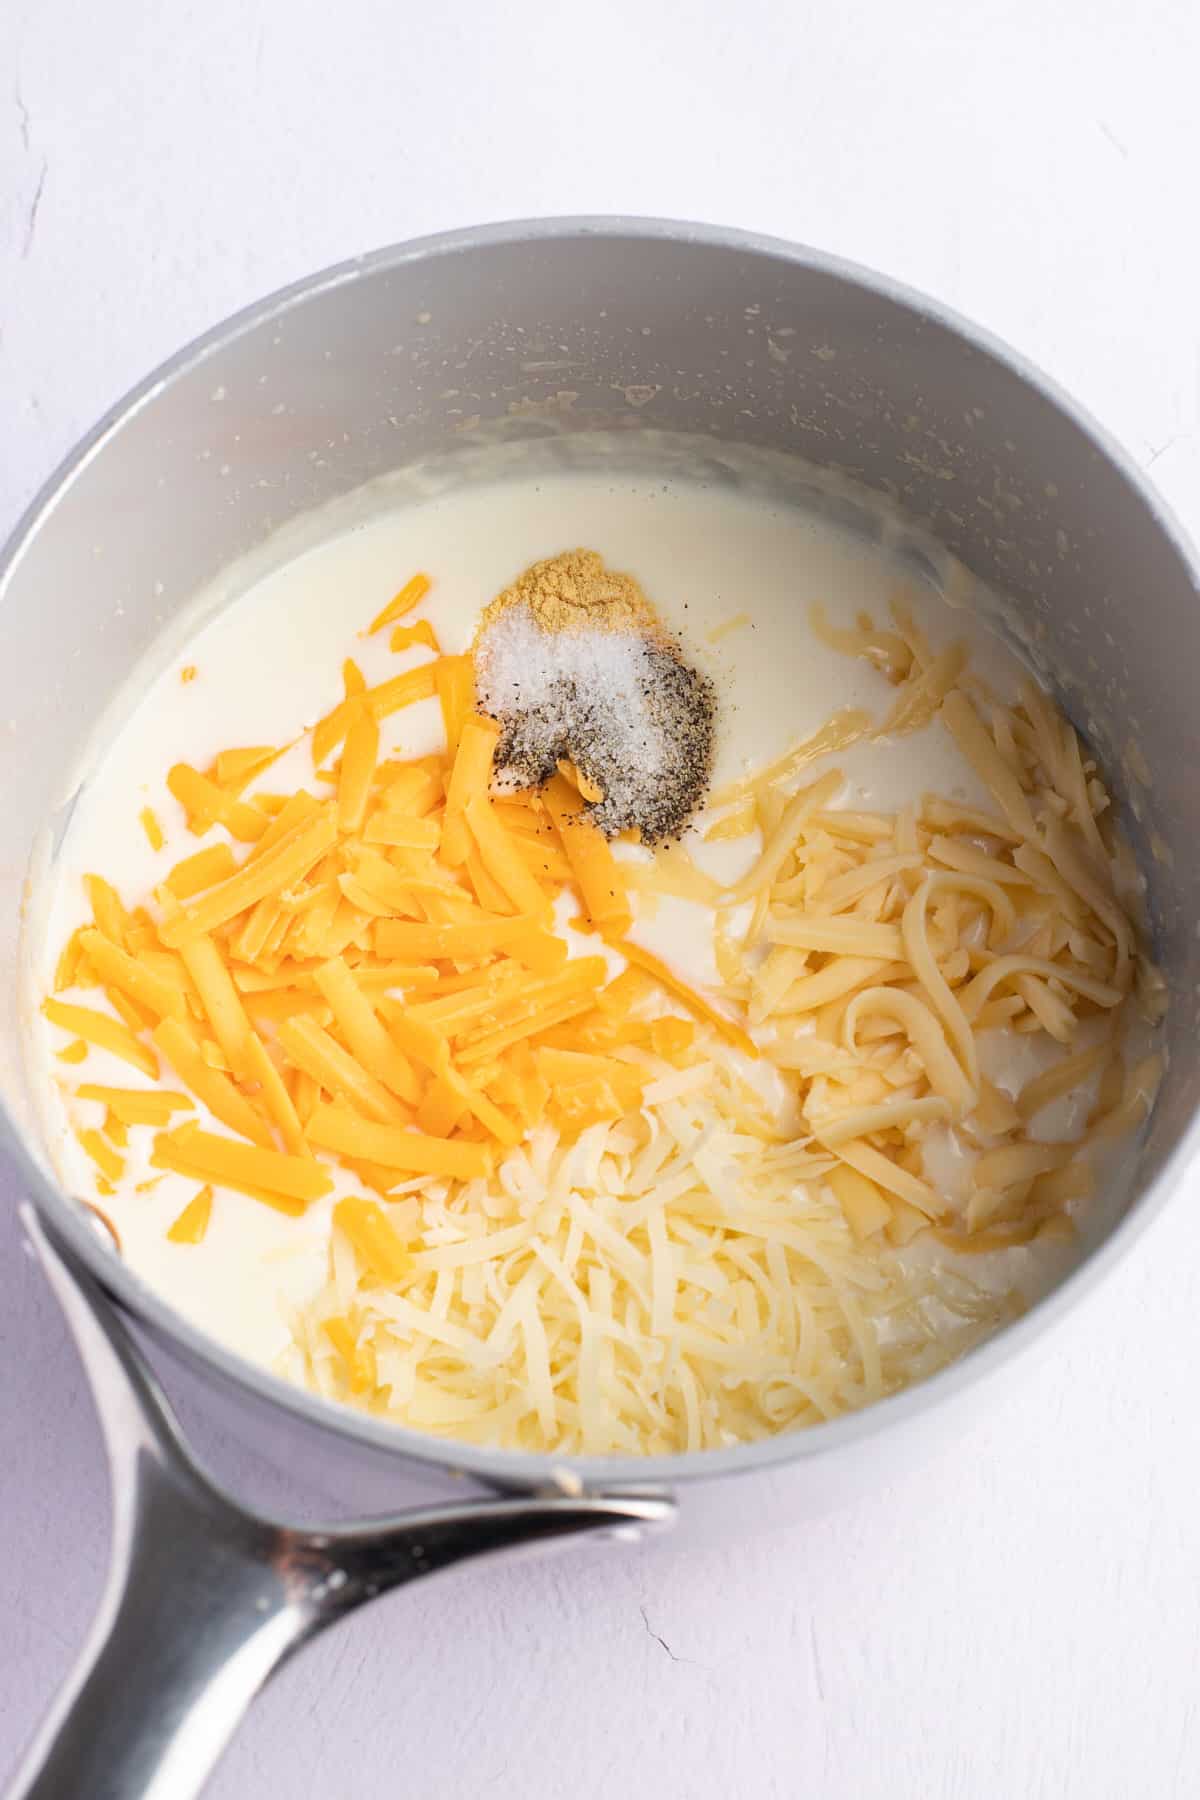
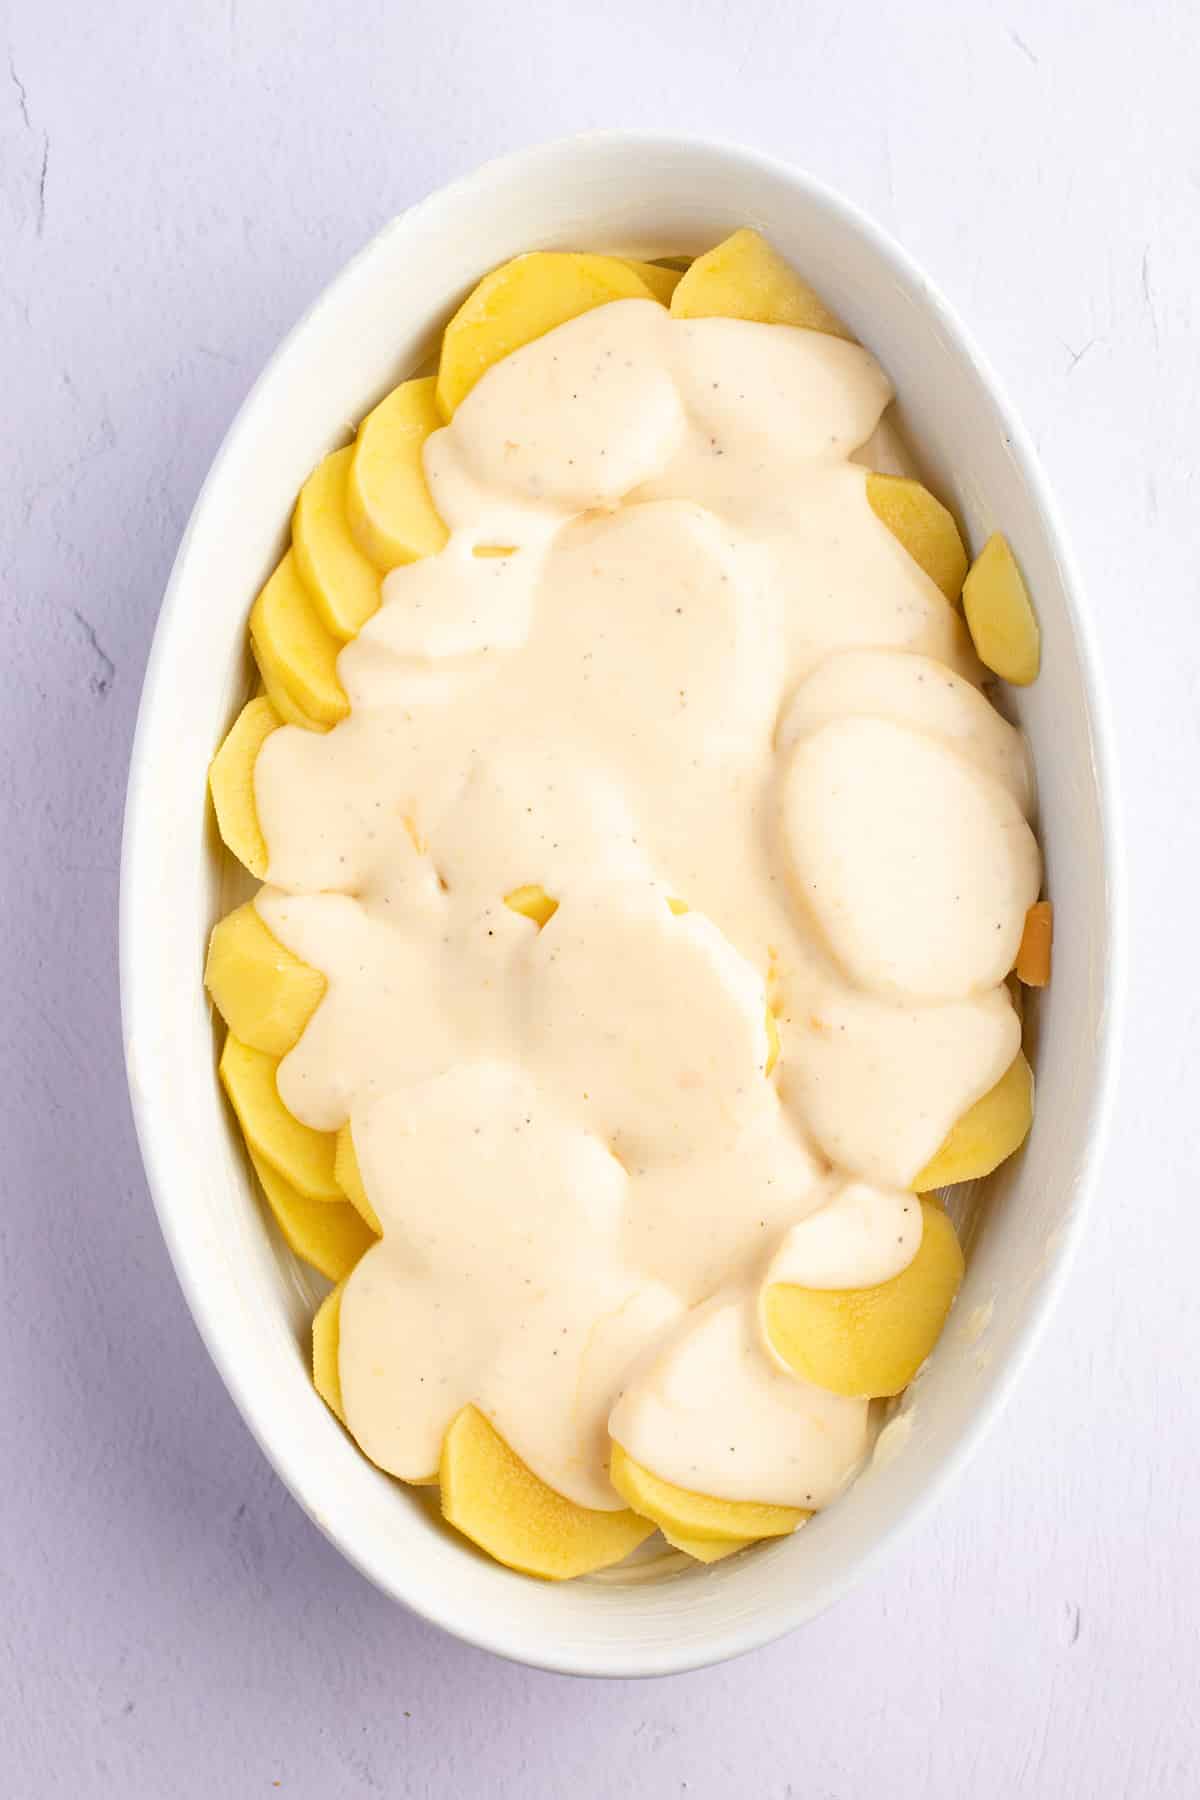
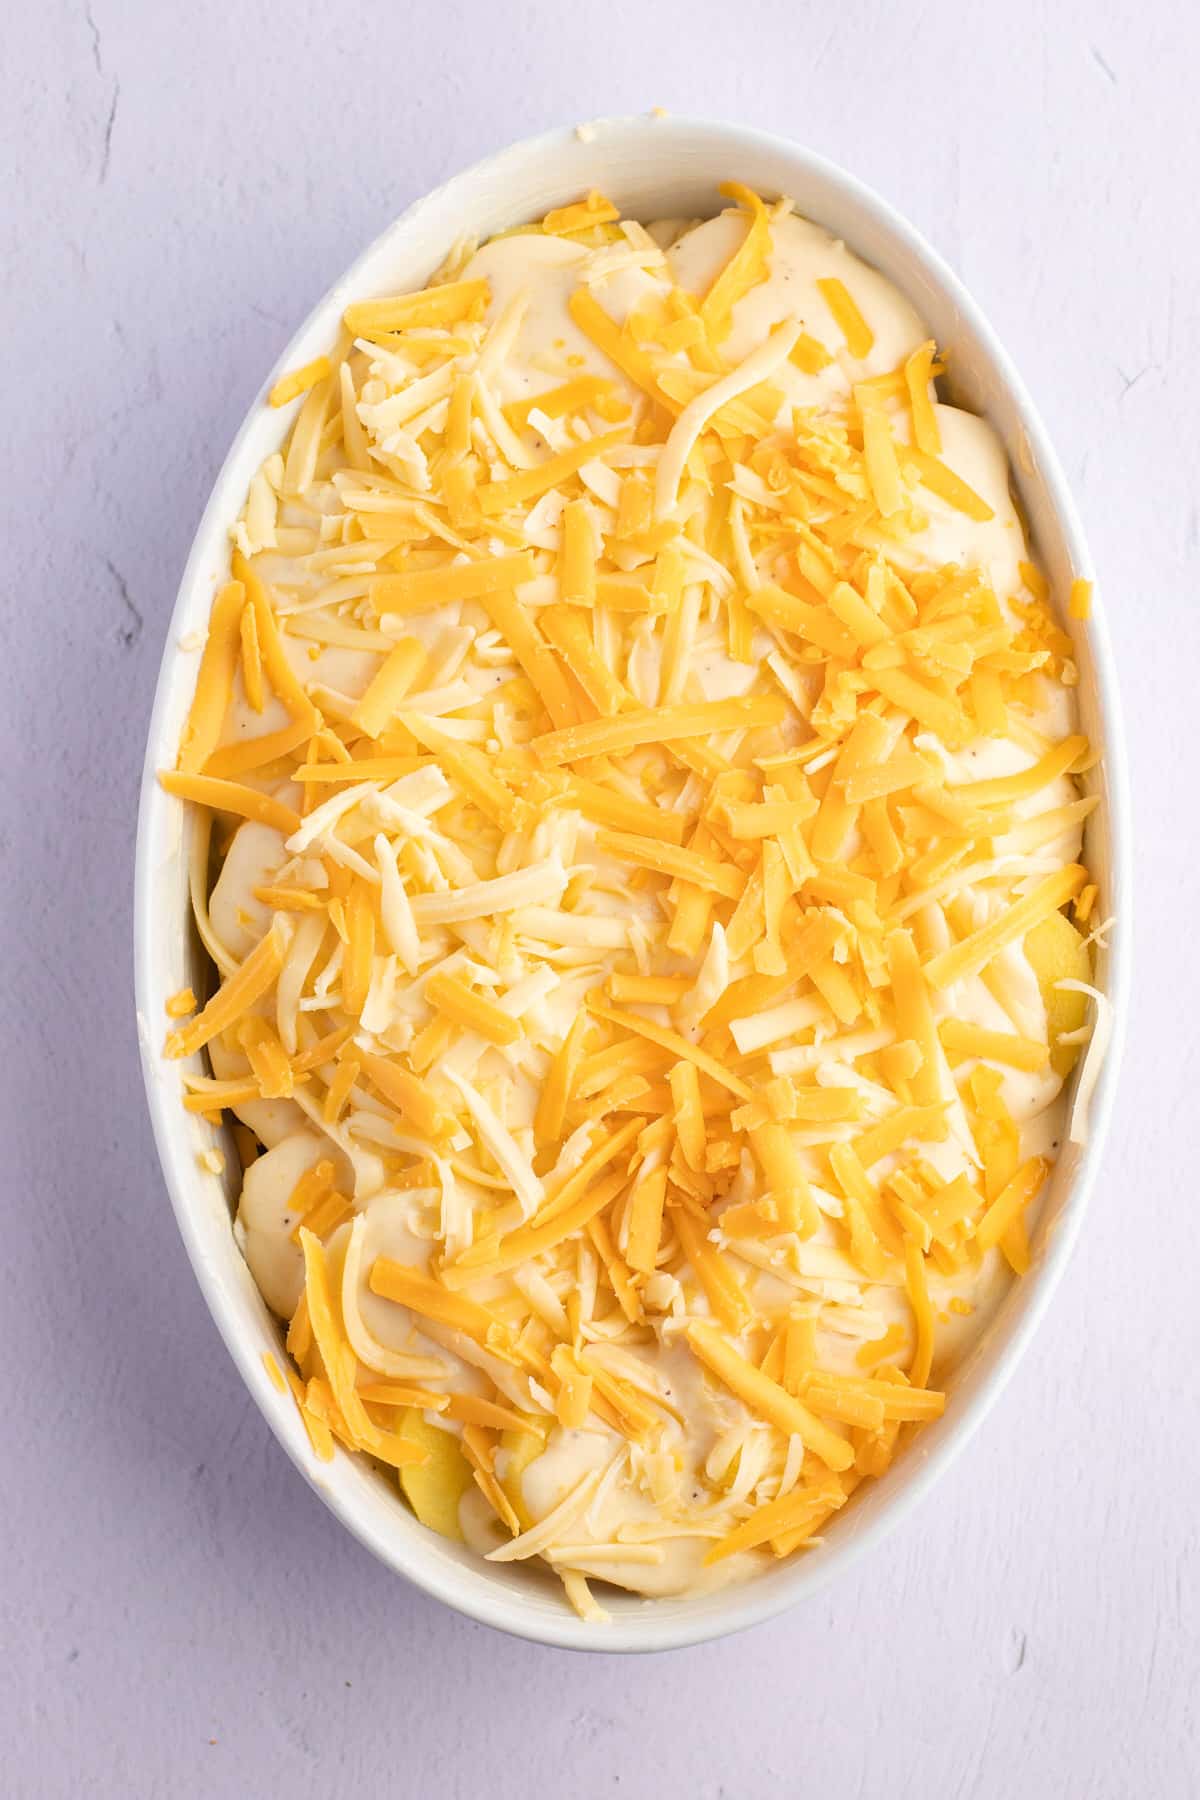
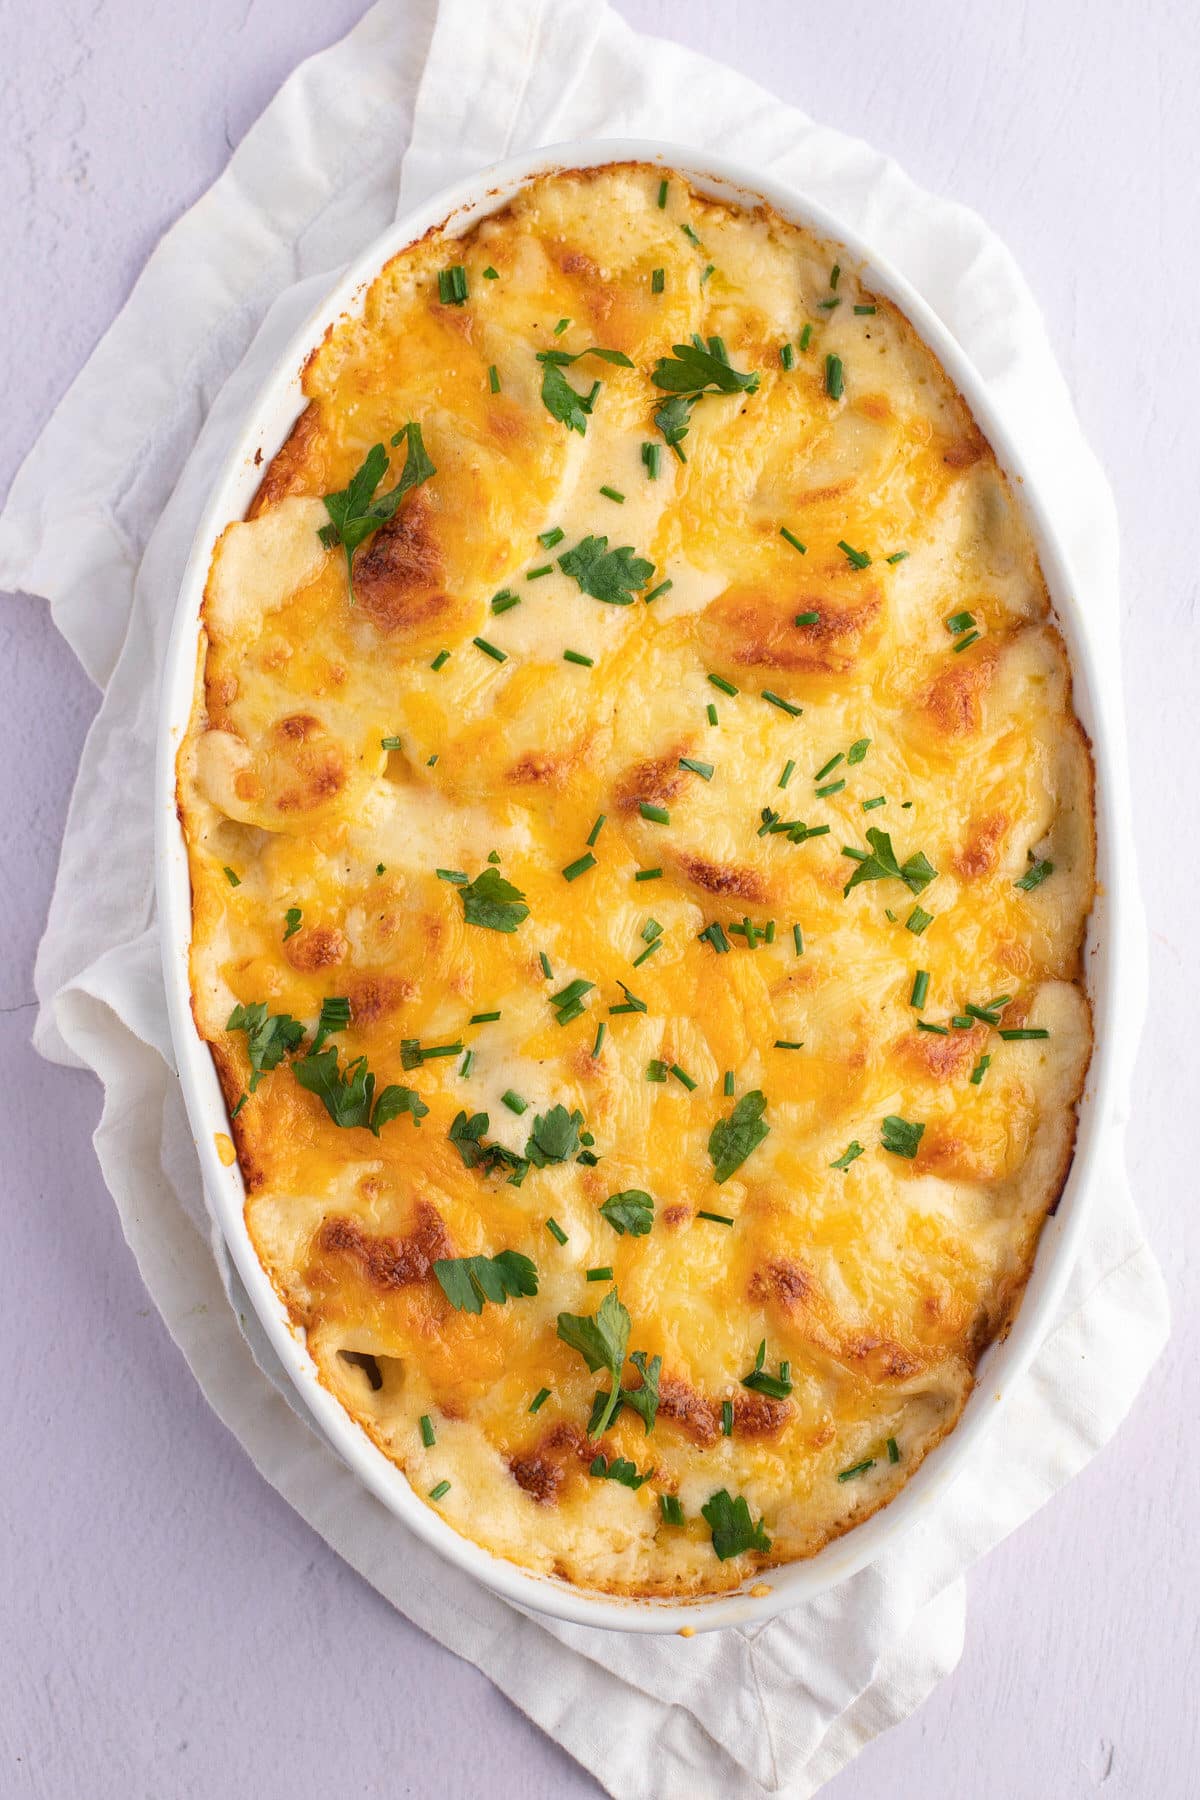
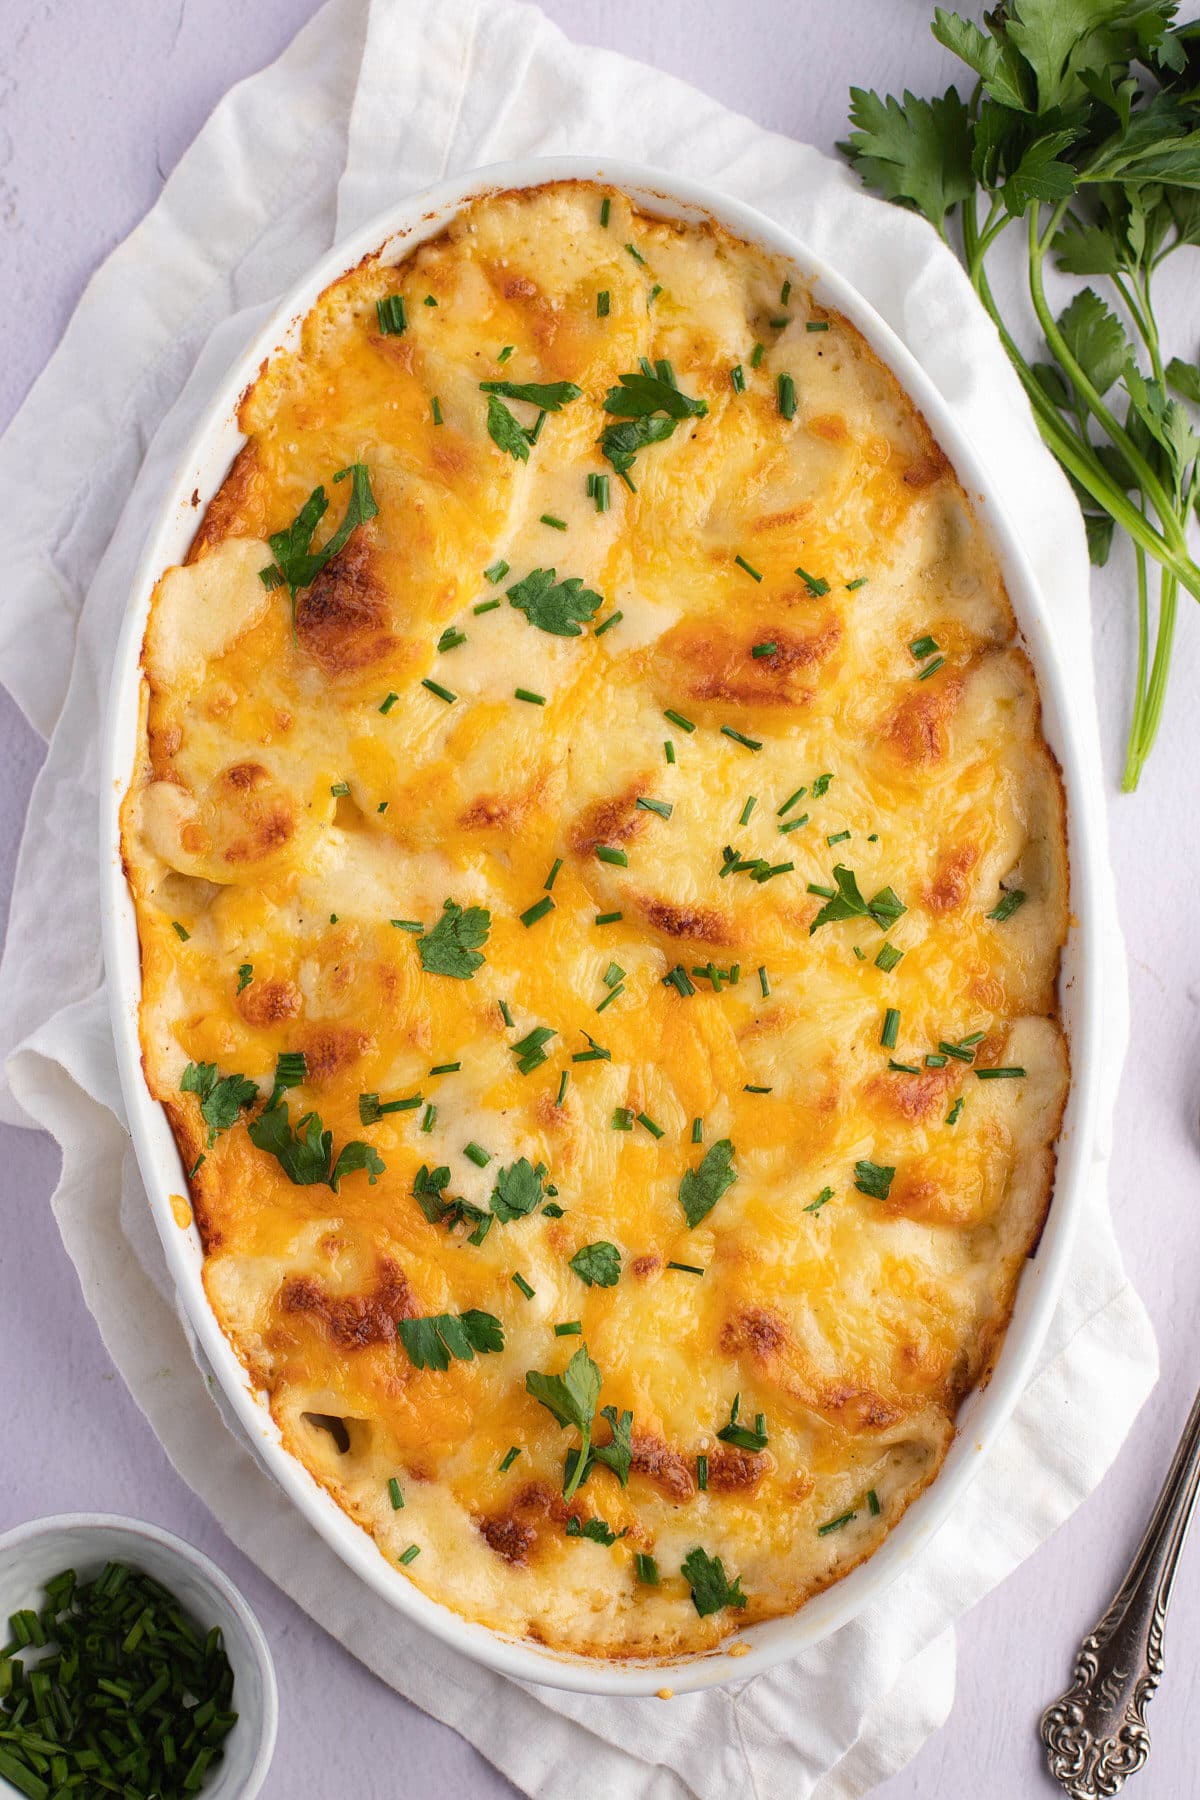
Without doubt, to make scalloped potatoes you need to use a starchy variety of potato. I love to use Yukon Gold and Russets will work well too. When baked in the cheesy creamy sauce, the potato slices get wonderfully tender and fluffy. If you use waxy potatoes like reds, they will remain fairly firm.
If you are planning to serve these cheesy scalloped potatoes as part of a big feast, then making them ahead of time is a great option. You can prep the whole dish an hour or two before you are ready to bake and keep covered in the fridge. I don't recommend you do this too early as the potatoes will start to brown.
You can bake the whole dish up to 2 days ahead of time and reheat it in the oven at 350F for 15 to 20 minutes. Cover with foil so that the cheese doesn't burn.
For the best texture, the potatoes should be thinly and evenly sliced.I like to use a mandolin for speed and ease, though you can cut them by hand too.
These cheesy scalloped potatoes are great with chicken, beef, seafood and pretty much anything! Try them with these favorite recipes:
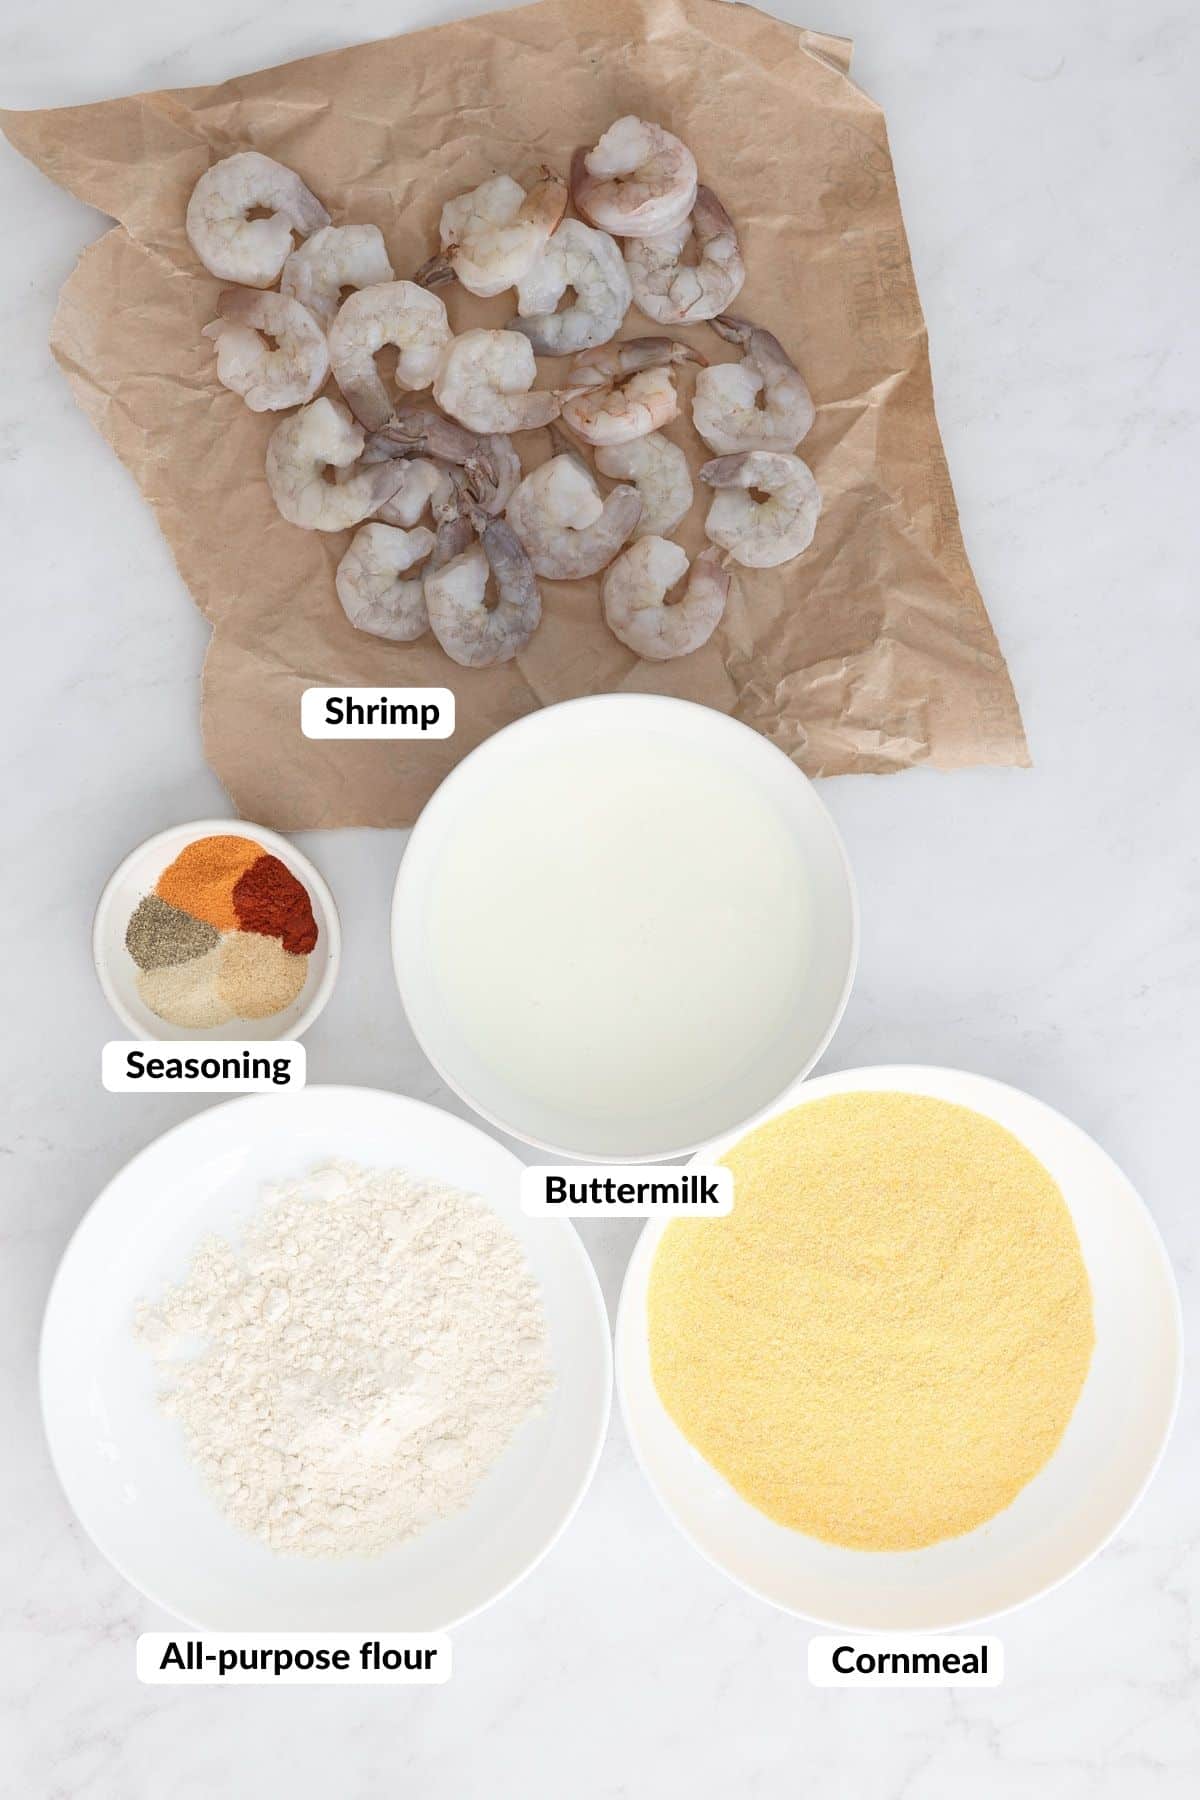
Make up a batch of shrimp po'boy sandwiches quickly and easily in your air fryer. Shrimp are dredged in buttermilk and cornmeal before being air fried to crispy perfection and loaded into sandwiches with remoulade sauce and fresh lettuce and tomato. This is one tasty bite!

This post contains affiliate links, please read my full disclaimer here.
You’ll find the full recipe with ingredient amounts and instructions in the recipe card at the bottom of this post. Be sure to check out the blog post itself for extra tips and tricks!
I am such a seafood lover, and if there is a shrimp po'boy on the menu then I am all in! I love them so much, I just had to make some at home in the air fryer. My friends, the results are amazing! You are going to love these!
These air fryer shrimp po'boy sandwiches are perfect for when you want a tasty treat with not too much effort. Easy to prep and quick to cook, they are ready to serve in less than 30 minutes. The shrimp come out so juicy and crispy, one sandwich may not be enough!
Serve them up as a tasty Friday night family dinner, or, the recipe is easily doubled if you are feeding a crowd! There's no bad time for these beauties!
Be sure to try my Crispy Air Fryer Fried Shrimp and Southern Style Shrimp and Grits too!

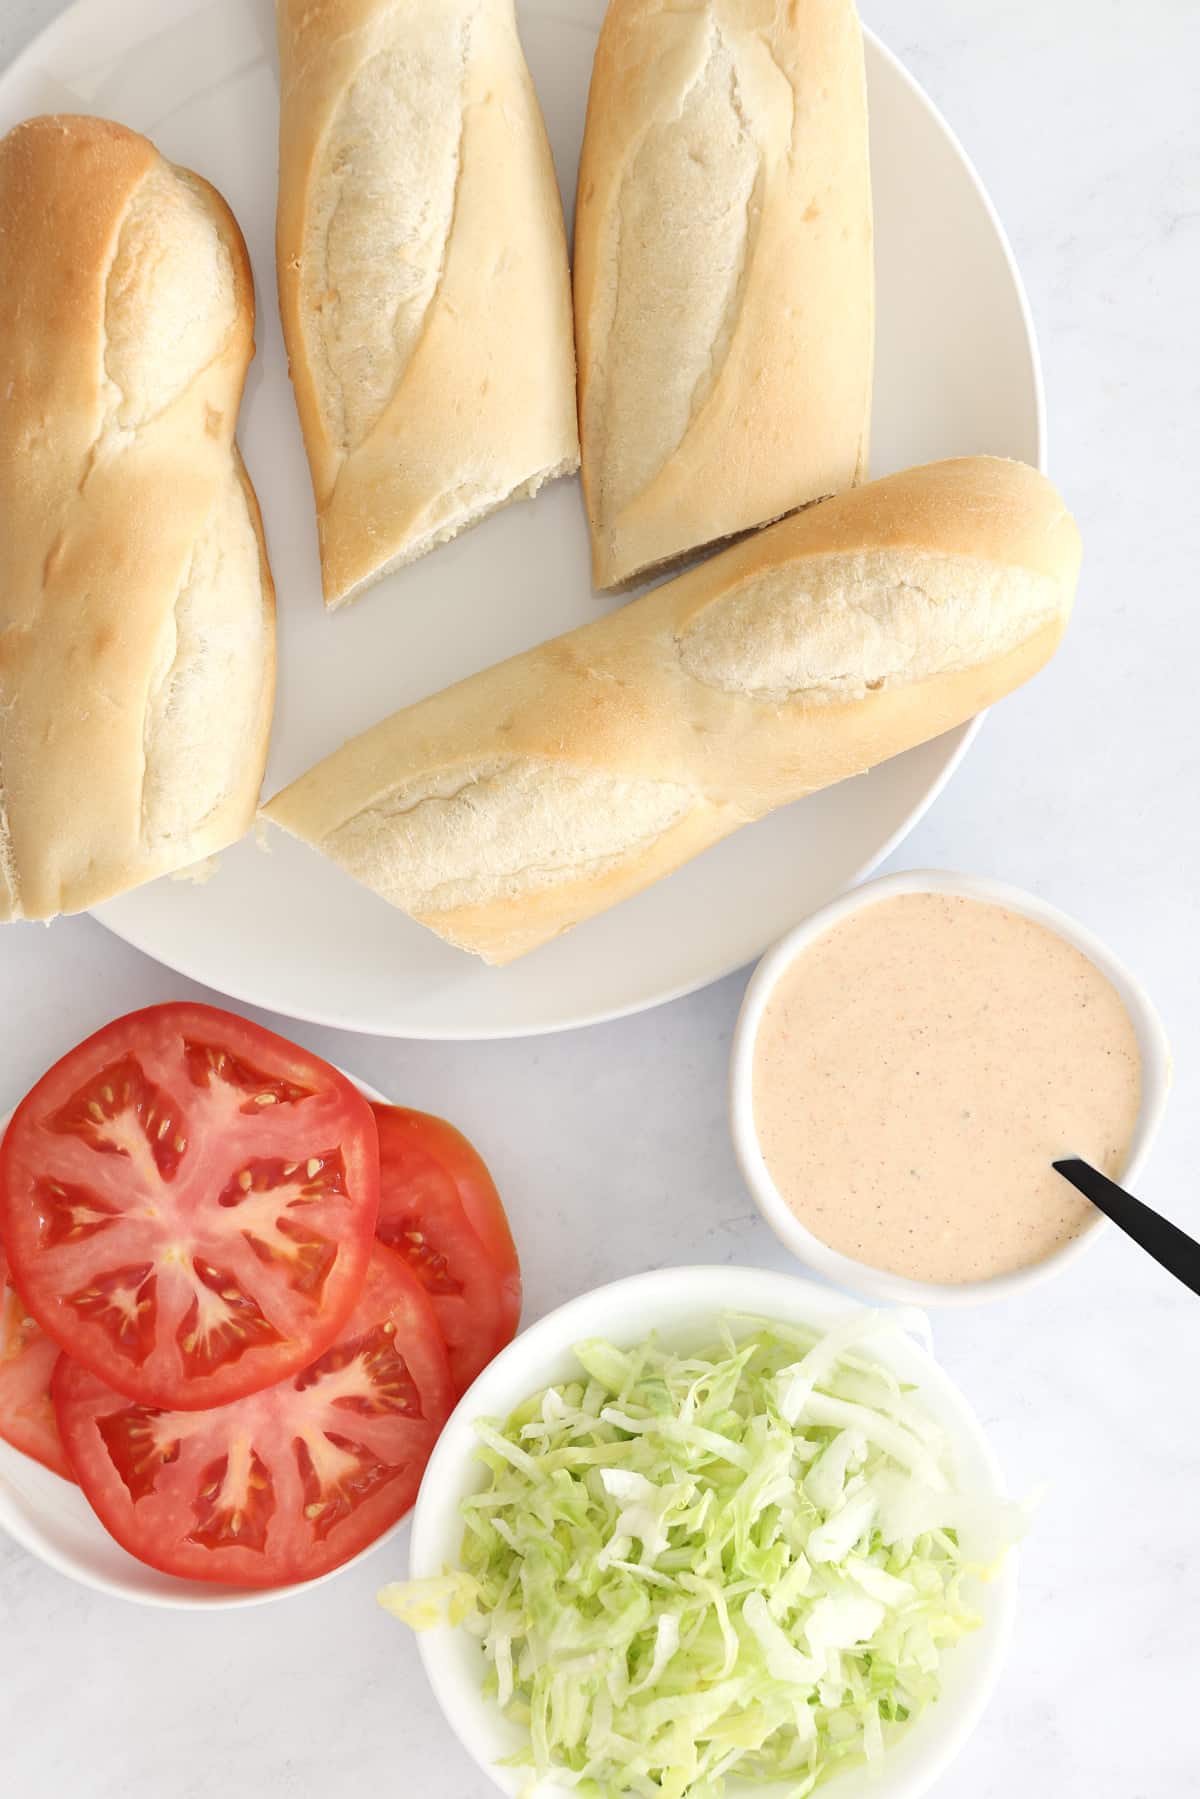
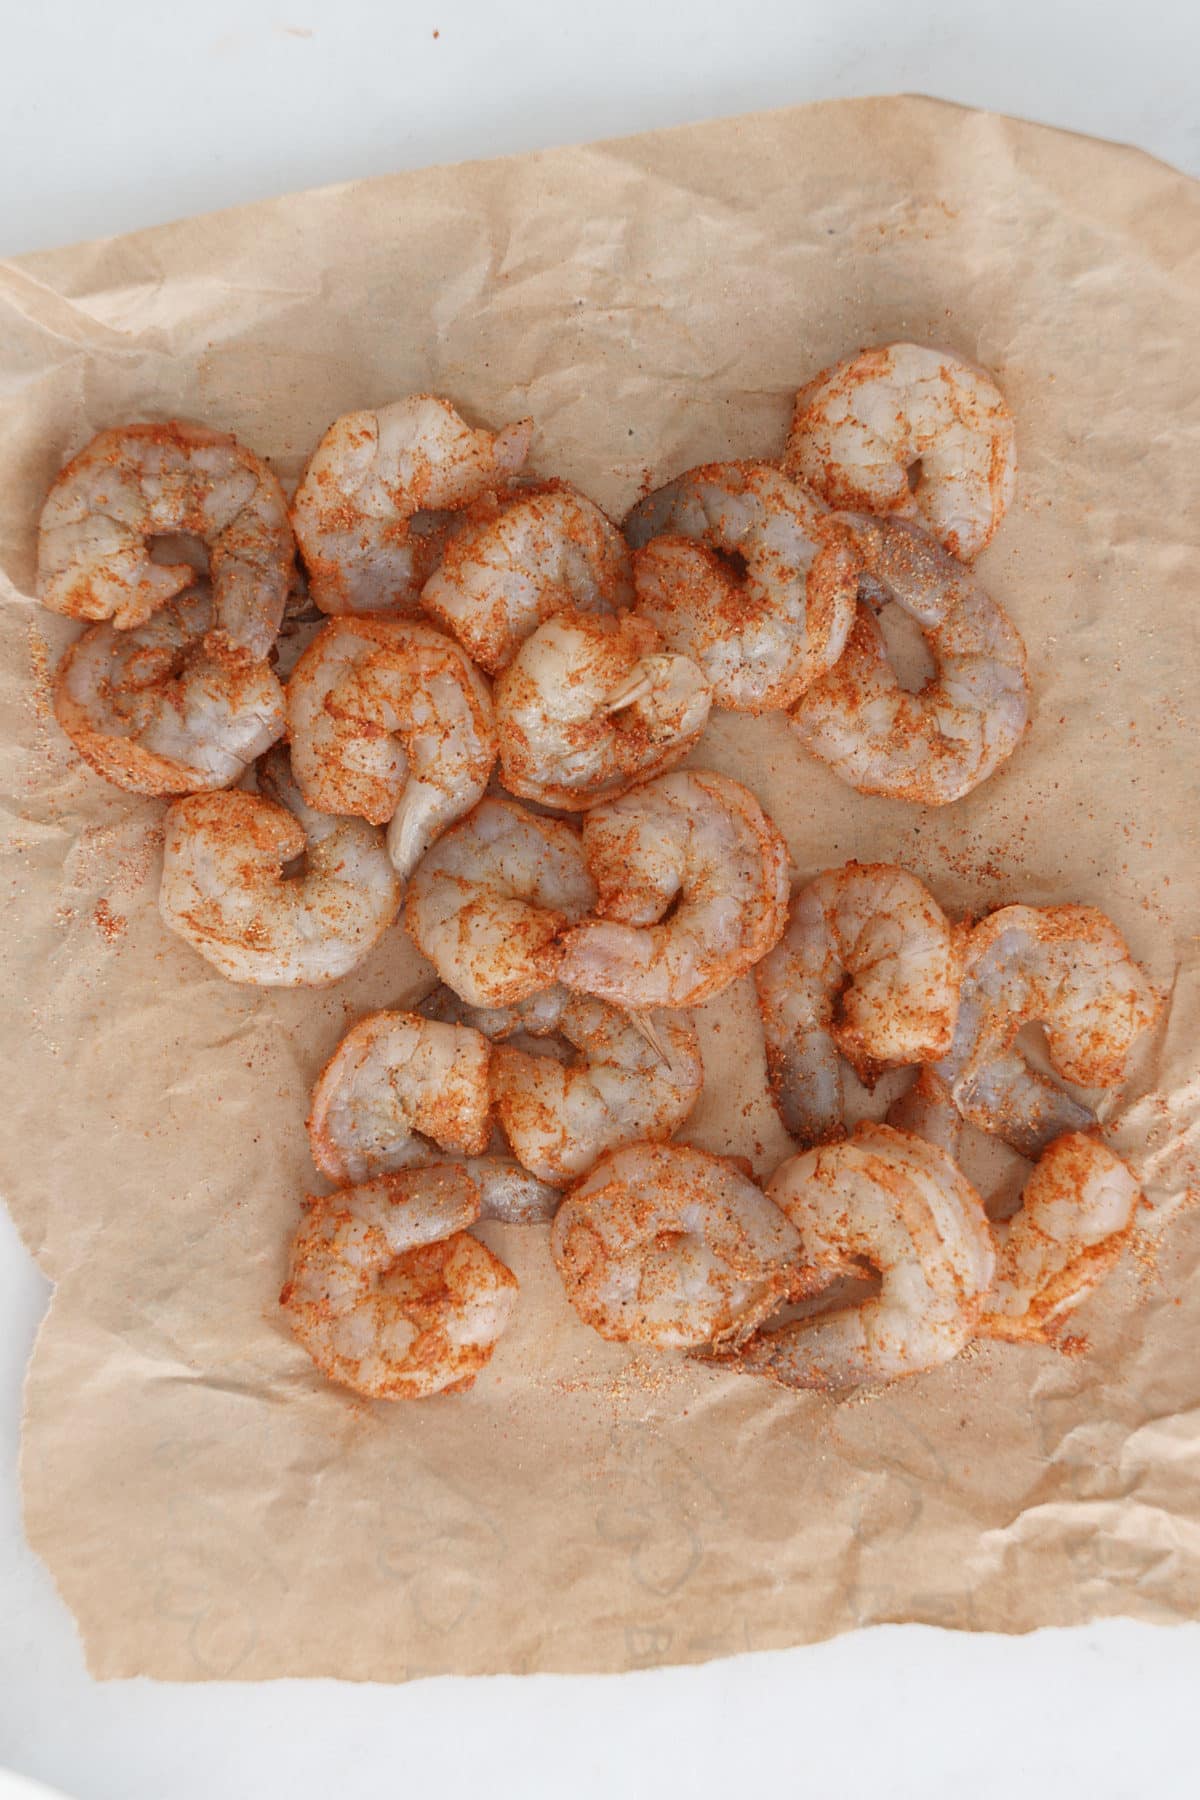
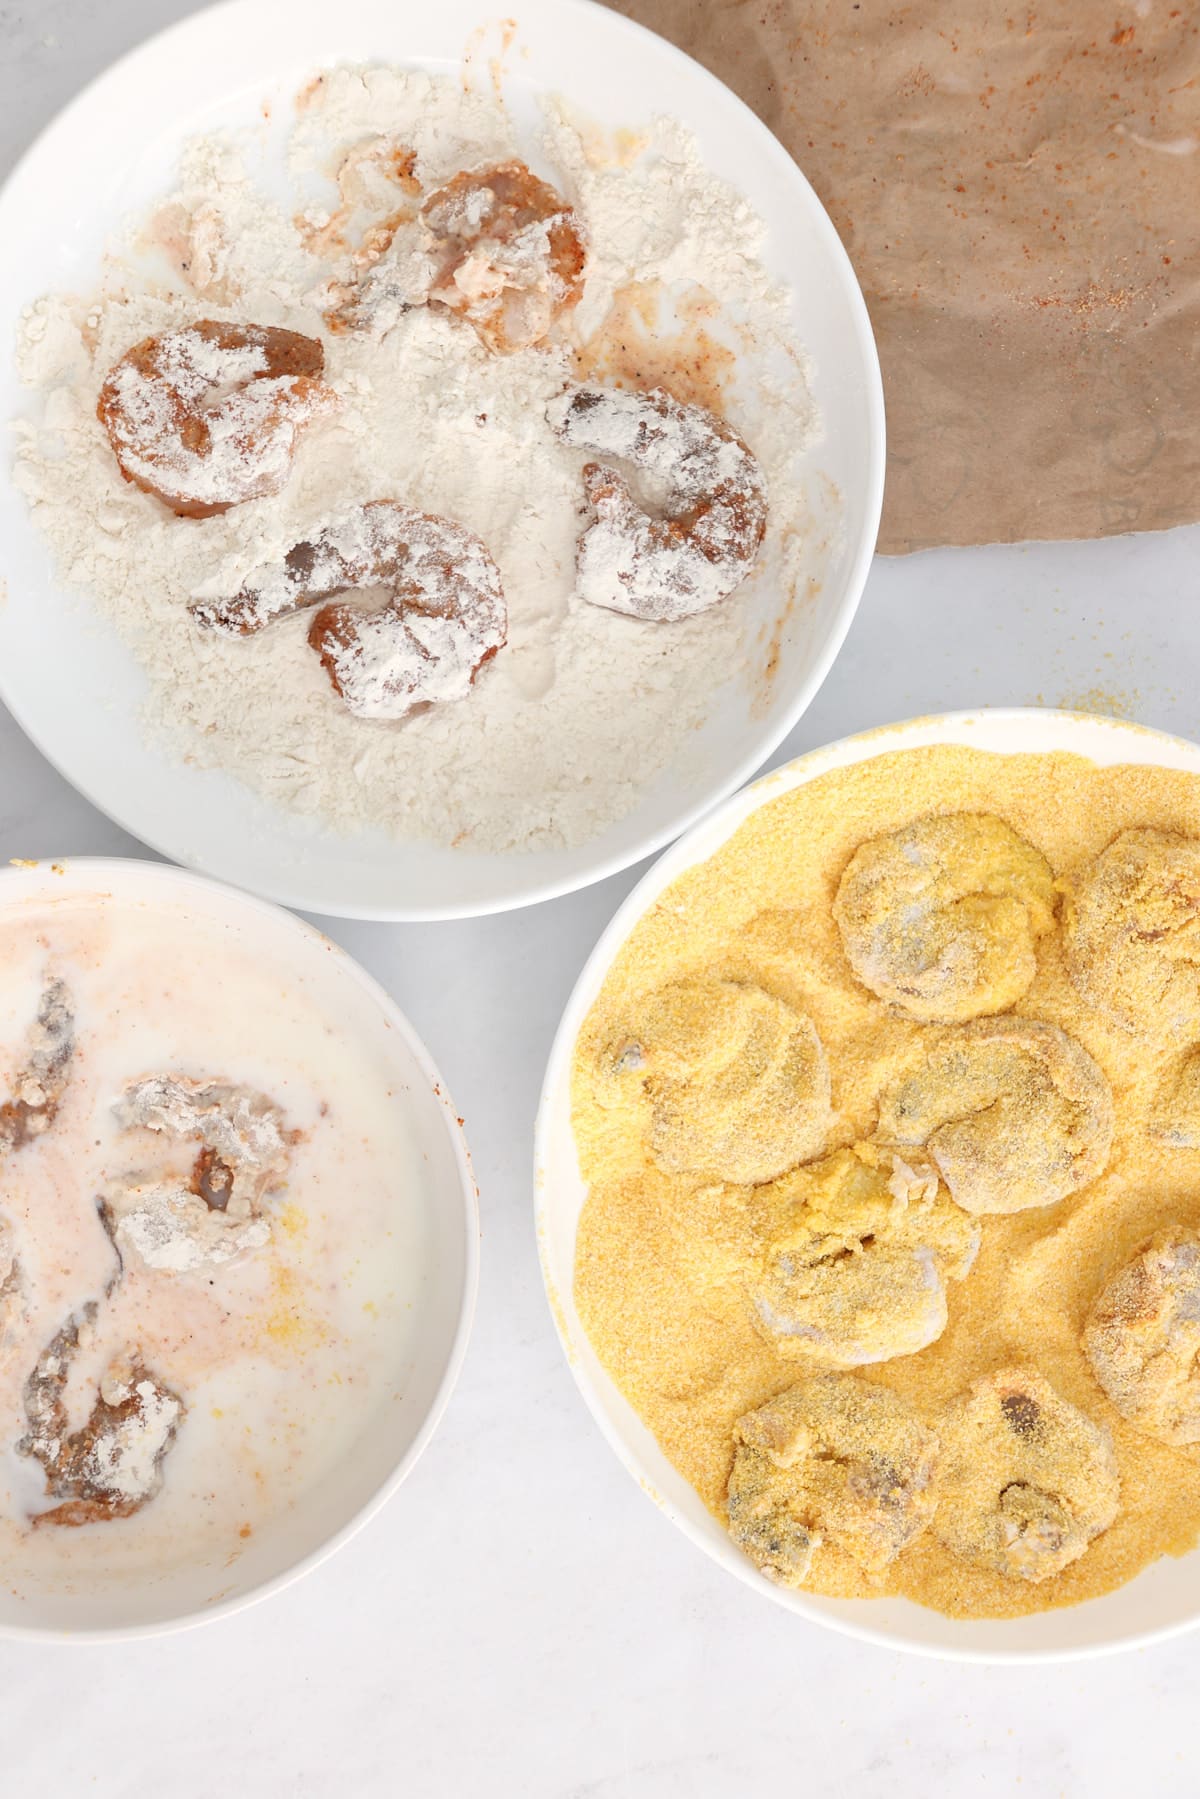
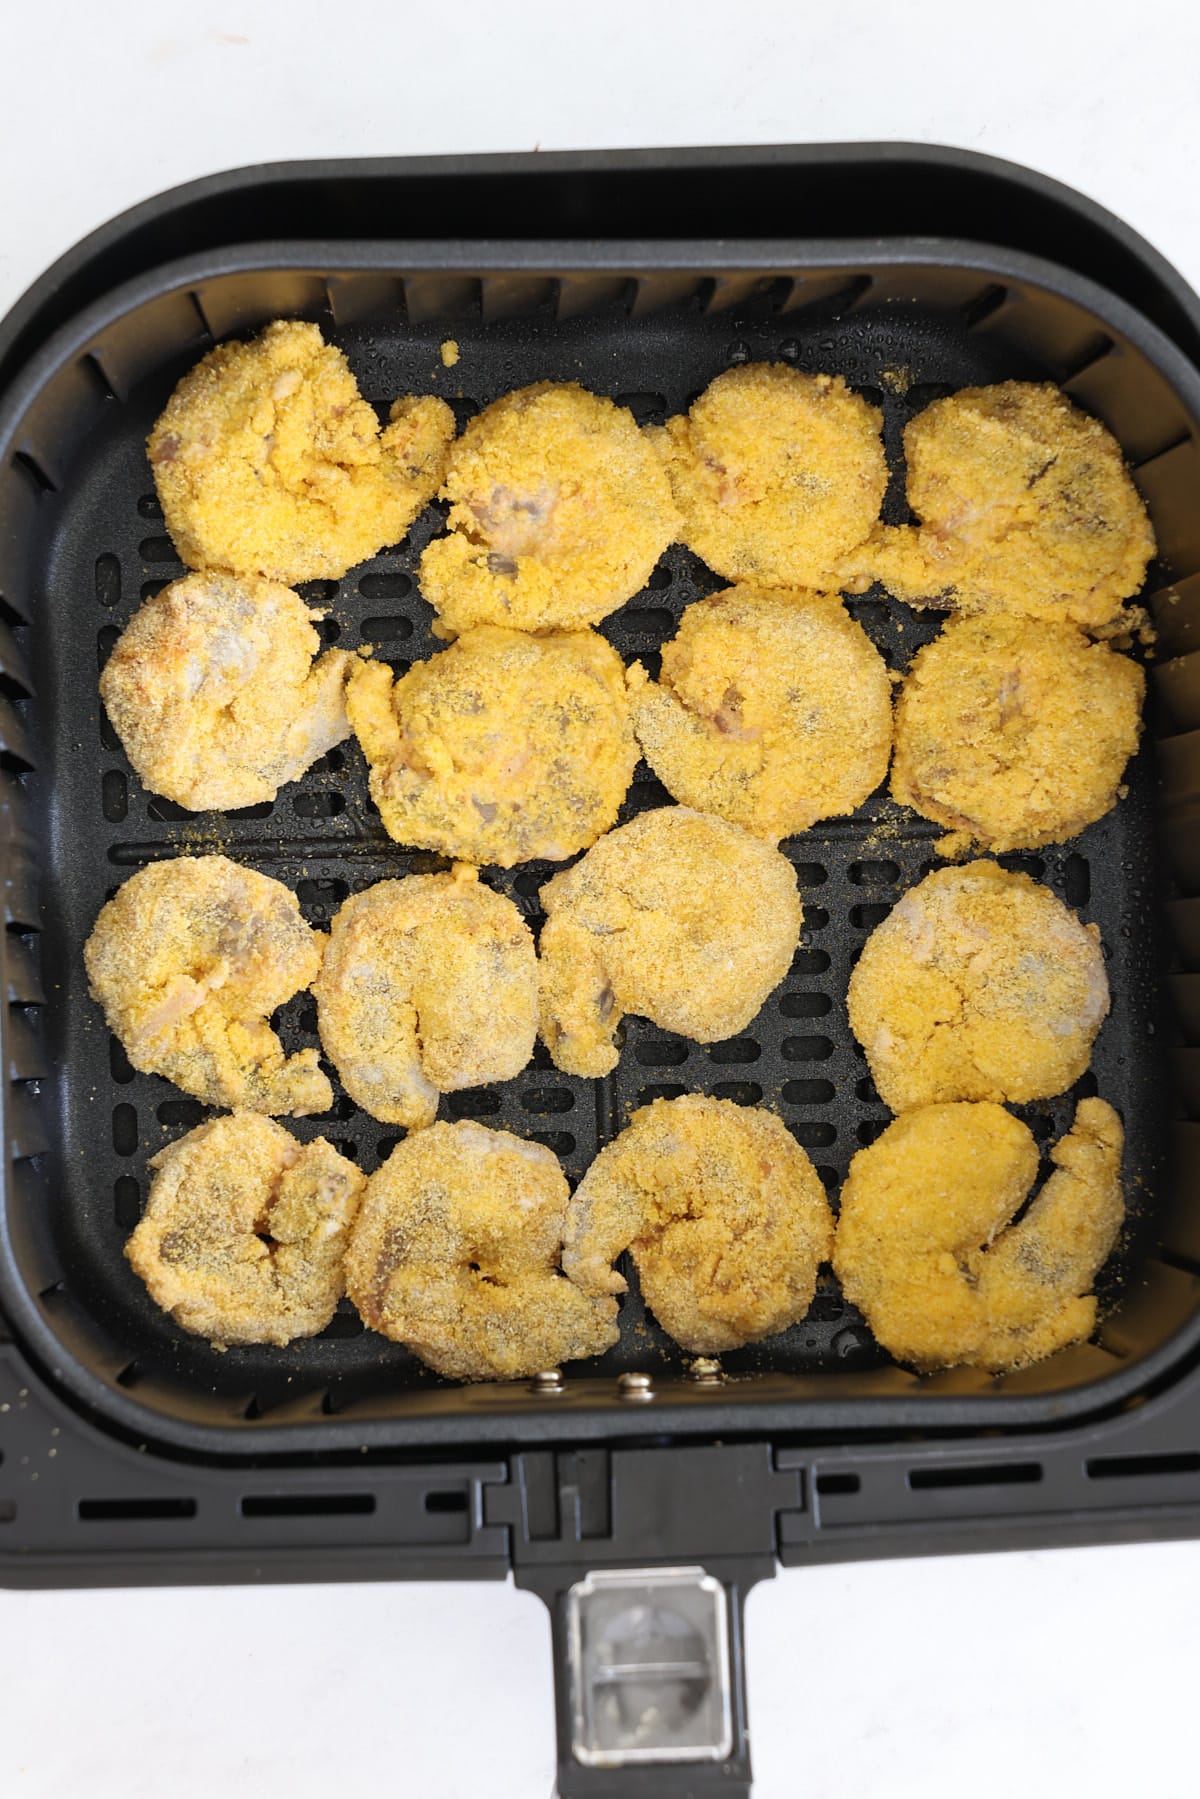
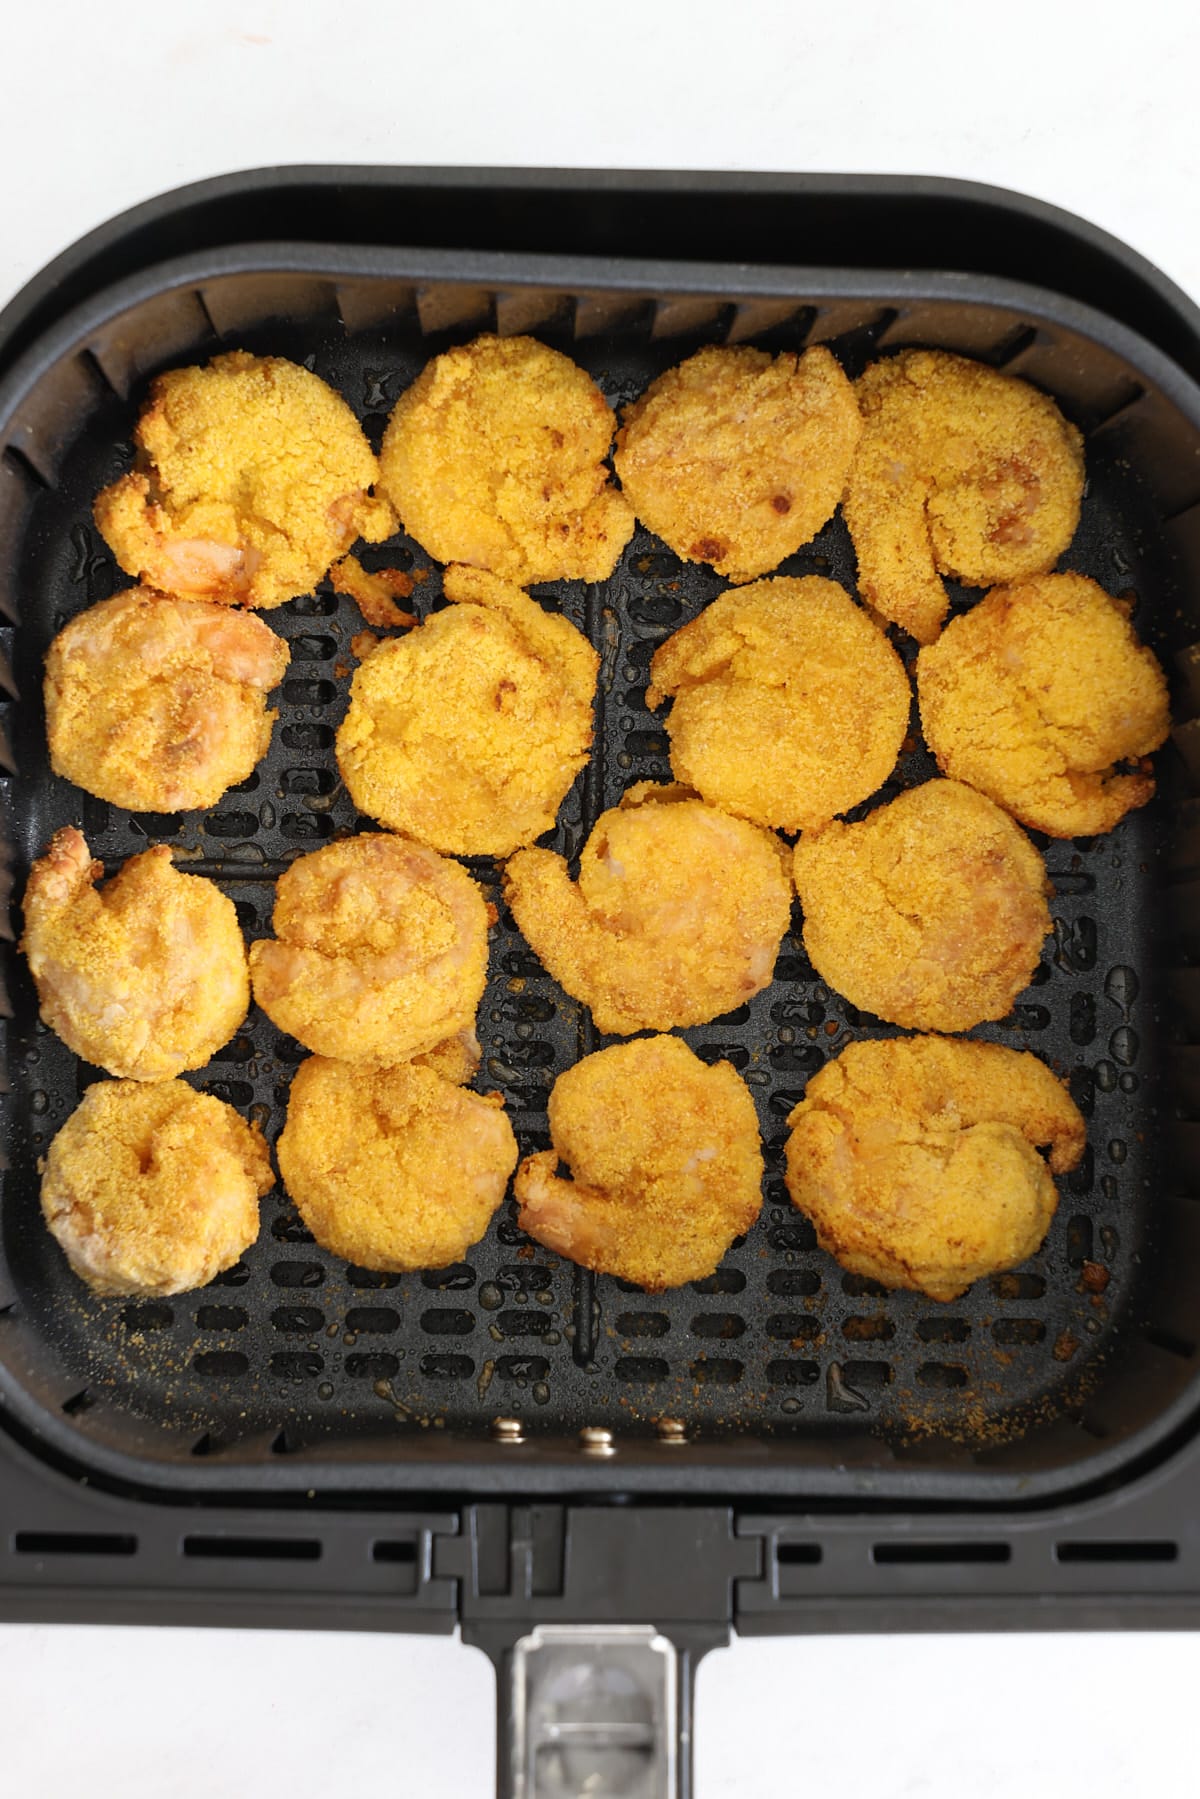
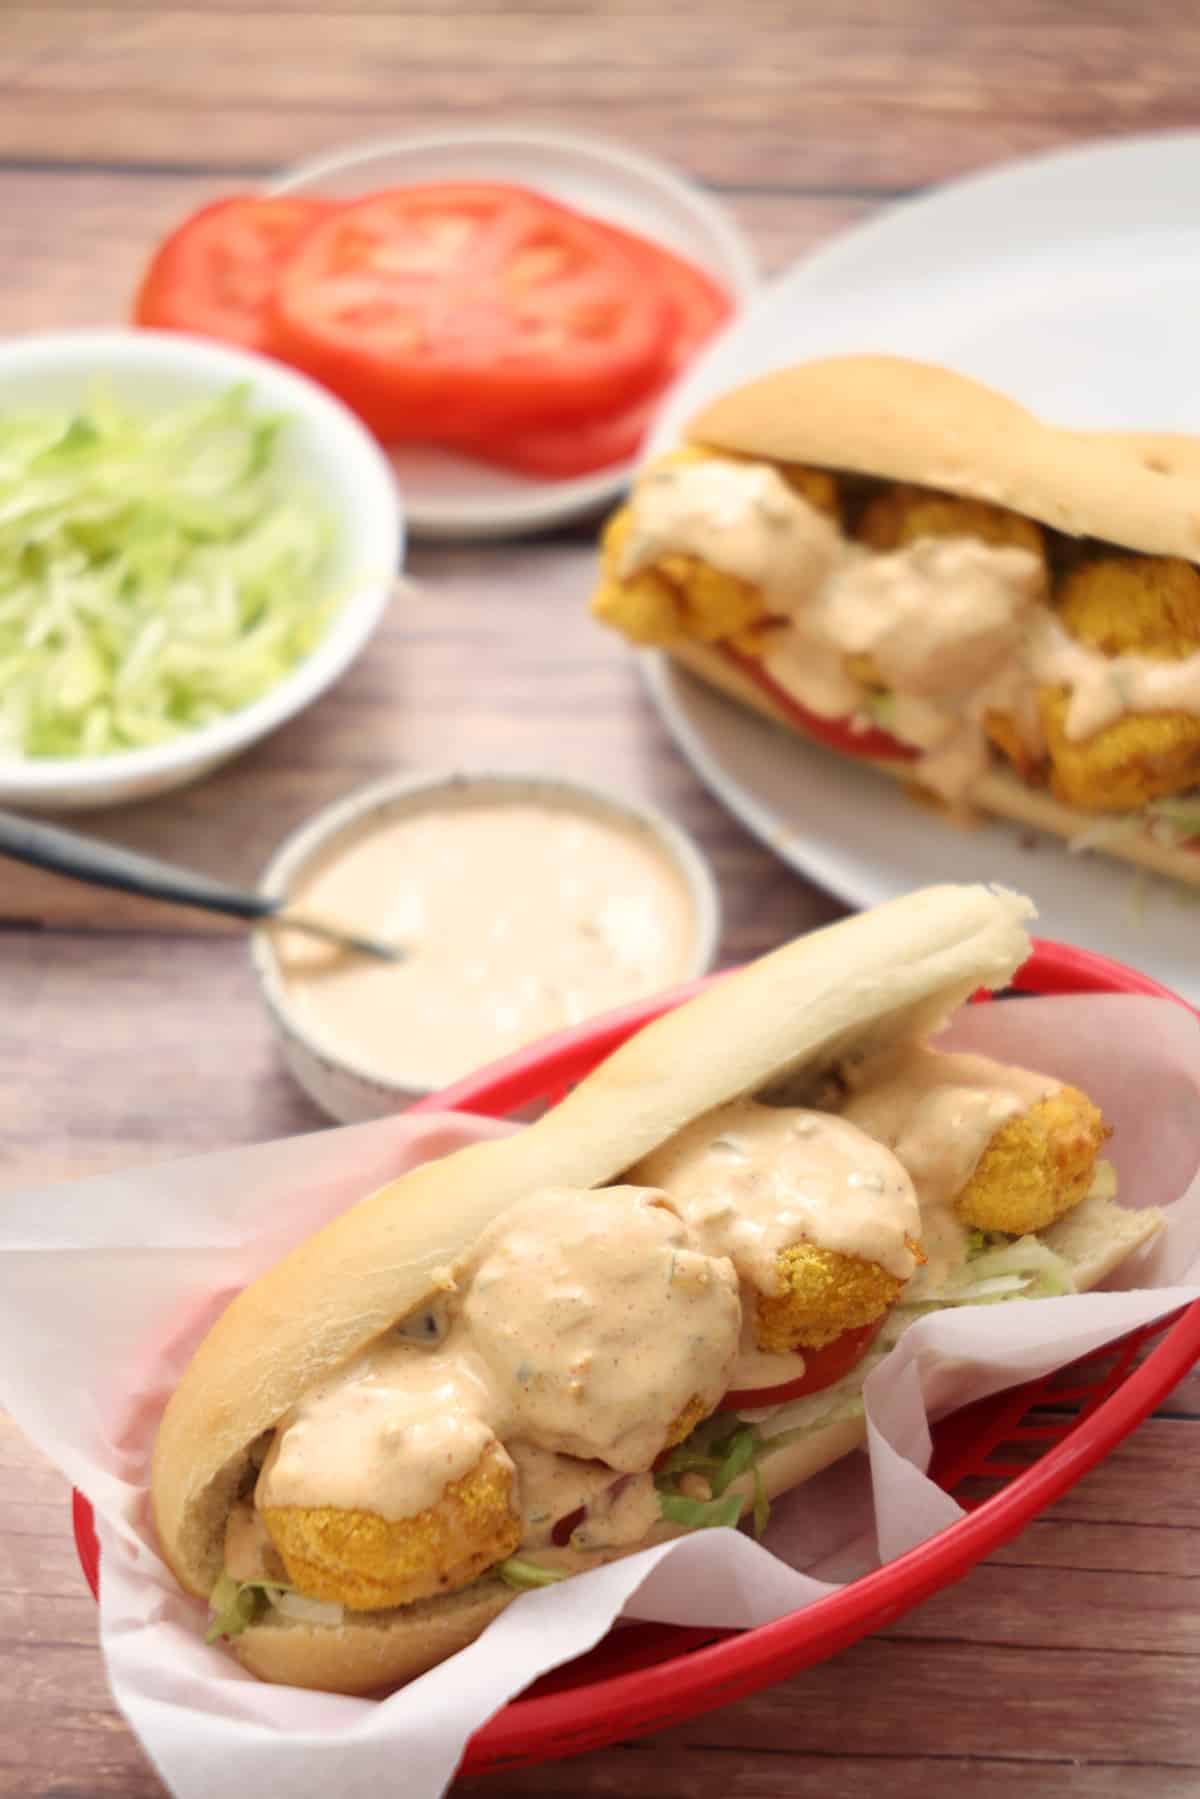
I am in no doubt that a creamy remoulade sauce, with a bit of heat and tang, is the most perfect addition to these sandwiches. I use my homemade remoulade sauce for this recipe, it's wonderfully flavorful but not too spicy, and you can easily adapt it to suit your tastes. It only takes a few minutes to make, but you can of course use store bought too.
I prefer to use fresh shrimp, if using frozen, make sure that they are fully thawed before you start. The tails and shells should be removed, and they will need to be de-veined (remove the black line that runs down the back of each shrimp). Lightly pat the shrimp with kitchen paper to remove any excess water as this will help them to get nice and crispy. Then season, dredge and air fry!
These sandwiches are best built just before serving, but you can make the shrimp ahead of time and reheat them in the air fryer to serve. Once cooked, let the shrimp cool before storing in the fridge in an airtight container for up to 3 days. Reheat them in the air fryer at 360F for 4 to 4 minutes to get them nice and crispy again.
These air fryer shrimp po'boy sandwiches are nice and filling by themselves, but you can easily serve them with favorite sides like:

There are many types of onions and knowing which type of onion to use and when will add flavor and dimension to your cooking all season long!
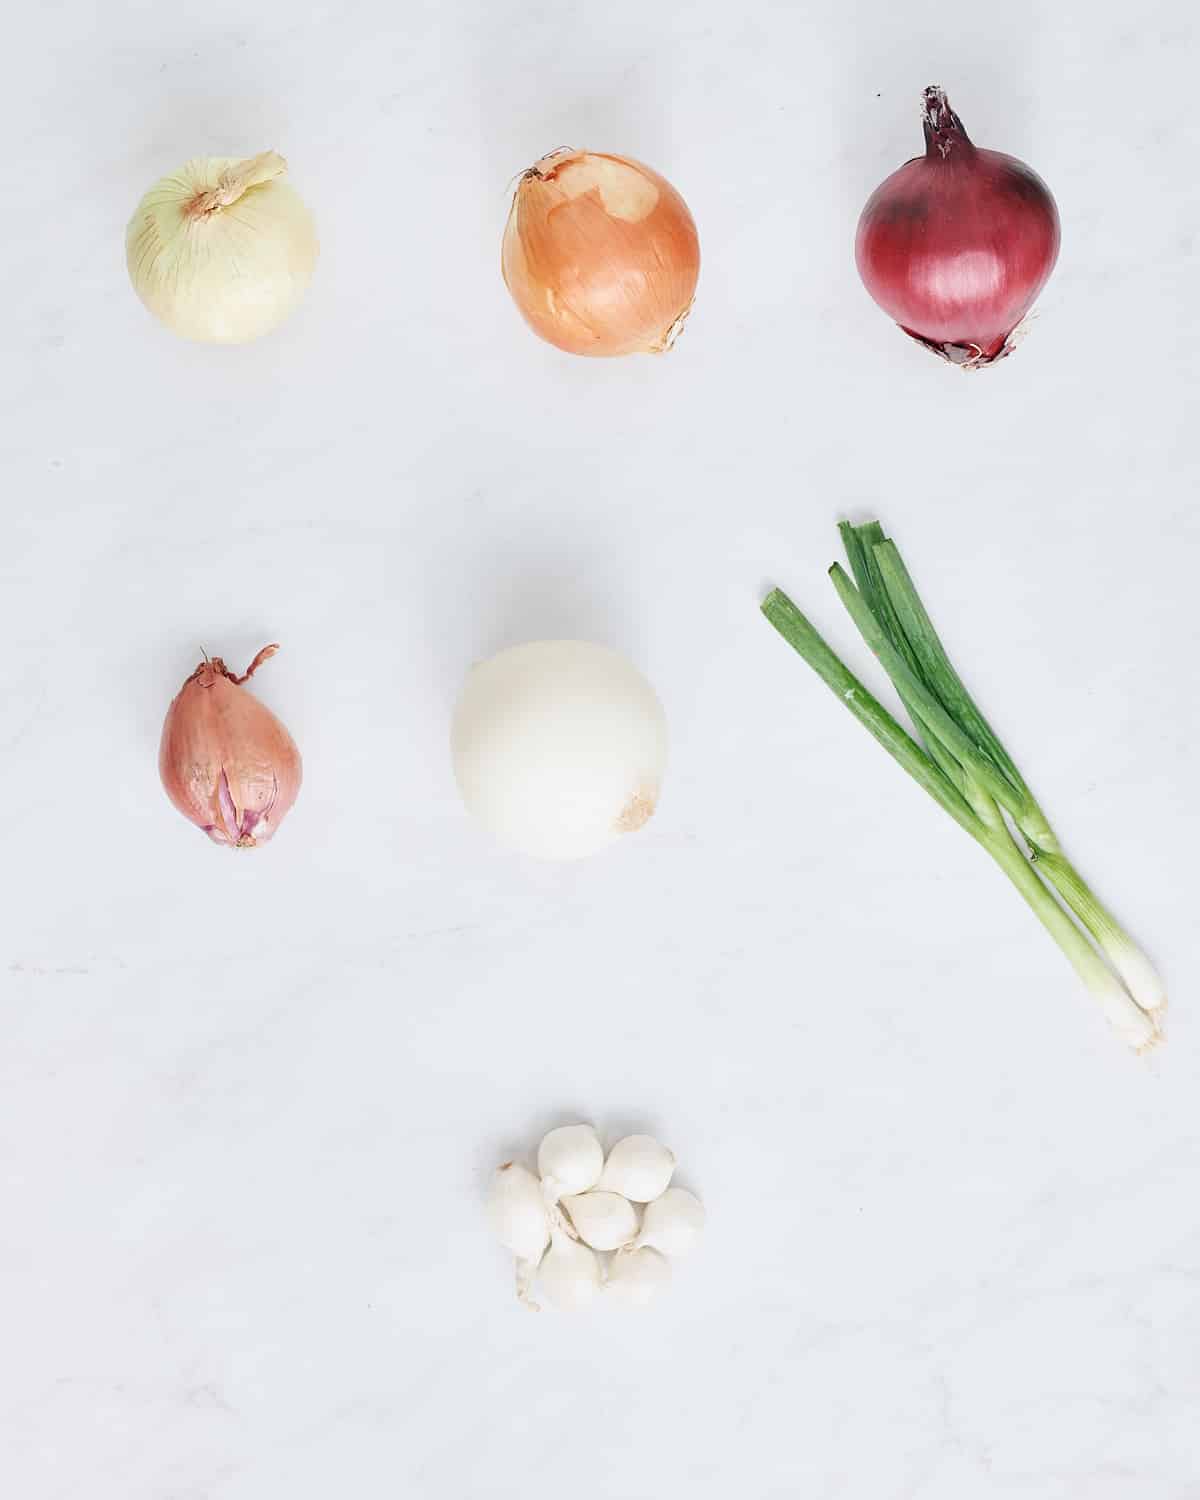
Onions are a versatile ingredient used in everything from roasted meats and pasta to soups and stews. They’re even added to some cocktails! They can be sweet and mild, or savory and intense. There are dozens of types of onions out there, and each onion variety has its own unique flavor profile, and purpose in the kitchen.
Knowing which type of onion to use, and when, will give you the perfect flavor every time. Take a look at this quick guide to help you navigate onions with ease.
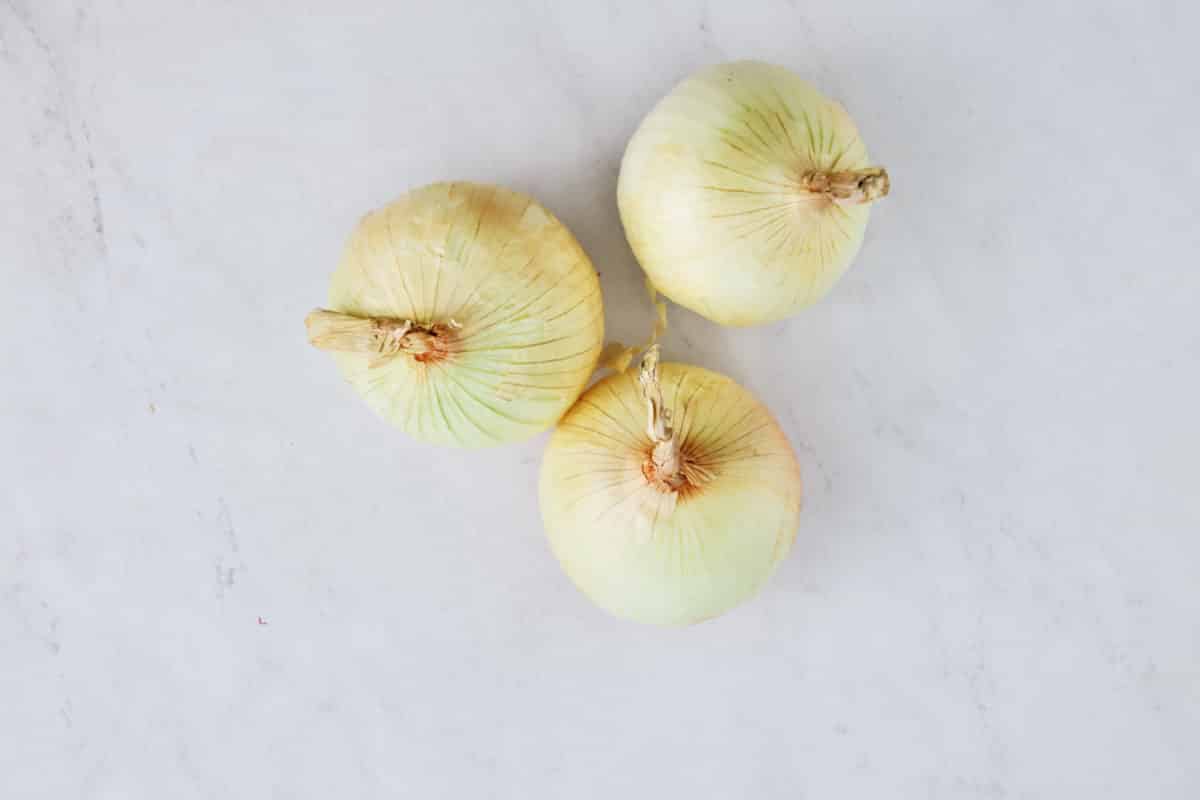
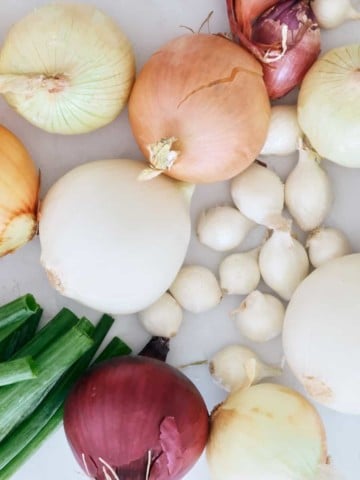
Sweet onions are mild onions, and they’re wildly popular in the kitchen. Different types of sweet onions include Walla Walla, Vidalia, and Texas Sweet. The softer, sweeter flavors found in sweet onion varieties are due to the lack of sulfur in these onions. The more sulfur an onion has, the more pungent its flavor - and scent.
Chefs love adding sweet onions to relish recipes, onion dips, or caramelizing them for hamburgers, roast chicken dishes, or game day hot dogs. This sweet onion dressing is also a delicious salad dressing where the sweet onion is the star.
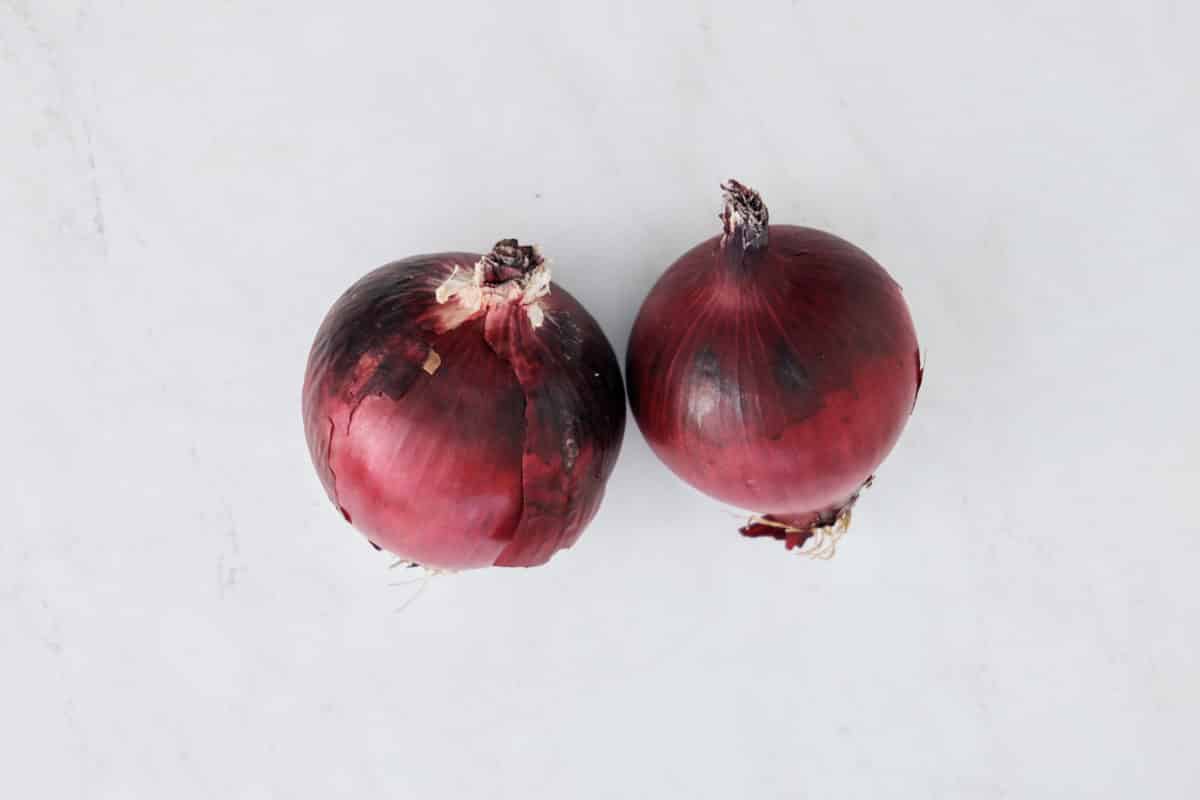
Red onions have a distinct flavor that’s intense and slightly peppery. To achieve a mellower flavor, many people make pickled red onions, or grill them for vegetable platters and sandwiches. Raw red onions can also be used in side dishes like cabbage slaws. The bright red and purple coloring of red onions doesn’t just give a flavor boost to leafy salads, it adds a nice pop of color too.
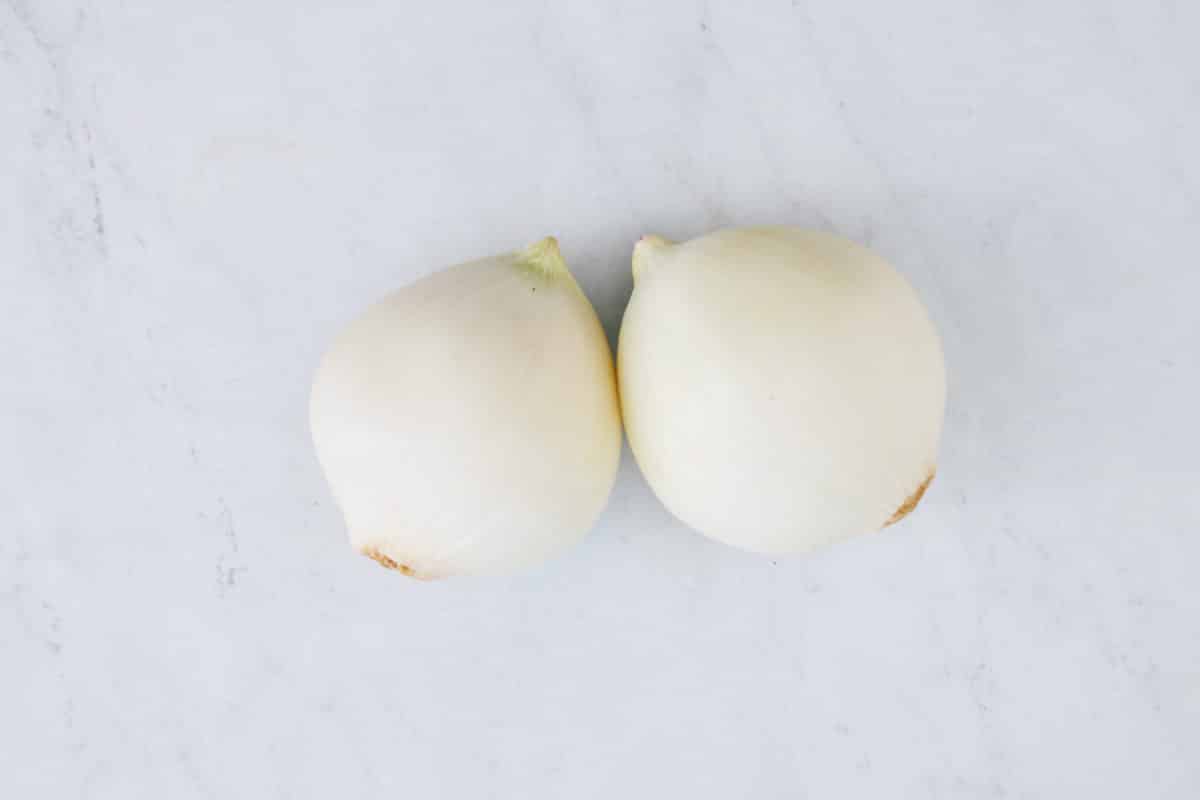
The first thing you may notice when you cut into a white onion is its crispness, which comes from this onion’s high water content. Like red onions, white onions can be pickled for use in vinaigrettes, added to Mexican dishes like guacamole and tacos, or used as a base in soups, and stir-fries. White onions are also the best onions to use for onion rings.
White onions can also be substituted for yellow onions in most recipes.
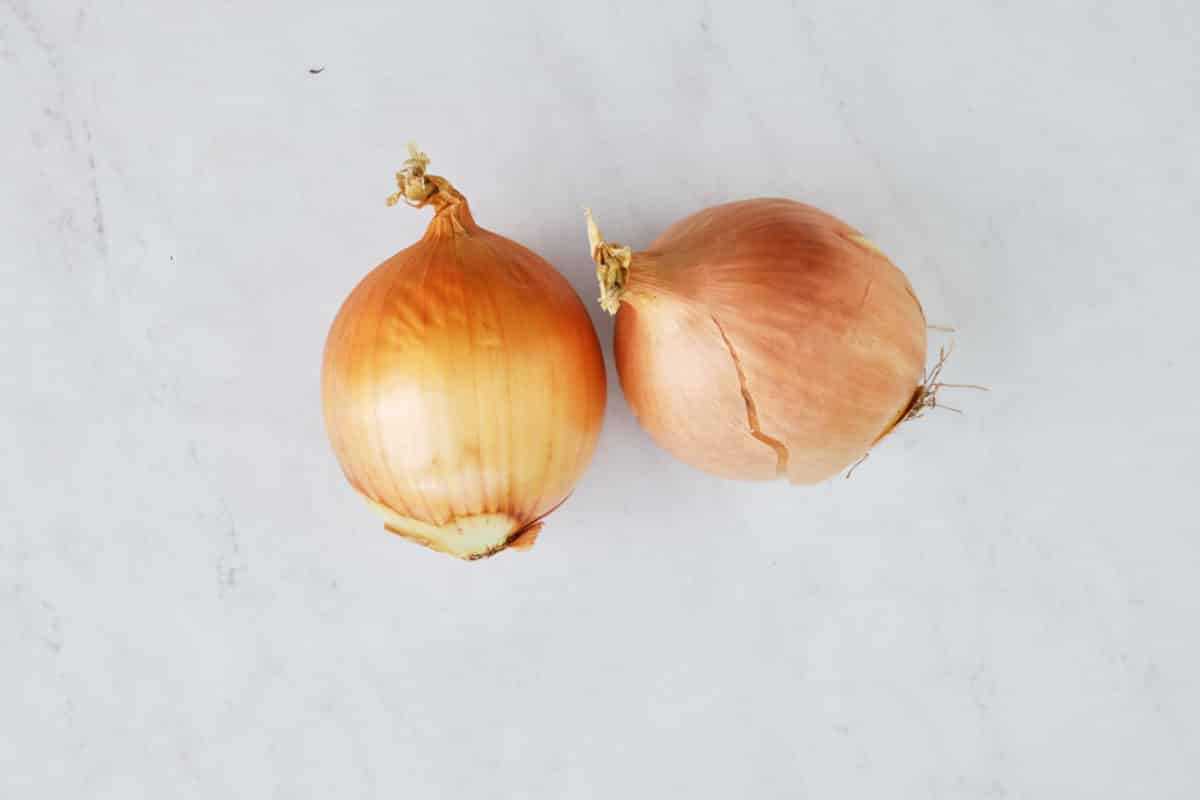
Next to white onions, yellow onions are the most popular cooking onion. You’ll find them piled high at nearly every grocery store. Like white onions, yellow onions have a higher sulfur content but, when cooked, they become sweet and mellow. This makes yellow onions great for recipes that require caramelized onions.
Yellow onions are kind of a jack-of-all-trades, so if you’re ever unsure which onion to use in a recipe, a yellow onion is the safest bet. They are great in soups, stews, and chilis, like this chicken chili.
It’s worth noting that in some places, yellow onions are called brown onions.
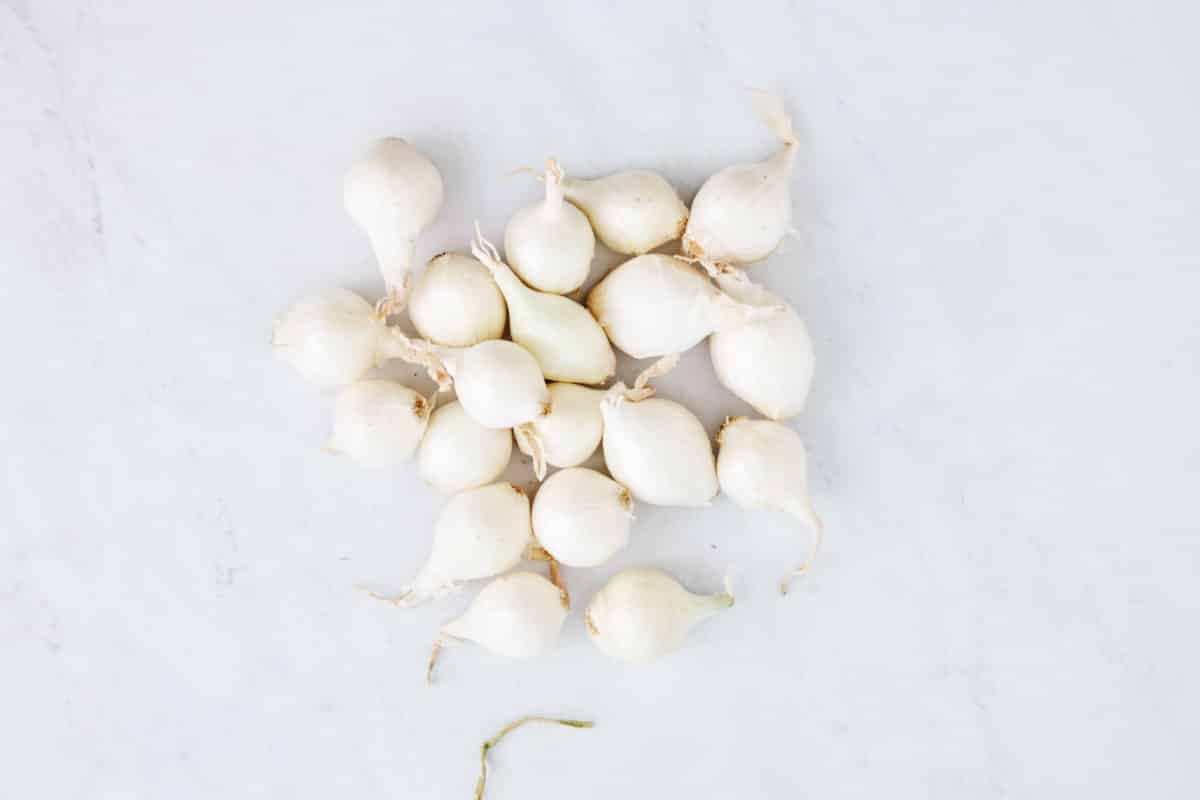
These small onions just might be the only onion that can do double duty in the kitchen, and the home bar, if you happen to enjoy a classic Gibson Martini.
They are small, bulb onions that have a soft, sweet taste. White pearl onions are the most common type of pearl onion, but you may also find red or yellow pearl onions periodically.
If you have a recipe that calls for pearl onions, but you’re short on time, you can typically find frozen packages of pearl onions at your local grocery store. These pre-peeled onions can quickly and easily be added to just about any recipe that requires pearl onions.
These onions are a crucial ingredient in everyone's favorite French bistro dish, coq au vin. These onions can also be pickled, caramelized, or creamed and served as a side dish.
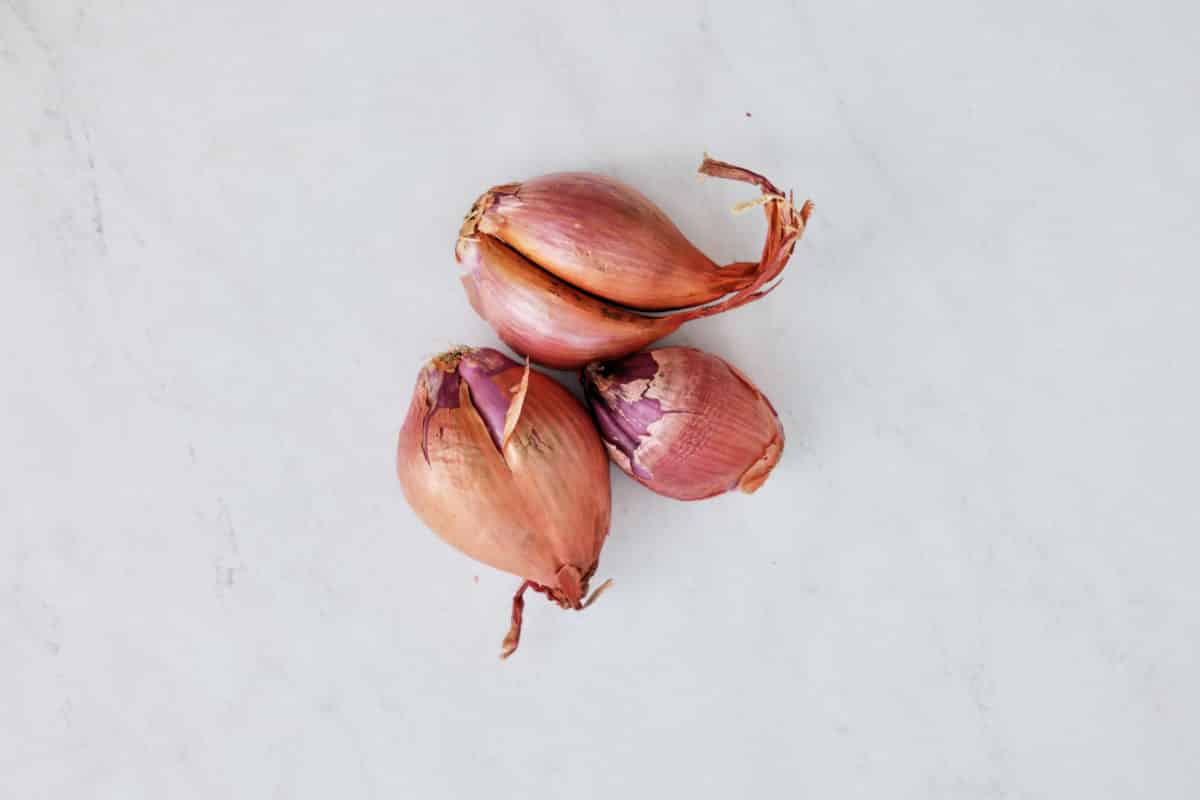
Milder and sweeter than most onion varieties, the shallot is a kitchen staple every home cook should have in their pantry. Slice shallots and serve them on top of grilled steak, or dice them for salad dressings. Shallots are frequently used in French recipes and you’ll see them in red and white wine sauces, tartins, and vinaigrette dressings.
What’s great about this type of onion is that when they’re stored properly, shallots have a long shelf life: up to two months! Place them in a cool dry area of your kitchen that gets plenty of air circulation. A cupboard or pantry shelf works great.
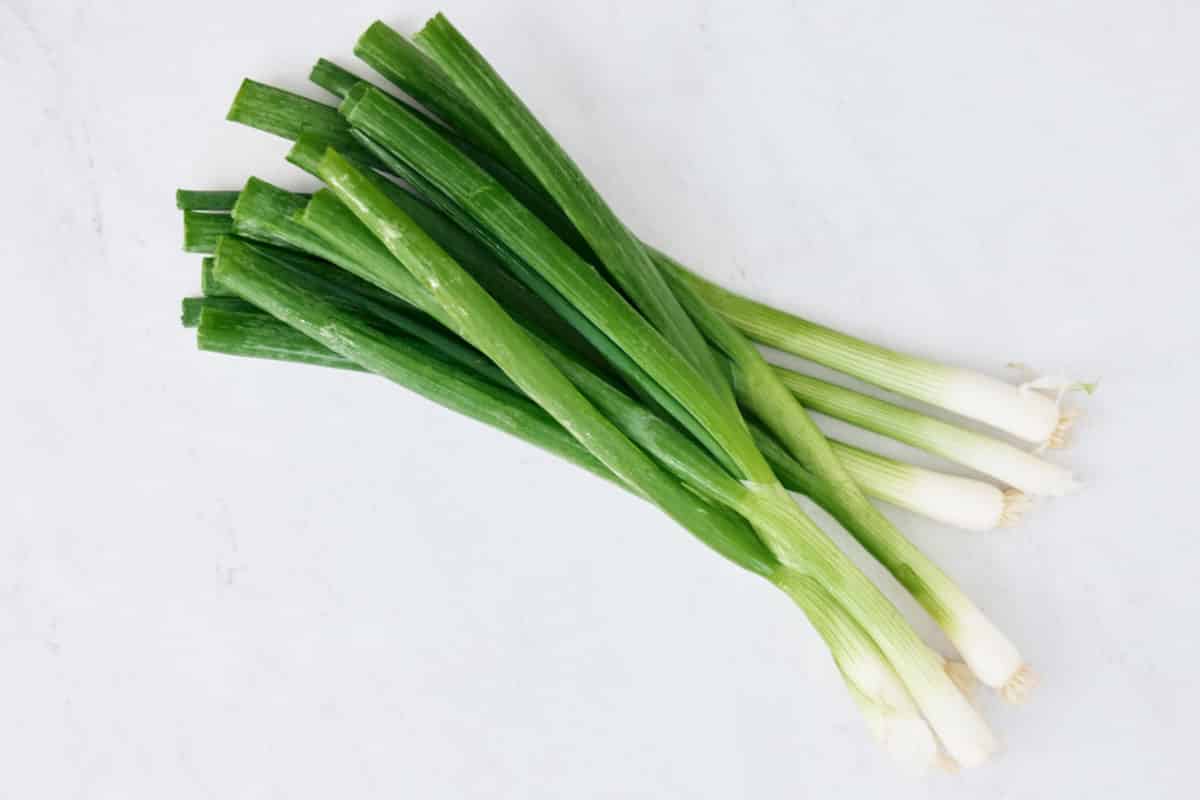
Scallions are long-necked onions with a small bulb at the end of the stalk. These onions are the result of harvesting other types of onions early. Unlike their onion counterparts, scallions are sold in bunches. Both the green shoots (or neck), and the small onion bulb, are edible and useful in the kitchen.
The bulb of the scallion has a flavor similar to a mild white onion, while the shoots have an aromatic, almost herbaceous taste.
You'll find scallions in many Caribbean-based recipes. Scallions can be slow-cooked or braised whole and served alongside chicken or fish dishes. Green scallion shoots can be sliced and added to a ton of recipes like stir-frys, soups, dips, and ramen noodles.
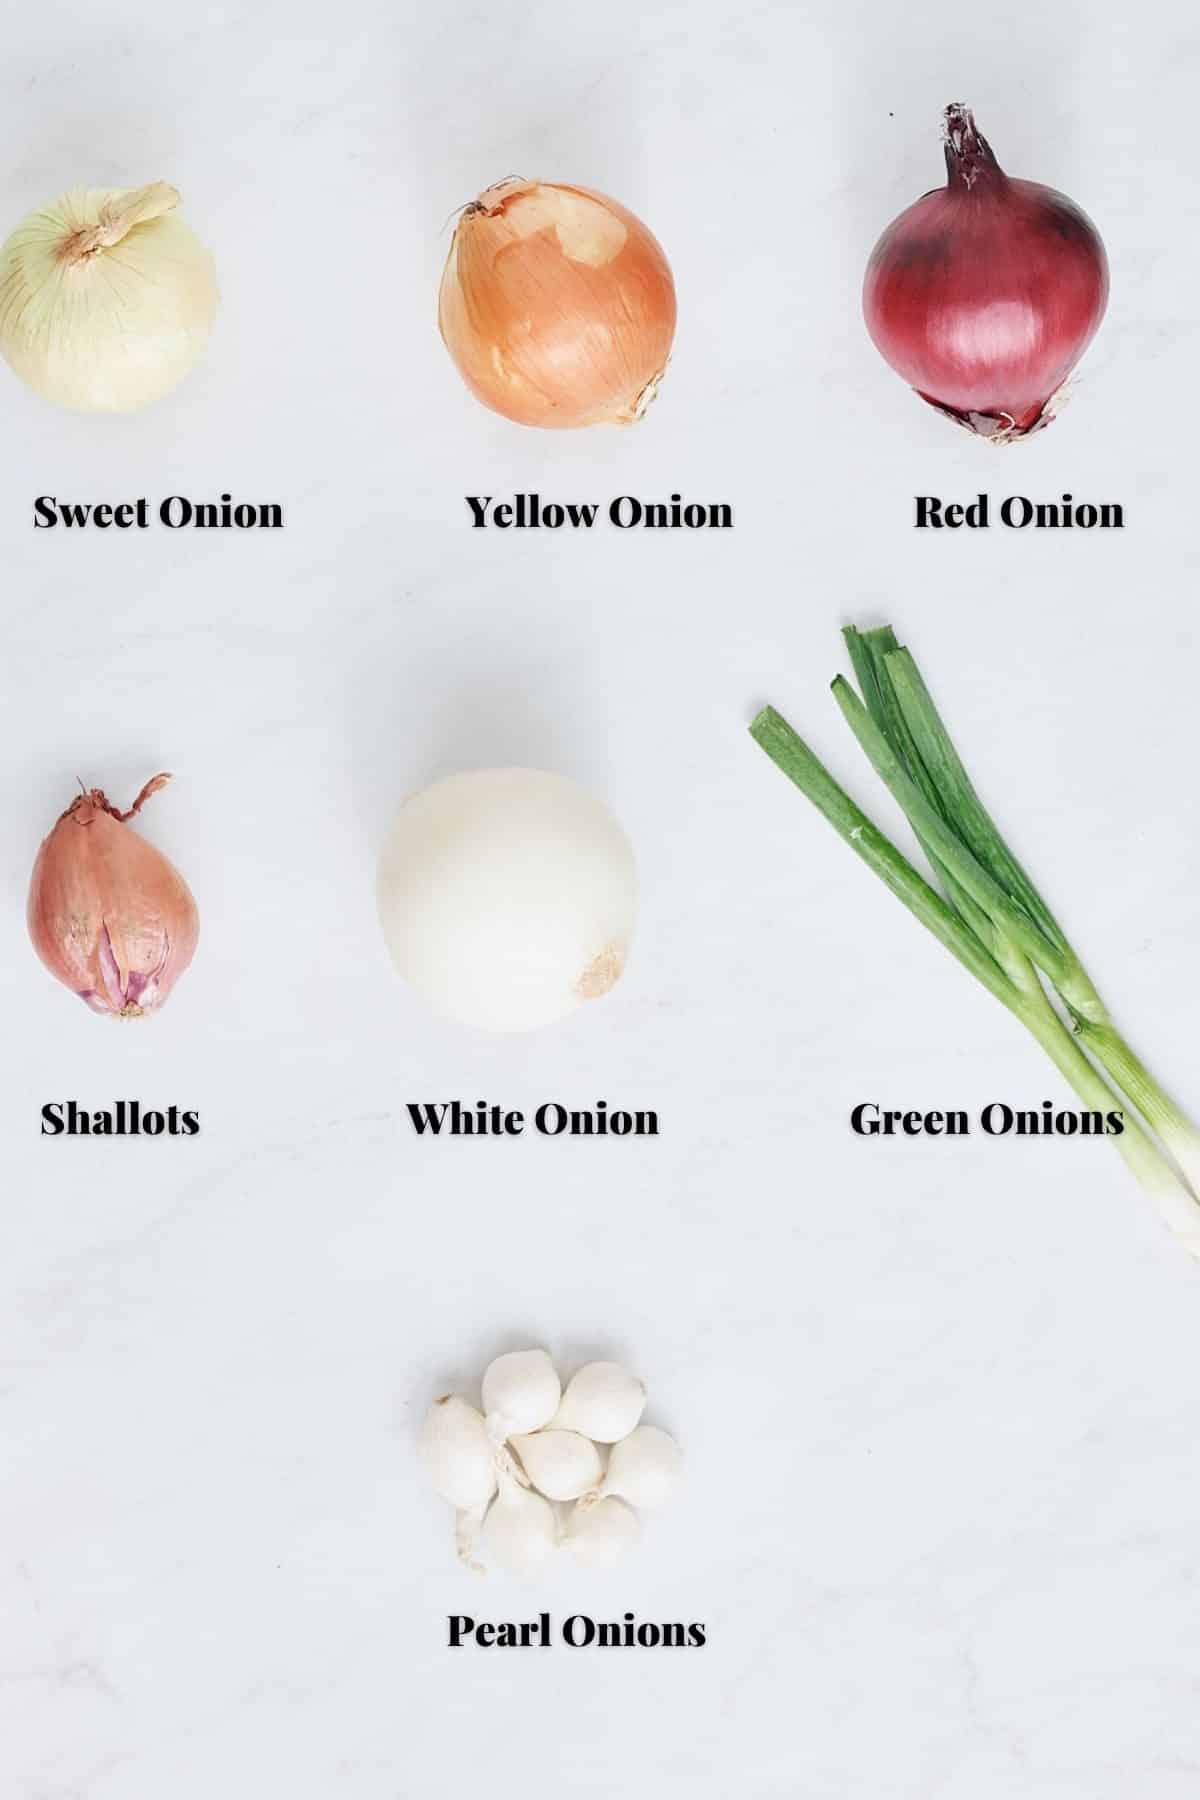
| Type of Onion | Best Uses |
| Sweet Onion | Carmelized. Great roasted. |
| Red Onion | Pickled. Raw in salads or as a garnish. |
| White Onion | Pickled, Raw salsas, and stir fry dishes. |
| Yellow Onion | All types of cooking. Great for soups and stews. |
| Pearl Onion | Pickled, Carmezed, or Slow Cooked. |
| Shallot | Salad Dressings or as a garnish. |
| Scallions | Raw garnish. Slow-cooked, or braised. |
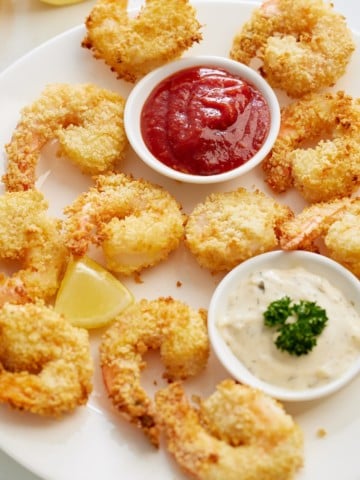
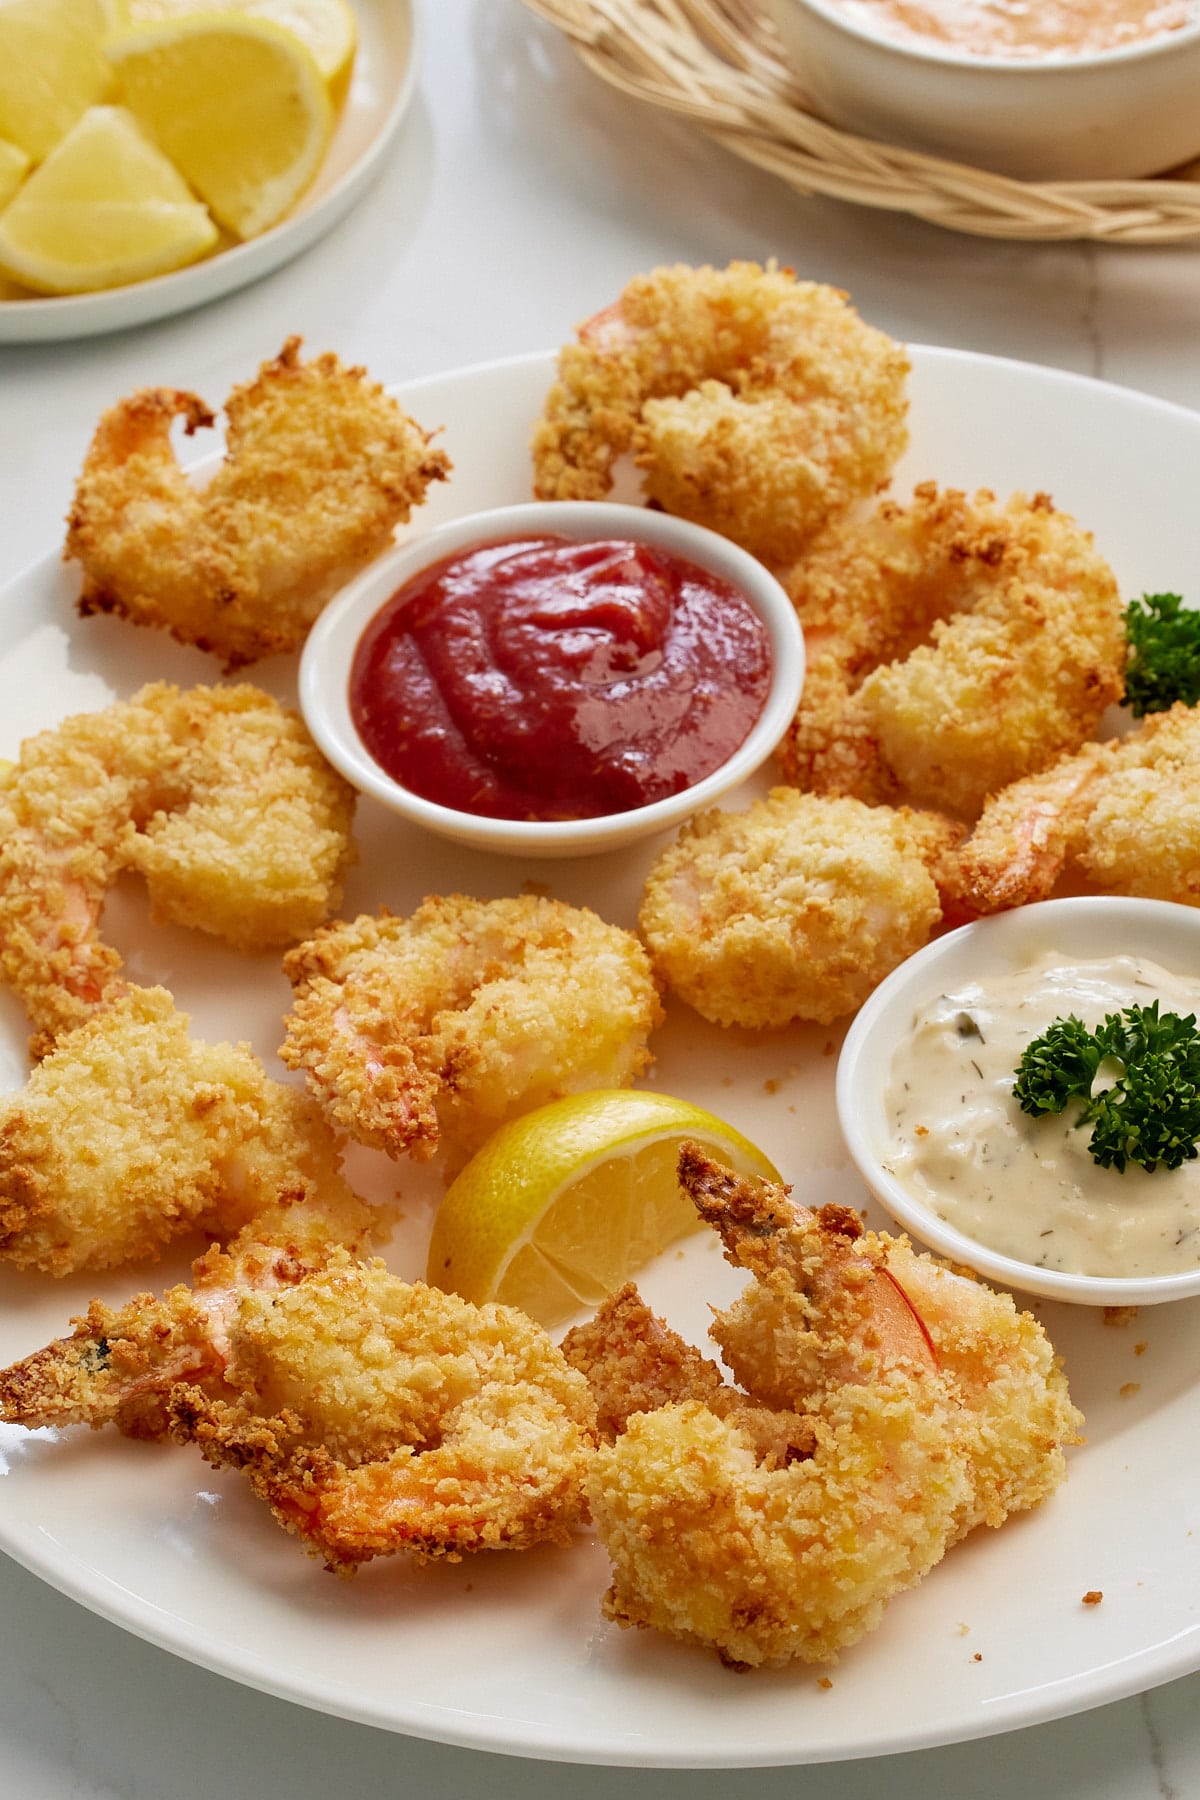
Making perfectly crispy fried shrimp in the air fryer is so easy and the results are delicious! Ready to serve in 20 minutes, they are easy to prep and made with a few simple ingredients.
This post contains affiliate links, please read my full disclaimer here.
You’ll find the full recipe with ingredient amounts and instructions in the recipe card at the bottom of this post. Be sure to check out the blog post itself for extra tips and tricks!
I'm so excited to bring you this new air fryer shrimp recipe! This recipe makes delicious crunchy shrimp that is perfectly cooked and juicy, and the panko breadcrumbs add a wonderful crunch to each bite!
They are great to serve as a simple appetizer with your favorite dips or make it a fuller meal and serve with a fresh salad or veggie or turn it into a Southern Po'boy sandwich. This recipe takes only a couple of minutes of prep and results in the most delicious shrimp and tender seafood.
If you love this crispy air-fried shrimp, be sure to check out my Air Fryer Lemon Garlic Shrimp and Air Fryer Coconut Shrimp.
Prepare a dredging station by placing ¾ cup of flour, ½ teaspoon seasoning salt, ¼ teaspoon garlic powder, and ¼ teaspoon black pepper in one bowl. In a separate bowl, lightly beat the eggs, and in a third bowl, place the panko breadcrumbs. You can season the breadcrumbs at this stage too.
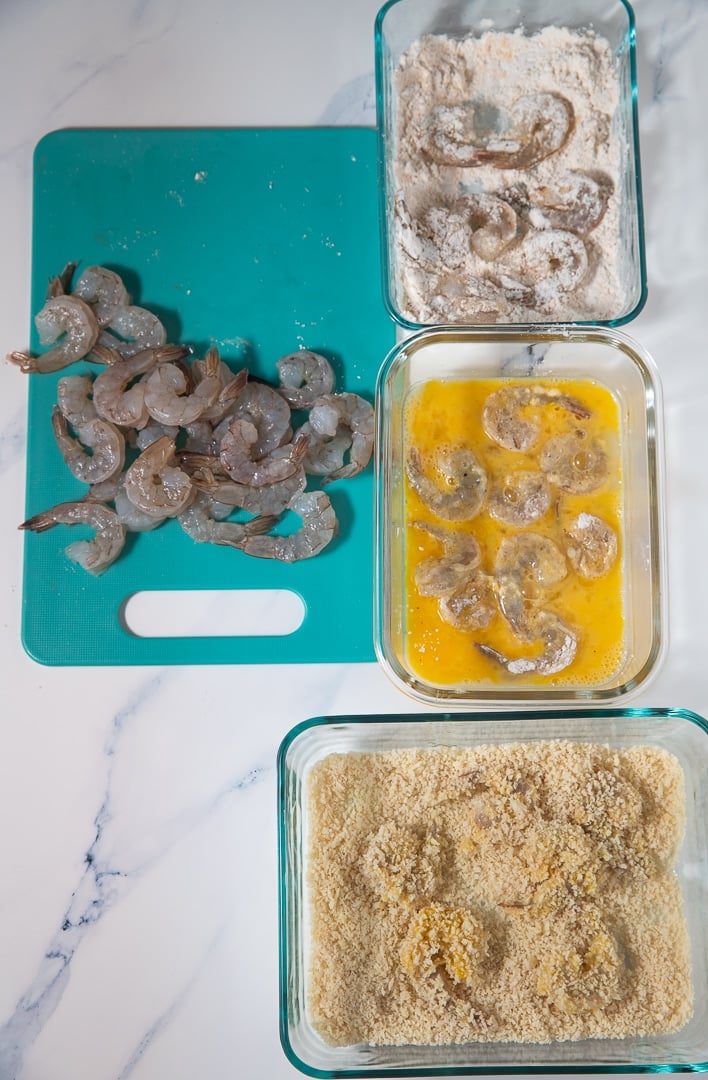
Place each shrimp in the flour, then the beaten eggs, and then the panko, making sure to shake off any excess flour and eggs before placing it in the panko.
Place the shrimp in a greased air fryer basket in a single layer, making sure the shrimp are not overlapping. Do not spray the shrimp at this point.
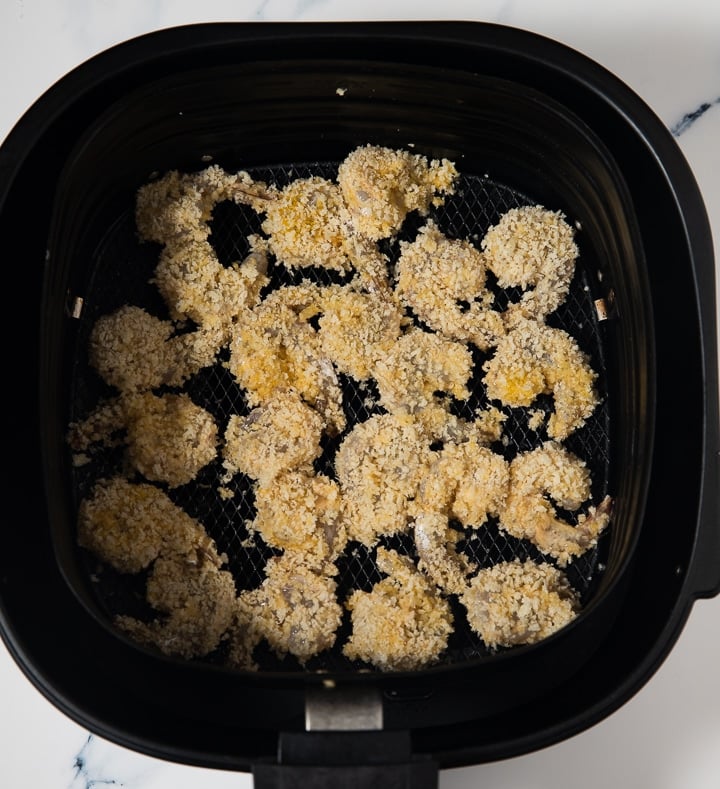
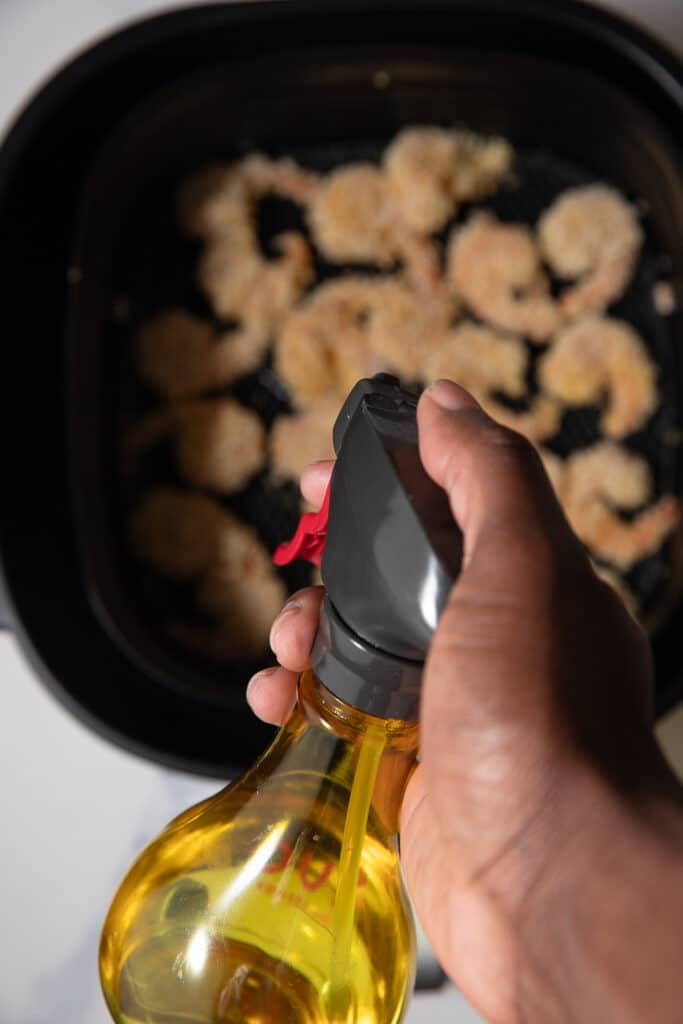
Air Fry on 400 degrees Fahrenheit for 6-9 minutes, flipping and spraying with cooking spray halfway through.
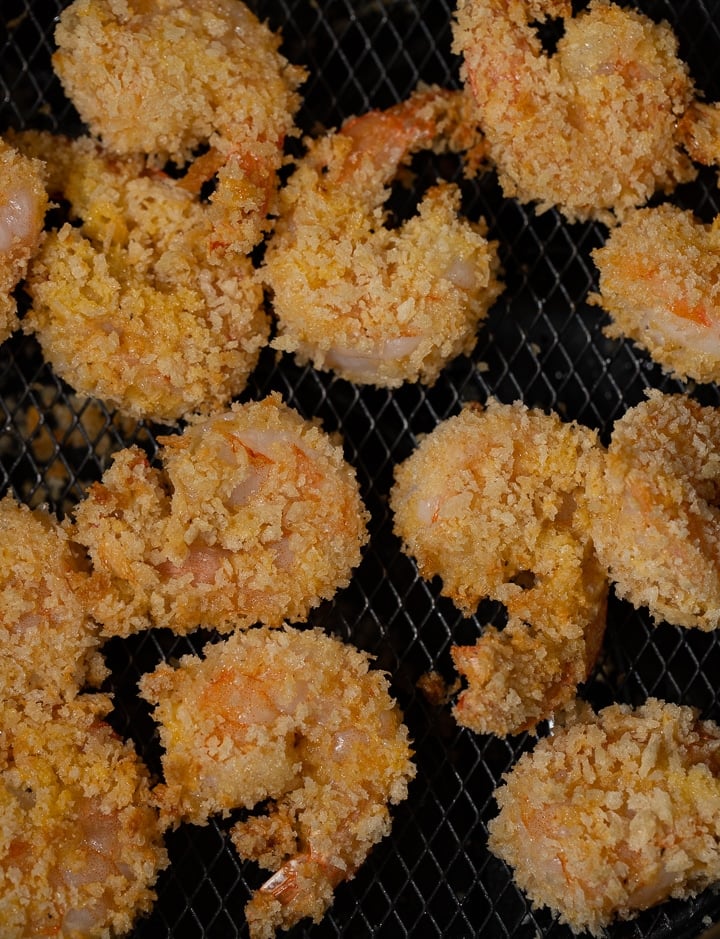
Remove when the shrimp is golden. Salt and pepper to taste.
I find it's best to use fresh raw shrimp for this recipe so that they cook all the way through and the coating isn't overcooked. If you have frozen shrimp then defrost them and pat them dry before dredging them.
I prefer to keep the tails on as they add more flavor and they are easier to dredge and dip in your sauce of choice! You can remove the tails if you prefer.
Make sure that the shrimp are shelled and deveined before dredging them.
These cooked shrimp are best served as soon as you've made them, but if you have leftovers they can be reheated in the air fryer and all that good crispiness will come right back!
Reheat the air fryer to 400F and cook the shrimp for 3 to 4 minutes until they are nice and crispy again.
Leftover fried shrimp will keep covered in the fridge for up to 3 days.
This is a base recipe and can be changed to your liking. You could use smaller shrimp and make crispy popcorn shrimp. Just make sure to adjust the cooking time a bit and cook for less time so the shrimp does not overcook.
The same goes with jumbo shrimp. Just increase the cooking time but 1 or 2 minutes for large shrimp.
You can also serve this as an appetizer or use tail-off shrimp and add these crispy shrimp to salads, shrimp and grits, or make shrimp tacos.

More of my great air fryer recipes.
Watch this video tutorial and see how I make these shrimp from start to finish.
This post was originally published on 7/9/2020 and has been updated with new photos and helpful tips.
If you are wondering how to use dried herbs, then look no further. Here are the best tips for using dried herbs in all your recipes.
When it comes to herbs, it all boils down to personal preference. I love fresh herbs, but there would always be a space in my heart for dried herbs for cooking, especially for a pot of stew and other special meals!
Dried herbs are essential in any cooking space. They are budget-friendly ingredients that introduce a tasty flavor to suitable meals.
Dried herbs and fresh herbs indeed hold different flavors. They have a mucky and more savory flavor, not to mention that these herbs can be stored much longer than fresh herbs.
While cooking with dried herbs, you want to use a reduced quantity instead of what would have been used if the herbs were fresh. It means one tablespoon of fresh Rosemary will be substituted with one teaspoon of dried Rosemary. As a rule of thumb, always use ⅓ the quantity when replacing fresh herbs with dried herbs.
It's best to add fried herbs early in cooking. Dried herbs are at their best when they are rehydrated. Rehydrate your herbs by introducing them to your meal at the beginning stage of the cooking or the middle stage at most, giving the dried herb enough time to soak up the juices from the food and release flavor.
Utilize dried herbs in meals with a long to average cooking time and a suitable amount of liquids—meals such as soups, stew, pasta, and braises.
Dried herbs are the best choice when preparing smoked fish, smoked meats, or barbecued fish and meats. Make a nice spice coating for your proteins with the right dried herbs of your choice.
Blooming the herbs is when dried herbs are quickly fried in a tiny amount of oil or butter to get a deep flavor. You can also bloom your herbs and spices together. It's primarily used for sauces, marinating, or dressings. Rather than spray dried basil on a pizza, cook it in a bit of oil and drizzle on top.
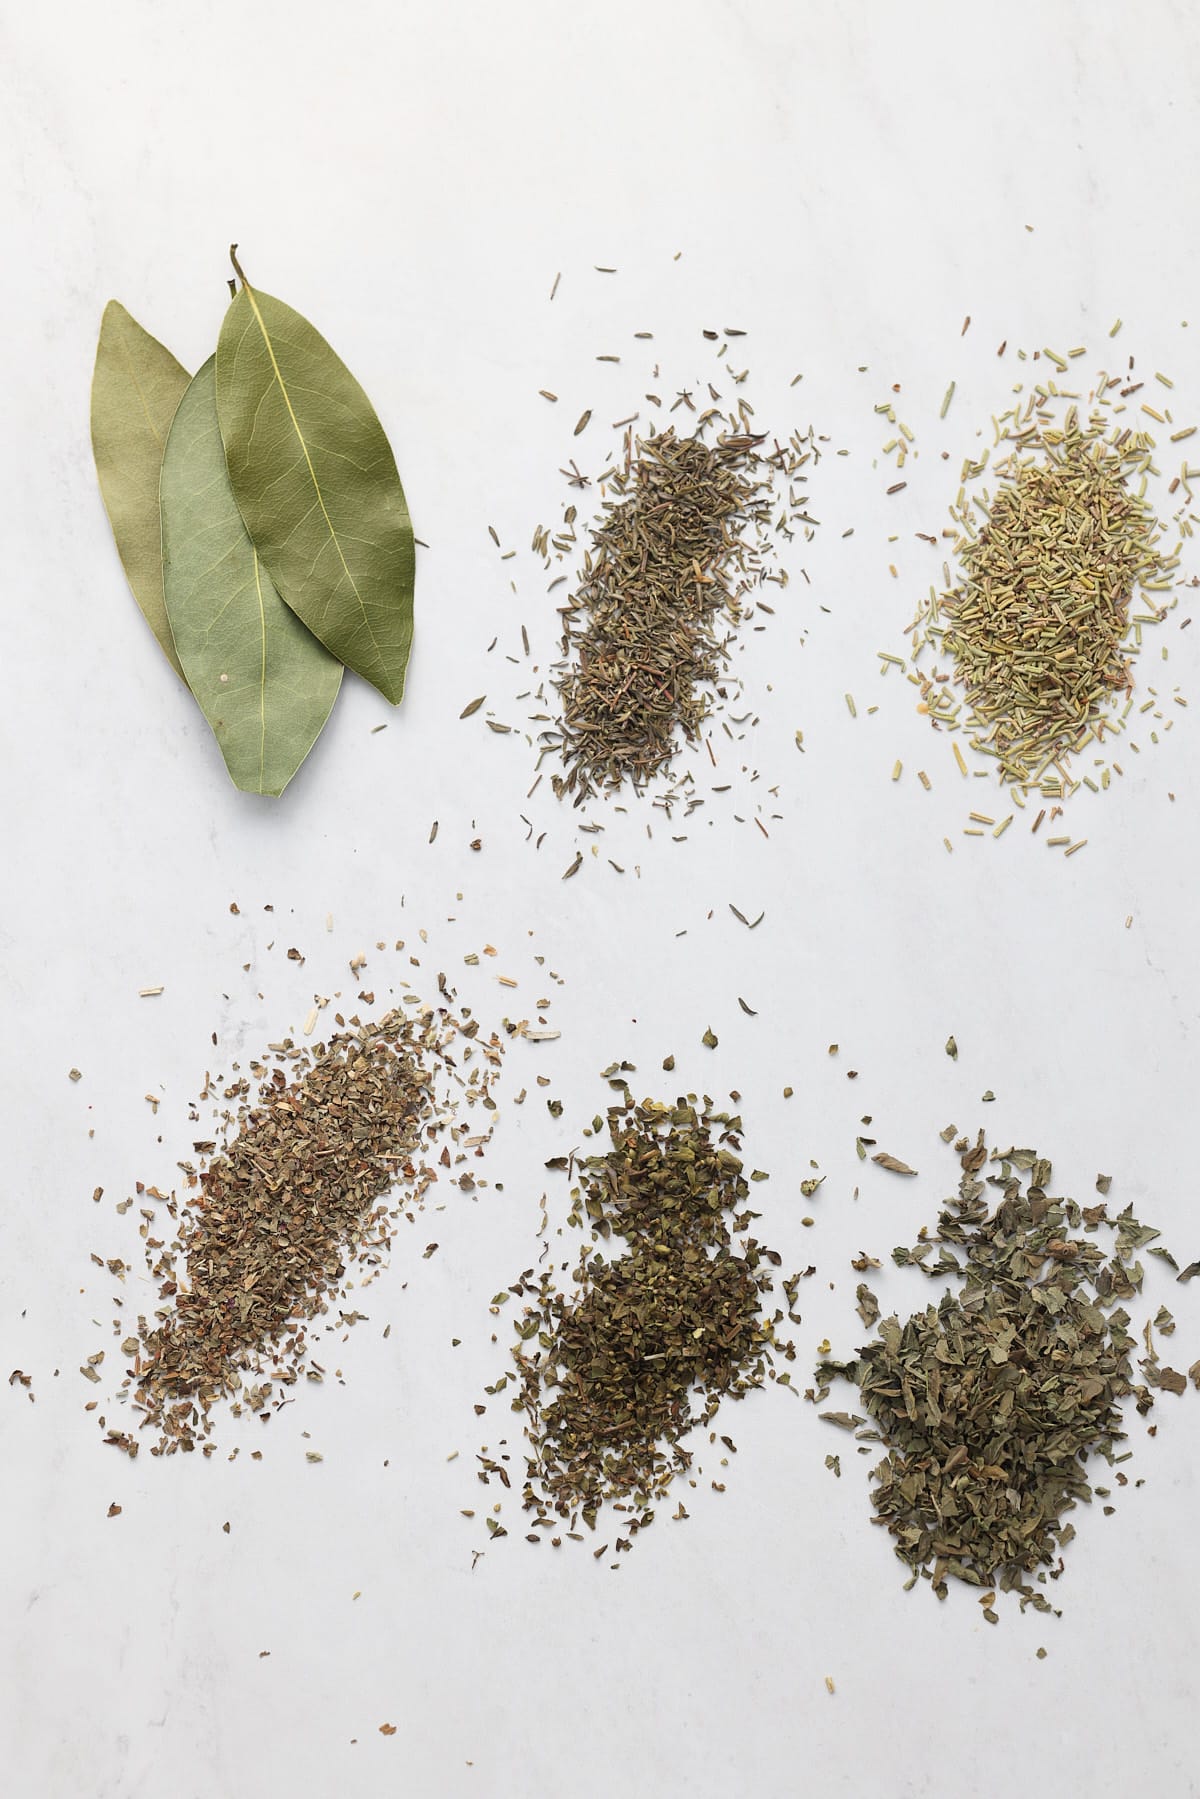
Dried oregano is an irreplaceable herb for Italian and Mexican dishes that require cheese and tomatoes. It has gained recognition and is deemed to be better dried than fresh.
It is a vital pizza topping, and it releases a beautiful flavor when used in chicken, beef, and meatballs.
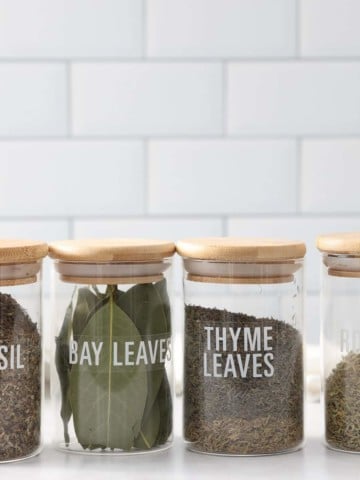
Dried bay leaves are an essential dried herb that adds a subtle sweetness and aroma to pasta, rice, stews, soups, and meat stock. To get the best out of the bay leaf, split the dried leaves before tossing them into your meal.
It is also an excellent option for flavoring rice puddings and custards.
Dried Thyme is a versatile herb used for various dishes, such as soups and stews. This herb also comes in handy in different seasoning proteins, including chicken, roast fish, boiled fish, beef, lamb meat, and meatballs.
Dried thyme has a unique flavor that it gives to each meal it is used.
To get the best out of dried lavender, drop a small amount on a well-oiled fish and lamb meat, go ahead to fry or roast your proteins and be rewarded with a mouth-savoring taste. Dried lavender is also ideal as a flavoring for custard or ice cream.
Dried Rosemary releases its fragrance in slow-cooked meals, such as braises, lamb meals, Italian-style soup, and stews. You can use Rosemary at your discretion but take note to only use a little as it can be spikey and leafy in dishes. It is also used to stuff whole fish and chicken before getting fried or roasted.
Dried mint leaves are famous for making a relaxing cup of tea. But they are also an excellent choice in seasoned butter for chicken, seasoning lambs, Greek dishes, and pea soup. Dried mint has a strong and distinctive taste. Note to use sparingly.
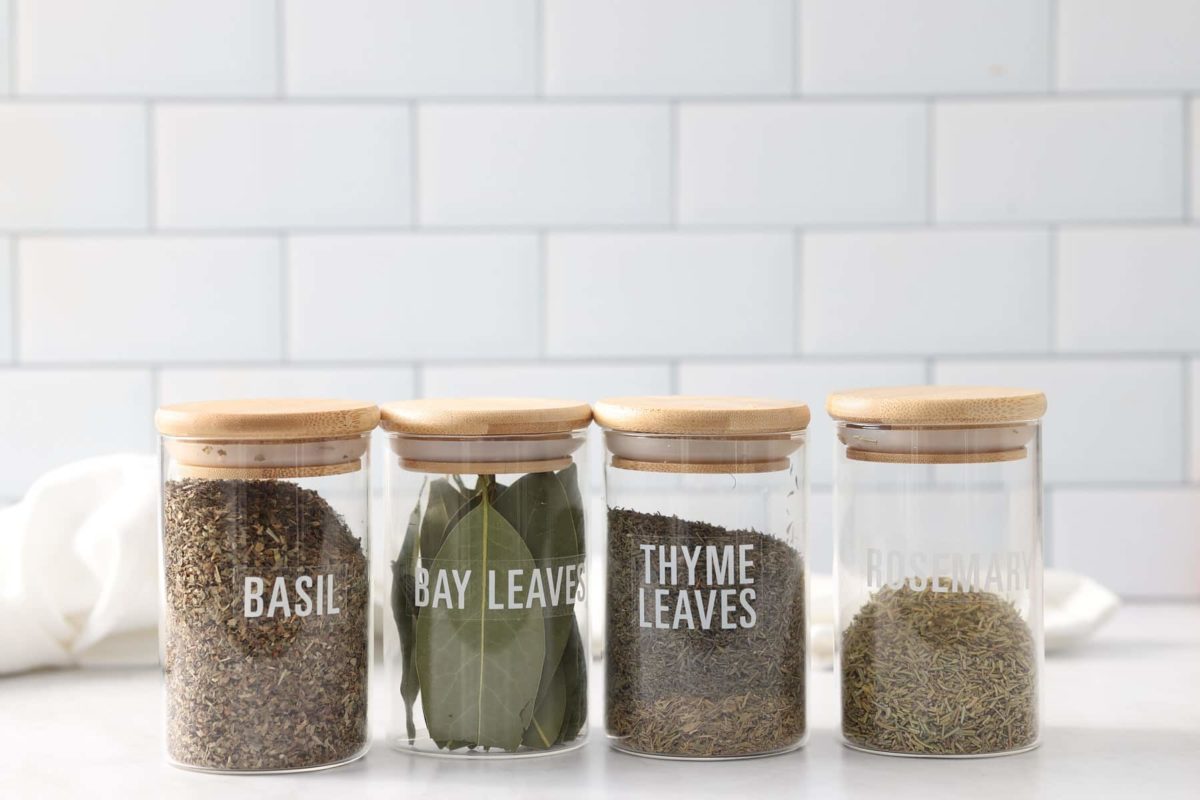
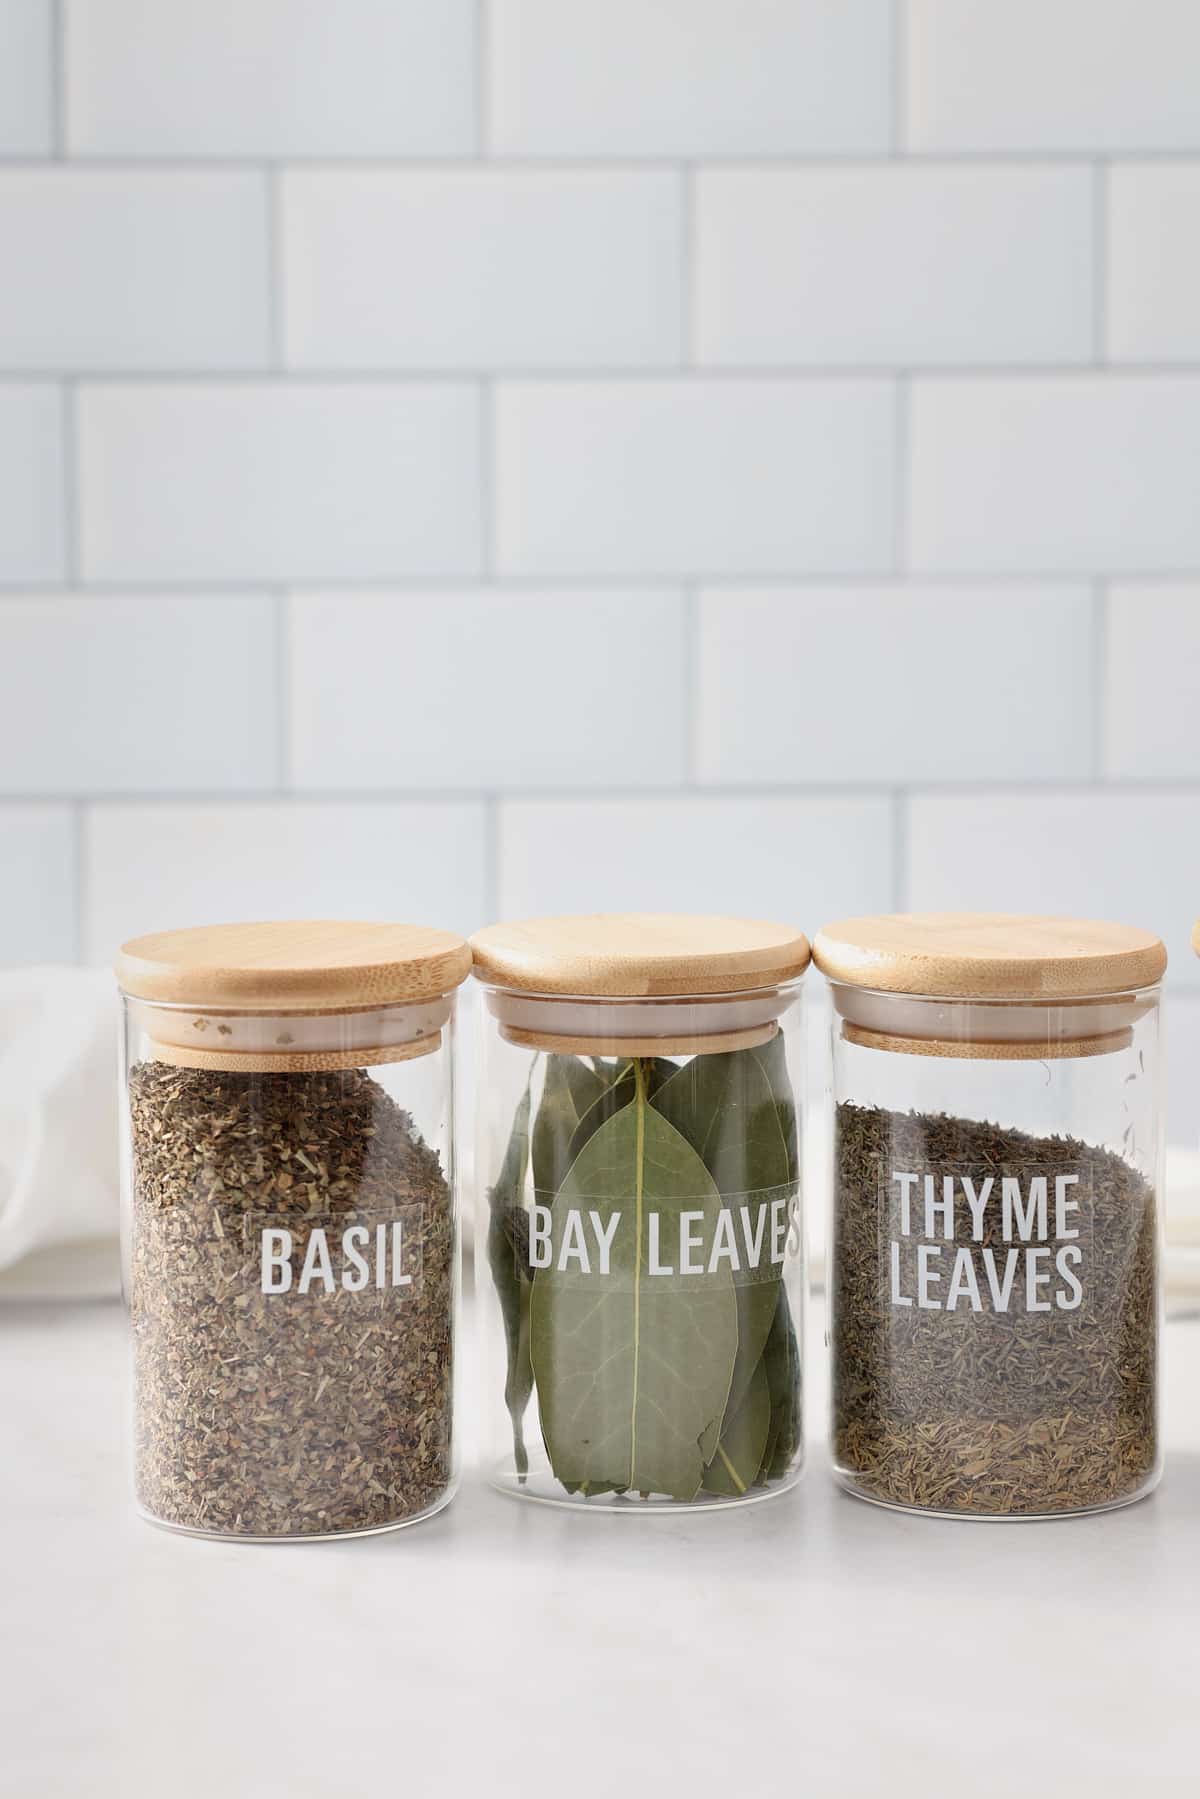
As you begin your collection of herbs, you want to ensure they are correctly stored for the highest efficiency and give off the desired taste.
Dried herbs have a longer lifespan than fresh ones. They generally last for 1-3 years, depending on the type of herb.
Herbs that last 1-3 years include:
Herbs that last 2-3 years are mostly ground herbs which include:
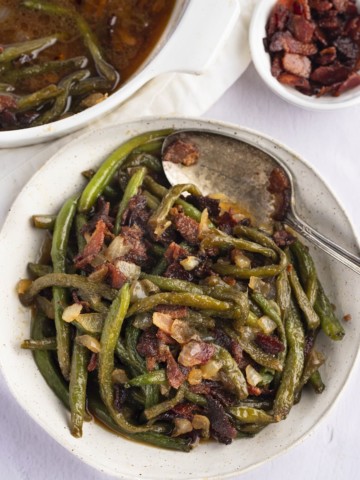
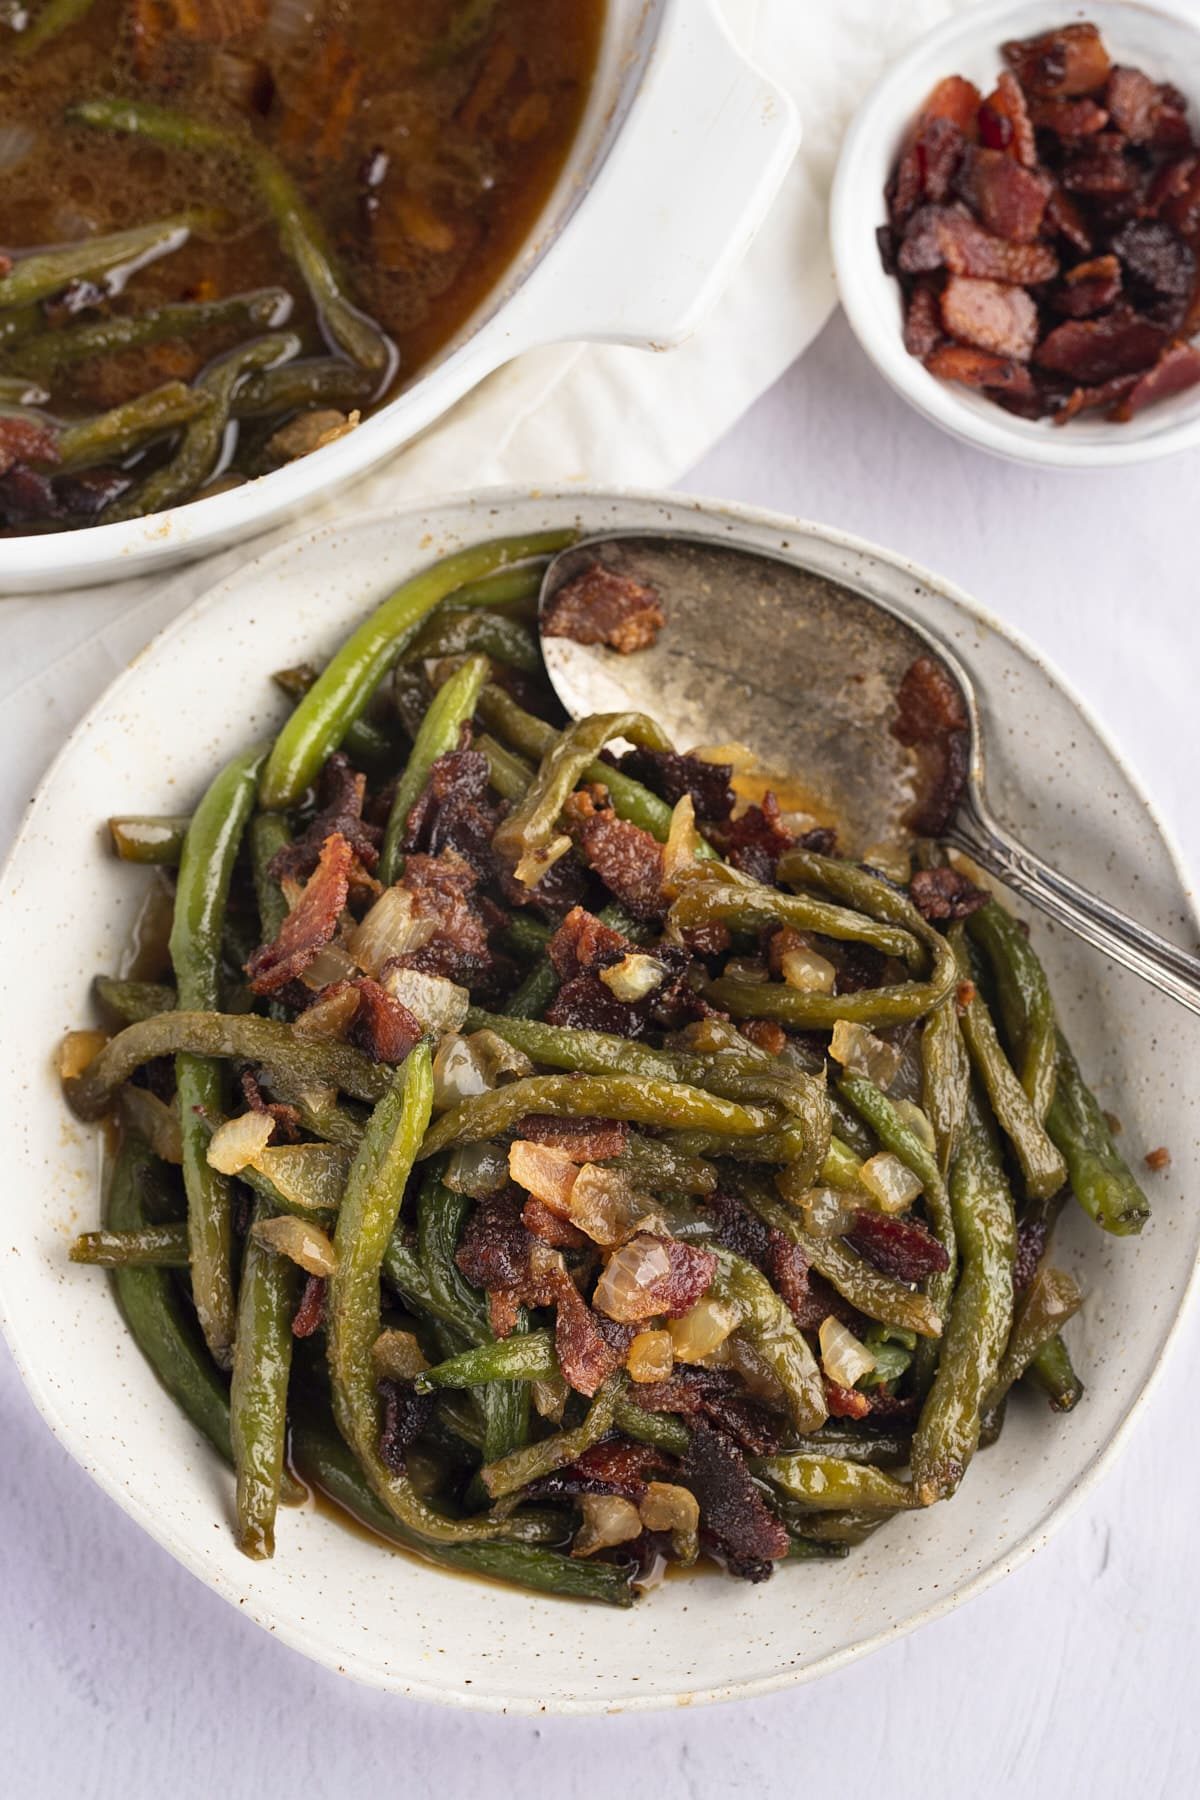
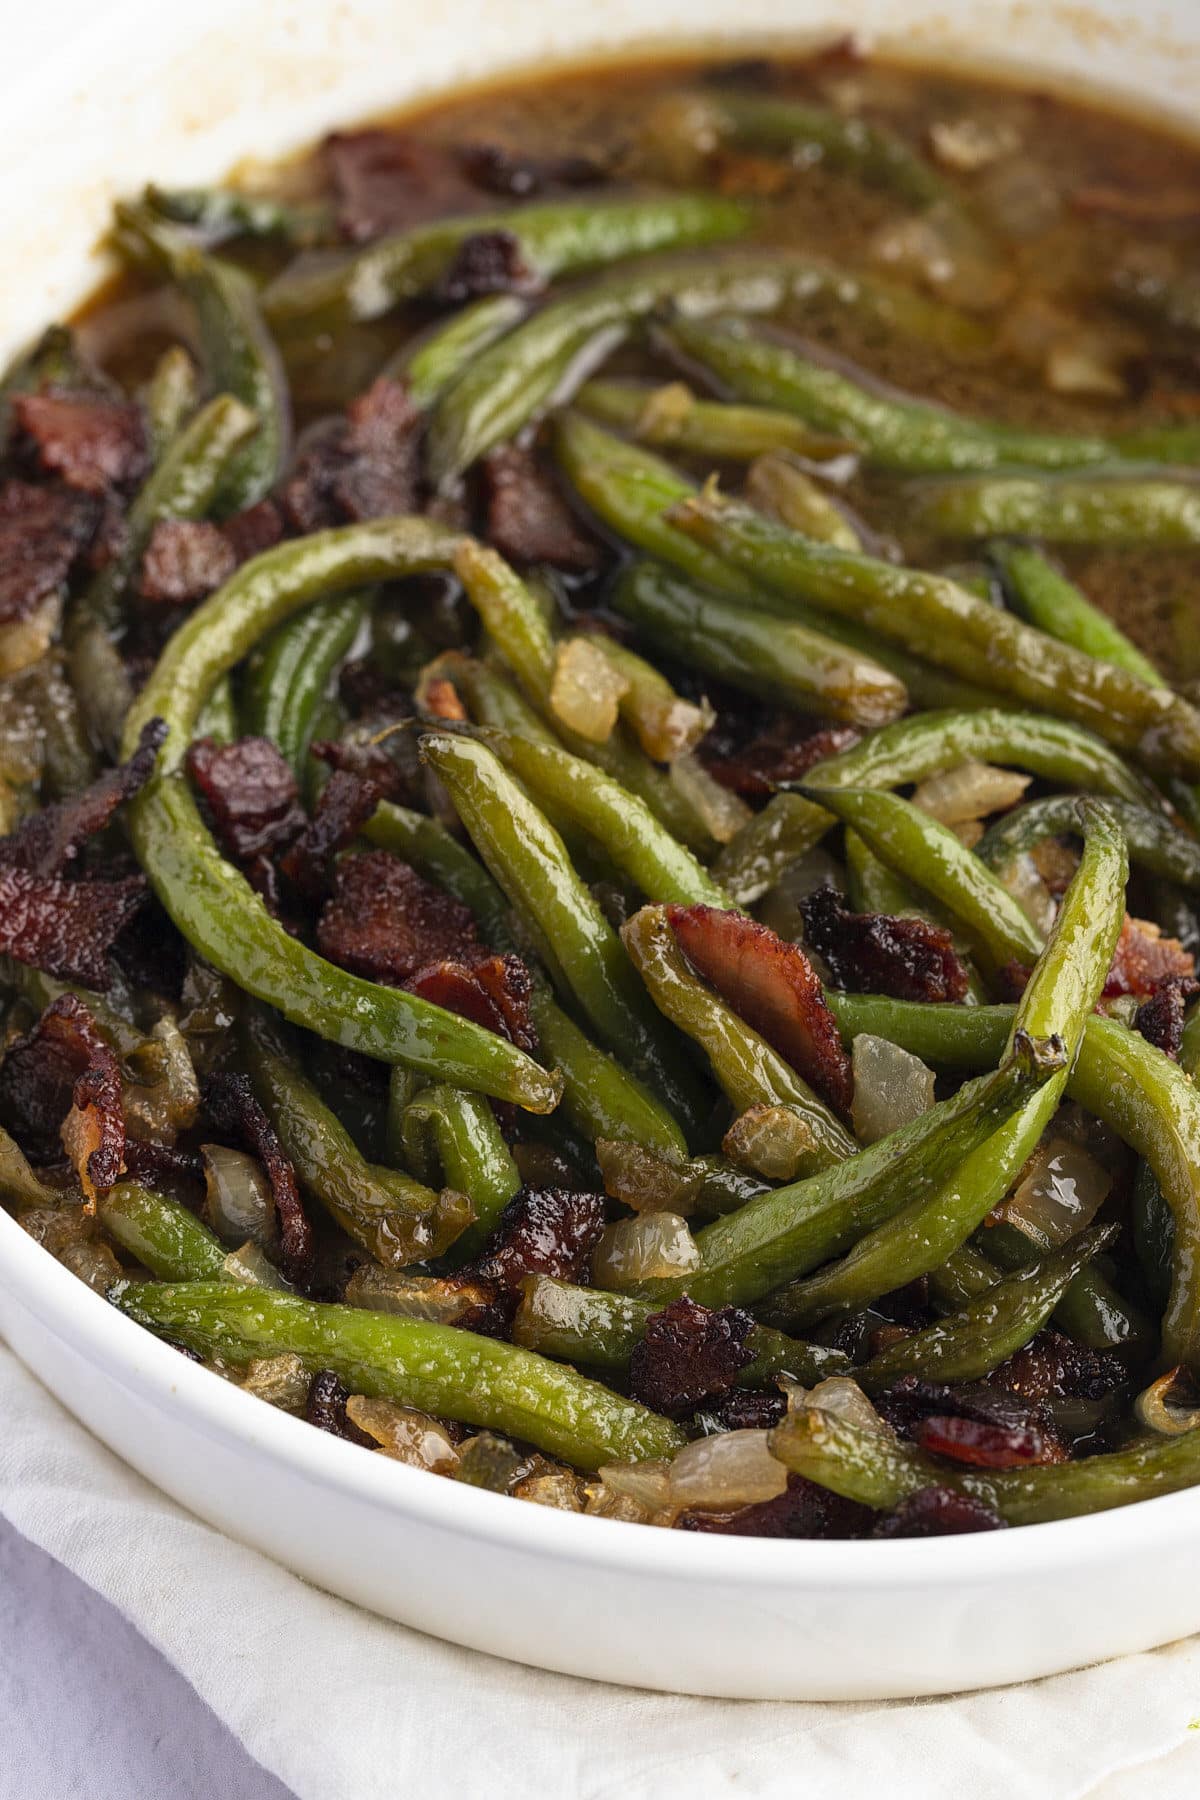
This smothered green beans recipe is one tasty way to eat your greens! Baked in a sweet and salty sauce with caramelized onions and crispy bacon, this veggie side dish is hard to resist!
You’ll find the full recipe with ingredient amounts and instructions in the recipe card at the bottom of this post. Be sure to check out the blog post itself for extra tips and tricks!
If you are looking for a delicious side dish to serve up, then you can't go wrong with these delicious smothered green beans.
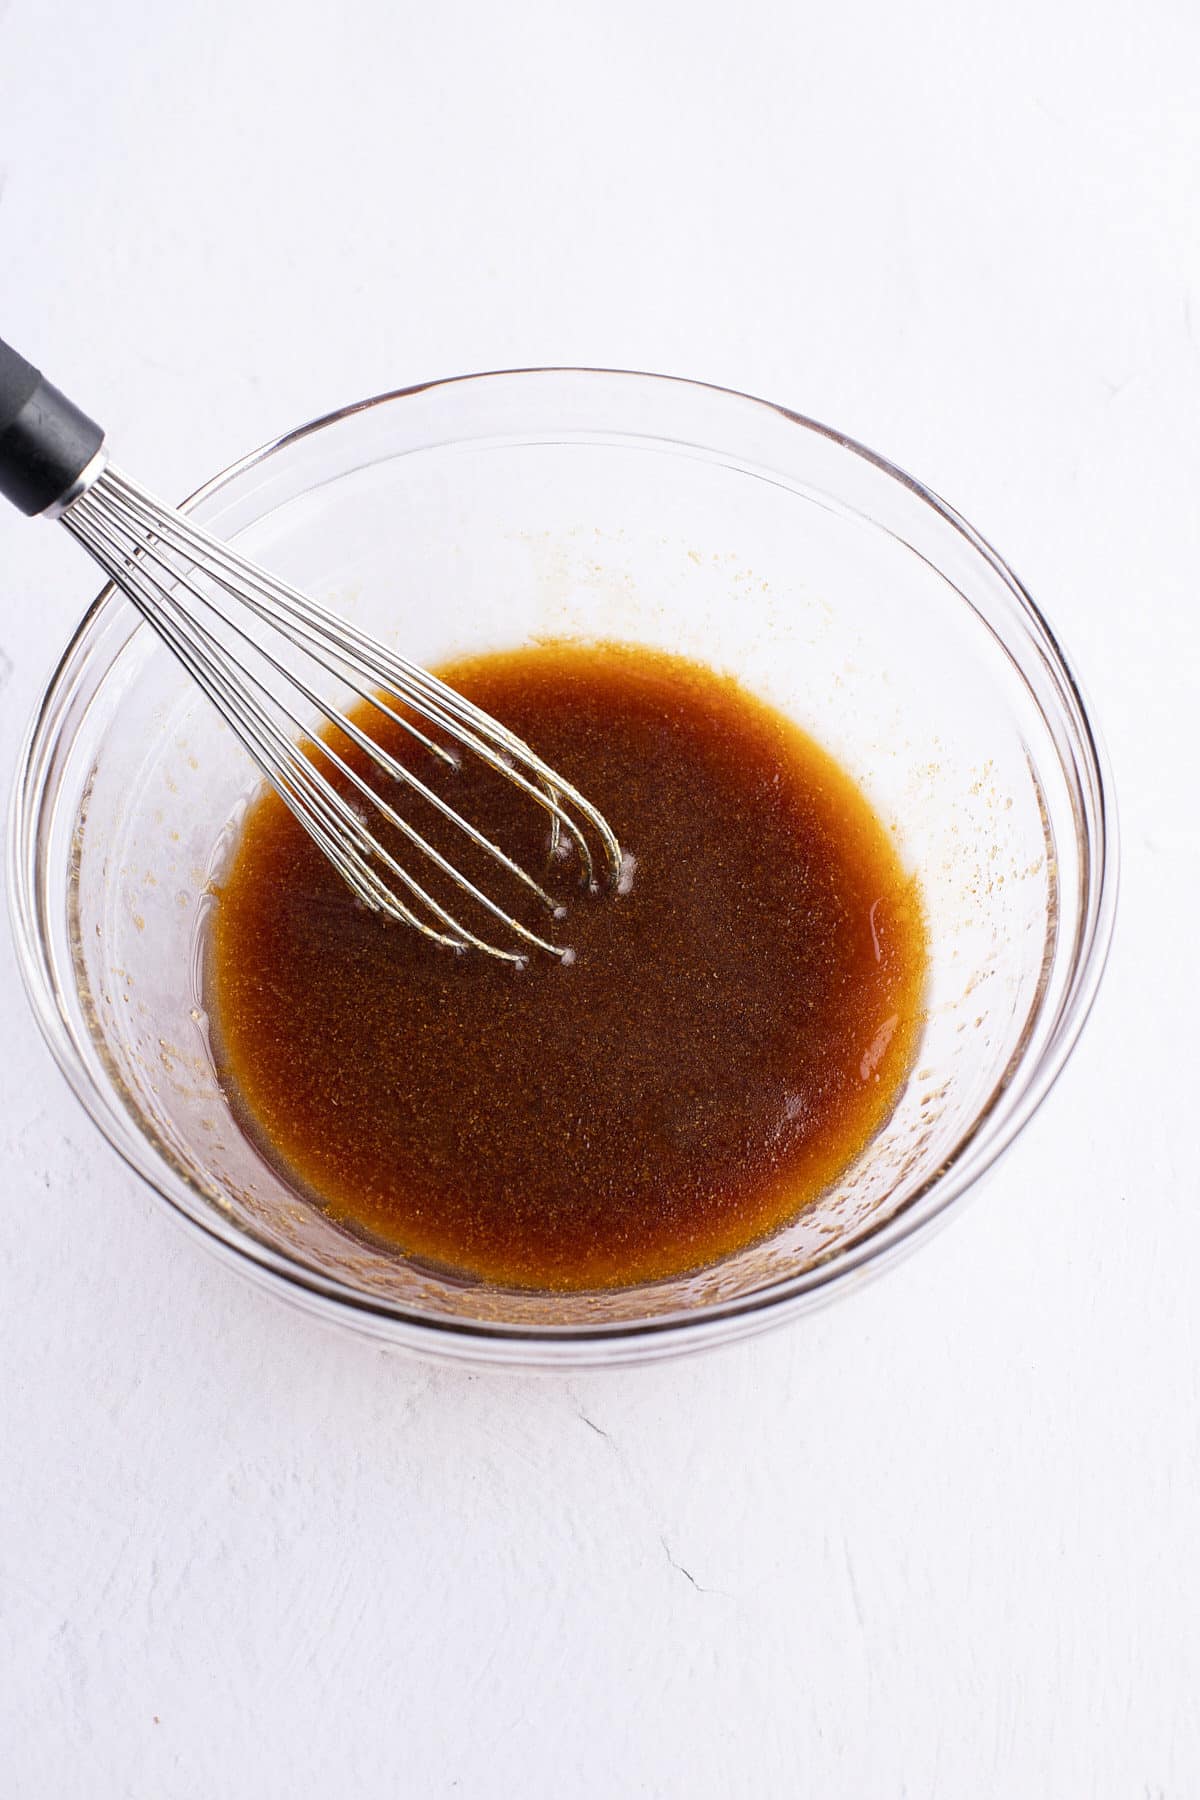
Fresh green beans are baked in soy sauce, butter, and brown sugar, along with bacon and onions, for a dish that is full of flavor. Simple to prep and the cooking time is totally hands-off, allowing you to get on with the rest of the meal.
Made with just a few simple ingredients, these green beans are a versatile side dish that will sit well alongside all of your favorite dinners.
Be sure to try my Instant Pot Green Beans and Potatoes and Chicken and Green Bean Stir Fry too!
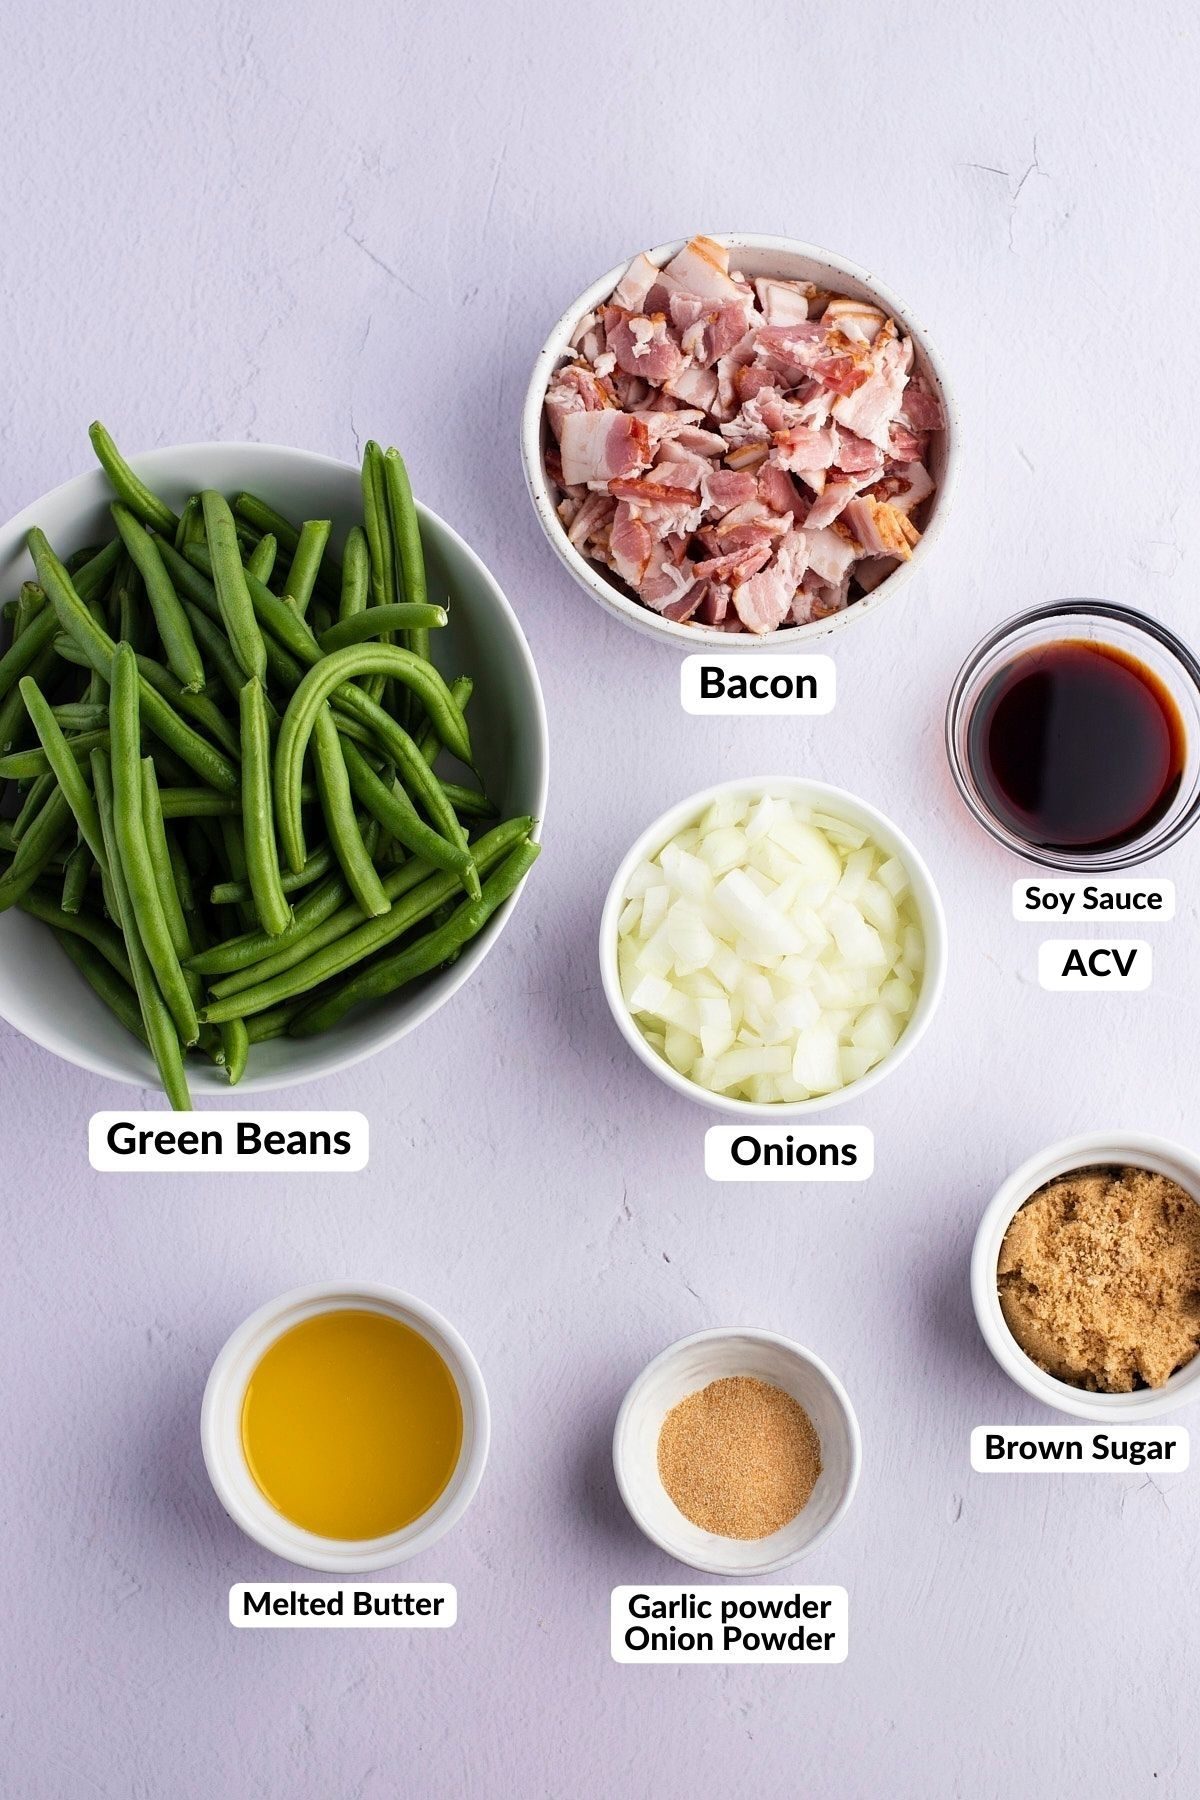
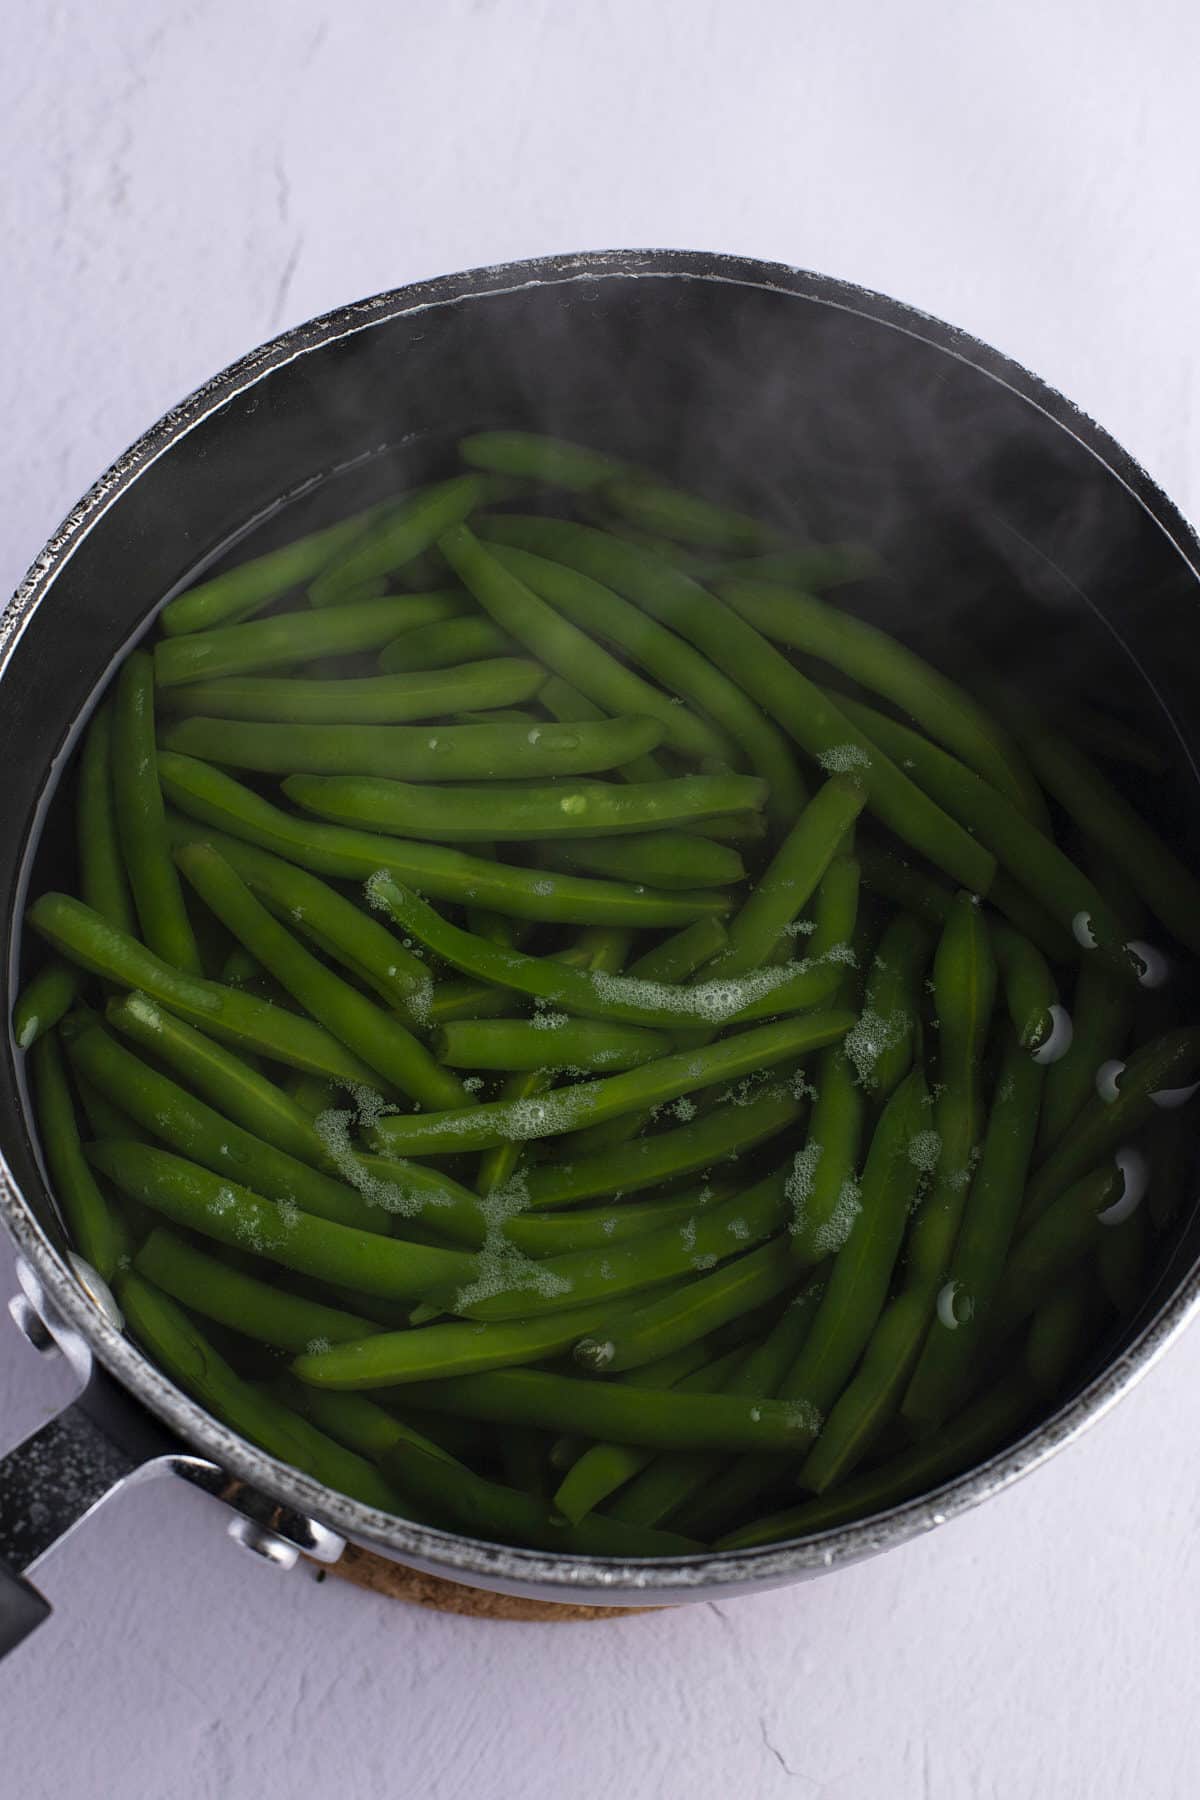
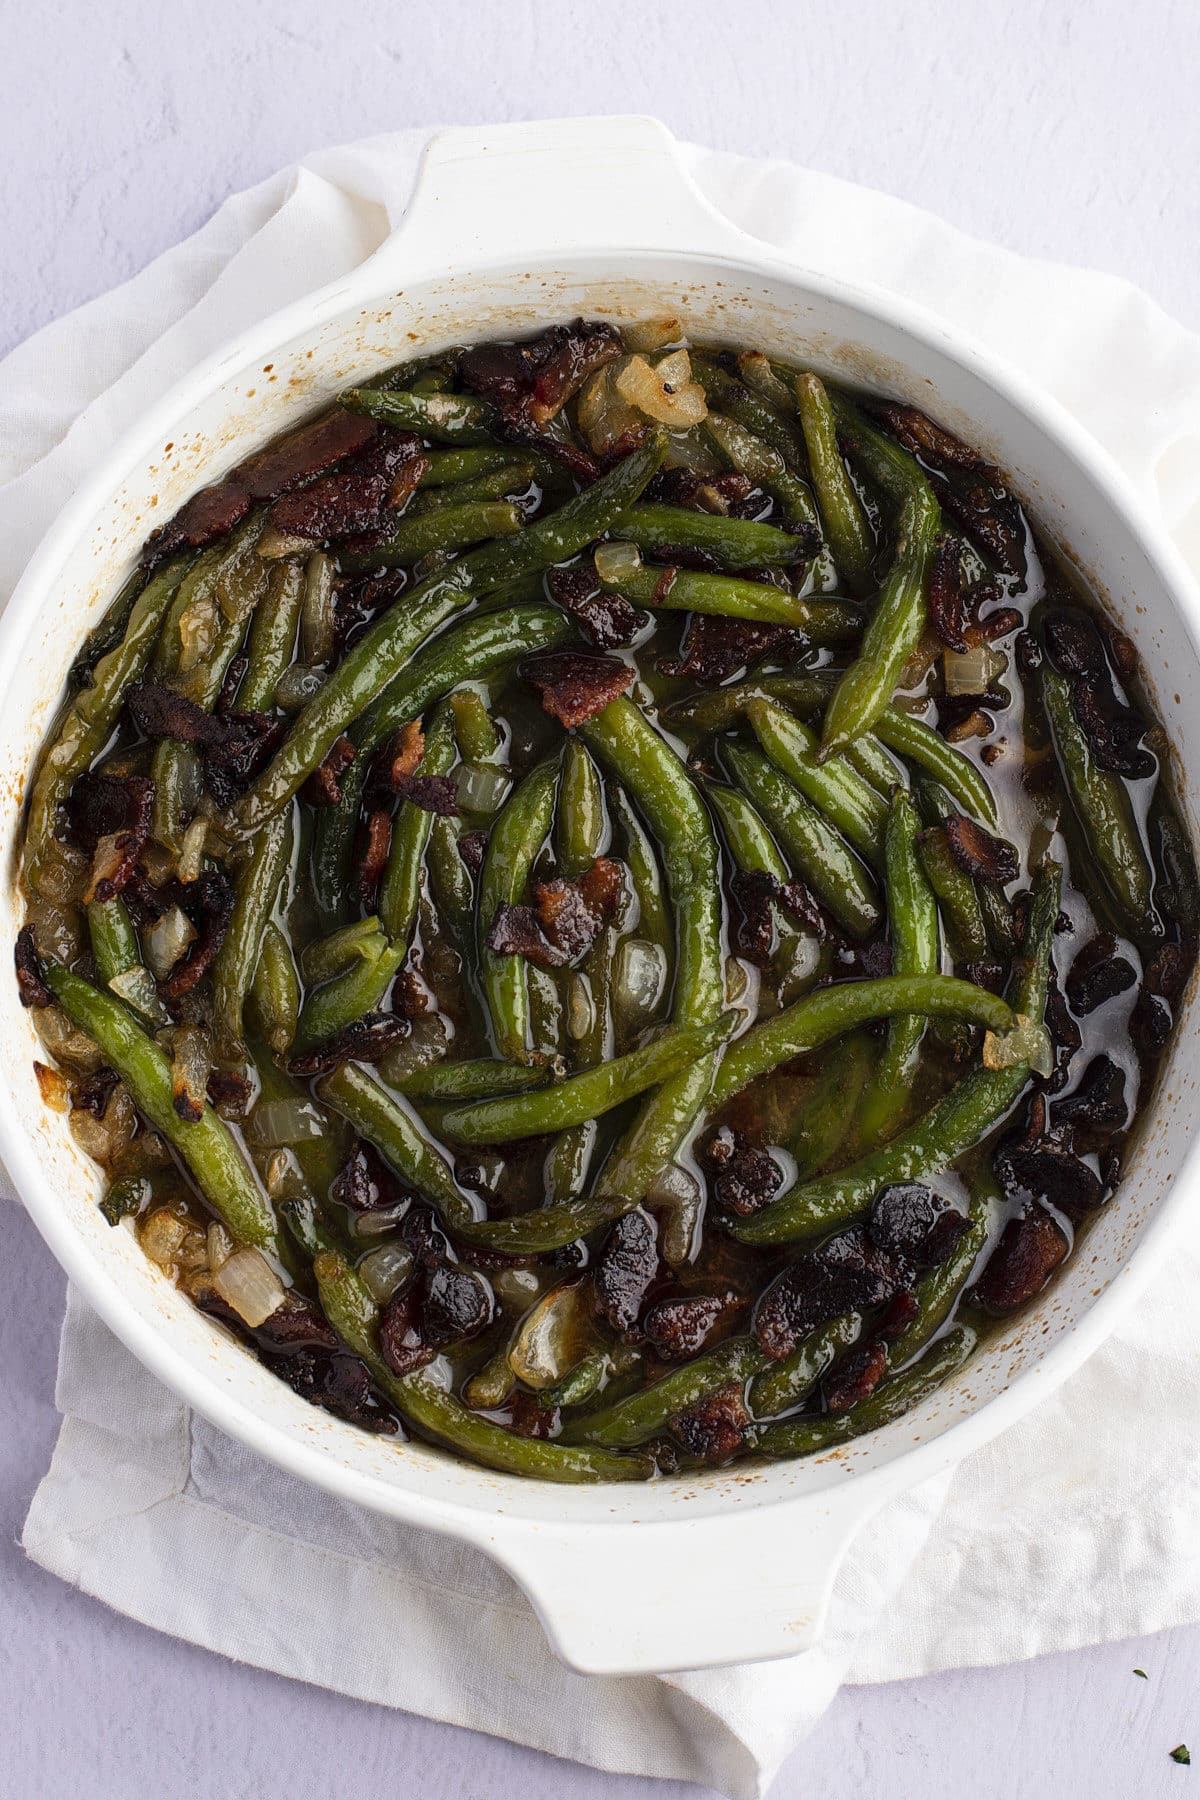
I prefer to use fresh green beans for this recipe, but you can easily adapt it to use frozen or canned too. If using frozen, simply boil them till tender and drain. Canned green beans don't need to be cooked before using, they can be added straight to the casserole dish after draining them.
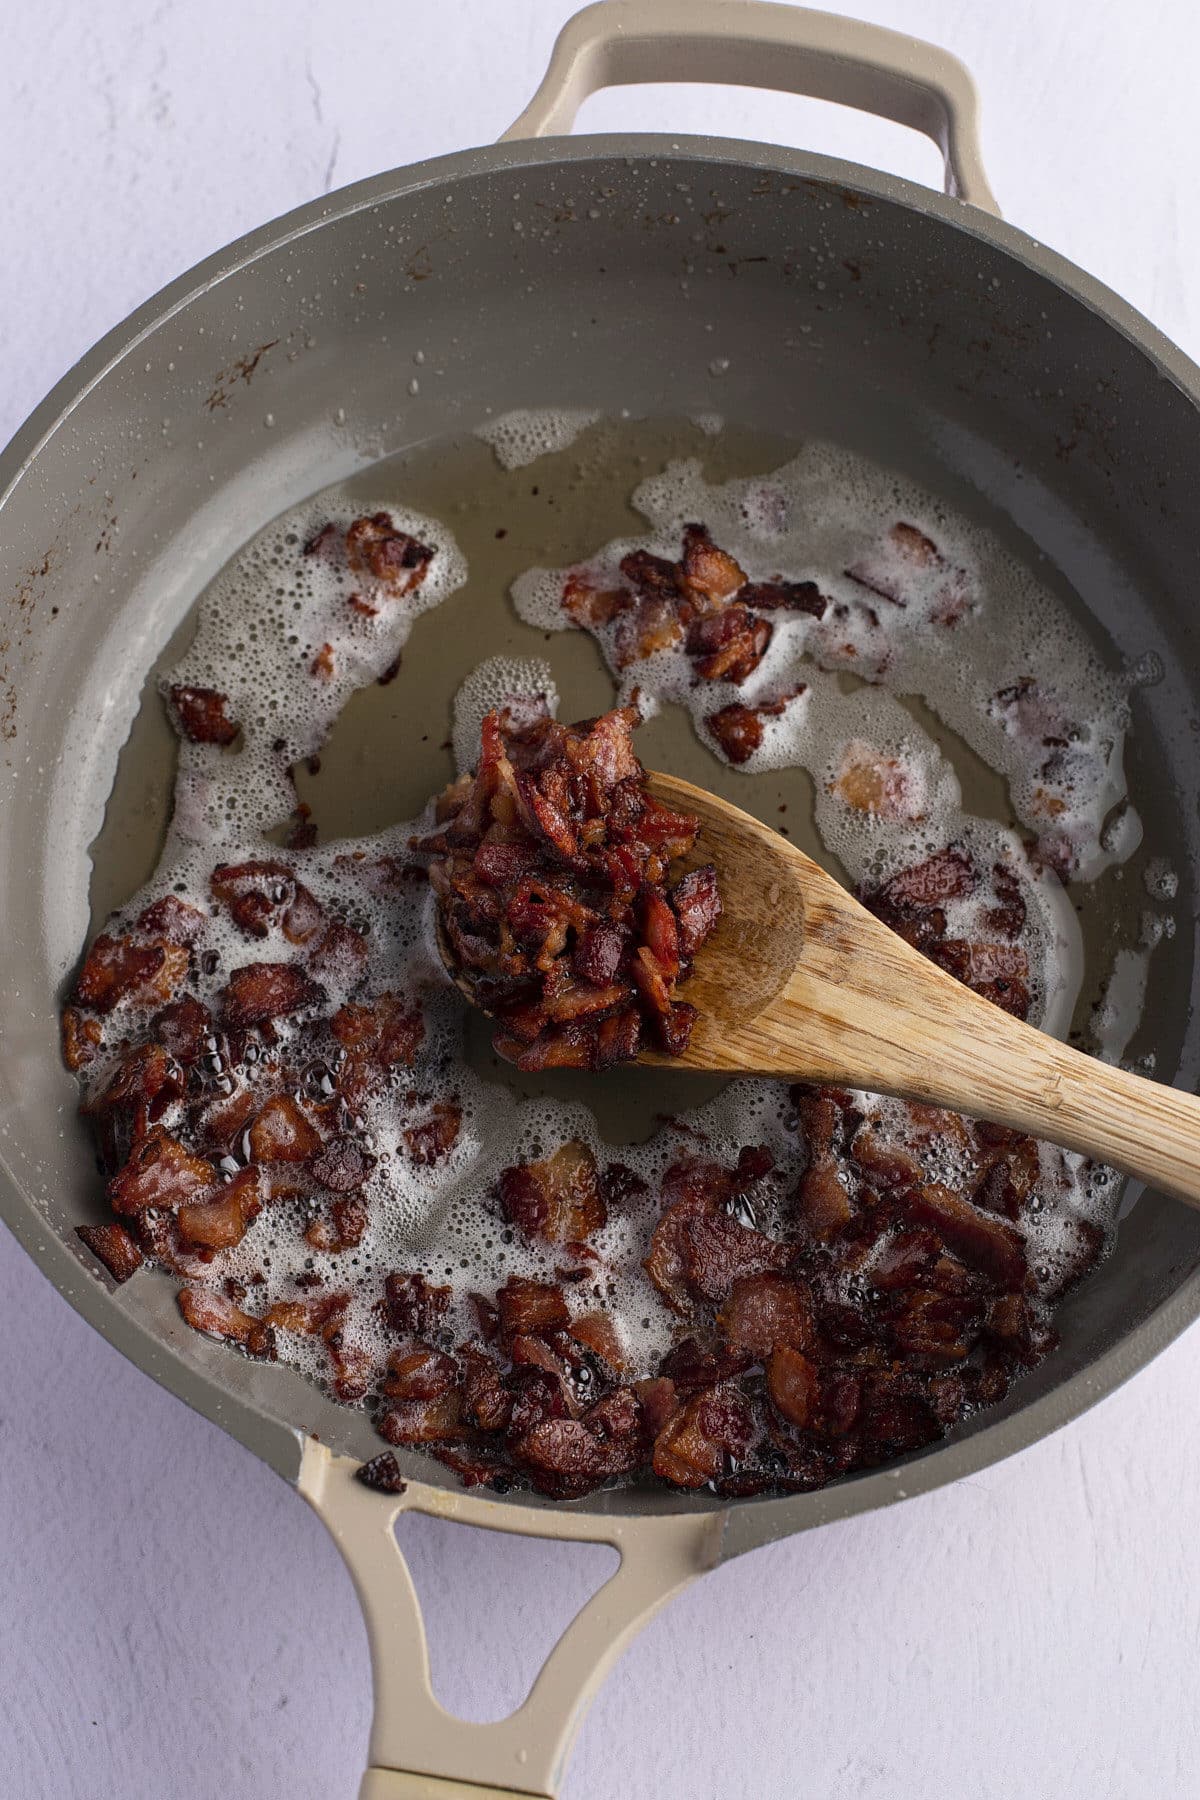
If you are planning to serve these smothered green beans as part of a big feast, like Easter or Thanksgiving, you can certainly get ahead on your prep. The bacon and onions can be cooked up a few days before and kept stored in the fridge, so you just need to build the casserole and bake it on the day.
Leftovers will keep well in the fridge for 2 to 3 days and can be reheated in the oven at 350 degrees Fahrenheit for 10 minutes to warm through to serve. Cover the baking dish with foil so that they don't dry out.
Because this green bean casserole recipe has a hands-off cooking time, you can easily serve them as part of a family weeknight meal. I love to serve them with roasted meats making them perfect for those special occasions. Try them with some of these favorites:
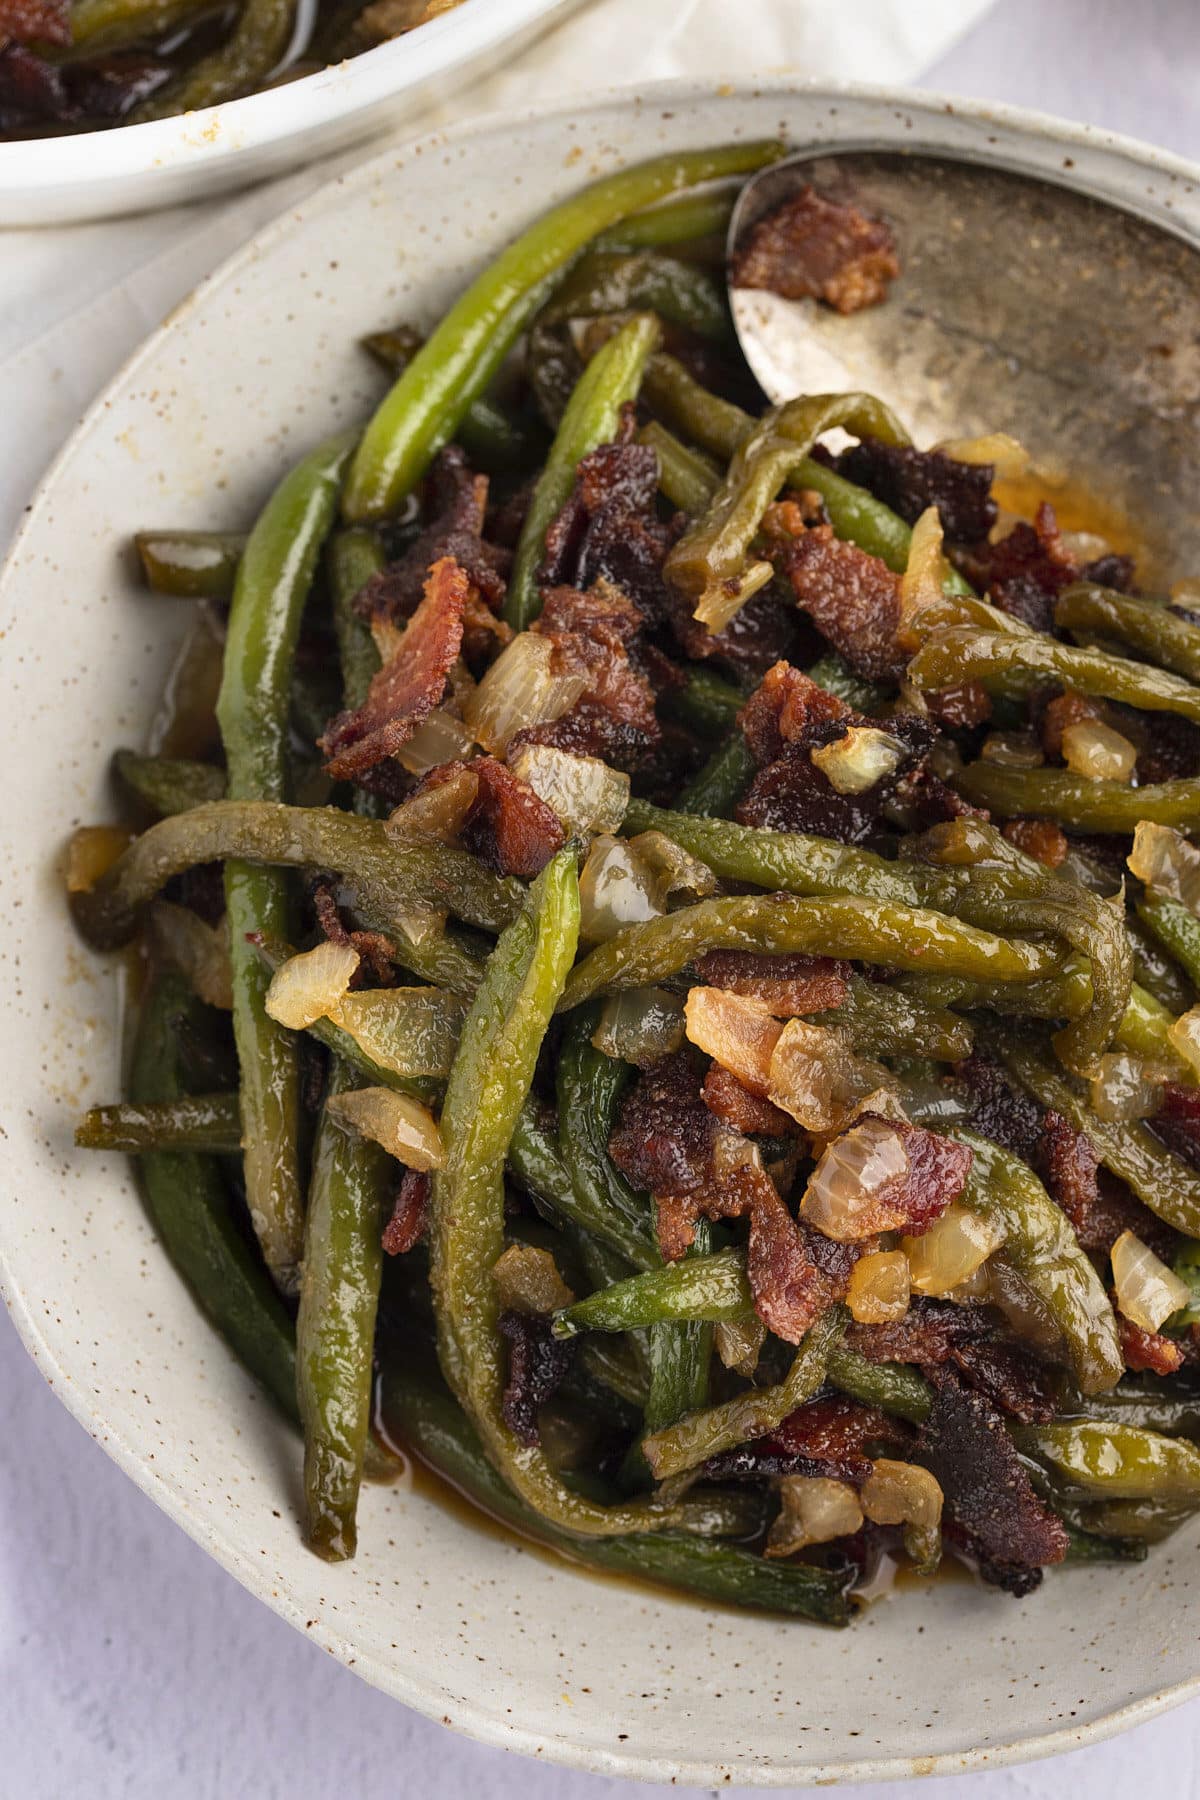
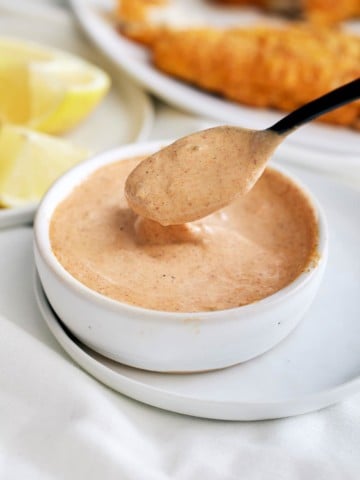
This homemade remoulade sauce recipe is so delicious, creamy, and flavorful and it’s the perfect addition to your favorite seafood, like crab cakes. Wonderfully tangy, it's made for dipping! Ready to use in minutes, this is sure to become a family favorite!
You’ll find the full recipe with ingredient amounts and instructions in the recipe card at the bottom of this post. Be sure to check out the blog post itself for extra tips and tricks!

Remoulade sauce was something I only ever had at restaurants, and almost always next to a plate of crab cakes. Once I started making crab cakes at home, I needed a remoulade I loved just as much. I played around with the ingredients until I landed on this one: creamy, tangy, and bright, with enough going on to stand up to anything fried.
I keep it on the mild side so the whole family can eat it. If you like a kick, it's easy to turn up the heat (see Variations below).
Happy Cooking,
Tanya
For a full seafood night, pair it with my Air Fryer Crab Cakes, Maryland Crab Cakes, Crispy Air Fryer Fried Shrimp, or Shrimp Po'Boy Sandwiches.
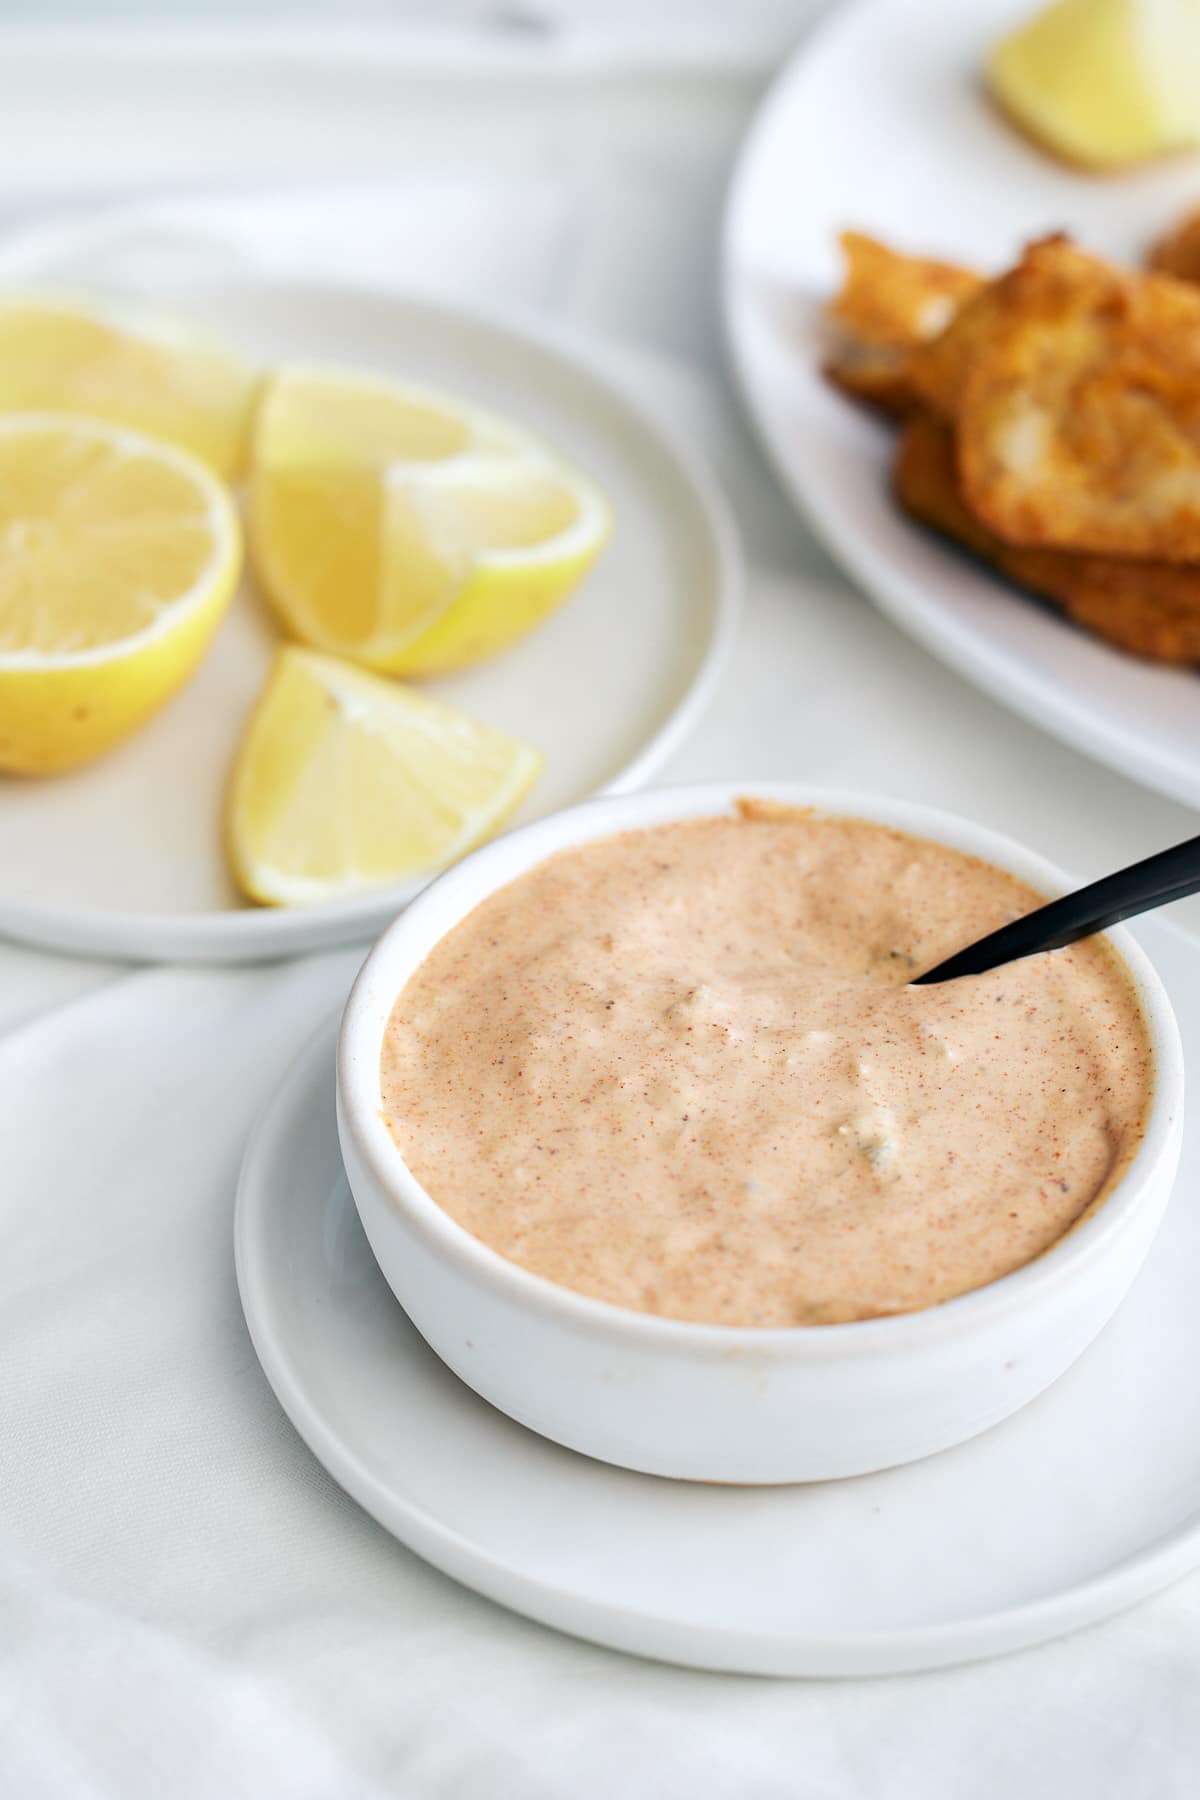
Ingredient amounts and full recipe instructions are on the printable recipe card at the bottom of the post.
Please see the recipe card below for the full printable recipe, ingredients, and instructions. Here you will find step-by-step photos of how to make this recipe.
Step 1: Grate the garlic. Use a microplane or the small holes of a box grater. If you mince it with a knife instead, mince it very fine. Big pieces of raw garlic will taste harsh in a sauce that isn't cooked.
Step 2: Whisk the base. In a medium bowl, whisk the mayonnaise, Dijon mustard, and lemon juice until smooth.
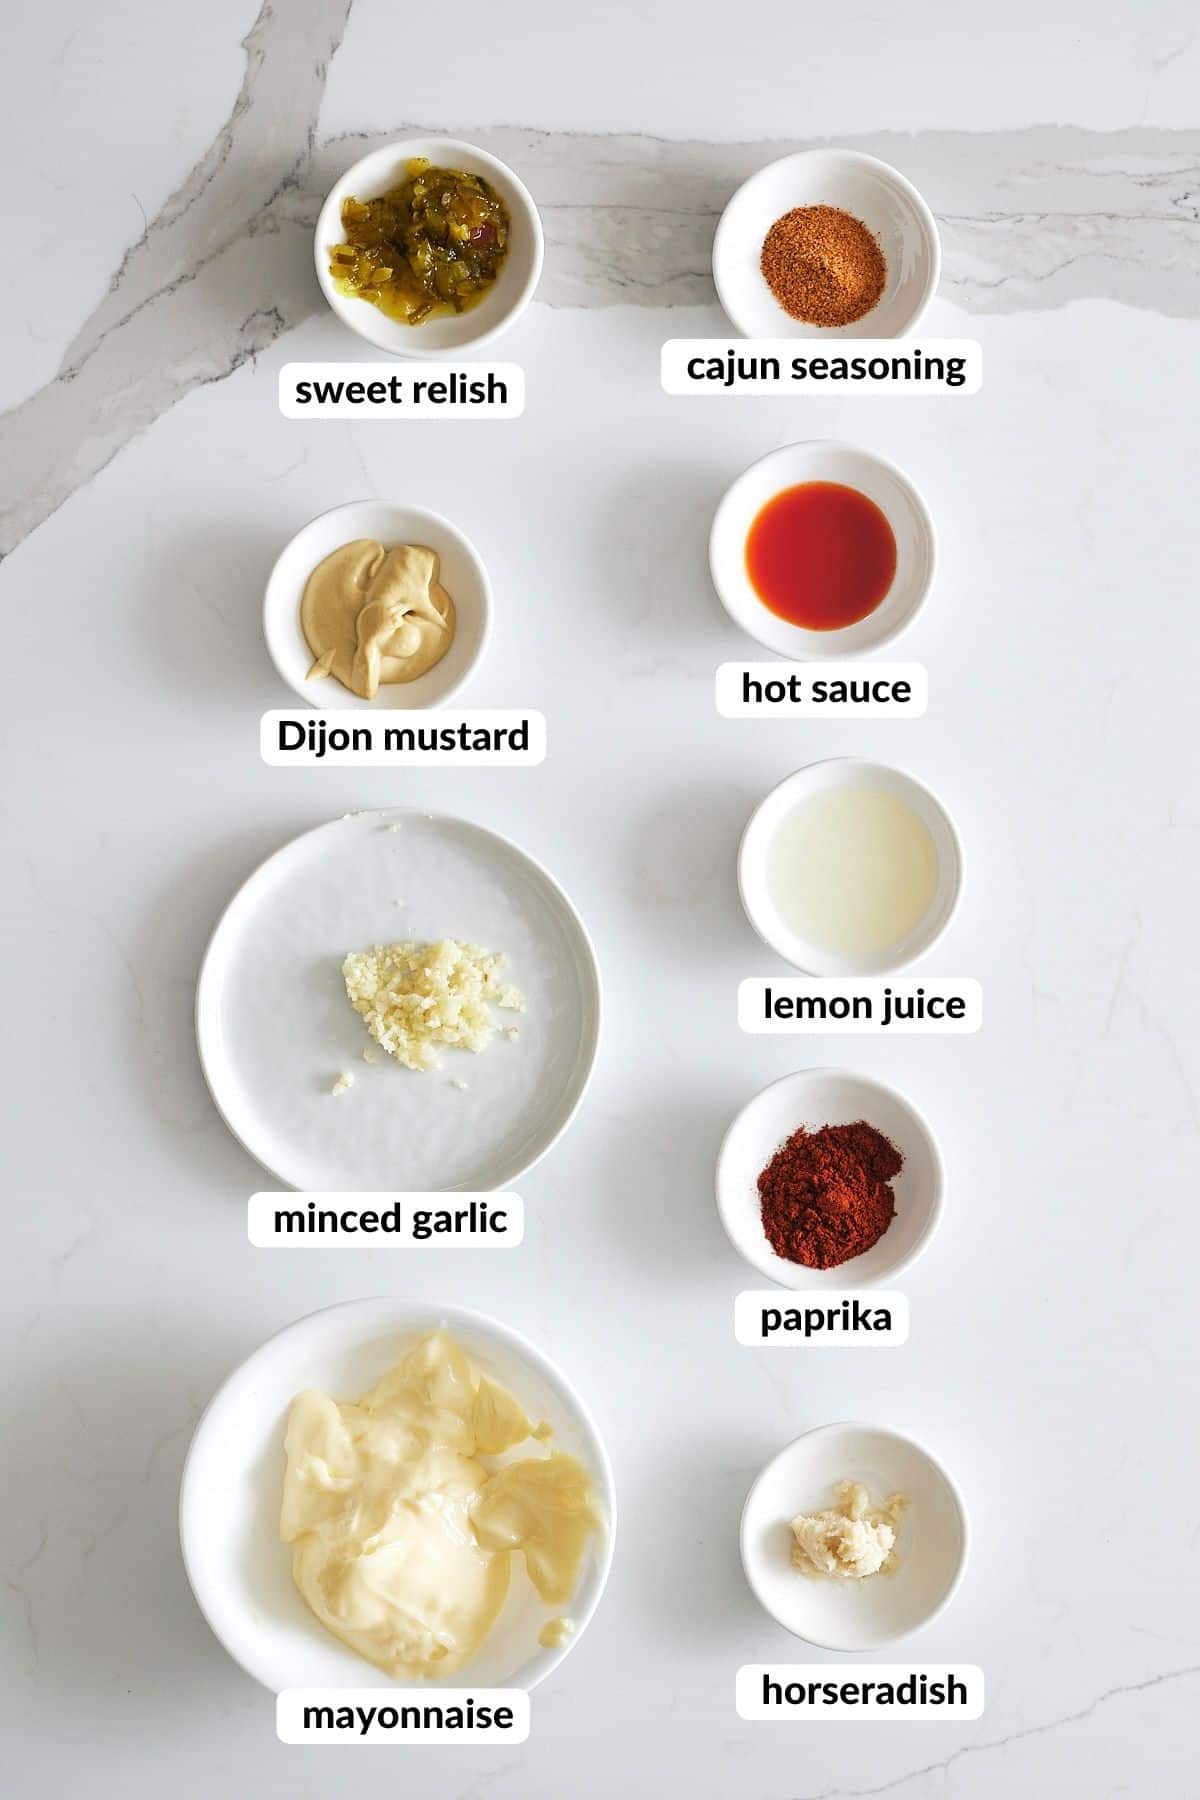
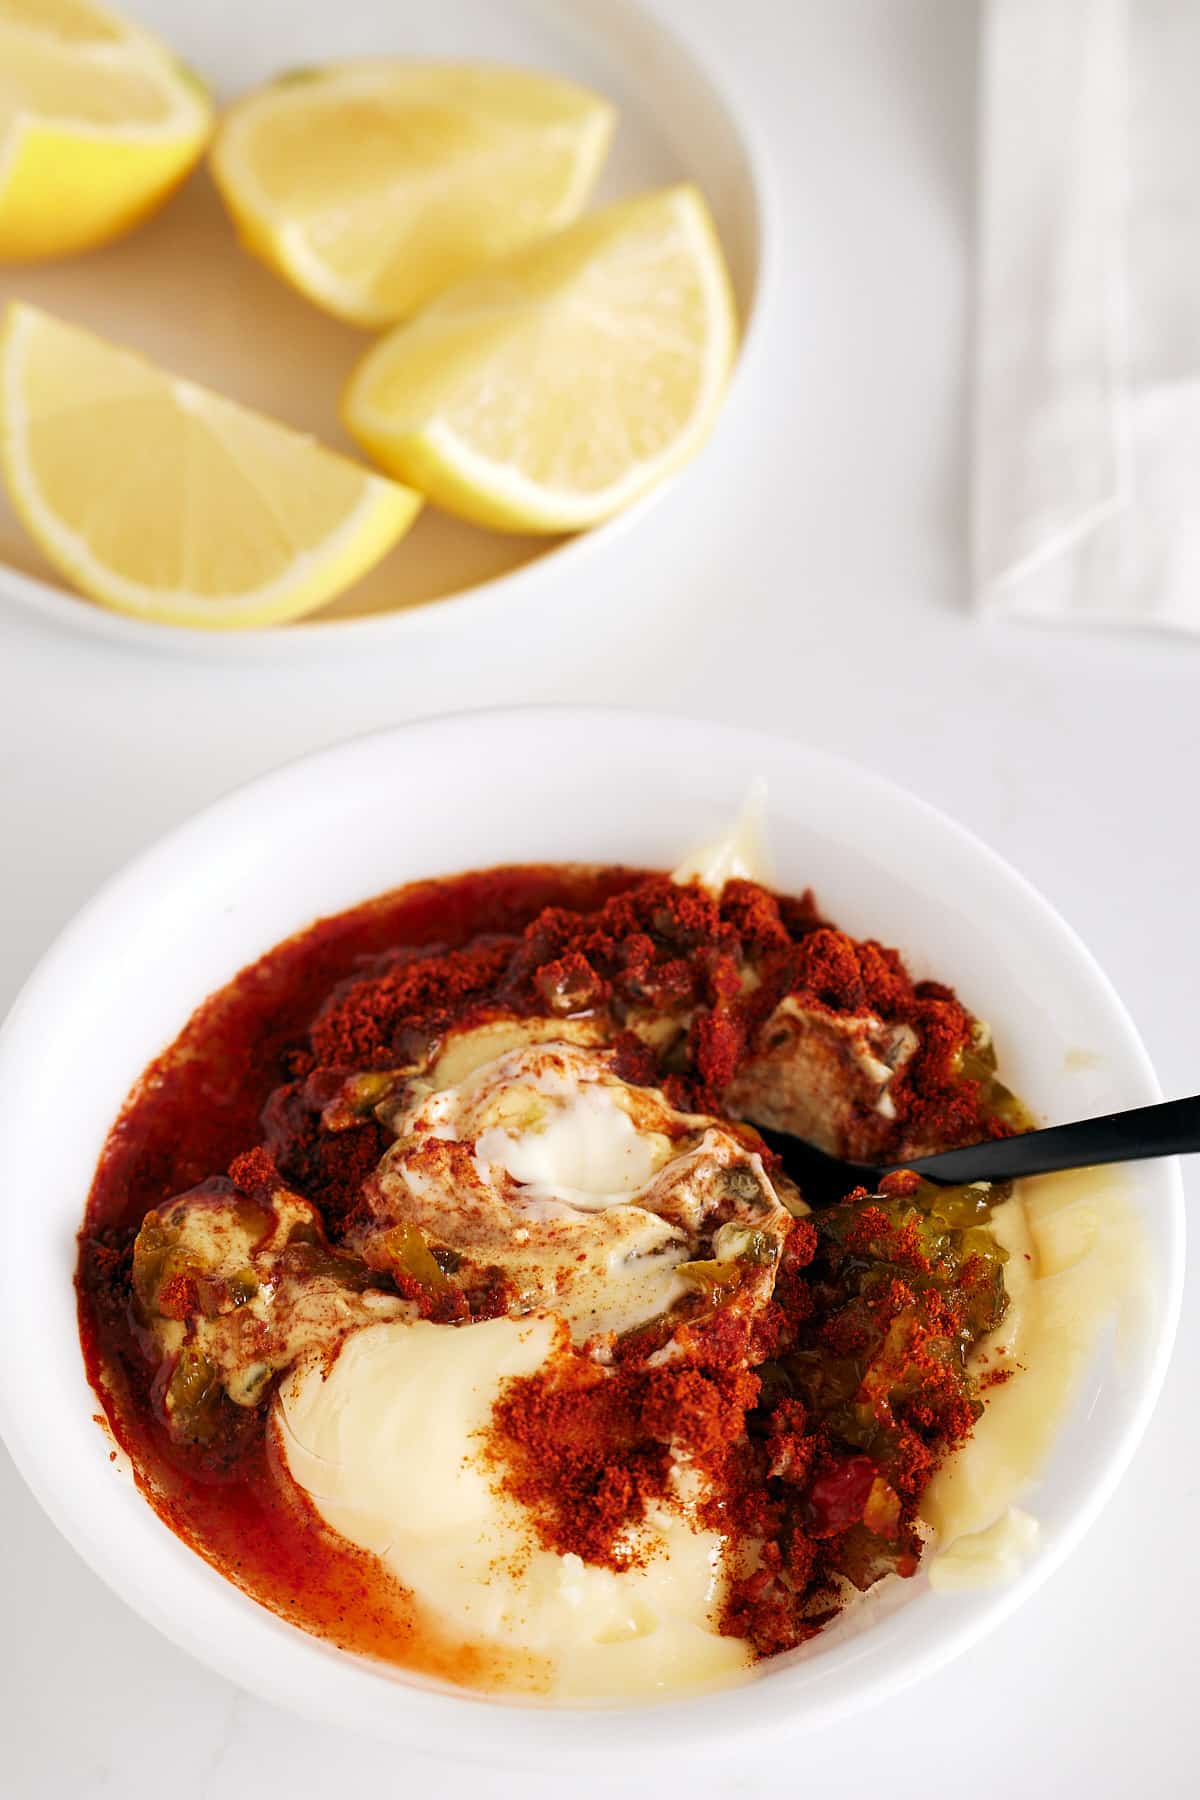
Step 3: Add everything else. Add the relish, horseradish, hot sauce, Creole seasoning, paprika, and garlic. Whisk until the color is even and there are no streaks of paprika.
Step 4: Taste it. Taste before you serve it. If it needs more tang, add a squeeze of lemon. If you want more heat, add hot sauce a little at a time. Don't add salt until you've tasted it, because the Creole seasoning may already have plenty.
Step 5: Serve. I usually serve it right away. You don't have to chill it first. If you're making it ahead, cover it and keep it in the fridge, then give it a stir before serving.
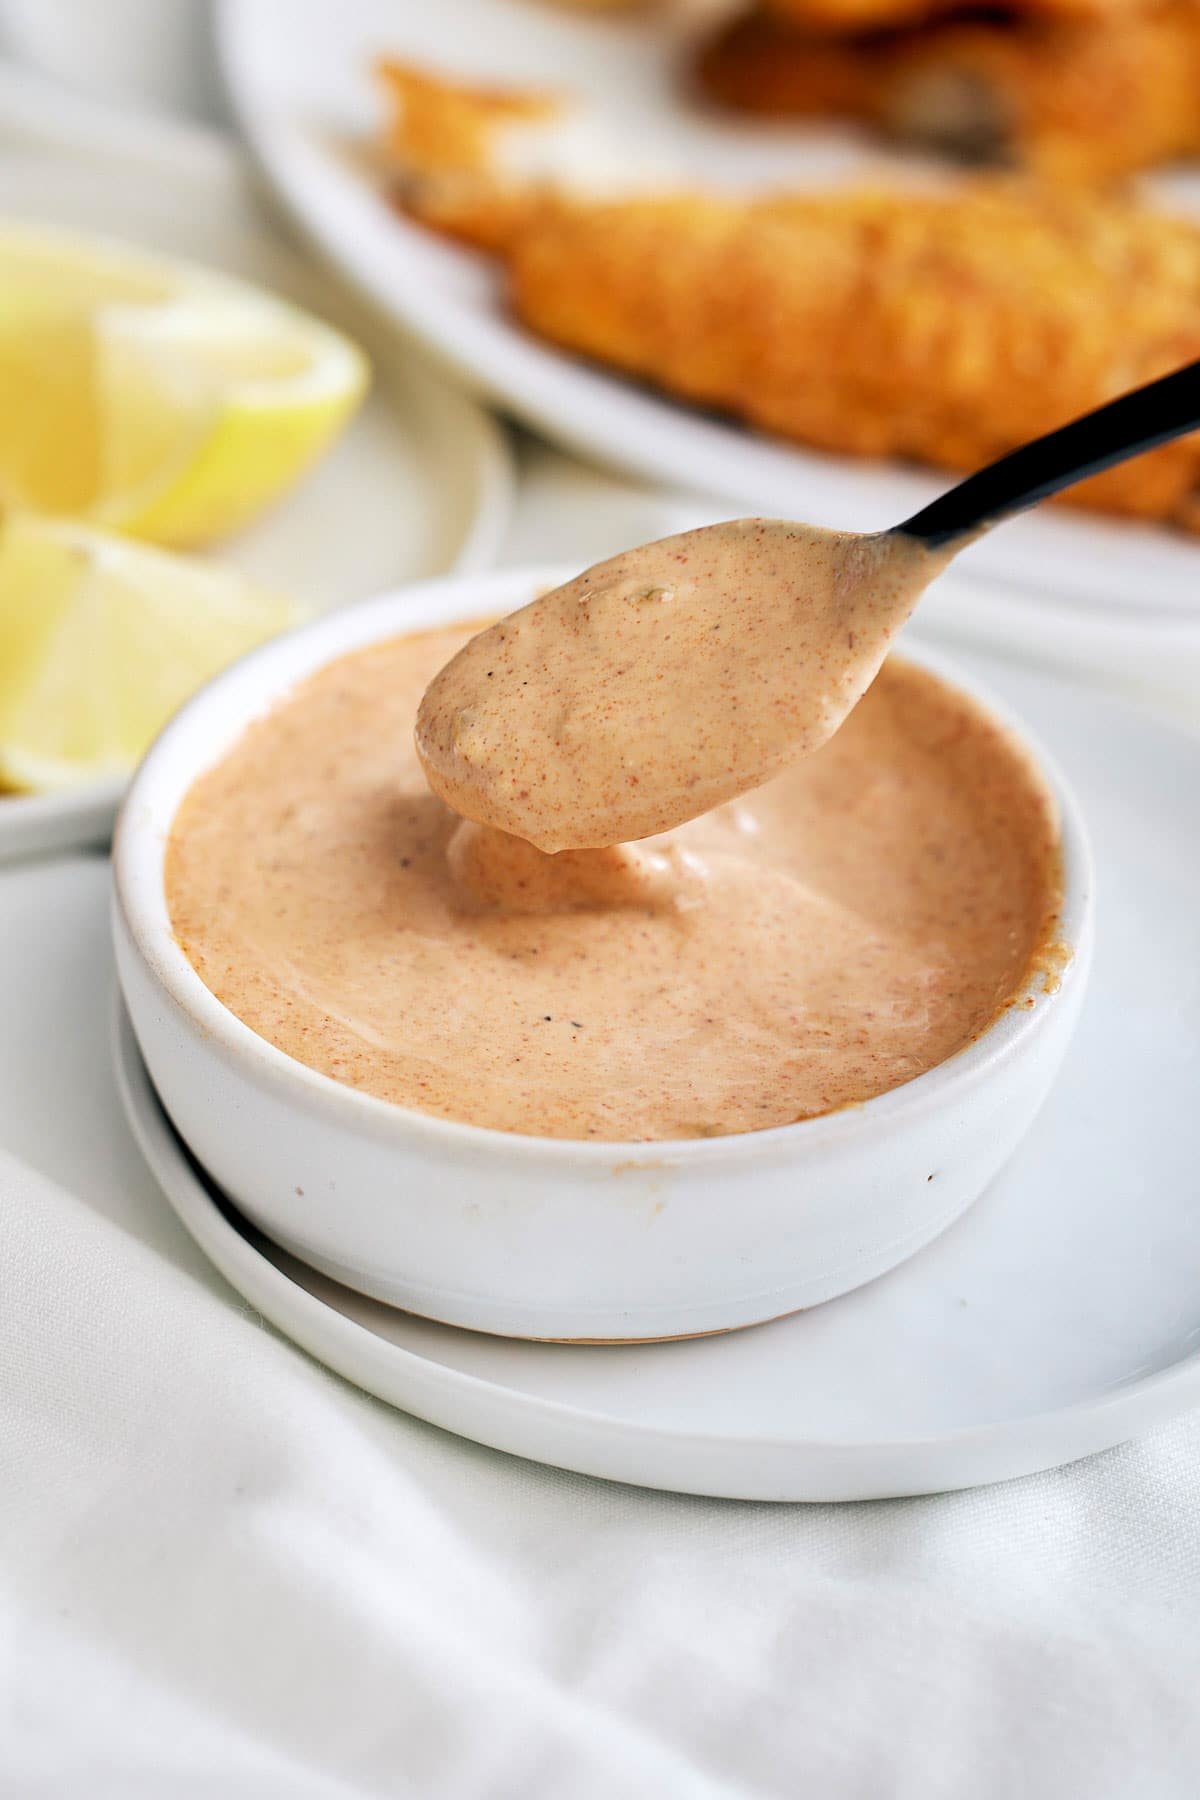
This remoulade is made for dipping and drizzling. It goes with seafood and anything fried.
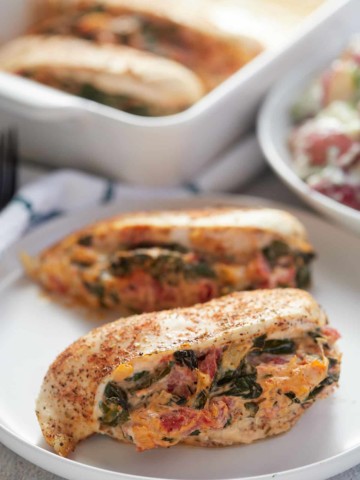
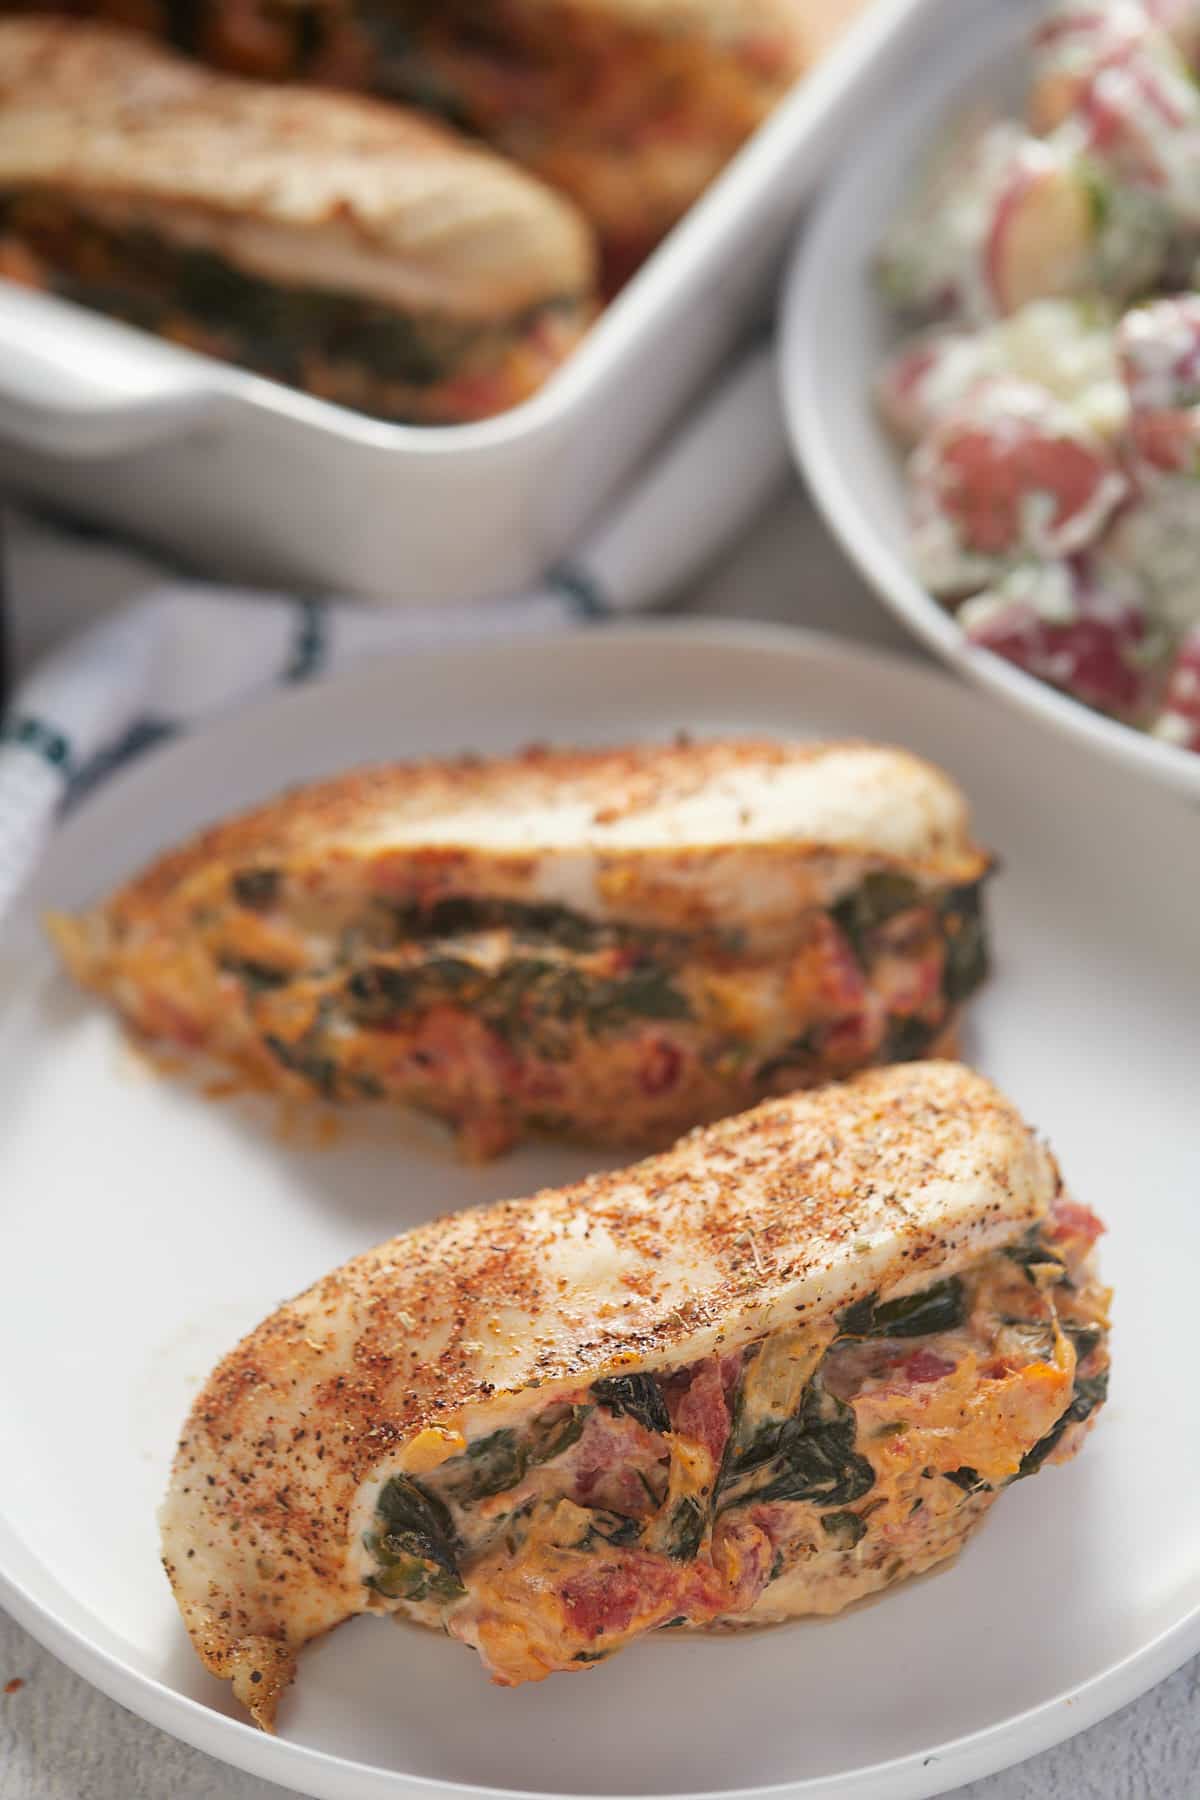
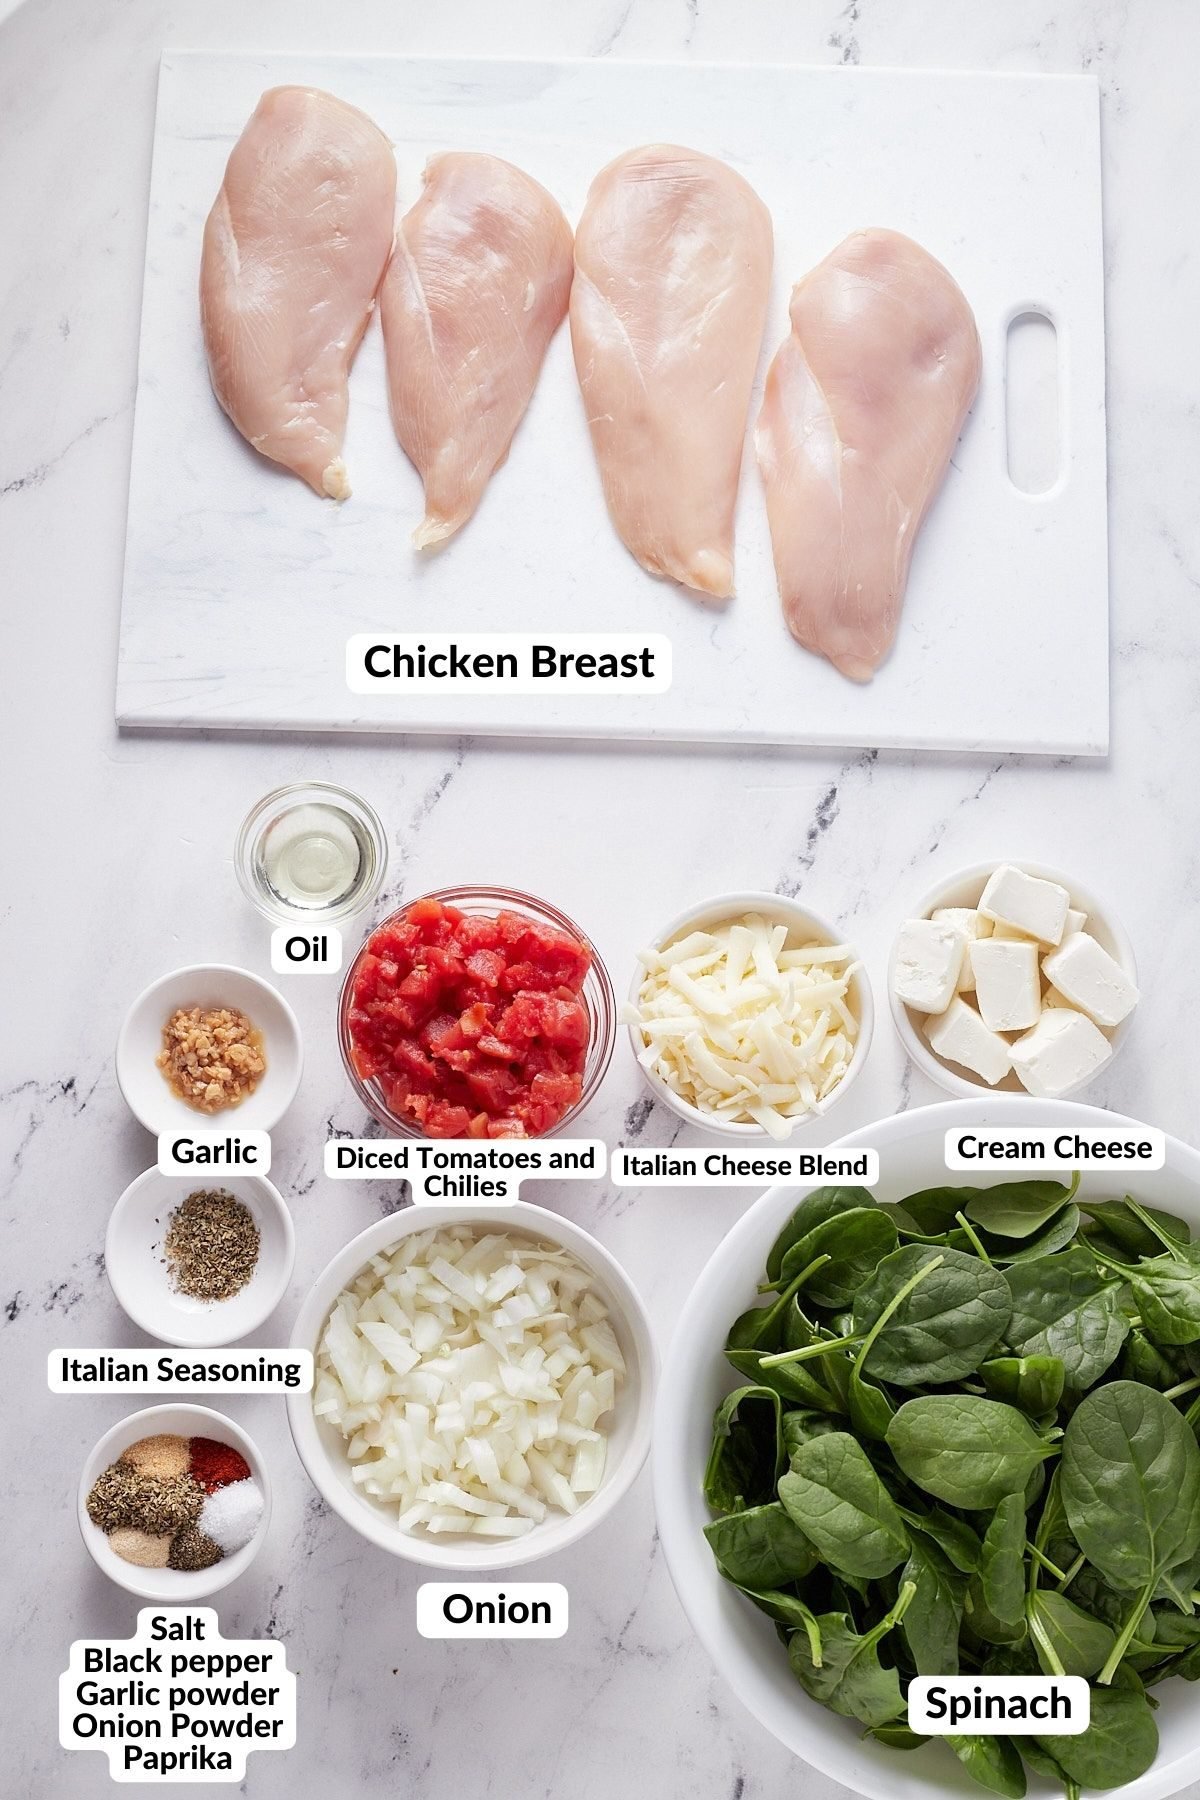
Mix up your weeknight dinners with these delicious spinach stuffed chicken breasts. Ready to enjoy in 30 minutes, they are stuffed with spinach, tomatoes, green chilies and cream cheese for one flavorful bite. Perfect for the whole family, and fancy enough to serve to company!
This post contains affiliate links, please read my full disclaimer here.
You’ll find the full recipe with ingredient amounts and instructions in the recipe card at the bottom of this post. Be sure to check out the blog post itself for extra tips and tricks!
Chicken breasts are a staple in our house, and this recipe is an easy way to fancy them up! Stuffed with spinach, tomatoes and cream cheese, they are easy to make and so tasty!
Perfectly seasoned and baked in the oven, they are ready to serve in half an hour, making them a great go to for an easy family weeknight meal, but they are easily tasty enough to serve to guests.
These spinach stuffed chicken breasts are also a great healthy choice. High in protein and low in saturated fat, carbs and calories, they are a great addition to a well balanced lifestyle. I know that you are going to love them as much as my family does!
Be sure to try my Creamy Champagne Chicken and Easy Chicken Chili too!
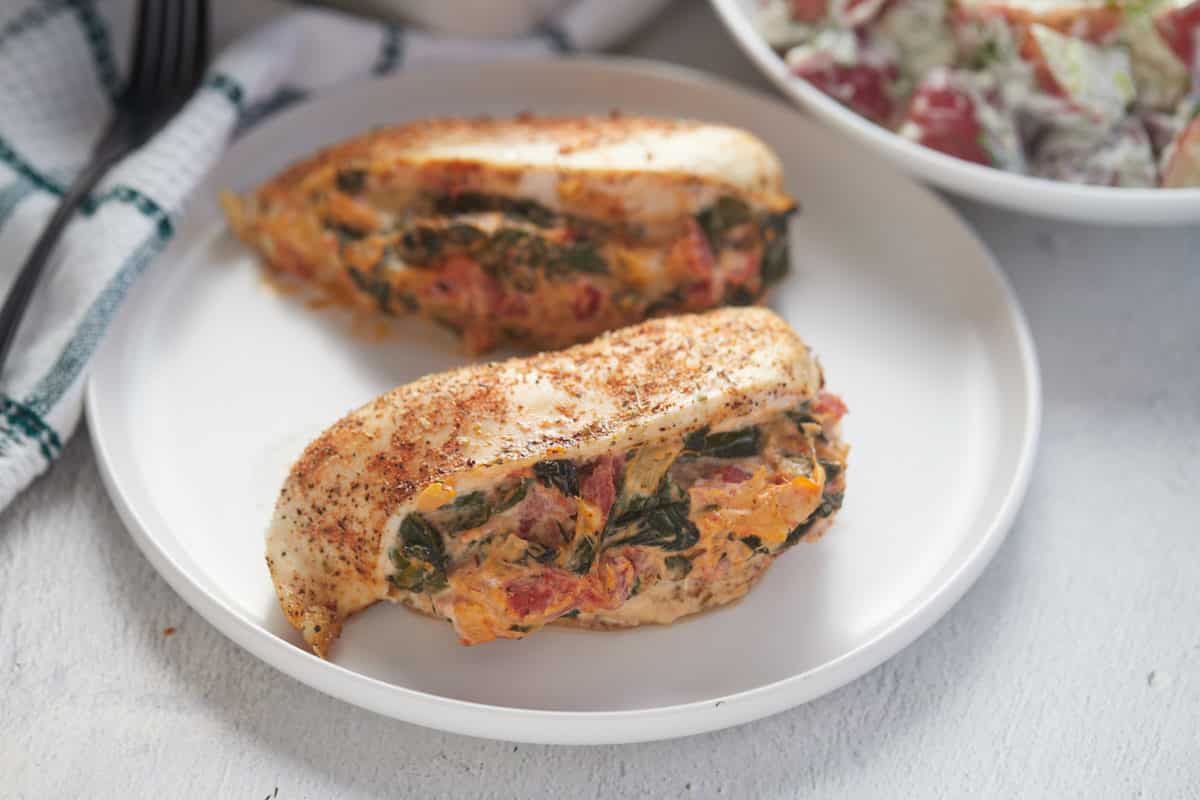
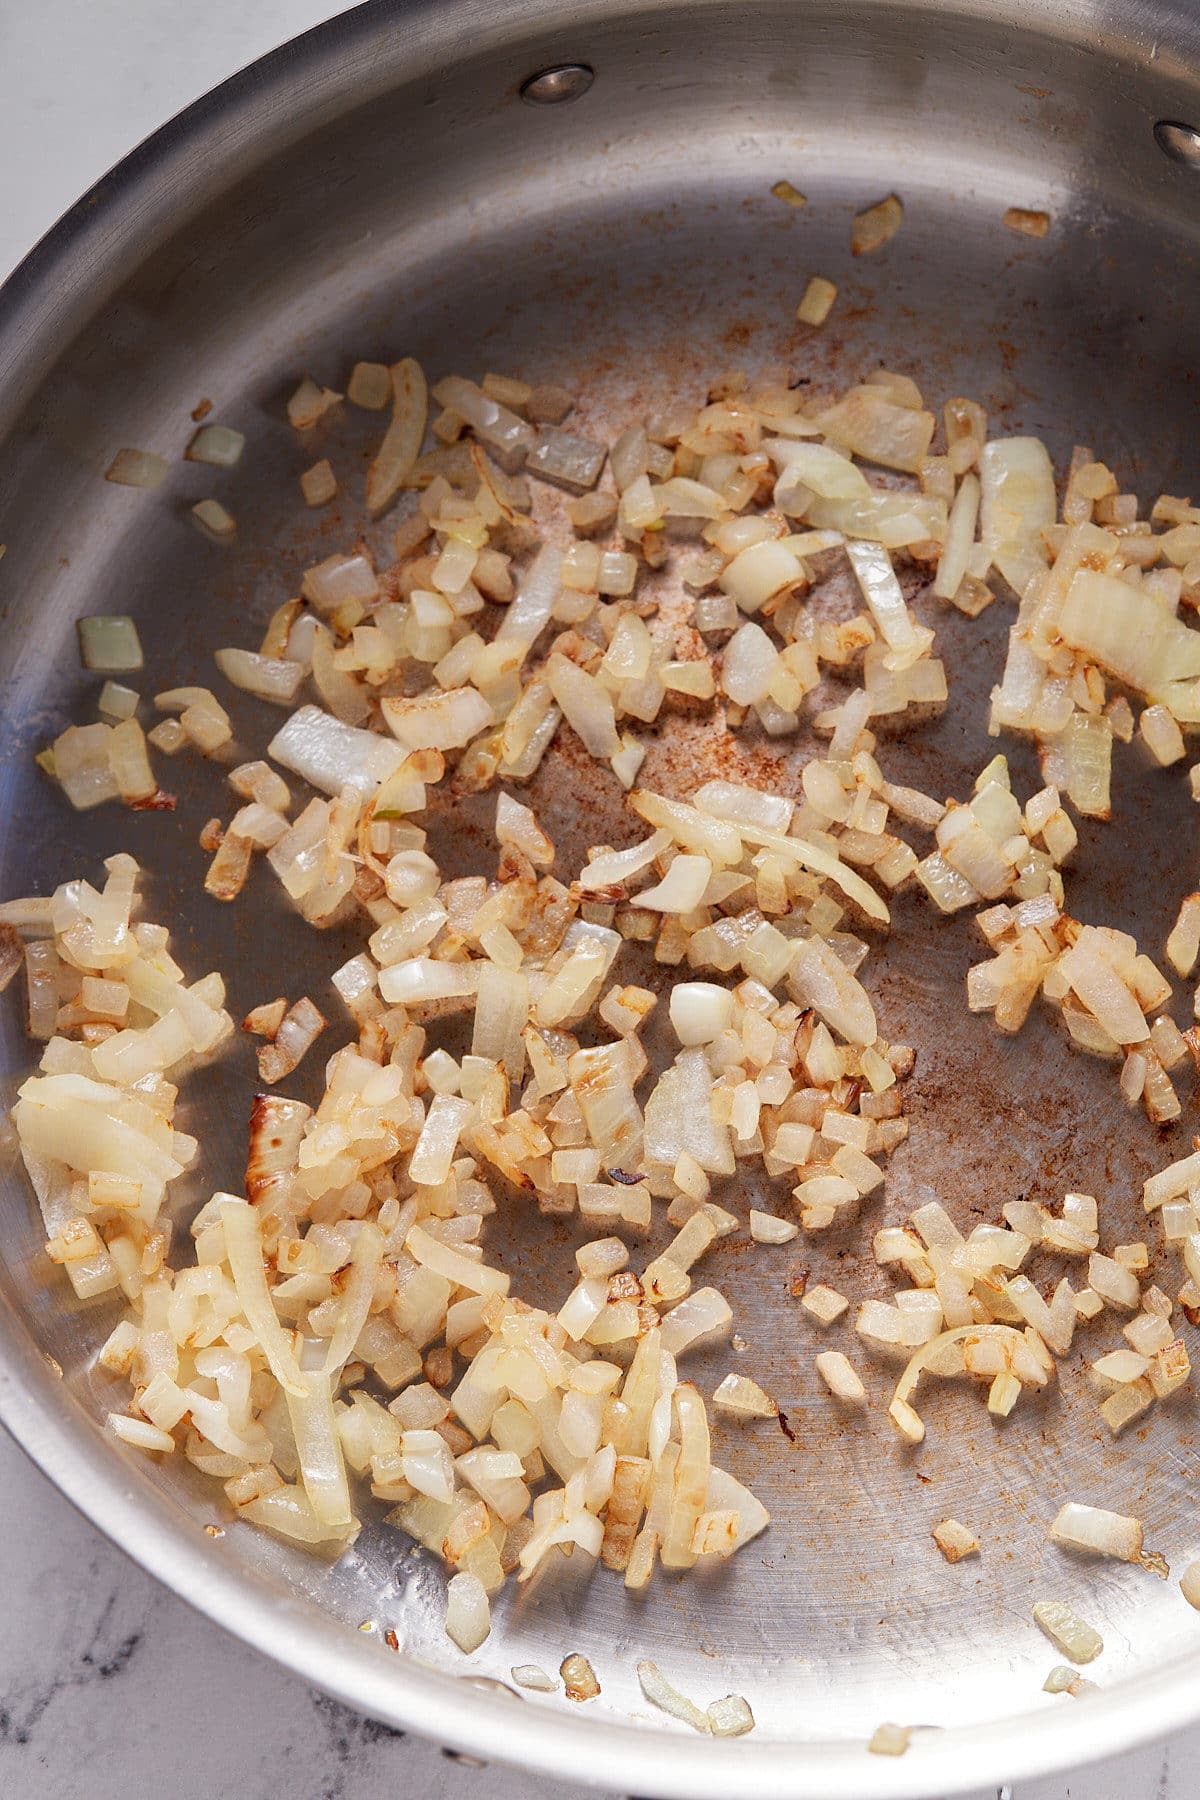
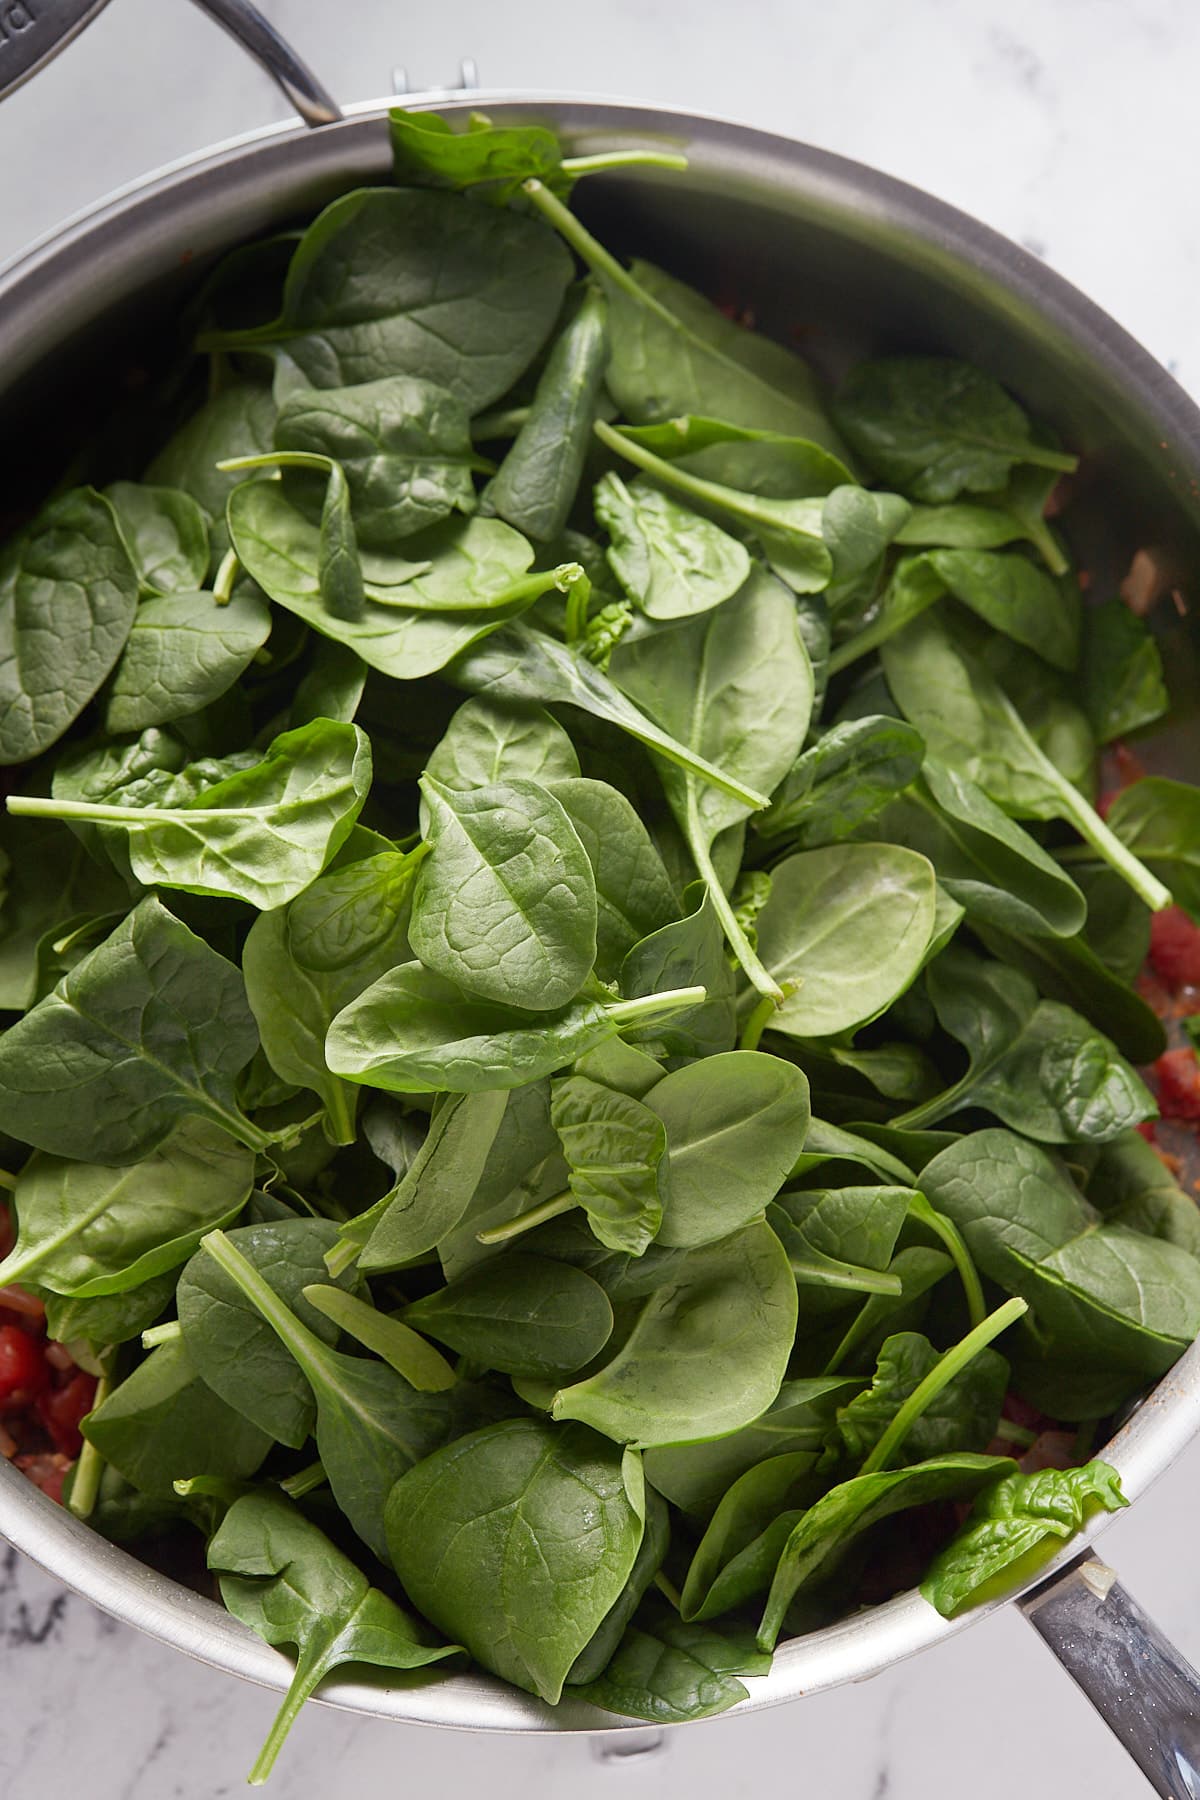
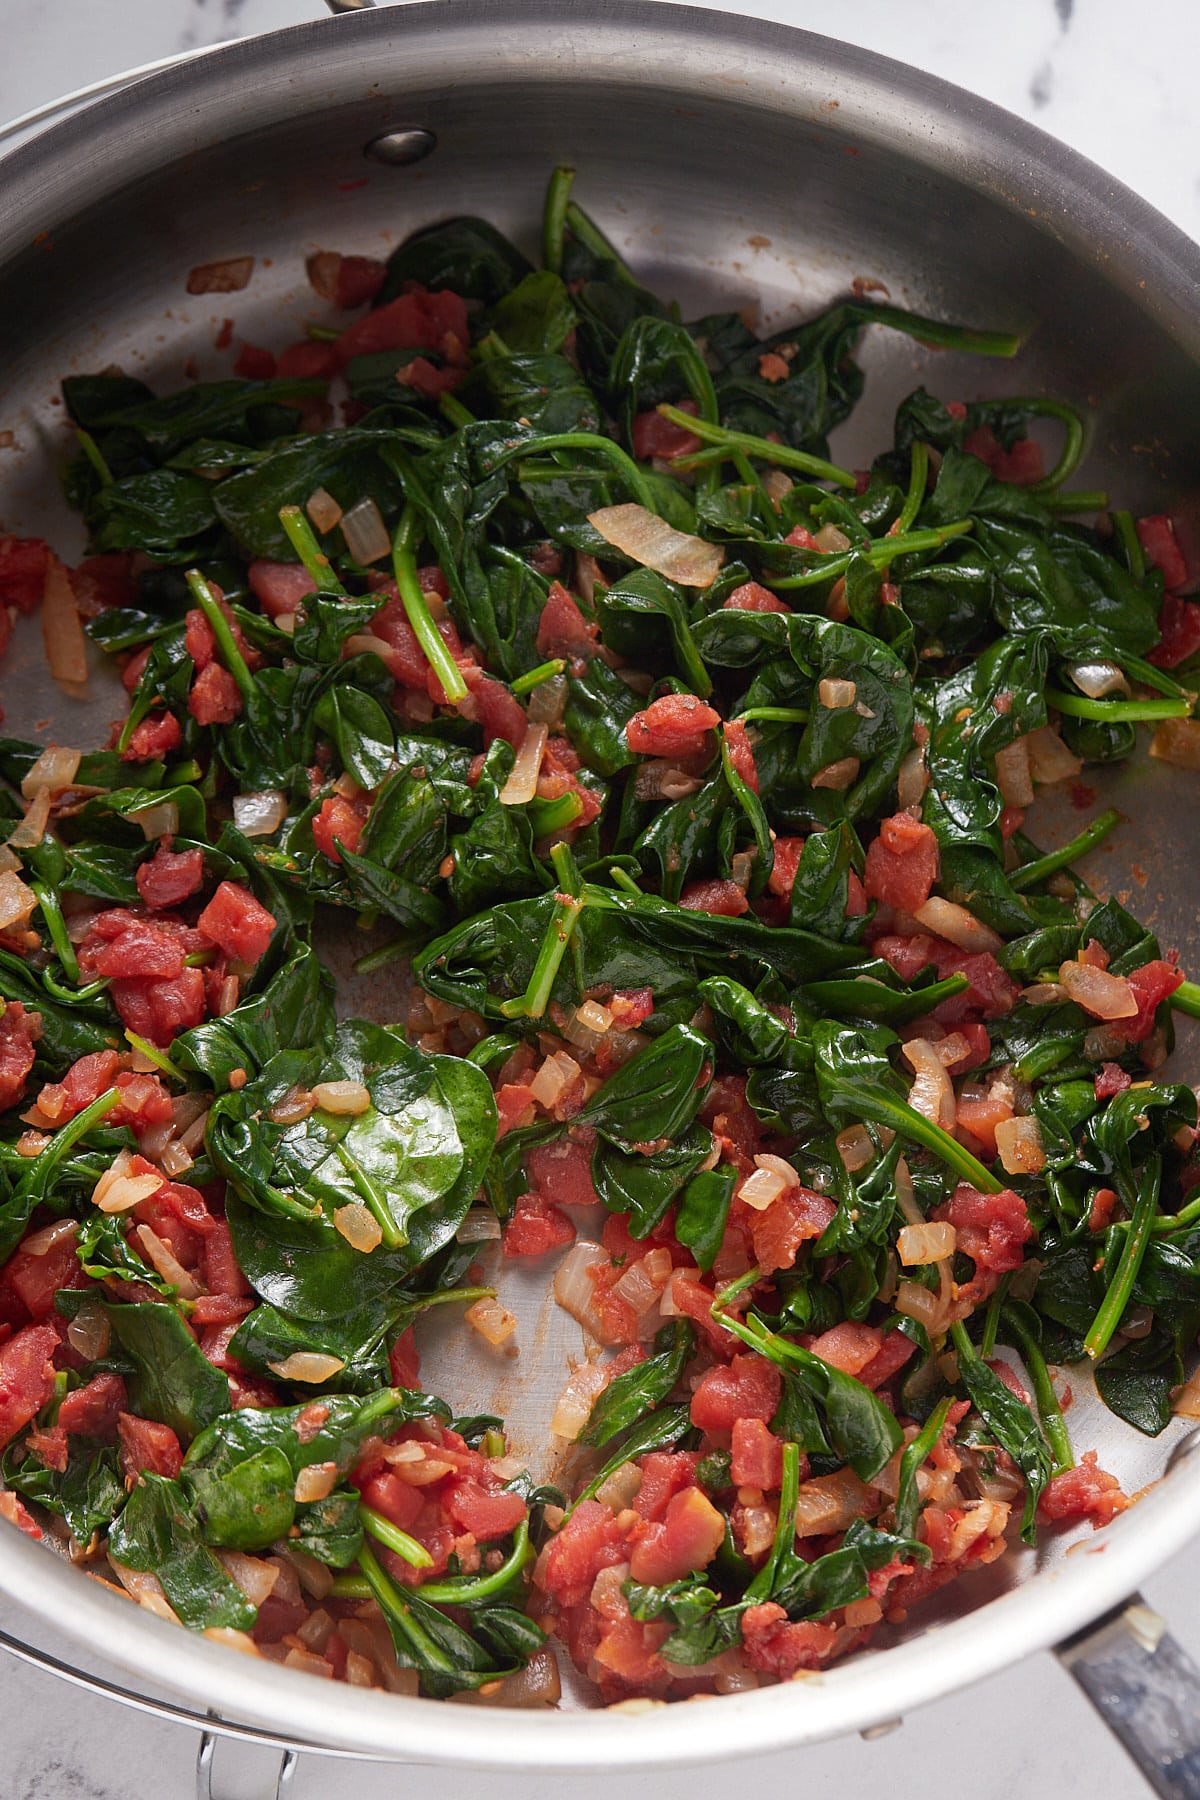
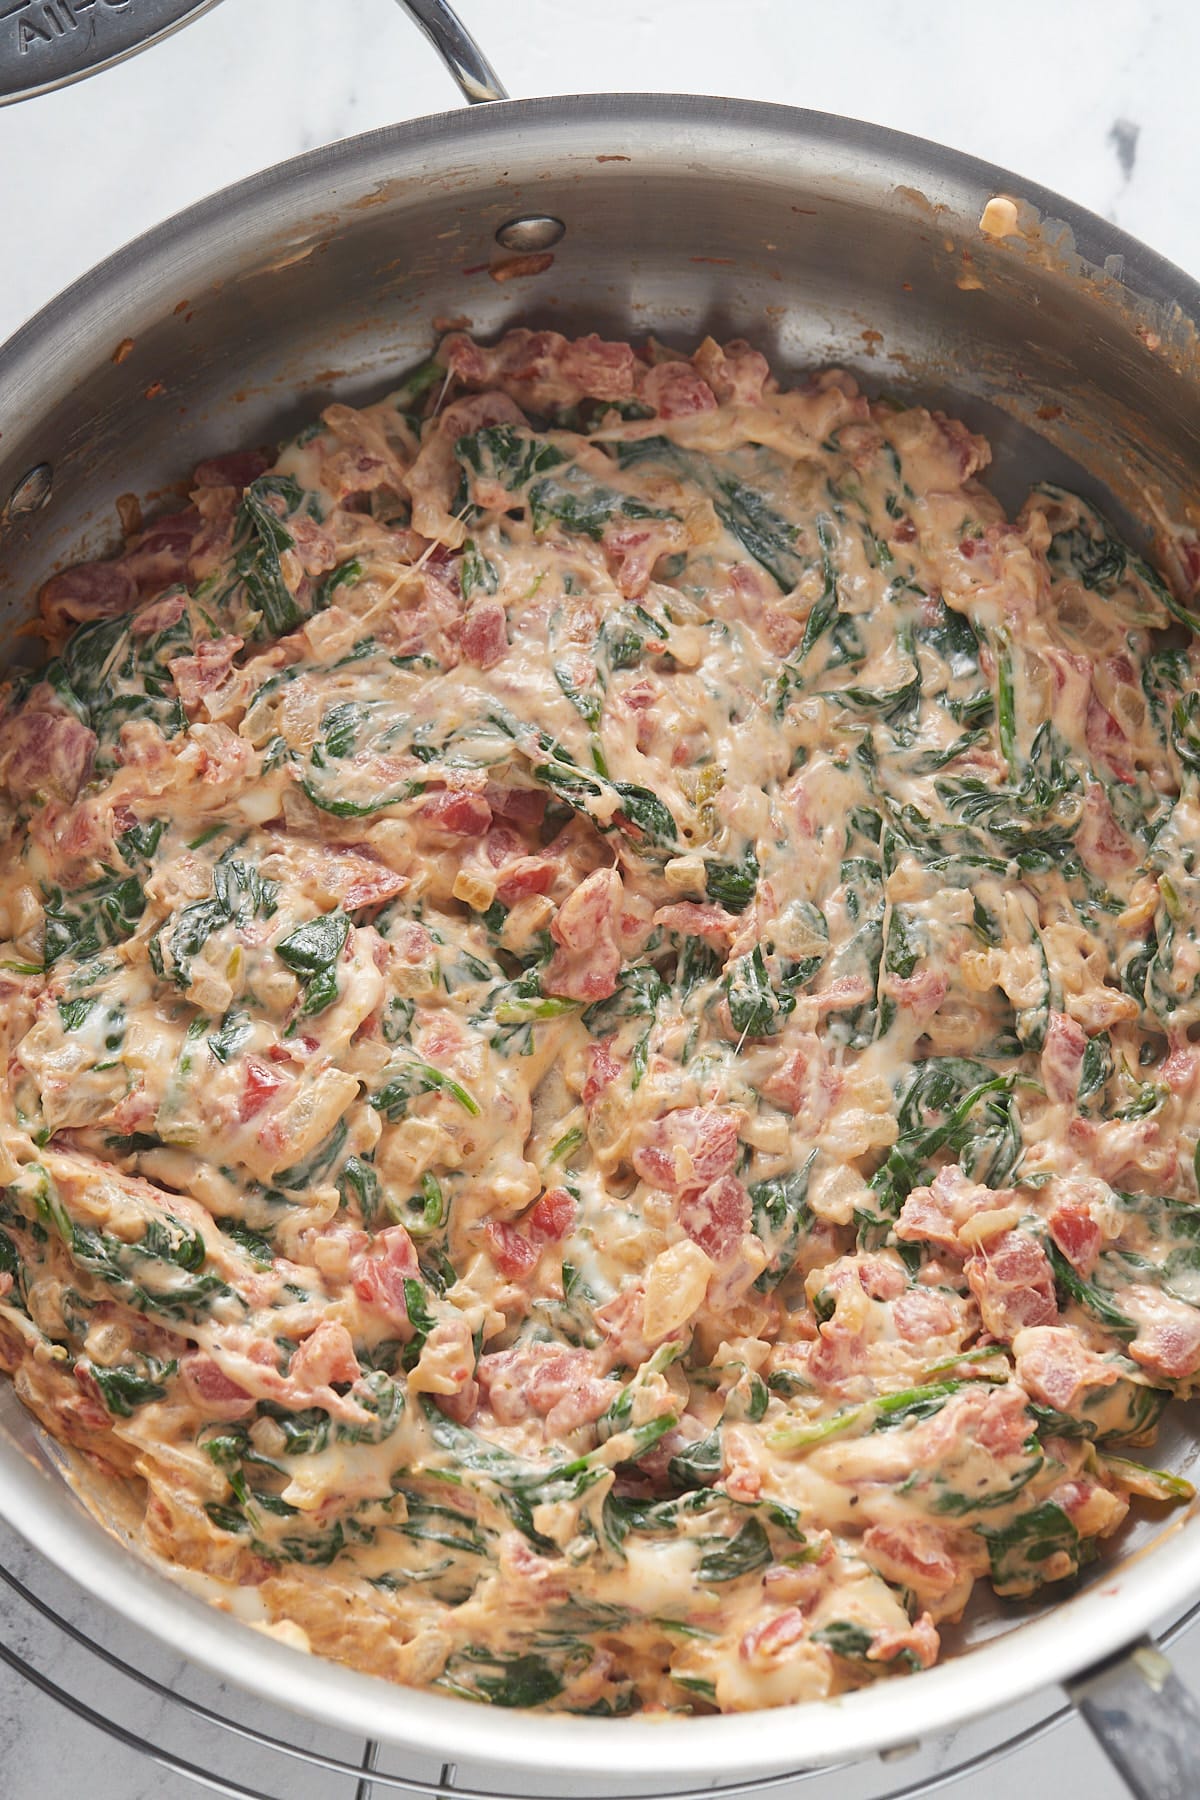
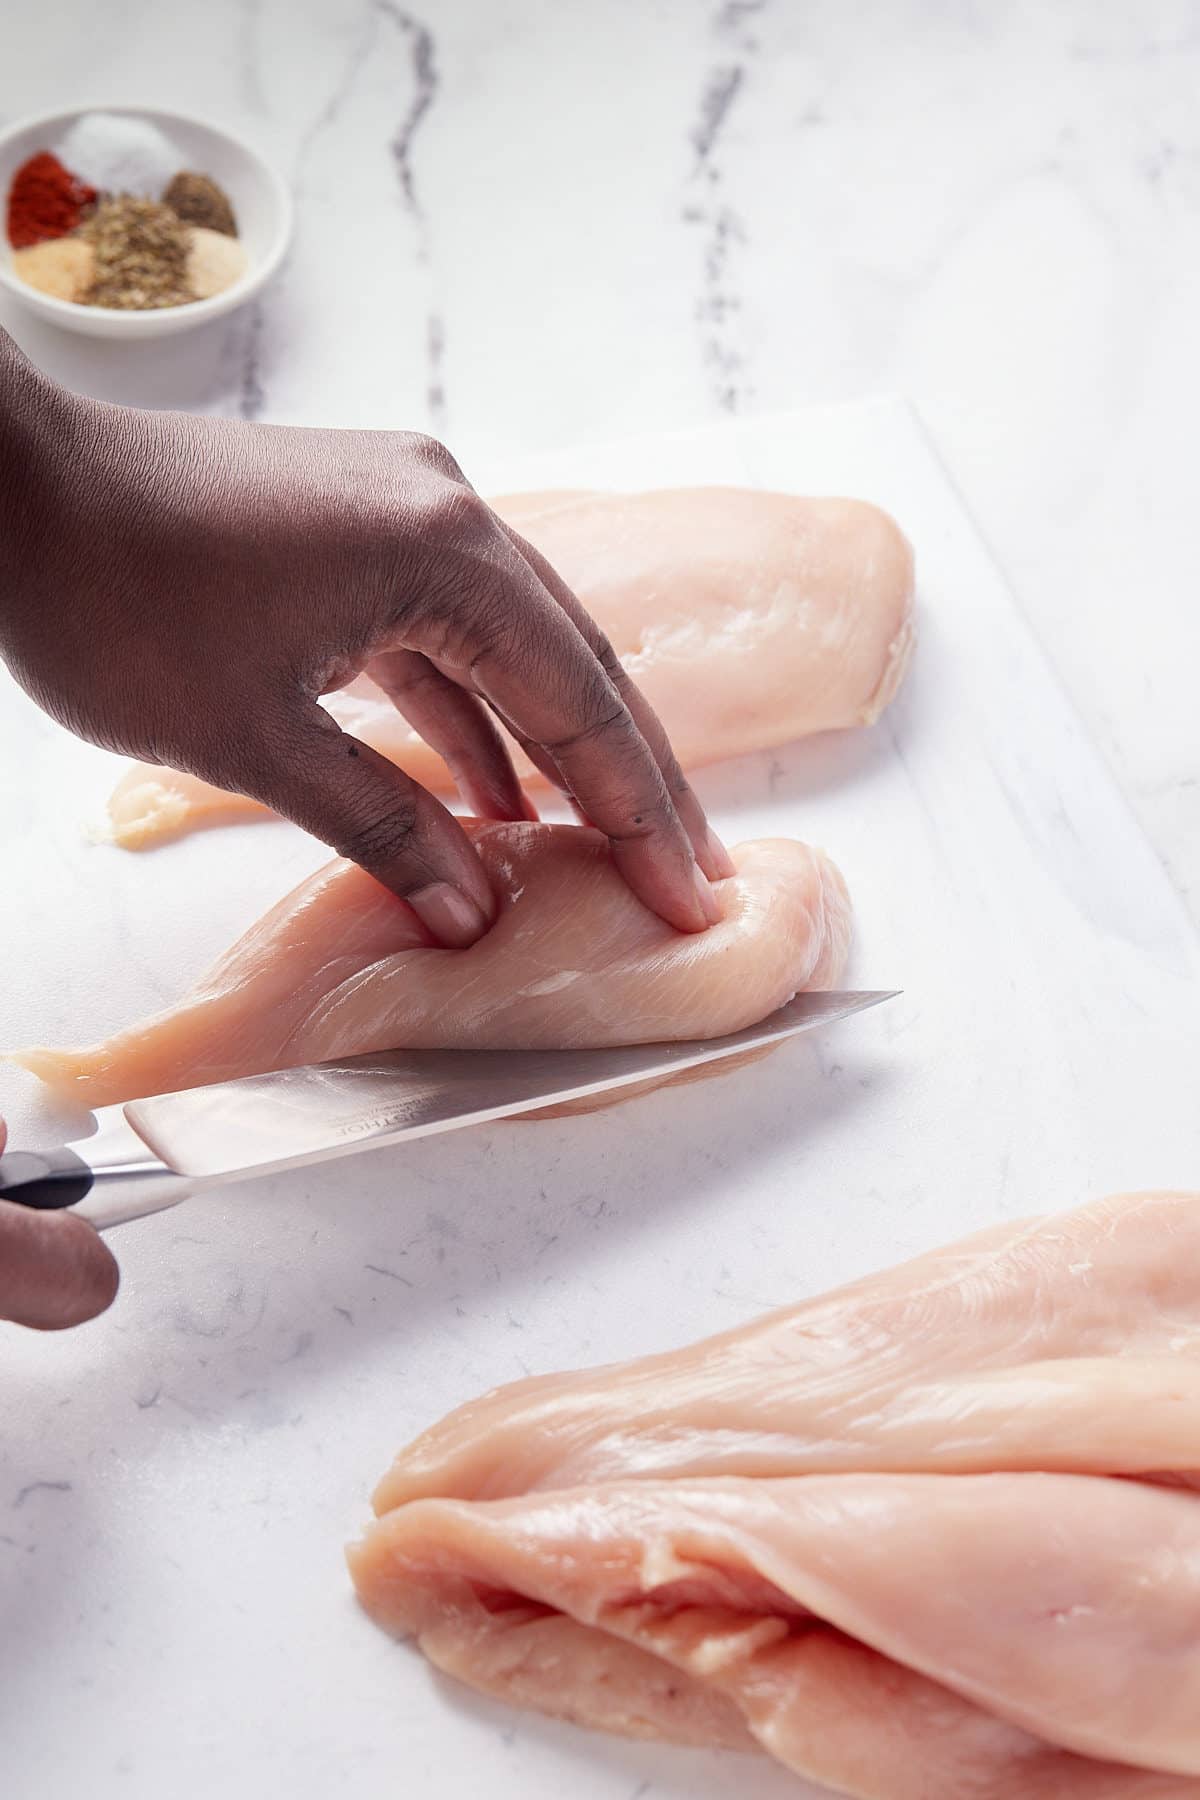
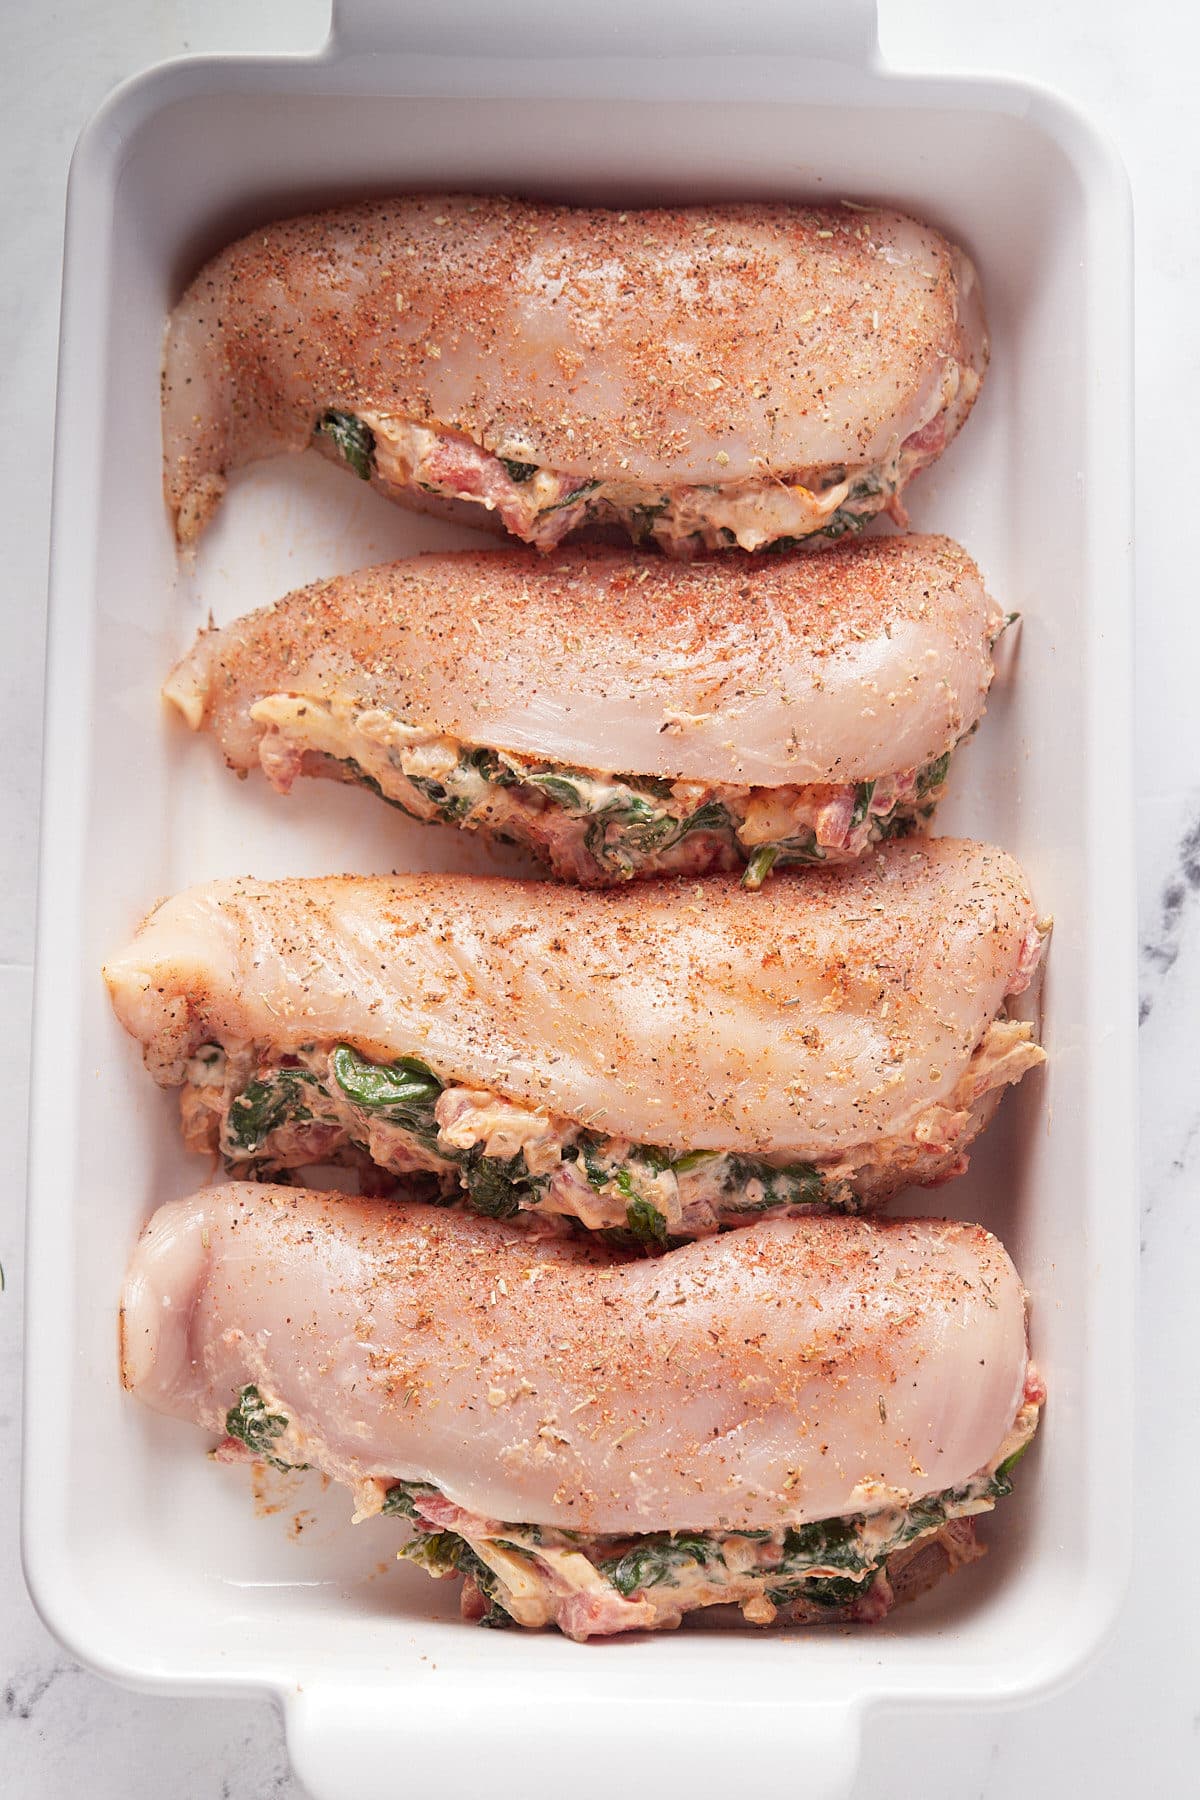
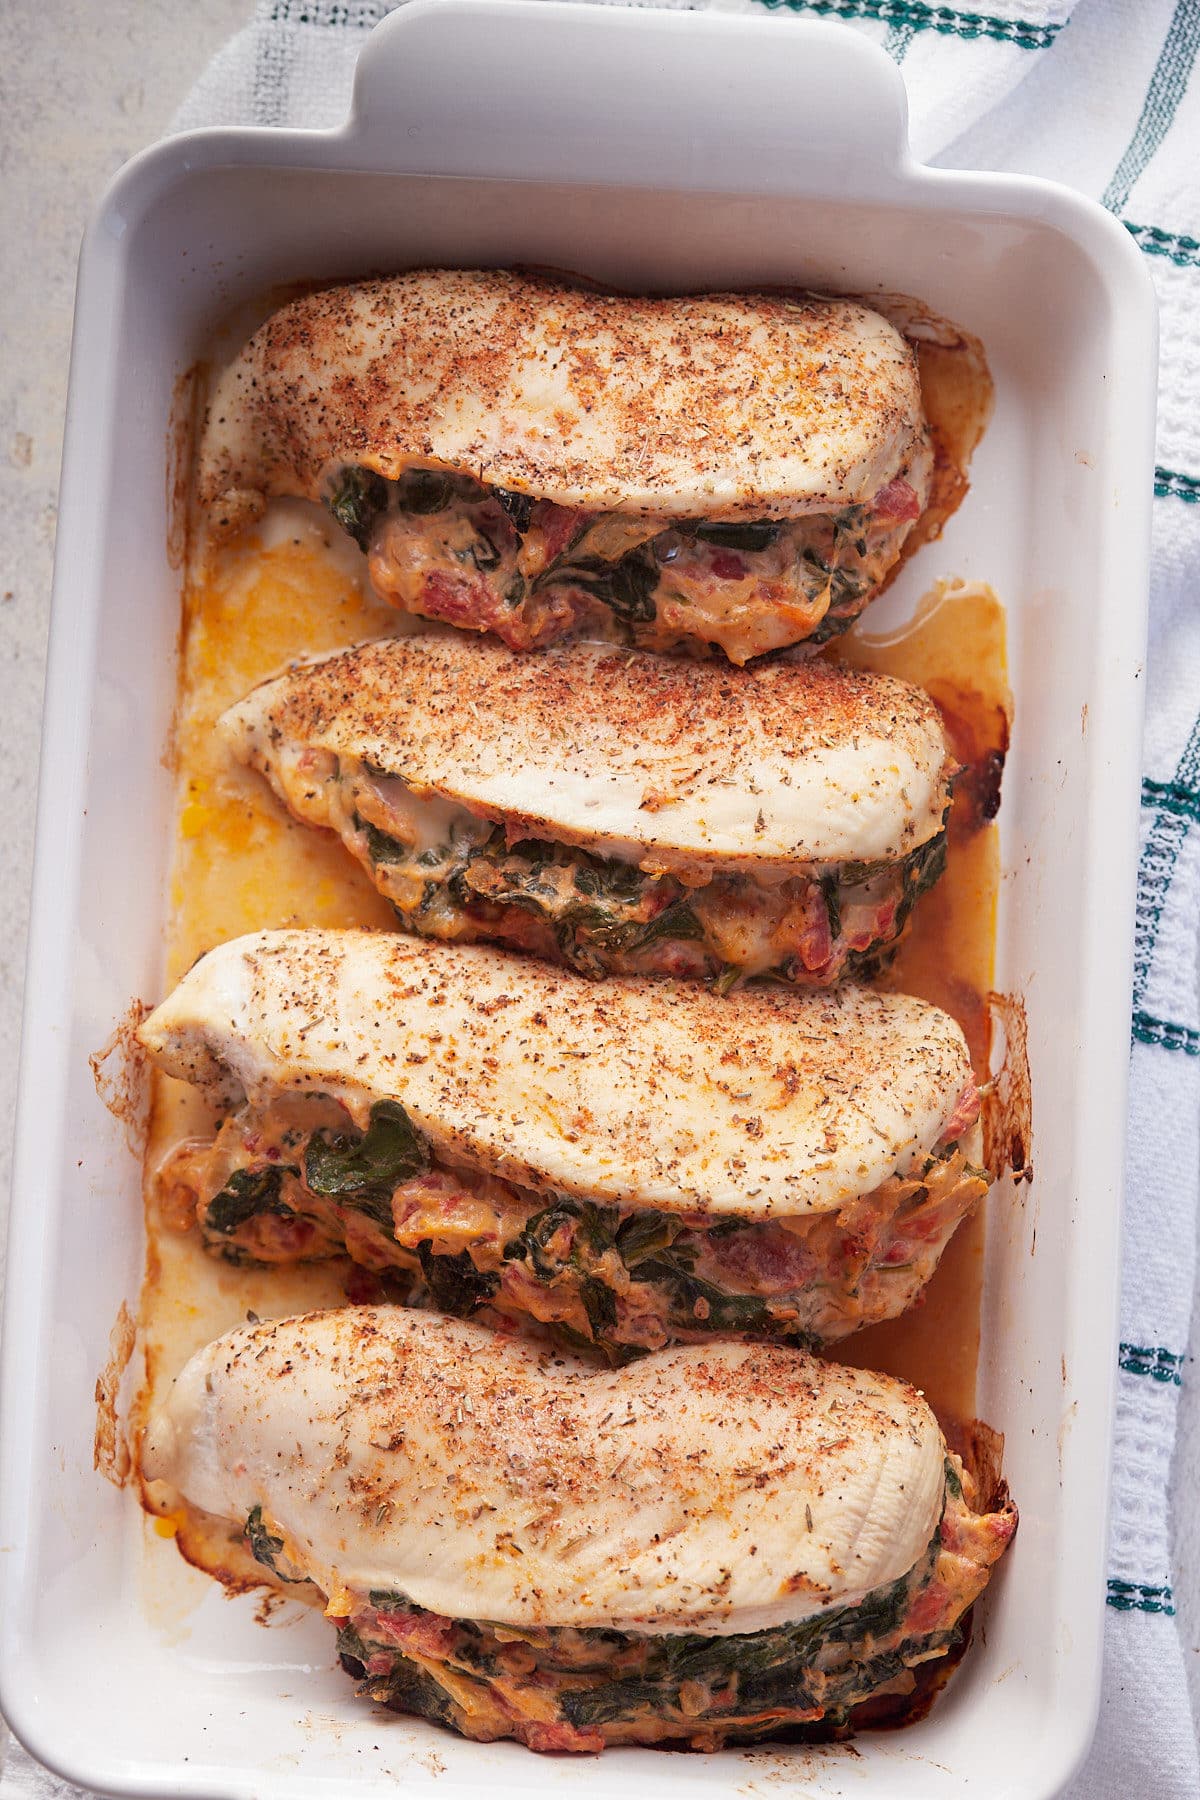
These spinach stuffed chicken breasts are best enjoyed as soon as they are baked so that they are nice and juicy, but leftovers will keep well in the fridge for 3 to 4 days and can be reheated in the oven at 360F for 10 to 15 minutes to serve.
You can make the spinach and cream cheese filling a day or two before you want to make these and keep covered in the fridge. The chicken breasts can be stuffed a little ahead of time and be stored covered in the fridge.
Chicken breasts are perfect for stuffing, you just make a pocket in the breasts, load in the spinach cream cheese filling and you are good to go. If you only have thighs, you can still enjoy this recipe. Pound them out and then roll them up like a pinwheel and secure them with a toothpick. They may take slightly longer to cook through compared to breasts.
These cheesy stuffed chicken breasts are perfect to serve with salad, veggie and potato side dishes. Try them with some of these favorites:
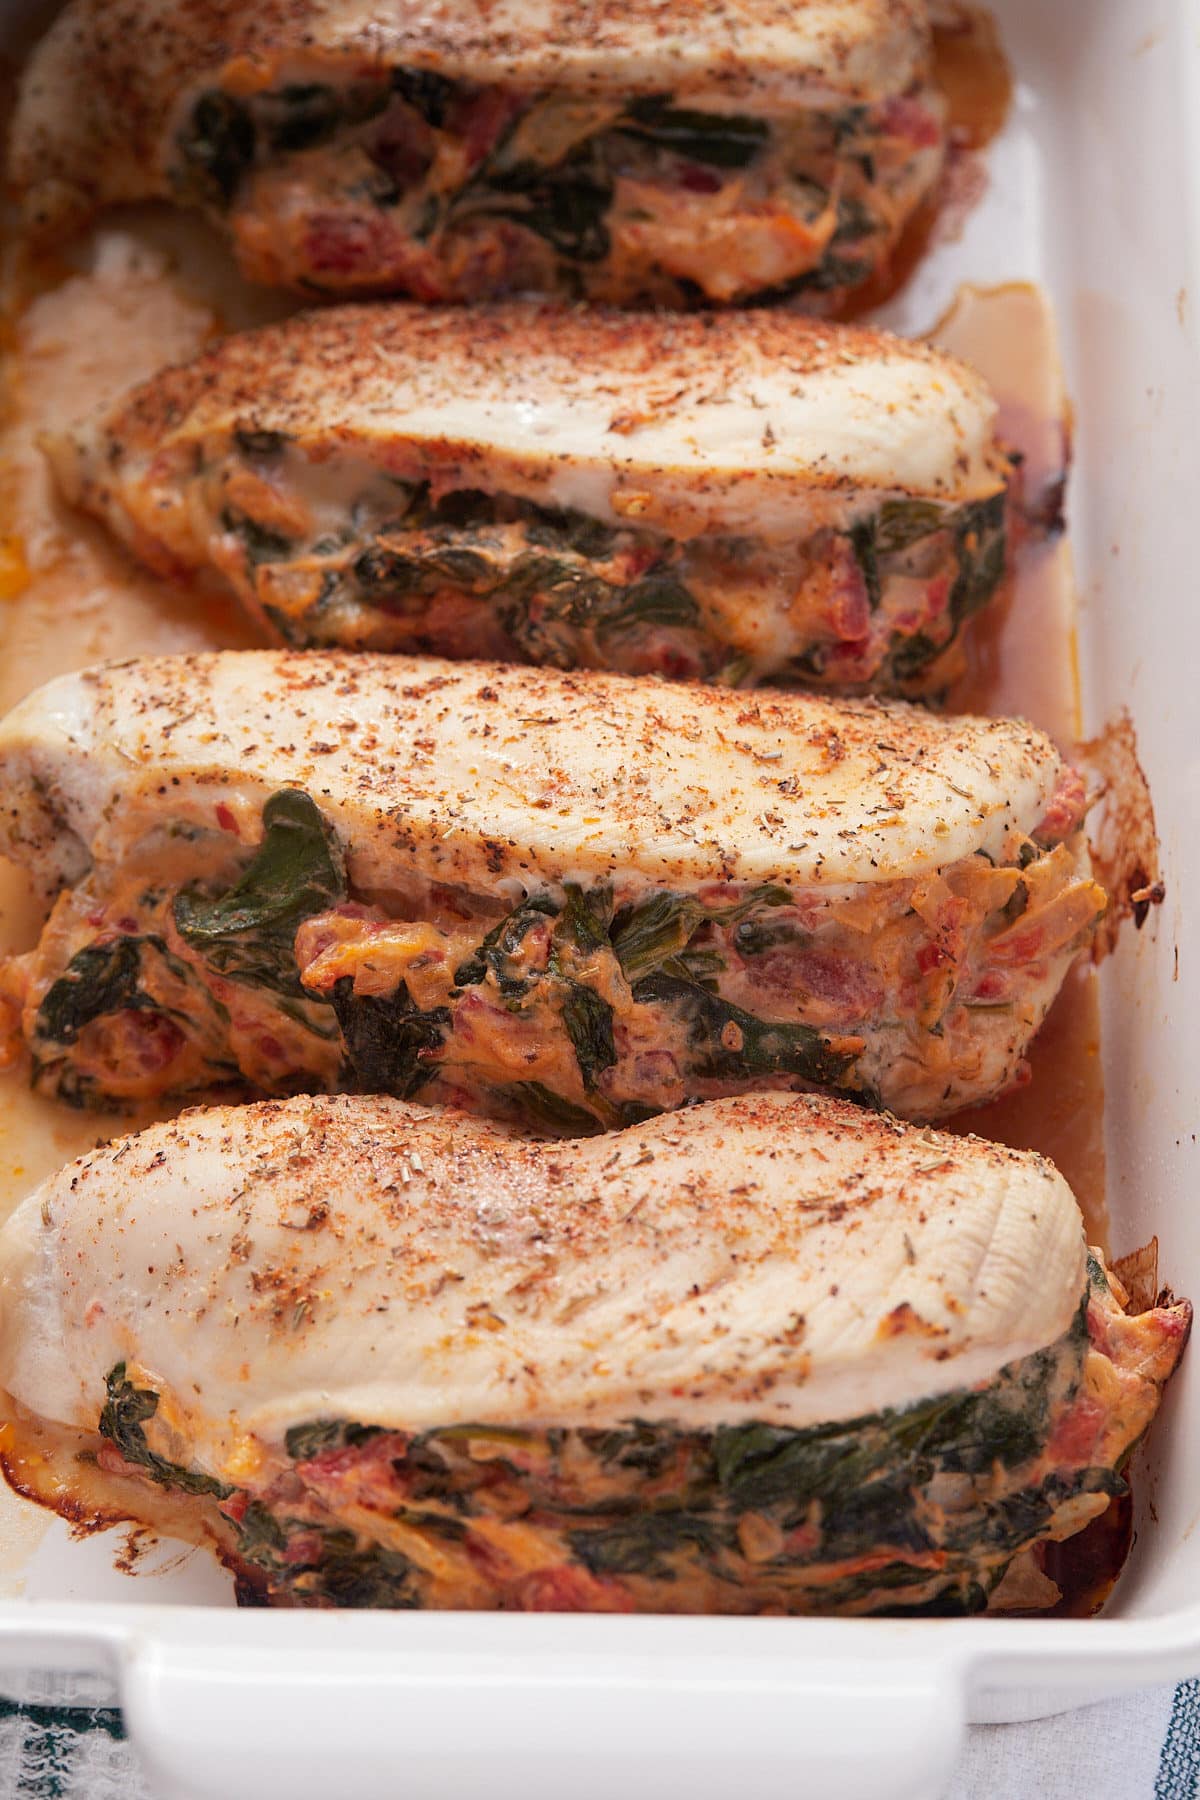
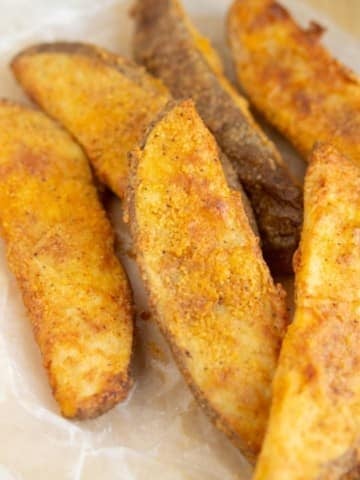
These Air Fryer Potato Wedges are air-fried for a healthier version of the breaded KFC wedges. No worry about deep frying with the Air Fryer around.
You’ll find the full recipe with ingredient amounts and instructions in the recipe card at the bottom of this post. Be sure to check out the blog post itself for extra tips and tricks!
These potato wedges aren’t your normal everyday potato wedges. They’re crispy, very well seasoned, and fluffy on the inside.
If you've been following my blog journey from week to week, you'll notice that I'm obsessed with my Air Fryer. I bought it when I was pregnant because I was craving French fries. My first air fryer recipe shared here was this Air Fryer General Tso Chicken Recipe.
These wedges take a little more effort than traditional potato wedges, but it’s so worth it in the end! They are quick and easy to cook in the air fryer, and way less messy than traditional deep frying. They come out perfectly crispy, and the seasoning is just too good!
Serve them up as an appetizer or side for one delicious bite. You’ll be so pleased you skipped KFC and made these at home instead!
Be sure to try my Air Fryer Baked Potatoes and Air Fryer Sweet Potatoes too!

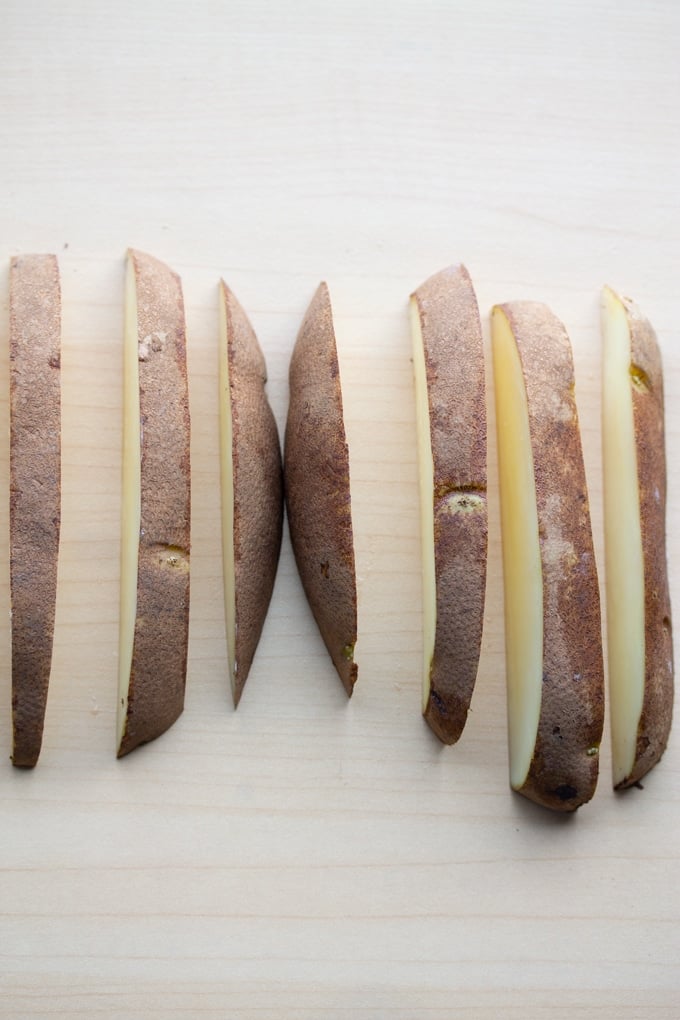
First, grab two equally sized Russet potatoes. Then, you'll cut them into equal-sized wedges. Here's a helpful graph on cutting potato wedges. Make sure the wedges are of a similar size so they cook evenly.
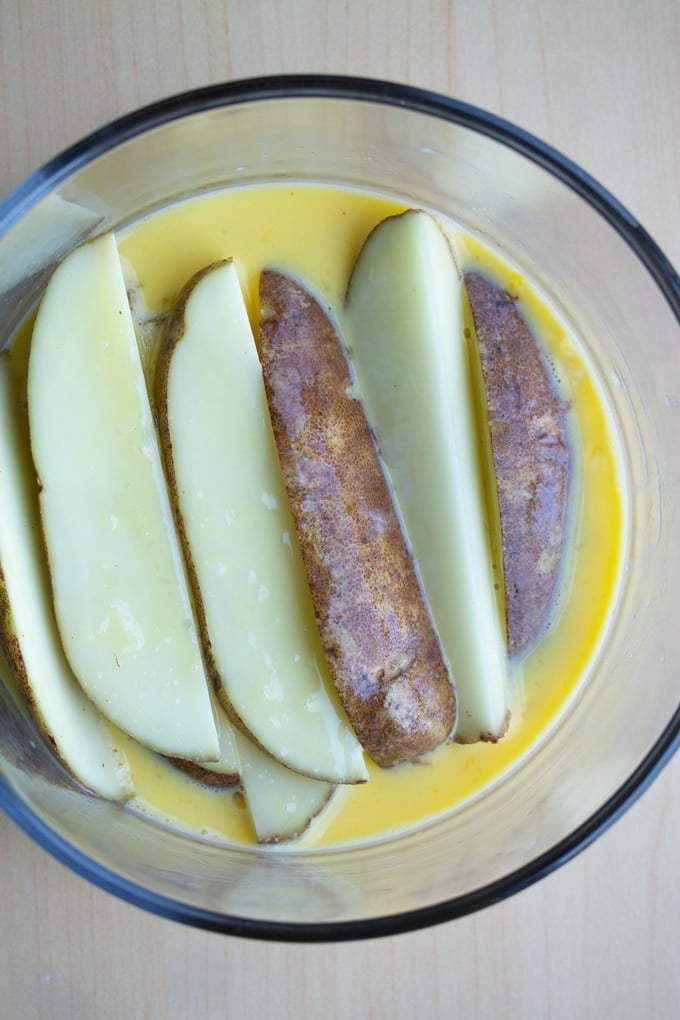
Then whisk your egg and milk in a medium-sized bowl. Place your potato wedges in the bowl and coat them with the mixture. Set aside.
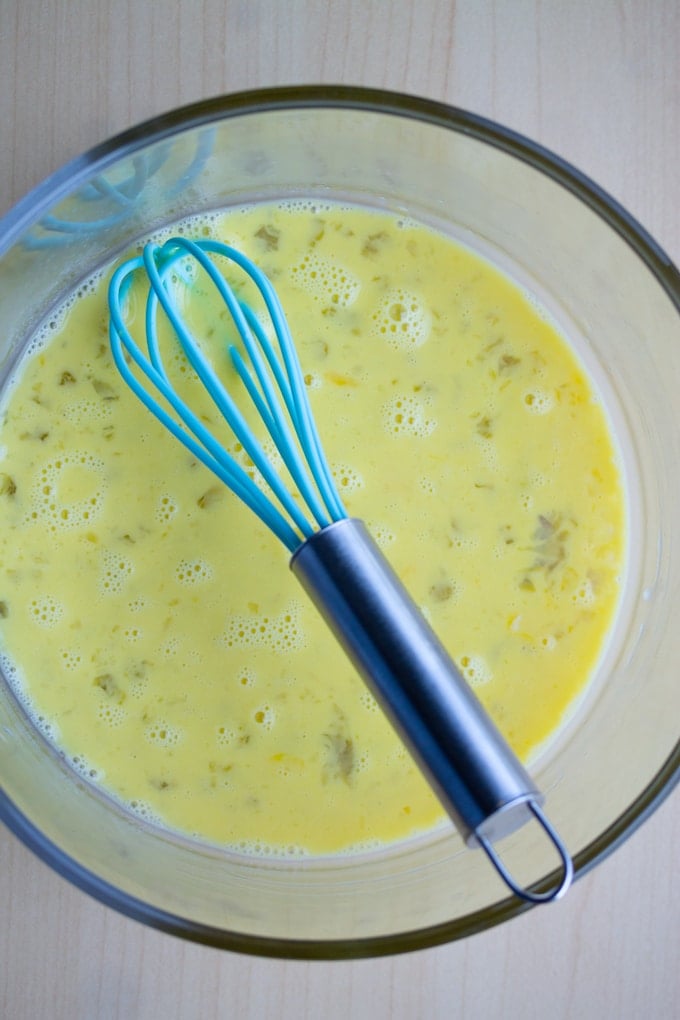
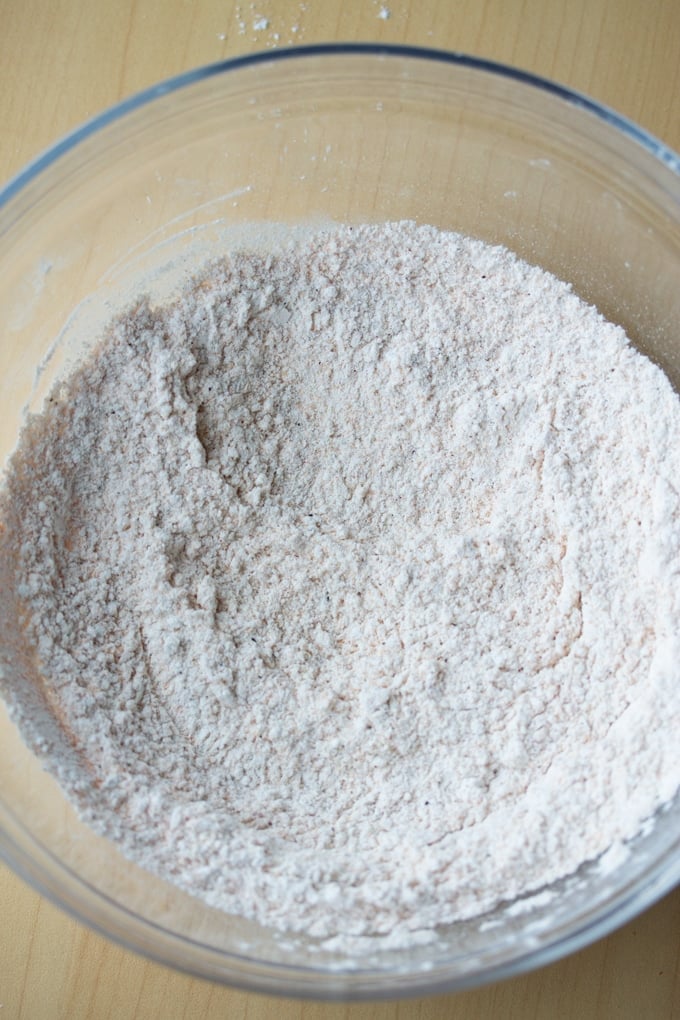
Next, in another medium bowl, combine your flour, seasoning salt, garlic powder, paprika, and black pepper in a bowl and stir until combined.
Next, take your potato wedges and coat them in the flour mixture, making sure all sides are covered. Shake off any excess flour.
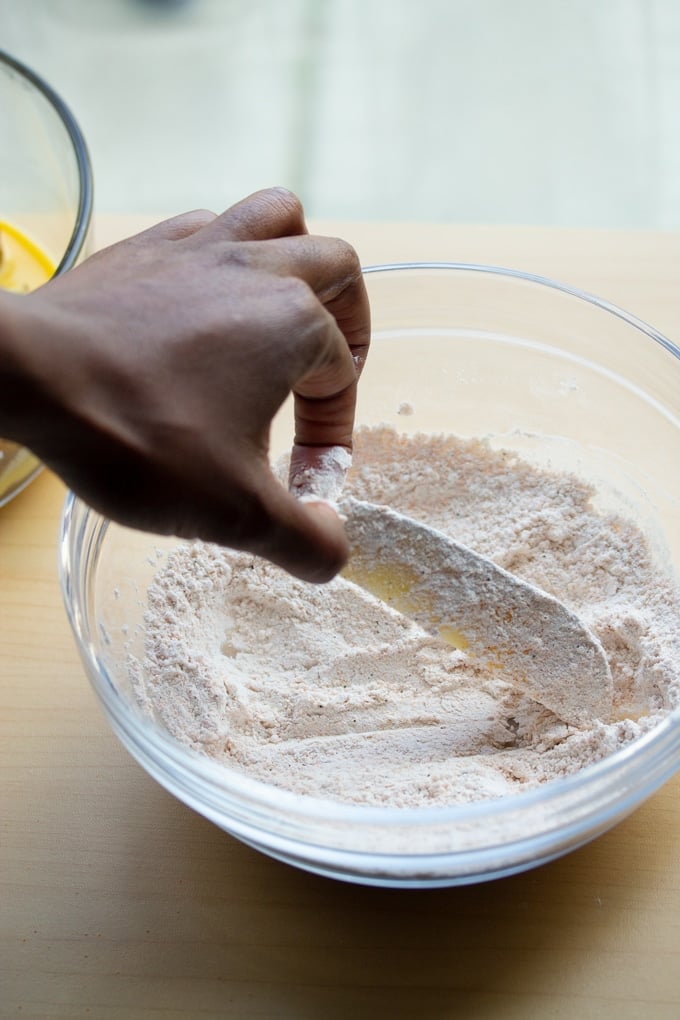
Once your wedges are coated, it's time to place them in the Air Fryer basket. Spray the bottom of the Air Fryer basket with oil so your wedges won't stick. Then lay them in a single layer on the air fryer basket.
Then spray your air fryer wedges to cover any flour spots.
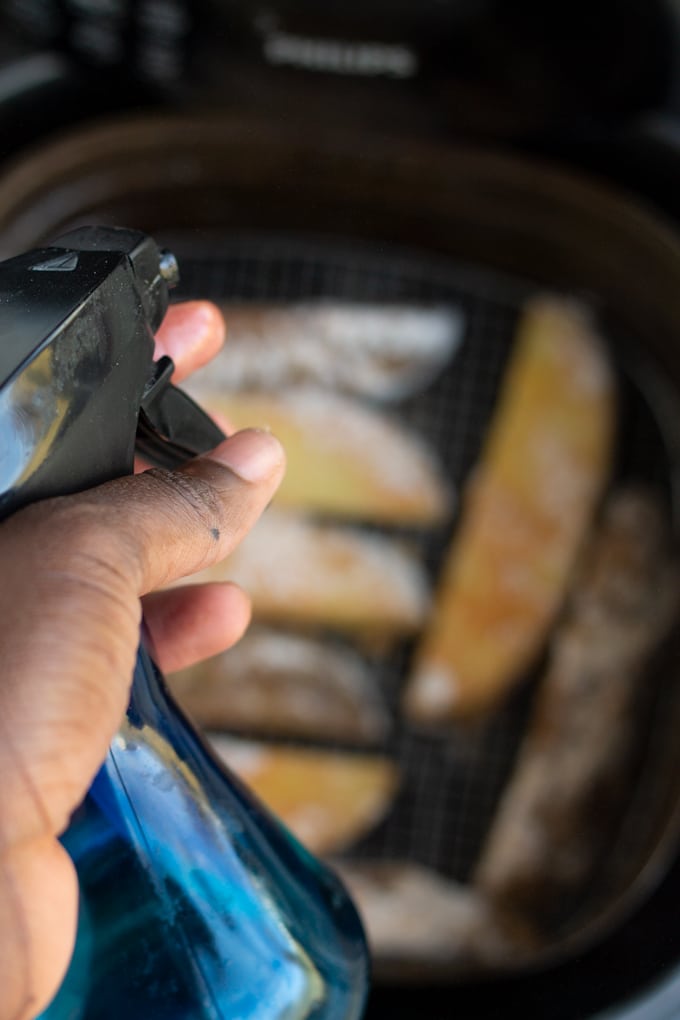
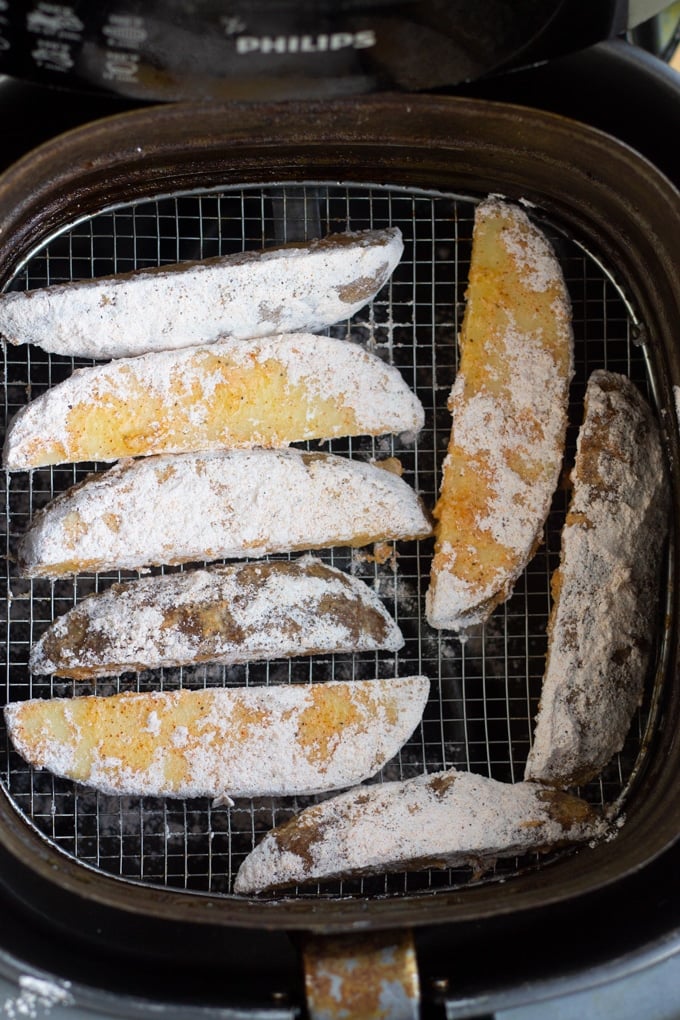
Close the air Fryer and set the temperature to 360 degrees Fahrenheit for 22 minutes. After 11 minutes, open your Air Fryer. If you see any spots of flour on these side of the wedges, spray them with oil. Then, flip your wedges and spray this side with oil. Close the air fryer and cook for the remaining 11 minutes.
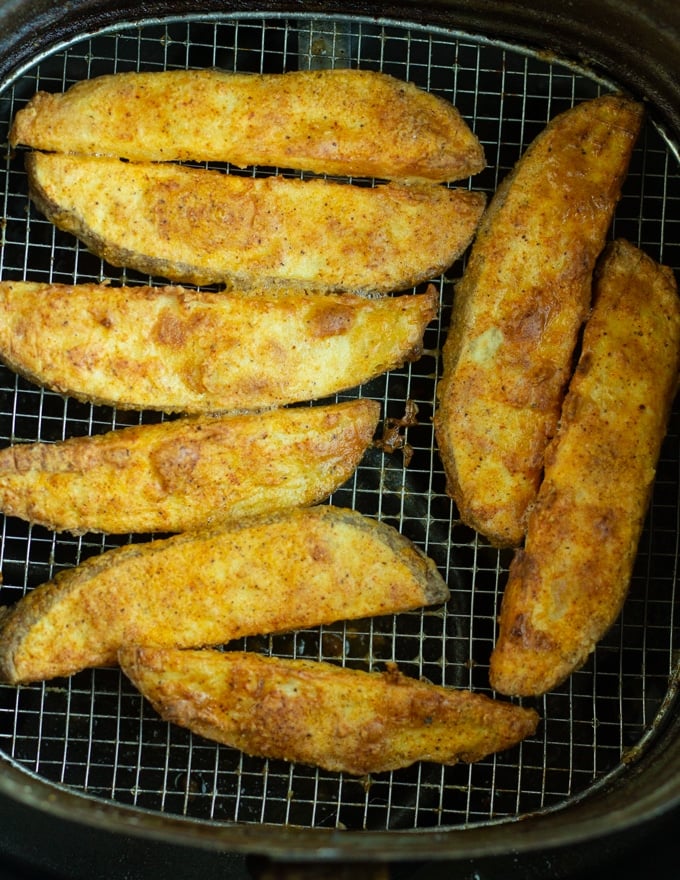
And done 🙂 Once this batch of wedges is done, repeat until all your potato wedges are cooked.
Using some oil is best; it helps the wedges cook more evenly and become crispy and brown. If you don’t spray them with oil, the flour coating can remain quite dry. You’ll need a lot less than traditional deep frying for sure though!
These seasoned potato wedges are great right out of the air fryer, but if you have leftovers don’t throw them out! One of the reasons I love the air fryer so much is because it reheats so well!
Cooked wedges can be stored in an airtight container in the fridge for up to 3 days. To reheat them, preheat the air fryer to 380°F and cook them for 3 to 5 minutes, shaking halfway through. They’ll come out perfectly crispy and taste as they’ve just been cooked!
These crispy air fryer wedges are great to serve as an appetizer with dips like ketchup, spicy mayo, or Vinegar BBQ Sauce, they are an excellent addition to game day! they are also great served as a side with a main, try them with some of these favorites:
And there you have it. Delicious golden breaded potato wedges just like KFC.
If you're looking for Air Fryer tips and tricks, check out my Air Fryer Tips and Tricks.
This recipe was originally published in February 2019 and updated with new tips and additional information.
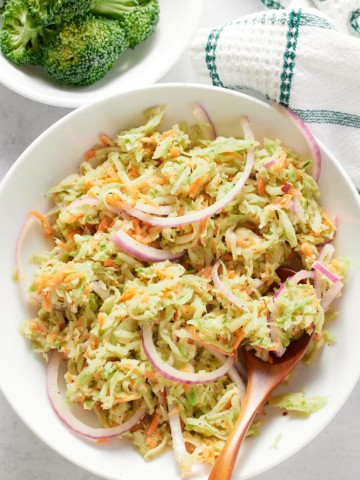
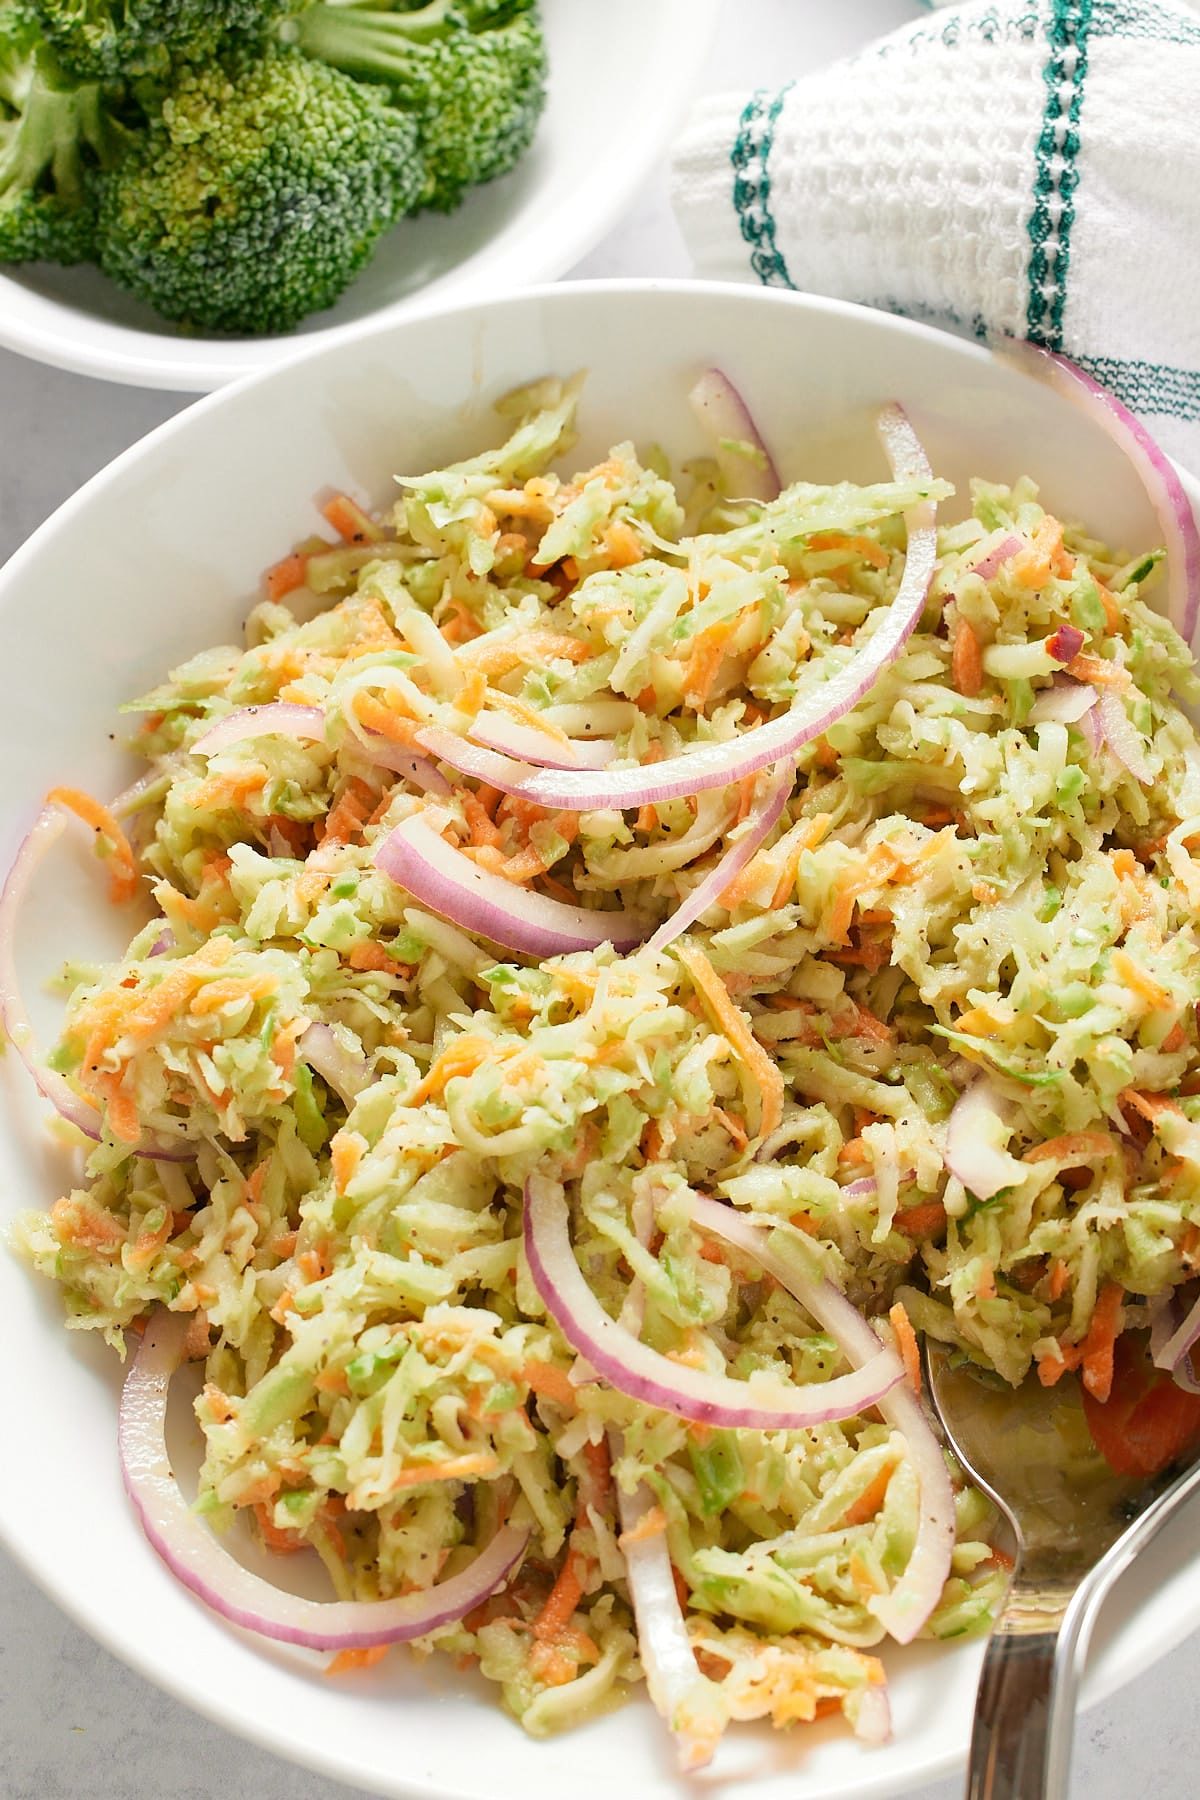
This no mayo broccoli slaw is the perfect salad side dish for grilling and potlucks, or to serve as part of an easy weeknight dinner. Quick and easy to make, this tangy slaw is packed full of fresh veggies and makes for a light and healthy accompaniment to any meal.
This post contains affiliate links, please read my full disclaimer here.
You’ll find the full recipe with ingredient amounts and instructions in the recipe card at the bottom of this post. Be sure to check out the blog post itself for extra tips and tricks!
This broccoli slaw is my current squeeze, seriously can not get enough of it! Super quick and easy to make, it has a nice tangy flavor, whilst being slightly sweet, and it's so easy to pair with all of your favorite meals.
Made without mayonnaise, this is a great healthy slaw recipe that is low in calories and fat. You can make this with a store-bought broccoli slaw mix for convenience, or, cut your own broccoli with the aid of a food processor.
This salad side is light and fresh, with just the right amount of zing, and it's perfect to serve up at your cookouts throughout the summer!
Be sure to try my Vinegar Coleslaw and Creamy Broccoli Cauliflower Salad too!
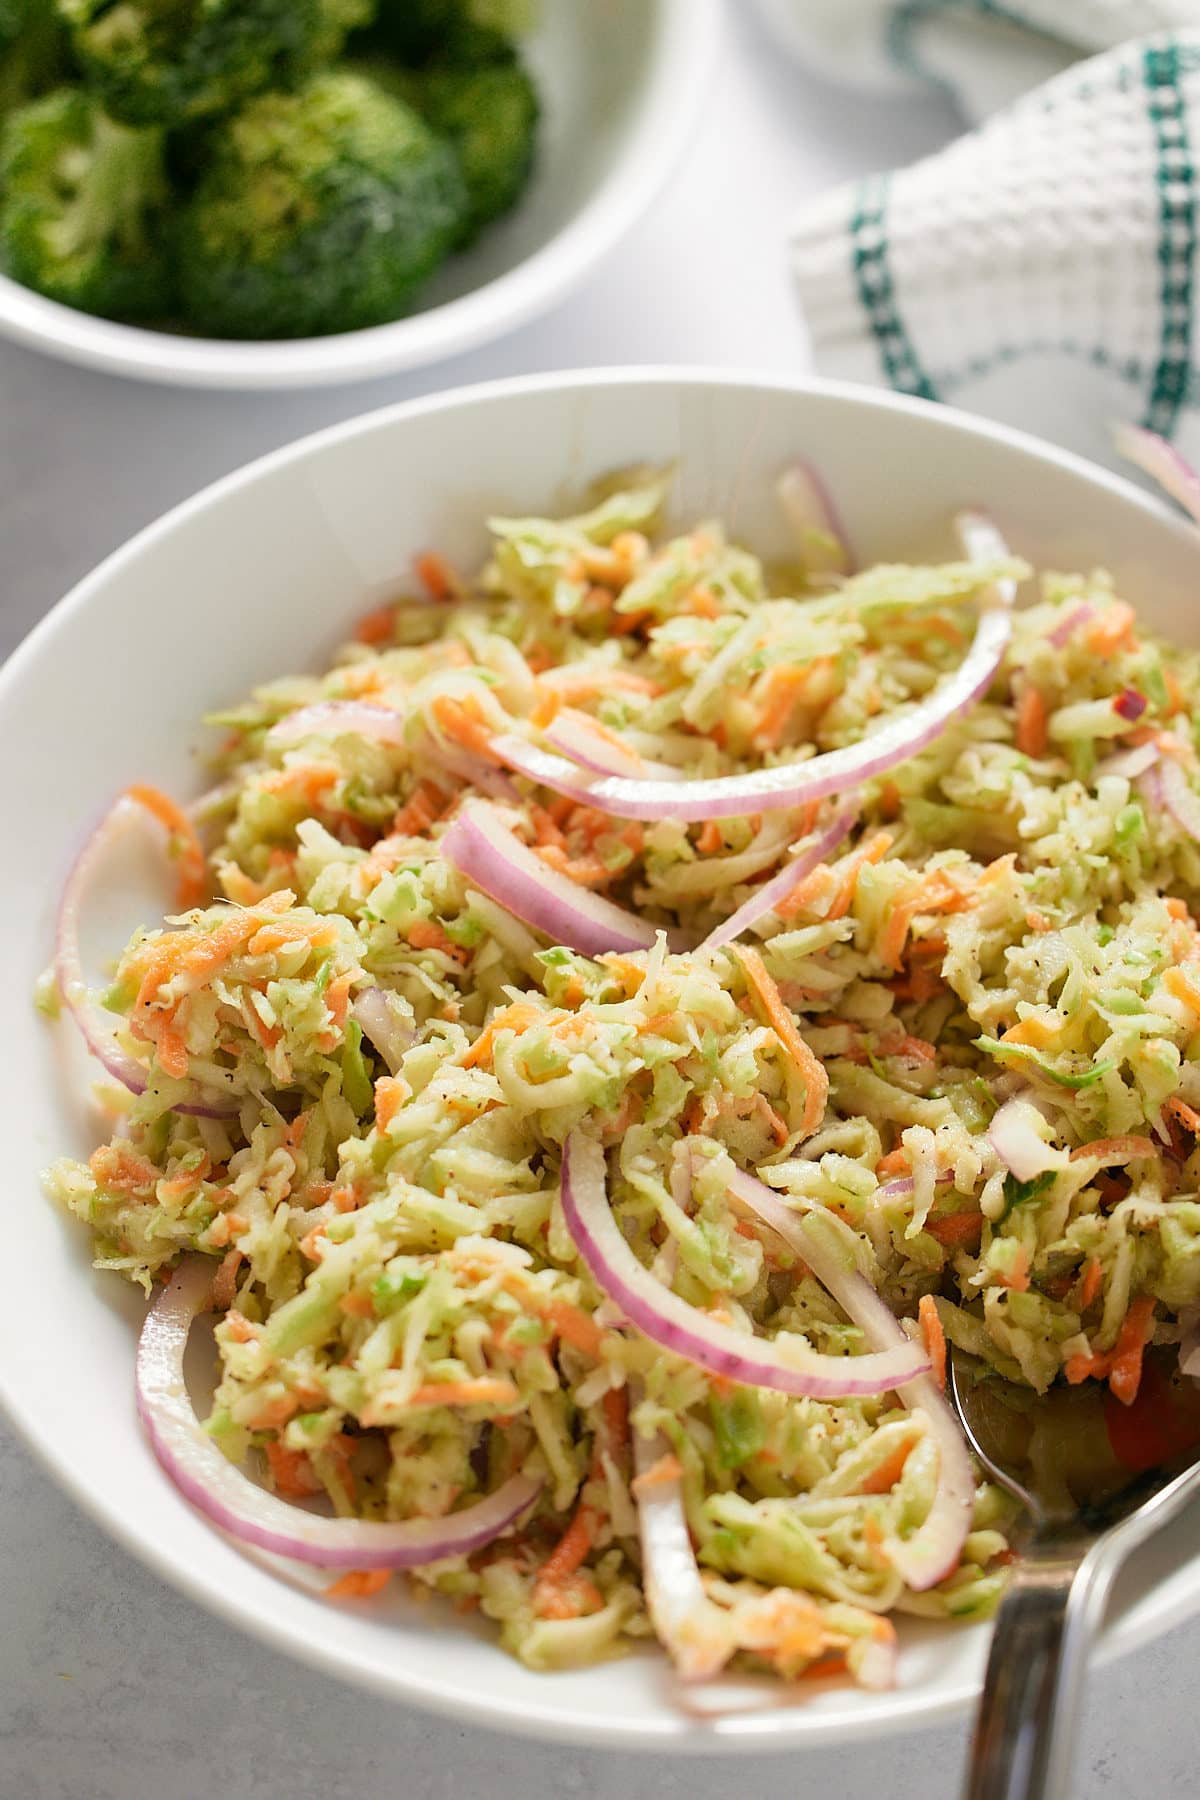
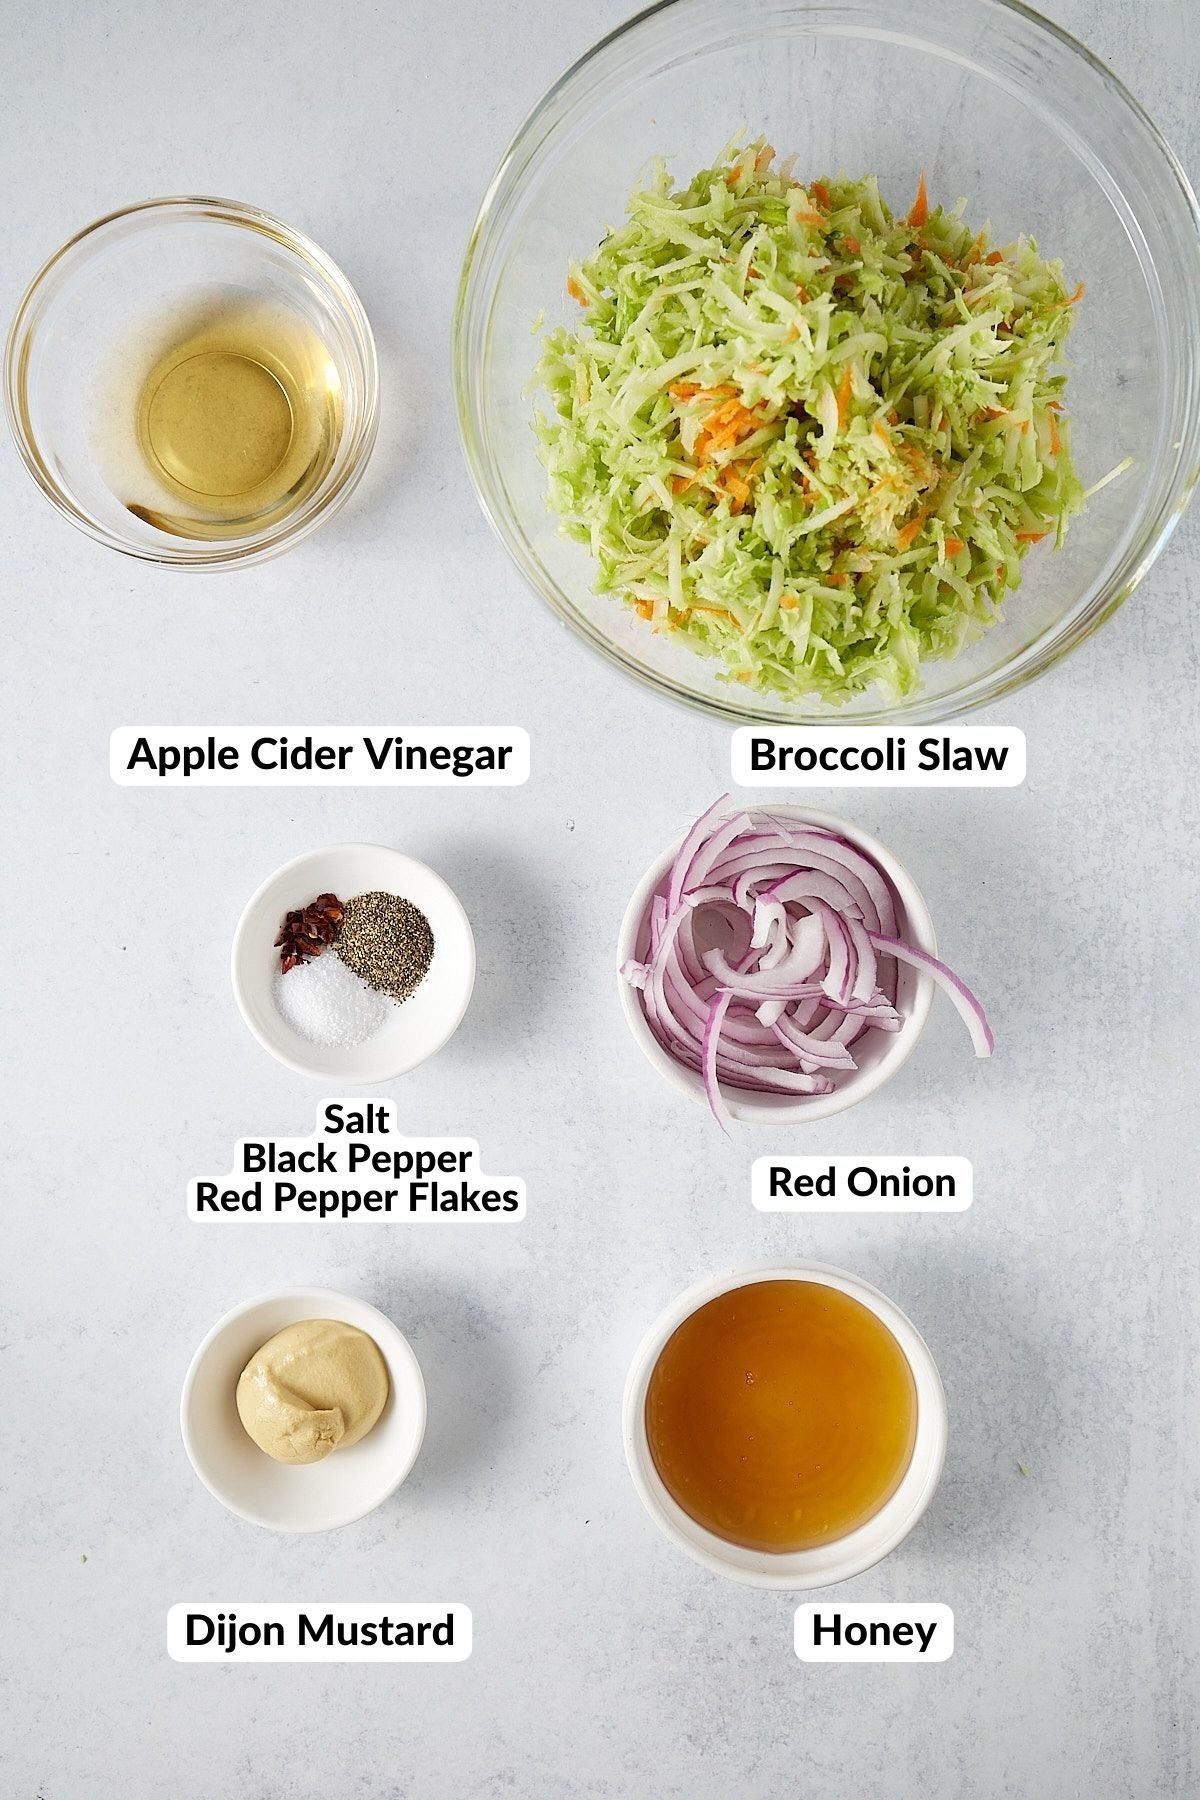
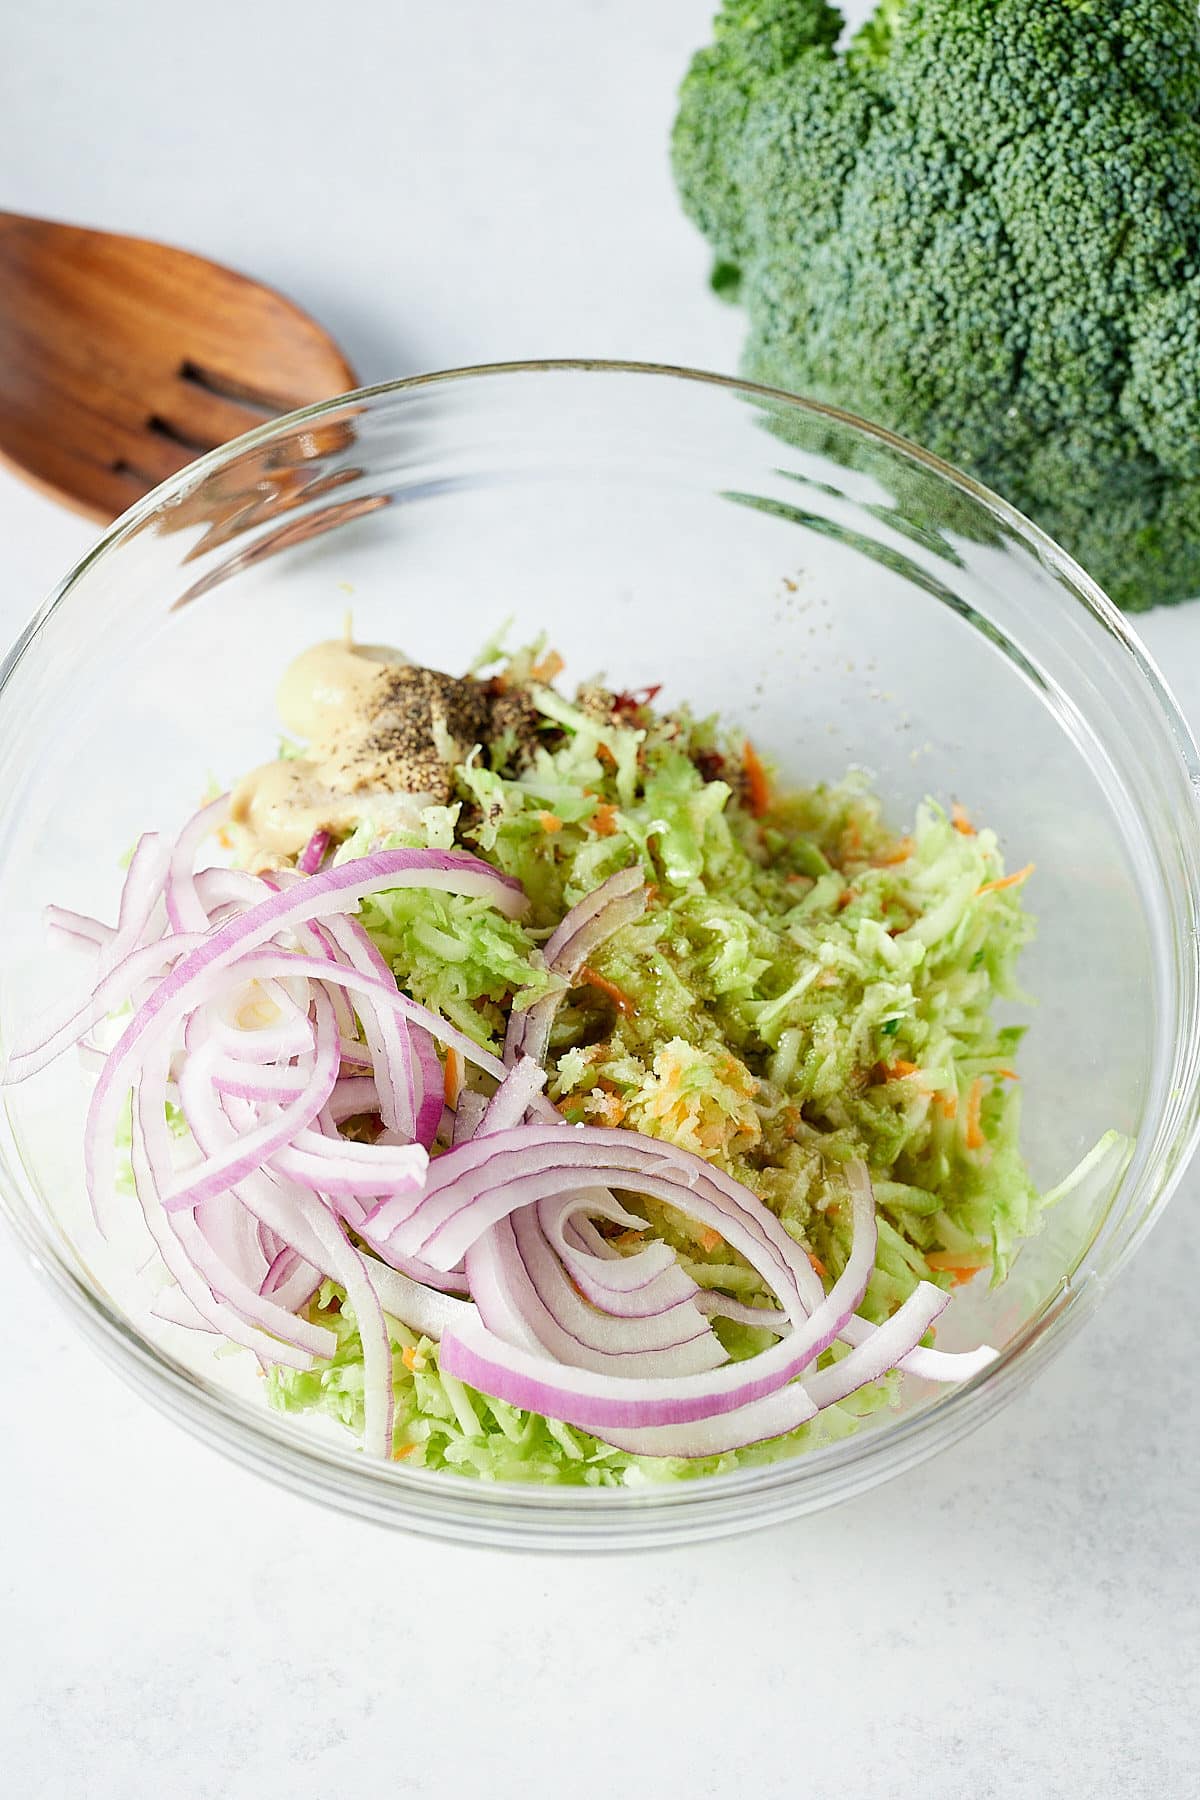
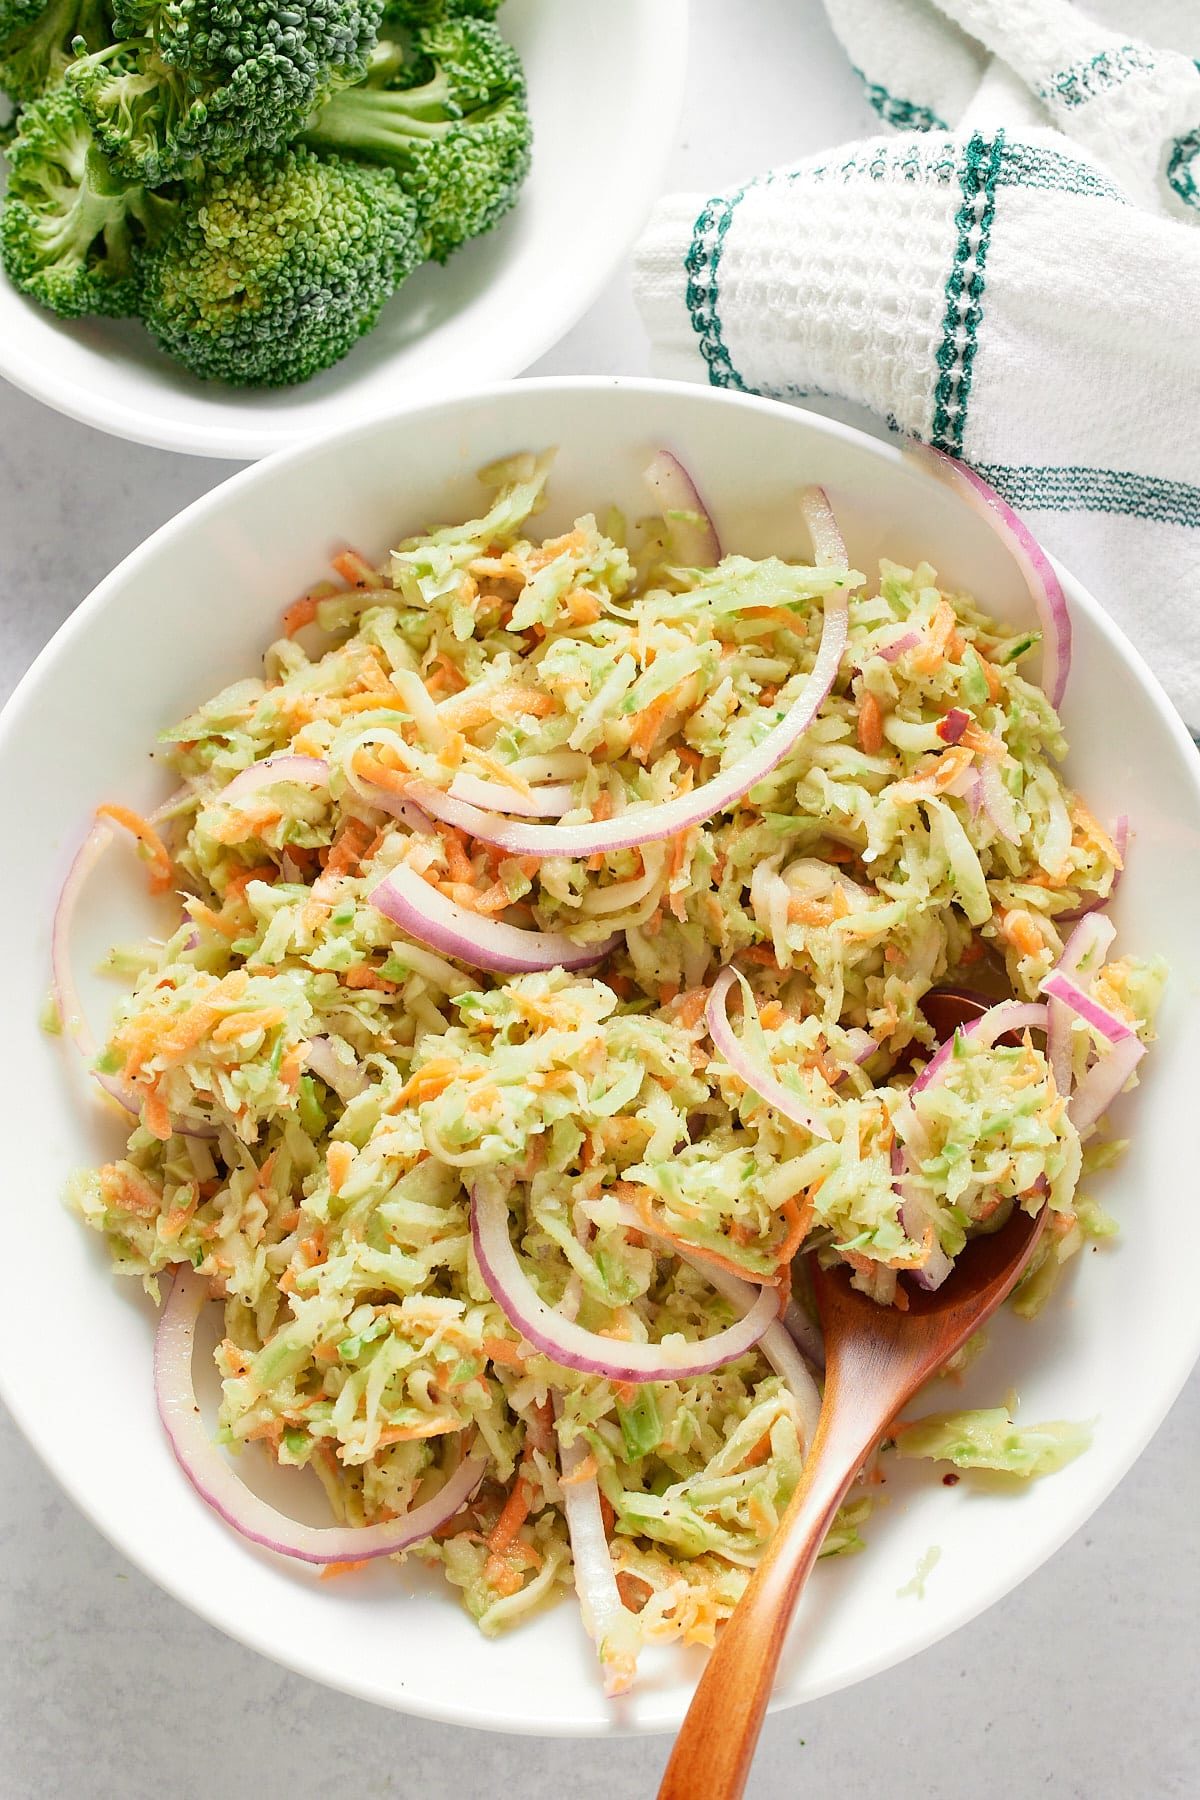
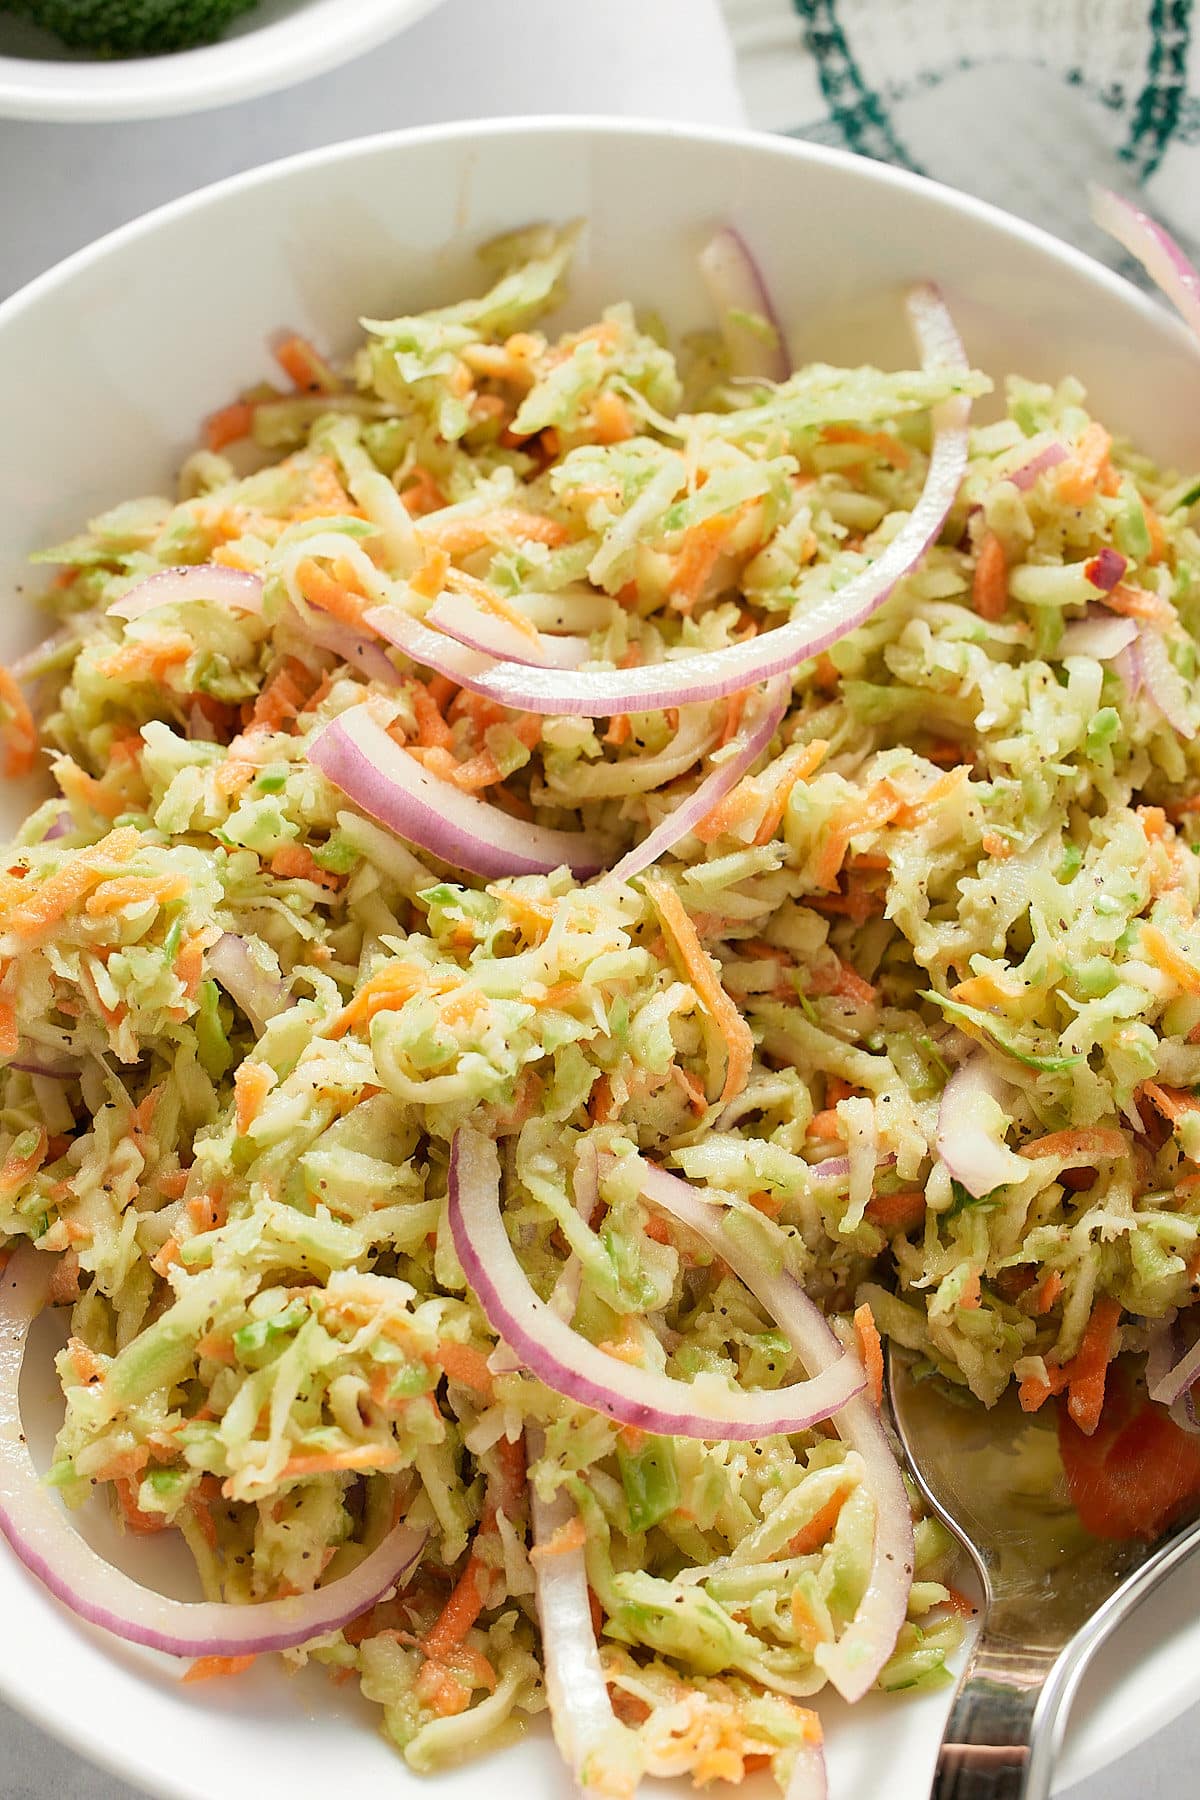
For the tastiest slaw, ideally you want to make this up at least an hour before serving, and let it sit, covered in the fridge, to let the flavors develop. Once made, it will keep well for a couple of days. Because this slaw doesn't have a mayo dressing, it can also be frozen for 2 to 3 months. Place it into bags and remove as much air as possible and thaw overnight in the fridge.
You can easily use cabbage slaw instead to make this recipe if you prefer or make a kale or brussel sprout slaw instead. The dressing is also super versatile and can easily be used with other favorite salad recipes.
This broccoli slaw is a great side dish to serve up as part of a cookout with grilled meats, hot dogs, and burgers and it's also perfect to serve as part of a regular weeknight dinner. Because it is made without mayo, it travels well, so is a great option for picnics and pot lucks. Try it with some of these favorite recipes:
If you’re looking to learn how to cut broccoli then look no further. This post will teach you all the tips on how to cut broccoli florets and what to do with the broccoli stem.
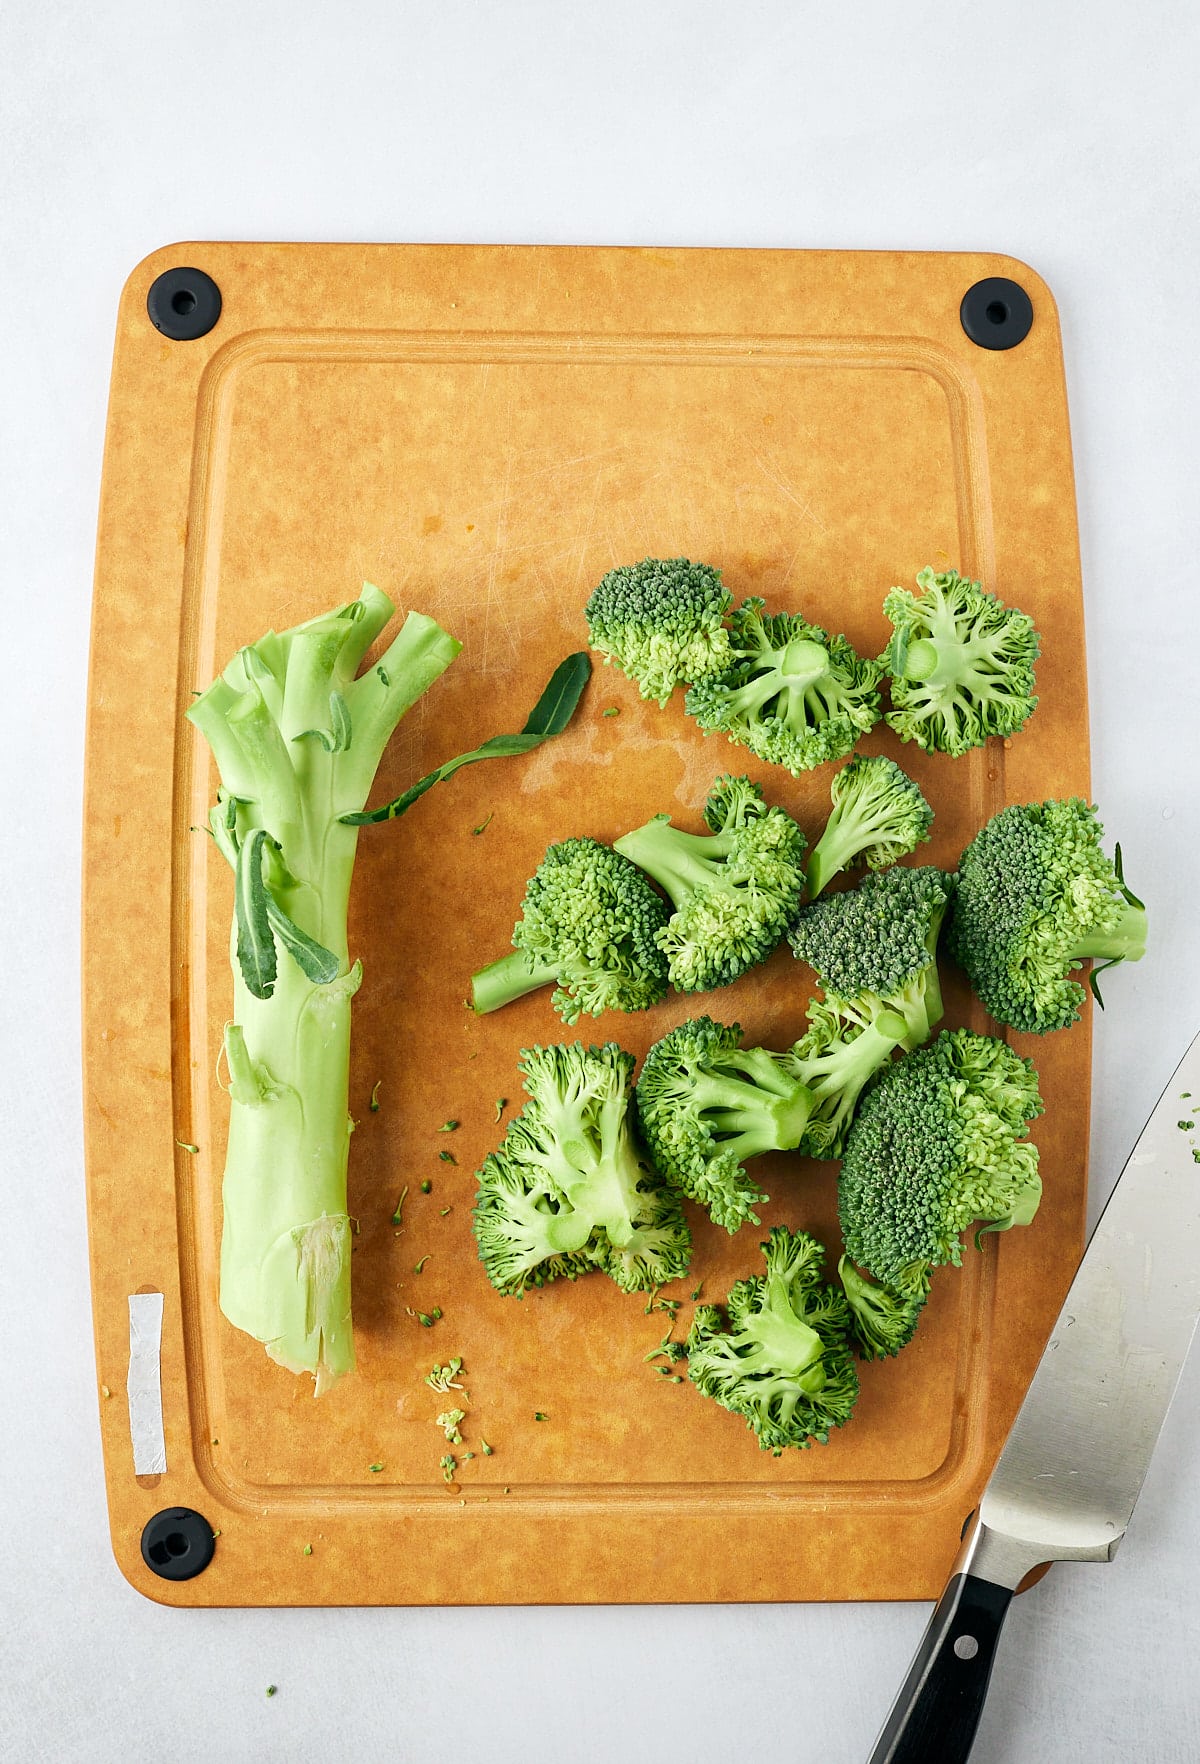
Broccoli is one healthy vegetable and can be purchased already cut in your refrigerator or freezer section. I find that this can be a little pricier than purchasing a head of broccoli and cutting it yourself. Once I learned the proper way to cut broccoli and reduce waste, I knew I had to come here and share.
This vegetable can be used in so many recipes. The florets could be used in broccoli and cauliflower salad or simply roasting broccoli florets. The stems can be used in broccoli slaw, stir fry, or broccoli soup.
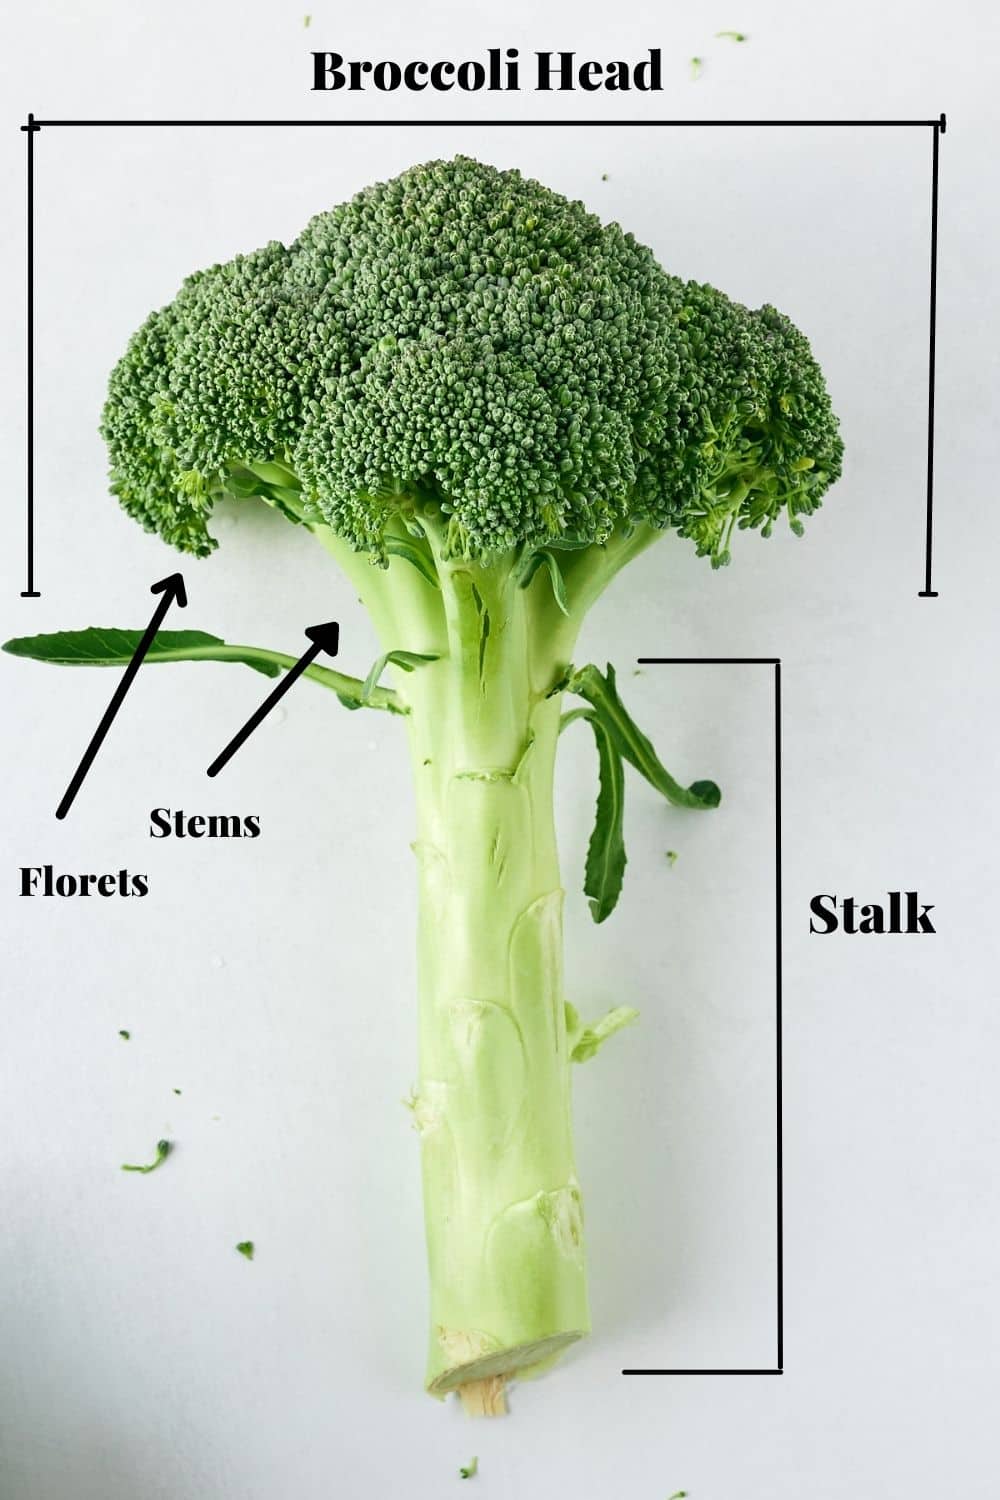
Understanding the basics of the parts of broccoli is helpful in understanding how to cut it. The diagram below shows the basic parts which include the broccoli head, florets, stems, and stalk. Each part can be cut and used in multiple ways.
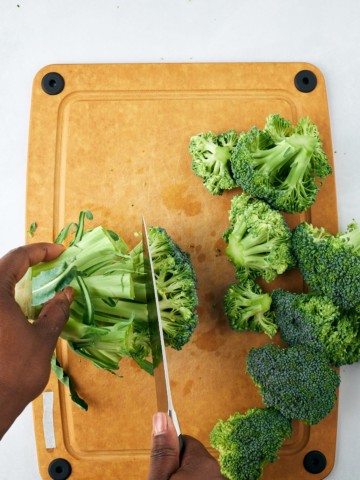
First, rinse your broccoli under running water and then lightly pat it with a paper towel or cloth.
Then, place your broccoli head on its crown with the stem facing up.
Use a knife (a paring knife is great for this part) and cut off the florets, at the stem, in an angle direction towards the center of the floret head.
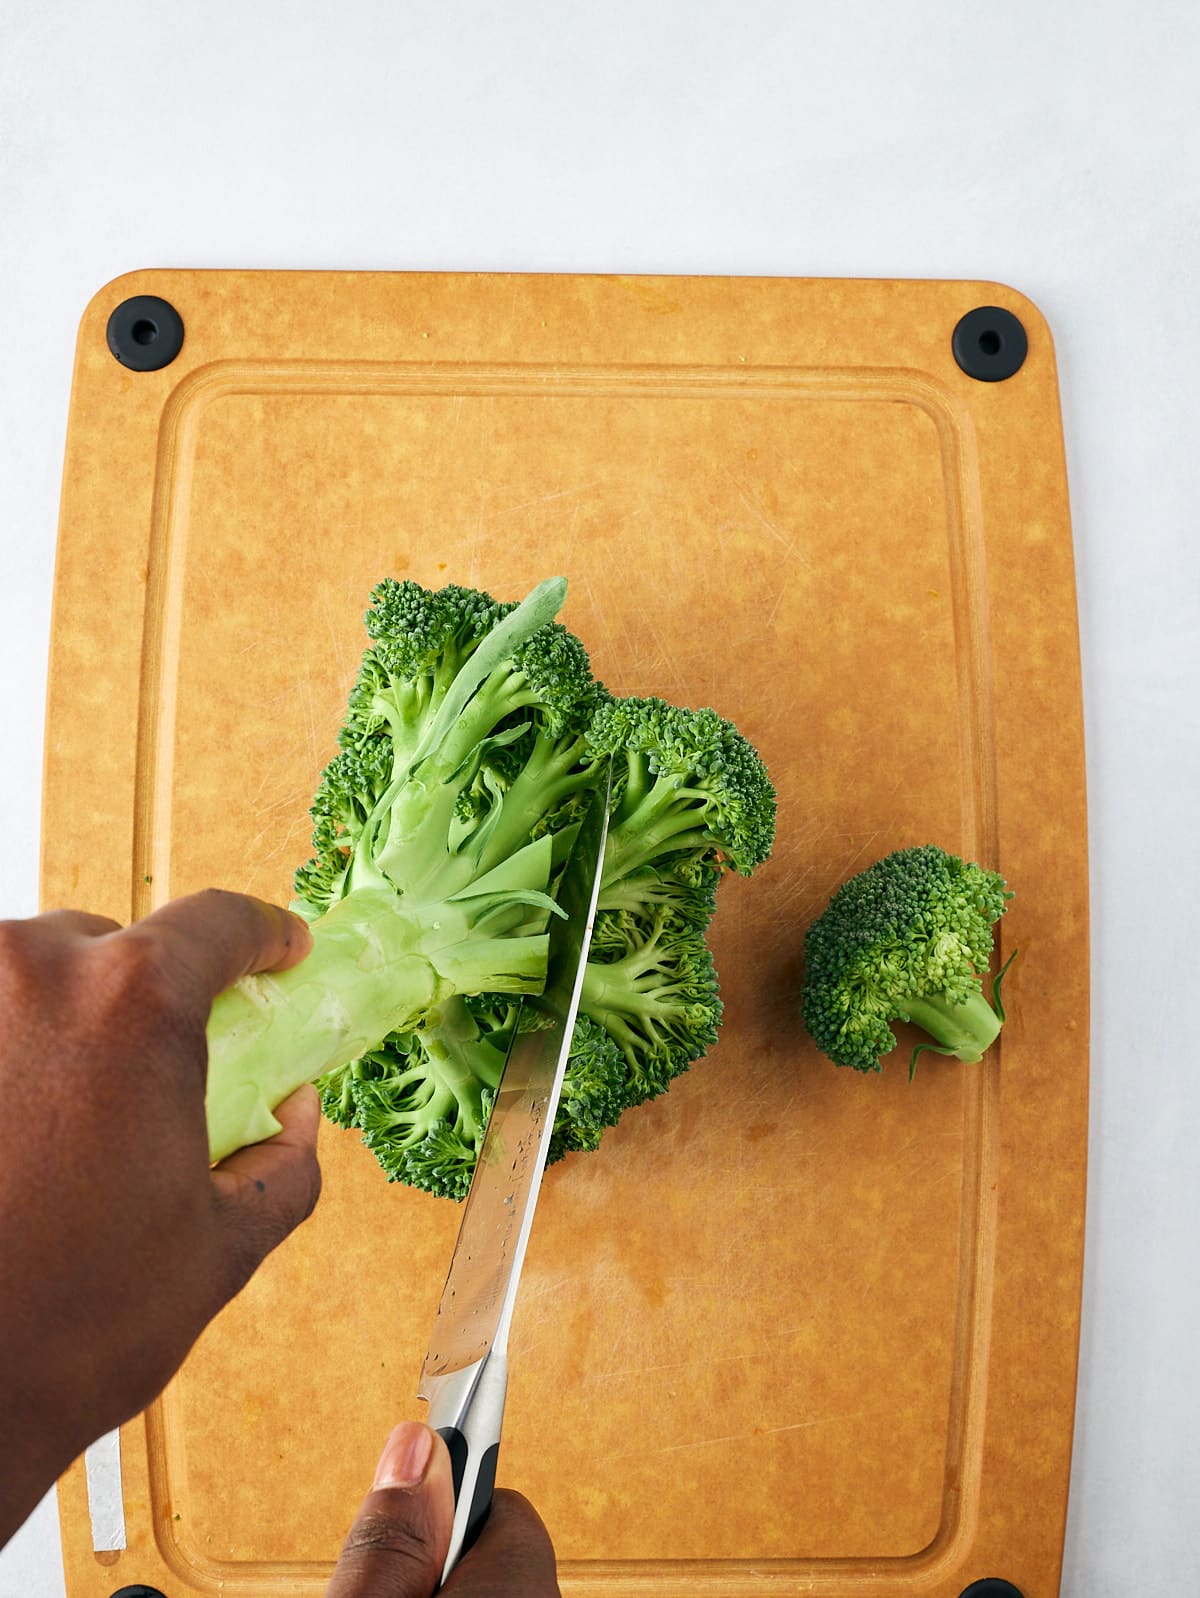
Start with the florets on the outside of the broccoli head before cutting off the ones on the inside.
Once all the florets are removed, continue to cut them until they are your desired size and in equal sizes.
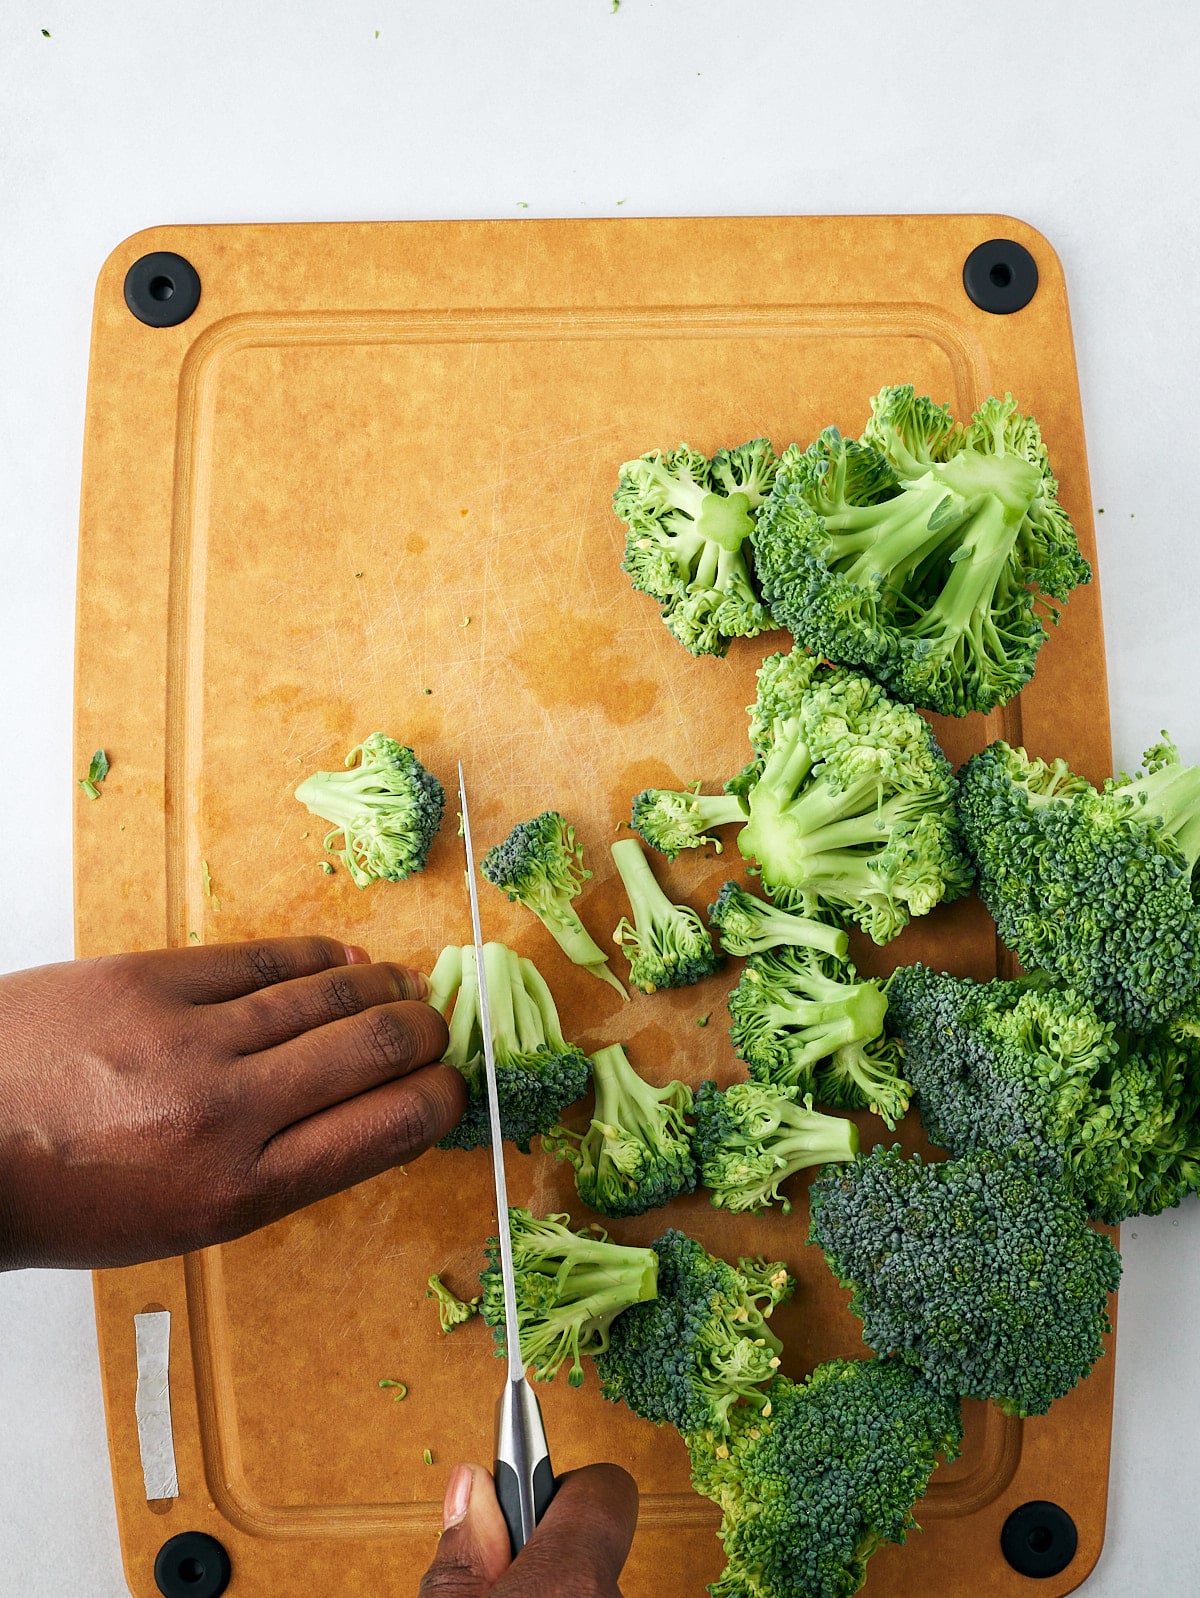
Set the florets aside and use them in your favorite recipe or eat them raw.
Rather than throw away the stem, you can cut it and use it in other recipes. In order to cut the broccoli stem, you will want to cut off the exposed end of the bottom of the stem. Once that’s done, consider peeling the stem as the outer skin can be tough.
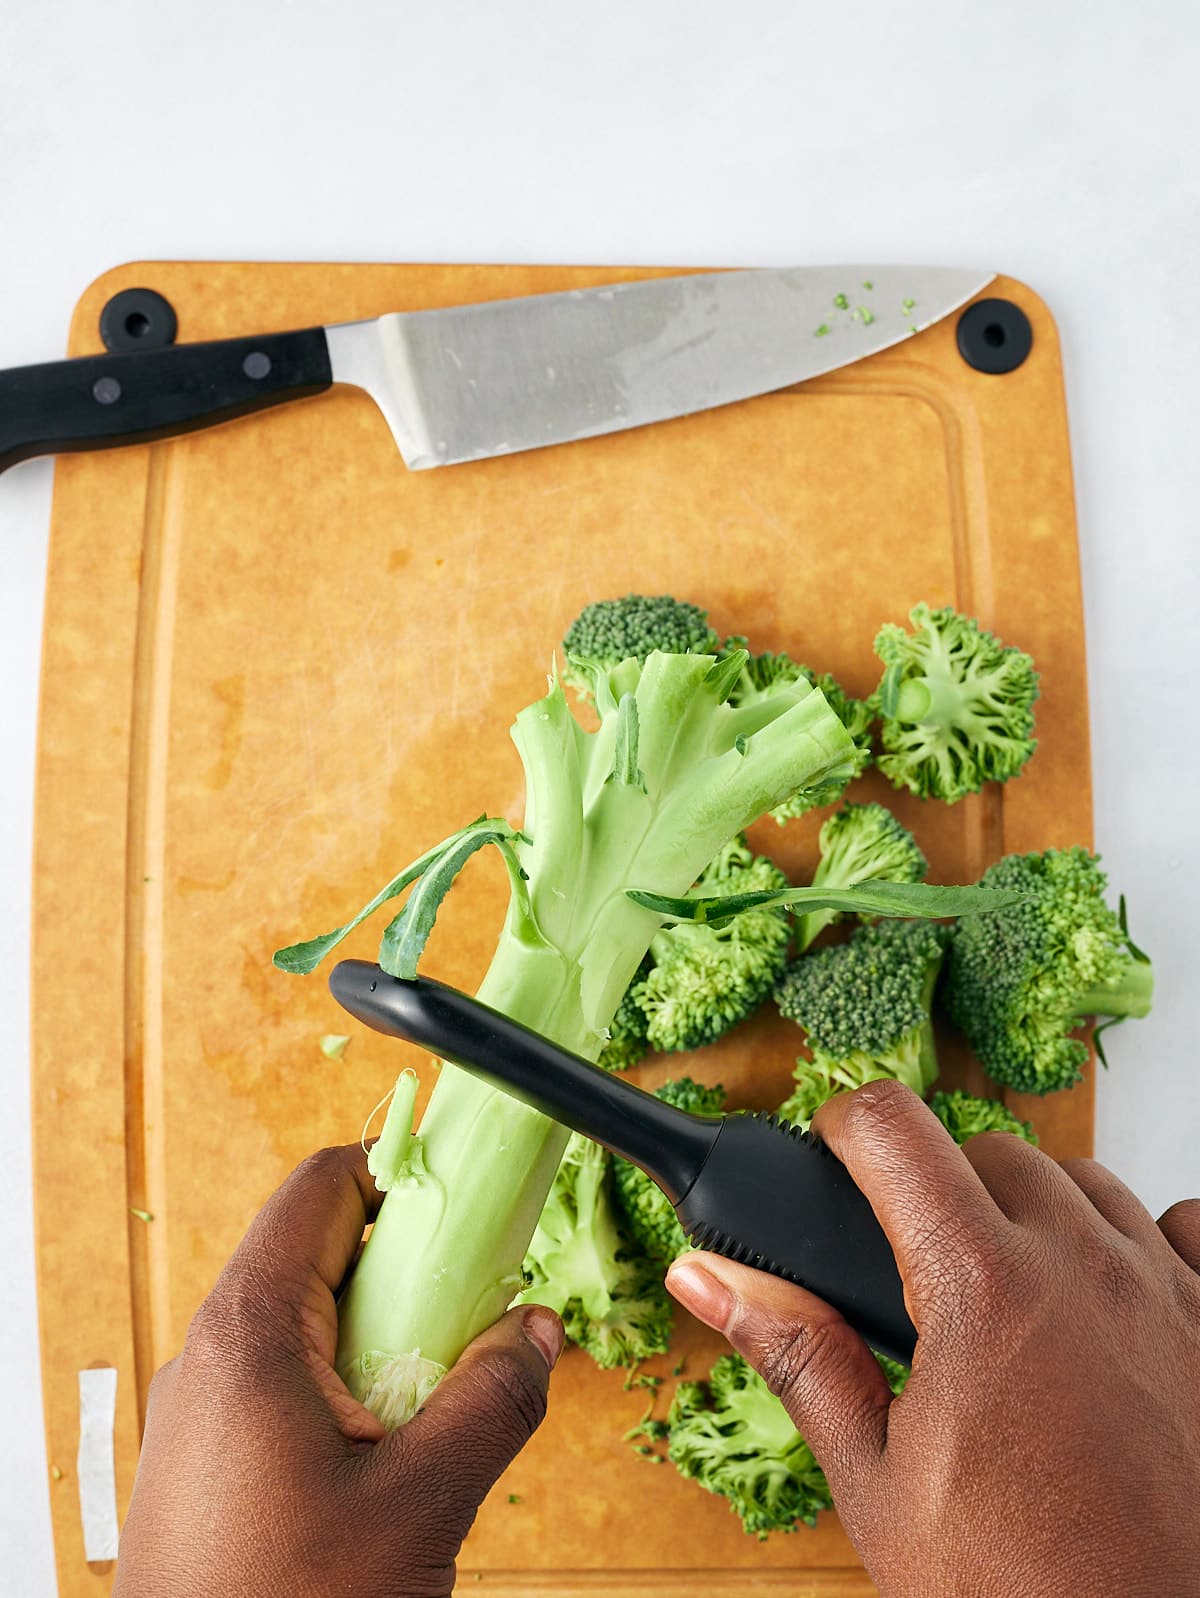
Then you can do the following:
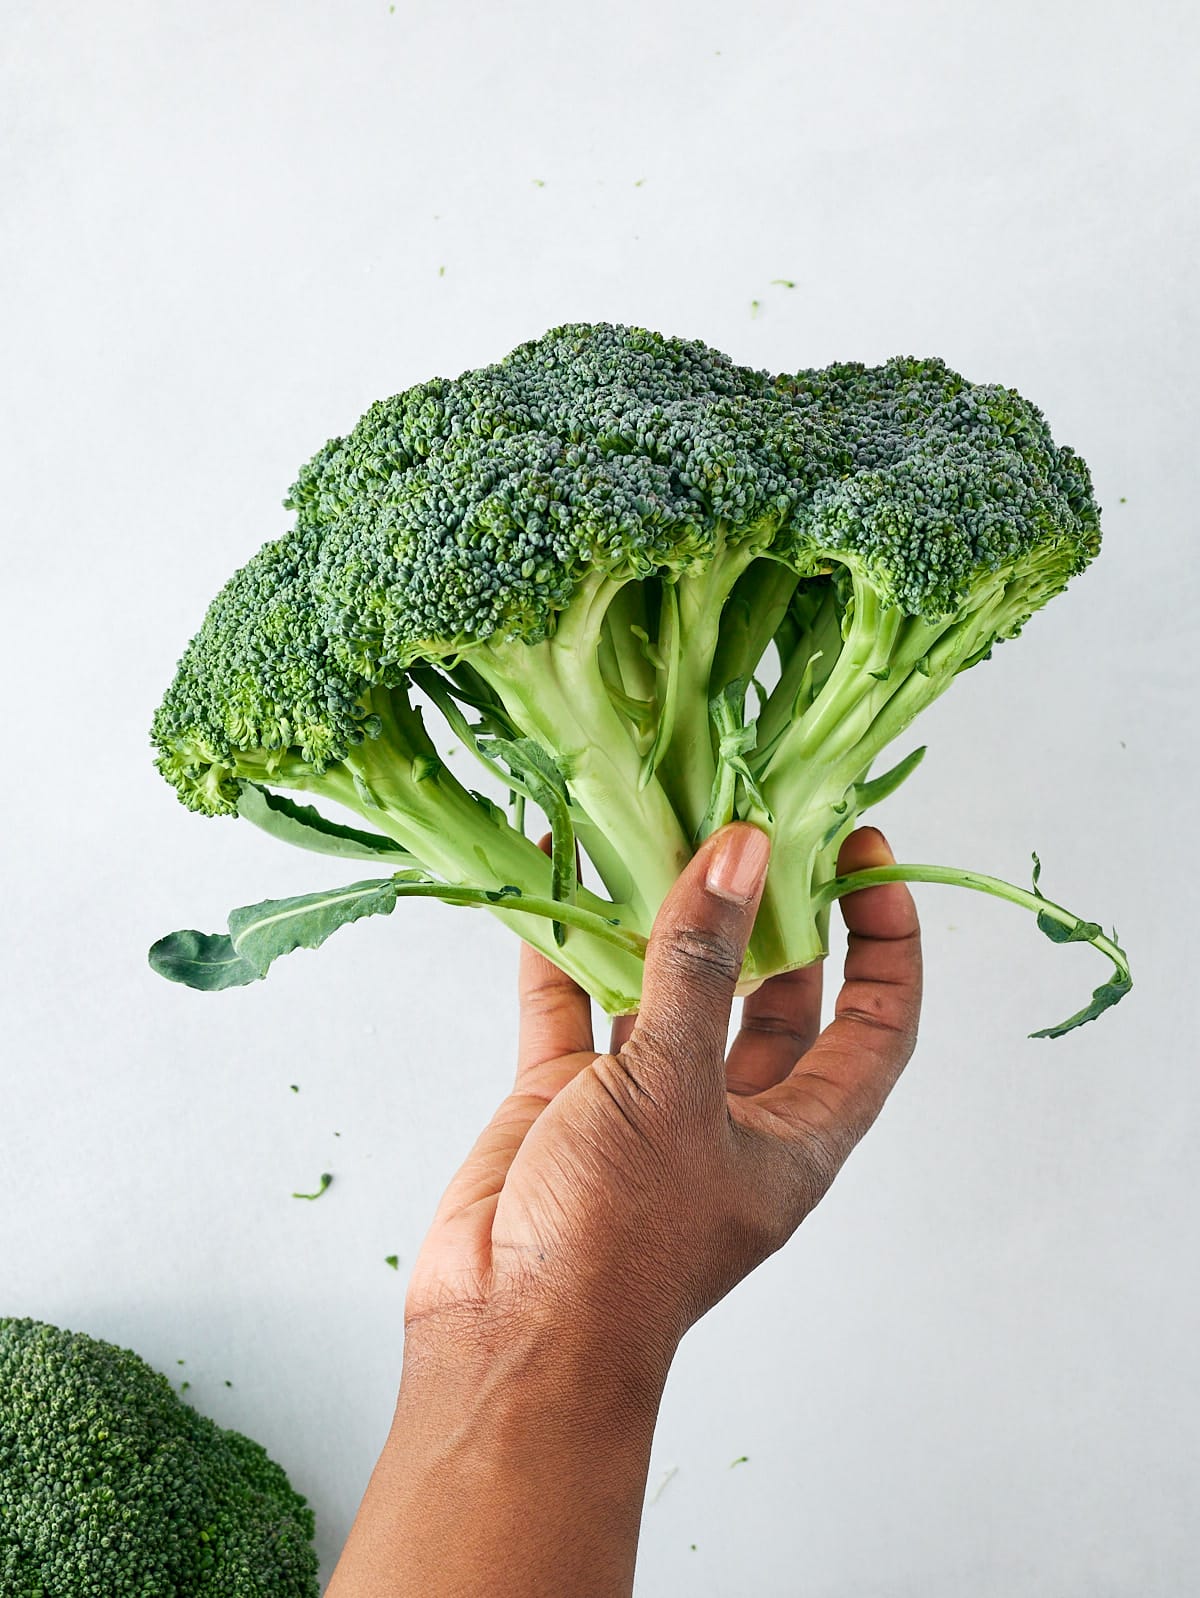
Broccoli crowns are broccoli are both forms of broccoli. The crown doesn't have a long stalk and generally has more stems and florets. Cut the crown the same way you would broccoli with a long stem.
And there you have it. An easy full-proof way to cut broccoli and use all the parts of it.
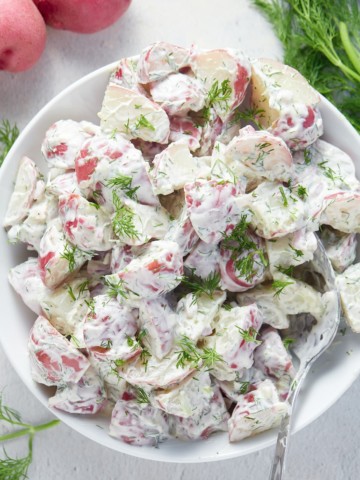
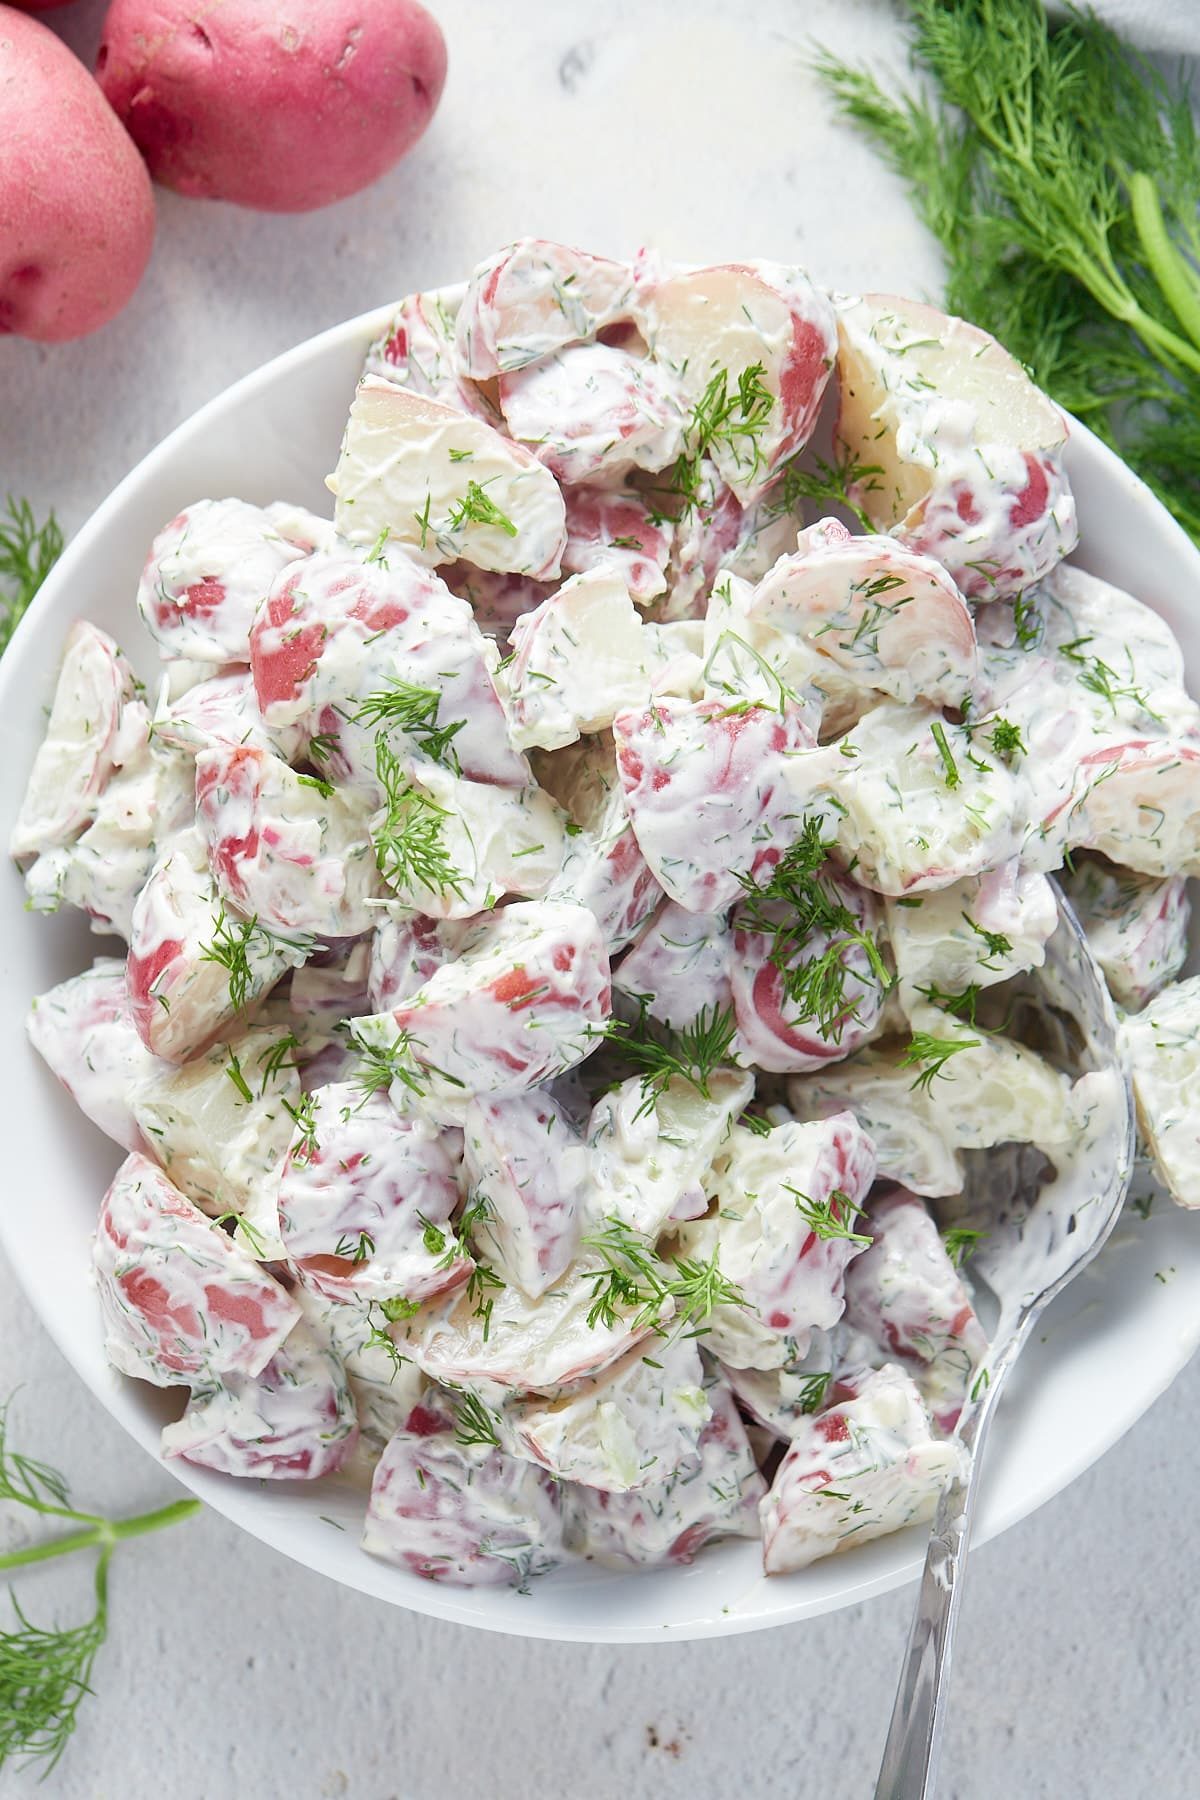
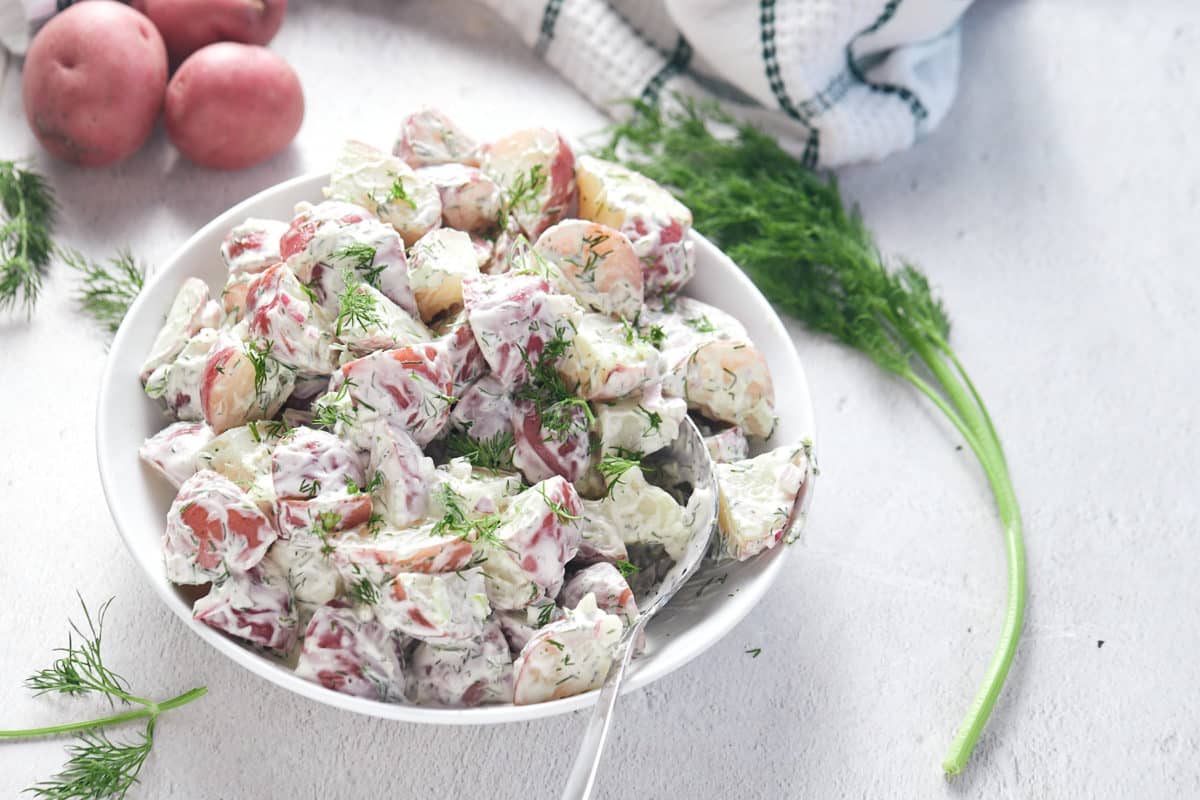
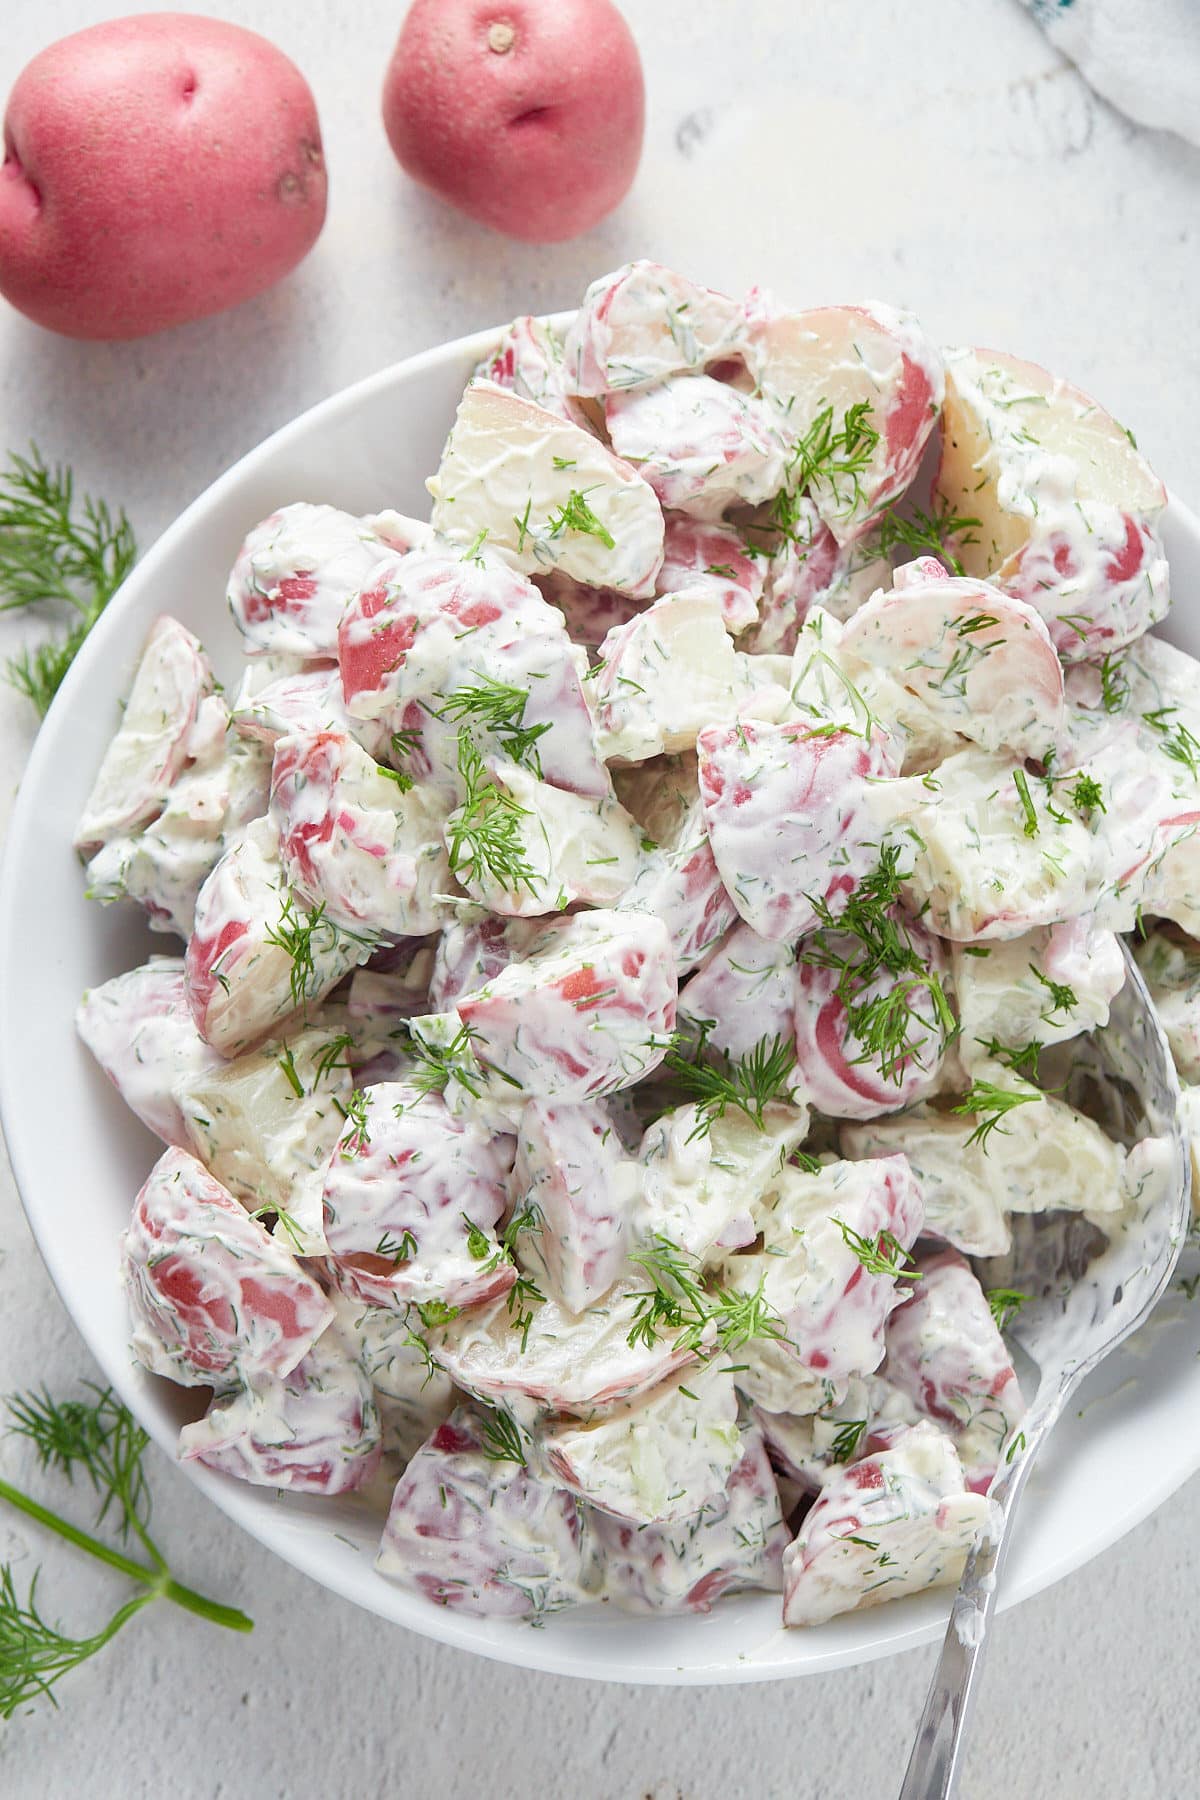
Perfect for picnics, cookouts and everyday meals, this creamy dill potato salad is a must have side dish this summer! Made with red skinned potatoes, sour cream and mayonnaise, this potato salad is full of herby goodness thanks to the fresh dill.
This post contains affiliate links, please read my full disclaimer here.
You’ll find the full recipe with ingredient amounts and instructions in the recipe card at the bottom of this post. Be sure to check out the blog post itself for extra tips and tricks!
I can never resist serving up a deliciously creamy potato salad when we are doing some grilling. Super easy to make, it's always the first side to disappear from the table!
This potato salad is seasoned with dill for a deliciously herby and fresh flavor, and it works so well with the creamy and tangy dressing. Celery and red onion add a great crunchy texture and the red skinned potatoes give it a fantastic color to serve.
Simple and quick to make with just a handful of ingredients, this recipe is a sure fire hit for those summer cookouts!
Be sure to try my Southern Potato Salad and Creamy Broccoli Cauliflower Salad too!
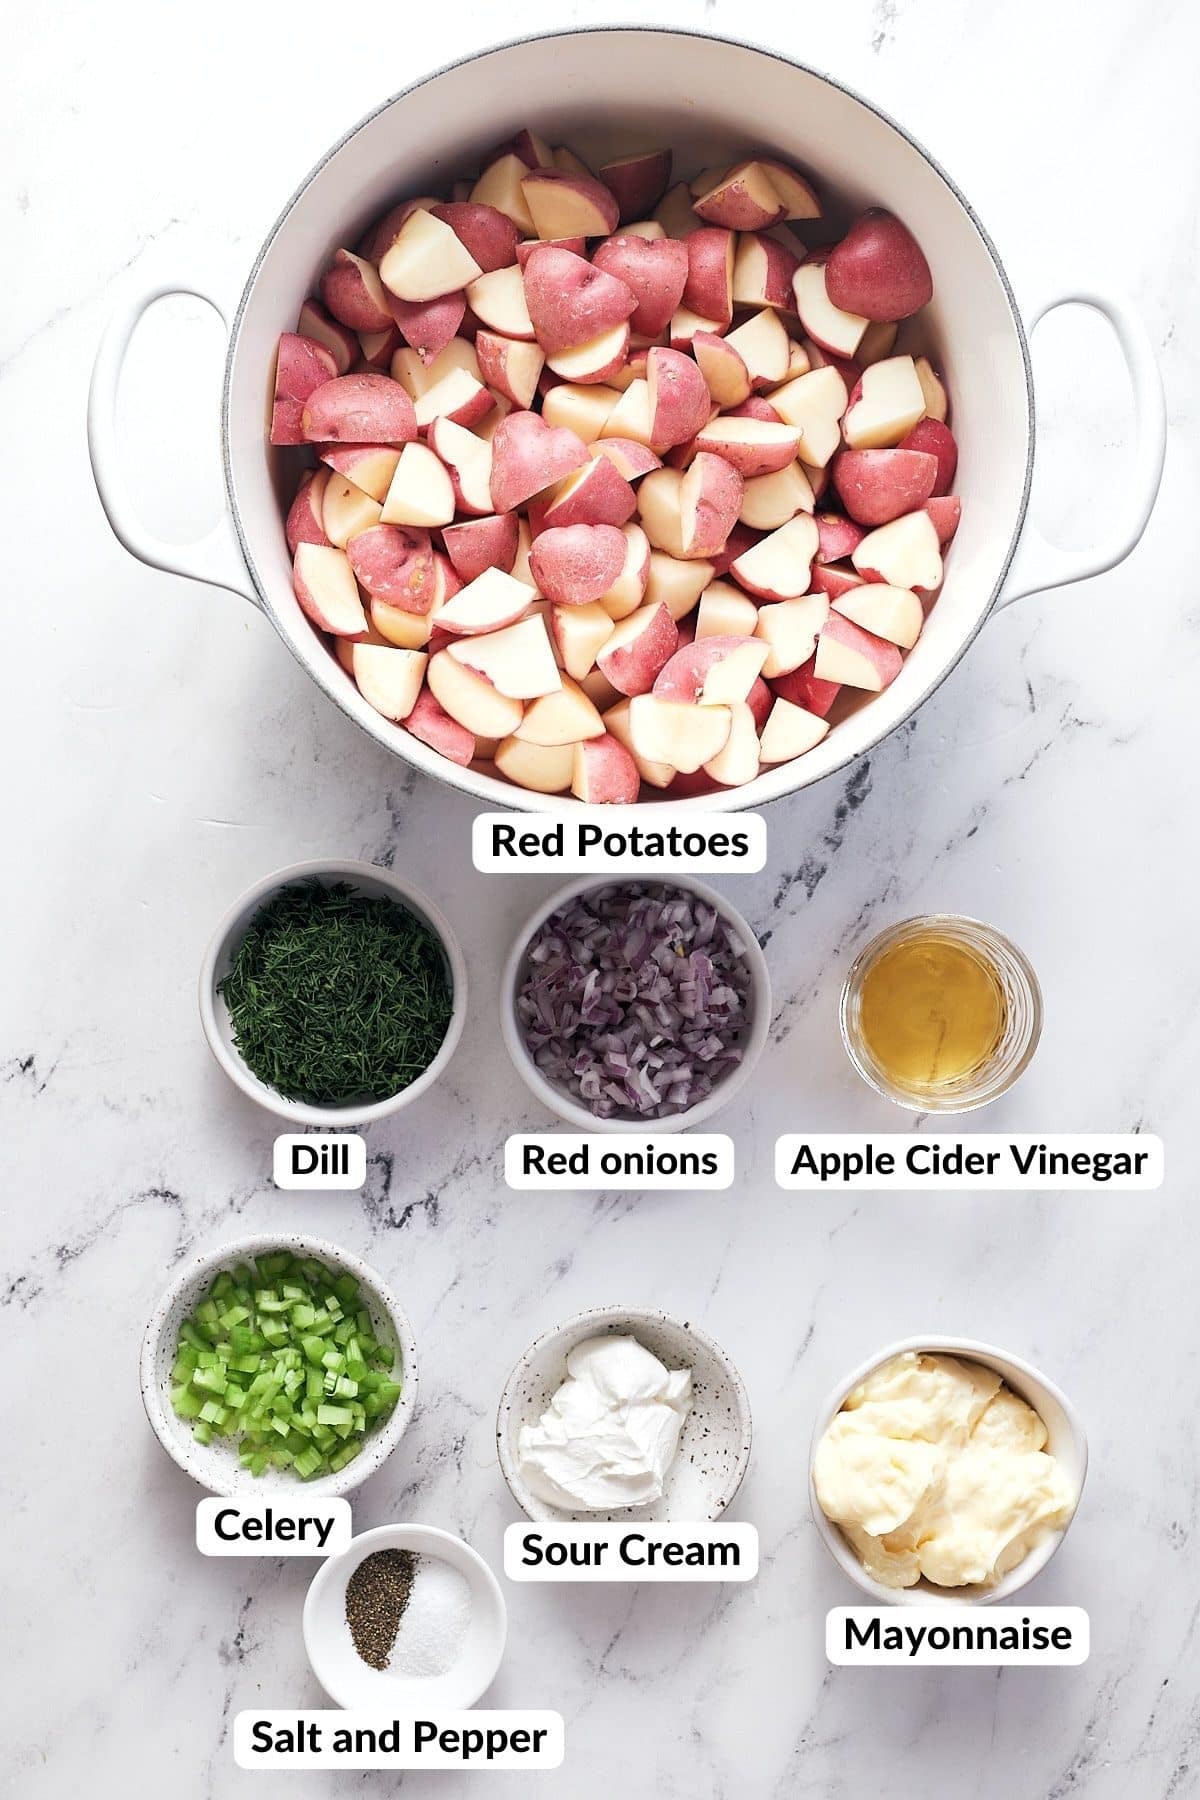
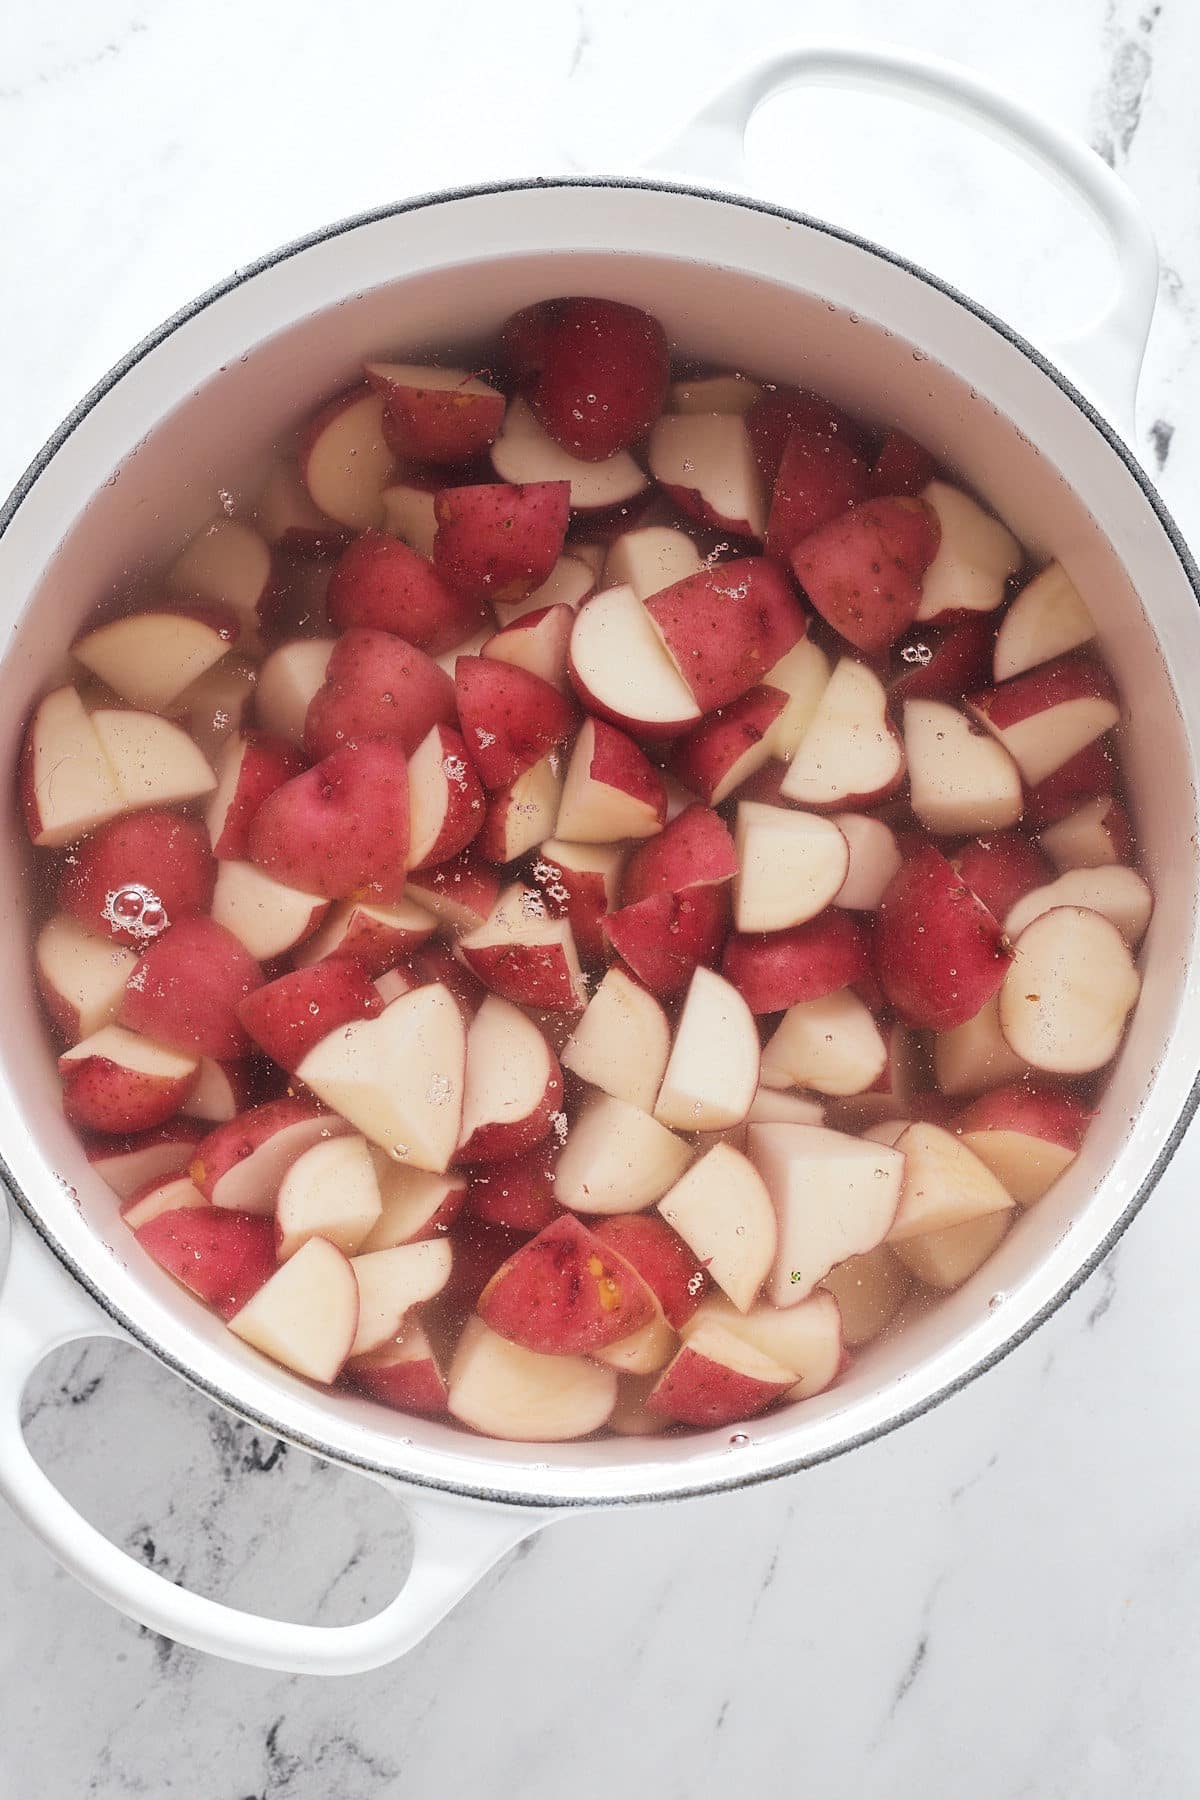
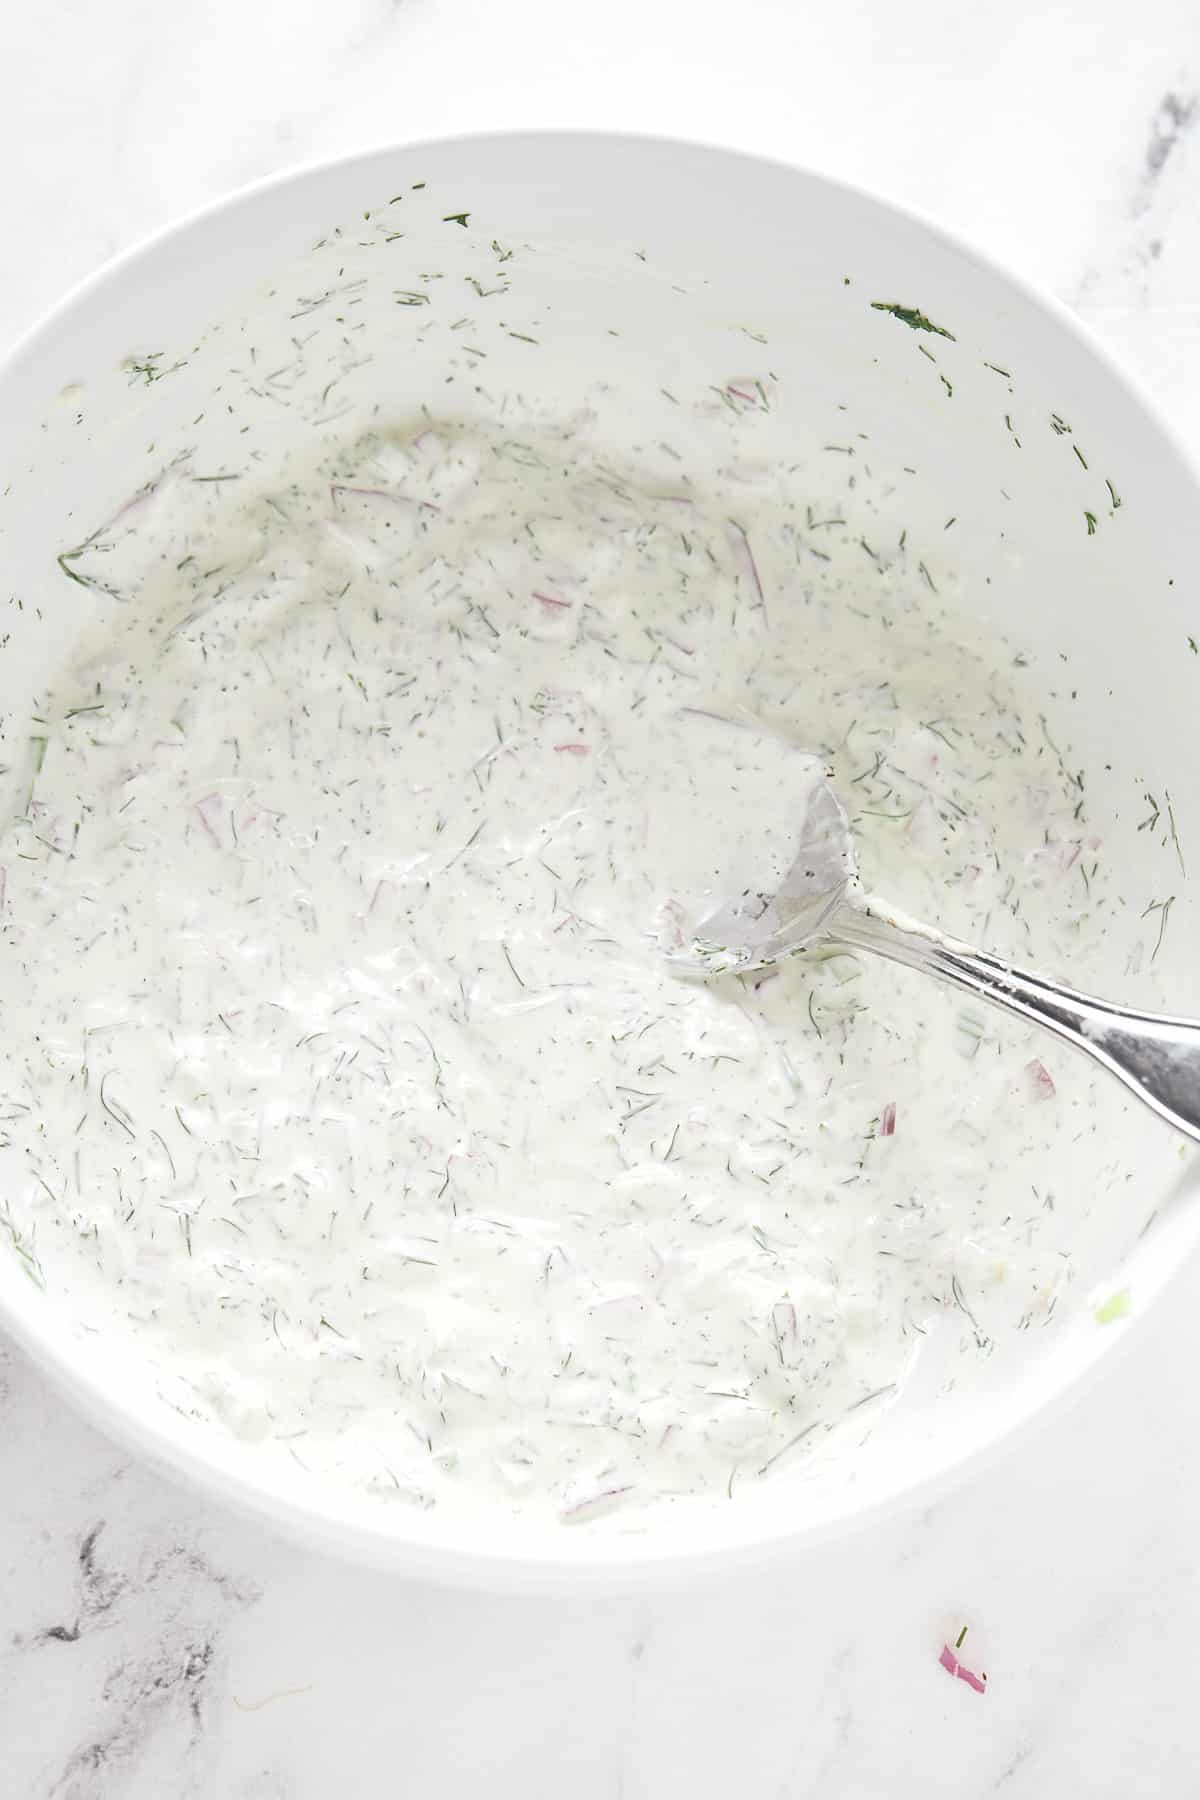
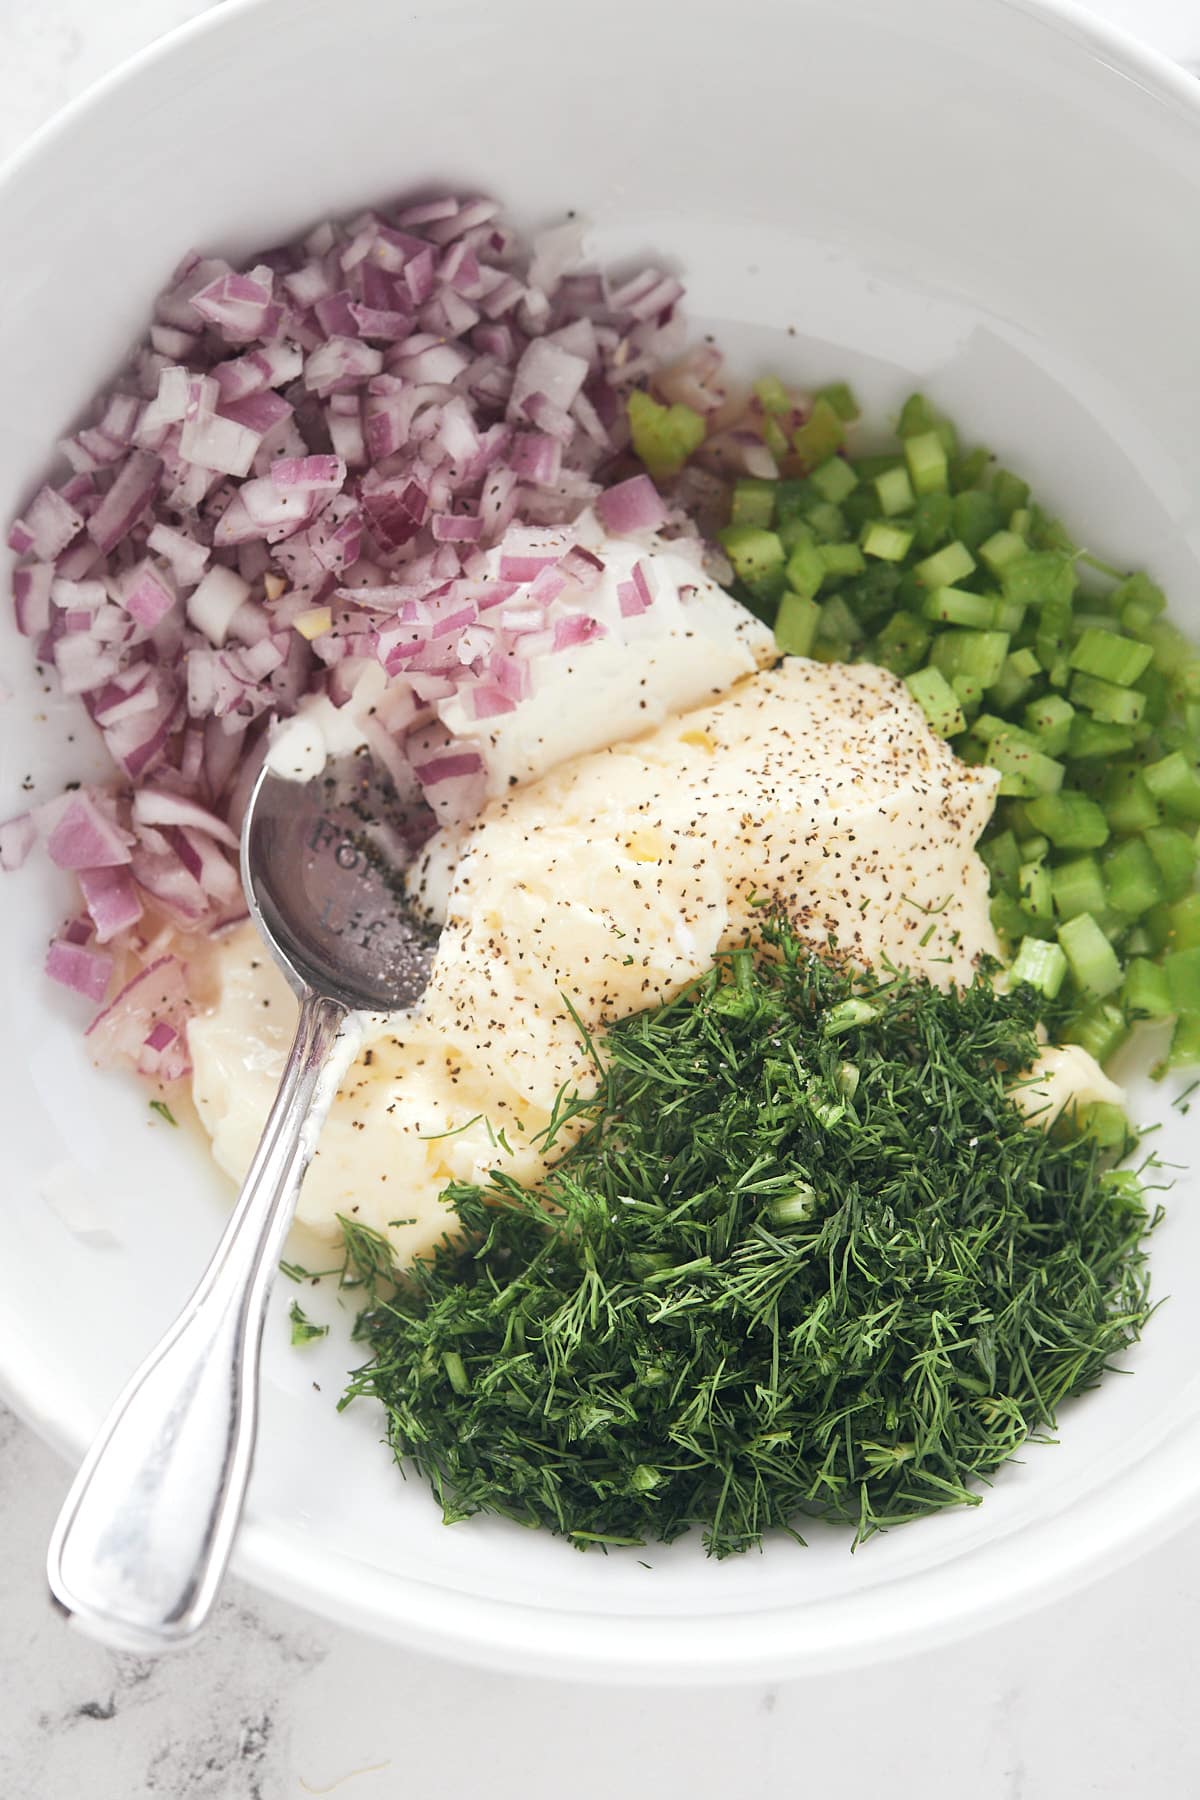
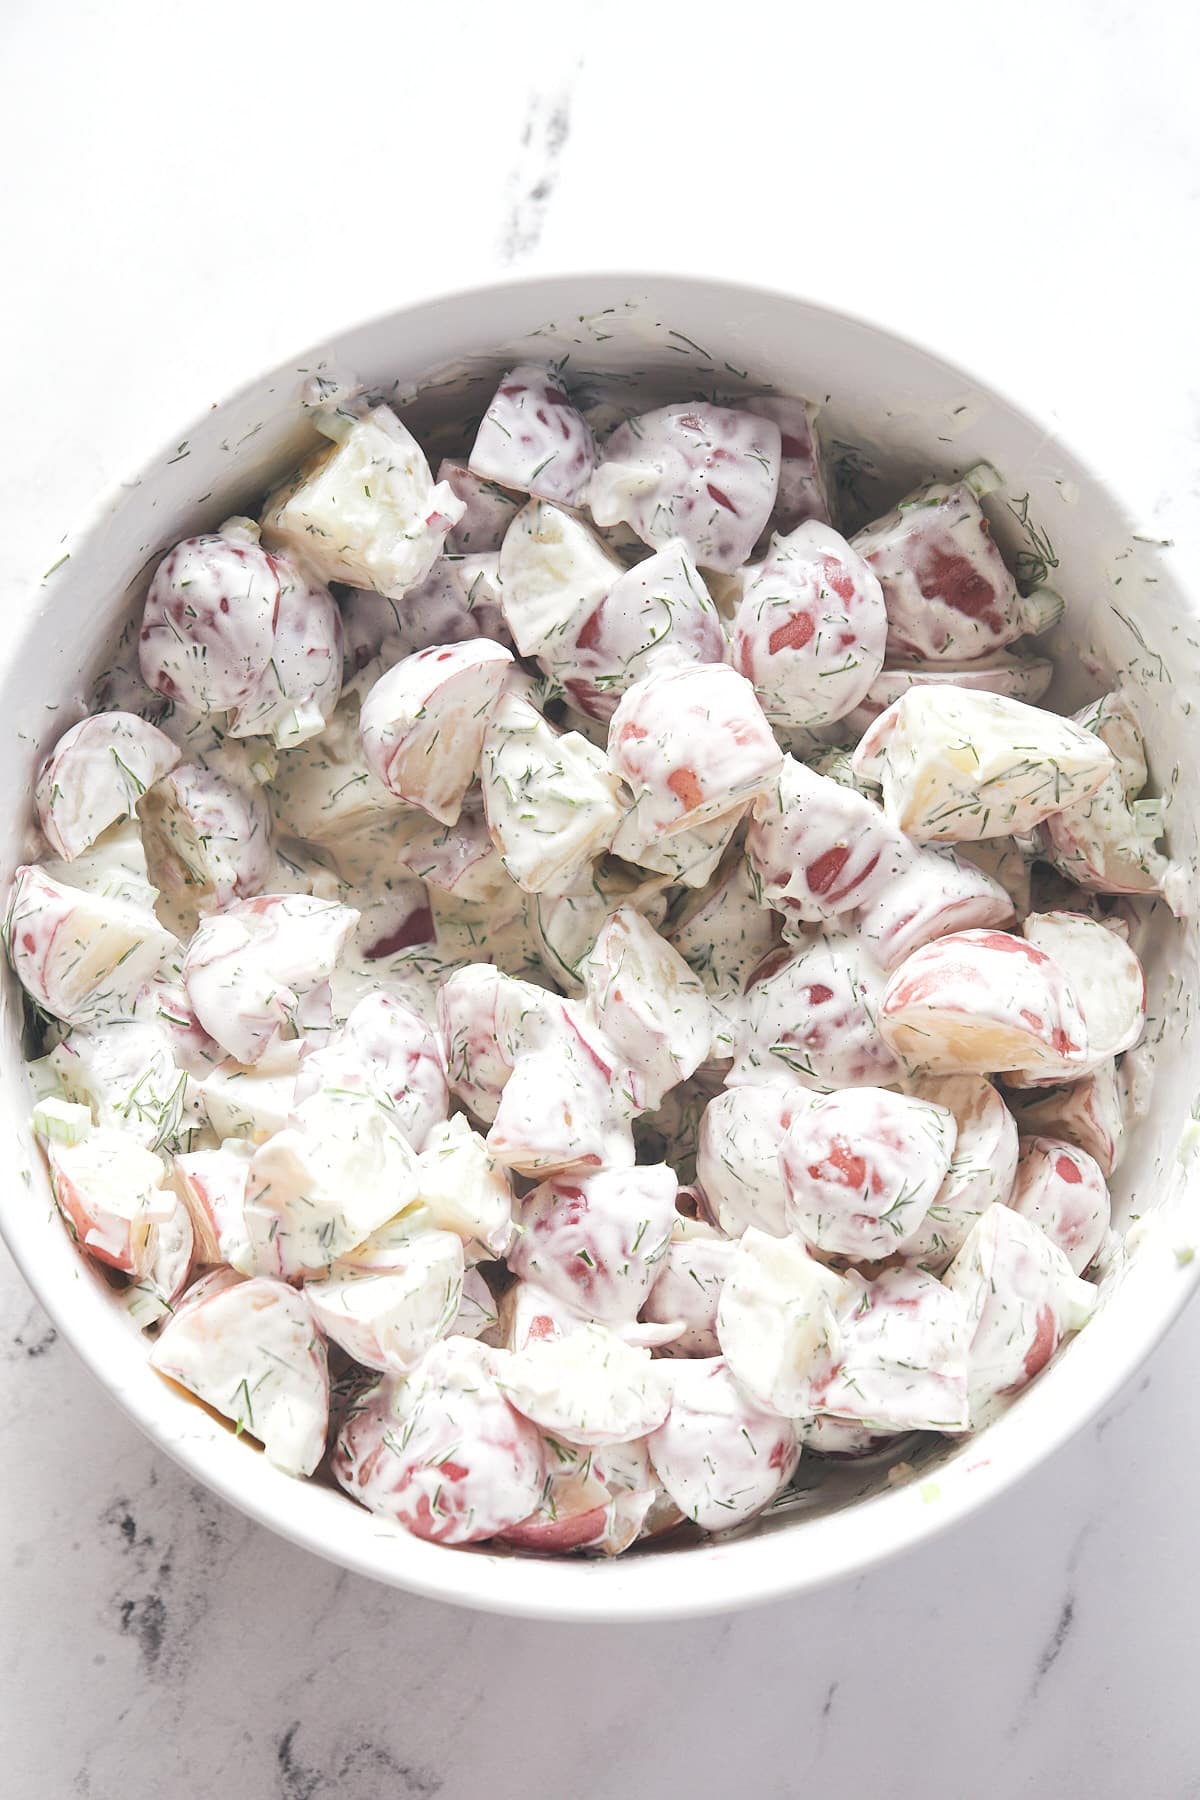
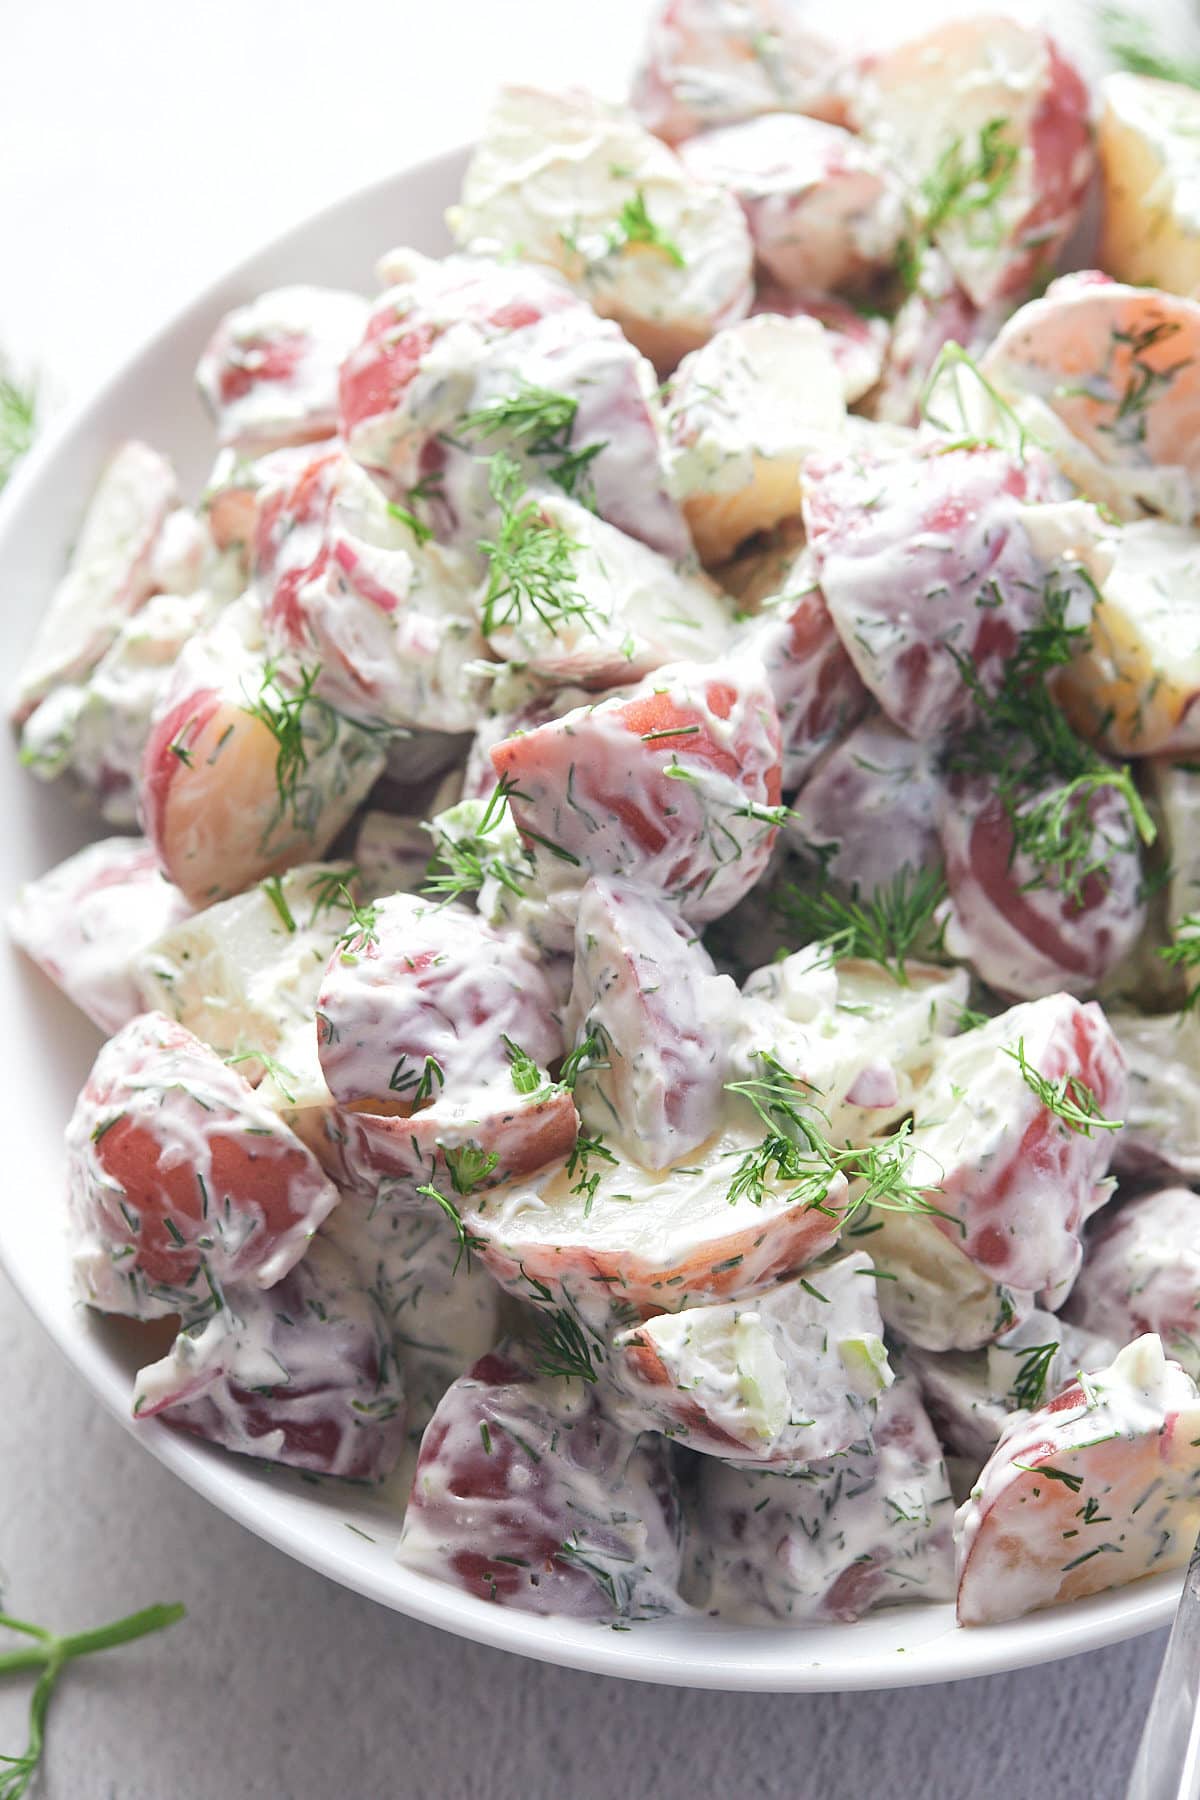
Once made, it's best to allow this dill potato salad to sit in the fridge for at least an hour before serving. This will allow the flavors to develop so that it's extra tasty. It can easily be made a day or two ahead of time and be kept covered in the fridge.
Because this recipe contains mayo and sour cream, it's best not to leave it out at room temperature for more than a couple of hours.
I love using red skinned potatoes for this creamy salad. They are a waxy variety so they are really nice and buttery and hold their shape well. I also love the pop of color the skins add, and you don't have to peel them!
You can make this with other waxy varieties like baby or fingerlings, or, if you prefer a softer and fluffier potato salad, feel free to use starchy potatoes like Russets or Yukon Golds.
This potato salad dressing is made with sour cream and mayonnaise to give it a super creamy and rich texture. If you want to cut down on fats and calories, you could use low fat mayo and sour cream, or try swapping the sour cream for healthier Greek yogurt which will still give you that tasty tangy flavor.
This creamy dill potato salad can easily be served up as a side with your favorite weeknight meals, and it's a must for your grilling and cookouts this summer. Try it with these favorite recipes:
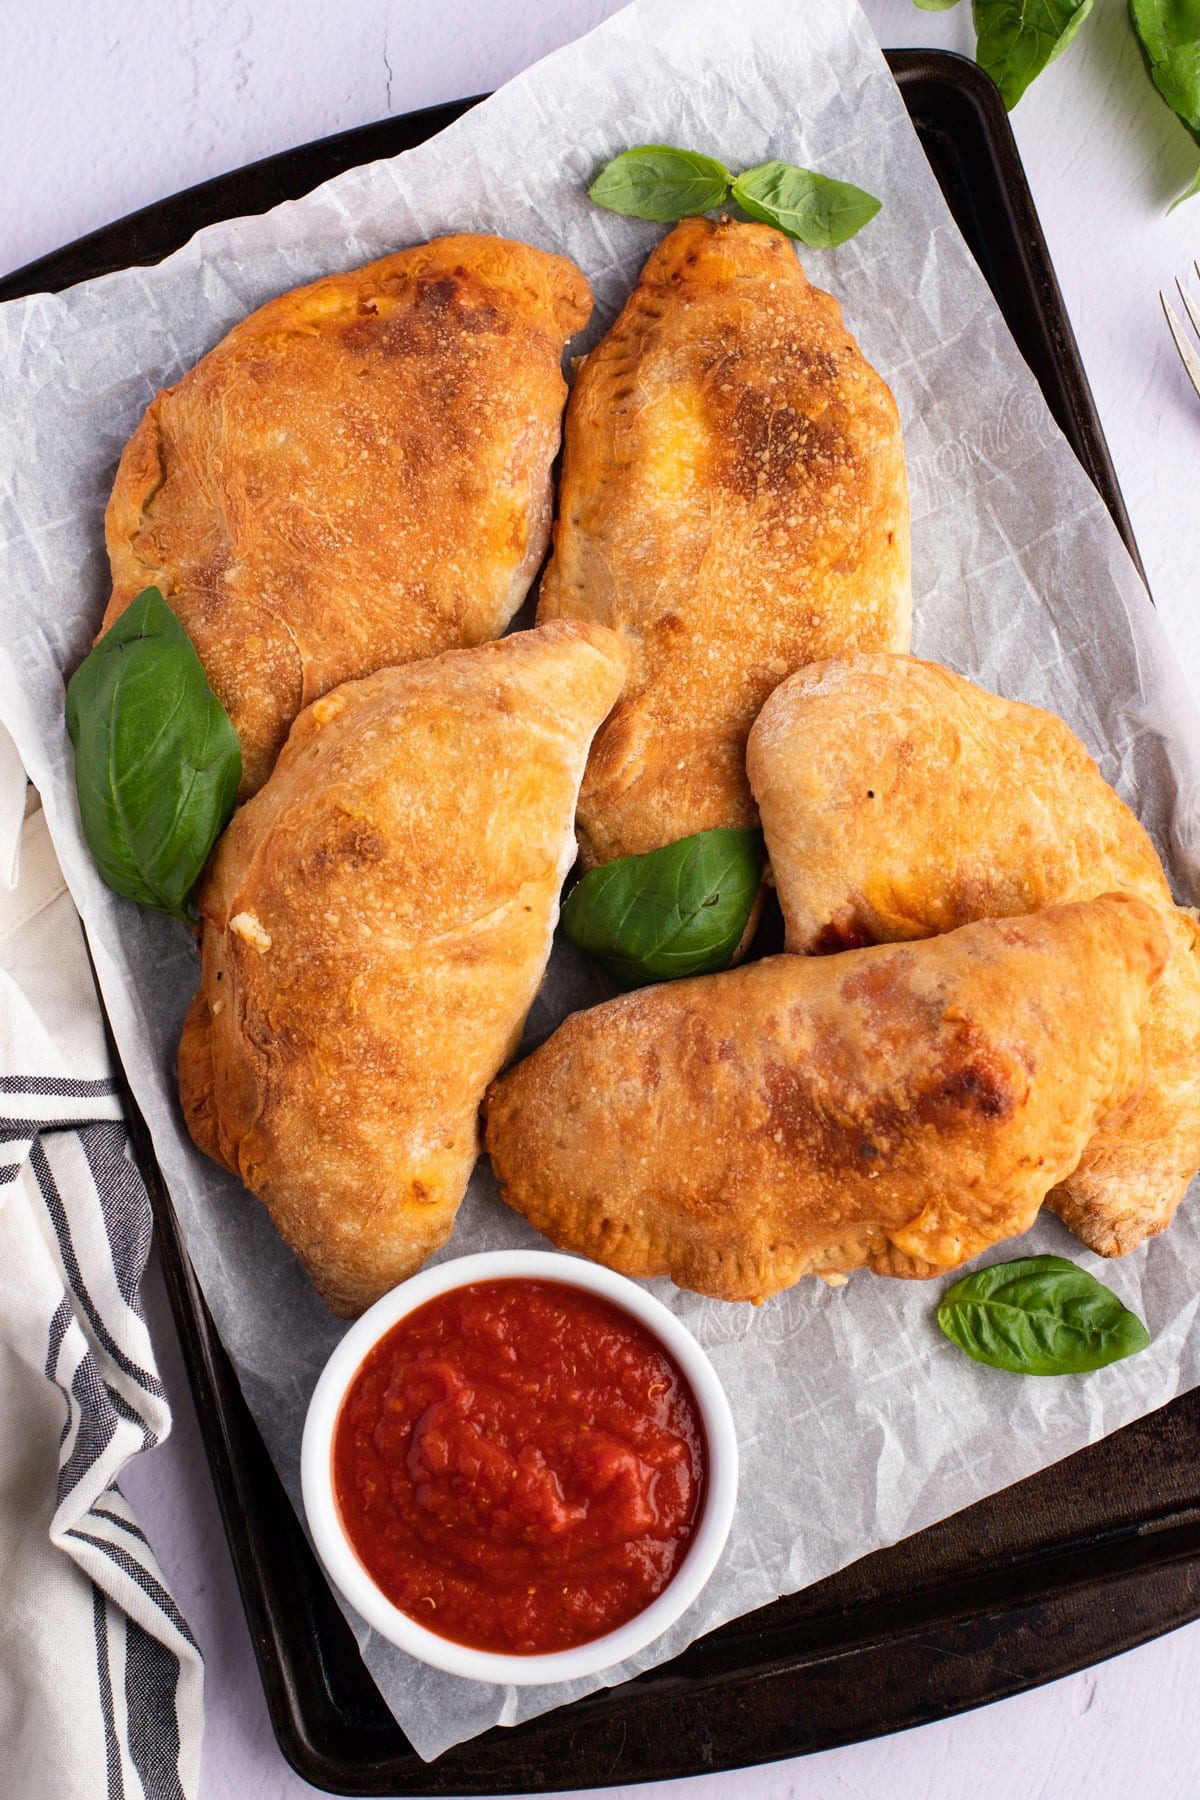
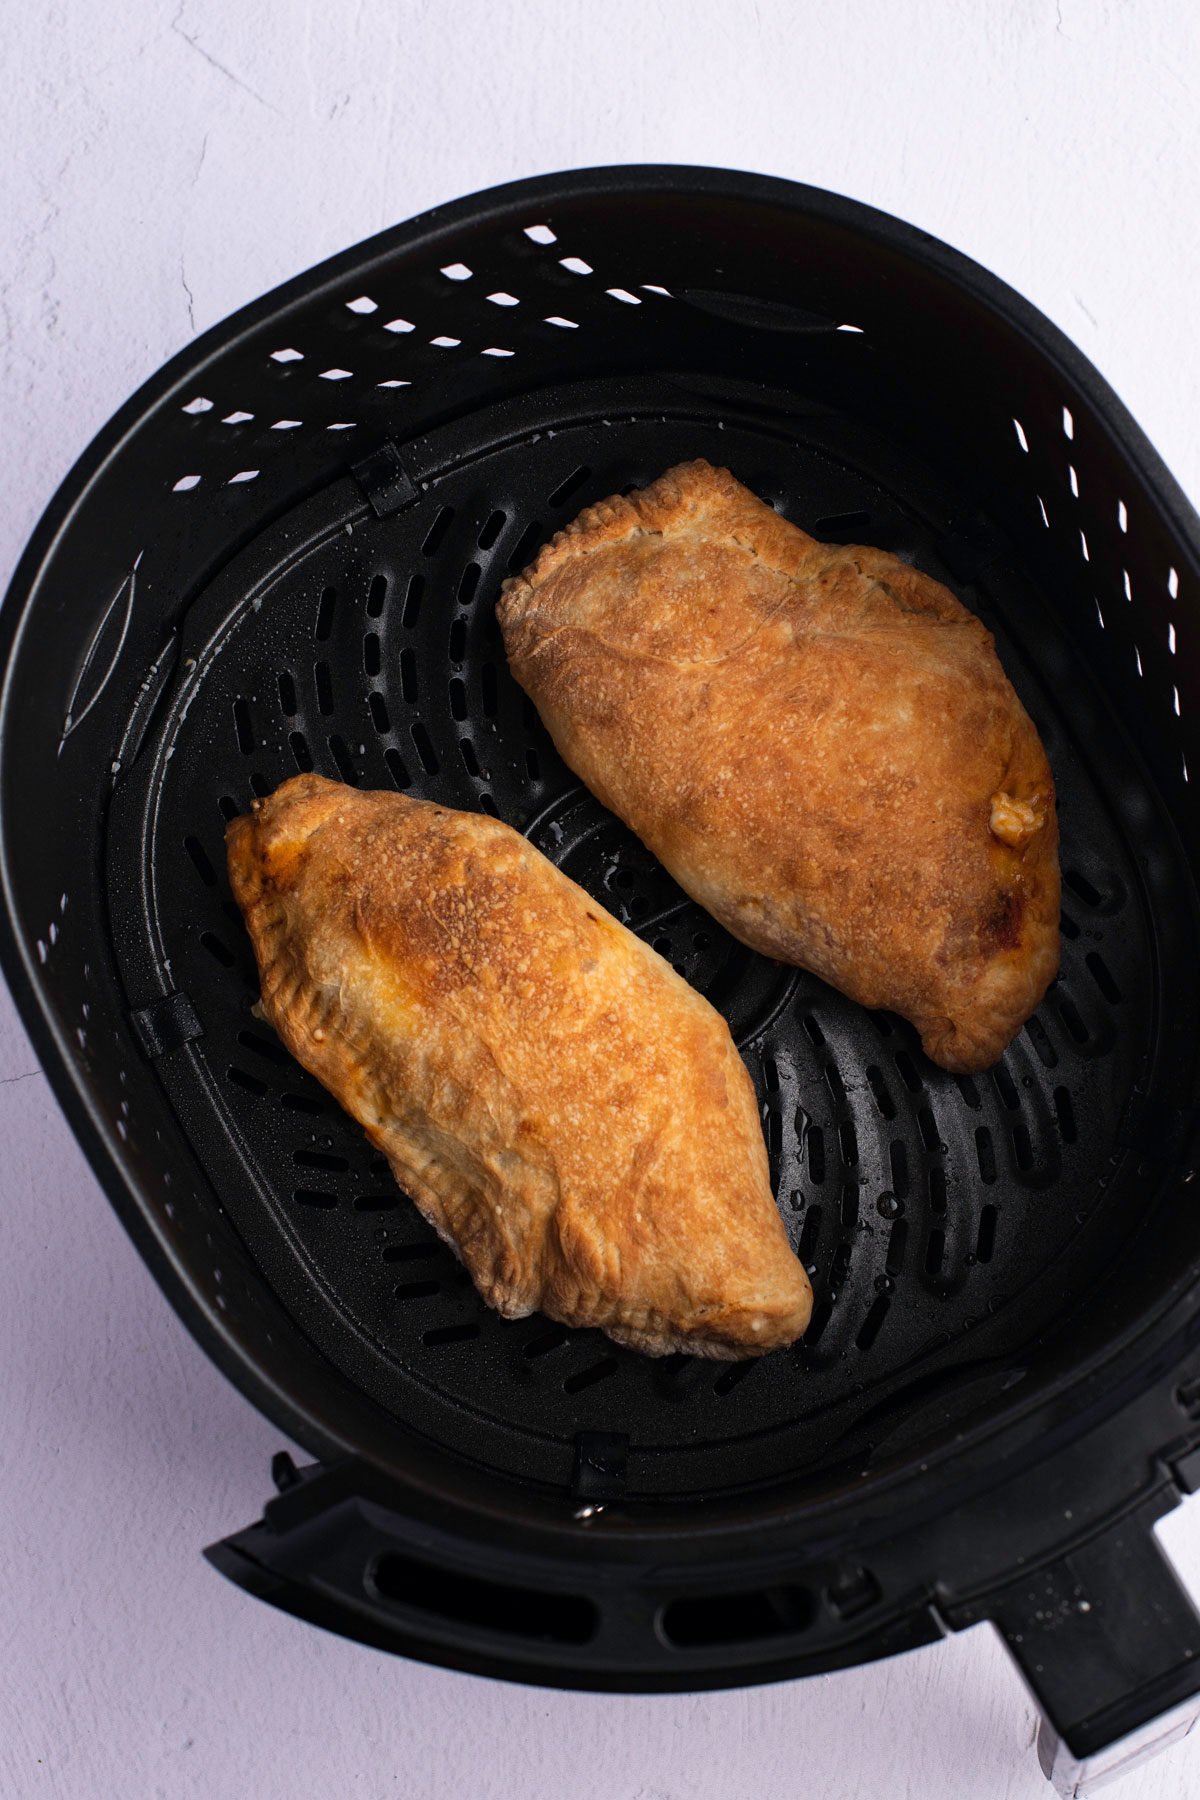
Mix up your pizza nights with these homemade air fryer calzones. Loaded with pepperoni, green peppers, onion, sausage and cheese, these folded pizzas are perfect for a family night in, served up with your favorite dips and sauces.
This post contains affiliate links, please read my full disclaimer here.
You’ll find the full recipe with ingredient amounts and instructions in the recipe card at the bottom of this post. Be sure to check out the blog post itself for extra tips and tricks!
These air fryer calzones are one delicious treat! Since first making them, they are now requested by my family on the regular! They are a perfect alternative to your usual Friday night takeout and they are so simple to make!
Made with store-bought pizza dough, these are crazy easy to make and the air fryer cooks the dough so perfectly, and super quickly!
Have fun using your own favorite fillings, and get these on the table in less than 30 minutes!
Try my Air Fryer Pizza too, and be sure to use my favorite No-Cook Pizza Sauce for the filling!
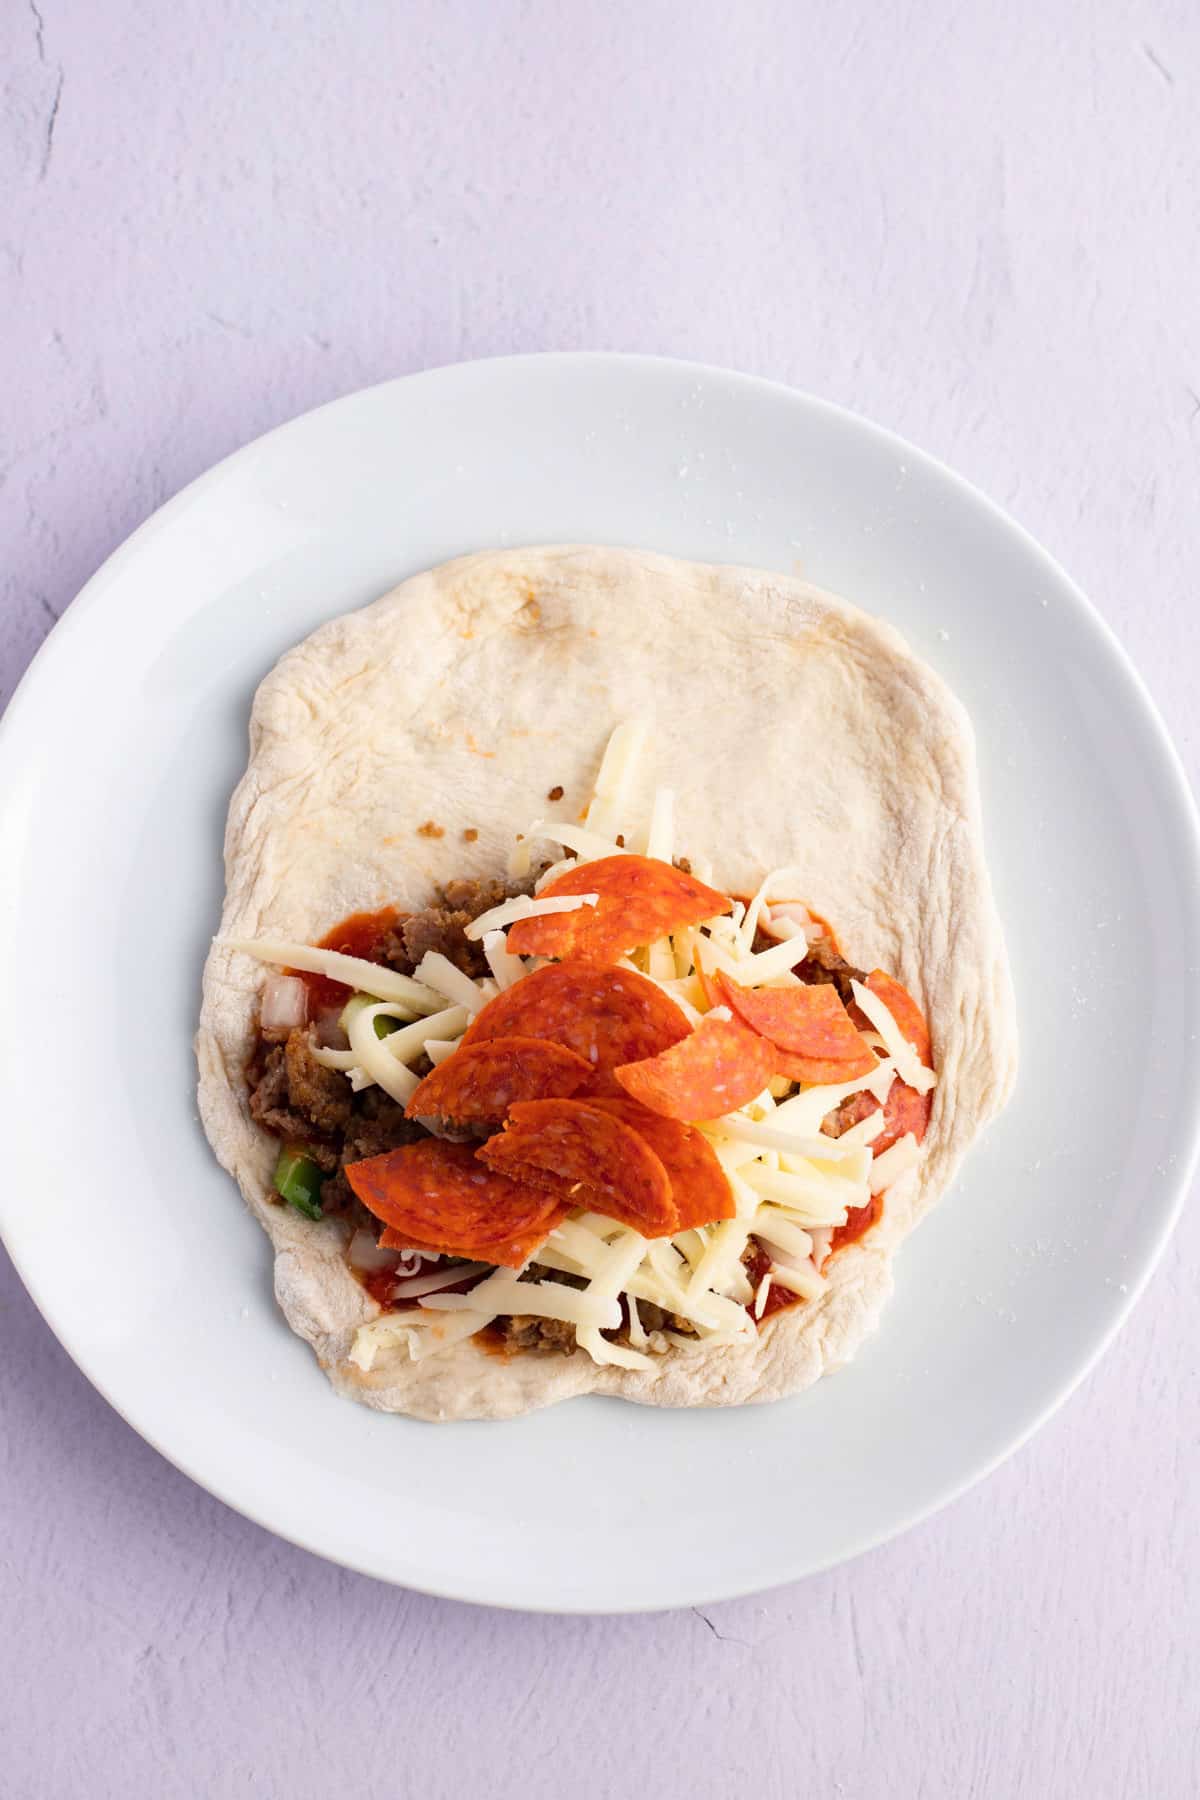
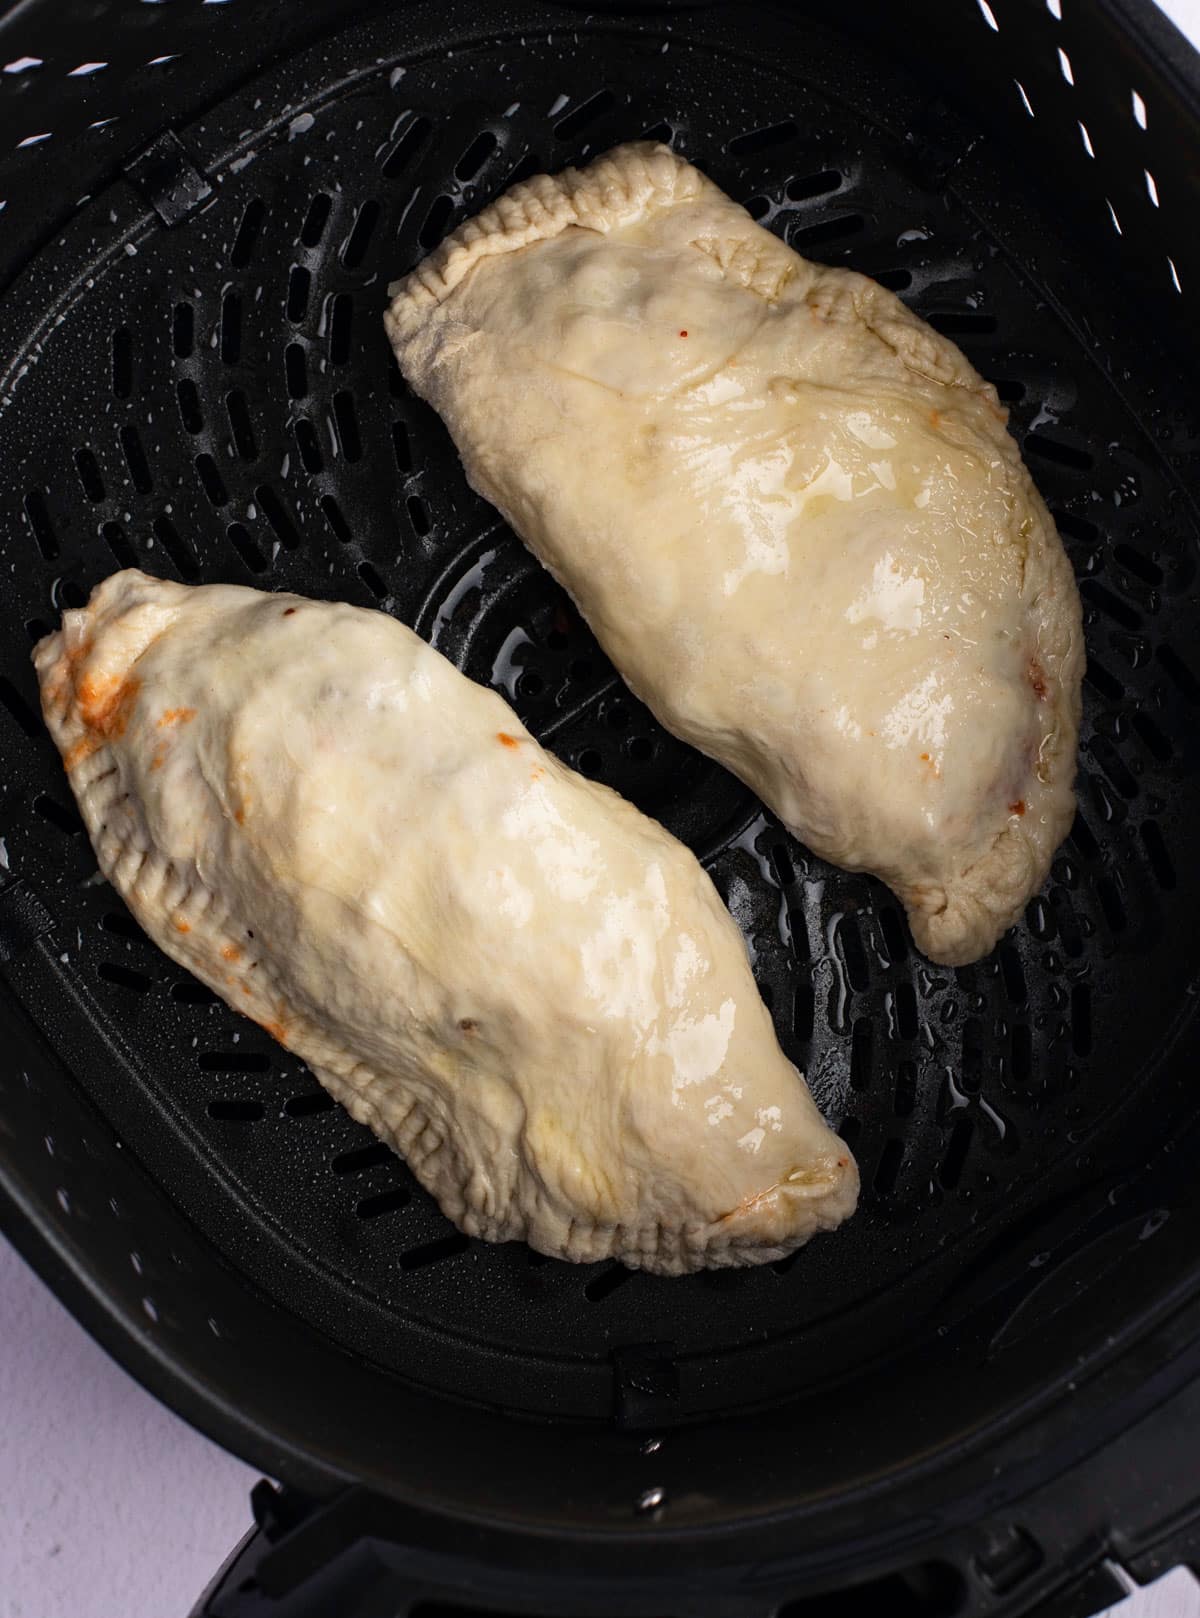
I love the ease and convenience of using store-bought dough to make these air fryer calzones. Most grocery stores will have this either in the chilled or frozen sections. If frozen, make sure that it is fully thawed before using. If you have a favorite homemade pizza dough recipe, you can for sure use that instead, or use a gluten-free recipe if you have an intolerance.
These folded pizzas are easy to adapt to suit your whole family's taste - I love making them with my kids so they can place in their favorite ingredients! These are meaty and filled with sausage and pepperoni, onion and green bell pepper, and of course, shredded mozzarella! Mix things up with other veggies or meats, basically, if you can put it on pizza you can put it in a calzone!
You can fill and fold the calzones and keep them covered in the fridge for an hour or two before you want to cook them. I wouldn't recommend that you make them further ahead than this as the pizza dough can dry out.
Cooked calzones will keep well in the fridge for up to 4 days and can be reheated in the air fryer at 360F for around 5 minutes until warmed through.

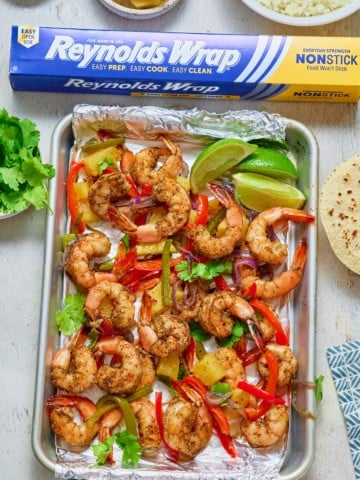
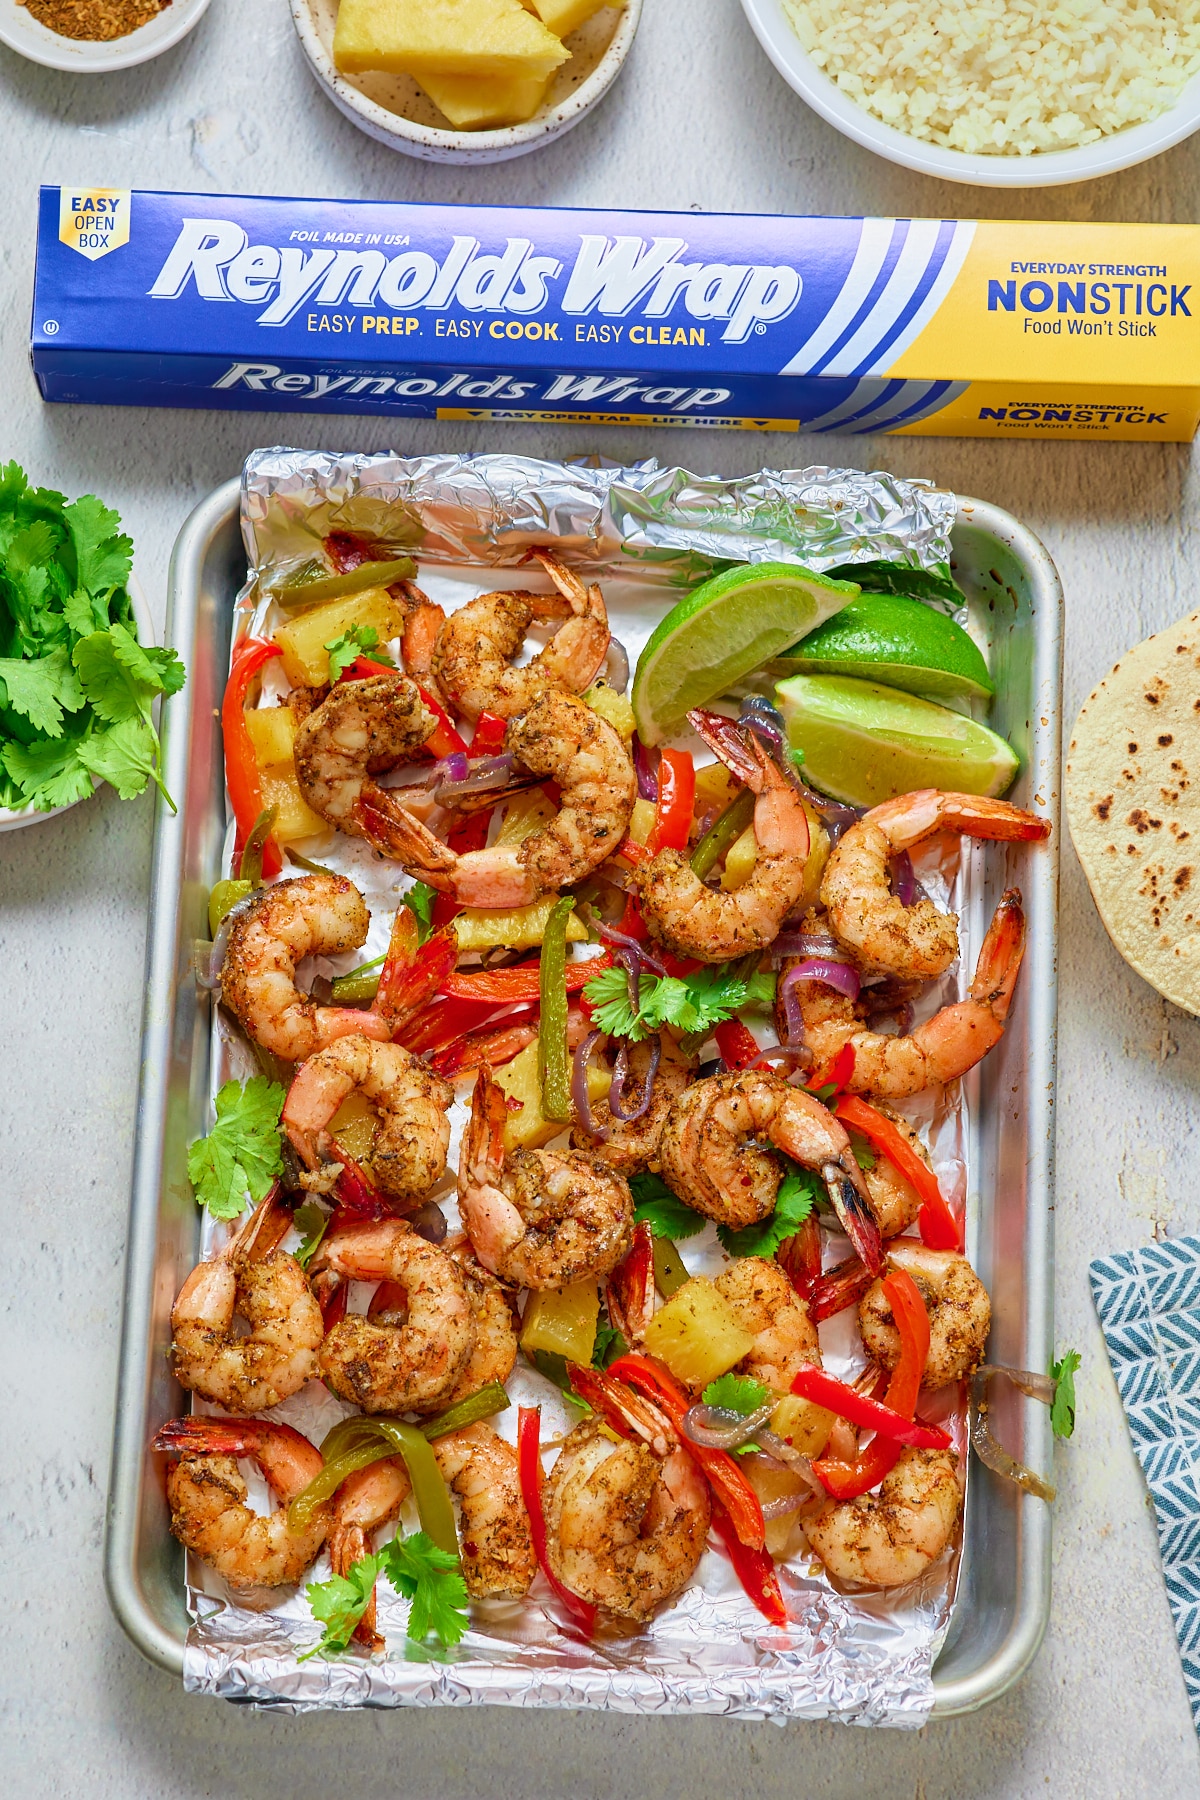
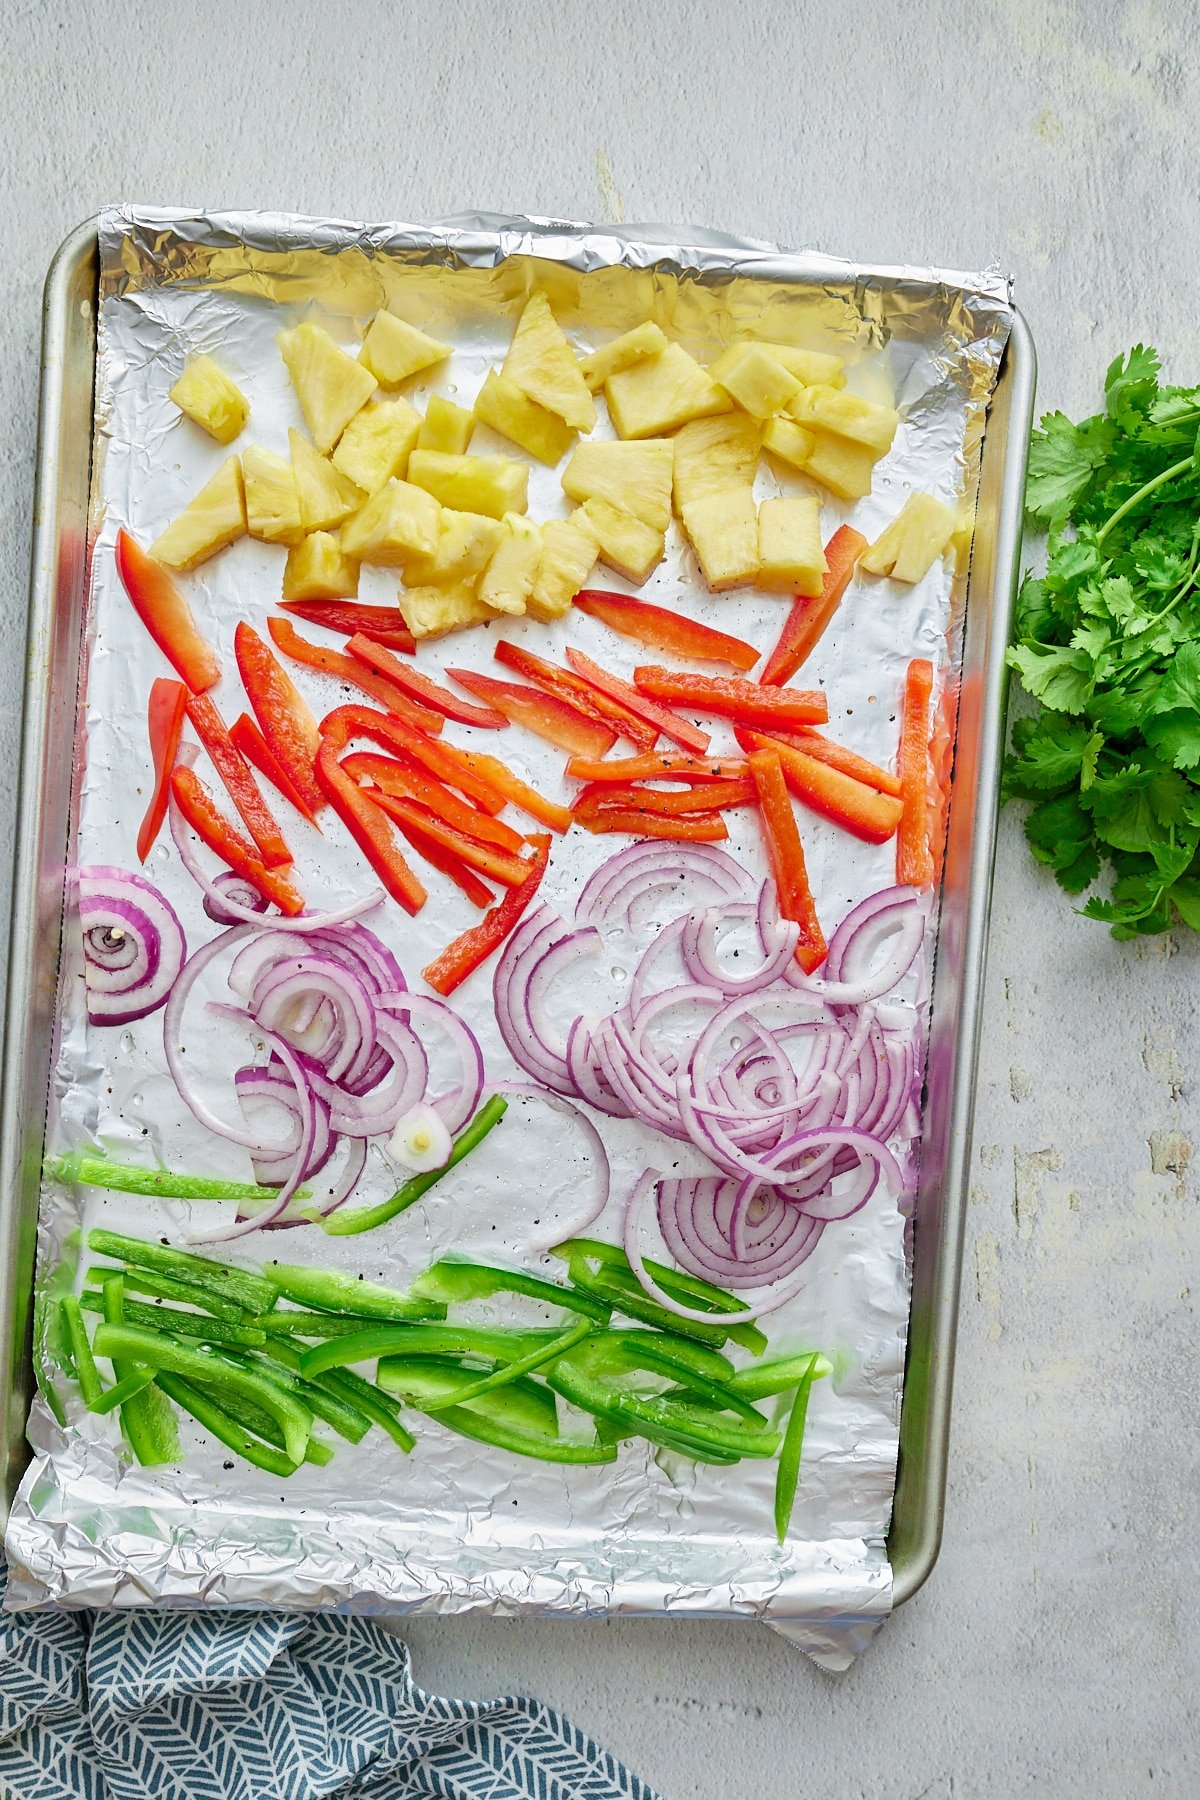
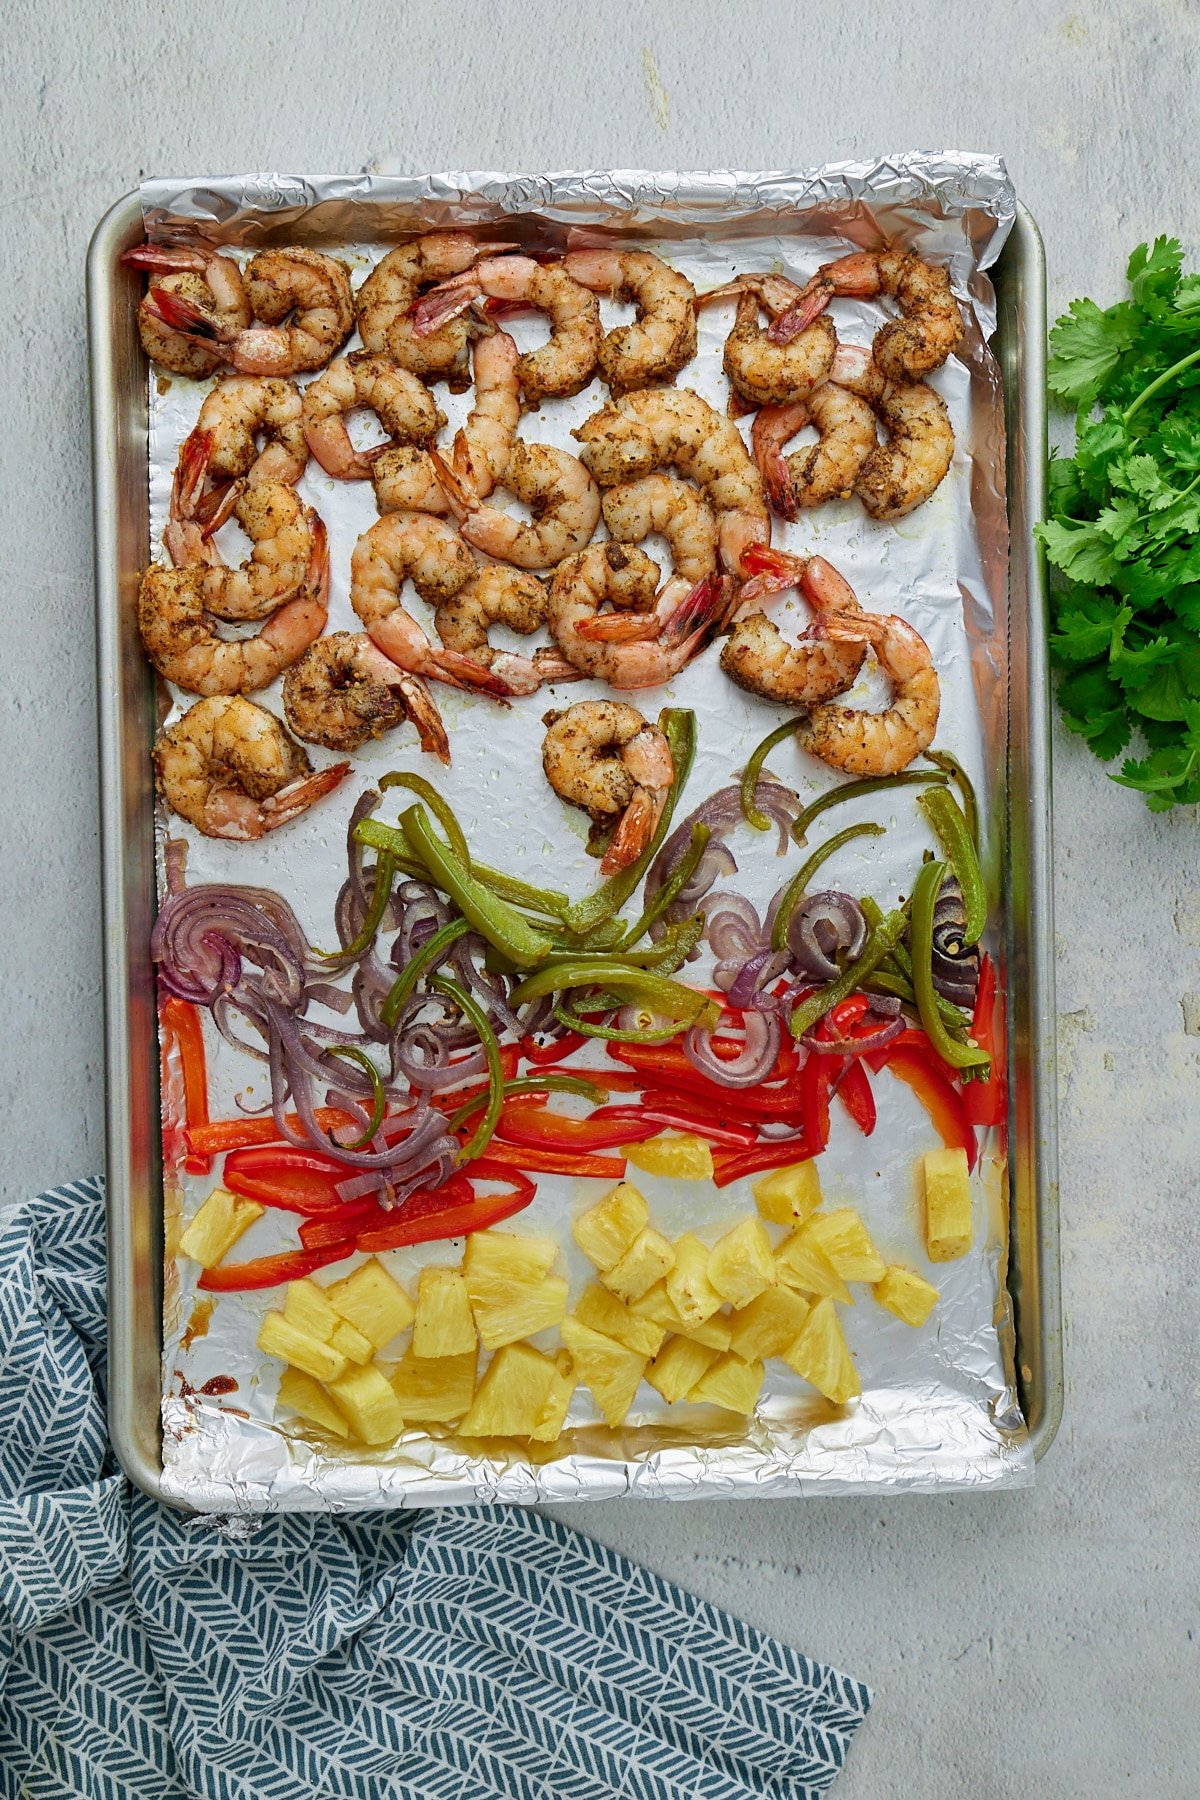
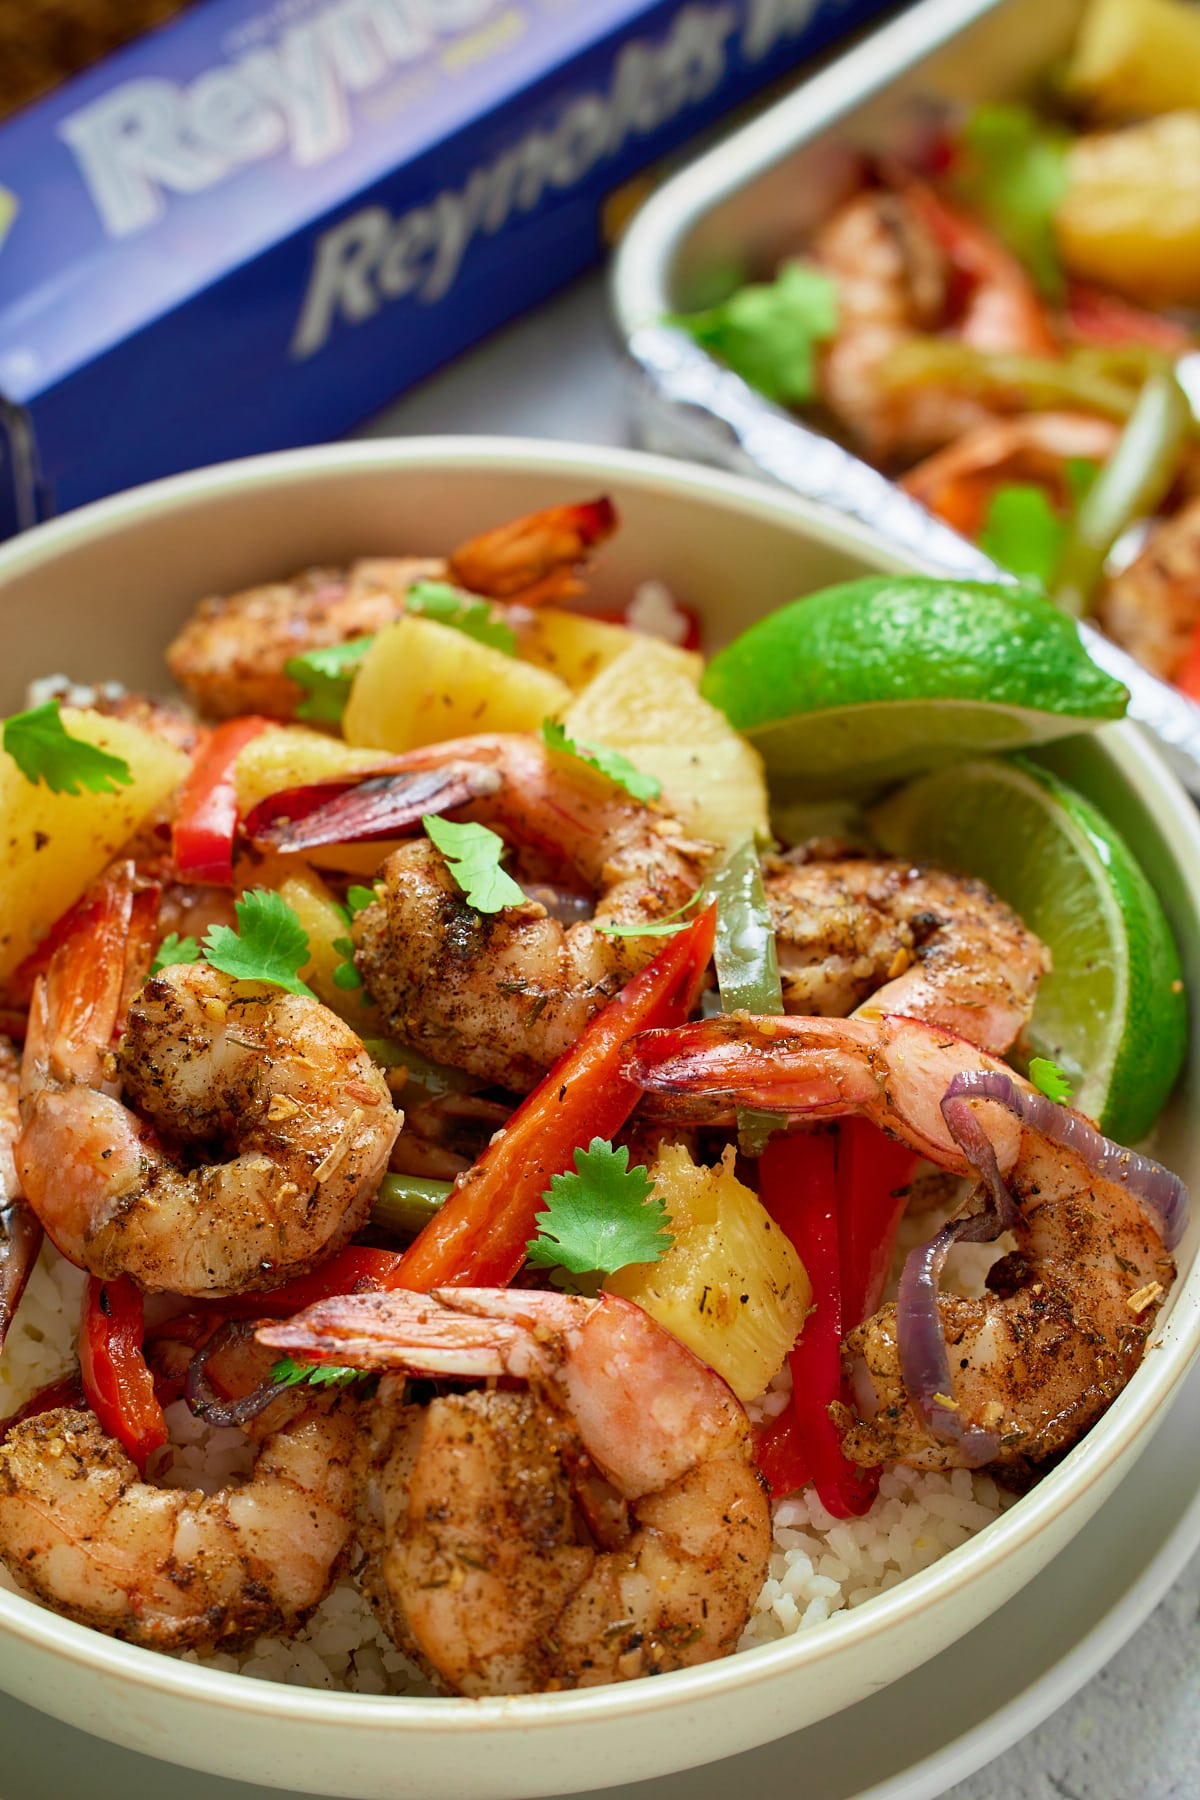
Baked in the oven, this Jamaican Jerk Shrimp recipe is one quick, easy and delicious meal that comes together in minutes. Bell peppers, pineapple and red onions are baked with marinated jerk shrimp for a weeknight dinner that doesn't compromise on flavor. This recipe is a keeper!
This post is kindly sponsored by Reynolds Wrap®.
This post contains affiliate links, please read my full disclaimer here.
You’ll find the full recipe with ingredient amounts and instructions in the recipe card at the bottom of this post. Be sure to check out the blog post itself for extra tips and tricks!
After a long day of work, I don't always want to spend hours in the kitchen to get dinner on the table. This Baked Jamaican Jerk Shrimp recipe is more than perfect for those days! Easy to prep and cook, this is full of flavor and is a constant on our family menu!
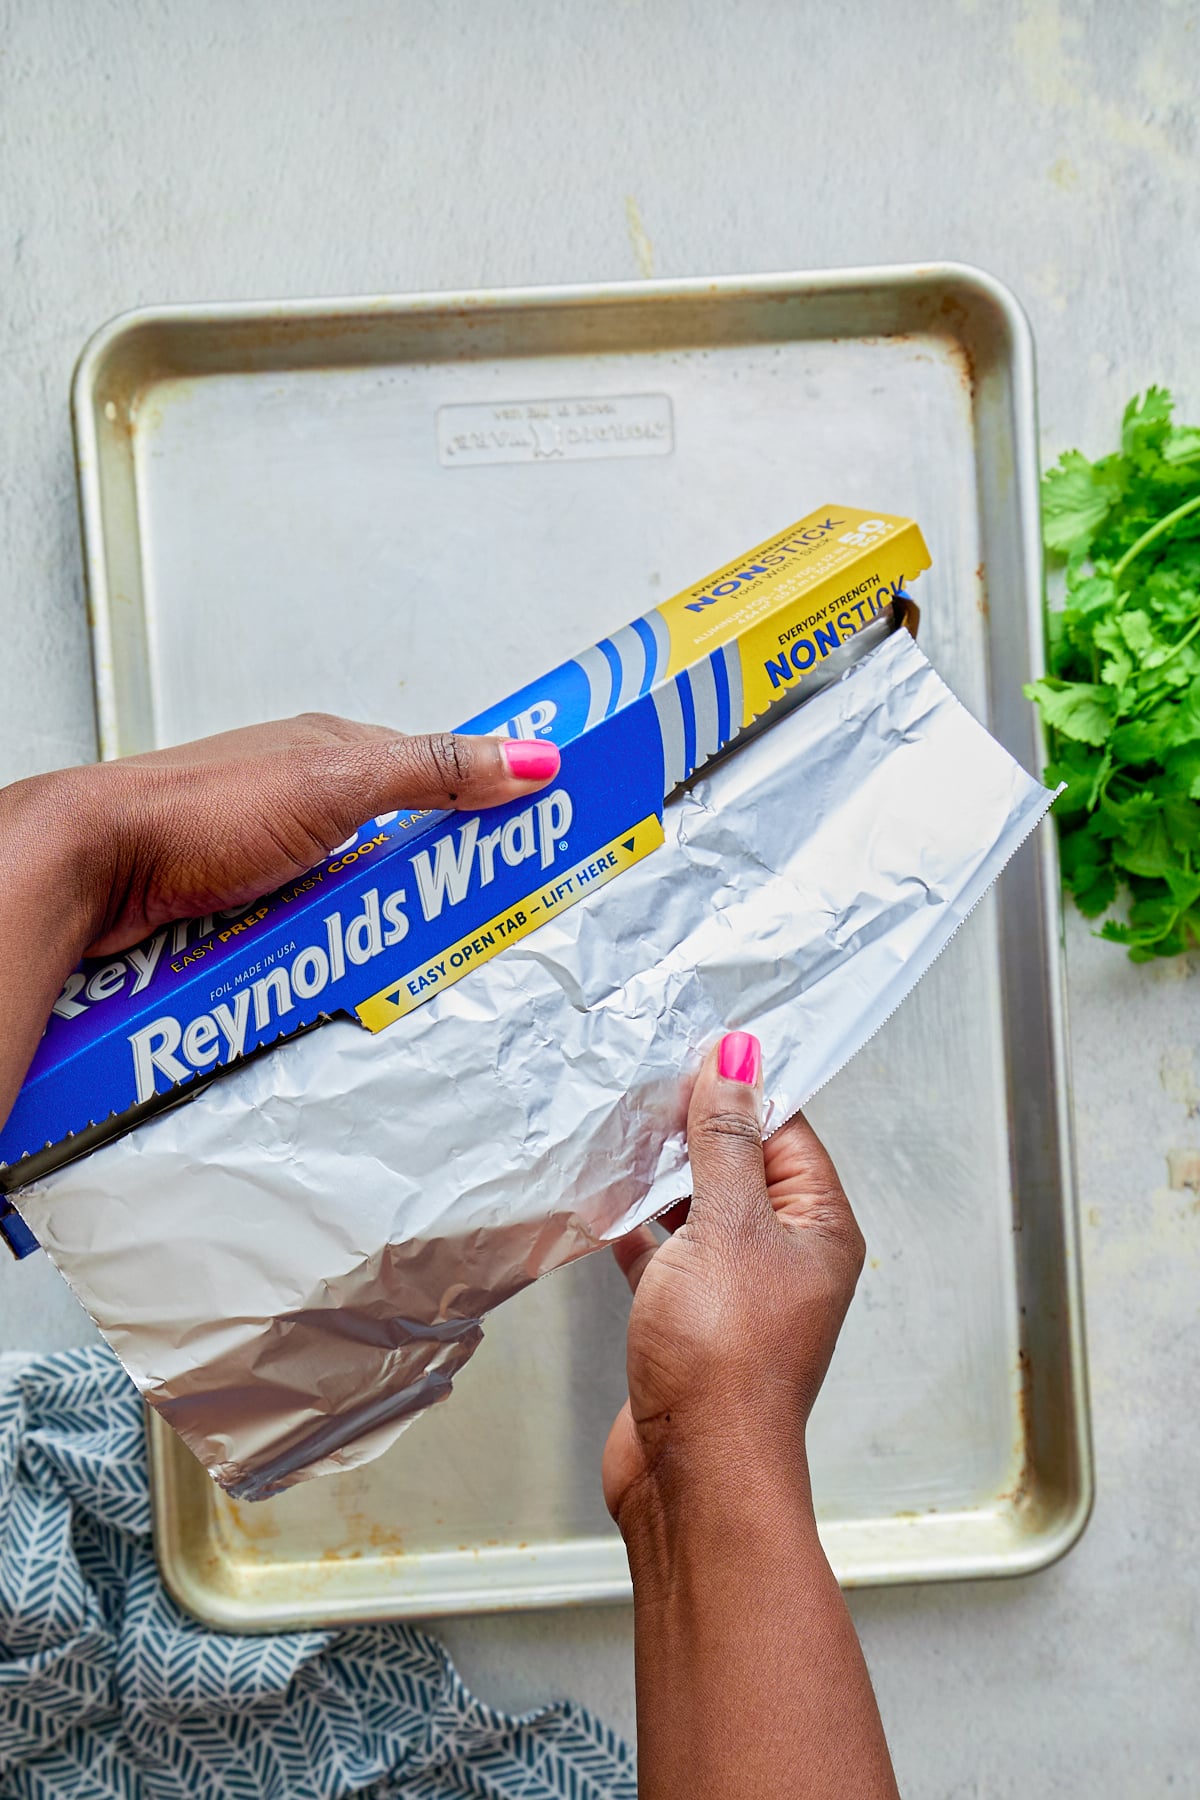
To make this recipe super fuss-free, I use Reynolds Wrap® Non-Stick Foil. Just line your baking sheet and the food lifts right off so there's no messy clean-up afterward. It makes prepping, cooking and cleanup so easy so that I can spend more time catching up with my family.
Reynolds Wrap® Non-Stick Foil is made with a non-stick coating on one side (the dull side), so there’s no need to use cooking spray or oil. I like to add a little bit of olive oil to this recipe for added flavor, but it’s totally up to you.
Cooking a delicious family dinner doesn't need to take hours. This Baked Jamaican Jerk Shrimp is so quick to prep and the clean-up afterward is non-existent, meaning that you can spend more time doing the things you love!
Be sure to try my Baked Jamaican Jerk Chicken and Air Fried Jamaican Jerk Pork too!
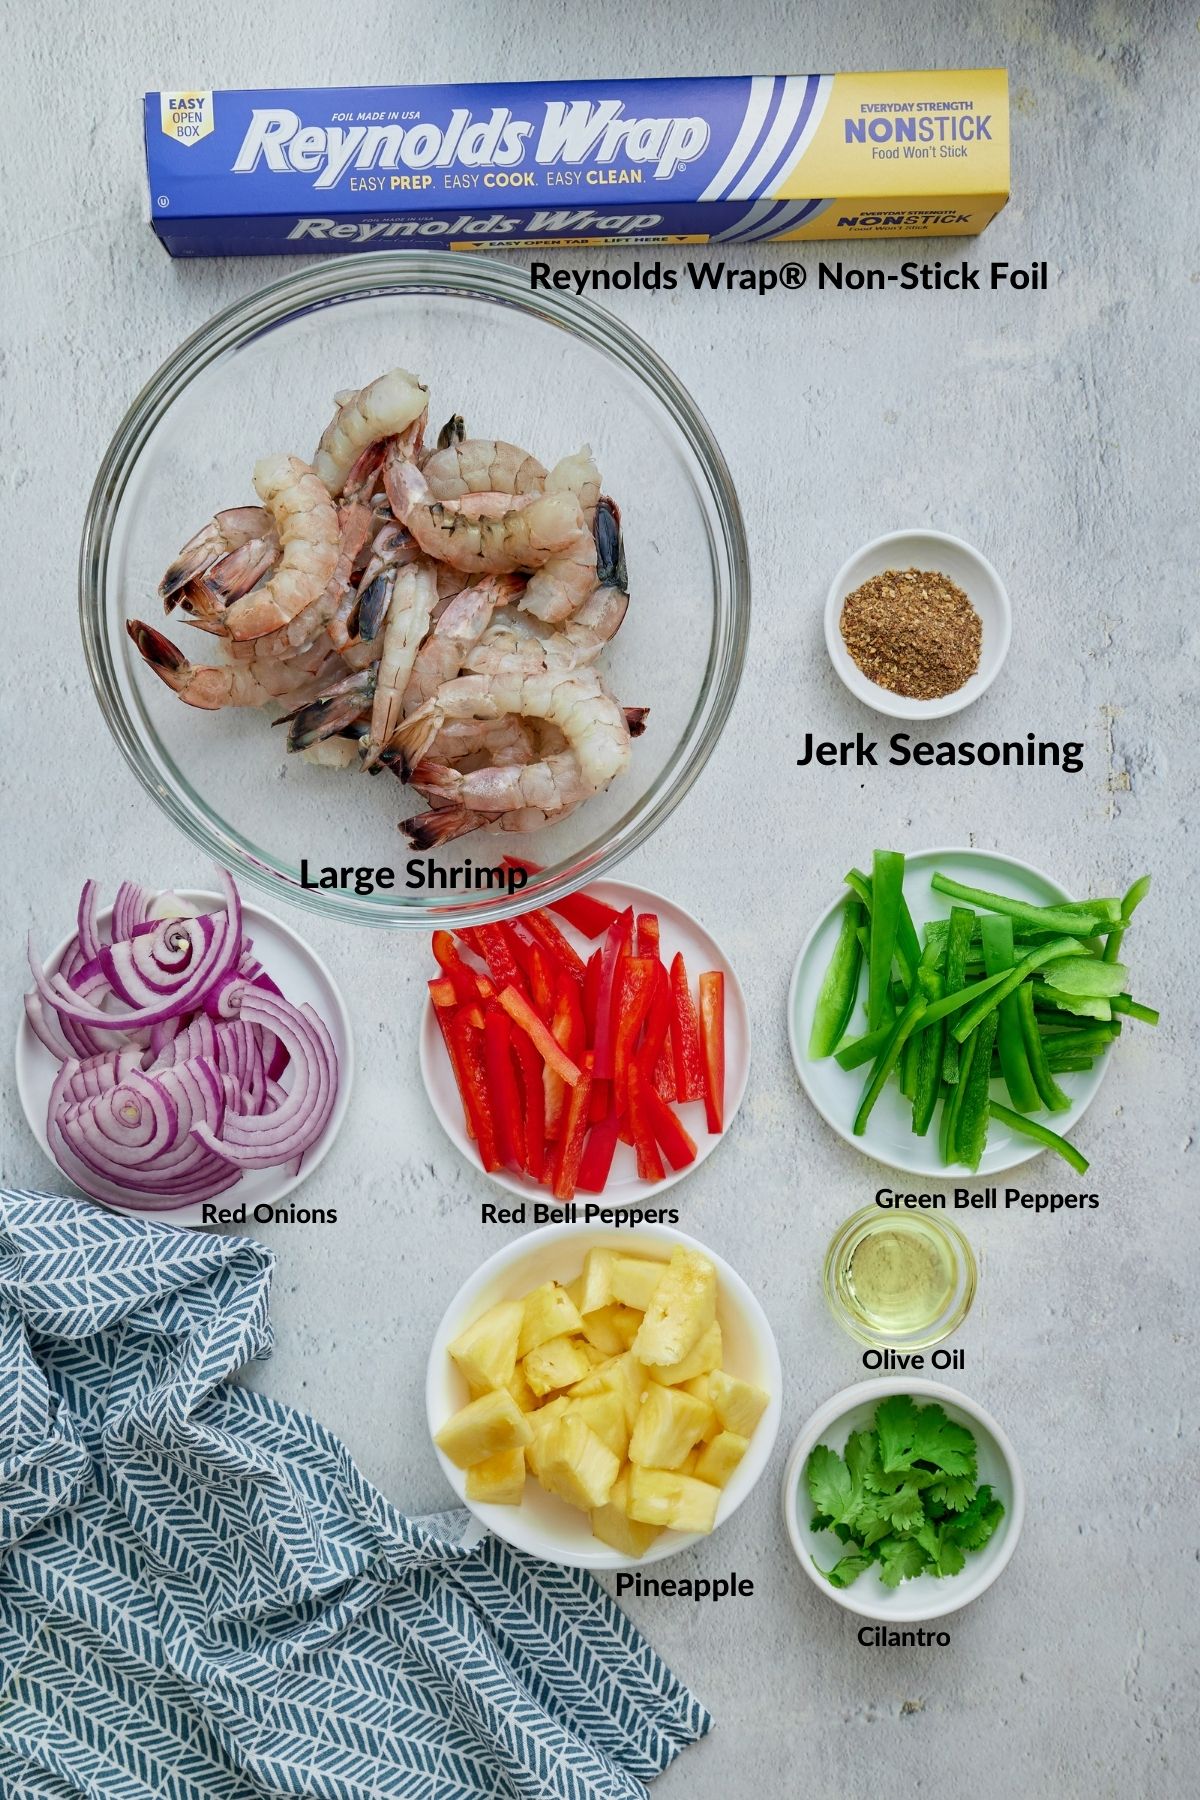
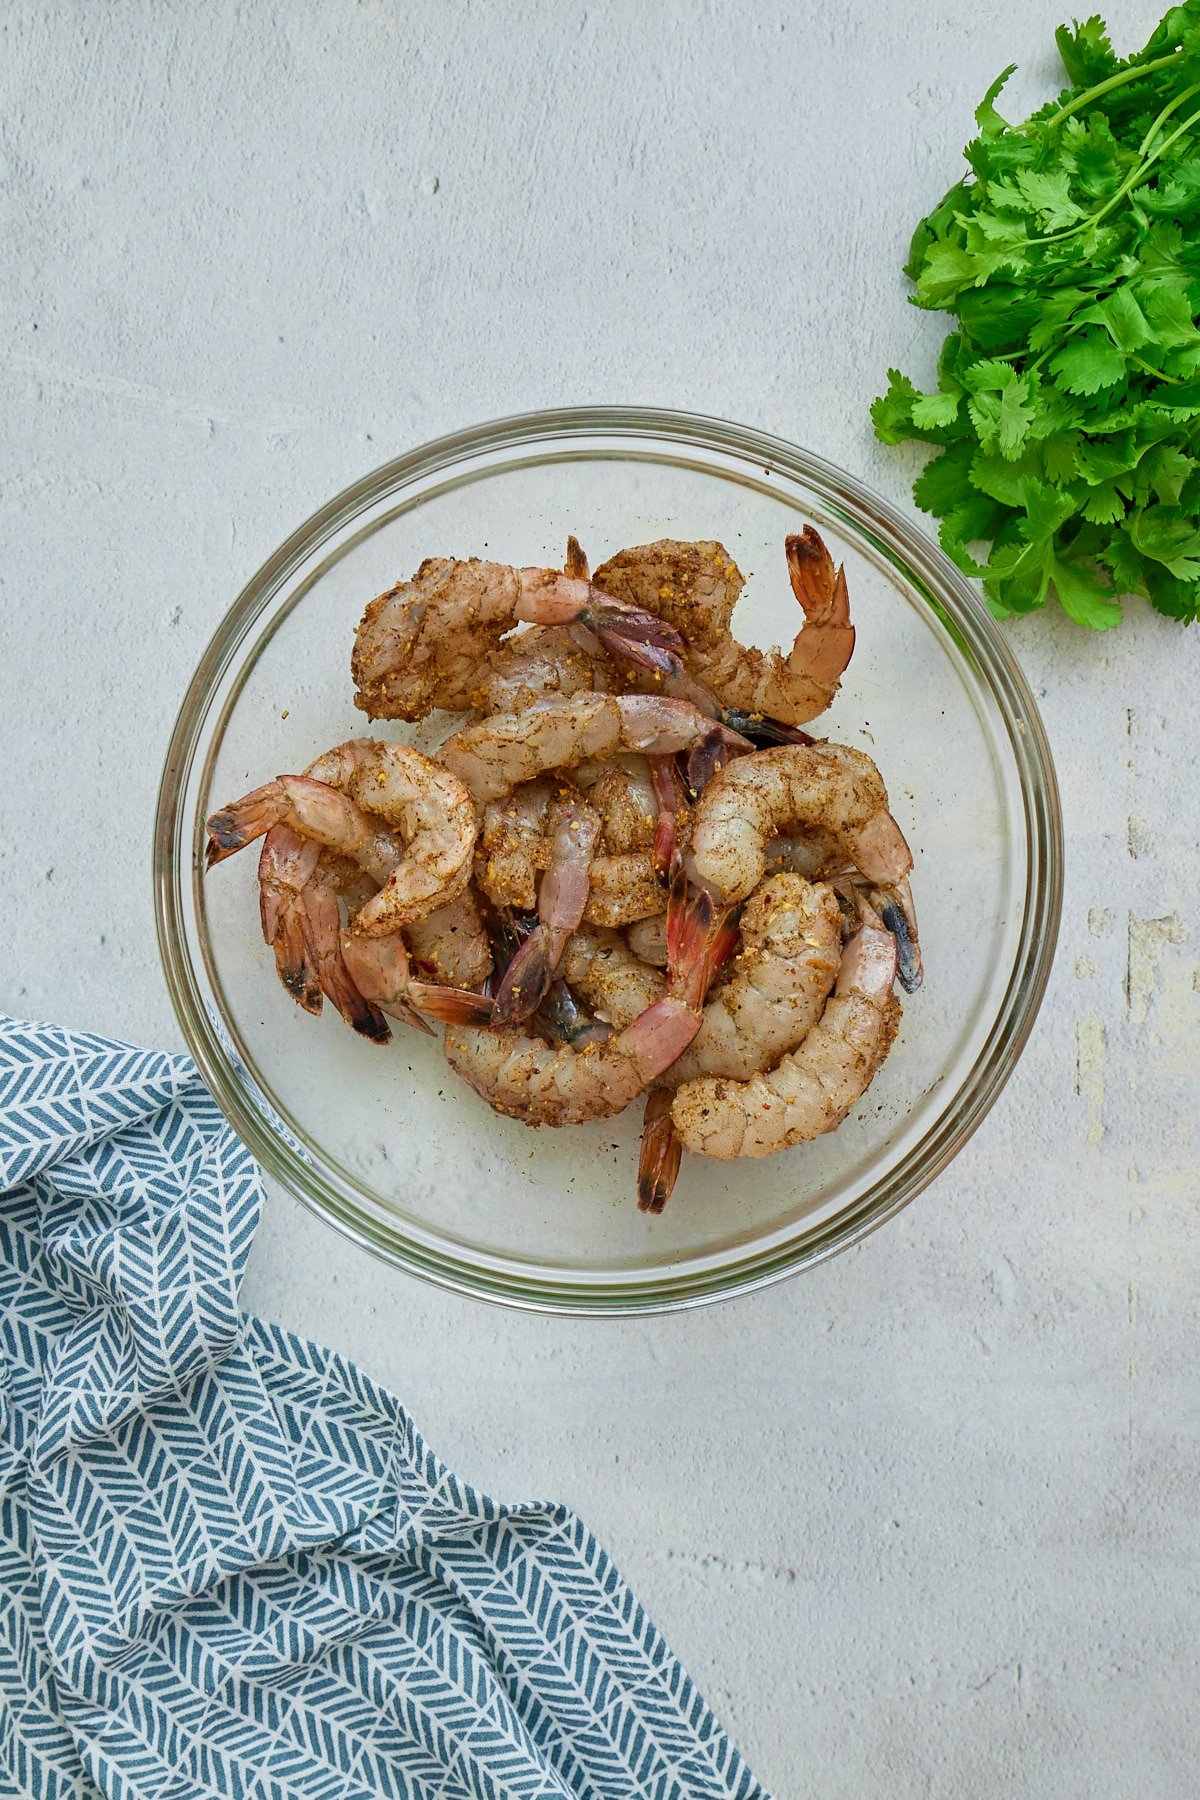
Jerk is a quintessential spice mix that is used in Jamaican cooking. It's a blend of herbs, spices and peppers to create a flavorful rub or marinade for chicken, shrimp, pork, beef and vegetables. It is widely available to buy in stores, but I love to make my own so that I can control the level of spice. Be sure to check out my Homemade Jerk Seasoning.
I prefer to use fresh raw shrimp, but frozen is often so much more convenient. If using frozen, make sure that they are fully thawed before marinating them. Thaw them in the fridge overnight, or, you can quickly defrost them by running them under cold water for a few minutes. Pat them dry before seasoning them.
This Jamaican jerk shrimp and vegetables are great to serve over a bed of rice for a healthy and filling family dinner, or serve in tortilla wraps like a fajita! For a lower-carb option, you can pile the shrimp into lettuce wraps. This recipe has a good mix of protein and veggies and is low in fat and fairly low in carbs.
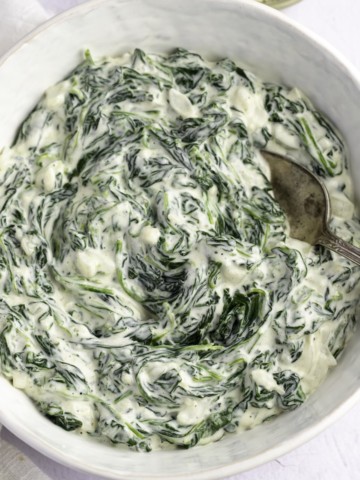
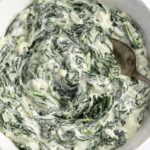
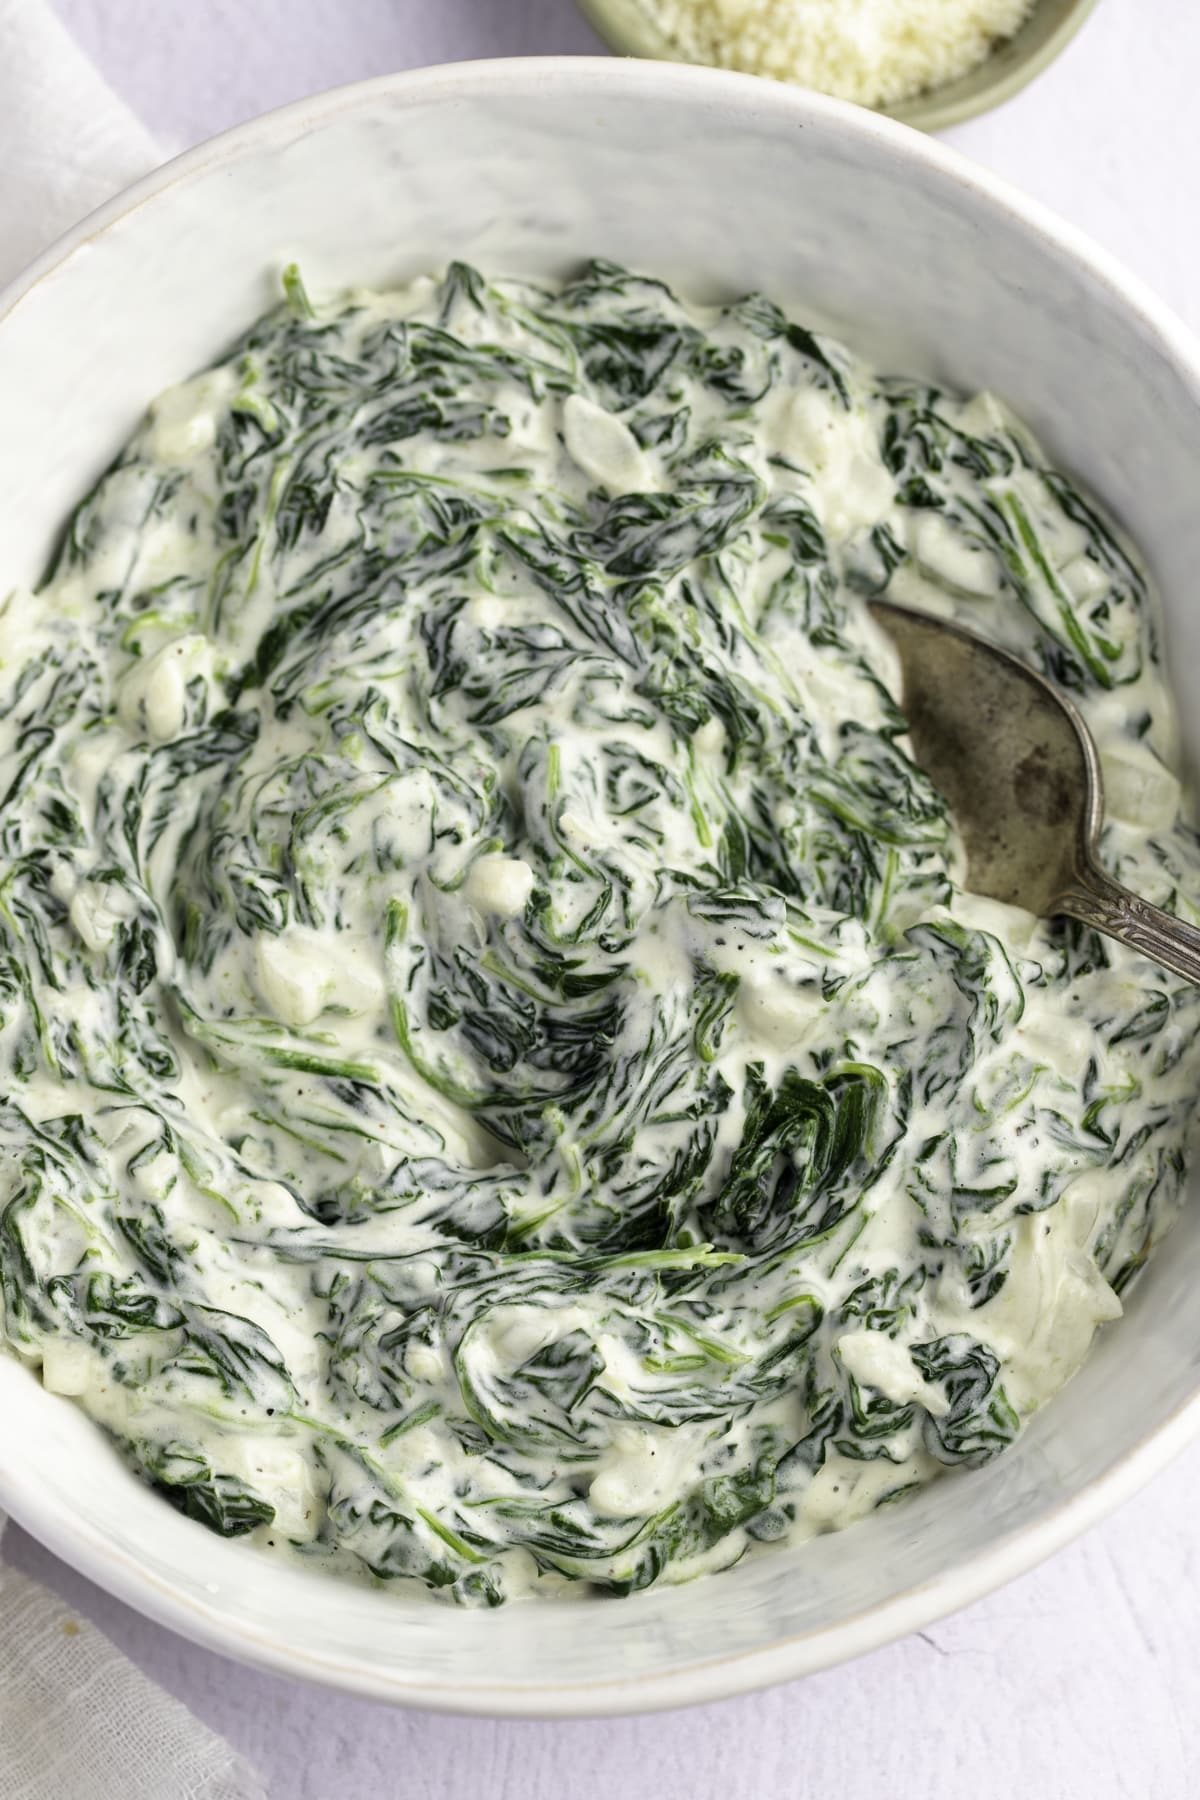
Rich and cheesy, this creamed spinach recipe is just like the one from your favorite steakhouse. Thick and creamy, this vegetable side dish takes minutes to make in a skillet and is a wonderful accompaniment to any main.
This post contains affiliate links, please read my full disclaimer here.
You’ll find the full recipe with ingredient amounts and instructions in the recipe card at the bottom of this post. Be sure to check out the blog post itself for extra tips and tricks!
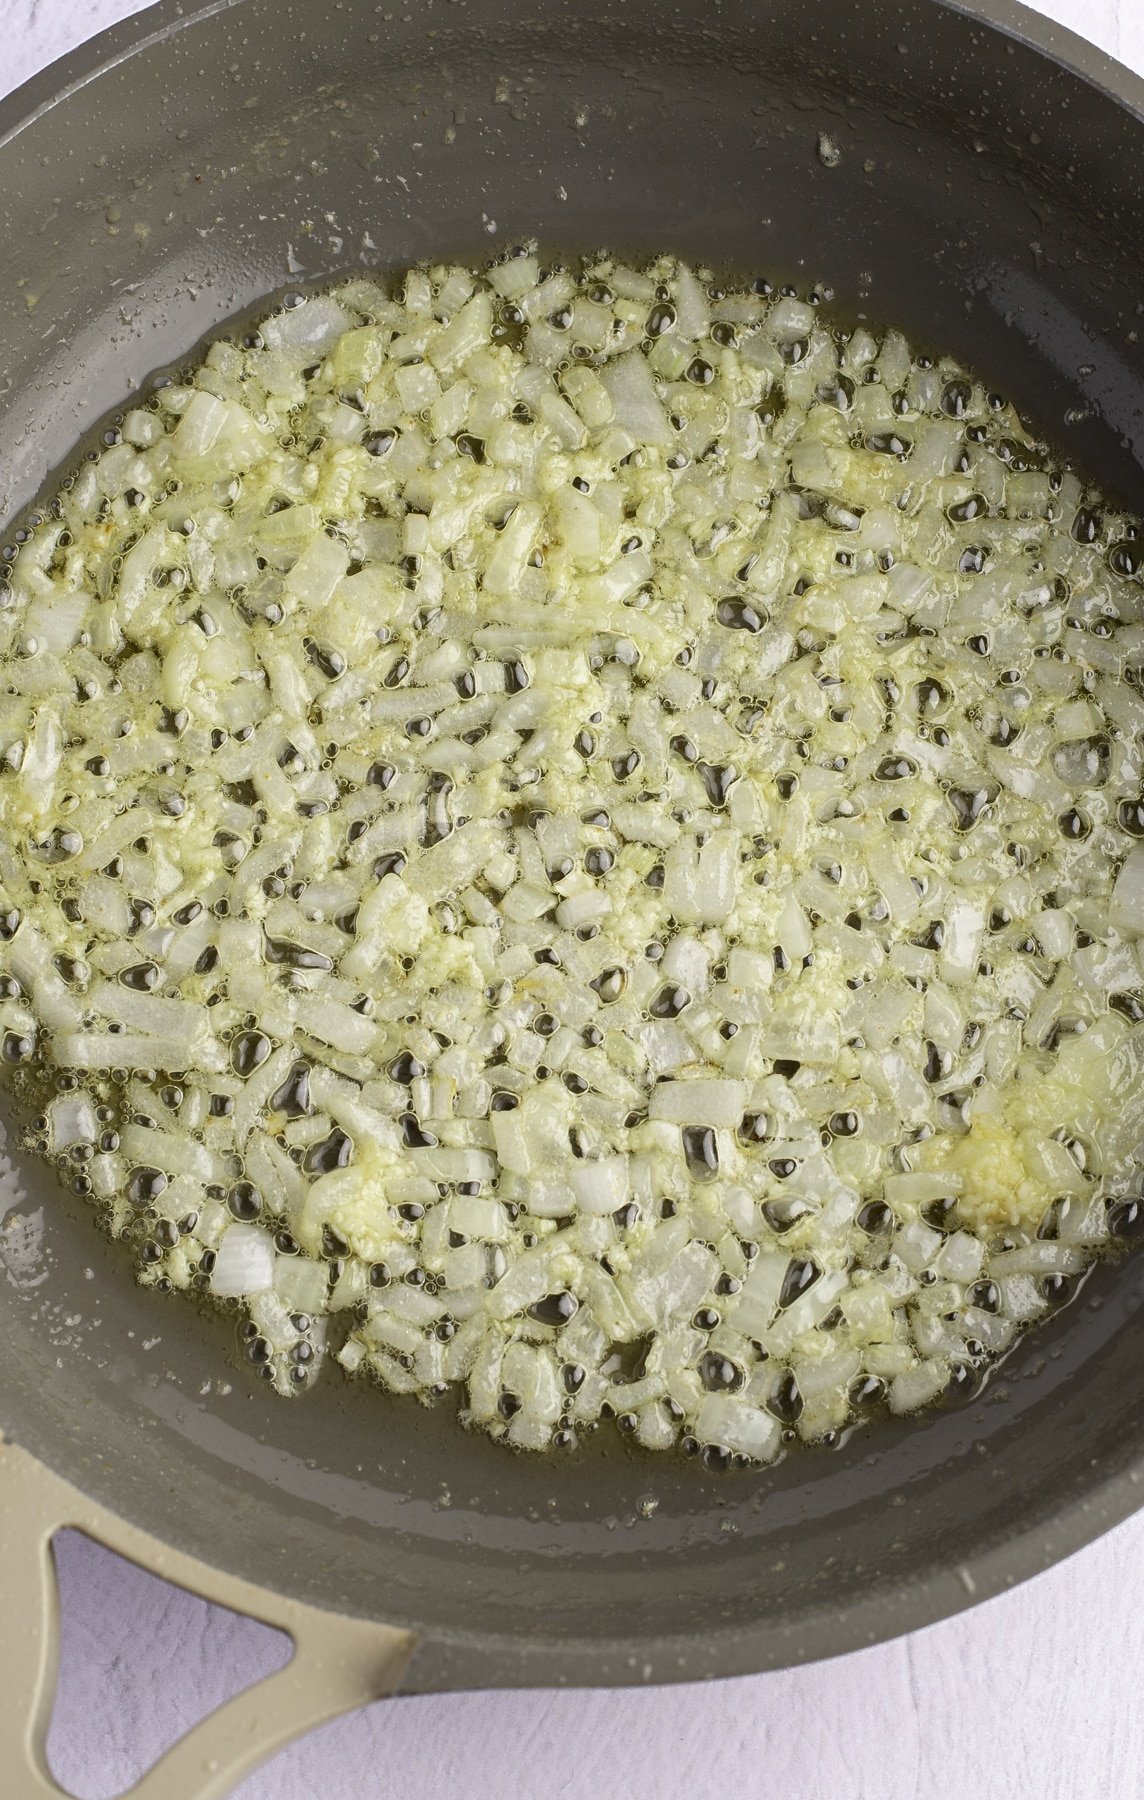
I can not wait for you to try this delicious creamed spinach recipe! Seasoned with onion, garlic, parmesan, and nutmeg, this spinach side dish is thick, rich, creamy, and full of flavor, just like your favorite at the local steakhouse!
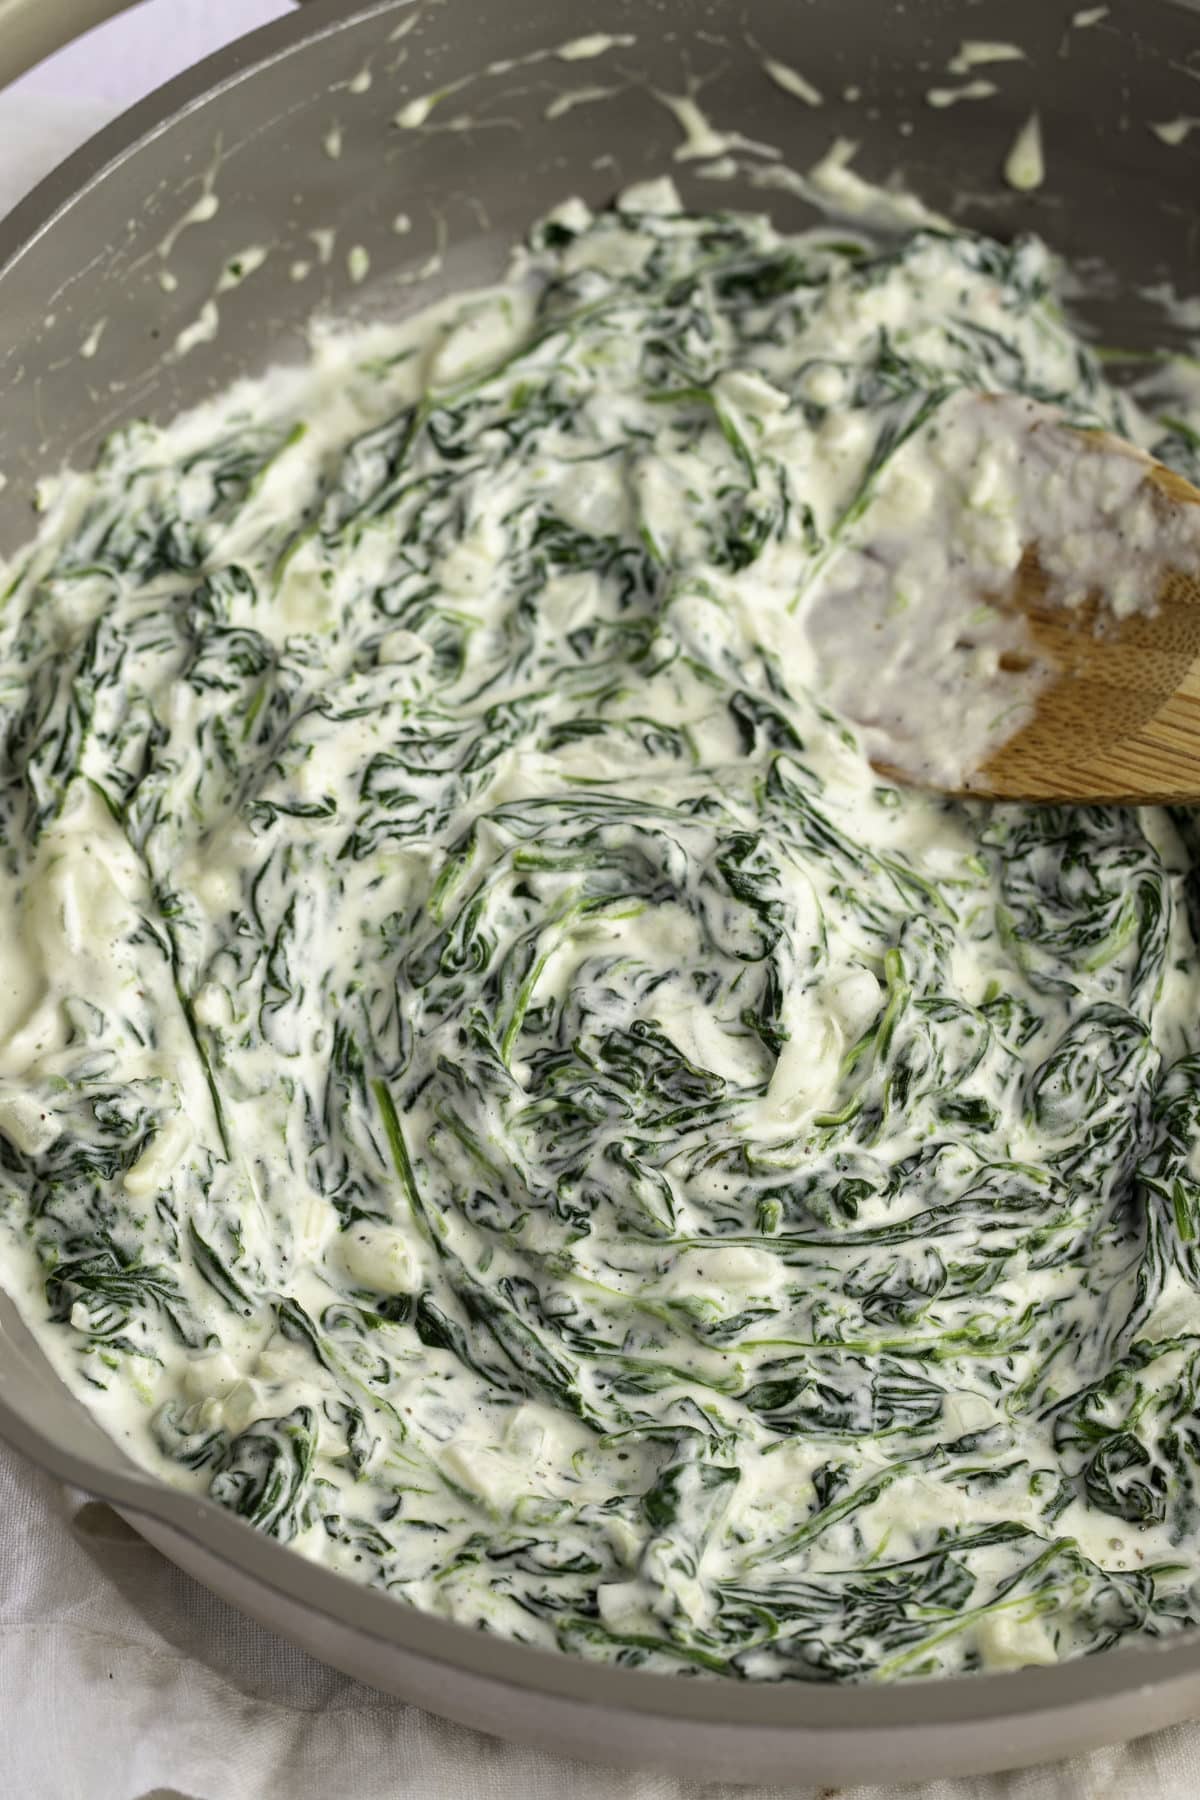
This is a super easy side dish to make, and with a few simple ingredients, it comes together quickly on the stovetop in a skillet.
This is one veggie side dish that you can't say no to!
Be sure to try my Creamed Corn and Creamed Cabbage and Sausage too! And if you love a good steakhouse side dish, you'll love these sauteed mushrooms.
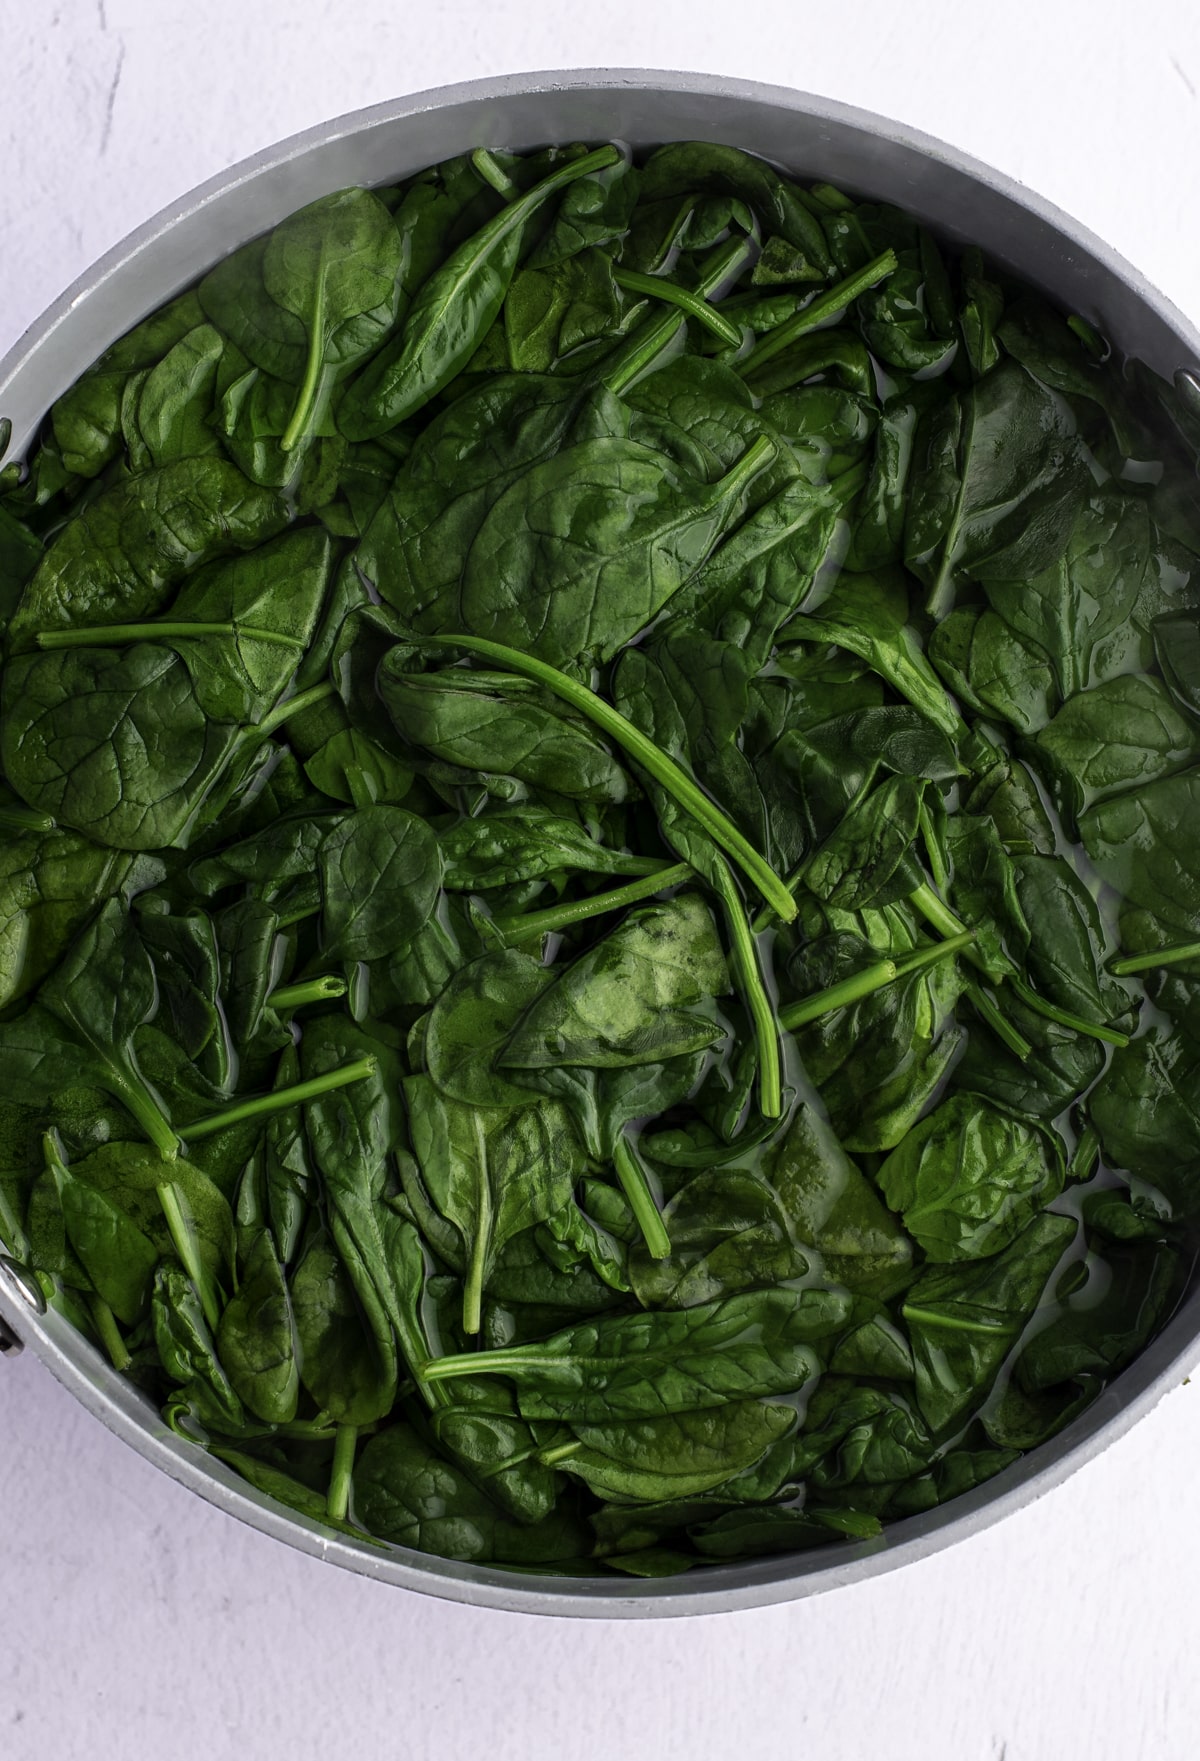
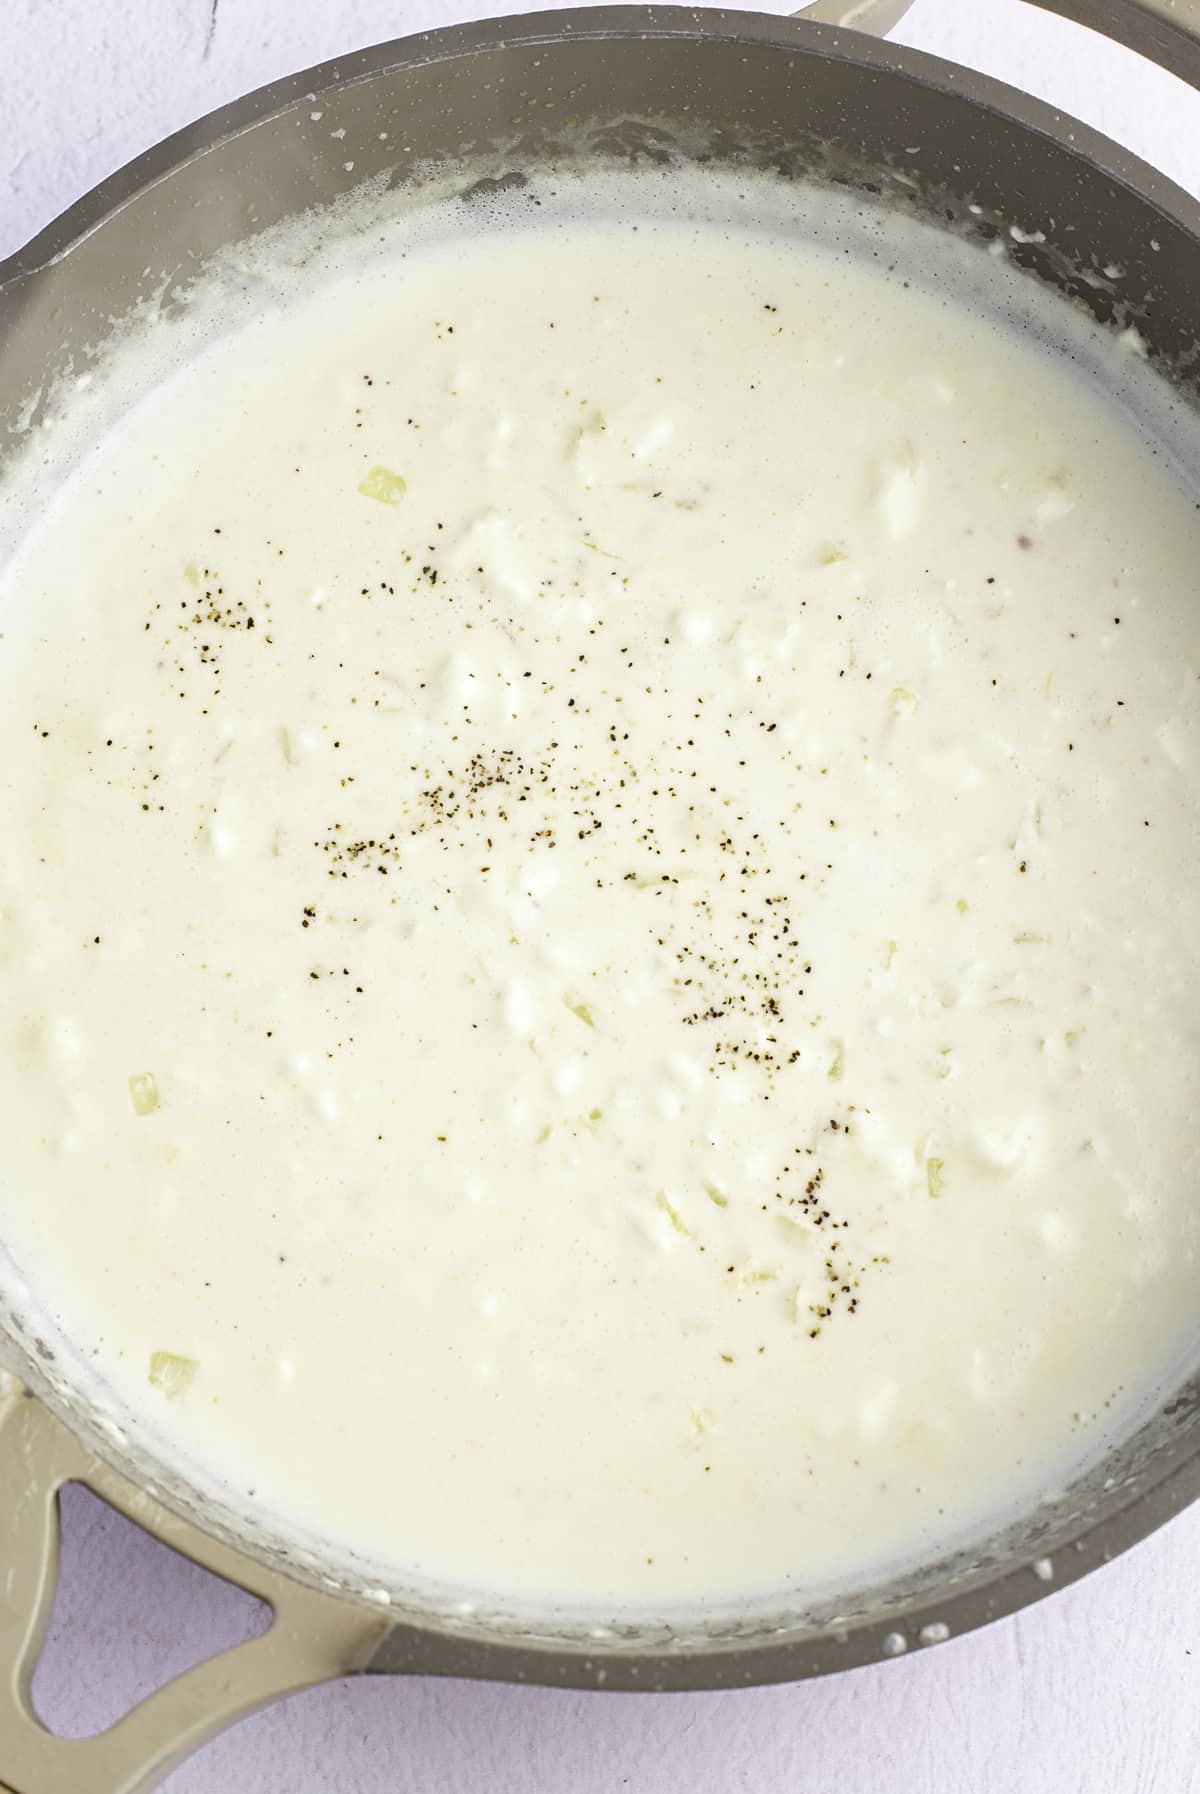
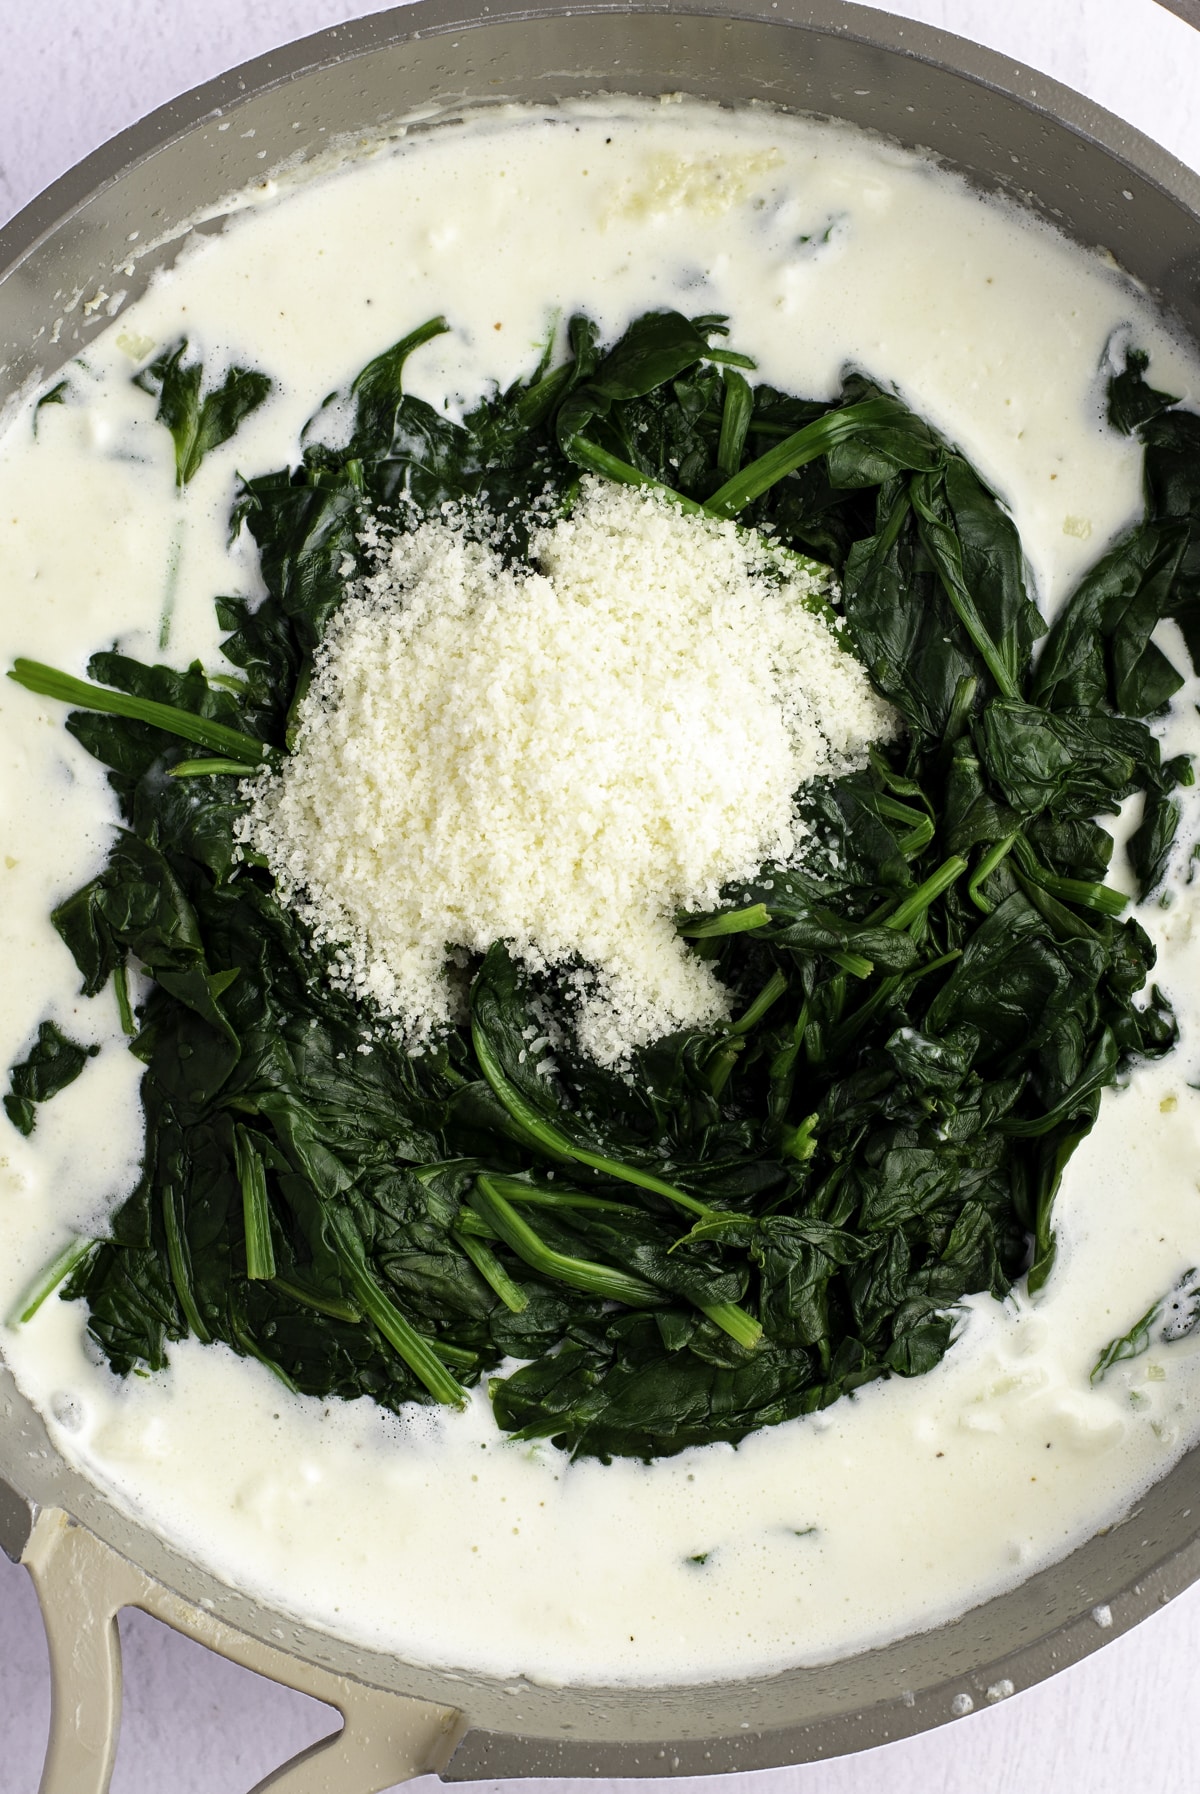
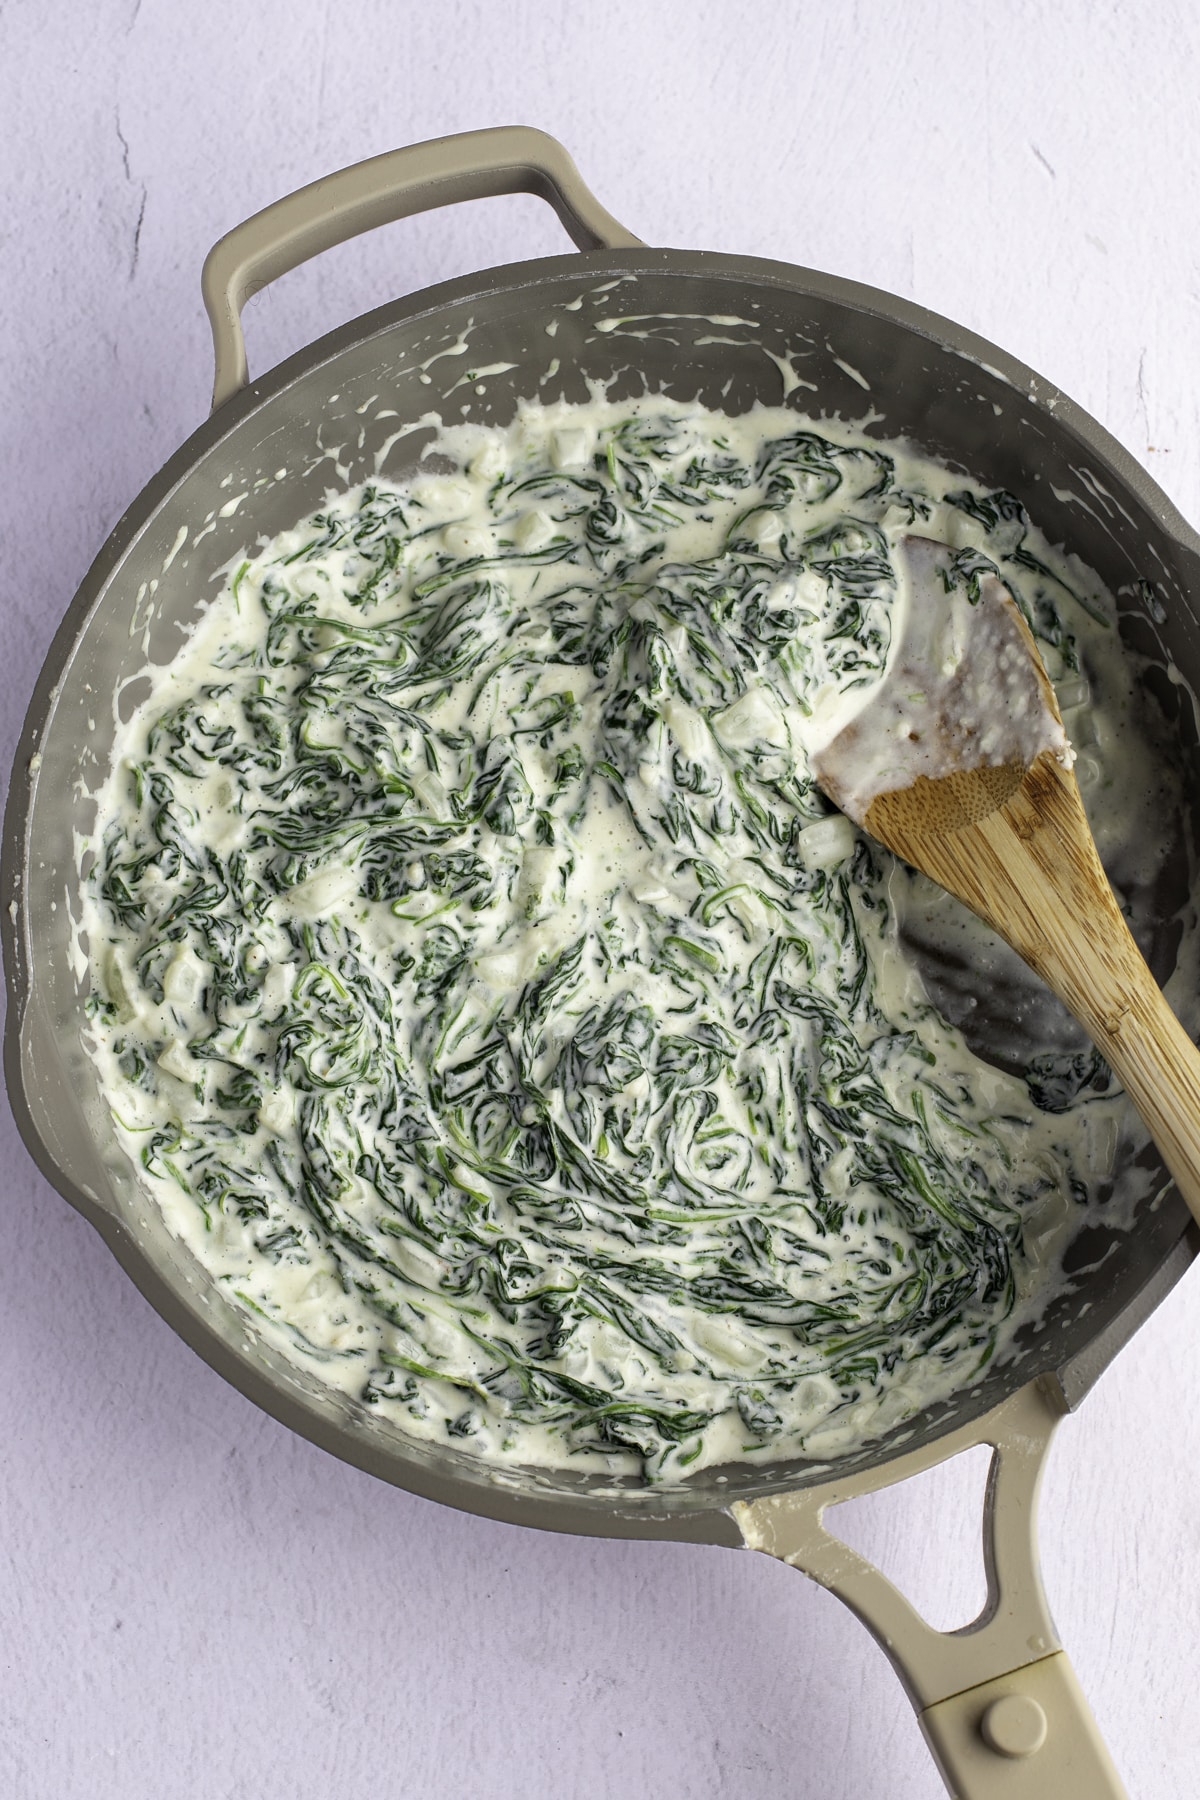
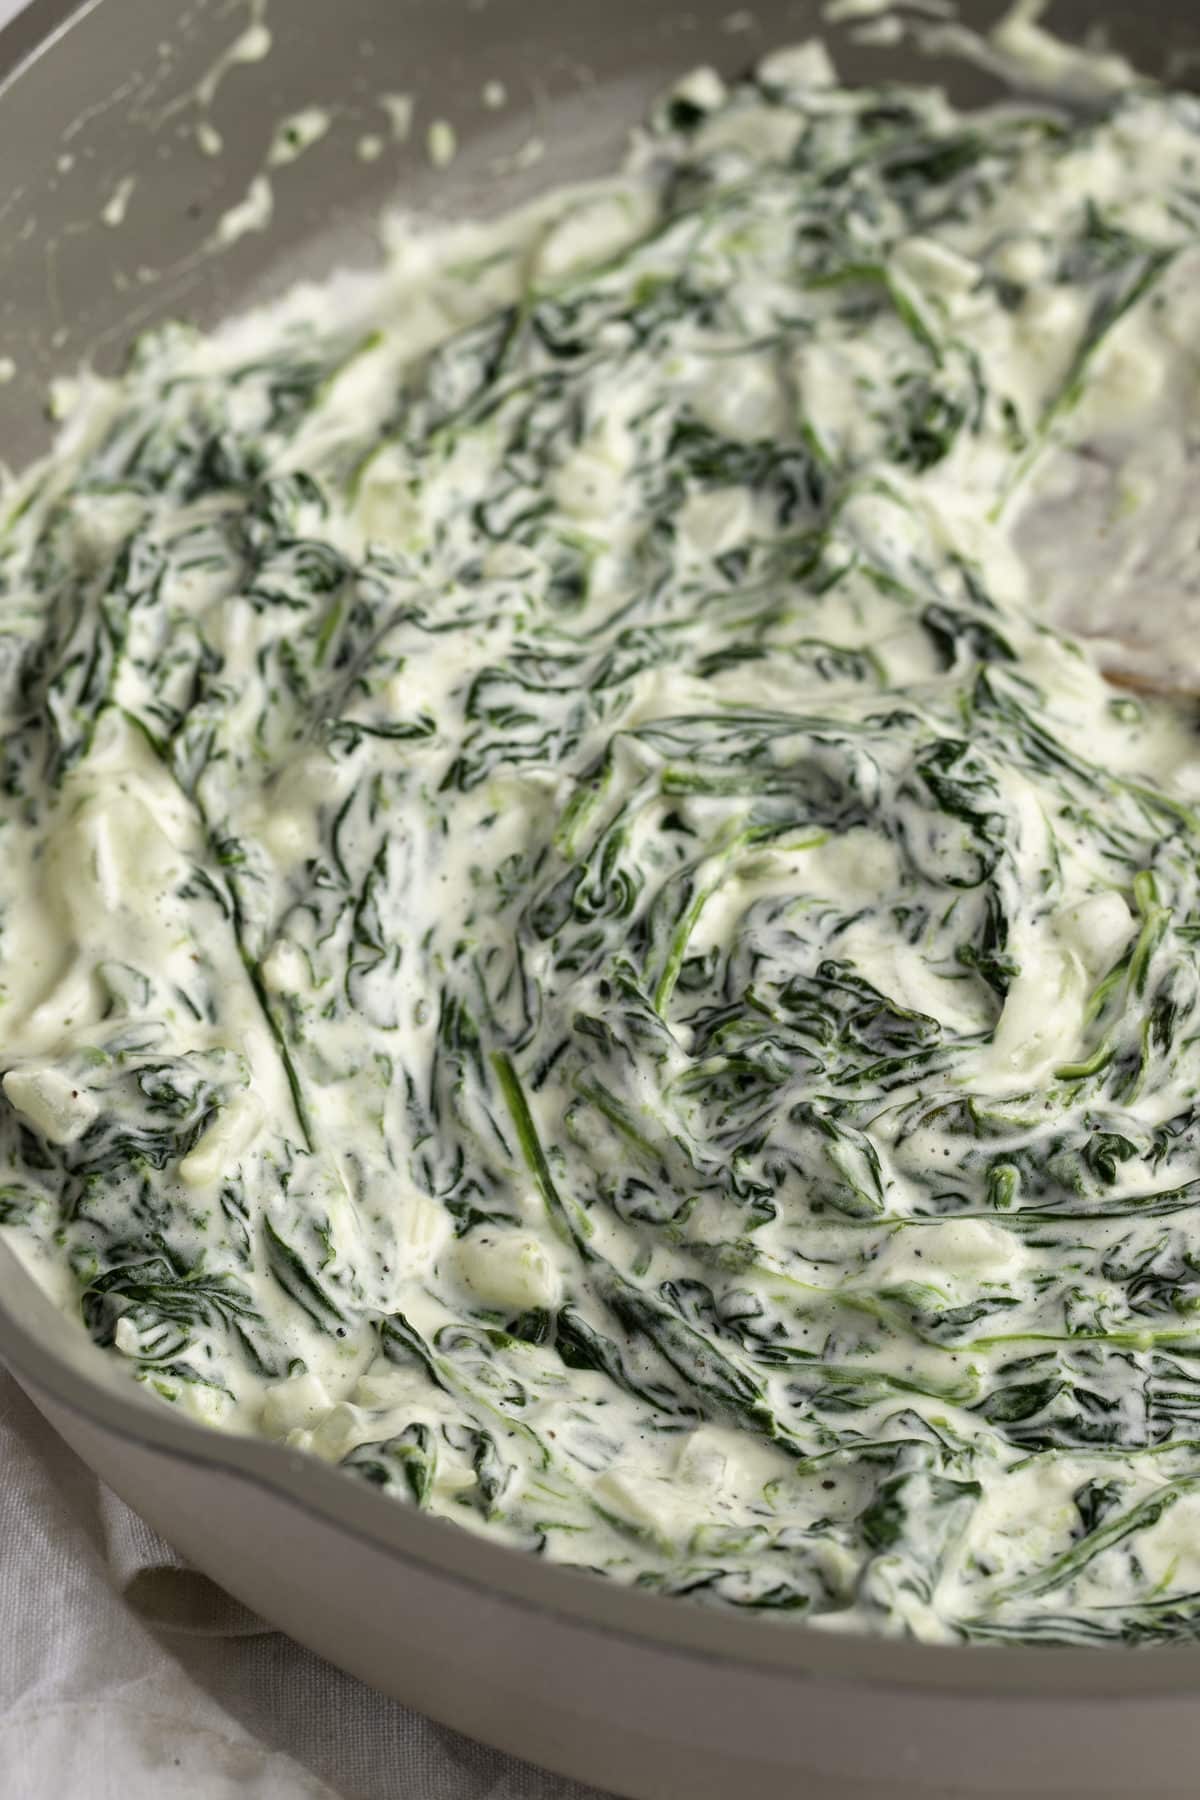
I highly recommend that you use fresh spinach for this recipe. Frozen spinach tends to be quite bitty, using fresh will give you more texture. Use baby spinach that is nice and tender rather than the larger spinach leaves. If you do use the larger leaves, they will require a little extra time to blanch so that they are nice and soft.
This is a favorite side dish of mine as it takes minutes to prep and cook, so it's great to do at the last minute. You can keep it warm on the stovetop for a little while til ready to serve. It's best not to make this too far ahead of time as the cream will thicken a lot if it is cooled.
The joy of this steakhouse creamed spinach is that it is wonderfully indulgent! If you are looking to cut down a little on fat and calories you could use low-fat cream cheese and half-and-half instead of cream, but I much prefer it full fat!
This spinach side dish works wonderfully with so many main courses. Try it with:
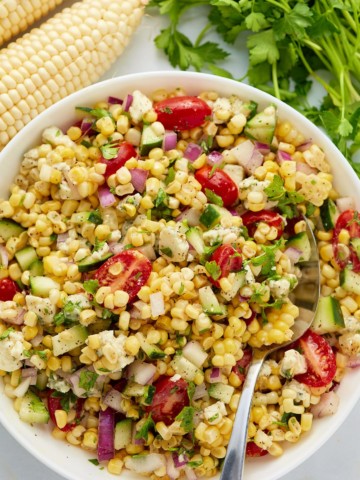
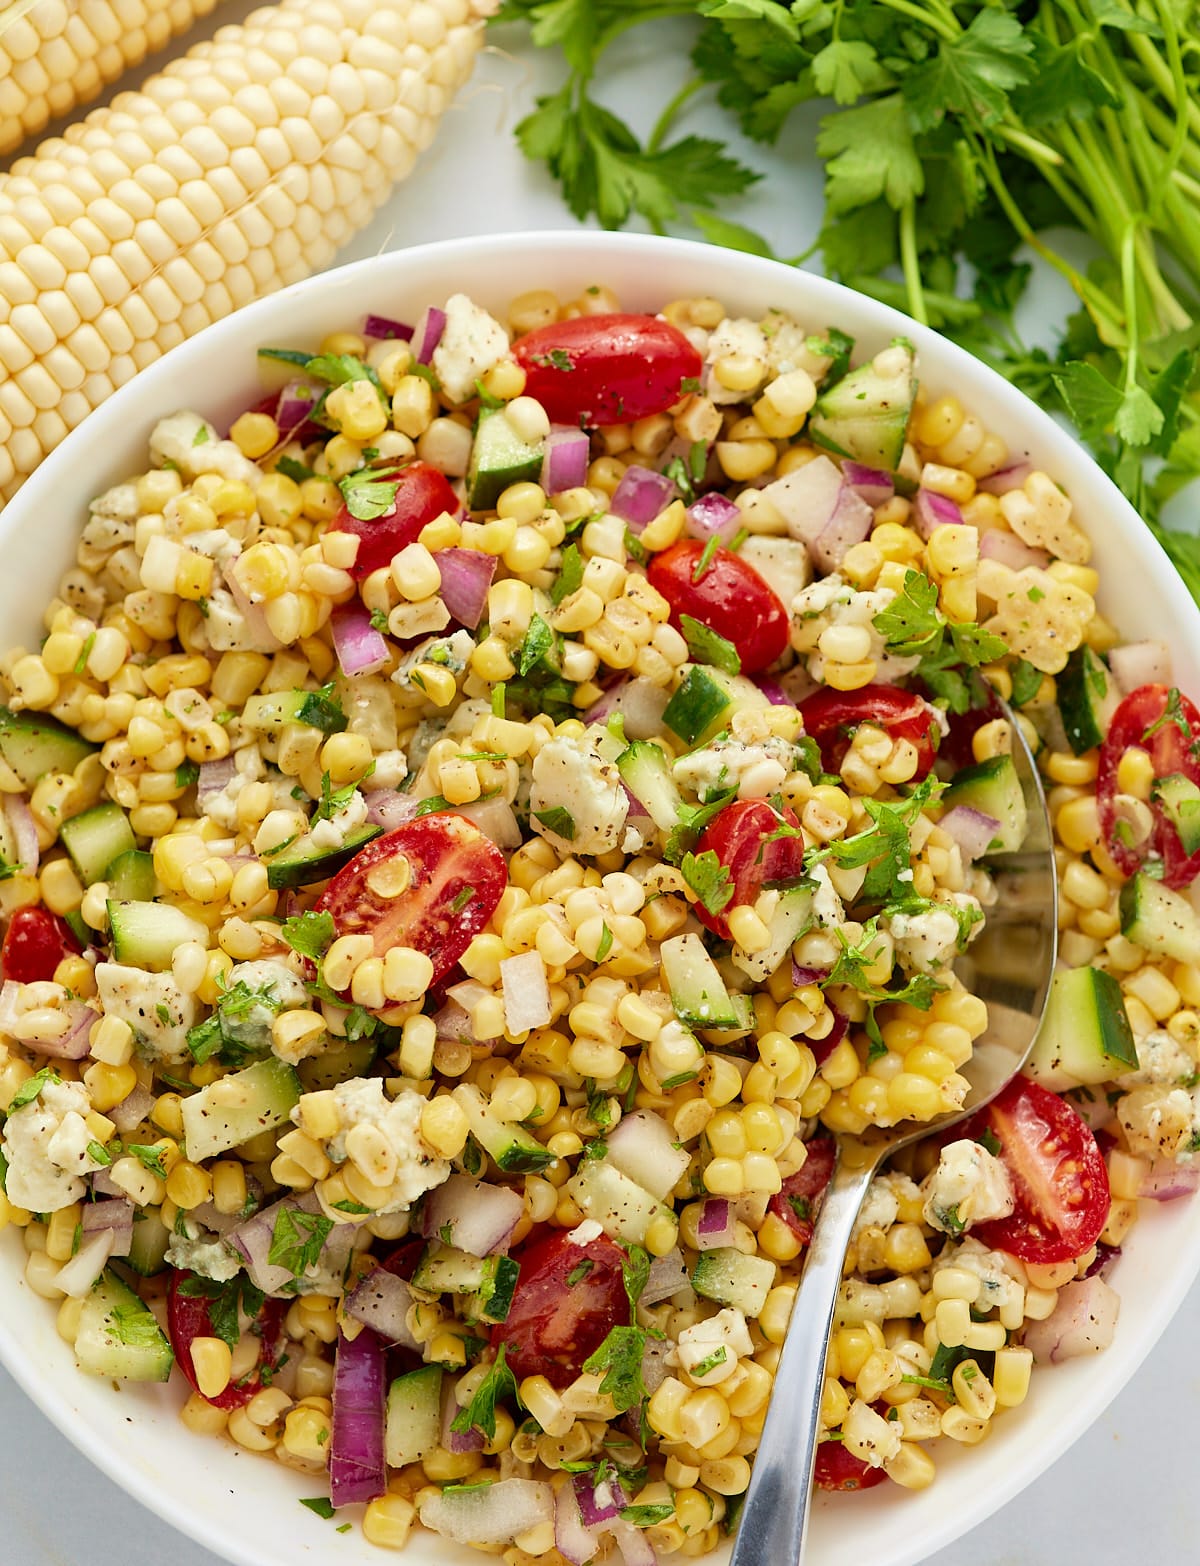
Make the most of the seasonal produce with this delicious fresh corn salad recipe. Tossed in a simple honey vinaigrette and packed full of fresh ingredients, this is loaded full of the good stuff. Simple to make, it's perfect for picnics and cookouts!
This post contains affiliate links, please read my full disclaimer here.
You’ll find the full recipe with ingredient amounts and instructions in the recipe card at the bottom of this post. Be sure to check out the blog post itself for extra tips and tricks!
I can not resist buying fresh corn on the cob when it starts to appear in stores, the texture, the sweet flavor, it's too hard to resist!
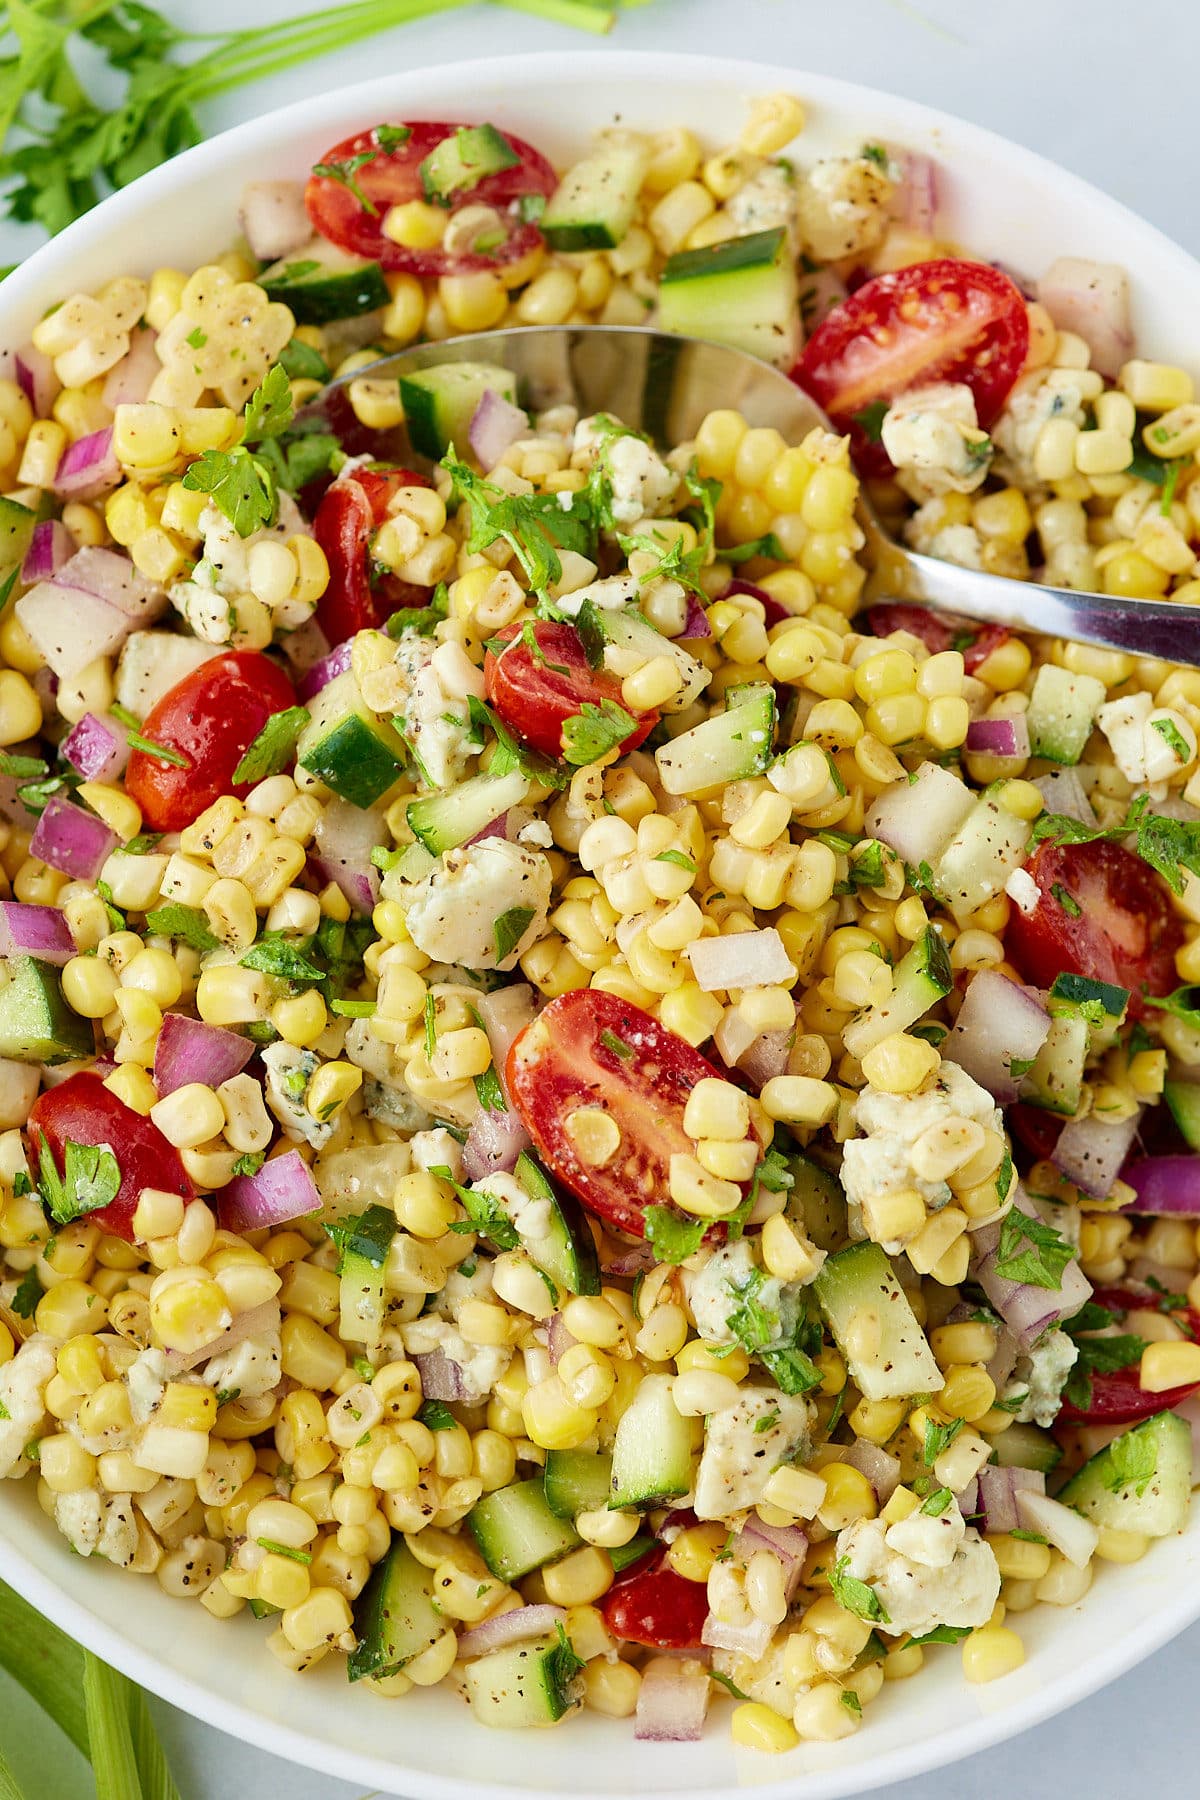
This fresh corn salad recipe is the perfect way to make the most of those ears of corn. Light and bright, it makes for a fabulous side dish for so many meals, and it's perfect for potlucks, picnics and summertime eats.
Simple and quick to make, the corn is wonderfully seasoned and baked to enhance all of those natural sweet flavors. The honey dressing compliments perfectly and it's full of texture and flavor. I also added cheese to this recipe (because it's delicious) but you can feel free to opt it out of cheese isn't your thing.
I know you are going to love this!
Be sure to try my Creamed Corn and Air Fryer Corn on the Cob too!
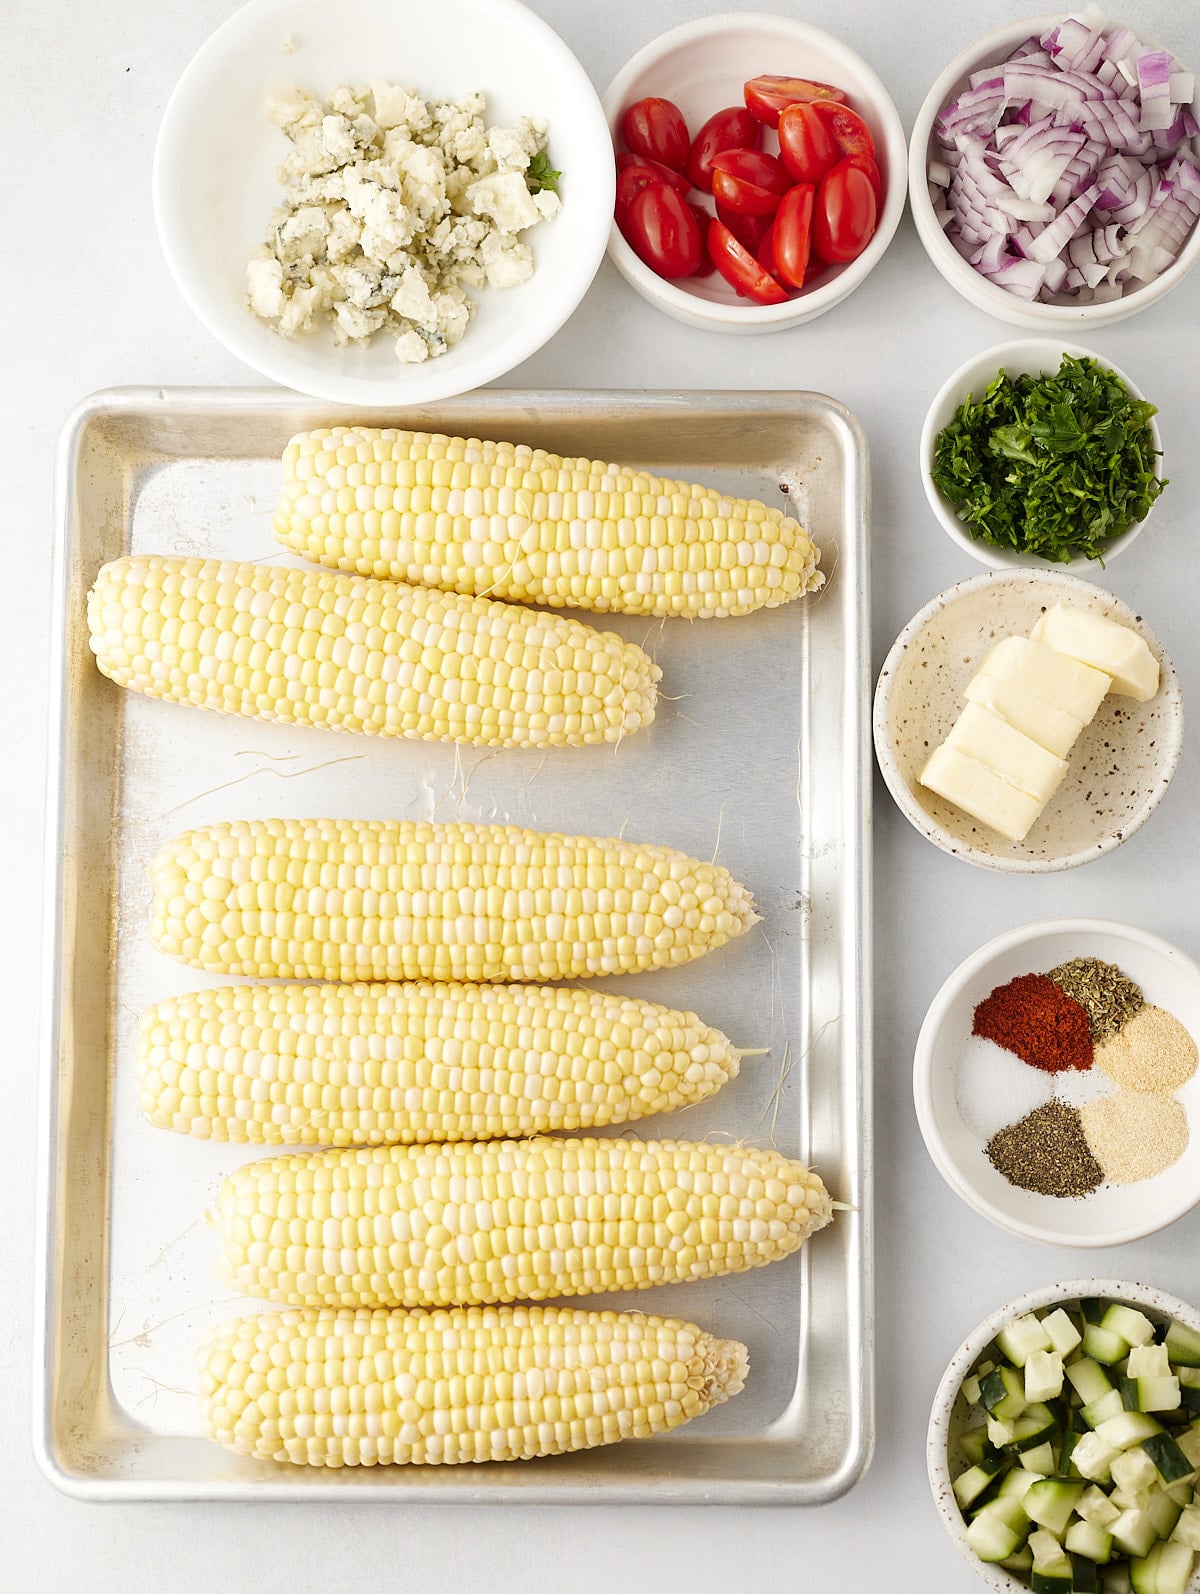
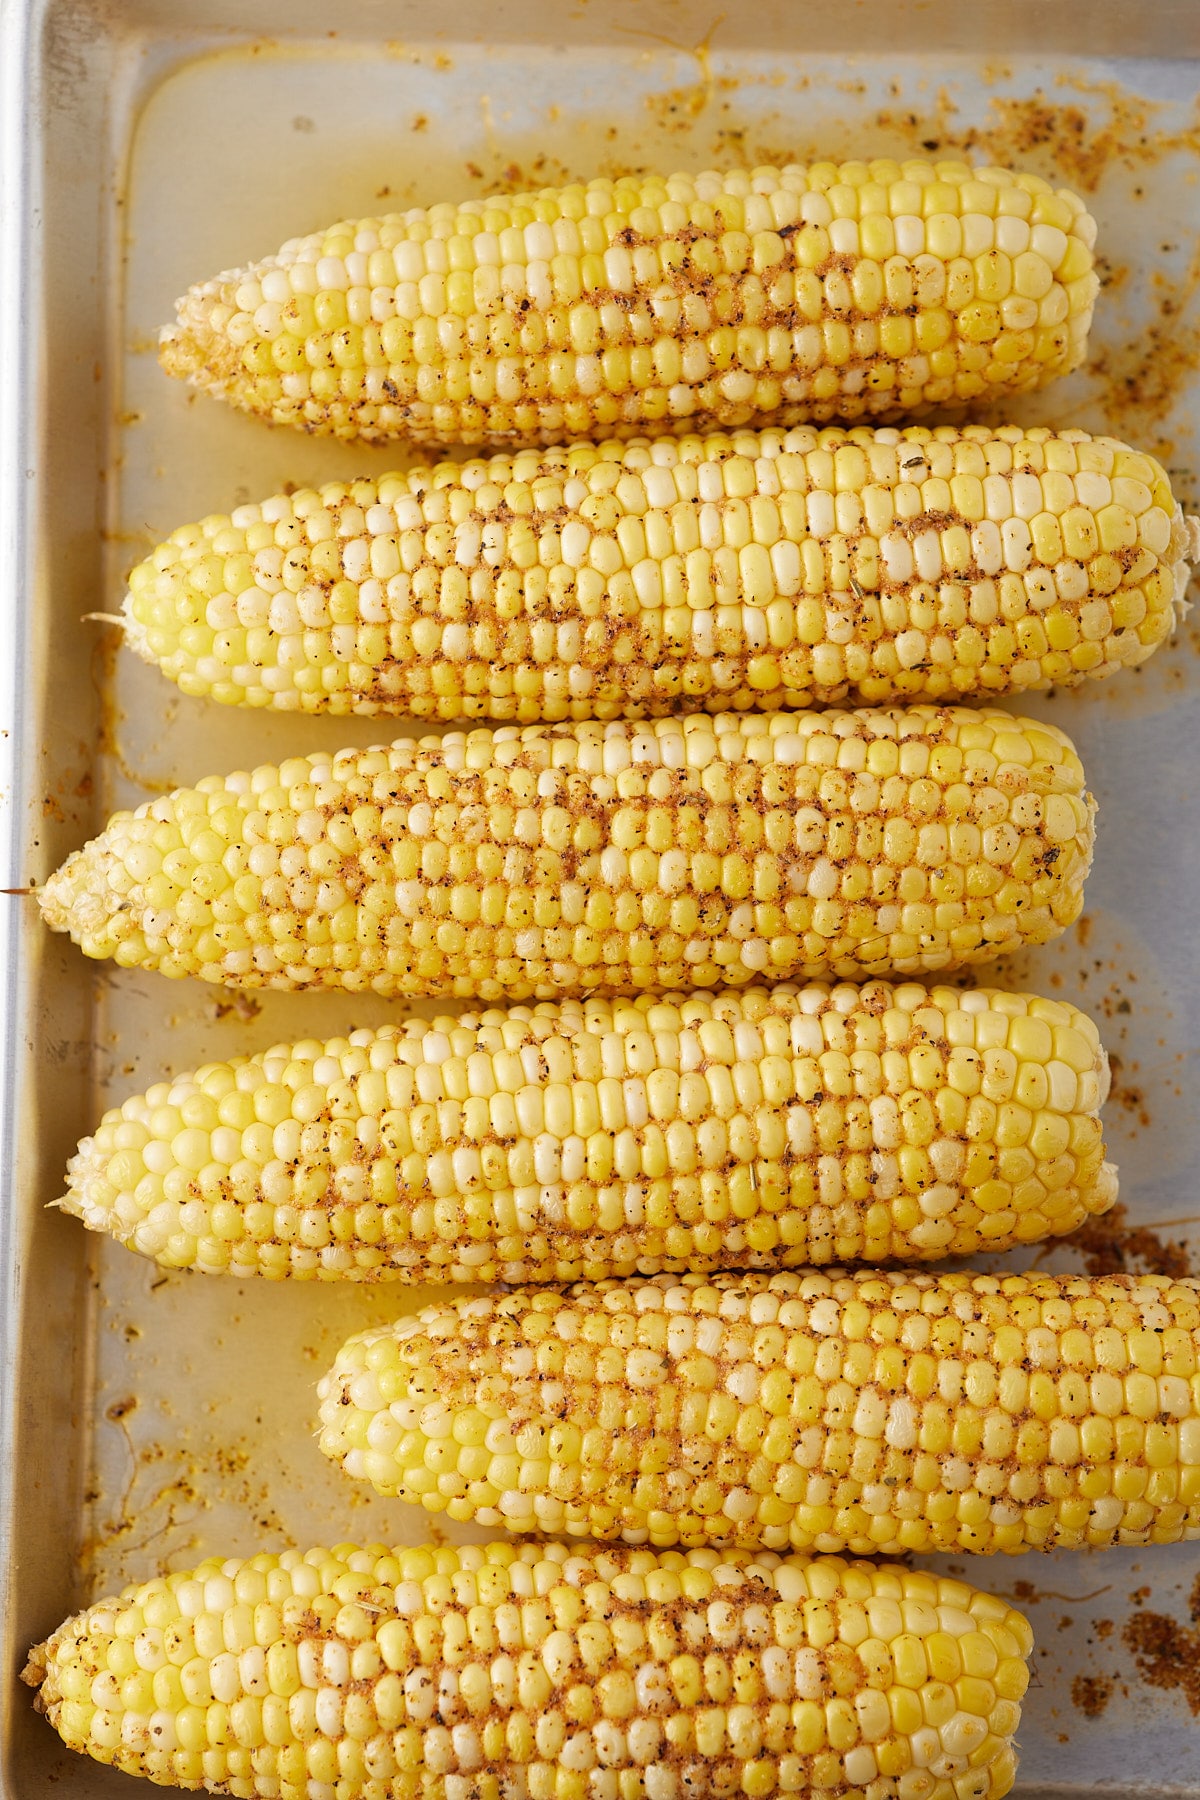
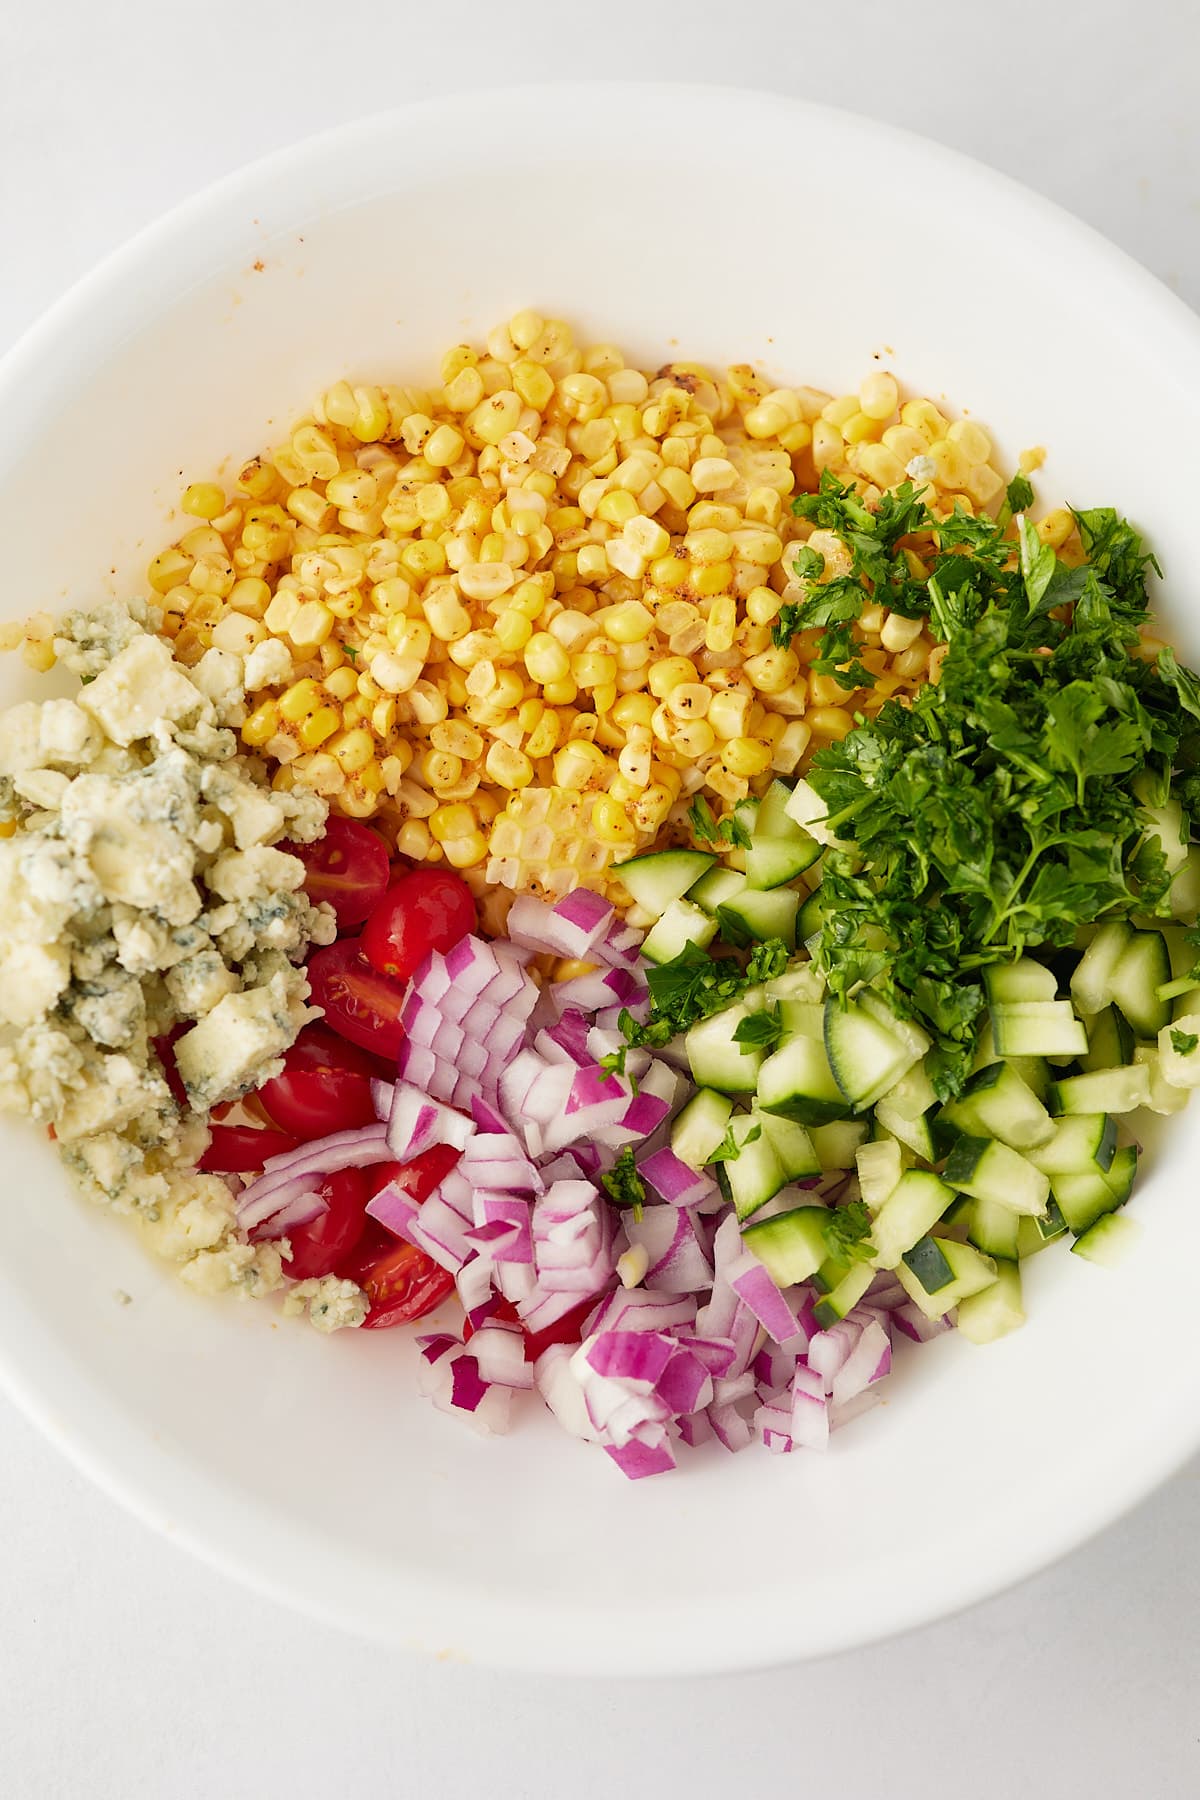
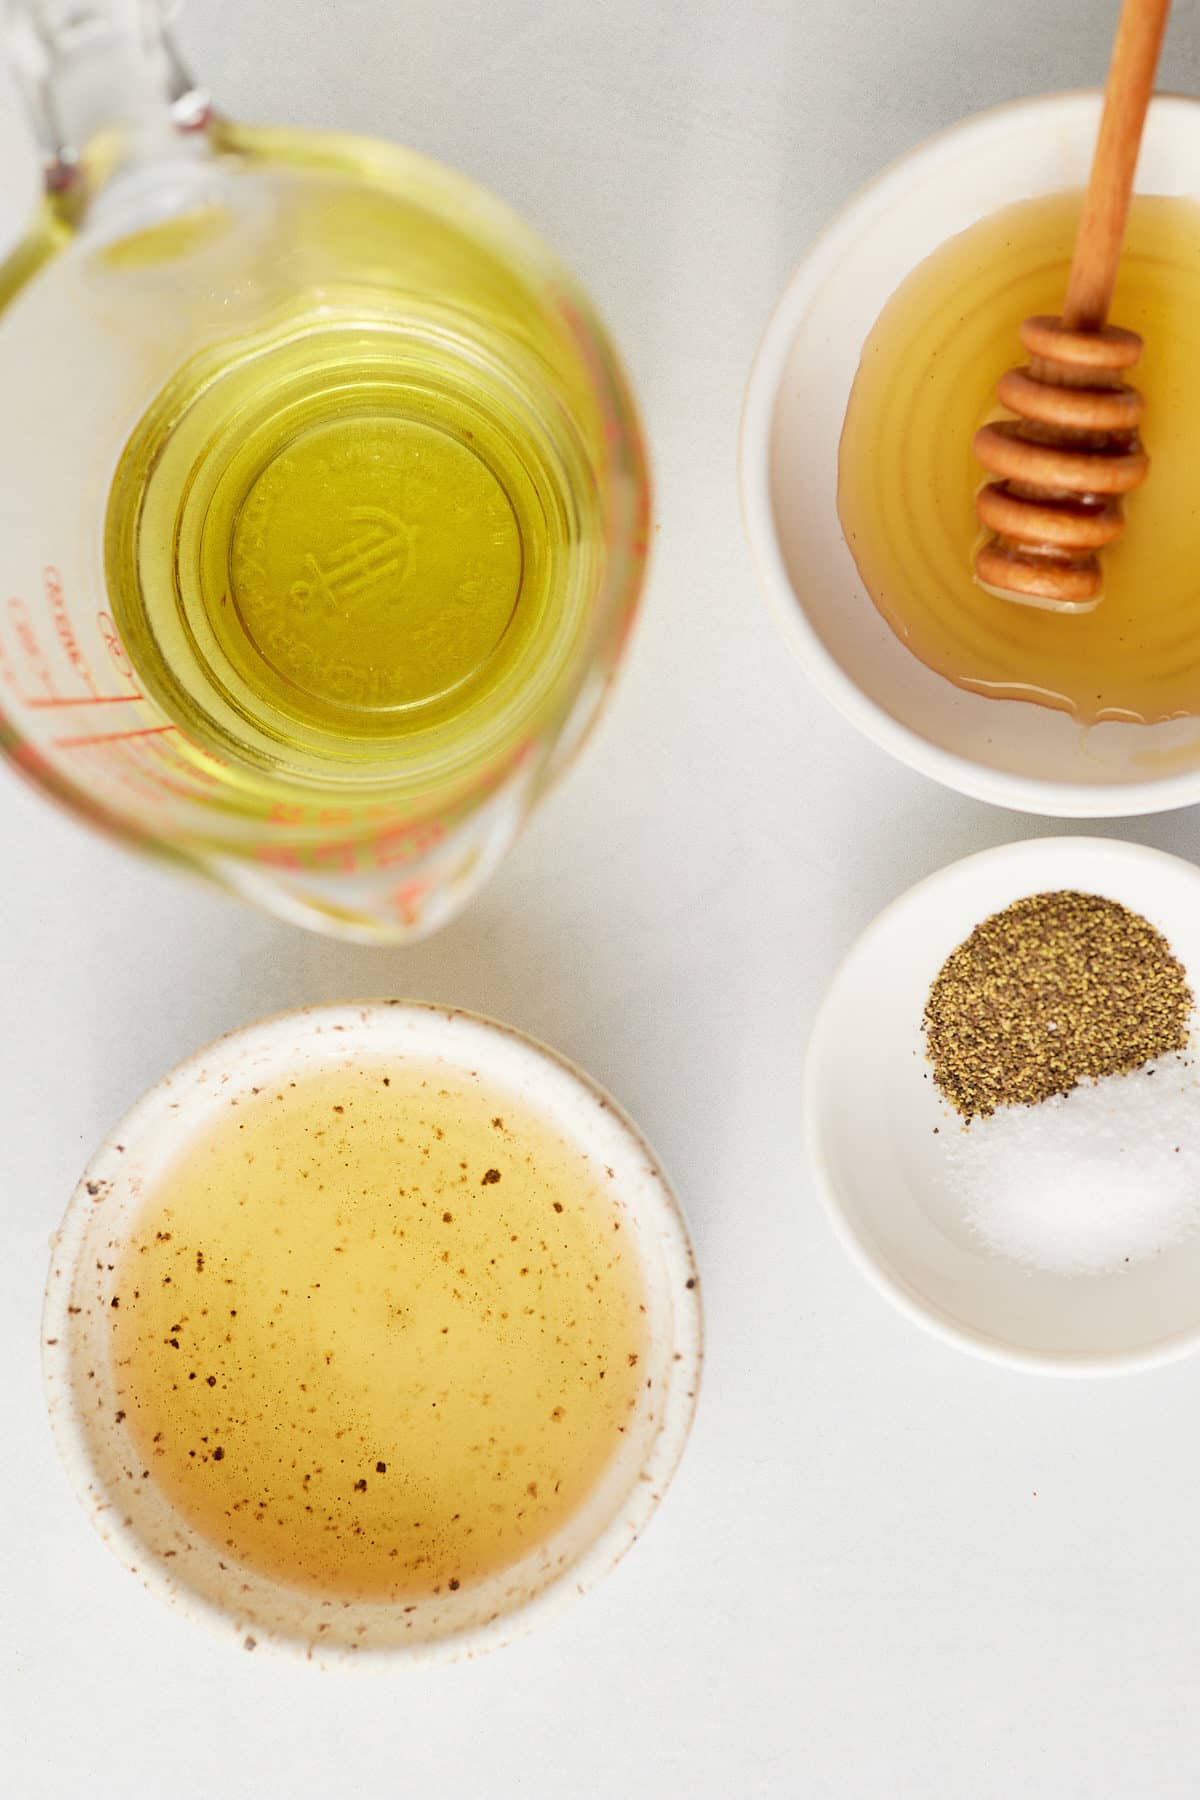
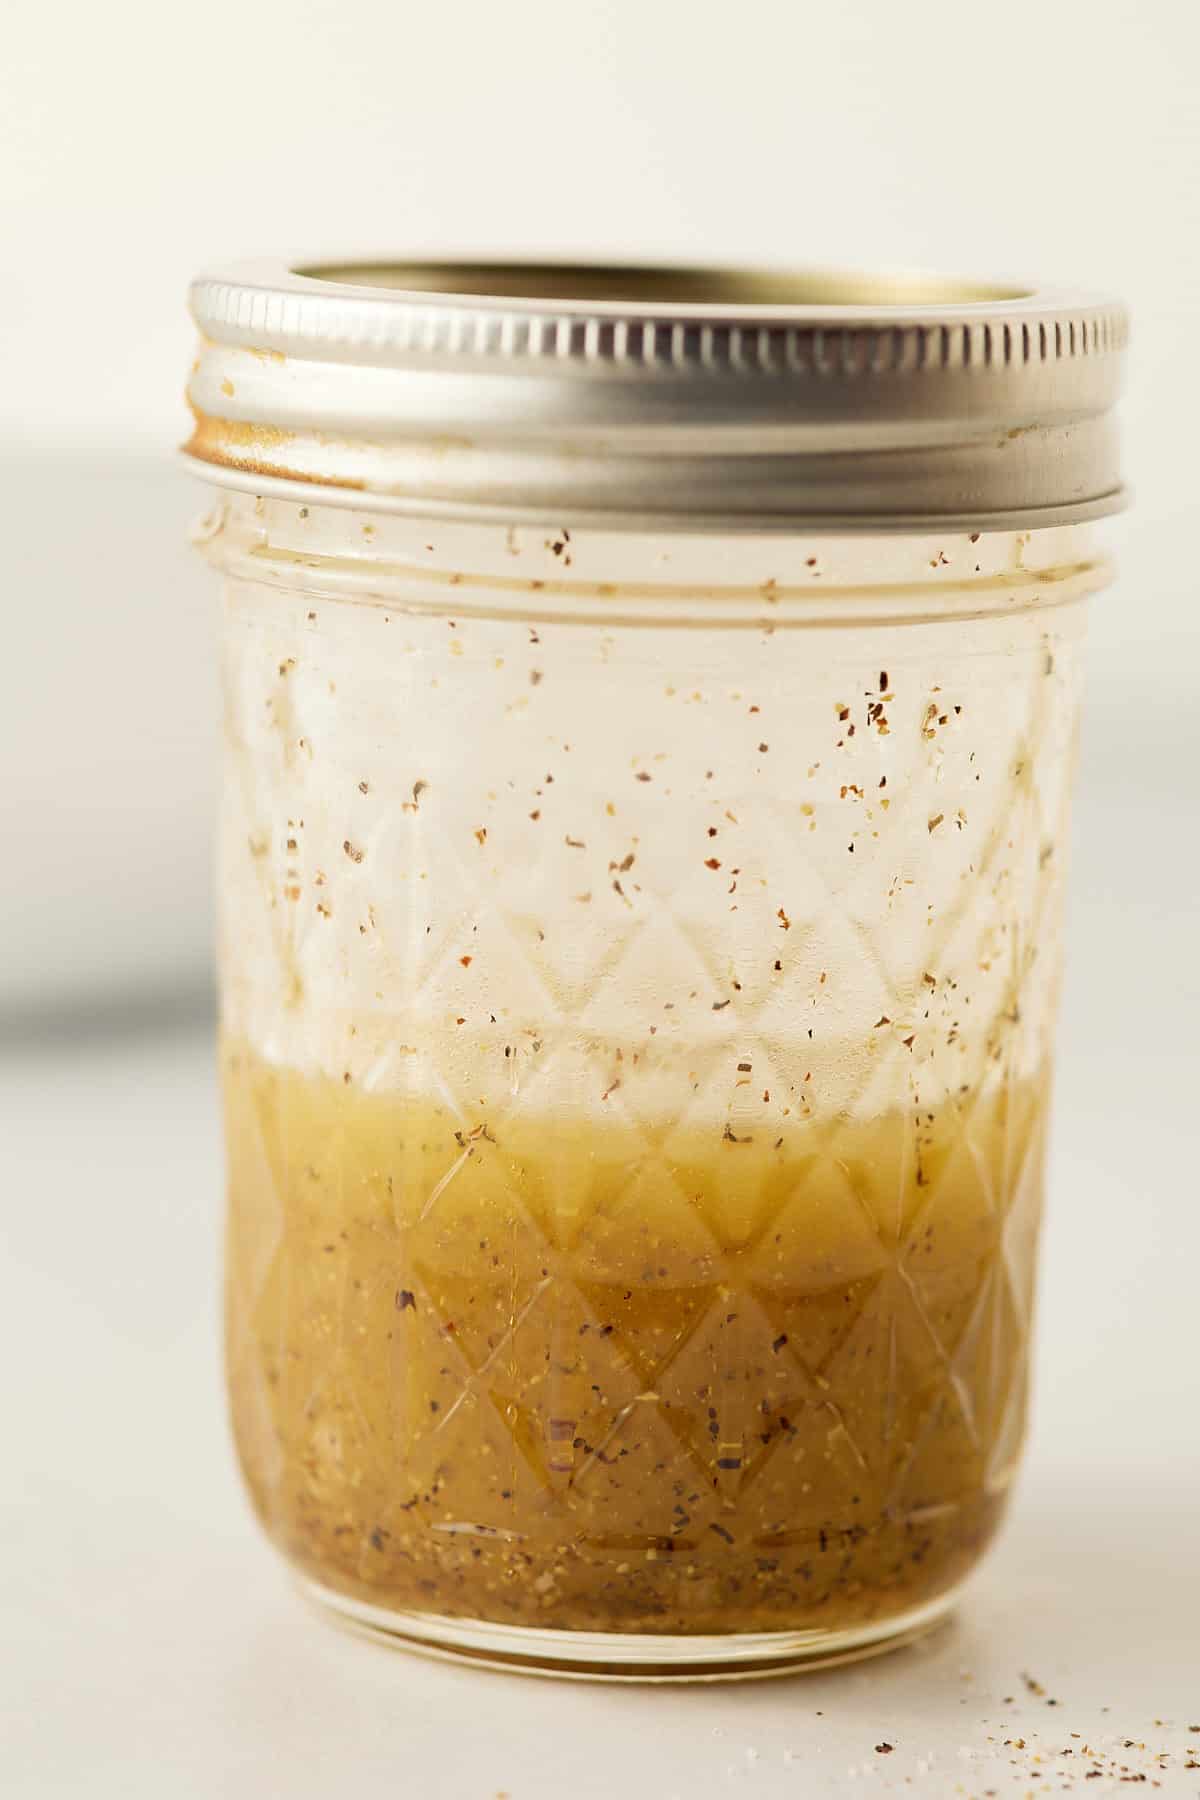
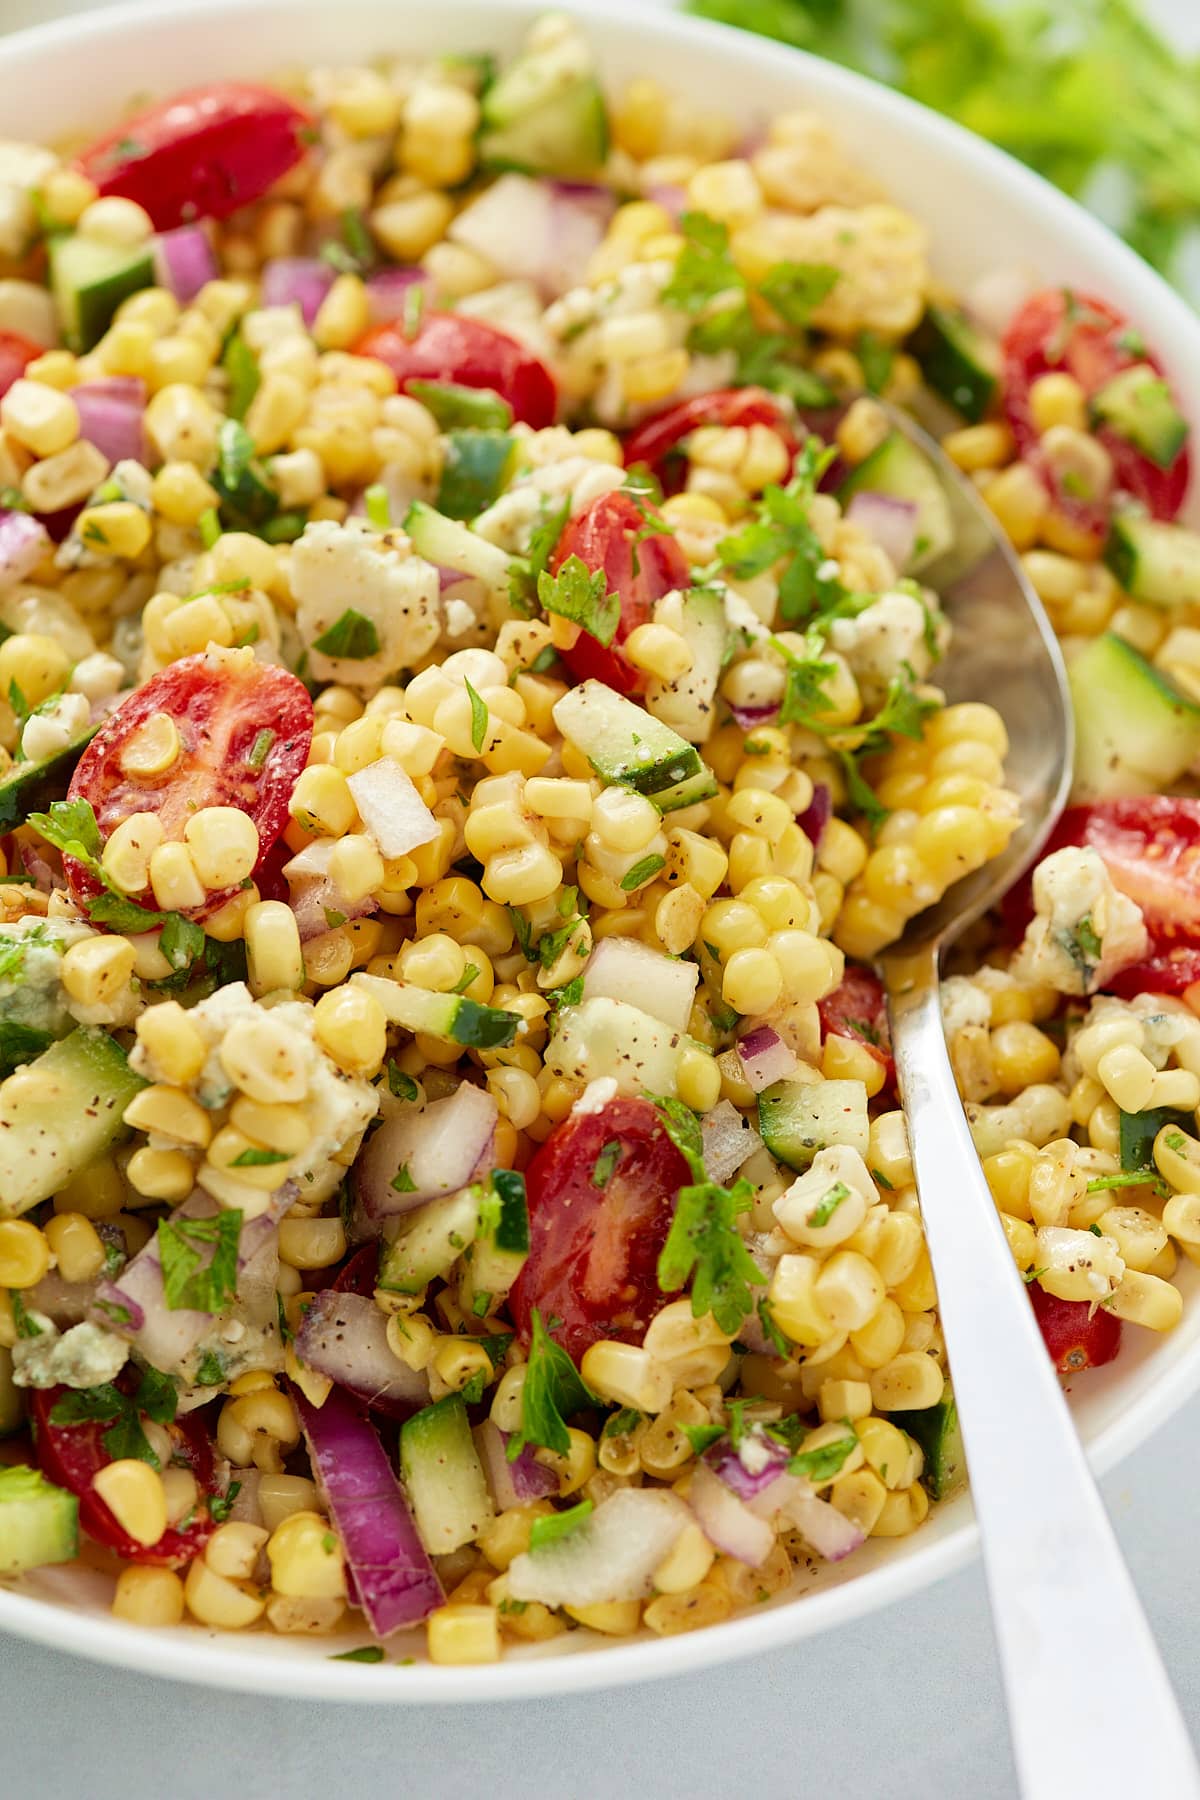
Fresh corn on the cob is best to use for this recipe. It has the best crunch and flavor and it's really hard to beat it. In a pinch, you can use frozen, thaw it first, toss in the butter and seasonings and then bake it on a sheet pan to warm it through. It's best not to use canned corn, as this can be quite soft and mushy in texture.
Yes! This is a great make-ahead salad, and because it doesn't contain dairy it travels great too! Enjoy it straight away, or cover it and keep it refrigerated. It will keep well for 3 to 4 days.
This fresh corn salad recipe is great to serve up at a cookout with grilled BBQ, but it's also perfect to serve up as part of a weeknight dinner alongside chicken, fish, or beef. It's also a pretty great topping for tacos! Try it with these favorites:
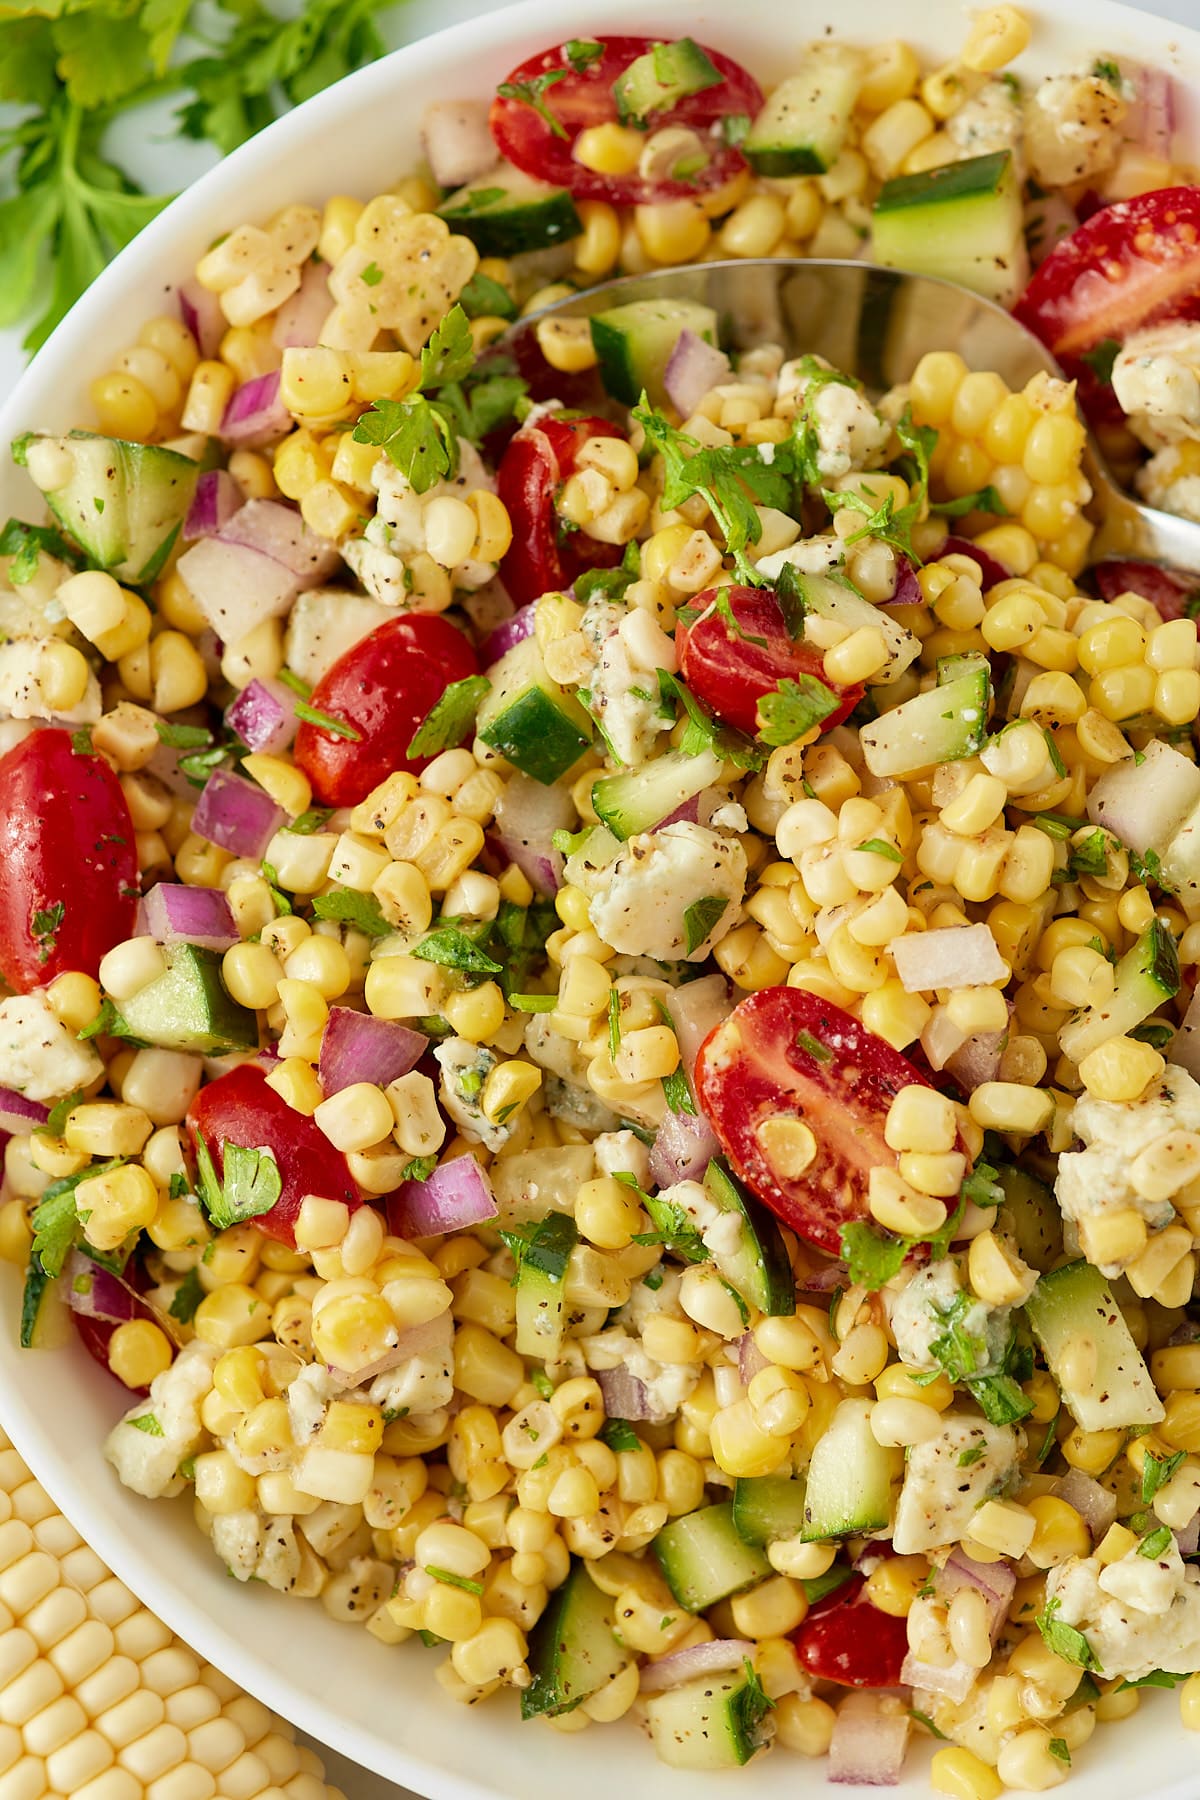
Store your fresh herbs longer with these handy tips and tricks!
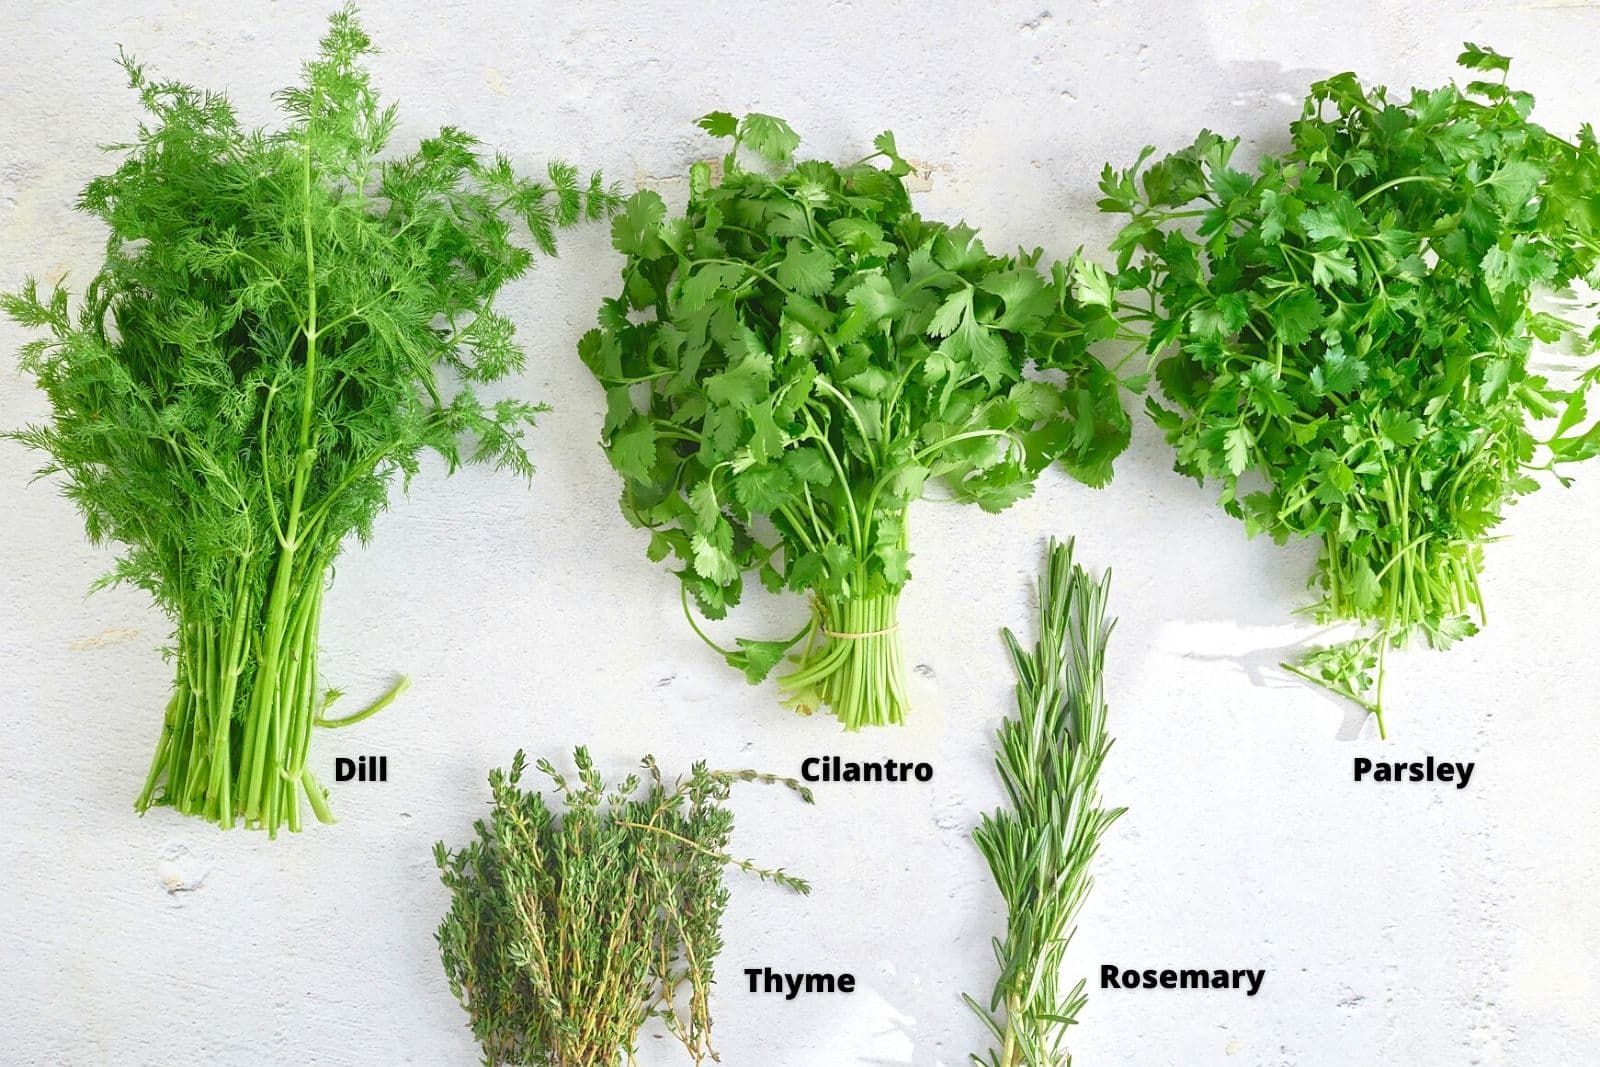
When it comes to flavor, cooking with fresh herbs makes all the difference. Vibrant dill, zingy cilantro, and hardy thyme brighten just about every dish they’re in. As spring approaches, home gardens, farmers markets and local grocery stores will be filled with tons of fresh herbs ready to toss into salads, pastas, entrees and appetizers.
This is also the time of year when home cooks everywhere ask questions like: how do you store fresh herbs? And, how long can I store fresh herbs once I bring them home? Of course there’s always, how the heck do I extend the life of all these deliciously fresh herbs?
For a quick refresh on the best way to store fresh herbs, keep reading.
Fresh herbs are notorious for spoiling early if they aren’t stored properly. We’ve all pulled a recently purchased bag of basil from the fridge only to find it wilted and a little slimy. Sound familiar?
The first step to understanding how to store fresh herbs is to know which kind of herb you’re working with.
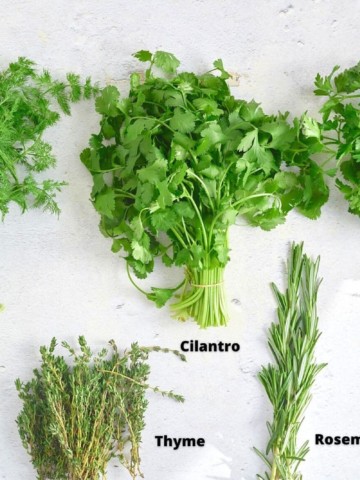
Storing fresh herbs gets a lot easier once you learn there are two types of herbs: tender herbs and hardy herbs. How you store your herbs will depend on the herb type. Soft-stemmed varieties like dill, basil, mint, parsley and cilantro, are tender herbs. While herbs with hard, wood-like stems like rosemary, thyme, and oregano are considered hardy herbs.
If you’re ever in doubt as to which type of herb you’re working with, just check the herb’s texture and stem.
A quick word about chives: while chives feel soft to the touch, and they don’t have a hard stem, they’re actually considered hardy herbs. You’ll want to store these guys just like you would rosemary, thyme and oregano.
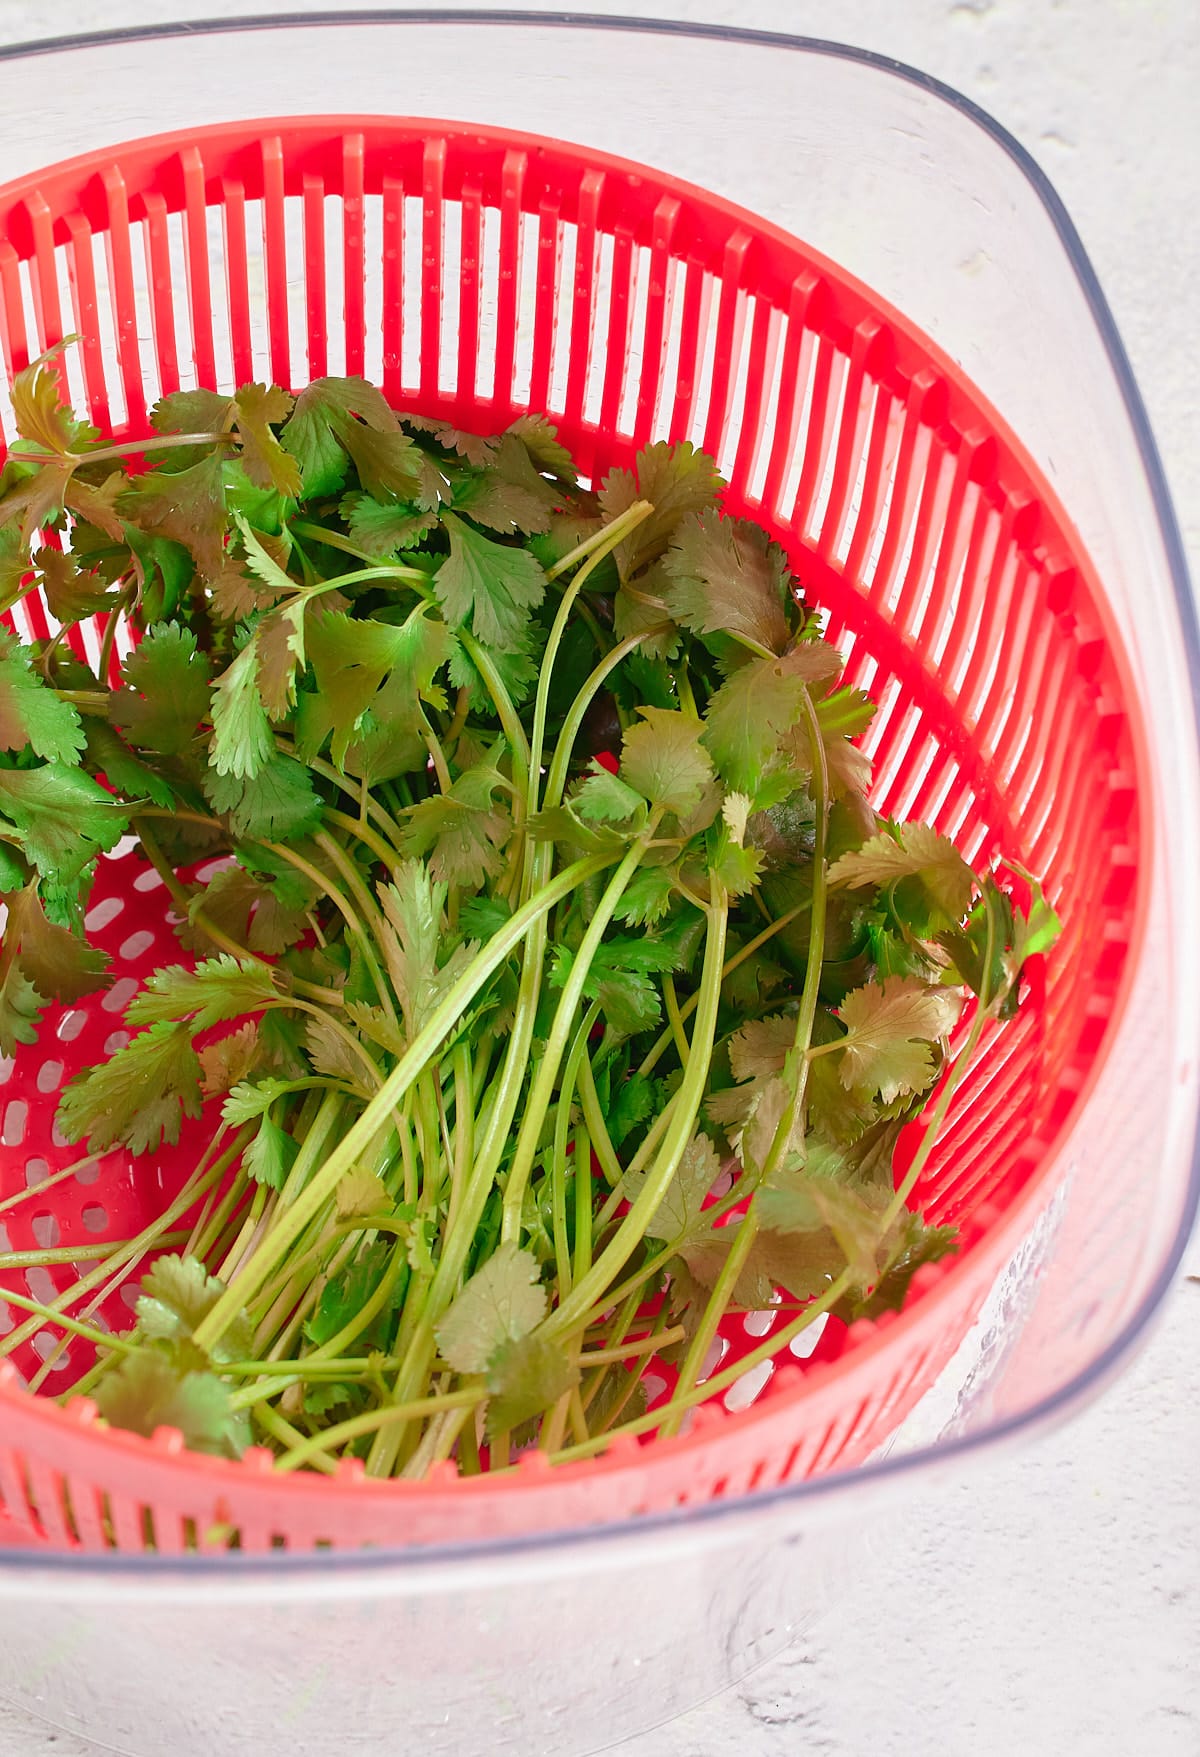
To ensure your fresh herbs are ready to use when you need them, give each bundle a good wash before starting the storing process. Salad spinners are great for washing and drying fresh herbs quickly. Use the spinner the same way you would if you were washing salad leaves.
If you don’t have access to a salad spinner, fear not! You can always rinse the herbs under cool water and gently dry them between two paper towels. Use caution if drying the herbs on a kitchen towel. Pressing down on the herbs too hard in the drying process may cause them to snap. And when fresh herbs break apart, they can leave behind a green stain.
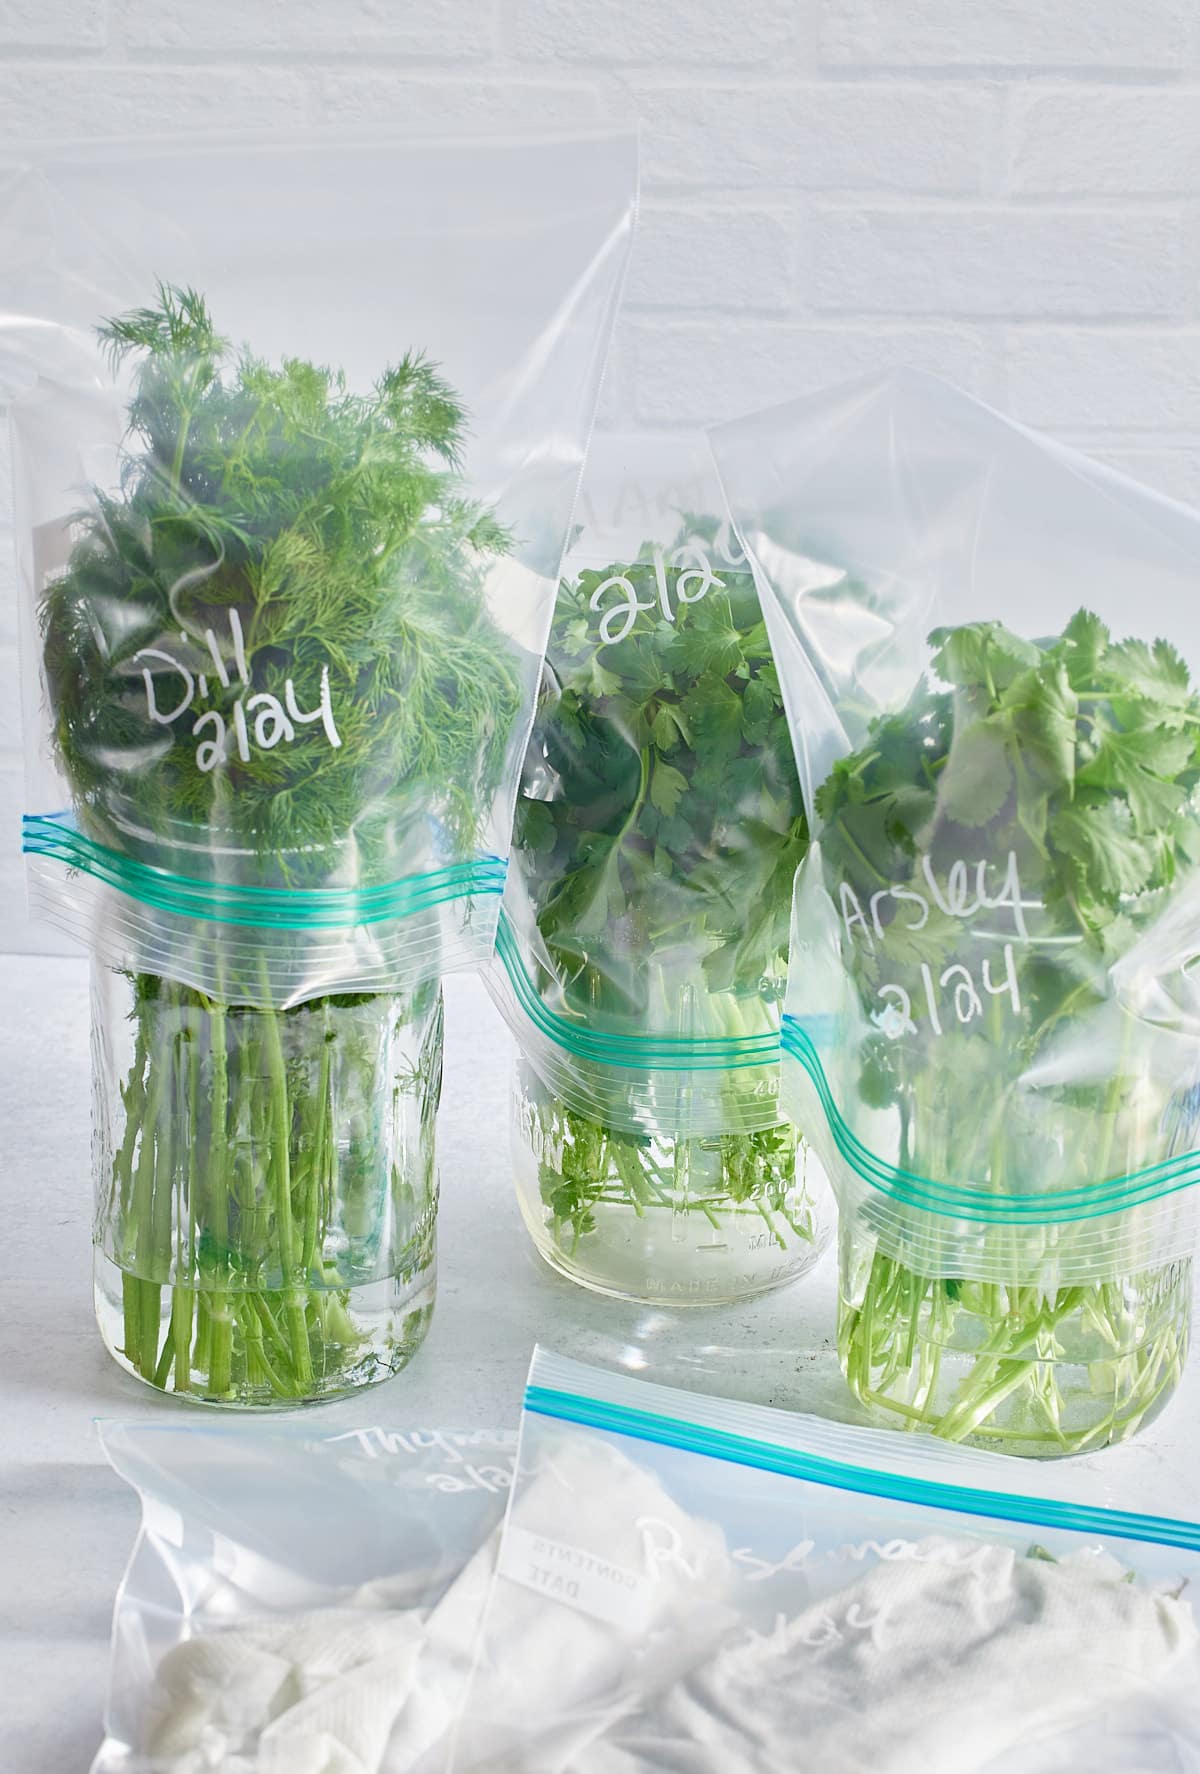
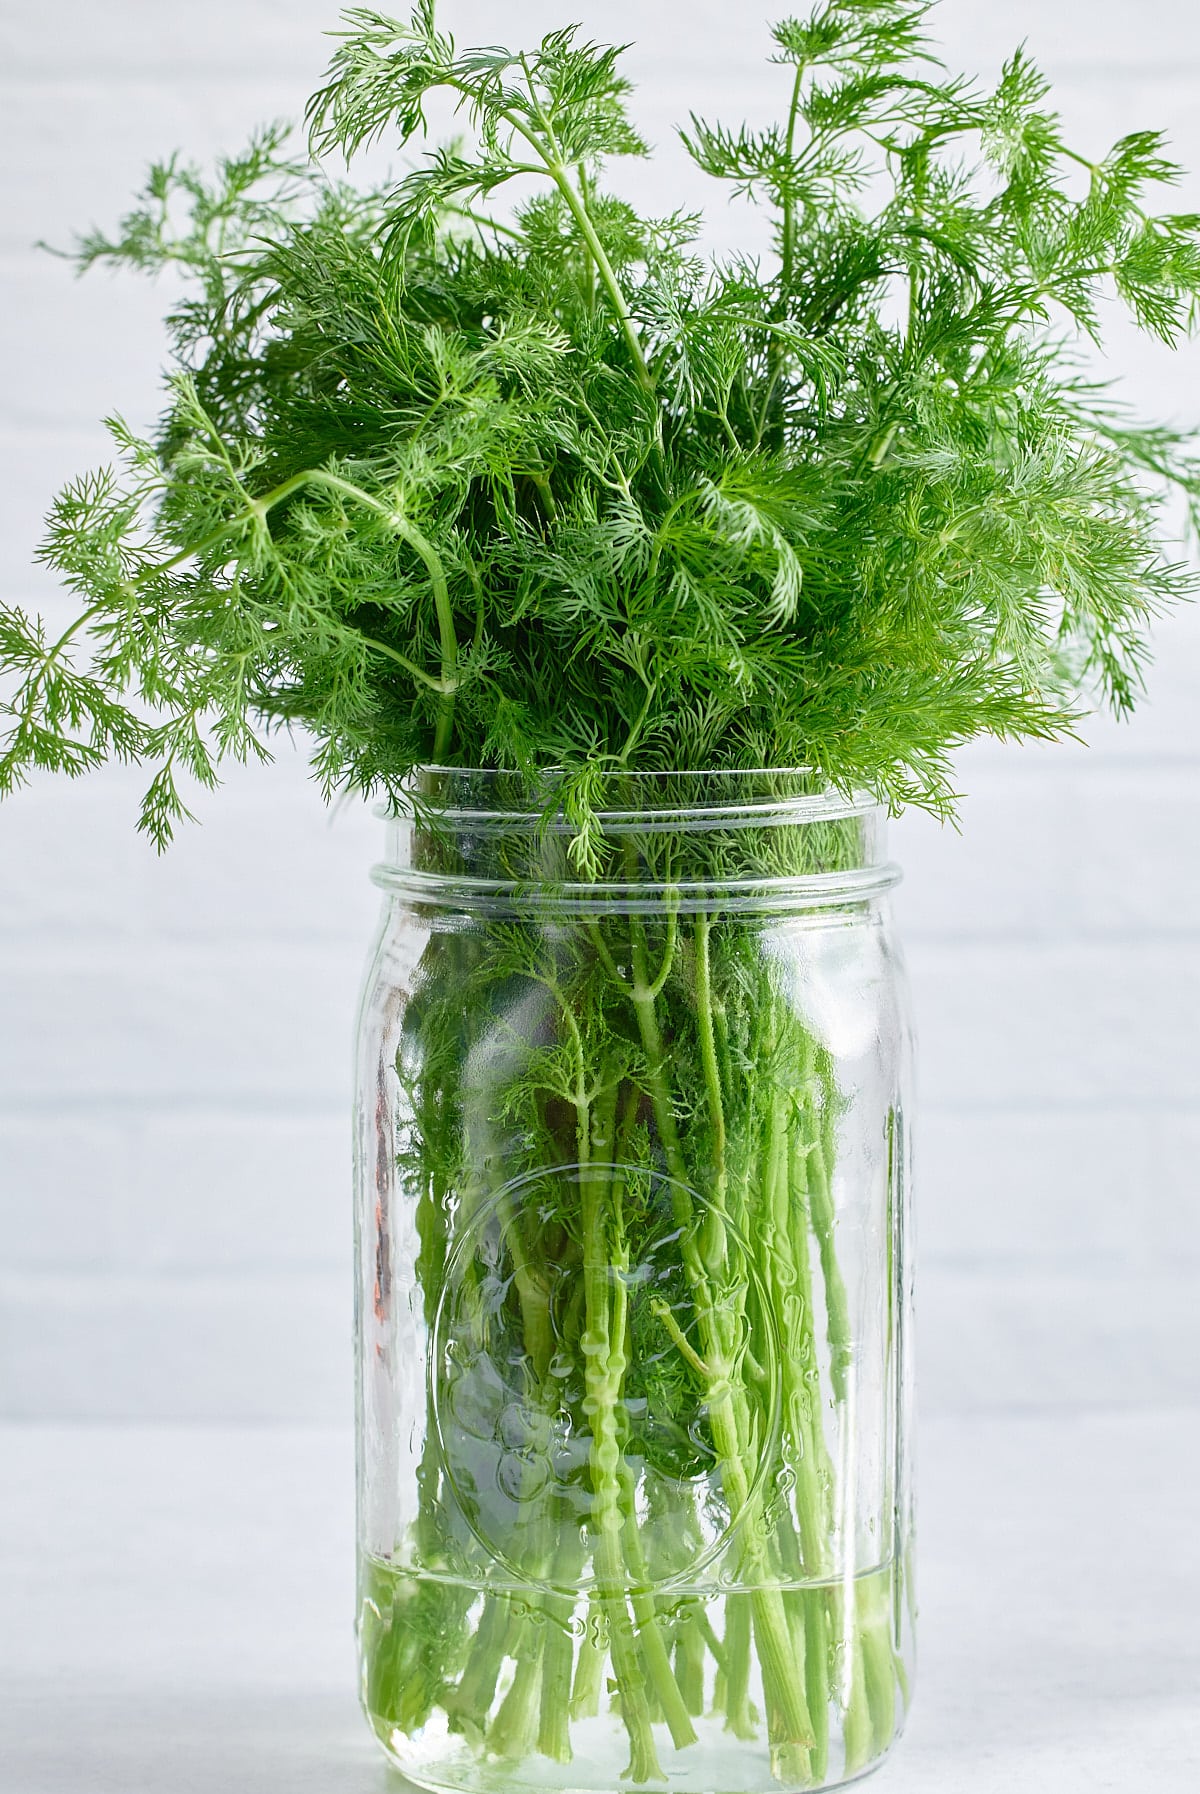
Tender herbs love moisture. These herbs stay fresher longer if you store them the same way you’d store cut flowers. First, cut a small amount of stem from the bottom of the herbs just as you would a bouquet of flowers. Next, place an inch of water in a small jar (a Mason jar works great) or a plastic quart container. You’ll want to make sure the stems stay upright in the container so they can absorb the water from the bottom, rather than laying in it.
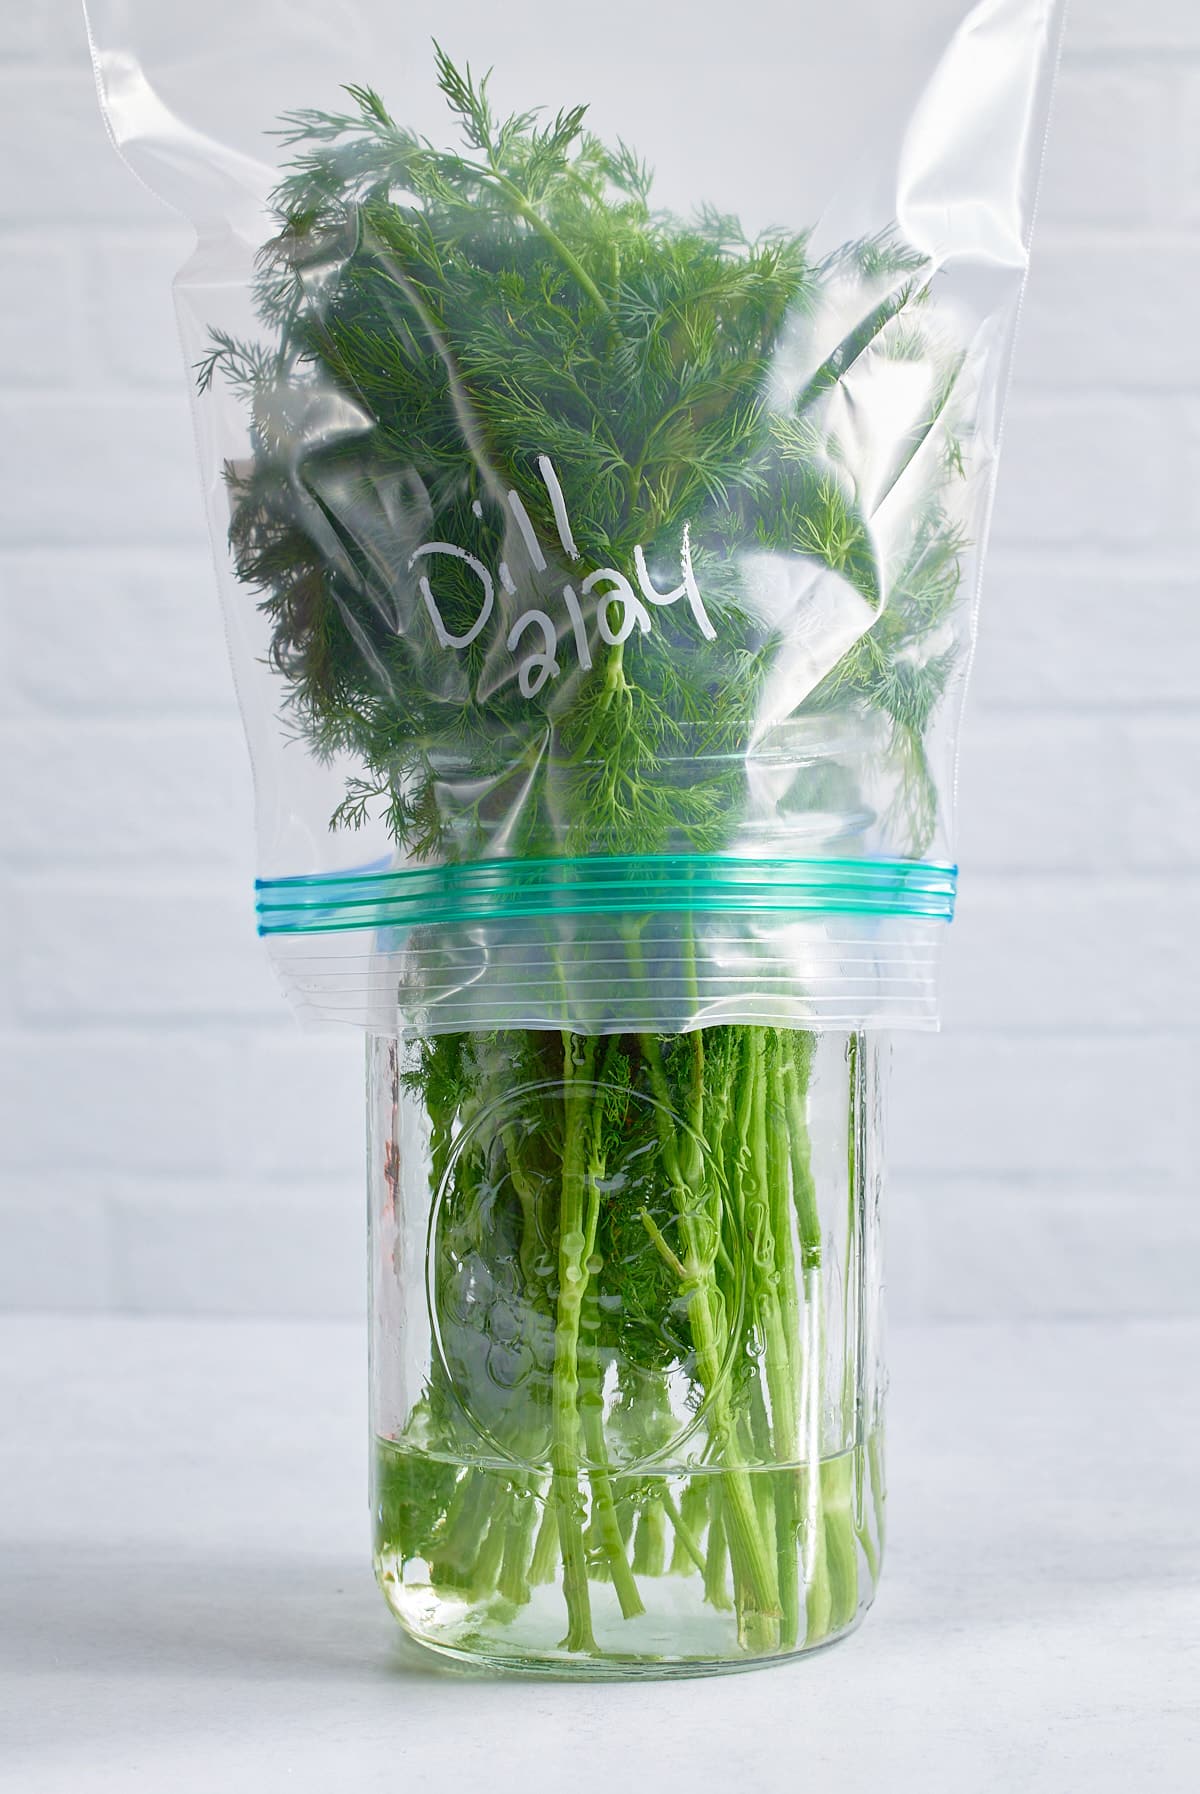
Once your herbs are in their container, place a ziplock bag over the top to help lock in the moisture and prevent the herbs from drying out. Storing herbs in glass jars in the refrigerator will help keep your herbs fresh and flavorful until you’re ready to use them.
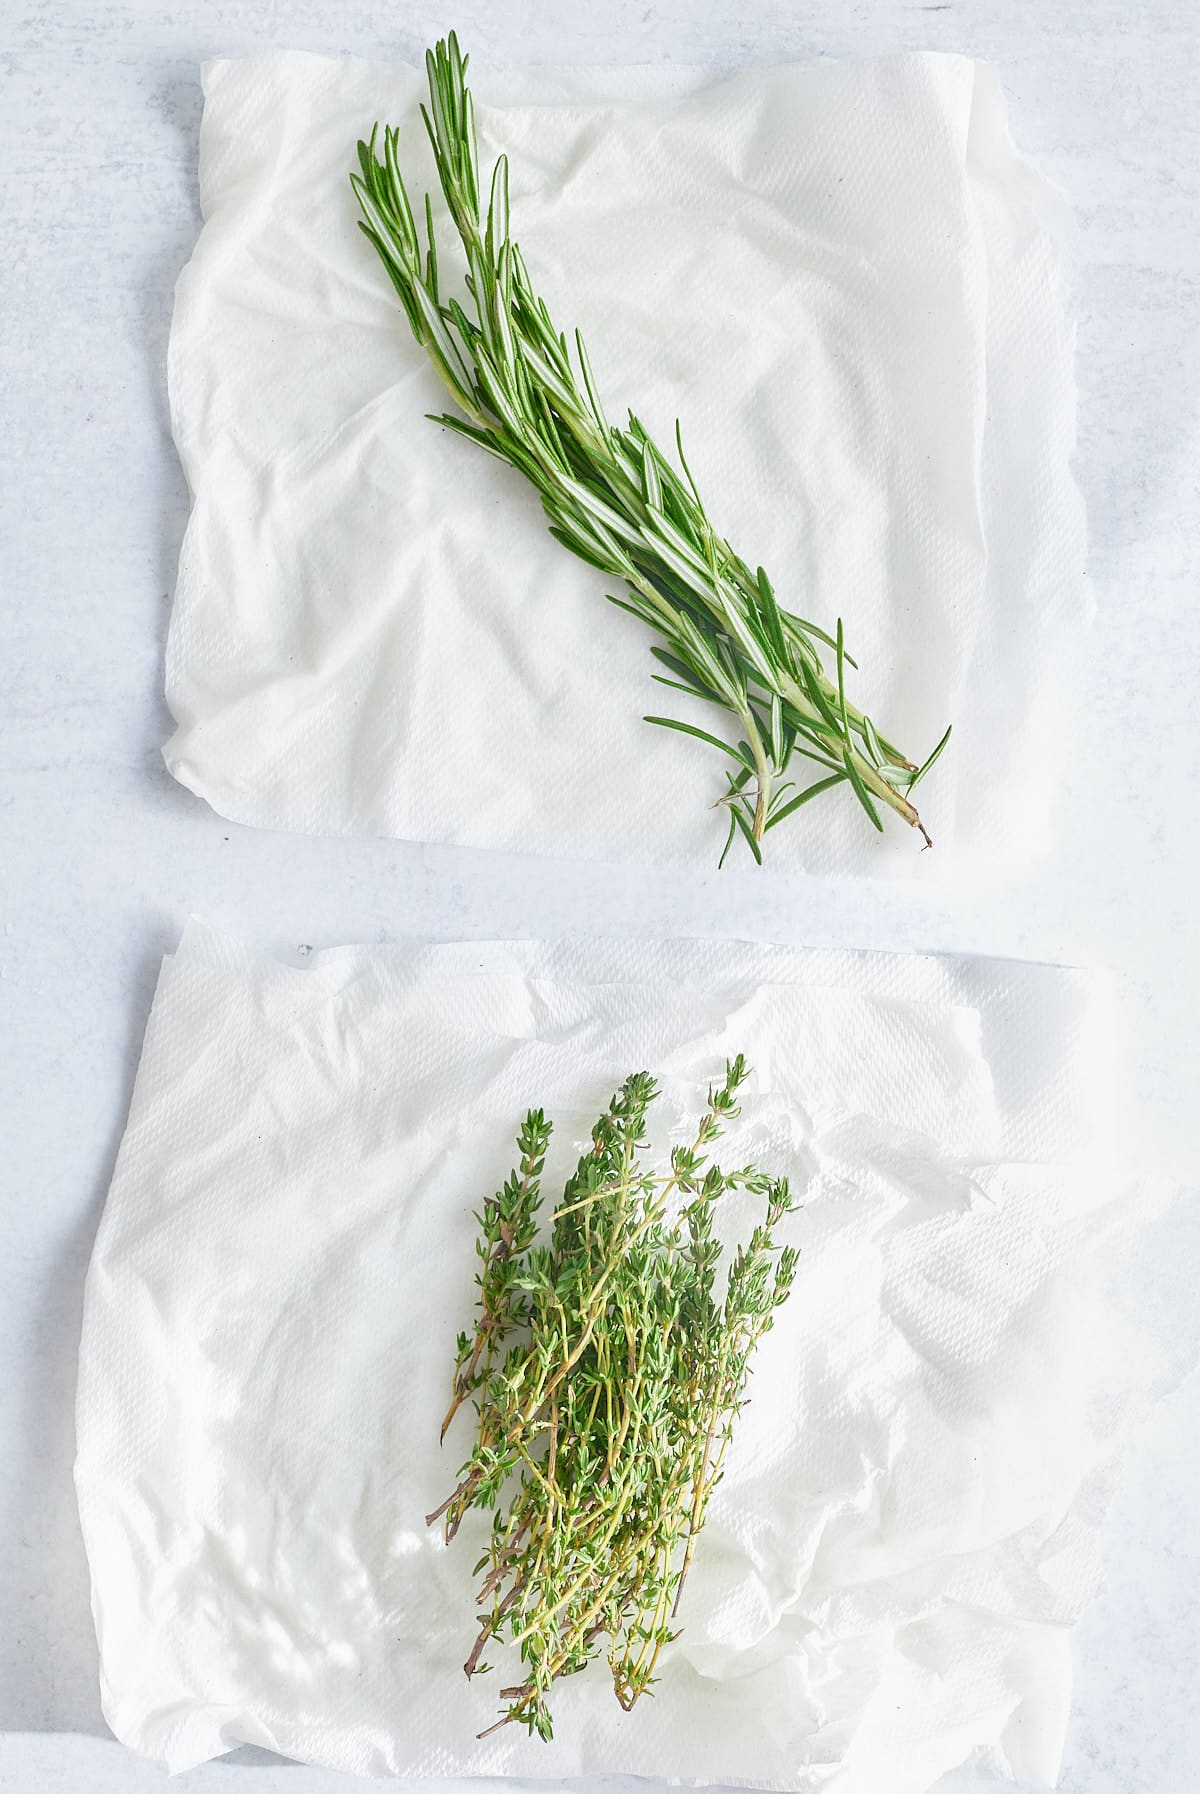
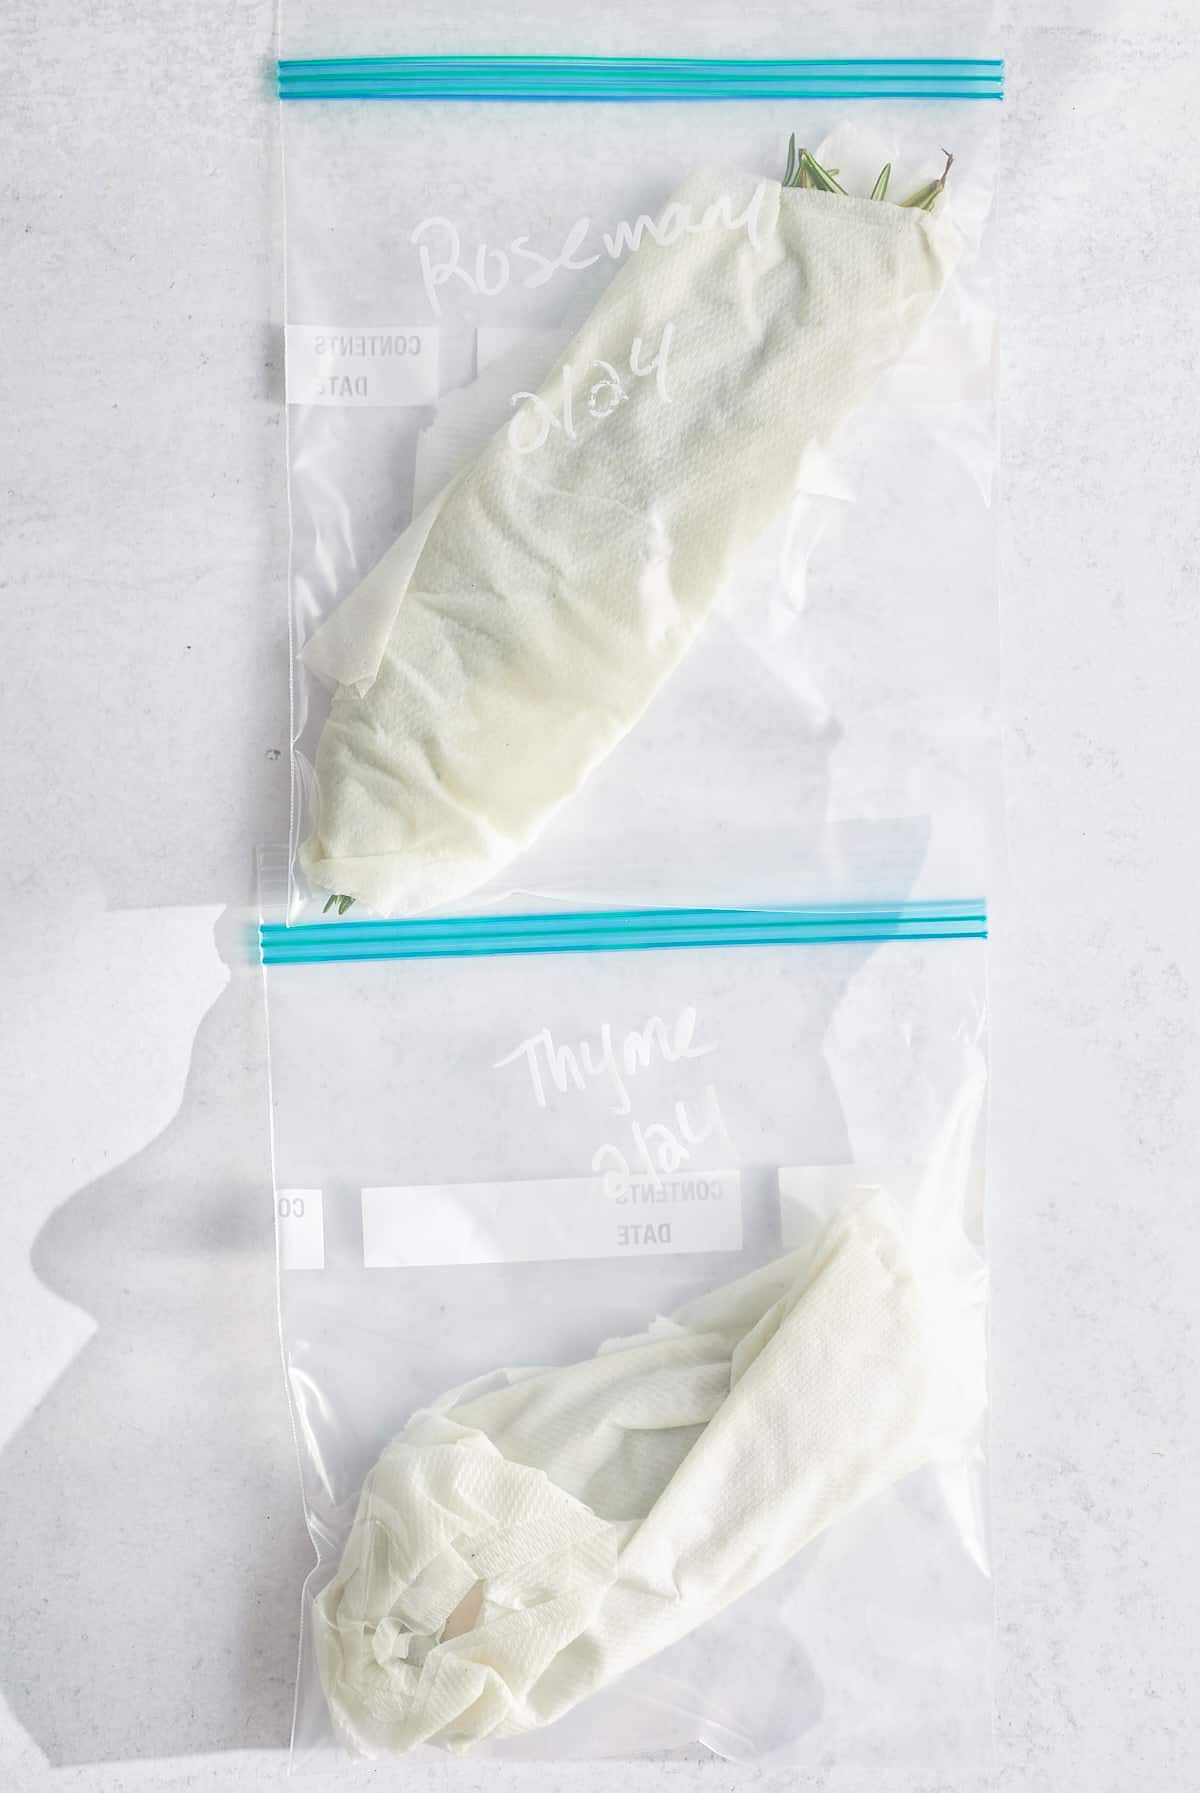
Storing rosemary, thyme, or other hardy herbs doesn’t require quite as much water as tender herbs, but you’ll still need to provide some moisture in order to keep them fresh. To extend the shelflife of these herbs, fold or roll a damp paper towel around the bundle of herbs snuggly, then place them in a ziplock bag.
Dampen the paper towel every few days to ensure they don’t dry out.
While you may be tempted to place your jar of herbs in a sunny spot on the kitchen counter, extra sun exposure may cause your herbs to yellow and wilt. Always place both tender and hardy herbs in the refrigerator.
How long can I store the herbs in the refrigerator?
Stored properly, most fresh herbs will stay fresh for up to two weeks in the refrigerator. Parsley, tarragon and rosemary will keep for up to three weeks.
Whether you’re trying to extend the life of your herbs or just trying to prevent them from wilting for a few extra days, following these simple steps makes storing fresh herbs a breeze.
here are a few of my favorite recipes using fresh herbs.
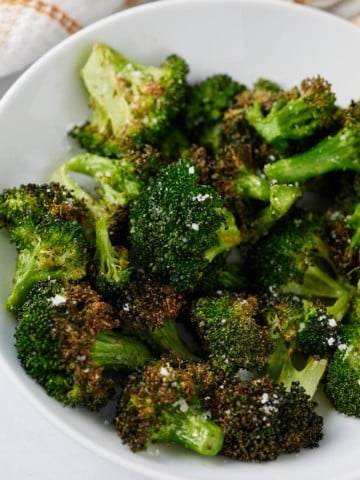
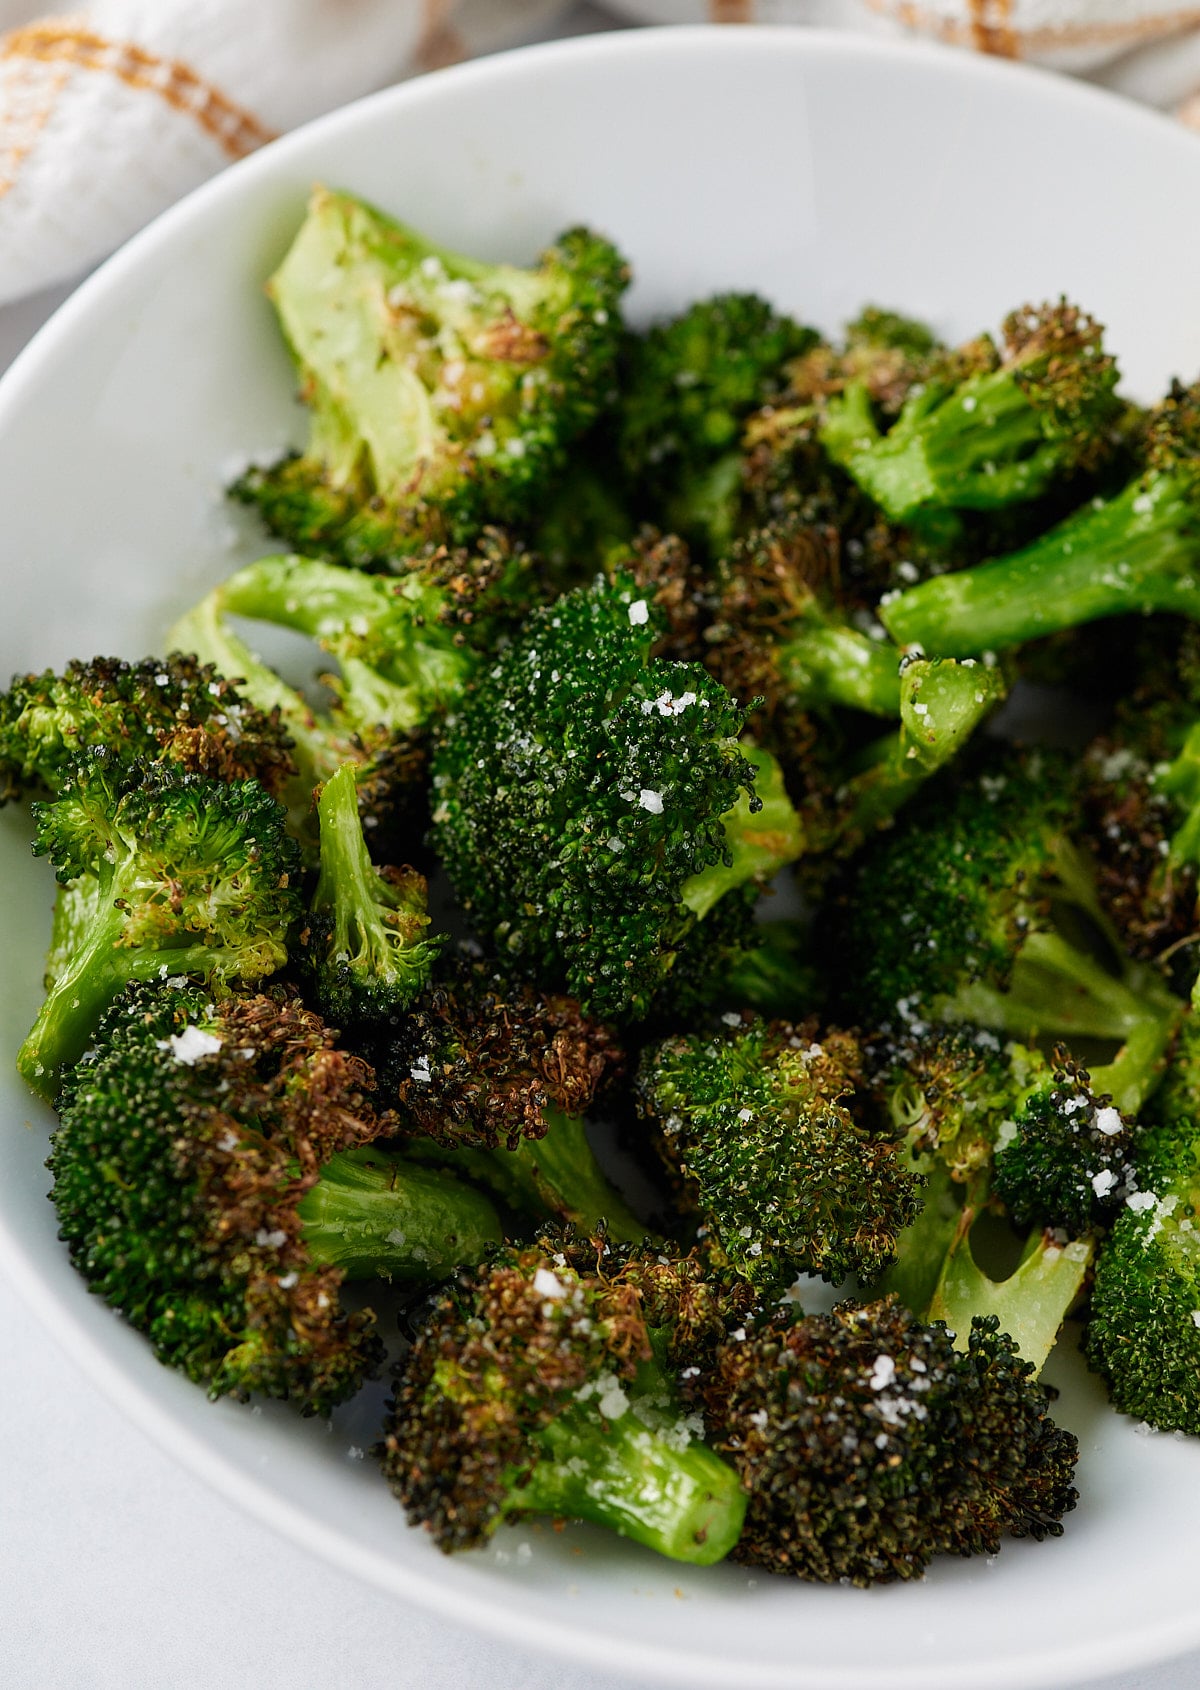
Cook up a healthy veggie side dish in a few minutes with this easy air fryer broccoli recipe. Simply seasoned, roasted broccoli florets take minutes to prep and are so quick to cook using this fuss free method.
This post contains affiliate links, please read my full disclaimer here.
You’ll find the full recipe with ingredient amounts and instructions in the recipe card at the bottom of this post. Be sure to check out the blog post itself for extra tips and tricks!
If you are looking to get some extra vegetables on to your dinner plate, then this air fryer broccoli is one tasty way to do it! Simple and quick to prep and cook, this healthy broccoli side dish is a great go to for any meal.
Seasoned with spices, roasting the broccoli is so much quicker compared to the oven, and it comes out perfectly tender and flavorful, with beautiful crispy edges.
Perfect to serve up as part of an easy family weeknight dinner, but tasty enough to serve to company!
Be sure to try my Creamy Broccoli Cauliflower Salad and Broccoli Rice Casserole too!
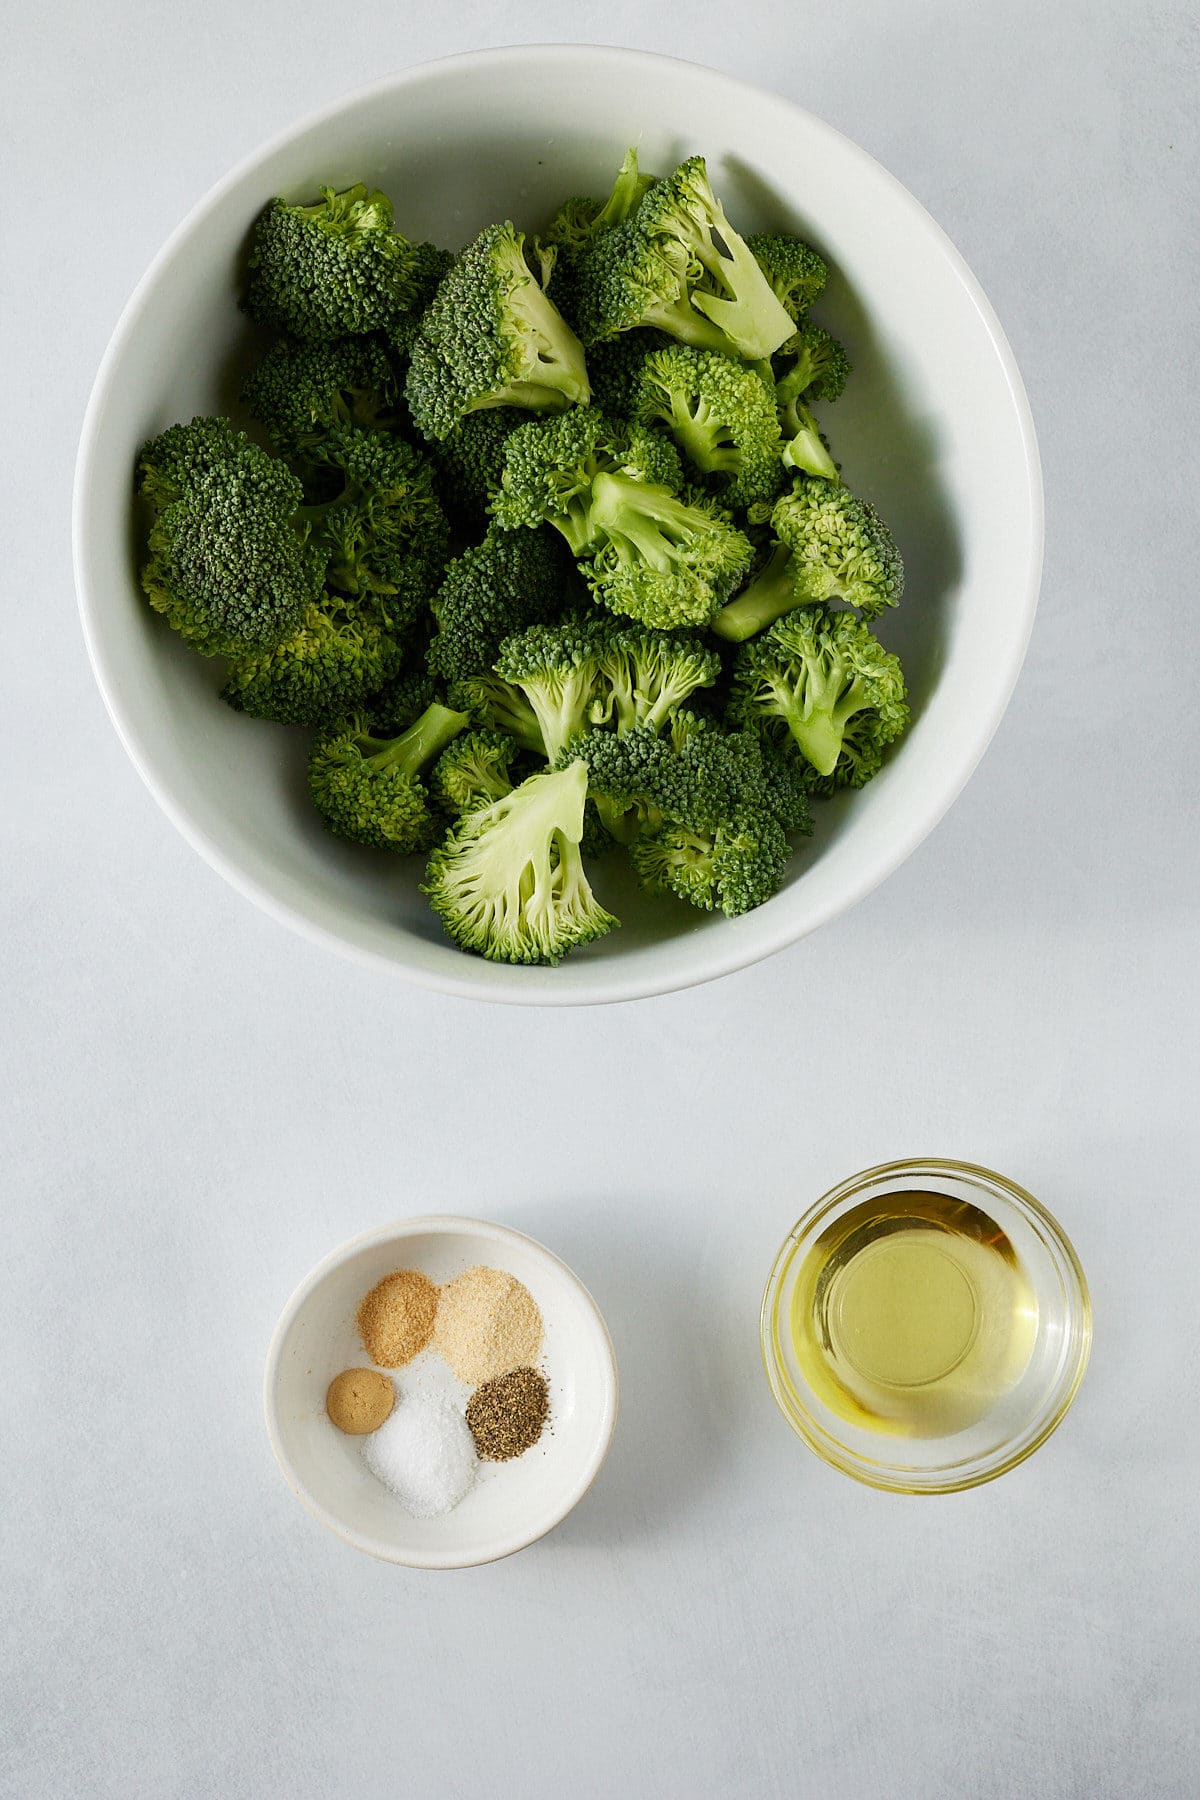
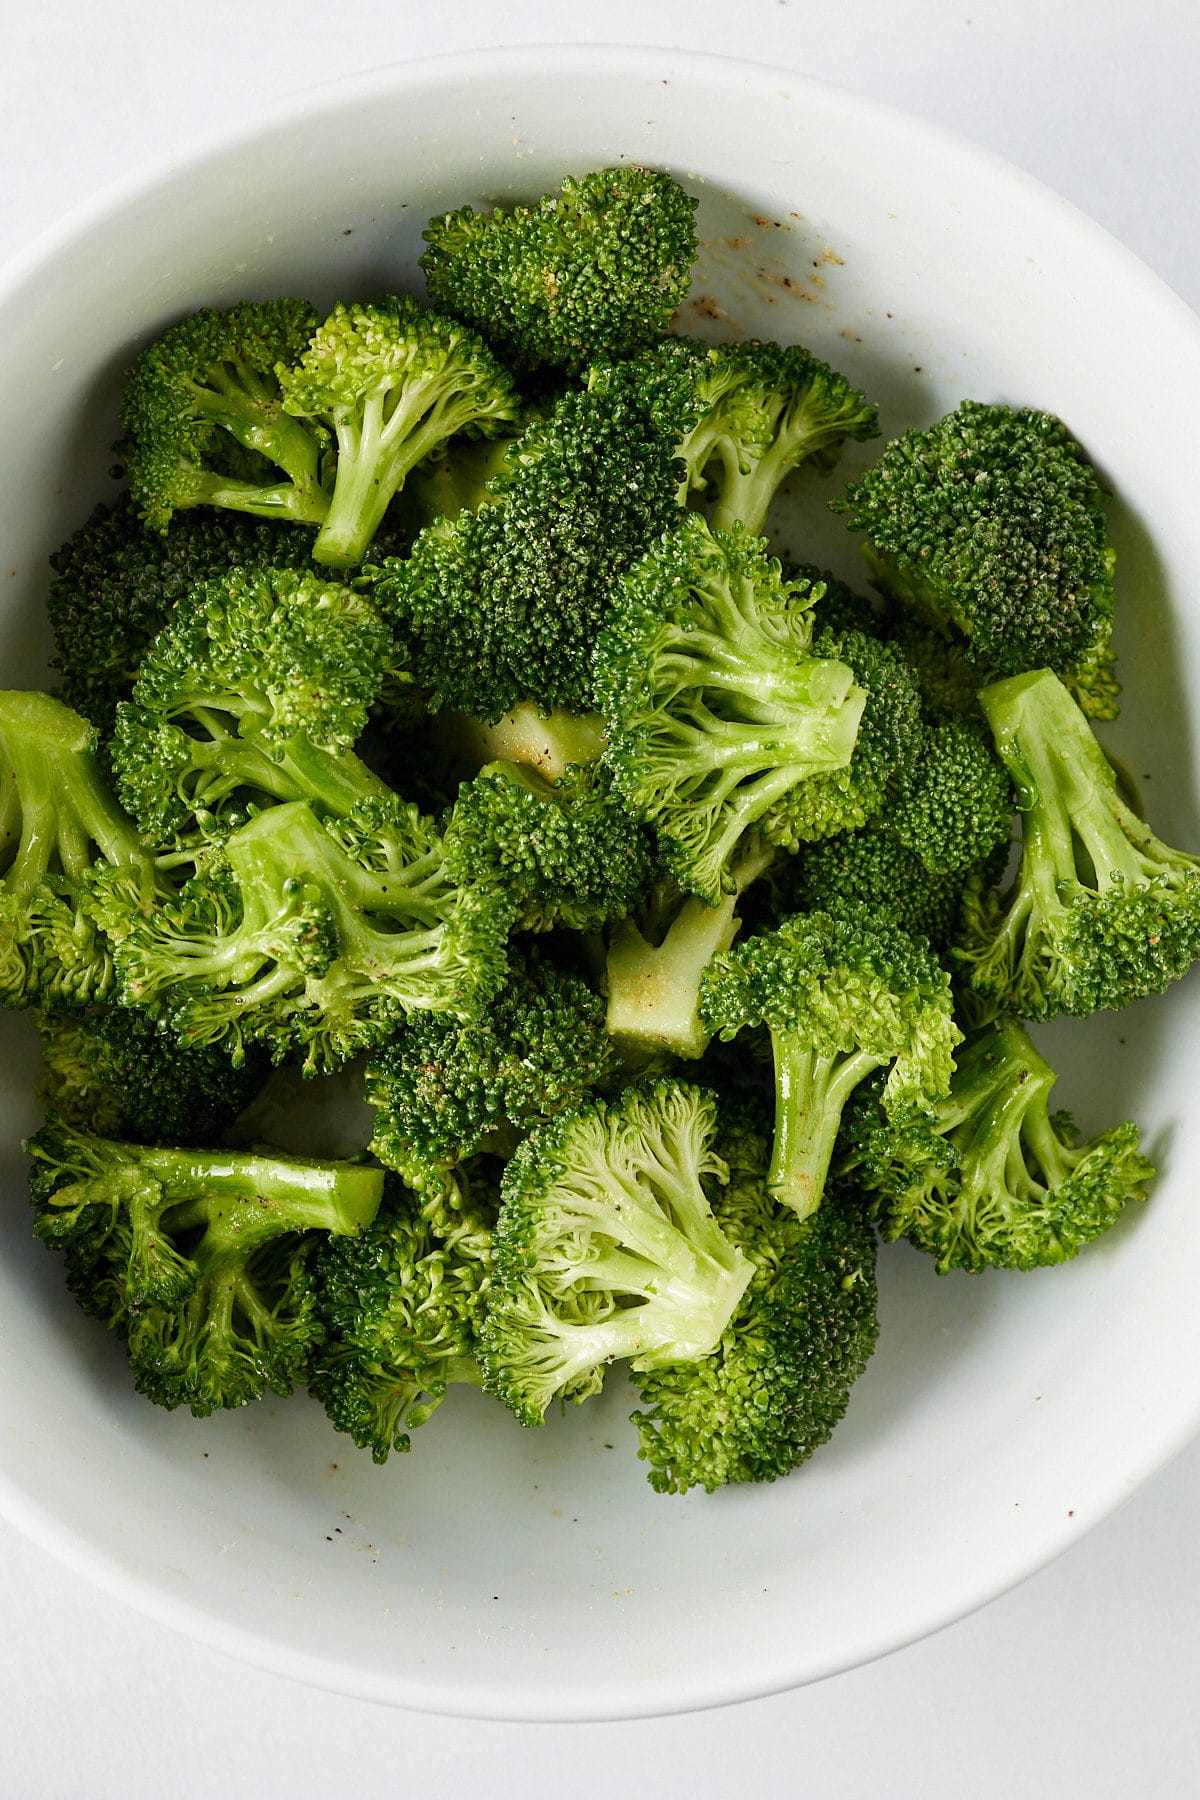
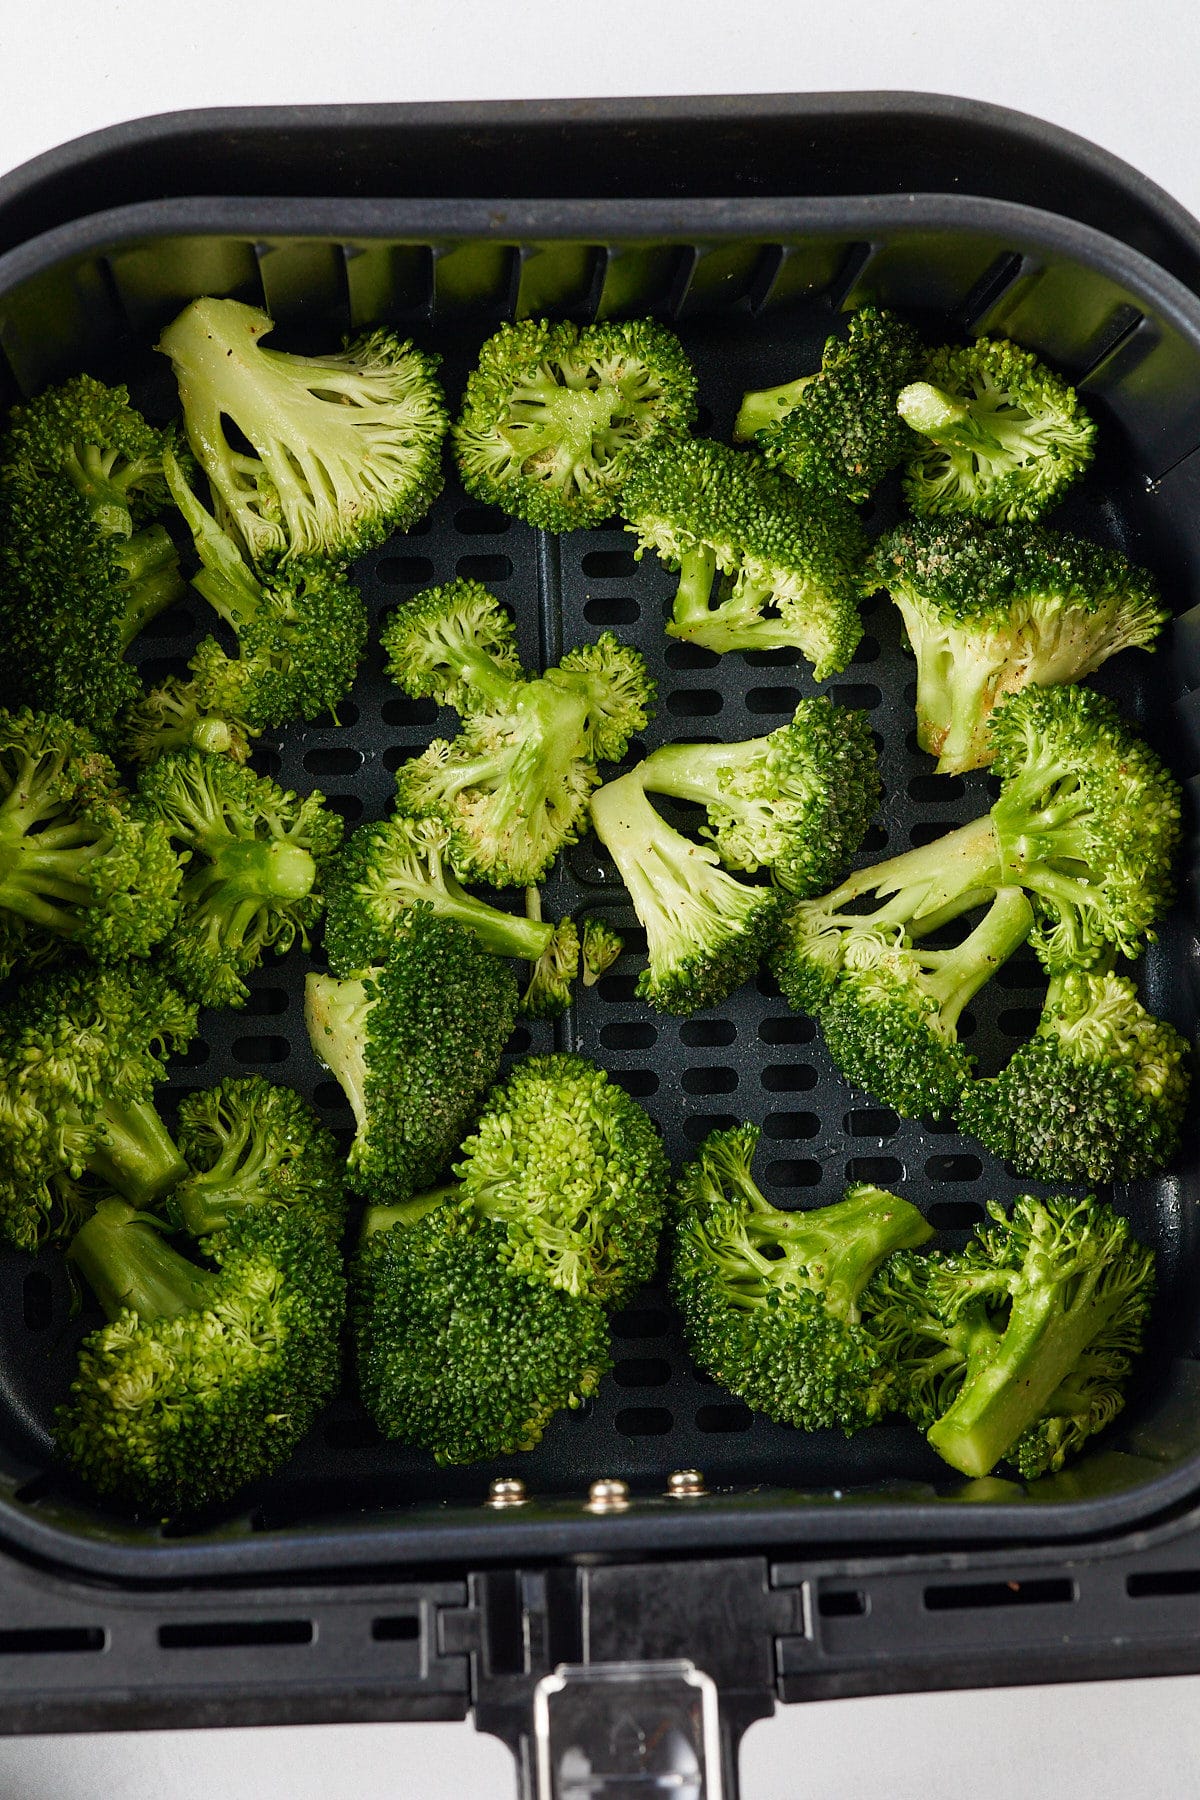
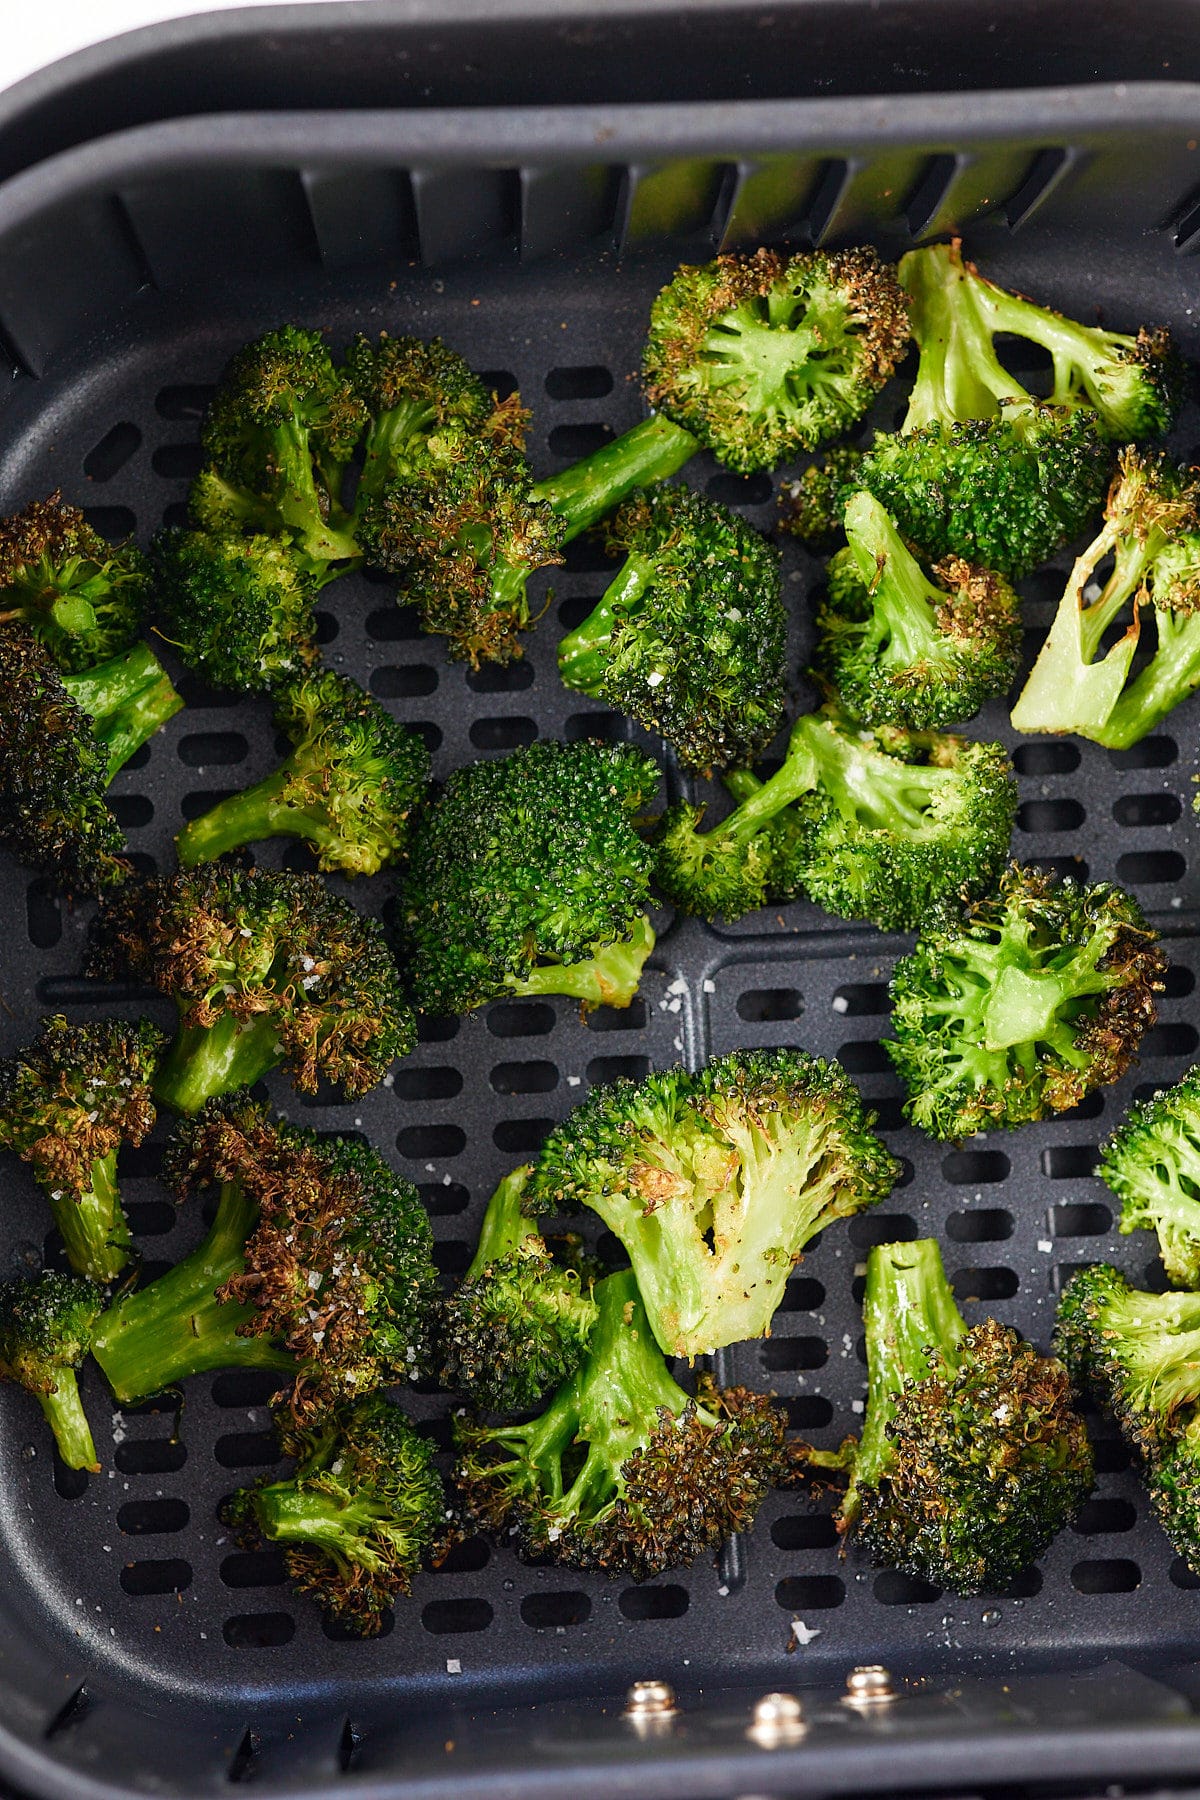
This recipe is for fresh broccoli, but you can easily use frozen with great results too. Don't thaw the broccoli. Just preheat your air fryer to 350 degrees Fahrenheit, and add the frozen broccoli florets once preheated. Set the timer for about 8-10 minutes and spray the broccoli with oil and season the broccoli halfway through cooking.
I love roasting broccoli in the air fryer as it is so much quicker, plus it doesn't heat up the kitchen! If you don't have an air fryer, you can roast it in the oven at 400F for around 20 minutes instead. In the air fryer, it's ready in half the time and the results are pretty much identical.
I love the spice combo included in this air fryer broccoli, but feel free to change it up with some of the following suggestions:
This broccoli side dish is great to serve as part of an everyday weeknight meal, but definitely wouldn't be out of place on a holiday table either. It's a great way to add lots of vitamins and minerals to your plate with very little effort! Try it with these family favorite dinners:
If you have tried this Air Fryer Broccoli recipe, or any other recipe on my blog, then please rate it and let me know how it turned out in the comments below!
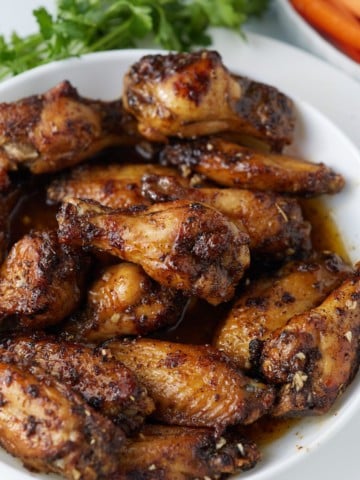
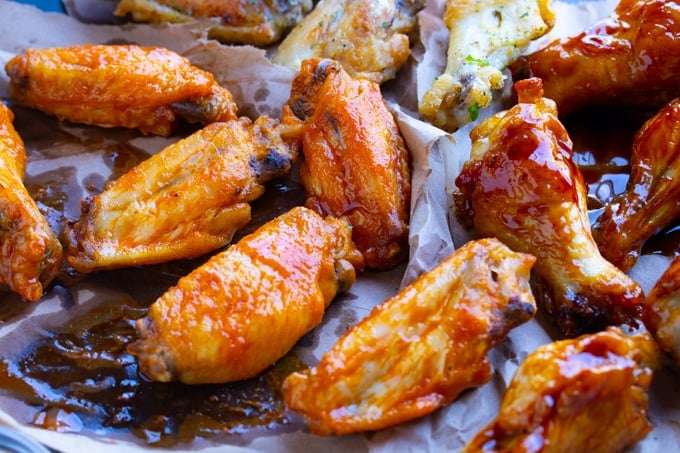
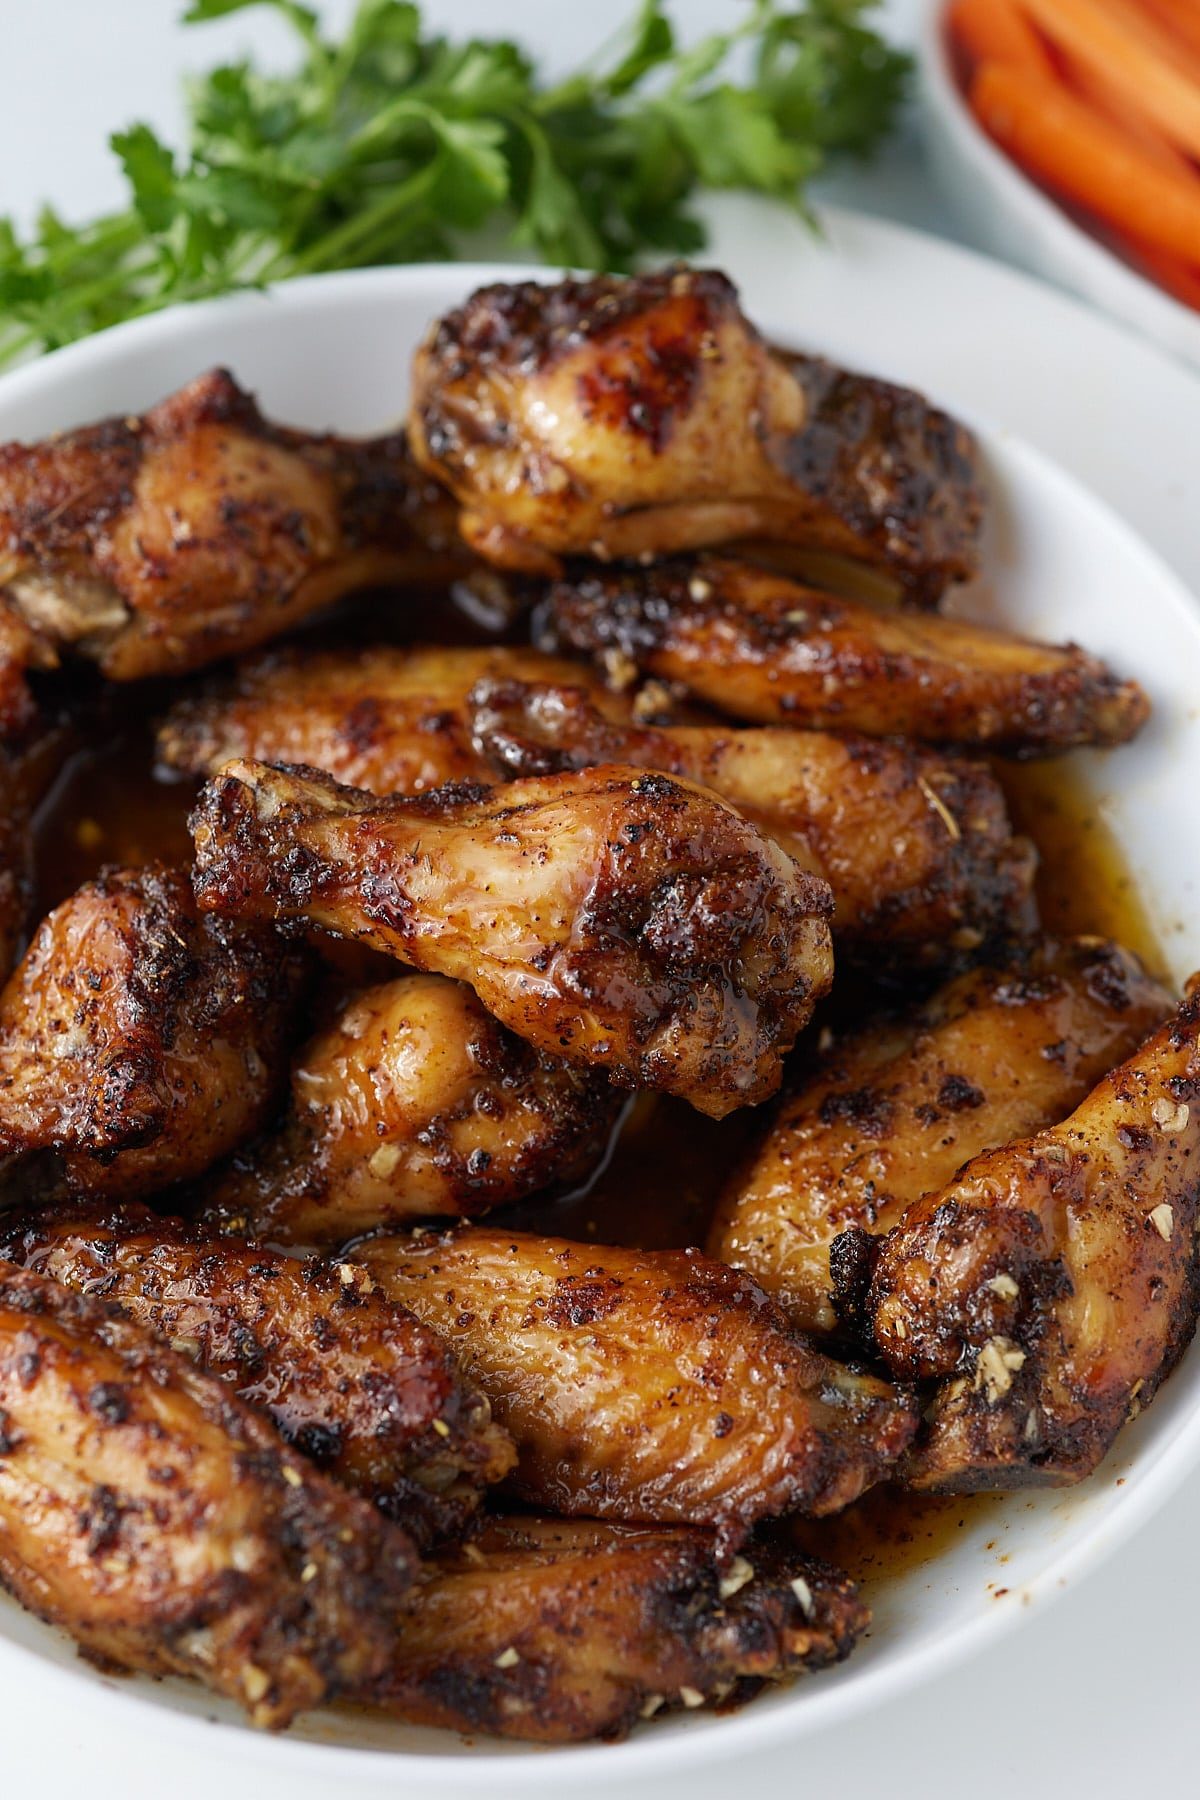
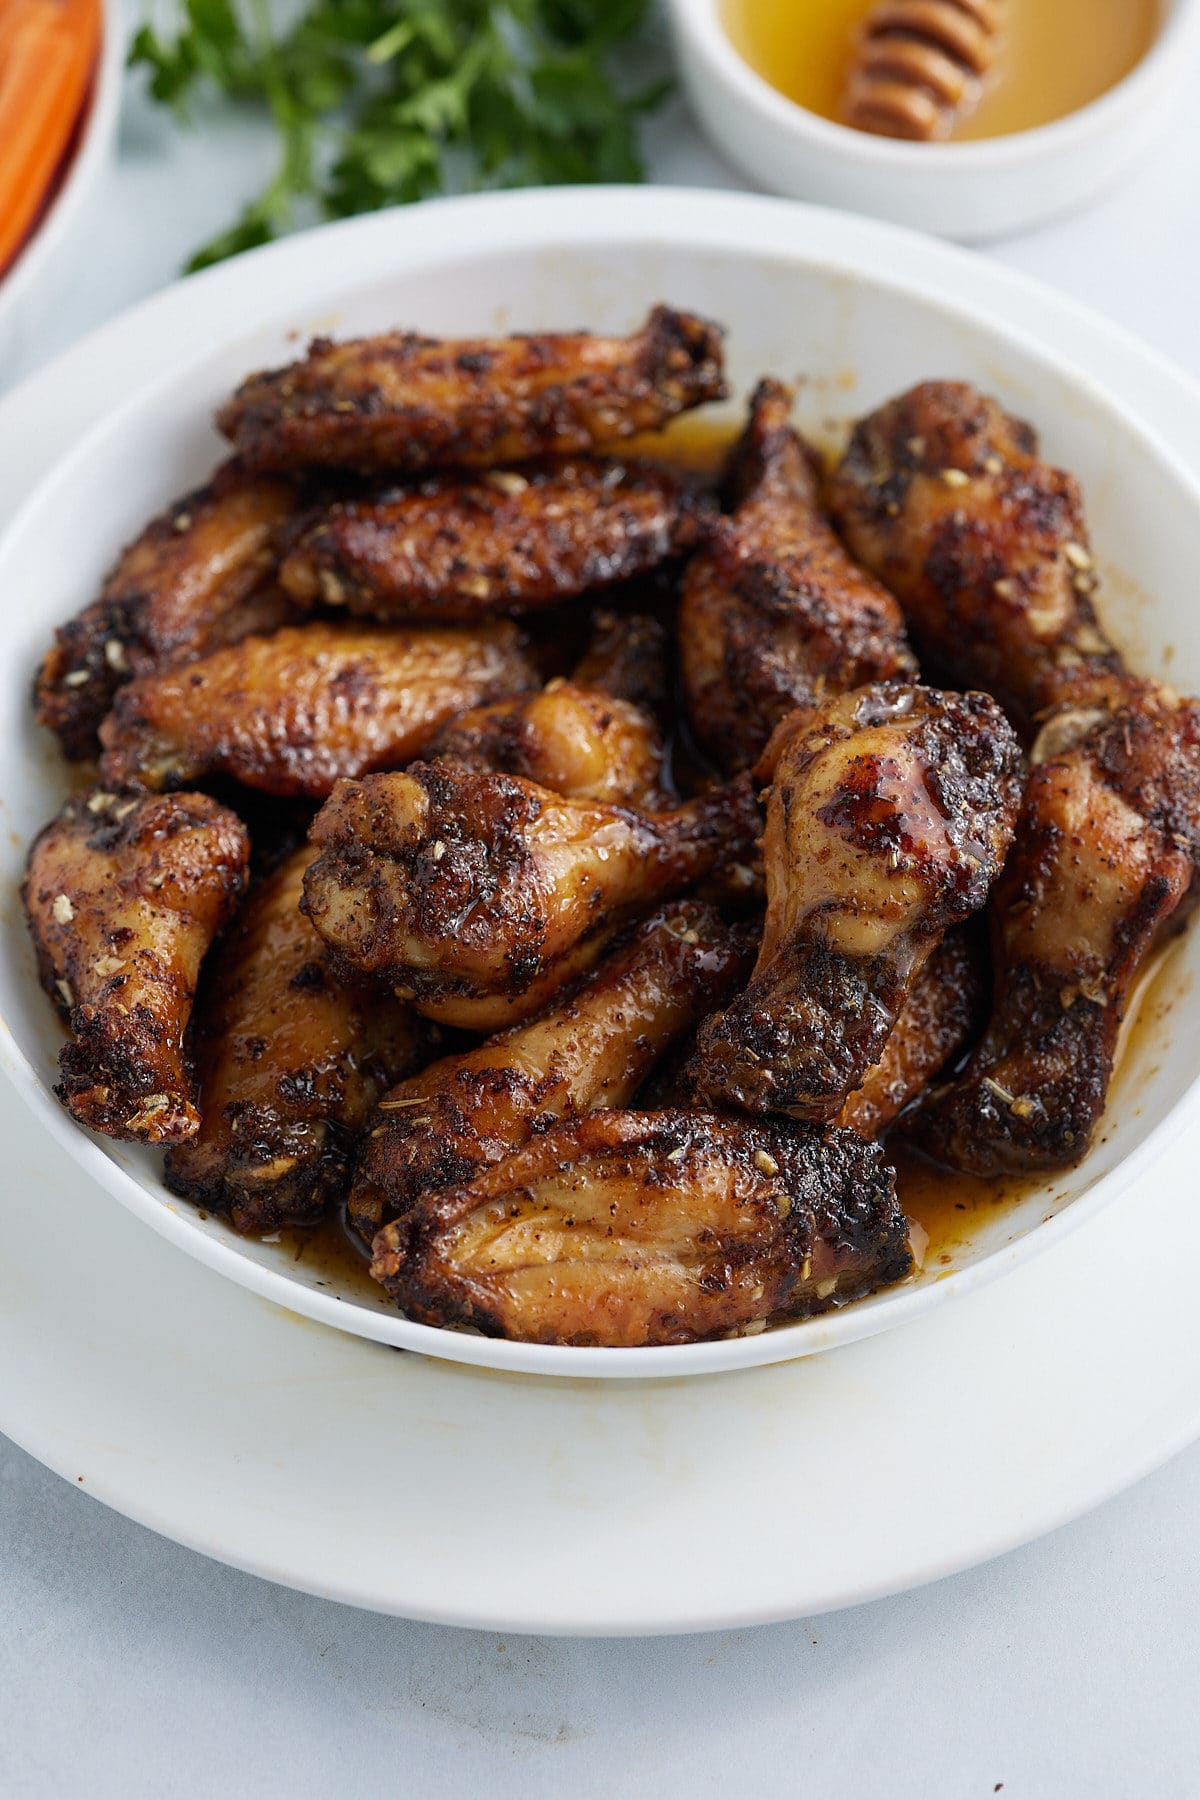
Perfectly sweet and totally addictive, these honey garlic chicken wings are so quick and easy to cook in the air fryer. Perfectly tender and juicy, the honey garlic sauce has a spicy kick that is hard to resist!
You’ll find the full recipe with ingredient amounts and instructions in the recipe card at the bottom of this post. Be sure to check out the blog post itself for extra tips and tricks!
Let's be honest, there is never a bad time for wings, whether you are watching the game or enjoying a family feast, they are always a crowd pleaser!

These honey garlic chicken wings are sweet, sticky, and really good. My only regret whenever I make them is not making more.
I like using the air fryer for these because they're done in about half the time as in the oven, and they're less hassle than deep frying. They come out tender and juicy every time.
If you like these, you should also try my Lemon Pepper Chicken Wings and Garlic Parmesan Wings.
♡ Tanya
Ingredient amounts and full recipe instructions are on the printable recipe card at the bottom of the post.
For the Chicken:
For the Sauce:
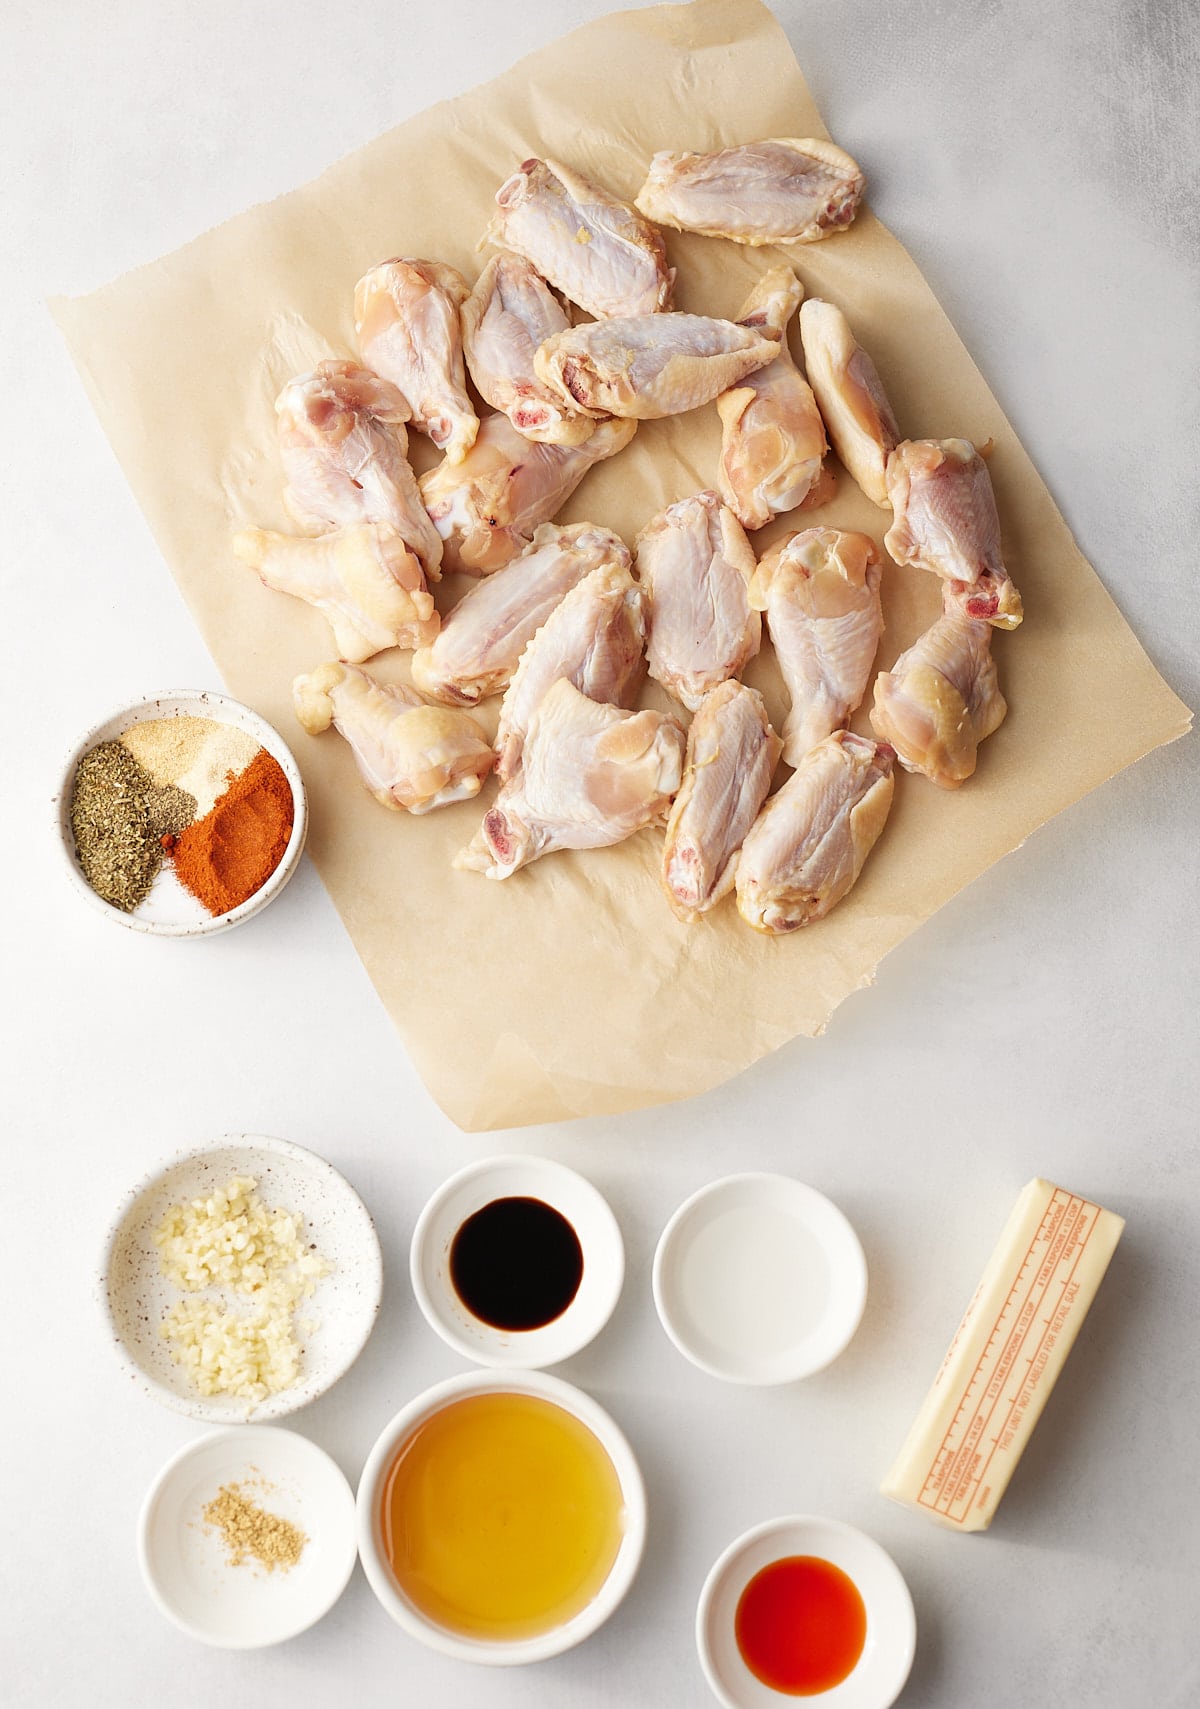
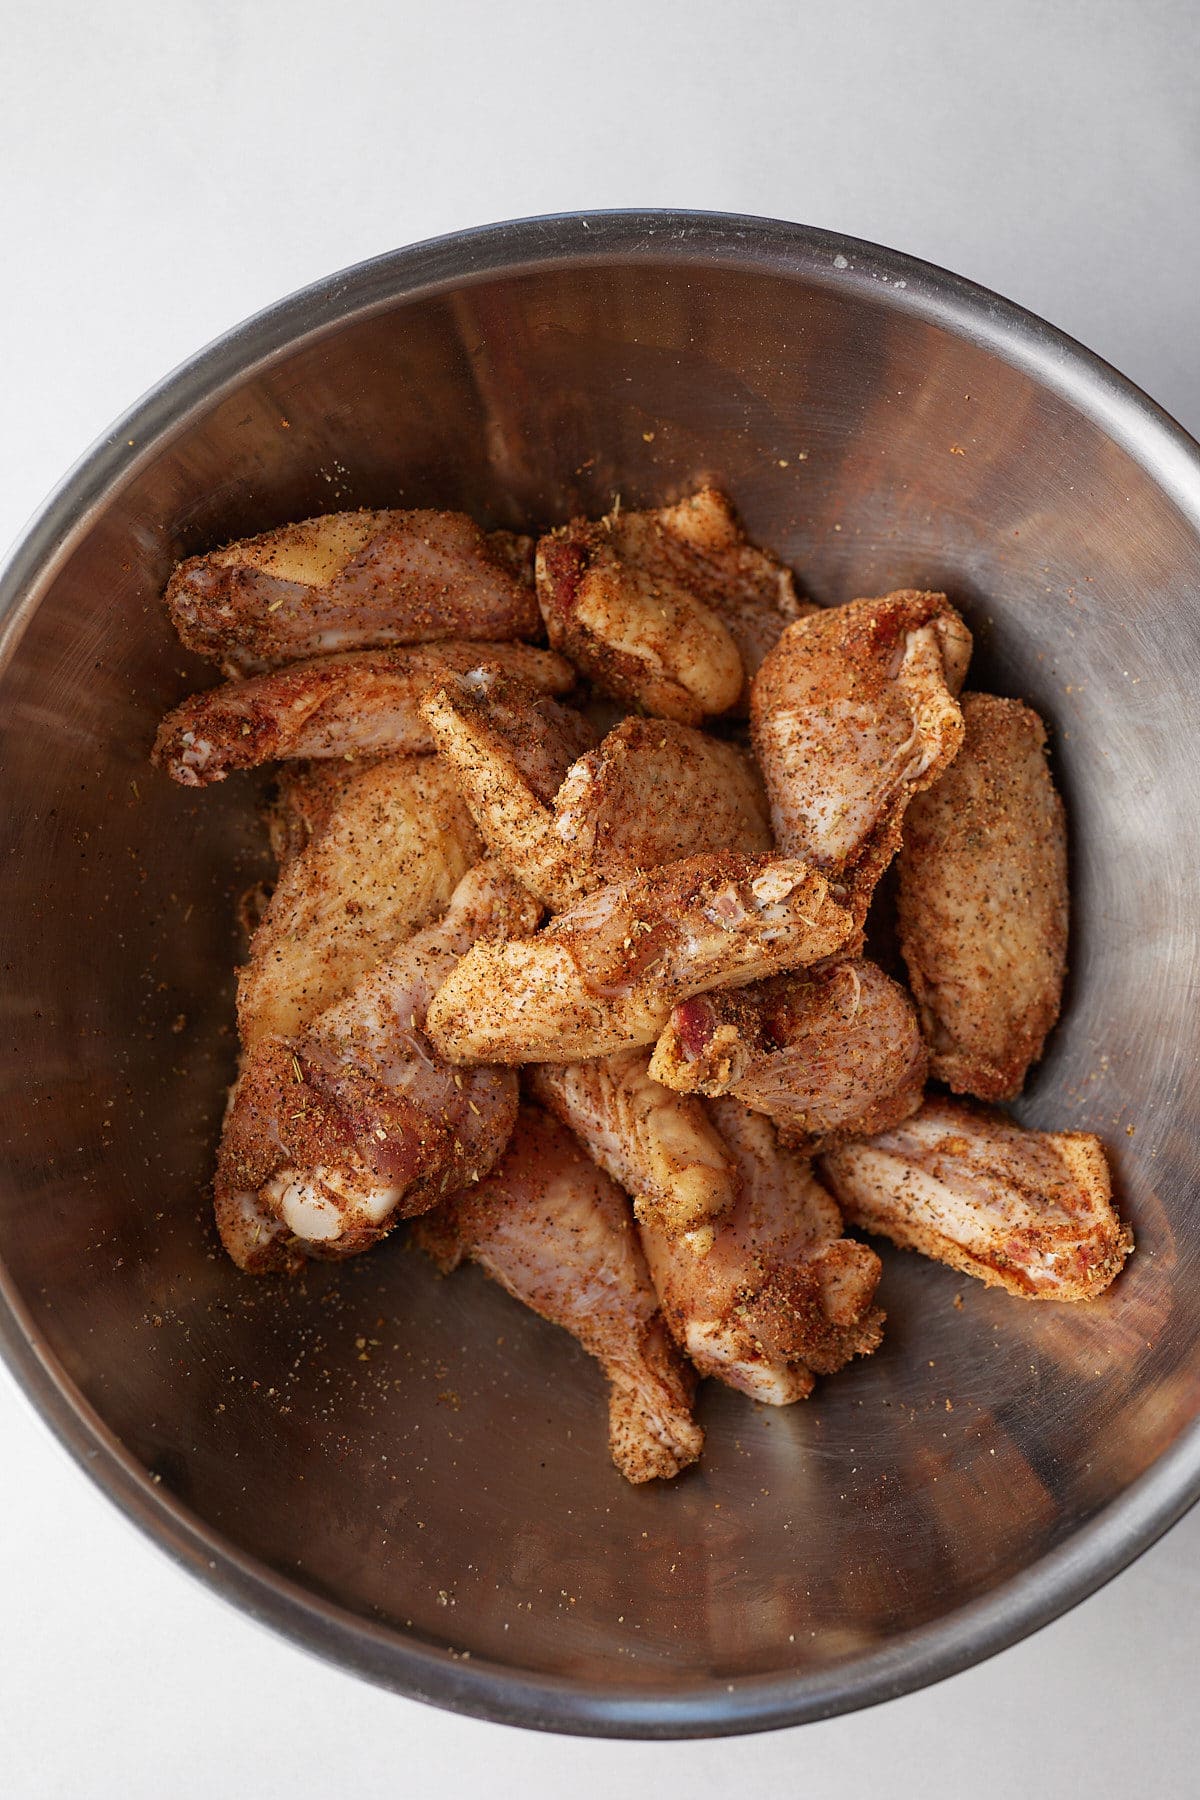
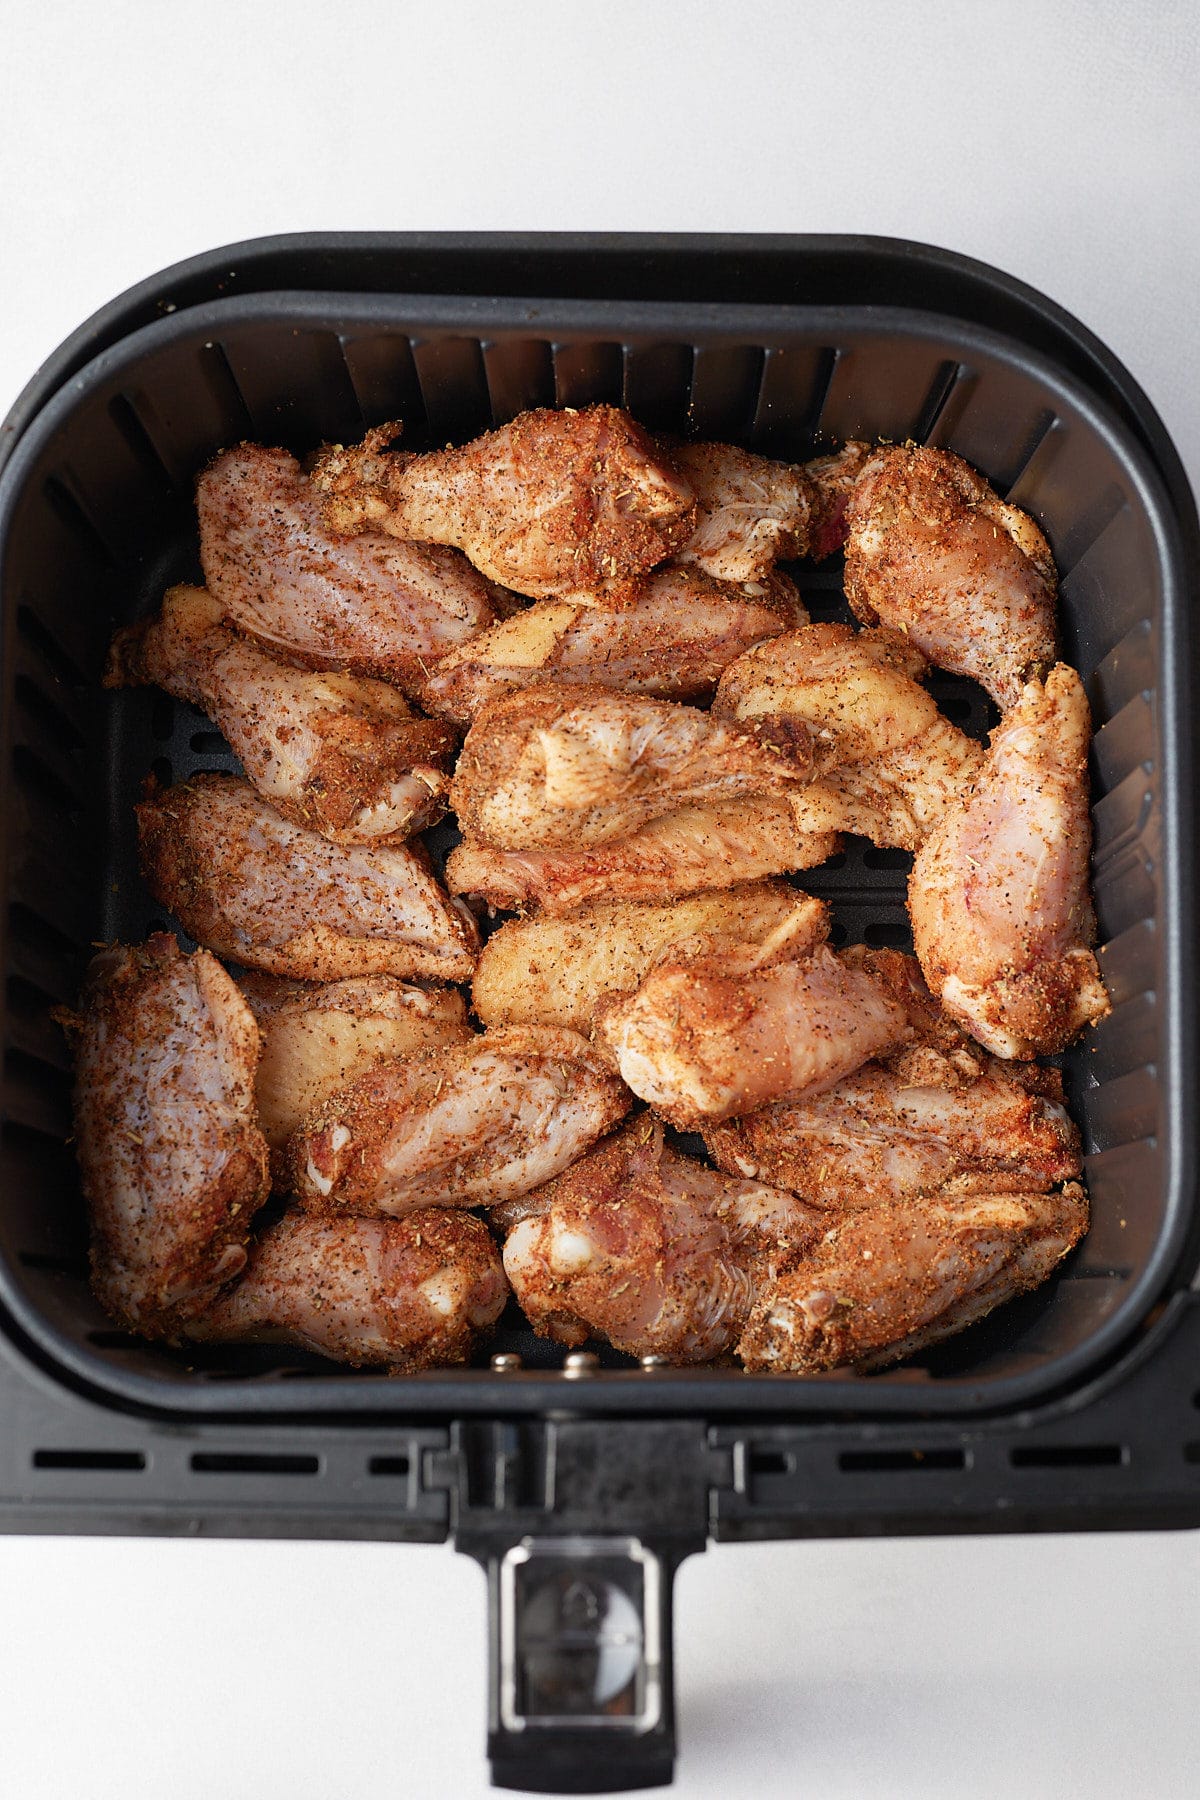
Step 1: Gather your ingredients. Preheat the air fryer basket to 400 degrees Fahrenheit for about 2-3 minutes. Season chicken wings with kosher salt, black pepper, garlic powder, Italian seasoning, onion powder, and paprika.
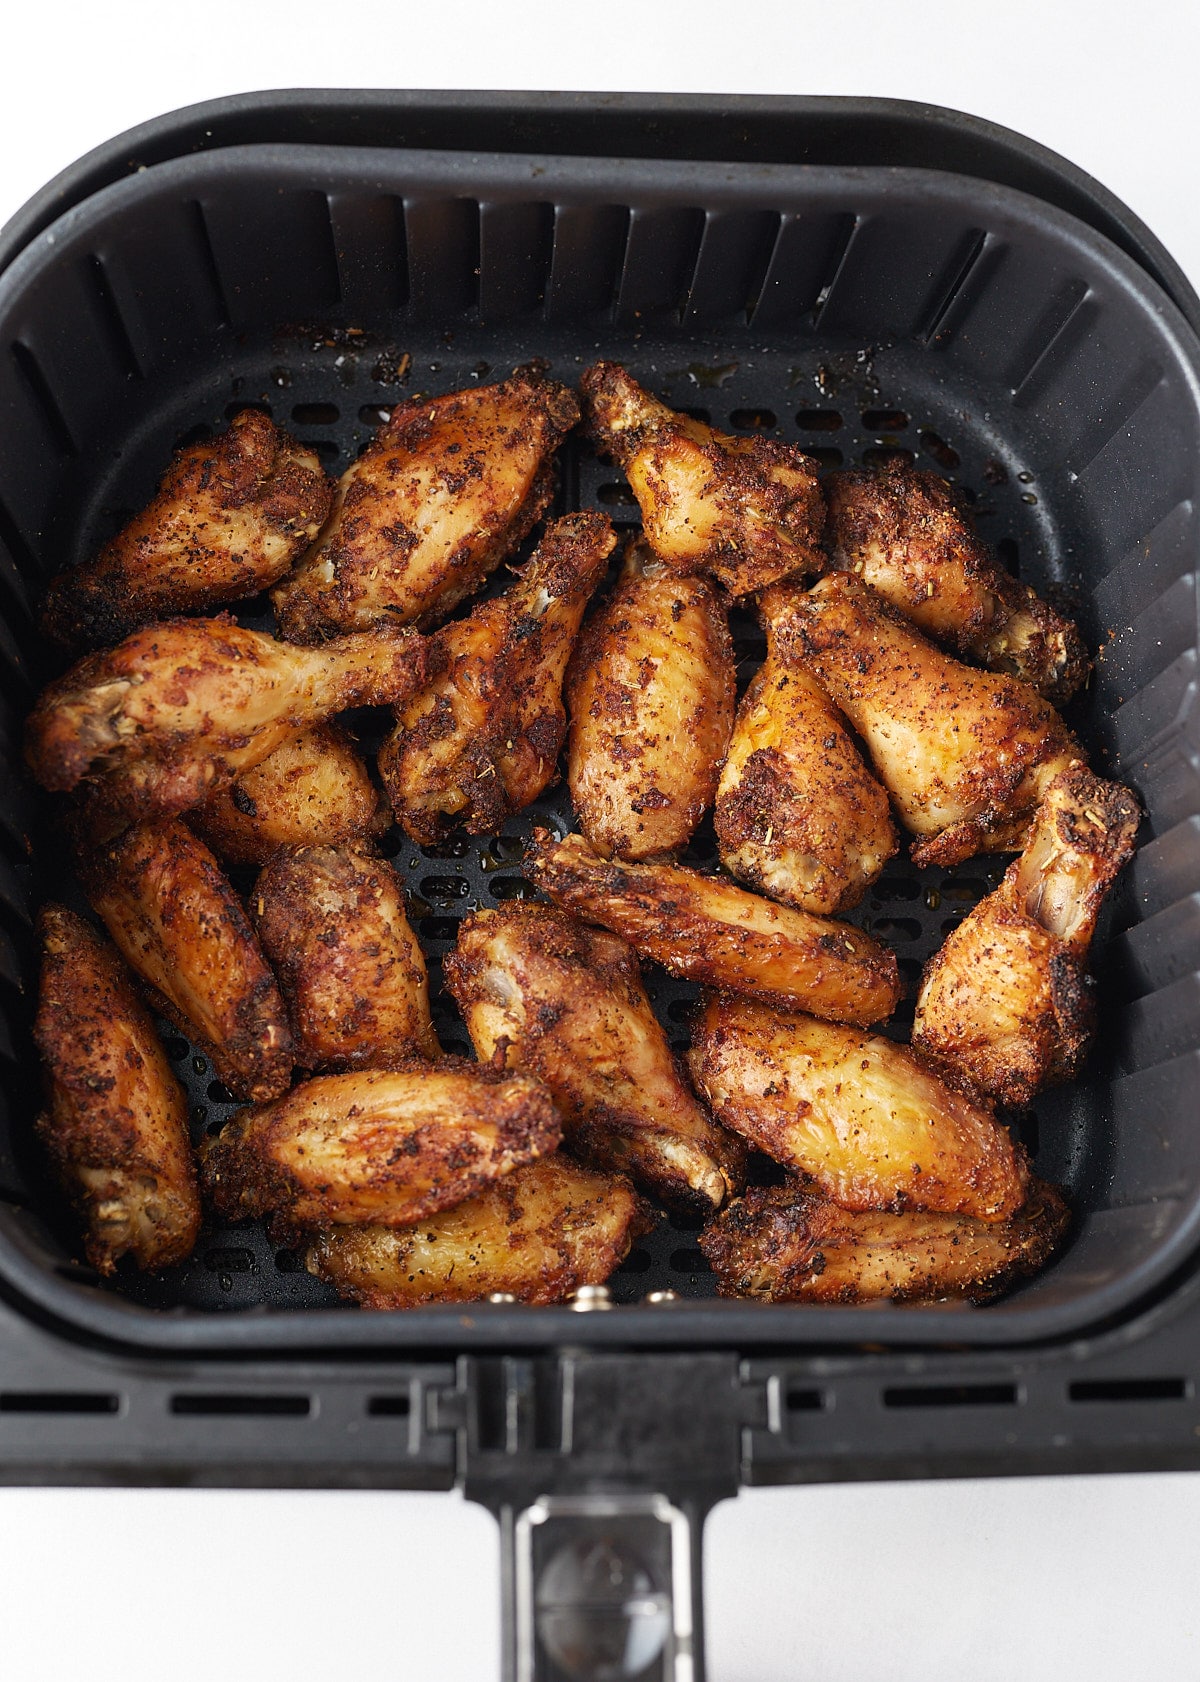
Step 2: Add the chicken wings to the basket and cook for 20-25 minutes, flipping them about every 7 minutes. Cook the wings until they are crispy and golden.
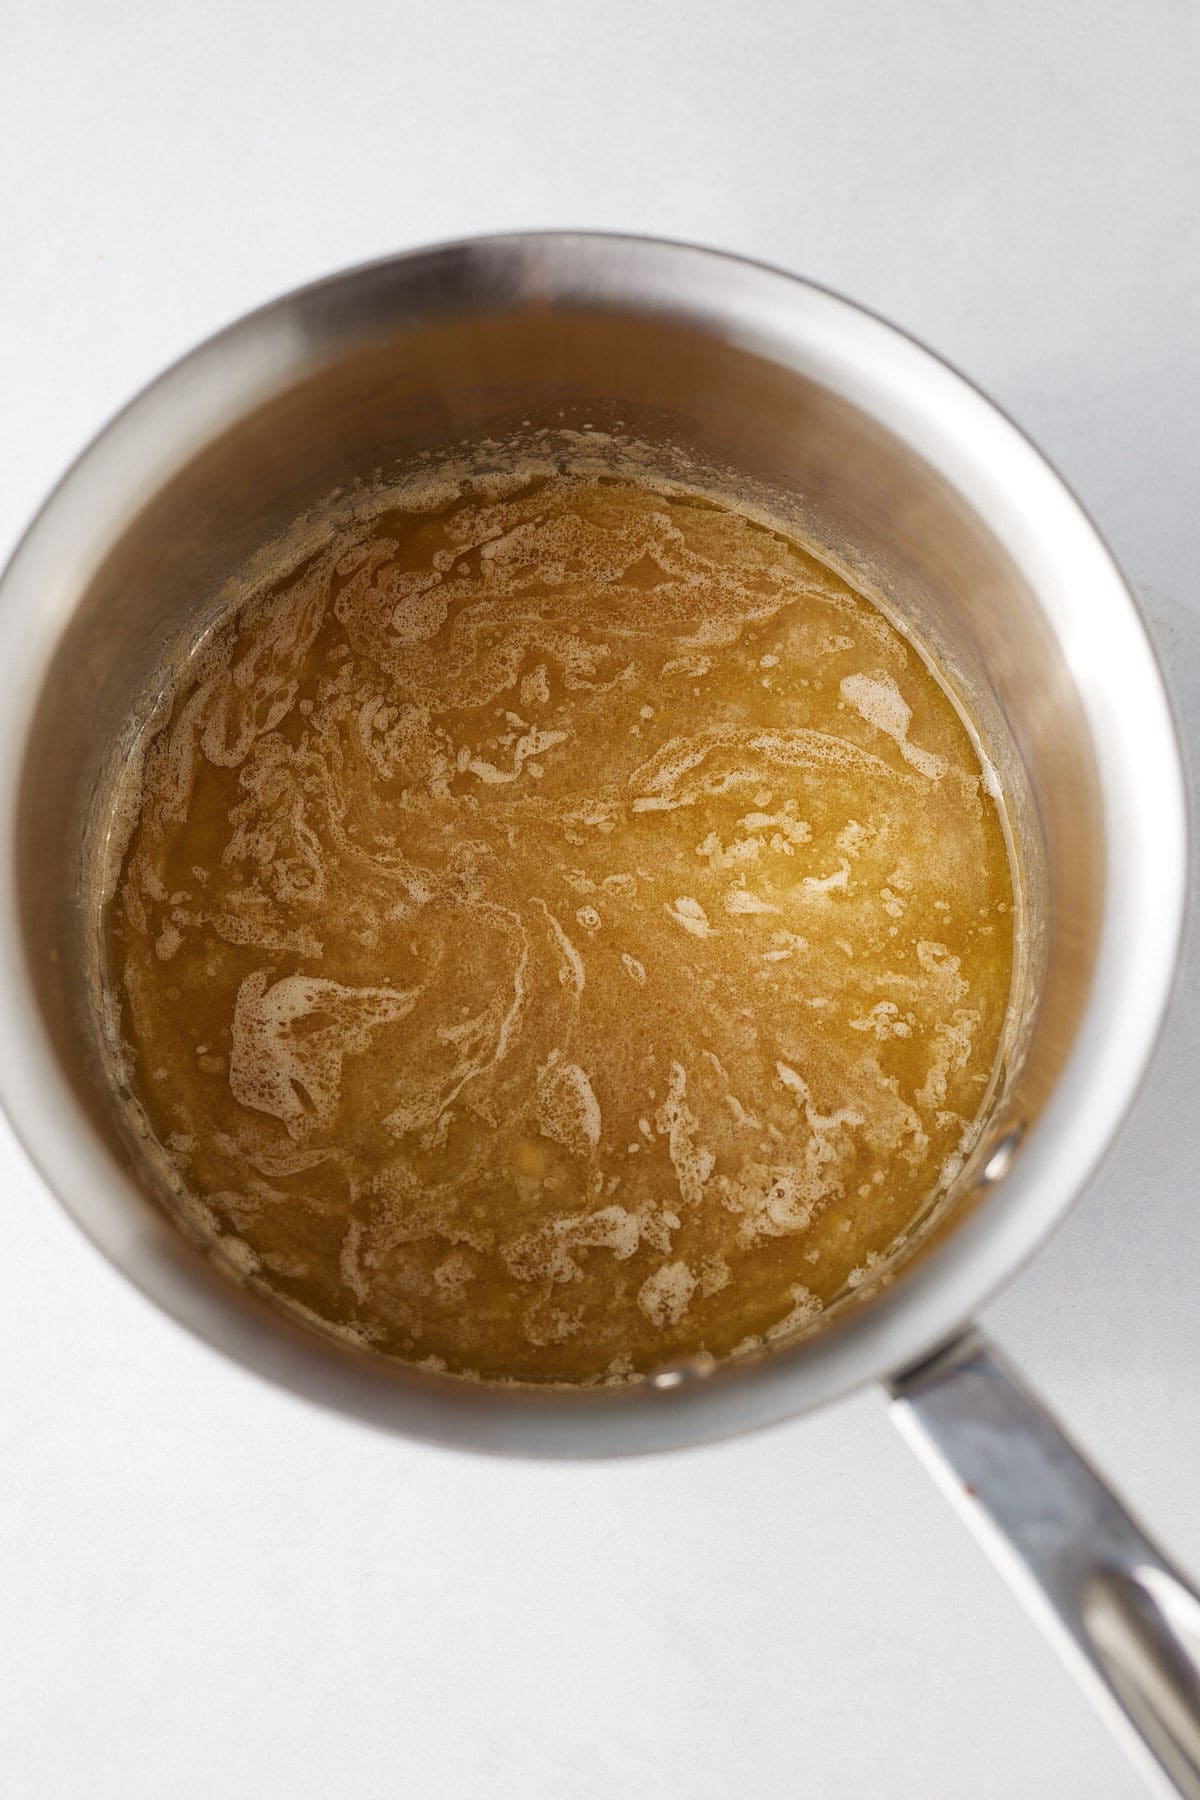
Step 3: Once done, remove the wings and place them in a large bowl. Meanwhile, combine butter, minced garlic, honey, vinegar, hot sauce, soy sauce, and ginger powder over medium-high heat. Stir until the butter is completely melted and all ingredients are combined.
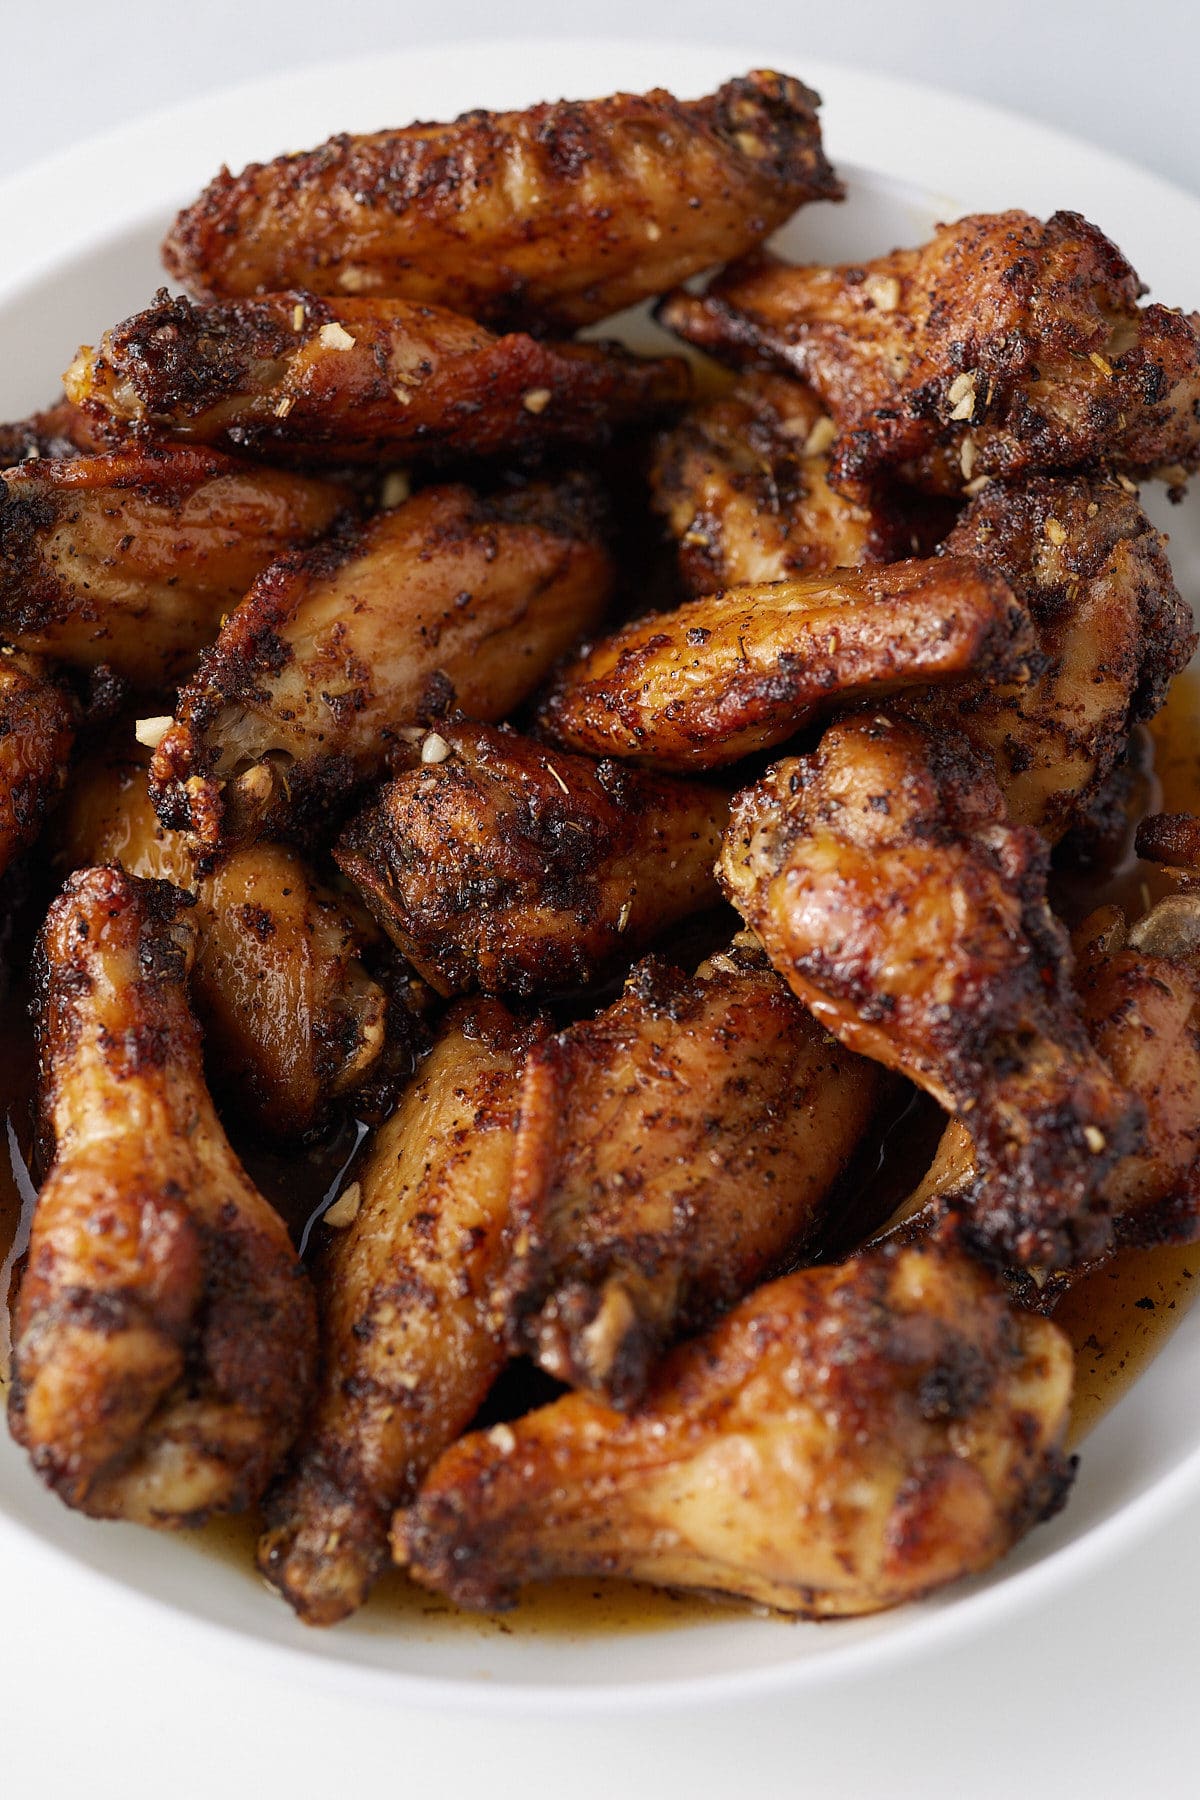
Step 4: Pour the sauce over the cooked chicken wings in the bowl, then toss to coat all the chicken. Serve and enjoy.
You can use frozen wings in this recipe, but it's best to thaw them fully before seasoning and cooking. Let them thaw in the fridge overnight before using. Be sure to pat them dry before starting the recipe; this will remove excess water and help them to crisp up beautifully.
If you'd like to cook the wings from frozen, follow the tips in my Air Fryer Frozen Chicken wings post.
If you don't have an air fryer, you can bake the seasoned wings at 425°F (220°C) for 40 to 45 minutes on a wire rack, flipping once, before tossing them in the sauce.
These air fryer honey garlic chicken wings make for a great appetizer served with carrot and celery sticks and your favorite dips. I love to serve them with blue cheese sauce and ranch. You can also serve them as part of a larger meal, with fries and veggies on the side.
The sauce is incredible, so serving this over rice is a great idea.
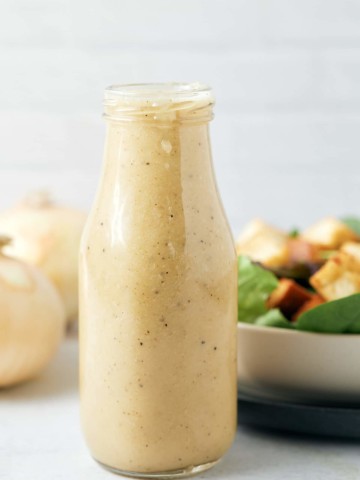
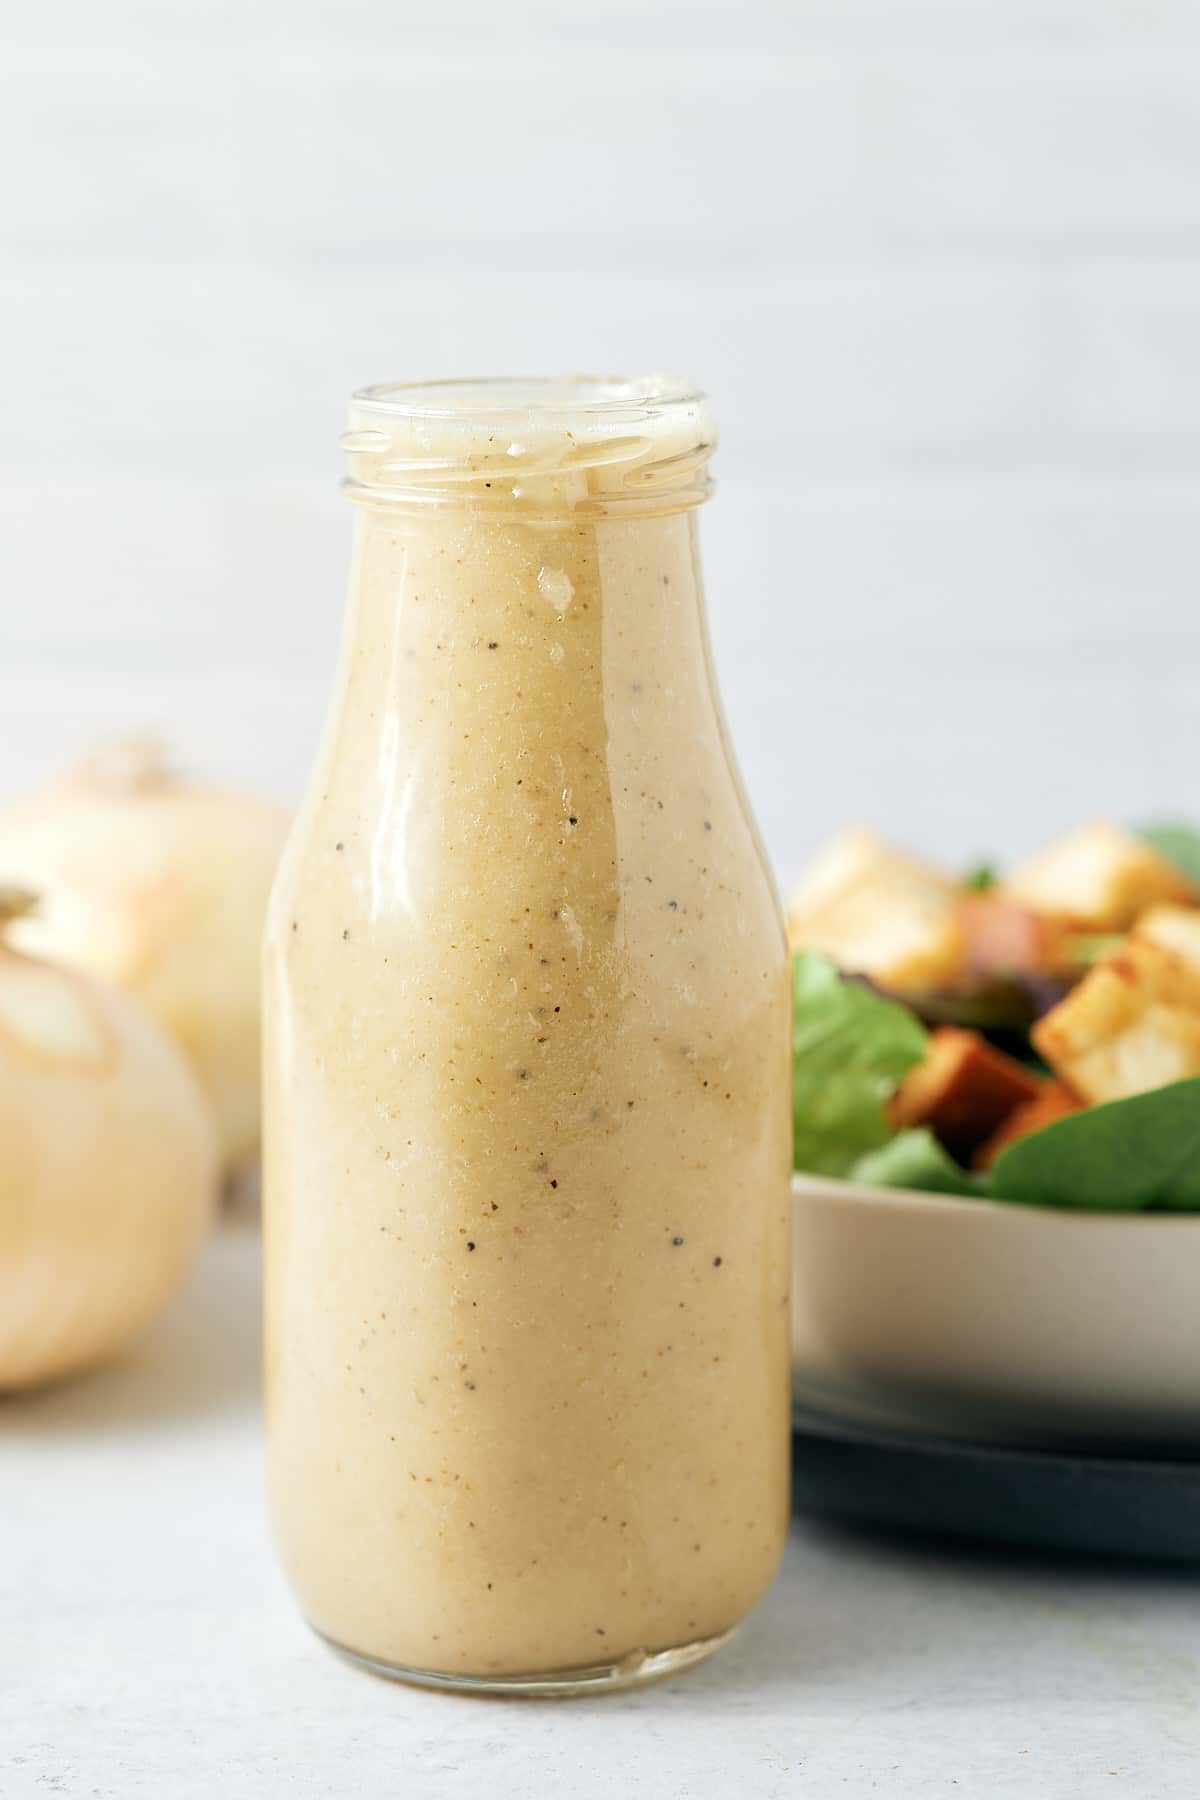
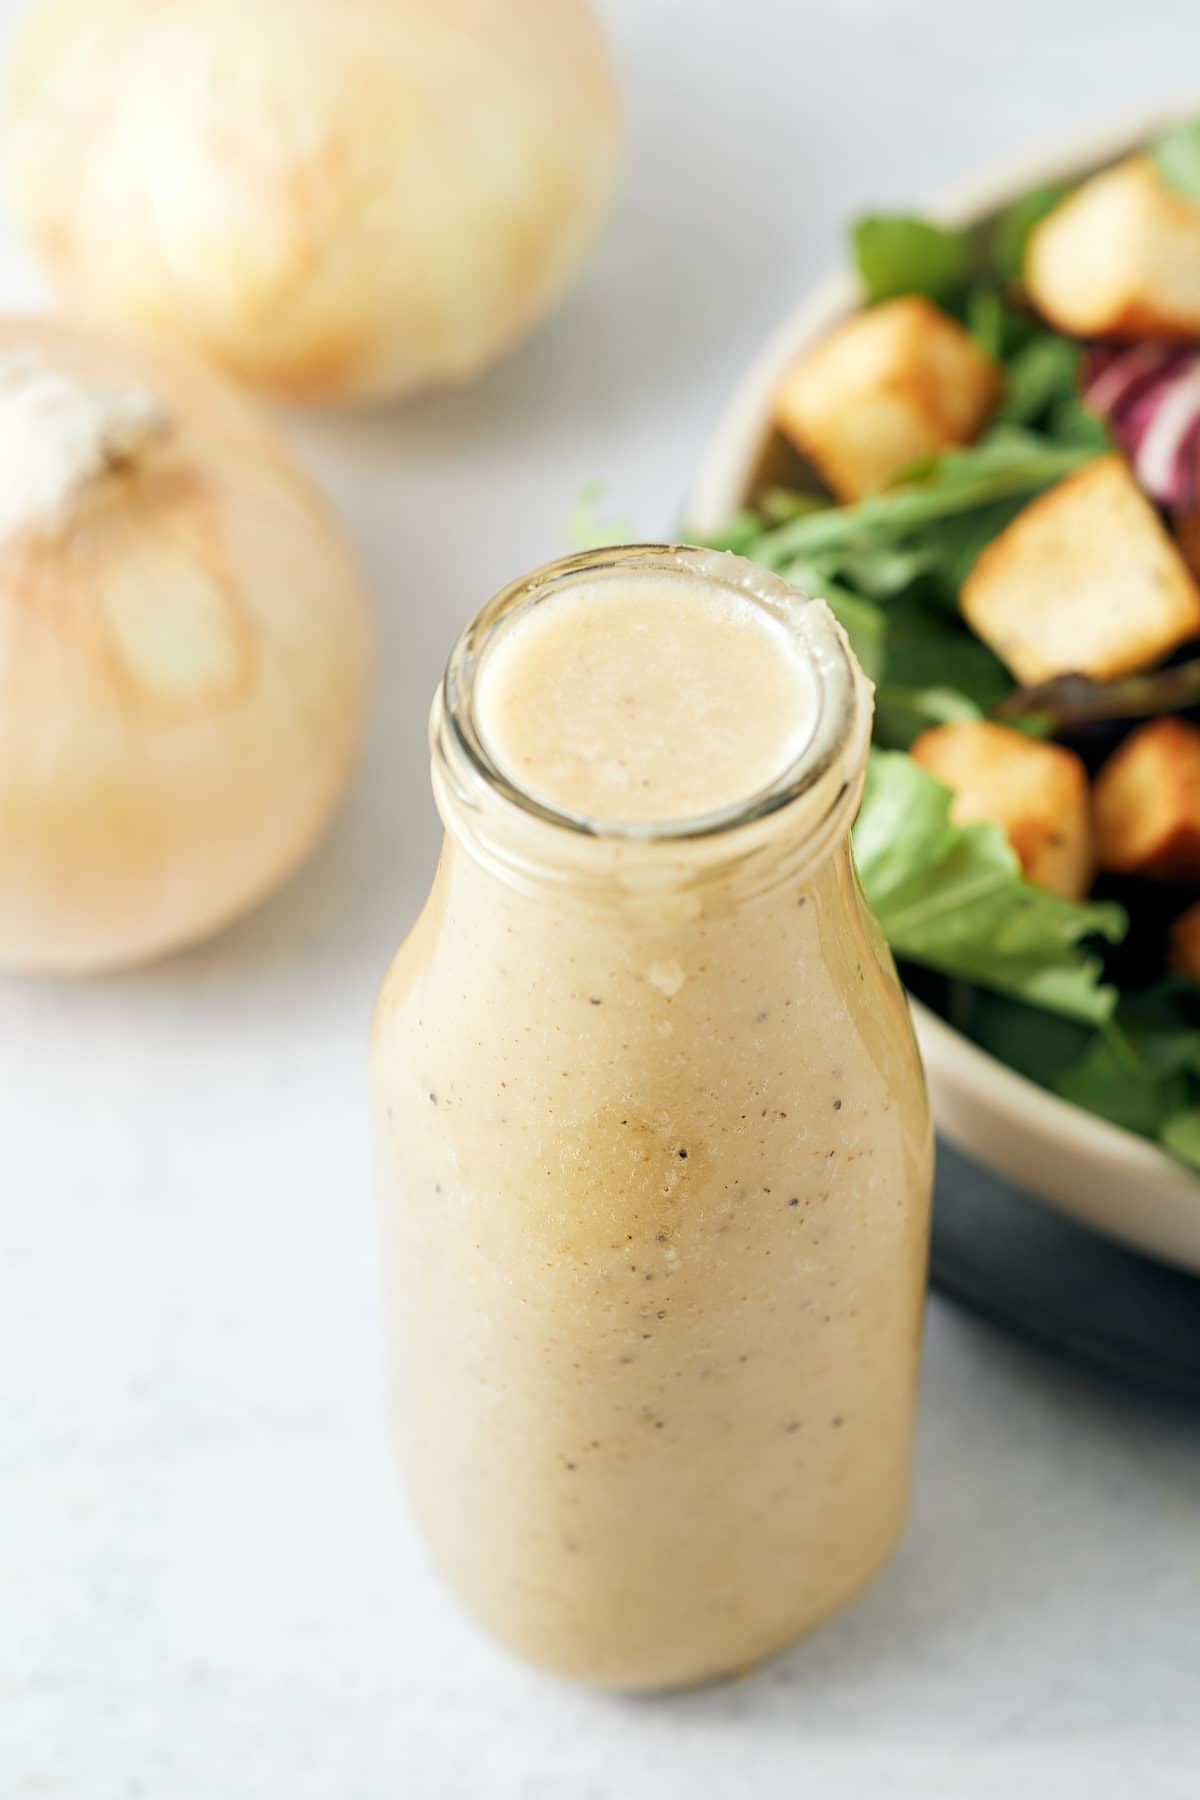
Add some flavor to your salads with this delicious sweet onion dressing recipe. Made from scratch, this easy recipe takes minutes to make and is the perfect balance of sweet and tangy. I know you are going to love this one!
This post contains affiliate links, please read my full disclaimer here.
You’ll find the full recipe with ingredient amounts and instructions in the recipe card at the bottom of this post. Be sure to check out the blog post itself for extra tips and tricks!
My top tip for eating more salads is to make up a delicious salad dressing! This sweet onion sauce has got me eating salads all day long!
My first introduction to this delicious dressing was at a sandwich shop a.k.a Subway, and I had it on a turkey sandwich. Let's just say I've been hooked and this is one of my favorite dressings of all time.
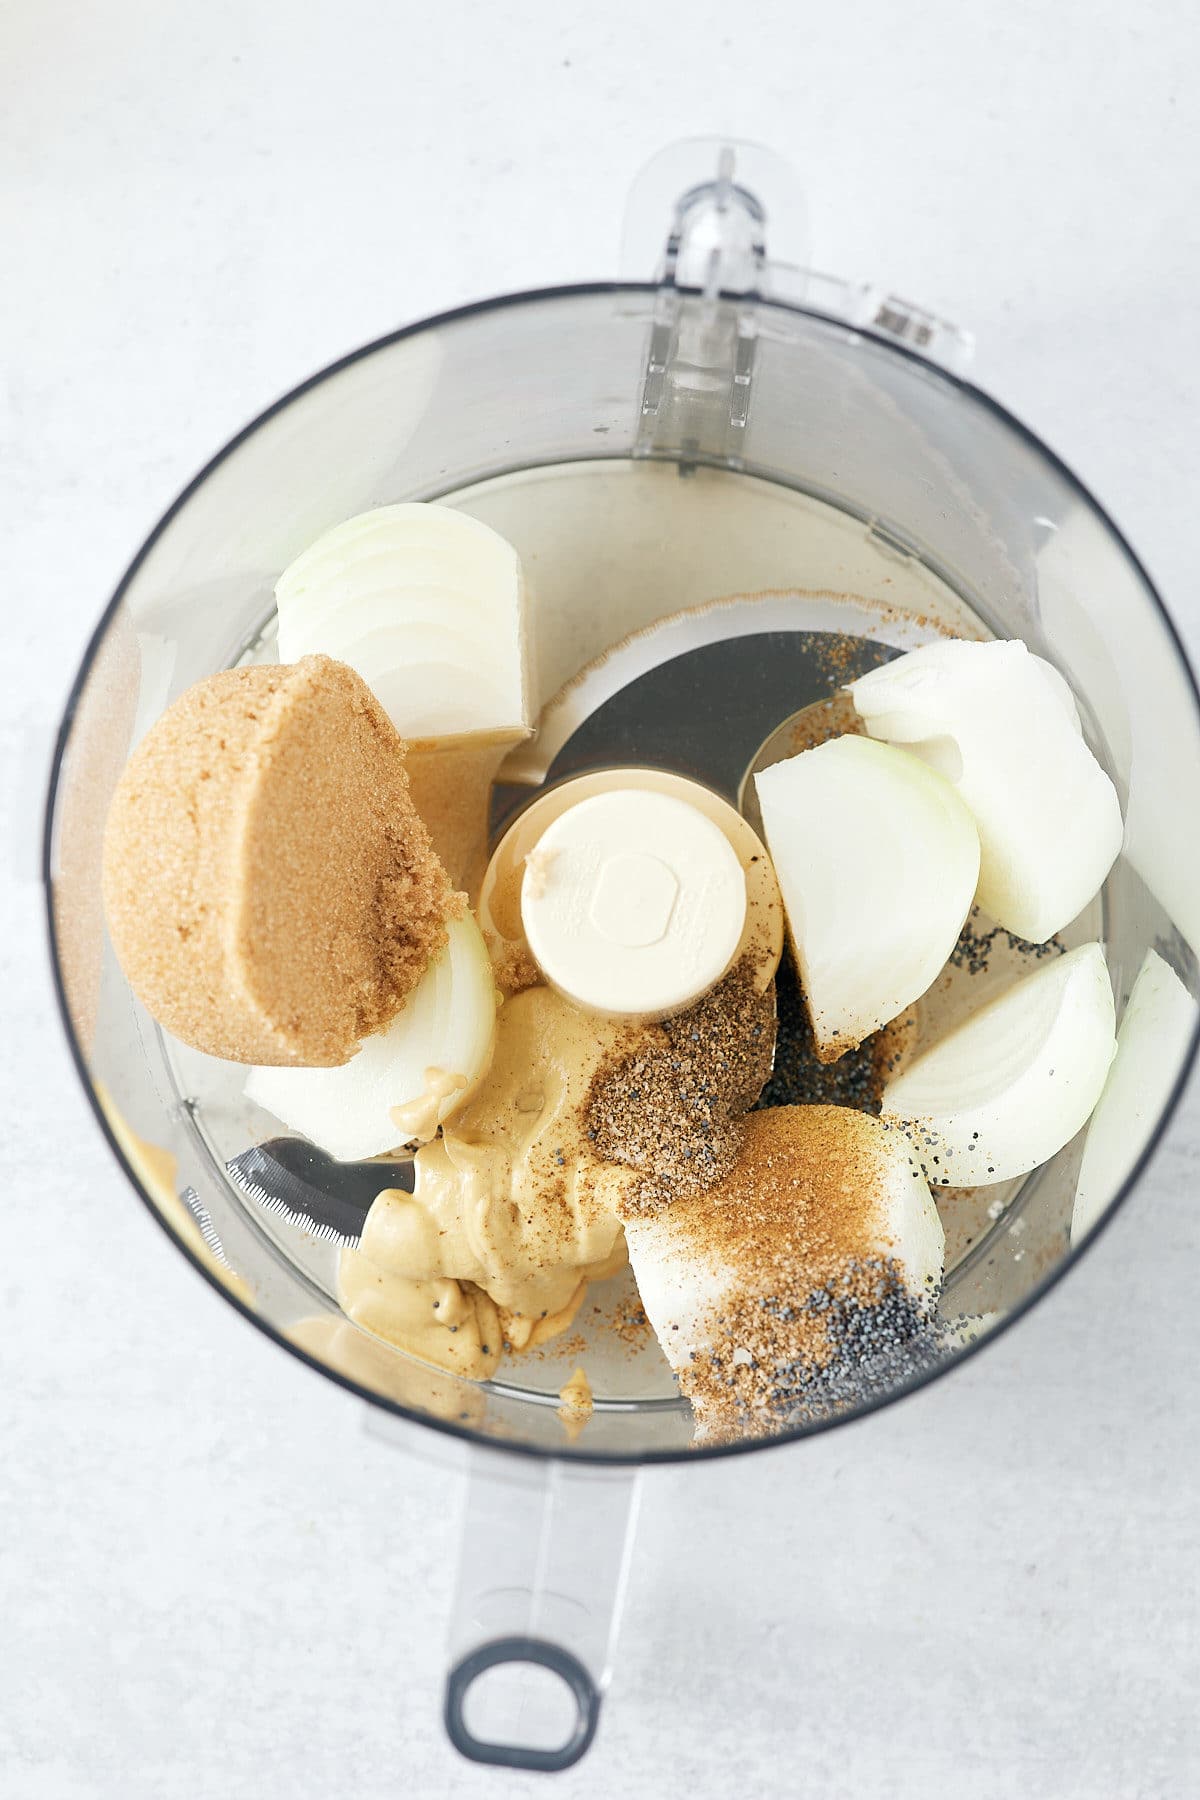
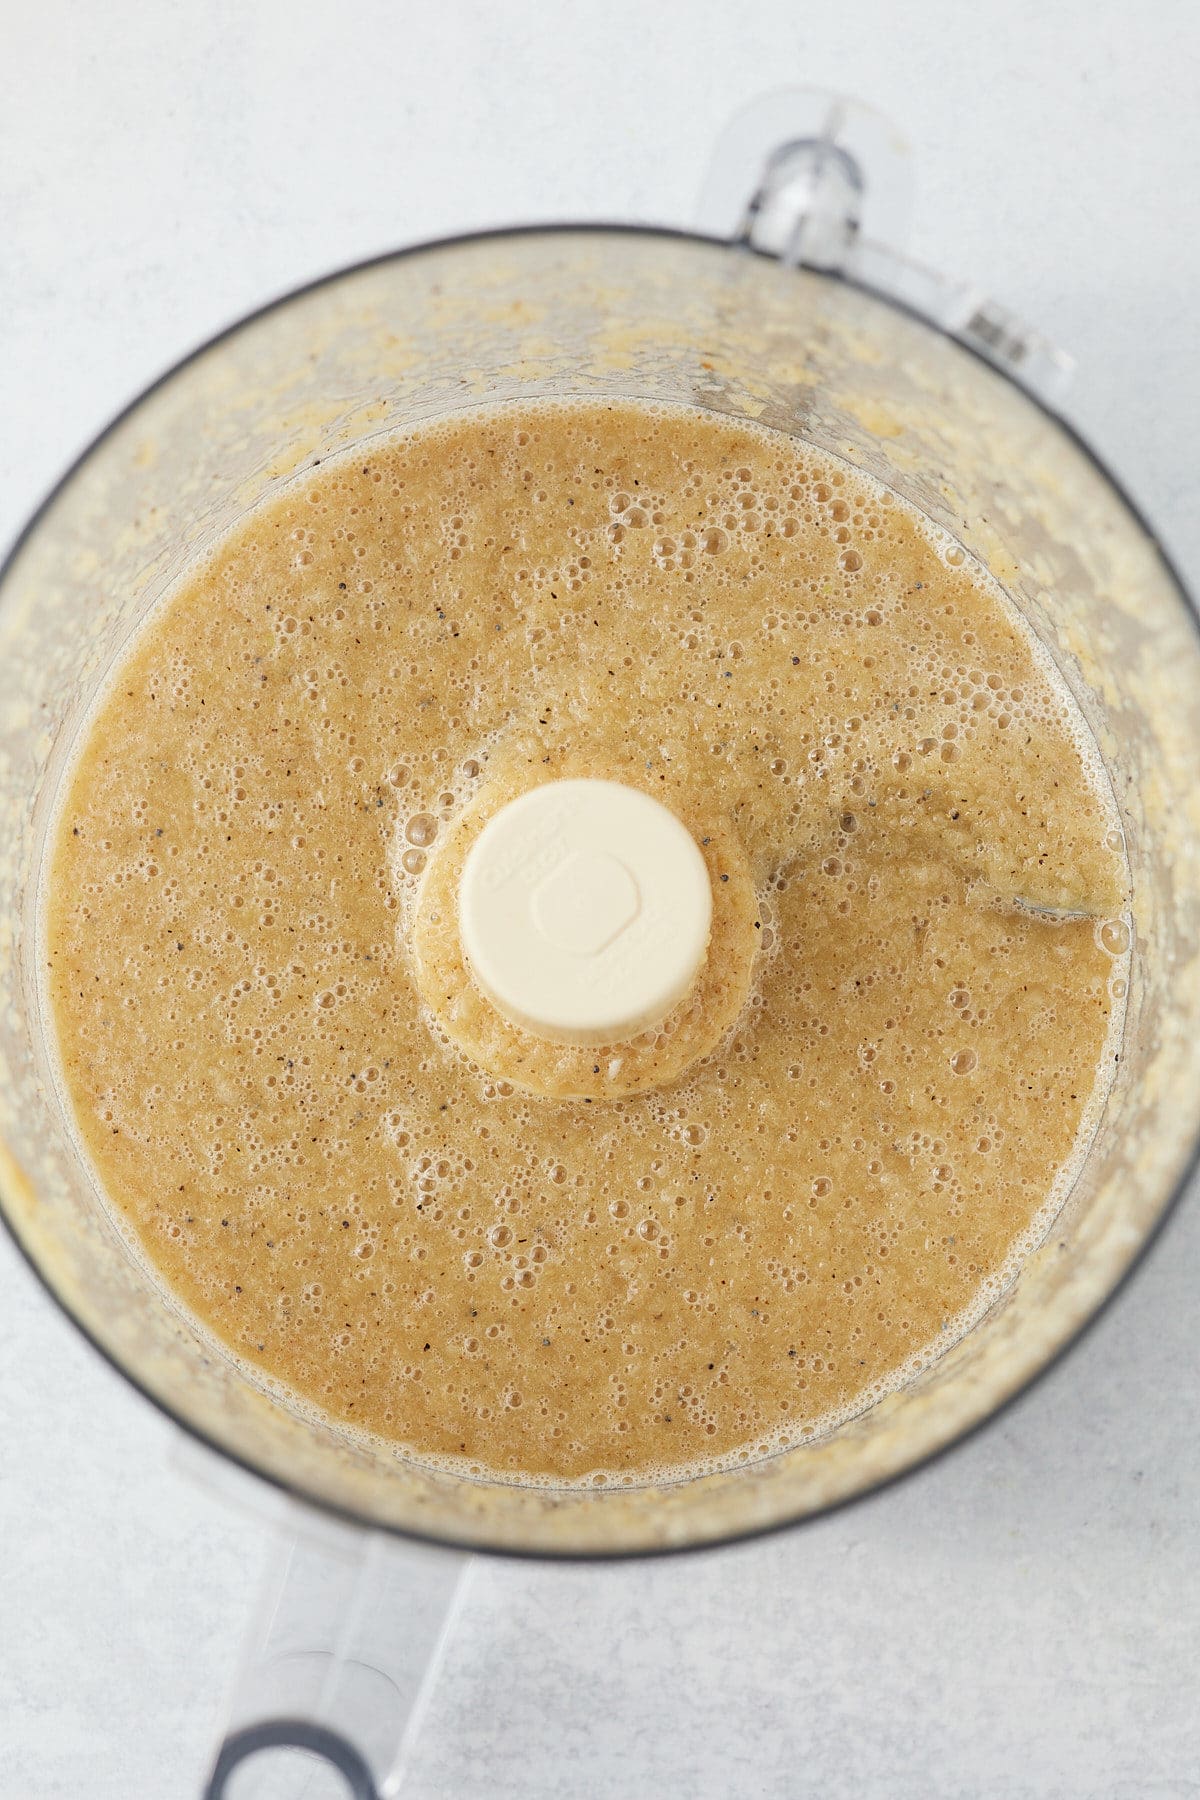
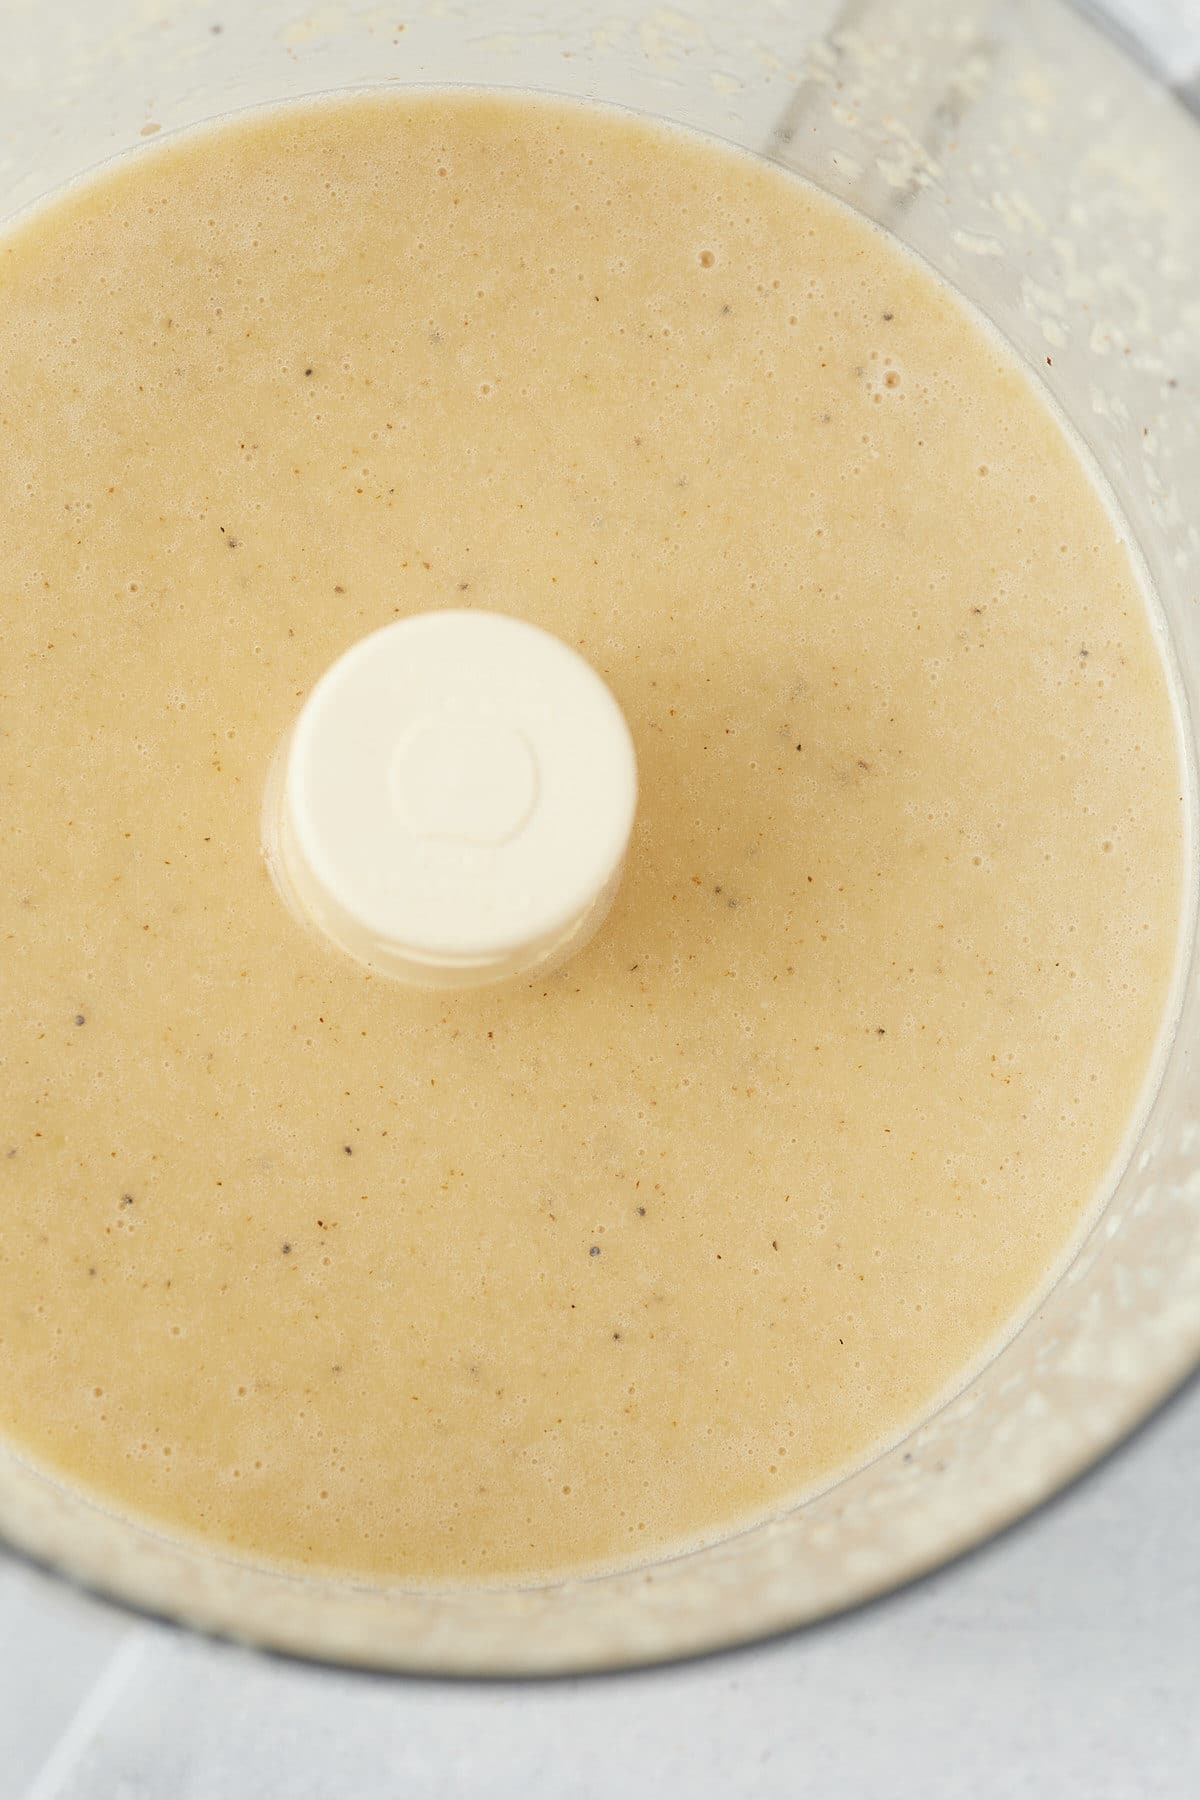
Easy to make with a handful of ingredients, this sweet onion dressing comes together quickly and easily and has a wonderful blend of sweet and tangy flavors. Made from scratch, without mayo, this vegan dressing is seasoned with Dijon mustard for a totally addictive taste.
This salad dressing works great with my Quinoa Avocado Salad and Rotisserie Chicken Salad. Or pour it on greens topped with homemade croutons.
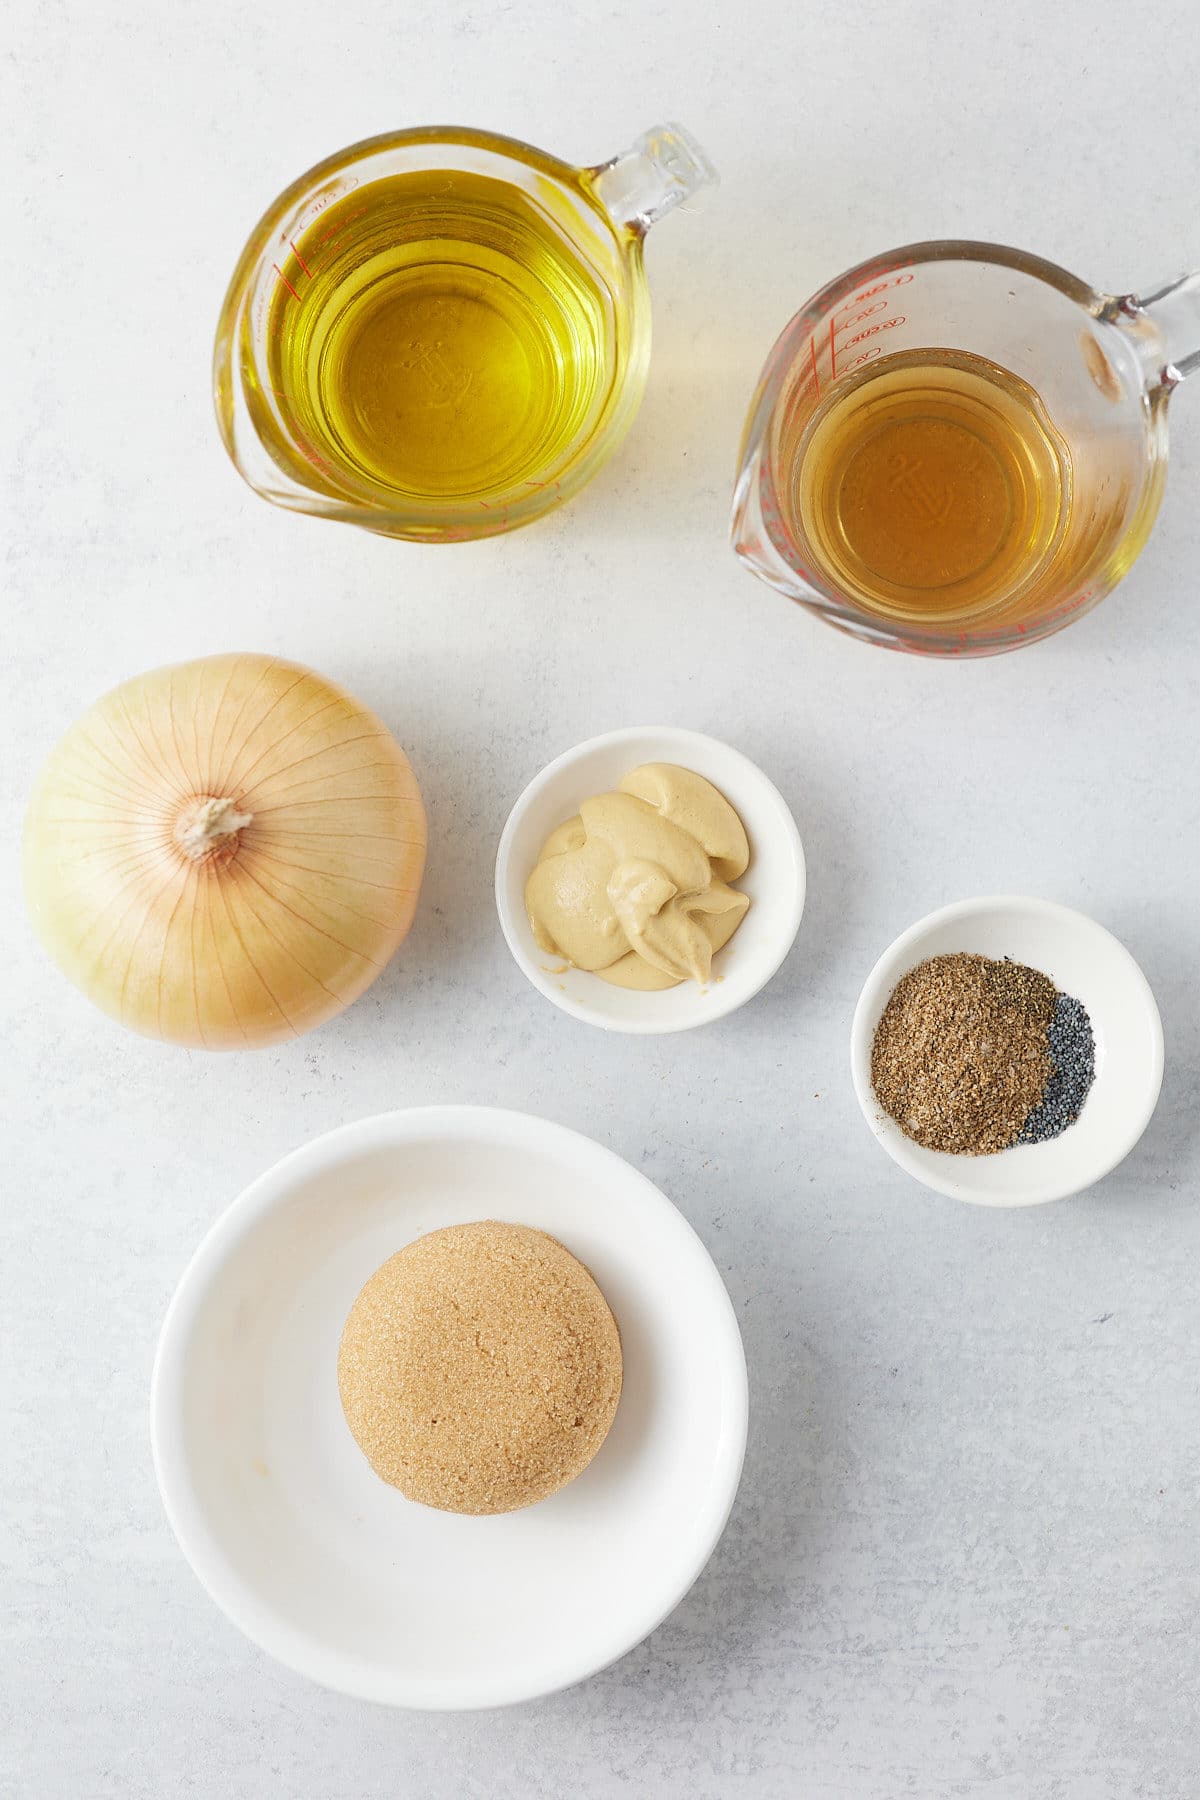
Sweet onions tend to be larger than yellow onions and they have a slightly flatter shape with lighter colored skin. They naturally have a higher sugar content than white onions and they have a less sharp taste. Vidalias, Walla Wallas, and Texas Spring Sweet are the most common varieties of sweet onions.
Different types of onions will taste different in this recipe. I don't recommend that you use yellow onions in this recipe. Their flavor is much stronger and it could be quite overwhelming. Milder onions like reds or green onions could be used, but you may need to add a little extra sugar as they don't have the same sweet flavor.
Since this dressing is sweet, a strong or even bitter green pairs well with it. I love this on a green salad mix, kale, or even spinach.
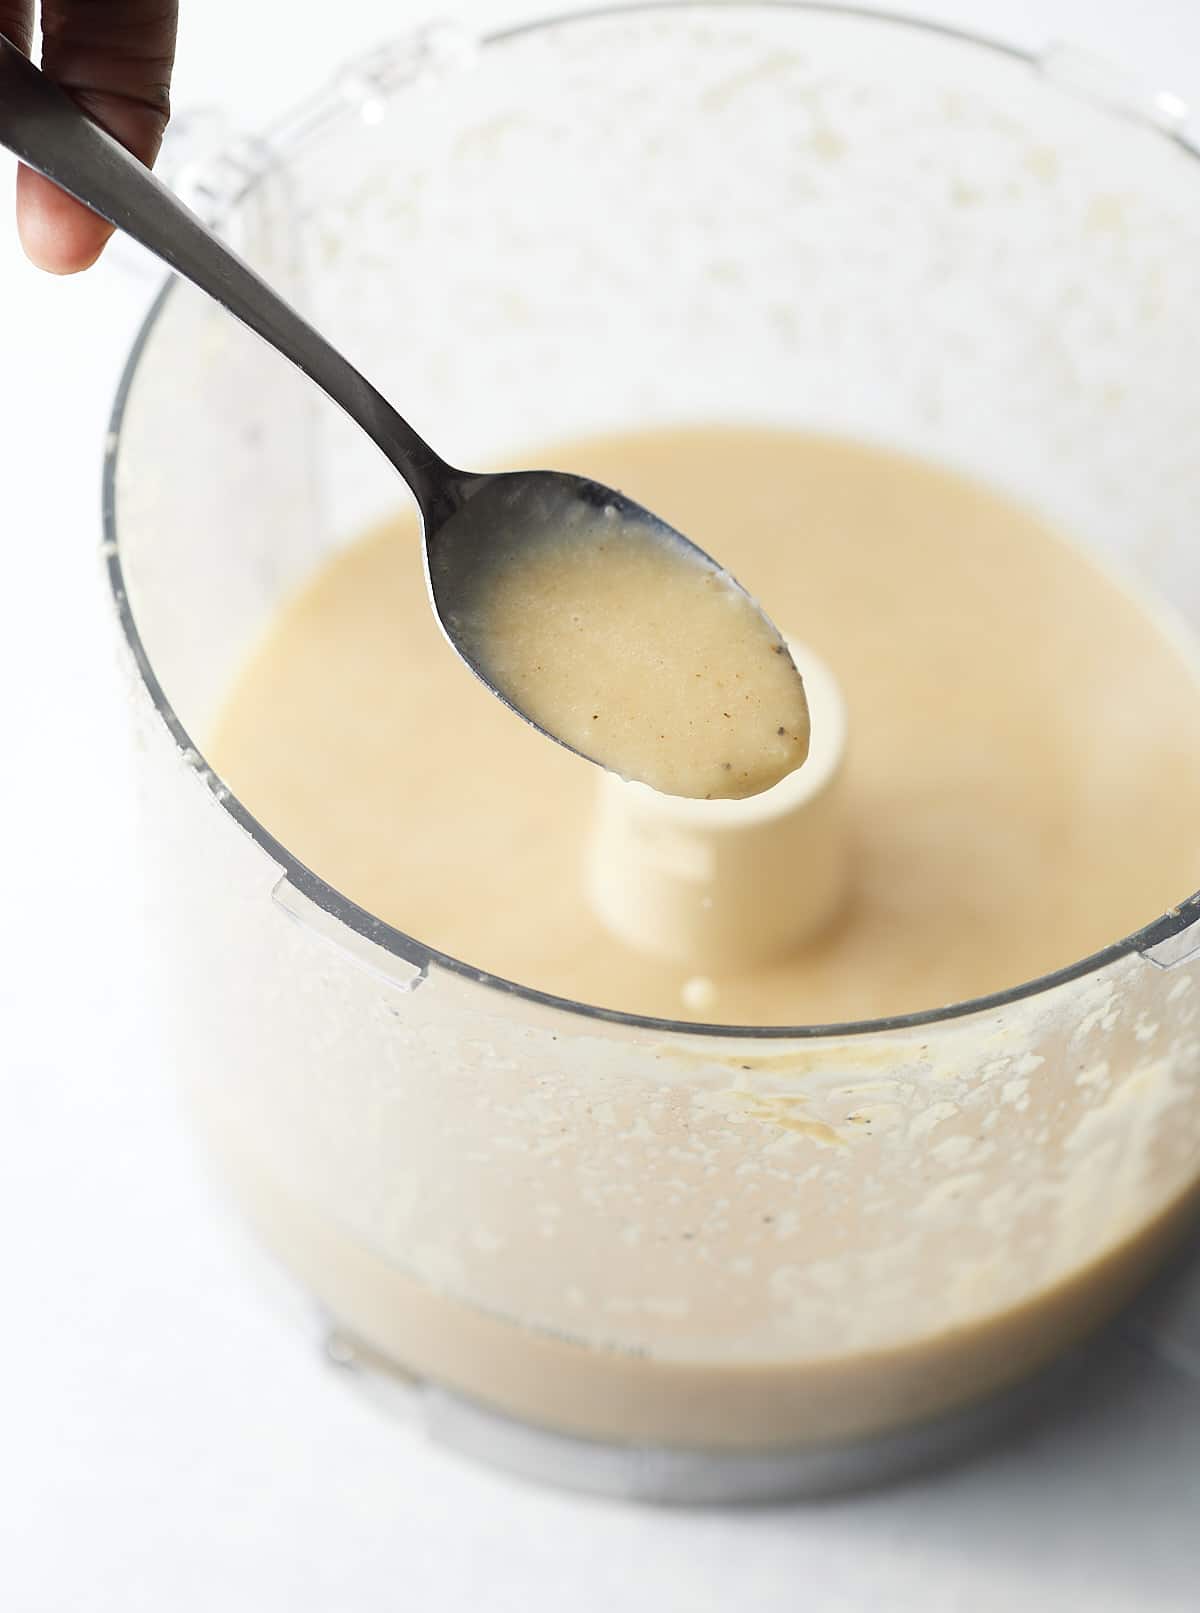
This dressing is ready to use straight away. Once blended, transfer it to a glass jar or air-tight container and keep it sealed and refrigerated. It will keep well for up to about 5 days, just give it a good shake before using as the ingredients may separate when the dressing sits.
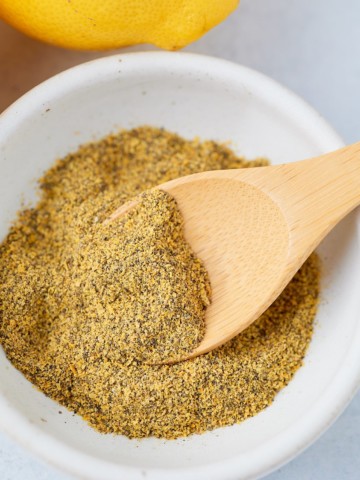
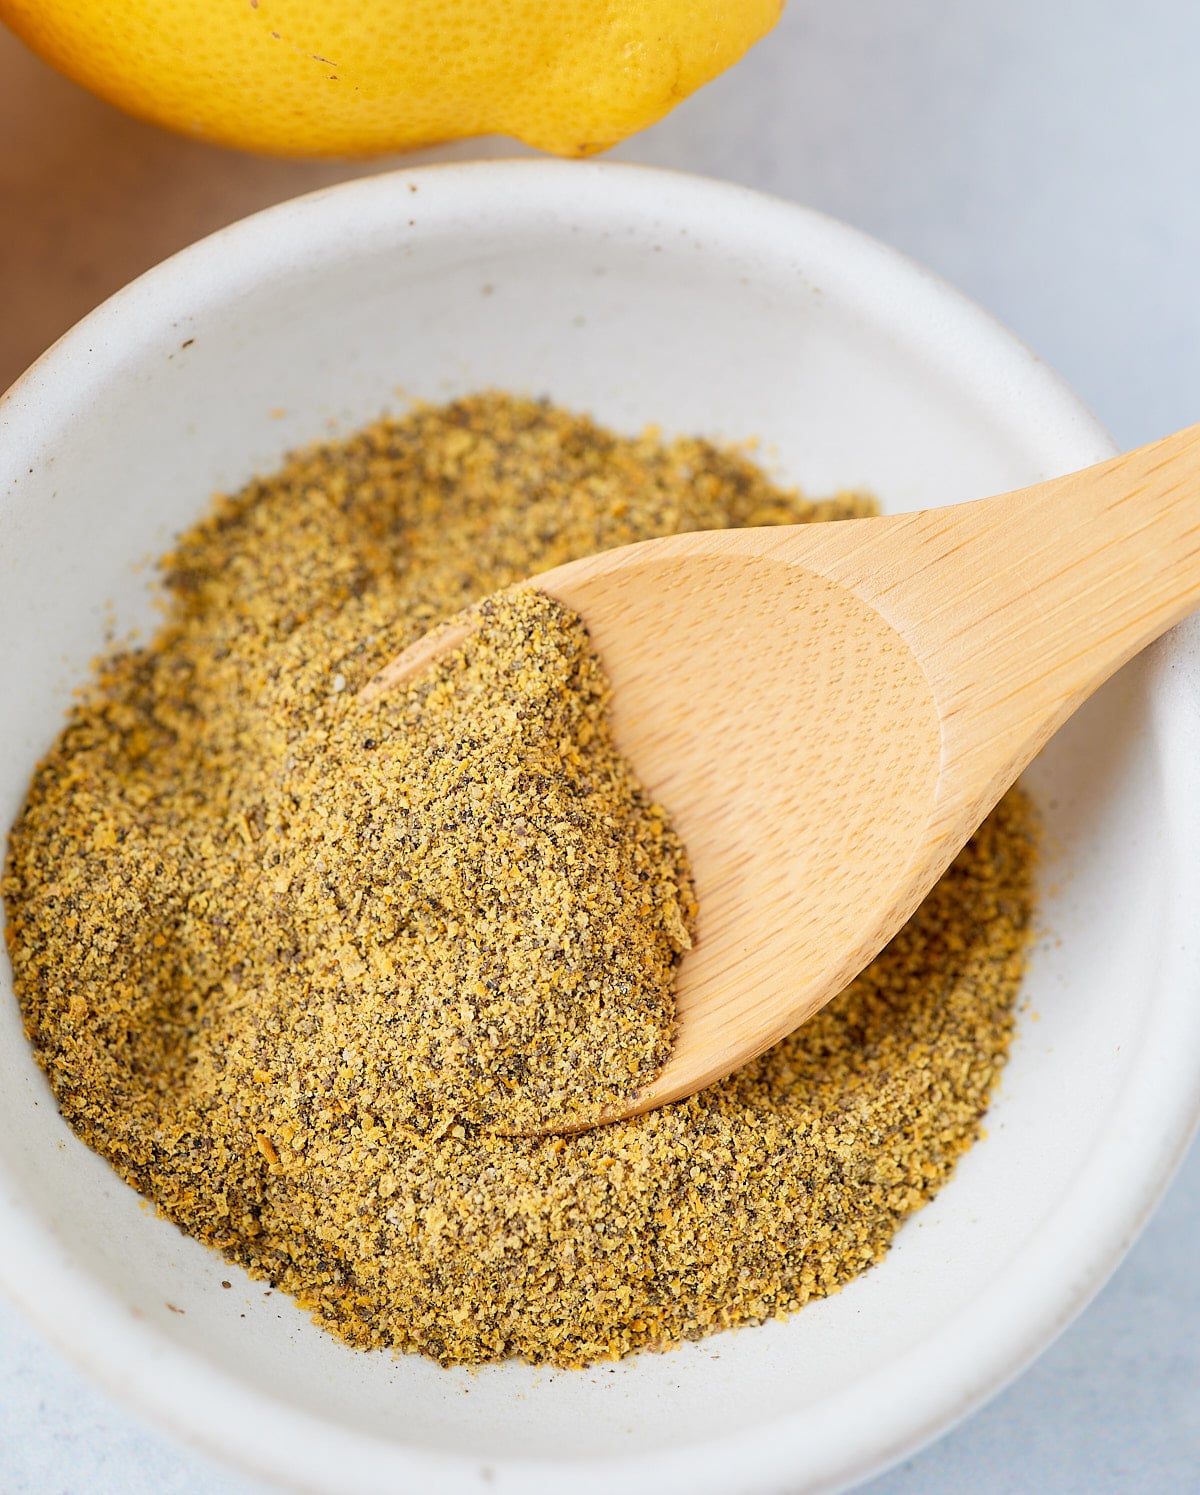
Zingy and spicy, this homemade lemon pepper seasoning is the perfect way to add flavor to chicken and seafood dishes. Made with fresh lemon zest, this mix is perfect for adding to your homemade spice blend!
This post contains affiliate links, please read my full disclaimer here.
You’ll find the full recipe with ingredient amounts and instructions in the recipe card at the bottom of this post. Be sure to check out the blog post itself for extra tips and tricks!
Whenever I can, I love to make my own seasonings. You know exactly what goes into them, they have a great shelf life and they are easy to make, plus it's way cheaper too!
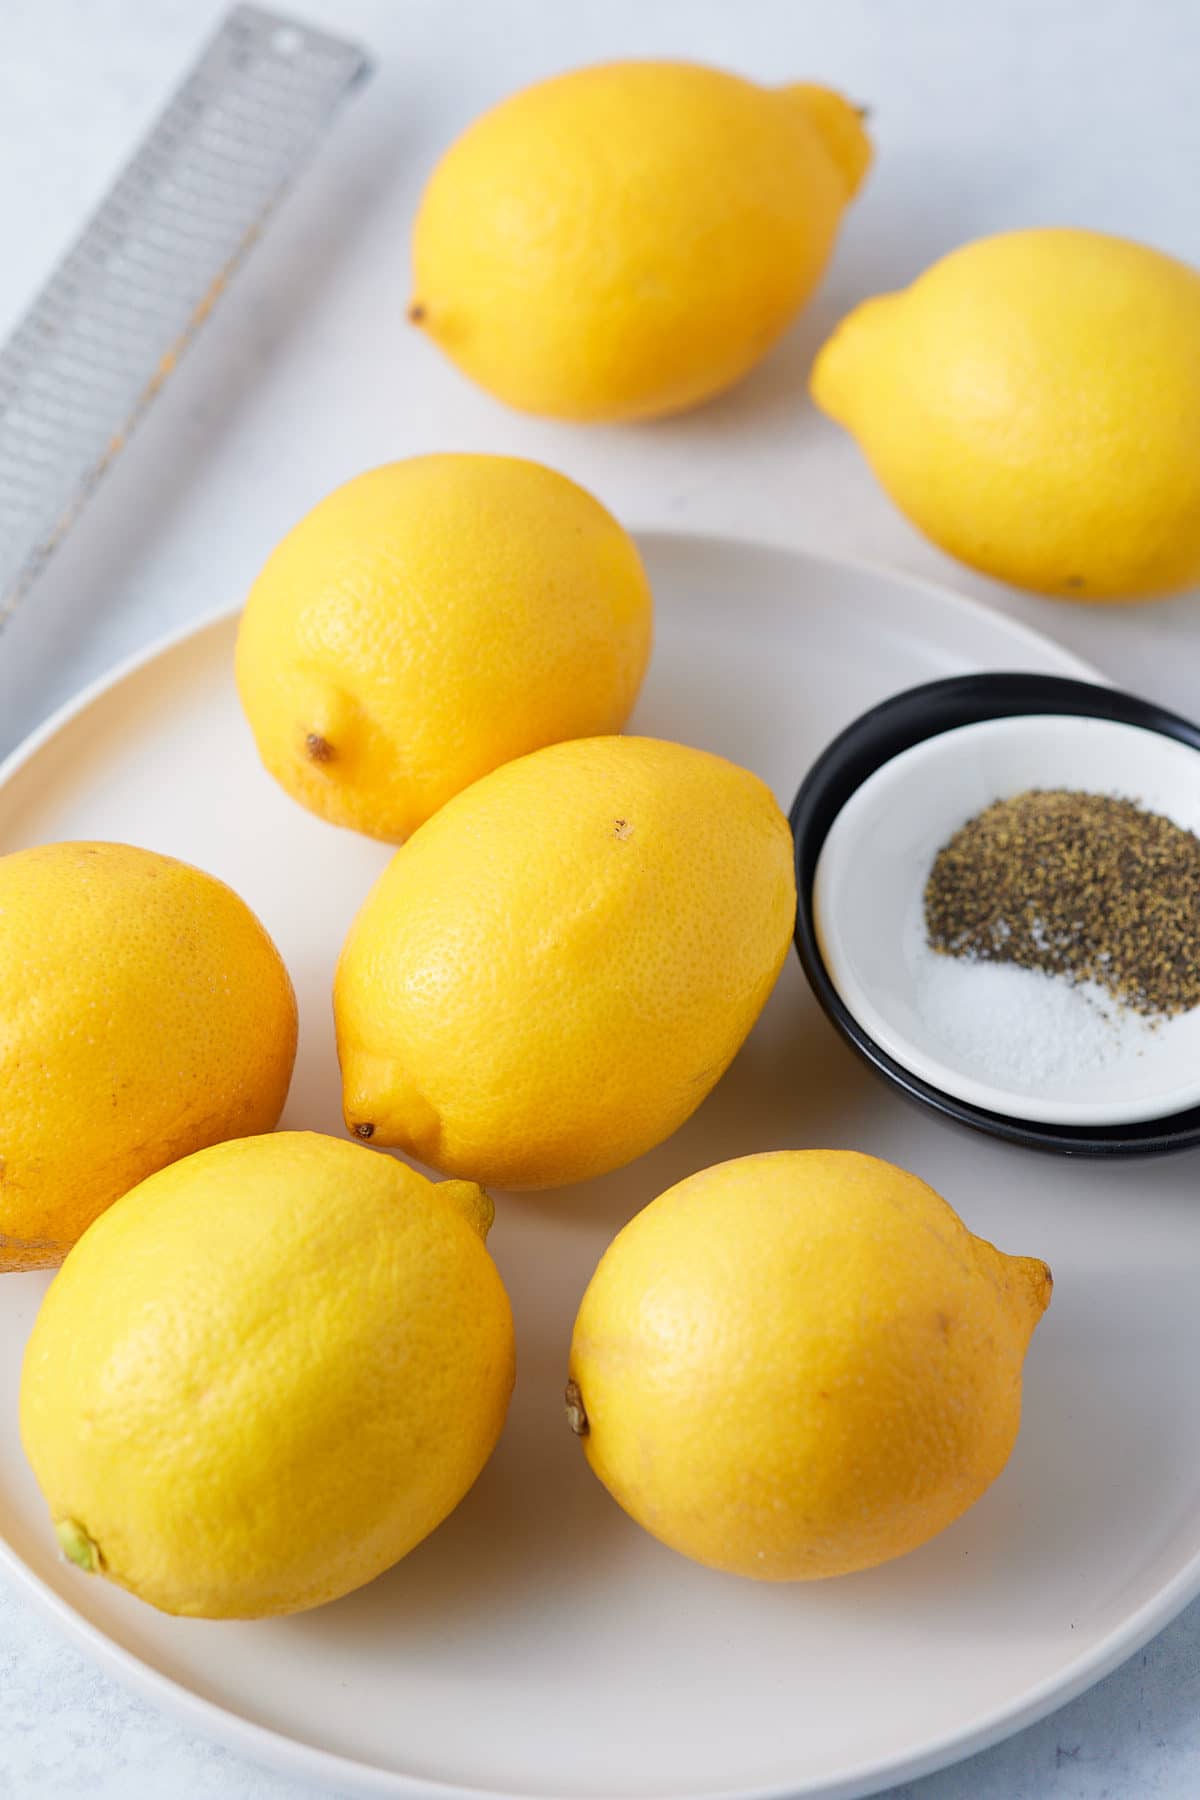
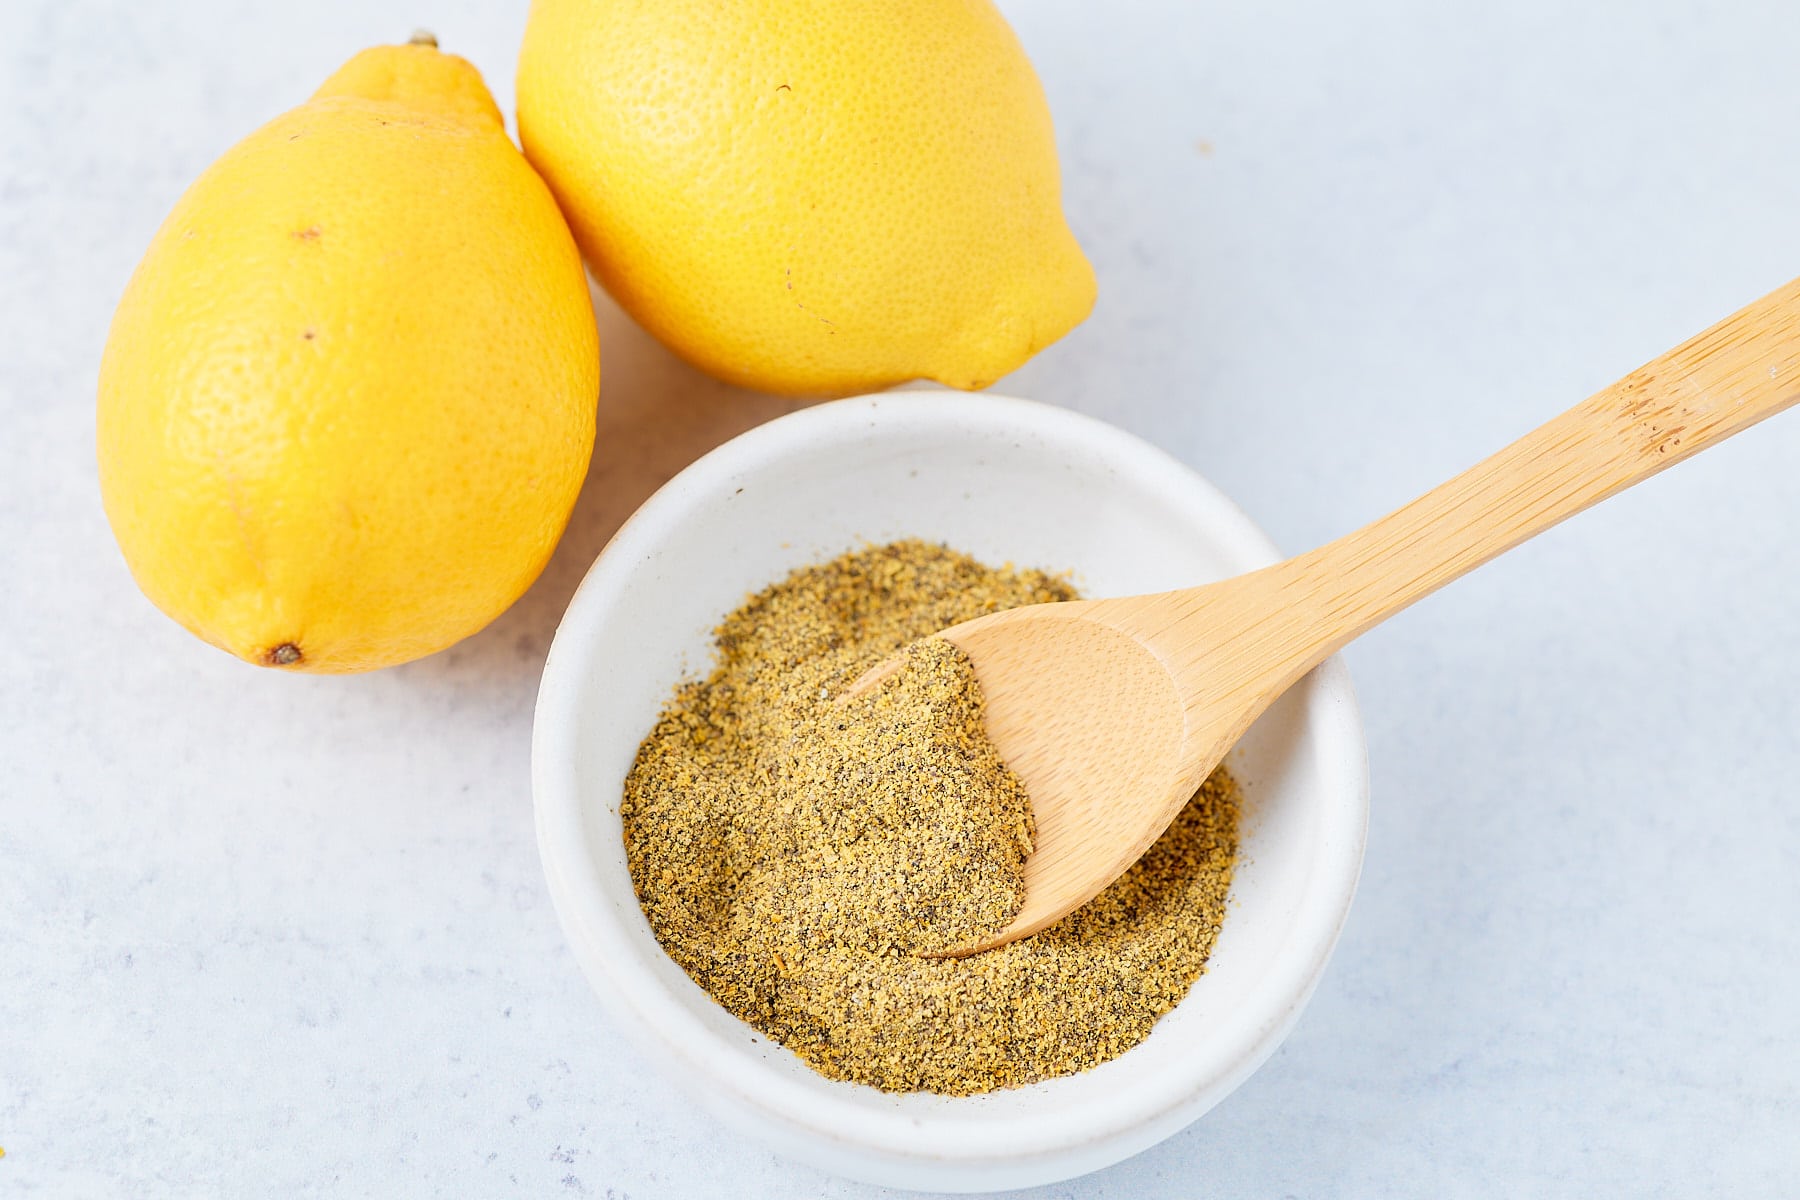
This lemon pepper seasoning is made with just 3 ingredients, fresh lemon zest, salt, and pepper - that's it! It has a great shelf life, and the recipe is easily doubled so you can make up a big batch and have it on hand ready to use.
If you want to add some zesty flavor to your plate, this seasoning is the way to go!
Be sure to try my Caribbean Green Seasoning and Homemade Cajun Seasoning too!
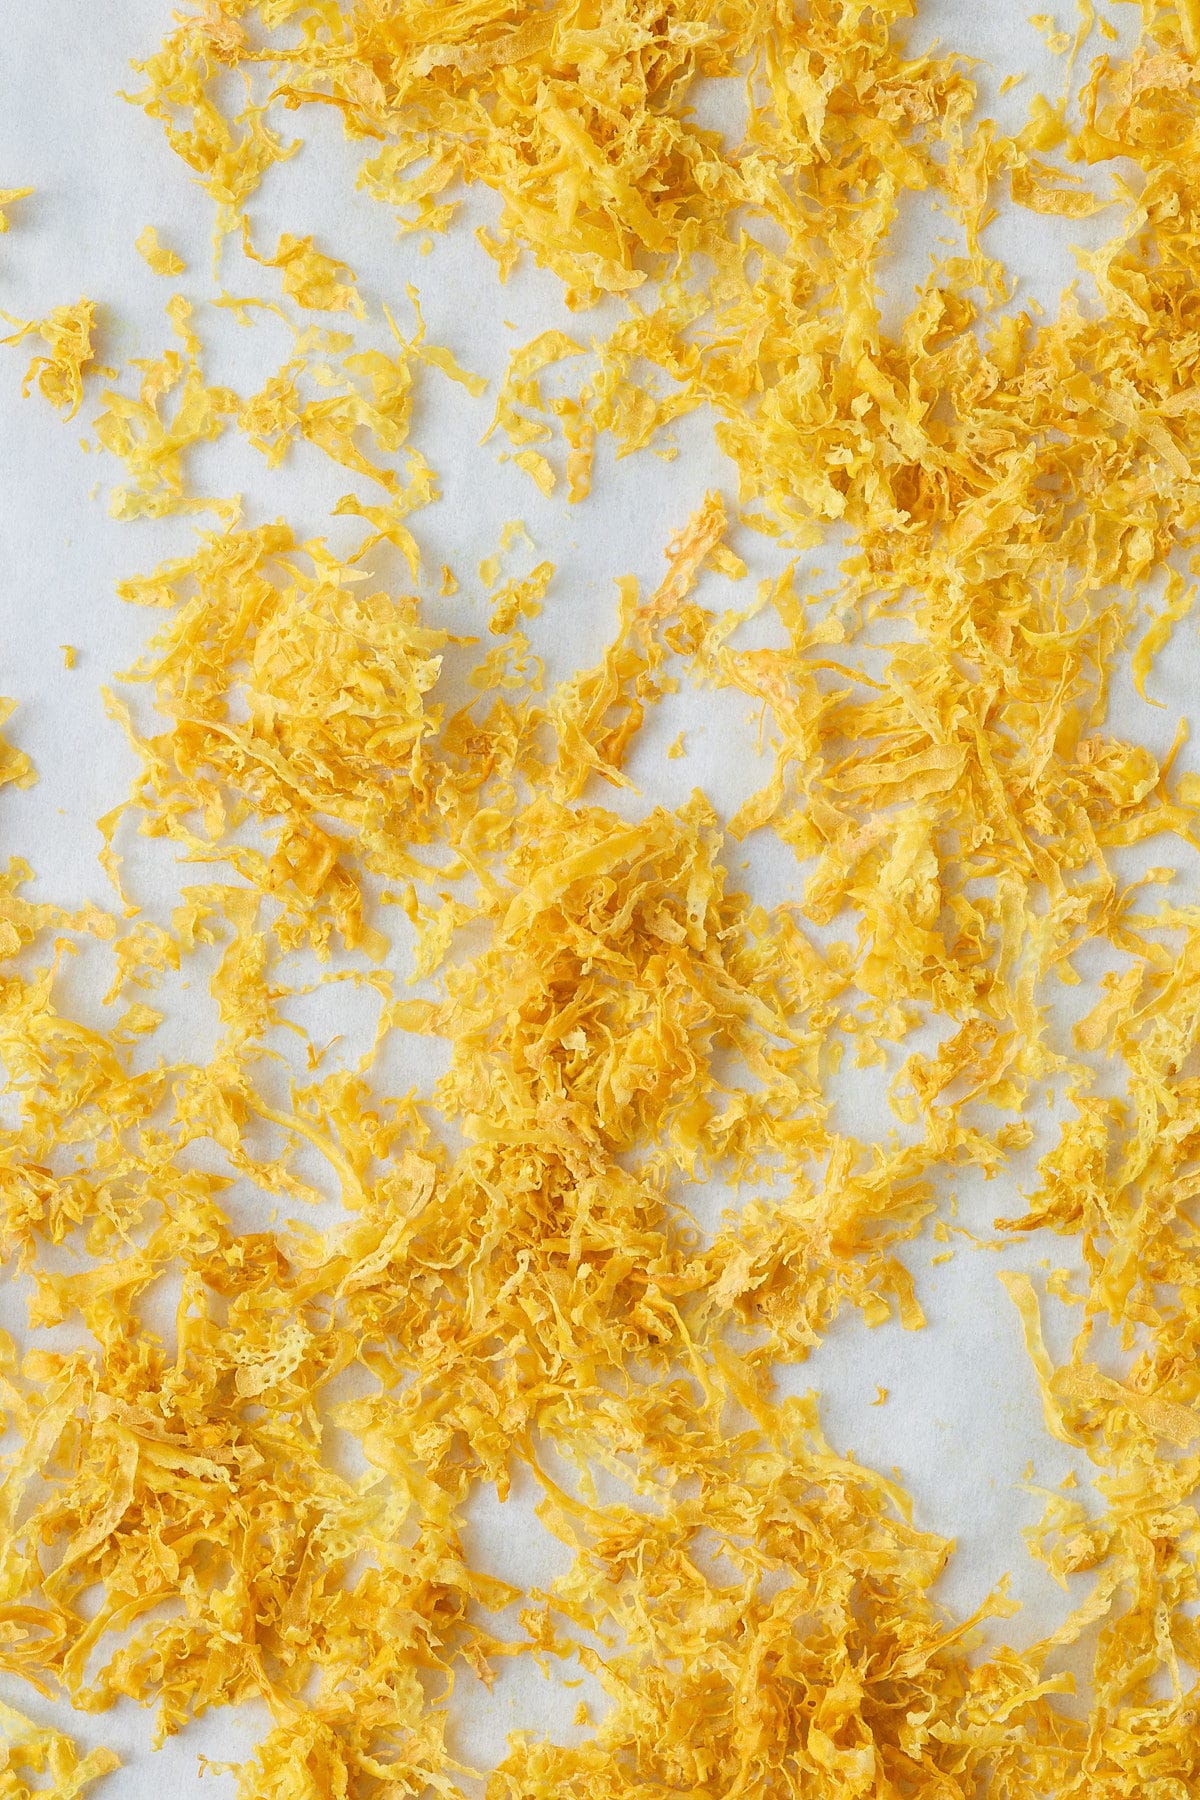
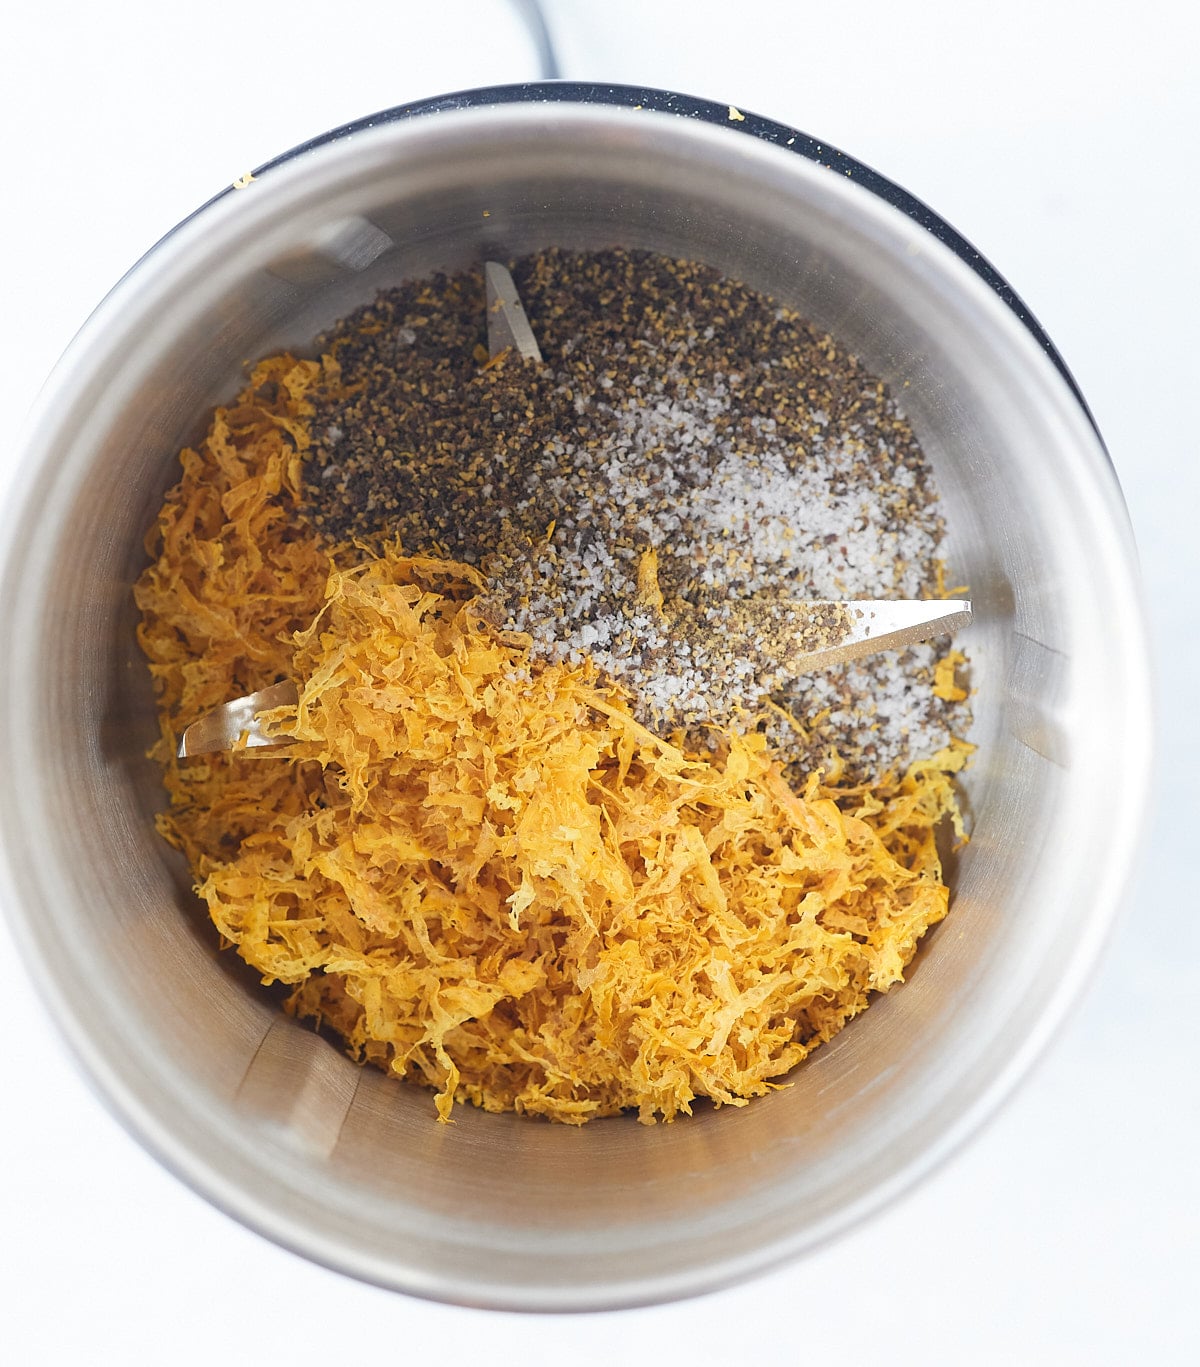
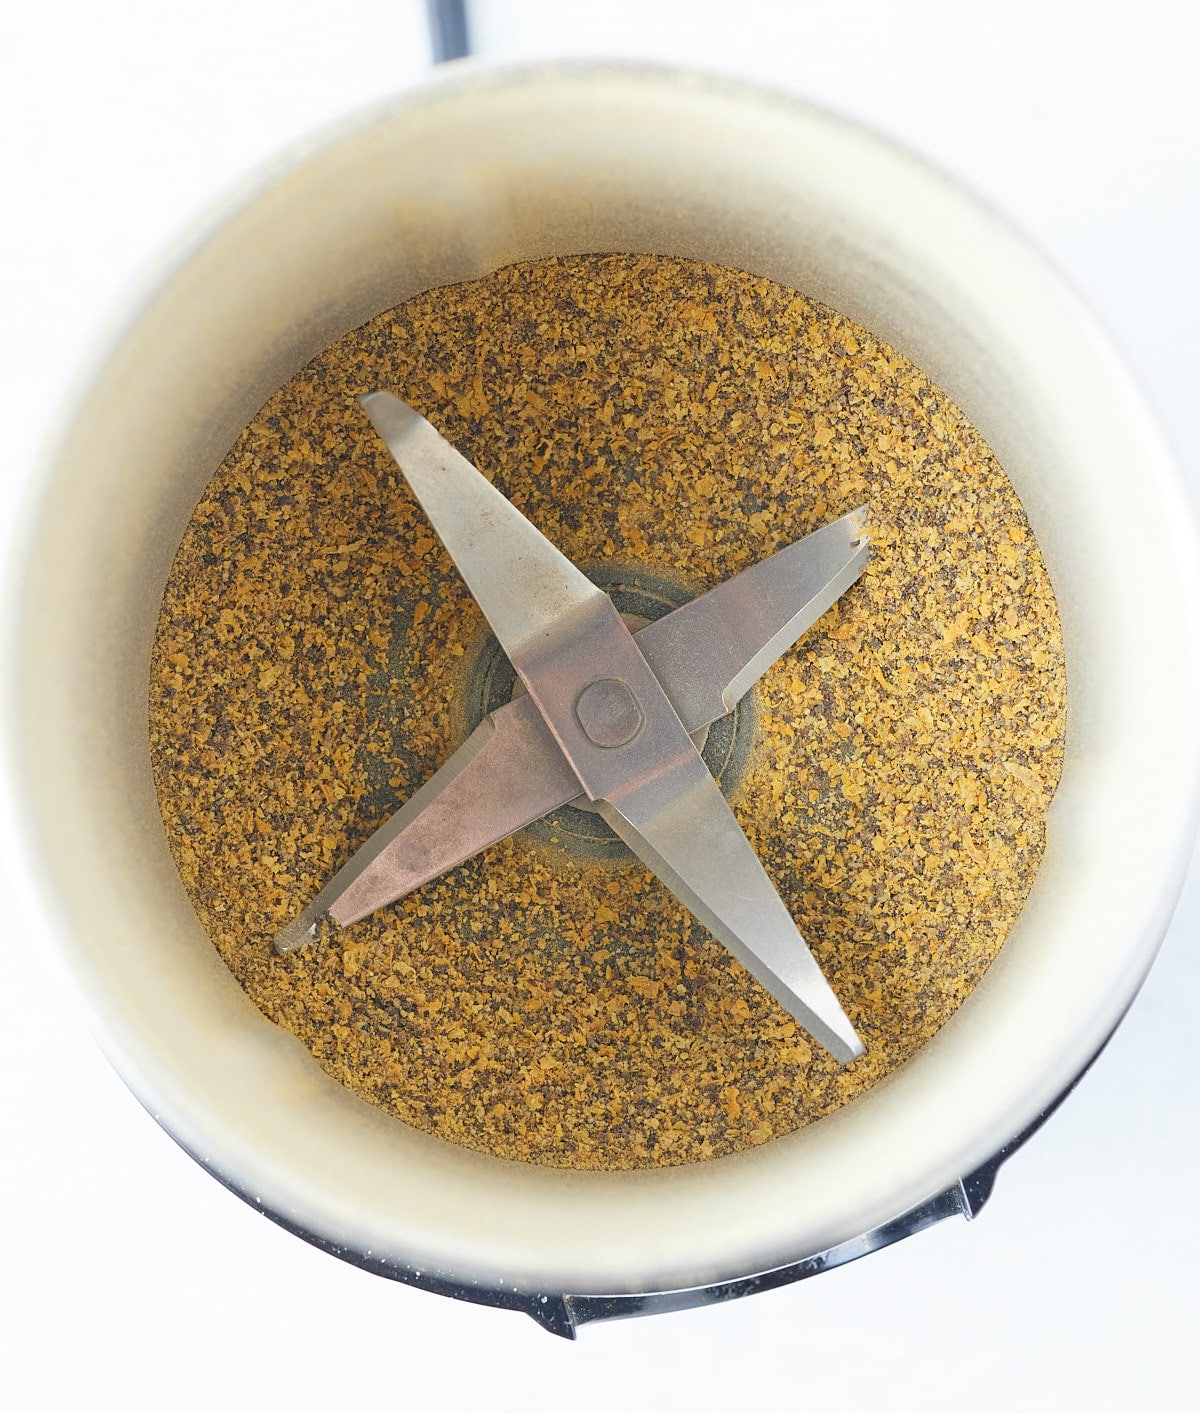
This lemon pepper seasoning will keep well for up to 3 months. Keep it in a sealed air-tight container or glass jar and keep it in a cupboard out of direct sunlight and away from damp. It's ready to use straight out of the jar.
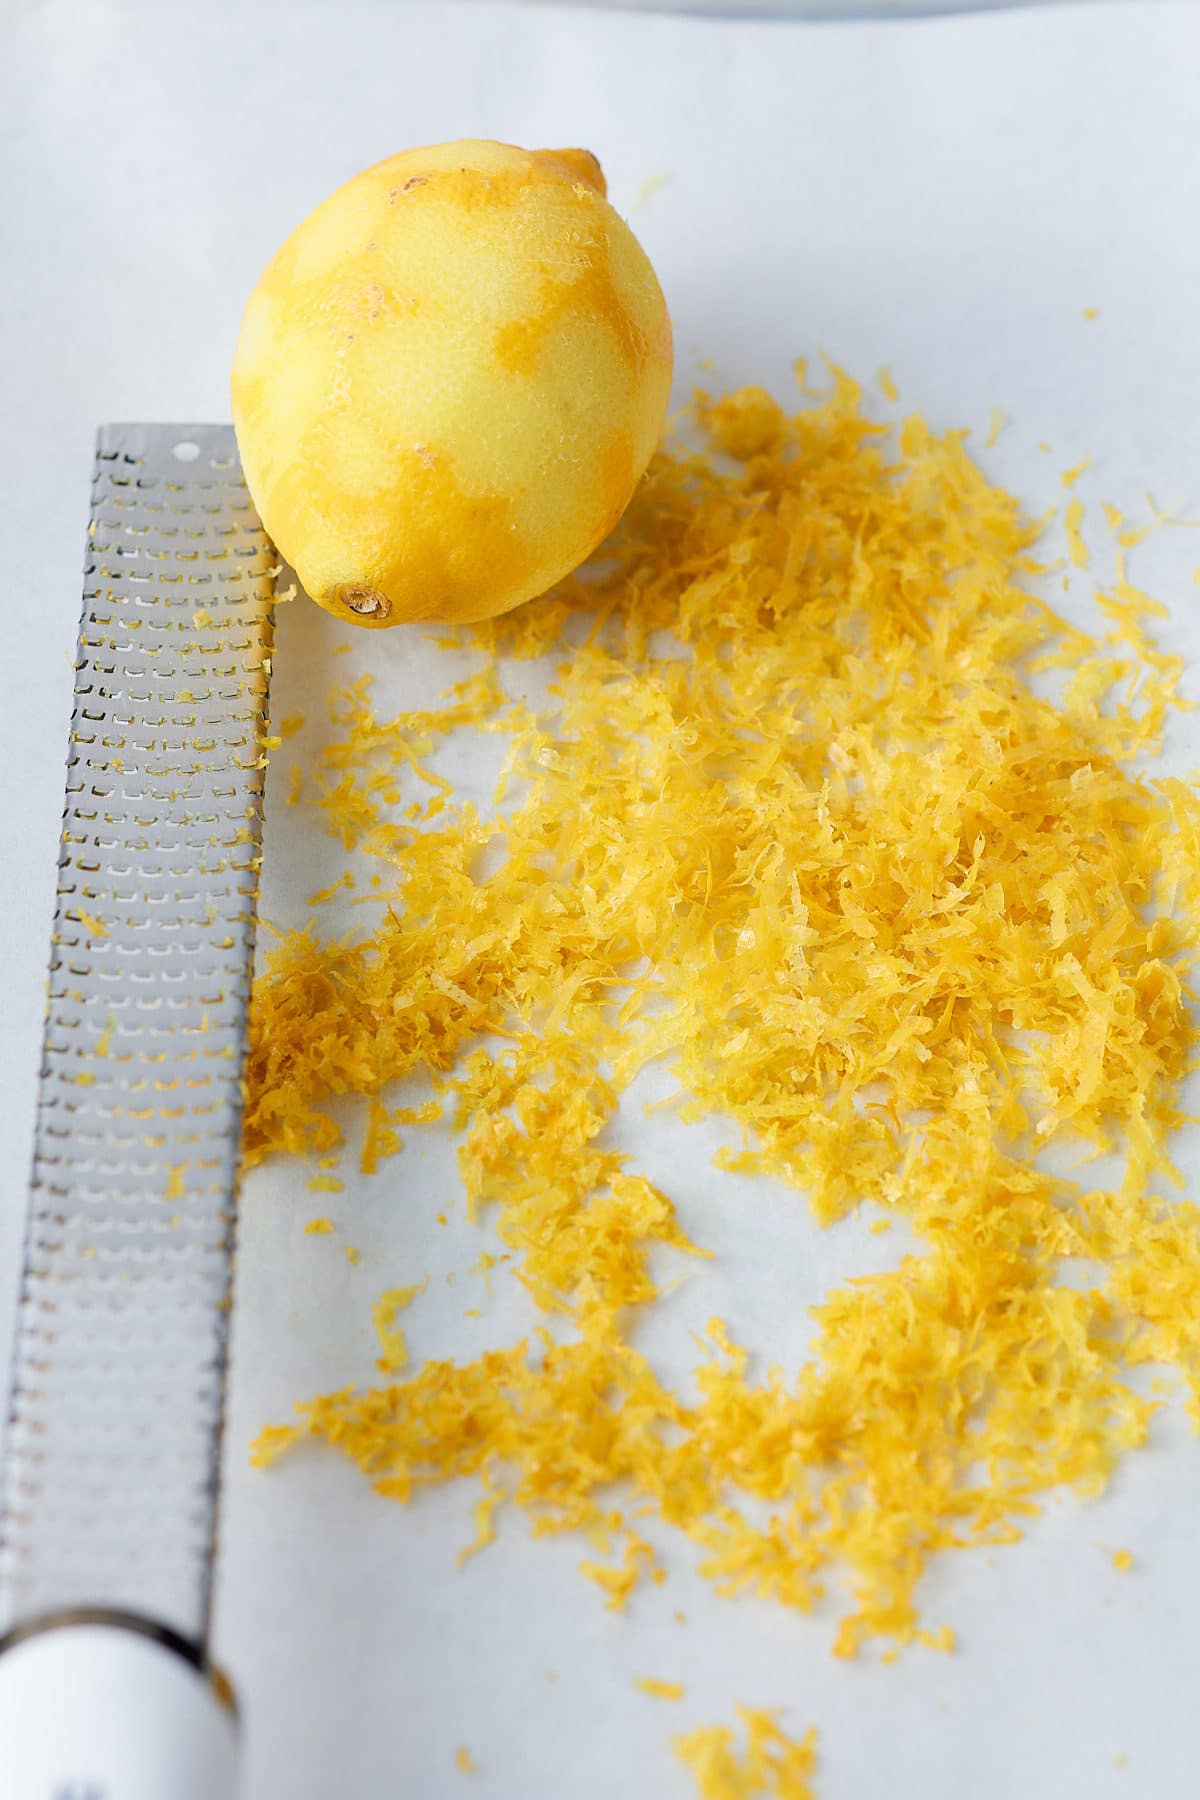
A Microplane grater is the easiest and quickest way of zesting lemons, and it creates a more even zest than a box grater. If you don't have a Microplane or box grater, you can use a vegetable peeler to remove the top layer of skin and slice it into thin strips with a knife. Then grind up as instructed.
I love to use this zesty and spicy seasoning on chicken and fish dishes. It's wonderful rubbed onto wings, thighs or chicken breasts before cooking, or rub some into salmon or cod fillet. It's also great sprinkled into salads or dressings for an extra boost of flavor.
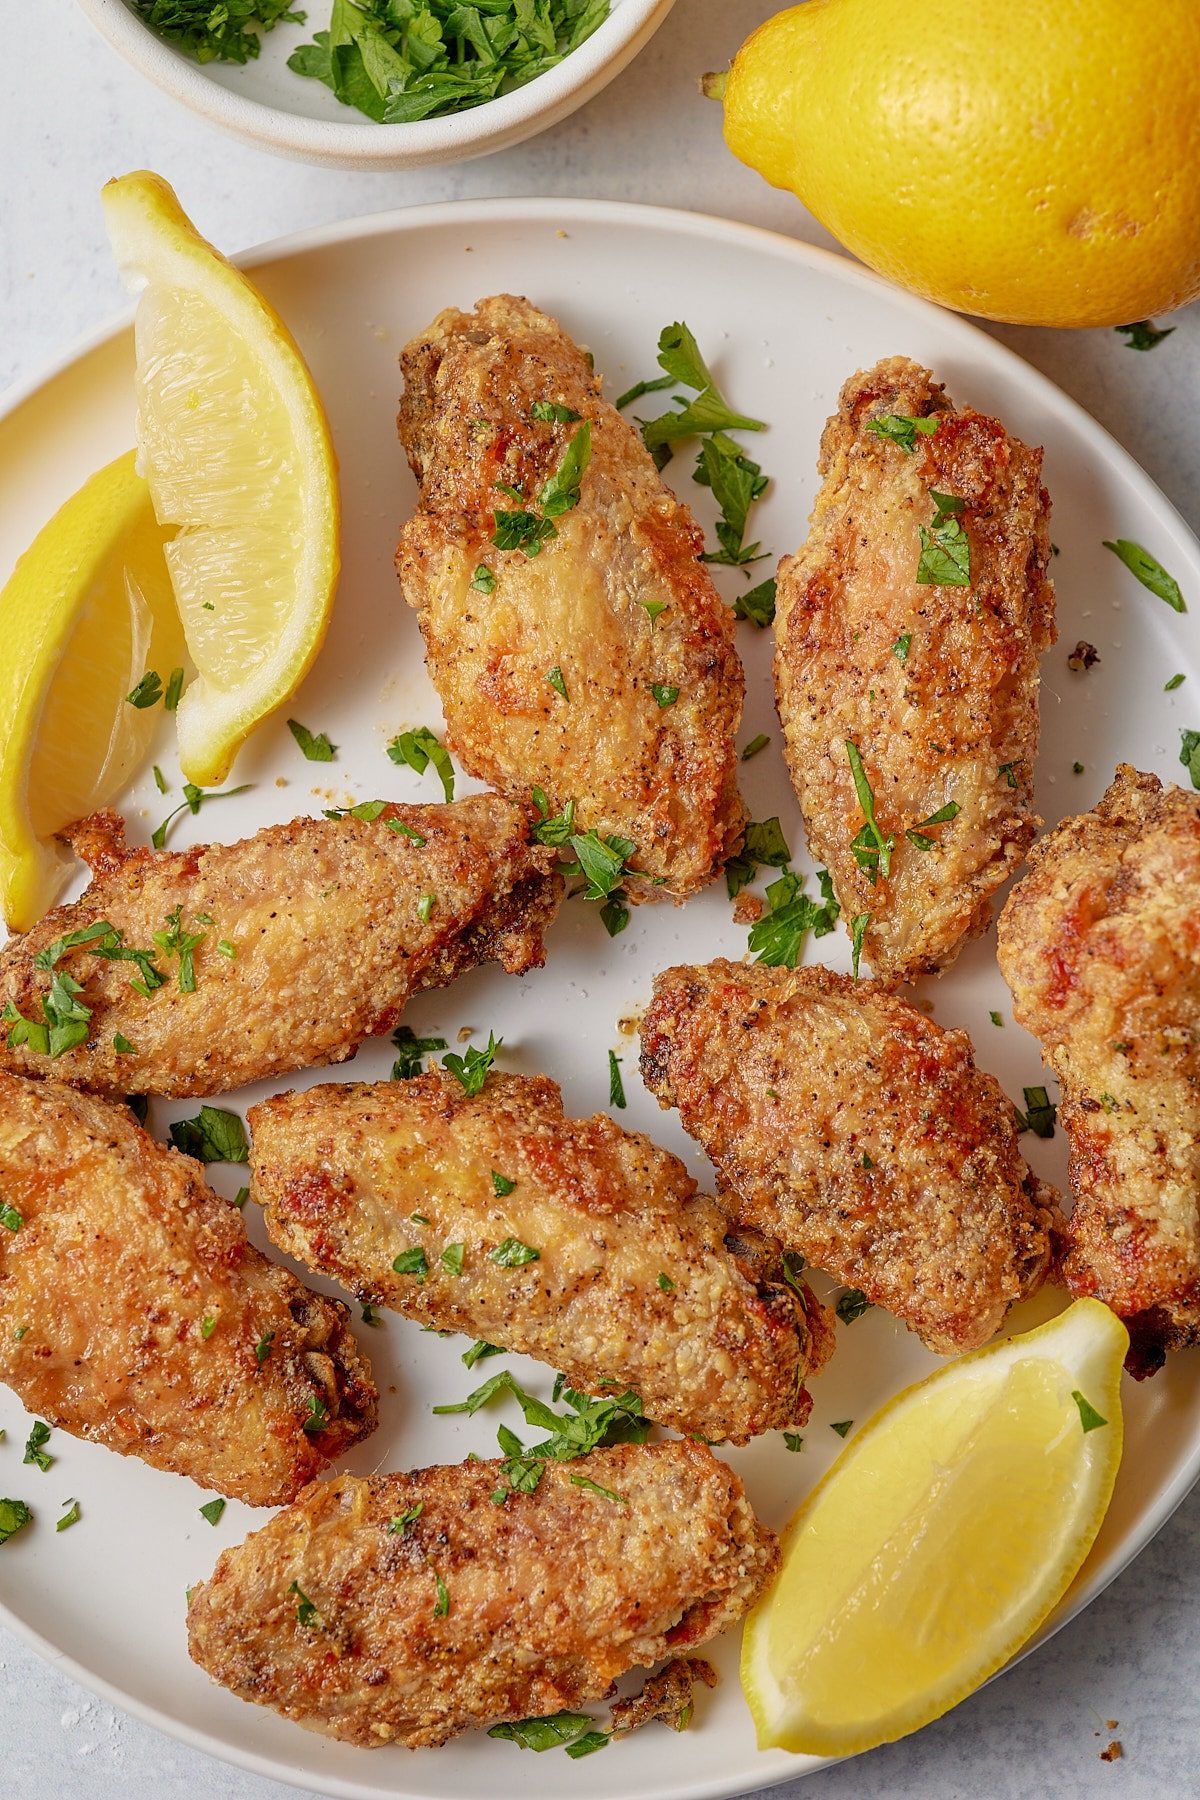
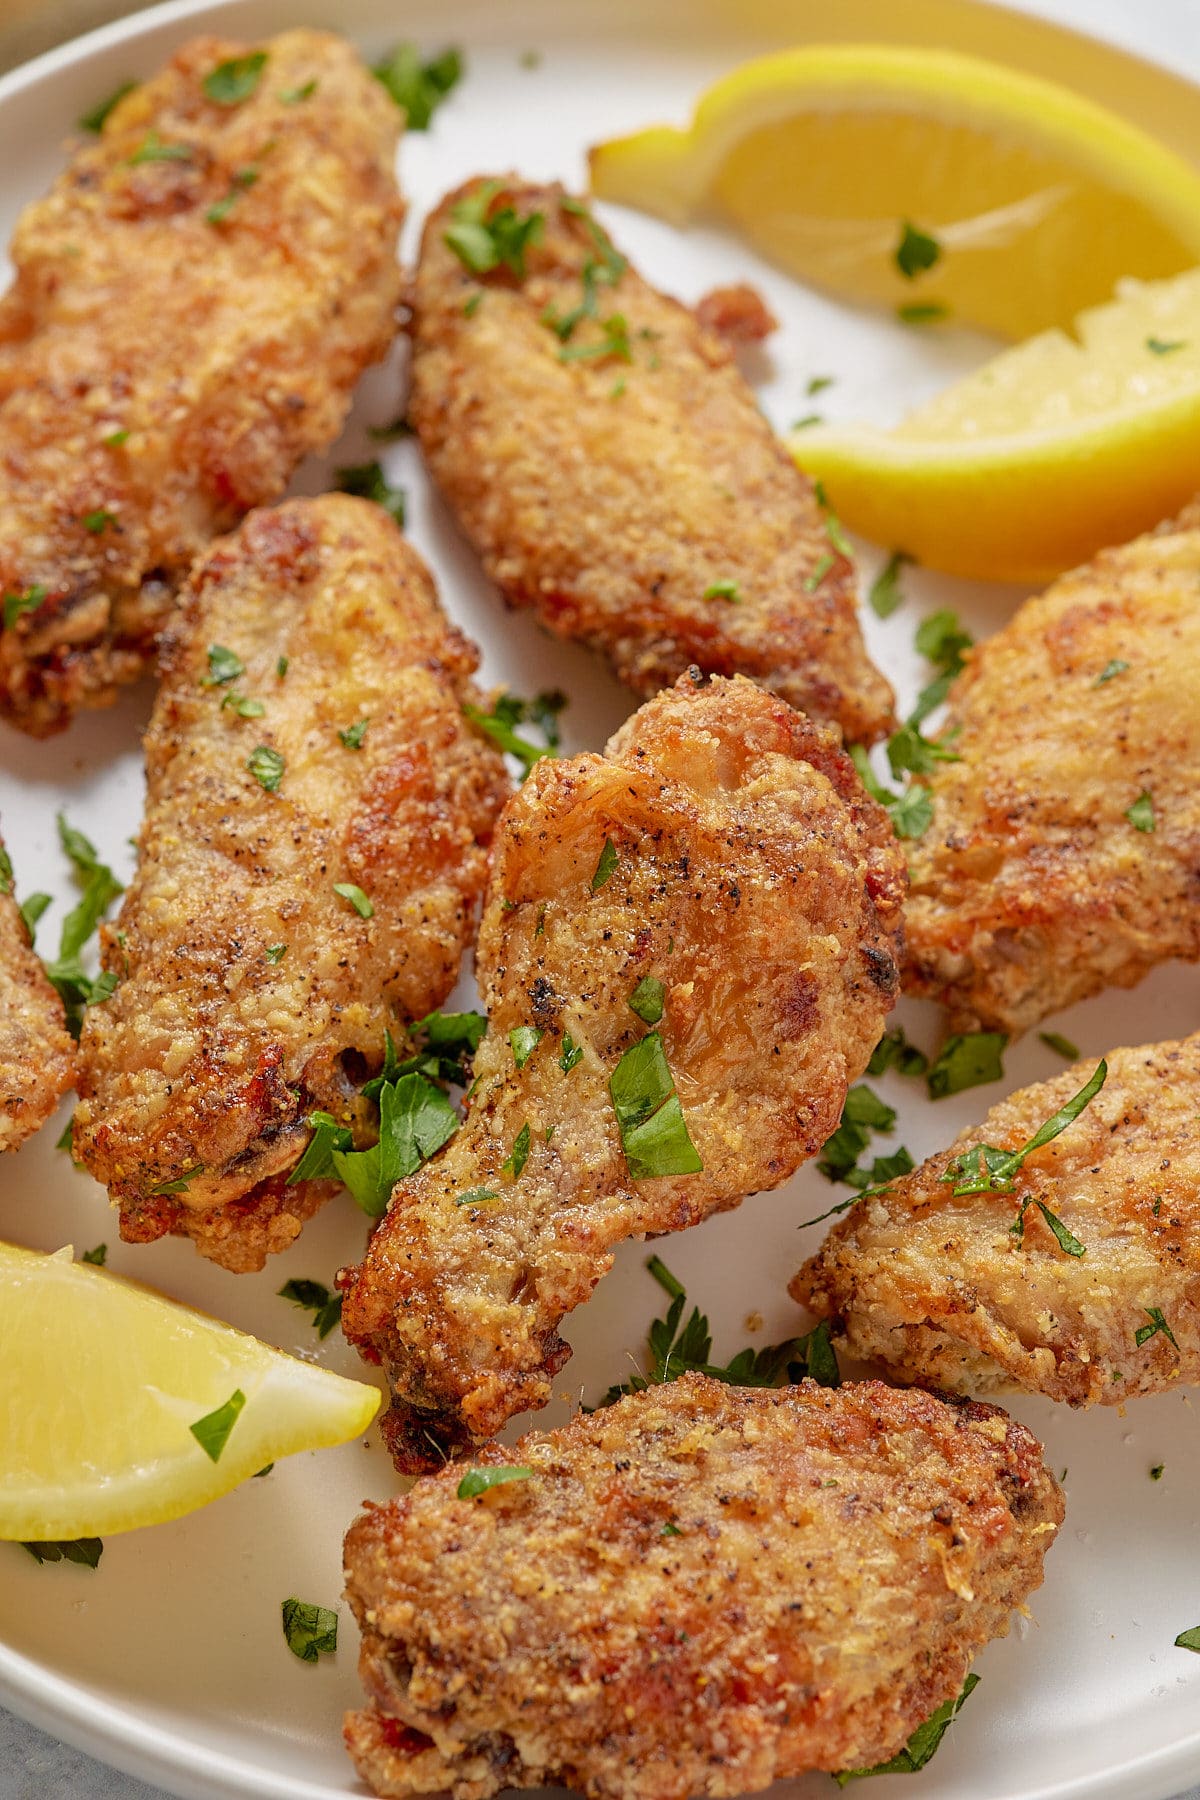
Cook up the most delicious lemon pepper chicken wings! Cooked to perfection in the air fryer, these wings are ready to serve within 40 minutes and are super easy to make. These crowd-pleasing wings are finger-lickin' good!
This post contains affiliate links, please read my full disclaimer here.
You’ll find the full recipe with ingredient amounts and instructions in the recipe card at the bottom of this post. Be sure to check out the blog post itself for extra tips and tricks!
I'm a wing fan and I'm always looking for new recipes to try and share. Whenever I think of wings, lemon pepper comes to mind as it's one of my favorite flavors for chicken.
Similar to my lemon pepper air fryer chicken thighs, these lemon pepper wings are sure to please, fresh and tangy with the right amount of spice, these are a sure-fire winner! Even better, they are cooked in a fraction of the time thanks to our trusty air fryer!
For this wing recipe, I use cornstarch to make the wings extra crispy. However, if you aren't a fan, feel free to skip that step. The wings will still be delicious.
Be sure to try my Cauliflower Wings and Jerk Chicken Wings too!
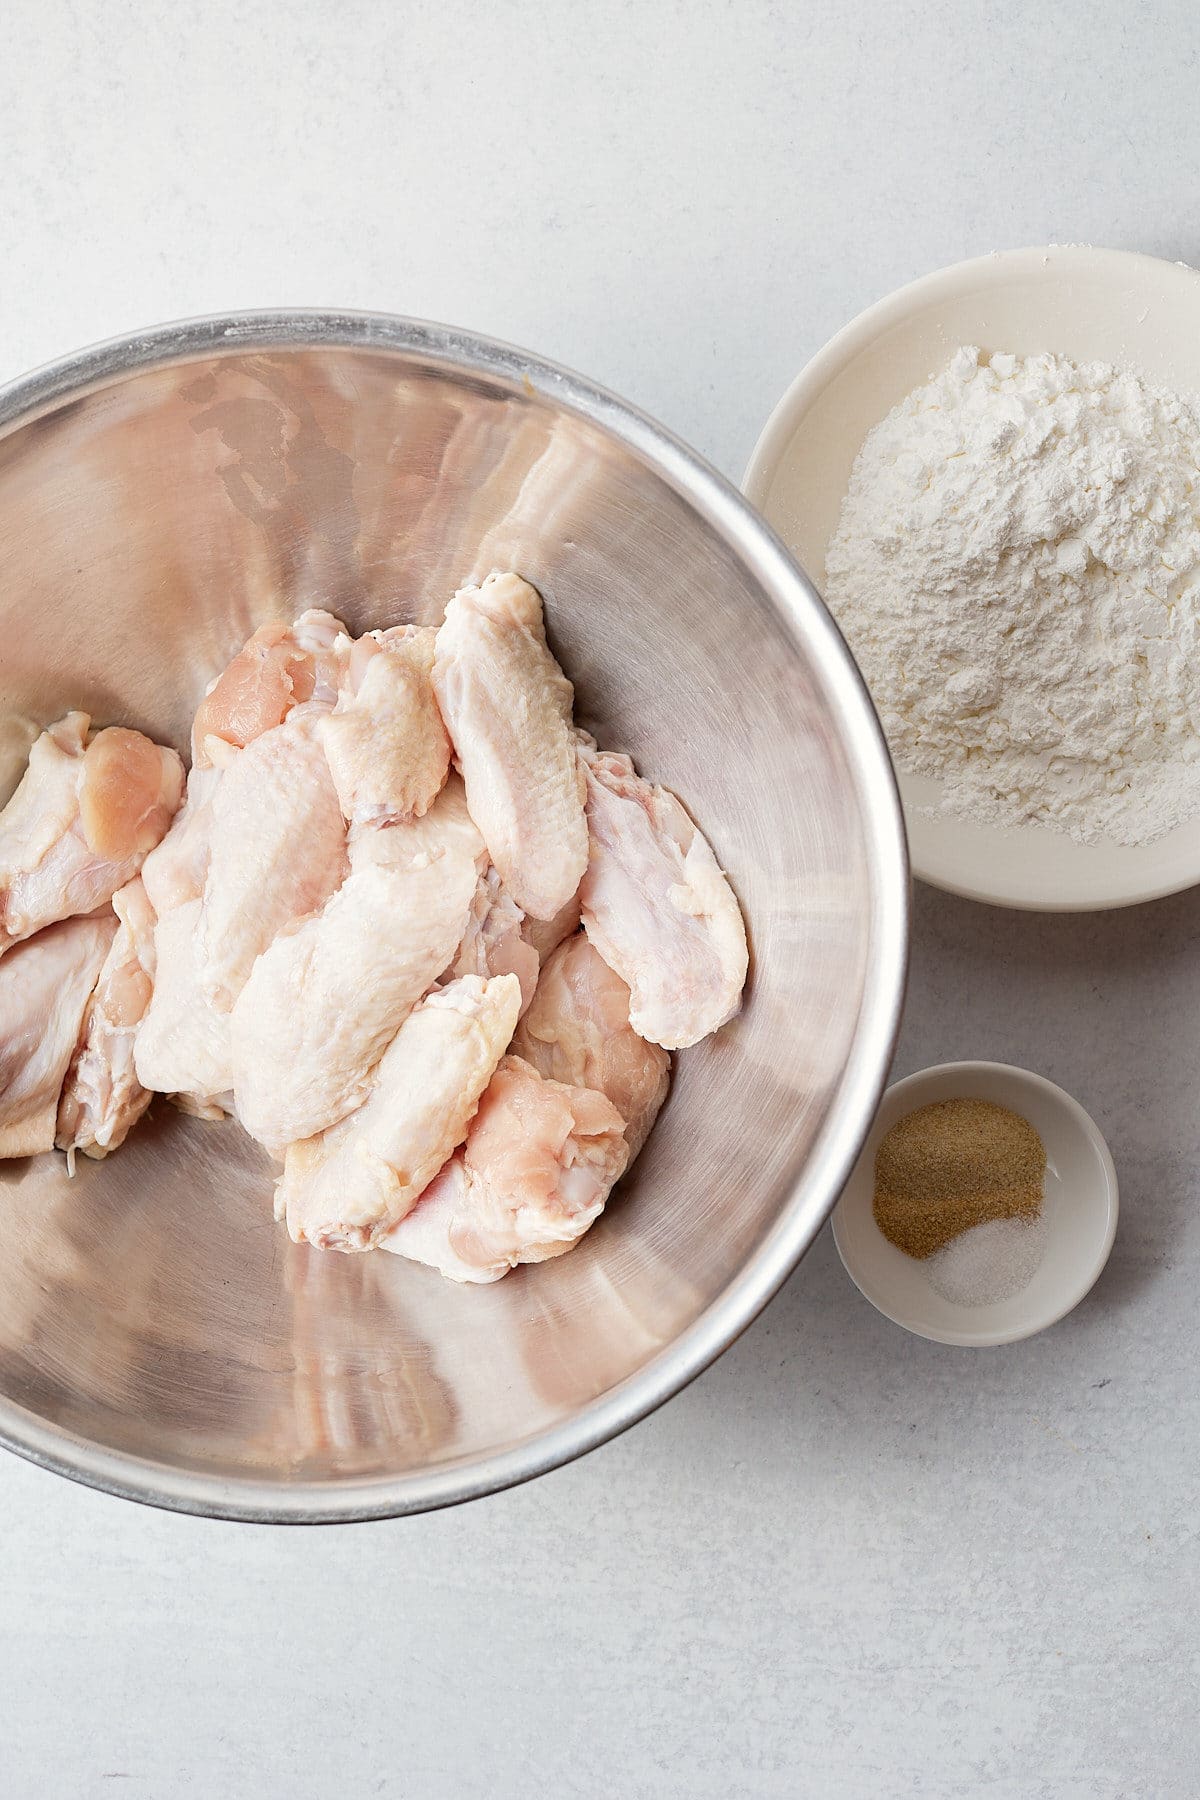
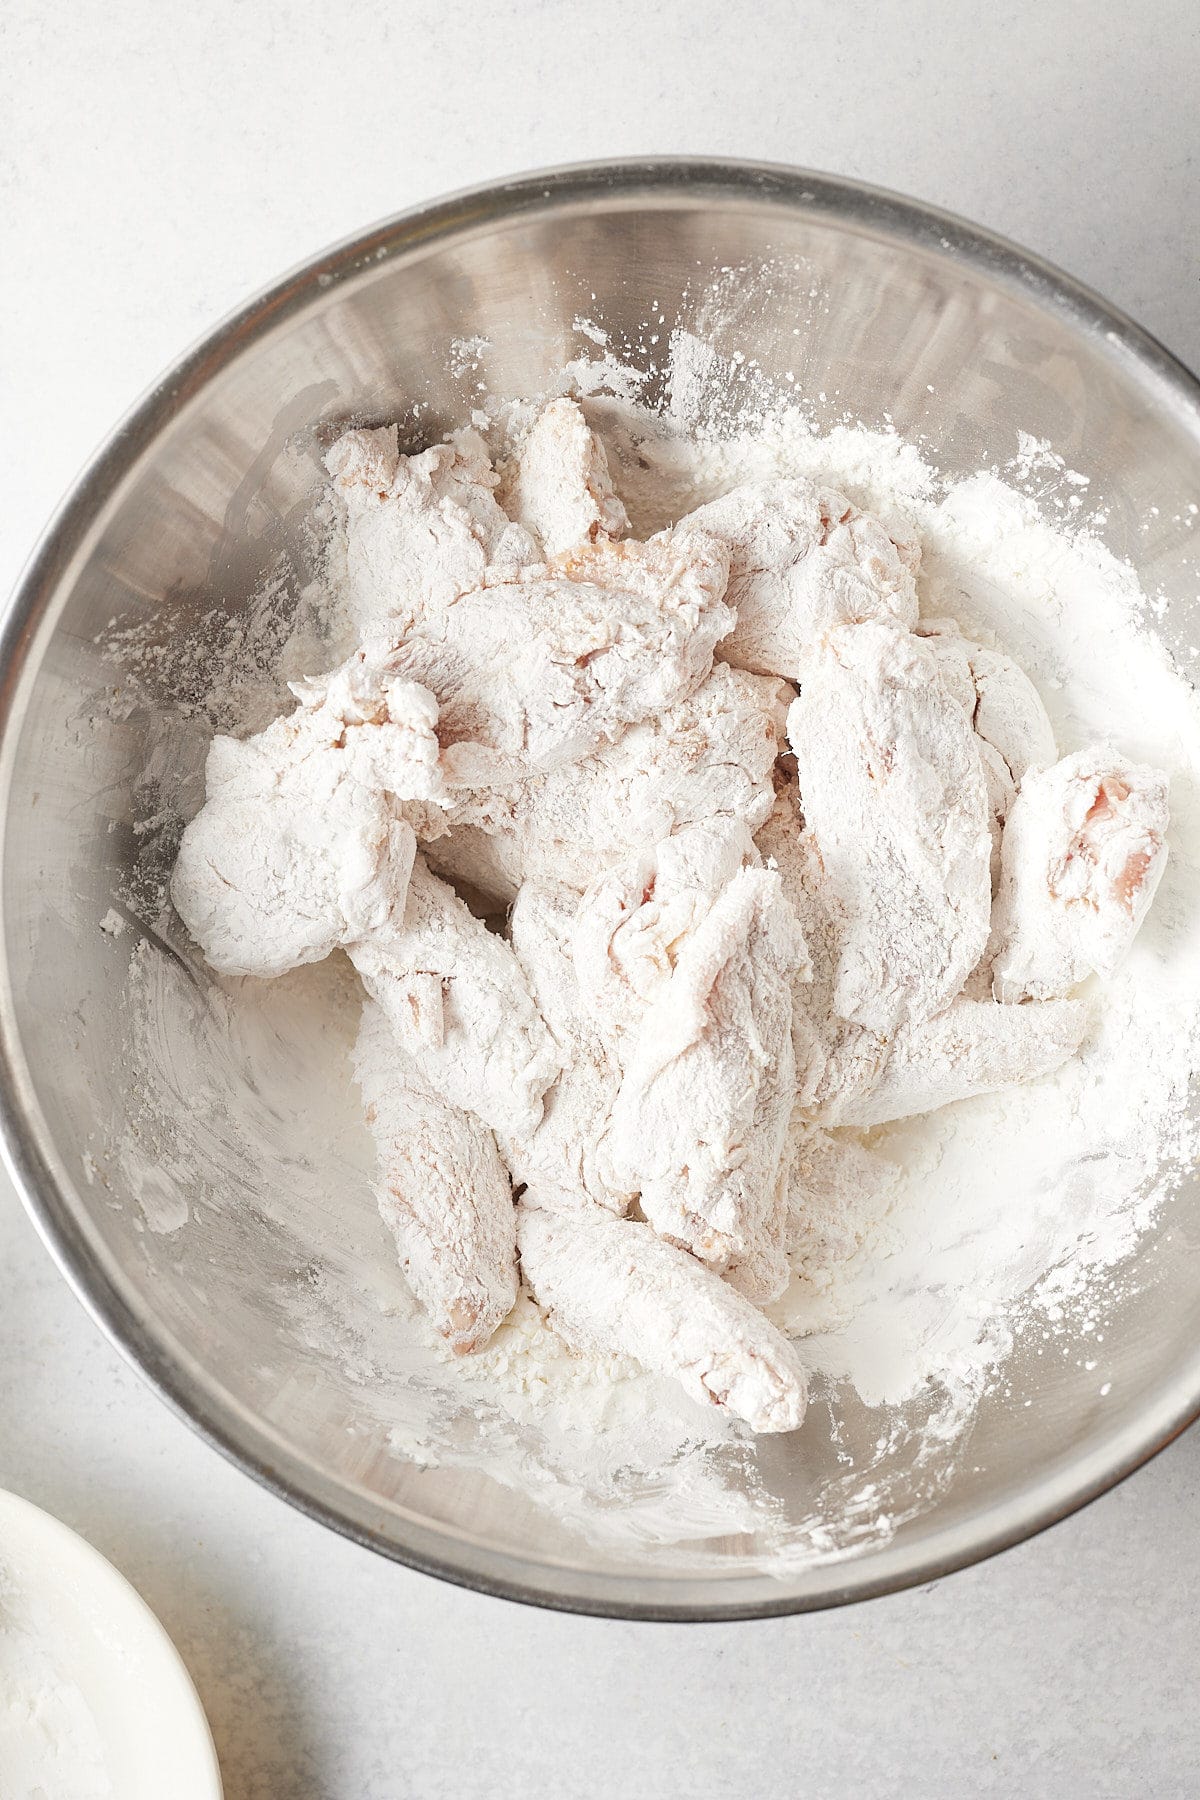
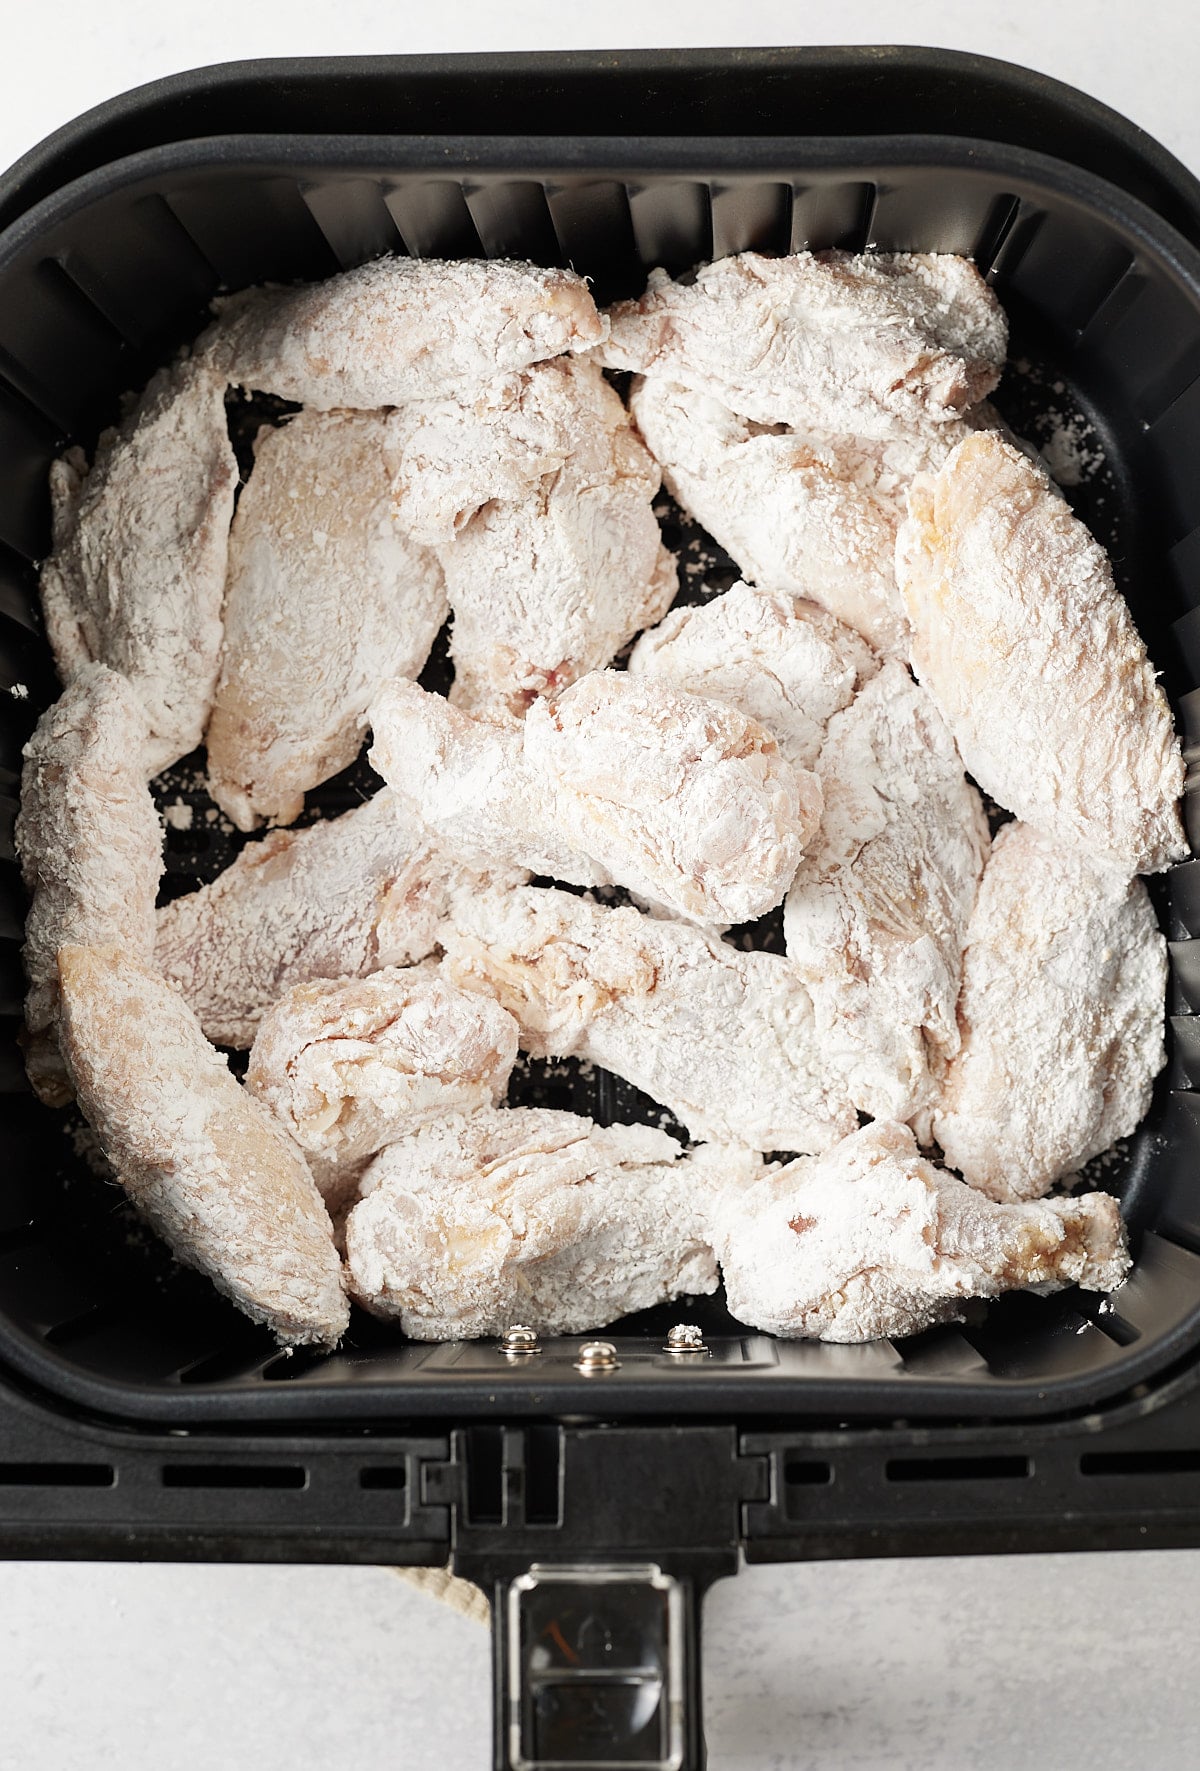
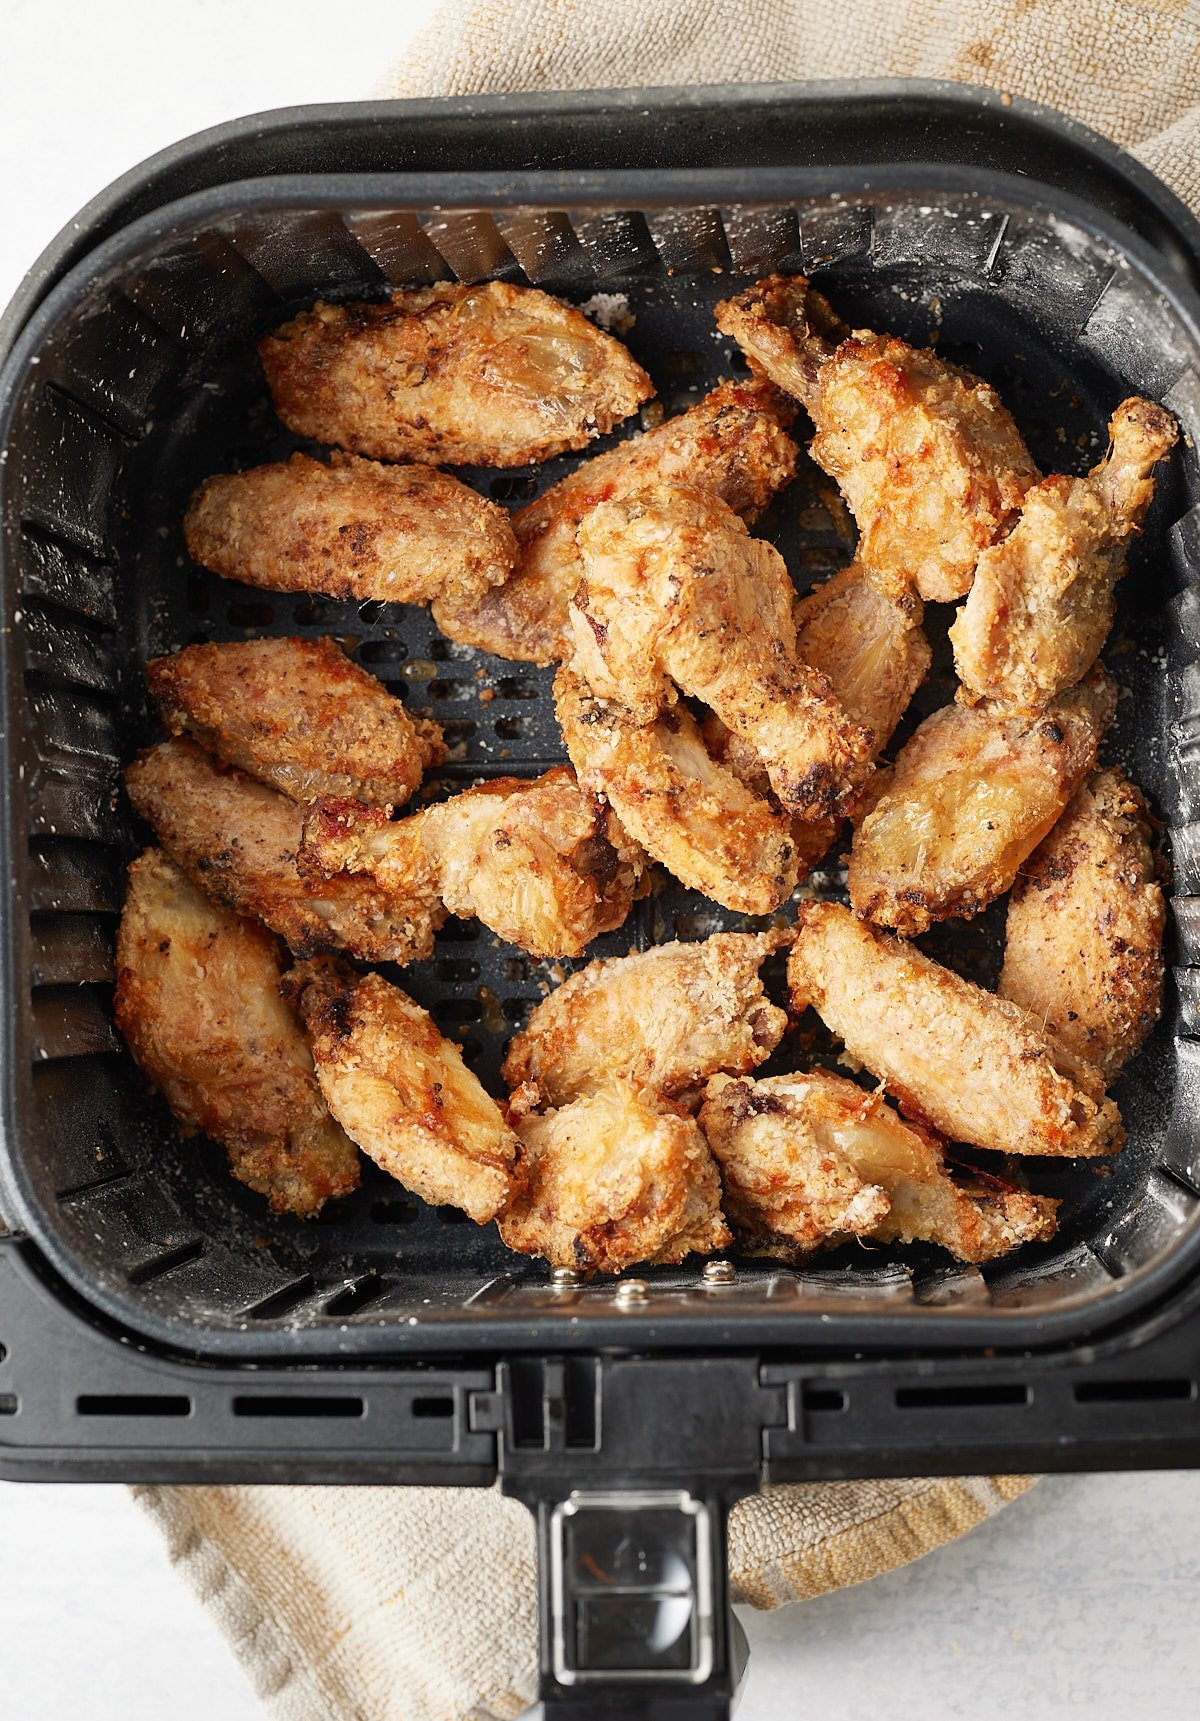
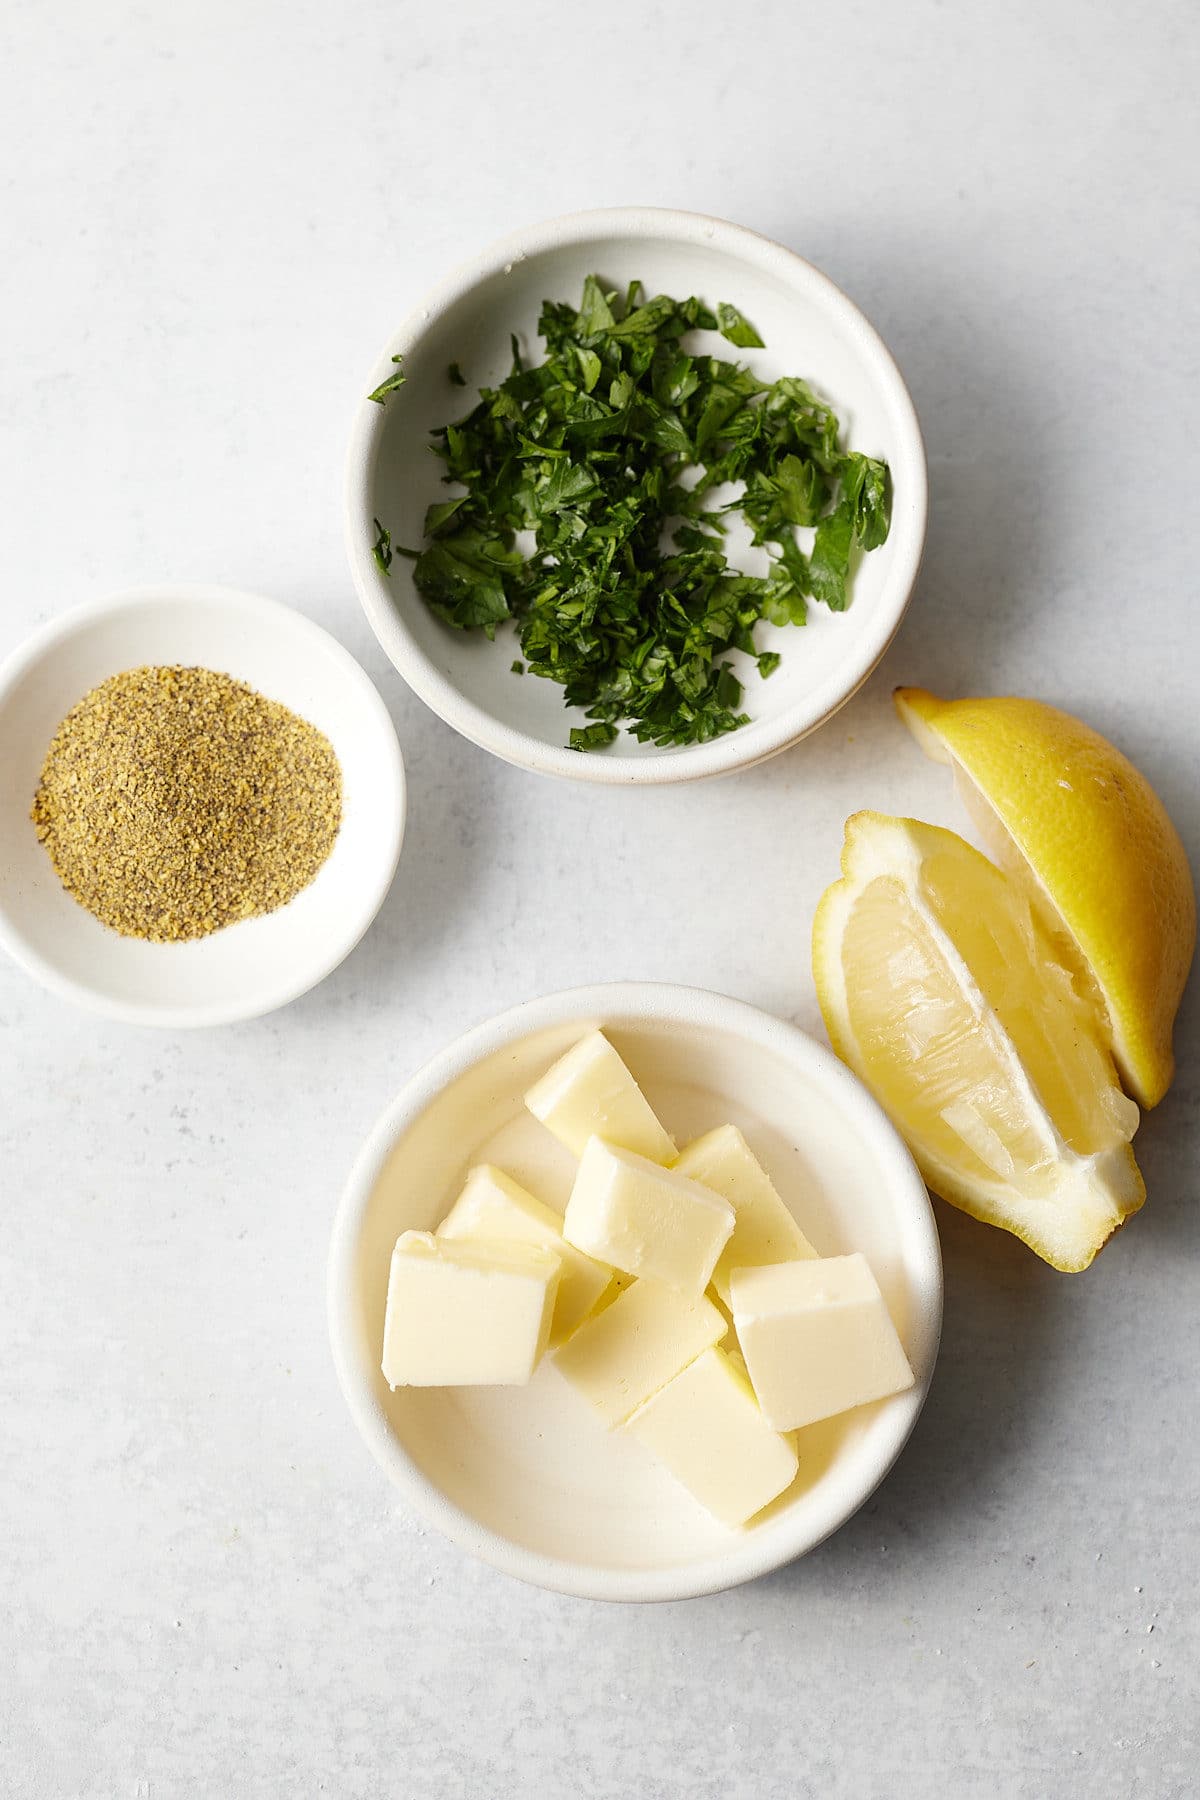
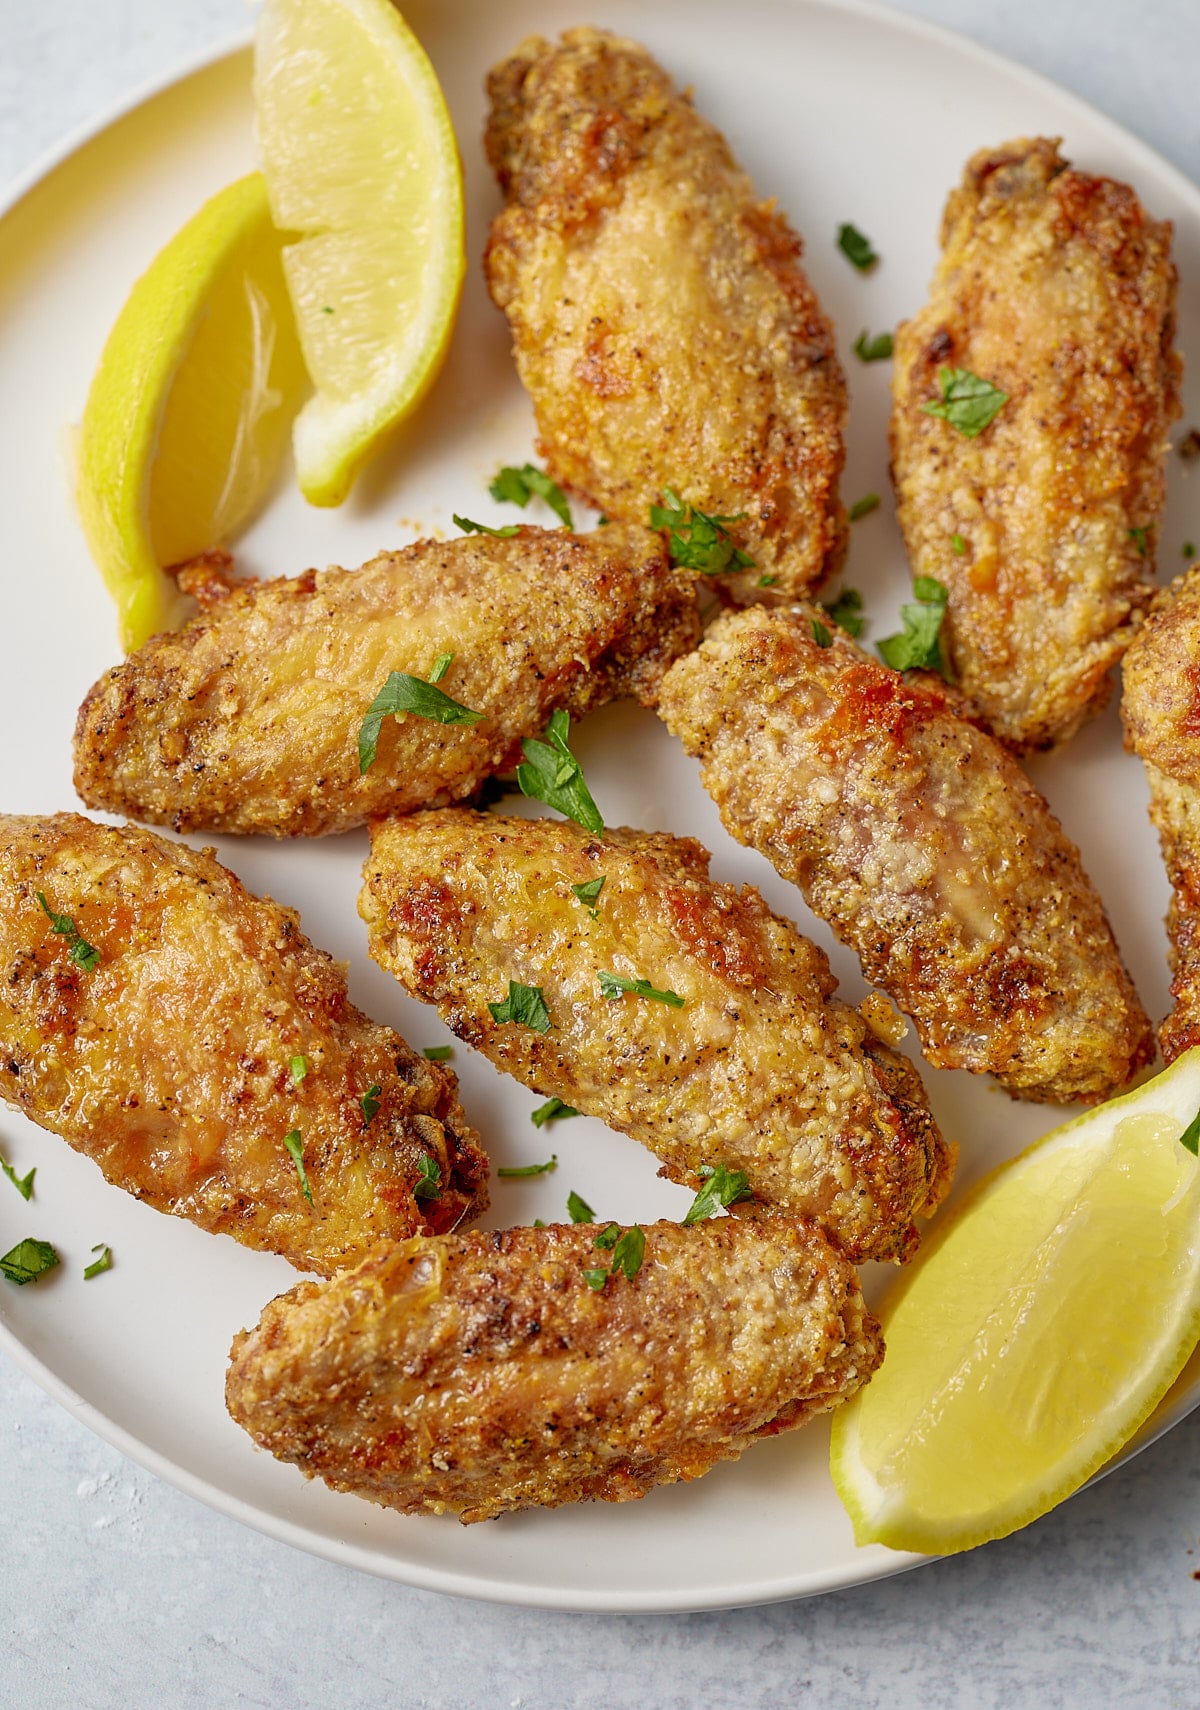
I love using my air fryer to cook wings as they come out so crispy and tender, plus it takes less time which is always a bonus! If you don't have an air fryer though don't fret. You can bake these wings in the oven at 350F for around 45 to 50 minutes instead. The recipe and the method remain the same, they just take a little longer.
If you are a fan of crispy crunchy wings, the cornstarch is a must! Because we aren't deep frying them, the cornstarch forms an amazing crust without the need for oil. Baking powder or flour can also be used.
These lemon pepper chicken wings are pretty perfect by themselves. Serve them up with dips like Garlic Aioli or Homemade BBQ Sauce. If you are planning a bigger feast, serve them alongside other favorite apps like:
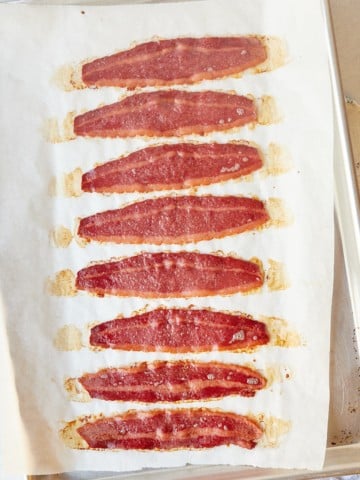
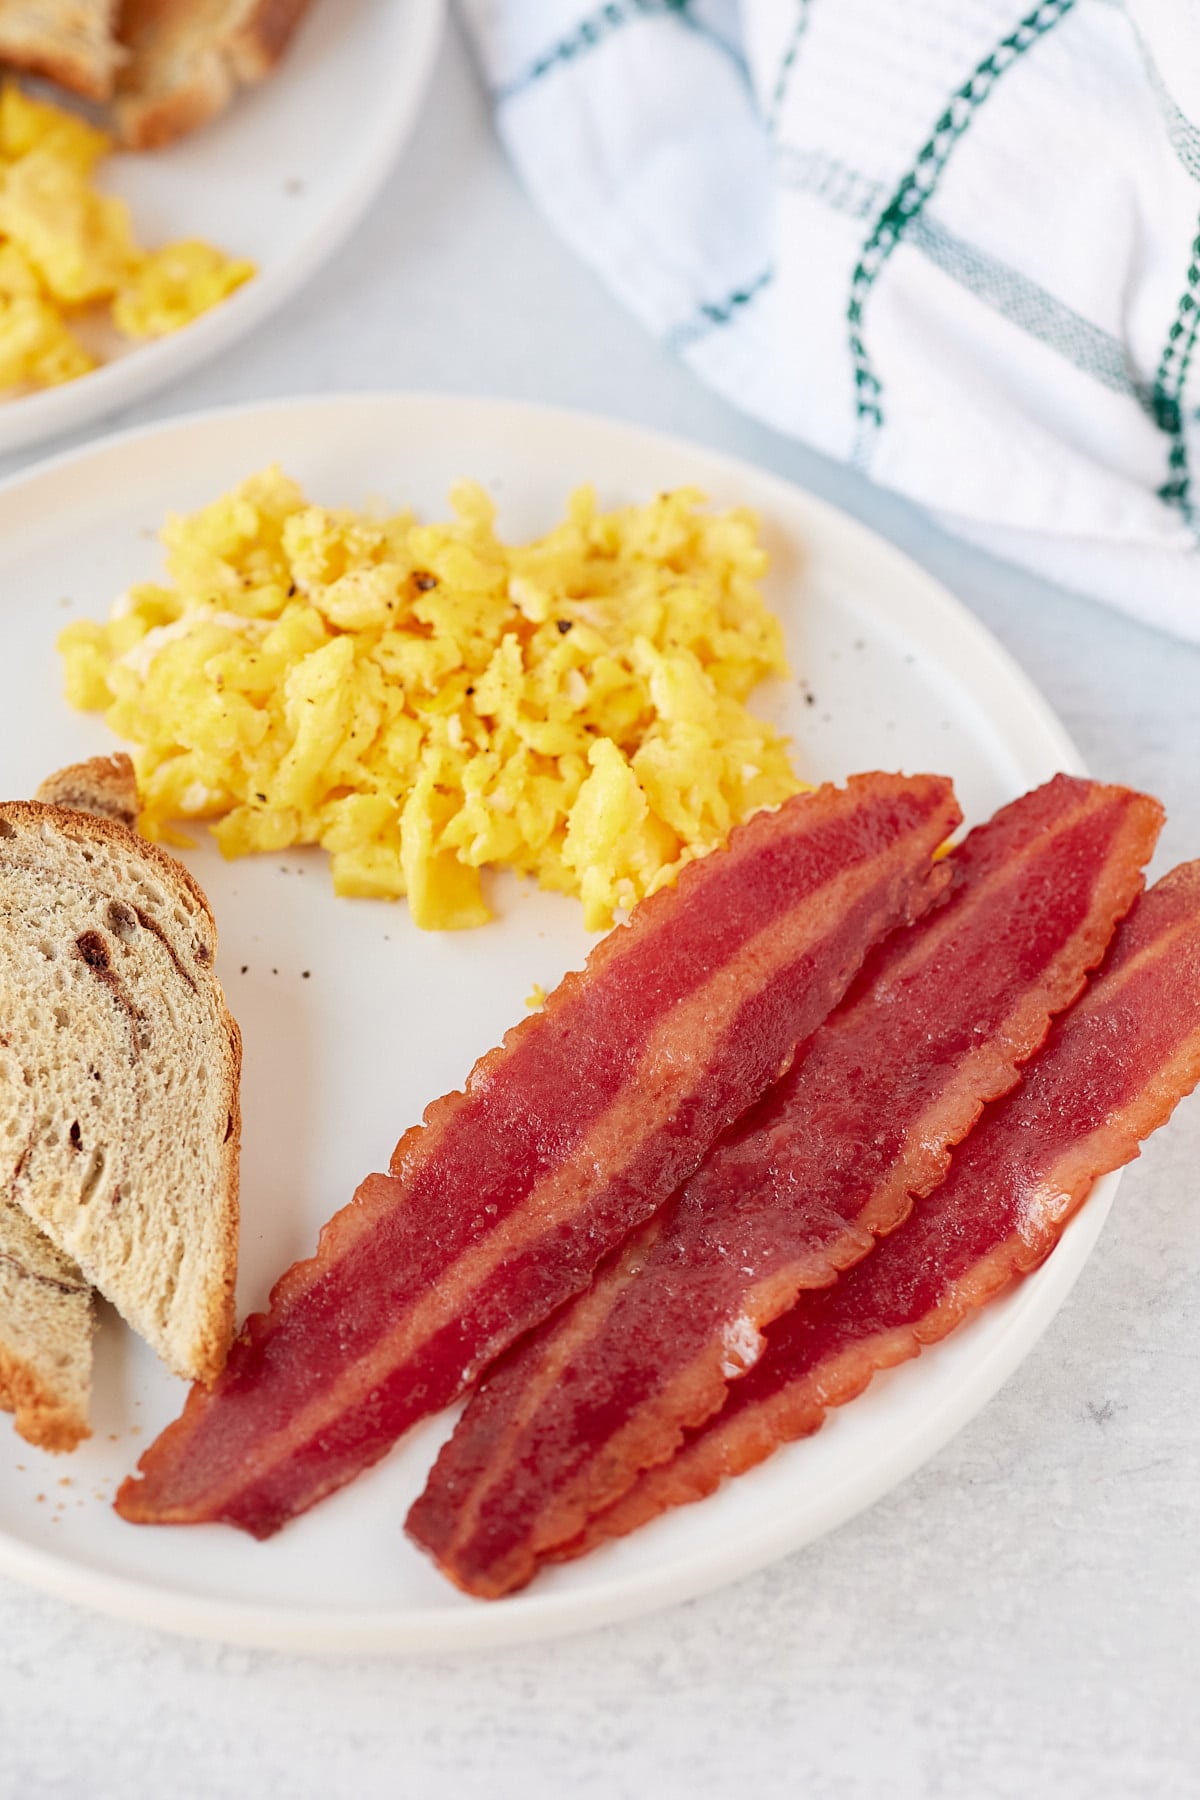
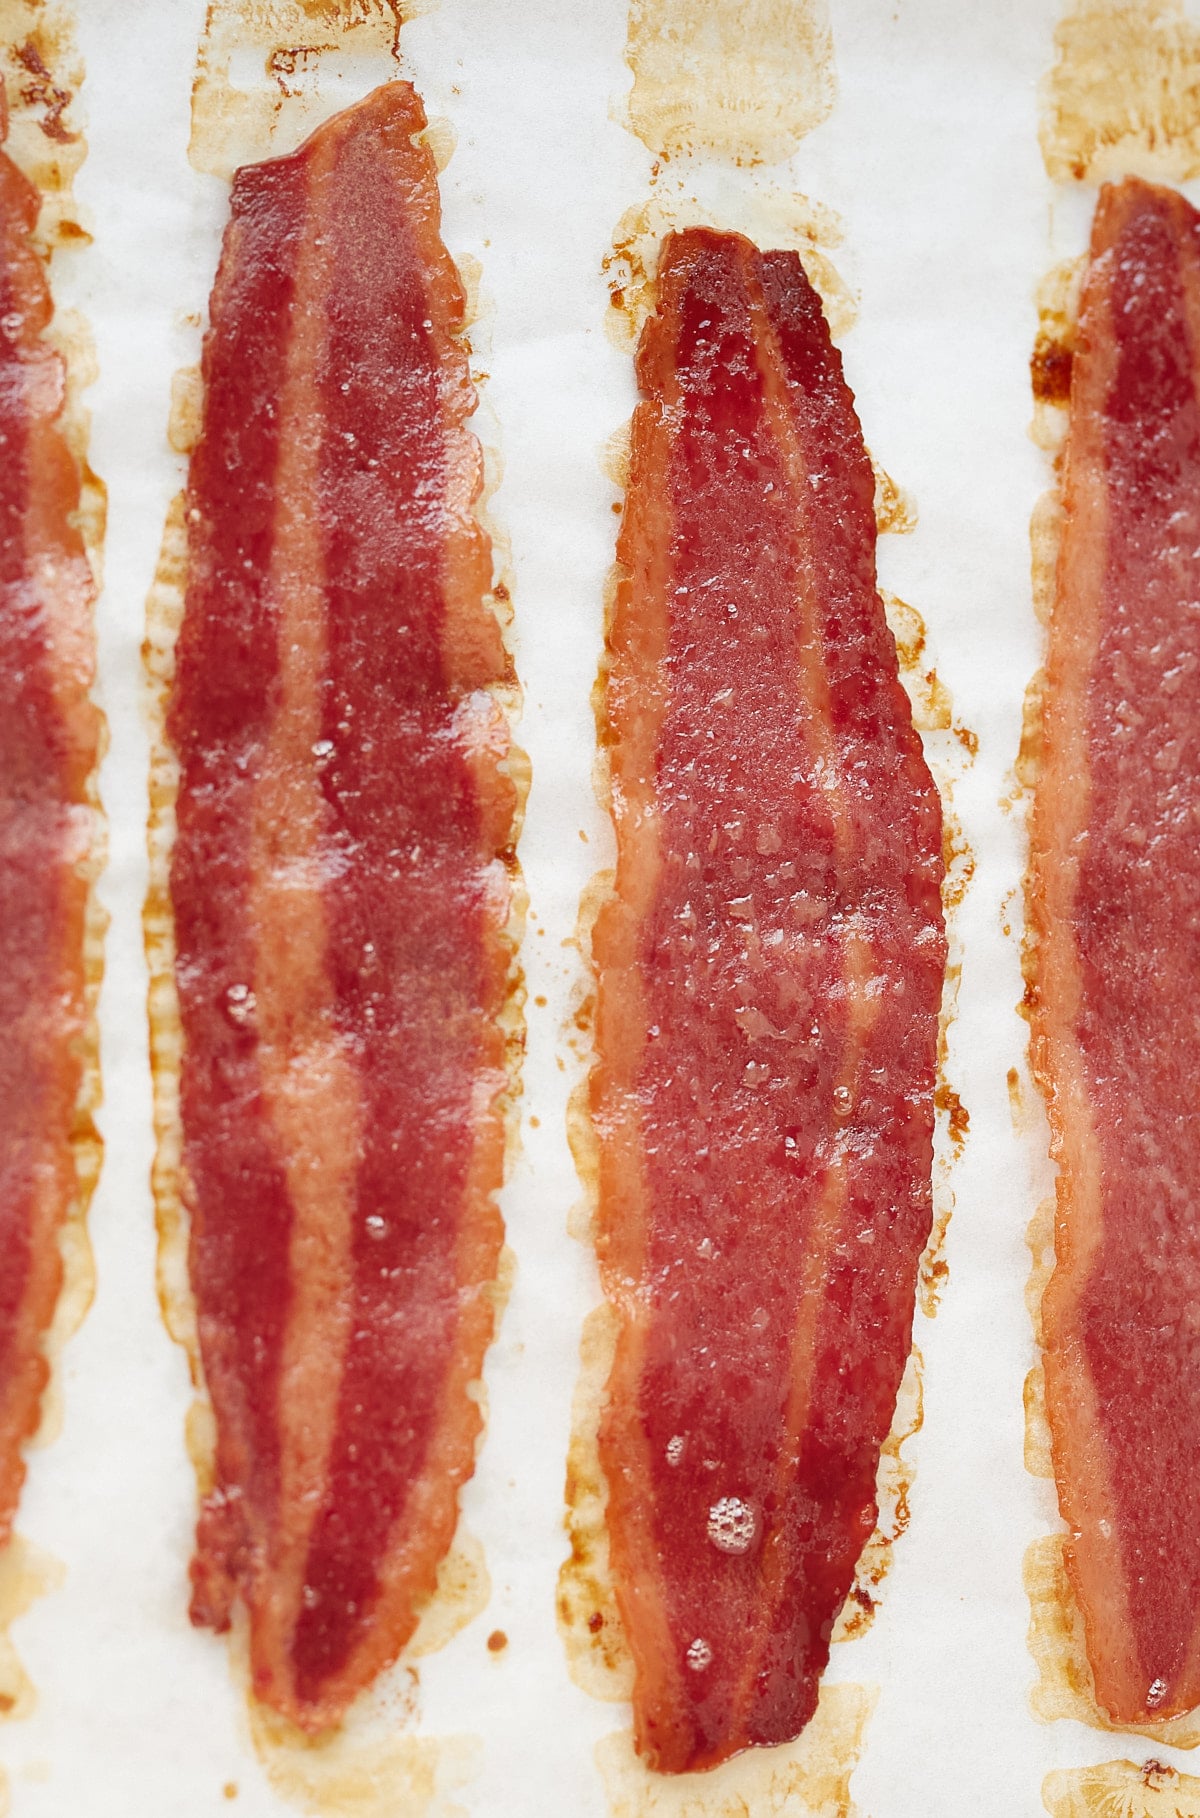
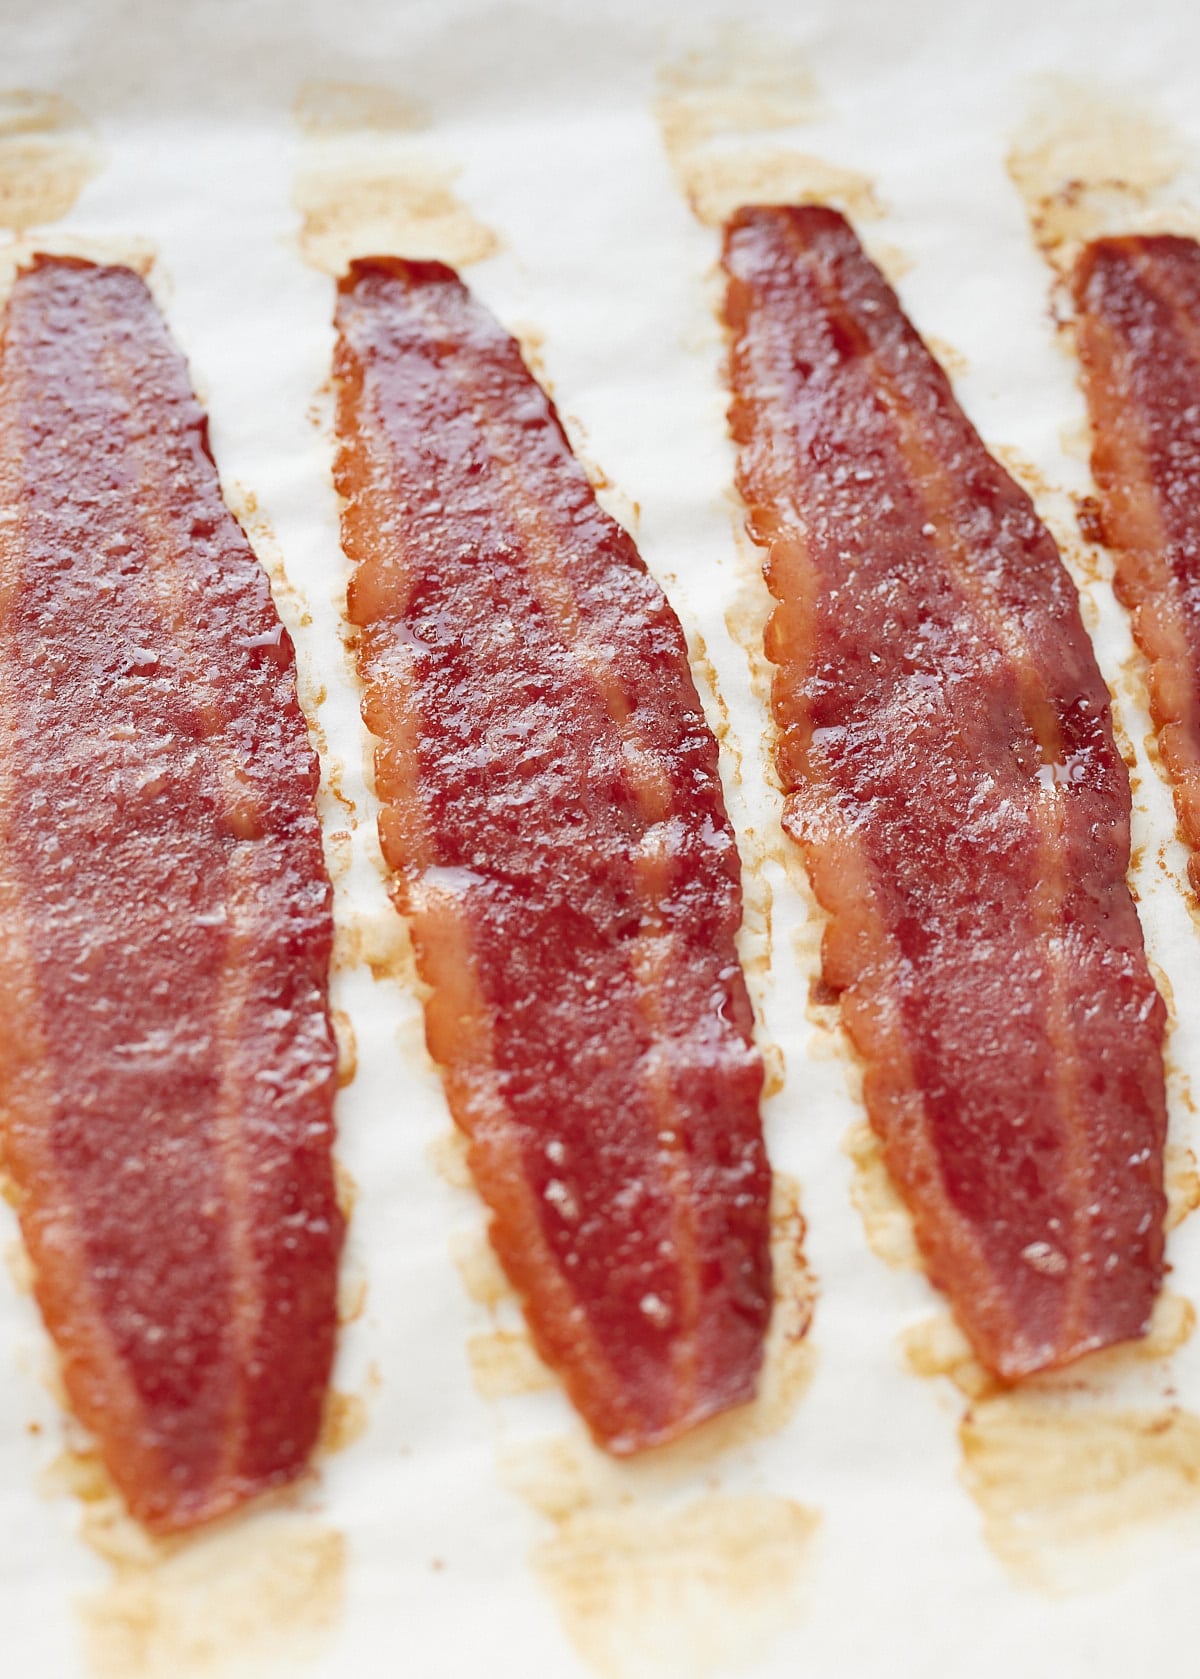
Learn how to bake turkey bacon quickly and easily in the oven. This simple recipe is the perfect accompaniment for breakfast, and it comes out wonderfully crispy! This will be your go-to method!
This post contains affiliate links, please read my full disclaimer here.
You’ll find the full recipe with ingredient amounts and instructions in the recipe card at the bottom of this post. Be sure to check out the blog post itself for extra tips and tricks!
Deliciously crispy and perfect for breakfast meal prep, turkey bacon is never a bad idea.
Now although I love pork bacon, I love to have some variety when it comes to breakfast meats. Turkey bacon usually gets a bad wrap because it does not taste like traditional bacon, but when made right, turkey bacon is simply delicious.
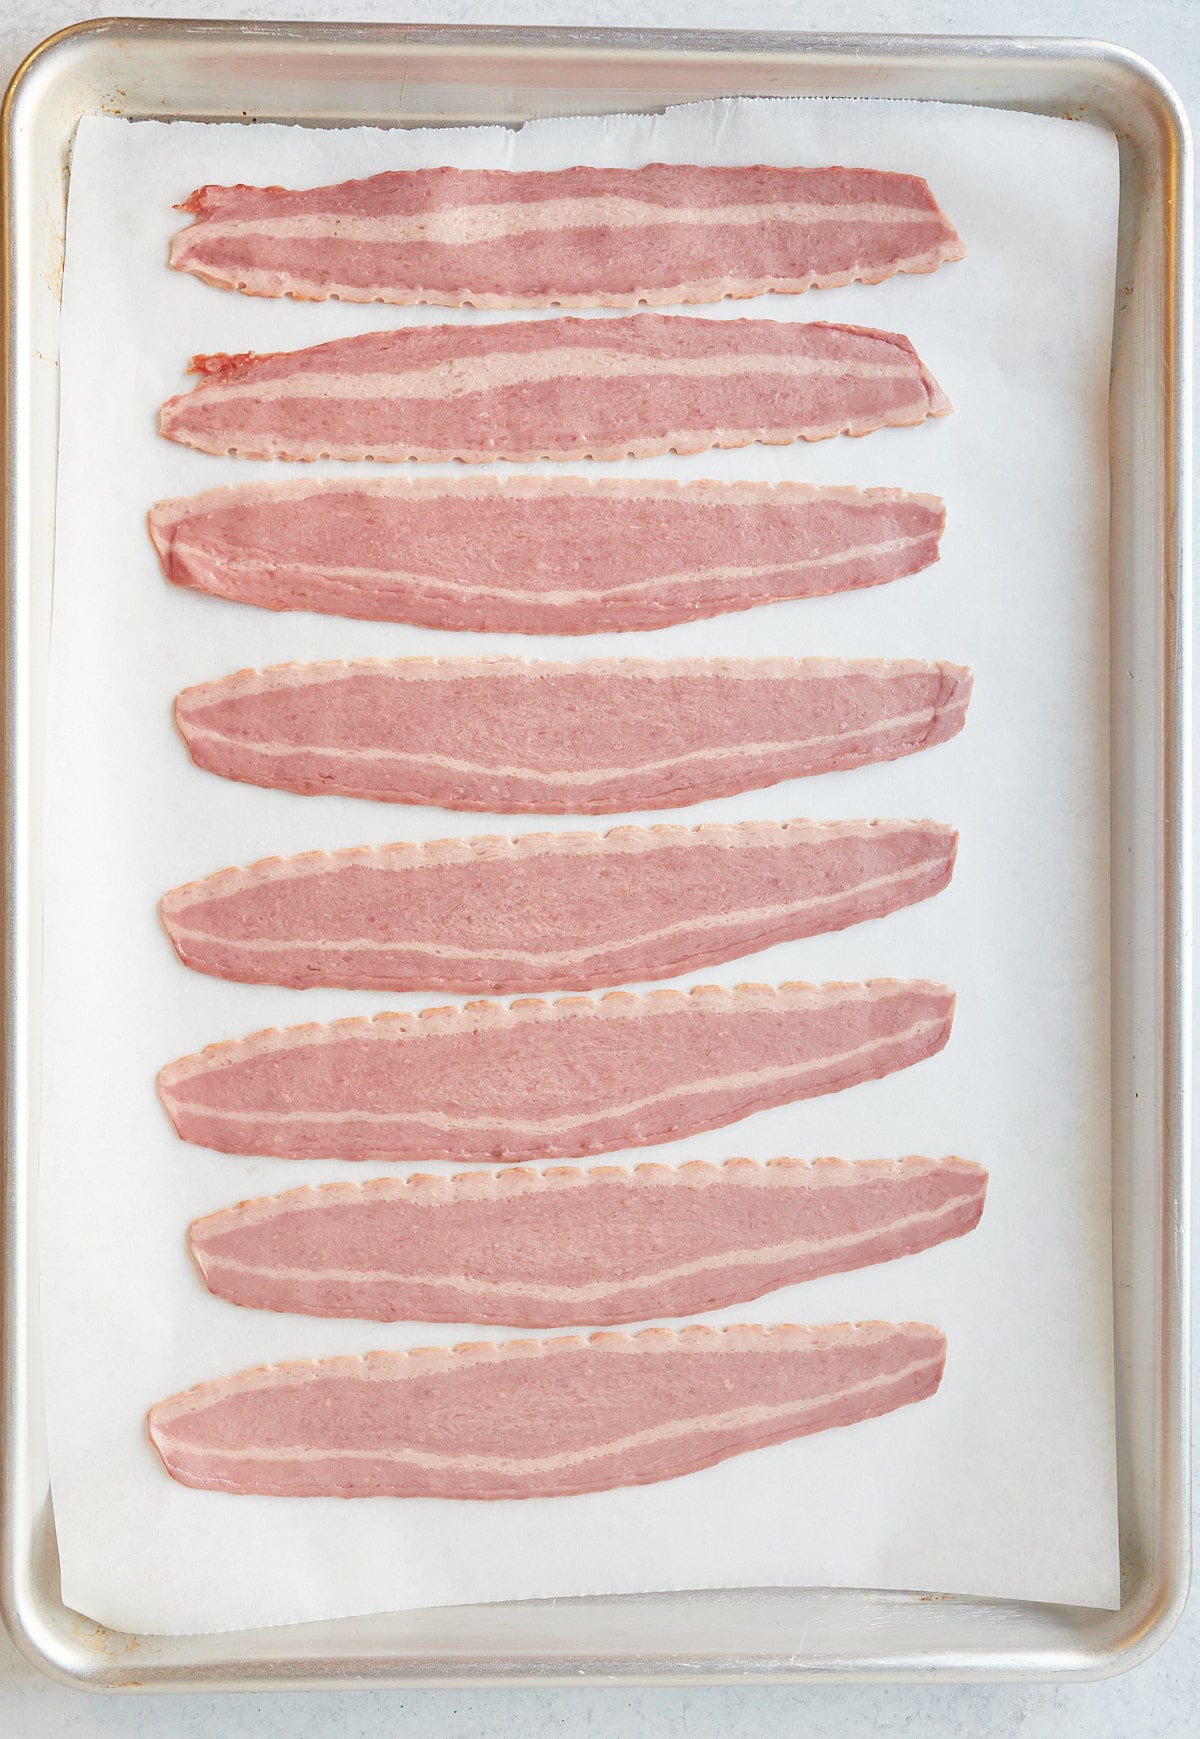
The key to turkey bacon is making sure you do not overcook it. Overcooking turkey bacon results in dry leathery pieces. This is why my oven-baked method is a total game changer! It's so easy to pop it in the oven, the cooking time is totally hands-off and the clean-up is a breeze. Plus, I never get overcooked turkey bacon with this method.
Oven baking produces perfect results every single time, and I guarantee you won't cook turkey bacon any other way again!
Be sure to check out my Crispy Air Fryer Bacon and Million Dollar Bacon too!
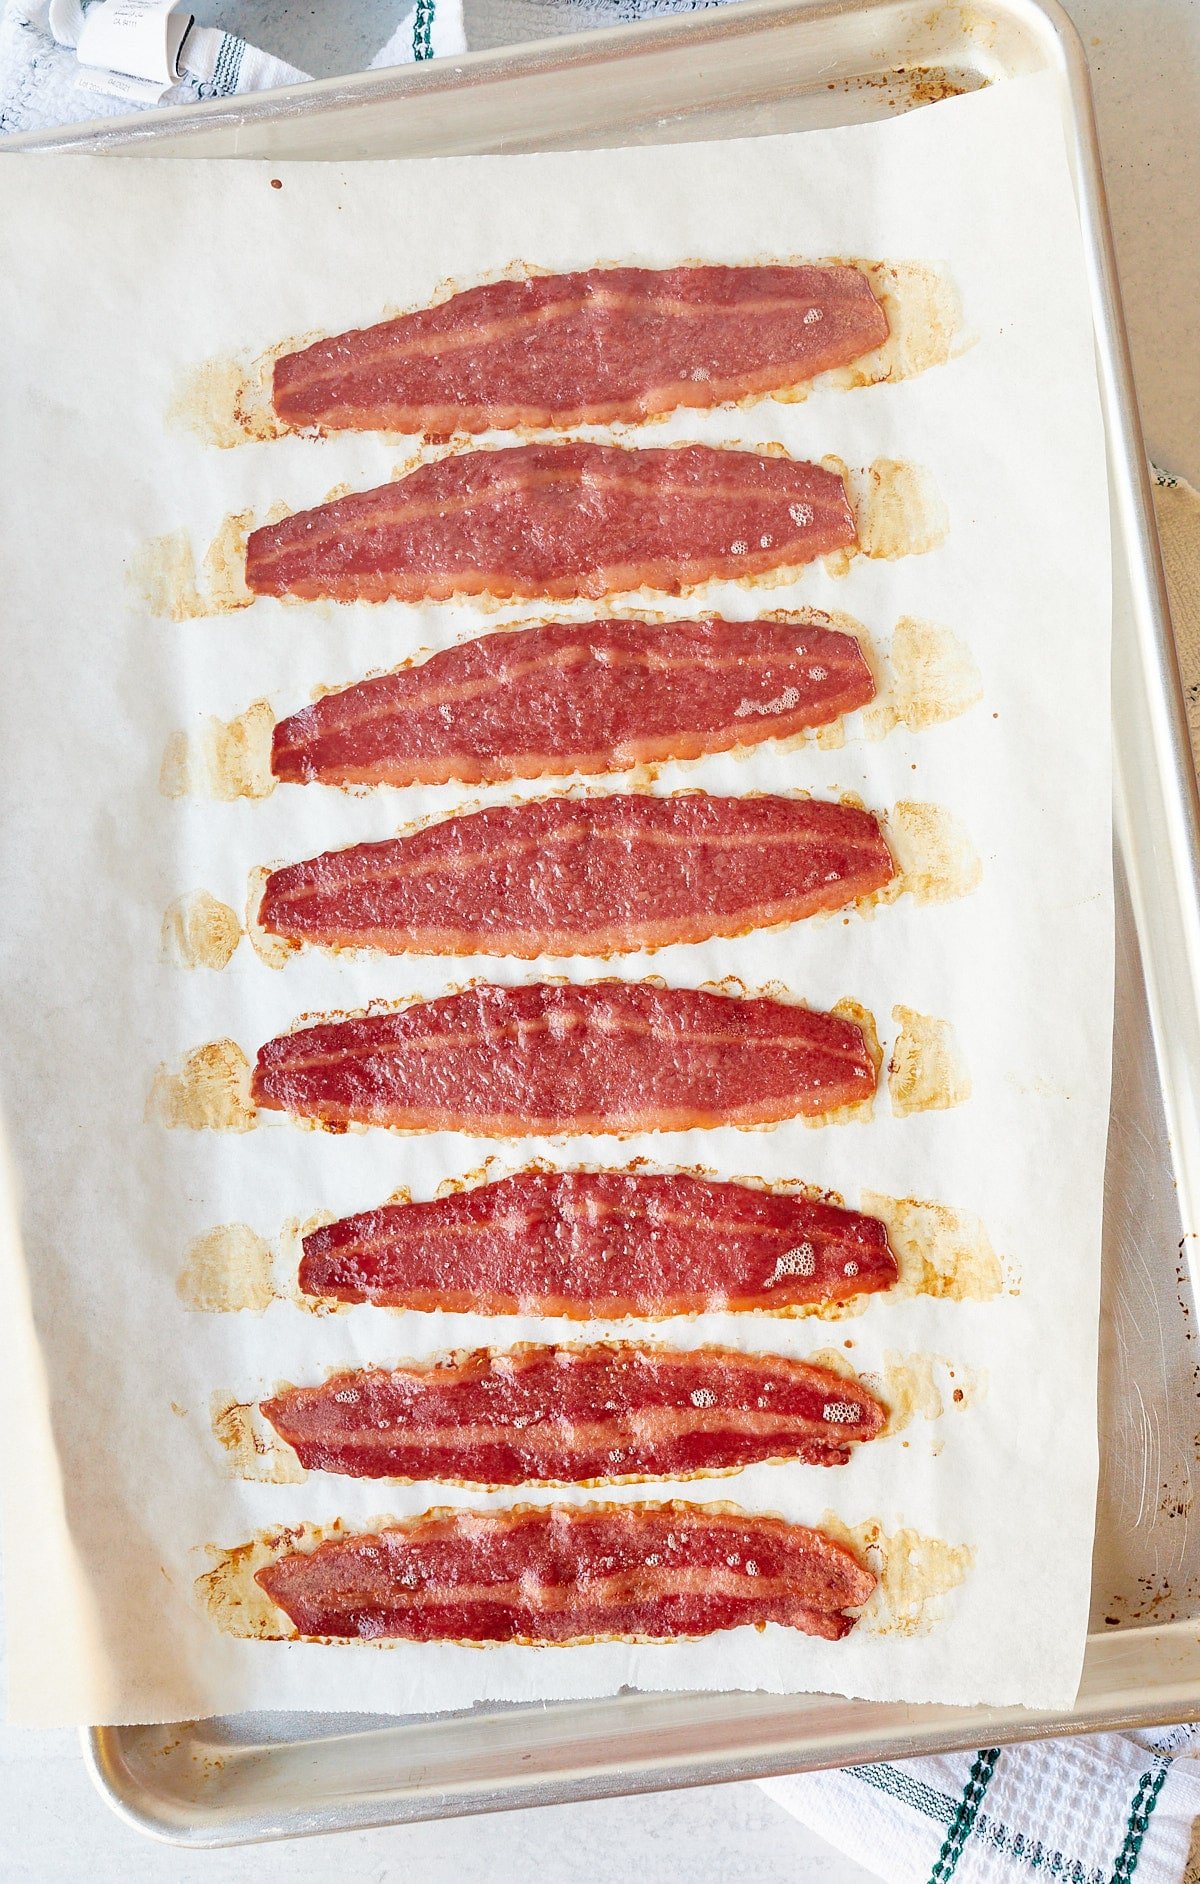
Turkey bacon has fewer calories and fat than regular bacon, so it's a great alternative to pork if you are looking to reduce your consumption. Do keep in mind that it is processed meat though, so it's best to enjoy it in moderation. Use a reduced-sodium brand for the healthiest option.
Oven baking is a healthier option compared to pan-frying as you don't have to add any additional oil.
Yes! Cooked turkey bacon will keep well in the fridge for up to 4 days. Once cooked, let it cool completely and store in an airtight container in the fridge. You can reheat it in the oven at 360F for 5 minutes, or in the microwave on full power for about 20 seconds.
You can also freeze it for up to 6 months. Freeze the cooled bacon slices solid on a bacon sheet before placing them in a freezer bag or container. Thaw in the fridge before reheating or reheat from frozen in the oven or microwave.
For best results, cook the turkey bacon strips at 375F for 10 to 12 minutes. It only takes a couple of extra minutes longer than cooking it on the stovetop, but it's much cleaner and the cooking time is hands-off.
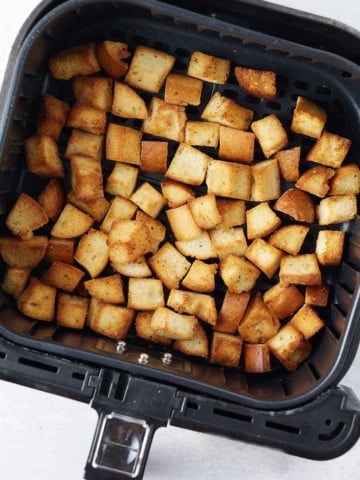
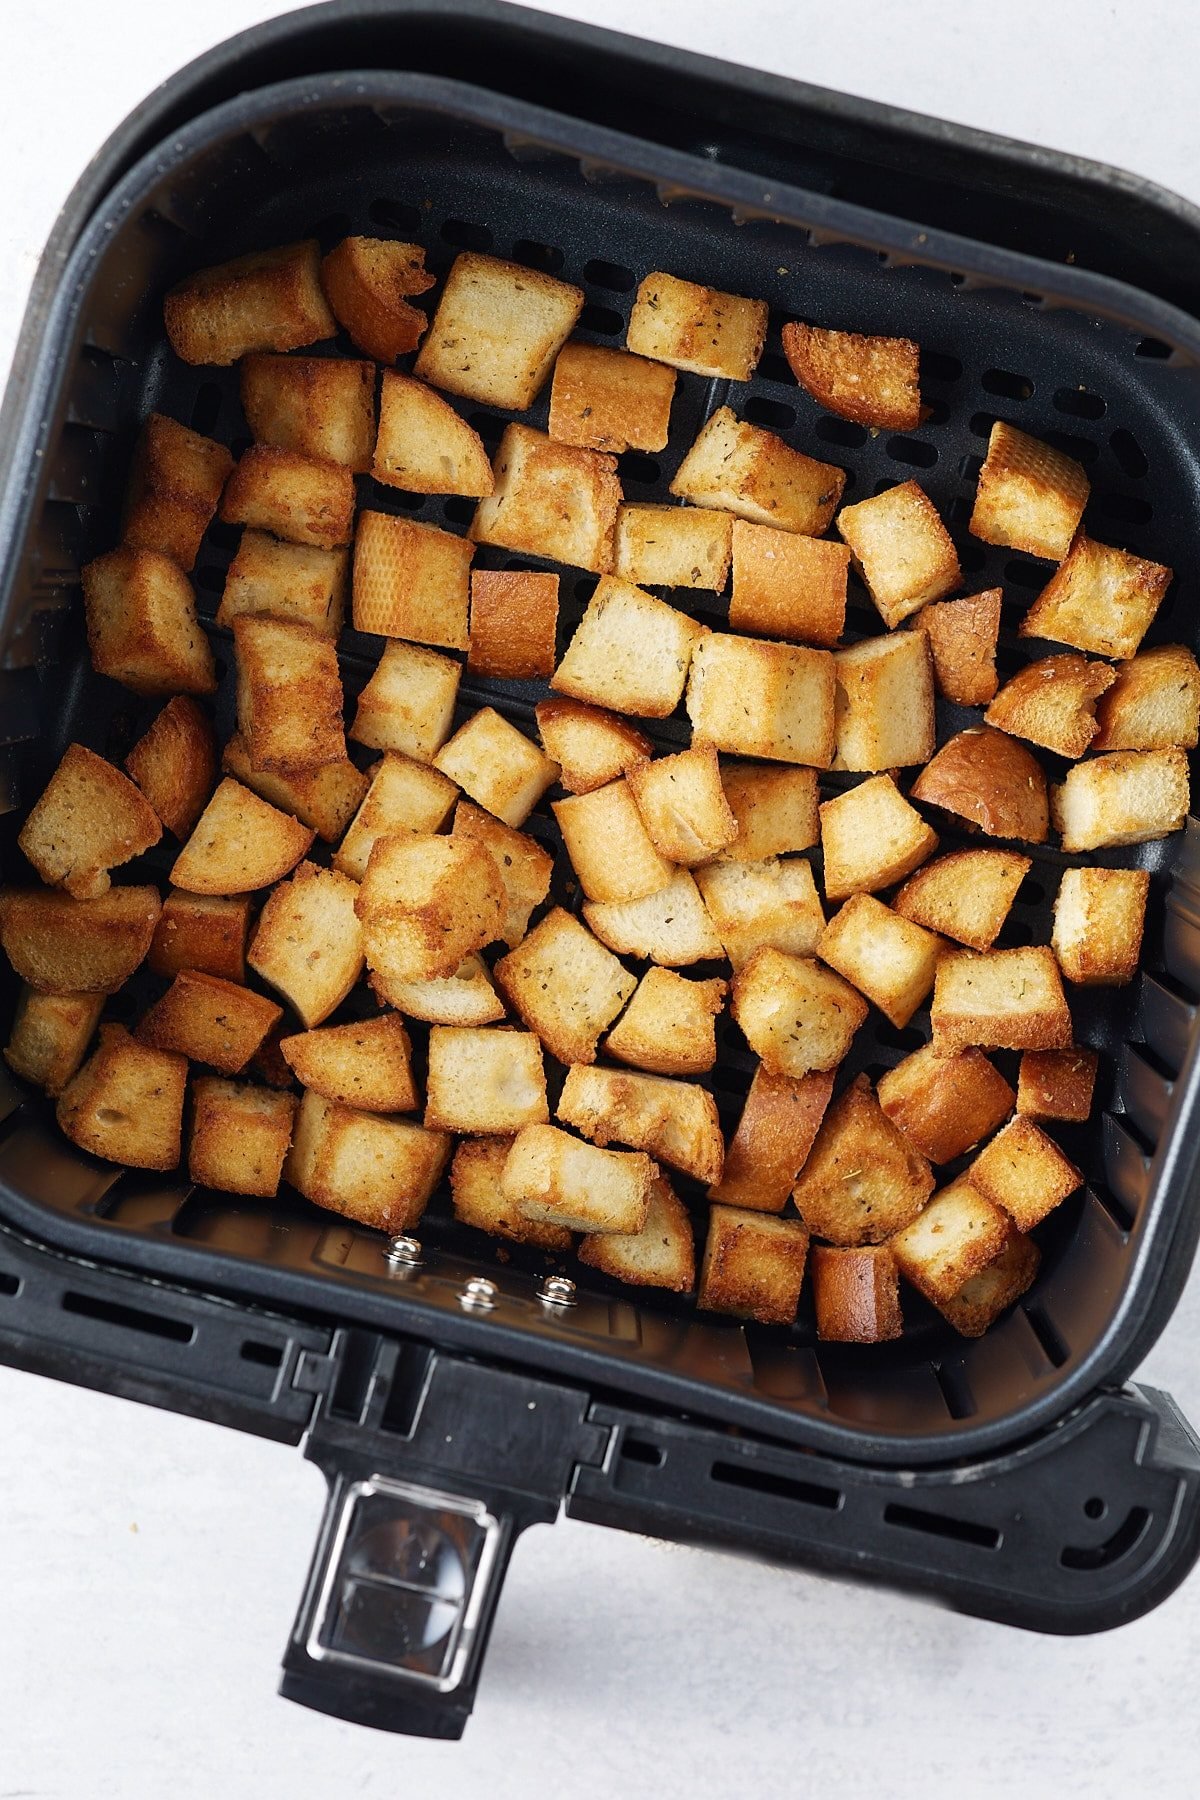
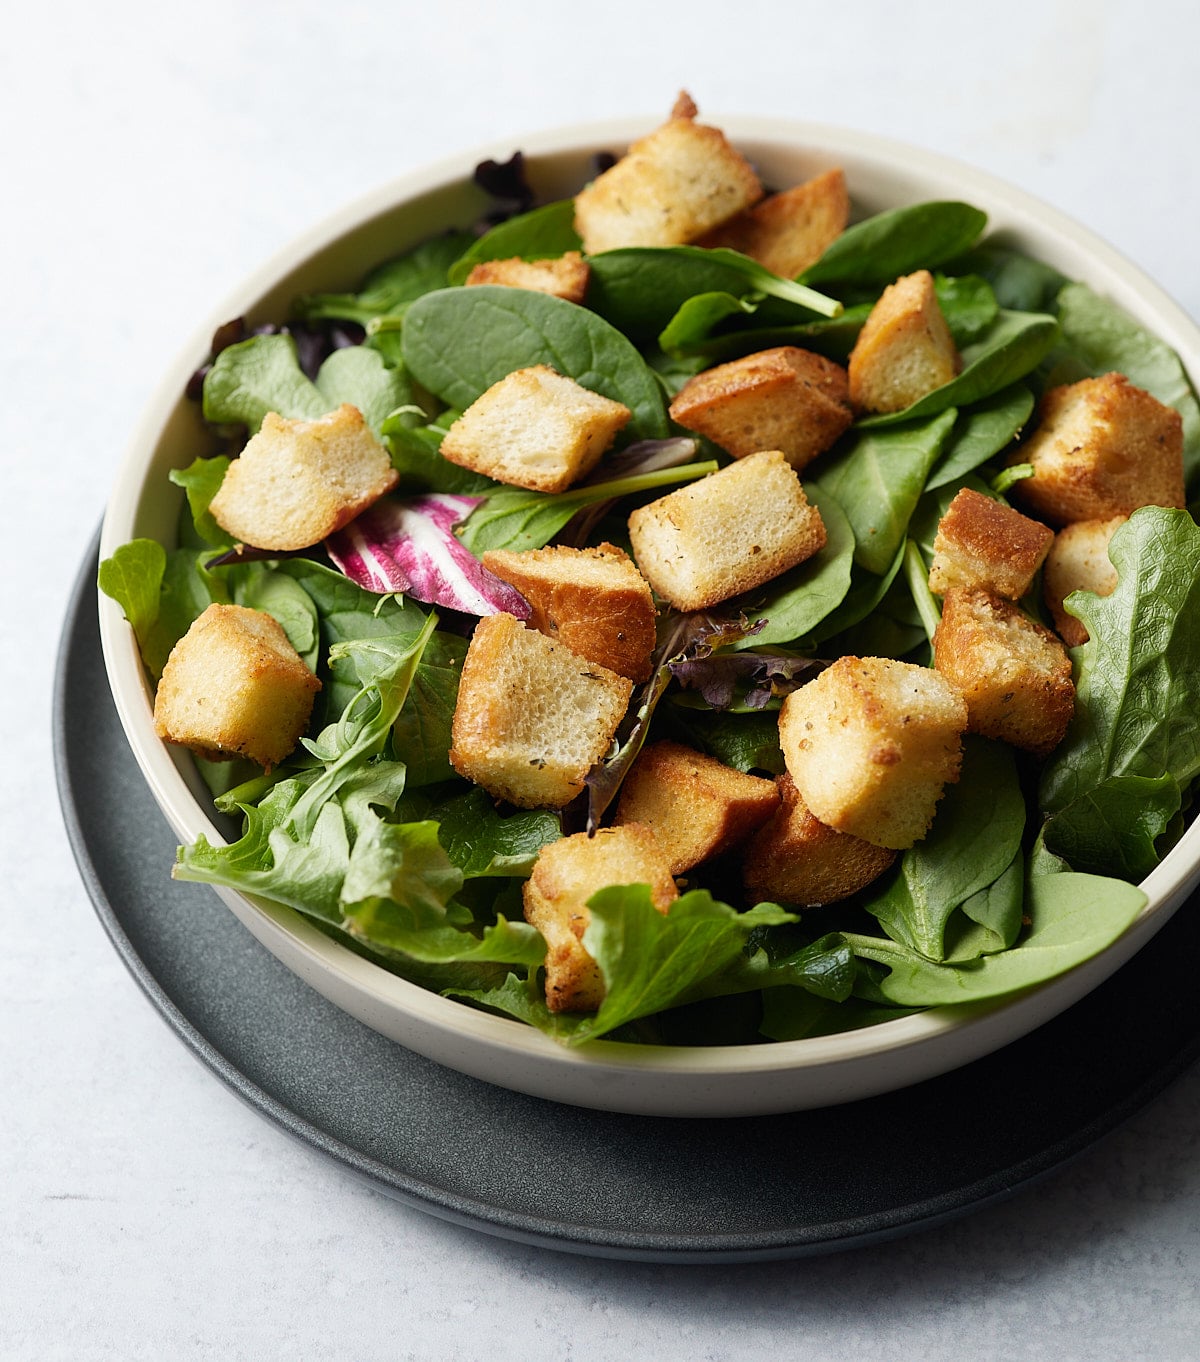
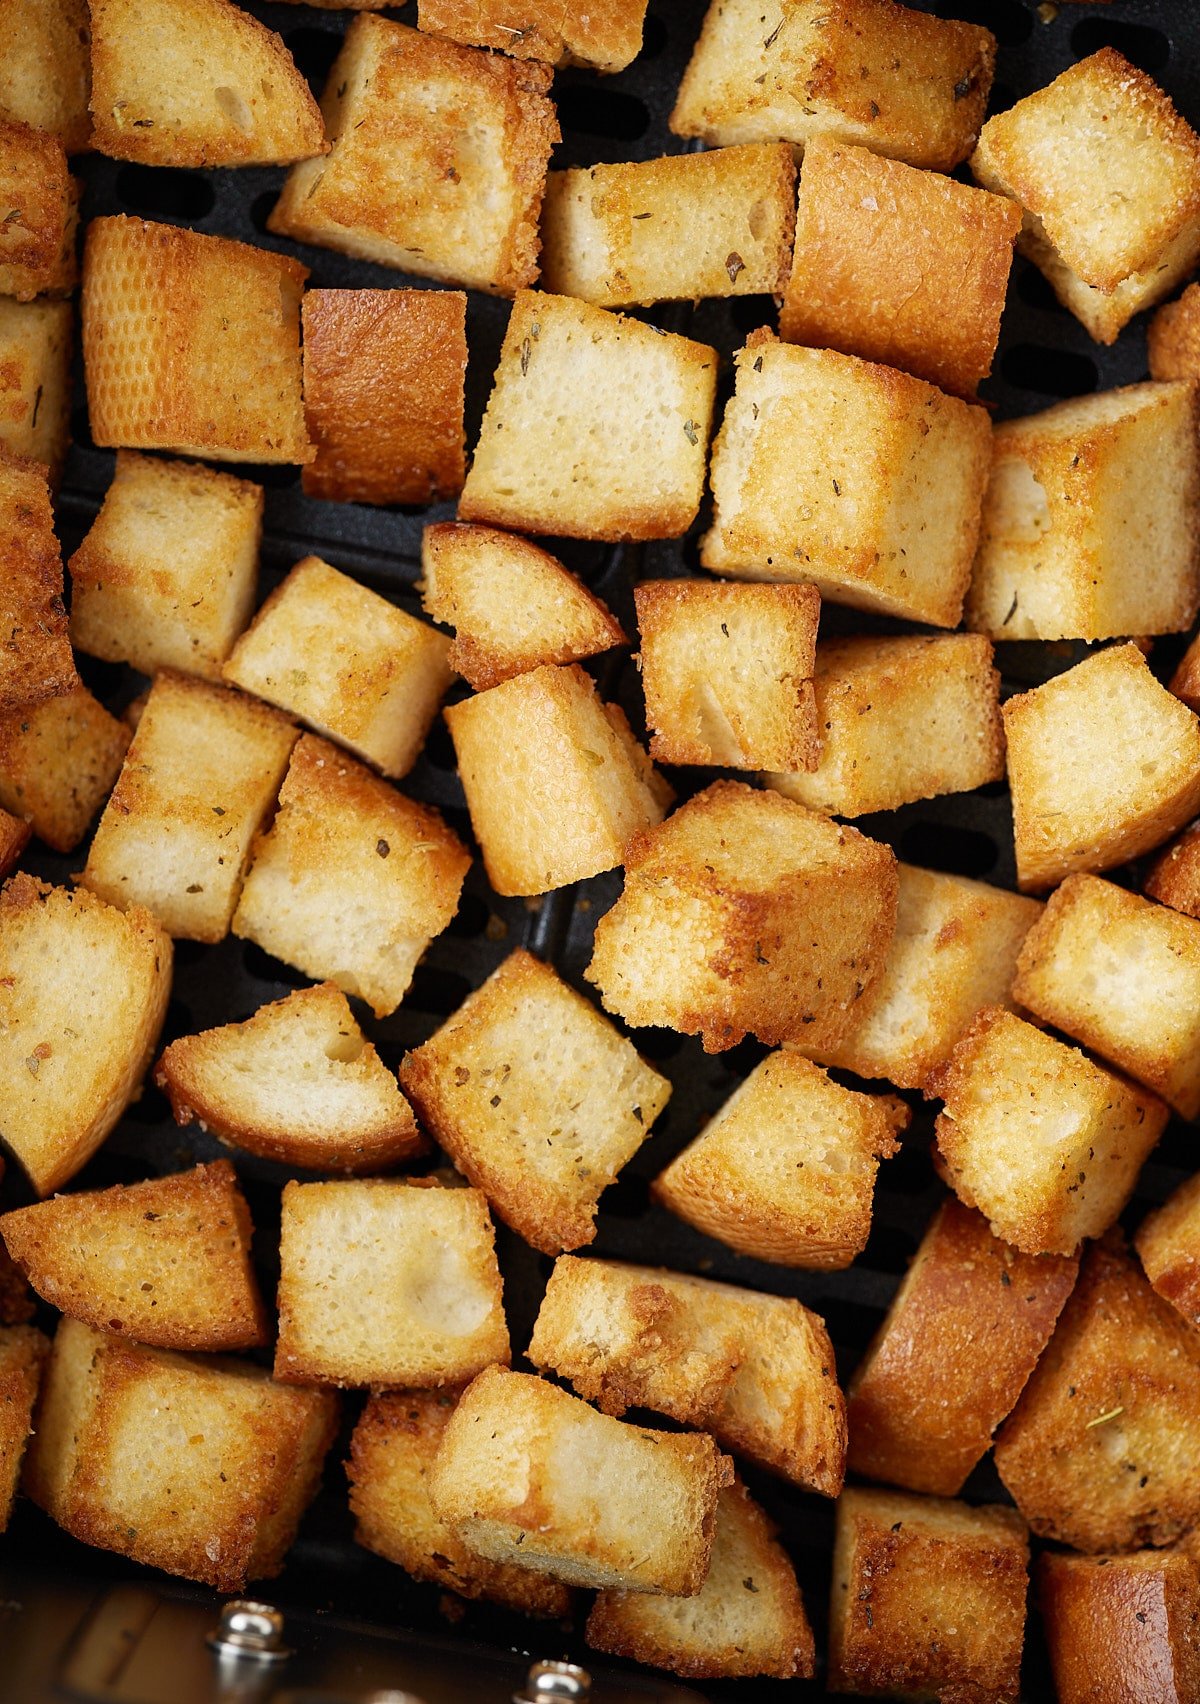
Cook up a batch of homemade croutons in a matter of minutes in your air fryer. Perfect for adding to soups and salads, these seasoned croutons are perfectly crispy and full of flavor. I know you are going to love these!
This post contains affiliate links, please read my full disclaimer here.
You’ll find the full recipe with ingredient amounts and instructions in the recipe card at the bottom of this post. Be sure to check out the blog post itself for extra tips and tricks!
Add some texture and crunch to your favorite salads and soups with this quick and easy air fryer croutons recipe.
These homemade croutons are seasoned with garlic and herbs and come together in a matter of minutes for a perfect crispy topping.
These croutons have a great shelf life, I love having them on hand to add some flavor and interest to lunchtime salads and soups, or just grab a few to enjoy as a yummy snack!
Be sure to try my Air Fryer French Toast and Air Fryer Dinner Rolls too!
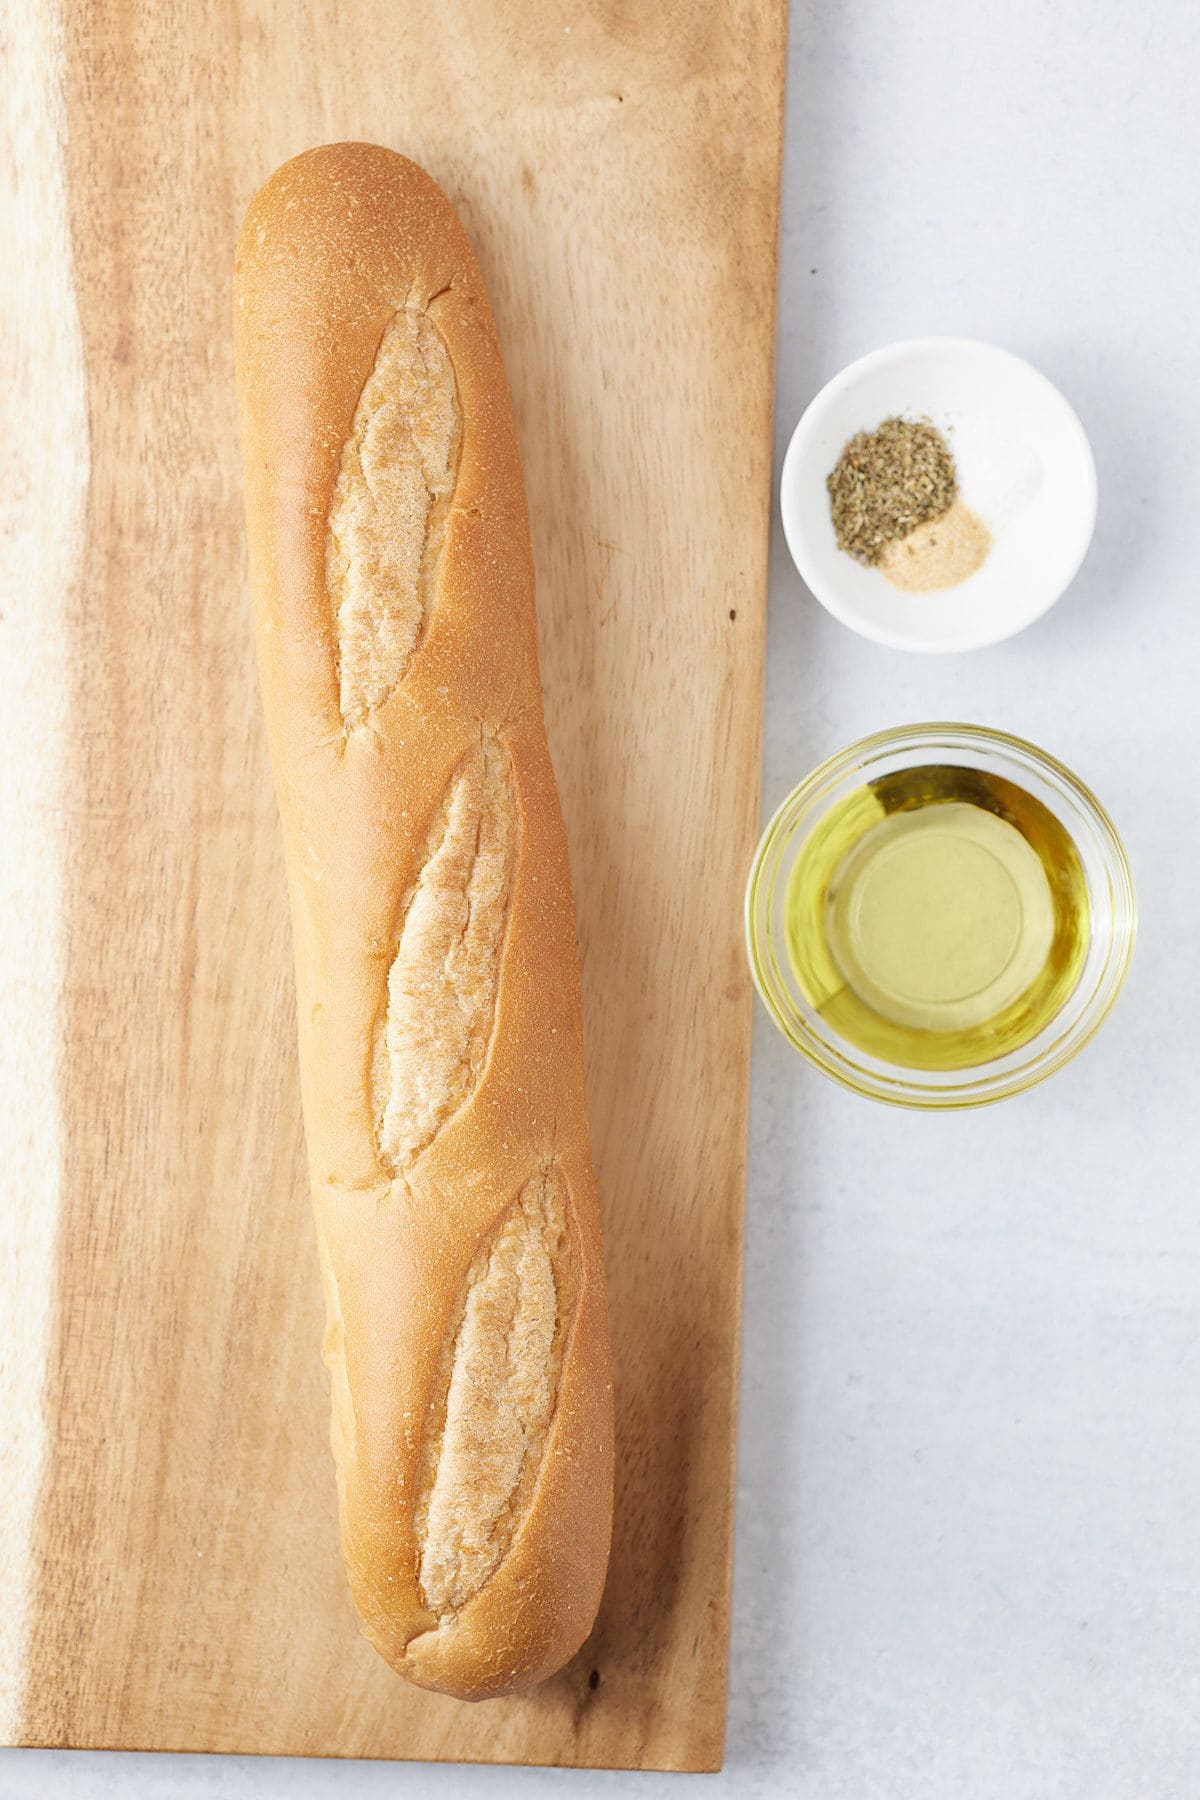
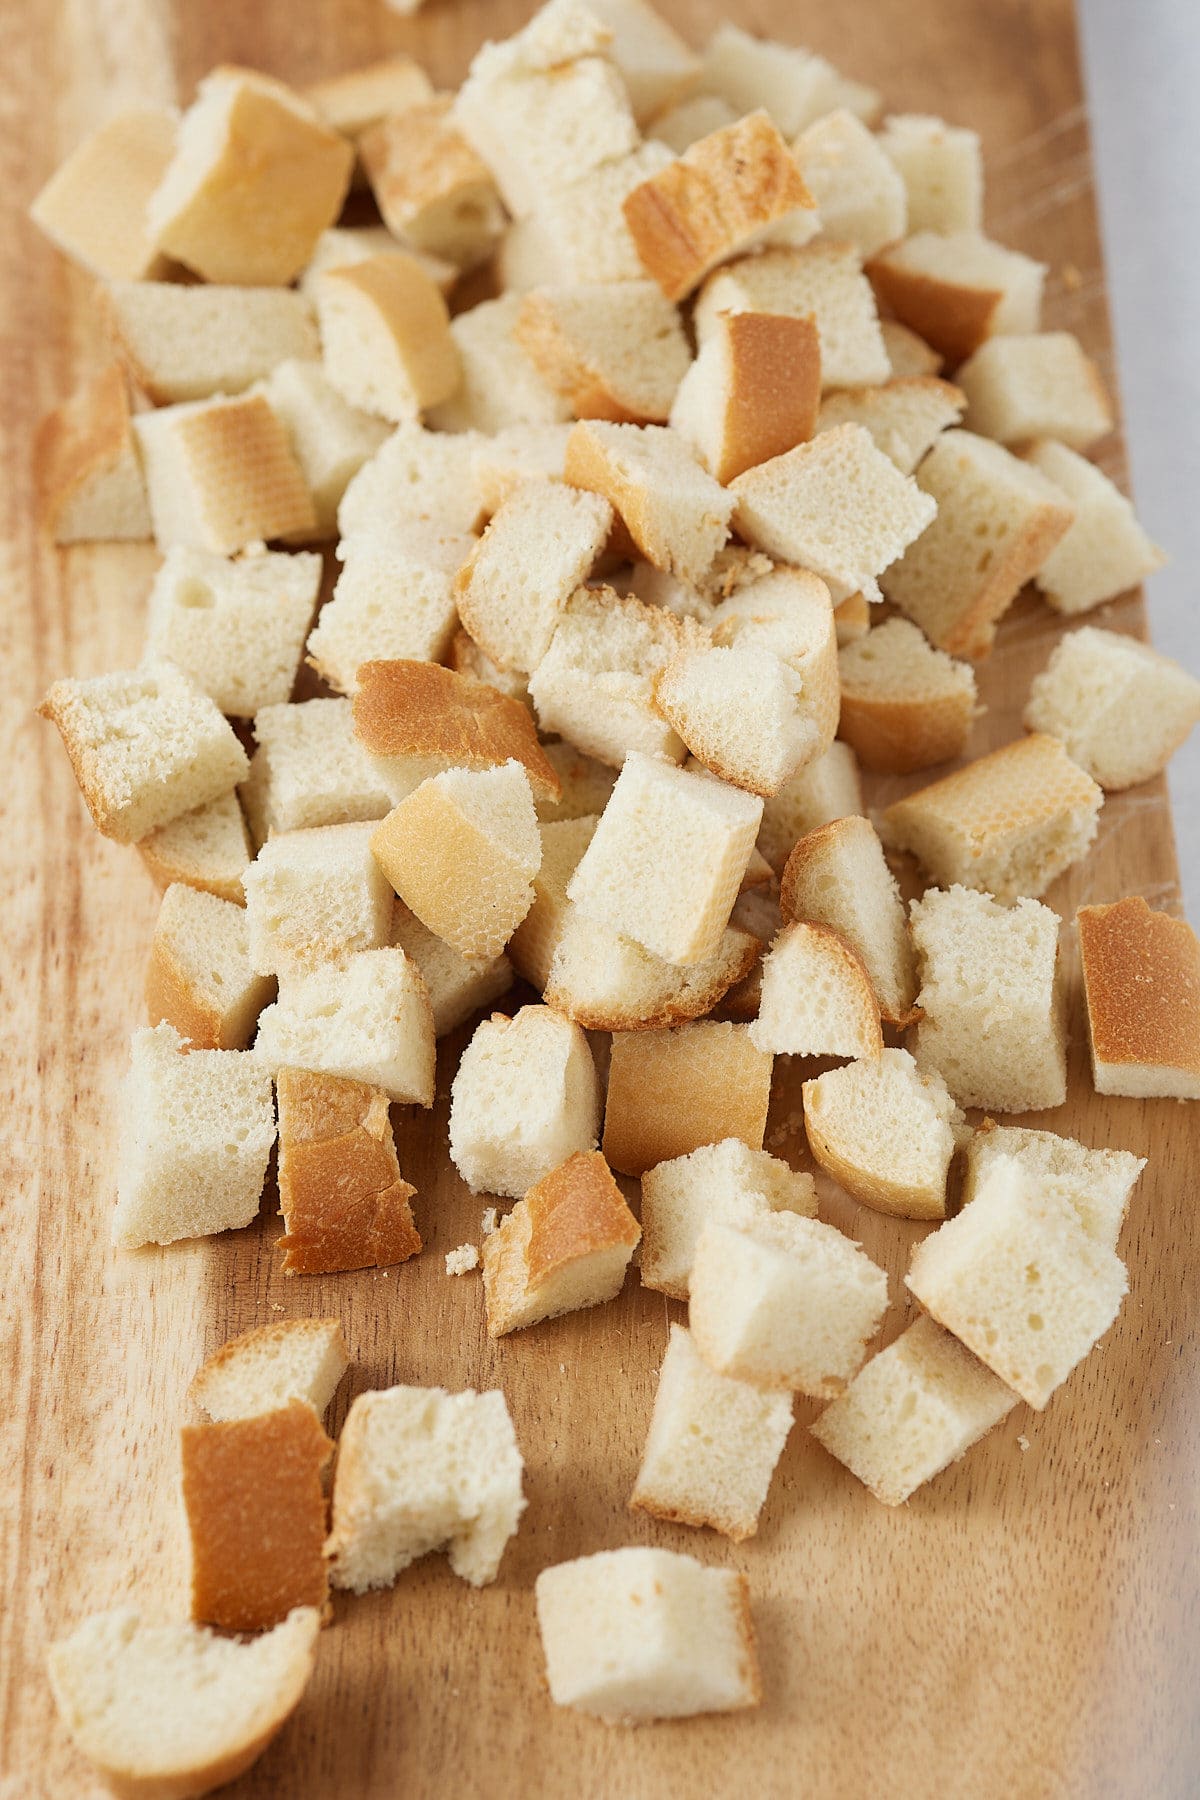
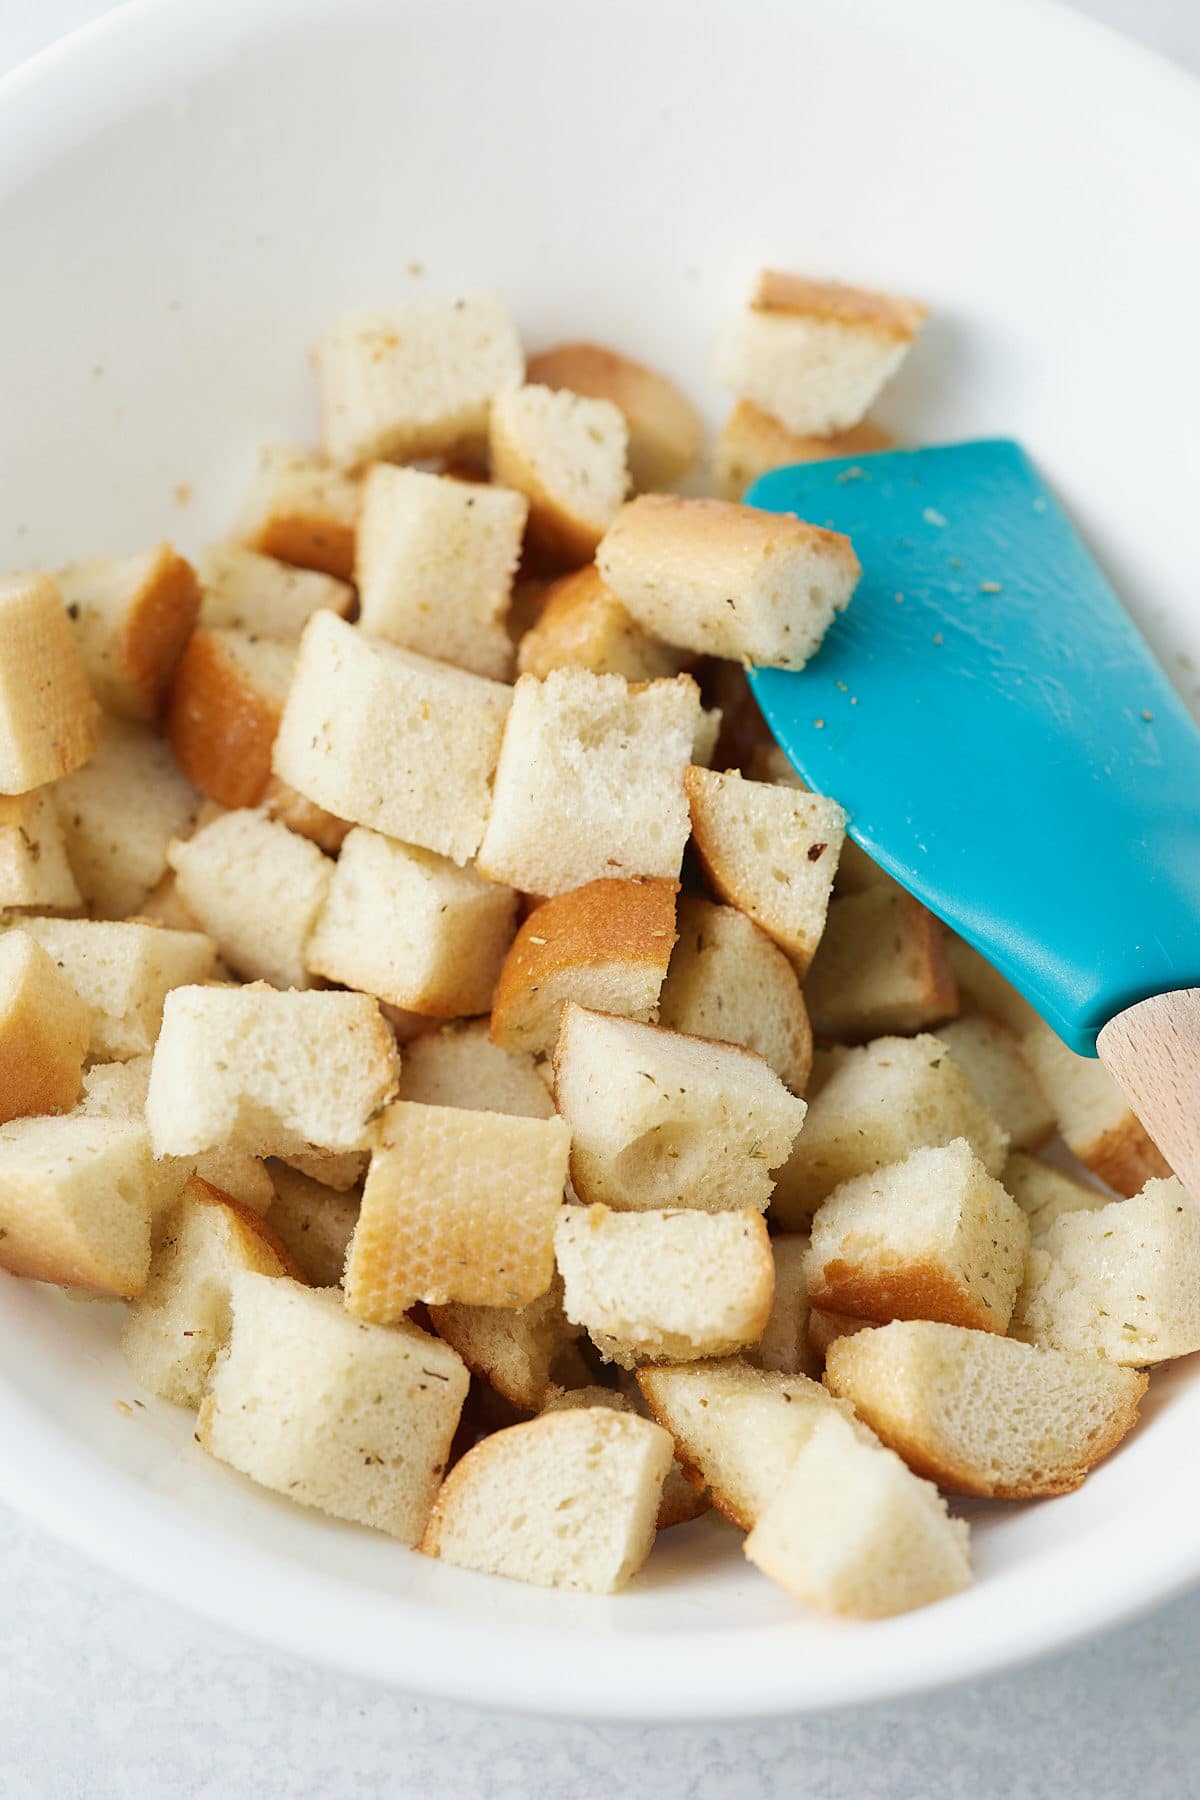
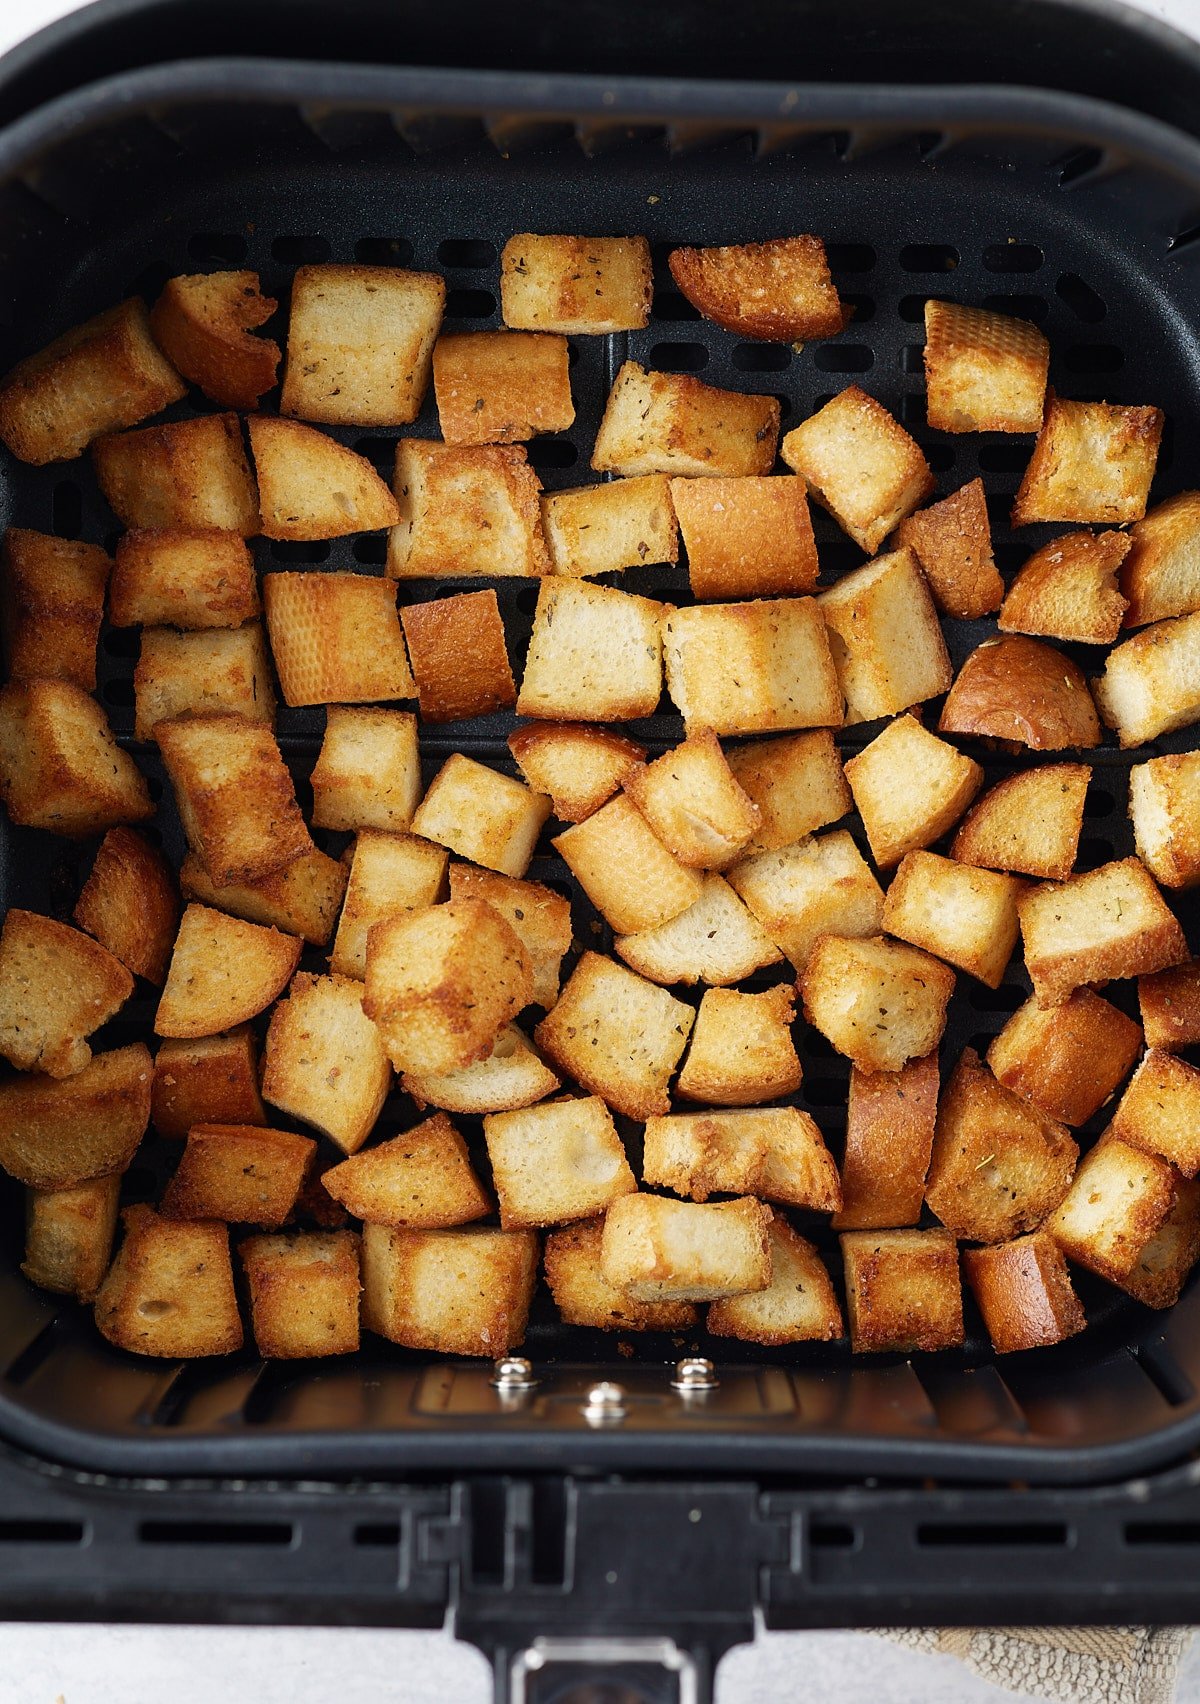
I love to use French bread to make croutons, the crust gets wonderfully crispy and the croutons are light and not dense. Most thickly sliced bread loaves will work great, sourdough is another favorite option, or try making them with some homemade cornbread.
I don't worry about using stale bread when it comes to making these air fryer croutons. However, if using hot fresh baked bread, I would let it rest for at least a day before making these croutons.
These croutons will take between 6 and 8 minutes to air fry at 380F. Cook them in a single layer for the best results. If you are cooking more, you can layer up the bread cubes, but be sure to give them a shake or two during cooking so that they crisp up evenly.
Homemade croutons are a great way to add some interest to everyday soups and salads. Try adding them too...
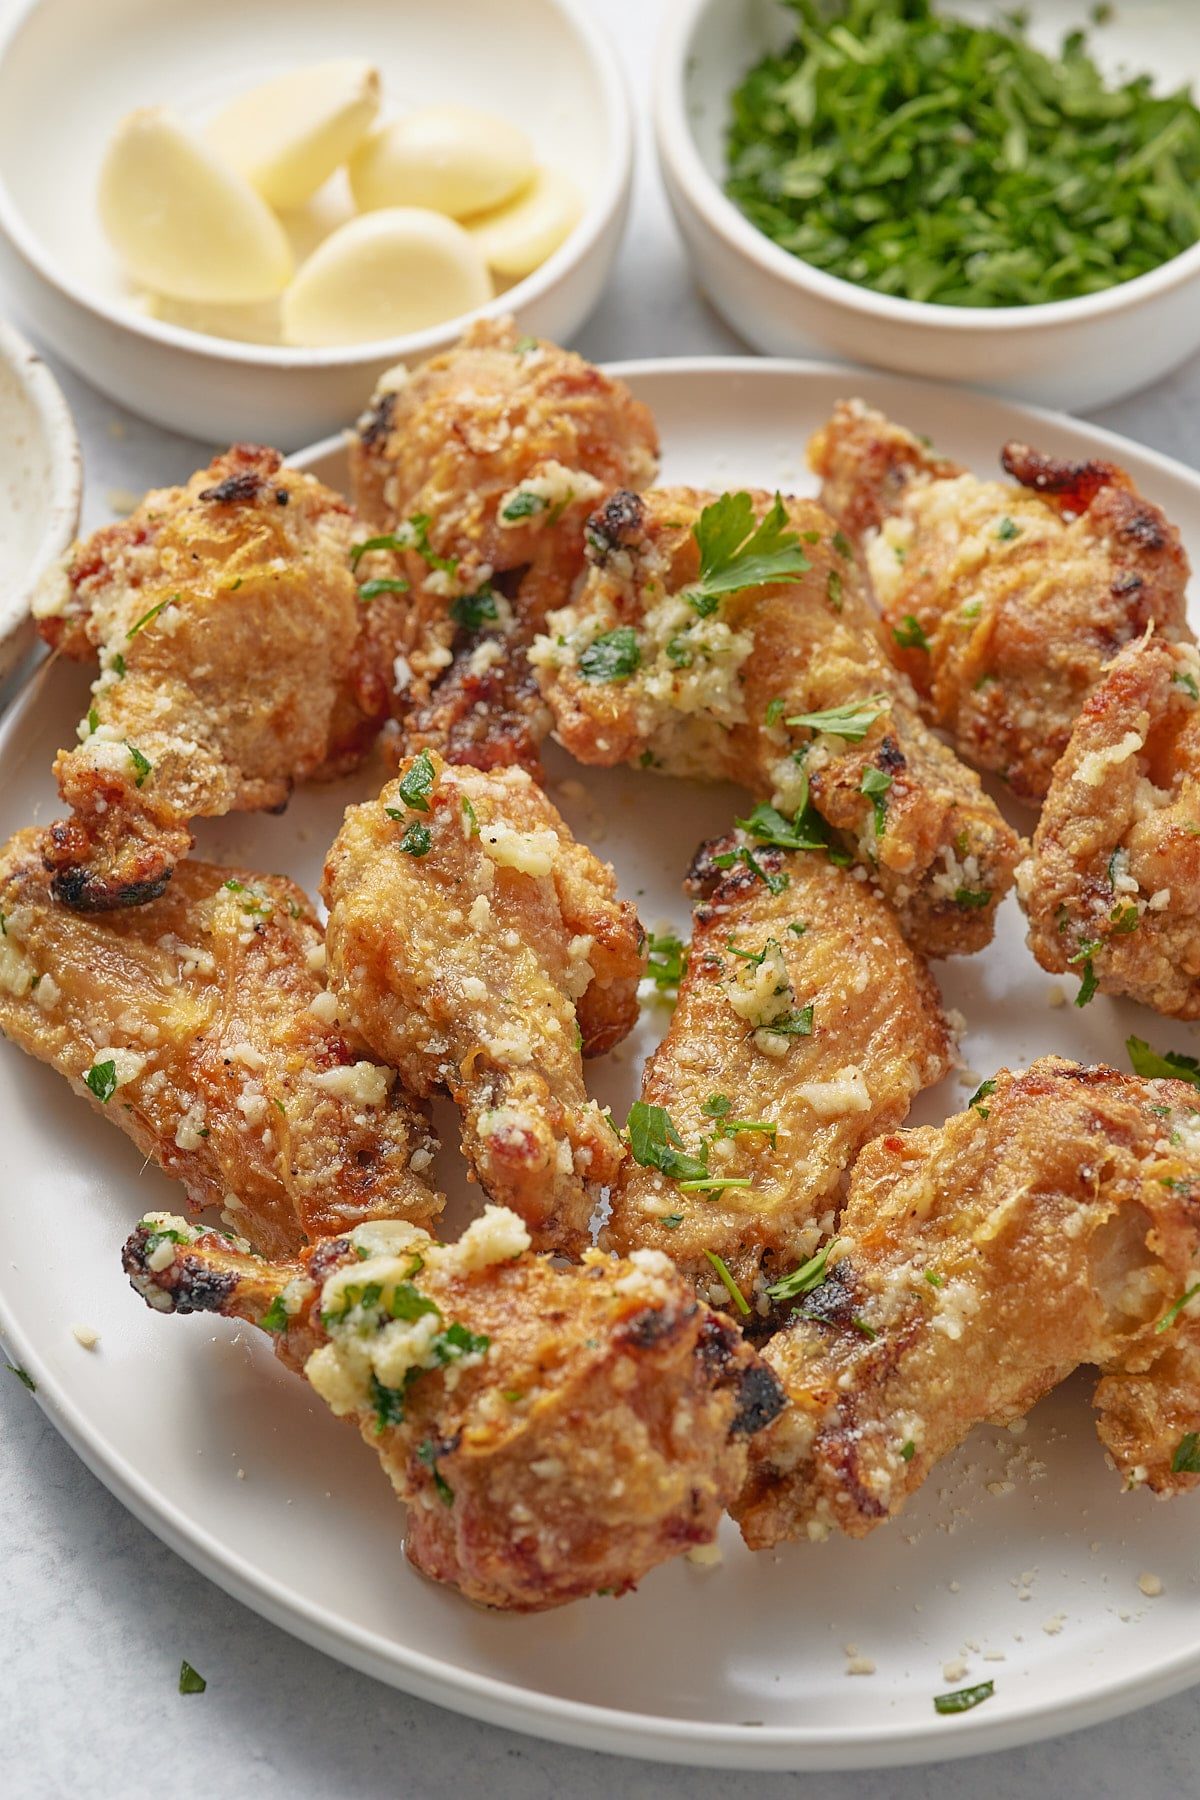
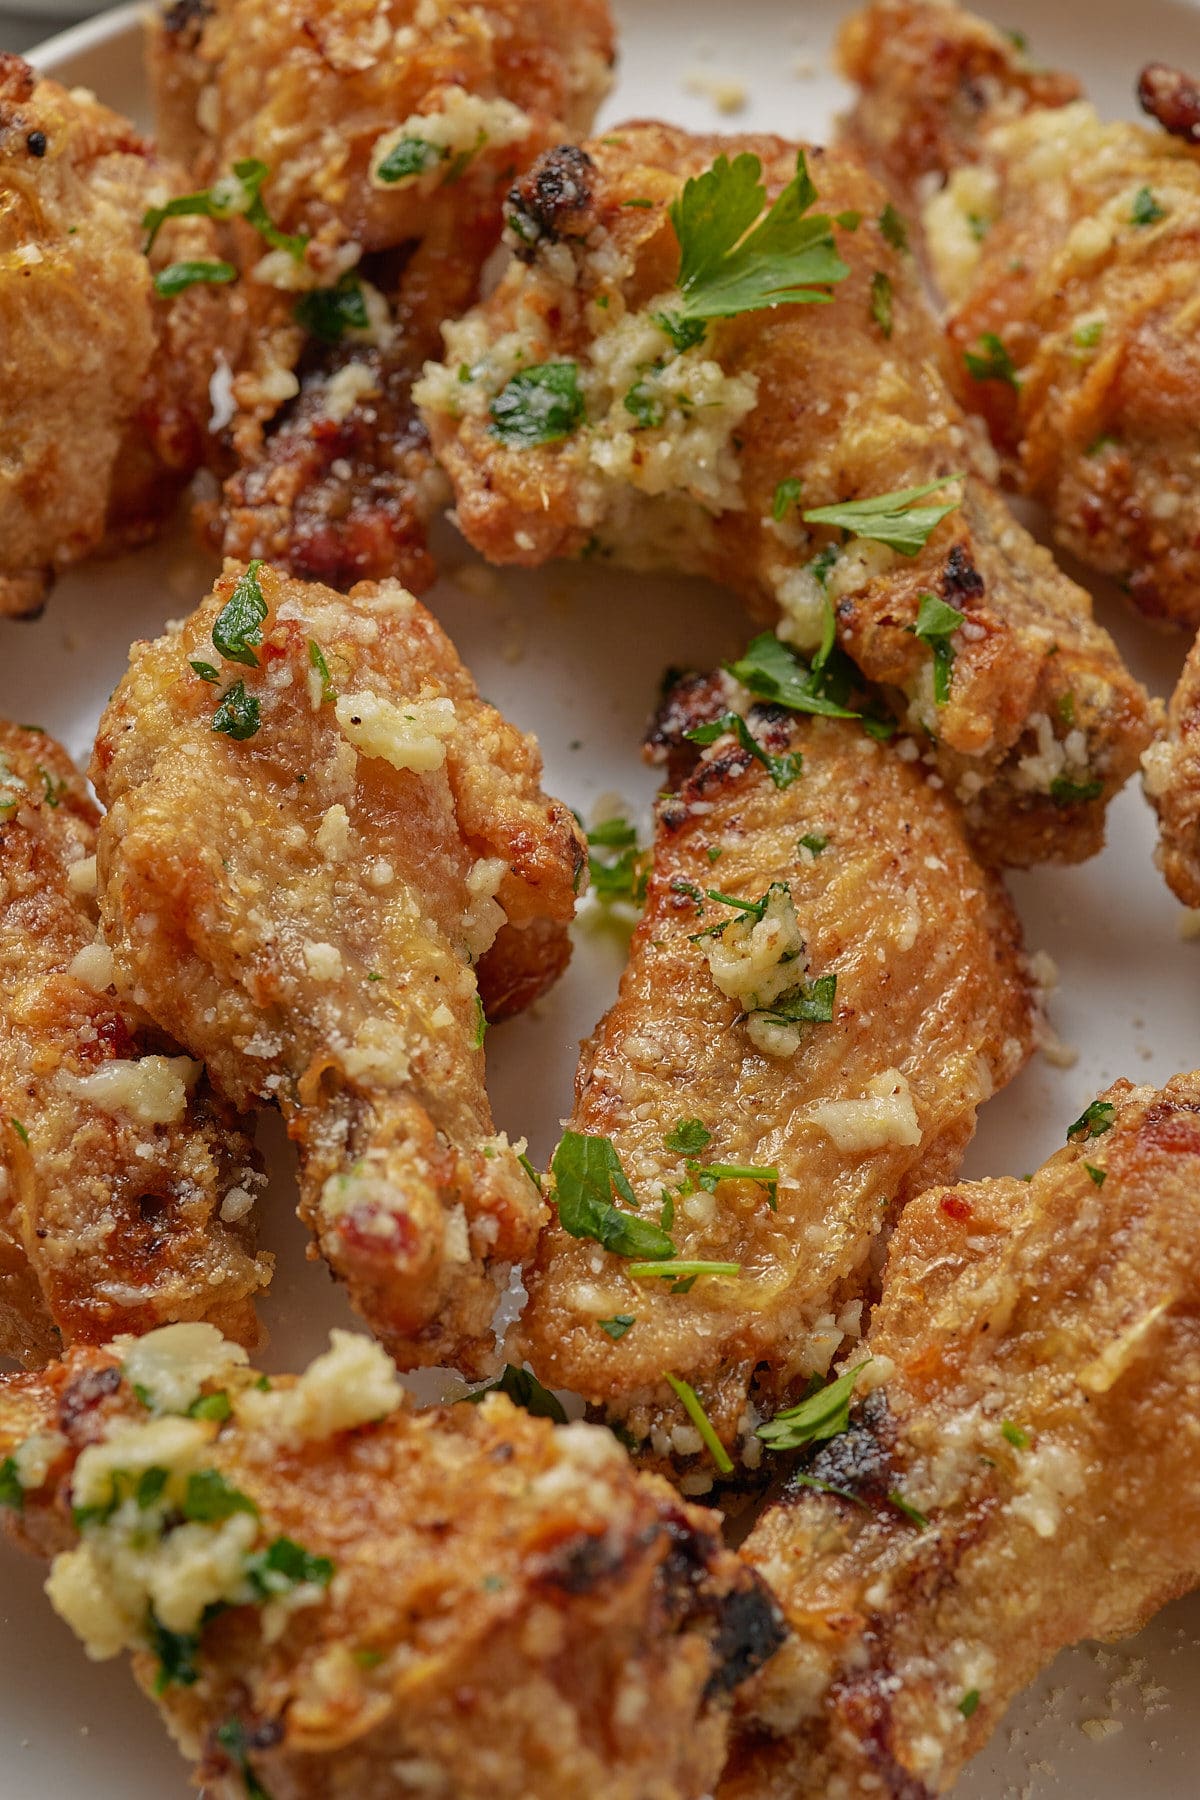
Quick and easy to make, these air fryer garlic parmesan wings are loaded with flavor! Perfectly crispy on the outside with juicy and tender meat, these seasoned wings are hard to say no to!
This post contains affiliate links, please read my full disclaimer here.
You’ll find the full recipe with ingredient amounts and instructions in the recipe card at the bottom of this post. Be sure to check out the blog post itself for extra tips and tricks!
If wings are a must for your game day appetizers, you have got to try this garlic parmesan recipe! Serve them up with your favorite dips for one crowd pleasing dish that everyone will love during the half-time show!
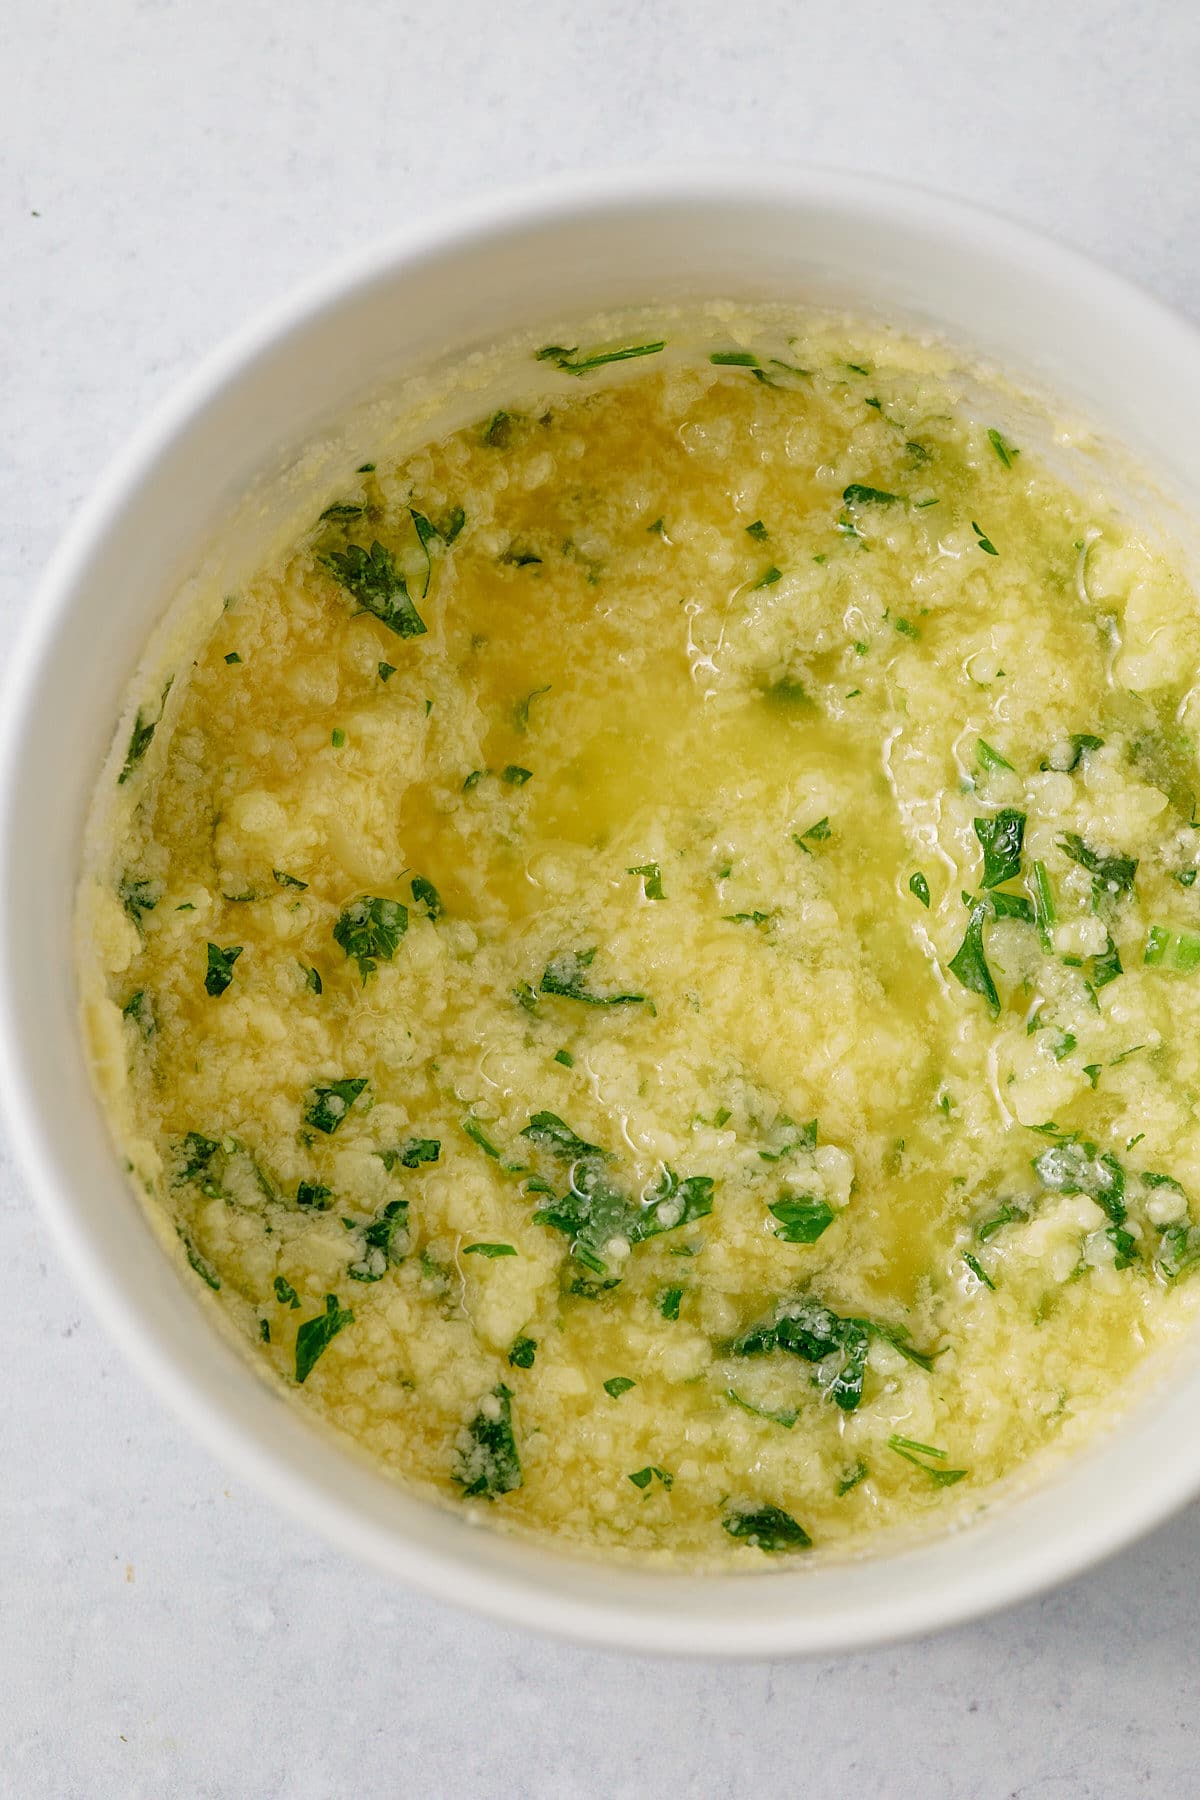
I'm not sure when I became such a fan of garlic parmesan wings but if I see them on a menu, I'm ordering them. I mean who doesn't love that delicious taste of garlic and butter? Add parmesan cheese to the mix and you have got a winner.
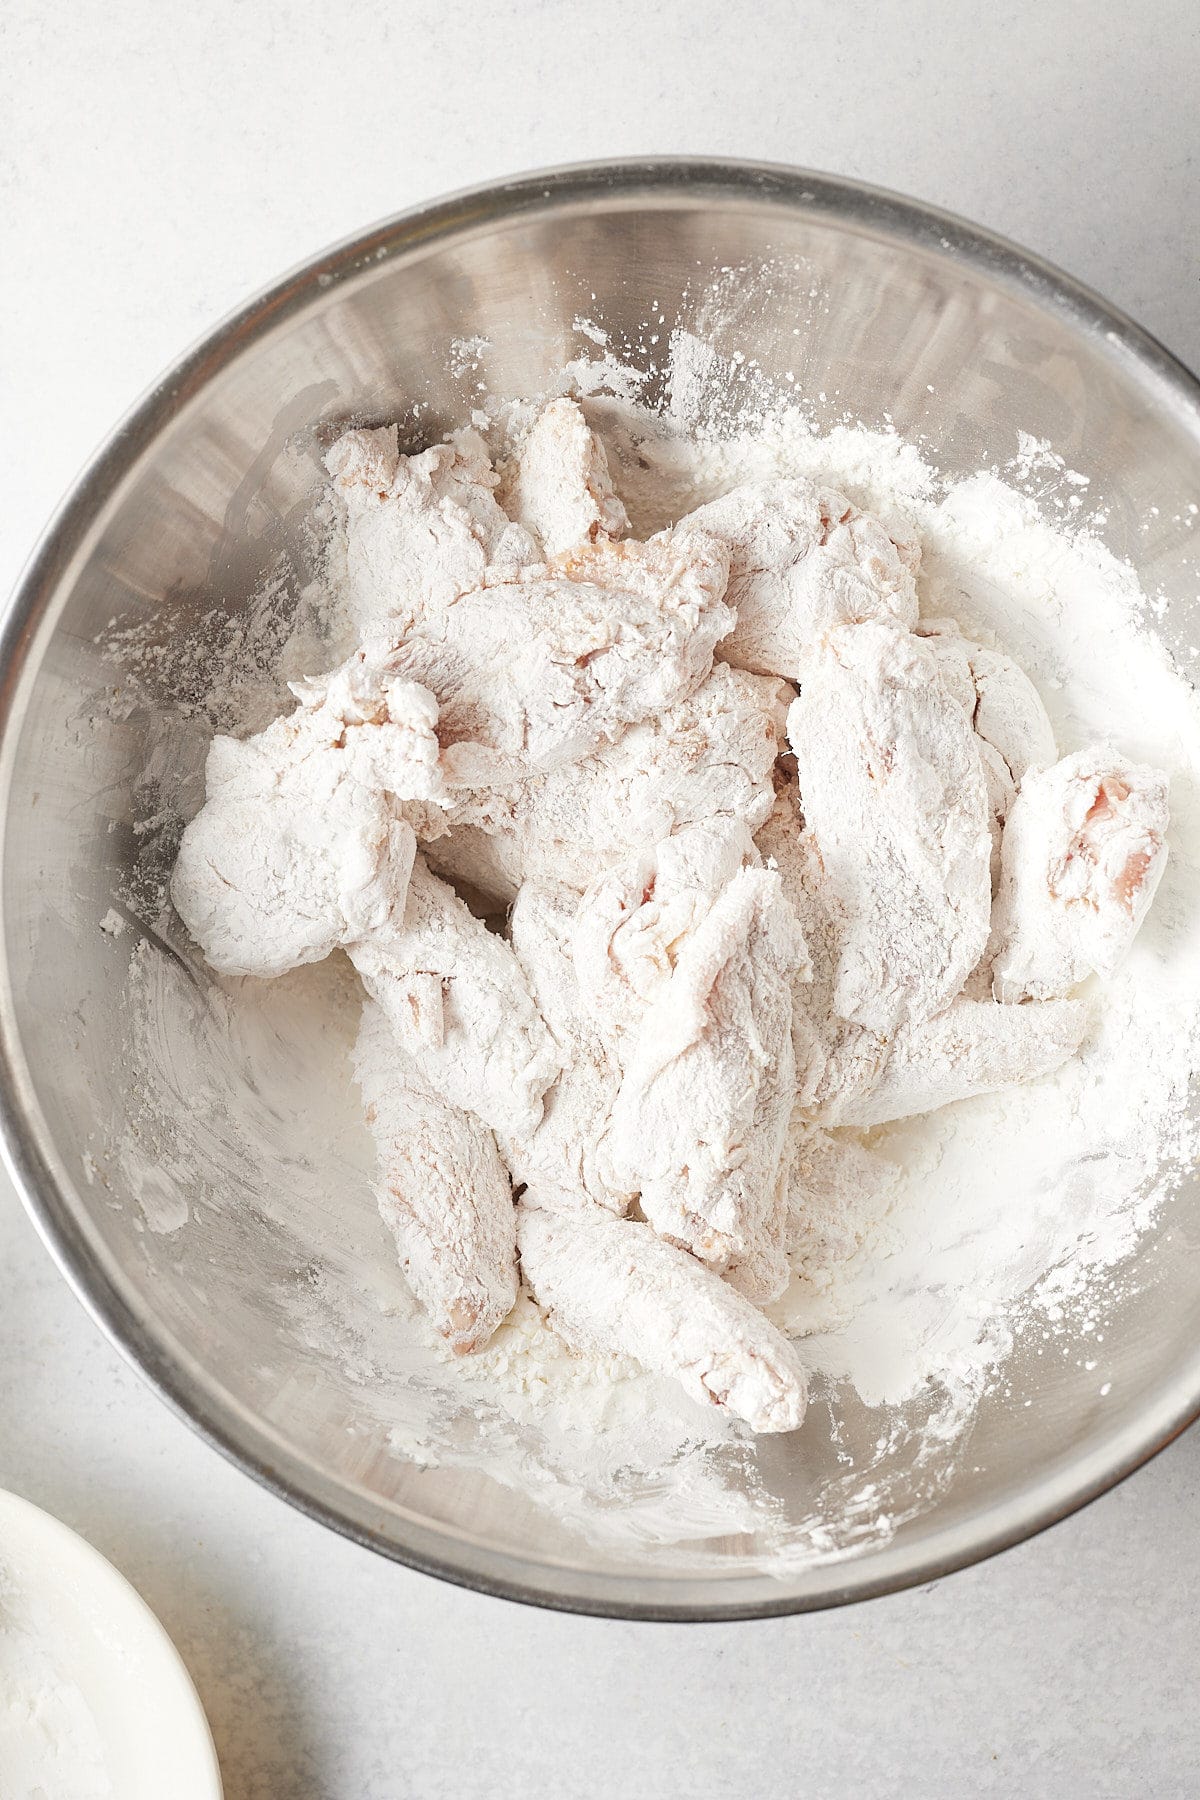
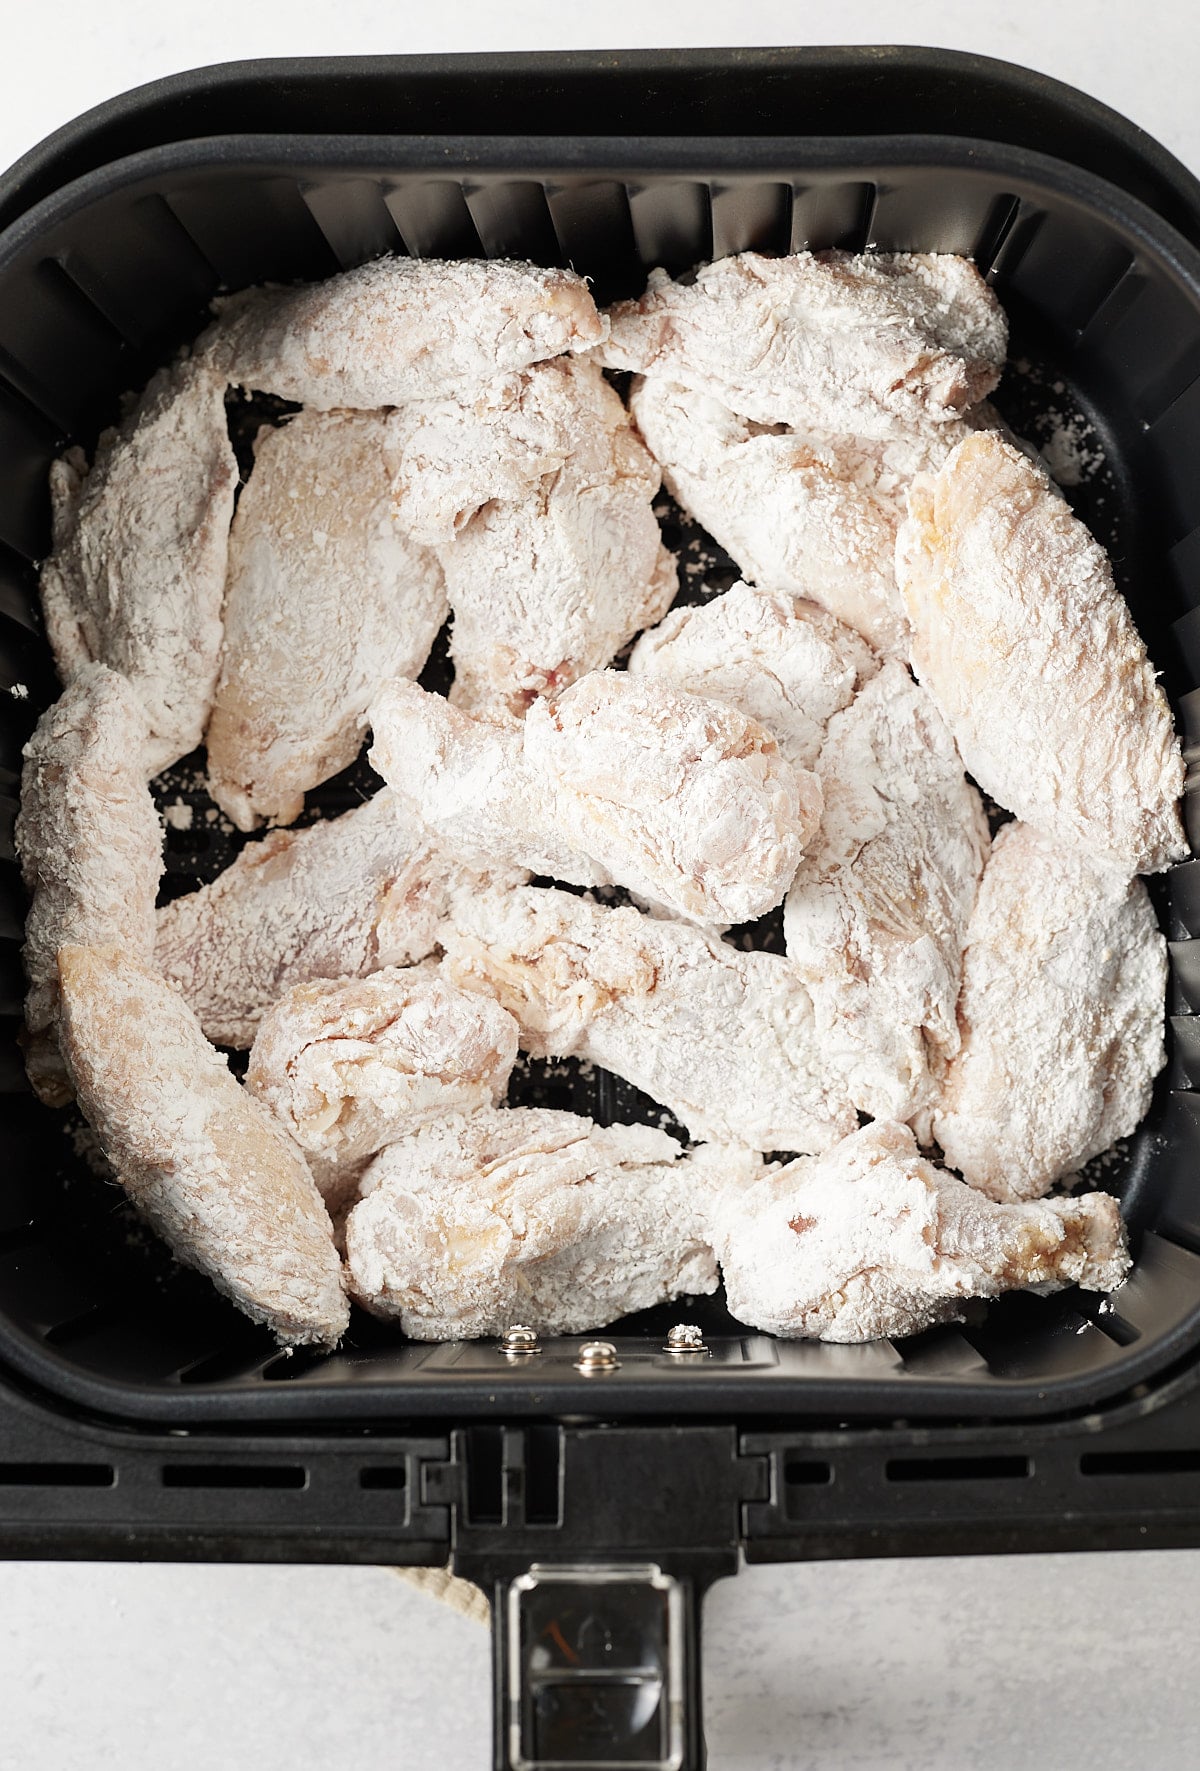
For this recipe, I use my air fryer to cook the chicken wings. I coated the wings in cornstarch for an extra crunchy flavor, but feel free to skip that step if you are short on time.
Simple to prep, these wings are bursting with savory flavor, they really couldn't be simpler to make!
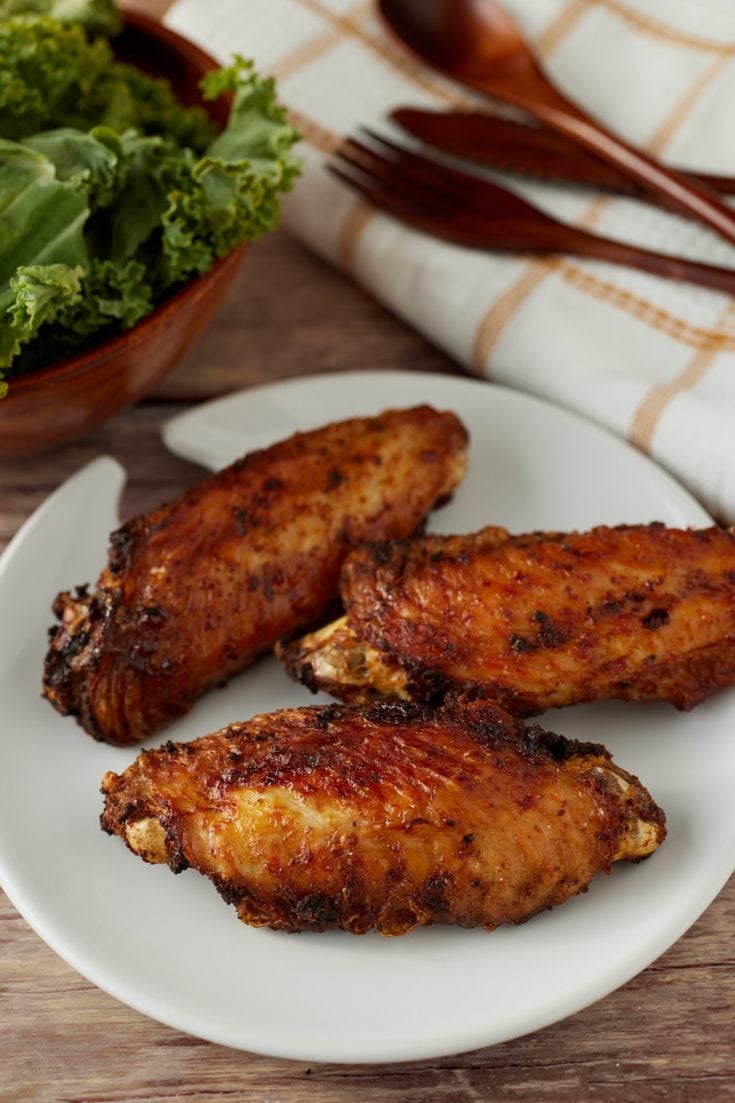
Be sure to try my Cauliflower Wings and Seasoned Air Fryer Turkey Wings too!
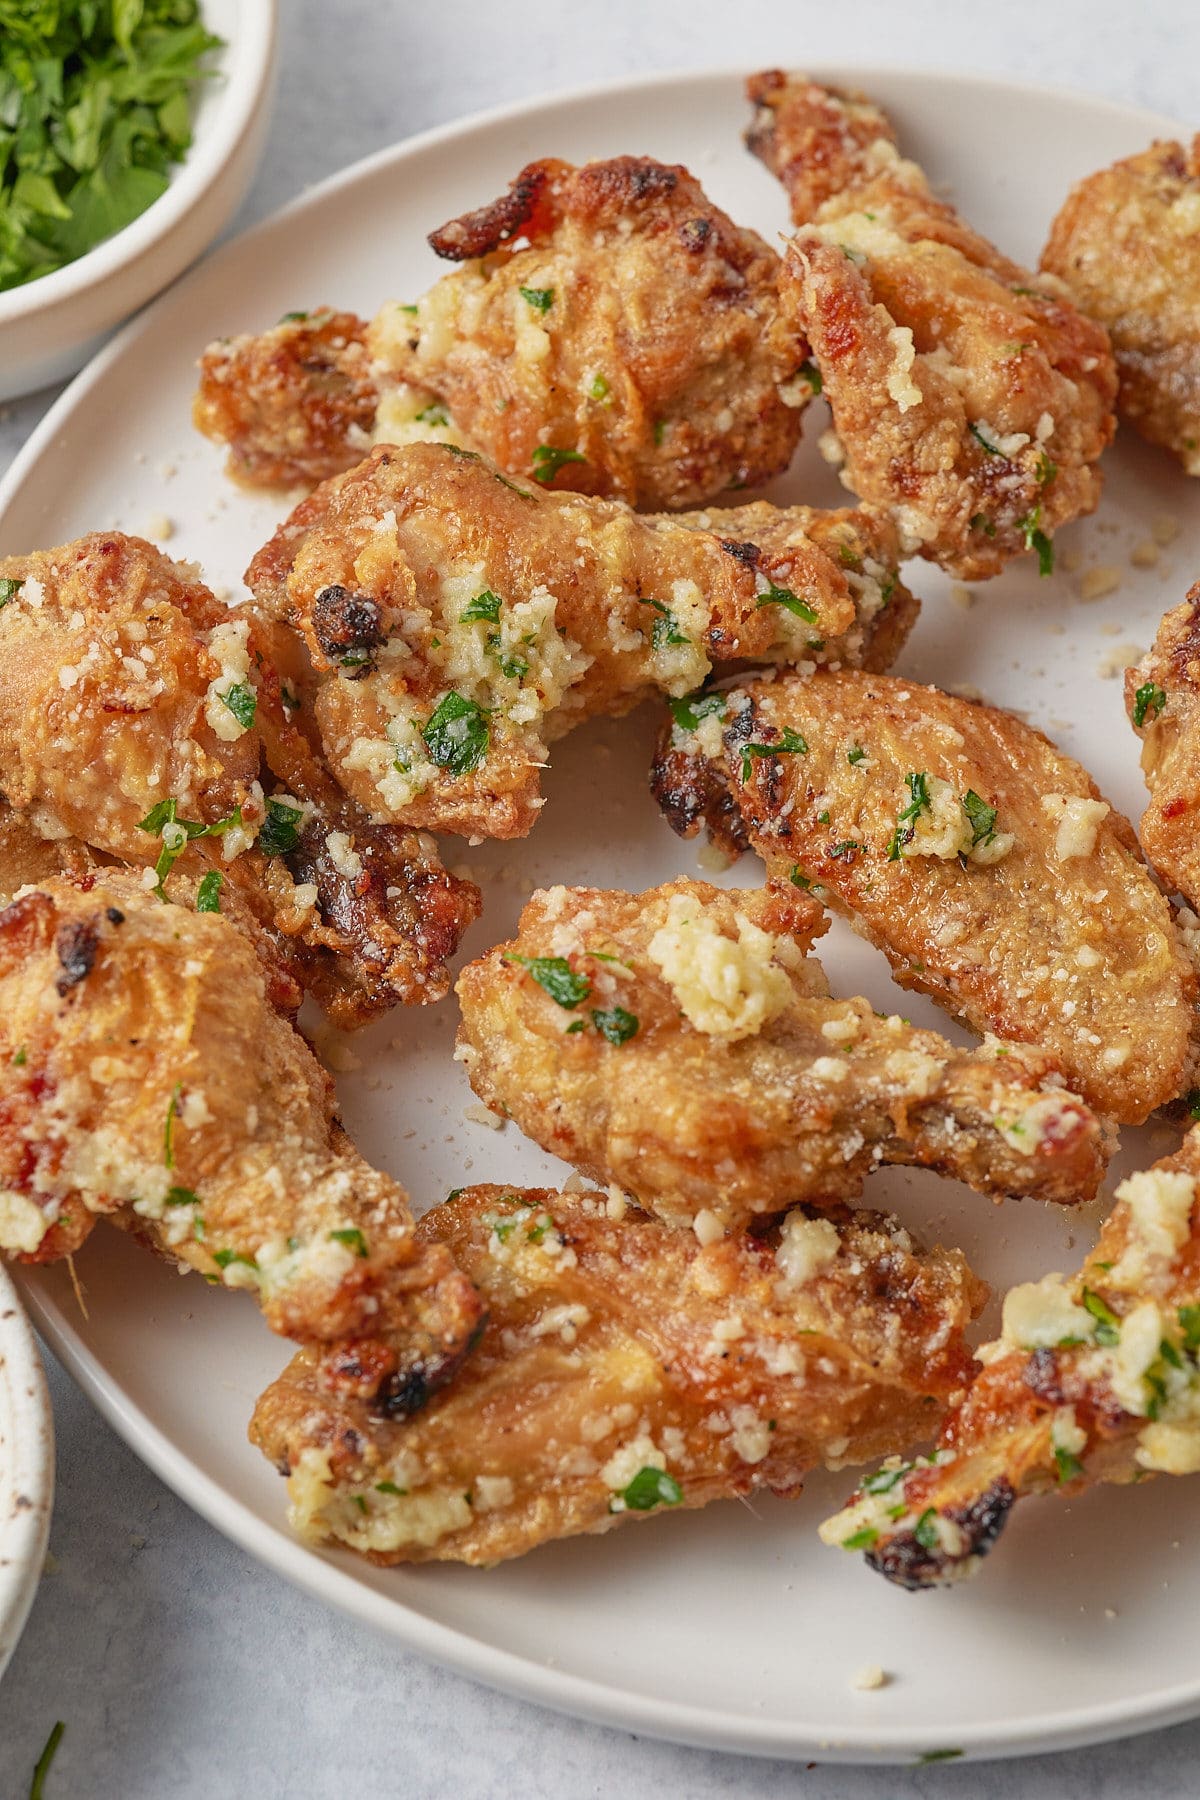
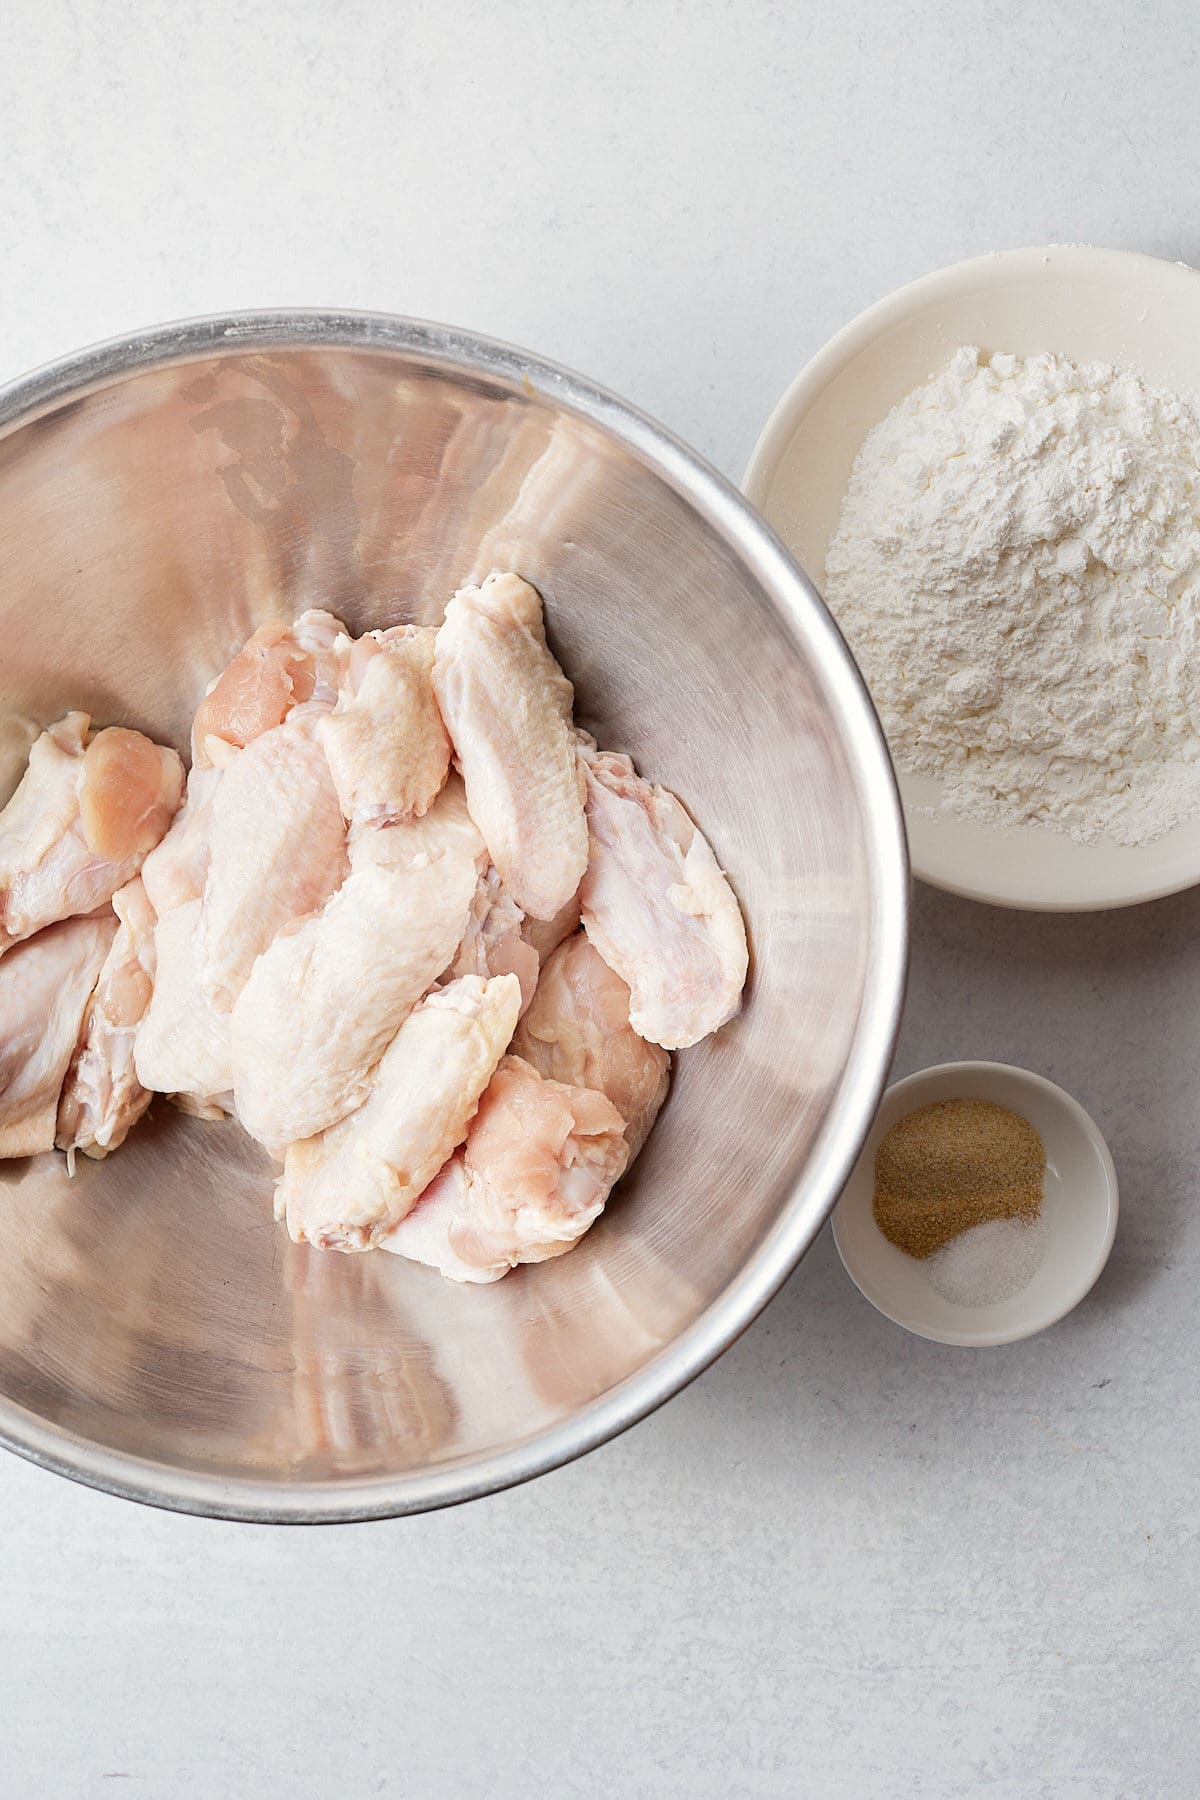
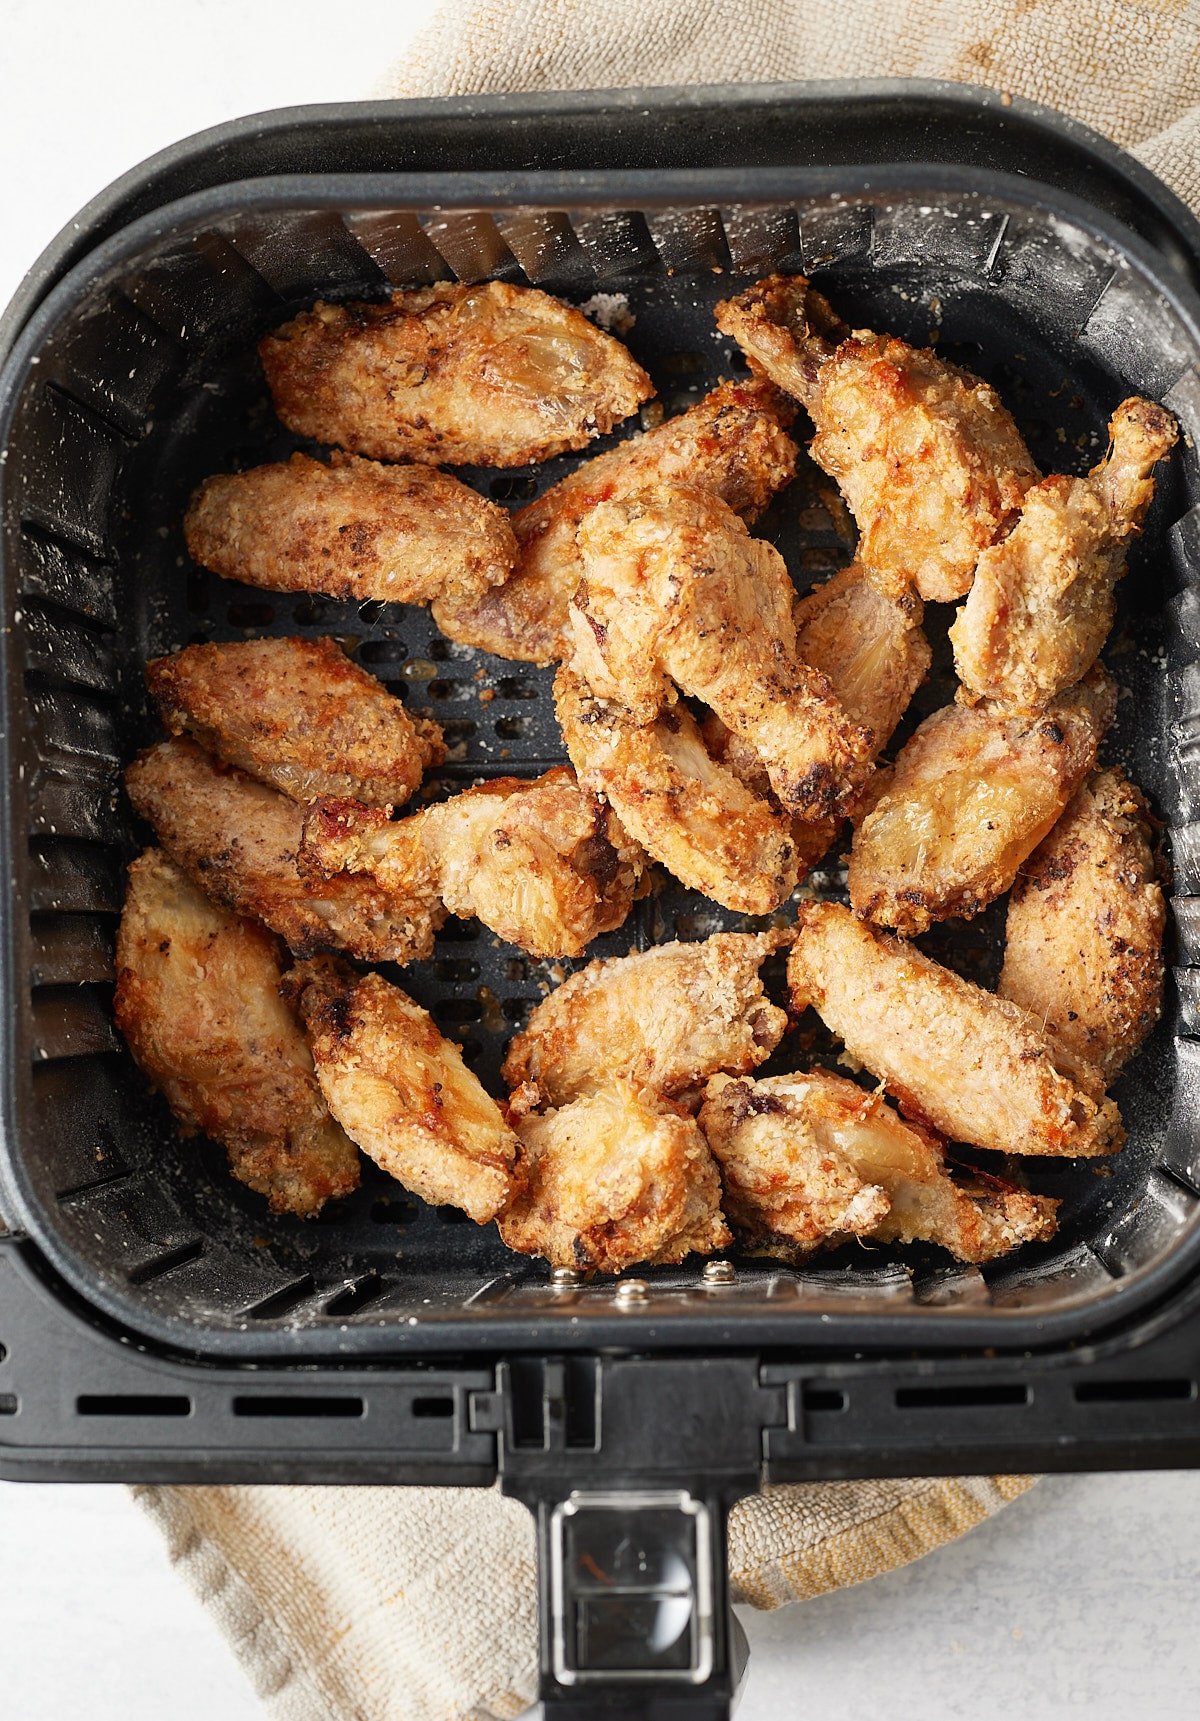
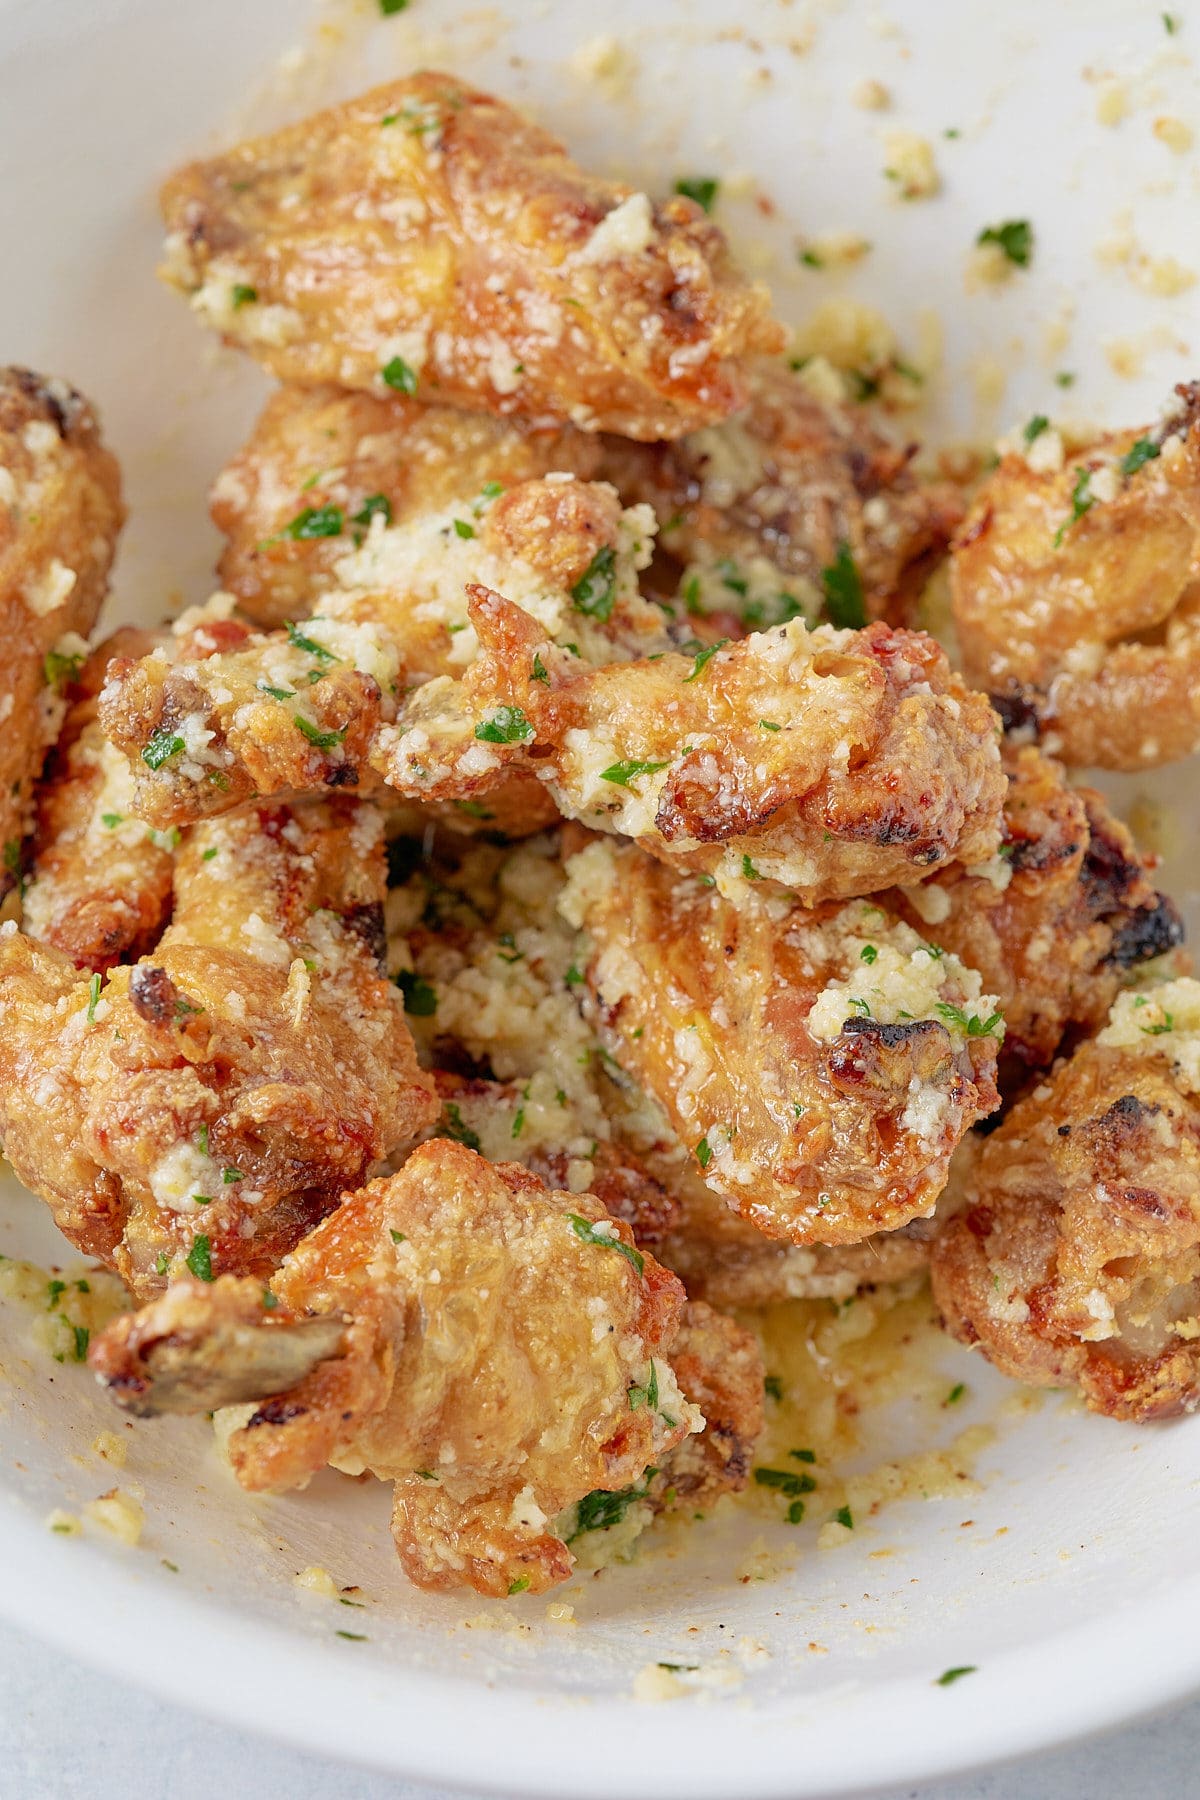
Wings are always best when served hot and fresh, this will be when the meat is most juicy and the skins are perfectly crispy. The great thing about the air fryer is that it does reheat food really well, so if you do have leftovers, reheat them at 390F for 3 to 5 minutes till heated back through. Air frying them at a high heat will get them nice and crispy again.
I would also suggest making the wings without the sauce if making ahead. When ready to serve, reheat the wings and then add the sauce.
You can cook wings from frozen in the air fryer, it just takes a little longer, but for best results. Check out my frozen air fryer wings blog post for the best tips.
I love using my air fryer to cook up wings, it takes less time and they always come out perfectly crispy. If you don't have an air fryer, you can cook the wings on a lined baking sheet in the oven at 425F for about 45 to 50 minutes, until the wings are heated through. Both methods are healthier than deep frying for sure.
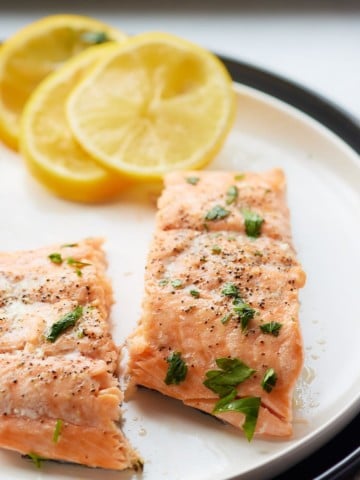
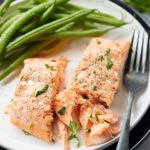
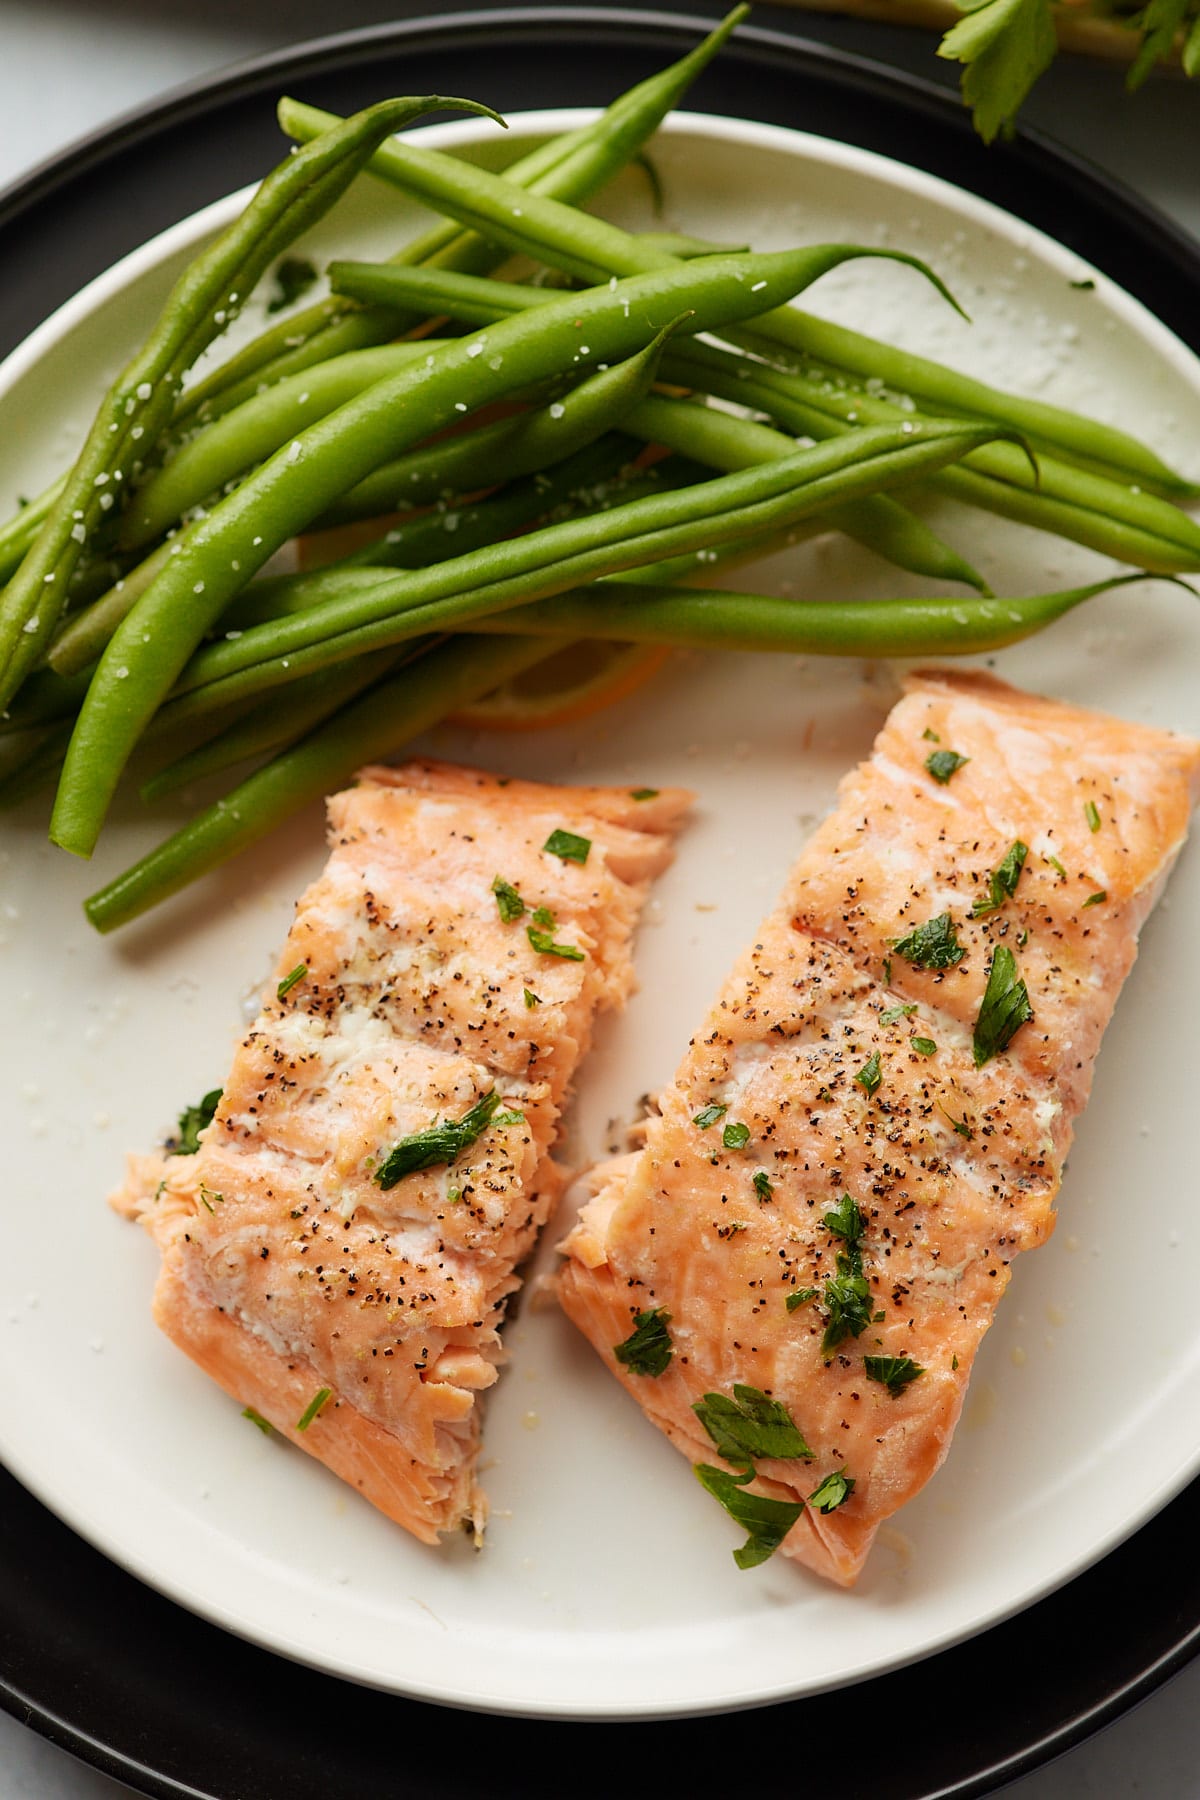
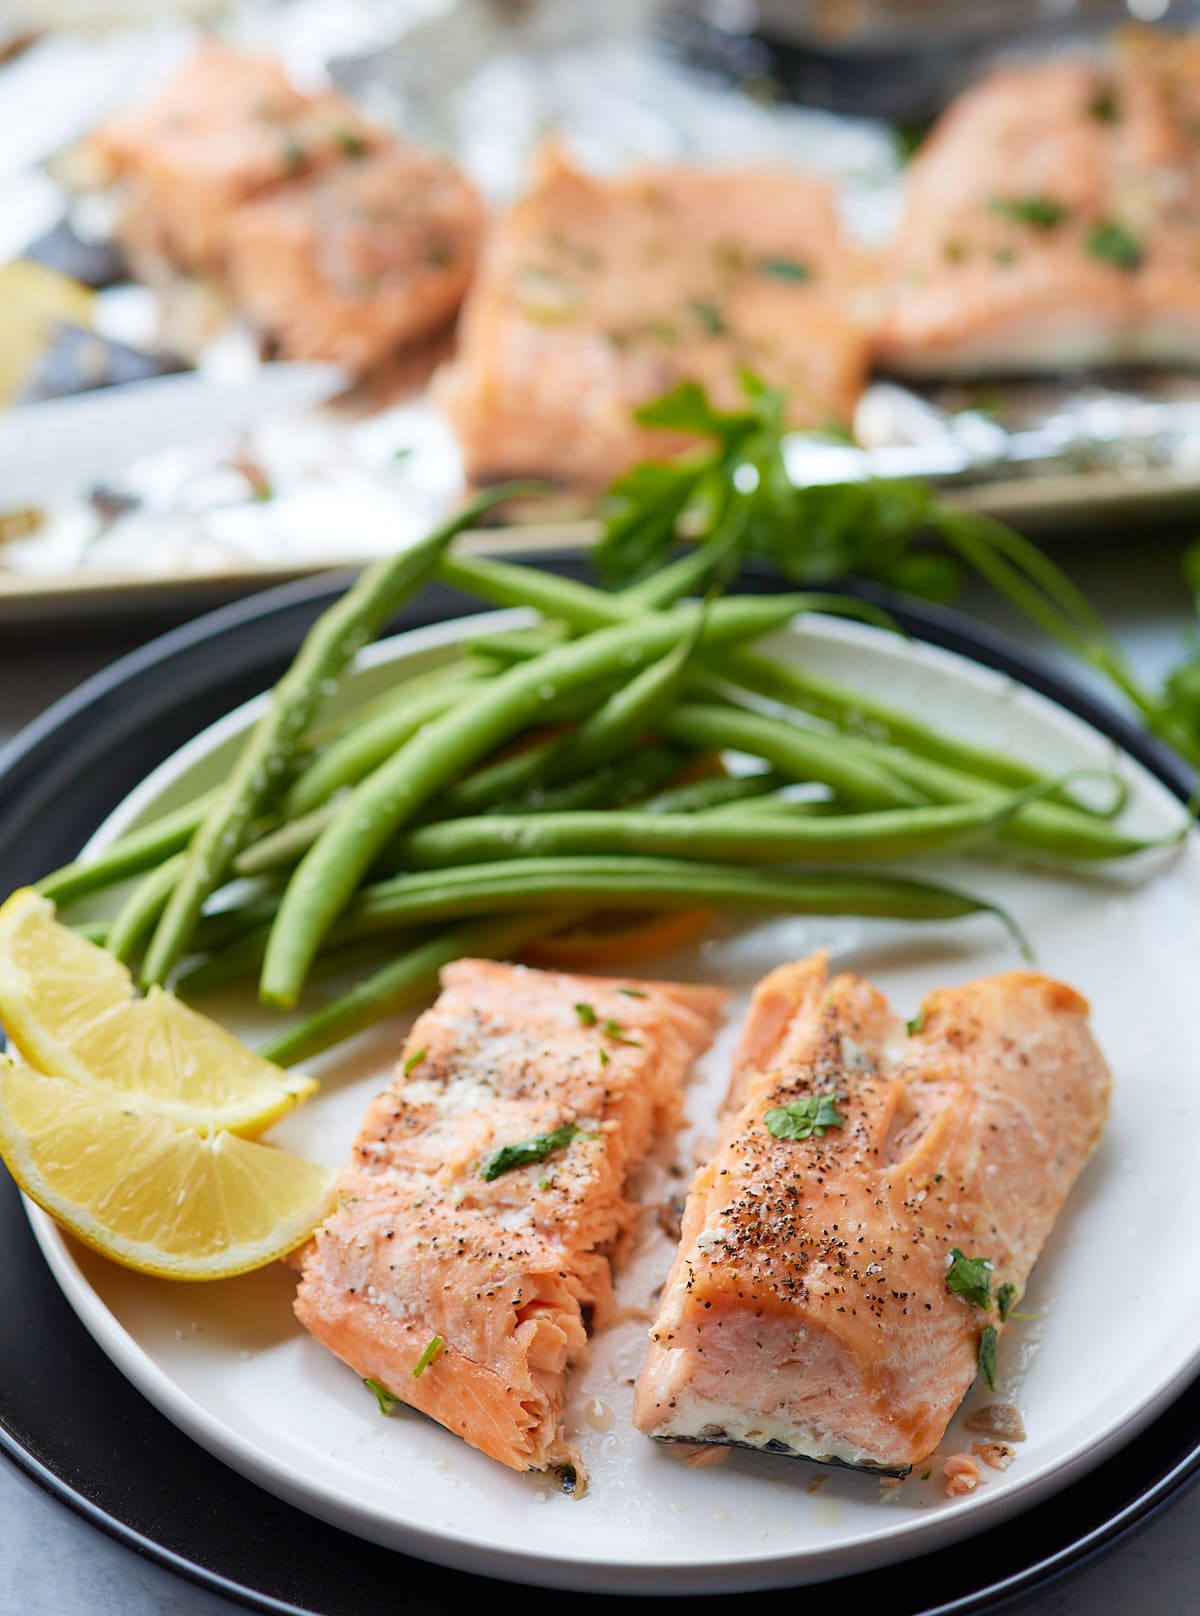
Get a tasty and healthy family dinner on the table quickly with this easy oven-baked salmon recipe. Simply seasoned, this salmon is quick to prep and cook and is ready to serve in 20 minutes. This is a great go-to recipe after a long day!
You’ll find the full recipe with ingredient amounts and instructions in the recipe card at the bottom of this post. Be sure to check out the blog post itself for extra tips and tricks!
When I need a quick and easy weeknight dinner, fish is often my go-to because it cooks so quickly. This easy oven-baked salmon recipe is no different!
Salmon takes just minutes to prep, making it a great option for hands-off cooking. With its short cooking time, you can spend minimal time in the kitchen. Cooking salmon in the oven results in delicious and flaky fish.
Be sure to try my Oven-Baked Fish and my Air Fryer Salmon Patties, too!
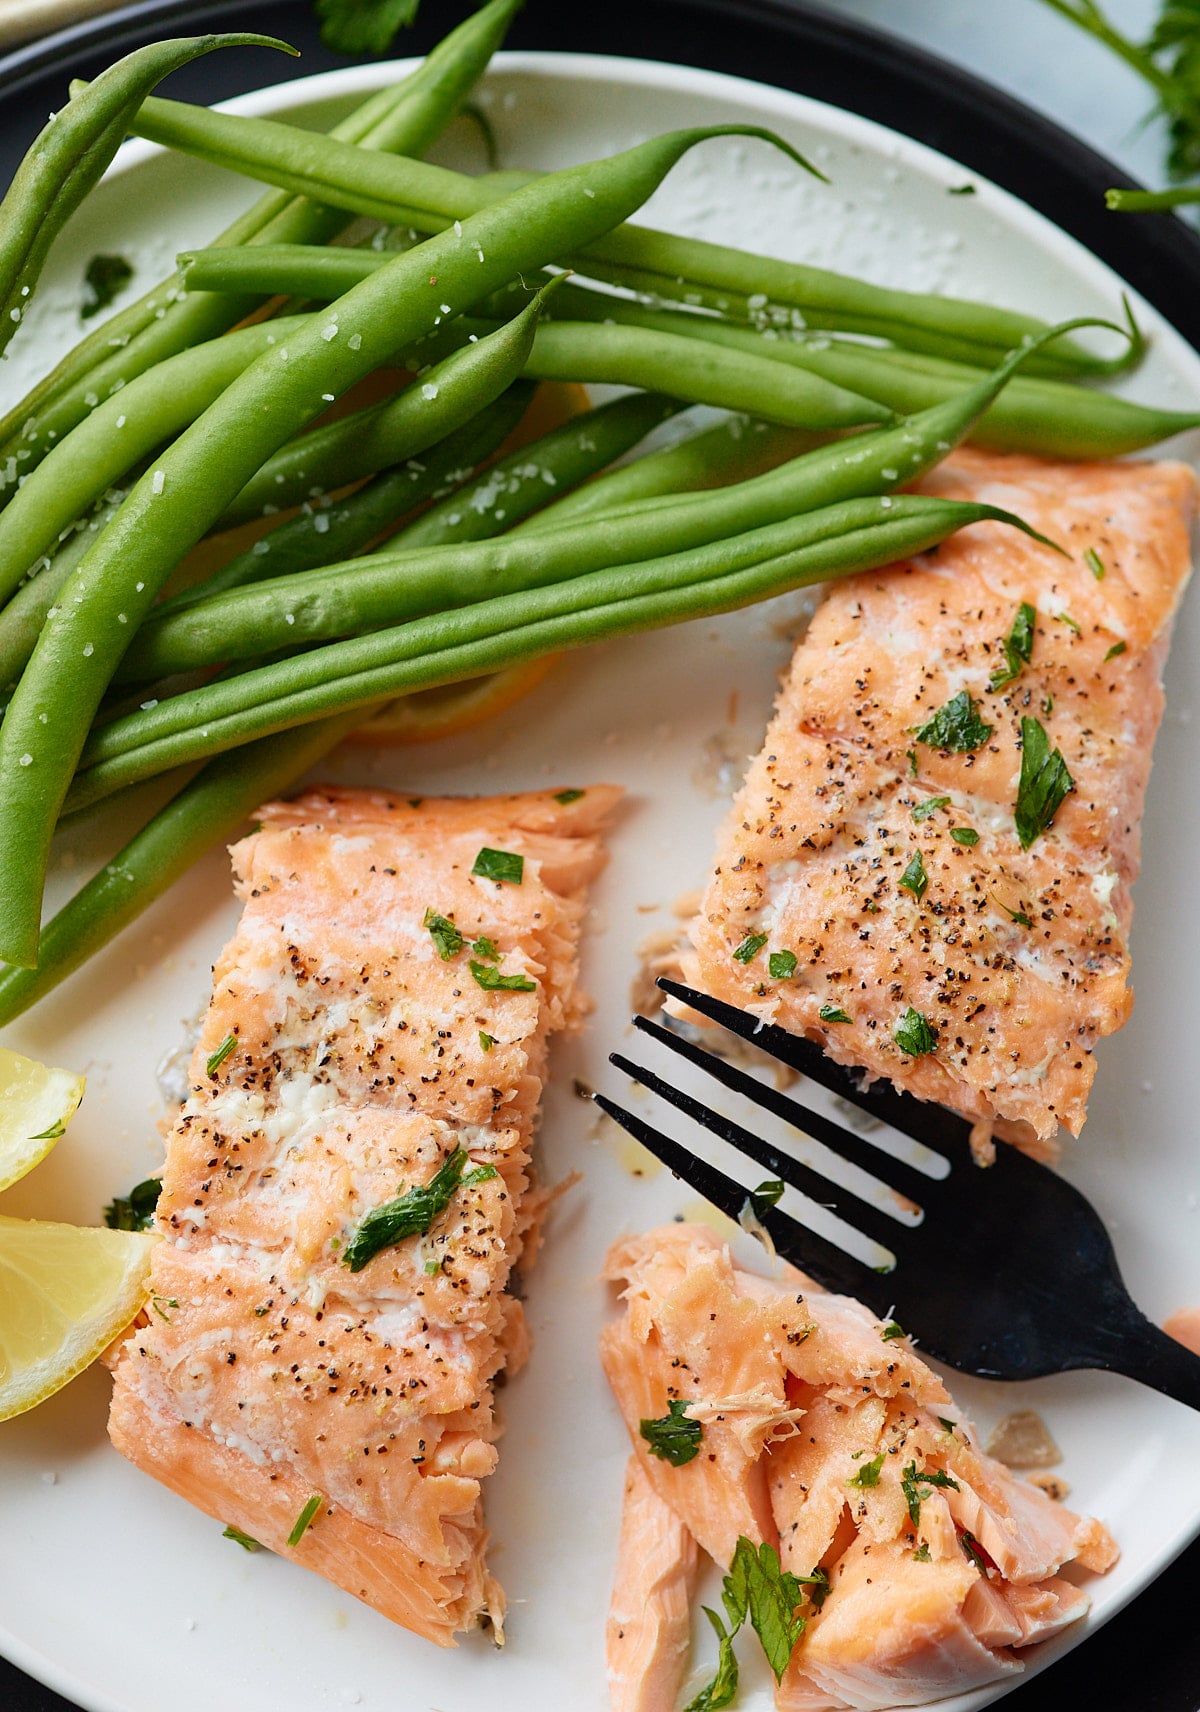
Step 1: Preheat the oven to 425°F and prepare a sheet pan by lining it with foil paper.
Step 2: Pat the salmon dry and rub the oil over the flesh side of the salmon. Season the salmon with salt and pepper.
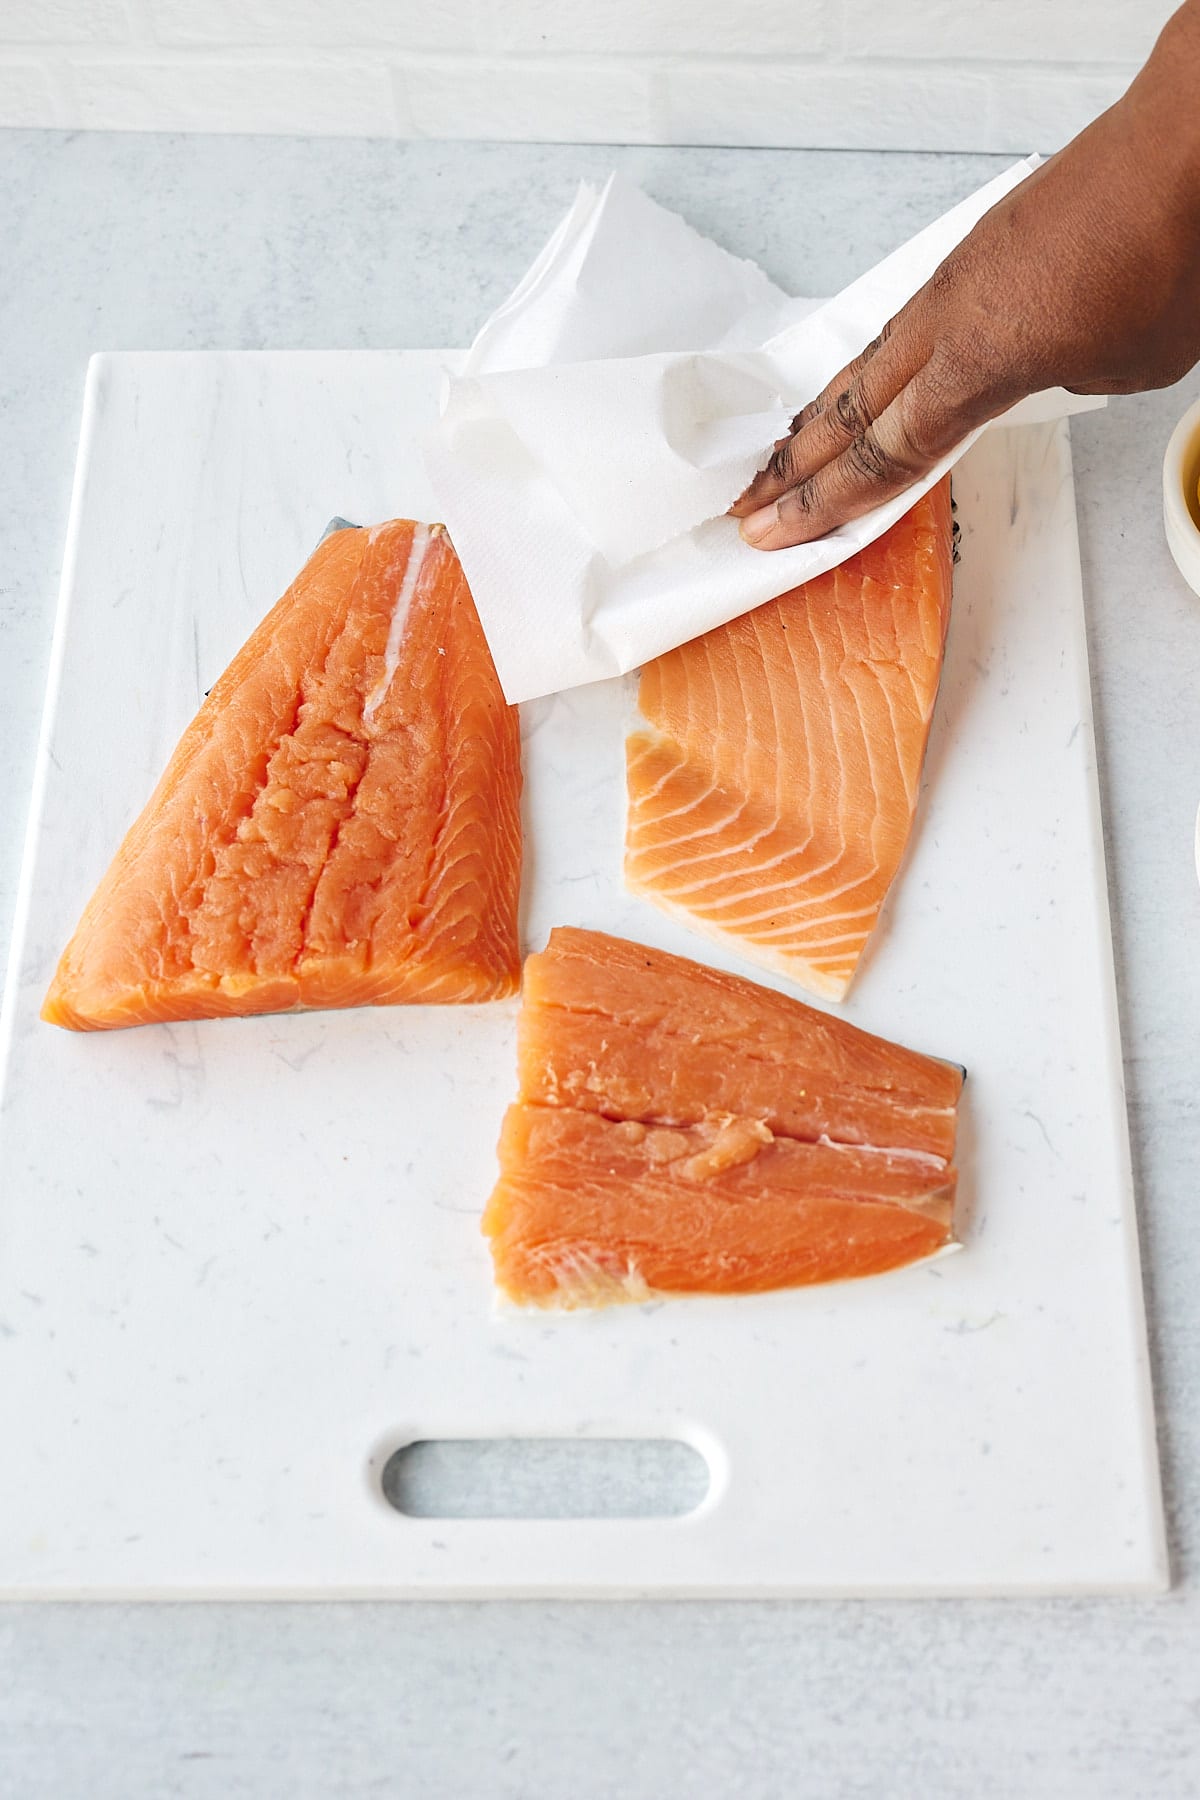
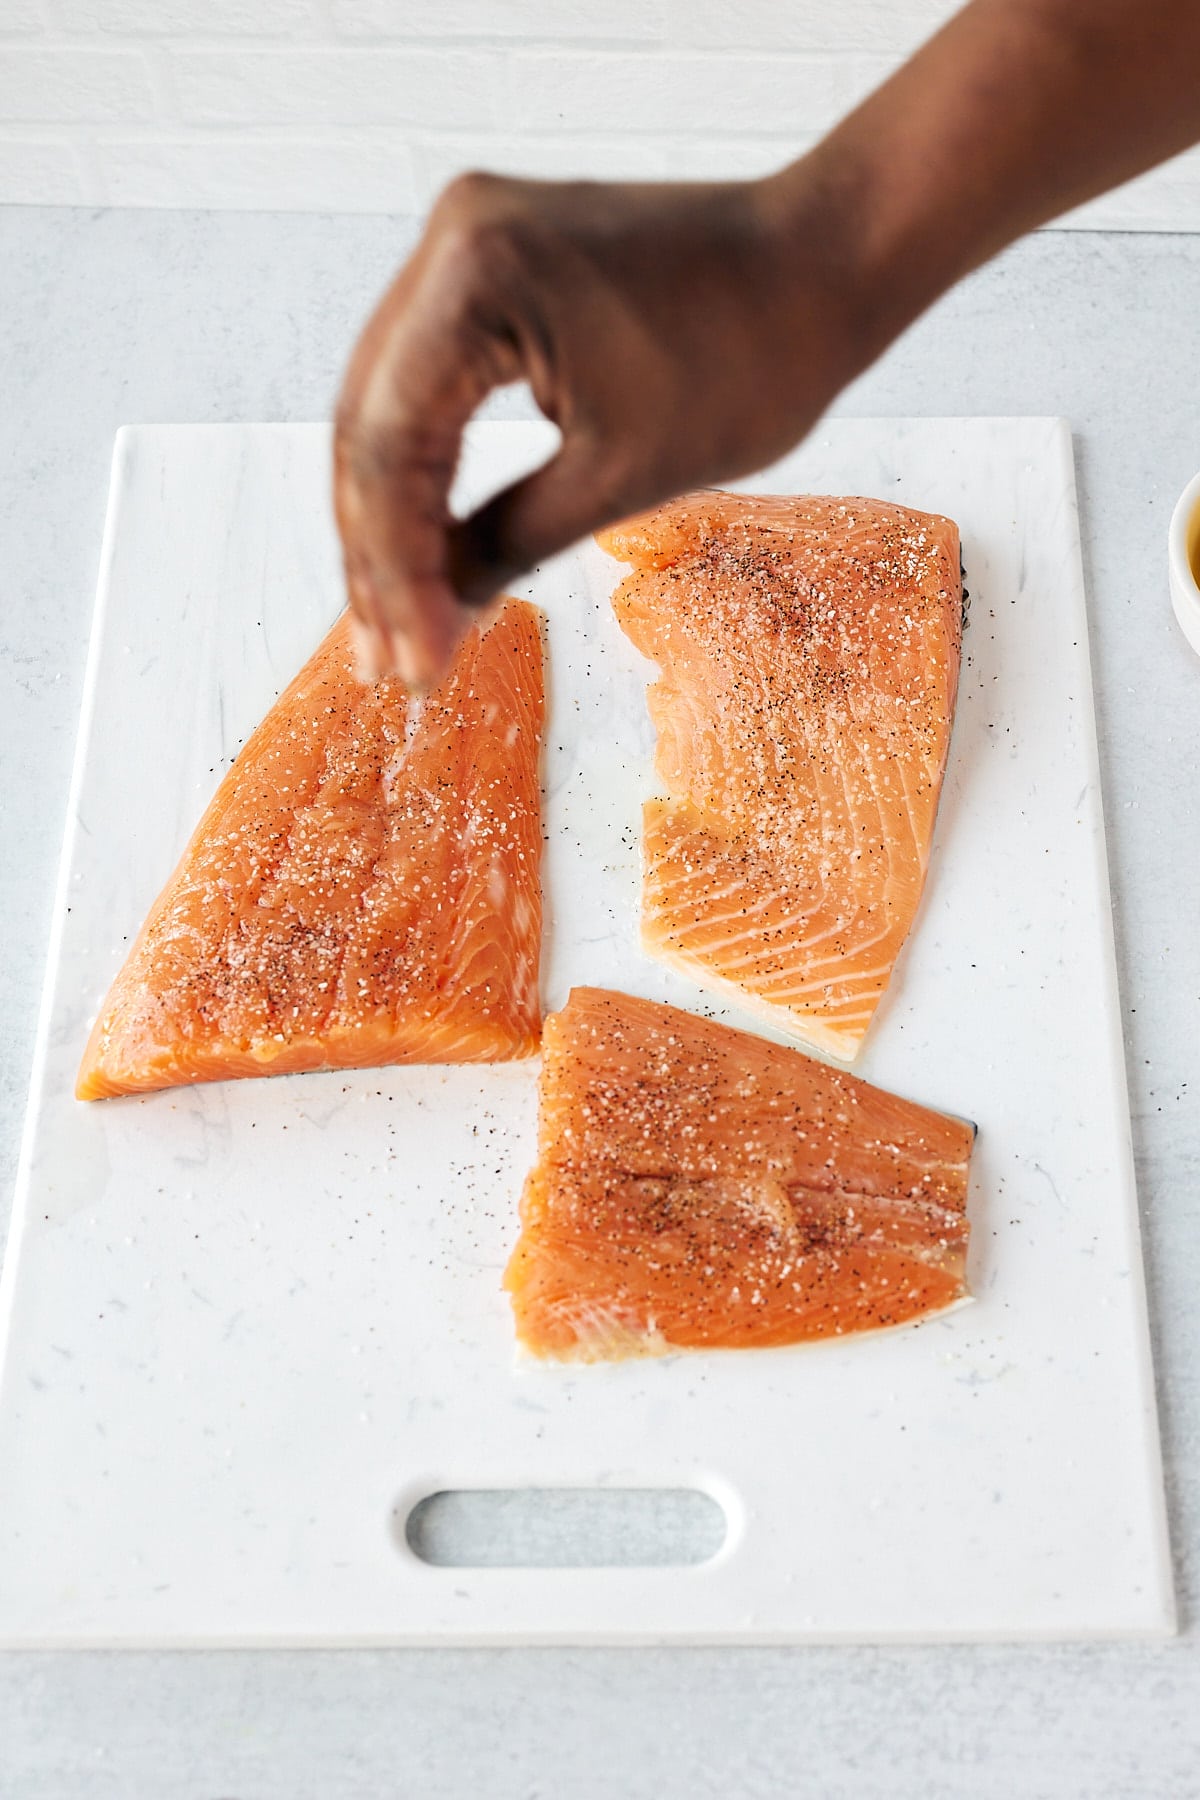
Step 3: Place salmon, skin-side down, on the prepared baking sheet and bake in the preheated oven for about 12-15 minutes. (4-6 minutes per ½ inch salmon). Bake until salmon is cooked through. Serve and enjoy.
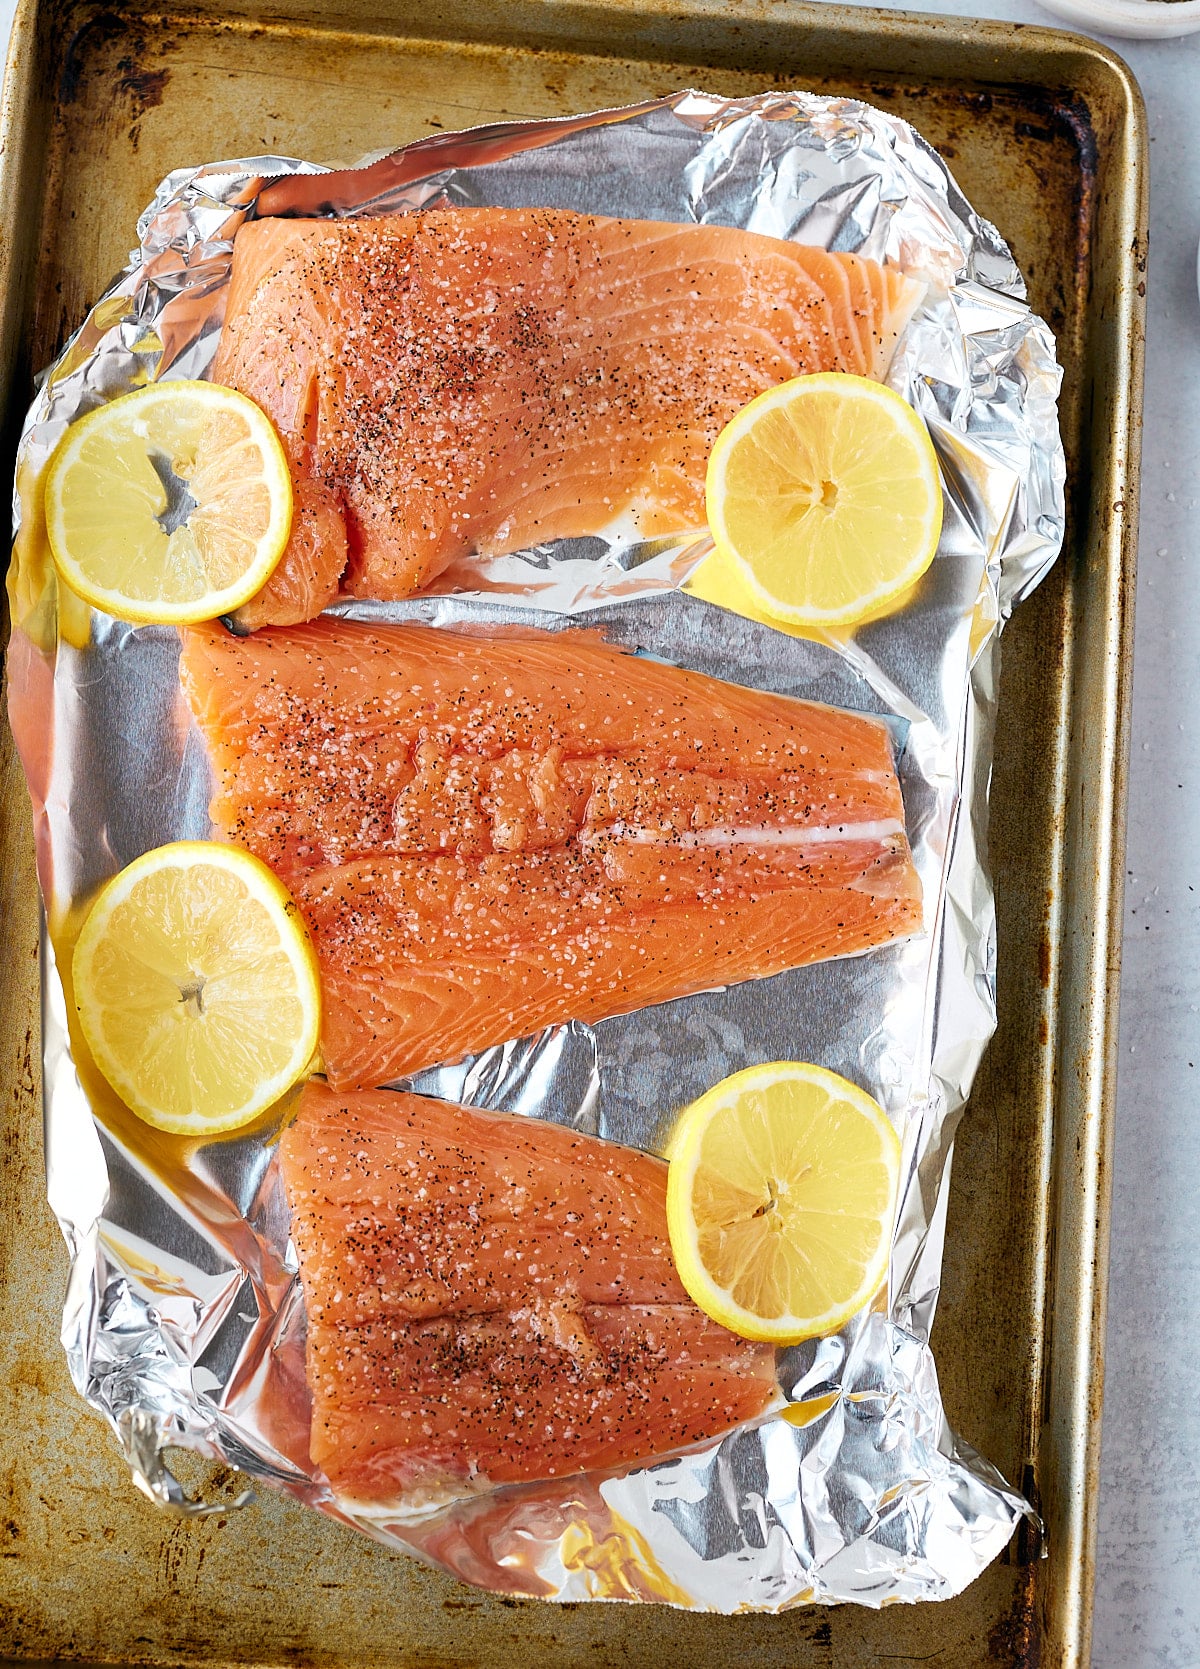
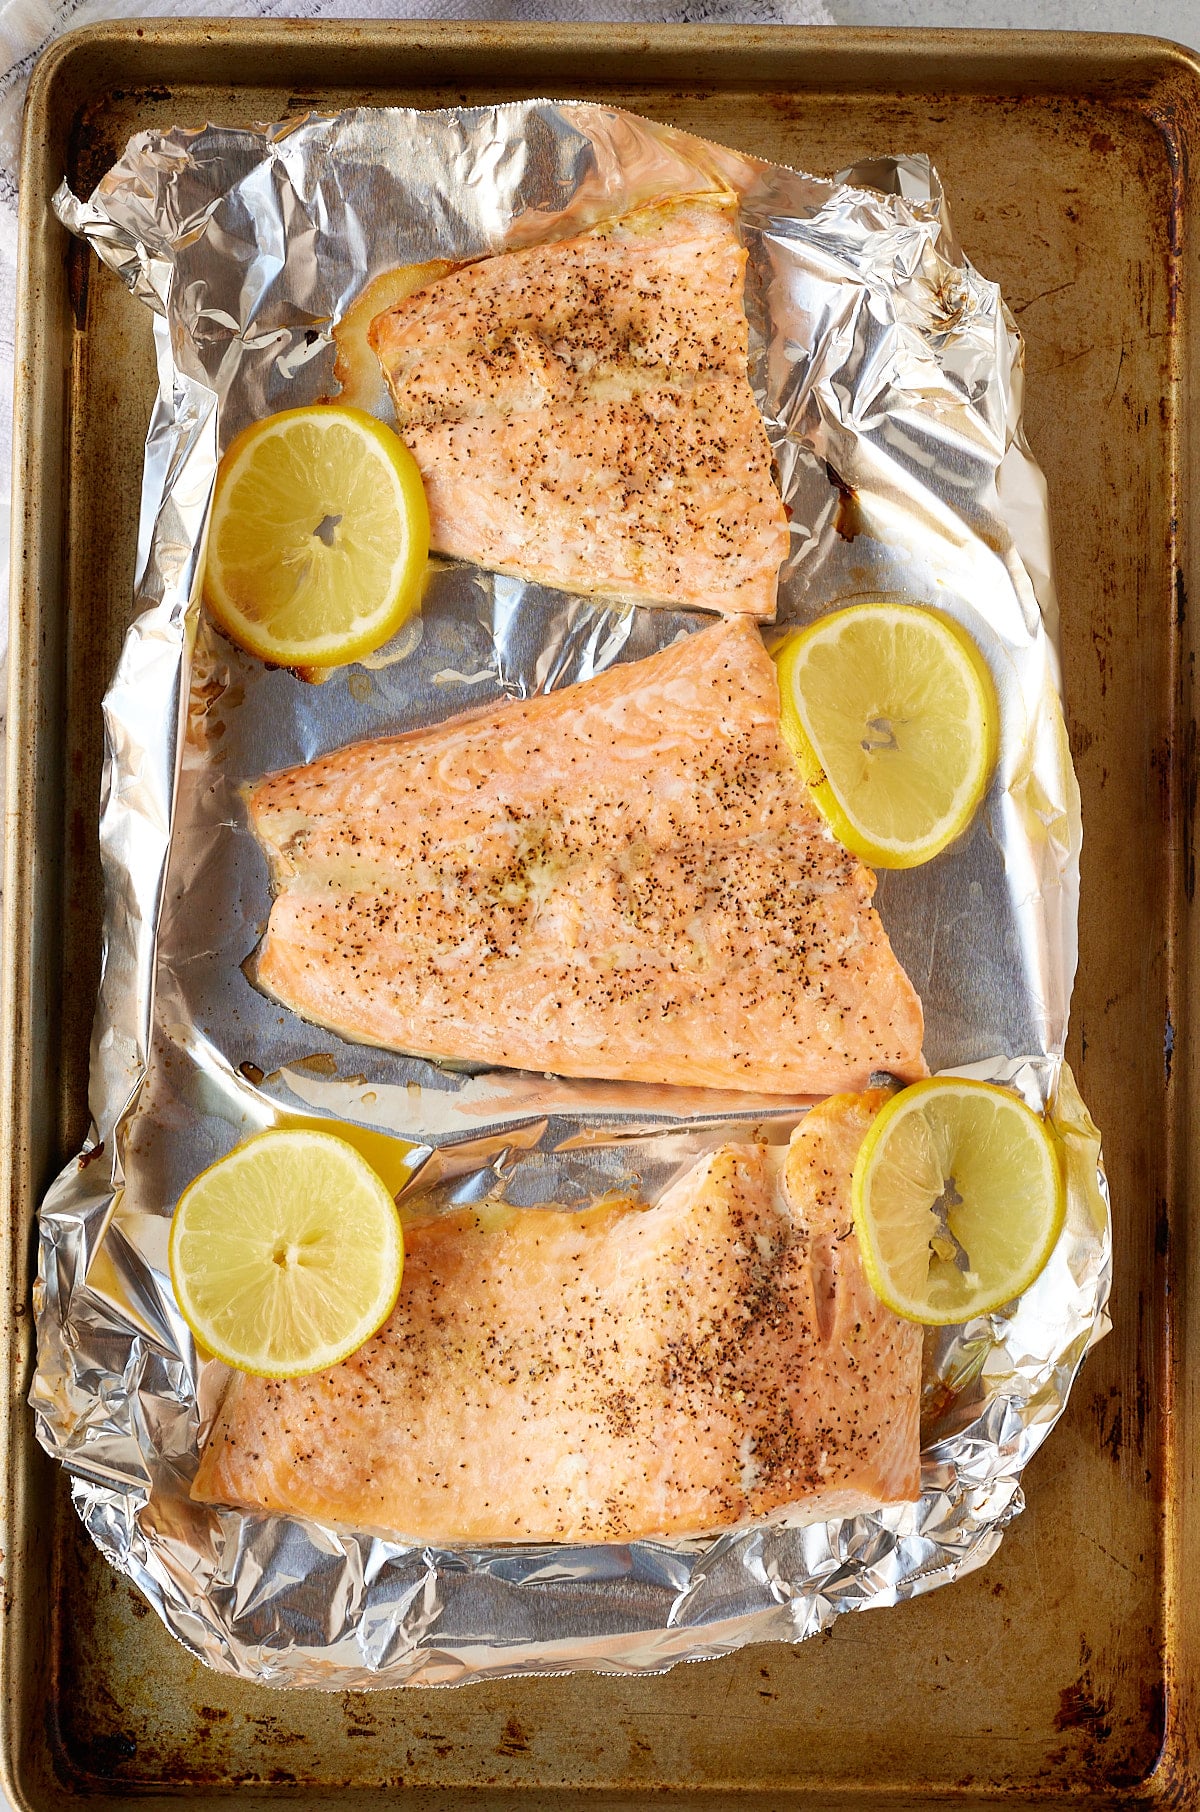
Oven baking is a great hands-off method for cooking salmon; pop it in the oven, set a timer, and it's ready to serve. The clean-up is a breeze, too, as you just have to throw the foil away.
I do also love to cook it in the air fryer, be sure to check out my air fryer salmon recipe for another quick and easy method.
I always prefer to use fresh, defrosted fish rather than frozen. When fish freezes it tends to hold on to a lot of water which can make the fish mushy rather than flakey, however, it is more convenient.
If using frozen salmon, thaw the fillets fully in the fridge overnight. As with fresh, pat them dry with kitchen paper before seasoning, this is especially important when using frozen as you don't want it to be waterlogged.
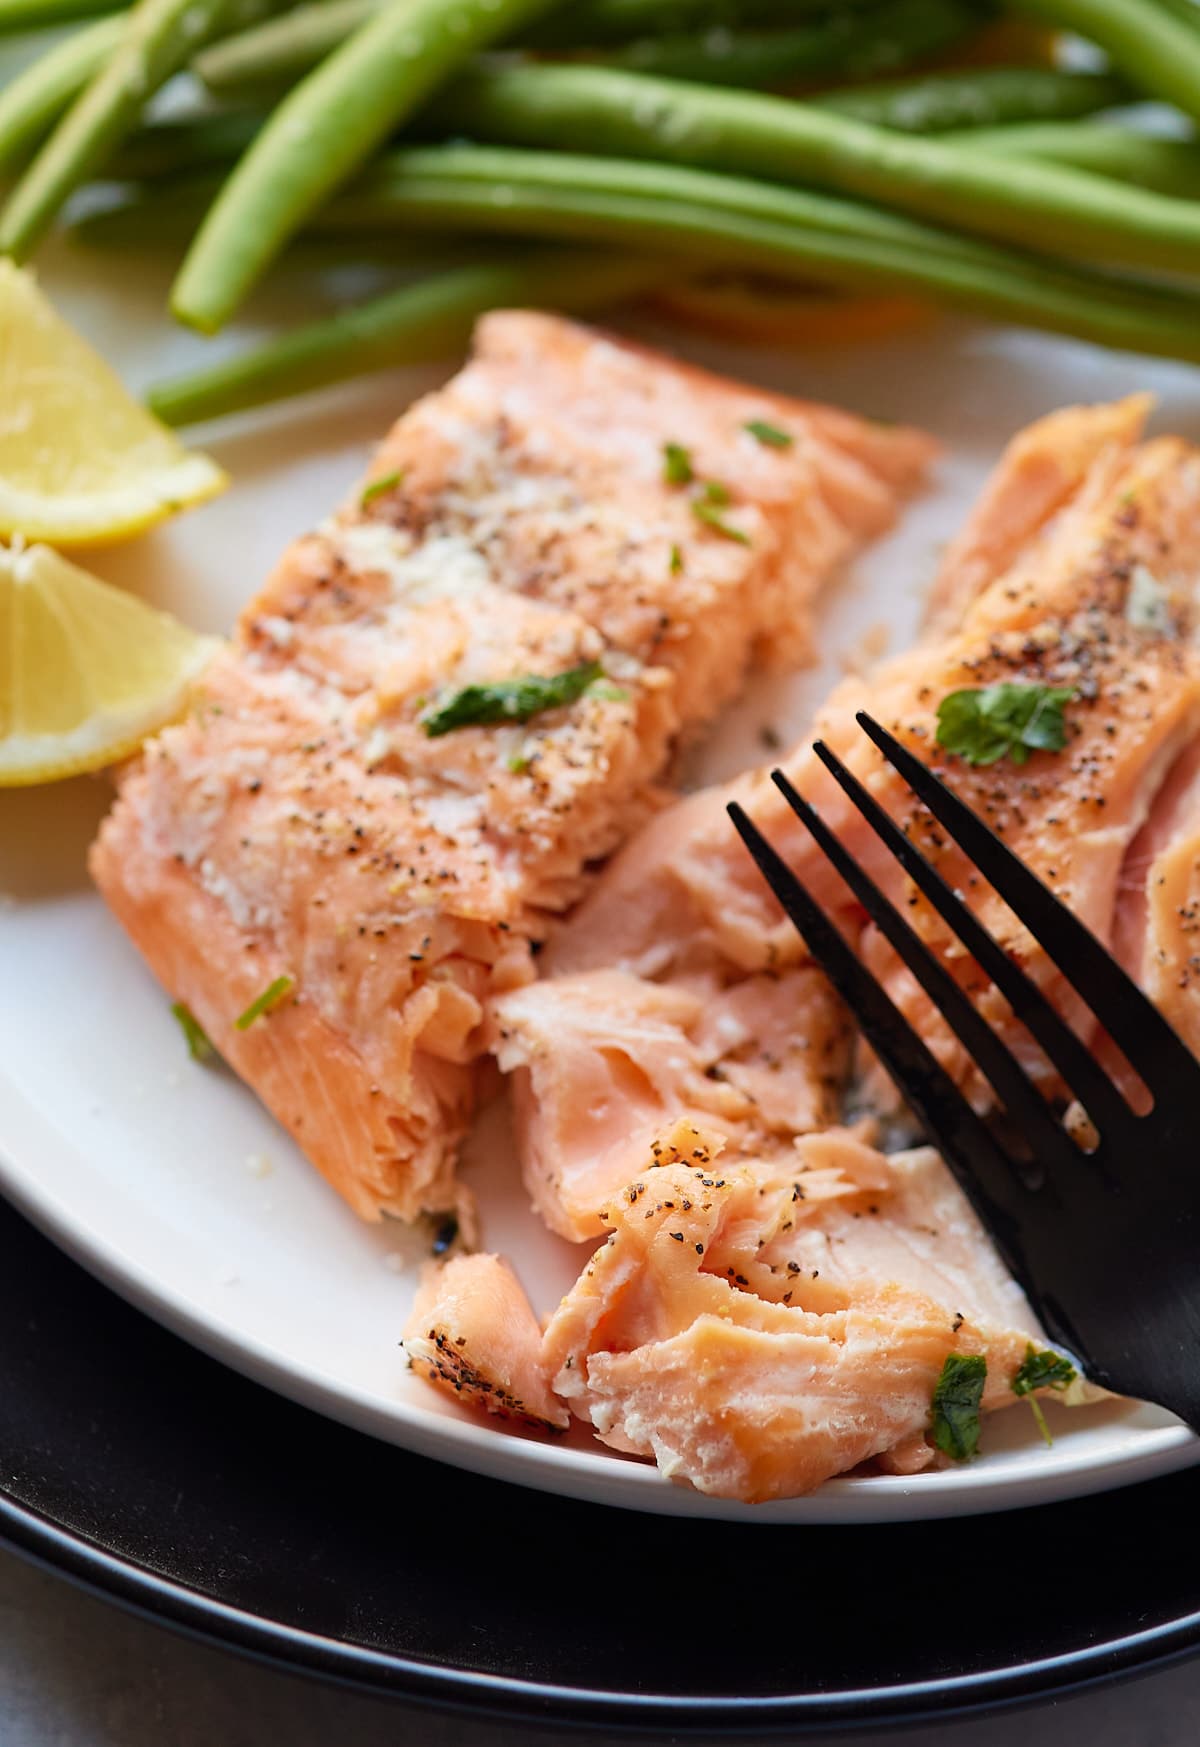
Salmon is done when it flakes easily with a fork. You could also check the doneness of the salmon by using a quick read thermometer. I prefer to cook my salmon to medium doneness, which is about 120 - 125 degrees Fahrenheit and results in moist, tender, and flaky salmon.
Take note of carry-over cooking when baking salmon. Once your salmon is removed from the oven, allow it to rest for about 5 minutes. The temperature will continue to rise a few degrees.
There are many types of salmon you could buy, but farmed Atlantic, Alaskan, or sockeye salmon is what I usually have access to. All cuts of salmon can be roasted following the method below.
If using sockeye salmon, lower the cooking time as sockeye salmon is leaner and thinner and tends to dry out quickly.
This easy oven-baked salmon is great to serve with salads, vegetables, grains, and potato sides for a filling meal. Try it with:
We love fish in our house, here are a few of our favorites.
I hope you love this baked salmon recipe as much as we do. If you have tried this or any other recipe on my blog, please rate it and let me know how it turned out in the comments below! Your feedback is invaluable and helps us grow. I appreciate your support!
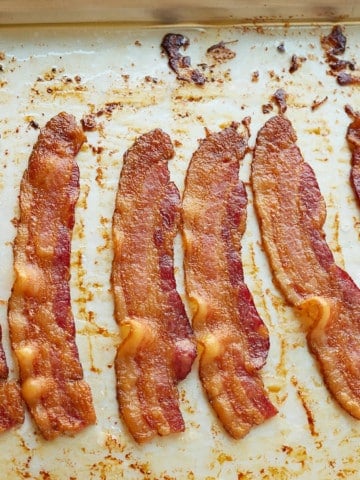
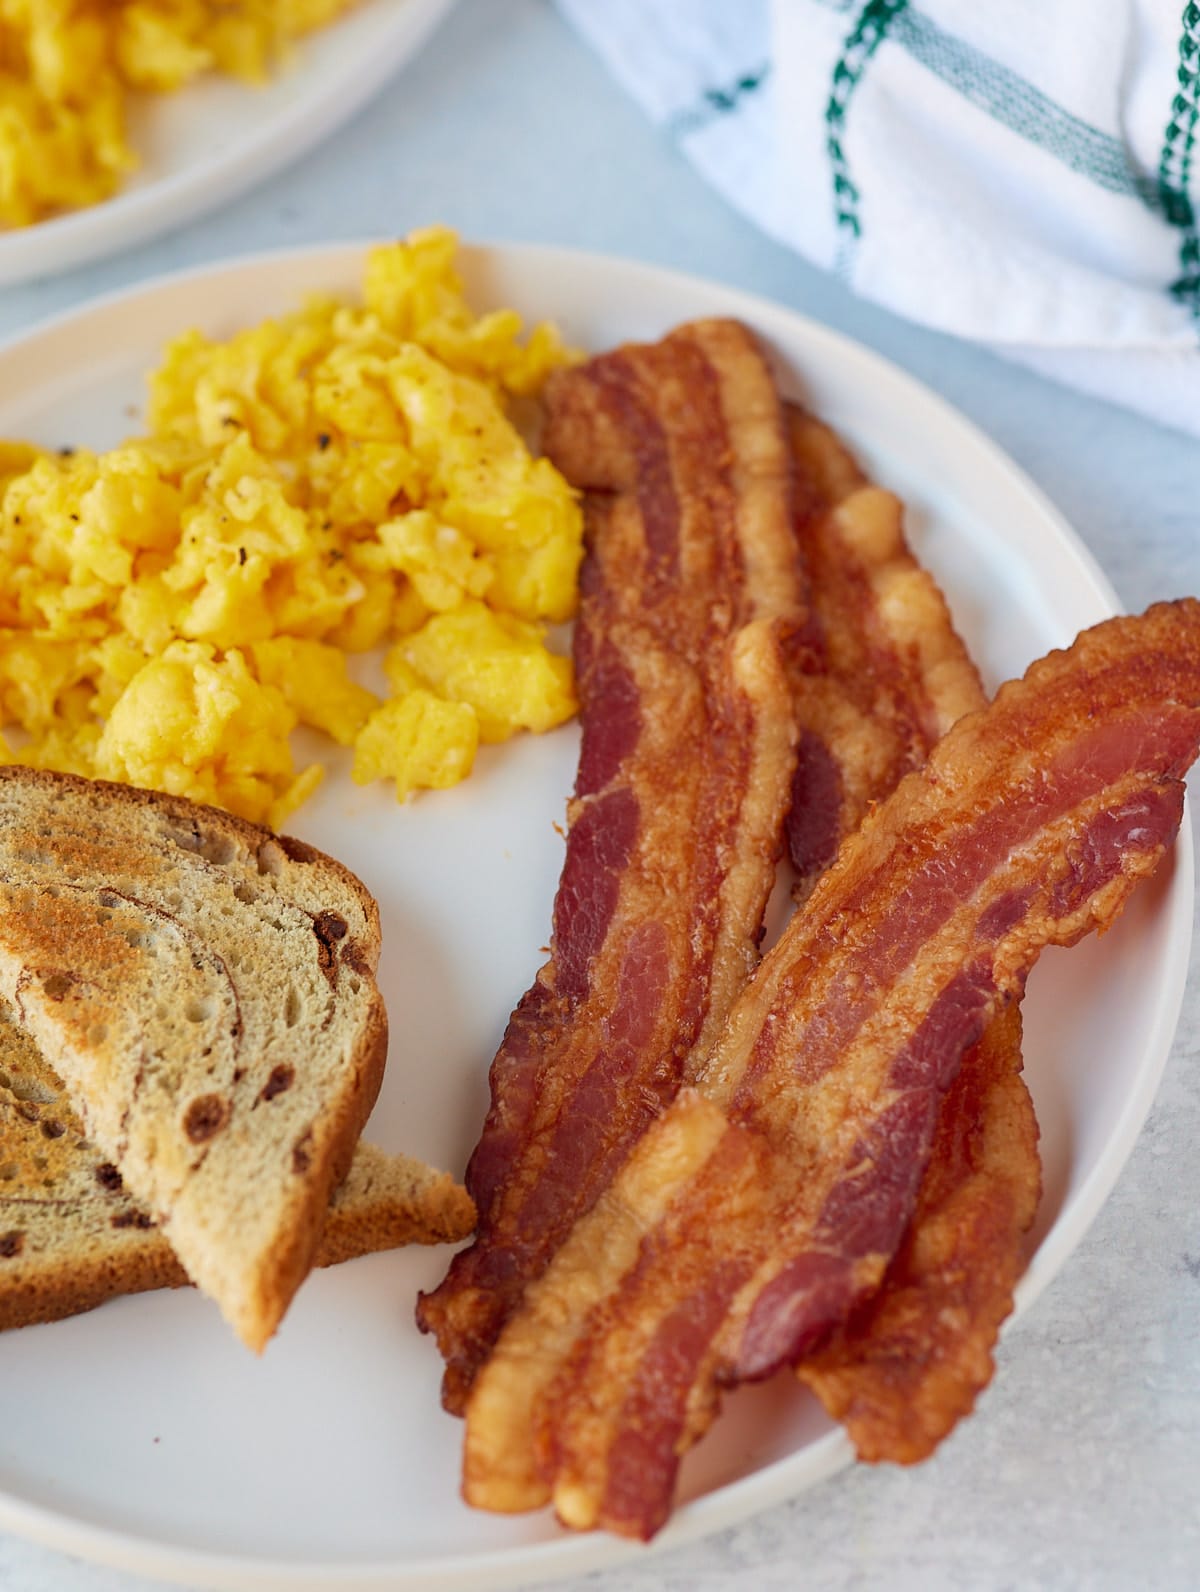
Learn how to bake bacon in the oven for an easy and mess free breakfast. This oven method is hassle-free and the clean up is a breeze! Get the most perfect crispy bacon with zero effort!
This post contains affiliate links, please read my full disclaimer here.
You’ll find the full recipe with ingredient amounts and instructions in the recipe card at the bottom of this post. Be sure to check out the blog post itself for extra tips and tricks!
I mean, who doesn't love some crispy bacon for a delicious breakfast, I know I do! However, I'm not totally in love with cooking it on the stovetop with fat splashing everywhere!
I have been baking bacon in the oven for years now, and it is absolutely my go to method. The cooking time is totally hands off and cleaning up afterwards is a breeze as well.
Oven baked bacon is so full proof too, I get perfect results every single time and it's easy to cook to your exact liking. Seriously, once you do this you will never go back!
Be sure to try my Million Dollar Bacon and Crispy Air Fryer Bacon too!
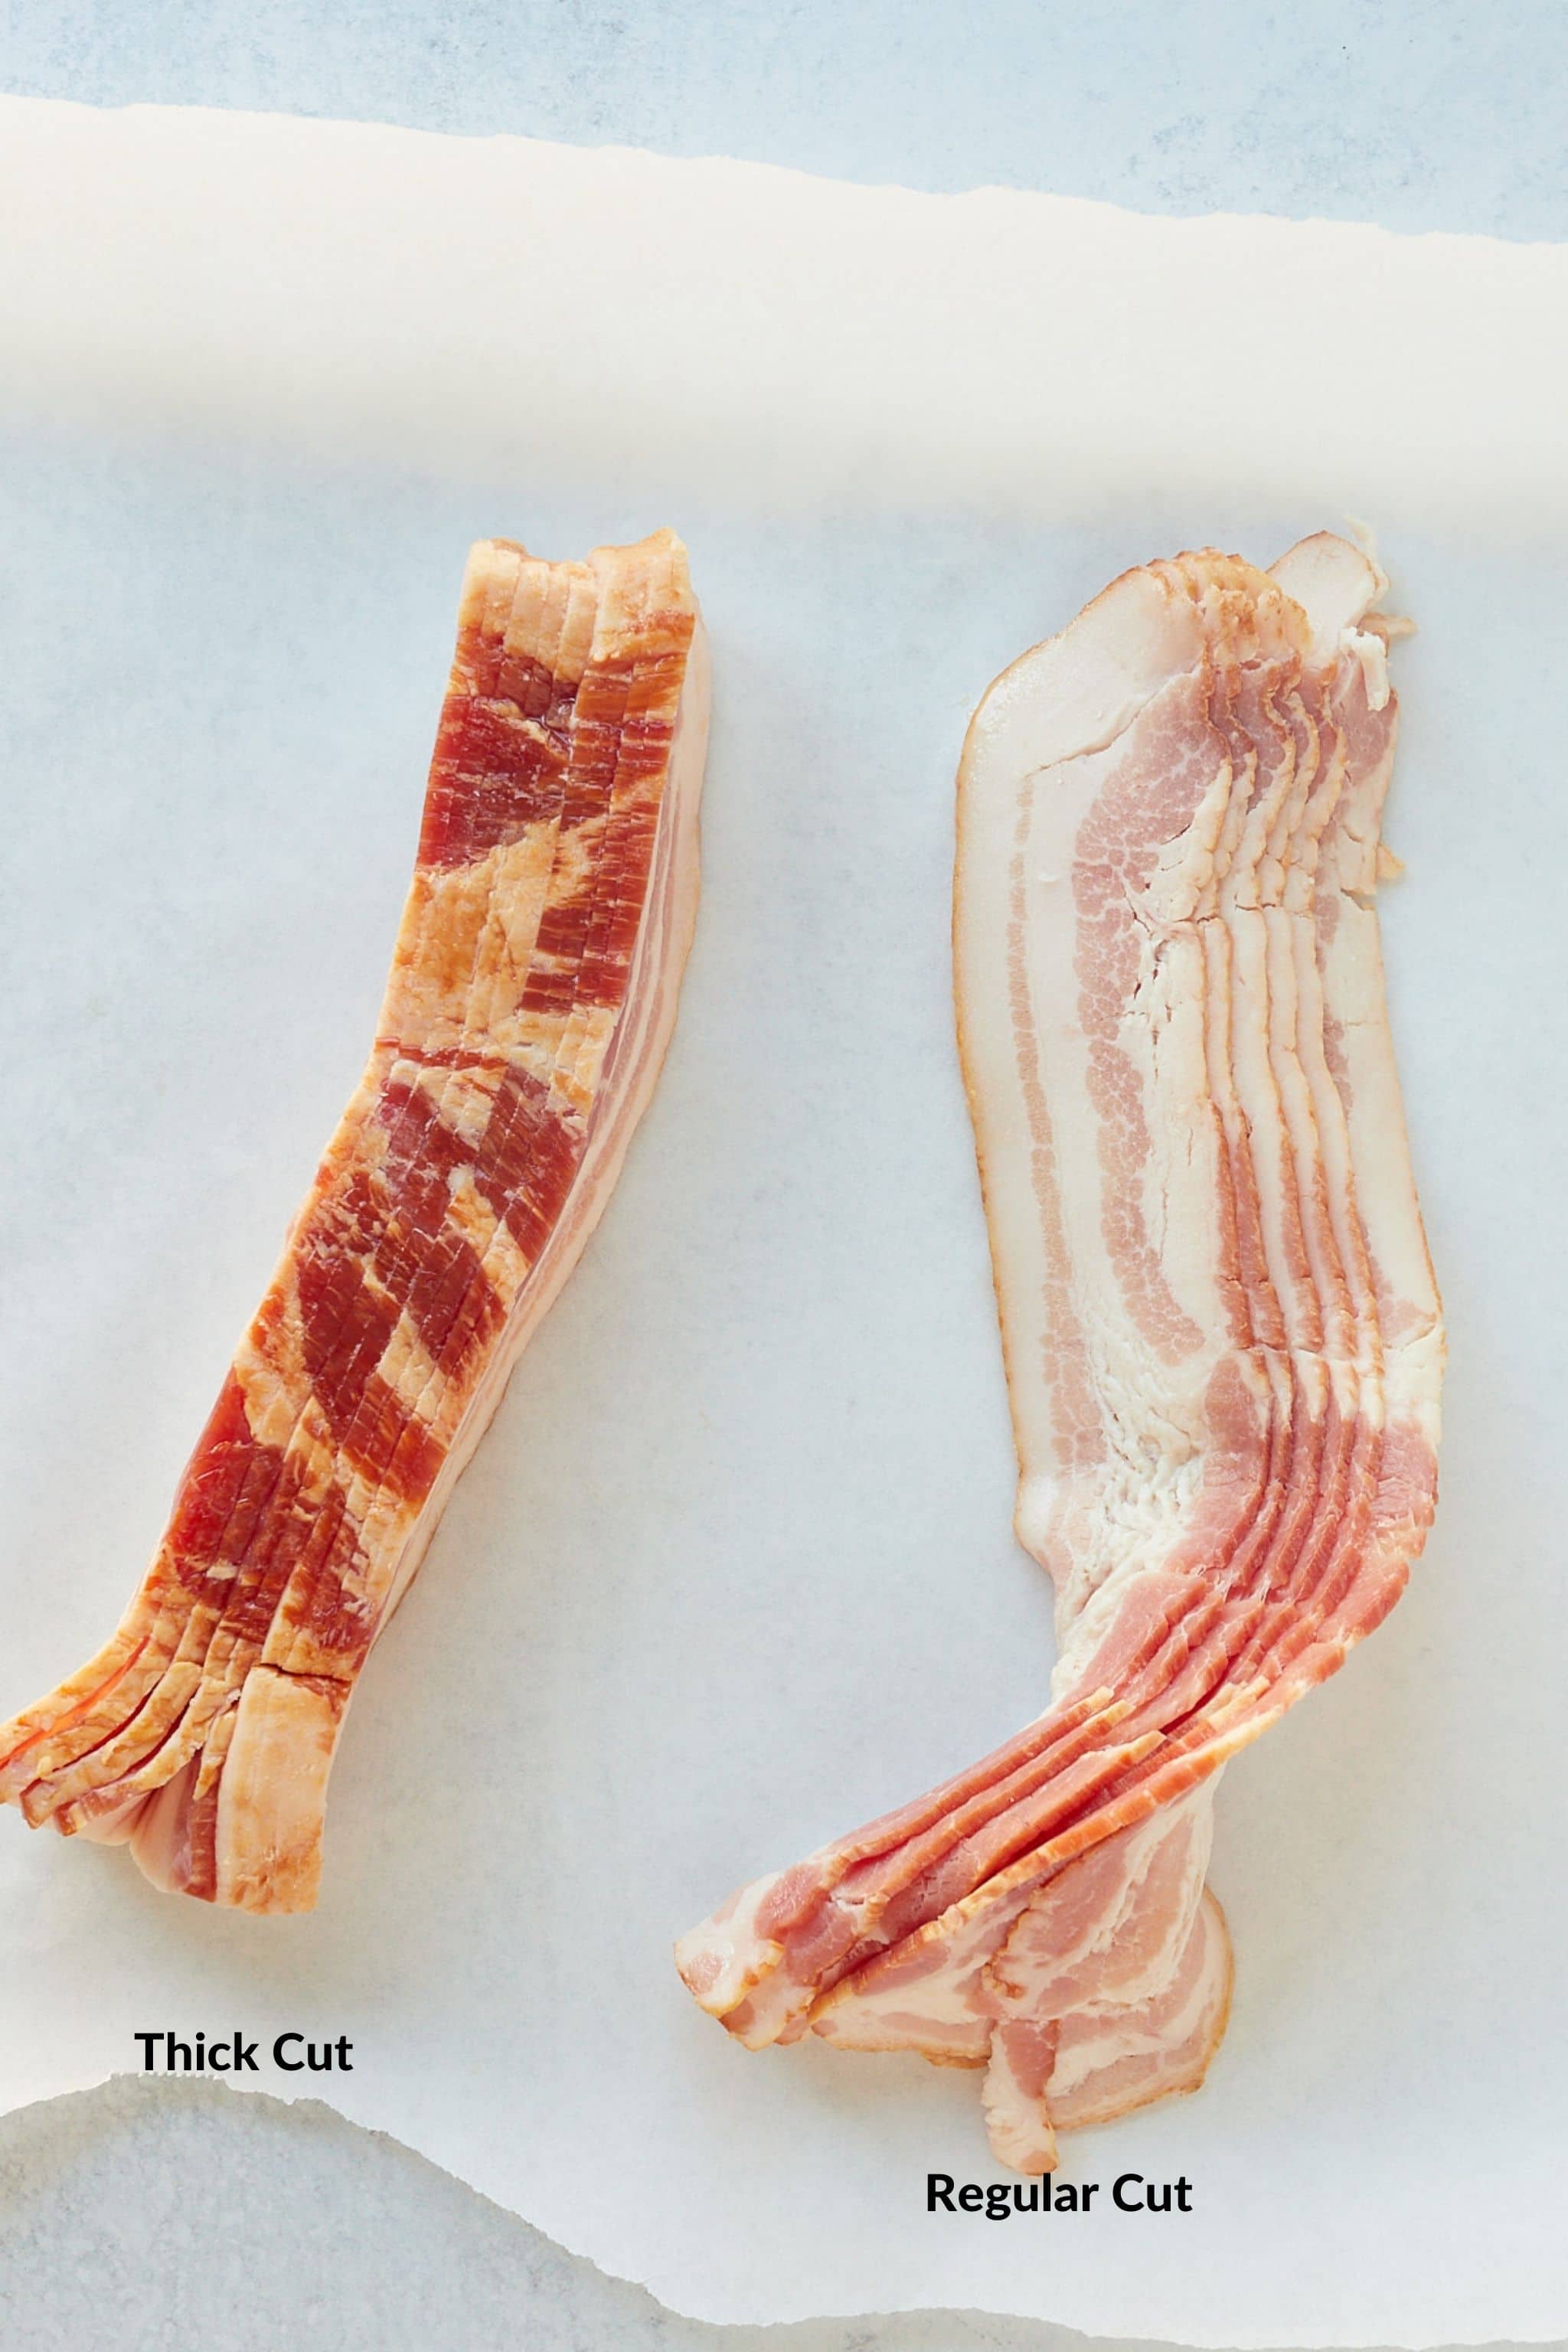
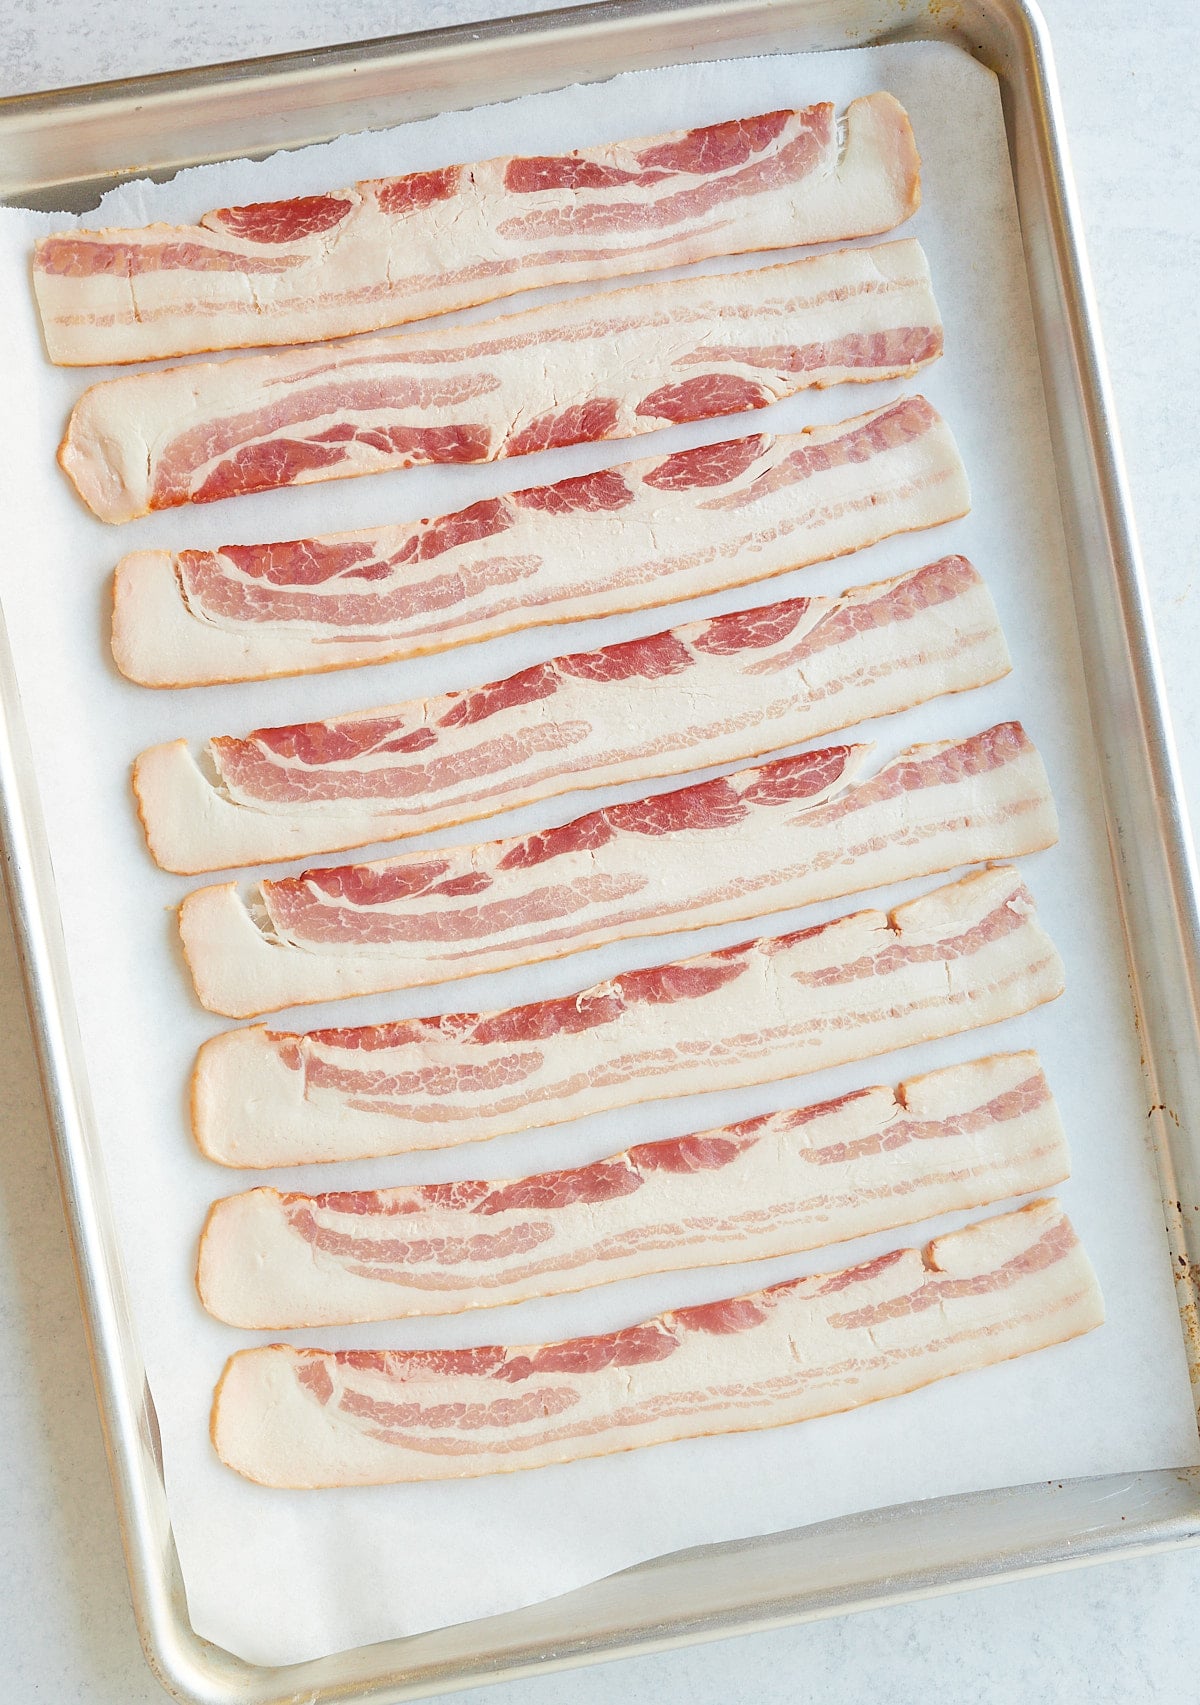
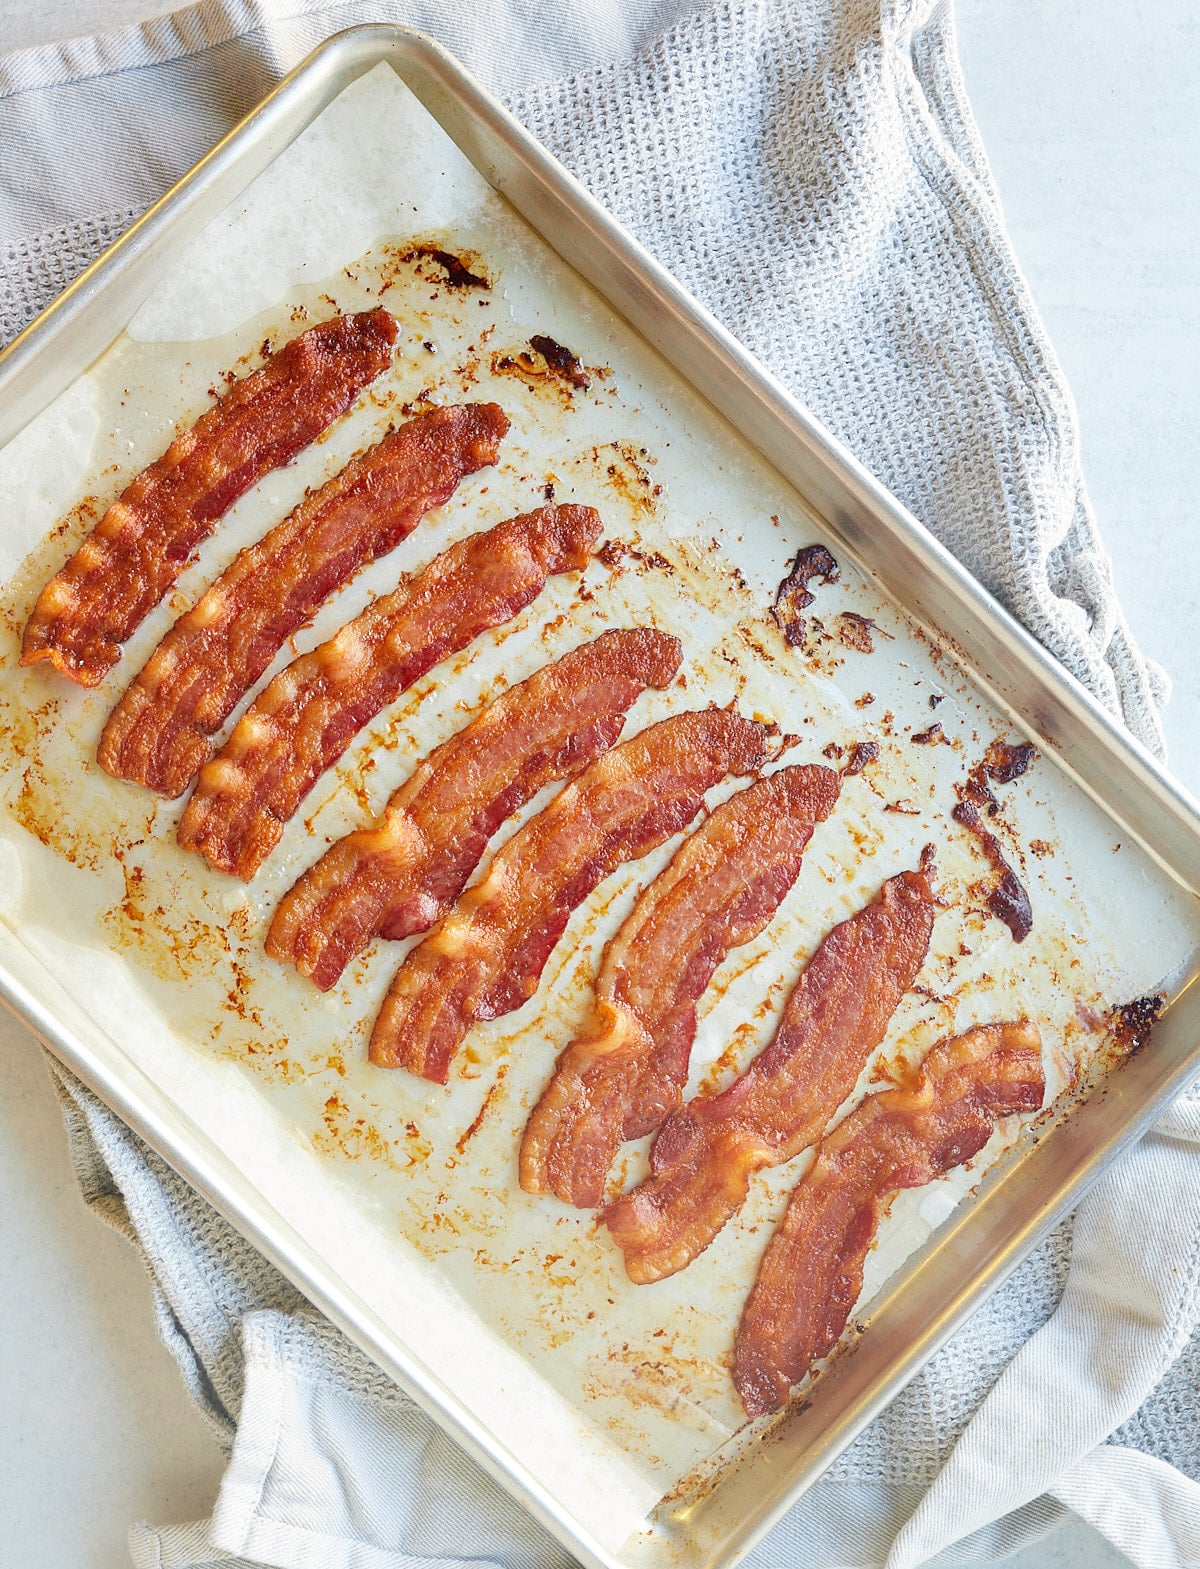
Yes, it can be. If you choose to bake the bacon on a rack, excess grease will drain off the elevated bacon onto the baking sheet below.
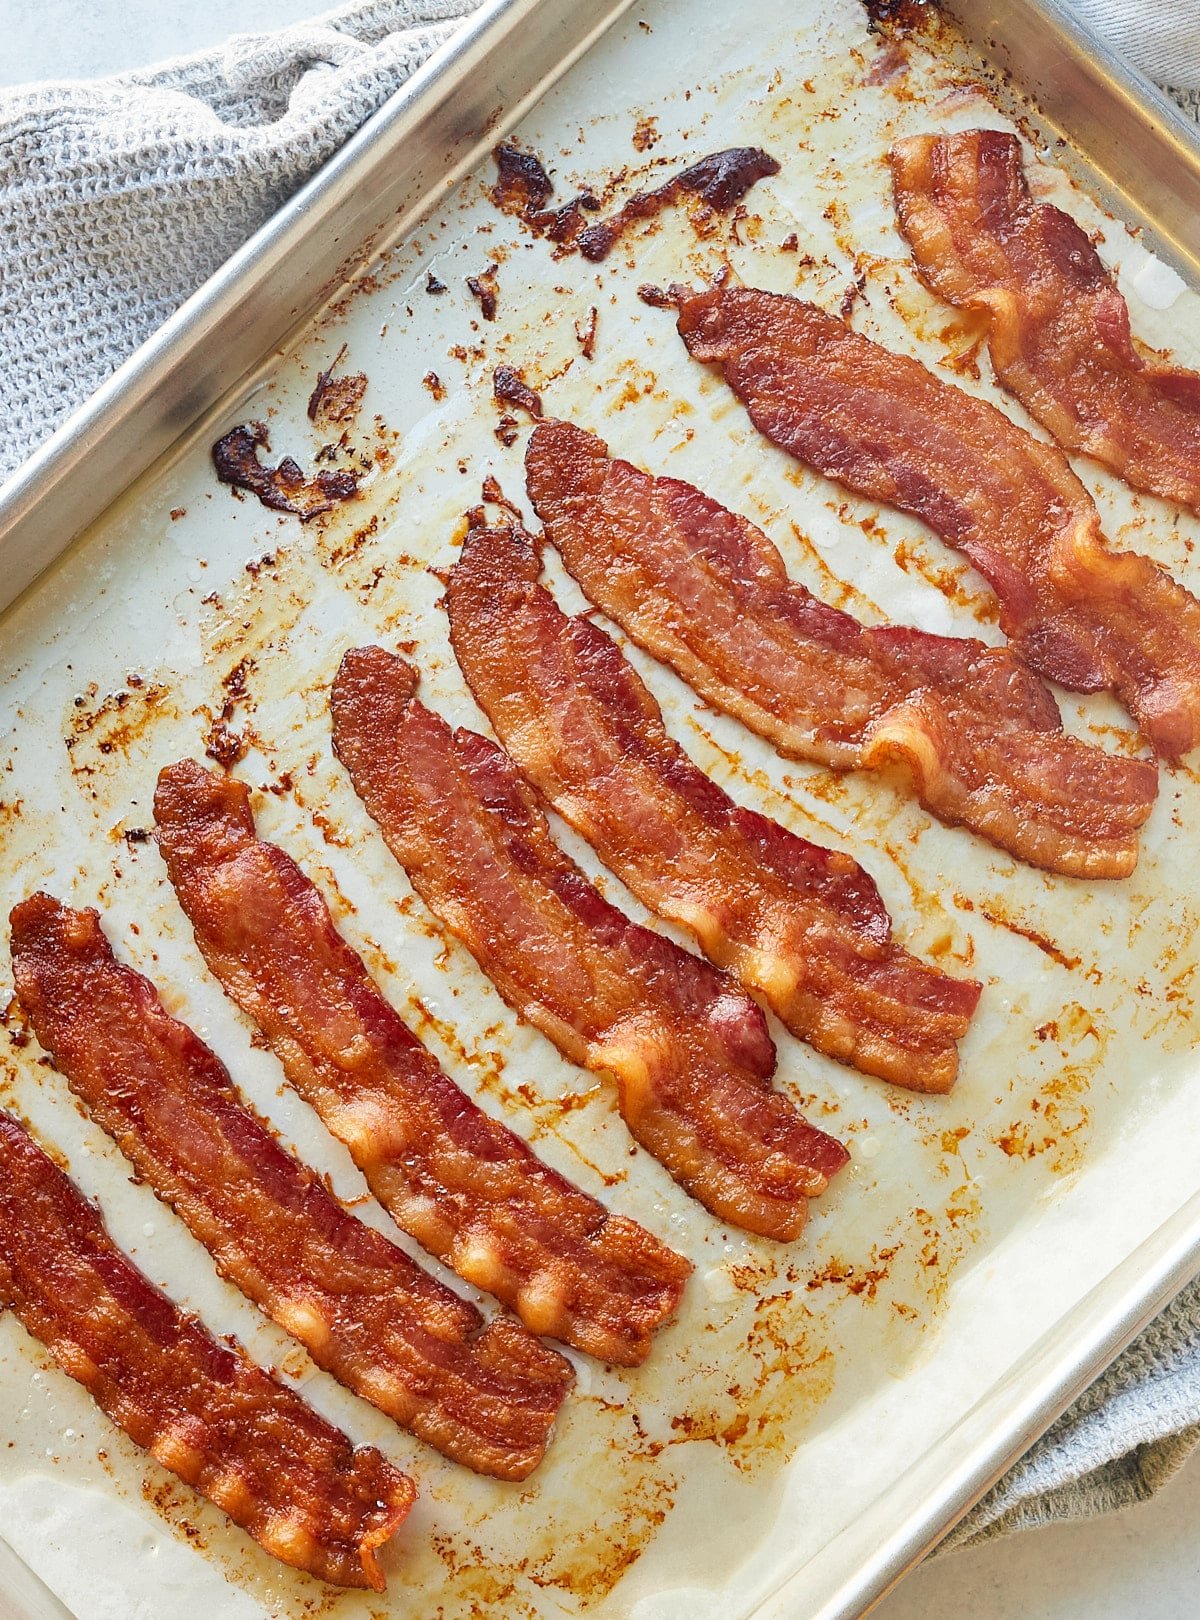
I choose to bake my bacon directly on a lined sheet pan and blot any excess grease. I also love that the clean-up is so straightforward, just line your sheet with parchment and foil to catch the fat, then throw it away. It couldn't be easier!
It’s totally up to you! Cooking bacon on a rack allows the fat to drip away, giving you crispier, evenly-cooked bacon. But if you prefer a bit of chewiness, cooking it directly on a foil-lined baking sheet works just fine — and cleanup’s a breeze!
Depending on what thickness of bacon you use, it takes anywhere between 10 and 25 minutes to get perfectly cooked bacon. Make sure that the oven is fully preheated so that it crisps up nicely.
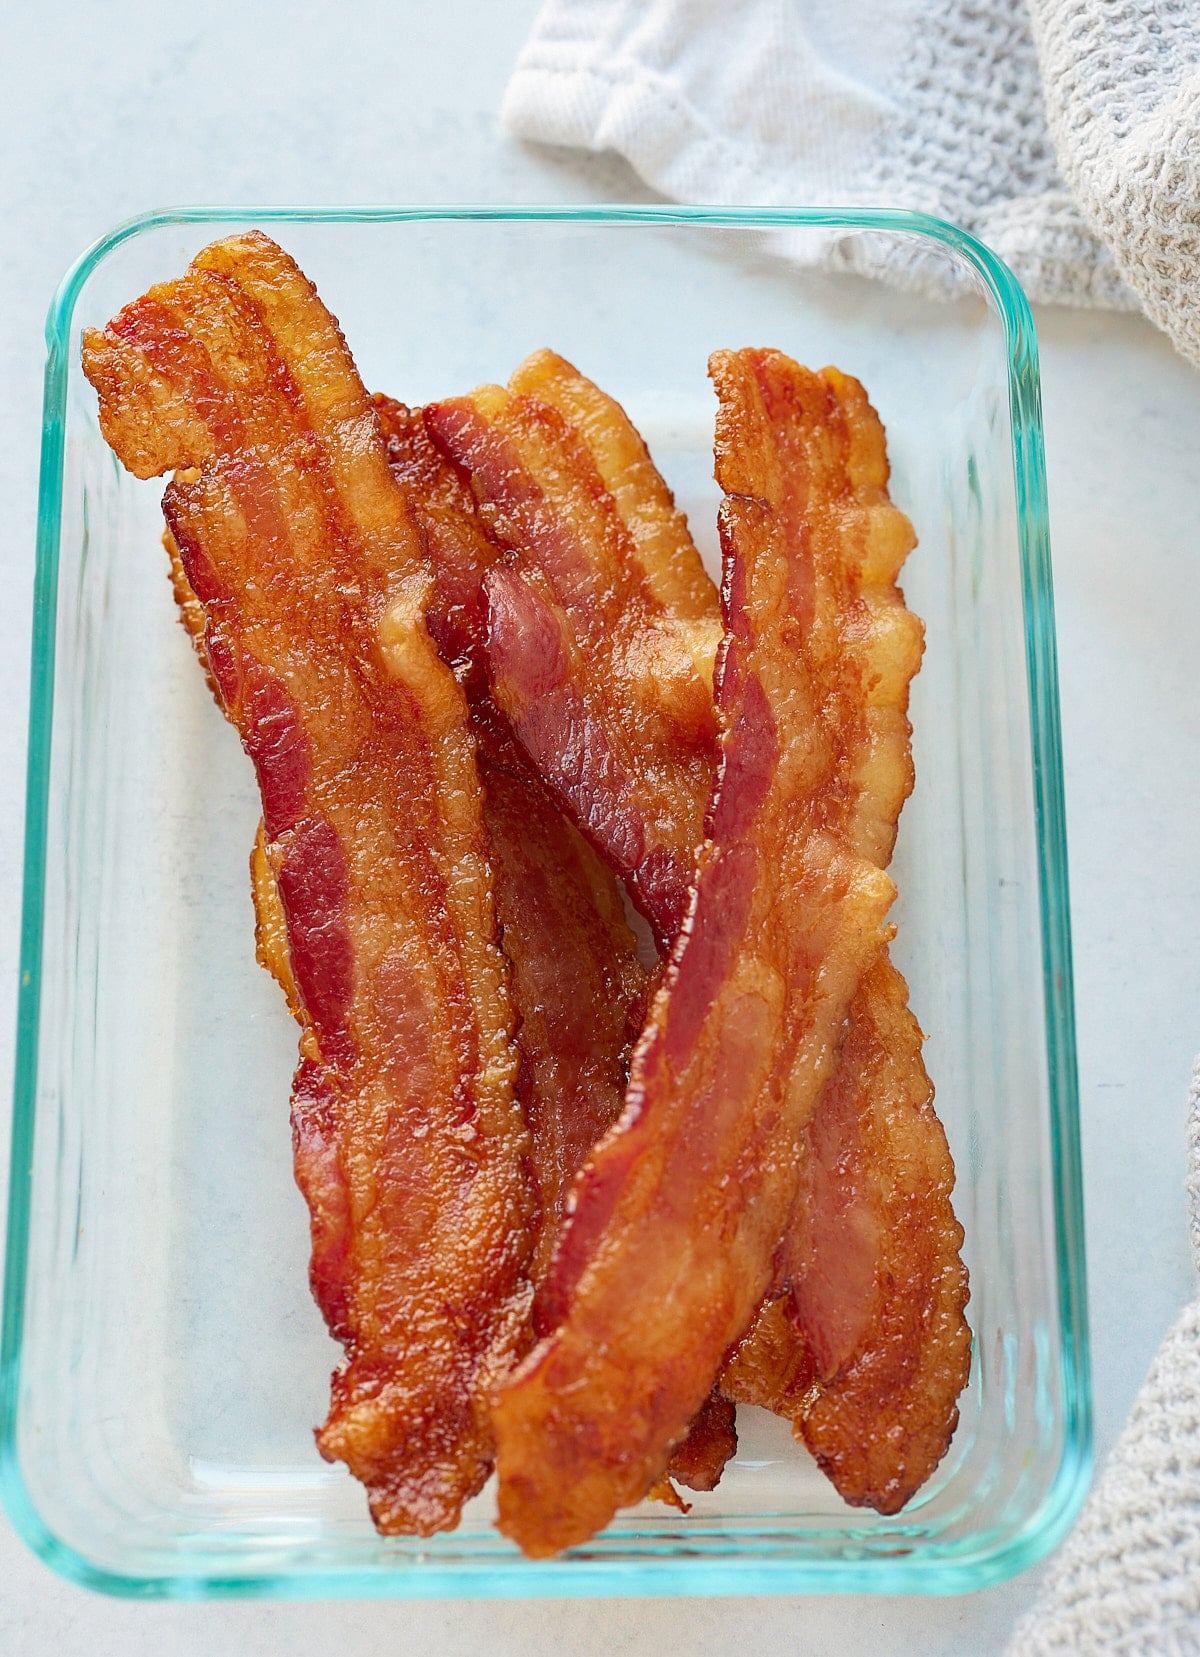
Cooked bacon is great for breakfast meal prep! Once cooked and crispy, let it cool fully before transferring to an airtight container. It will keep well in the fridge for up to 4 days. You can east it straight out of the fridge or reheat in the oven at 360F for a few minutes to warm it back up.
Freezing is a great option if you can't get through all of the bacon! Freeze the cooked strips individually on a baking sheet till solid, then transfer to a bag or container. It will keep frozen for up to 6 months. Thaw it in the fridge before reheating or cook from frozen in the microwave for 15 seconds.
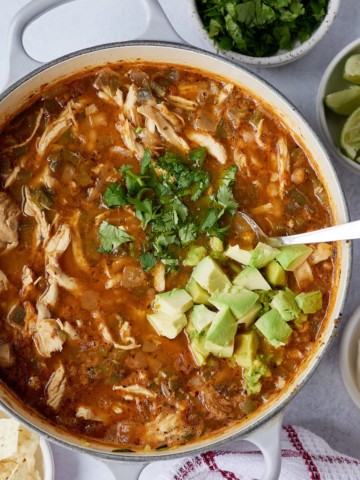
This Chicken Chili Recipe is full of flavor and the perfect bowl of comfort! Made with flavorful spices and broth, this easy chili recipe is perfect for busy weeknights or lazy weekends.
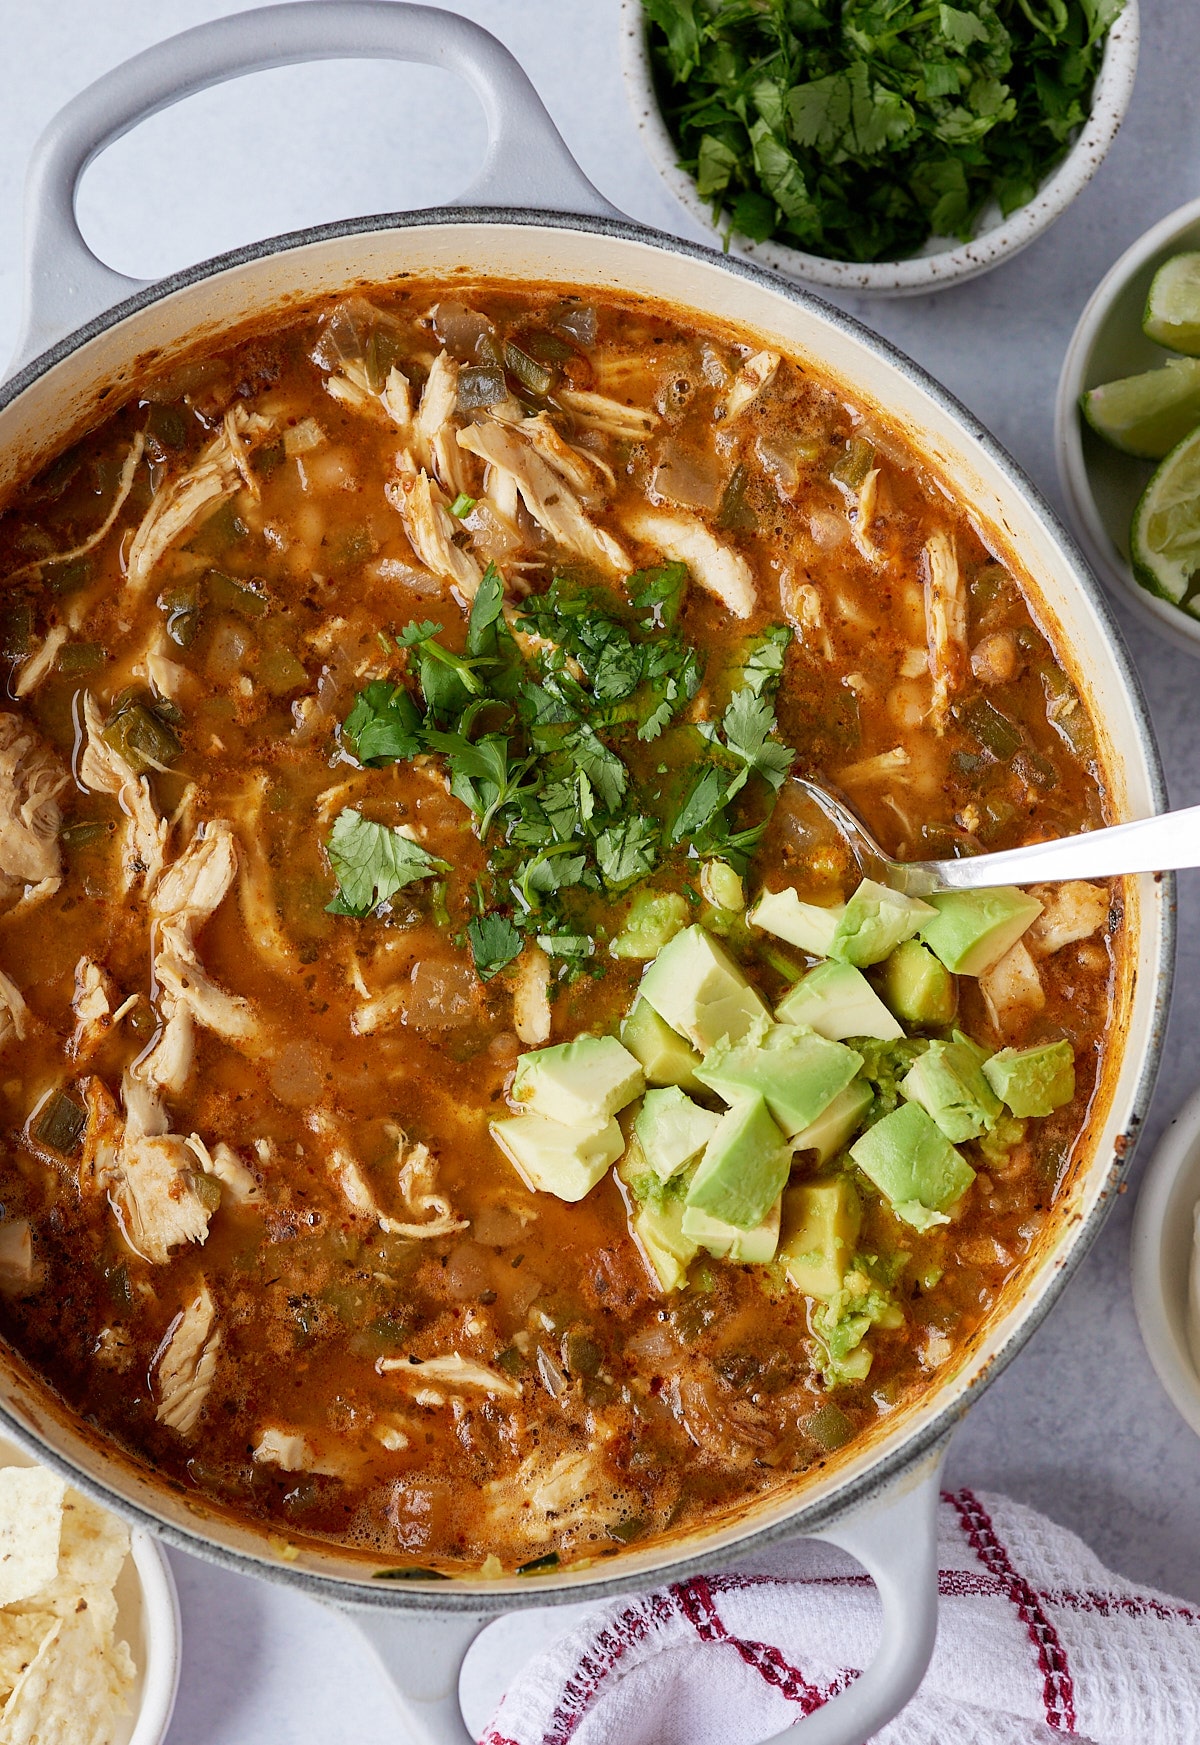
You’ll find the full recipe with ingredient amounts and instructions in the recipe card at the bottom of this post. Be sure to check out the blog post itself for extra tips and tricks!
It’s gotten a little chilly outside so it’s time for all things chili. Well, truth be told, I can have chili all times of the year, but when it’s getting a little chilly, it’s time for some chili. Ha!
I’ve shared a few chili recipes here, like this Instant Pot turkey chili and my traditional chili made with ground beef. But this Chicken chili is on another level. Made with fresh peppers and onions and a delicious spice combination, it’s a dish your whole family will love.
I opted for the stovetop for this recipe and use leftover shredded chicken breast to make this recipe quicker and easier. It’s ready from start to finish in less than 40 minutes. The most work you’ll need to do is chop up some peppers, onions, and garlic.
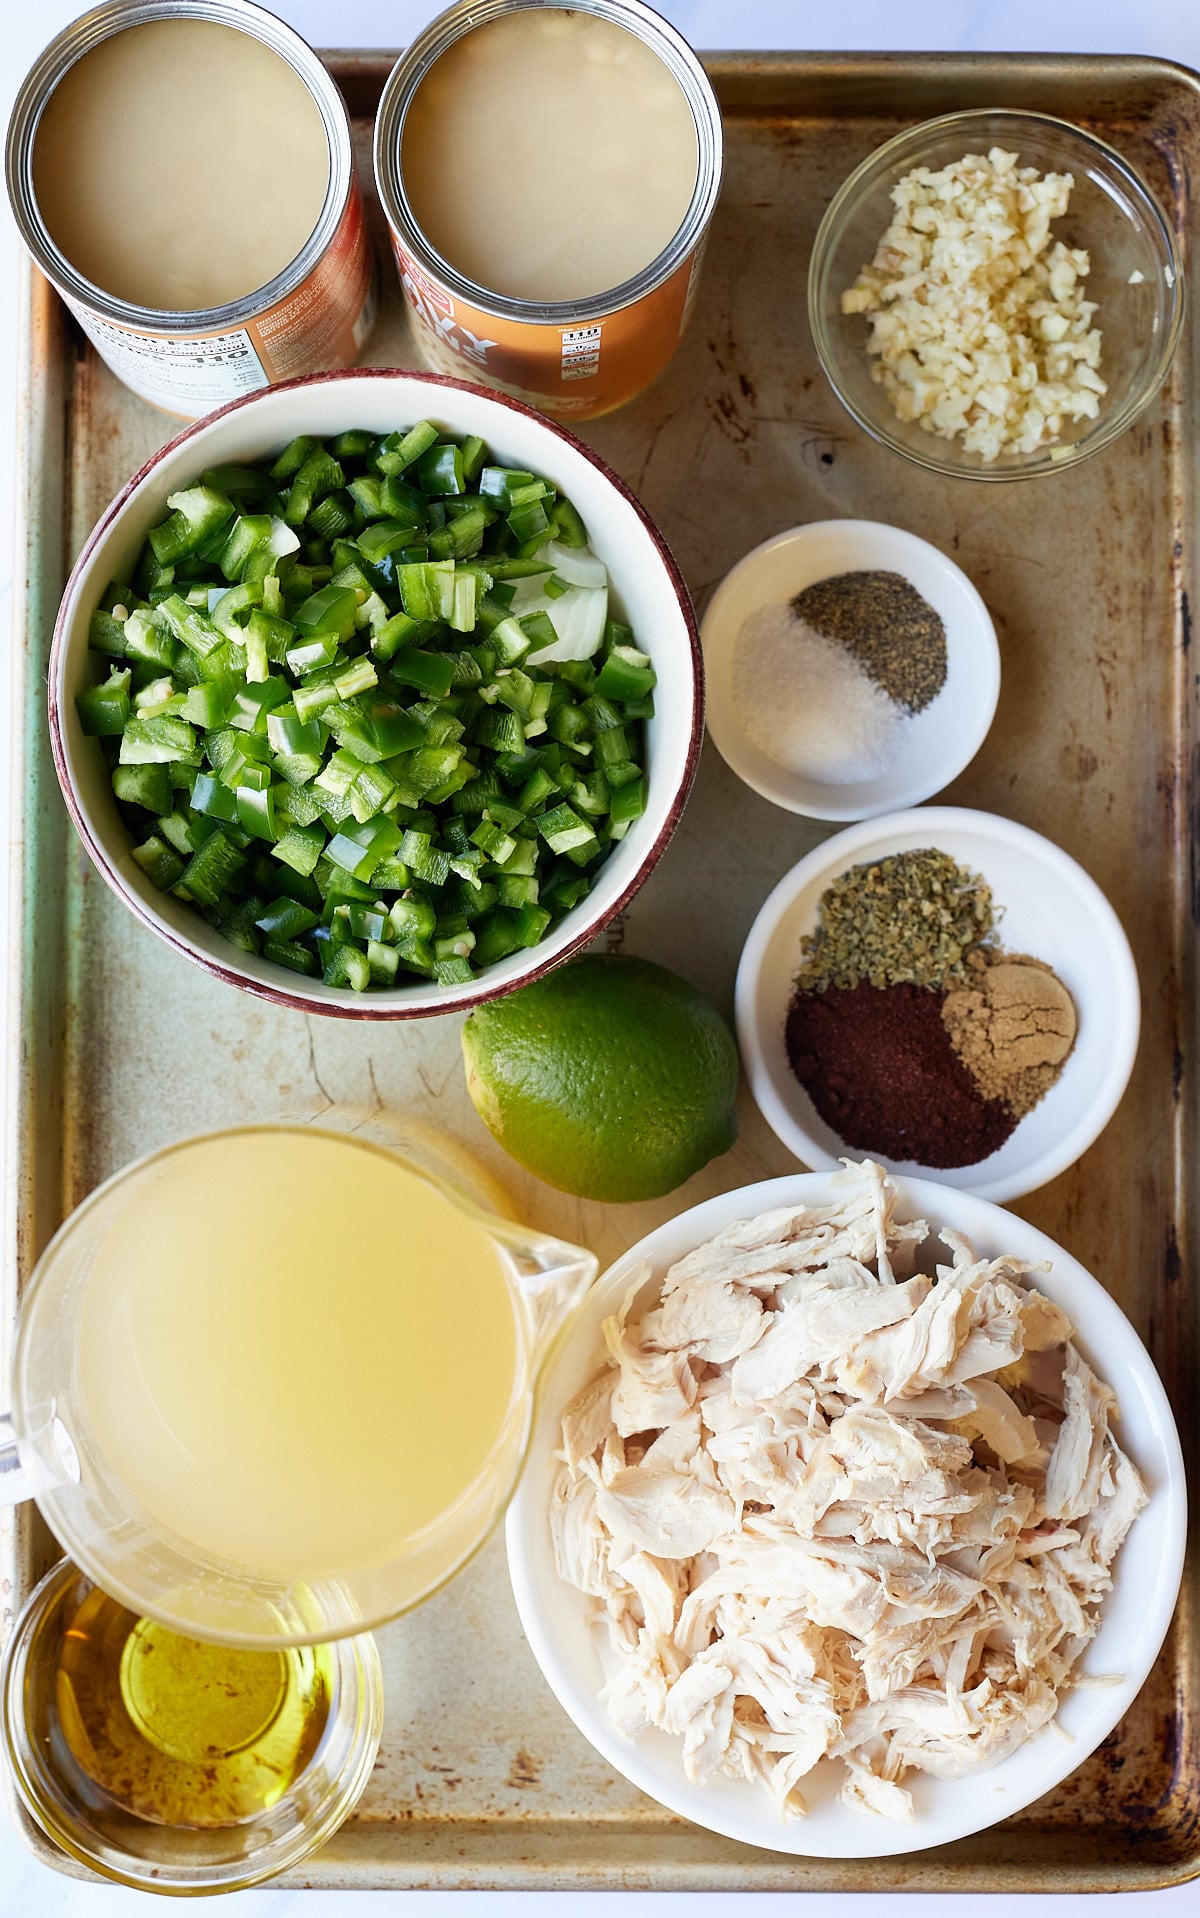
First, you will want to mis en place all your ingredients. Doing this makes the recipe come together so quickly.
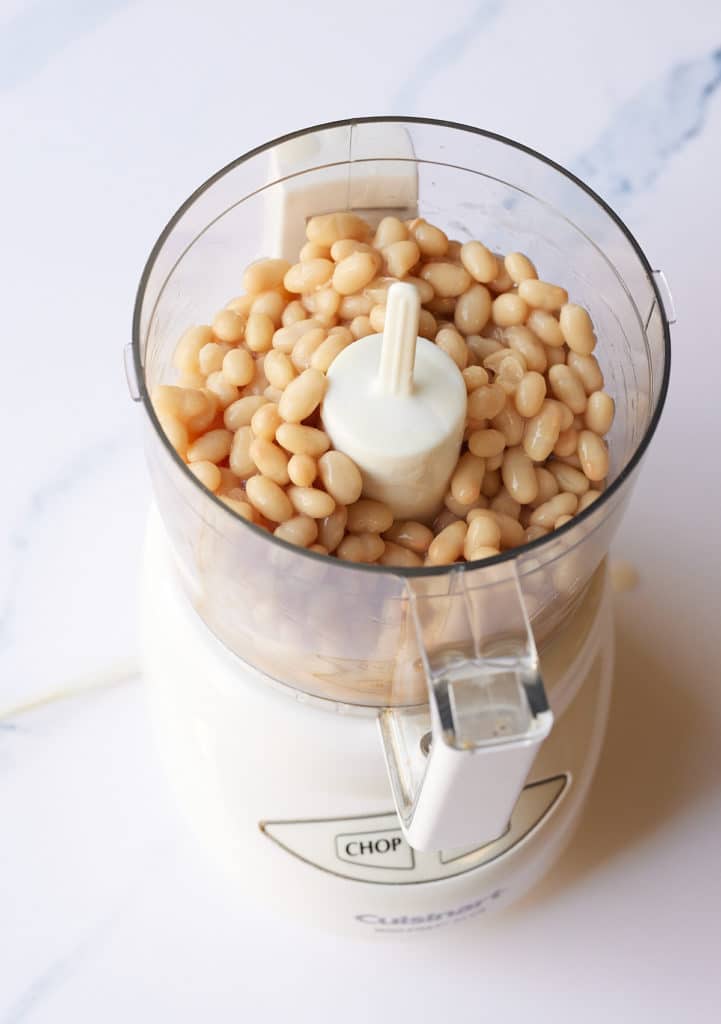
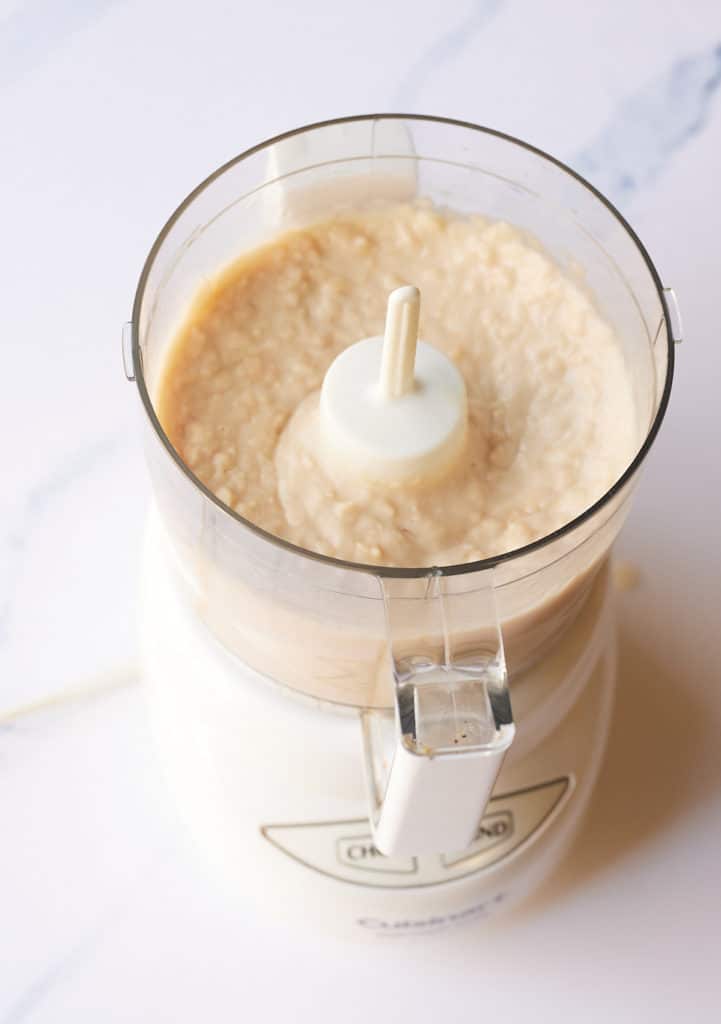
Next, place 1 can of the navy beans (with the liquid from the can) in a food processor and process until smooth. Set aside.
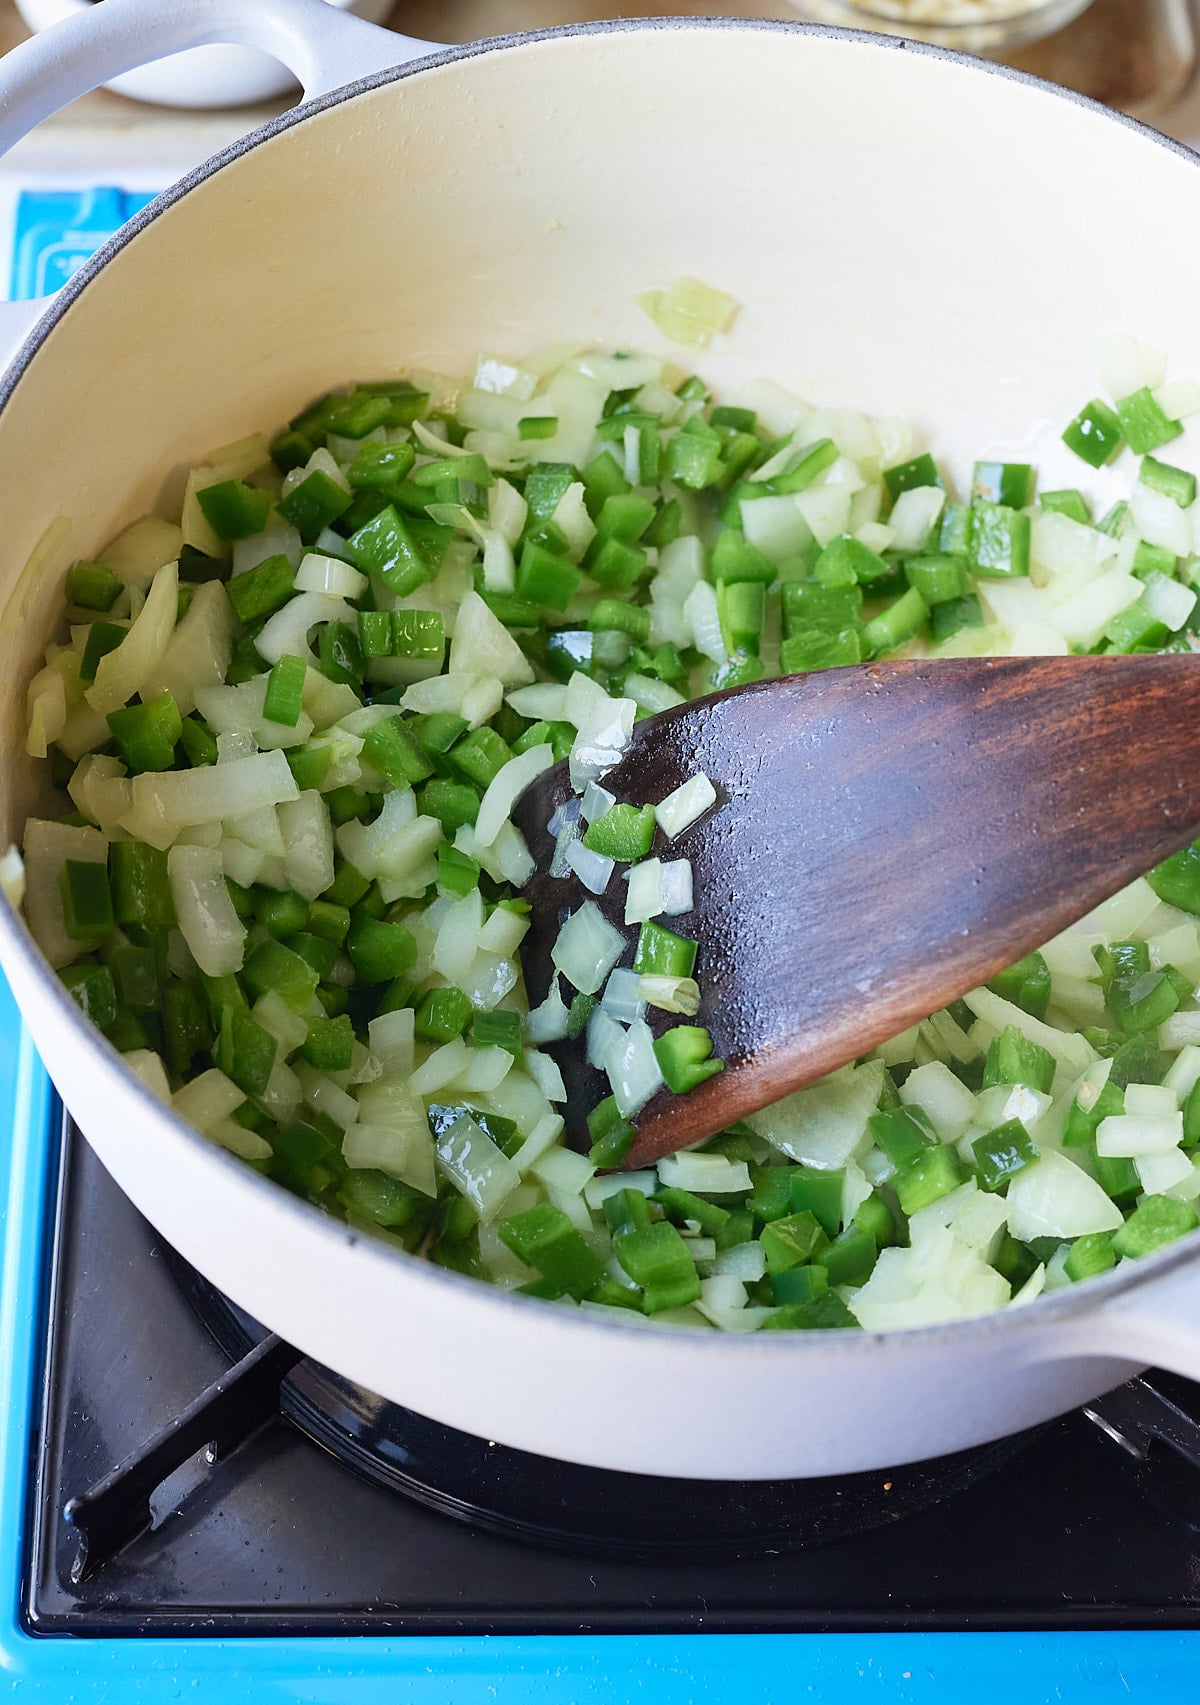
Heat oil in a large heavy-bottom pot over medium-high heat. Add chopped onions, poblano peppers, and jalapeño peppers and sauté for about 5 minutes, until softened. Then add the chopped garlic and sauté for an additional minute.
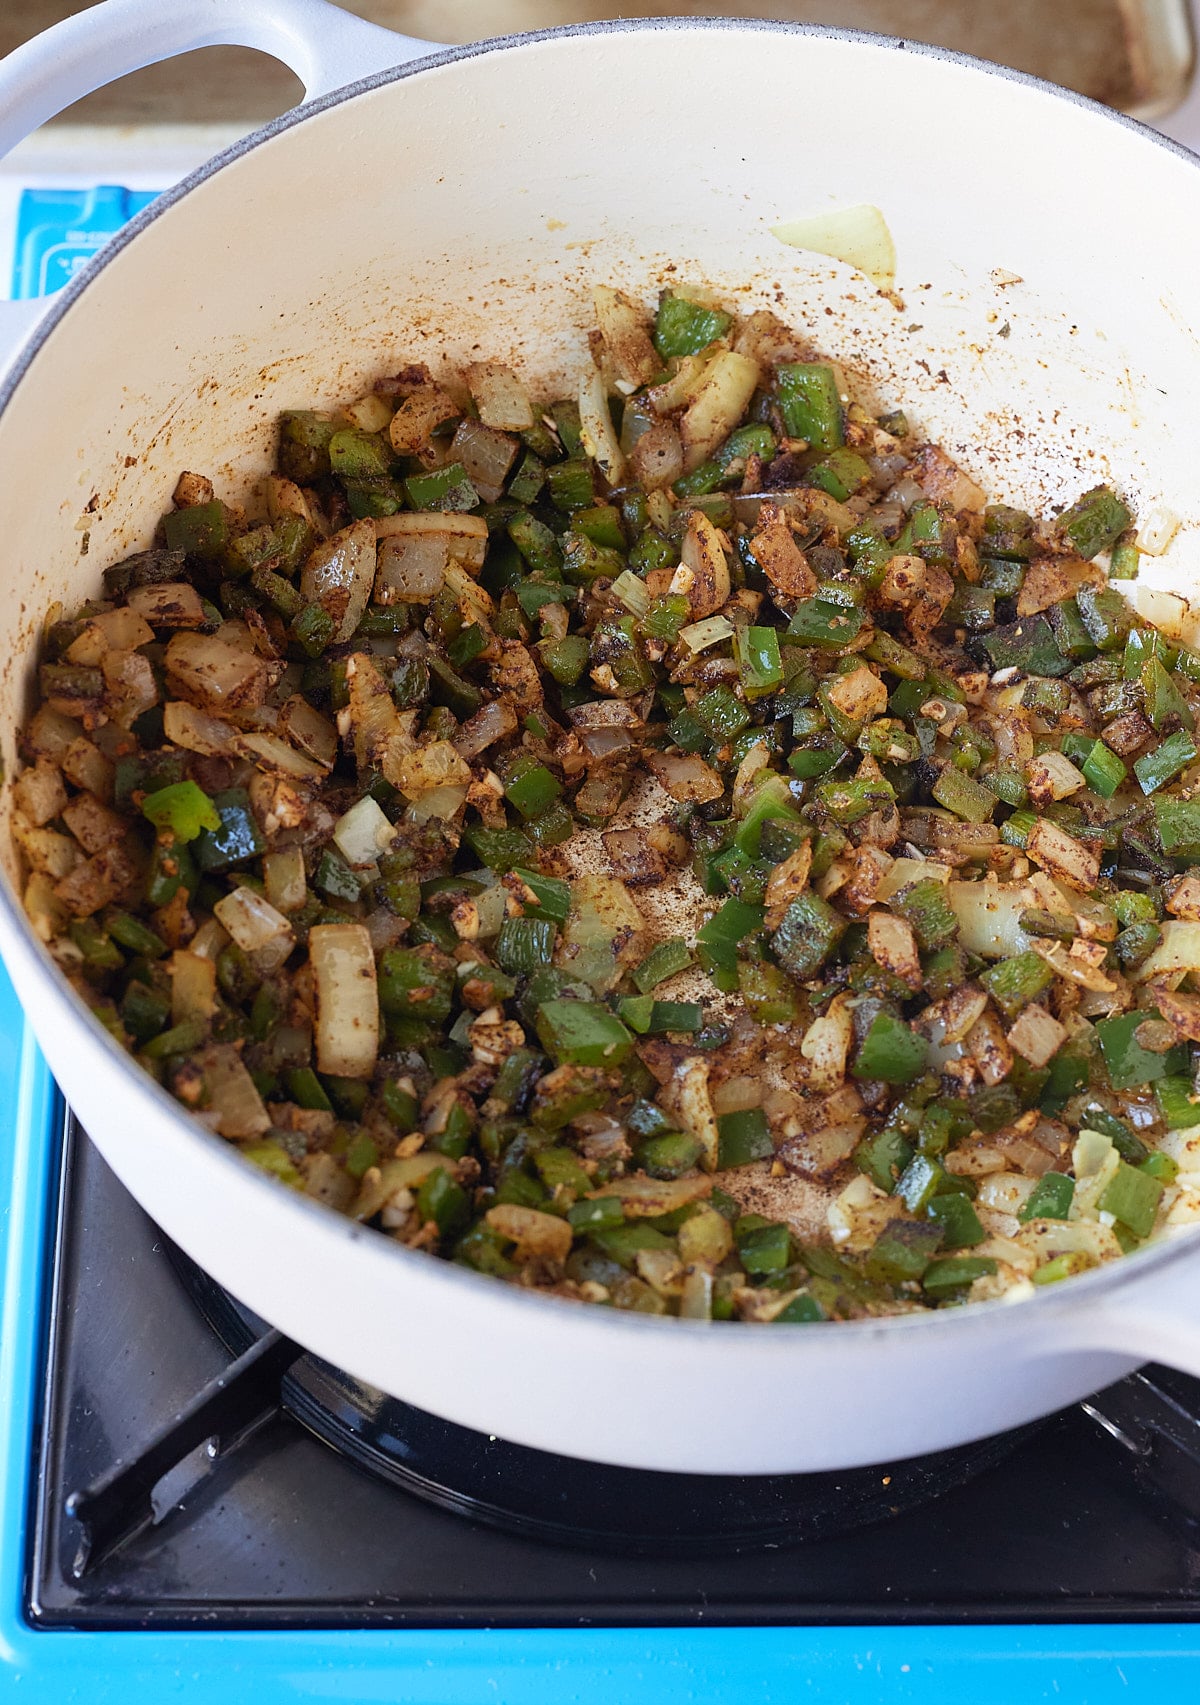
Add chili powder, cumin, and dried oregano, and sauté for an additional 30 seconds to toast the spices.
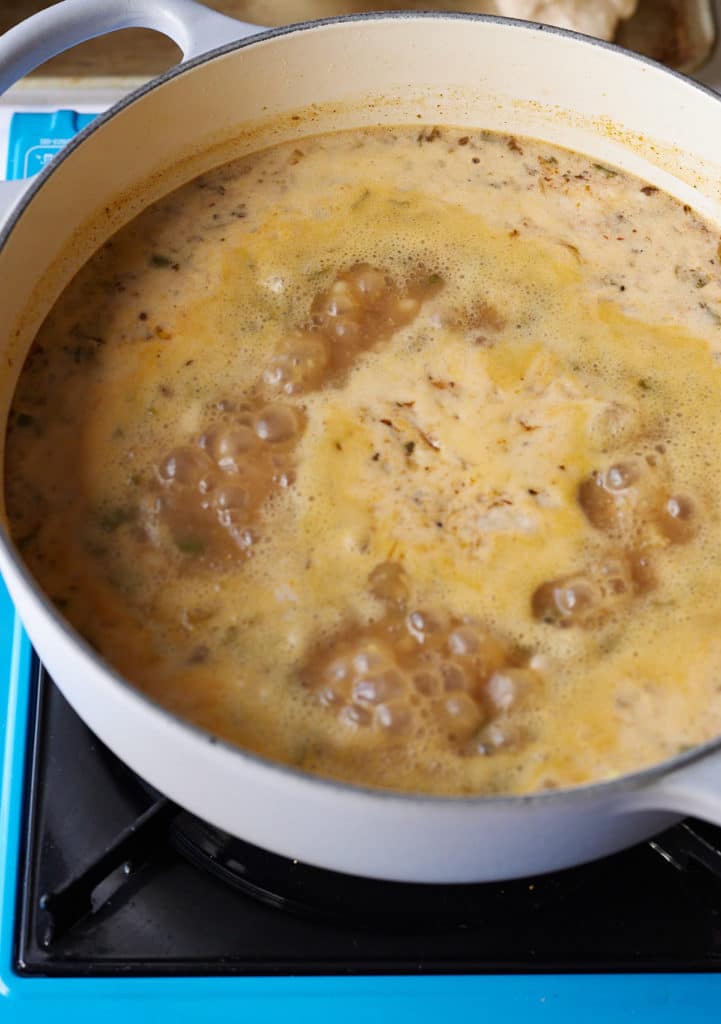
Pour in the chicken broth, lime juice, beans (the whole ones and the processed ones), and bring to simmer for about 20 minutes.
Add shredded chicken and continue to simmer for an additional 3-4 minutes until heated through.
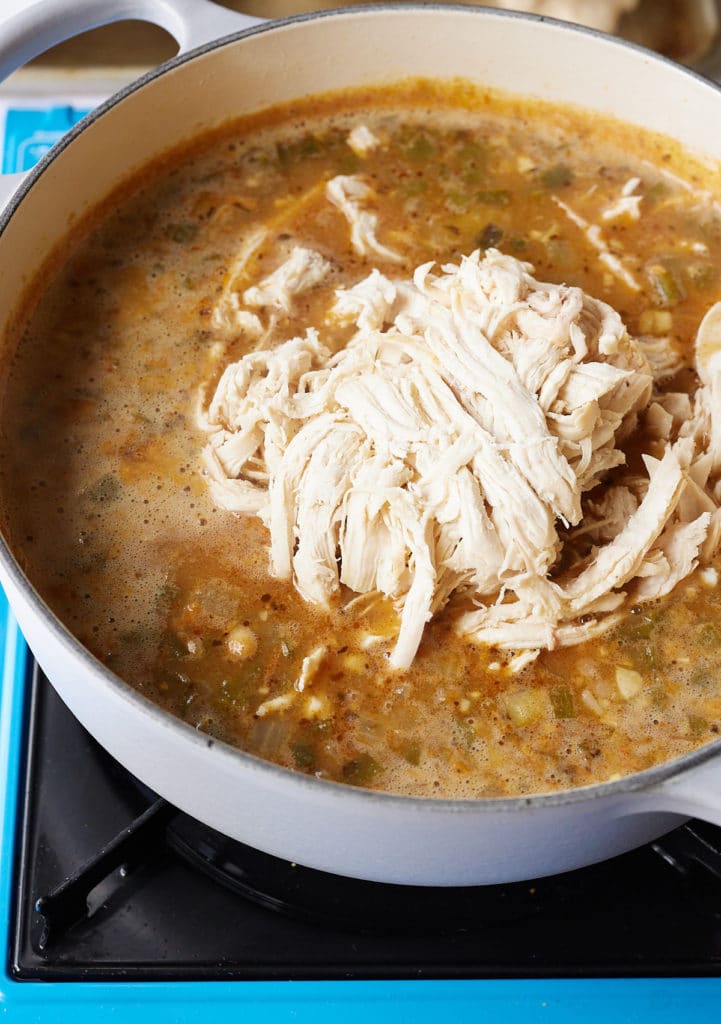
Serve with desired toppings. Enjoy.
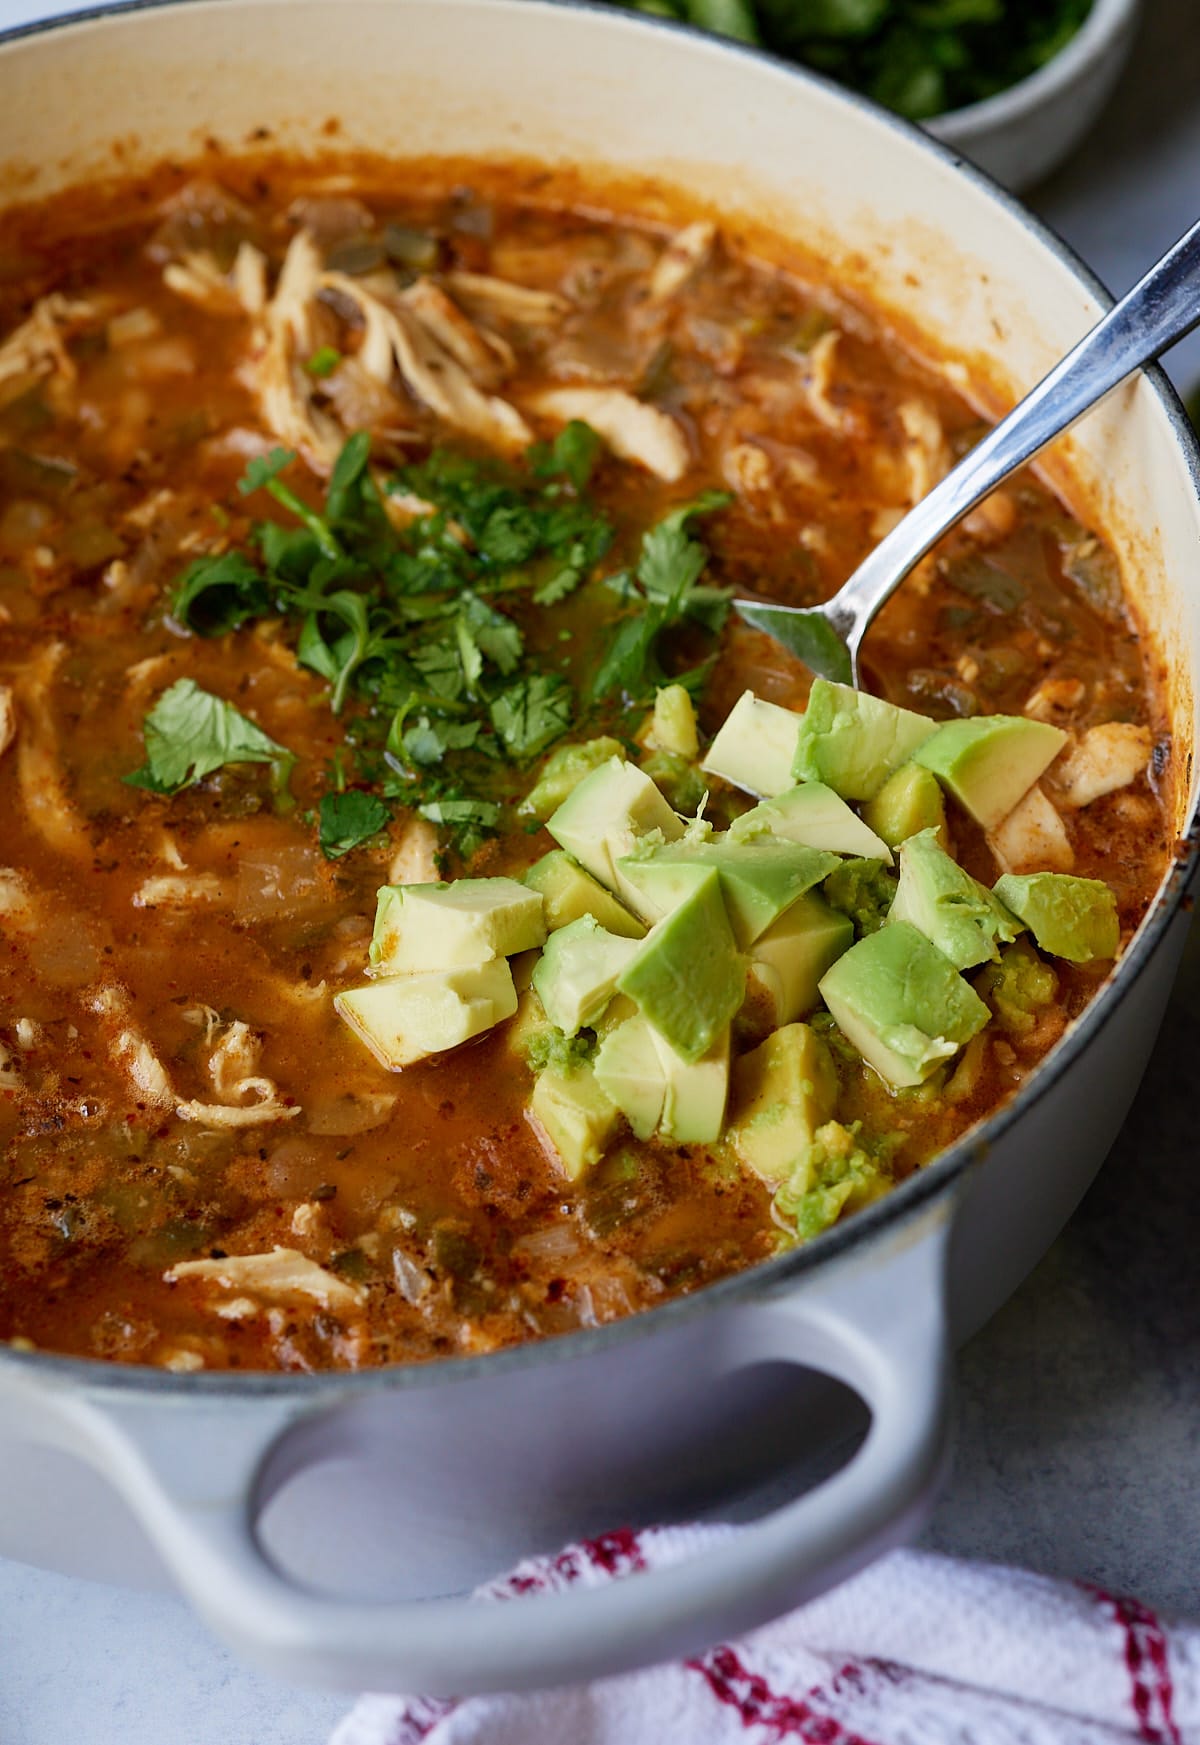
This chili as written is loaded with peppers, onions, and chicken, but there is still a good amount of broth to balance it out. If you still want it thicker, you can use certain thickeners, like cornstarch, to thicken the chili.
You’ll notice for this recipe, I do not drain the beans. The main purpose of draining beans before adding to chili is to reduce the amount of salt and sodium. For this recipe and its use of Navy beans, I chose to use the liquid in the can. If you would like to reduce the amount of sodium, you can purchase low sodium beans or drain the beans and an additional ½ cup of chicken broth.
Cilantro and sour cream are my favorites! Stirring in a spoonful of sour cream in this chili will lighten up the color, making it white chicken chili. You could also try adding chopped avocado, tortilla strips or chips, and cheddar cheese.
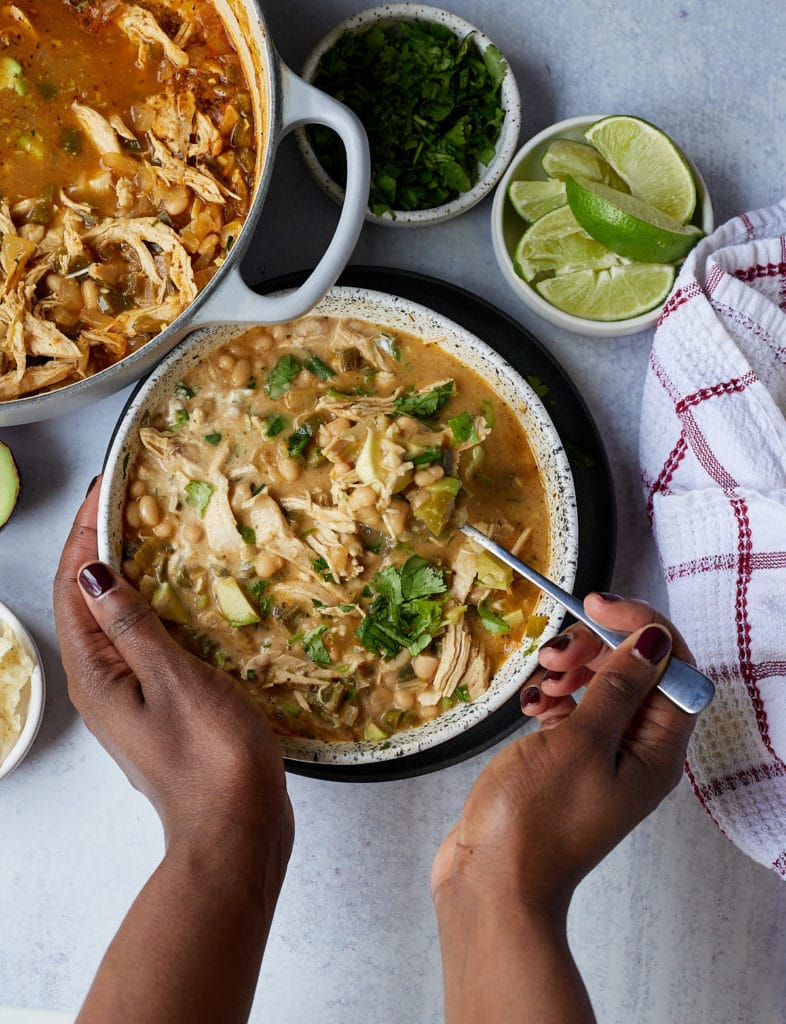
I like to make a batch of chicken breast to use throughout the week in recipes just like this. I like to boil my chicken breast or make my chicken breast in the air fryer or oven. You could also use the chicken from a rotisserie chicken.
I hope you love this chicken chili as much as we do. Looking similar bowls of comfort? Try these out:
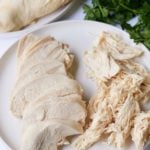
Boiled chicken breasts are great to have on hand for adding to all kinds of recipes. Learn how to boil chicken breast easily and make flavorful chicken that you can shred, slice, or dice to add to any recipe or meal.
This post contains affiliate links, please read my full disclaimer here.
You’ll find the full recipe with ingredient amounts and instructions in the recipe card at the bottom of this post. Be sure to check out the blog post itself for extra tips and tricks!
I’m always looking for ways to make cooking at home a little easier and having boiled chicken in my recipe repertoire has been a game-changer. Chicken breast, the more lean part of the chicken, can be tricky when it comes to cooking. But boiling it is a great way of having flavorful chicken that can be repurposed into all kinds of meals, like chicken salad.
Boiling chicken isn’t anything new, especially if you’ve made chicken broth or soup before using raw chicken. But boiling the chicken breast may seem foreign to most home cooks, especially when roasting it or pan-frying it is usually the first choice. However, if you’re looking for an easy method for cooking chicken that you want to add to other dishes, this one is it.
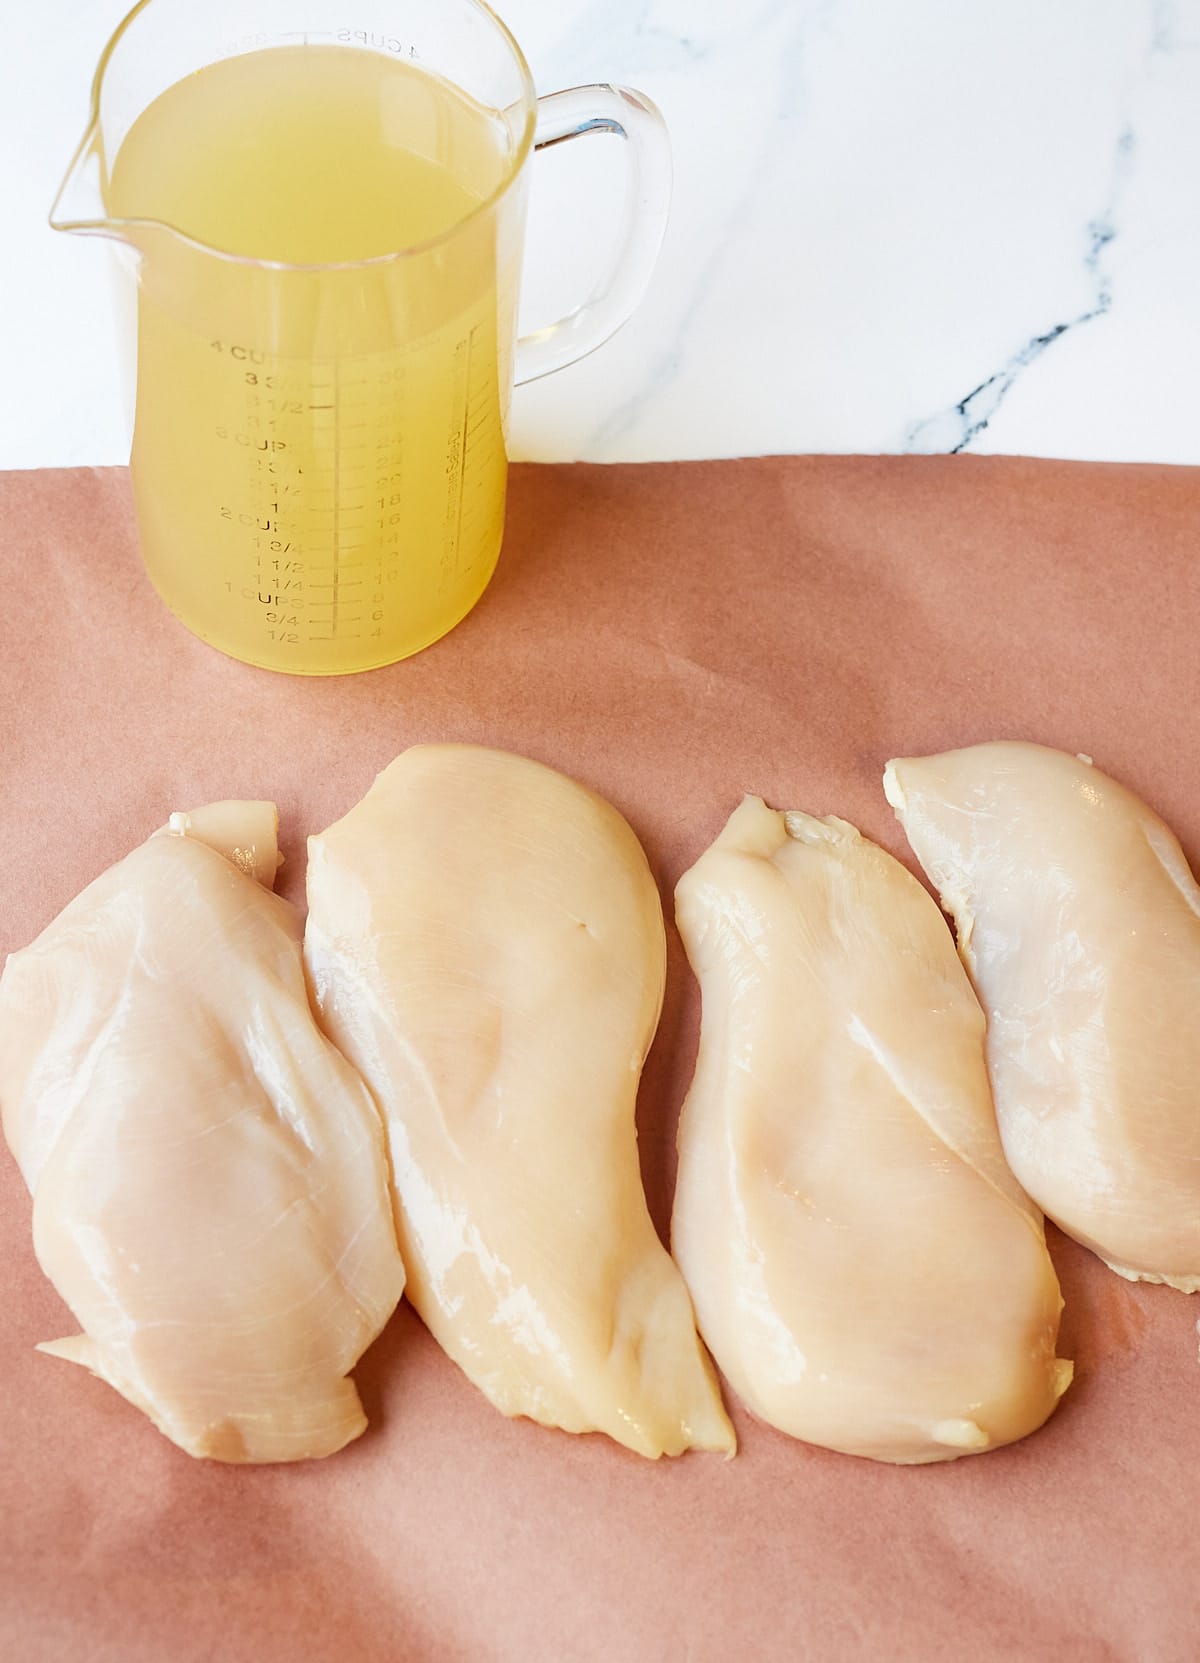
Chicken Breast - Either bone-in with skin on or boneless chicken works. I usually opt for boneless as it’s what I usually have on hand, but bone-in works as well and provides more flavor.
Liquid: Water or broth are my desired choices here. If I’m boiling boneless chicken breast, I always use broth as boneless breasts don’t have much flavor on their own. If using bone-in chicken breast with skin on, I use water as there is flavor in the fat and bones.
Optional Seasonings: Not a requirement, but adding certain fresh herbs or acids like lemon and vinegar provide additional seasoning to the breast.
Gather your ingredients. You’ll need a large pot (I use a 3.5 qt heavy bottom pot), chicken breast, and enough liquid to cover the chicken by about 1-2 inches. If using any additional herbs and seasonings, add them at this time as well.
Bring this to a boil over medium-high heat.
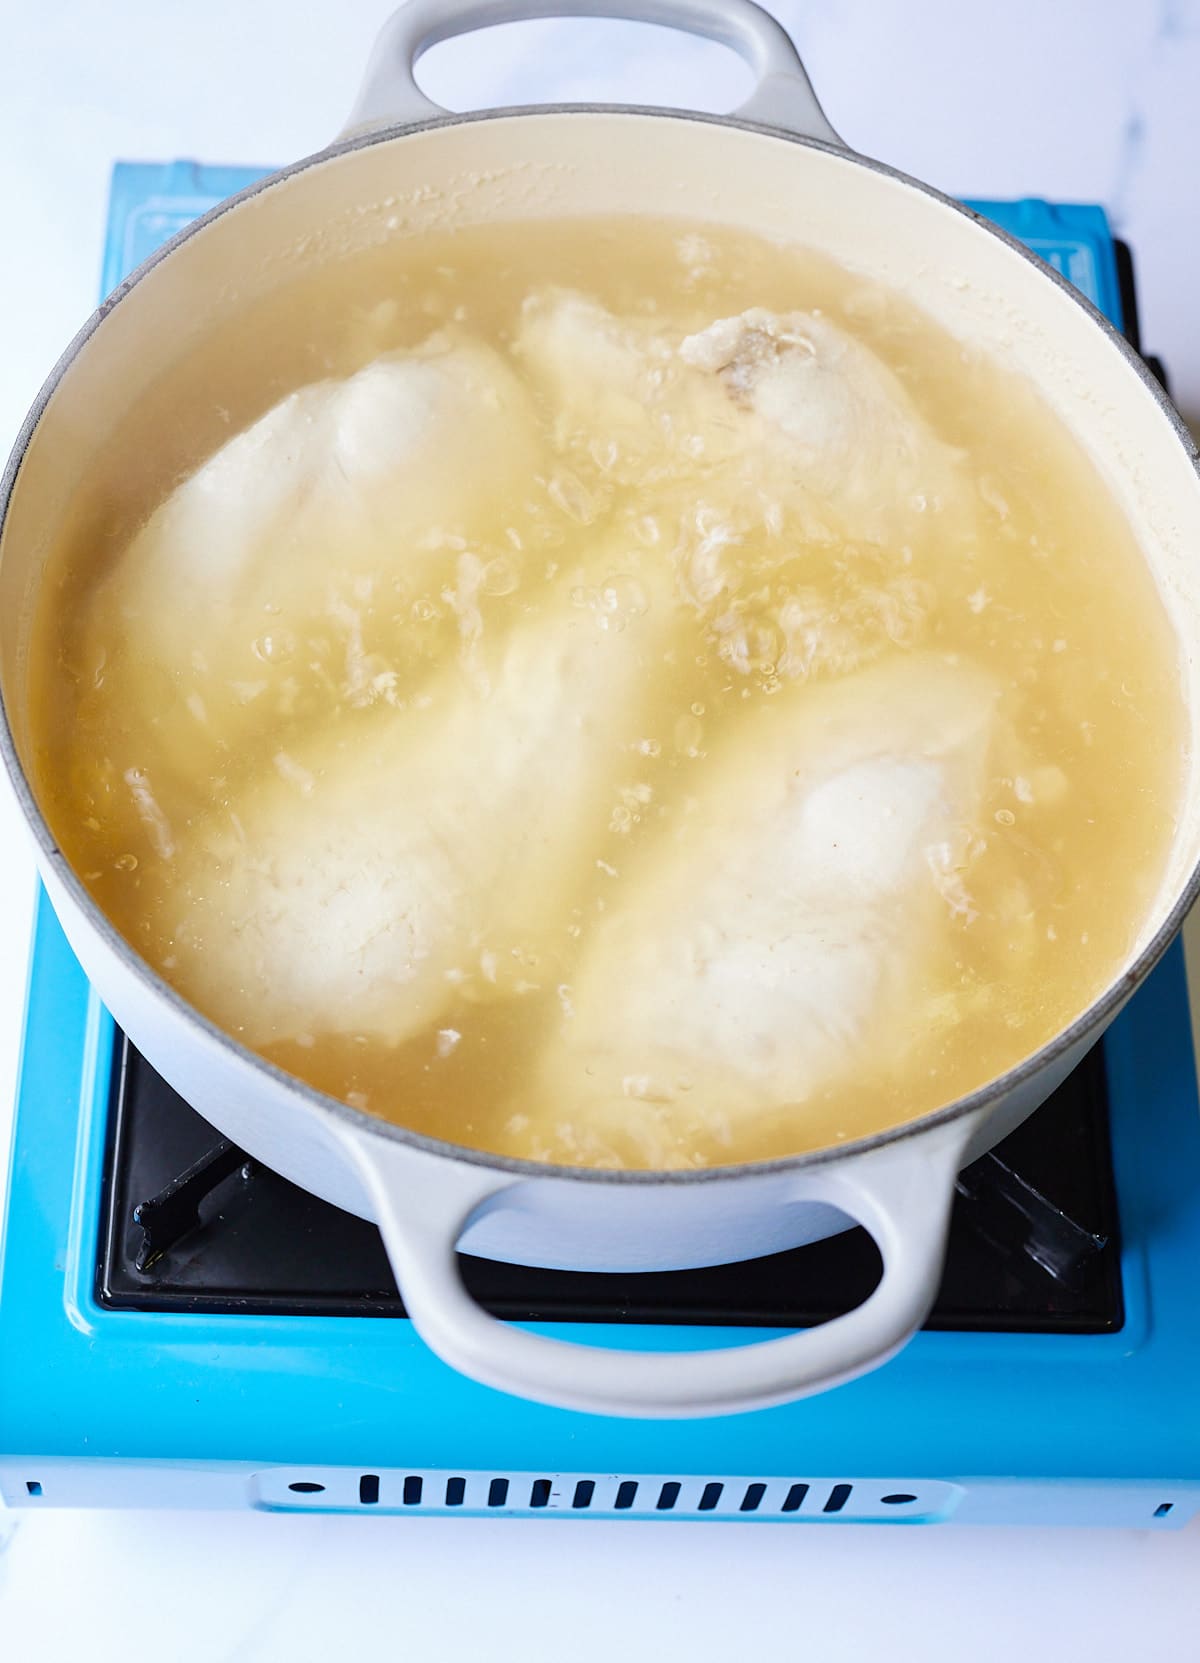
As soon as the liquid begins to boil, reduce the heat to medium-low and cover the pot. Allow it to simmer for about 10-12 minutes, until the chicken is cooked through. Do note that bone-in chicken breast will take a little longer to cook, about 15-18 minutes.
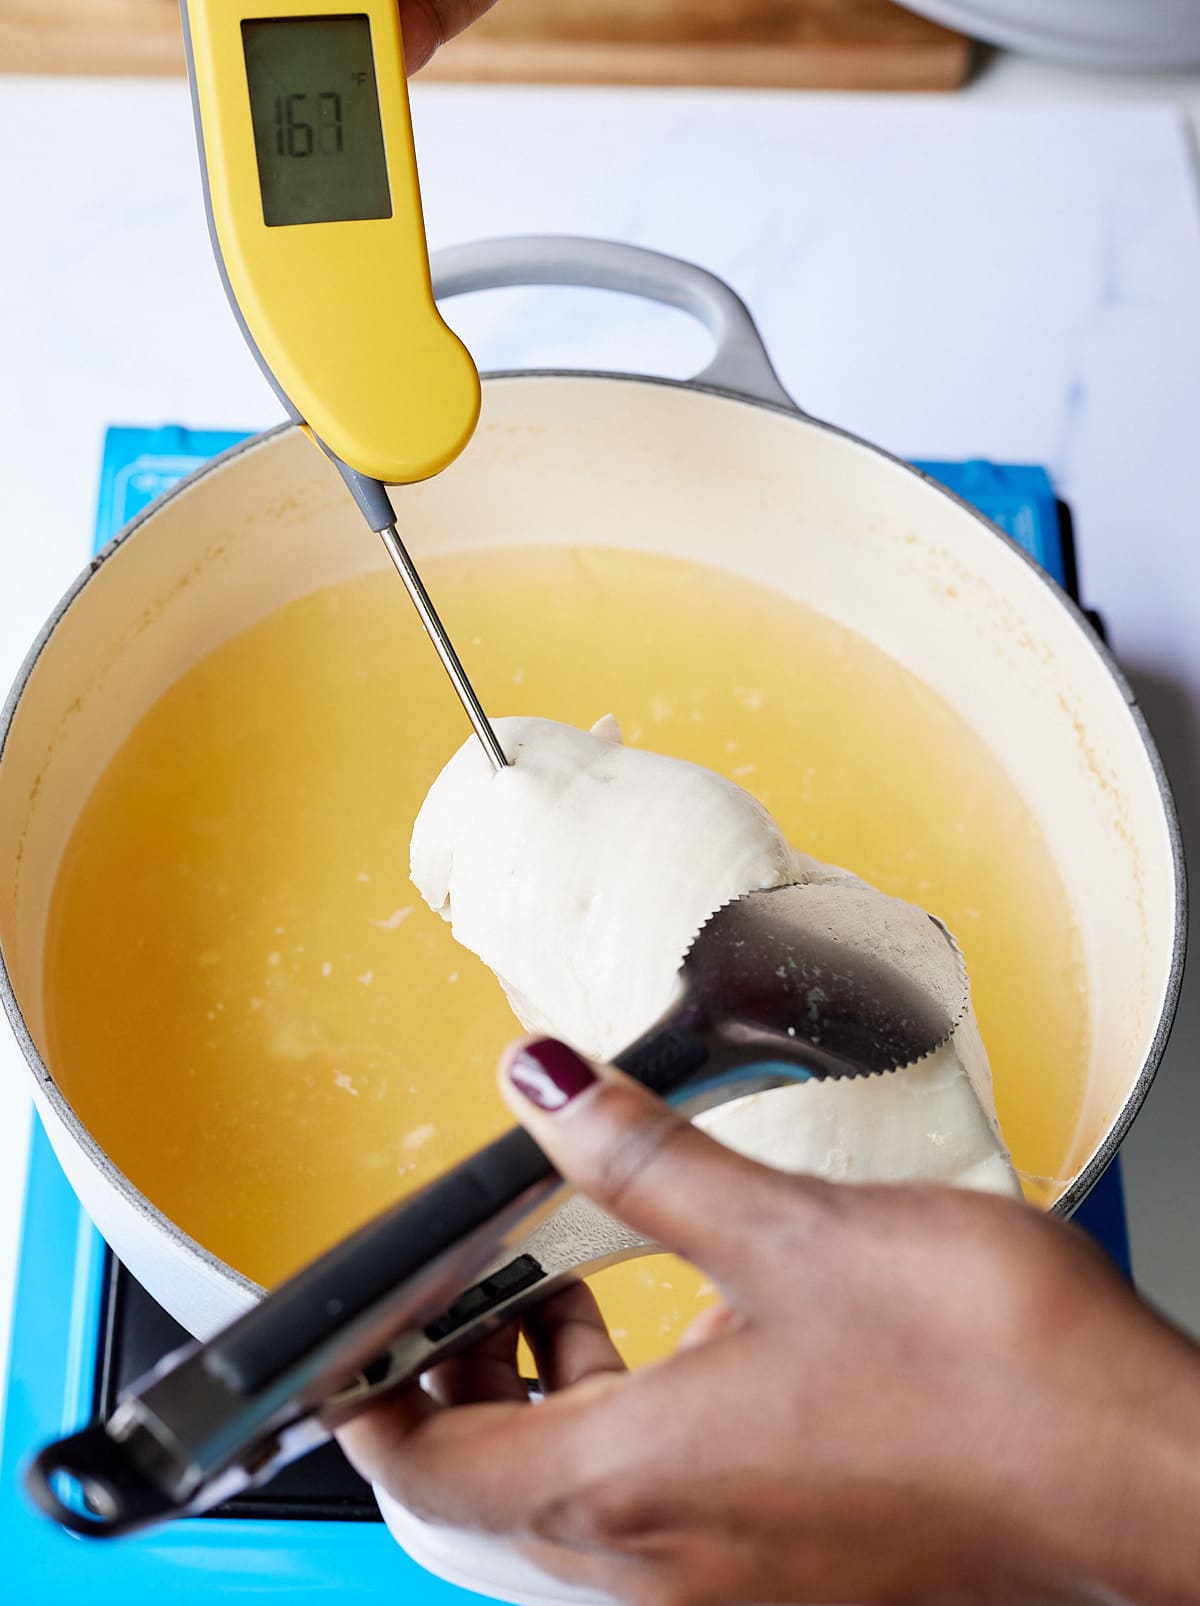
Check the temperature of the chicken by removing the breast from the liquid with tongs and checking with a quick read thermometer. The chicken is done once it reaches a temperature of 165 degrees Fahrenheit.
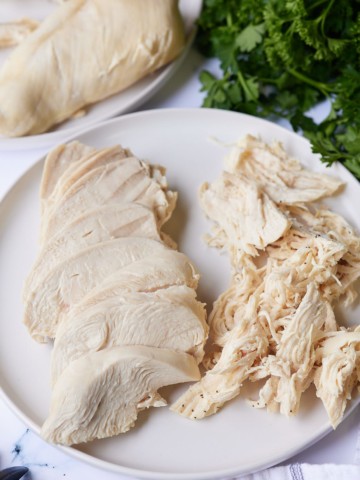
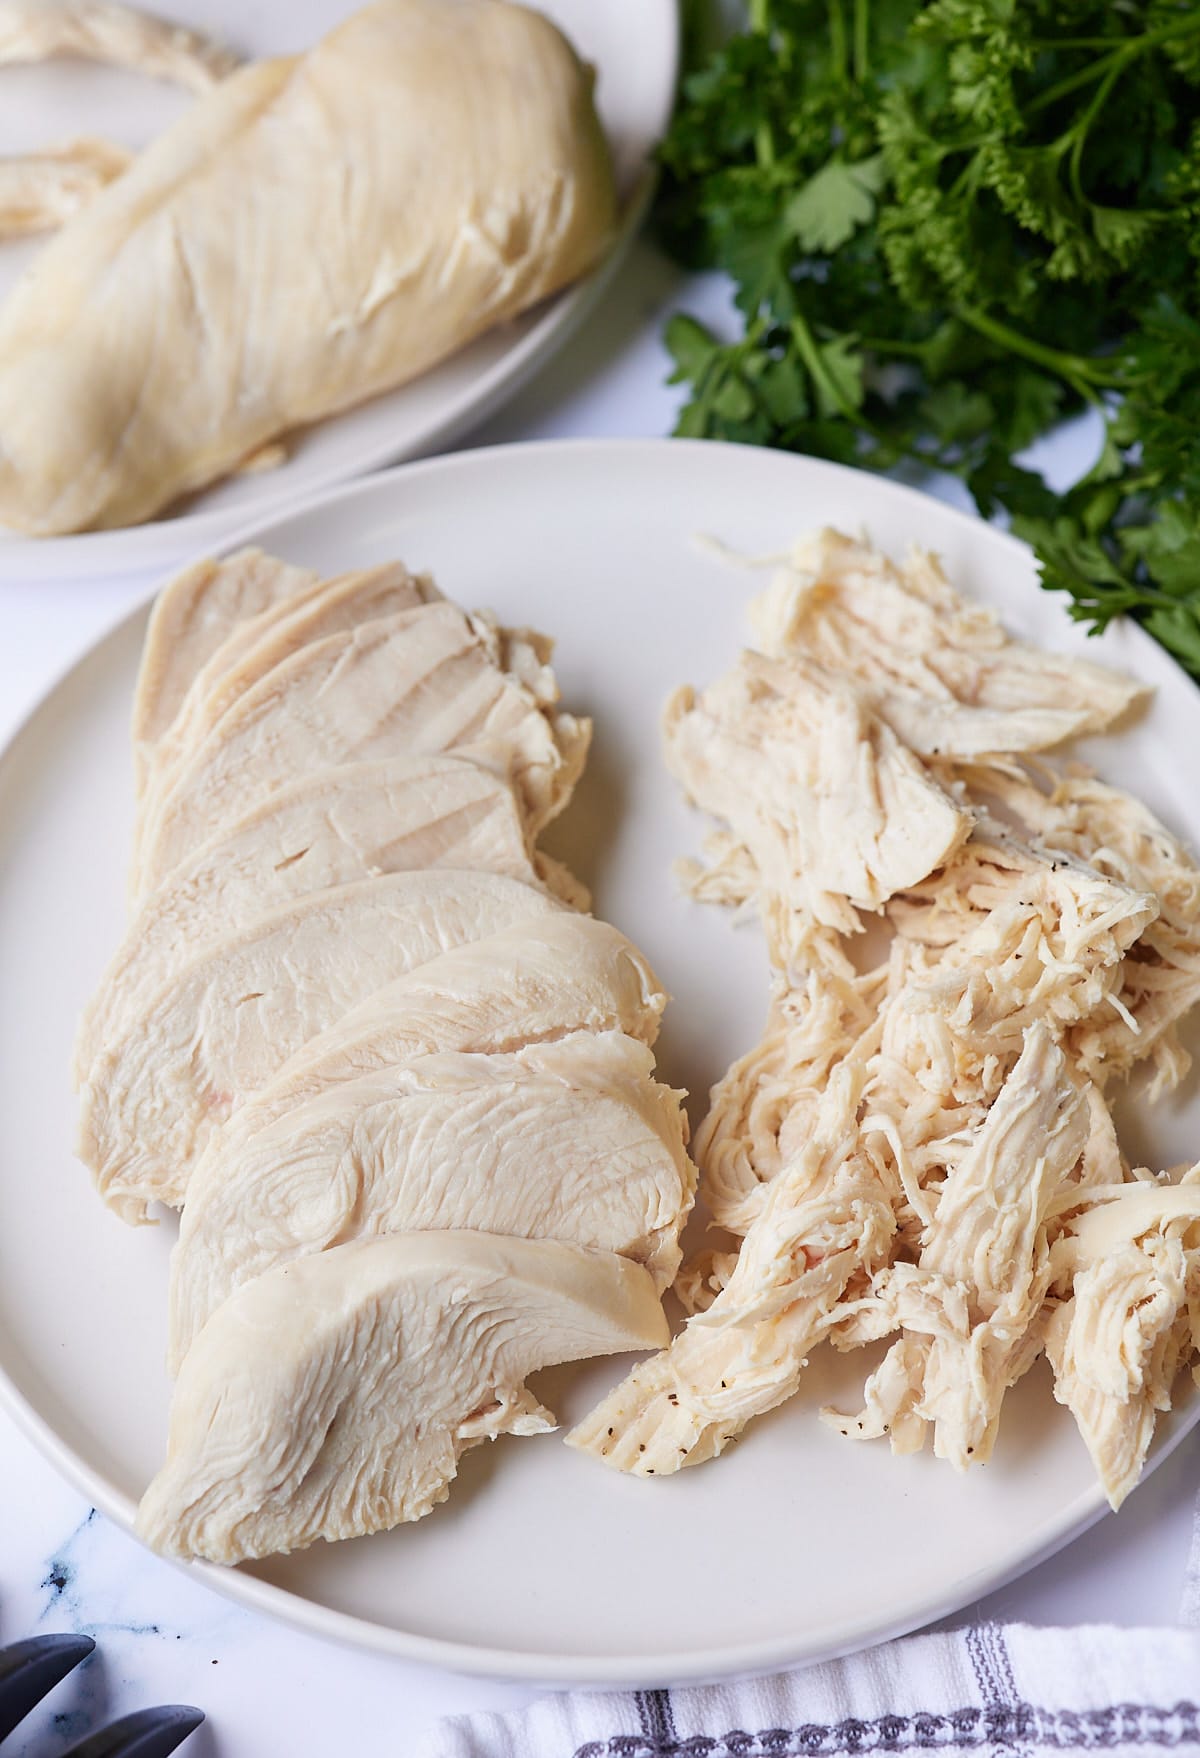
Remove the chicken breast from the stove, turn off the heat, and allow to cool on a cutting board for about 10 minutes. Then slice, shred, or dice.
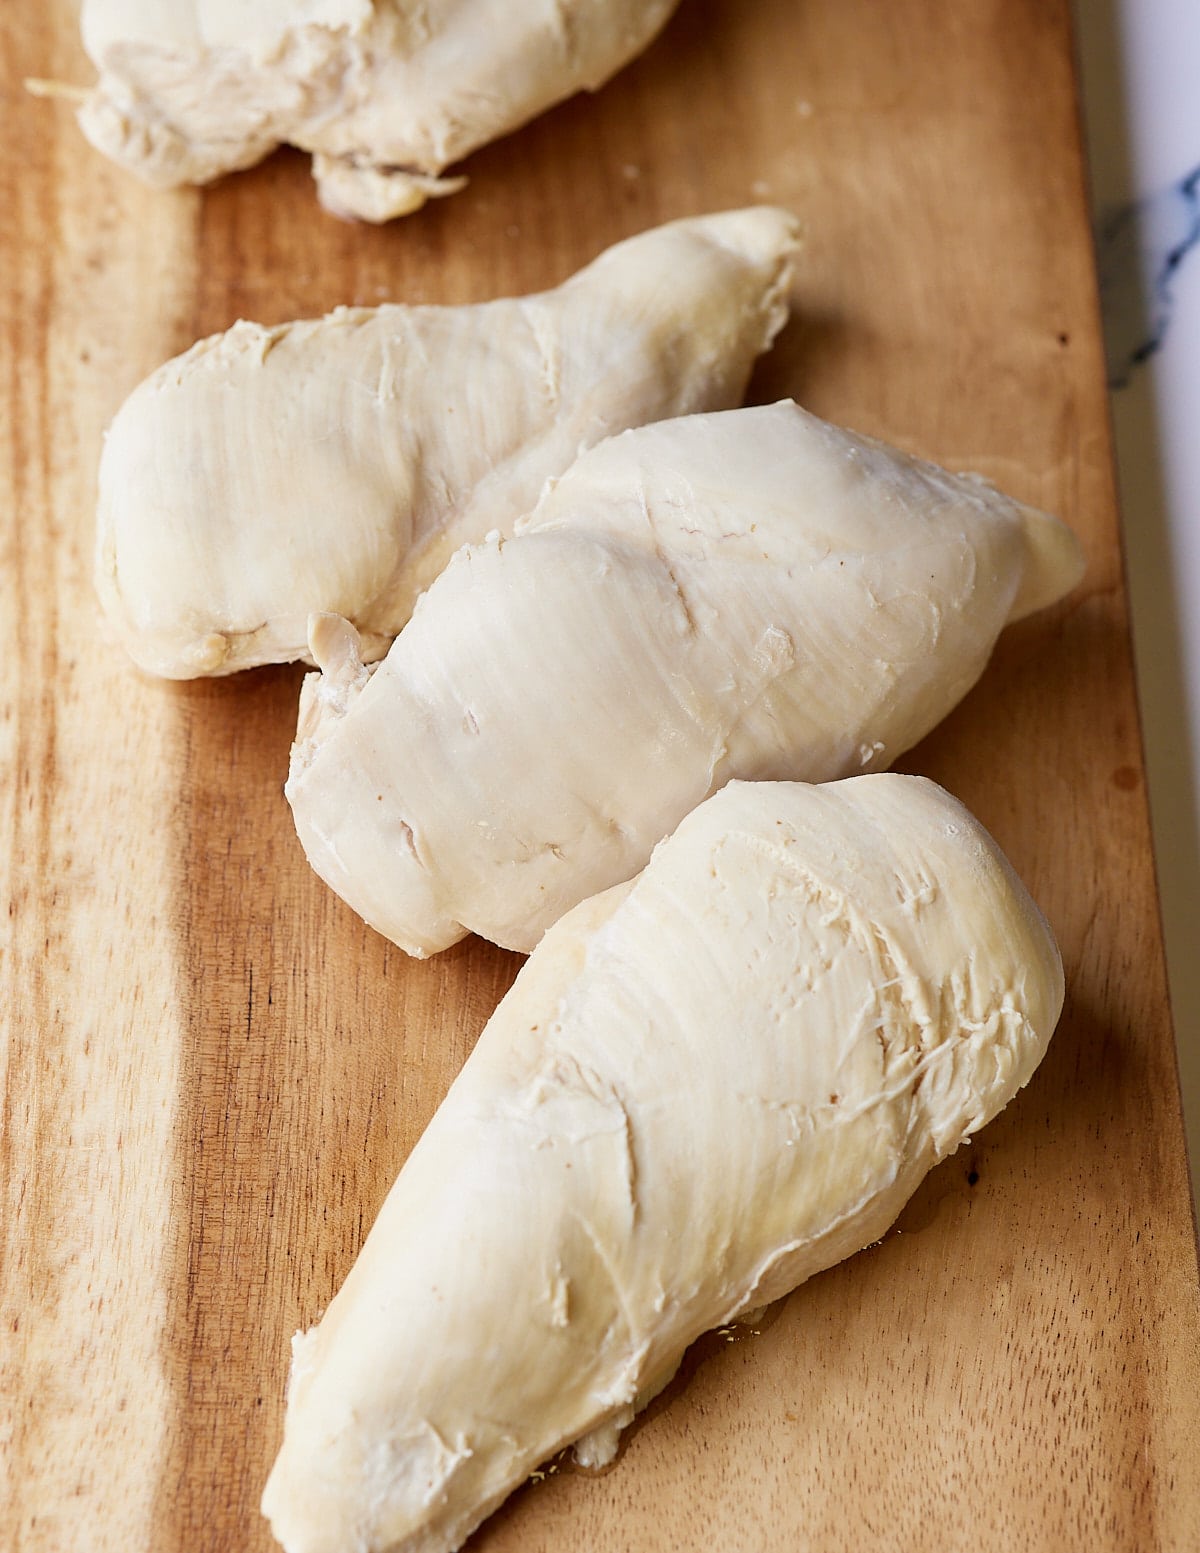
Use in your favorite recipes and enjoy.
This chicken will last in your fridge for 3-4 days in your fridge and in the freezer for 4-6 months.
It happens. I found that if I cook my chicken to about 170 degrees Fahrenheit, it's still a pretty good piece of chicken. Anything over that and it's really stringy and dry. If this happens, I suggest finely chopping the breast to use in other recipes.
Prior to shredding chicken breast, you'll want to give it a chance to cool a little. Then you can use your hands, a pair of forks or meat claws to shred the chicken. My go-to for shredding meat is meat claws. They make shredding the chicken easy and they ensure nicely shredded pieces throughout.
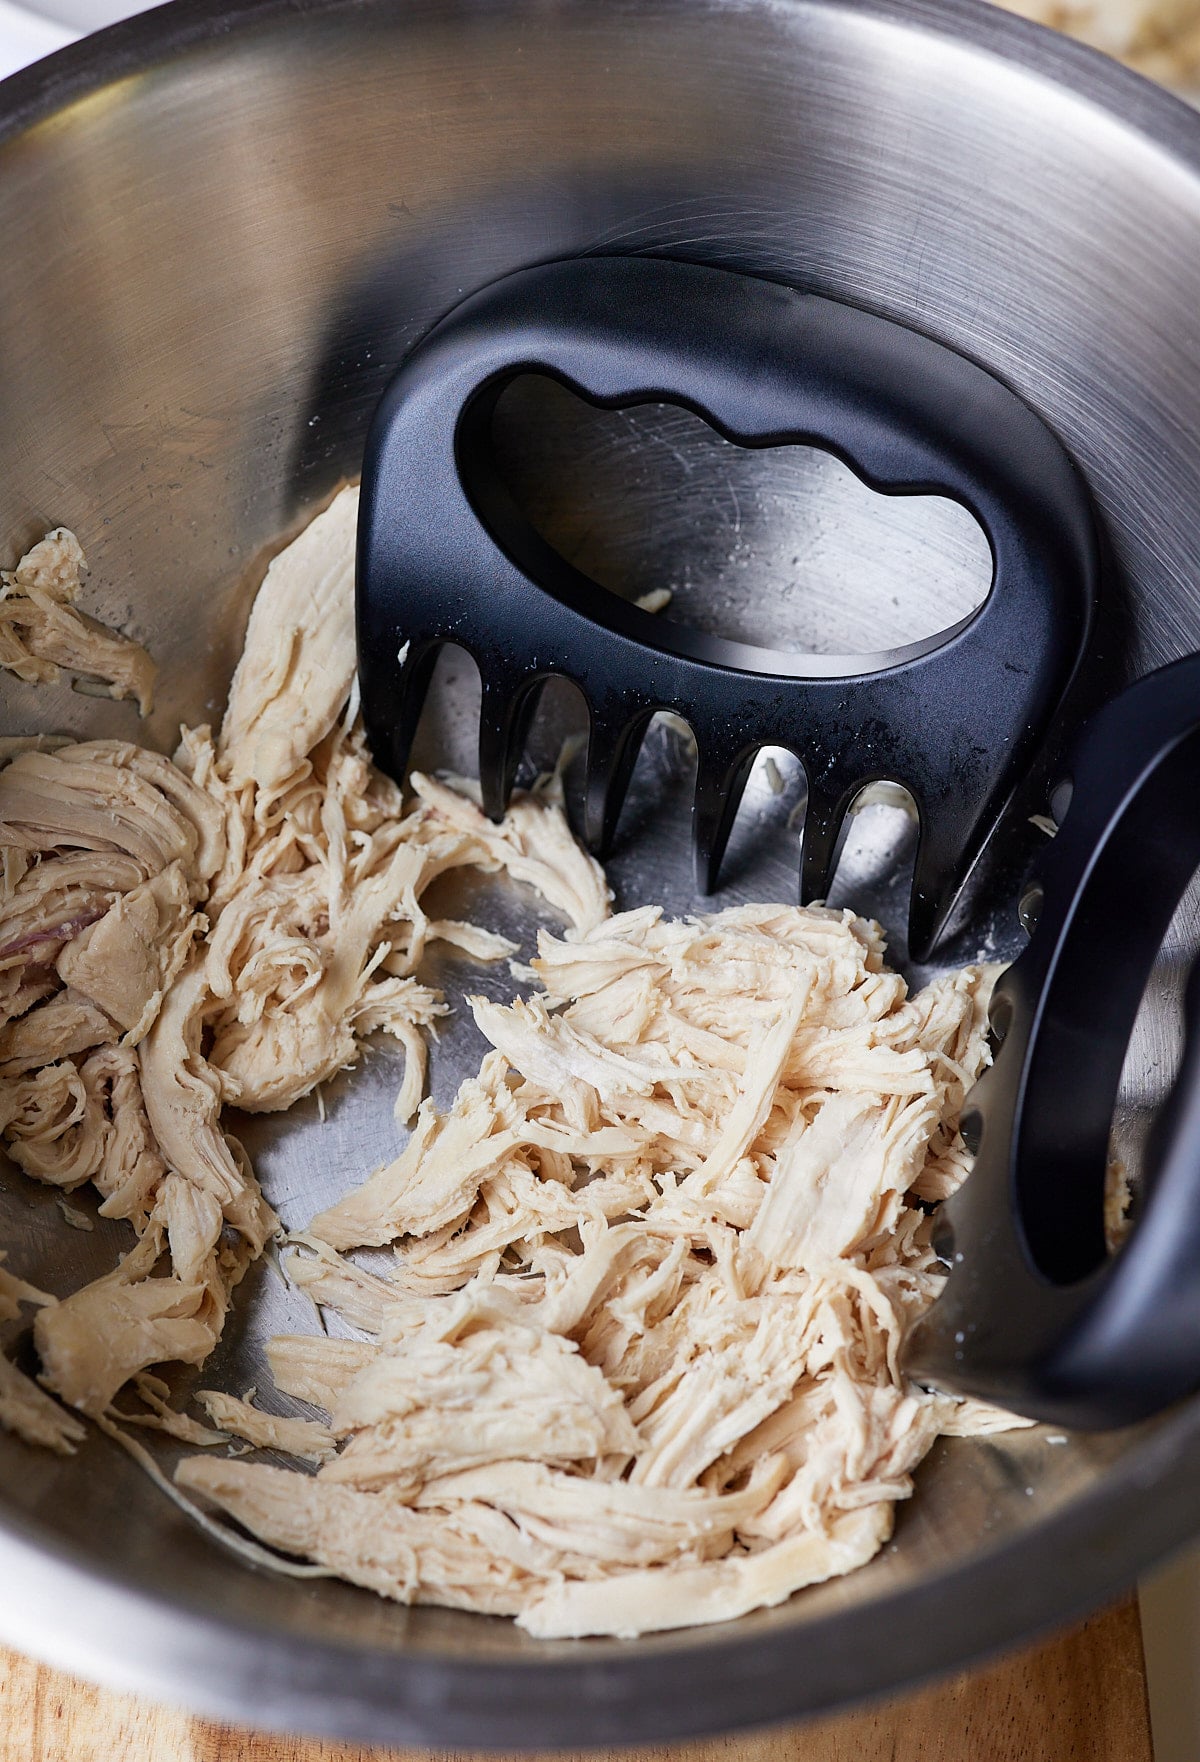
You could also place the chicken breast in a bowl and use a hand mixer or a stand mixer to shred the chicken. This method is great but watch closely as your chicken can turn to mush if you shred it for too long.
Boiling chicken breasts and poaching them are not the same. Boiling, by definition, requires the liquid to get to a temperature of 212 degrees Fahrenheit. We do this before we reduce the temperature and cover and cook the breast.
Poaching, by definition, is cooking foods submerged in liquids at a lower temperature, of 158 degrees Fahrenheit to 185 degrees Fahrenheit. Poaching is a great way to cook chicken breast, it just takes a little longer.
This method of chicken is perfect for adding to other flavorful recipes. Here are a few ideas to get you started:
Learn how to cook frozen hamburgers quickly and easily in the air fryer for a simple but tasty meal the whole family will enjoy. Cooked in less than 20 minutes, serve them up with all of your favorite toppings.
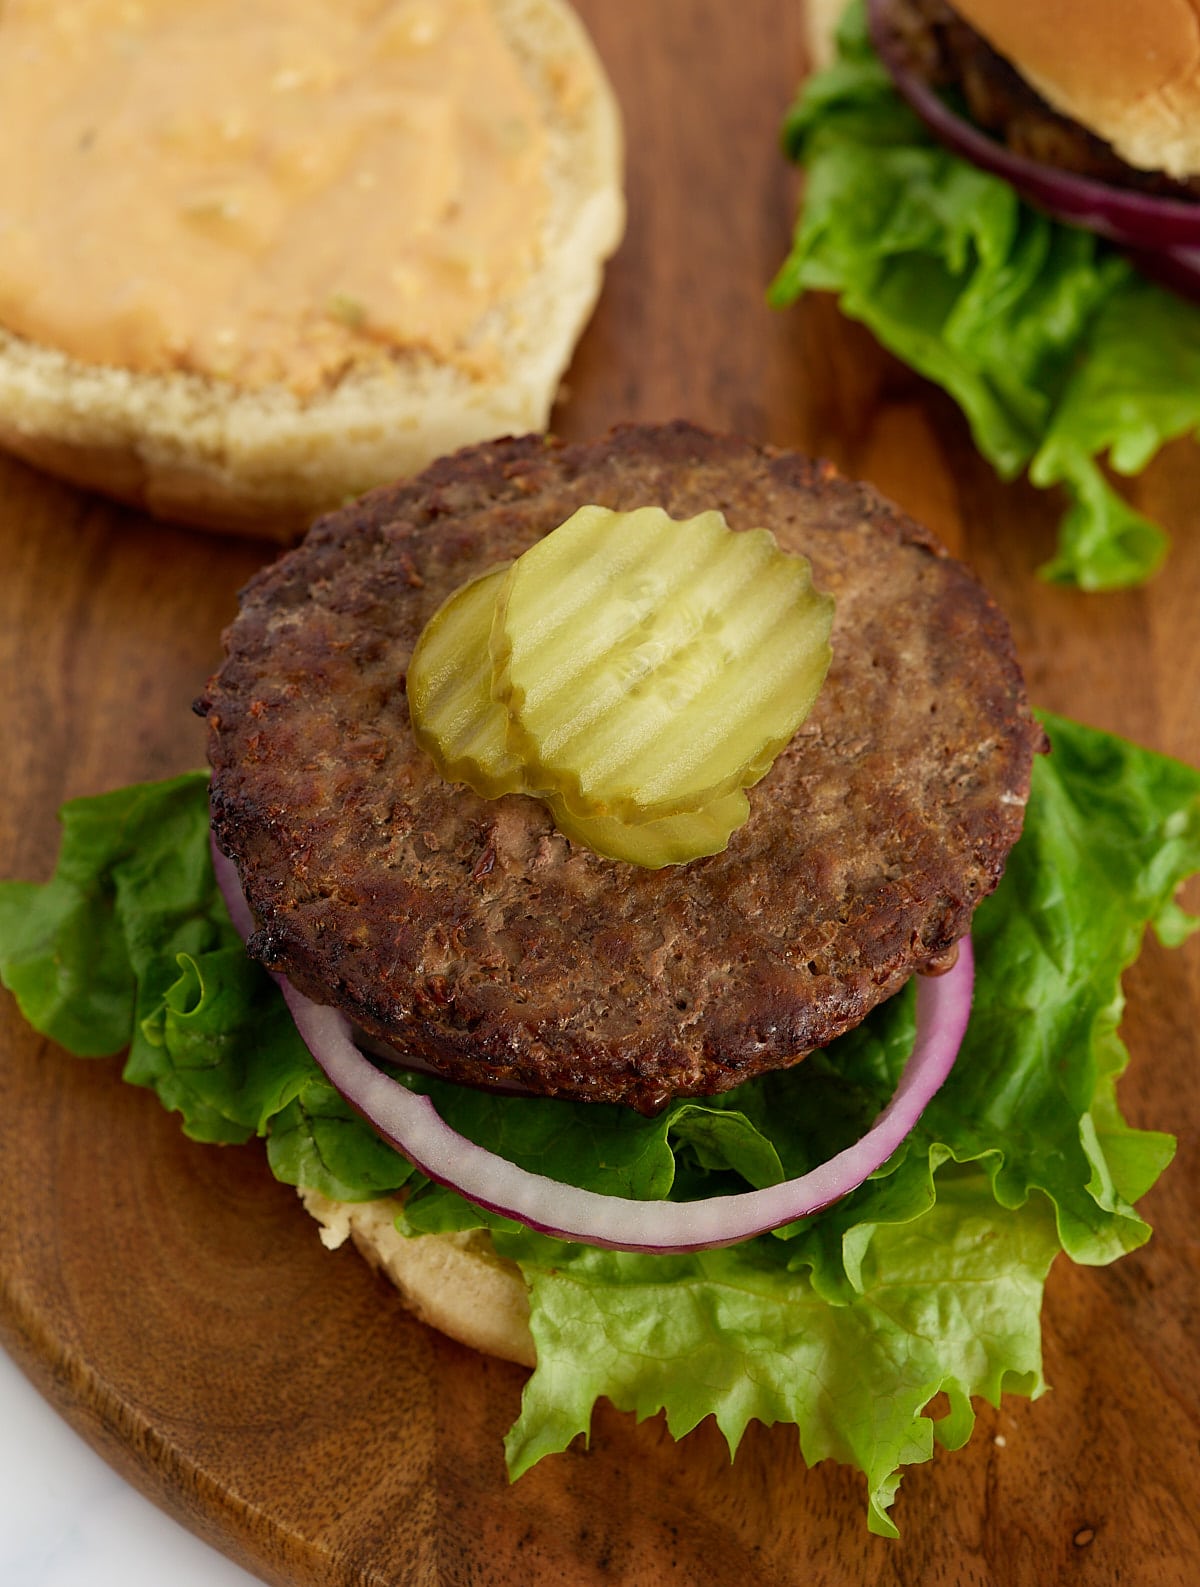
This post contains affiliate links, please read my full disclaimer here.
You’ll find the full recipe with ingredient amounts and instructions in the recipe card at the bottom of this post. Be sure to check out the blog post itself for extra tips and tricks!
Cooking frozen burgers in the air fryer has become one of my go-to methods - so quick and easy, totally effortless and the results are deliciously juicy. Frozen hamburgers are something I like to have on hand, for days when I need a quick lunch or dinner.
When you have no idea of what to serve for dinner and don't want to spend hours in the kitchen after a busy day, this is a great way to get a meal on the table that you know that everyone will love.
Load them up with all of your favorite toppings and get something delicious in hungry mouths in a matter of minutes.
Be sure to try my Air Fryer Turkey Burgers too!
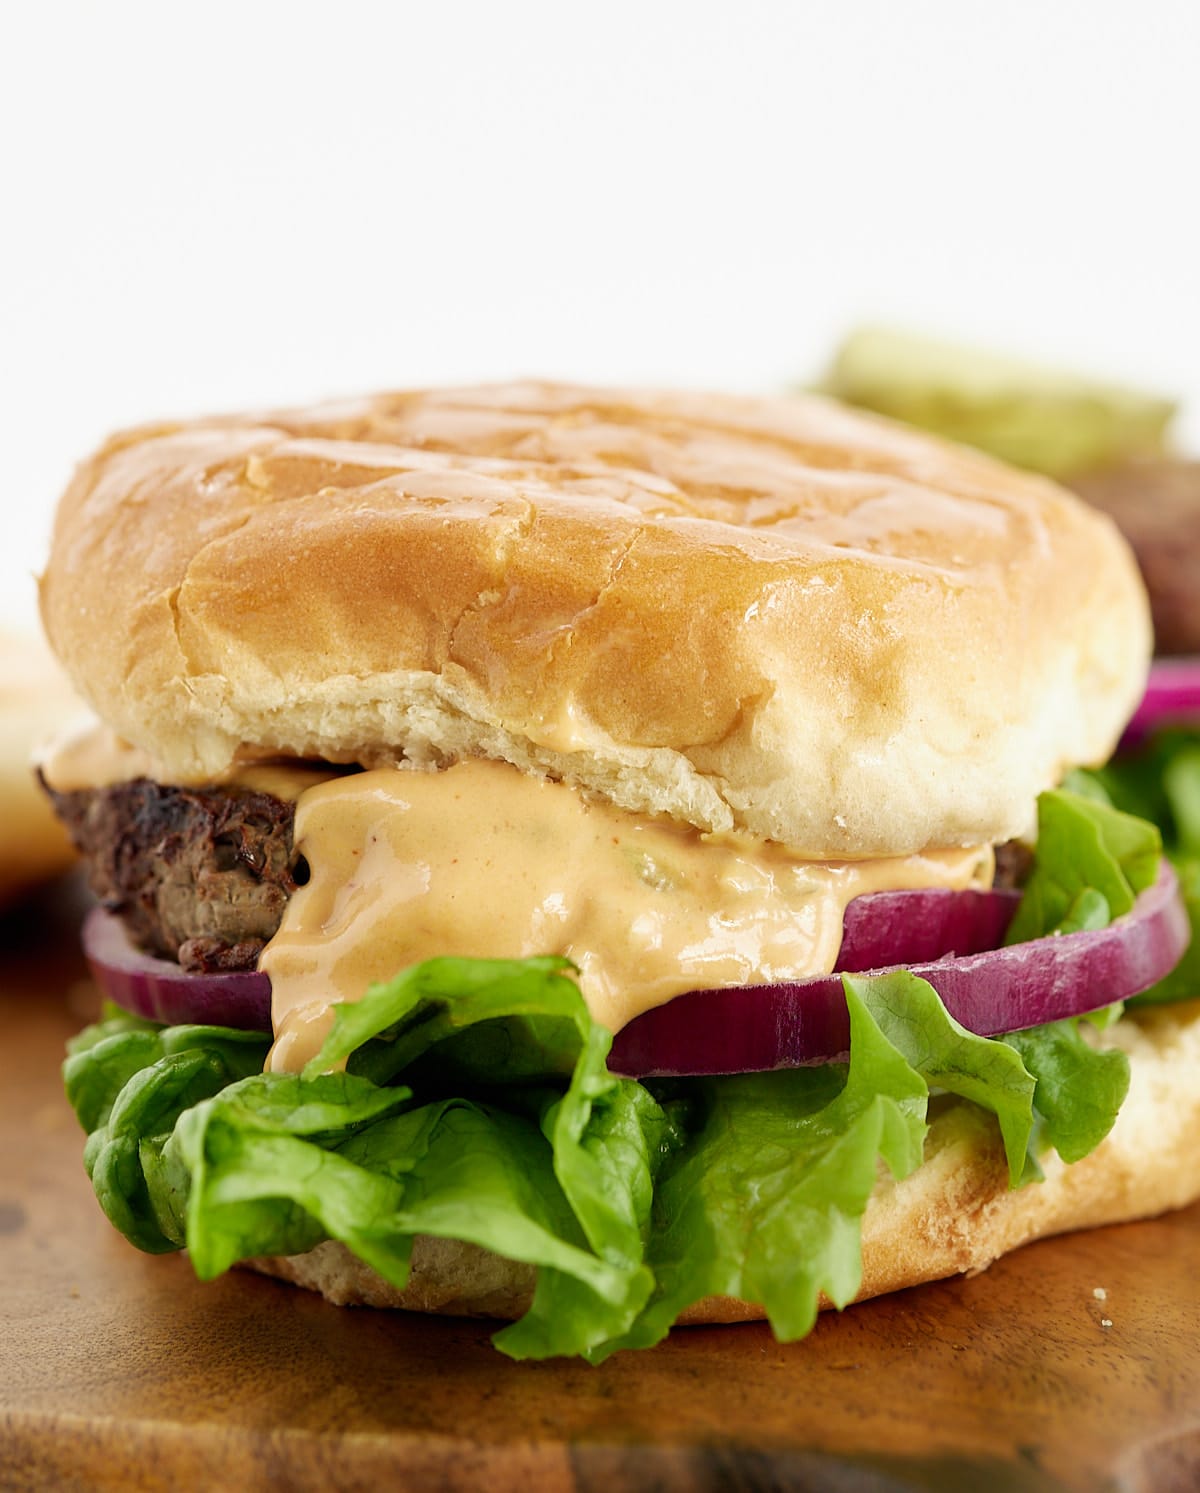
Preheat air fryer to 360 degrees Fahrenheit.
Once preheated, place frozen hamburger patties into air fryer basket in a single layer, making sure they don’t overlap.
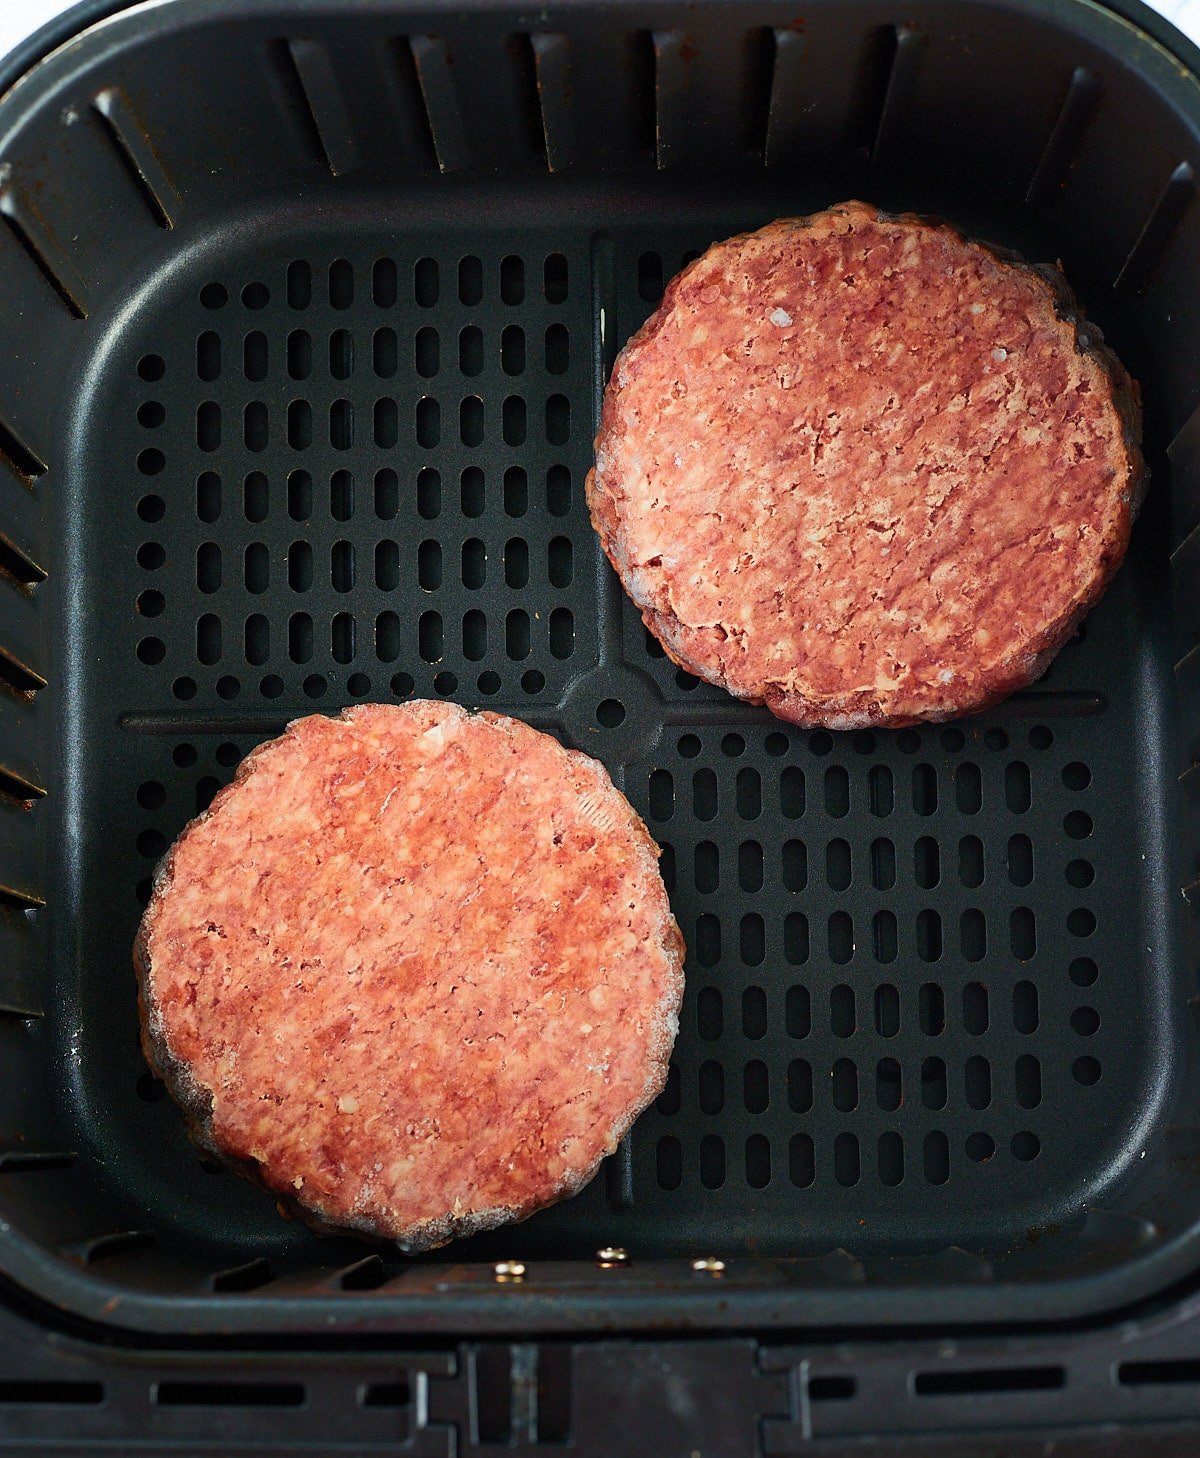
Cook on 360F for 6-8 minutes. Flip and cook for an additional 6-8 minutes on the other side.
Serve with any desired topping and enjoy.
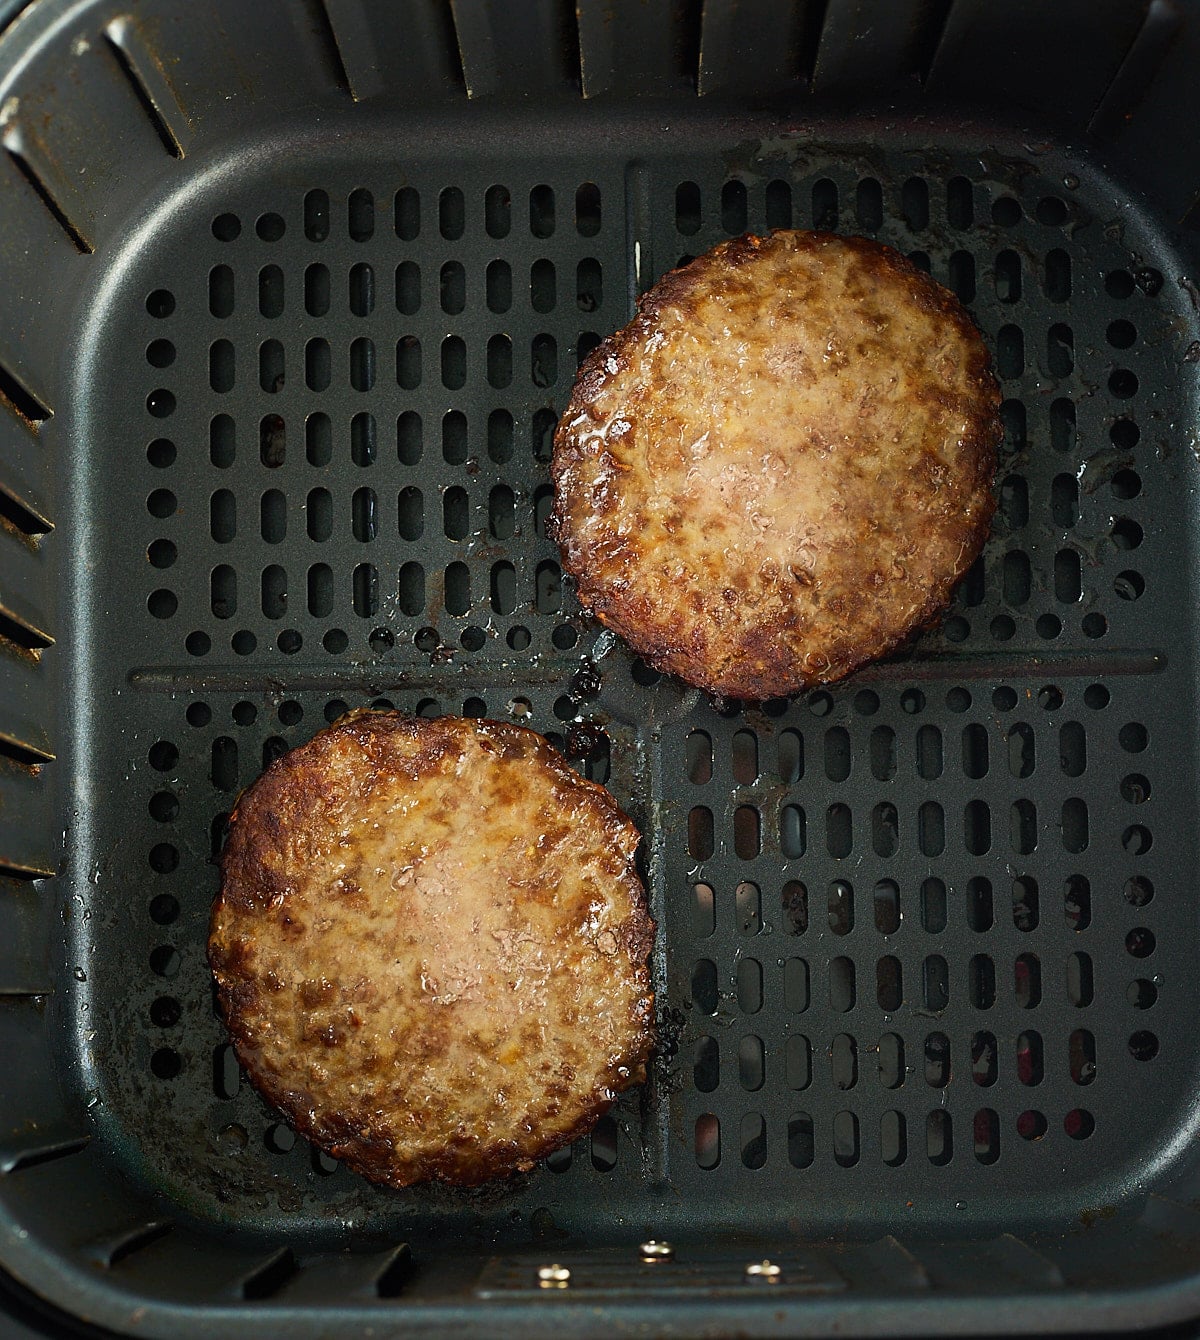
We've all been there, you're frozen burgers are well and truly stuck together and you can not separate them! Please do not try and use a sharp knife to cut them apart. Instead, rest a blunt butter knife between the burgers, and tap lightly with a mallet. The burgers will come apart easily with this method.
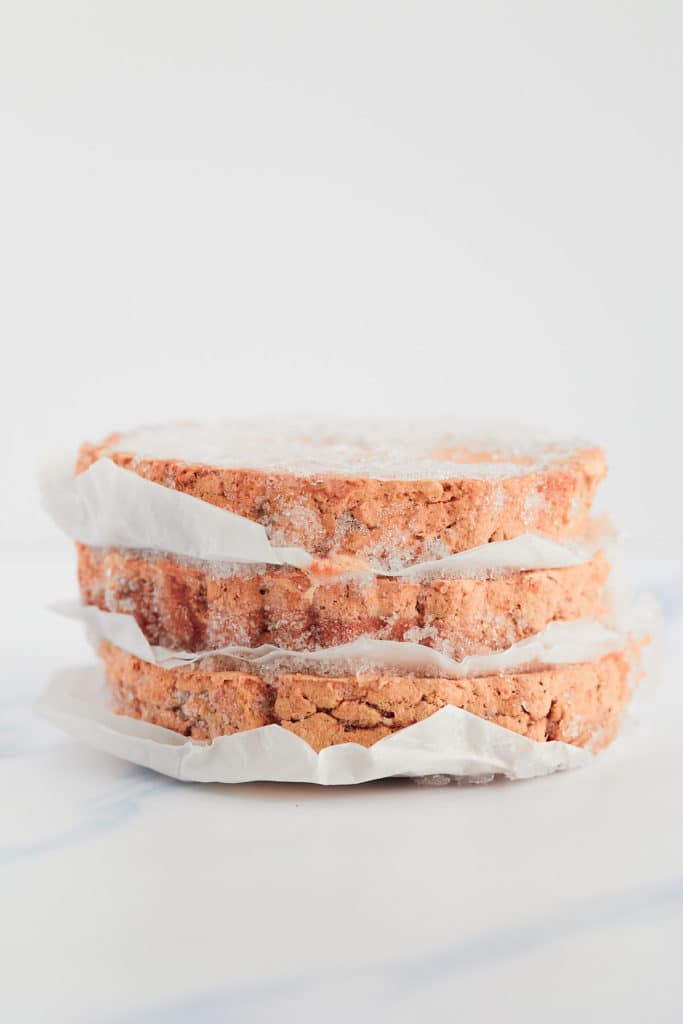
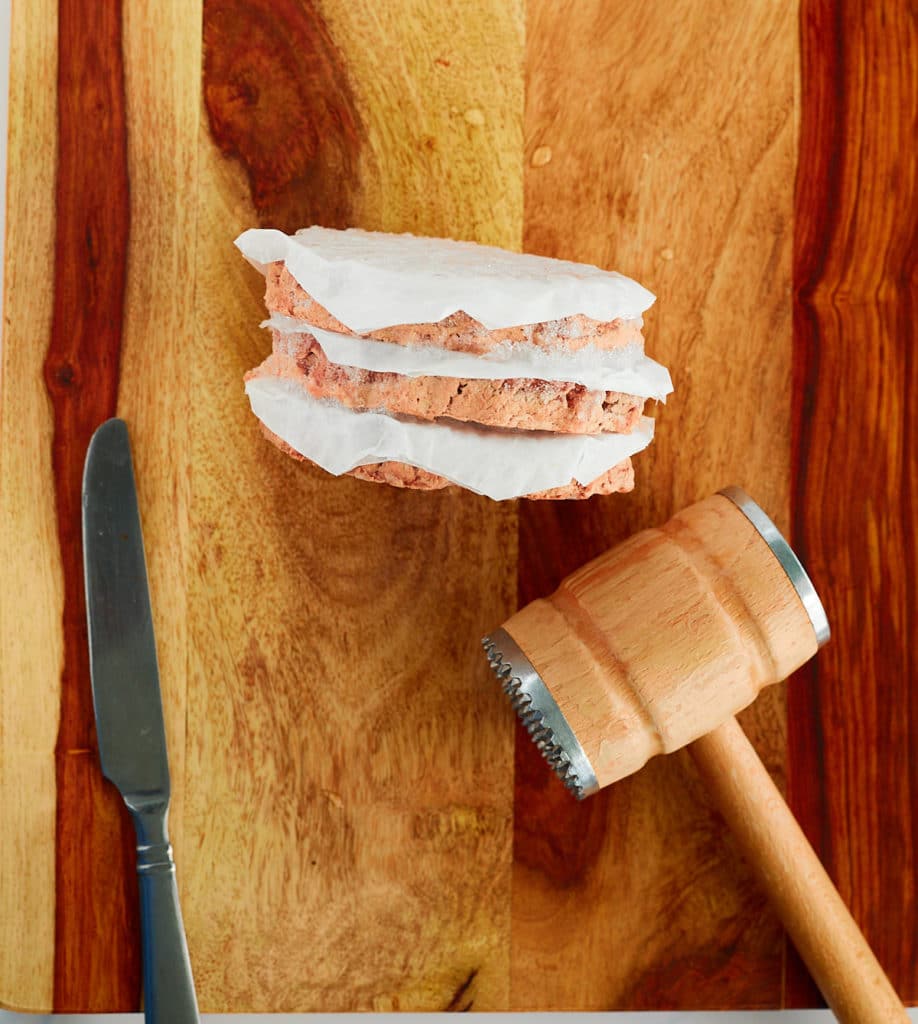
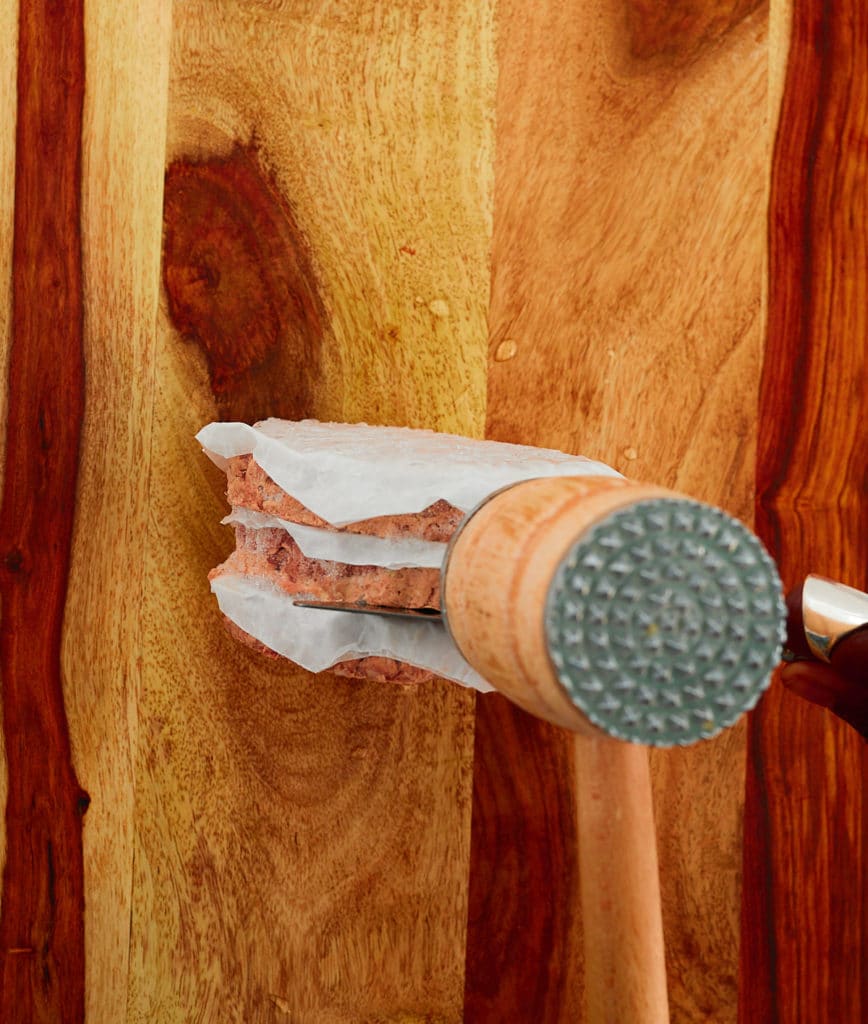
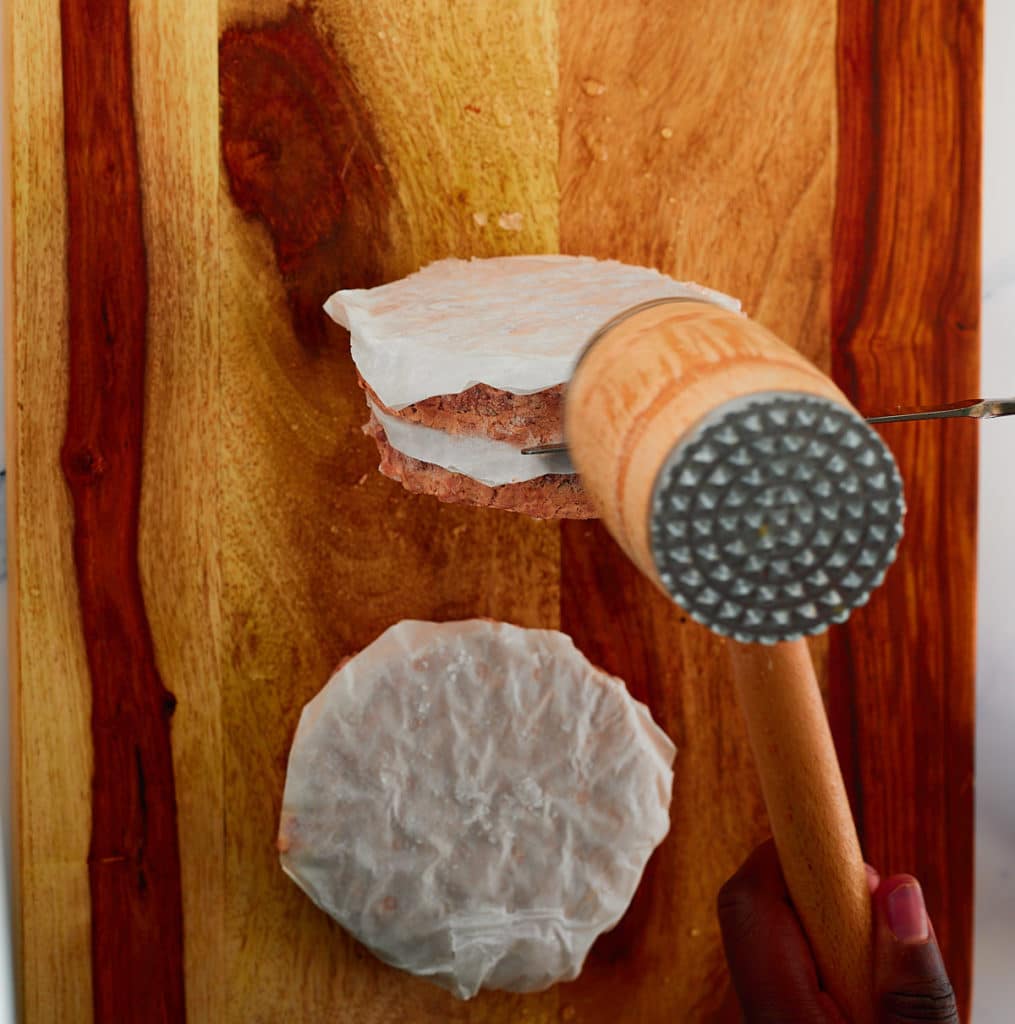
For the best results, use hamburger patties straight from the freezer. You can cook raw homemade burgers in the air fryer, but the timings will change. Store-bought frozen patties are always best cooked from their frozen state, no matter what method you are using.
Once cooked, serve your burgers in your favorite buns with toppings and sauces like lettuce, red onion, pickles, ketchup, and mustard. Serve them alongside these favorite sides:
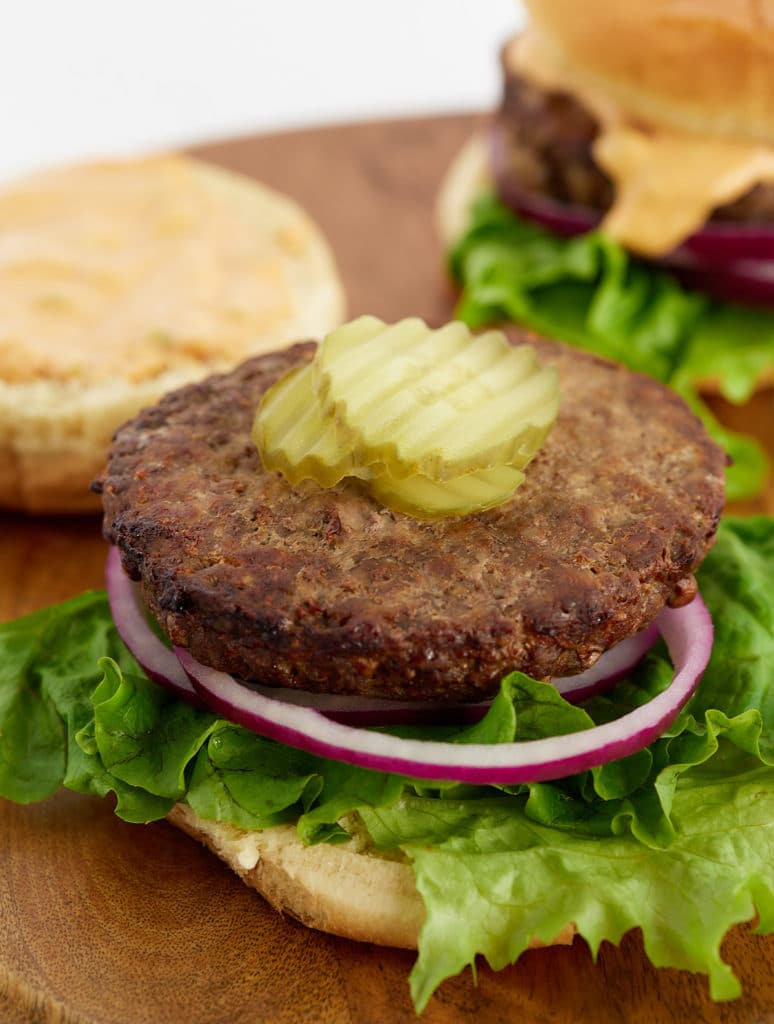
Watch this video tutorial and see how I make these frozen burgers in the air fryer from start to finish.
Get fancy in the easiest possible way! This creamy champagne chicken recipe is simple and easy to make all in one skillet and is so perfectly delicious! It's a great option for date night, dinner party, or special occasion, and it's ready to serve in 40 minutes.
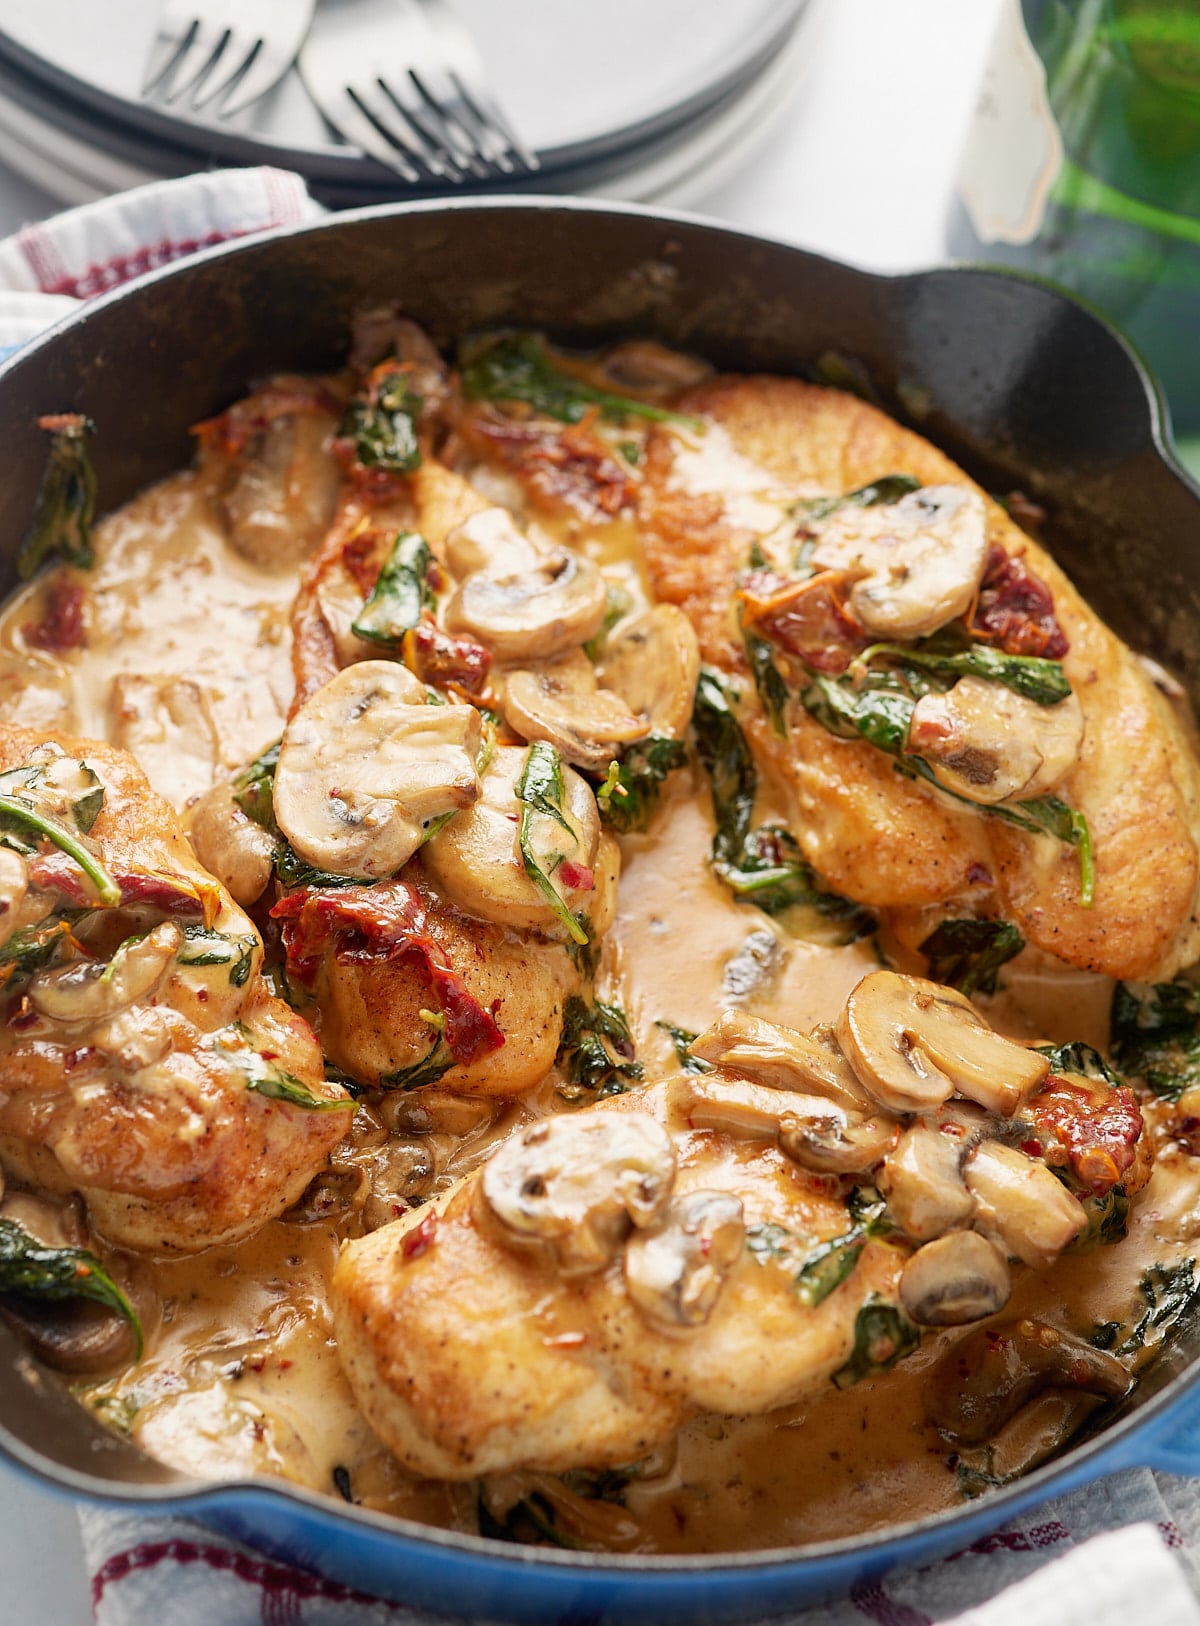
You’ll find the full recipe with ingredient amounts and instructions in the recipe card at the bottom of this post. Be sure to check out the blog post itself for extra tips and tricks!
If you are looking for a tasty way to fancy up your chicken dinners, then look no further than this delicious champagne chicken recipe! This recipe is perfect for celebrations, like the start of a New Year. Anytime I get a chance to pop open a bottle of champagne, I'm down for it.
In this recipe, chicken breasts are smothered in a rich and creamy champagne sauce with mushrooms, spinach, sundried tomatoes, and parmesan for a wonderful rich and flavorful dish.
Chicken in white wine is a classic French dish, but you can always improve on a classic, and by swapping the wine you are on to a real winner! Plus, it's a great excuse to treat yourself to a bottle of champagne!
Simple to make, all in one skillet on the stovetop, this is the perfect dish for when you want to impress!
Be sure to try my Garlic Parmesan Spatchcock Chicken and Chicken and Green Bean Stir Fry too!
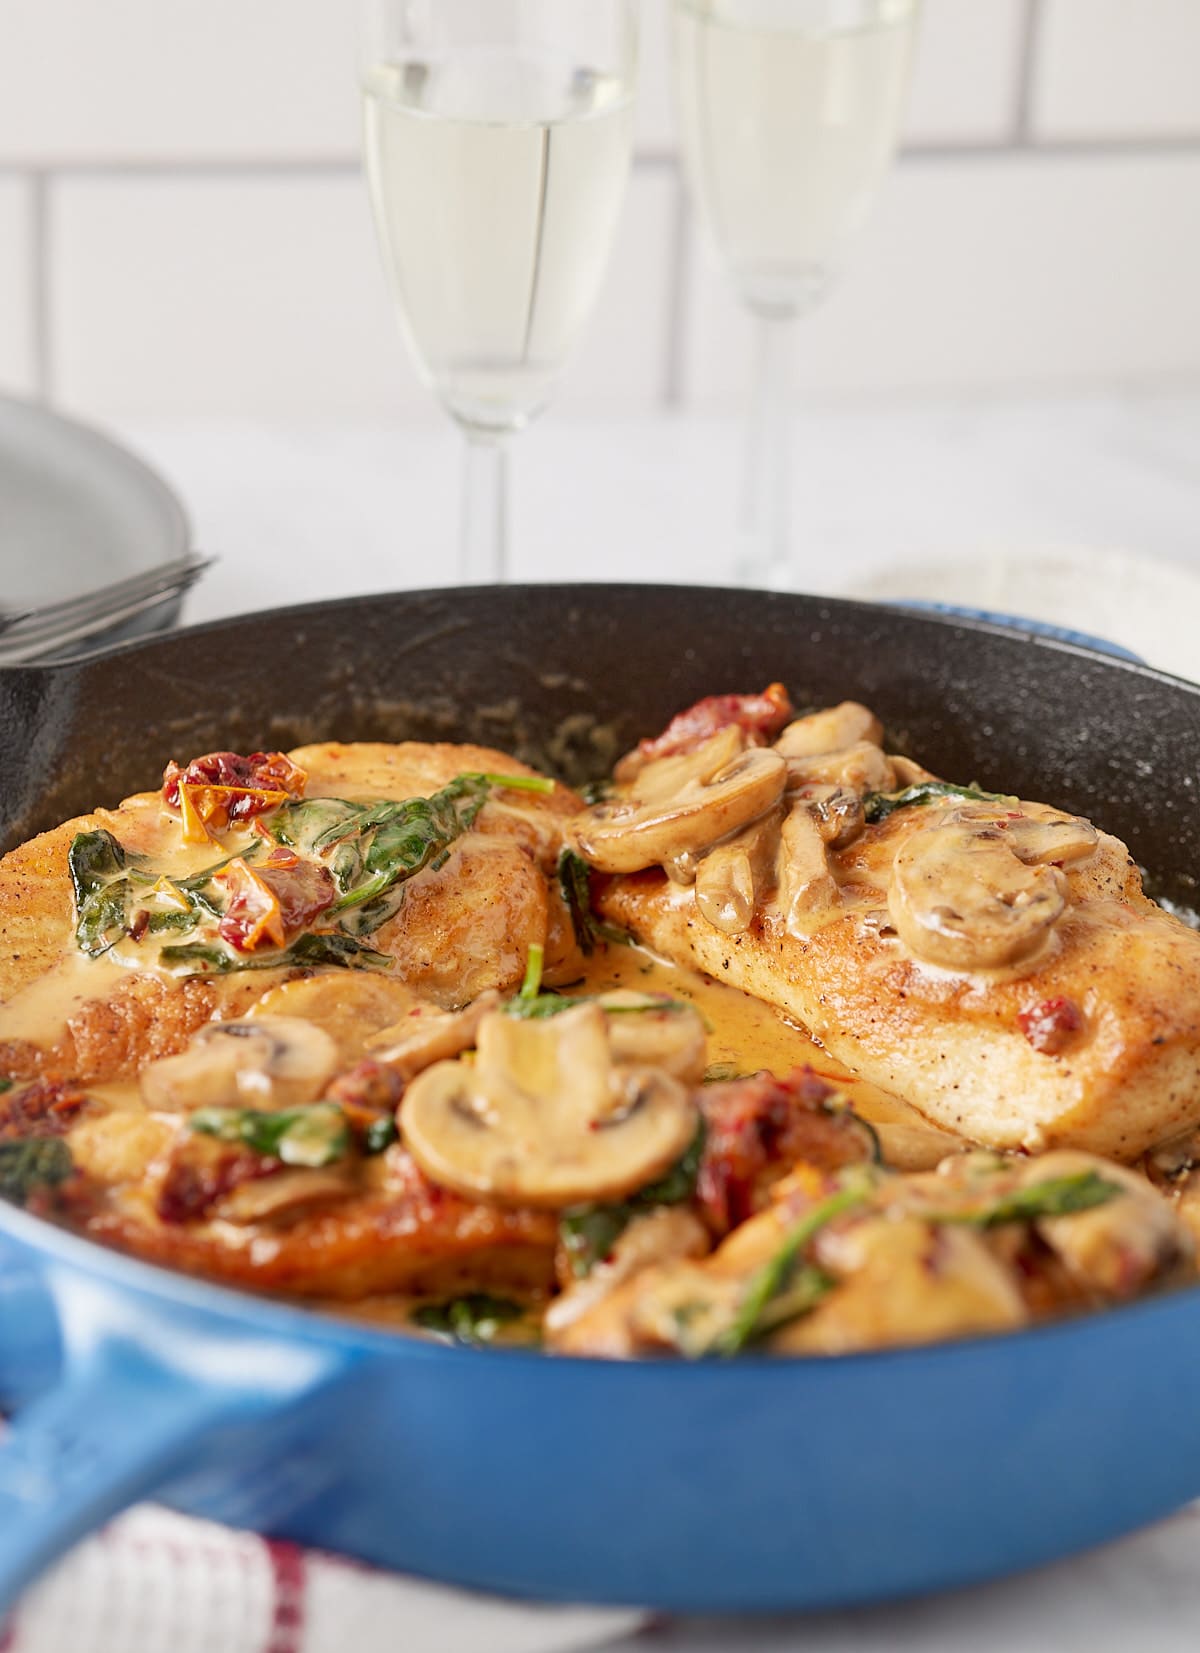
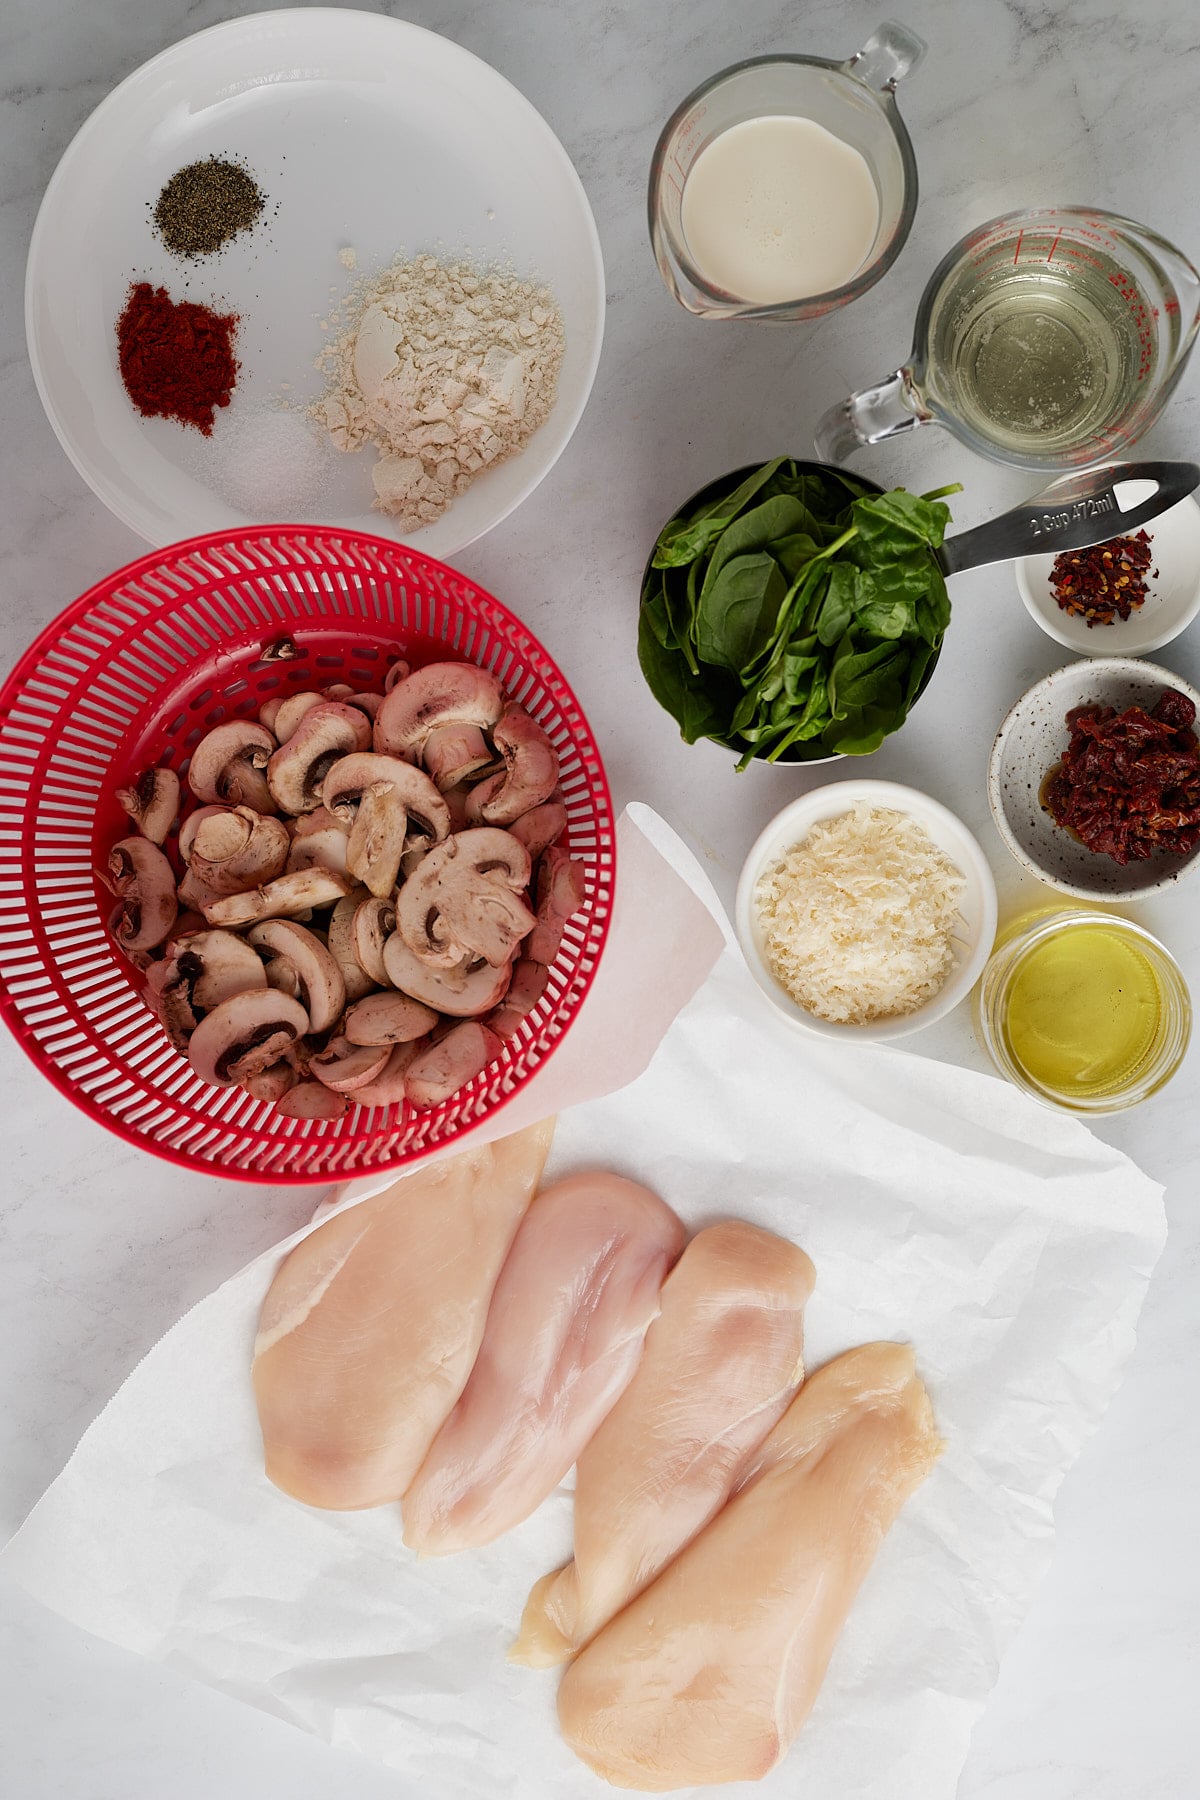
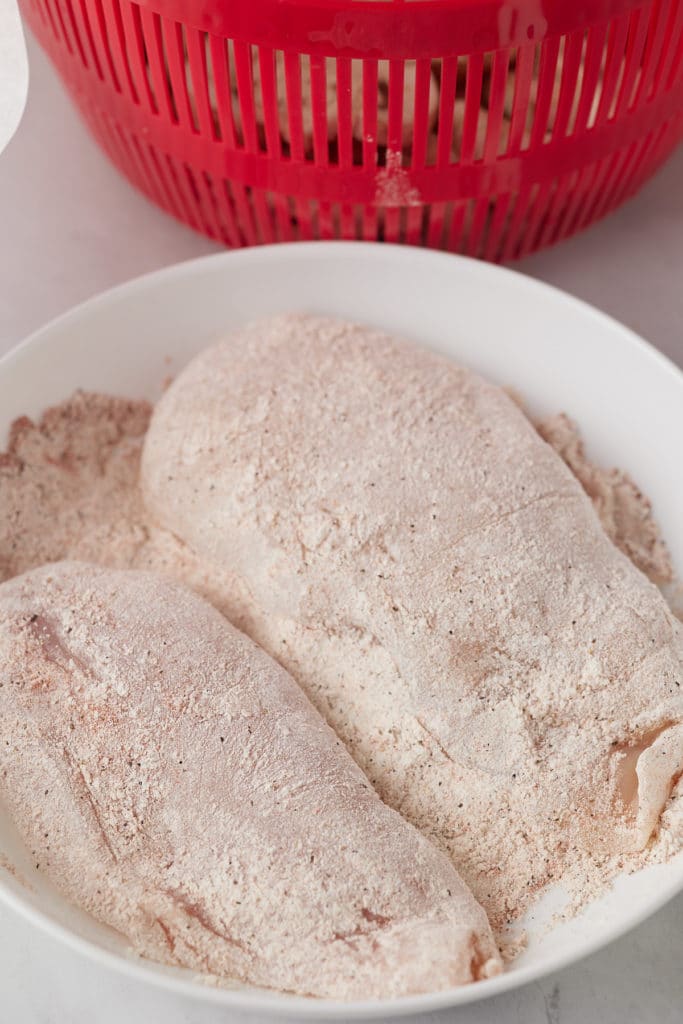
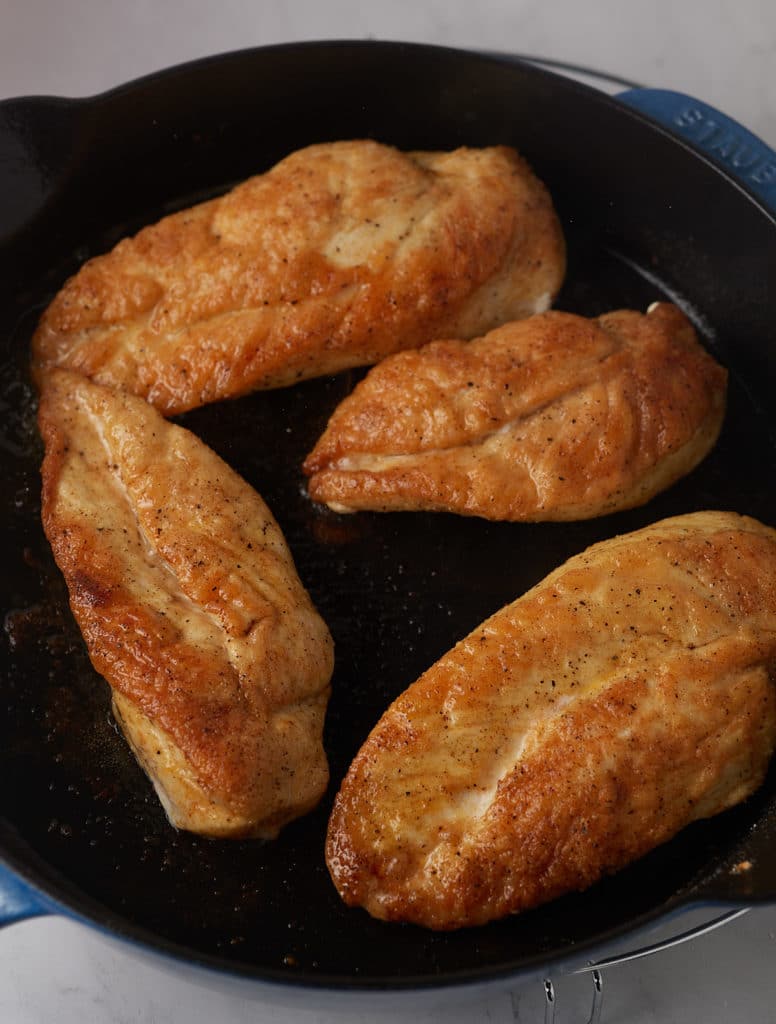
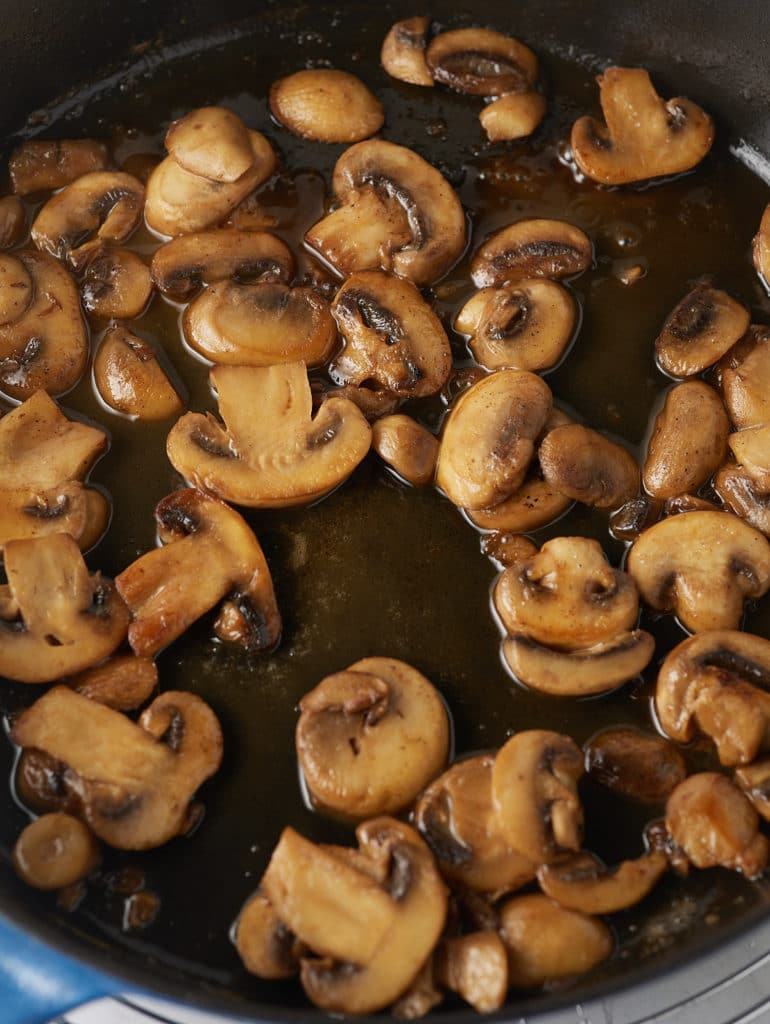
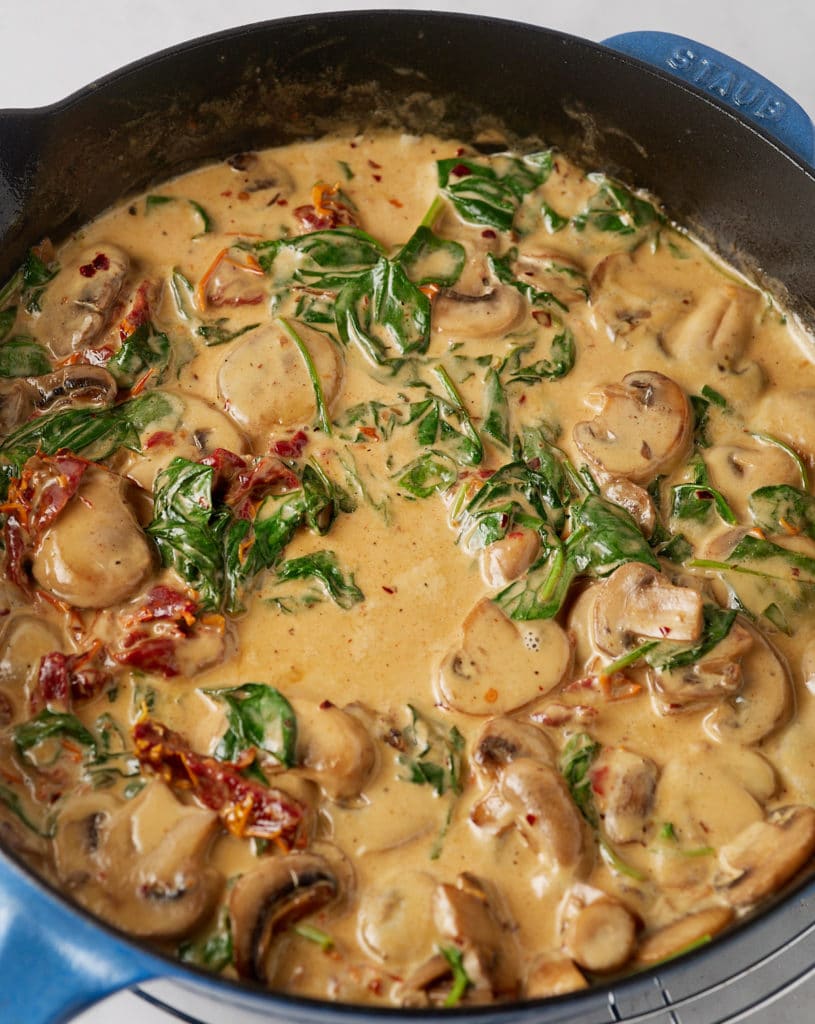
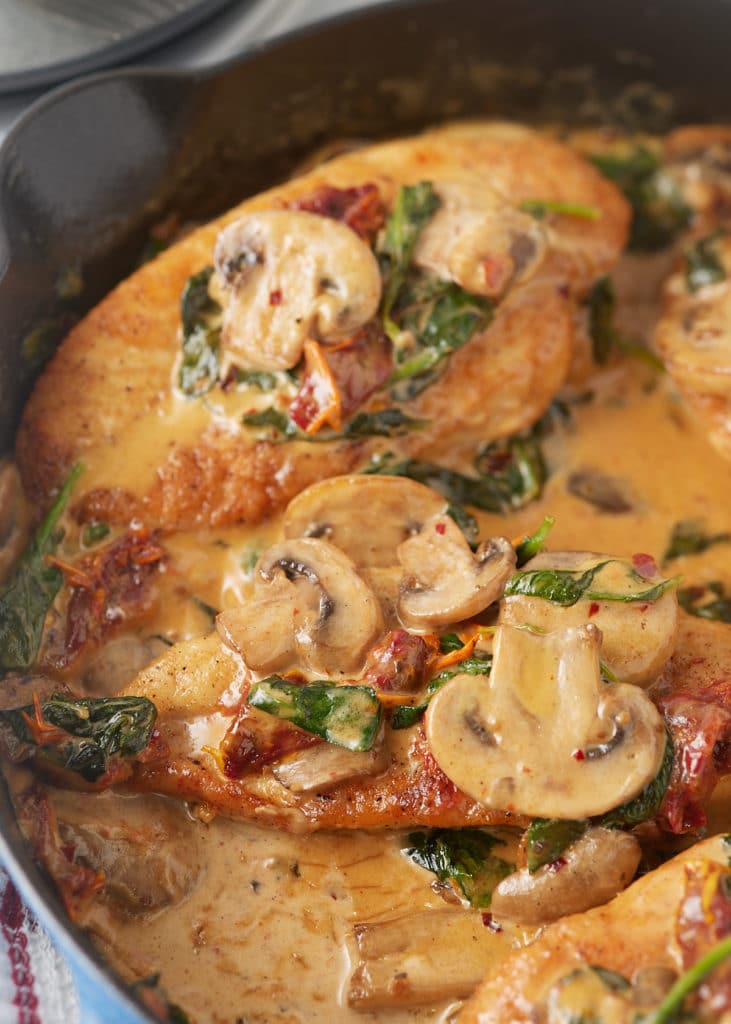
I recommend using Brut Champagne in this recipe. It's not as sweet and combines well with the other flavors of this sauce. I'd also stick with an economical choice. Don't buy the most expensive bottle just to throw it in a heavy cream sauce, unless you really want to.
The champagne is what makes this chicken skillet recipe extra special, so where possible, it's best to stick to that. You can use other sparkling wines like Prosecco or Cava, and sparkling white wine like a sauvignon blanc will work nicely and can be more budget friendly. This recipe can also be made without alcohol if you prefer, it will still be tasty. Simply swap the champagne for chicken or vegetable stock.
I like to pop the champagne to use in this recipe, then enjoy the rest of the bottle with dinner, so it's a great option for date night. You can use leftover opened champagne that's maybe sat covered in the fridge for 3 to 4 days, but I wouldn't recommend older than that as the taste can start to change.
This creamy champagne chicken is great served over rice, pasta, or even some delicious mashed potatoes. You can serve it alongside some roasted or steamed veggies too. Try it with:
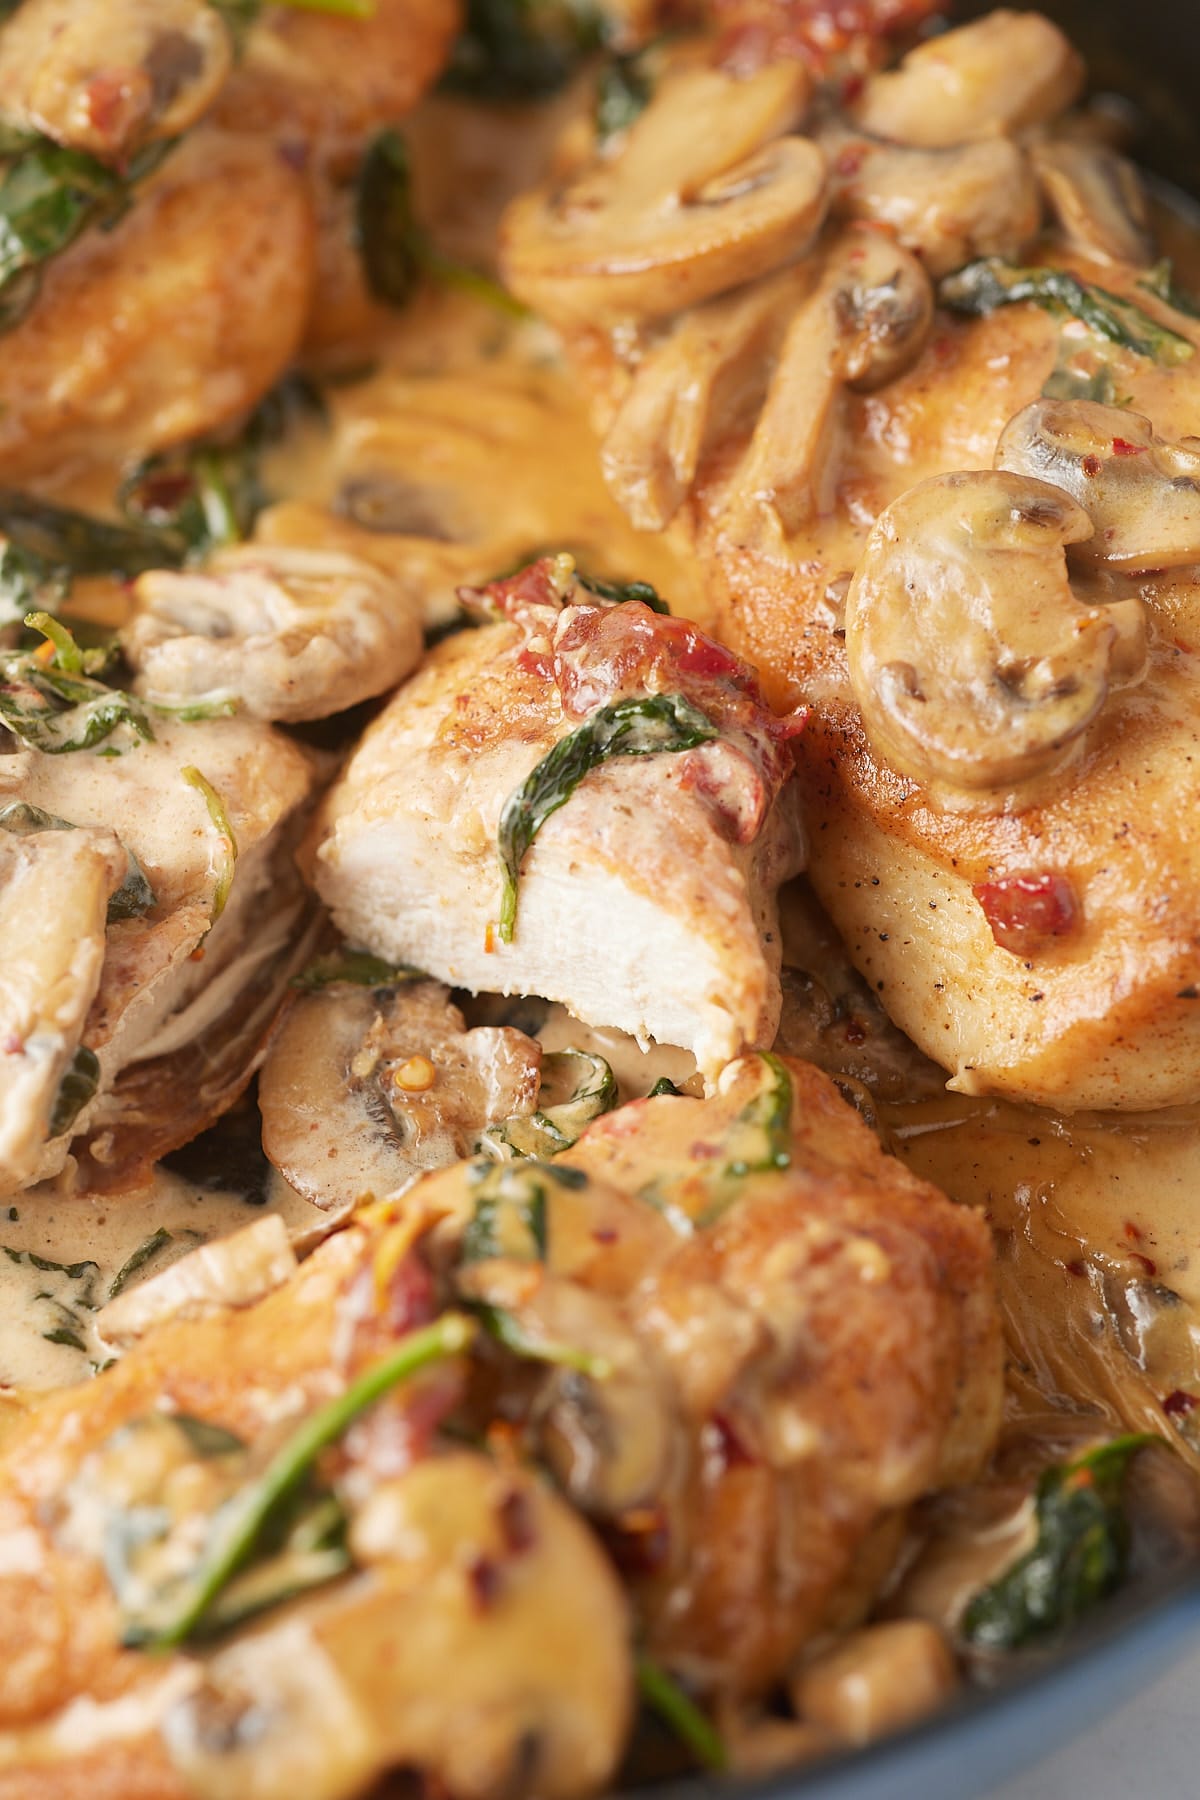
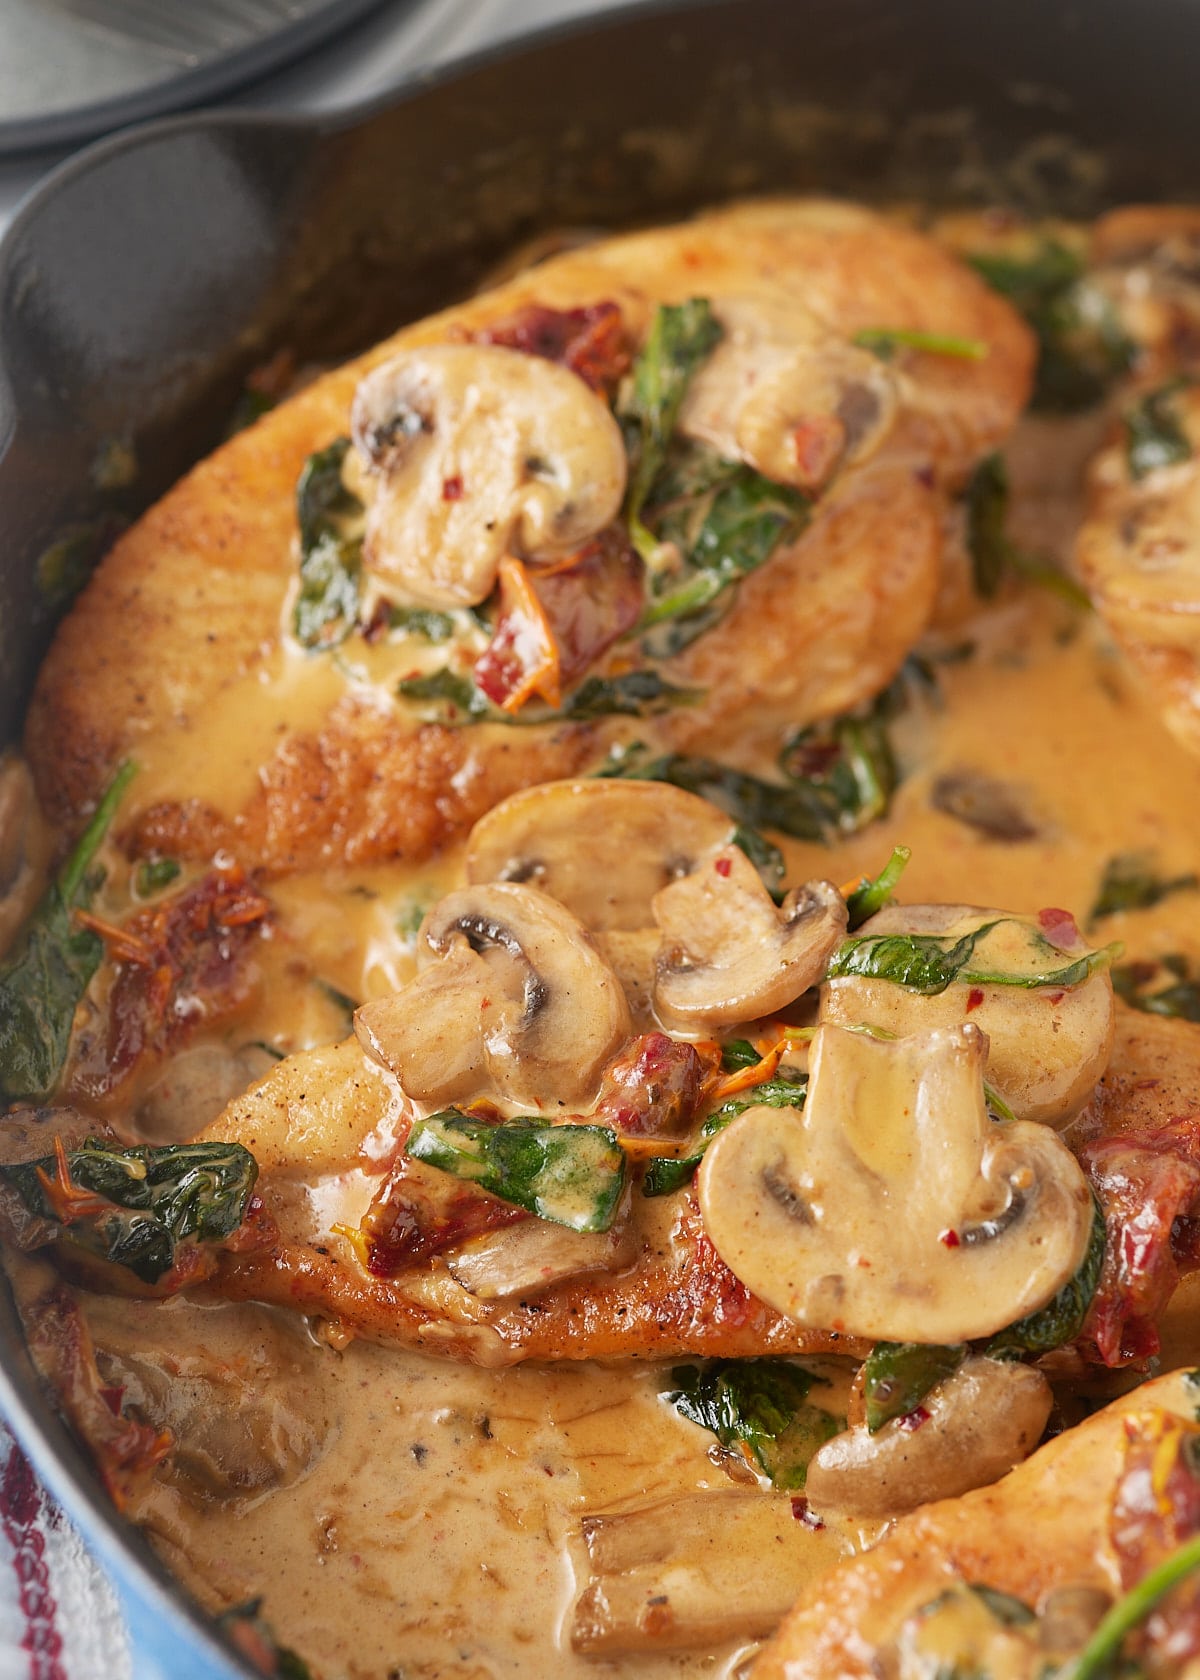
Rich indulgent and delicious, this eggnog bread pudding is a real treat! Simple to make, this boozy dessert is drizzled in a bourbon sauce for one tasty bite. Guaranteed everyone will want a second helping!

This post contains affiliate links, please read my full disclaimer here.
You’ll find the full recipe with ingredient amounts and instructions in the recipe card at the bottom of this post. Be sure to check out the blog post itself for extra tips and tricks!
A traditional bread pudding is such a hearty and comforting dessert, and this boozy variation is perfect for the holiday season! Sweetbread puddings have always had my heart and I love them with all kinds of flavors. This eggnog version made with bourbon is for adults. But for alcohol-free versions, I suggest my Instant Pot Bread Pudding.
So simple and easy to make before it gets baked in the oven, this is a great low-effort maximum impact dessert. This bread pudding is also covered in a delicious bourbon sauce, because I feel in my heart that all bread puddings should be covered in delicious sauce.
The combination of thick challah bread, eggnog, and a little bourbon make the perfect combo of taste and texture. This is tasty, filling, comforting, and perfectly boozy!
Be sure to try my Rice Pudding too!
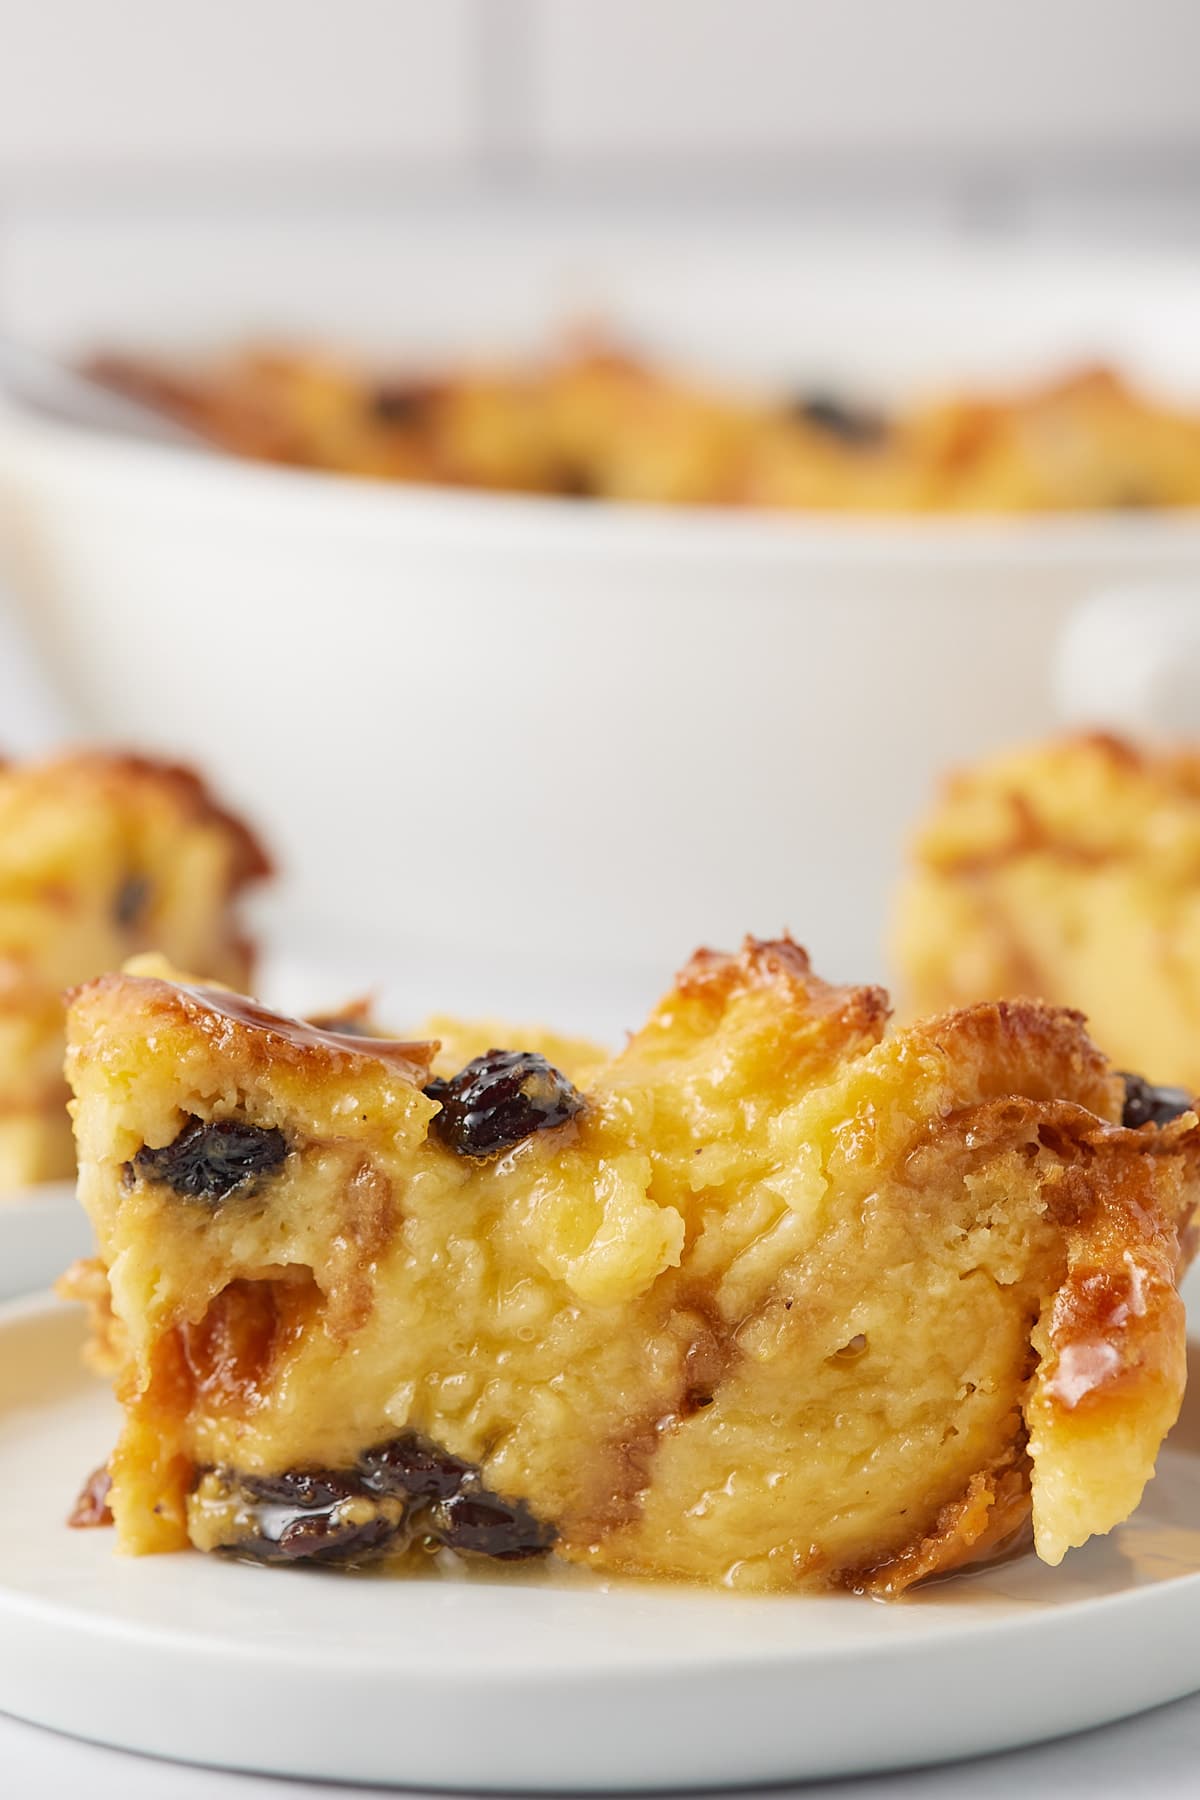
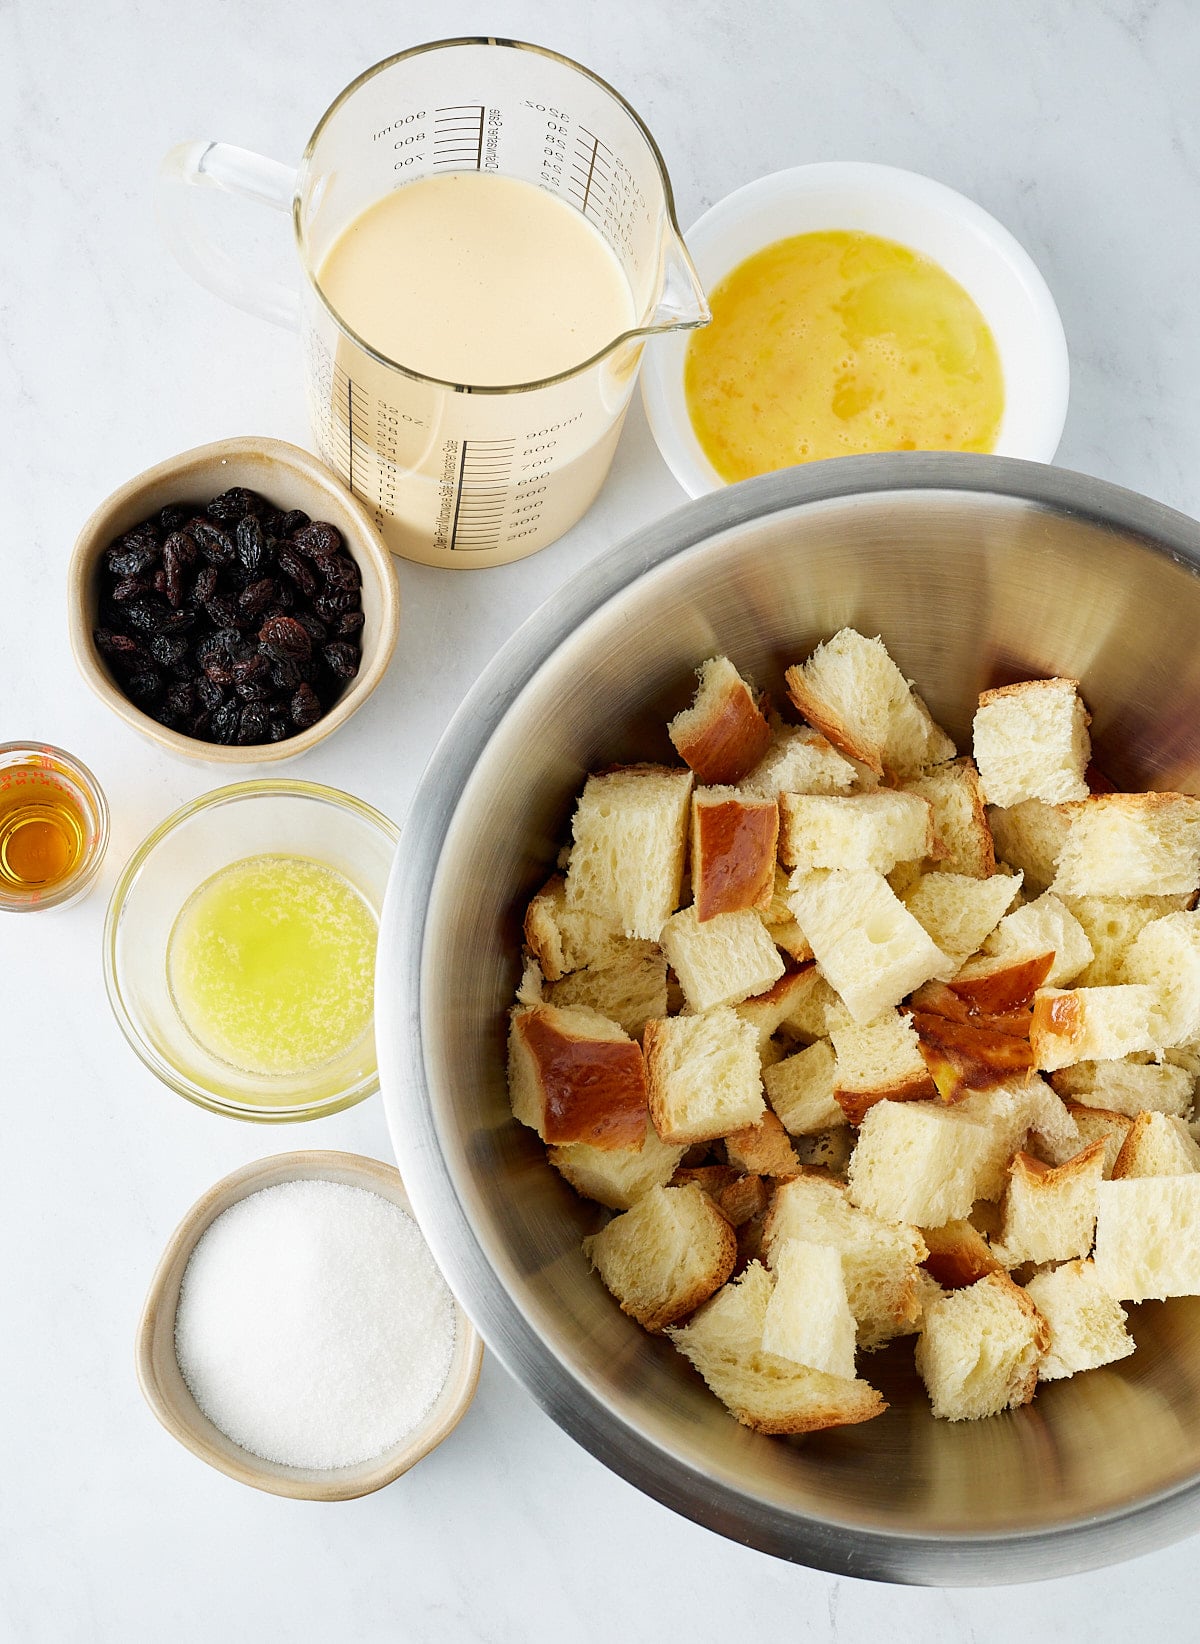
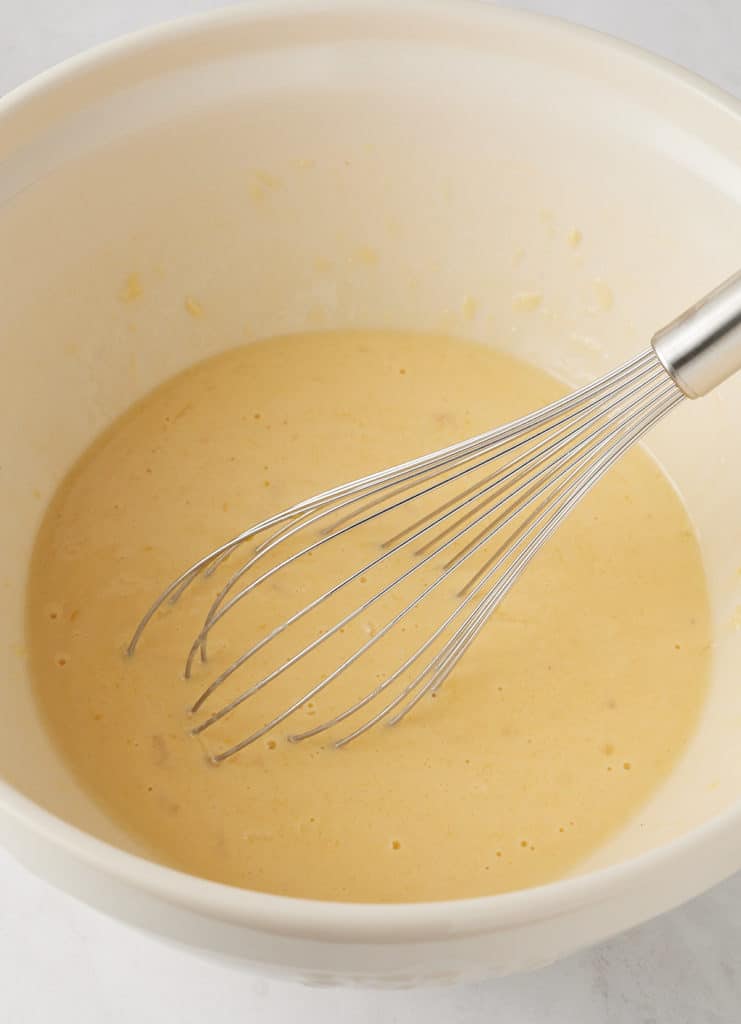
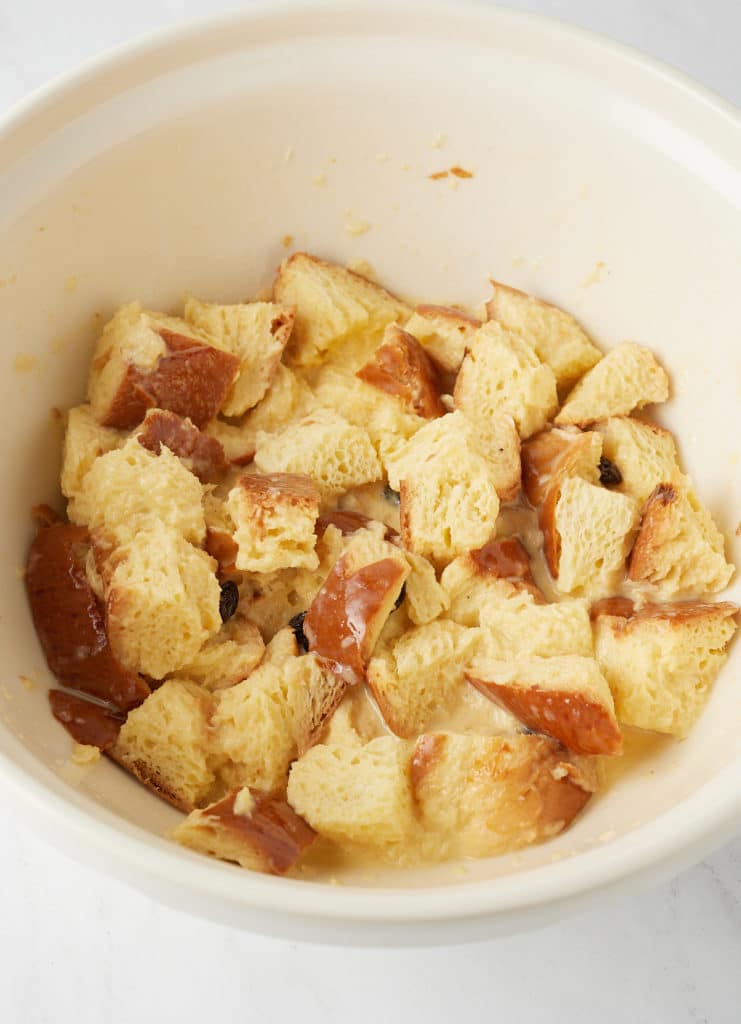
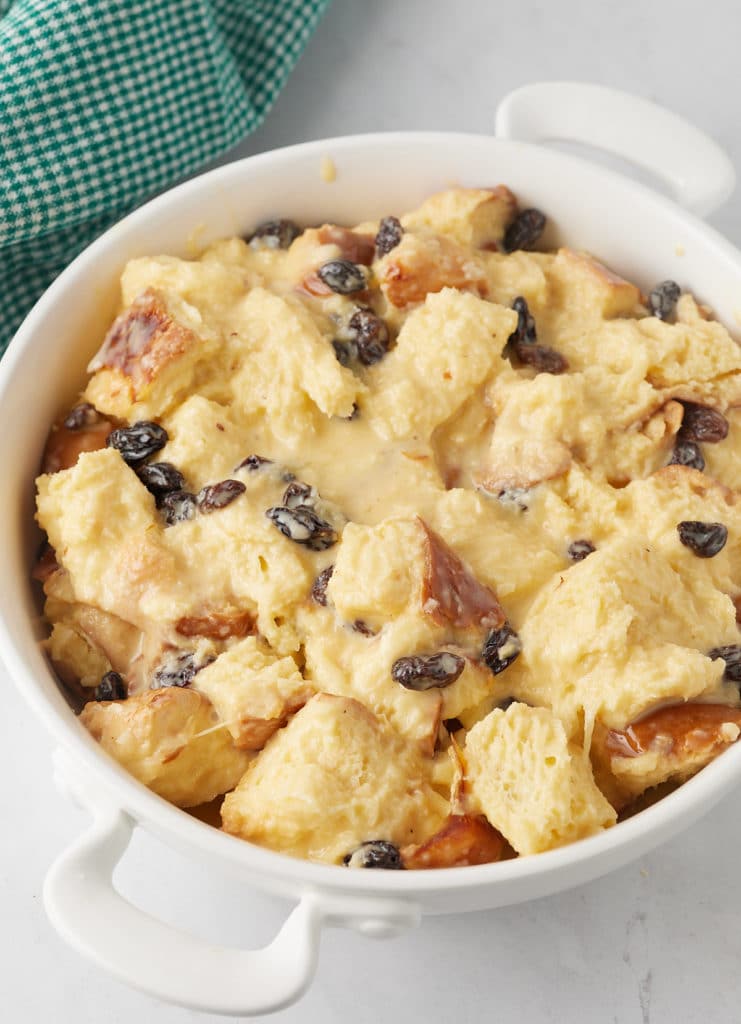
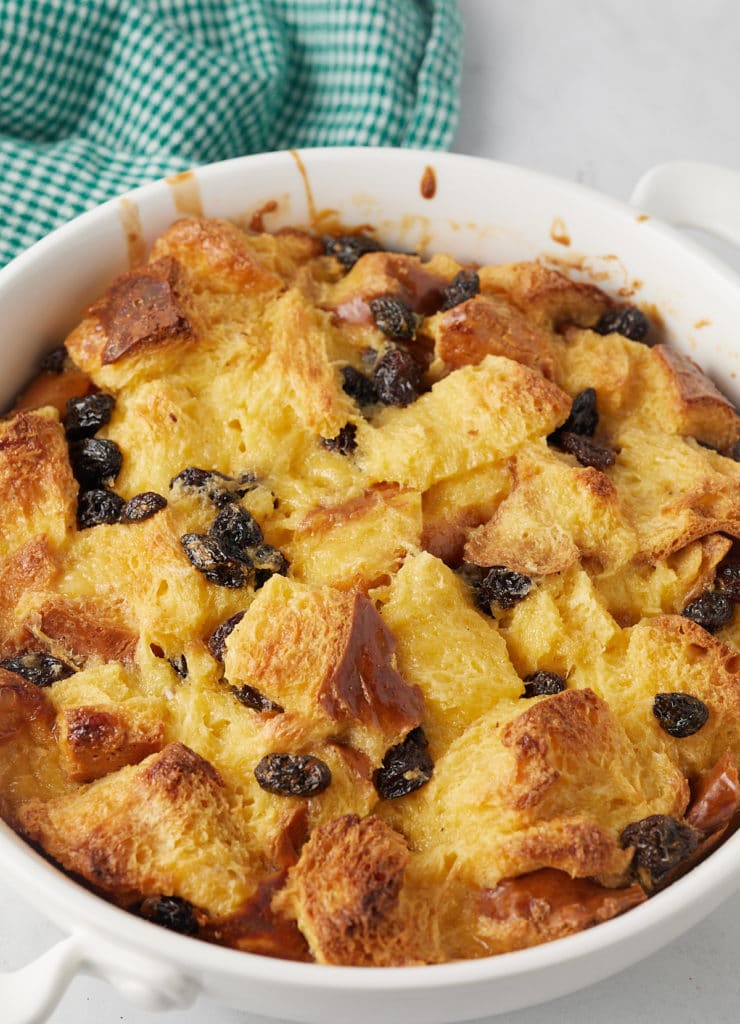
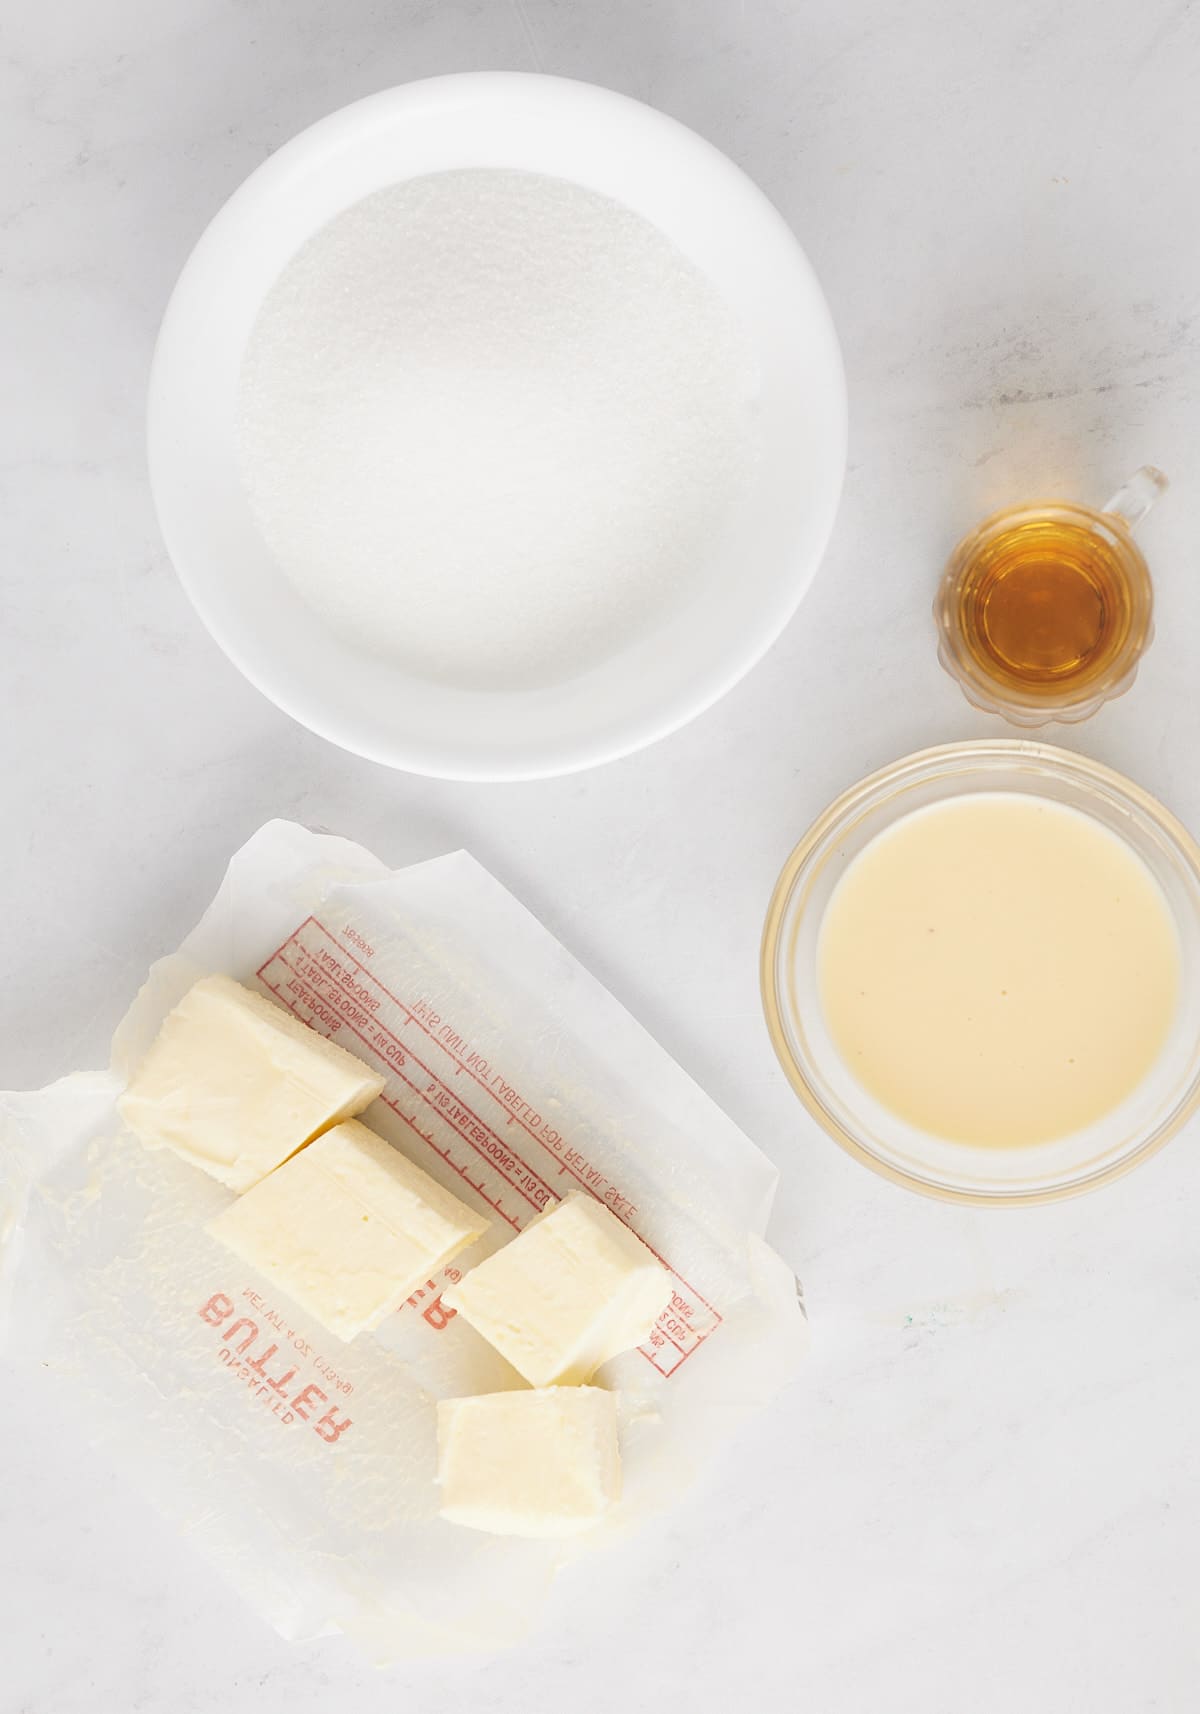
Melt butter in a small saucepan over medium-low heat. Whisk in granulated sugar, eggnog, bourbon, and salt and stir over low heat until warmed through, about 3 minutes. Pour the sauce over the bread pudding. Serve and enjoy.
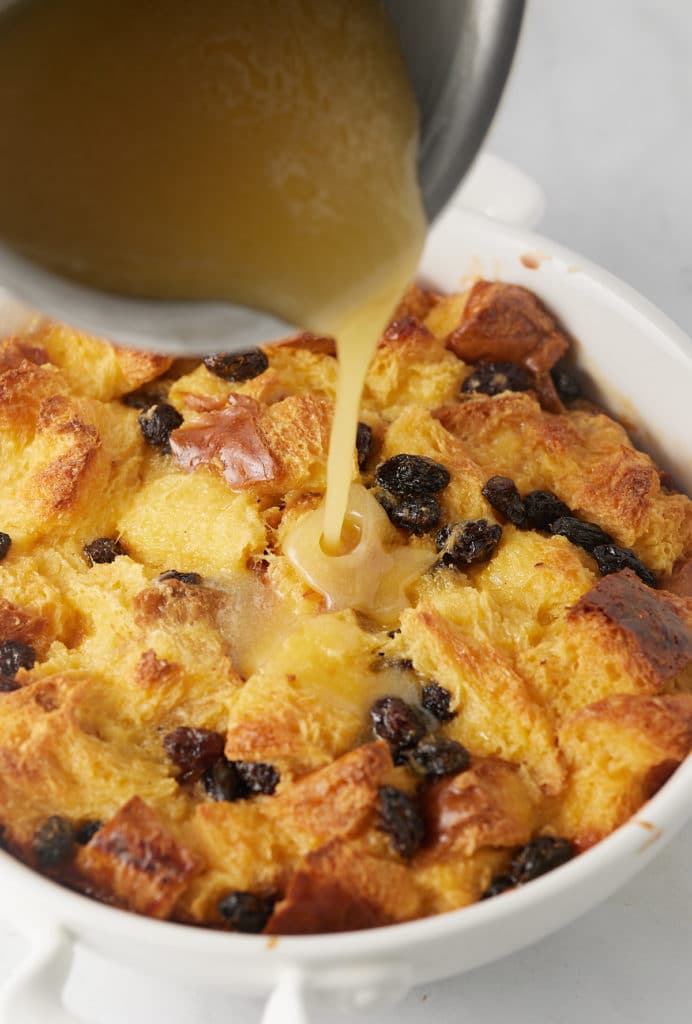
You can make bread pudding with most types of bread, though I love to make it with challah bread which has a rich flavor and spongy texture which soaks up the eggnog custard. Brioche has a similar flavor and also works very well. It's best to use slightly stale bread rather than fresh so that it soaks up the egg mix well.
You can make up the bread pudding up to a day ahead of time and keep it covered in the fridge till you are ready to bake it. Baked pudding will keep well in the fridge for 1 to 2 days and can be reheated in the oven at 360F, with the top covered with foil, to serve.
This eggnog bread pudding is best served with the delicious bourbon syrup, it takes minutes to make and is perfectly rich and syrupy. Go all out and serve the warm dessert with some whipped cream or a scoop of ice cream too!
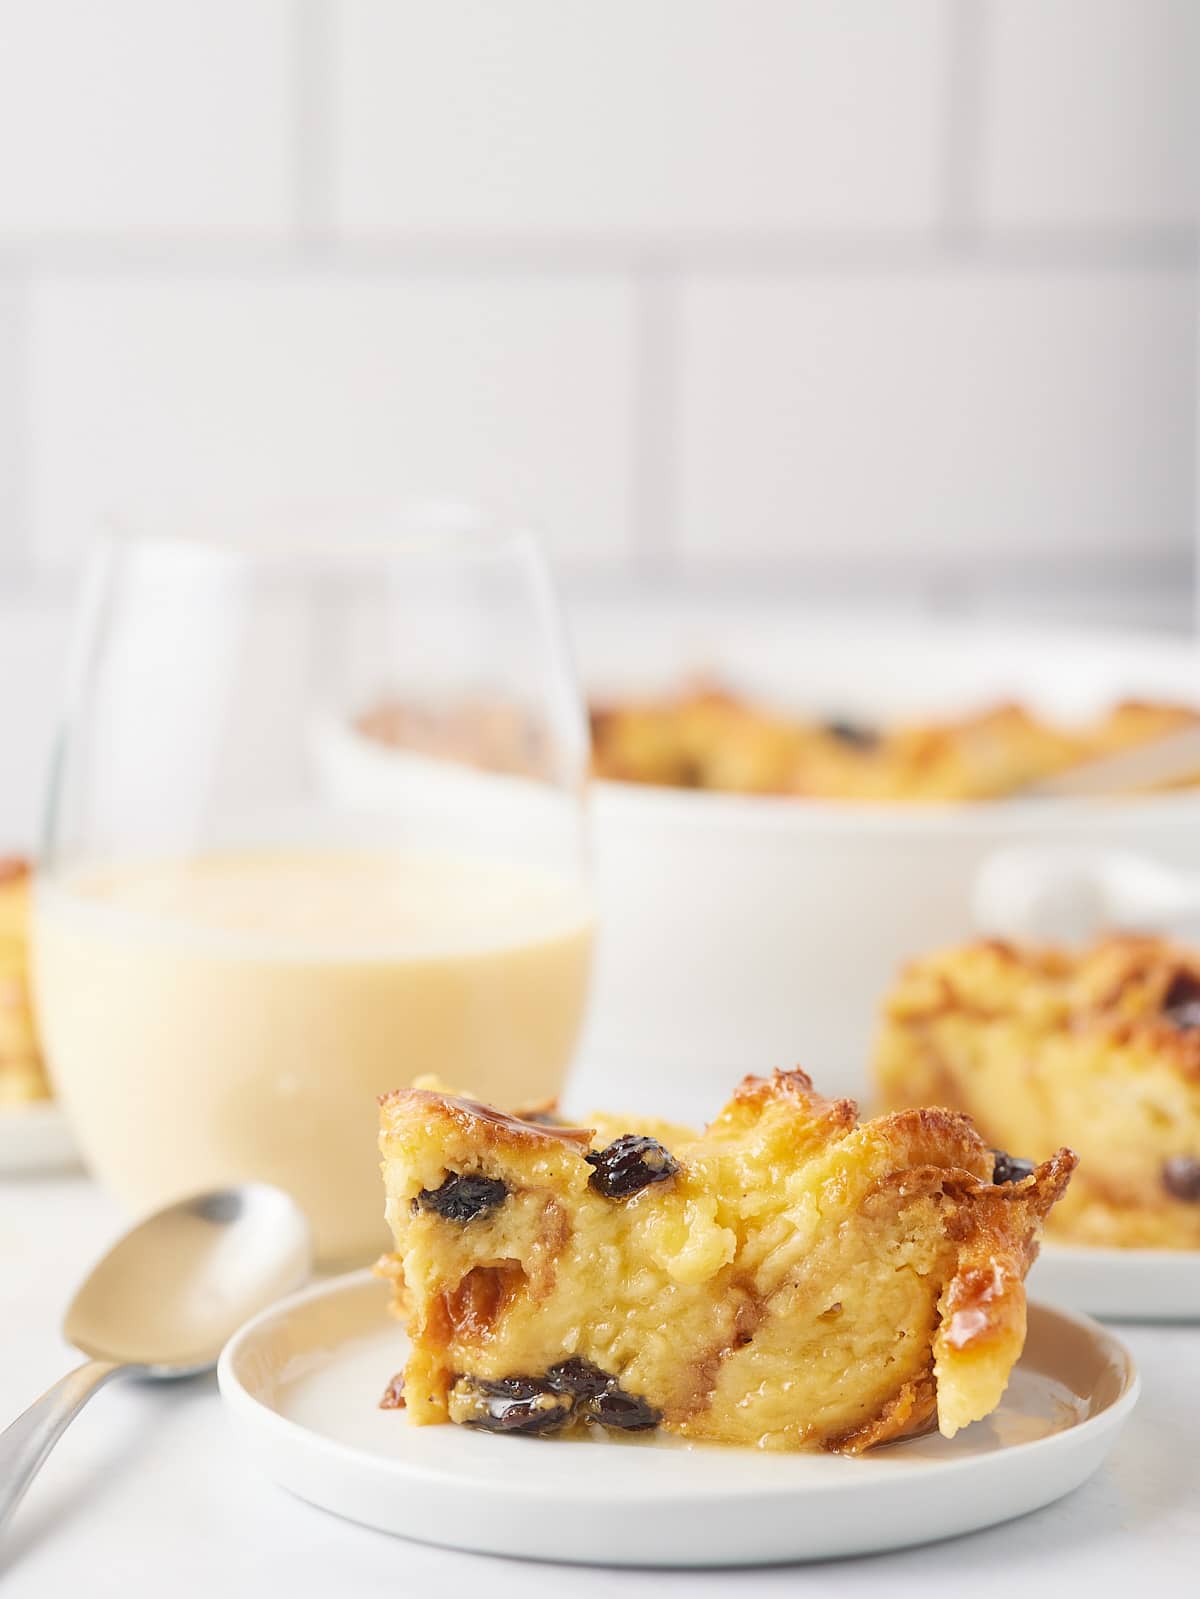
This crowd-pleasing Southern-style macaroni salad recipe is a true family favorite! Macaroni pasta is tossed in a creamy mayonnaise sauce with crunchy veggies, crispy bacon, and boiled eggs for one delicious side dish.
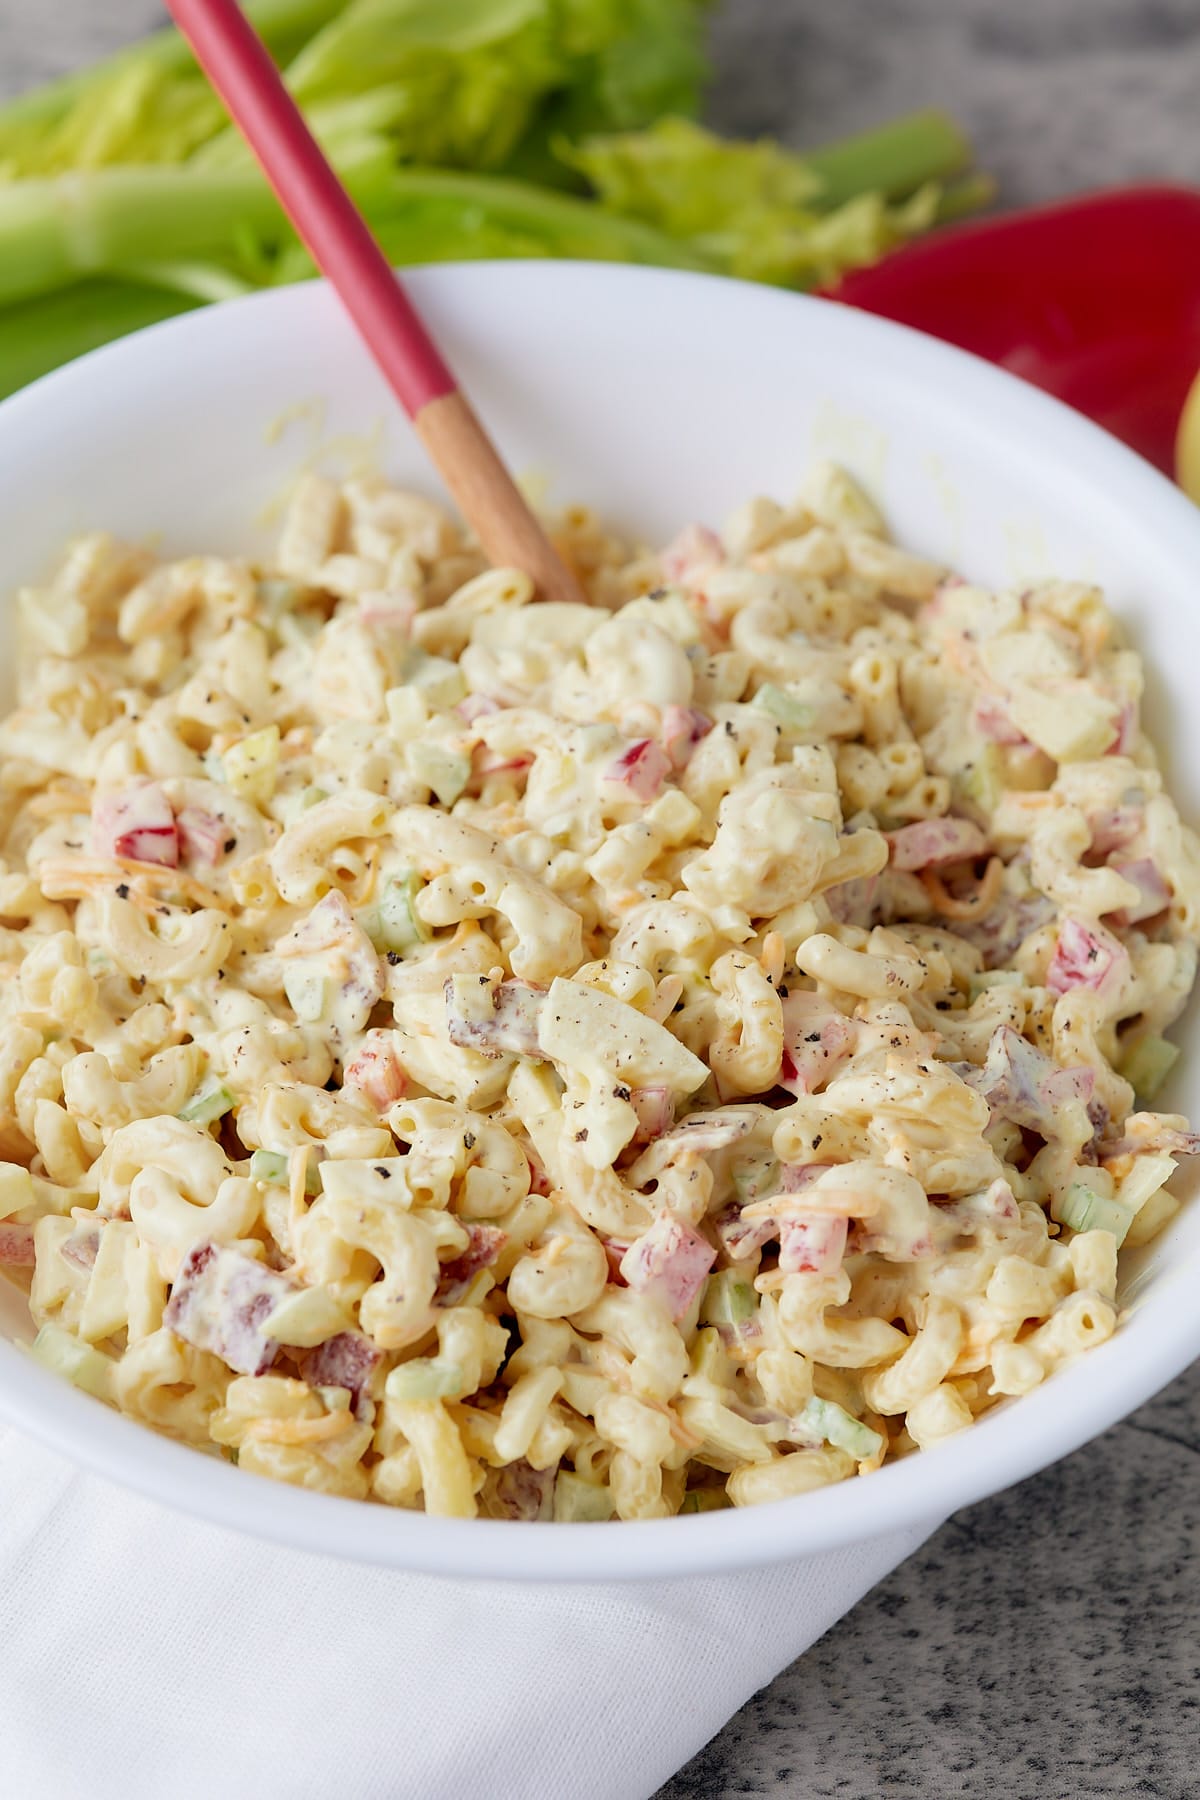
You’ll find the full recipe with ingredient amounts and instructions in the recipe card at the bottom of this post. Be sure to check out the blog post itself for extra tips and tricks!
When it comes to side dishes, you can't go wrong with a macaroni salad, and this Southern-style recipe is one of my all-time favorites!
It's not one I grew up with, but one I've had so many times since moving to the Carolinas. It seemed like every potluck I attended had some pasta salad. After trying so many over the years, I've landed on this version as my go-to macaroni pasta salad.
For this recipe, you need a creamy, delicious mayo-based sauce. You'll also usually find hard-boiled eggs in this type of salad, similar to the Southern potato salad, but you can omit them if you prefer. I added bacon for a salty flavor and a diced sweet apple to balance the dish. Apples in the macaroni salad? Trust me, it's an excellent addition.
Ingredient amounts and full recipe instructions are on the printable recipe card at the bottom of the post.
Step 1: Prepare the elbow macaroni as indicated on the box, drain it, and set it aside to cool.
Step 2: In a large bowl, add mayonnaise, yellow mustard, apple cider vinegar, honey, and dill relish. Stir until thoroughly combined.
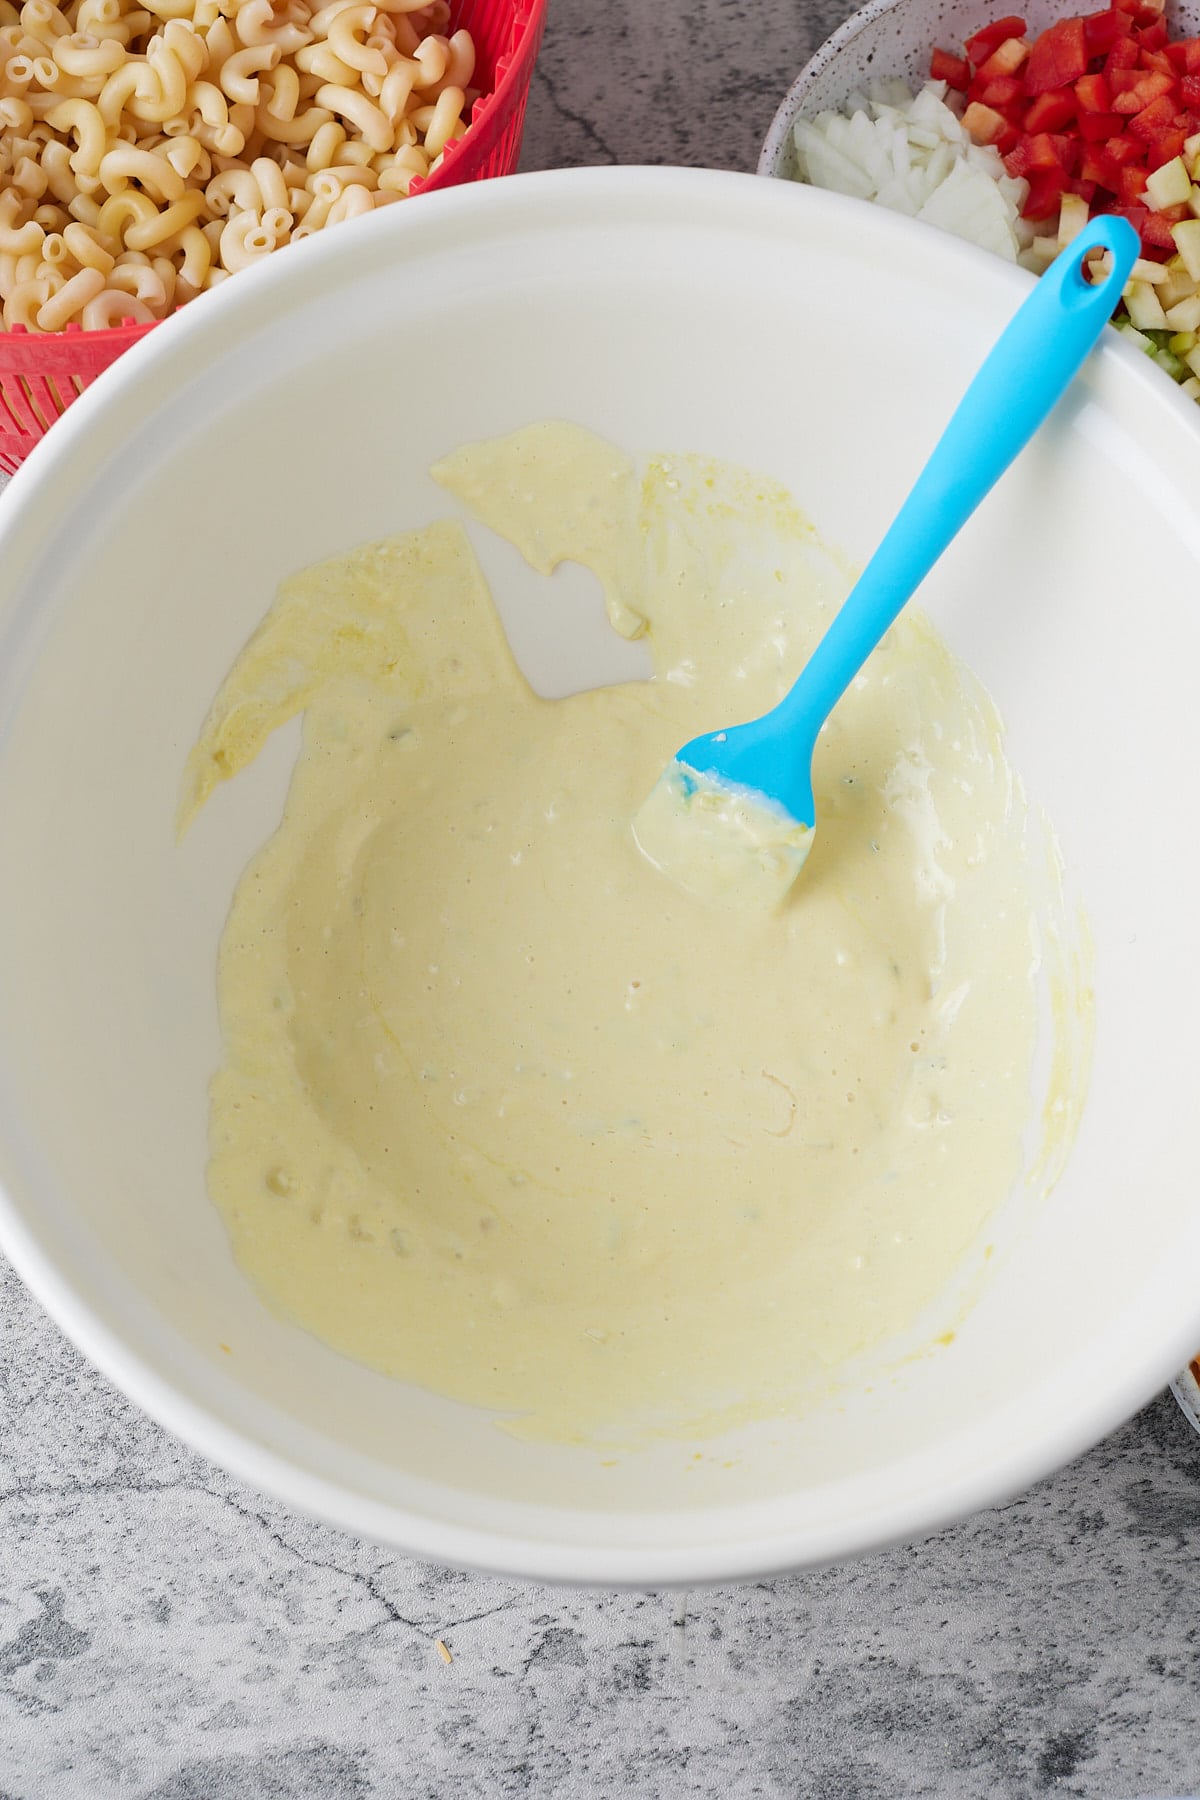
Step 3: Add onion, red bell pepper, celery, cheddar cheese, apple, bacon, elbow macaroni, and egg (if using) to the large bowl. Stir until thoroughly combined, ensuring all the macaroni noodles are evenly coated with the mayonnaise dressing.
Step 4: Salt and pepper to taste. Serve and enjoy.
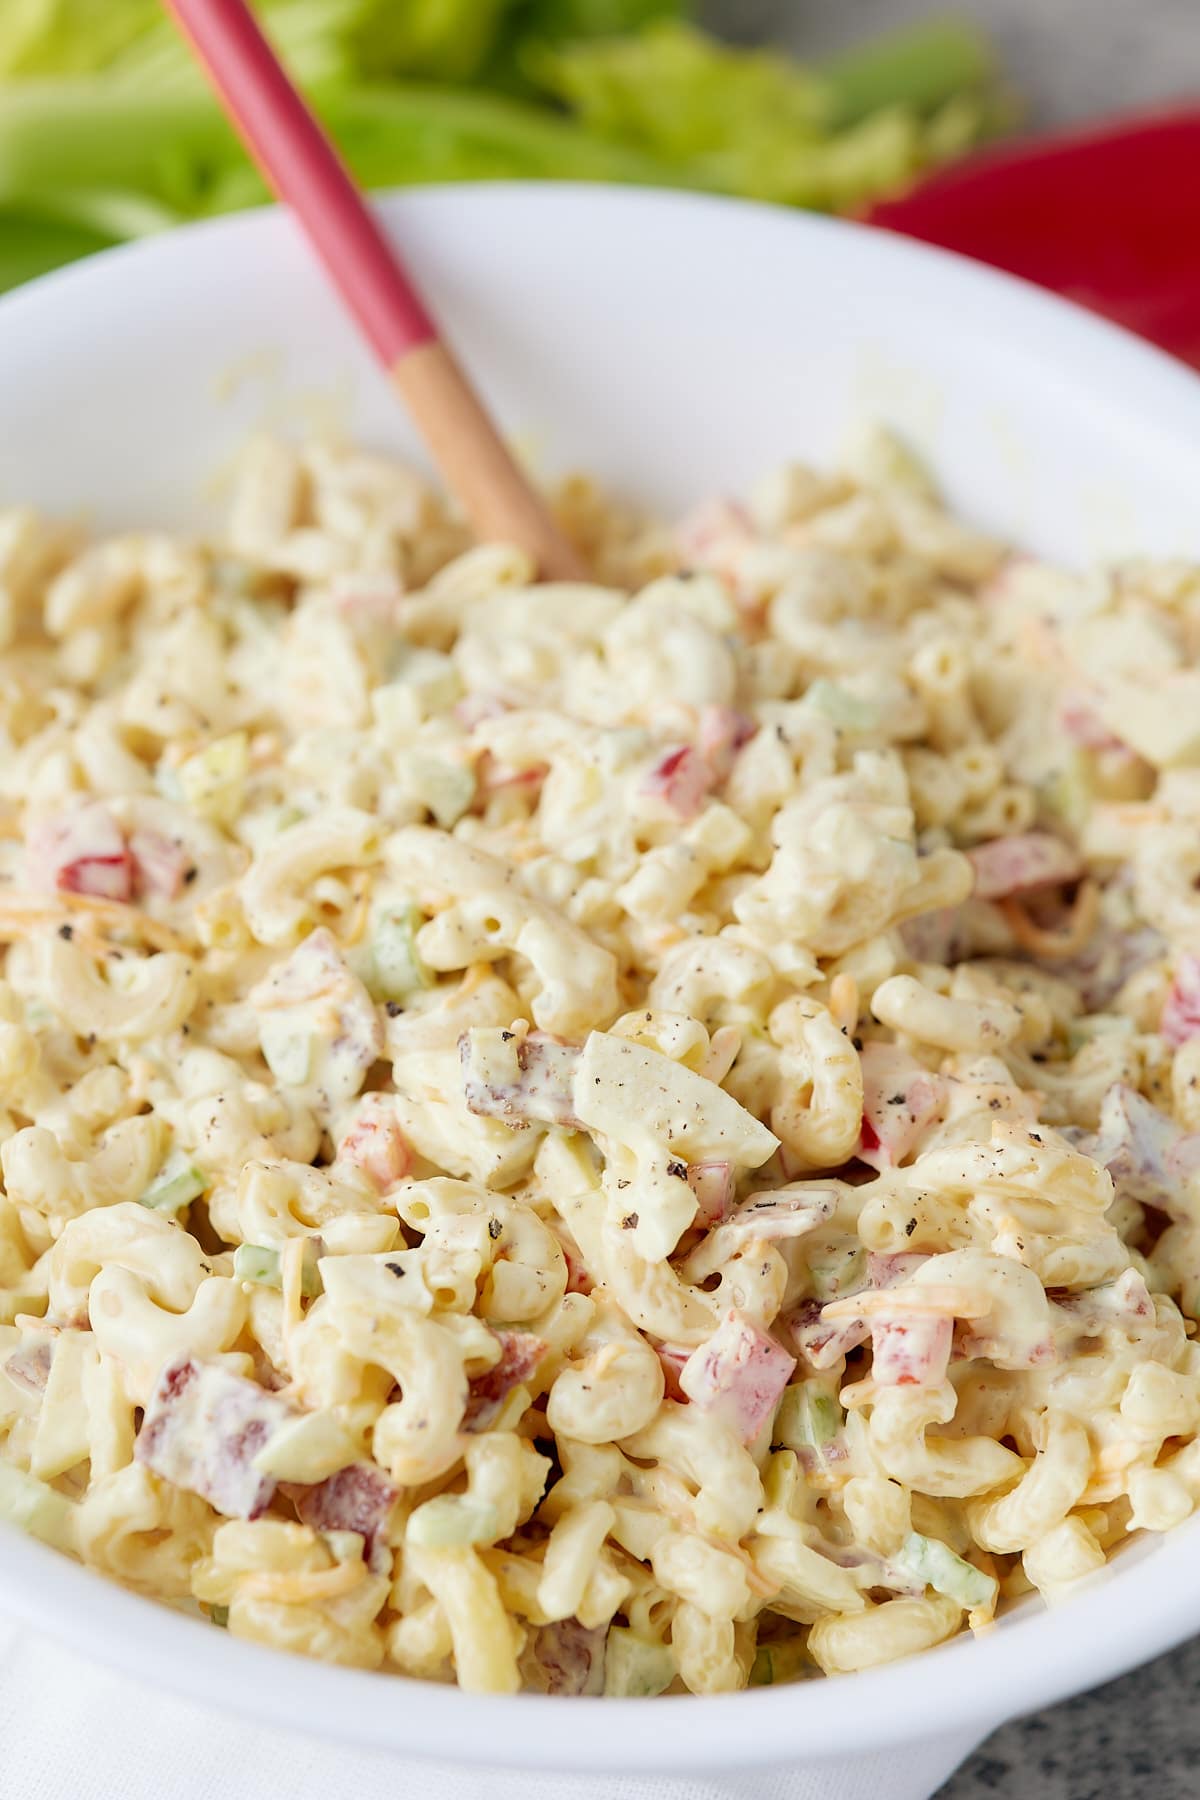
This is a great make-ahead dish; once you have tossed everything together with the dressing, cover and refrigerate. It will keep well for 3 to 4 days. Because it contains mayo, it shouldn't be kept at room temperature for more than 2 hours.
Elbow macaroni is perfect for this dish, but other shorter pasta can be used. Penne, bow tie, or fusilli all make great substitutions, or use your favorite GF pasta for a gluten-free recipe. Just make sure you stick with 8 oz of pasta. Too much pasta will make your dish dry.
This Southern-style macaroni salad is great to serve alongside meat, seafood, and chicken dishes. Try it with:
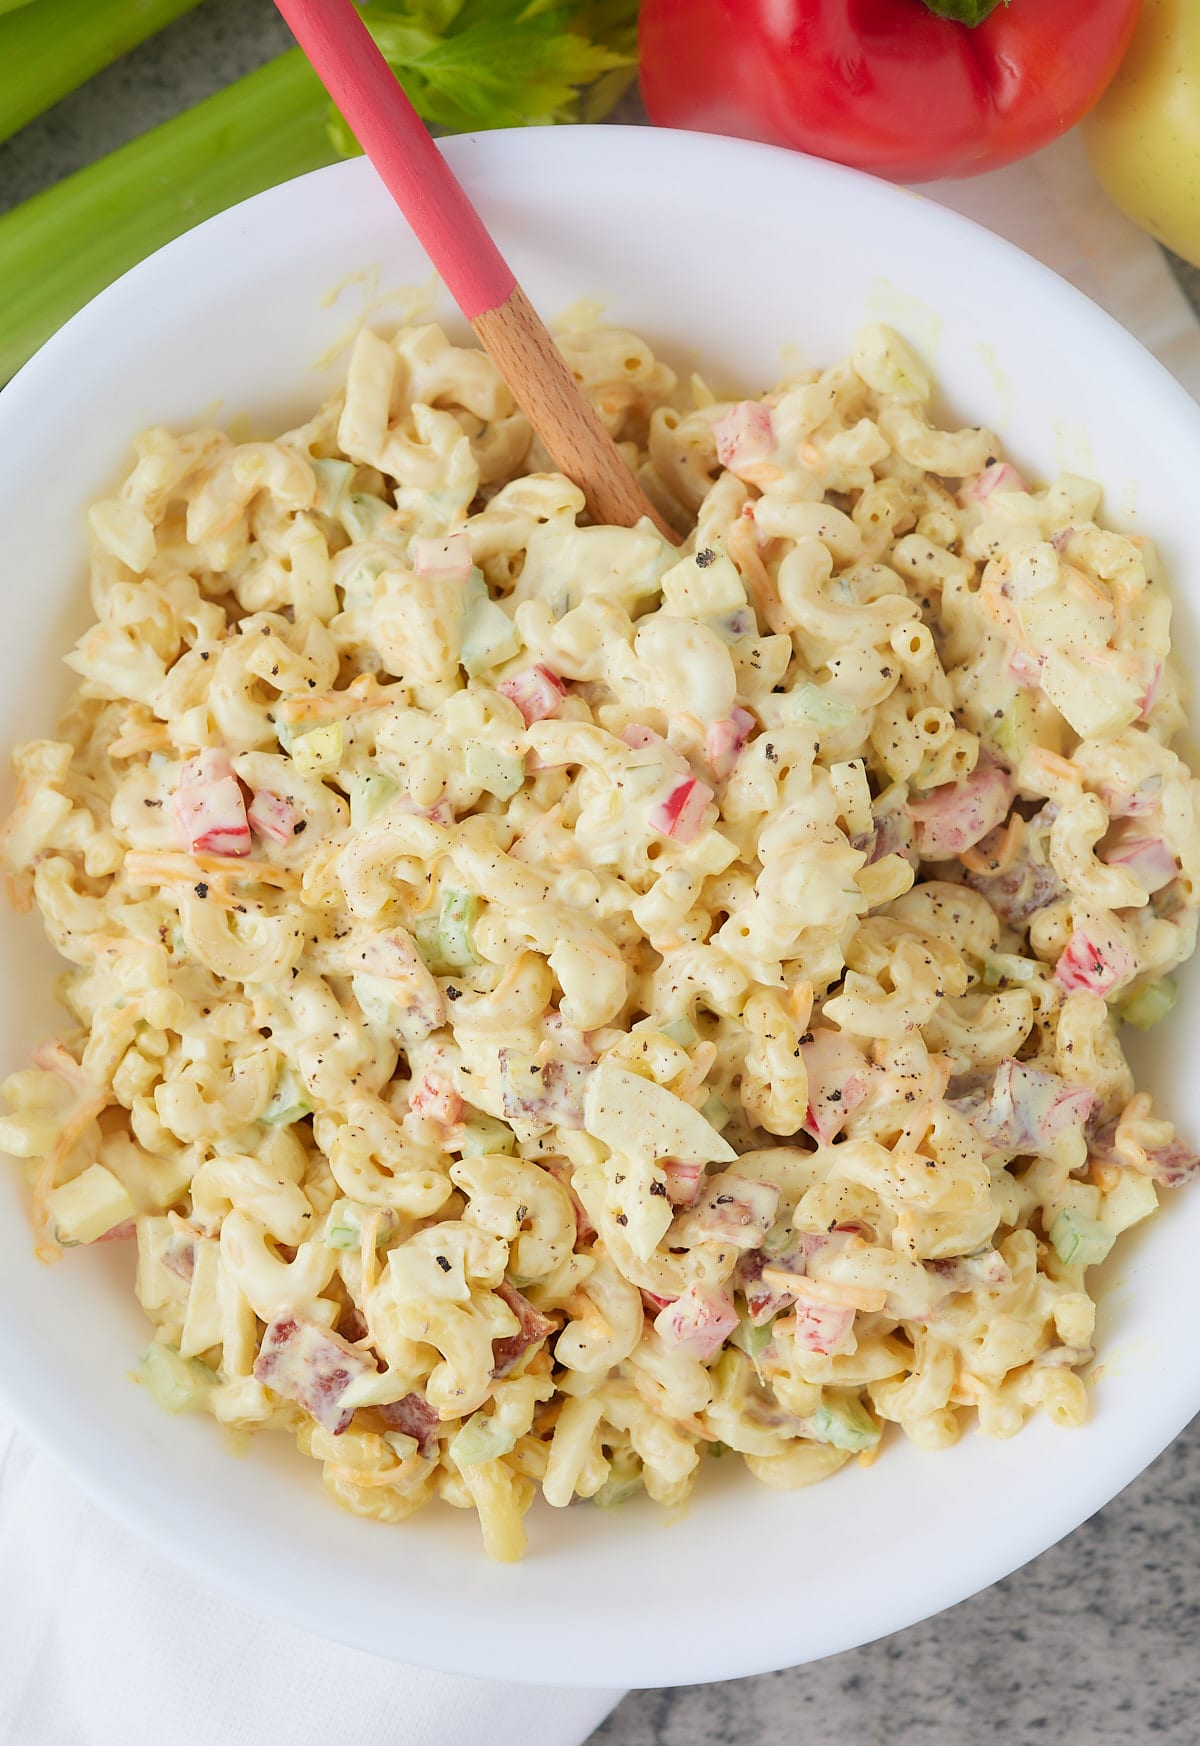
Made from scratch and perfectly seasoned, this easy blackeye peas recipe is a healthy and meat-free option that the whole family will love. Get stovetop directions as well as quicker Instant Pot directions too.
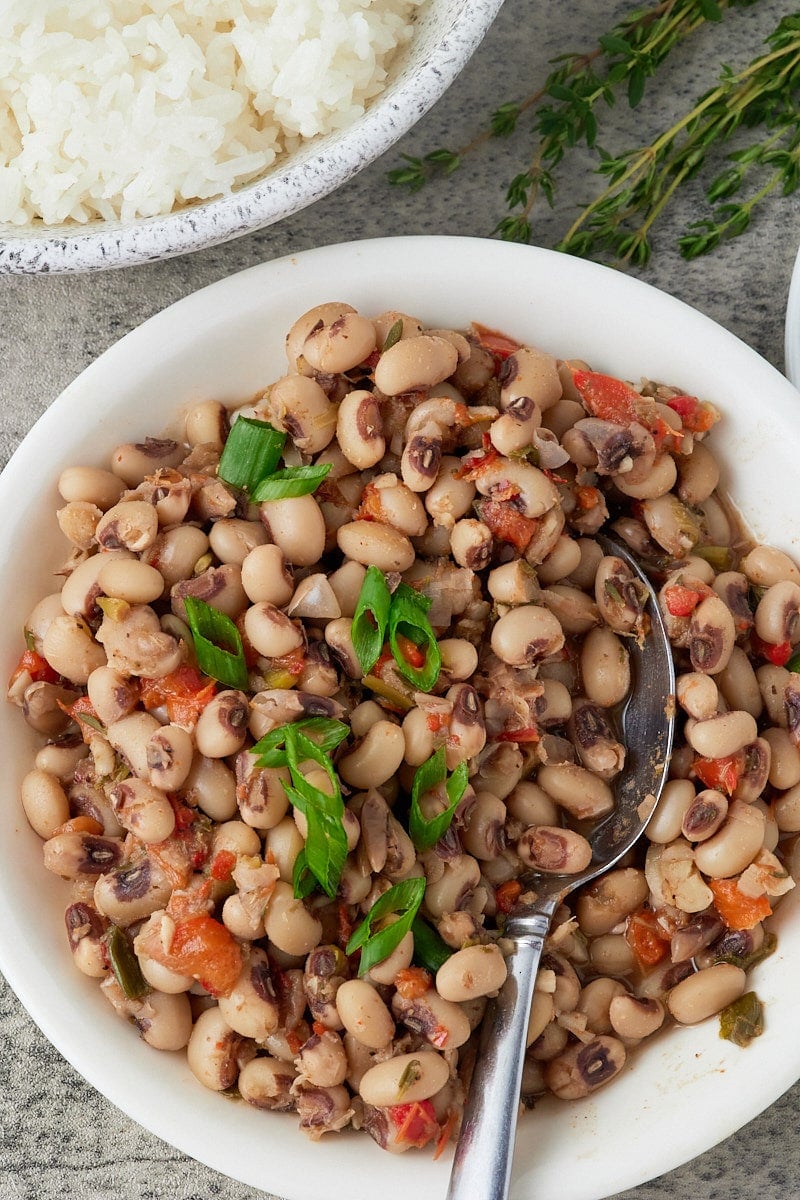
This post contains affiliate links, please read my full disclaimer here.
You’ll find the full recipe with ingredient amounts and instructions in the recipe card at the bottom of this post. Be sure to check out the blog post itself for extra tips and tricks!
Blackeye peas are a traditional Southern soul food that is typically enjoyed on New Year's Day to bring prosperity for the year. But honestly, I eat them all year round because they are so good!
This version of blackeye peas is made with dried beans and cooked in the water the dried beans have soaked in. You could also use broth instead if that's your thing, but properly cooking and seasoning the water the beans have soaked in provides an equally delicious dish.
I opted to make this dish meatless and I'm so glad I did, it's equally delicious without it. This vegan recipe is easy to make and the cooking time is totally hands-off. Seasoned with herbs and made with fresh veggies, this healthy dish is too good not to make!
Be sure to try my Homemade Baked Beans and Jamaican Instant Pot Rice and Beans too!
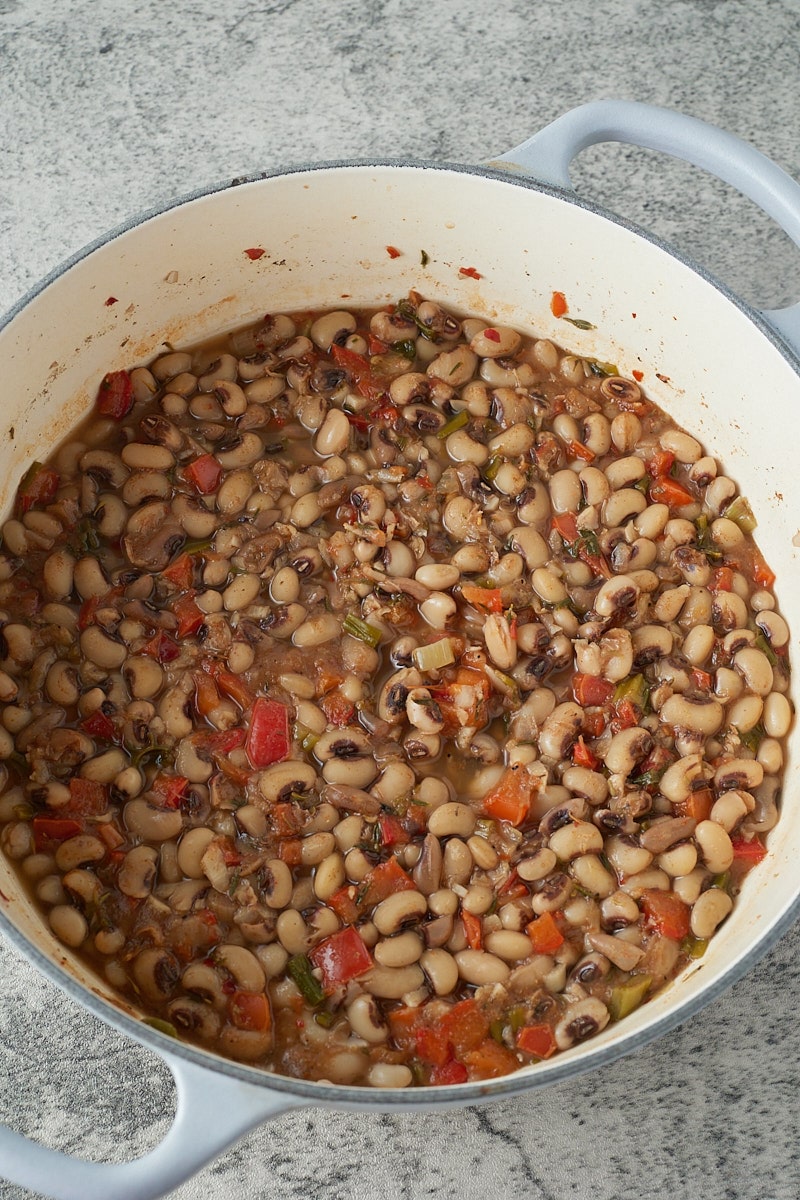
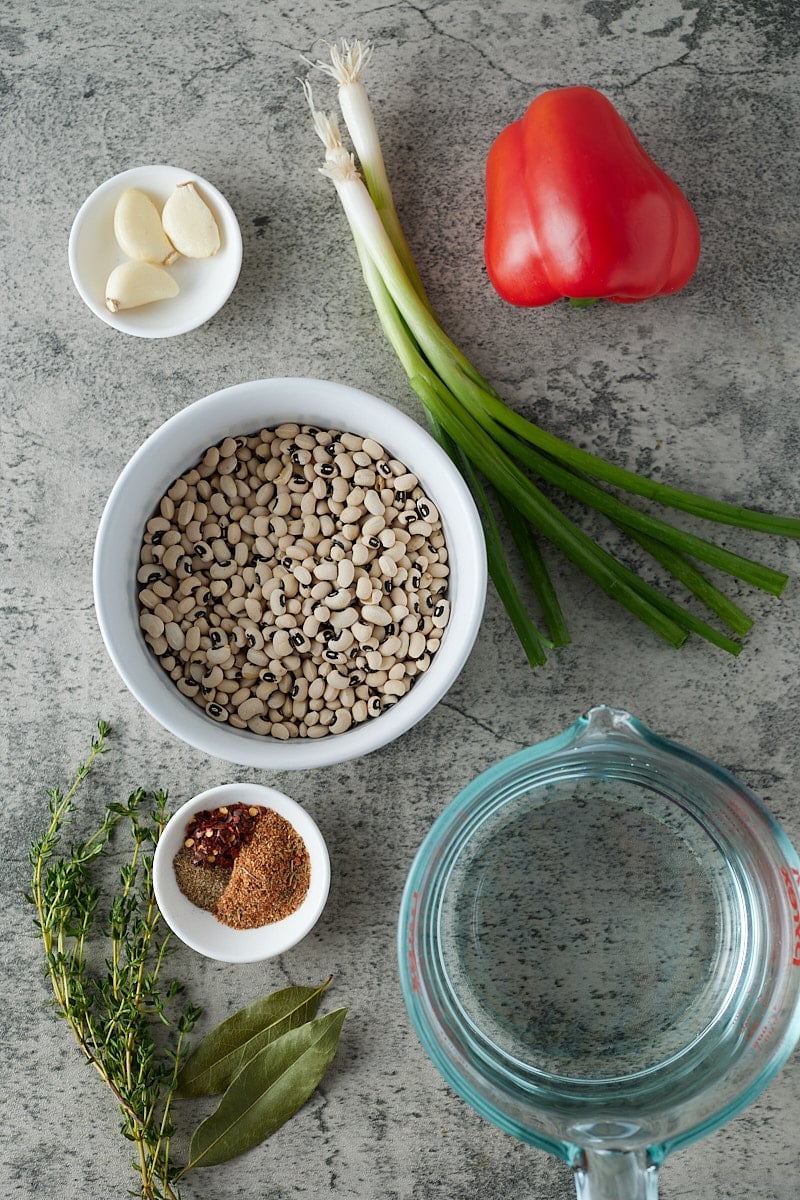
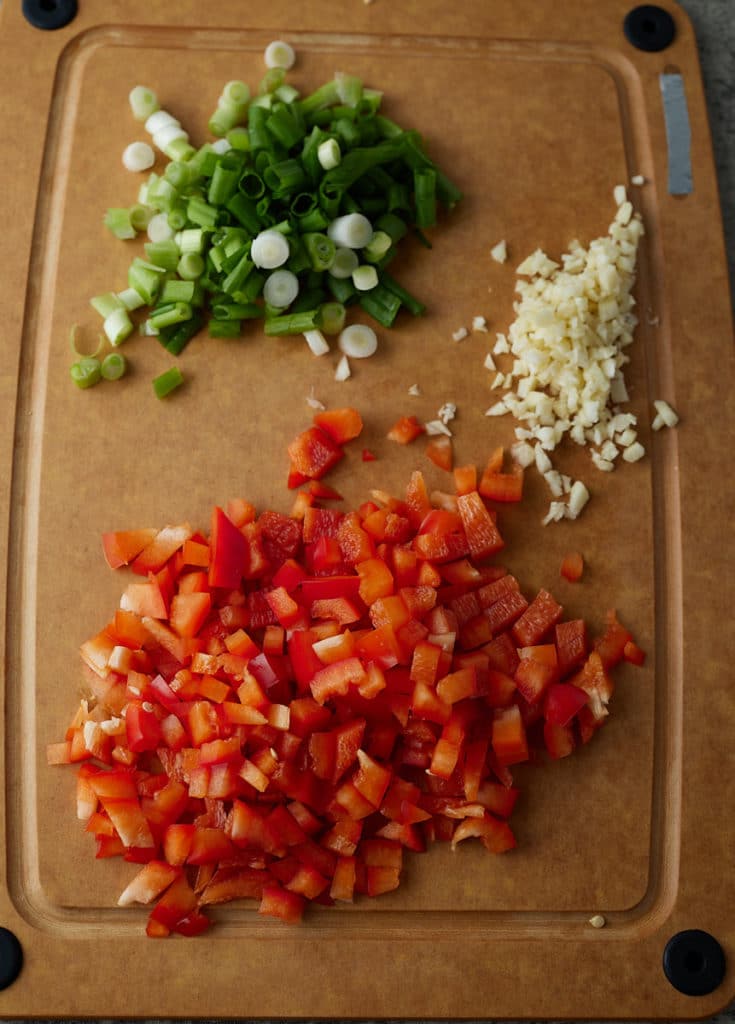
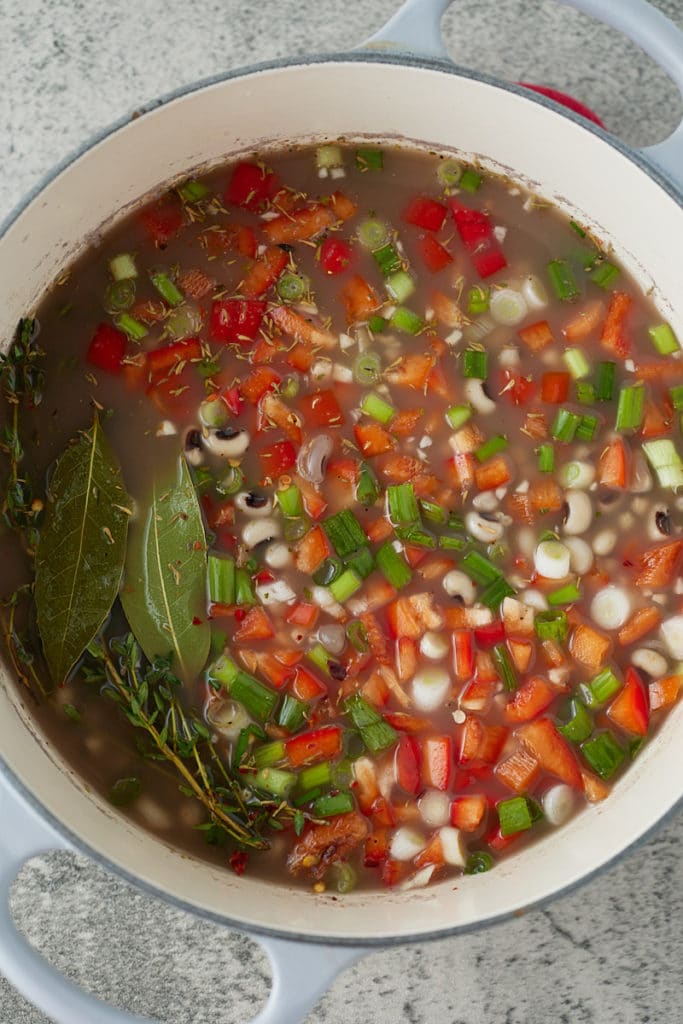
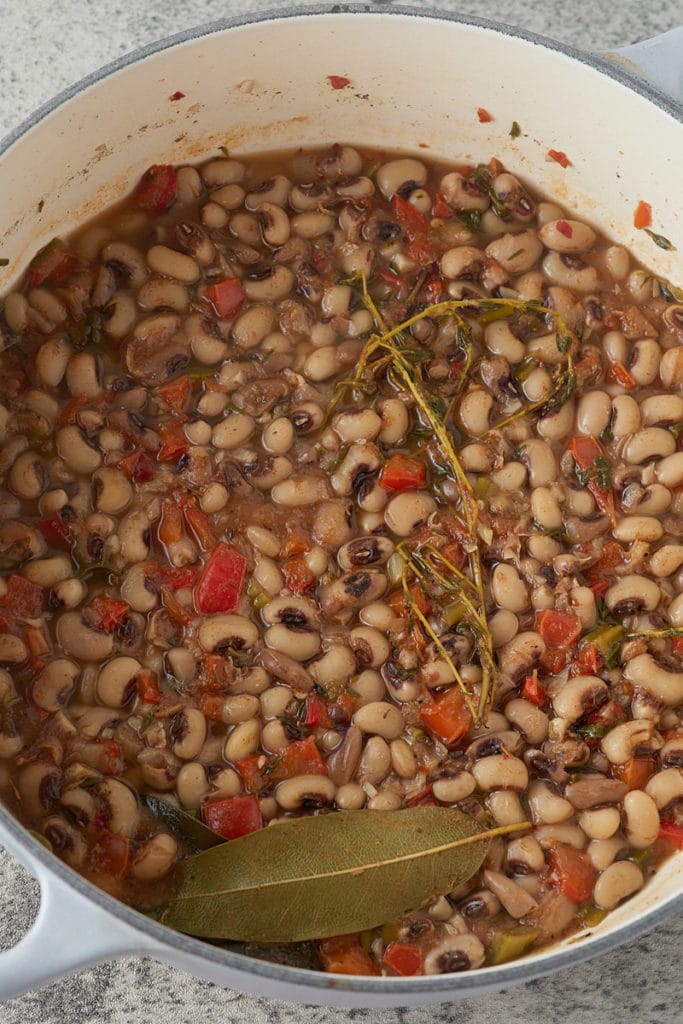
Soaking and cooking dried beans from scratch does require a bit of time, though that time is totally hands-off. If time isn't on your side, you can quickly cook this recipe in a pressure cooker like an Instant Pot and they are ready to serve in a fraction of the time.
Add all ingredients to the pressure cooker. Cook on high pressure for 17 minutes. Once pressure cooking time is up, allow the pressure cooker to naturally release for 10 minutes, then quick release any remaining pressure. Remove the bay leaves and thyme stems before serving.
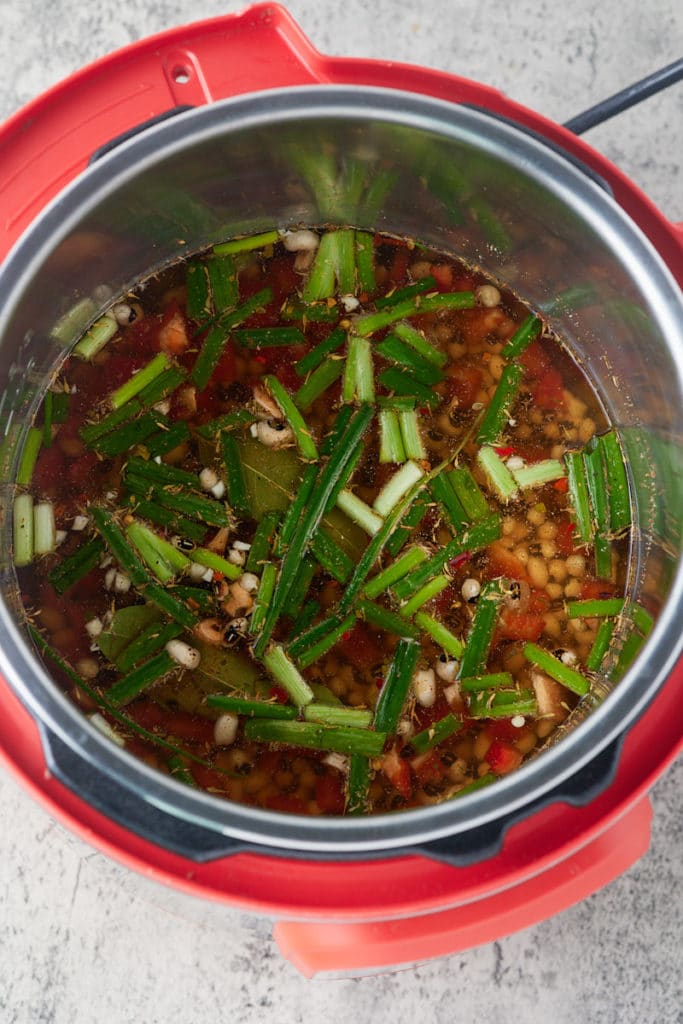
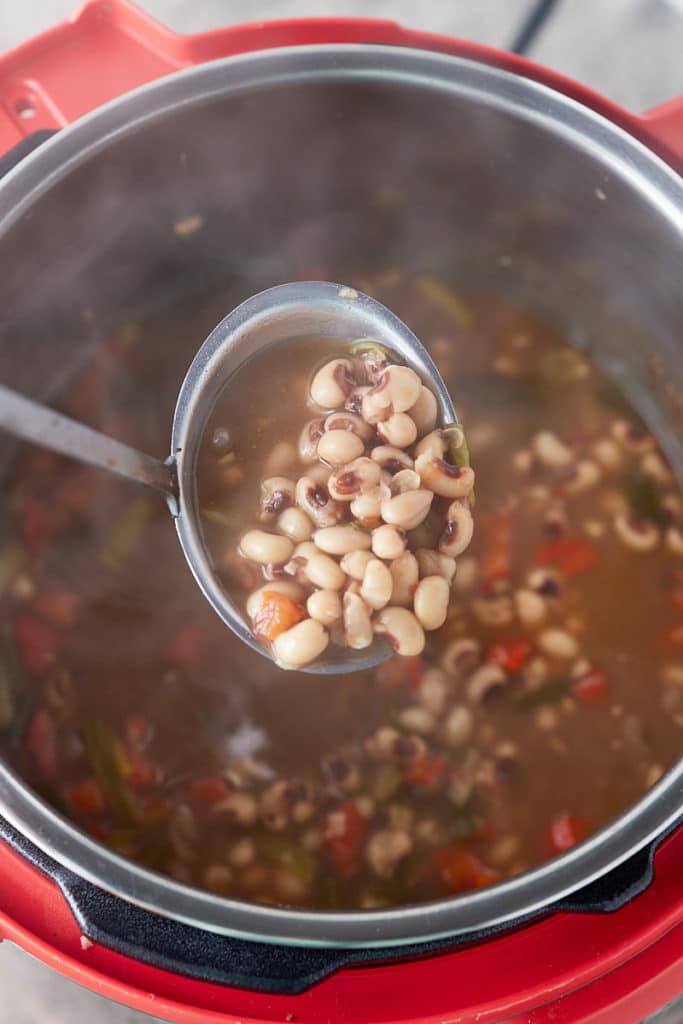
For the best flavors and textures, I highly recommend using dried peas for the best results. For ease and convenience, you can use canned beans. Add them with the liquid in the can to a pot, along with the rest of the ingredients, plus a cup or two of water. Simmer for 20 minutes.
I love to serve these vegan blackeye peas with a side of white rice for a hearty, filling, and delicious meal, and they'd be great served with my kale rice. They are great to serve up with collard greens or other veggie side dishes.
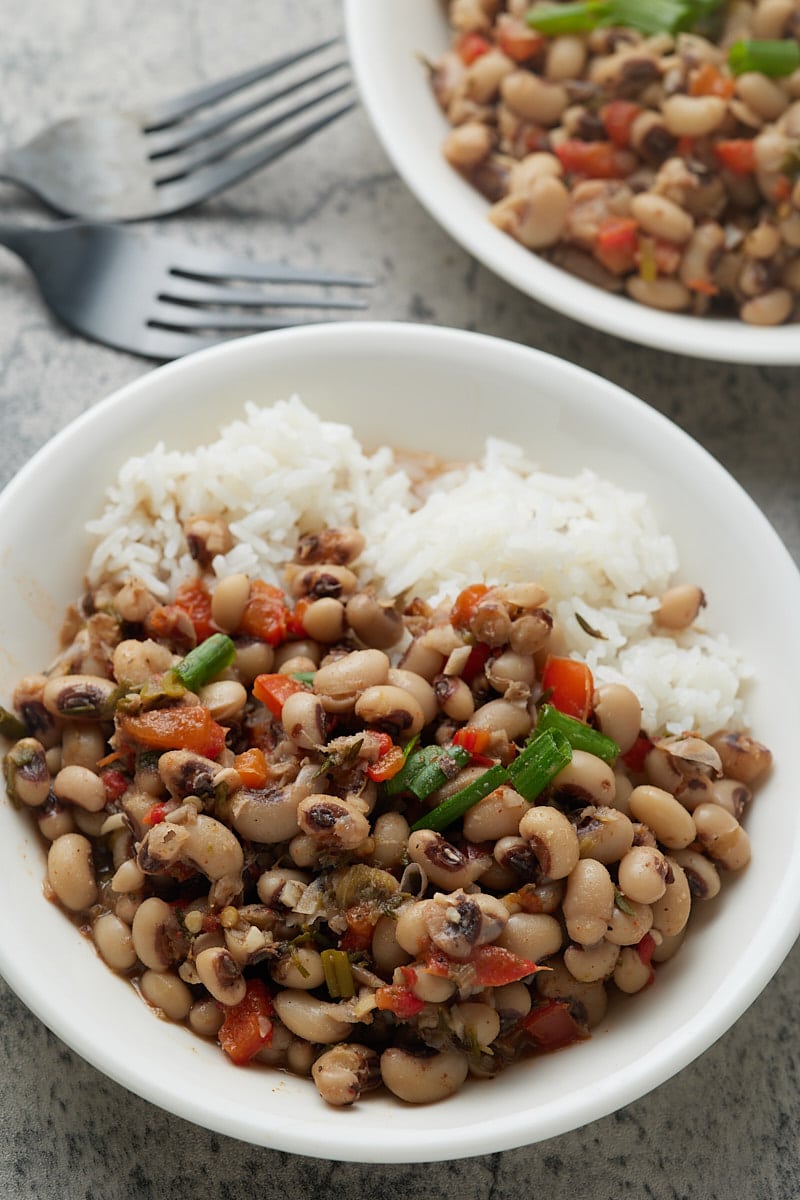
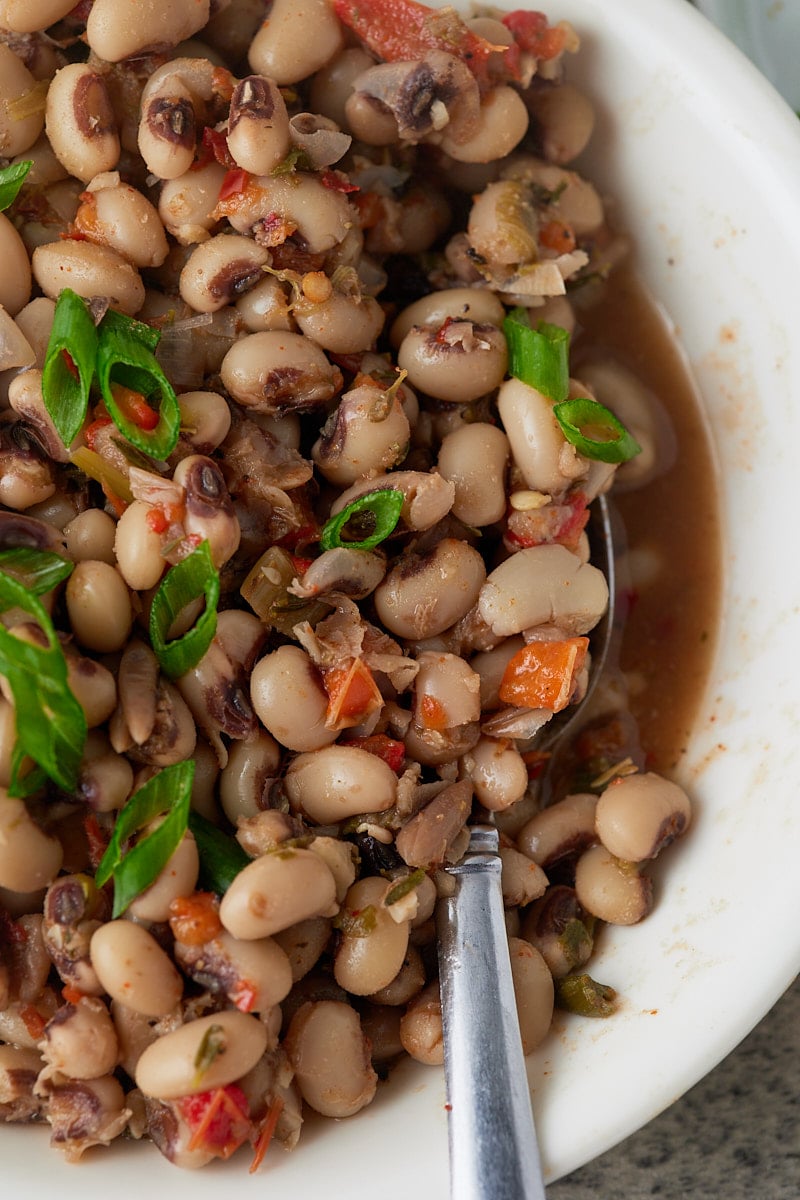
Make up a batch of your own homemade Cajun seasoning to use to flavor all of your faorite meals. Made with a few dried spices and herbs, it takes minutes to make and is an easy way to transform your meal times.
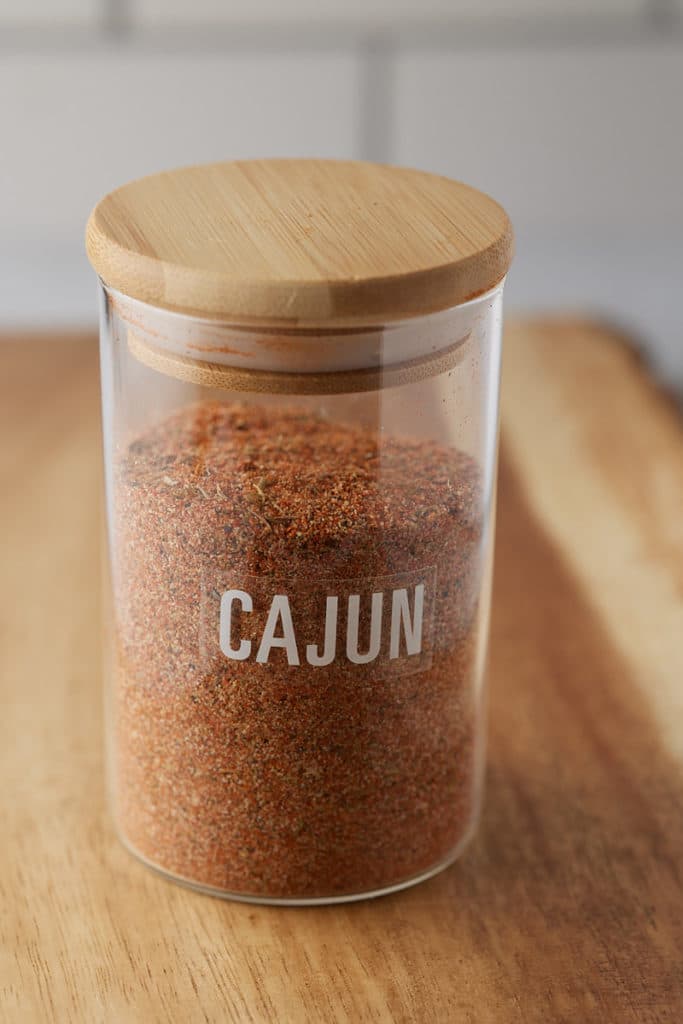
This post contains affiliate links, please read my full disclaimer here.
You’ll find the full recipe with ingredient amounts and instructions in the recipe card at the bottom of this post. Be sure to check out the blog post itself for extra tips and tricks!
Make your own batch of Cajun seasoning to liven up all of your favorite meals. Simple and quick to make, this homemade spice mix will add a taste of the South to your plate.
Made with eight herbs and spices, it takes minutes to make up the seasoning and it's a great to have on hand in your pantry to grab whenever you want a bit of spice!
Be sure to use this spice mix in my other recipes, like Jambalaya, New Orleans BBQ Shrimp, Creamy Cajun Chicken Pasta and Instant Pot Cajun Dirty Rice too!
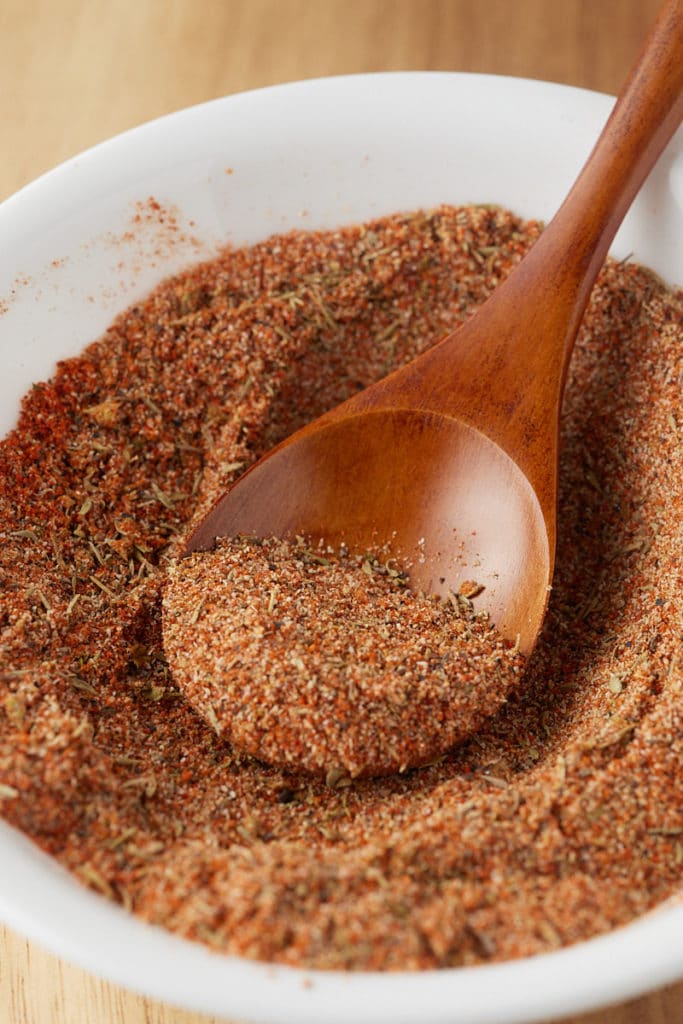
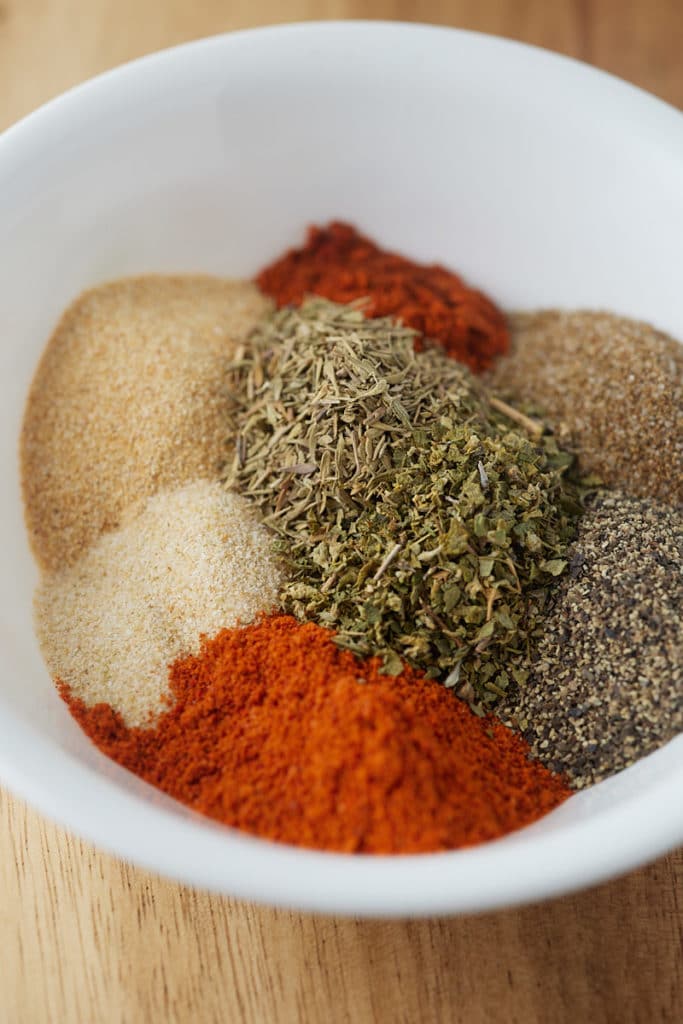
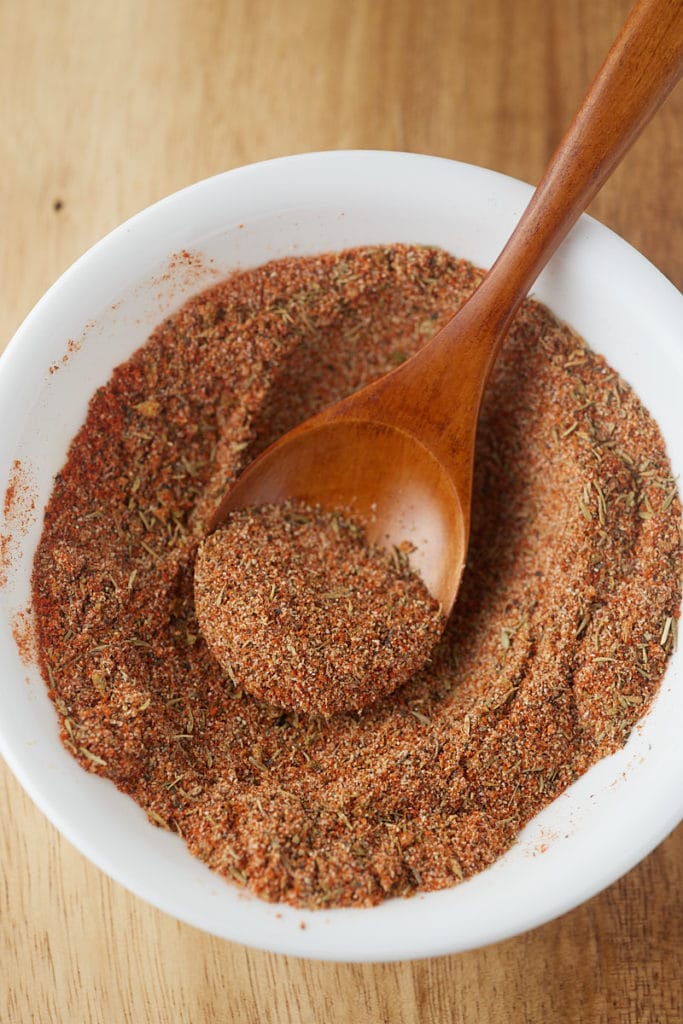
This spice mix originates from Louisiana. Everyone has their own favorite combinations, but it generally consists of paprika, cayenne, garlic powder, pepper and oregano. You can buy it in stores ready made, but it's so much more flavorful when you make your own. You likely already have these spices in your pantry too.
Cajun seasoning is spicy as it contains cayenne, so it does have a kick to it. It's easy to adjust the ingredients to suit your tastes though, if you prefer it milder, you can half the amount of cayenne, and if you have a very low tolerance you can omit it, you'll still be left with a delicious spice blend.
Use this seasoning as you would any other. Use it as a rub for pork, chicken, seafood, and steak, or stir it into pasta, stews, beans, or even salads for a burst of flavor. It's wonderful when sprinkled over Air Fryer French Fries instead of salt and pepper!
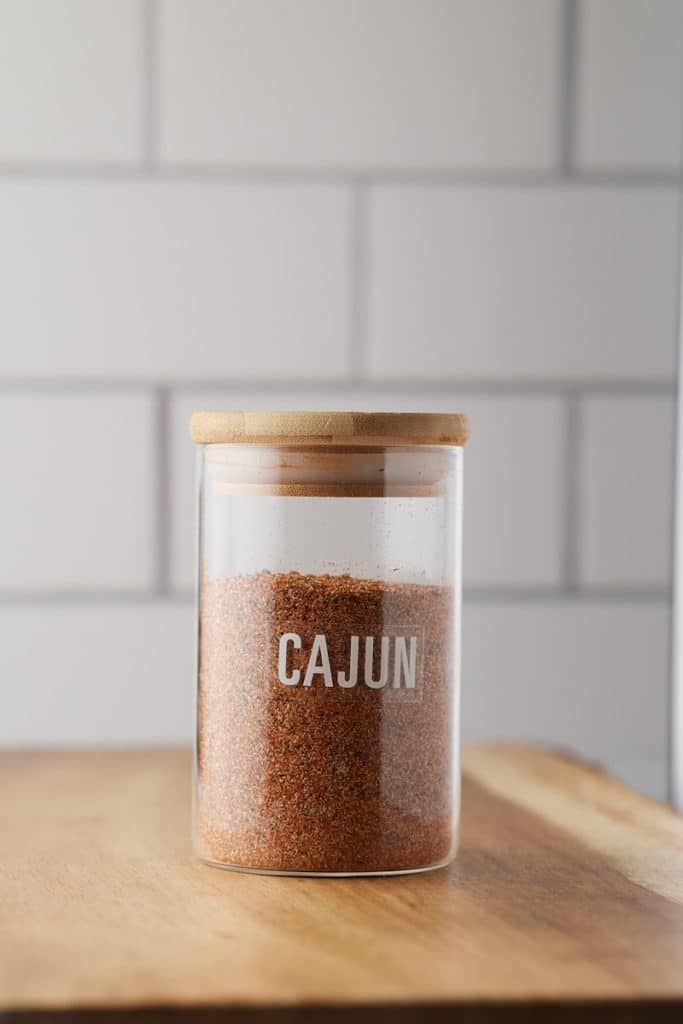
Perfect for a quick breakfast or a lazy Sunday brunch, classic French toast is so easy to make in your air fryer. Perfectly sweet, this family-friendly recipe is best served with lashings of maple syrup!
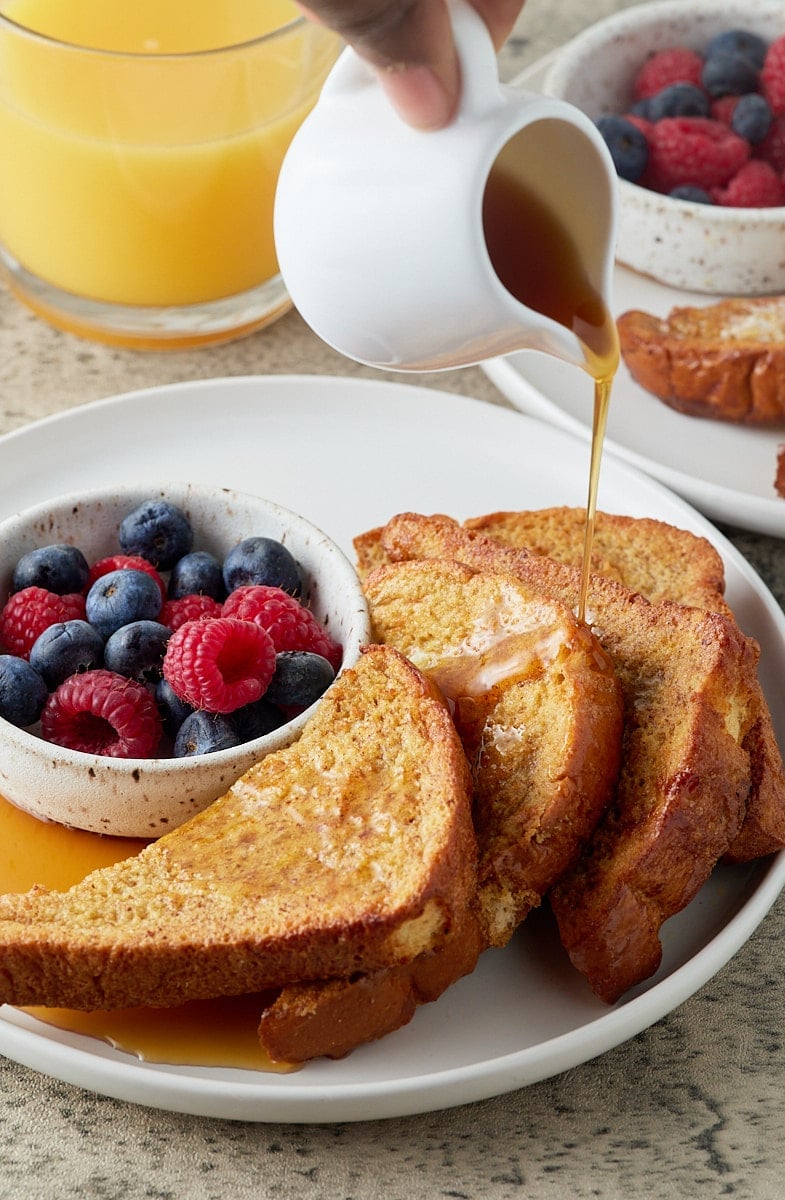
This post contains affiliate links, please read my full disclaimer here.
You’ll find the full recipe with ingredient amounts and instructions in the recipe card at the bottom of this post. Be sure to check out the blog post itself for extra tips and tricks!
I have always had a soft spot for French toast, and I'm now addicted to this air fryer recipe! I know, I know...french toast is easy enough in a skillet. But hey, sometimes the skillet just isn't available or the results aren't consistent. Whatever the need, french toast in the air fryer is mighty easy to make.
This recipe makes enough for 2 servings, about a slice and a half each serving. The french toast is perfectly crisp on the outside thanks to the high-powered heat of the air fryer.
Made with brioche bread and seasoned with vanilla and cinnamon, this delicious recipe is ready to serve in less than 15 minutes. Perfect for a family weekend breakfast or brunch, French toast has never been easier to make!
Be sure to try my Air Fryer Granola and these other Delicious Air Fryer Breakfast Recipes!
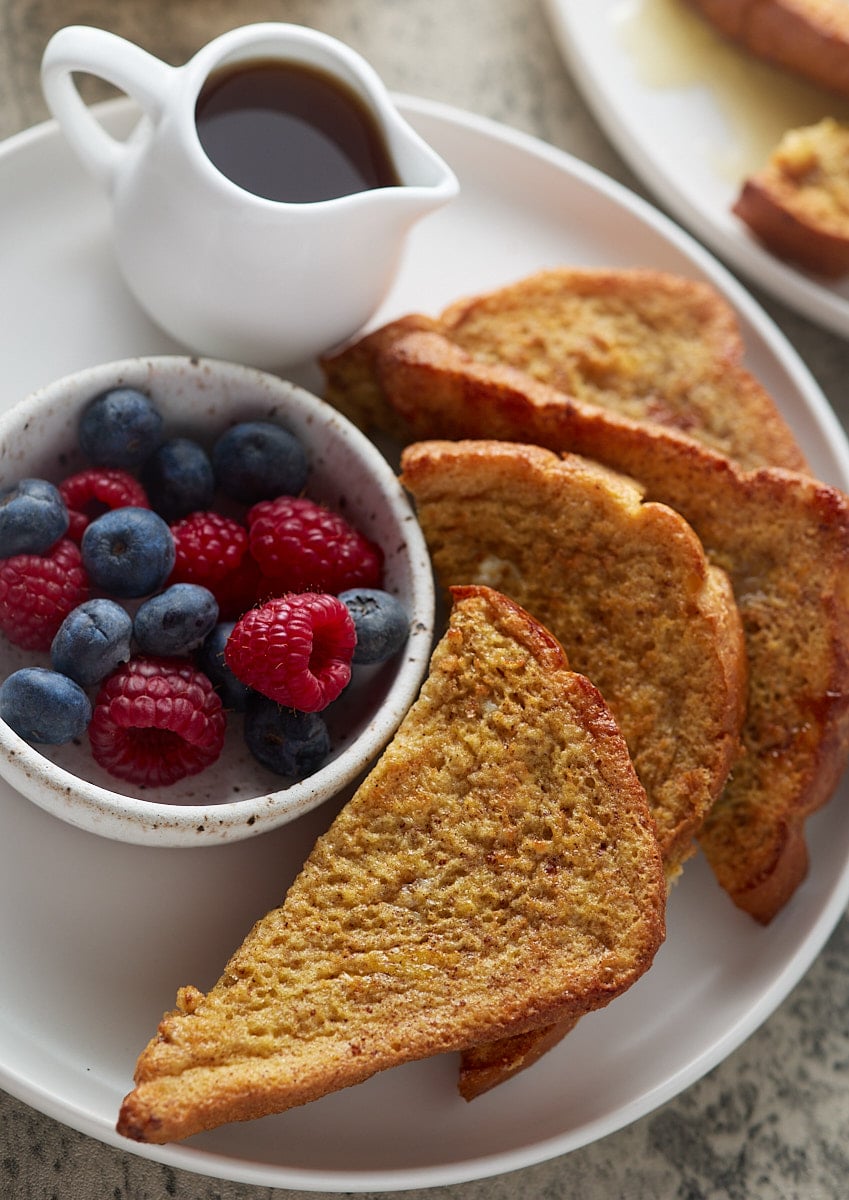
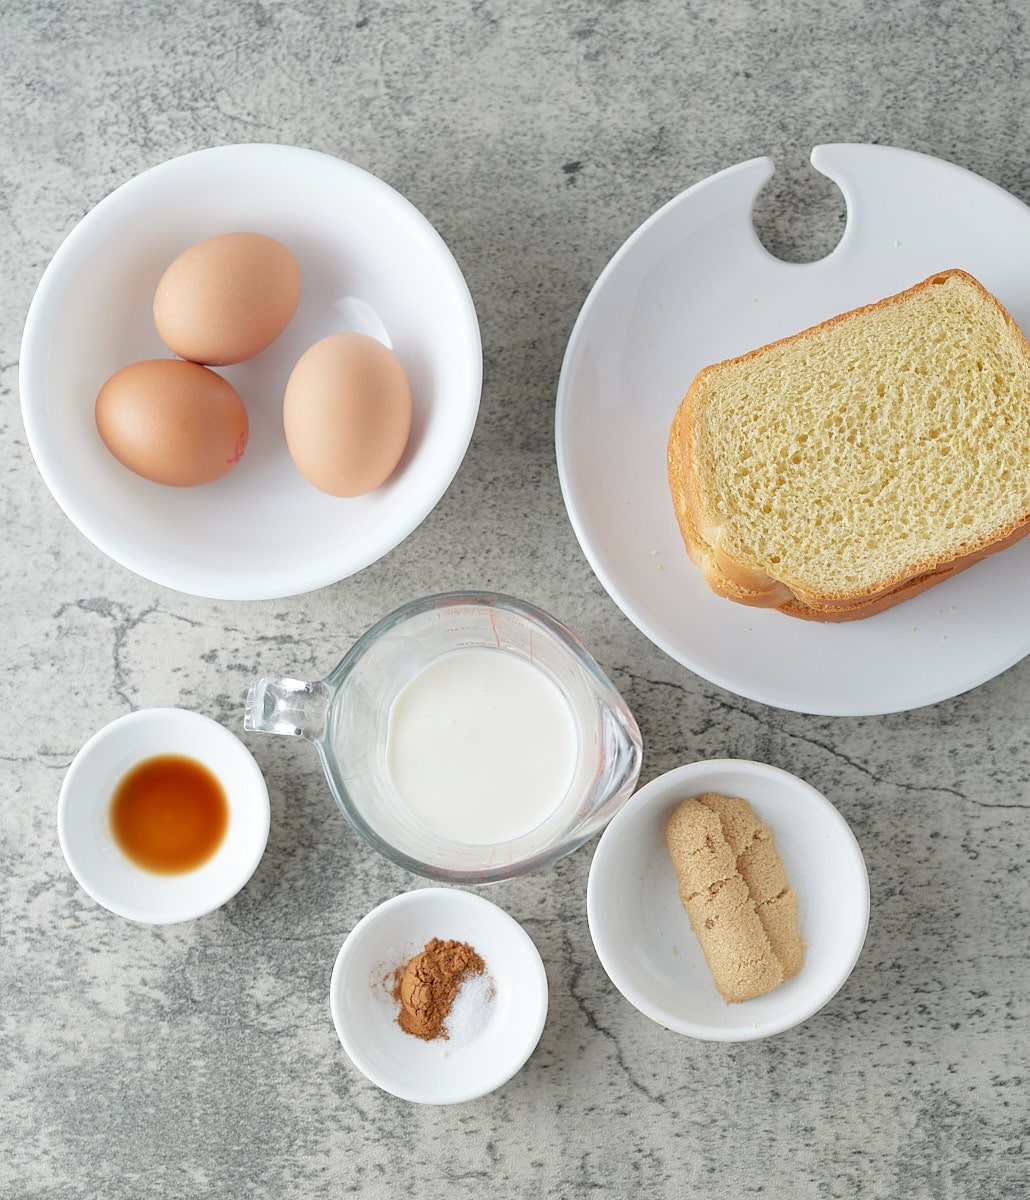
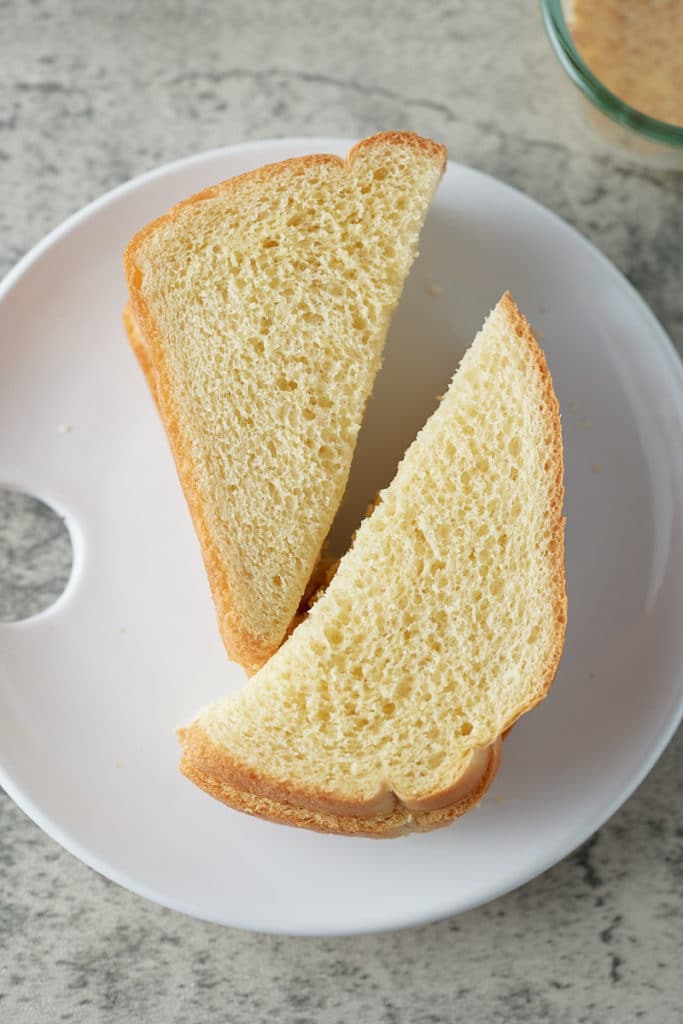
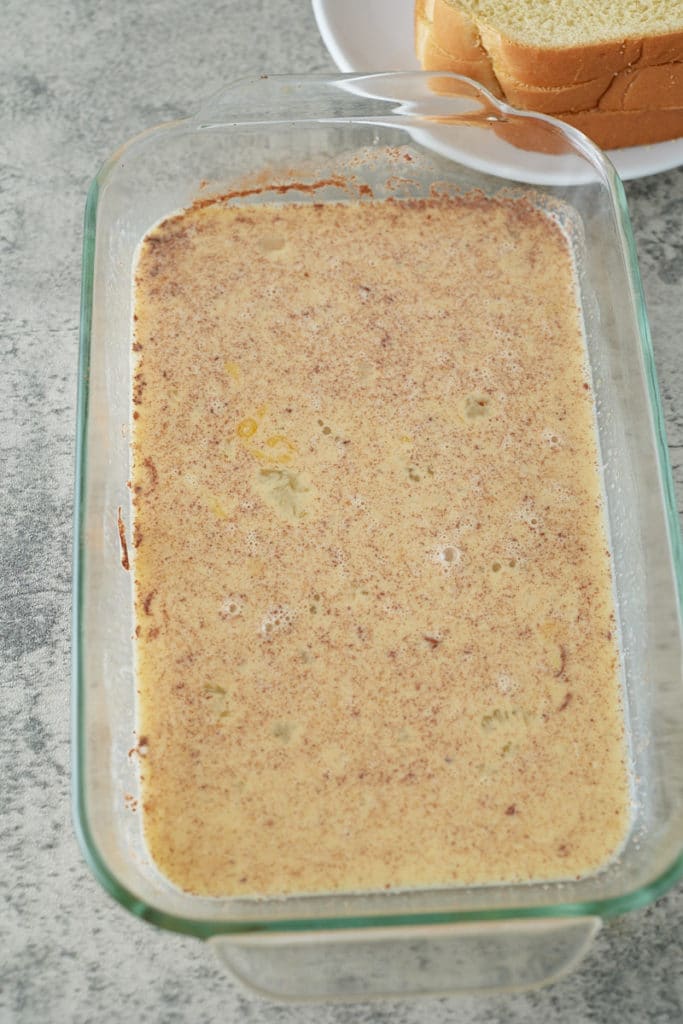
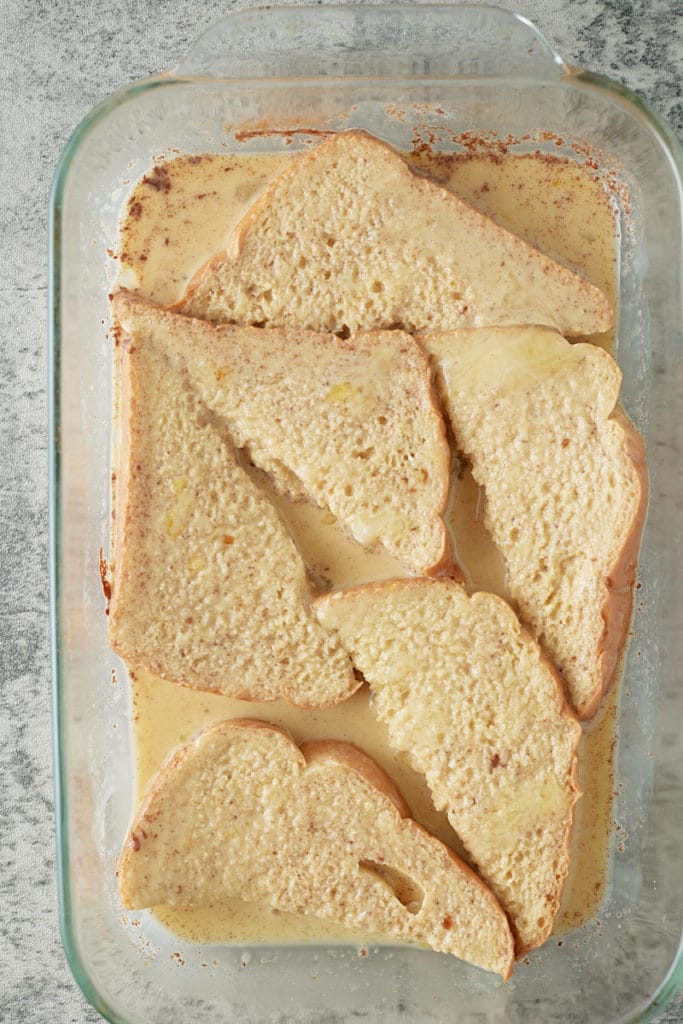
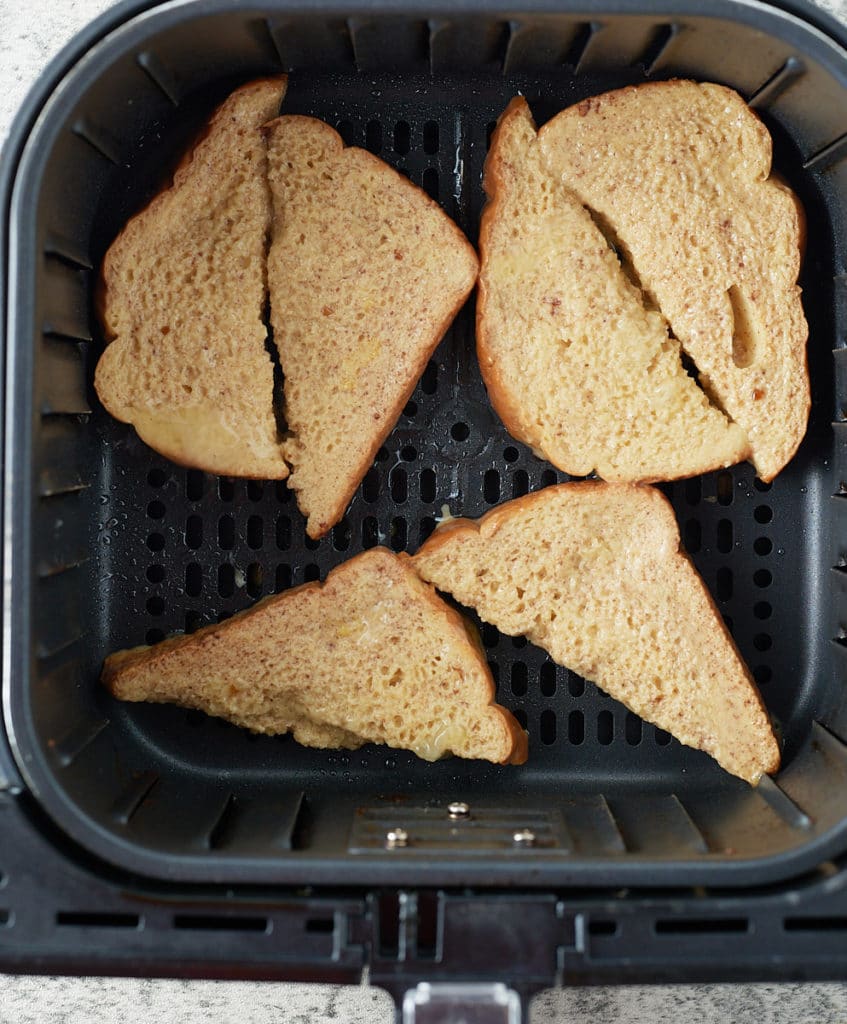
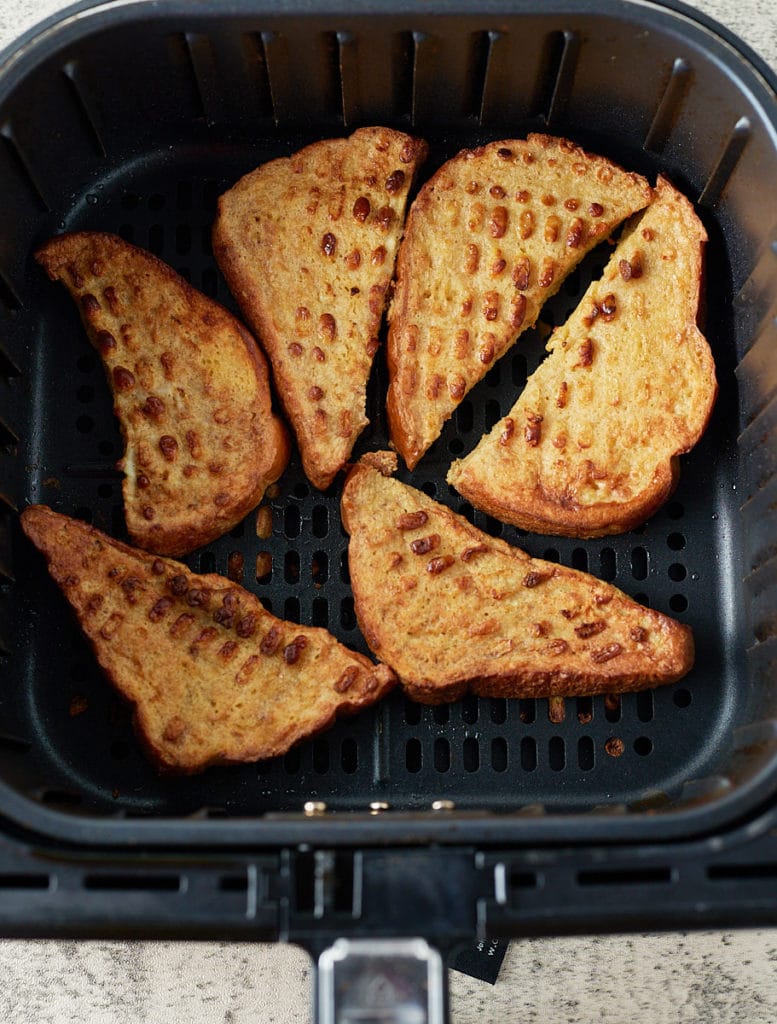
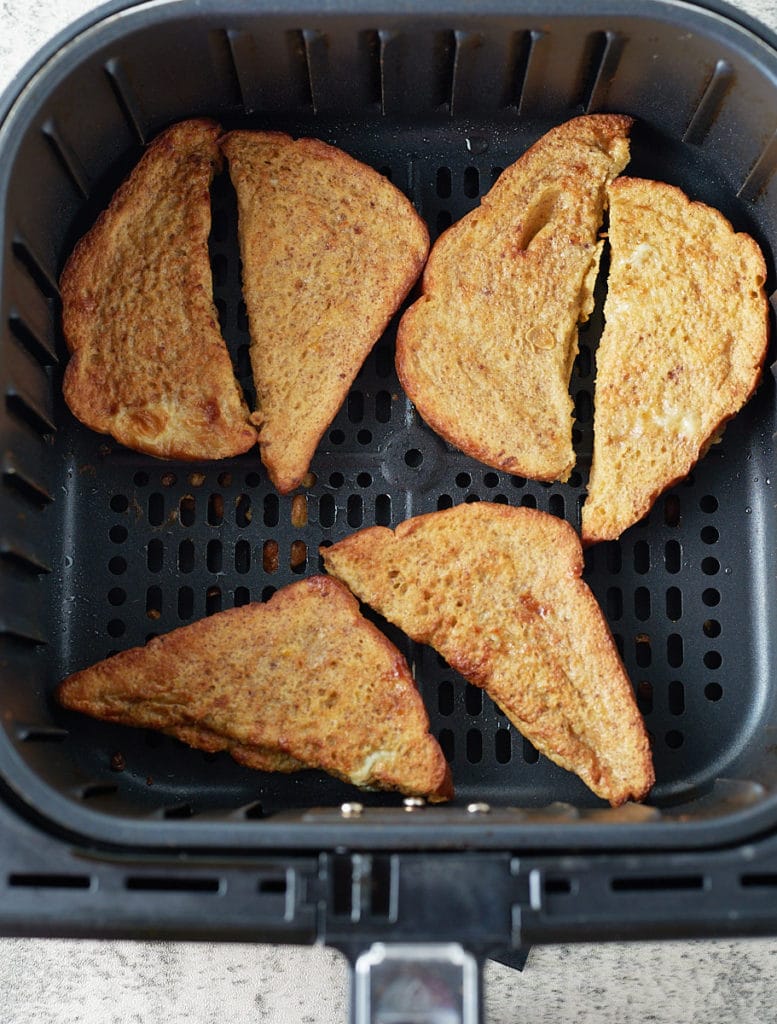
I love to make French toast with sliced brioche bread. It's slightly sweet and it really soaks up the egg mixture for that delicious custardy taste and texture. Most thickly sliced bread will work great, if you use a denser bread like sourdough, you will need to soak it for a little longer in the egg mixture. It's best to use bread that is a day or two old rather than fresh as it will be drier and will soak up more of the custard.
I do find that cooking French toast in a skillet on the stovetop can be a bit hit and miss. The skillet may not be quite hot enough, or too hot, which can lead to uncooked middles and burnt outsides. This method takes all of the guesswork out and results in the most perfect French toast to serve and enjoy.
I can't resist eating my French toast as soon as I've made it, but if you are planning to serve this as a quick breakfast later in the week, or a serving to a crowd, then freezing is a great option. Make the French toast in the air fryer and let it cool completely. Freeze in an airtight container with parchment separating the layers and it will keep well for up to 3 months. Cook it right from frozen in the air fryer at 400F for 3 minutes on one side and 2 minutes on the other for a super quick breakfast option.
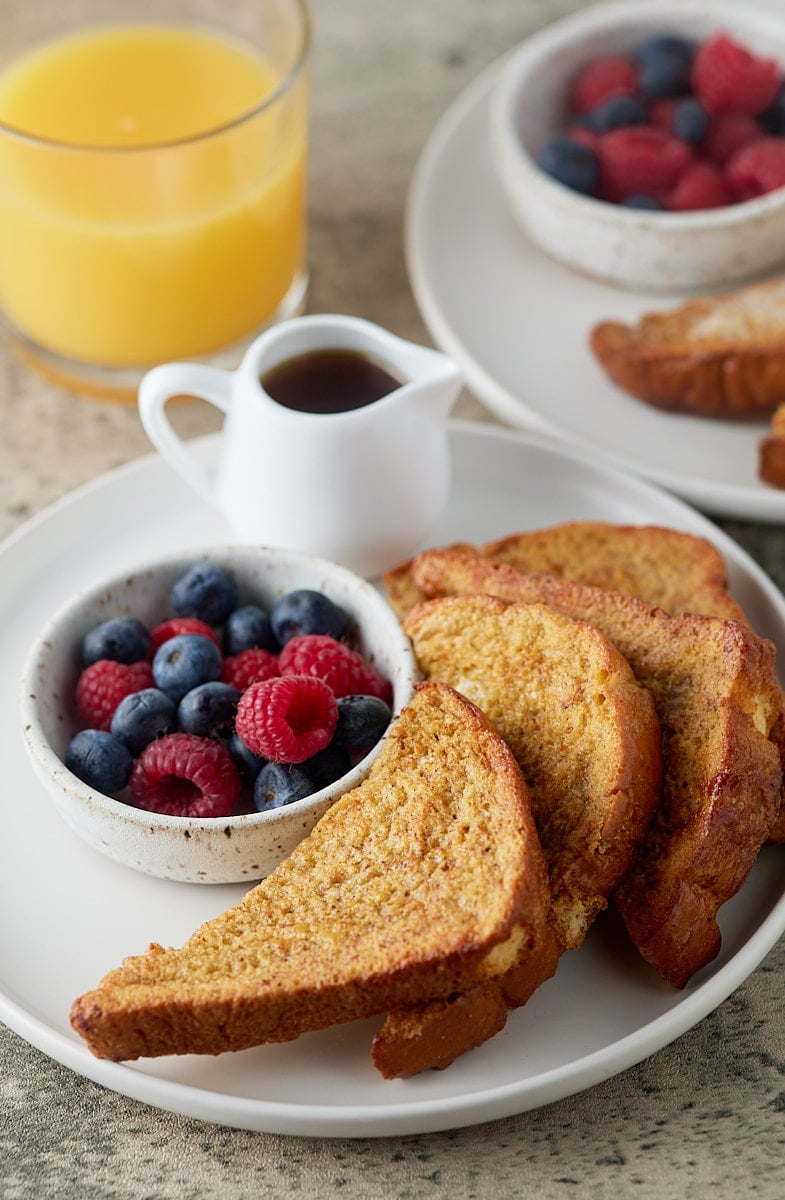
Watch this video tutorial and see how I make this french toast from start to finish.
These air fryer Thanksgiving recipes will make cooking on the big day so easy! Find a wide range of appetizers, mains, sides, and desserts that are simple to cook and are true crowd-pleasers. Take the stress out of the day and serve up some extra tasty food to friends and family.
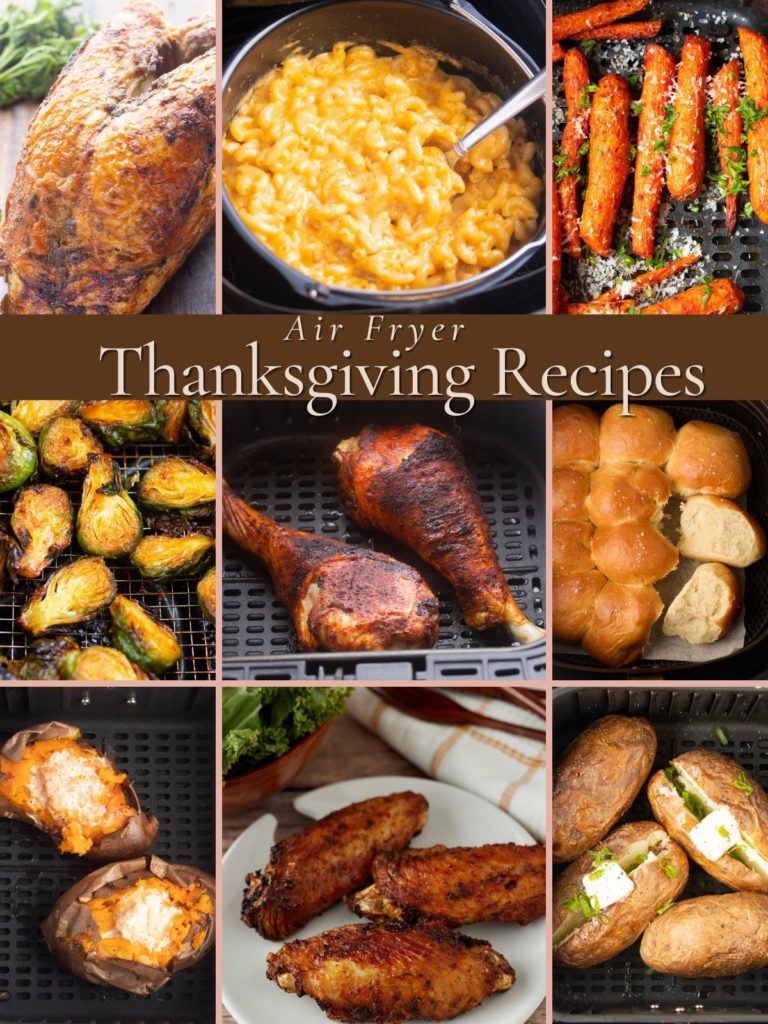
Whether you are planning a large Thanksgiving feast or enjoying a smaller celebration with close family this year, I've got you covered with these hassle-free air fryer Thanksgiving recipes.
No matter the number of people you are catering to, it's always a juggle to cook everything in the oven, and that's where our favorite kitchen appliance comes in! The air fryer helps you to free up your oven for the rest of the meal so that everything is cooked and ready to be served at the same time.
Start the day off with some delicious and easy-to-make appetizers and let your air fryer do all the hard work with your main course. While your roasted turkey is resting, you can quickly cook up a side dish, and don't forget the yummy desserts!
With your air fryer, planning and cooking a Thanksgiving menu has never been easier!
Keep hungry mouths happy before the main event with these easy air fryer appetizers.
These Air Fried Macaroni and Cheese Balls are perfect for any day of the week. Air fry them for a healthier version of your favorite appetizer.
These air fryer shishito peppers are such a quick and easy appetizer to make, and they are always a crowd pleaser. Just a couple of ingredients and they are ready to serve in 10 minutes.
If you’re looking for all the tips and tricks to perfect Air Fryer Chicken Wings, I’ve got you covered. Here’s how to make perfectly crispy chicken wings in your Air Fryer from fresh or frozen, sauced or dry-rubbed.
This Air Fryer Bacon Wrapped Chicken is covered in a sweet and spicy rub for a quick and easy appetizer. With only 5 ingredients, this recipe is easy, delicious, and a perfect delicious appetizer.
Cooking the perfect roasted turkey or chicken has never been easier! These easy to make mains will be the star of the show!
This Air Fryer Roasted Turkey Breast is juicy and moist and so easy to make. Use bone-in or boneless turkey breast to make this beautiful golden roasted turkey in less than an hour.
Whether you serve them as part of your Thanksgiving dinner, or as part of a weeknight main meal, these seasoned turkey wings are effortless to make in the air fryer. Ready to enjoy in thirty minutes using just a few basic ingredients.
These Air Fryer Turkey Legs are roasted in the Air Fryer and are nice and crisp on the outside while perfectly juicy on the inside. Take a trip to your favorite fair with this easy recipe.
If turkey isn’t your thing, you have to try this whole roasted chicken this Thanksgiving. Simple and easy to prep, it’s perfectly seasoned, juicy and flavorful. Oven roast or air fry for a show stopping centerpiece during the holidays.
Don't let your side dishes be an afterthought with these delicious air fryer recipes!
You'll impress everyone with these soft and fluffy homemade rolls made right in the air fryer. This small batch of rolls is perfect for smaller gatherings.
These Sweet and Spicy Air Fryer Brussels Sprouts are perfectly cooked in your Air Fryer. Toss them in a Korean Gochujang sauce for the perfect vegetable side dish.
This Creamy Air Fryer Mac and Cheese is made in your Air Fryer and you do not have to boil the noodles first. It’s a delicious side dish that can be made in your Air Fryer in about 20 minutes.
These Air Fryer Sweet Potatoes are crispy on the outside and soft and fluffy on the inside. Top them with a delicious hot honey butter for the perfect side dish.
These Air Fryer Carrots are perfectly roasted in your Air Fryer. Make them sweet or savory, whichever you prefer, in less time than it takes to roast them in the oven.
These Air Fryer Baked Potatoes are perfectly crispy on the outside and fluffy on the inside. They are the perfect side dish to prepare in your Air Fryer that will be ready in less than an hour.
These tasty air fryer desserts are the perfect way to finish the day!
When it comes to S’mores, you don’t need a campfire when you have an Air Fryer. Here’s how to make Indoor S’mores in an Air Fryer.
These Air Fryer Brownies are perfect for when you want a small batch of delicious brownies and don’t want to turn on the oven. They are made from scratch and are the perfect mix between fudgy and cakey brownies.
These easy air fryer recipes will make your Thanksgiving extra special and a lot less stressful! Let me know what your favorite recipe is!
Whip up some delicious homemade dinner rolls quickly and easily in your air fryer. These dinner rolls are so light and fluffy, and take less time to bake compared to the oven. The perfect bread side for any meal, and a must have for Thanksgiving!
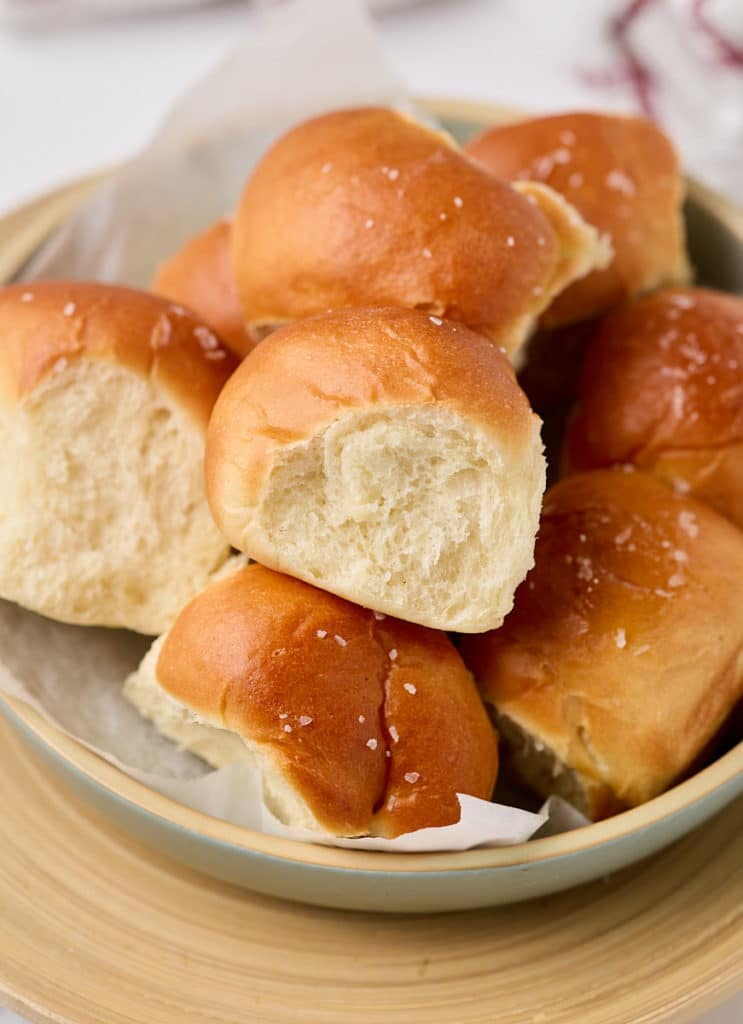
This post contains affiliate links, please read my full disclaimer here.
You’ll find the full recipe with ingredient amounts and instructions in the recipe card at the bottom of this post. Be sure to check out the blog post itself for extra tips and tricks!
No Thanksgiving or holiday meal is complete without some light and fluffy dinner rolls, and they are a breeze to make in the air fryer!
Made from scratch, these bread rolls are a wonderful addition to any dinner and because they are baked in the air fryer they are ready in a fraction of the time and it frees up your oven. You'll notice that this recipe for dinner rolls uses less flour than most. That way your air fryer can hold all the dough.
You'll also notice that this recipe uses no egg. After testing multiple roll recipes and batches, we found that these dinner rolls just didn't need it. They're perfectly delicious, fluffy, and buttery.
Make them ahead of time and be sure to make a double batch to freeze, they really are delicious!
Be sure to try my Honey Whole Wheat Dinner Rolls and Vegan Dinner Rolls too!
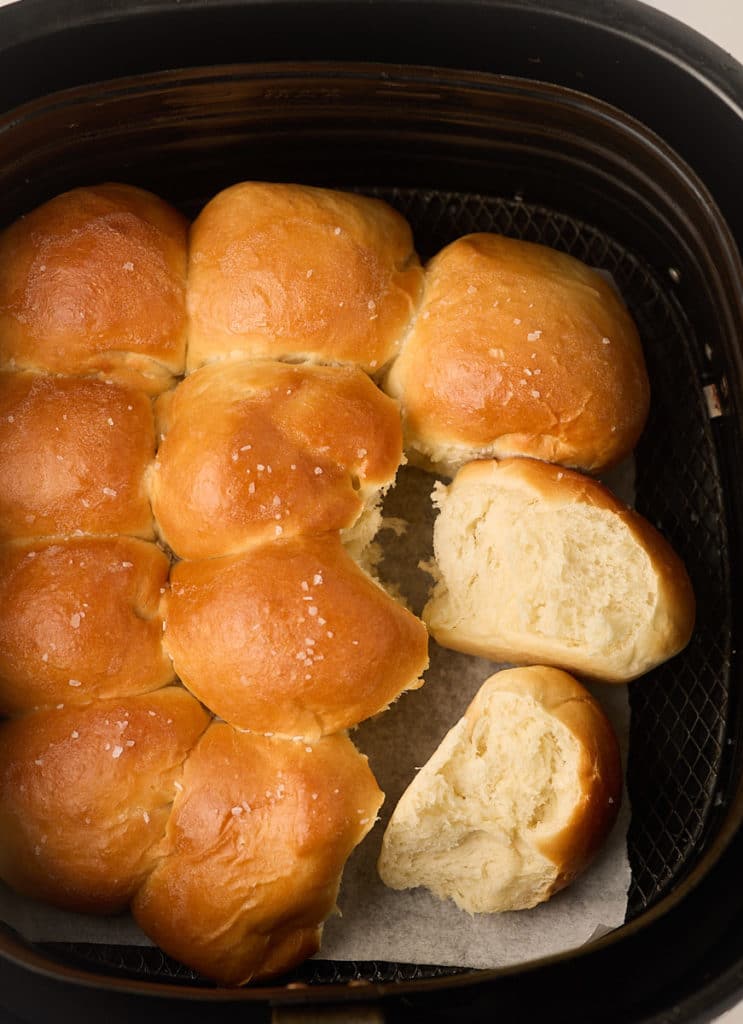
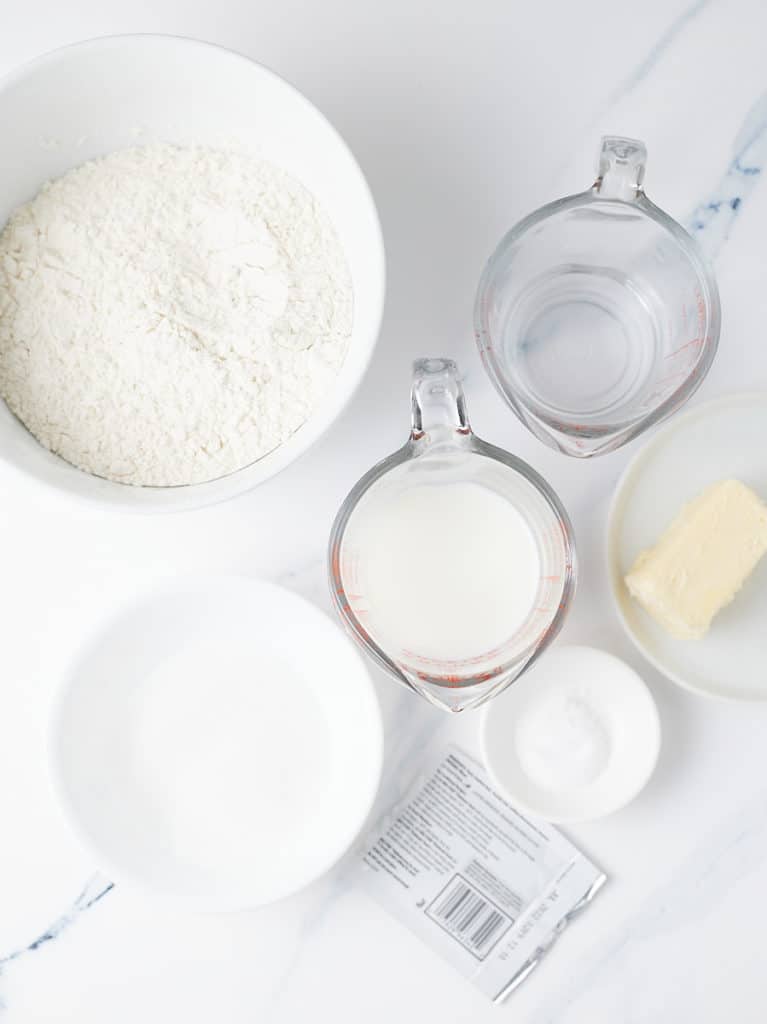
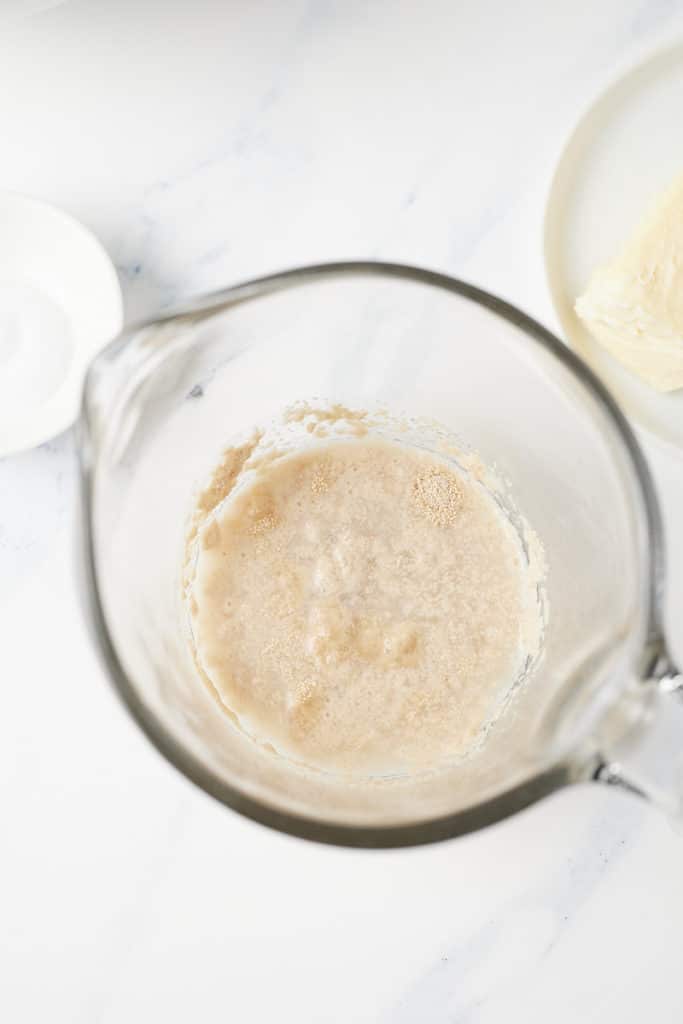
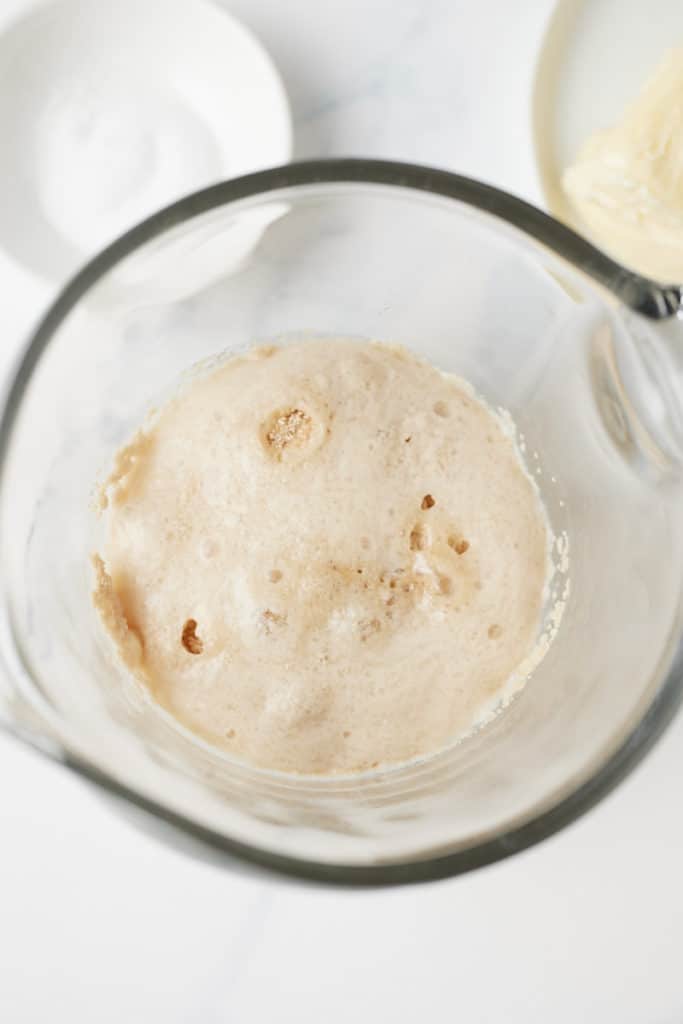
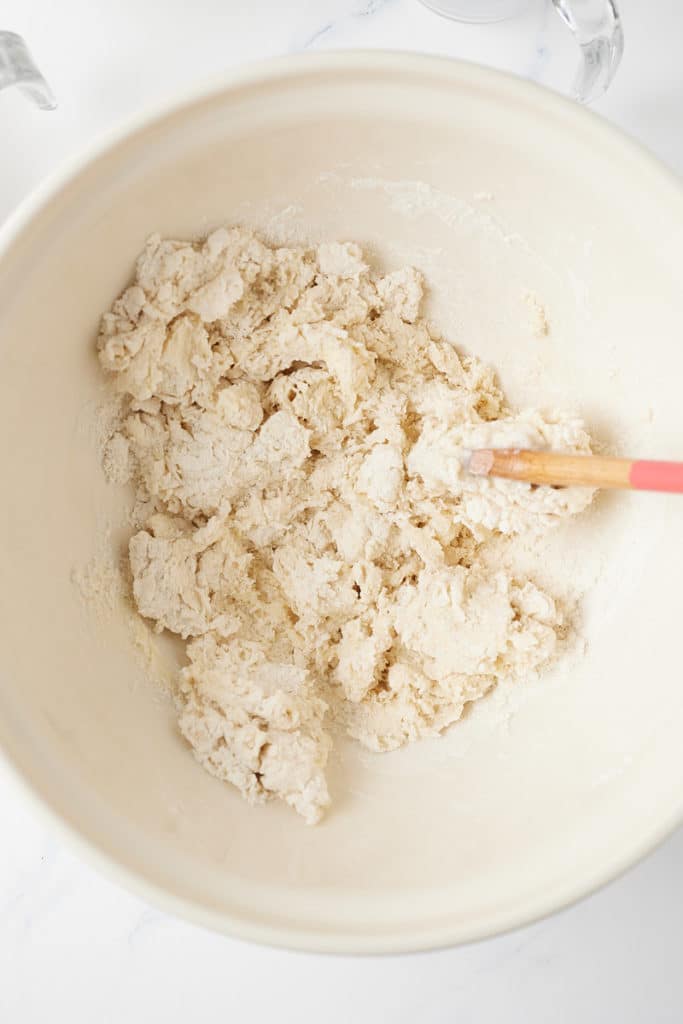
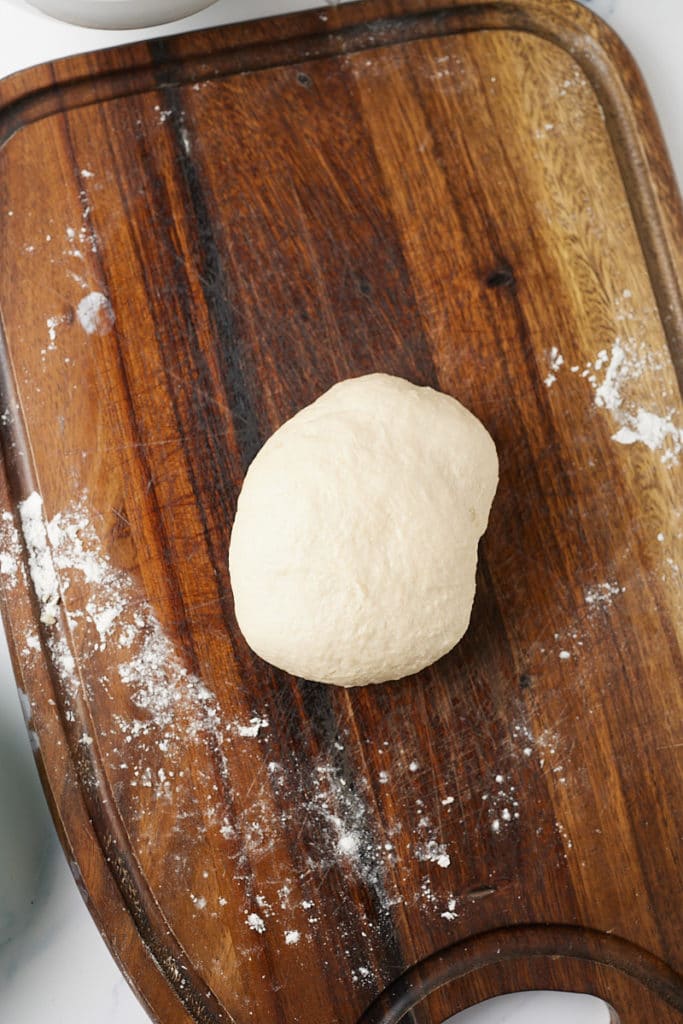
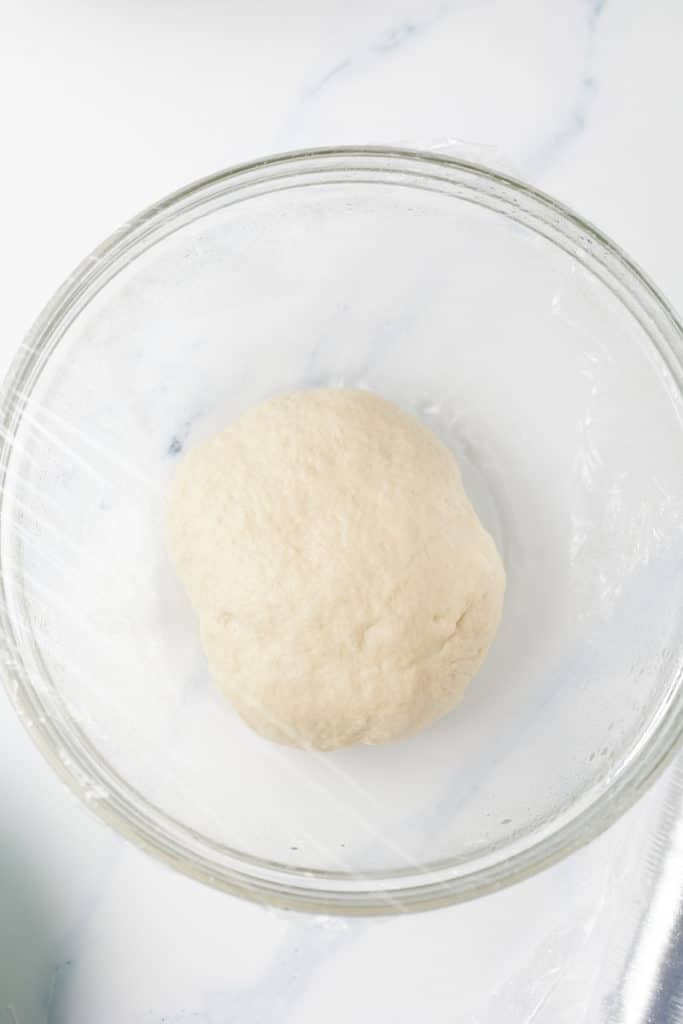
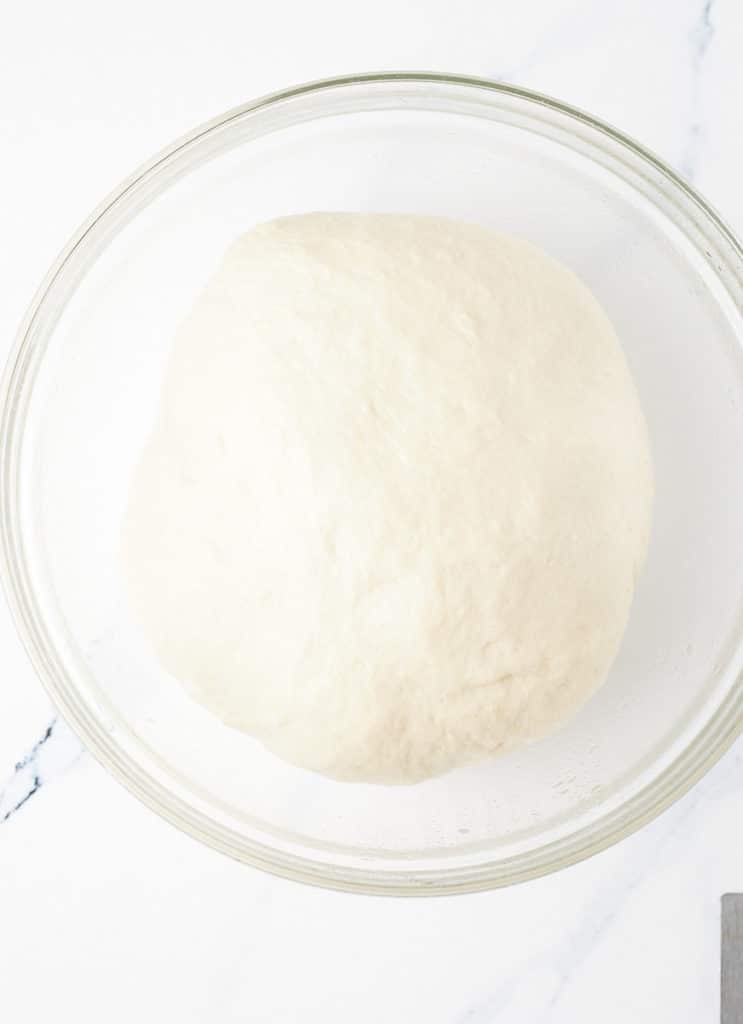
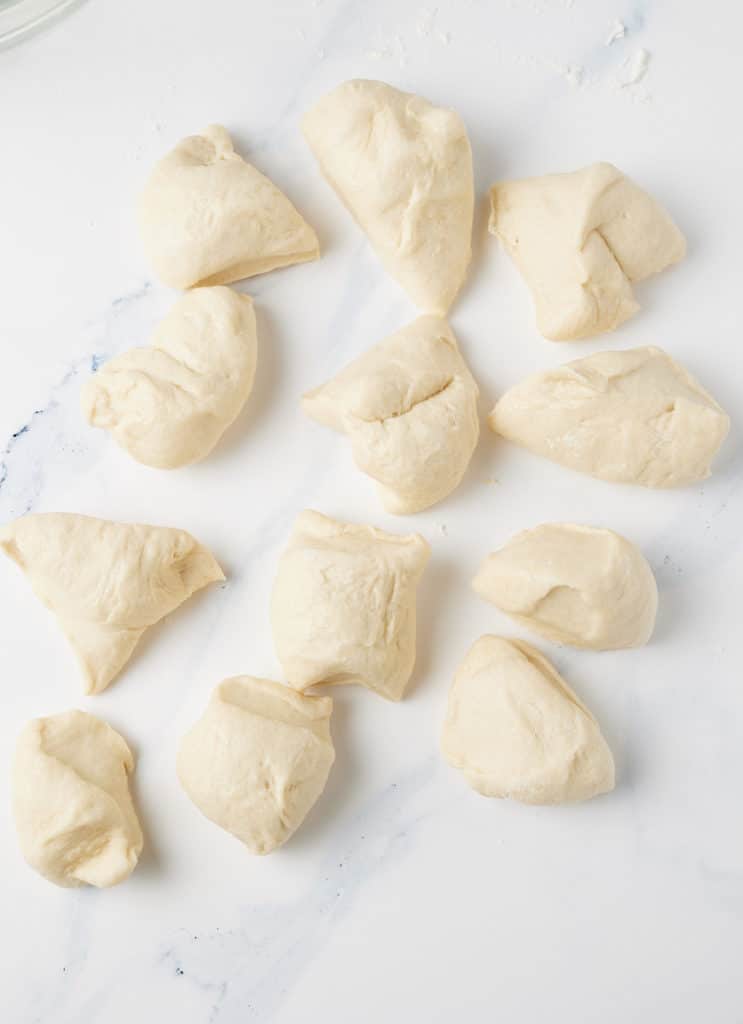
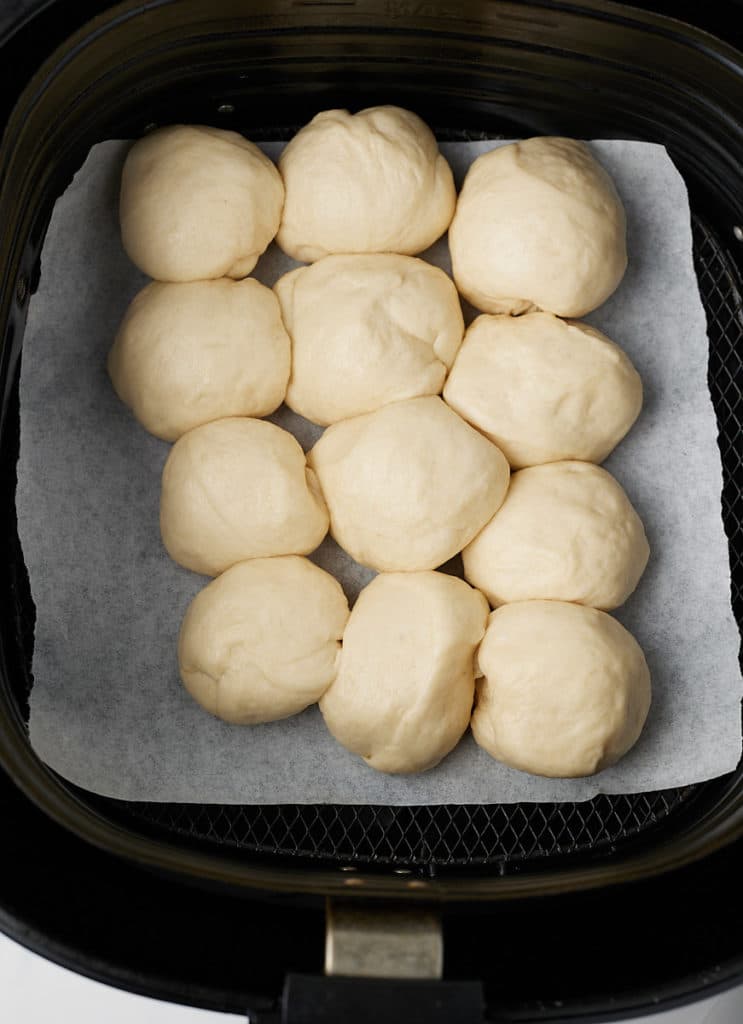
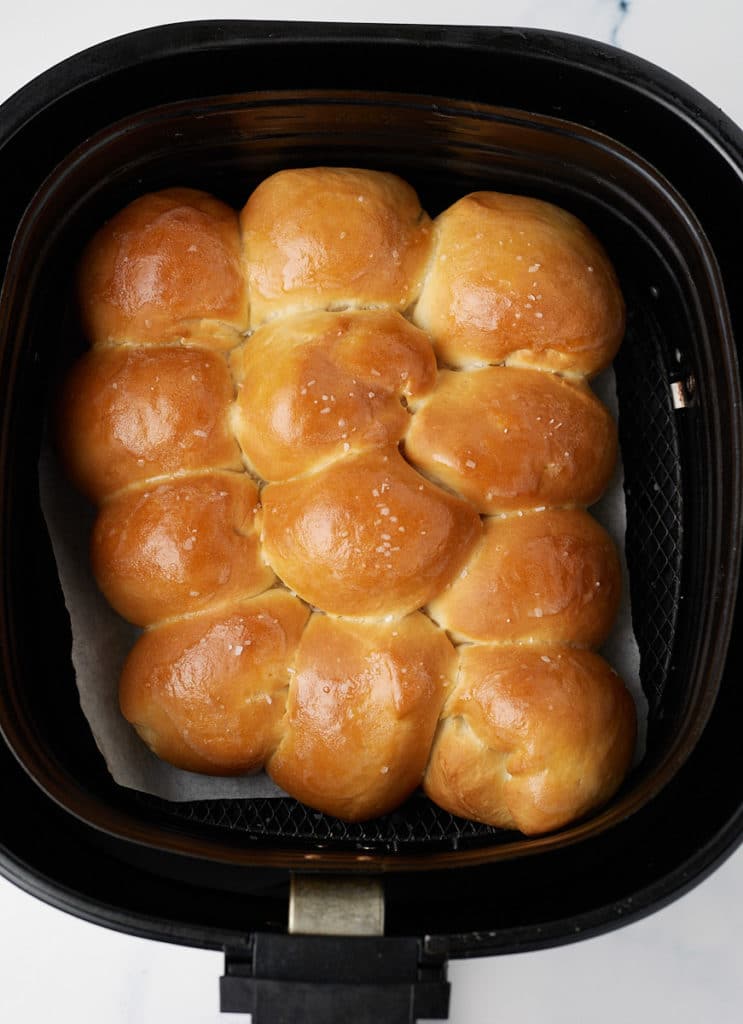
You can of course enjoy these dinner rolls straight away, but they are a great option to make ahead of time so they're ideal for Thanksgiving and Christmas. Let the rolls cool fully before transferring them to an airtight container. They will keep well at room temperature for 4 to 5 days, I don't recommend storing them in the fridge as this can dry them out. You can serve them at room temperature or warm them through in the air fryer at 360F for a minute or two.
Yes! These freeze really well and will keep for up to 6 months. Be sure to wrap them well in plastic wrap and then place them in a freezer bag to protect them from freezer burn. You can thaw them at room temperature for a couple of hours before serving. Thaw them on a rack so that they don't get soggy when they defrost.
These air fryer dinner rolls are the perfect bread side dish to serve up with your Thanksgiving or holiday dinner, they are also great for everyday use served with soups and chilis. Try them alongside my other favorite Thanksgiving recipes:
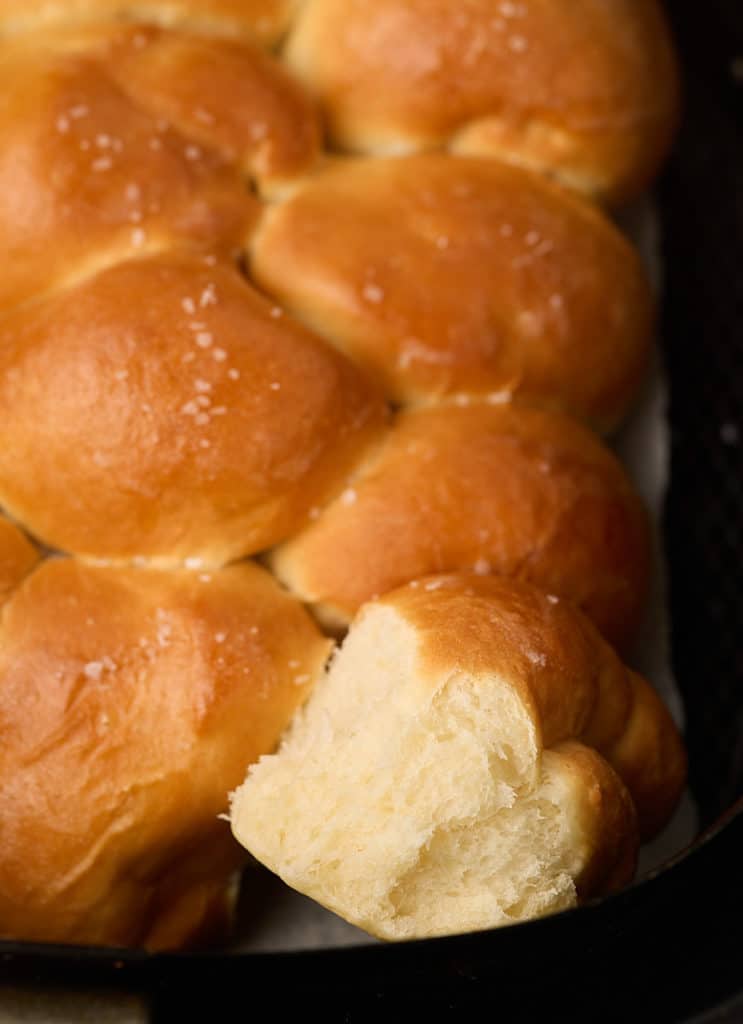
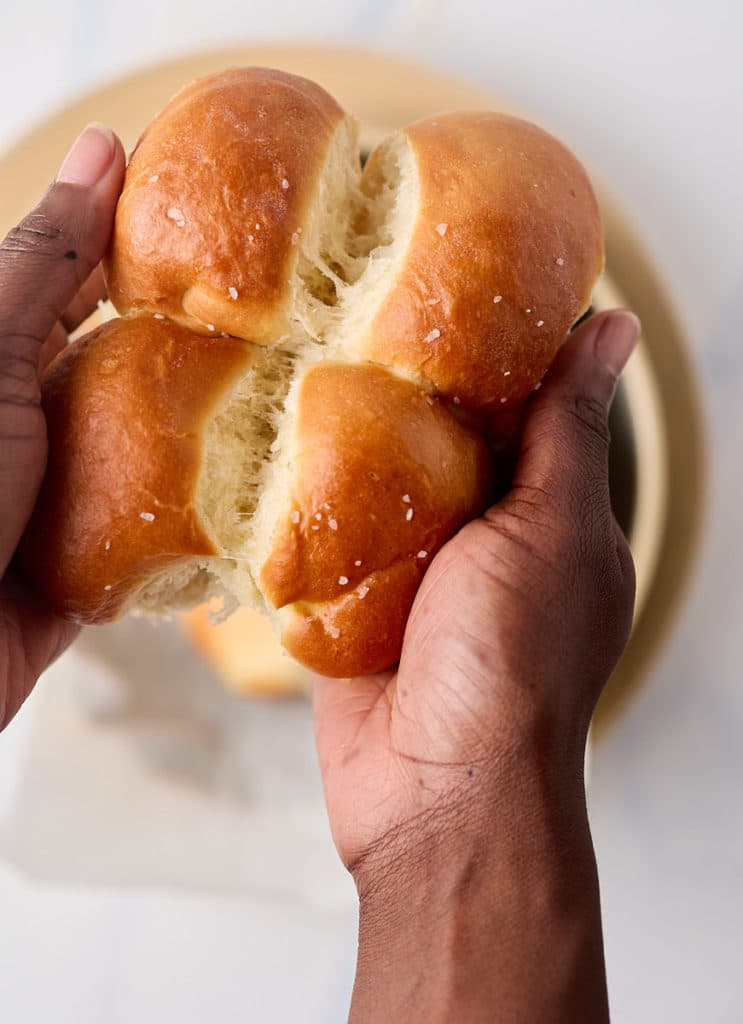
Topped with a cream cheese glaze, this sweet potato bundt cake is perfectly spiced and deliciously sweet. Simple to make, it's a great addition for your Thanksgiving menu with it's wonderful warming flavors.
This post contains affiliate links, please read my full disclaimer here.
You’ll find the full recipe with ingredient amounts and instructions in the recipe card at the bottom of this post. Be sure to check out the blog post itself for extra tips and tricks!
This sweet potato bundt cake is a wonderful way to mix up your Thanksgiving desserts, but it can easily be enjoyed throughout the year!
Spiced with cinnamon, ginger and cloves, sweet potato puree is mixed into the batter resulting in a perfectly moist bundt cake.
Finished with a sweet cream cheese glaze, this is a delicious occasion cake that everyone will love. I love that it's easy to make too!
Be sure to try my Orange Poppy Seed Bundt Cake and Pumpkin Cake too!
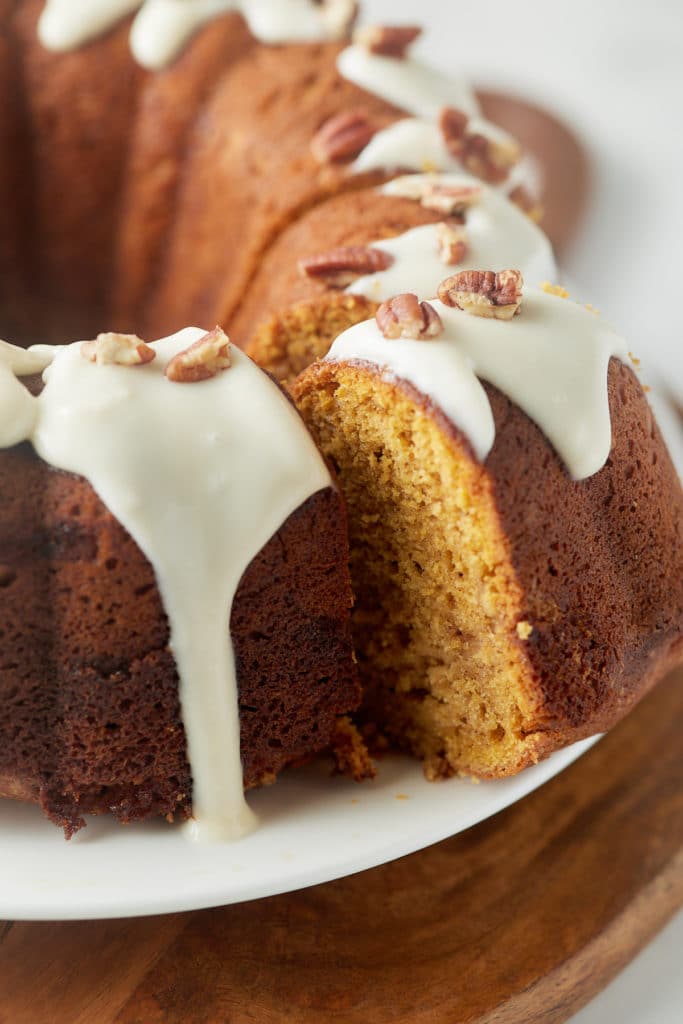
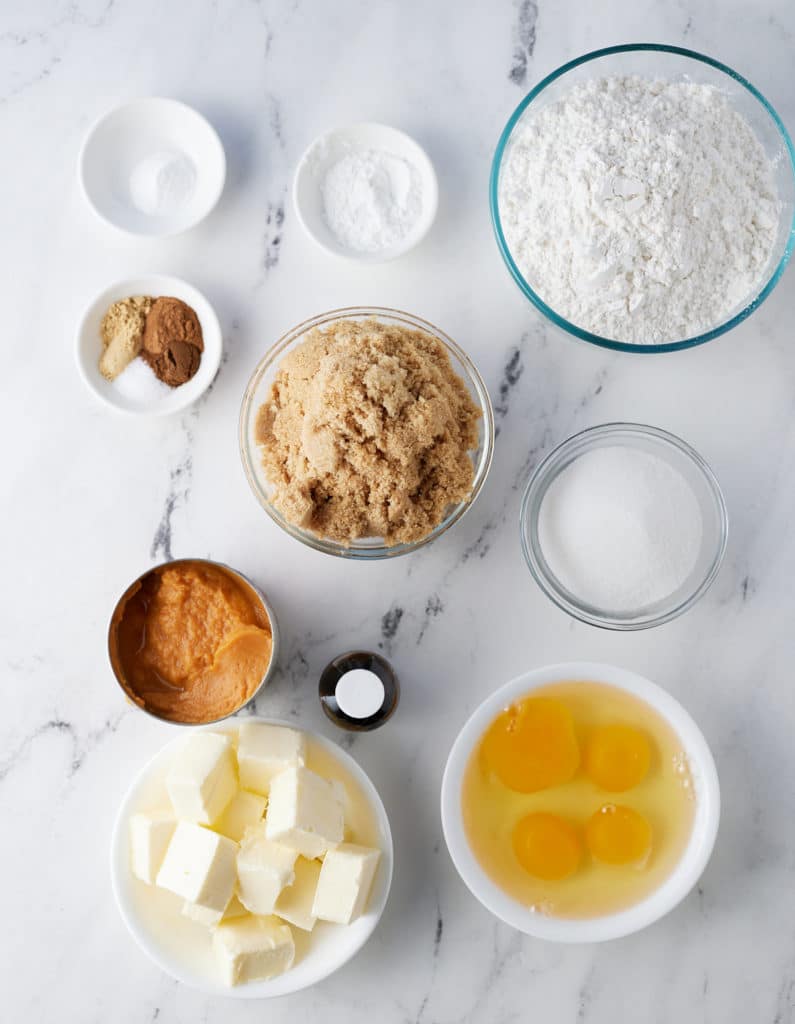
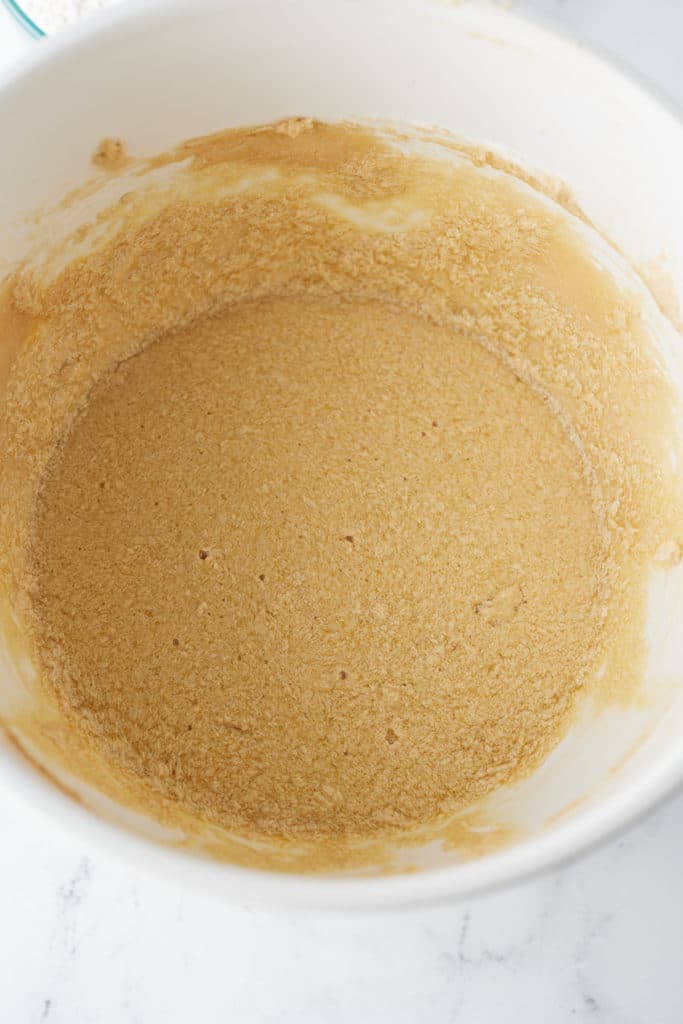
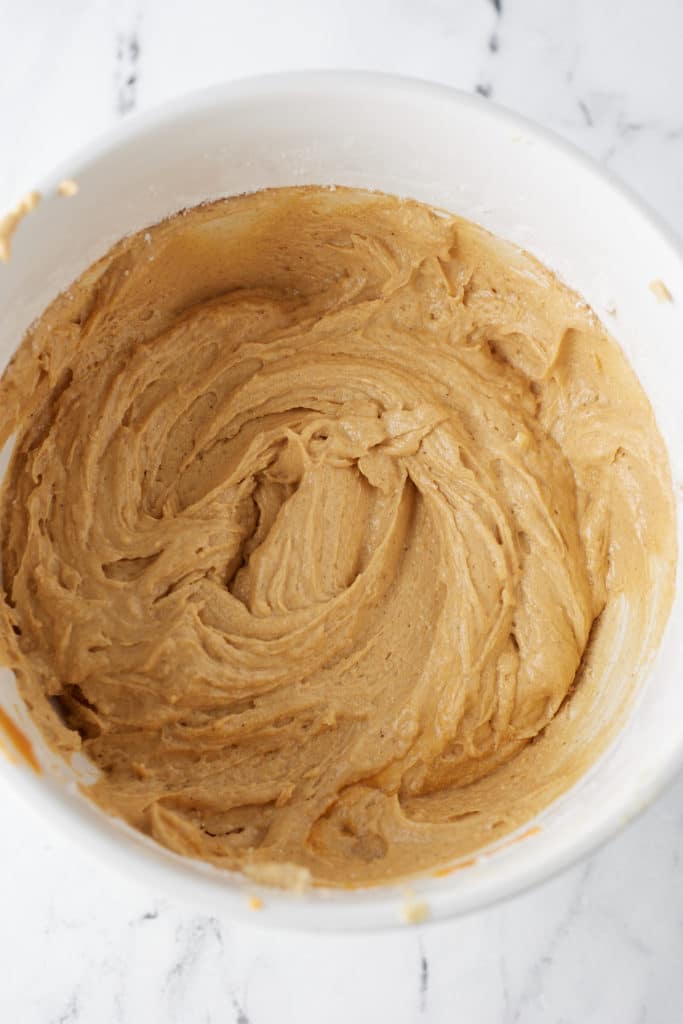
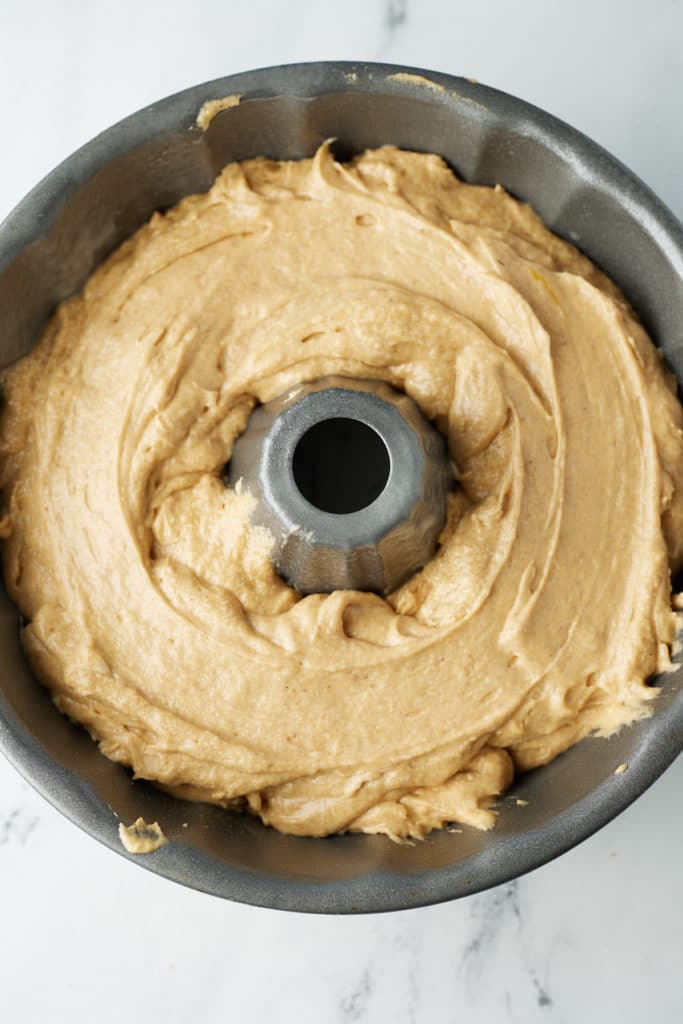
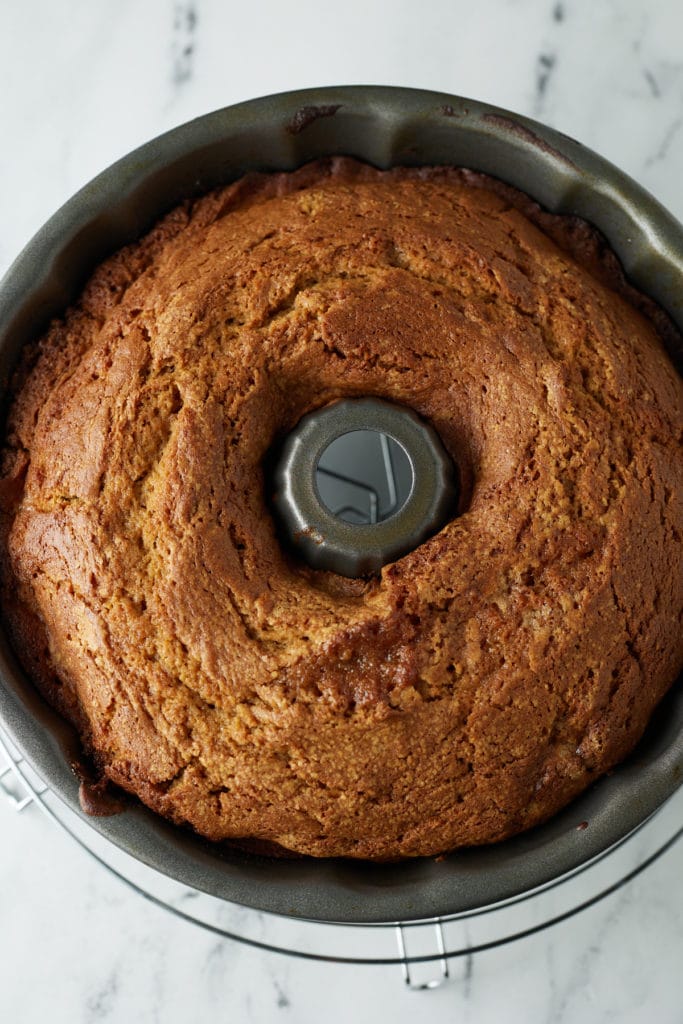
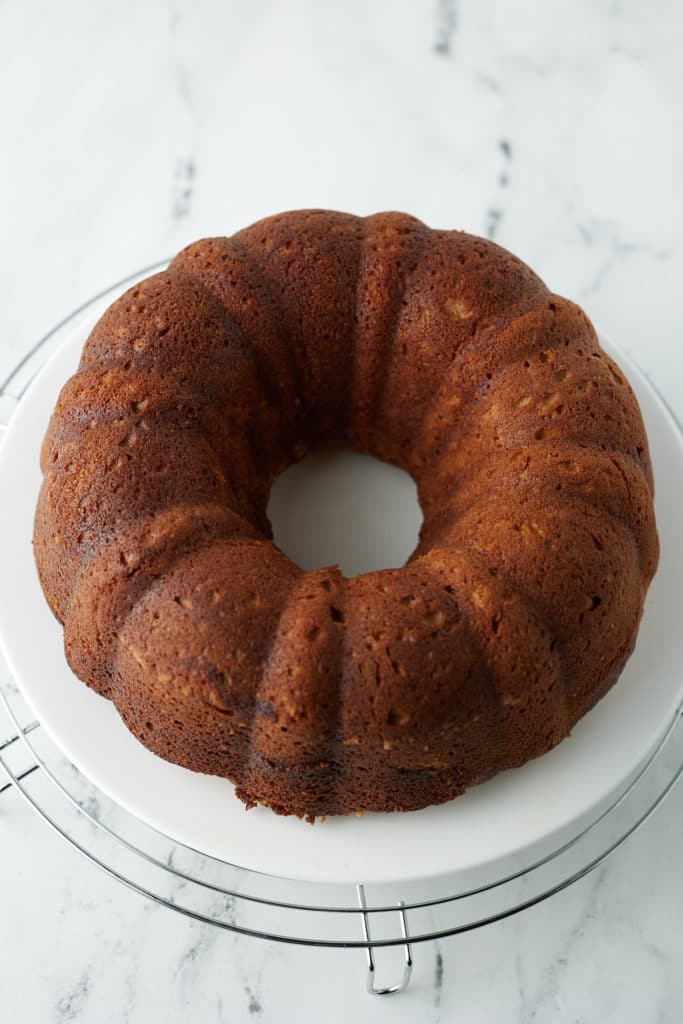
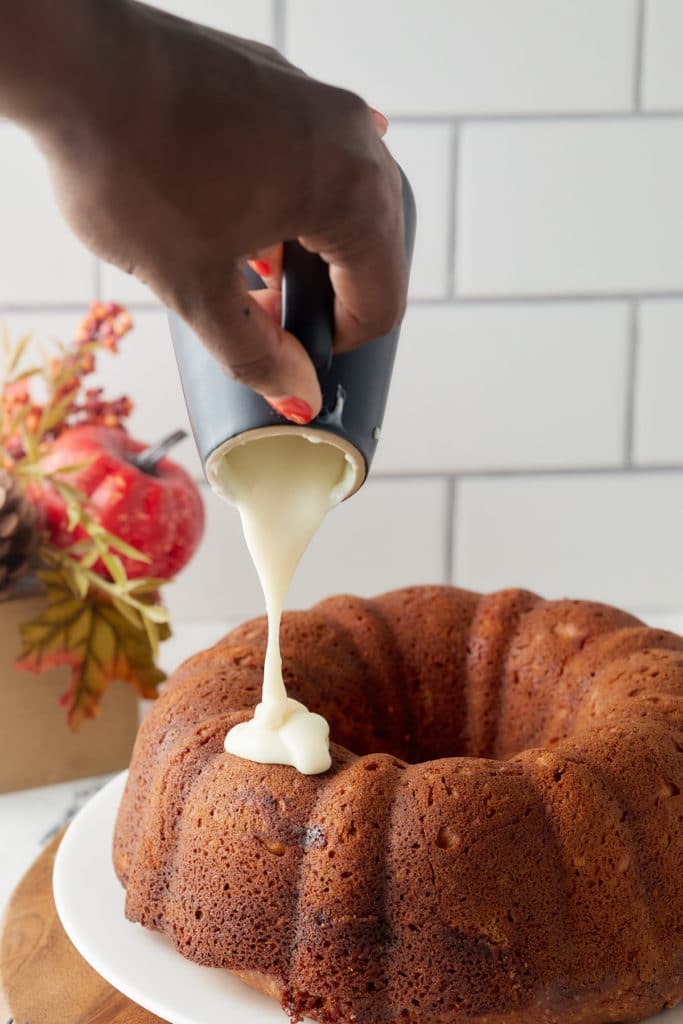
Yes! You can easily make your own puree if you have lots of sweet potatoes to hand! Roast them in the oven and then scoop out the flesh. Process until nice and smooth. If you make your own puree, then be sure to let it cool fully before mixing in with the other ingredients.
This sweet potato bundt cake will keep well covered and at room temperature for 3 to 4 days, so it's a great make-ahead option for the holidays. If you plan on making it ahead of time, it's best not to glaze it straight away, as once frosted, it will need to be kept refrigerated and this can dry it out a little quicker.
This cake will freeze well for up to 3 months. You can freeze it with the glaze, but I find the best results are freezing it without, plus it's easier to store this way. Wrap the cooled cake tightly in foil and plastic wrap to protect it from freezer burn. Thaw the cake at room temperature or in the fridge overnight before glazing and serving.