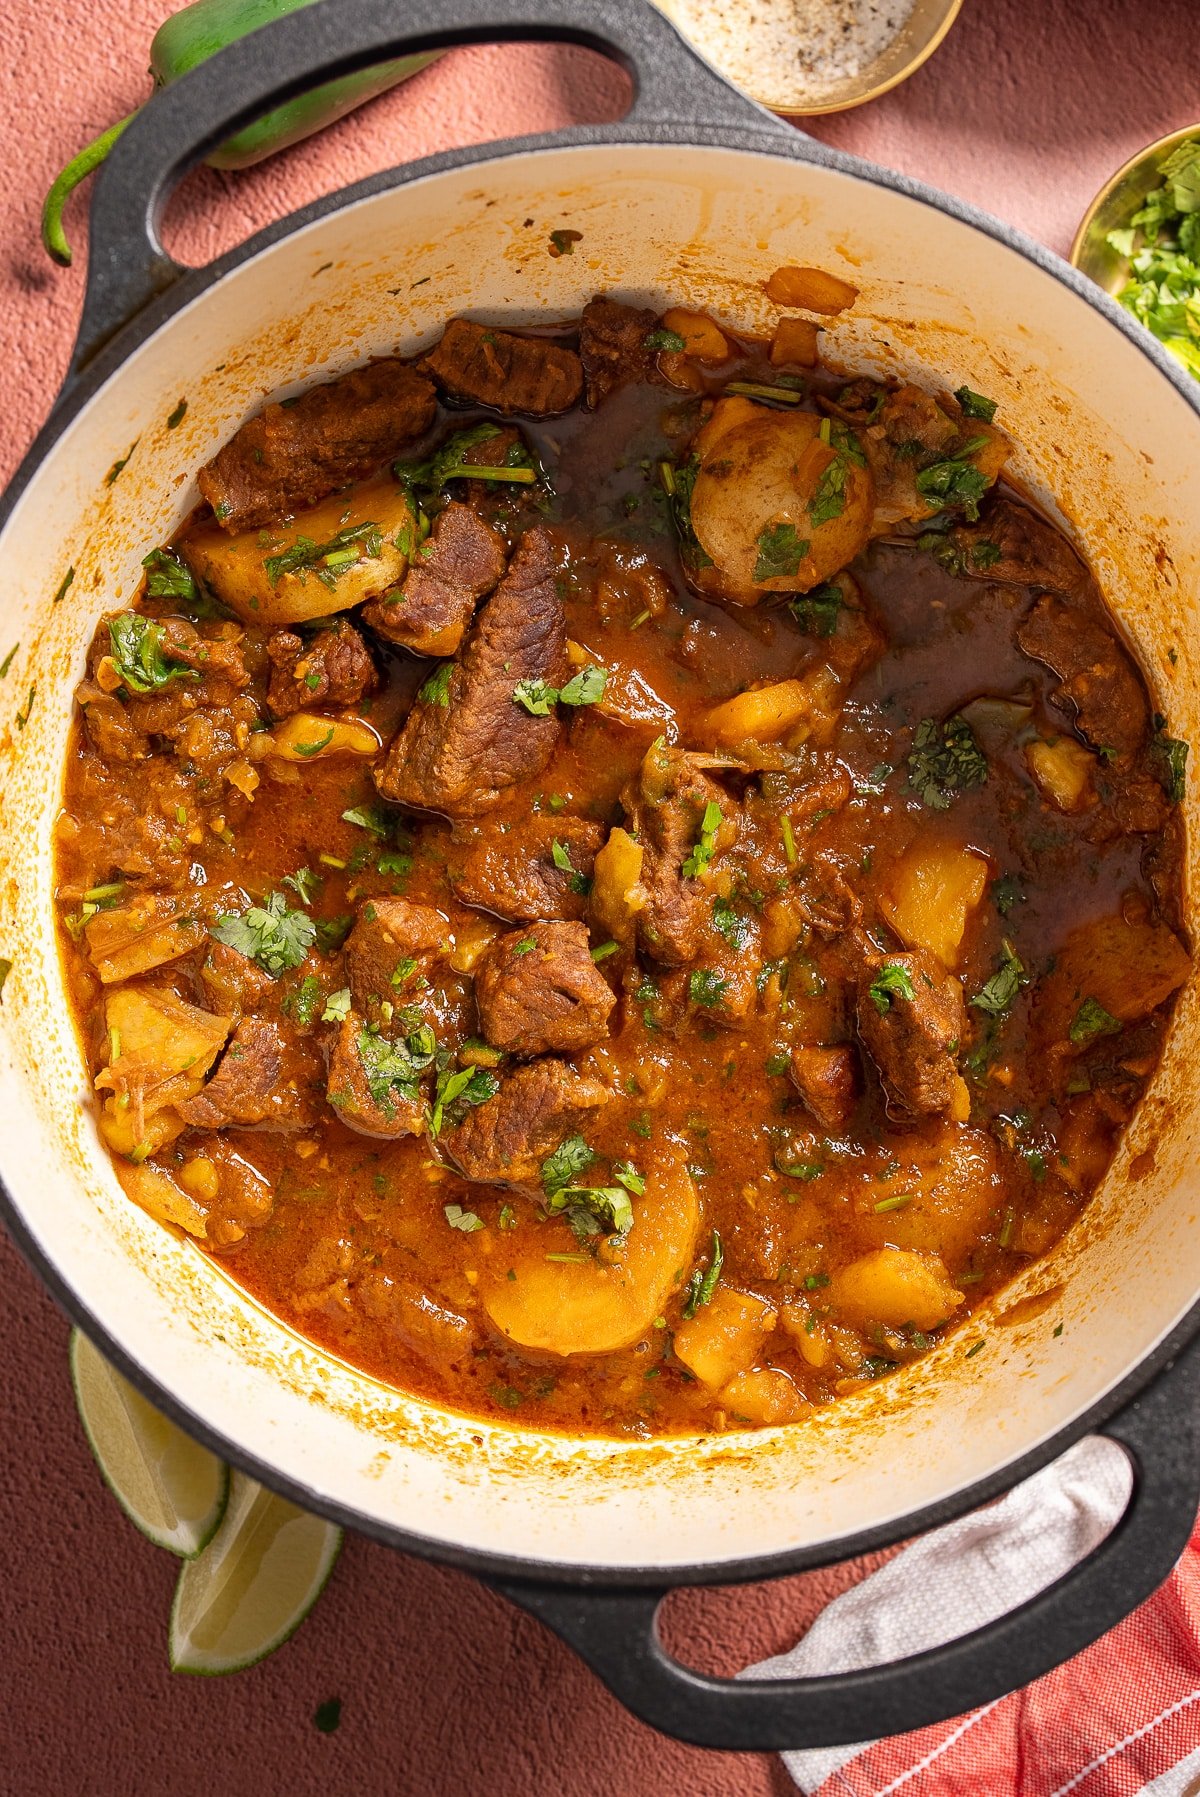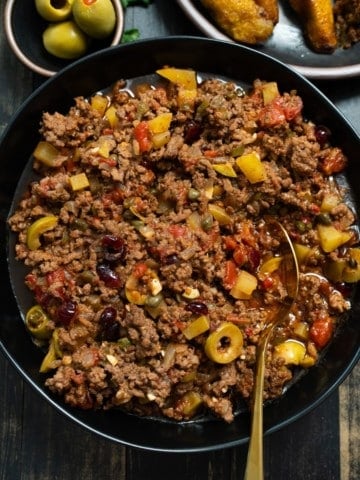
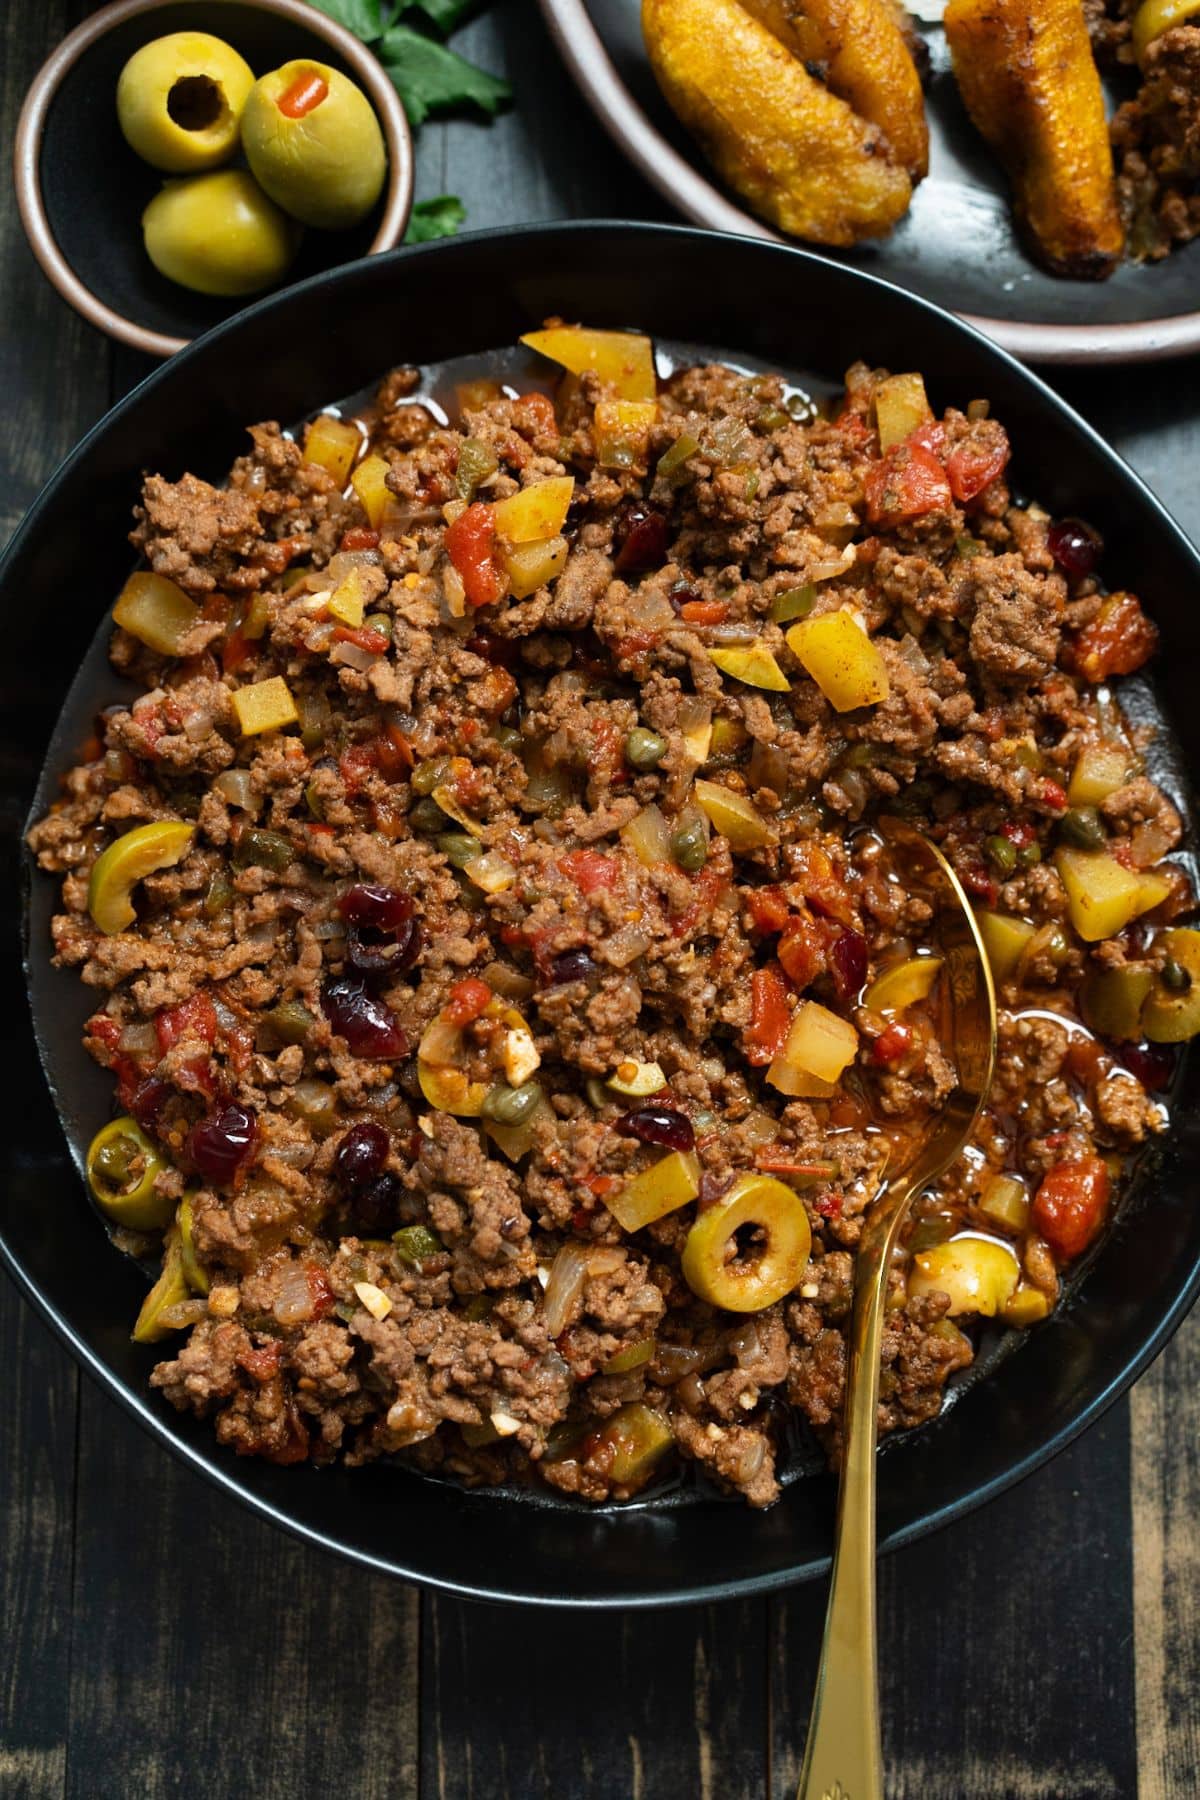
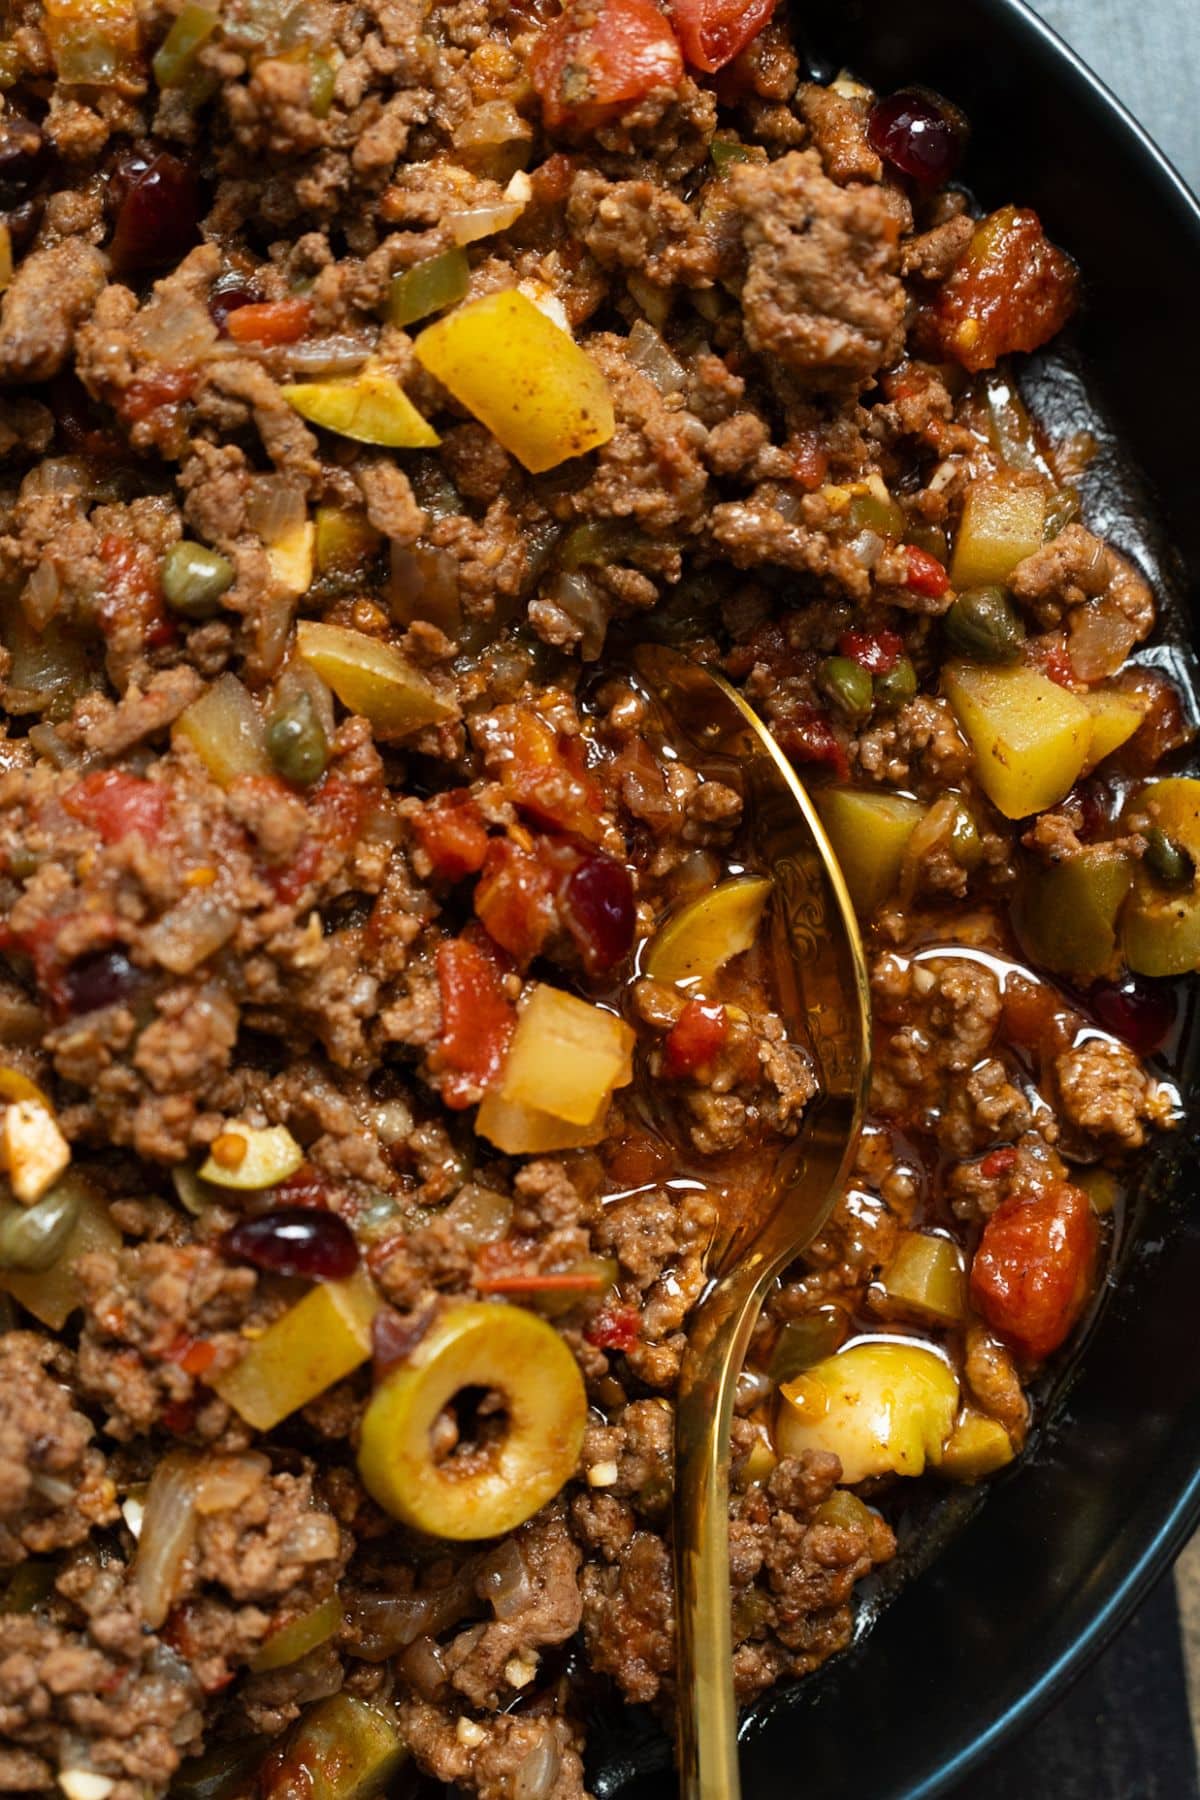
This picadillo is one of my favorite ground beef recipes. This Cuban-style version is the kind of meal you can make on a busy night and then look forward to leftovers the rest of the week.
You’ll find the full recipe with ingredient amounts and instructions in the recipe card at the bottom of this post. Be sure to check out the blog post itself for extra tips and tricks!

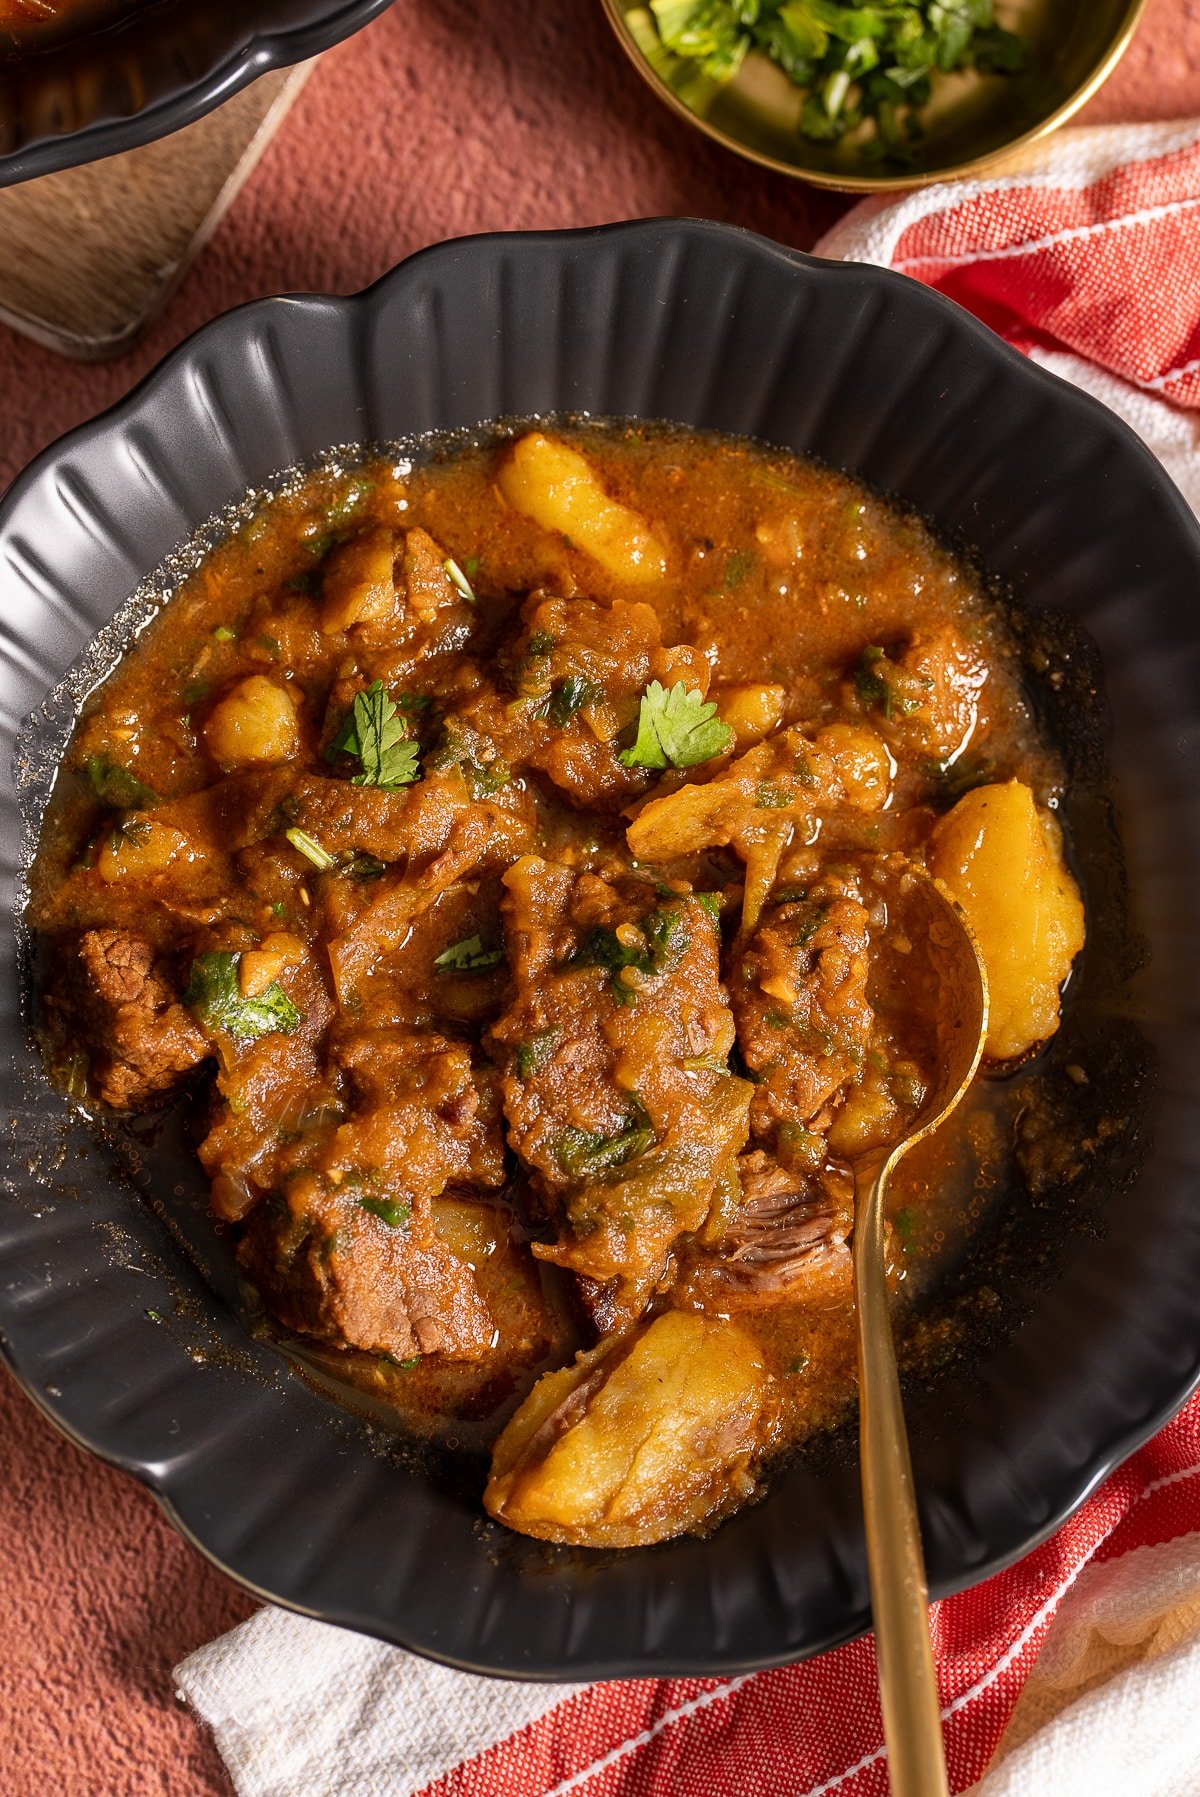
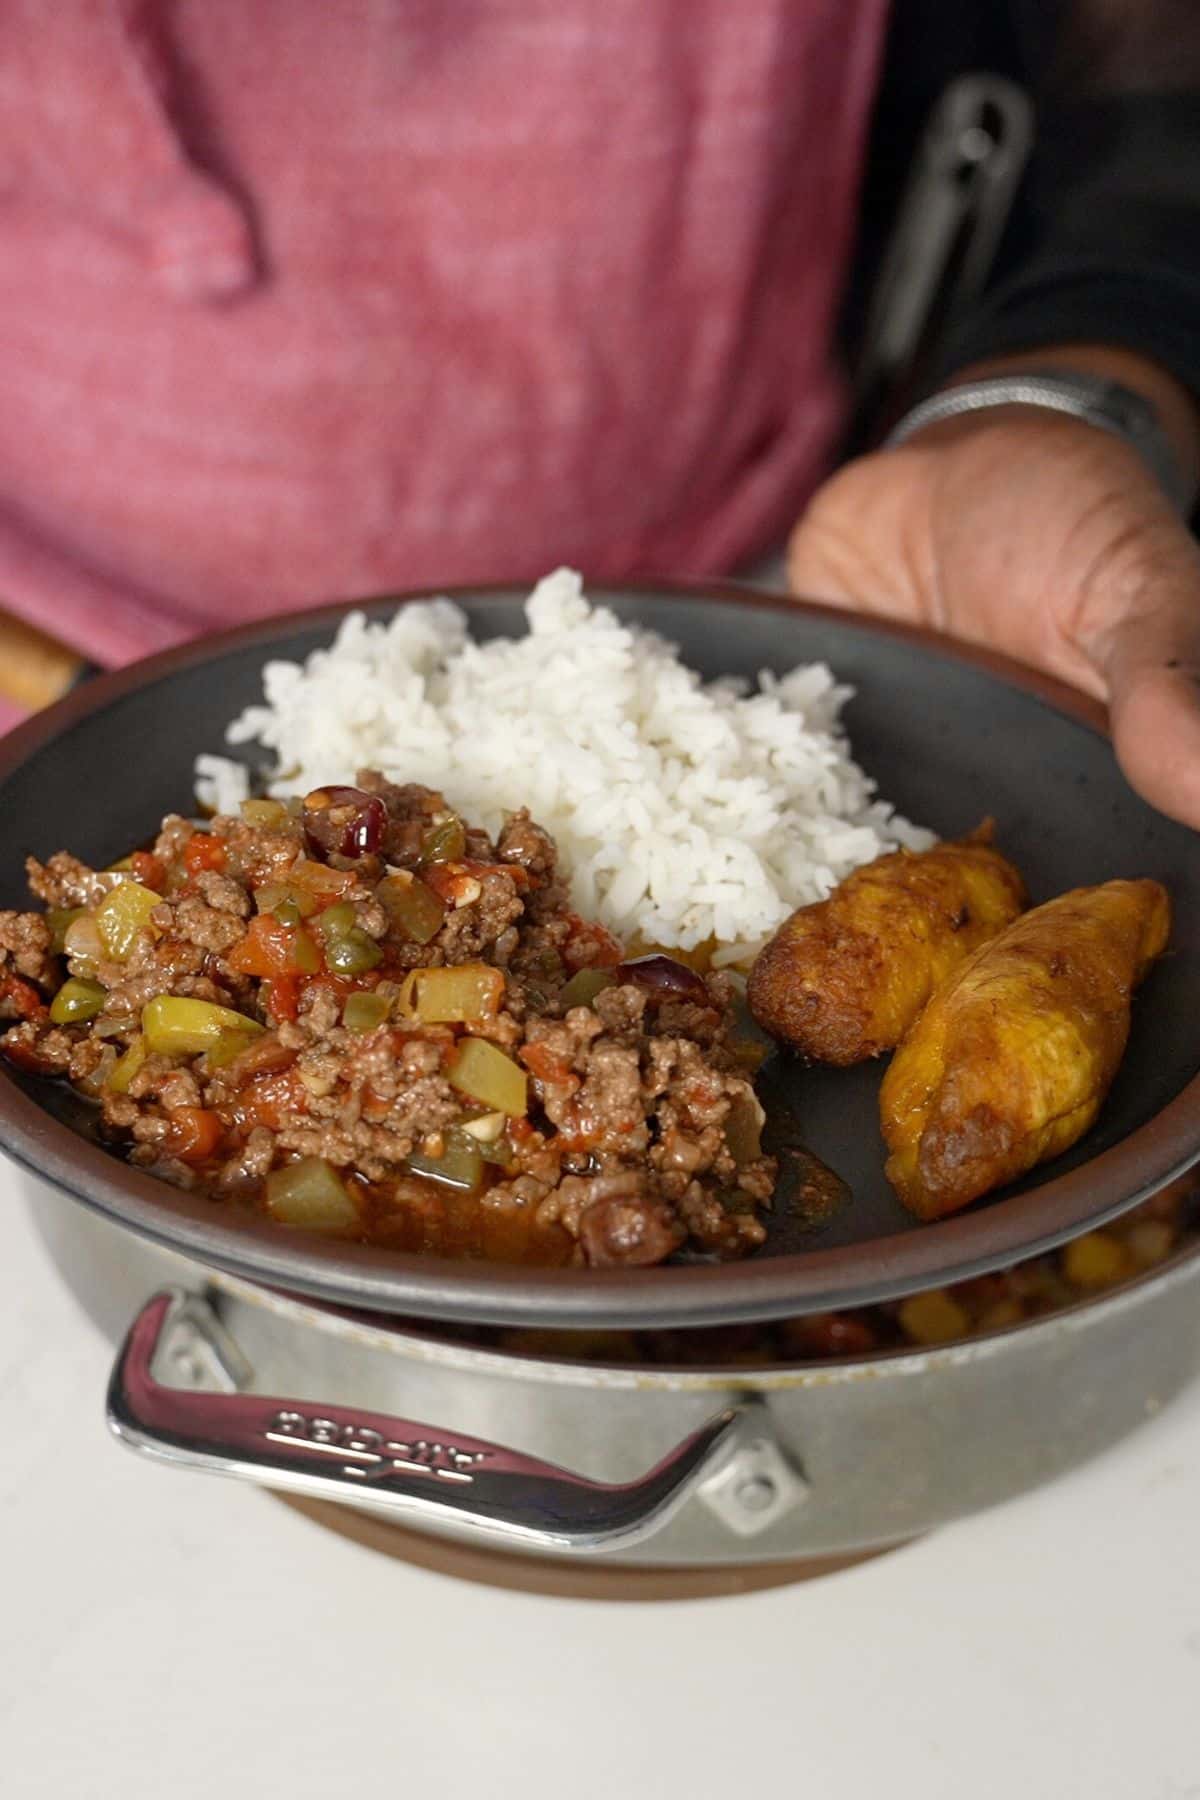
There's a local restaurant near me that serves the most amazing picadillo. They stuff it into empanadas, and while those are fantastic, I always find myself ordering it over rice with a side of plantains. It's one of those meals I started craving at home, so I had to figure out my own version.
This Cuban-inspired picadillo is a great weeknight dinner because it comes together in one skillet in about 30 minutes. But here's the thing I've learned from making it over and over: the flavors are at their best after the picadillo has rested overnight in the fridge and been reheated.
So if you're into meal prep or like to have something ready to go for the week, this is a perfect recipe to keep in your rotation. It's got that Caribbean flavor I love, and it reheats like a dream.
If you enjoy ground beef recipes, you'll also want to check out my Stuffed Bell Peppers.
Love, Tanya
Picadillo at a Glance
- Prep Time: 10 minutes
- Cook Time: 30-35 minutes
- Total Time: 40-45 minutes
- Serves: 6
- Best For: Weeknight dinners, meal prep, weekly rotation
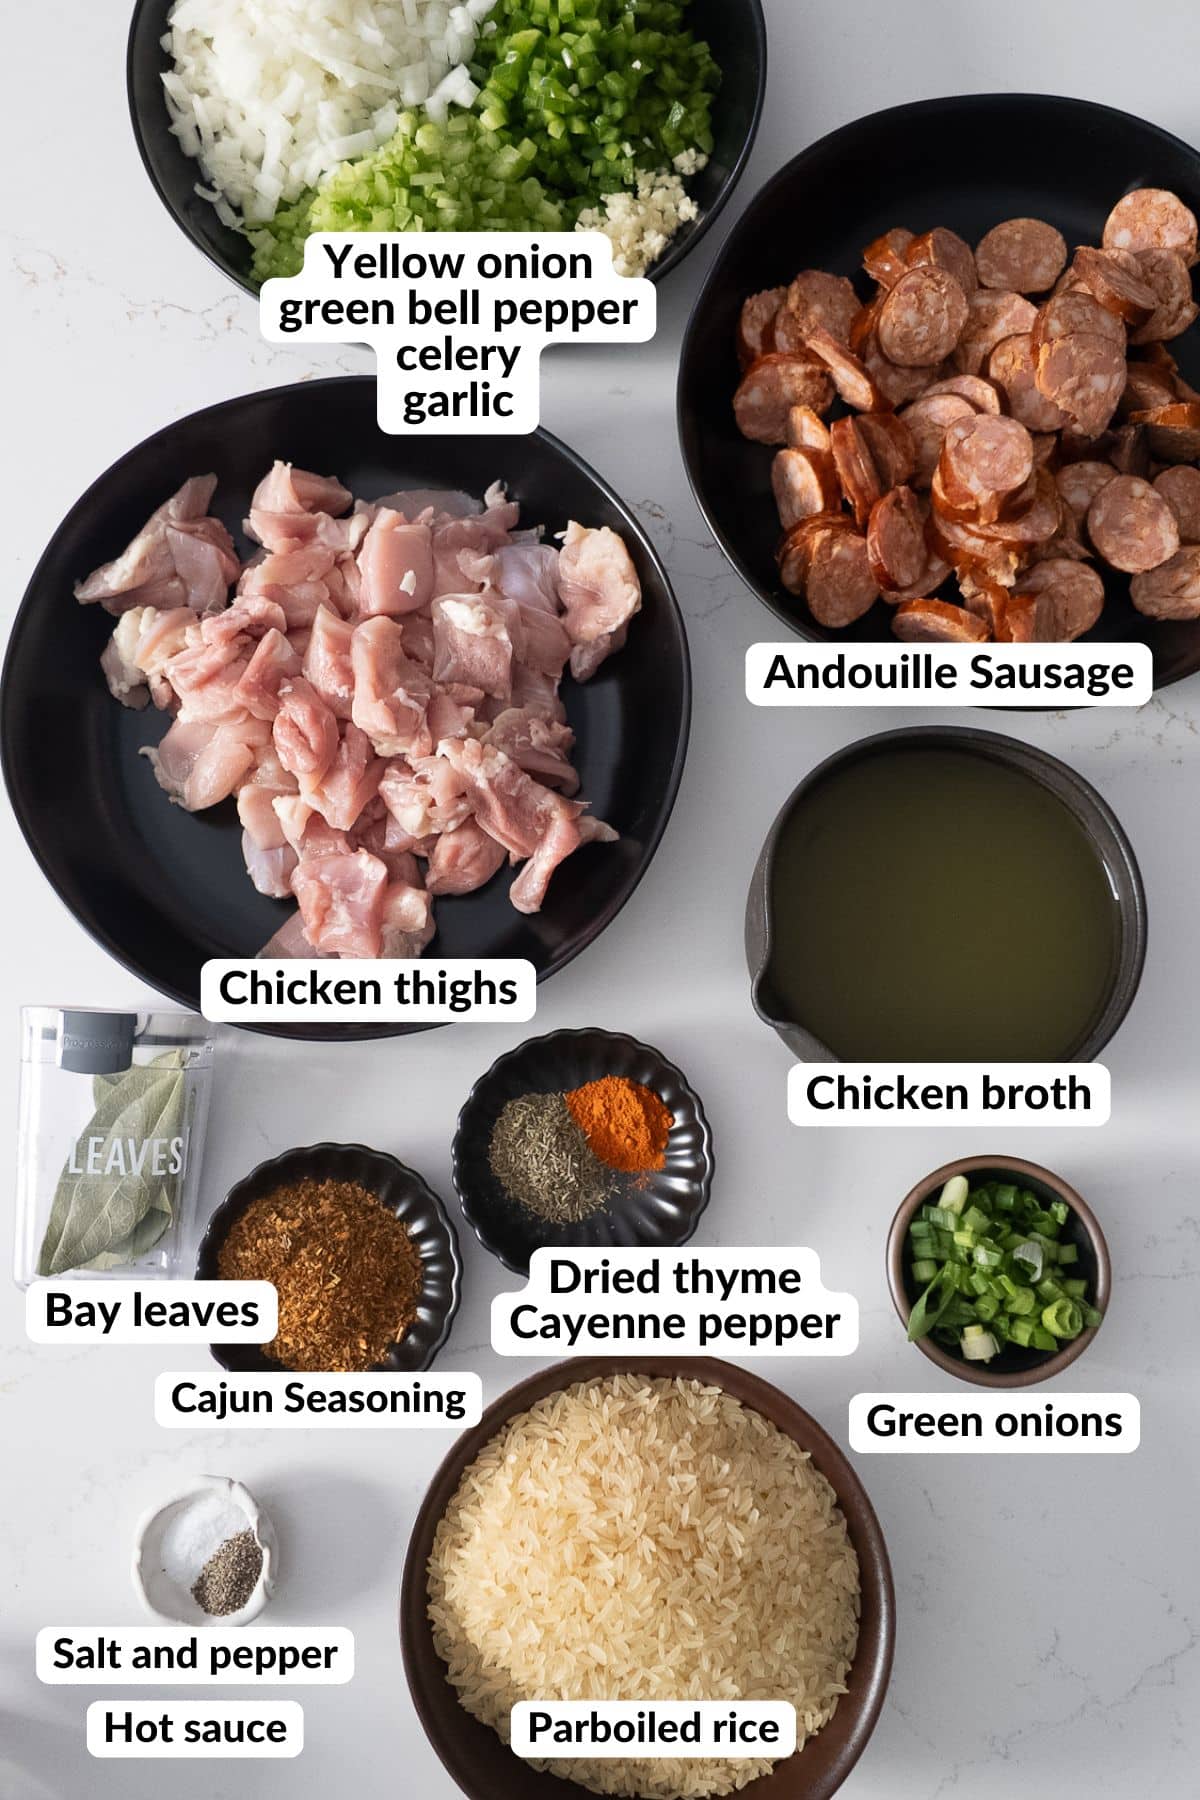
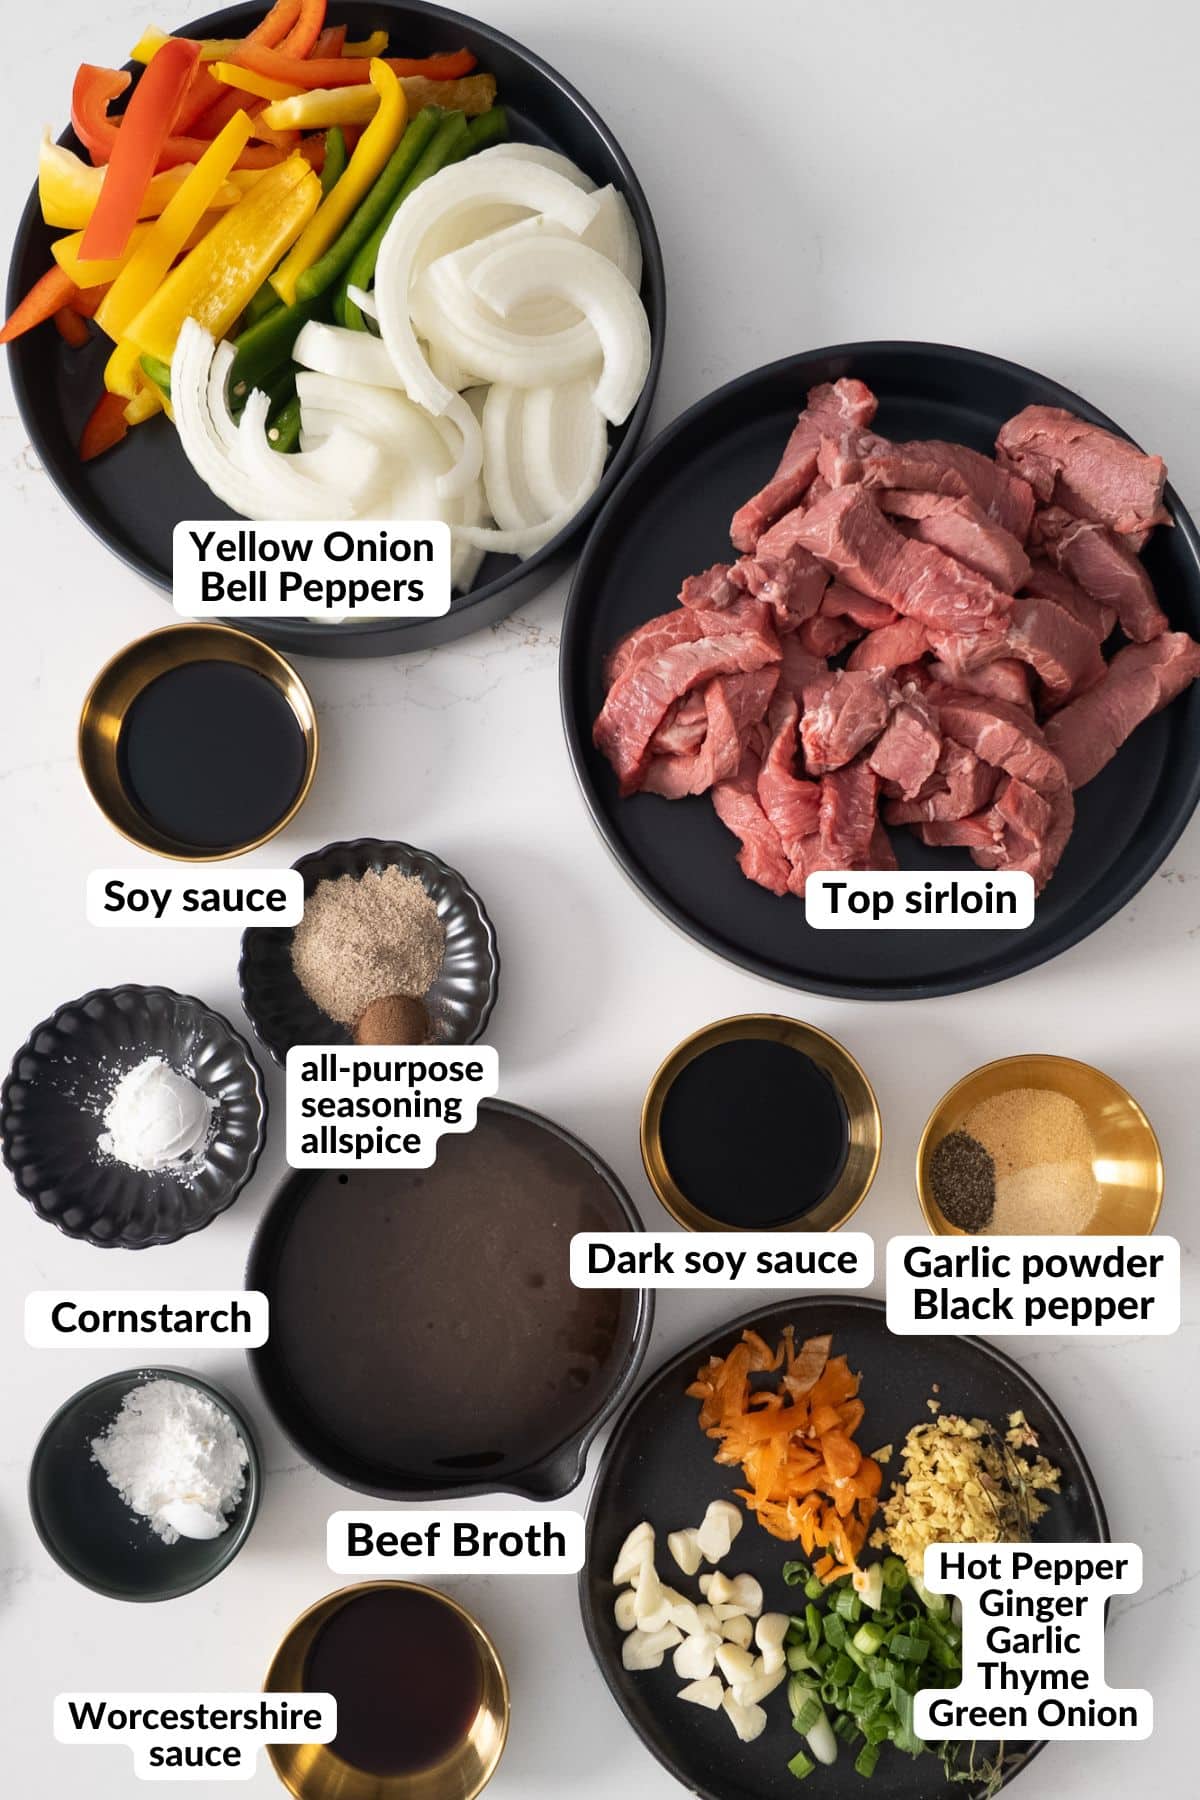
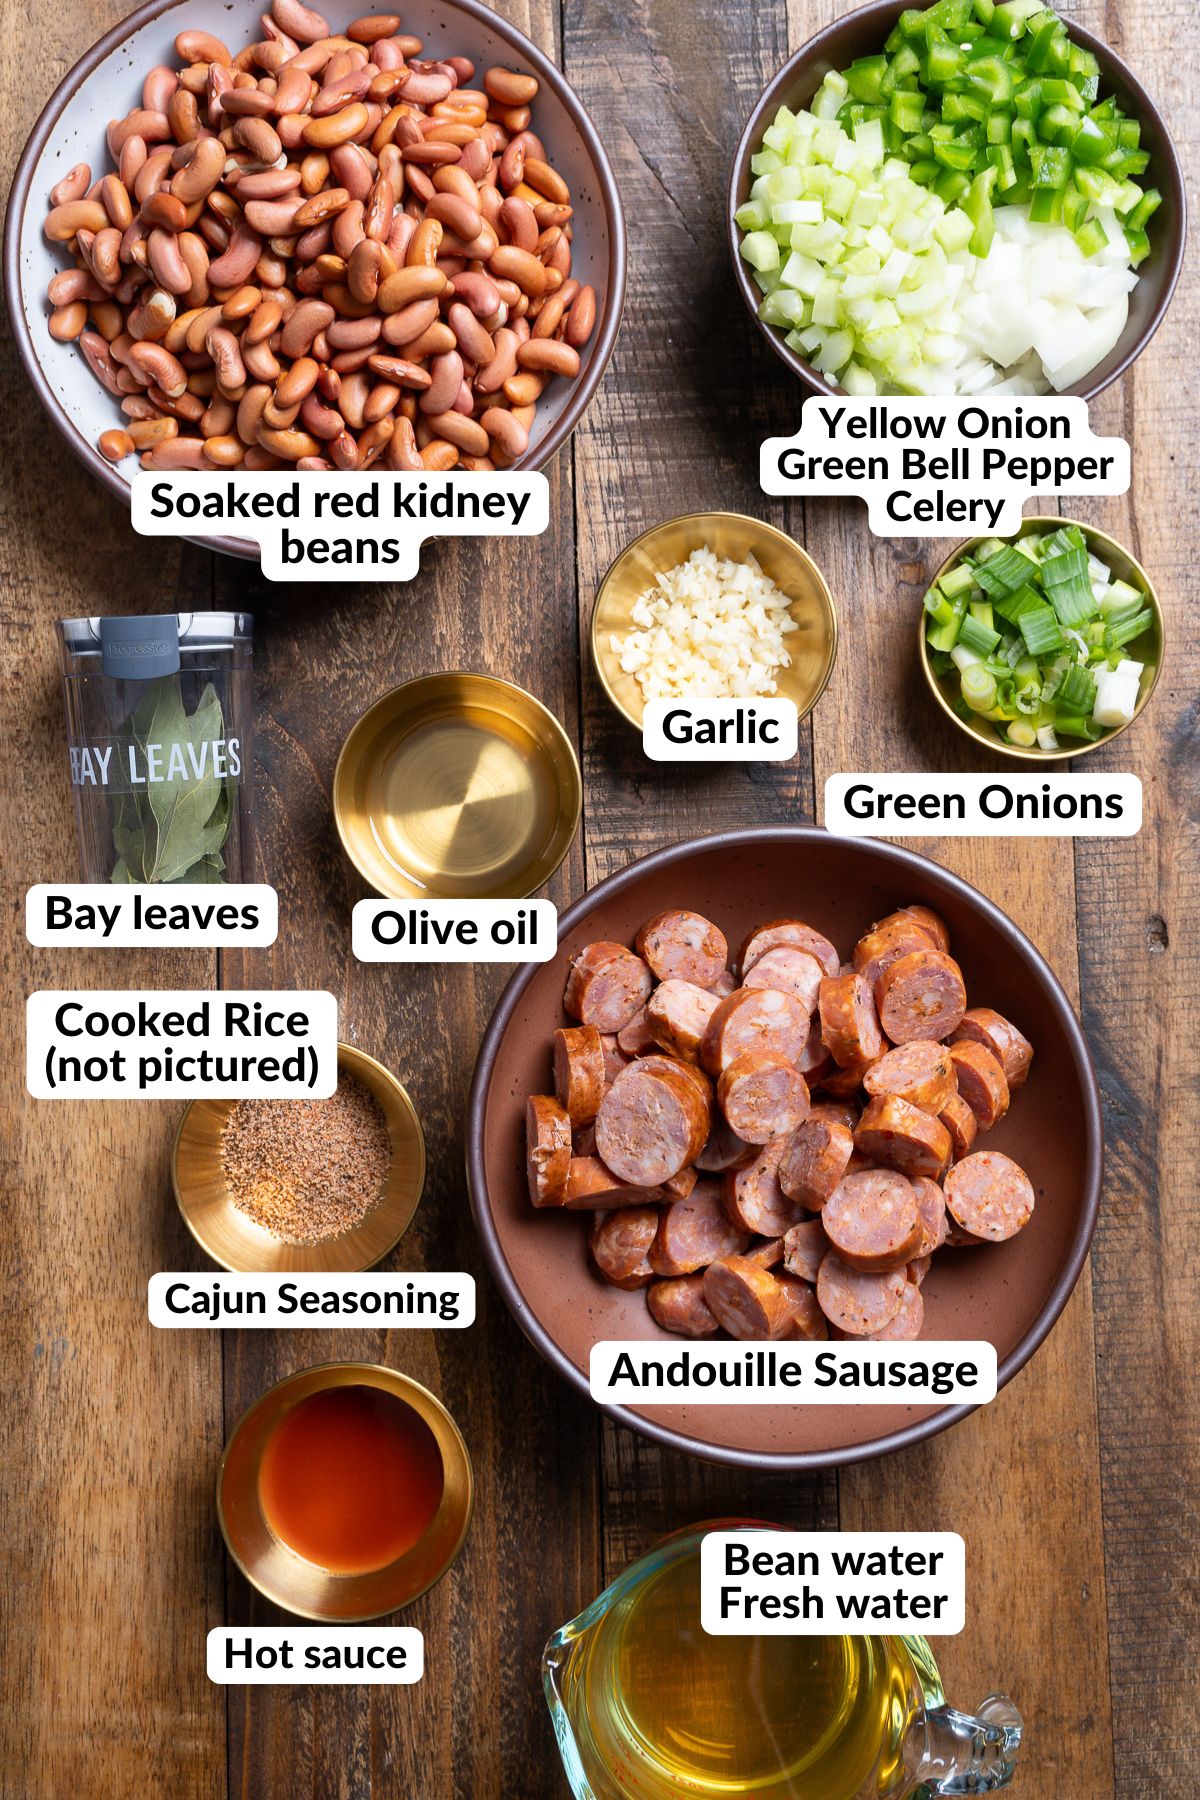
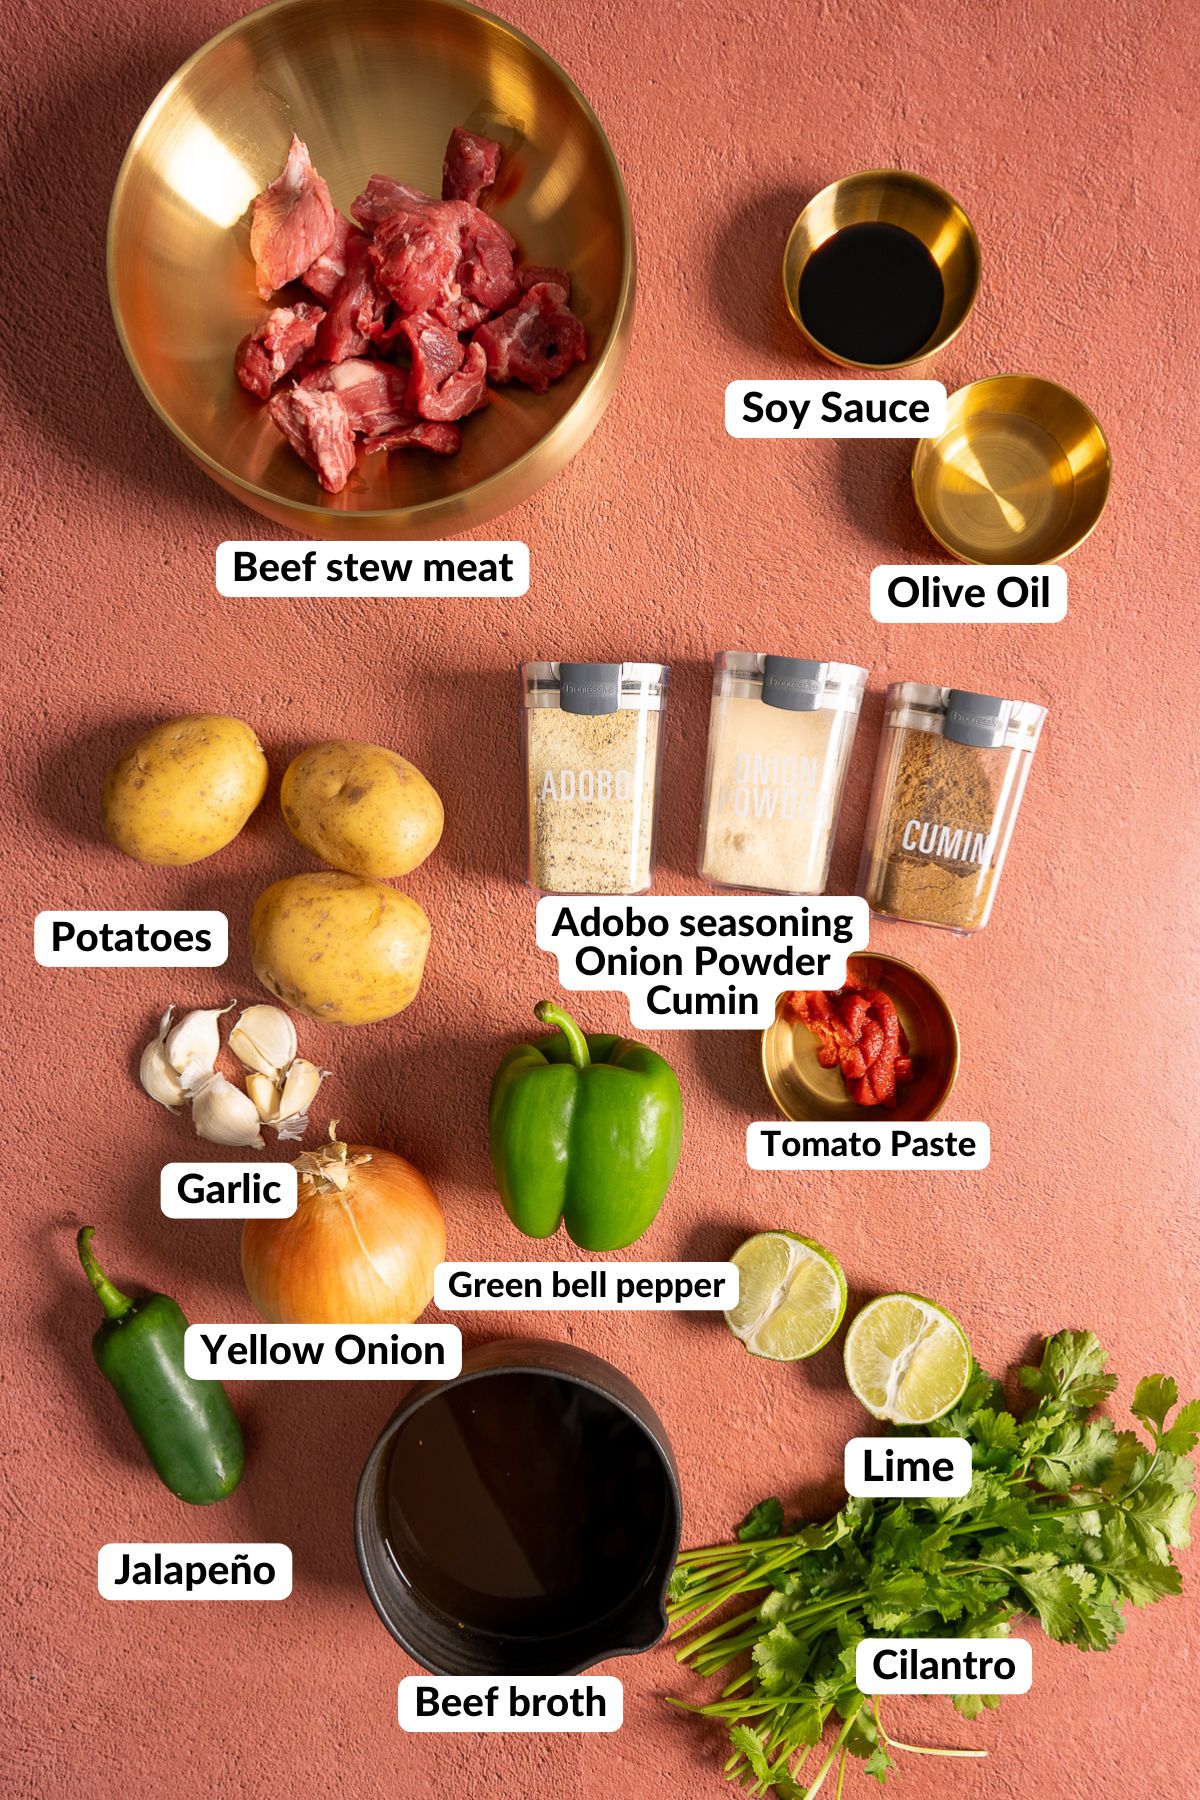
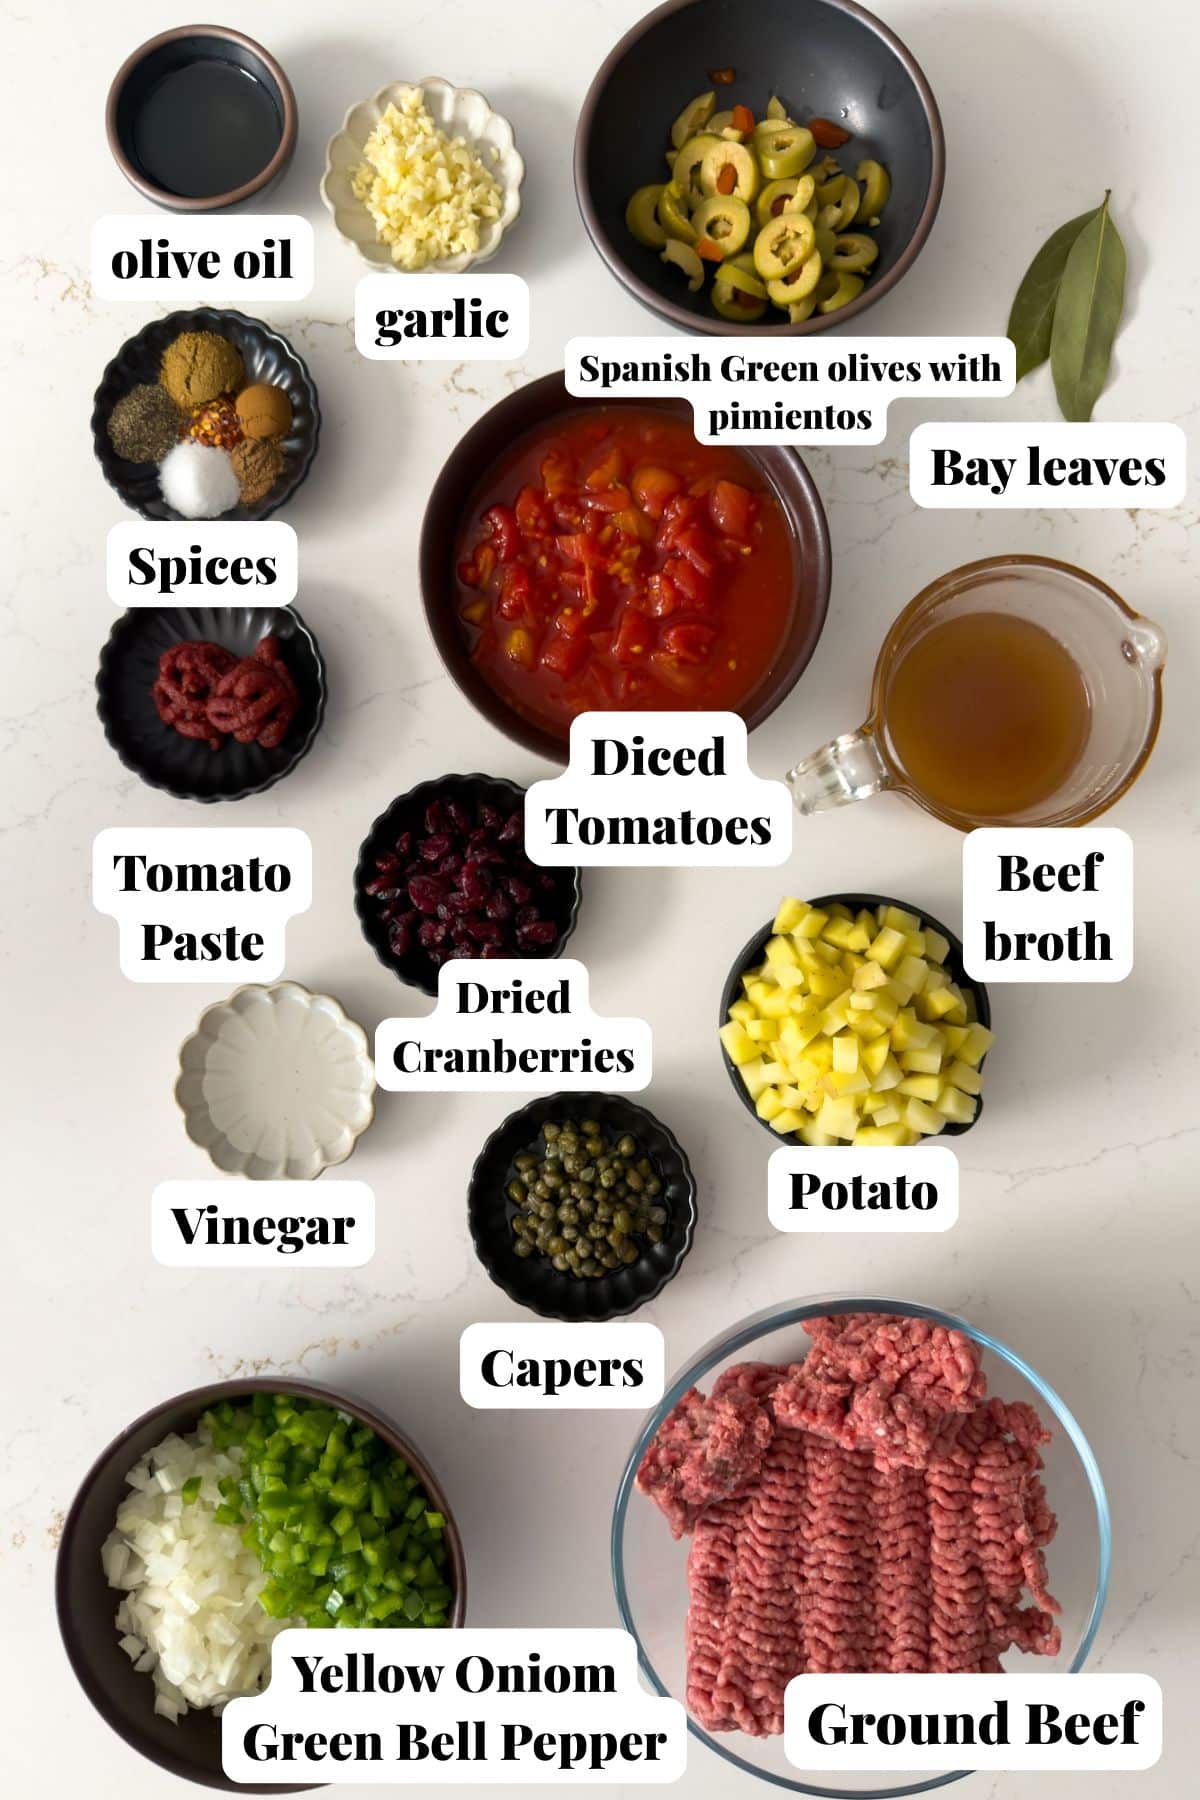
A Quick Look at the Ingredients
Ingredient amounts and full recipe instructions are on the printable recipe card at the bottom of the post.
- Olive oil — For sautéing the aromatics and building flavor in the skillet. Feel free to use any high-heat cooking oil you prefer.
- Aromatics — Yellow onion, green bell pepper, and garlic.
- Lean ground beef - I prefer 85/15 for this recipe. You get enough fat for flavor, but it's not overly greasy. You can go leaner if you prefer, just know that the dish may be slightly less rich.
- Spices — ground cumin, cinnamon, nutmeg, and crushed red pepper flakes—this is the spice combination that makes picadillo taste like picadillo.
- Tomato paste — A small amount goes a long way. It adds a concentrated tomato flavor and helps build a rich sauce.
- Diced tomatoes — I use a can of diced tomatoes, undrained, which provides the liquid base for the sauce without making things too soupy.
- Dried cranberries — This is a twist on the traditional raisins that go into picadillo. Once I had dried cranberries in picadillo, I was hooked. The dried cranberries provide a sweet contrast to the salty, acidic olives and capers in the dish. If you aren't a fan of raisins or cranberries in your dish, simply leave them out.
- Spanish green olives with pimientos and capers — Both of these bring a salty, briny punch that's essential to Cuban-style picadillo. Don't skip them.
- Bay leaves — These simmer with the meat and add an herbal, slightly floral background note.
- White vinegar — A splash at the end brightens up the whole dish and cuts through the richness of the beef. Feel free to use apple cider vinegar if that's what you have on hand.
- Potato — I use a waxy potato like Yukon Gold or red potato, diced small. It cooks right in the skillet with everything else and adds a hearty element to the dish.
- Beef broth — Just enough to help the potatoes cook through and create a saucy consistency.
How to Make Picadillo
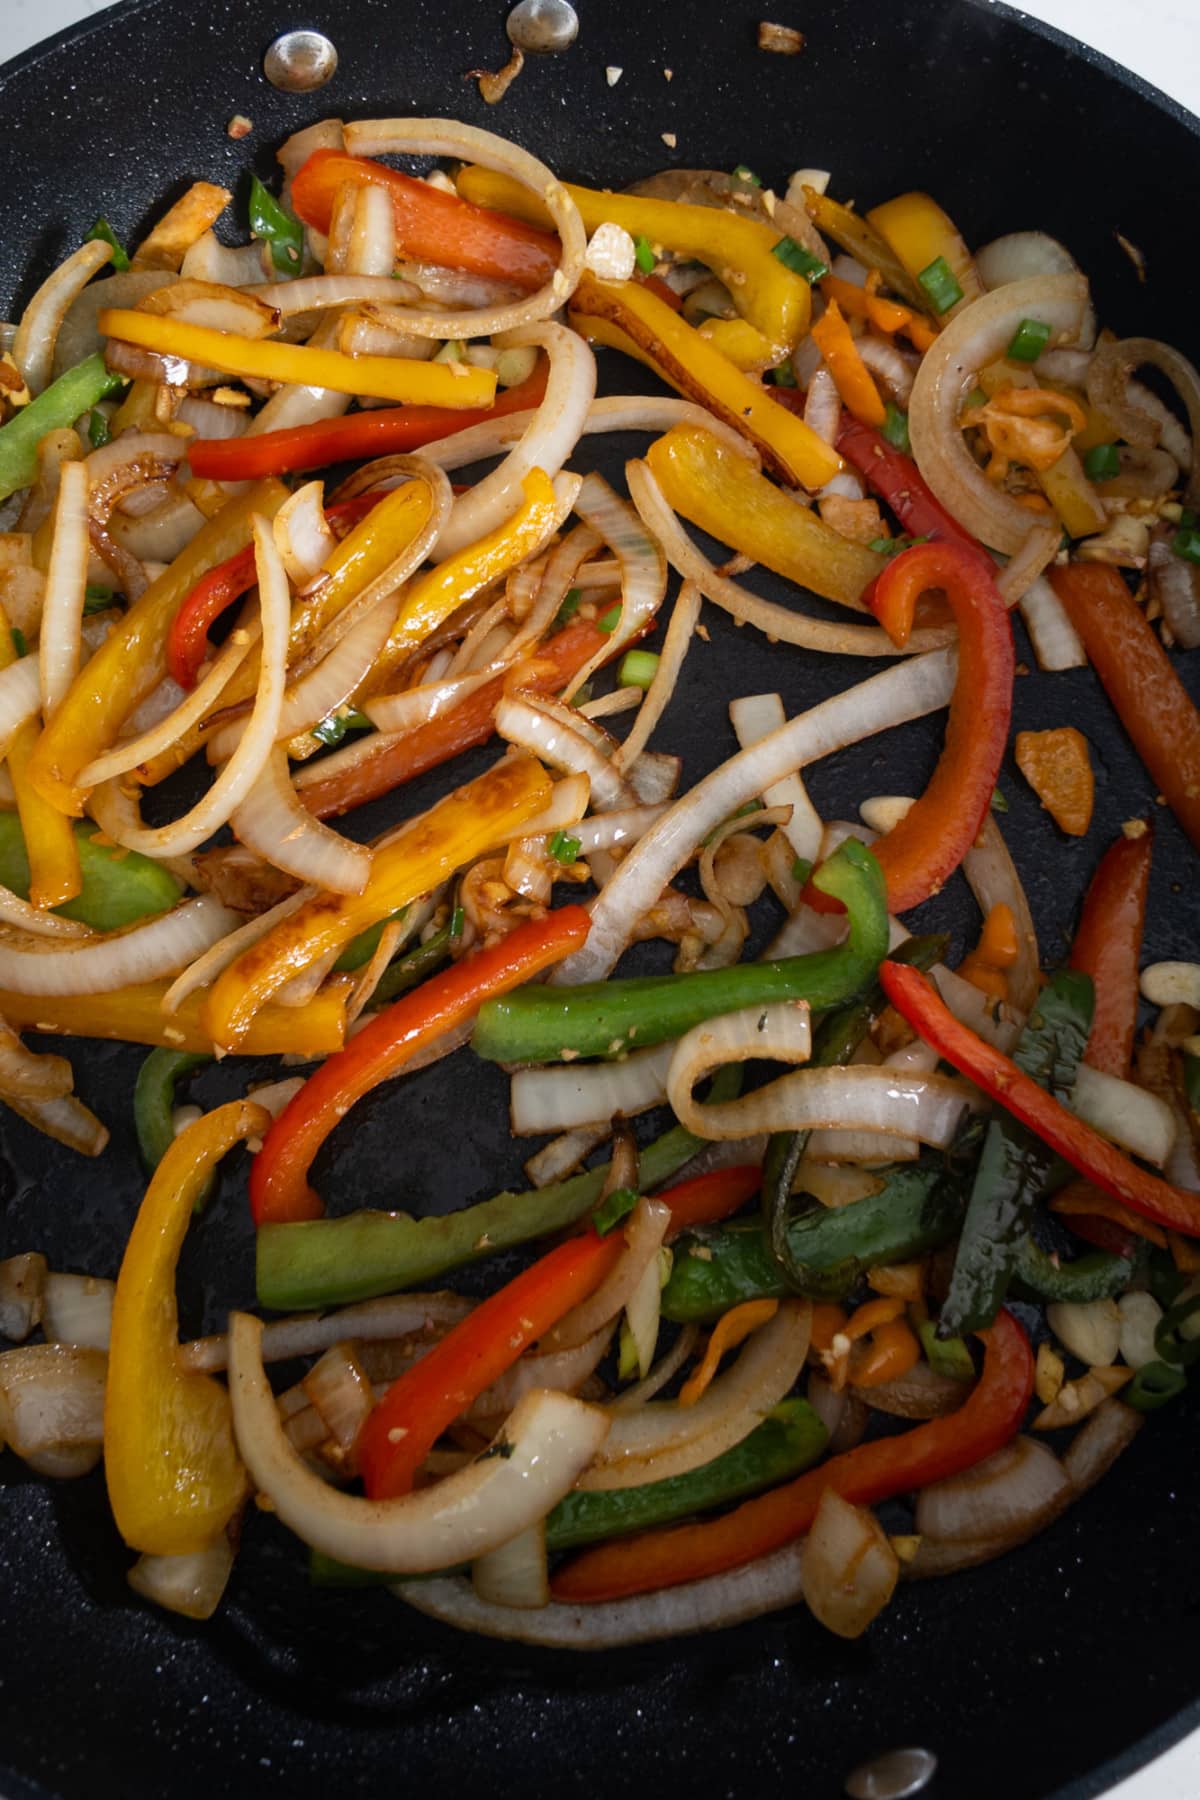
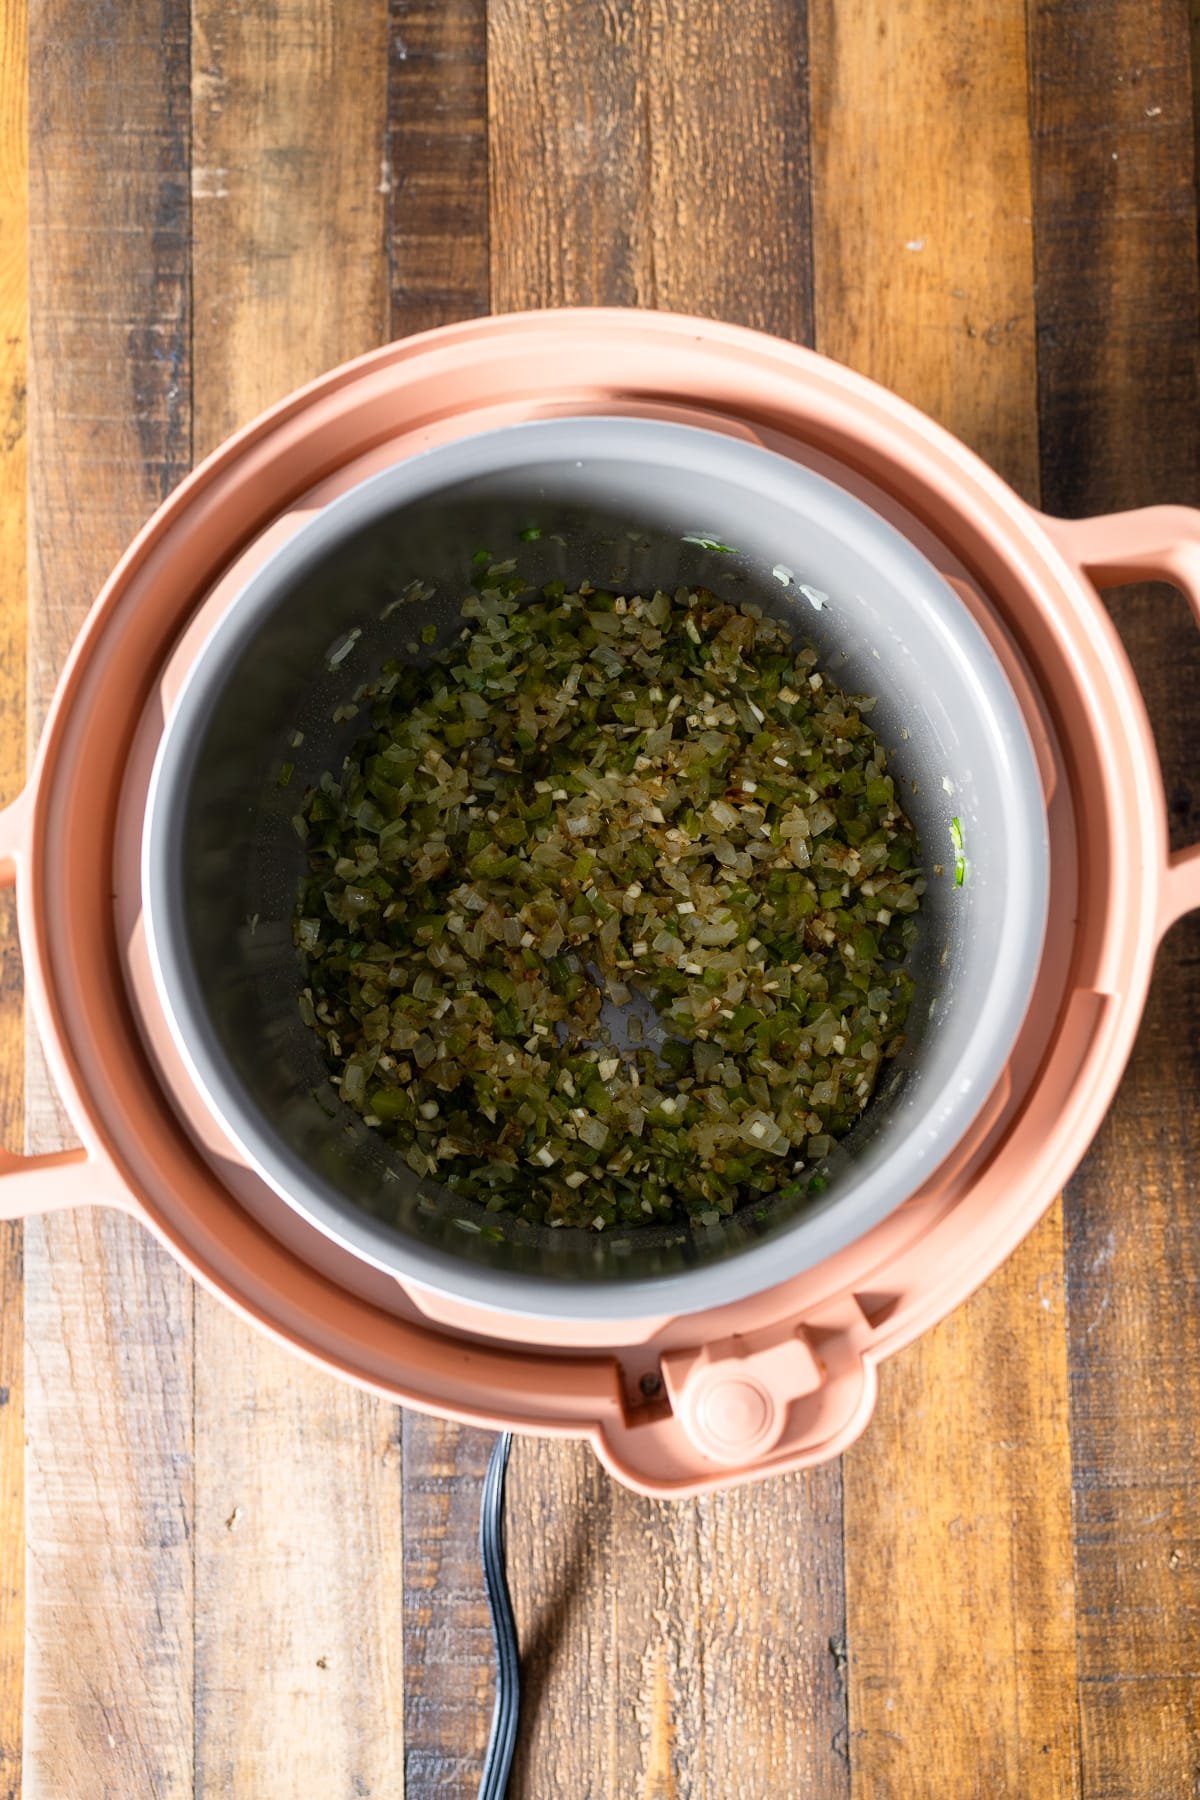
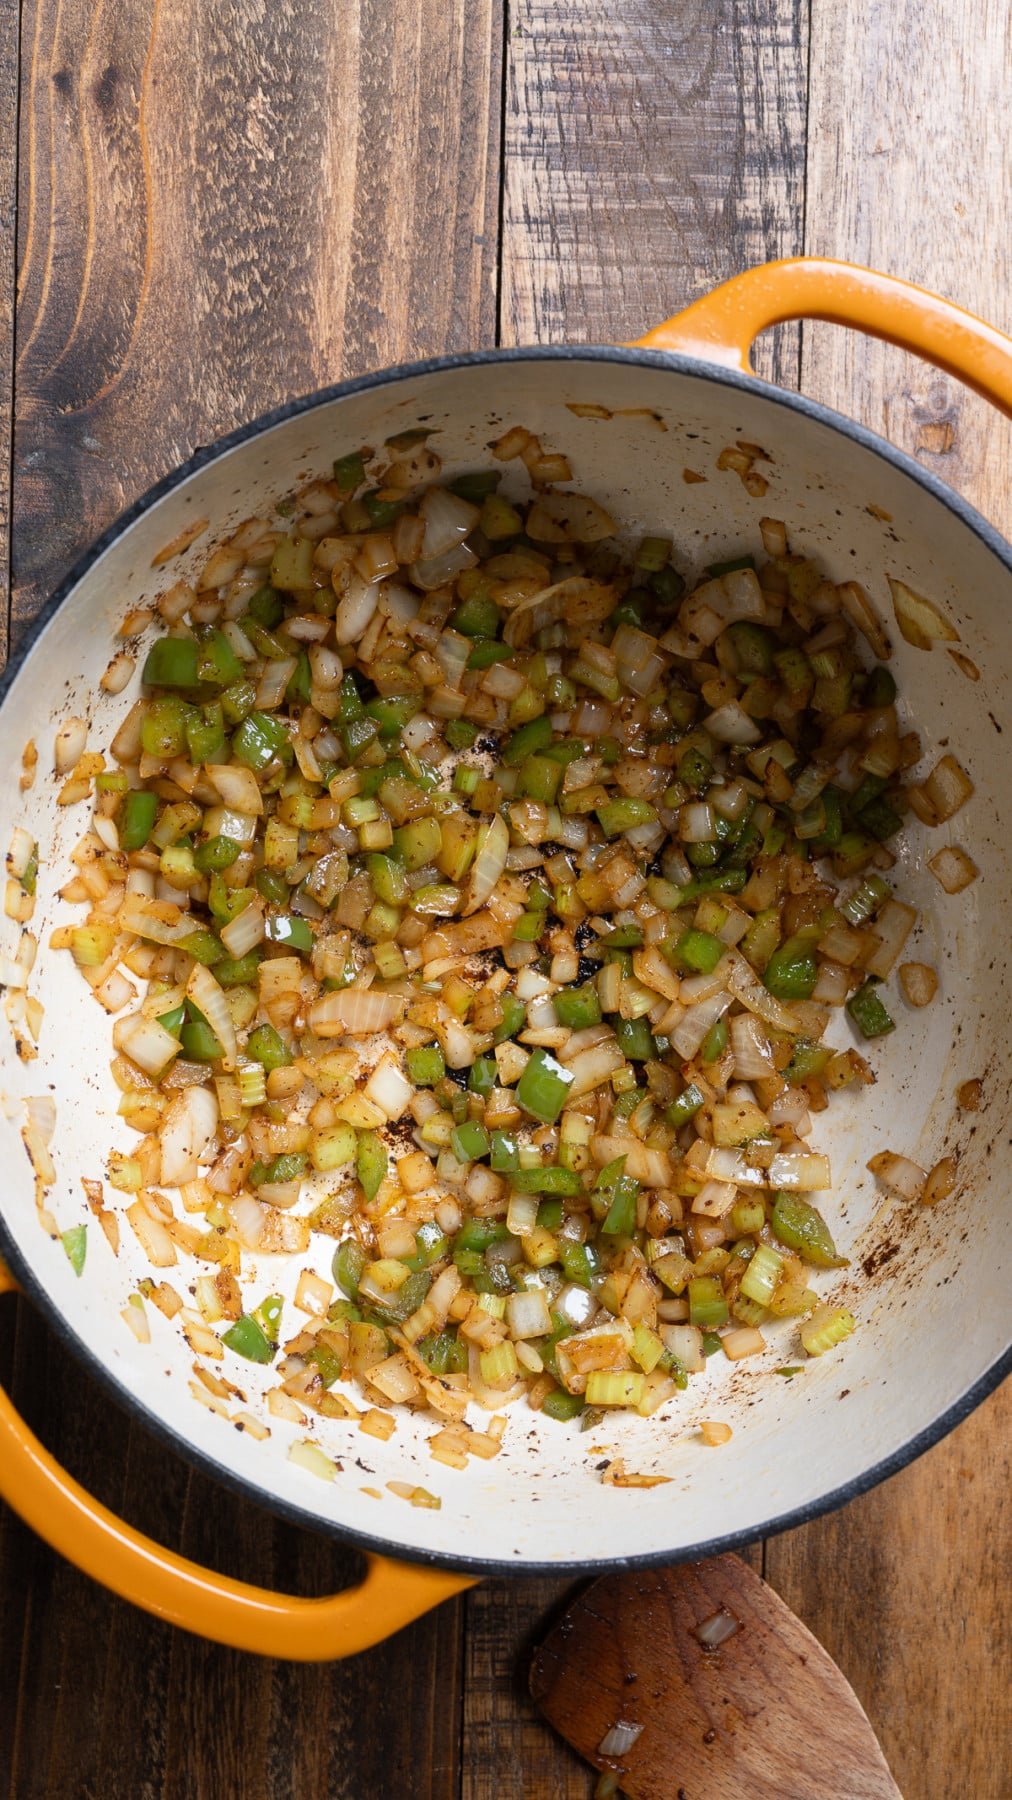
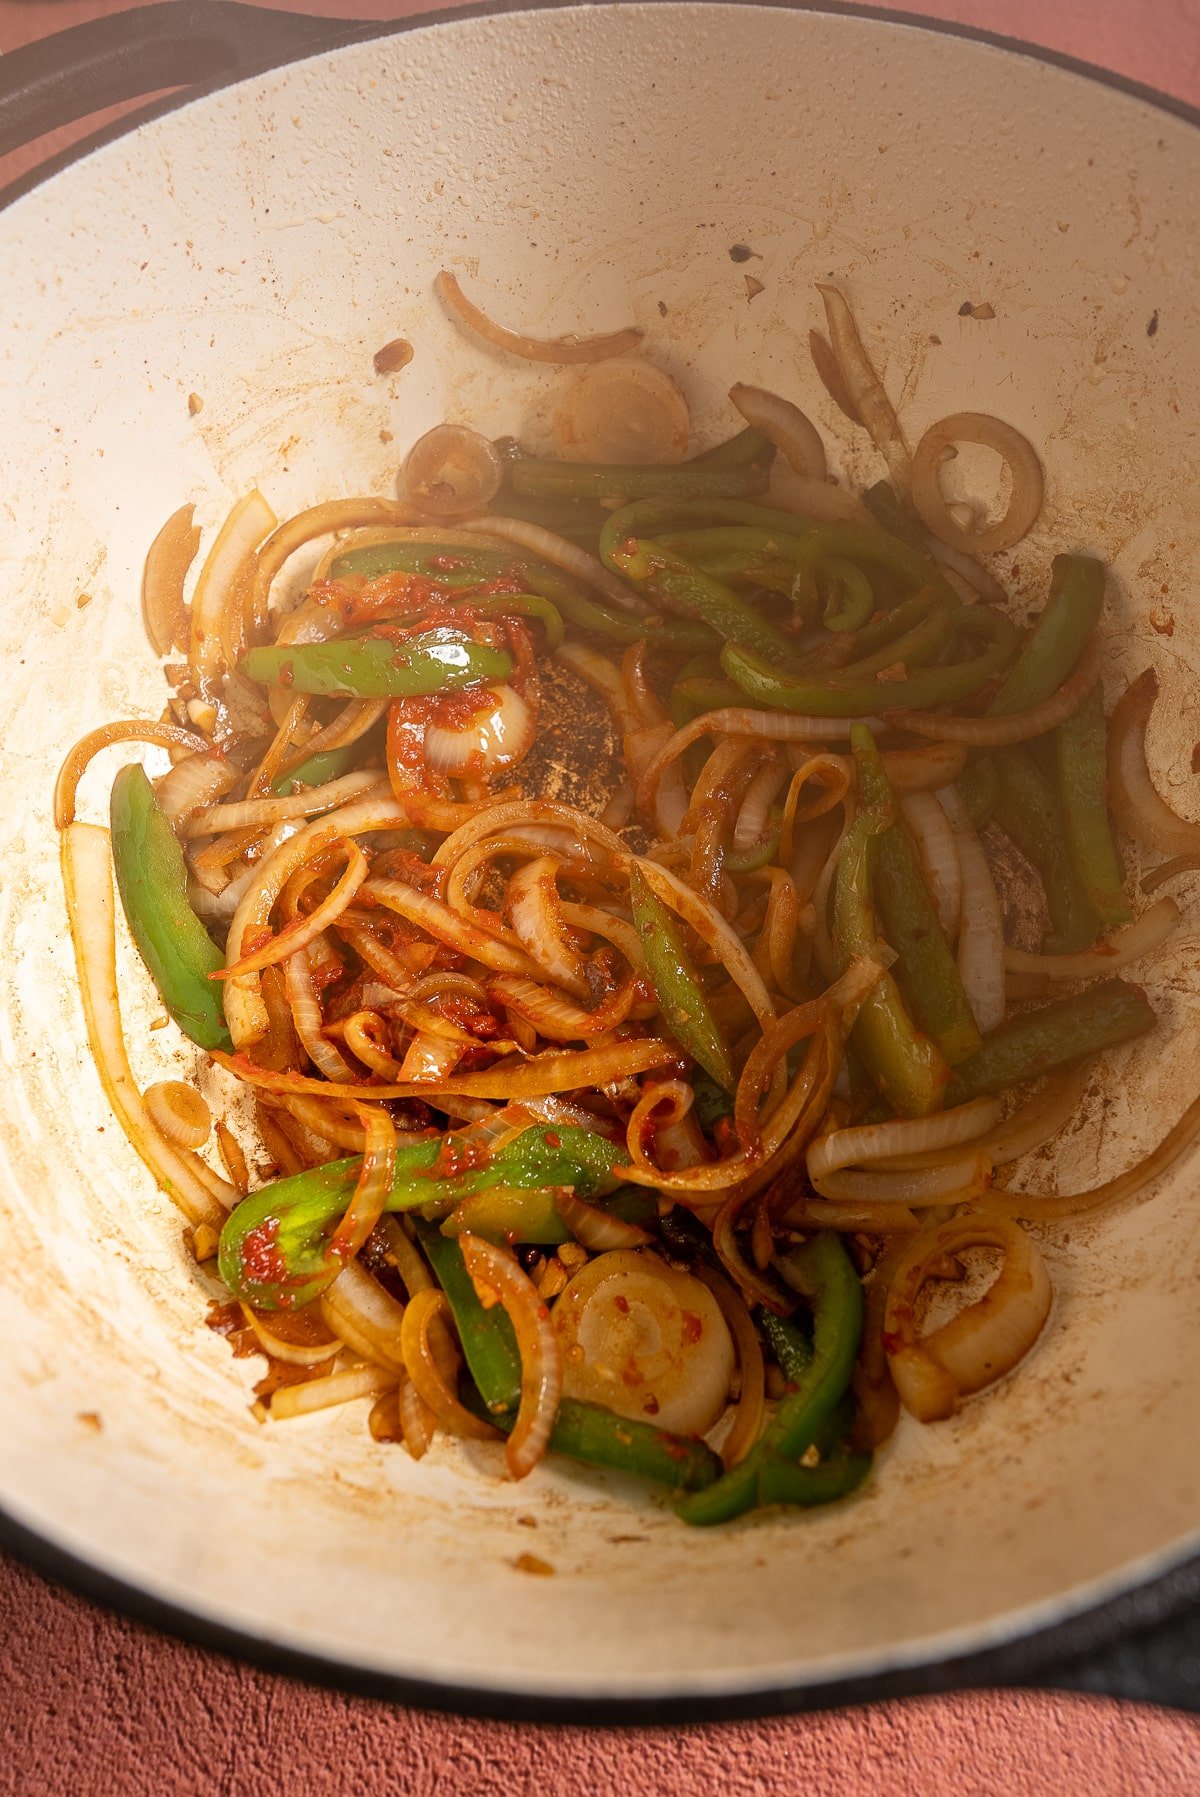
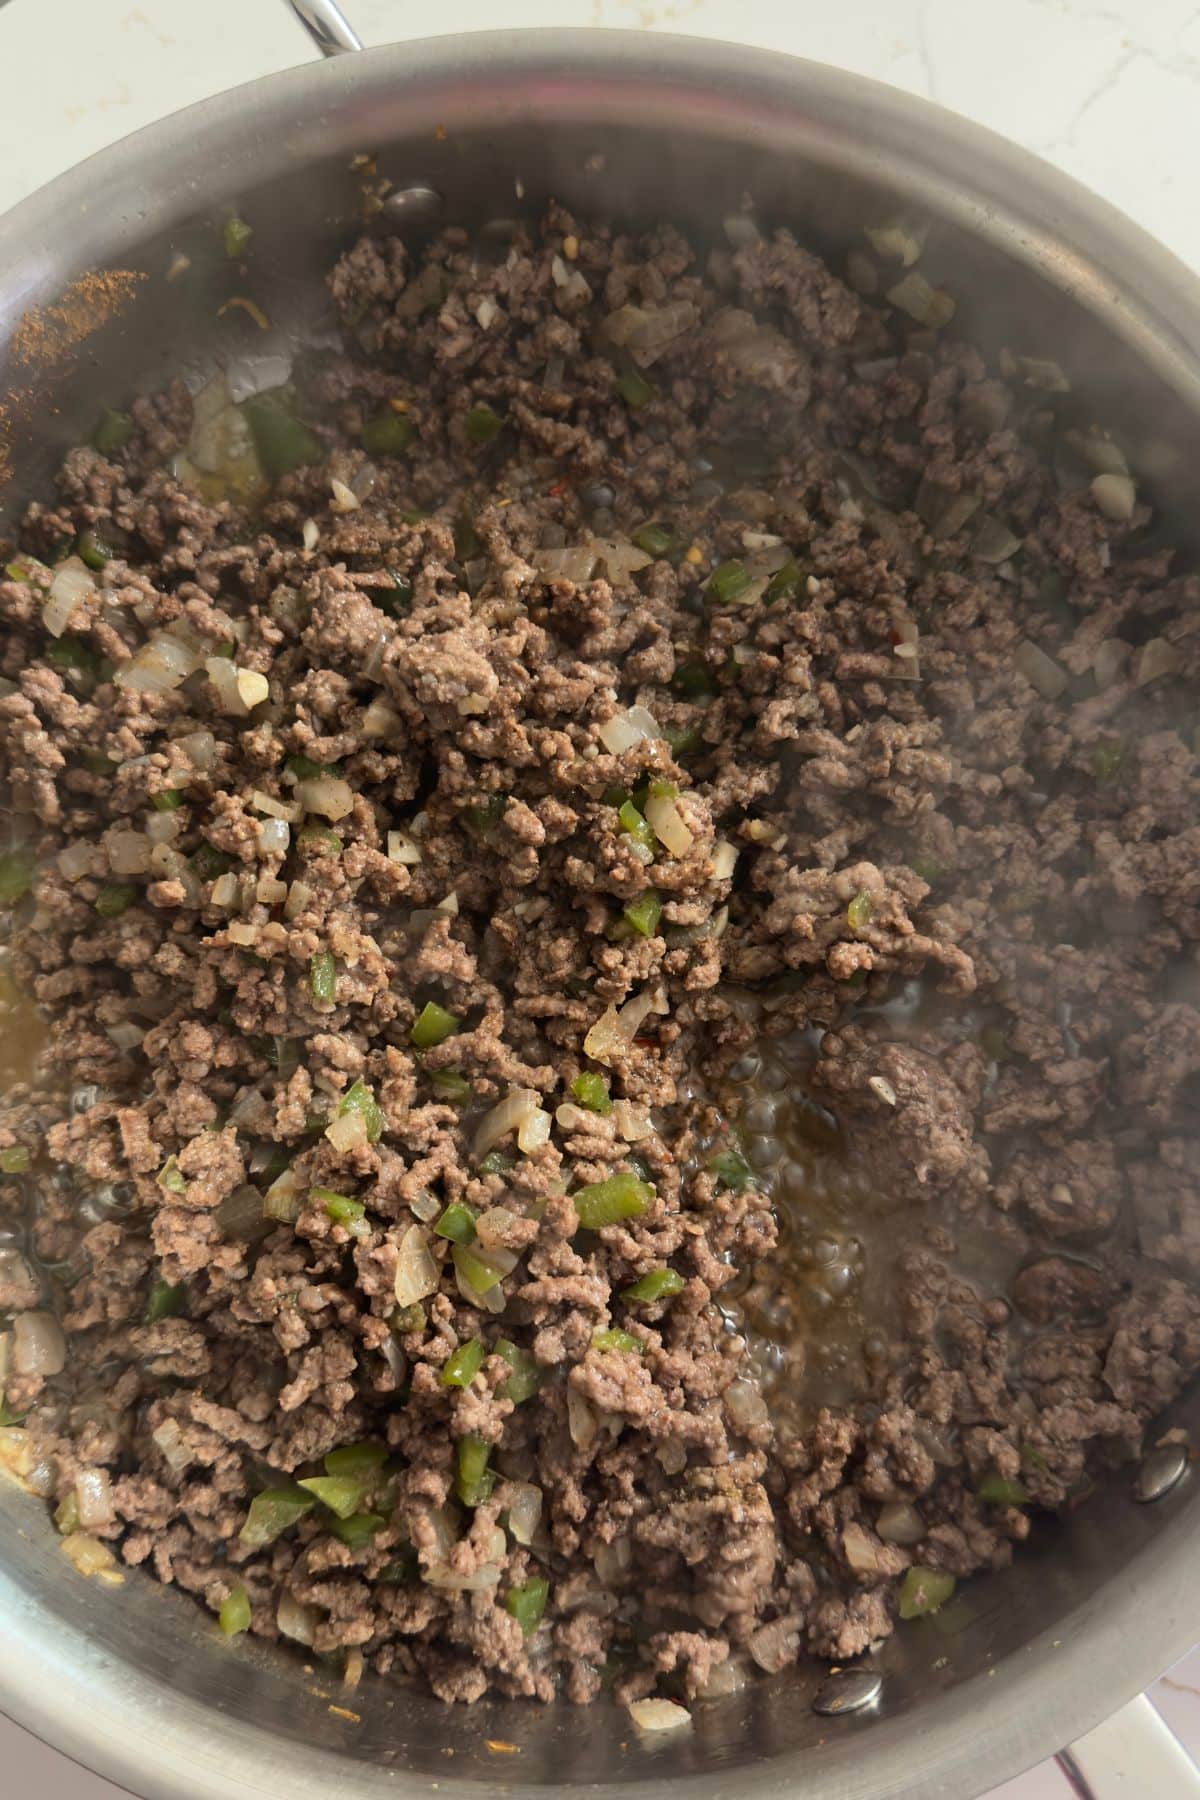
Step 1: Heat olive oil in a large skillet over medium-high heat. Add the diced onion and green bell pepper and sauté for 5 to 7 minutes until they've softened. Add the garlic and cook for another 20 to 30 seconds until fragrant.
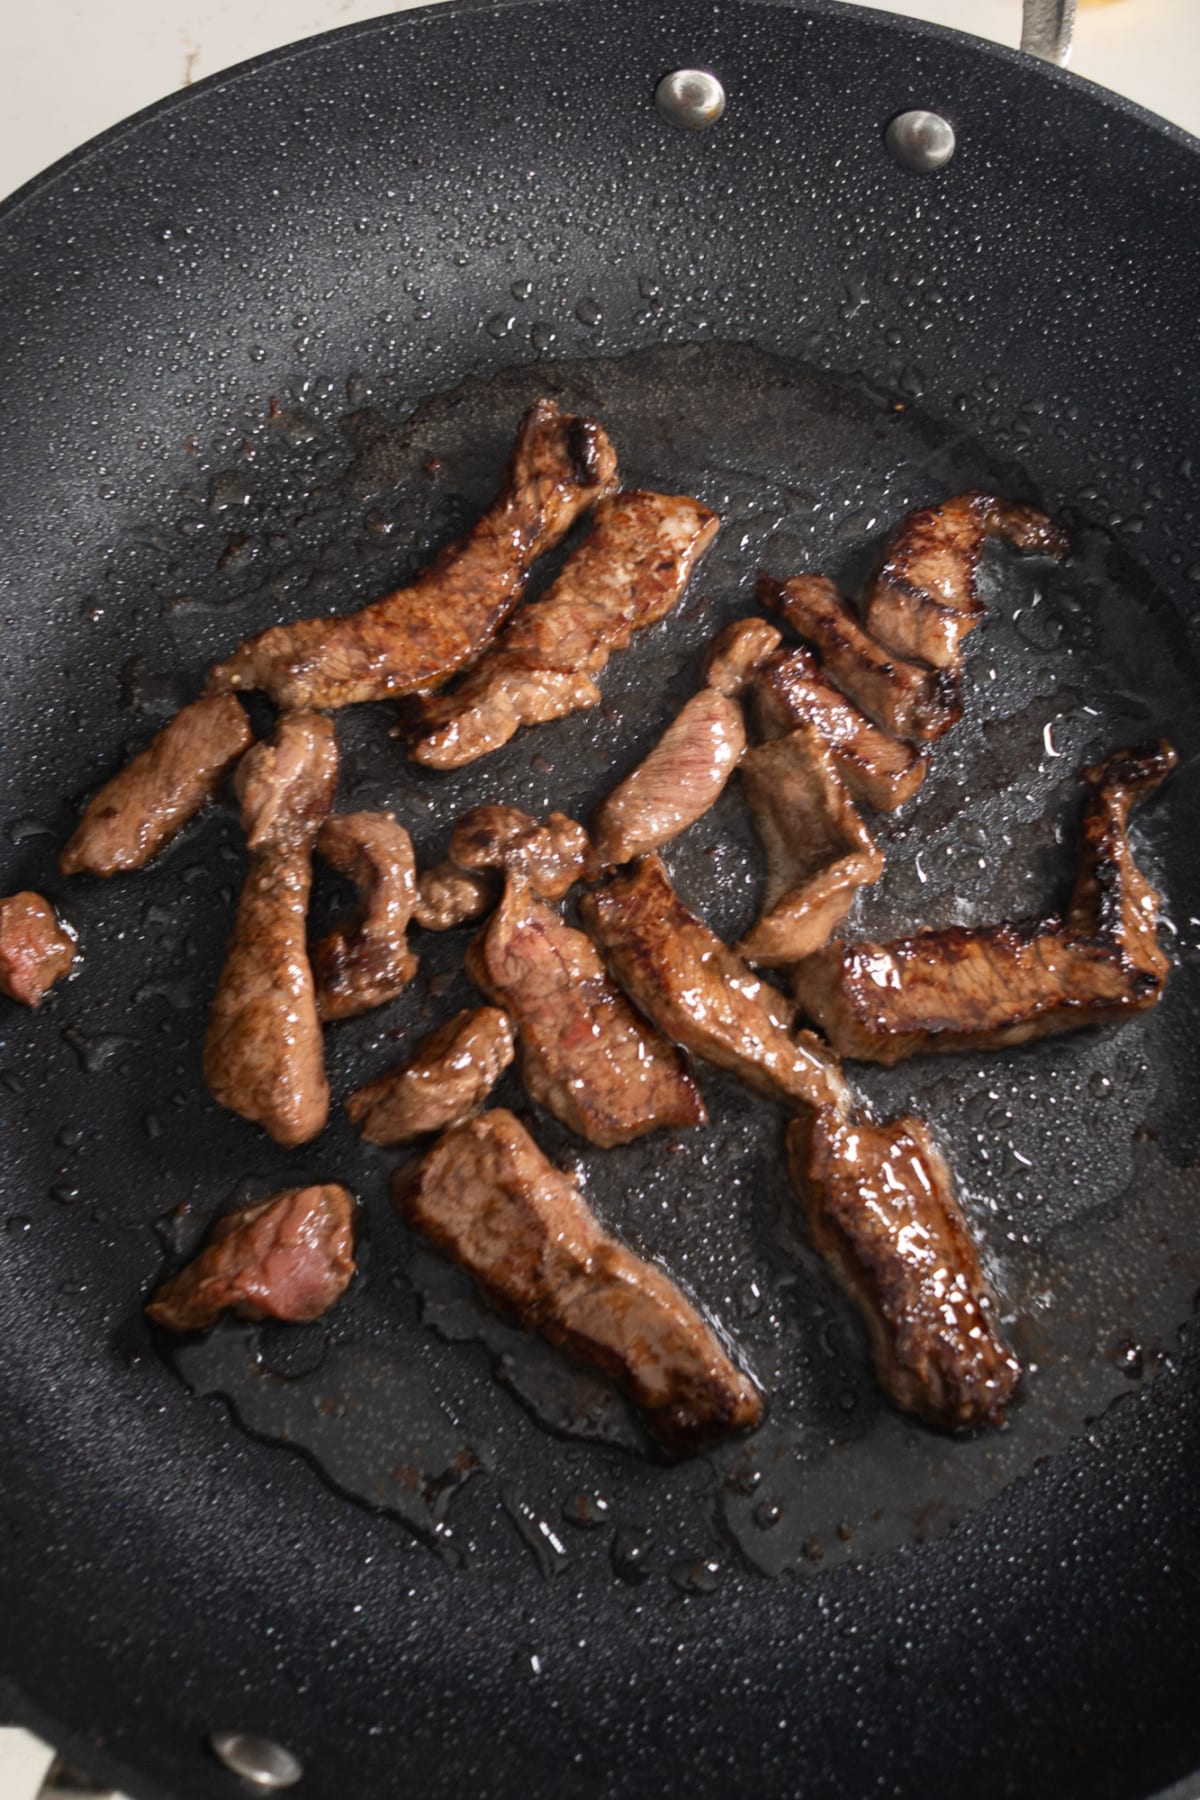
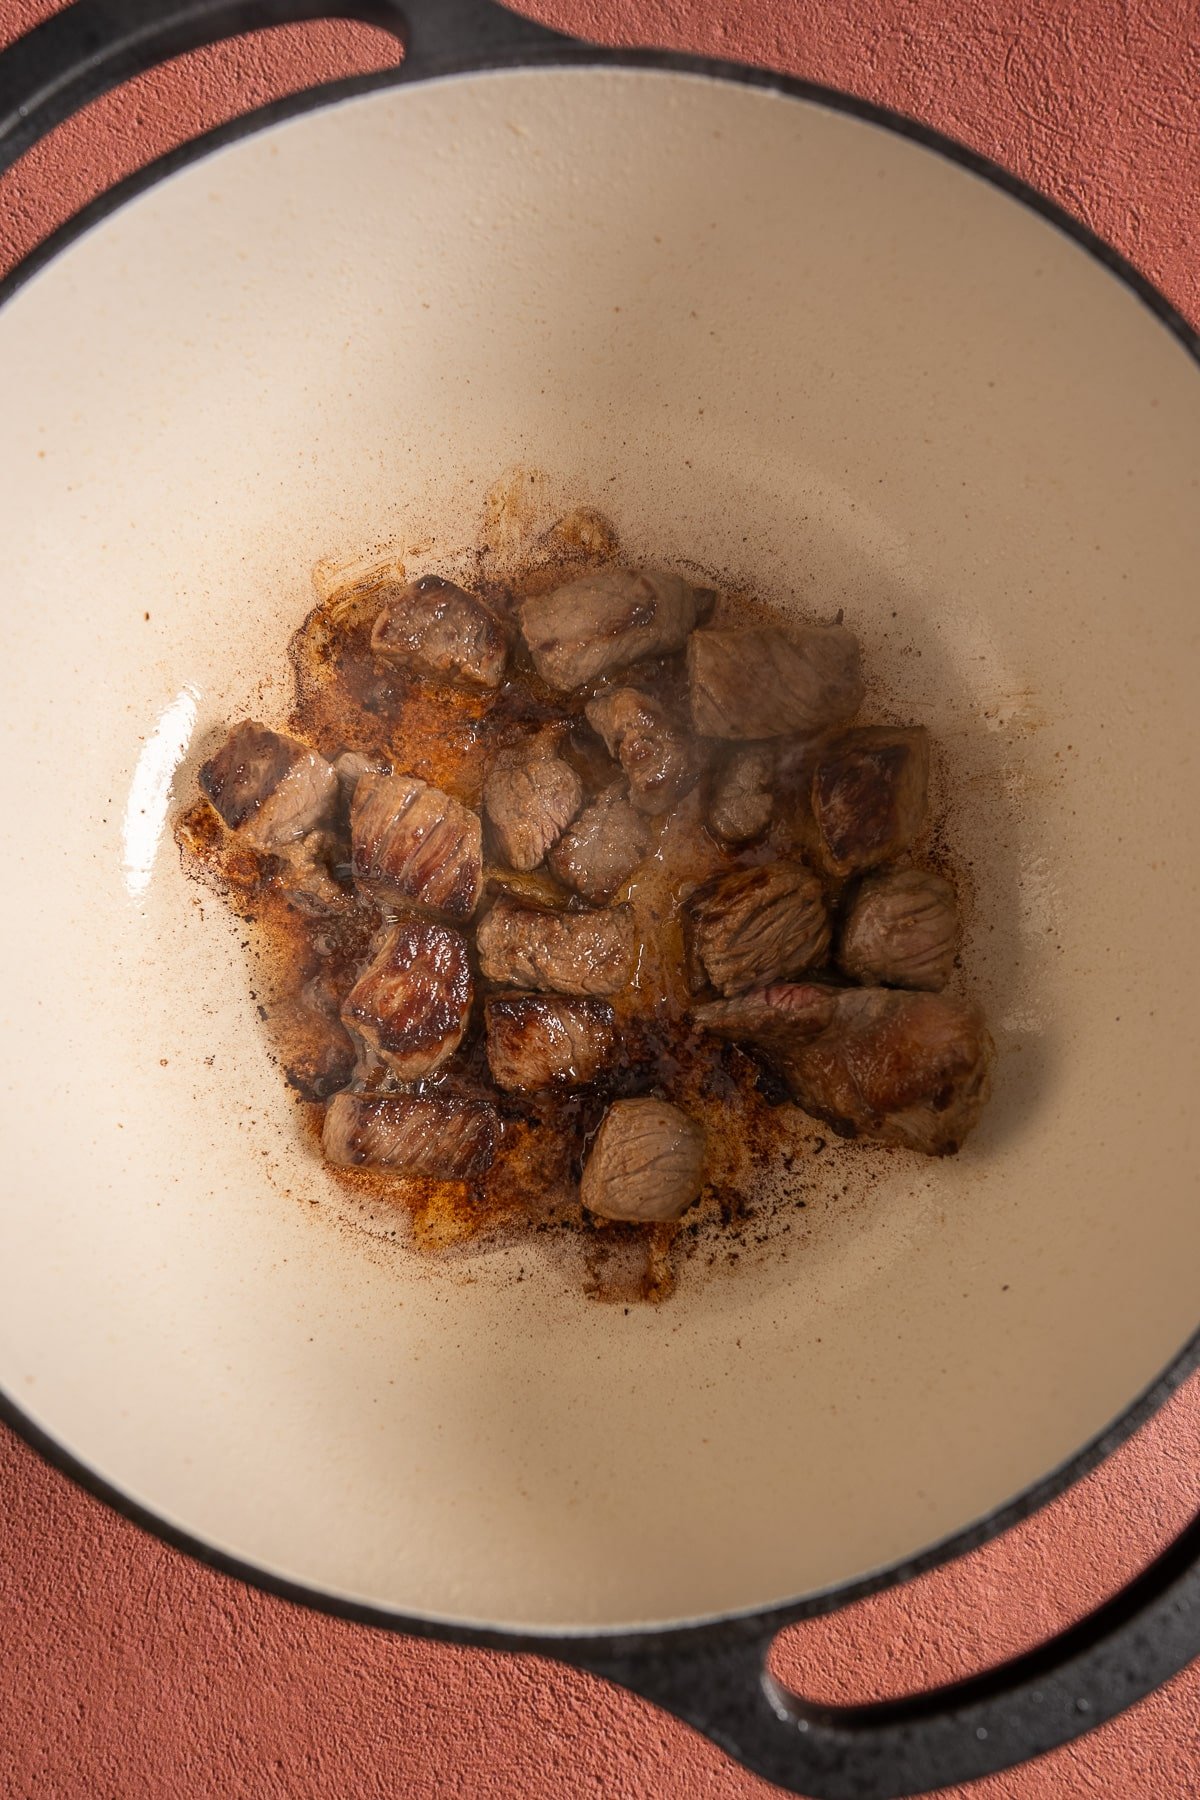
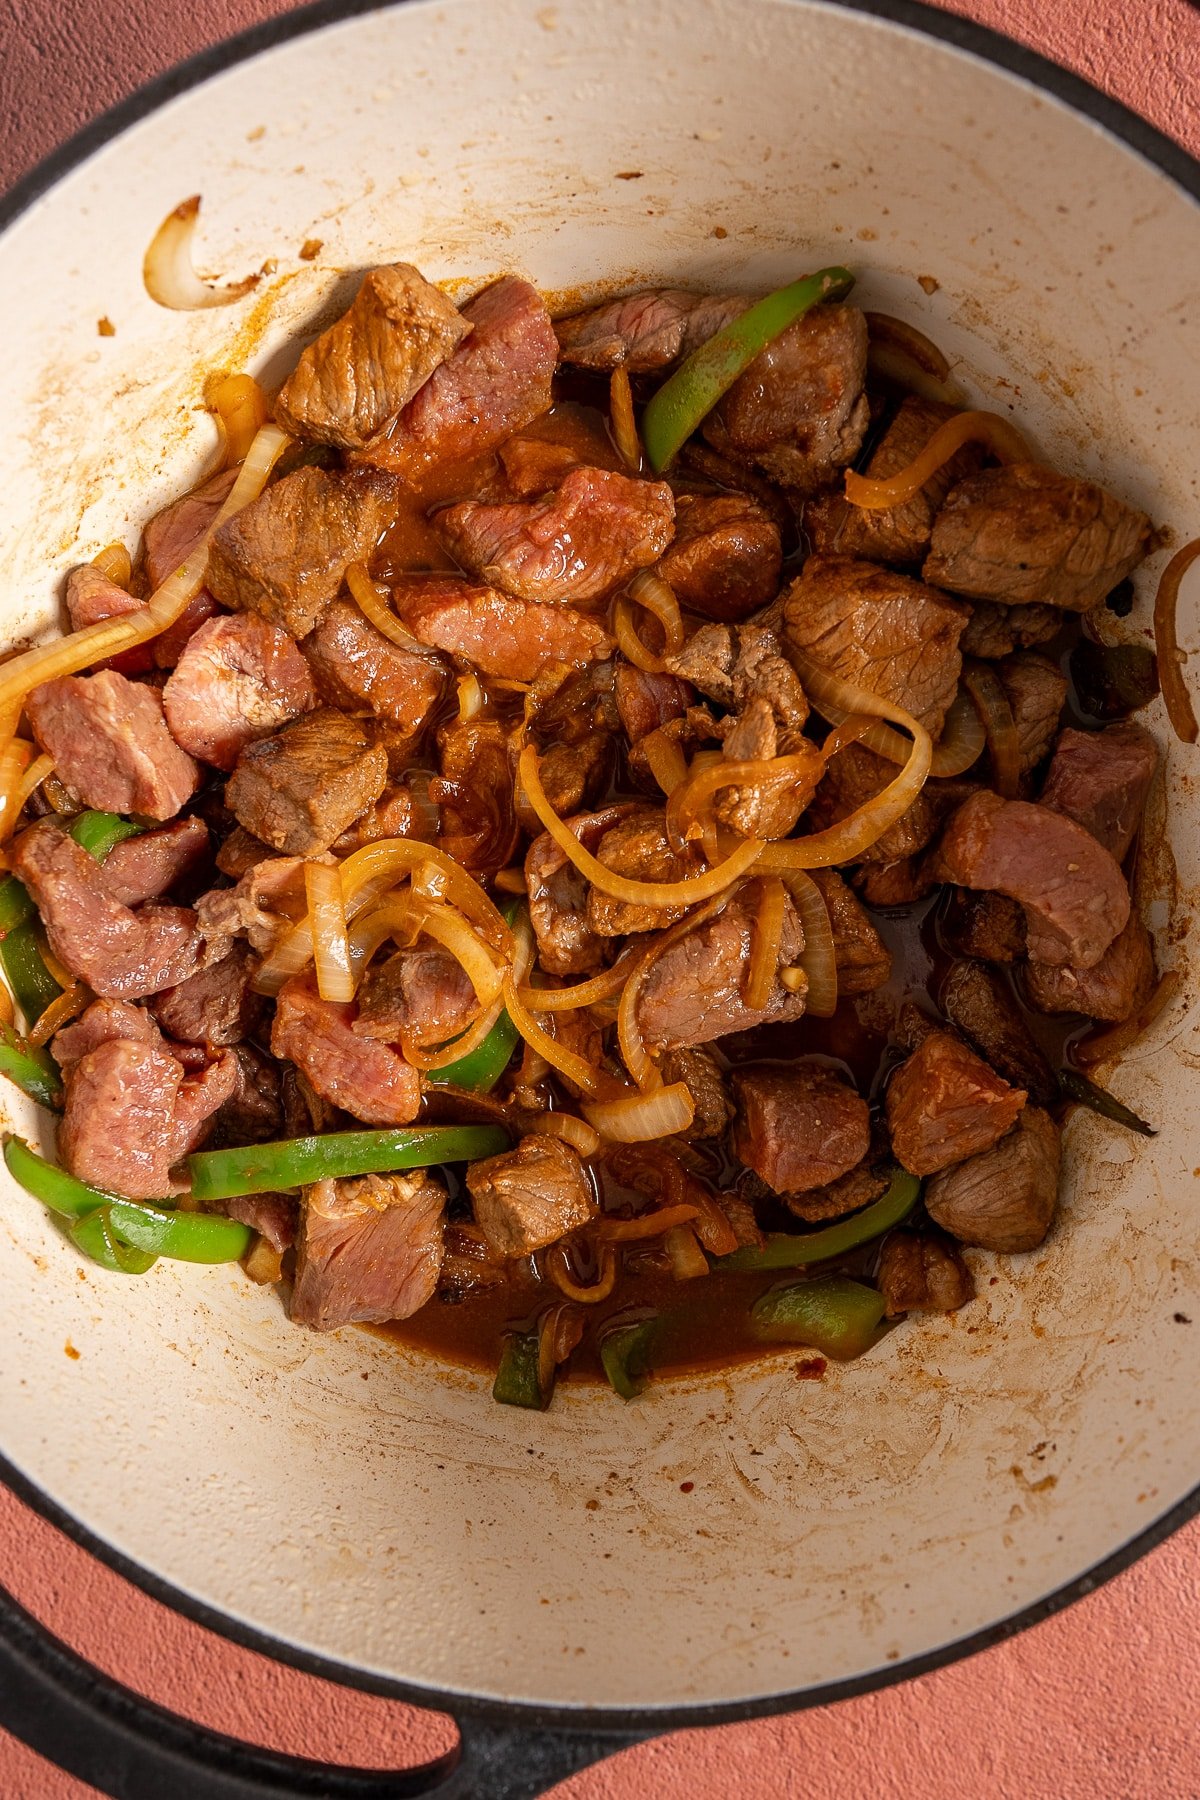
Step 2: Add the ground beef to the skillet, breaking it up with a wooden spoon as it cooks. Let it brown for 6 to 8 minutes, breaking it into small crumbles. Once browned, stir in the cumin, cinnamon, nutmeg, crushed red pepper, salt, and black pepper. Cook for about 30 seconds to toast the spices. Then add the tomato paste and stir to coat the meat, cooking for another 30 seconds.
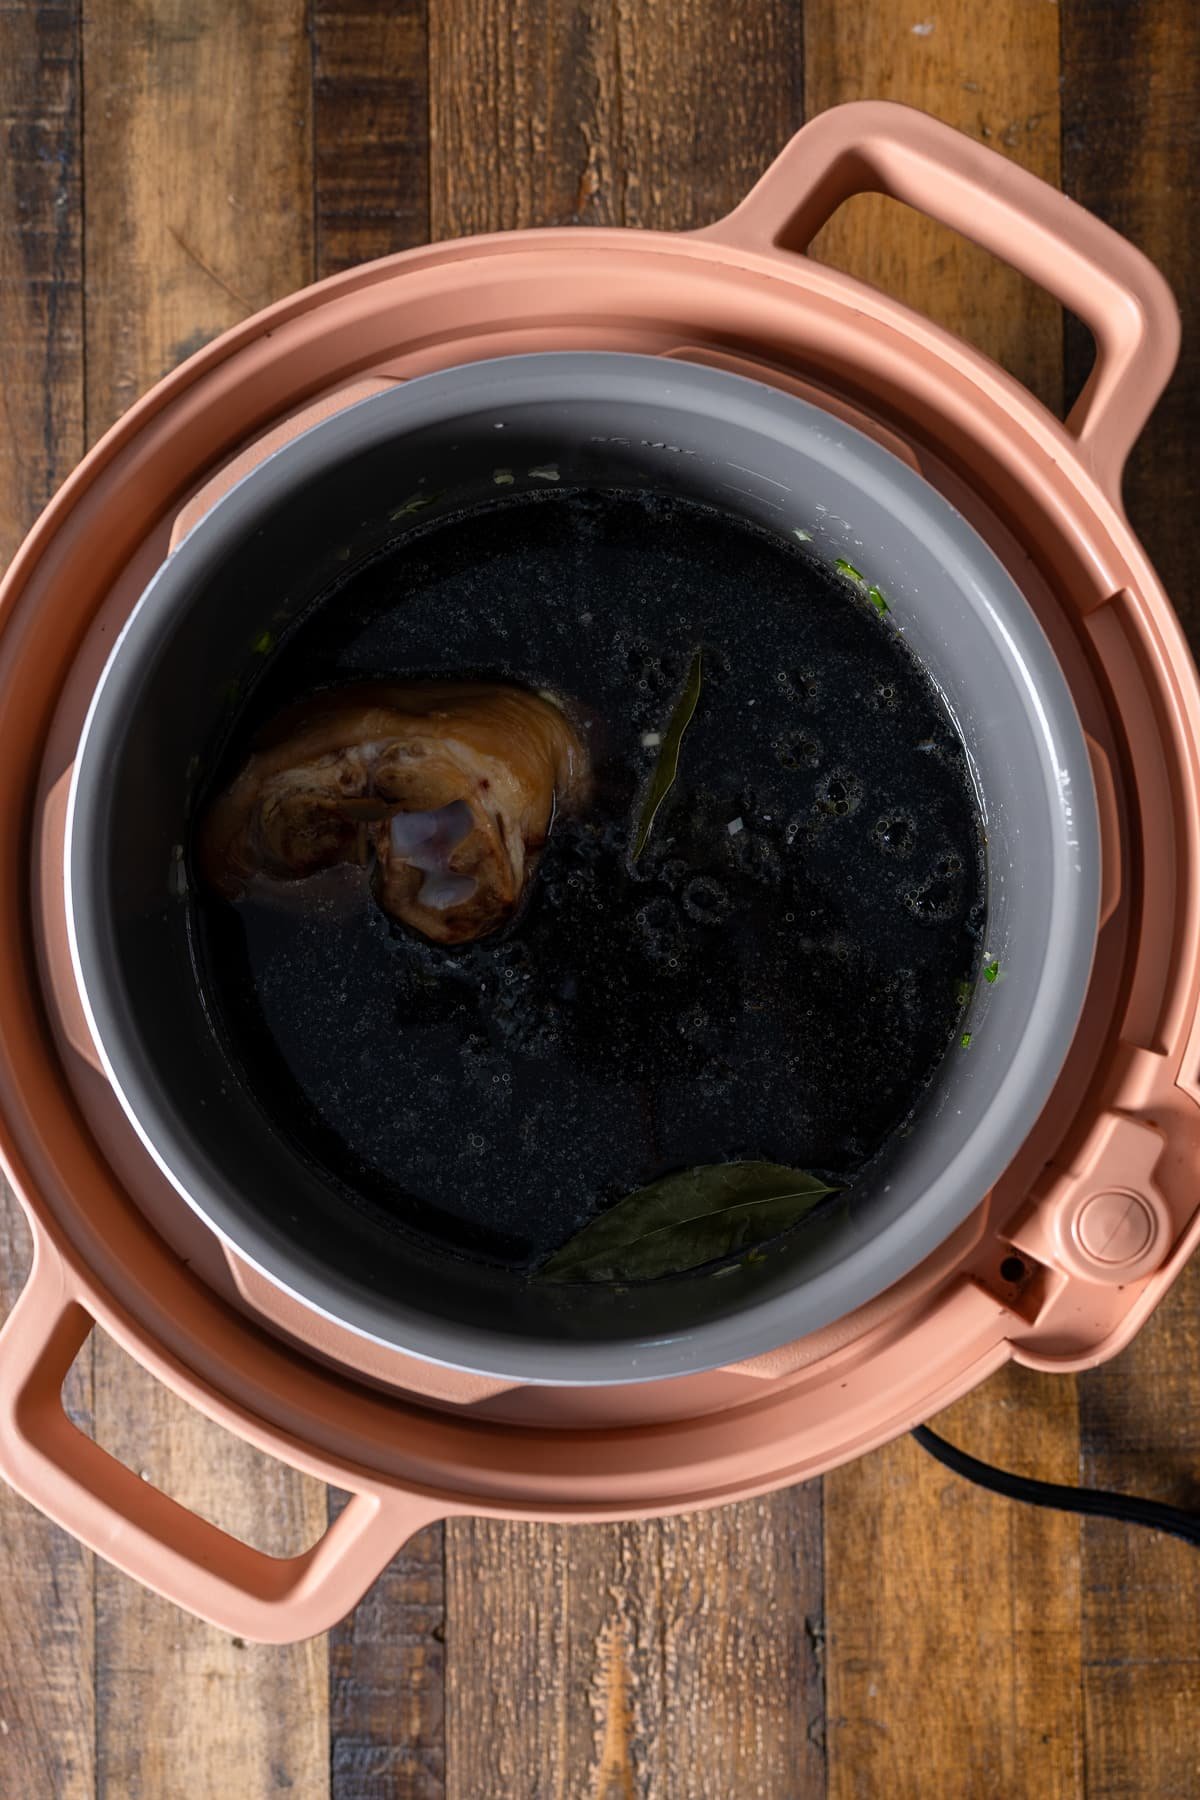
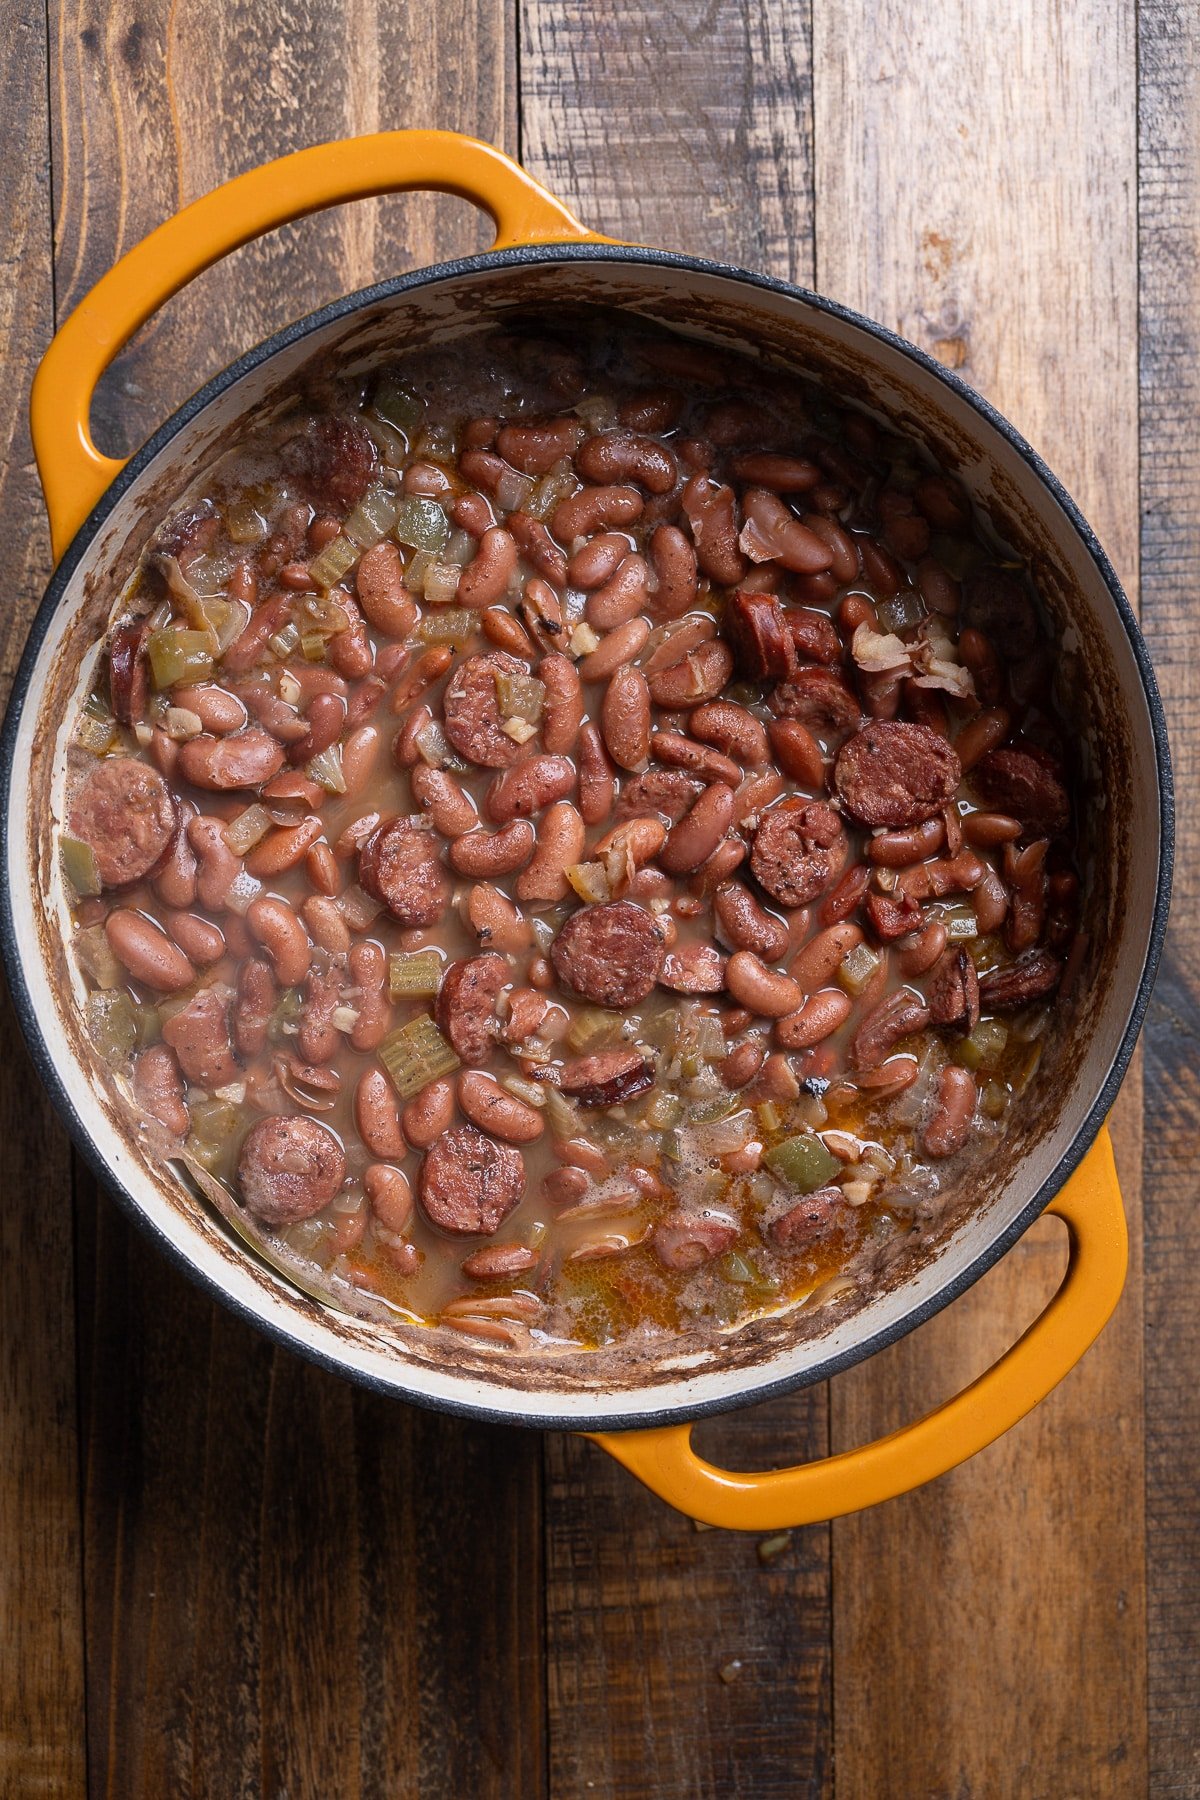
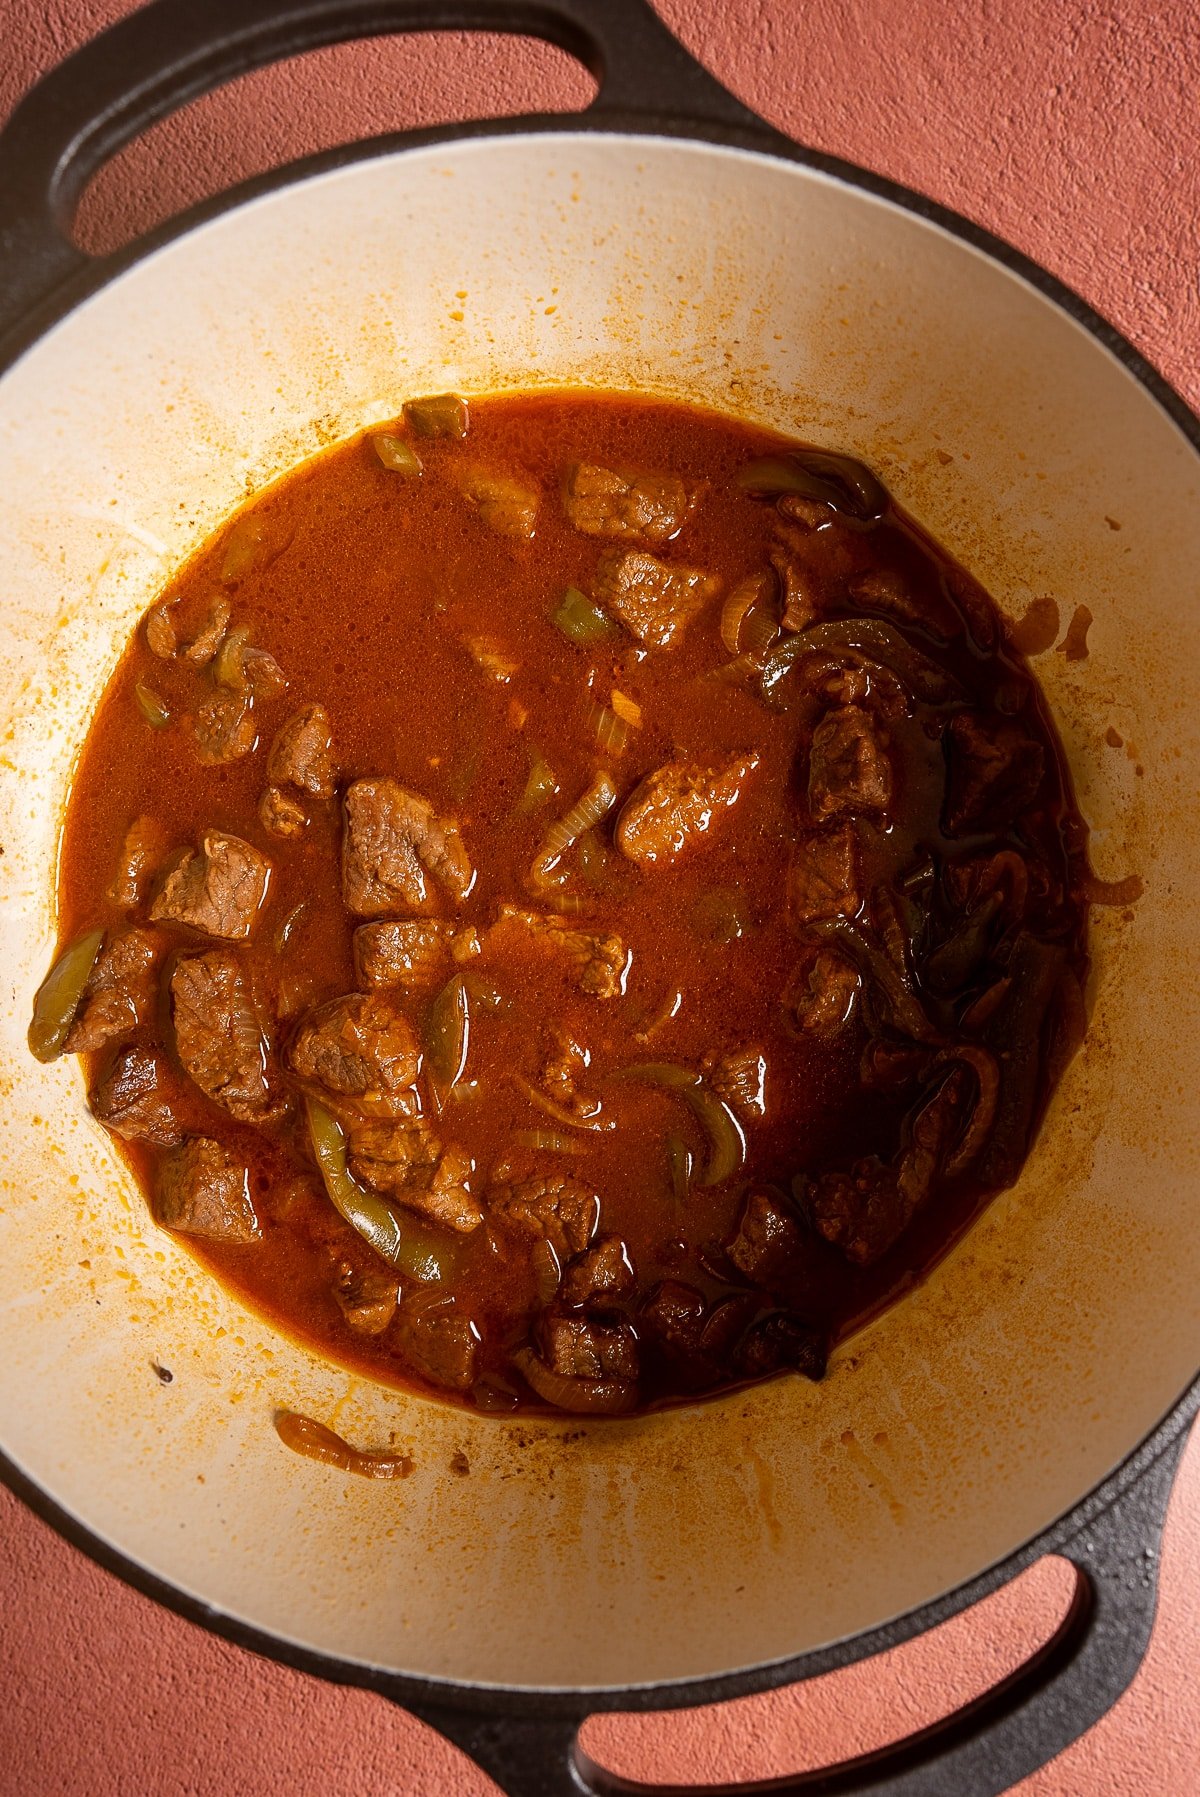
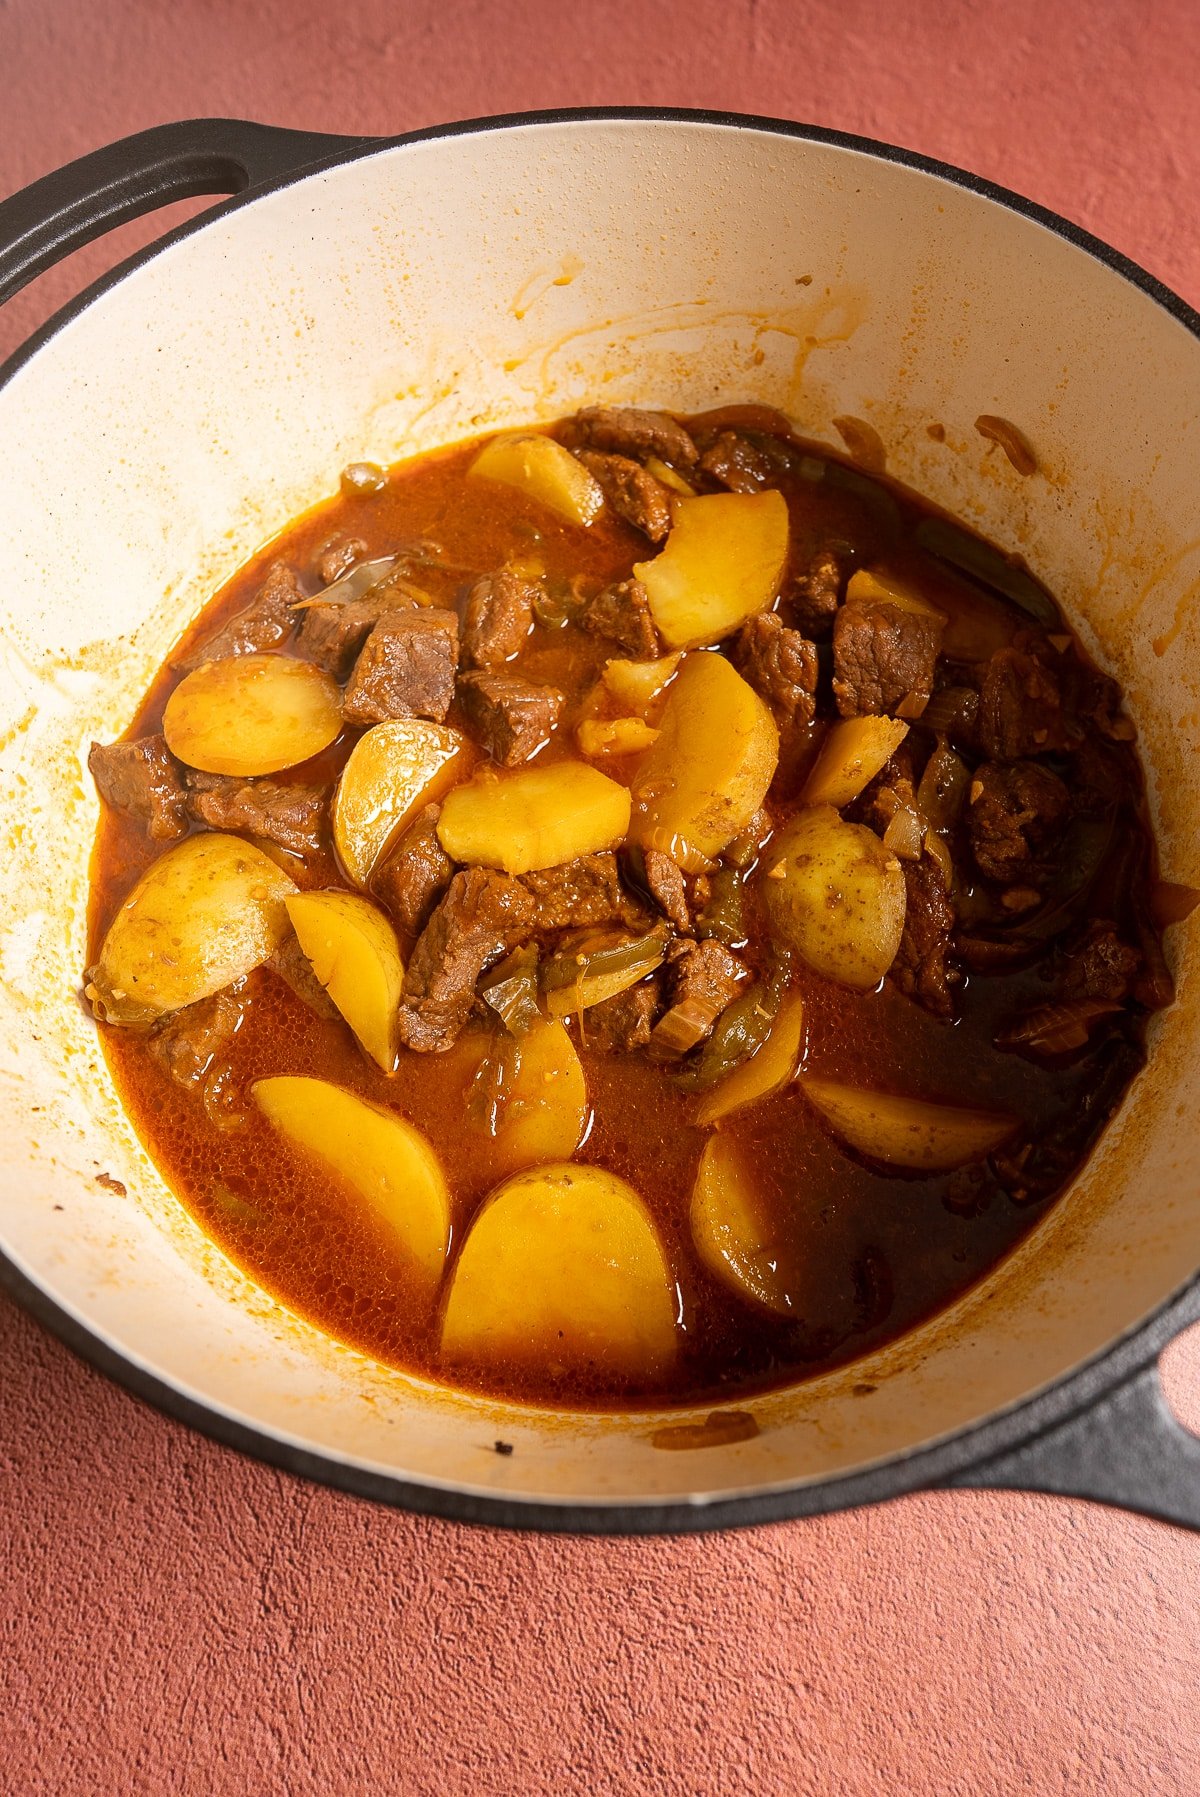
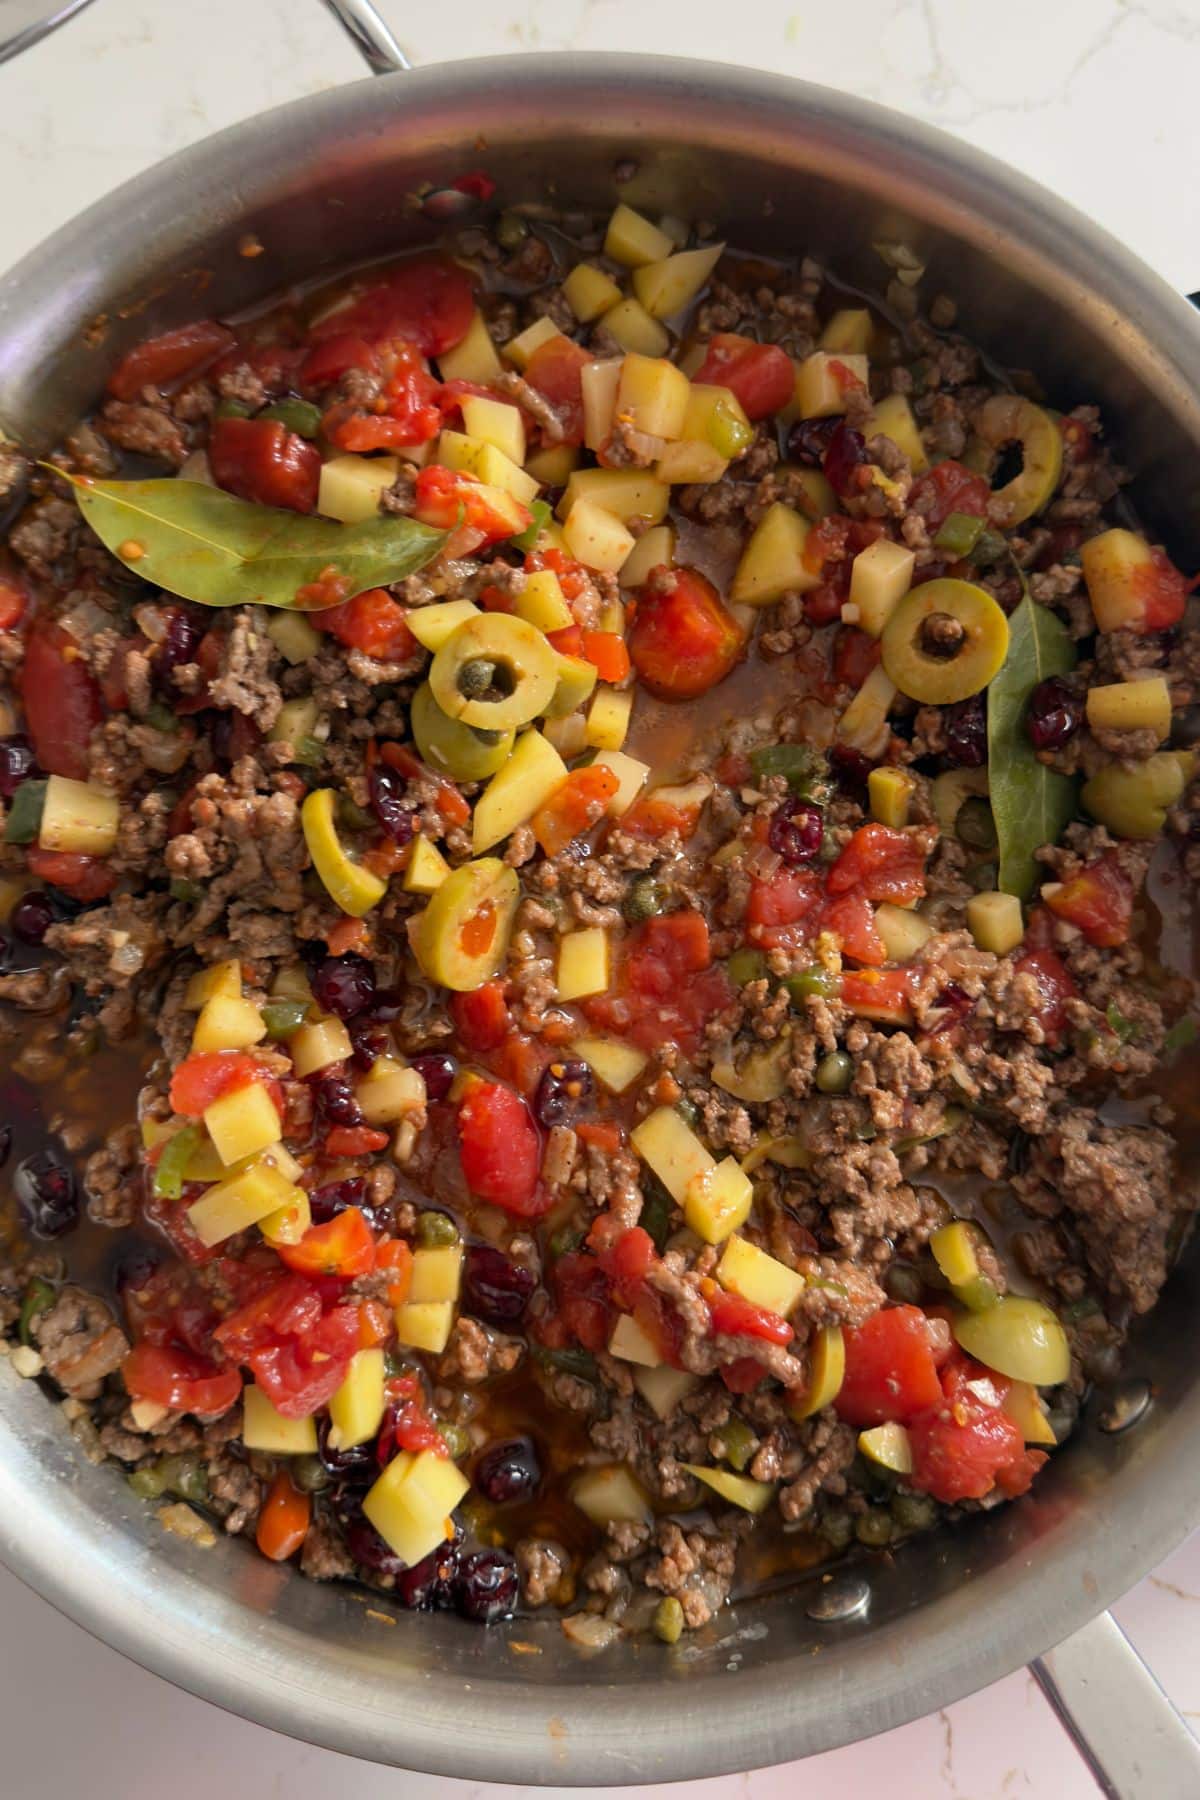
Step 3: Add the diced tomatoes (with their juices), diced potato, cranberries, sliced olives, capers, beef broth, and bay leaves. Stir everything together, then reduce the heat to medium-low. Cover and let the picadillo simmer for 20 to 25 minutes until the potatoes are tender. If the sauce looks too thin toward the end, remove the lid for the last 5 minutes to let it thicken up a bit.
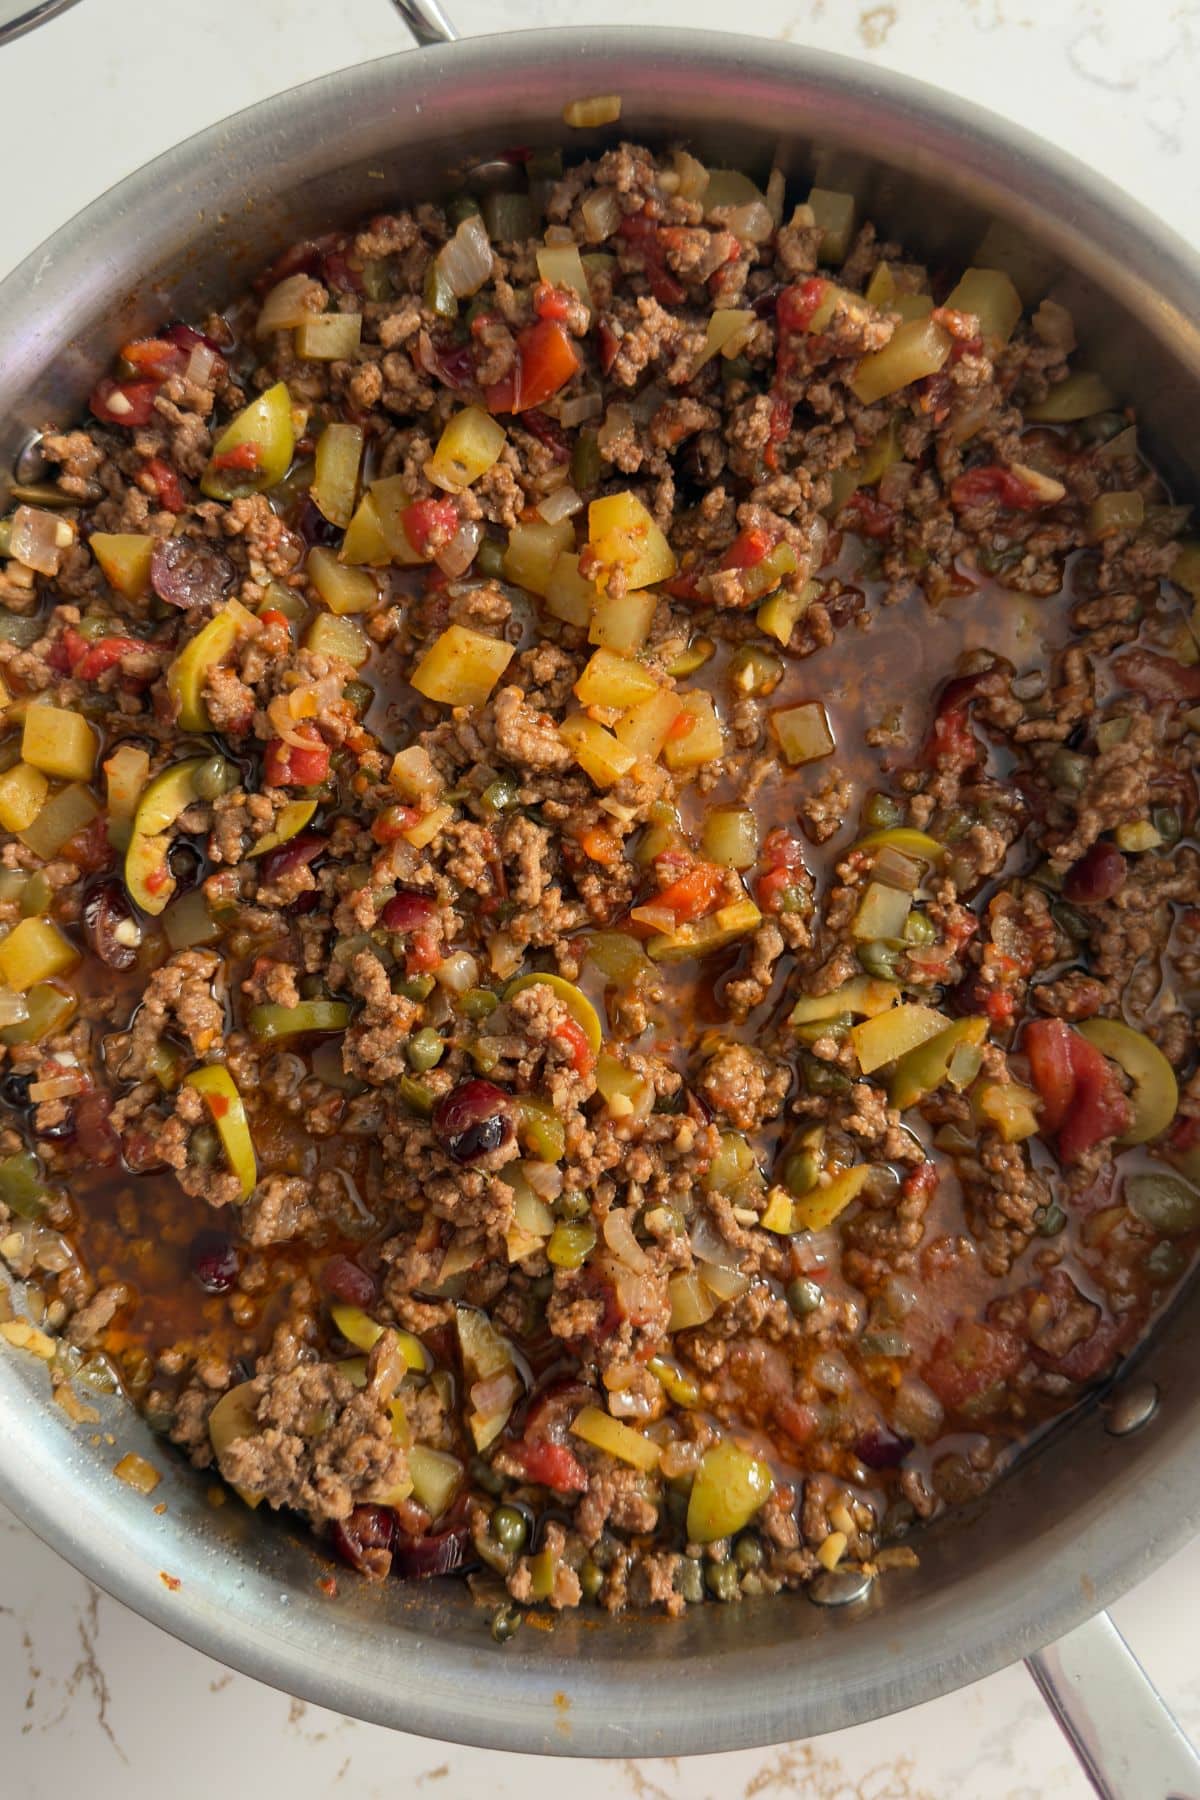
Step 4: Remove the bay leaves and stir in the vinegar. Taste and adjust the seasoning as needed. Serve and enjoy.
Variations
You can make this picadillo your own with a few easy swaps.
- Ground turkey or chicken: Swap the ground beef for ground turkey or chicken for a lighter version. The spices and olives still carry the flavor.
- Traditional raisins: If you prefer the classic version, use raisins in place of the dried cranberries.
- No potatoes: Some versions of picadillo skip the potato altogether. If you leave it out, you may want to reduce the beef broth to about a quarter cup.
- Sweet plantains on the side: This is a popular way to serve picadillo in Cuban cuisine. The sweetness of the plantains pairs so well with the savory, briny meat. Try it with my Air-Fried Sweet Plantains.
Serving Suggestions
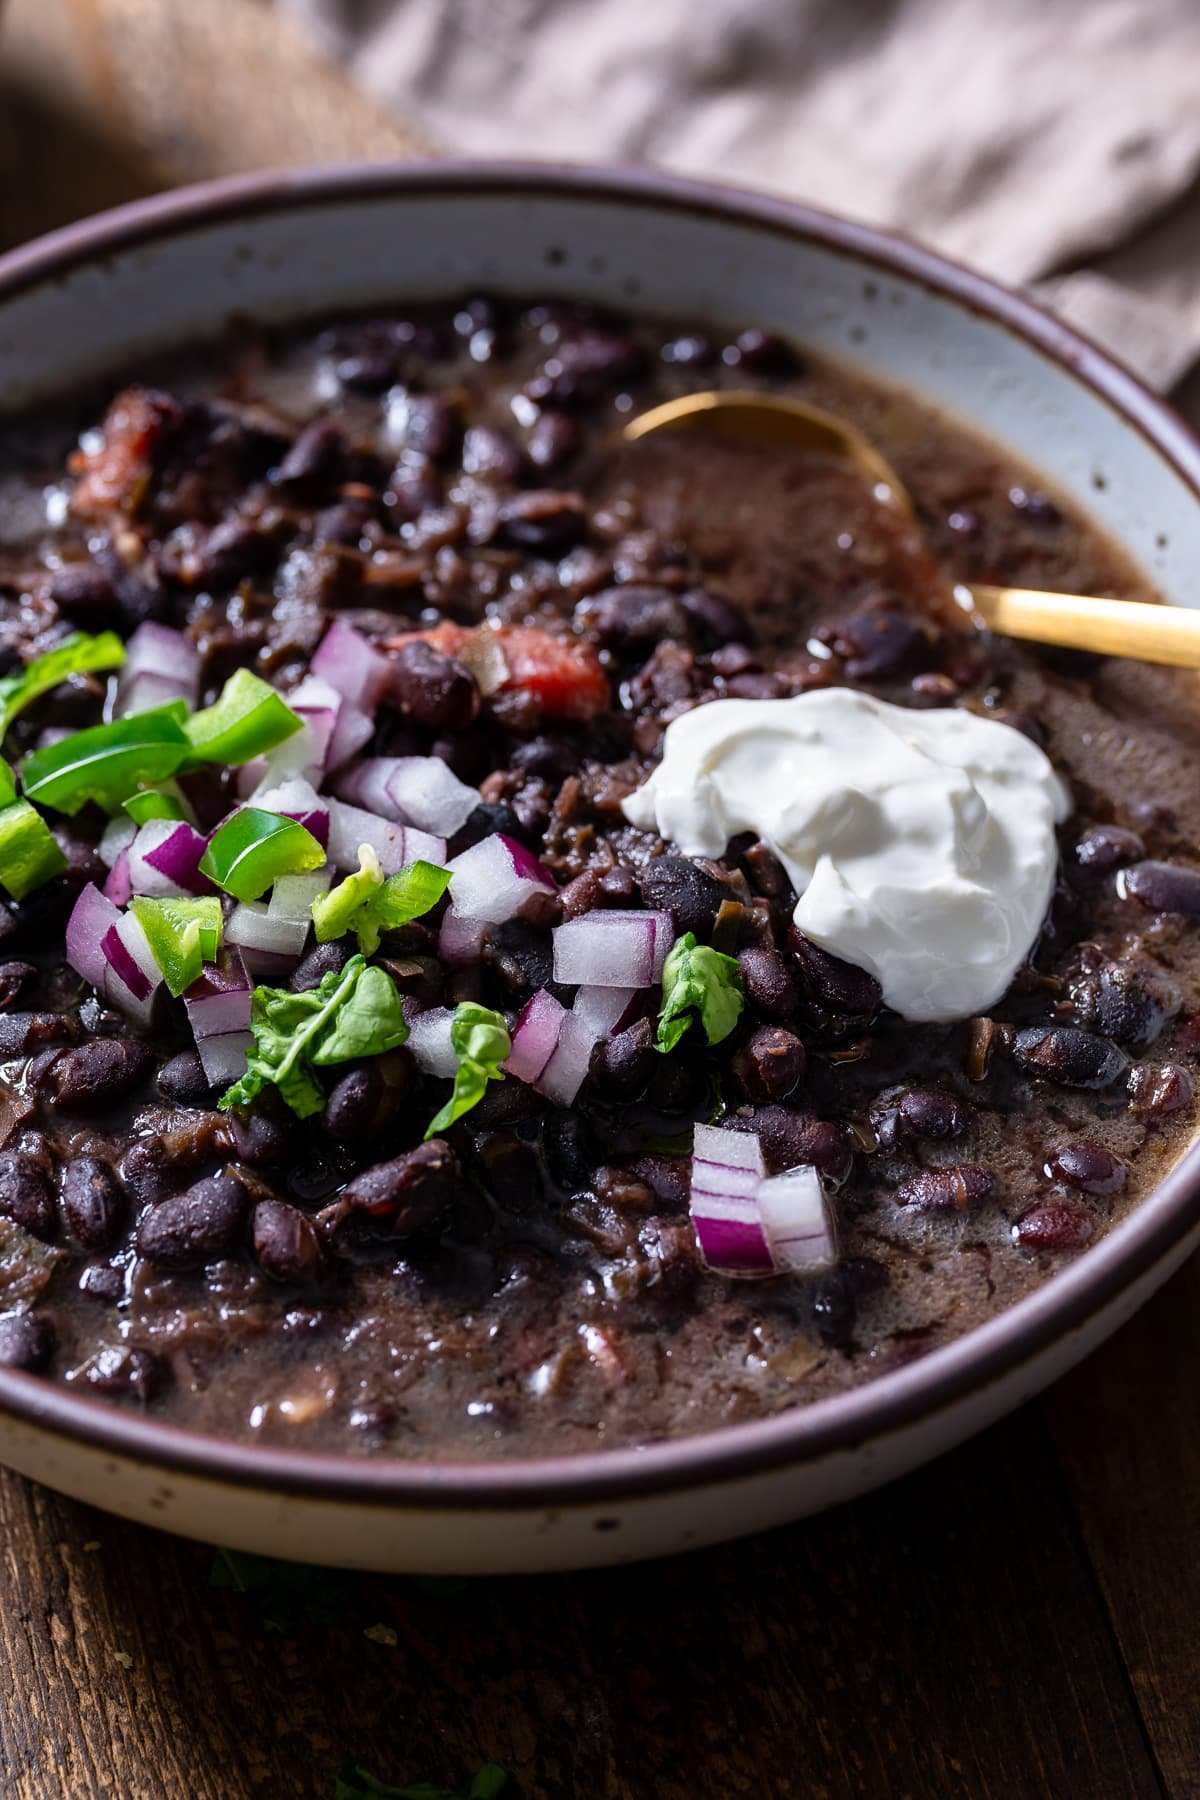
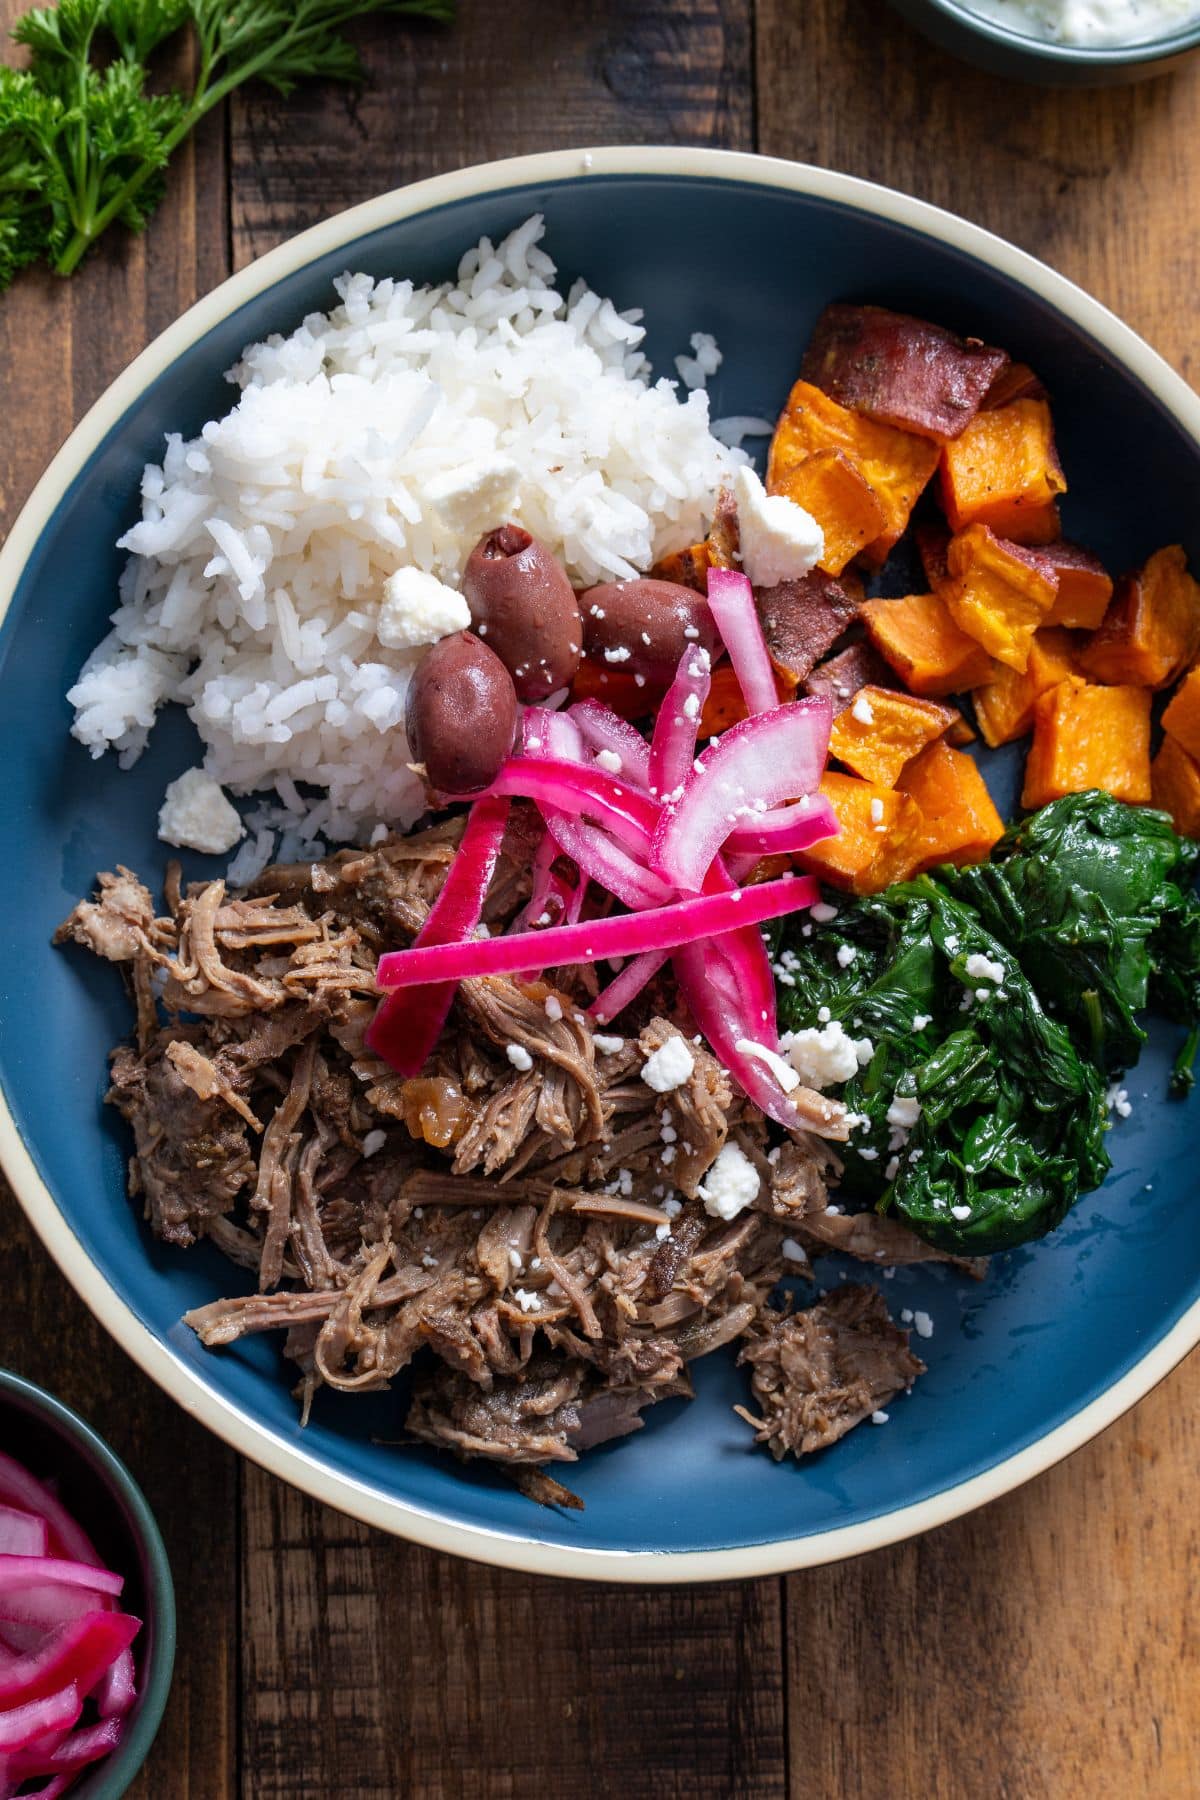
Picadillo is incredibly versatile when it comes to serving. My favorite way is to spoon it over a bed of rice, which is how I always order it at my local spot. Here are a few ways to serve it:
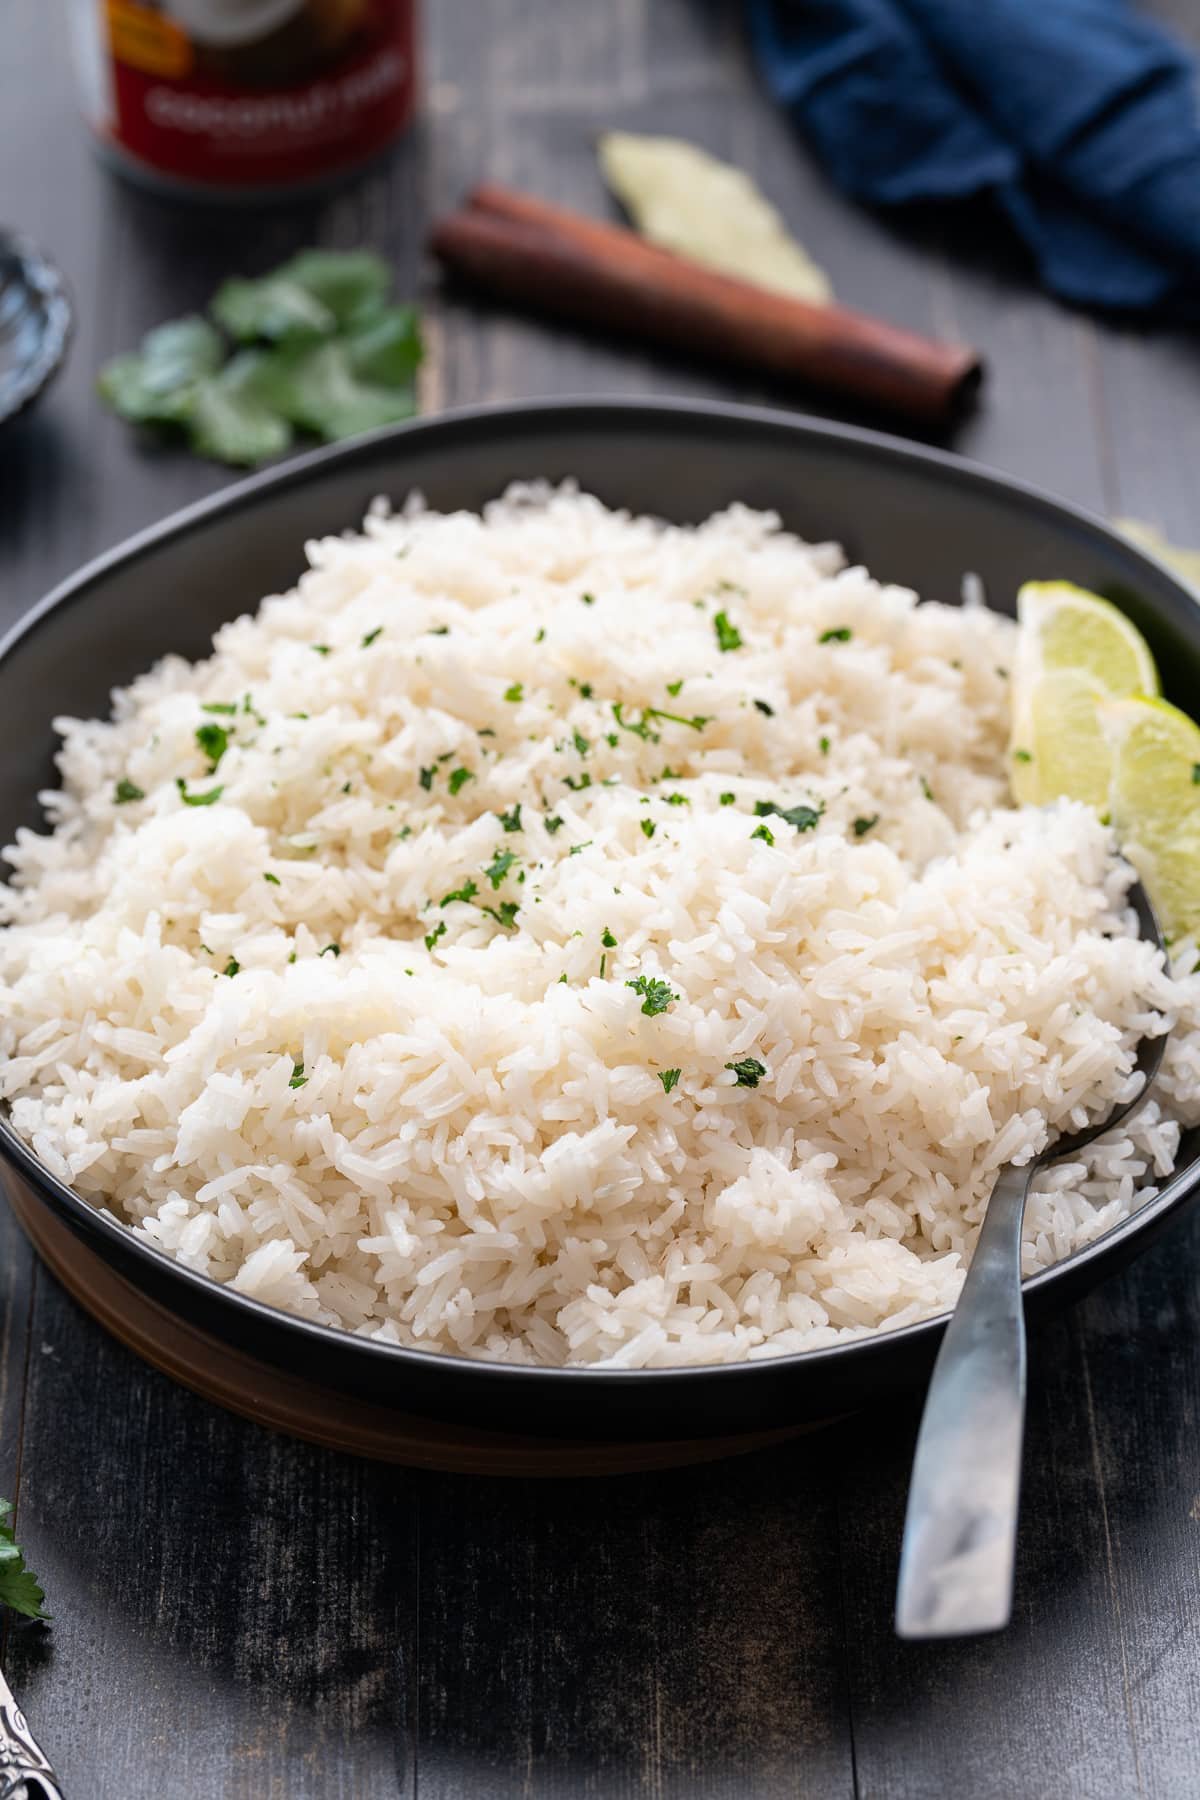
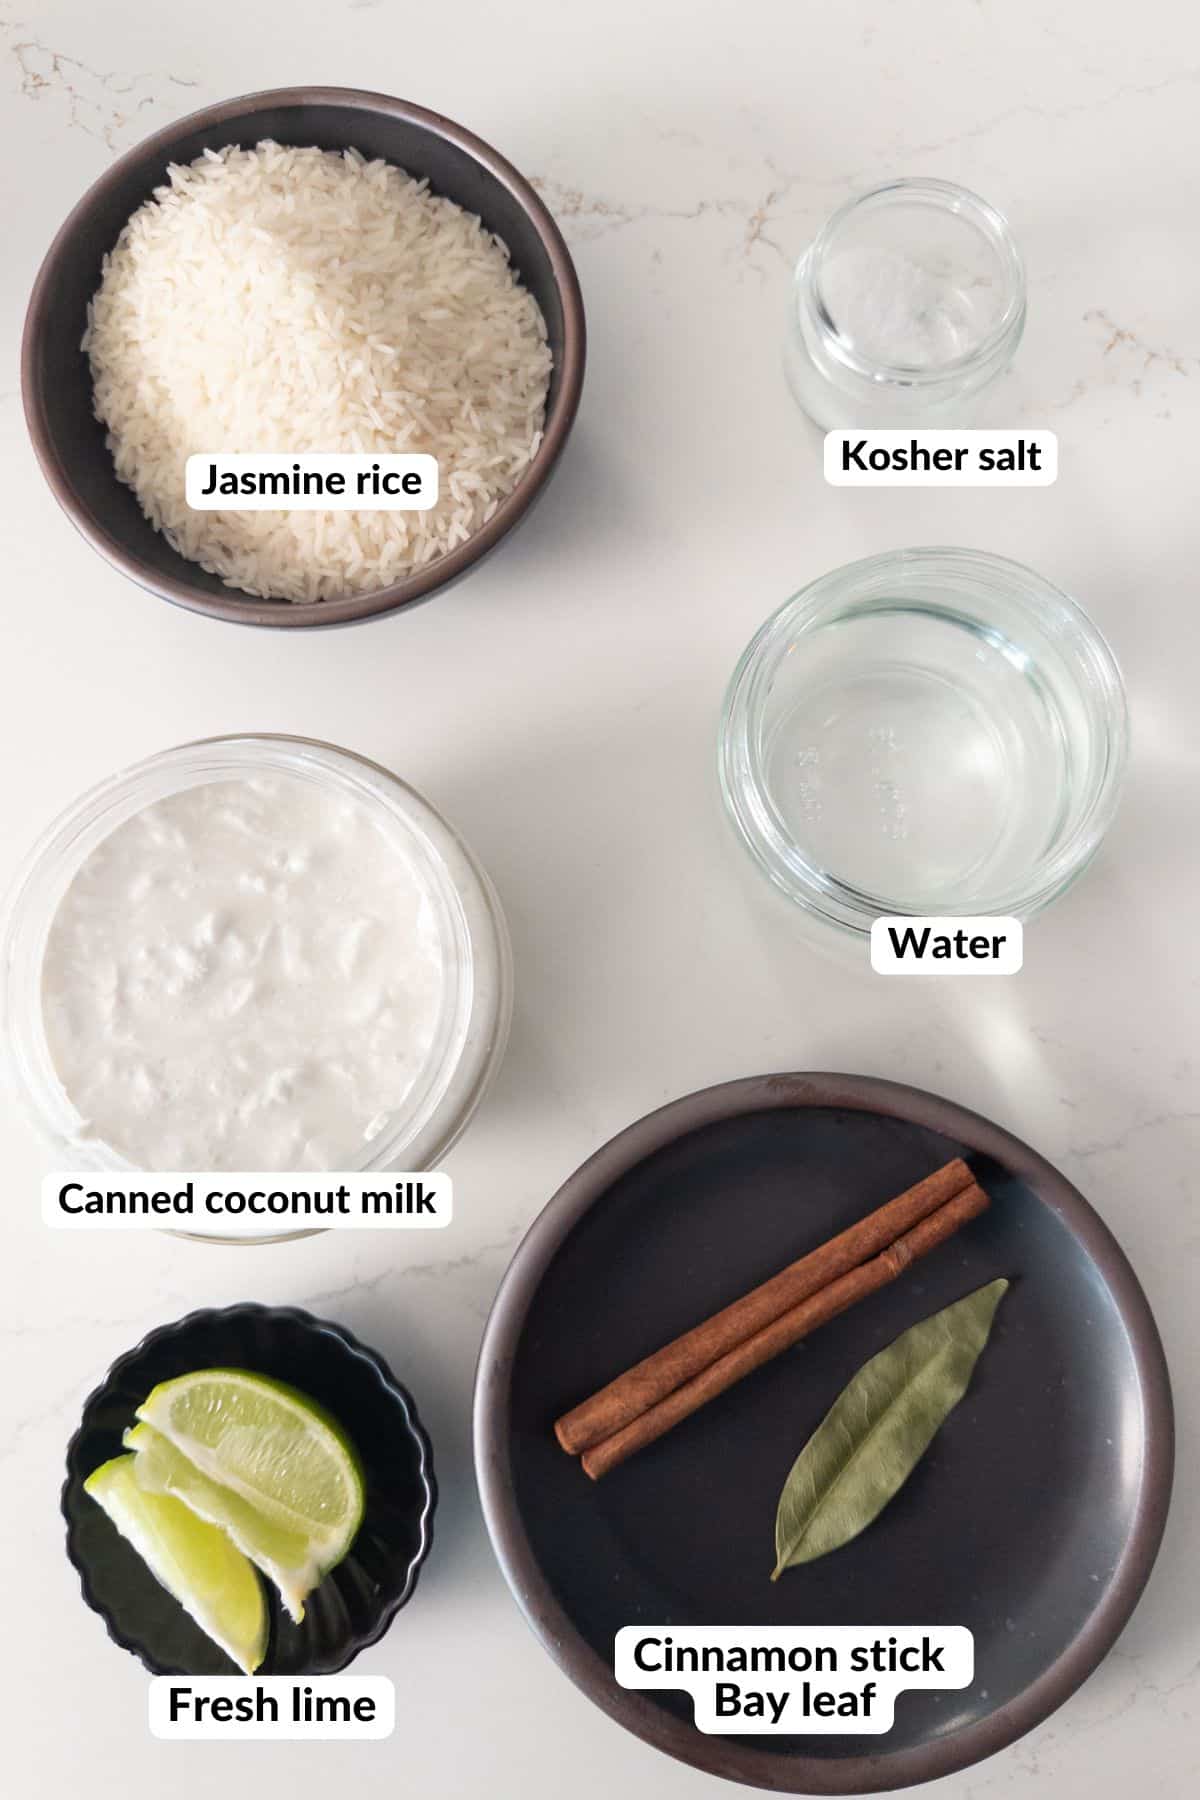
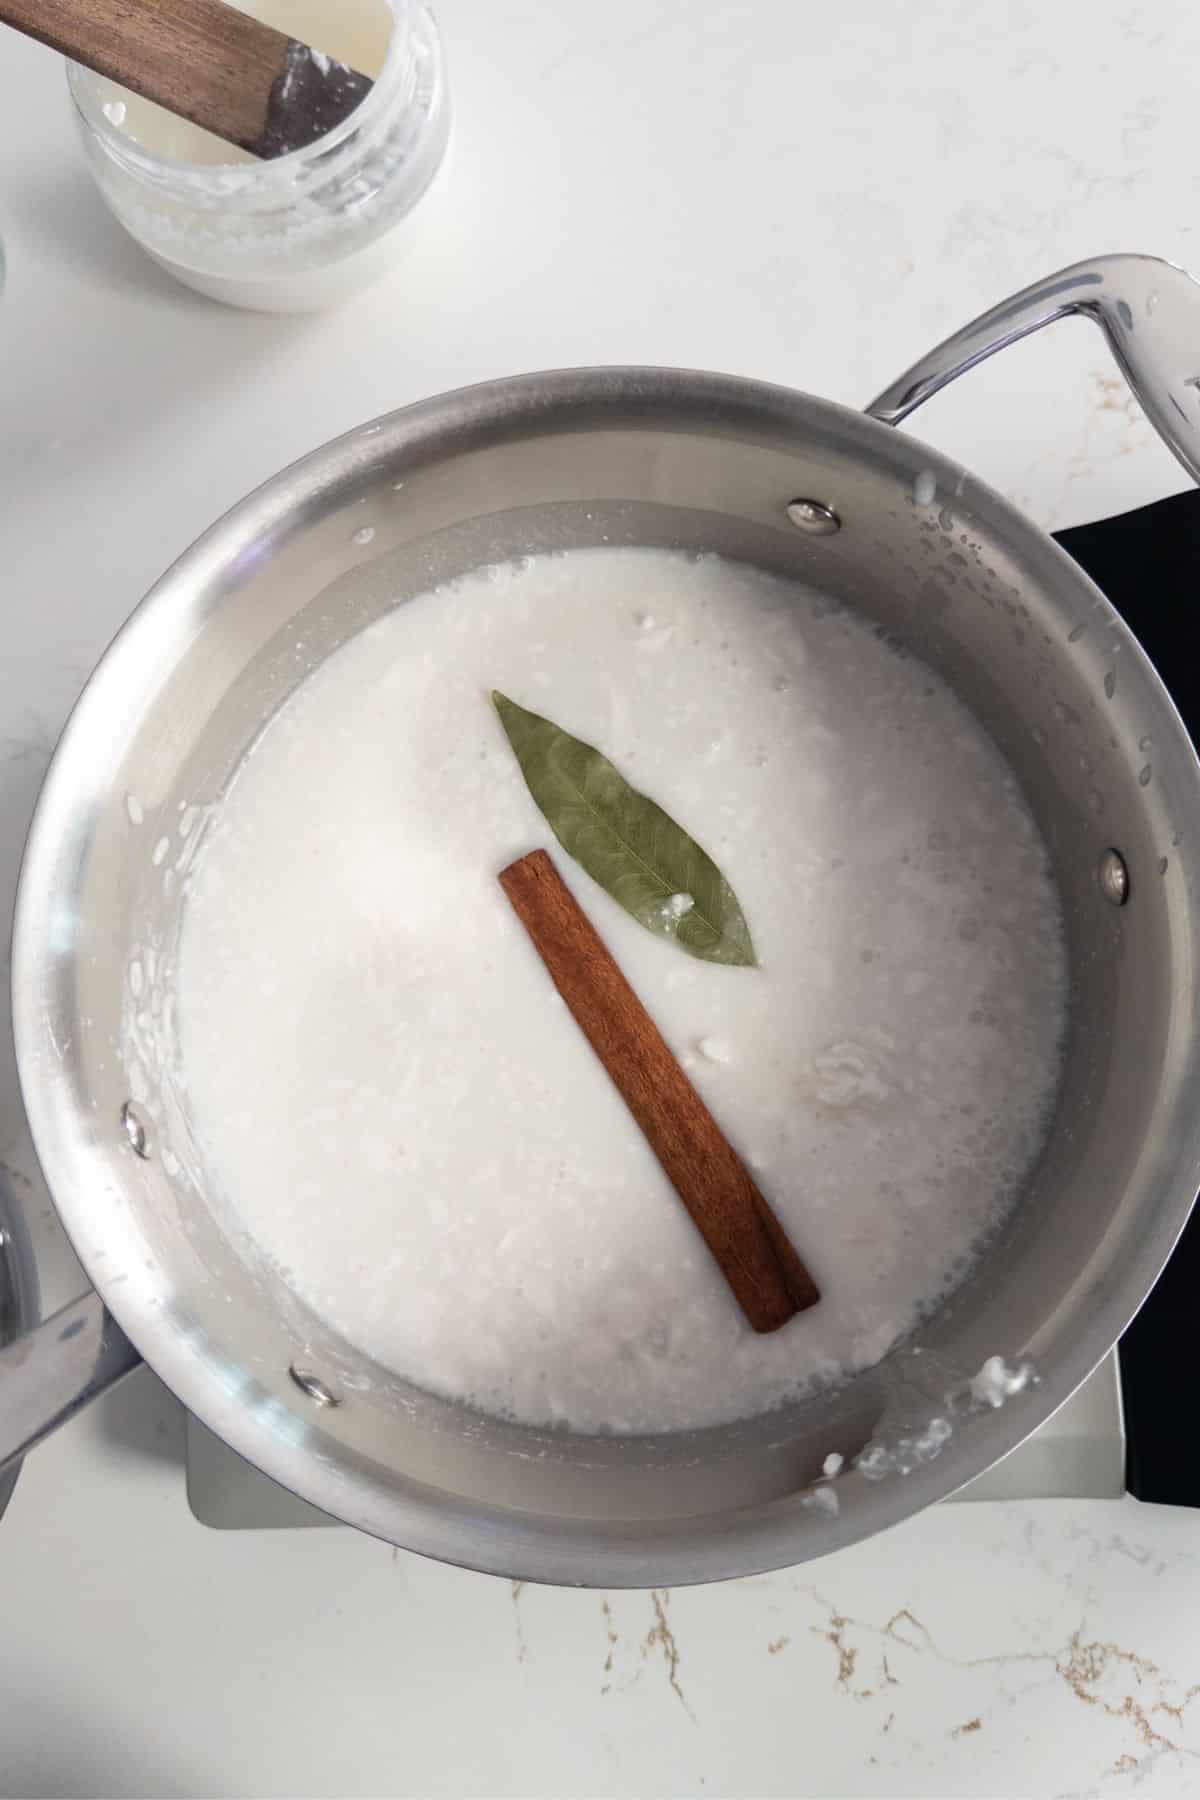
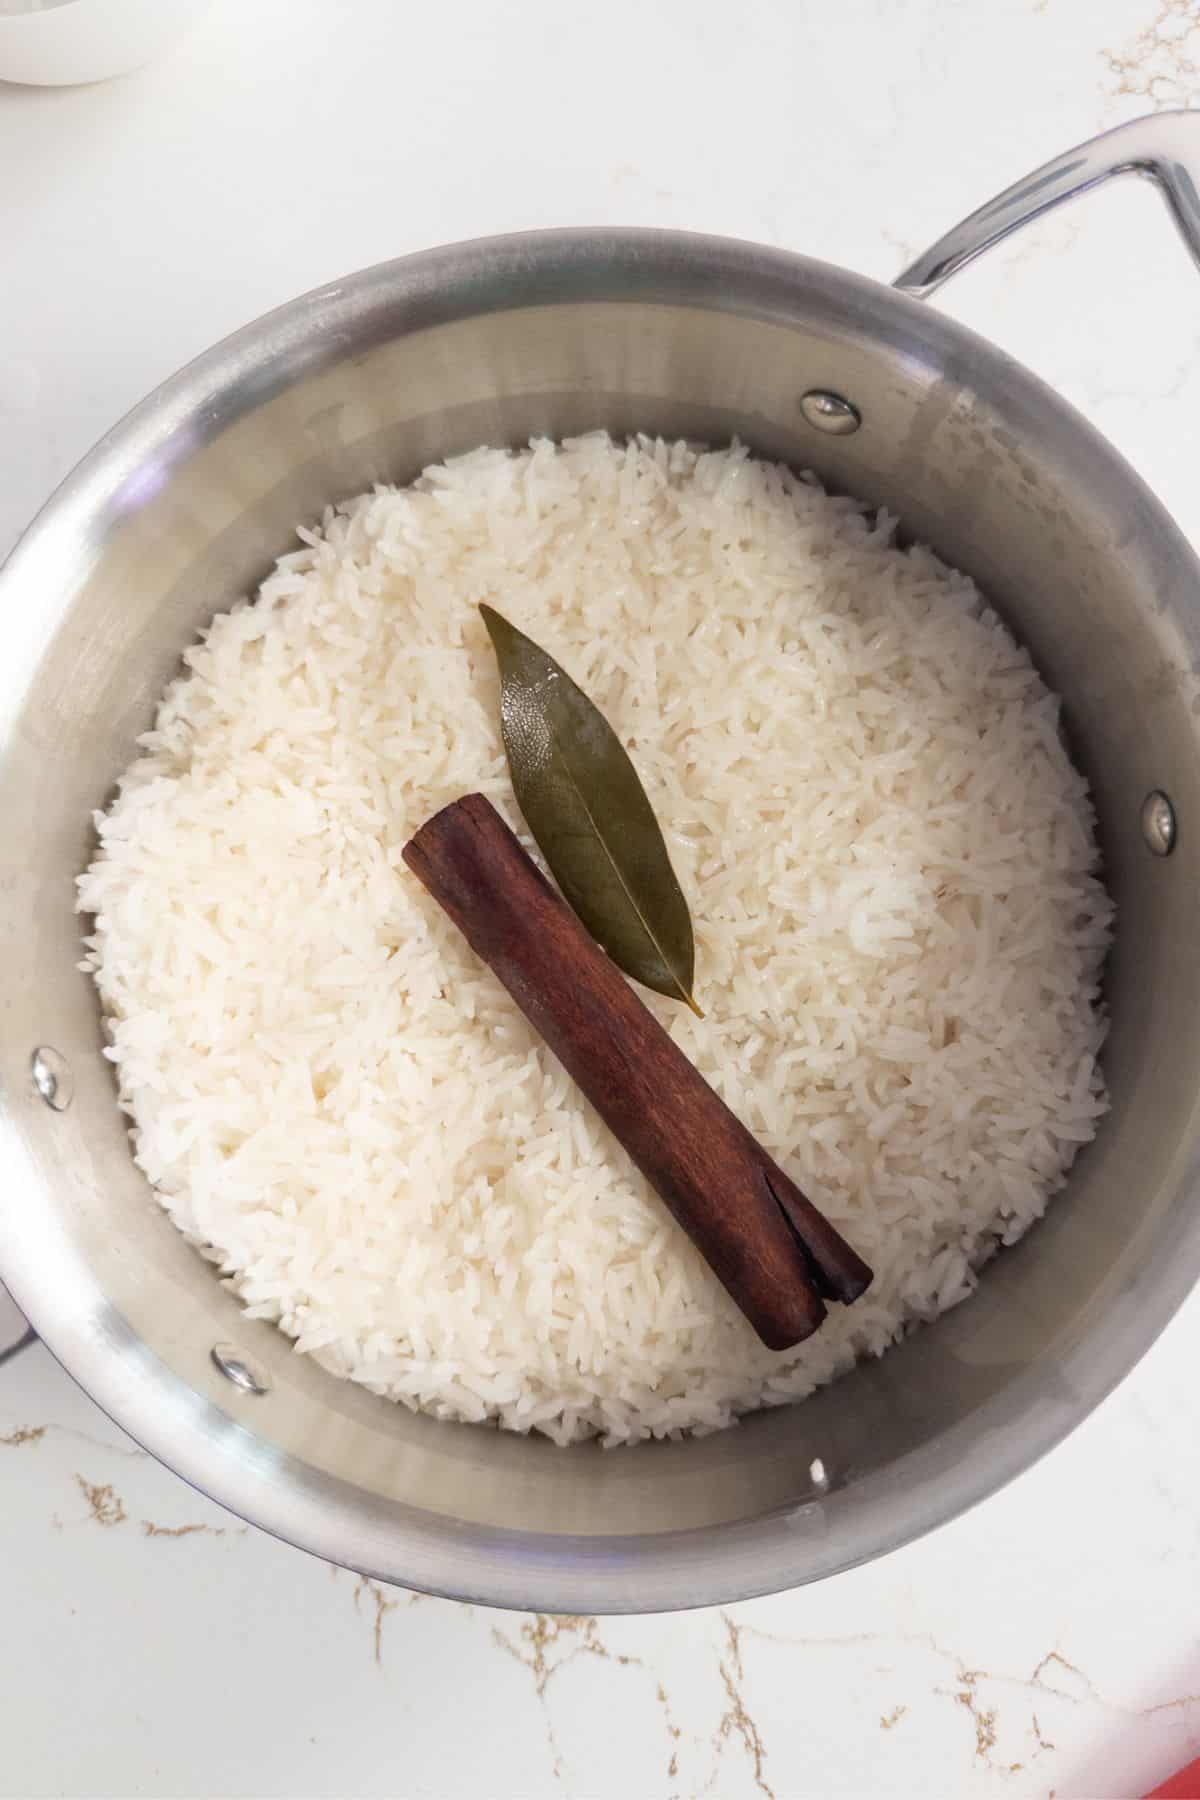
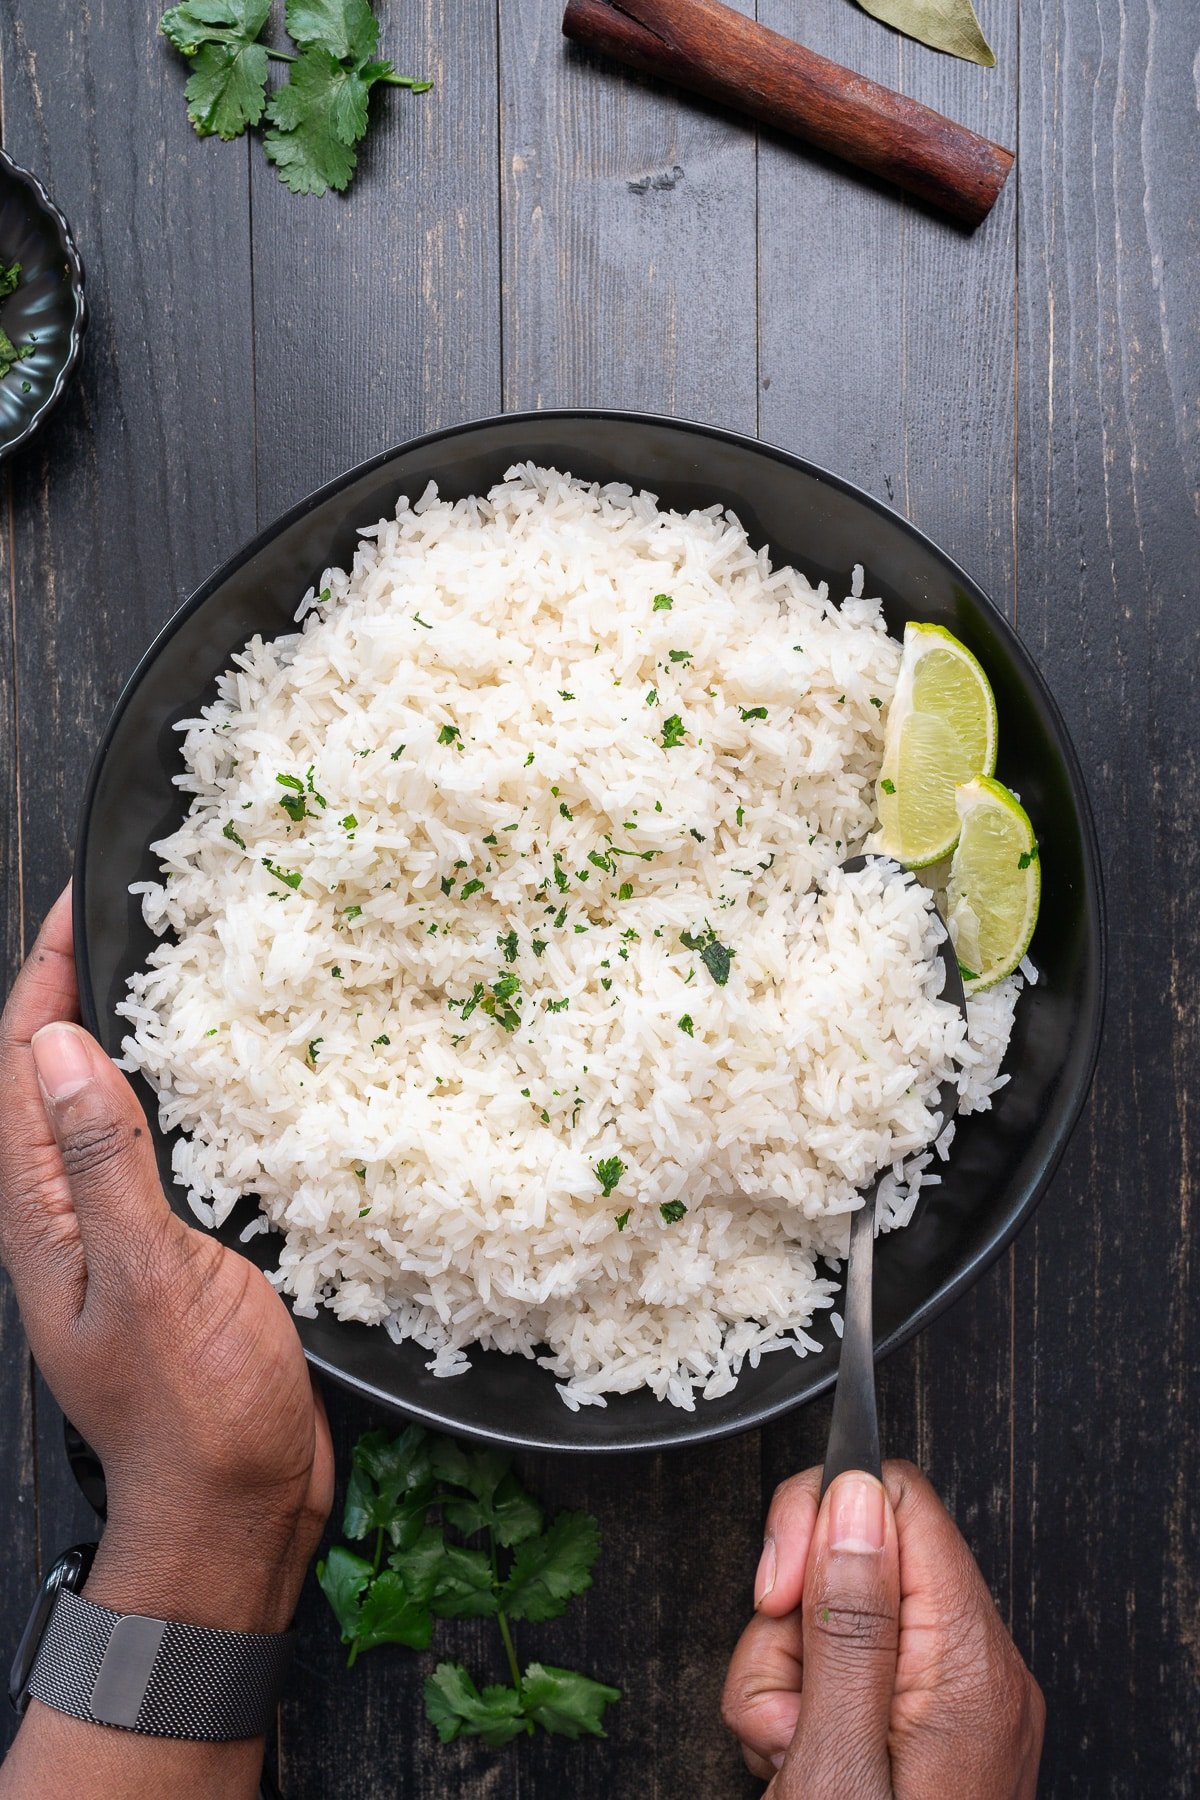
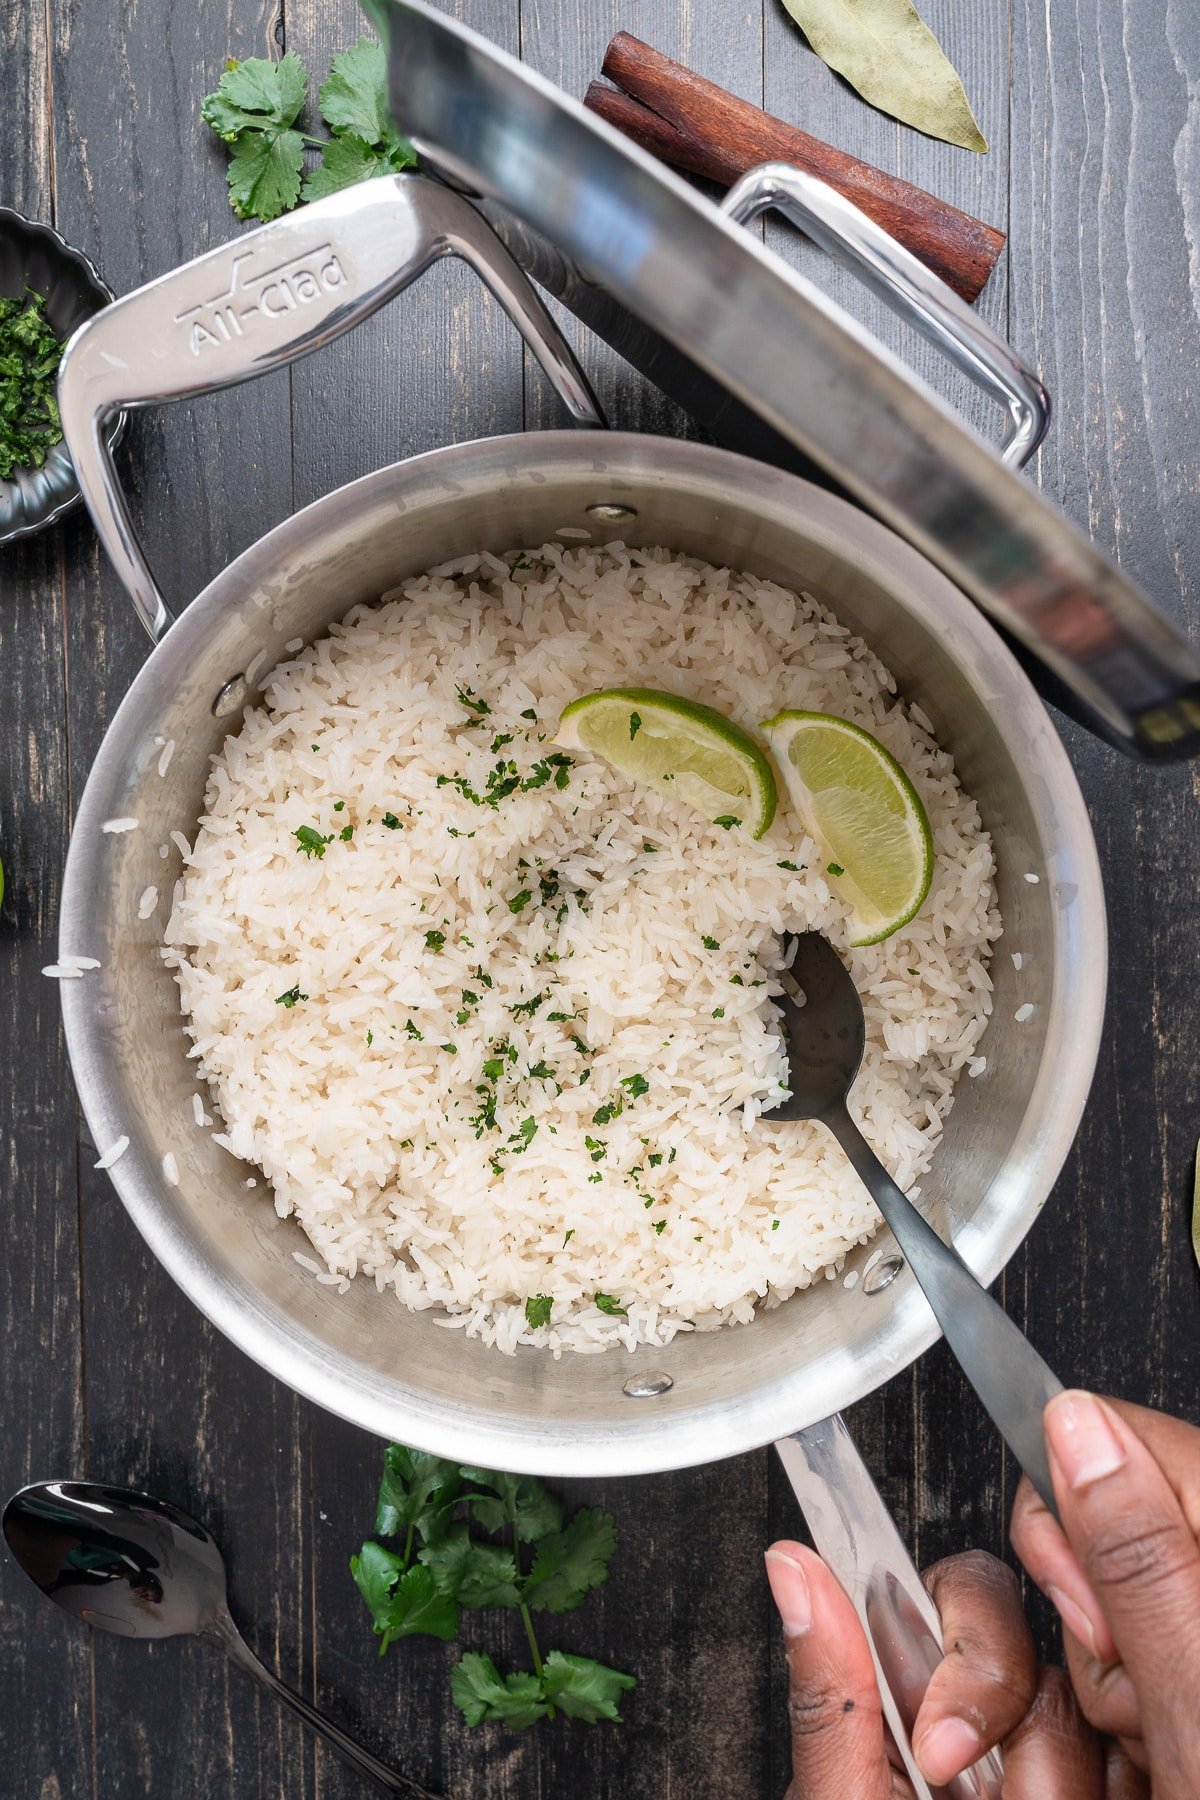
- Over rice is the most traditional and my personal favorite. Try it with my Yellow Rice or Coconut Rice for something a little different.
- Stuffed into empanadas or hand pies for a grab-and-go option.
- Scooped into taco shells or tortillas with your favorite toppings.
- Alongside plantains and a simple salad.
- As a filling for Stuffed Bell Peppers.
Make Ahead and Storage
- Storage: Store leftover picadillo in an airtight container in the refrigerator for up to 4 days. As I mentioned, this dish actually tastes better the next day after the flavors have had time to develop overnight.
- Freezing: Picadillo freezes well for up to 3 months. Let it cool completely before transferring to a freezer-safe container. Thaw overnight in the refrigerator before reheating.
- Reheating: Reheat on the stovetop over medium-low heat, stirring occasionally. Add a splash of beef broth if it needs a little extra moisture.
Tanya's Top Tips
- Break the ground beef into small crumbles as it browns. Smaller pieces mean more surface area for the spices and sauce to cling to, which gives you better flavor in every bite.
- Don't skip the vinegar at the end. That splash of acidity brightens the entire dish and balances out the richness of the beef and the brininess of the olives and capers.
- Cut the potatoes into small, even cubes so they cook through in the same time as the rest of the dish. If the pieces are too large, they'll still be firm when everything else is done.
Related Recipes
I hope you love this picadillo recipe as much as we do. If you're looking for more comforting ground beef or Caribbean-inspired recipes, try these out:
- Caribbean Dirty Rice— My Caribbean spin on classic Southern dirty rice.
- Jamaican Oxtail — Rich, tender, and saucy oxtails braised to perfection.
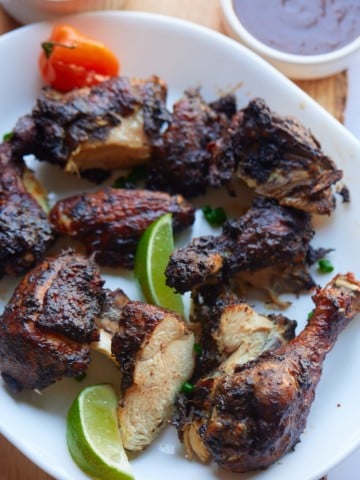
- Brown Stew Chicken — A flavorful Jamaican stew with a rich, savory gravy.
- Easy Yellow Rice — The perfect simple side to serve alongside this picadillo.
If you make this picadillo recipe, please let me know how you like it by leaving a review below. Your feedback is appreciated!

Picadillo Recipe
Ingredients
- 2 tablespoons olive oil
- 1 cup yellow onion diced
- 1 cup green bell pepper diced
- 4 to 6 cloves garlic minced
- 1½ pounds lean ground beef 85/15 preferred
- 2 teaspoons ground cumin
- ½ teaspoon ground cinnamon
- ¼ teaspoon ground nutmeg
- ¼ teaspoon crushed red pepper flakes
- 1 teaspoon salt
- ½ teaspoon black pepper
- 2 tablespoons tomato paste
- 14.5 ounce can diced tomatoes, undrained
- ¼ cup dried cranberries
- ⅓ cup Spanish green olives with pimientos sliced
- 2 tablespoons capers
- 1 large waxy potato such as Yukon Gold or red, about 8 ounces, cut into ¼-inch cubes
- ½ cup beef broth
- 2 bay leaves
- 1 tablespoon white vinegar or apple cider vinegar
Instructions
- Heat olive oil in a large skillet over medium-high heat. Add the diced onion and green bell pepper. Sauté for 5 to 7 minutes until softened.
- Add garlic and cook for an additional 20 to 30 seconds, until fragrant.
- Add the ground beef, breaking it up with a wooden spoon. Cook for 6 to 8 minutes until browned, breaking it into small crumbles.
- Stir in the cumin, cinnamon, nutmeg, crushed red pepper, salt, and black pepper. Cook and stir for about 30 seconds to toast the spices.
- Add the tomato paste and stir to coat the meat. Cook for about 30 seconds.
- Add the diced tomatoes (with juices), diced potato, cranberries, sliced olives, capers, beef broth, and bay leaves. Stir to combine.
- Reduce heat to medium-low, cover, and simmer for 20 to 25 minutes, until potatoes are tender. If the sauce seems too thin, uncover for the last 5 minutes to thicken slightly.
- Remove bay leaves and stir in vinegar. Taste and adjust seasoning as needed. Serve and enjoy.
Video
Notes
- This picadillo tastes even better the next day after the flavors have had time to meld. Make it ahead for meal prep or weeknight dinners.
- Substitute dried cranberries with raisins for a more traditional version.
- Store leftovers in an airtight container in the refrigerator for up to 4 days or freeze for up to 3 months.