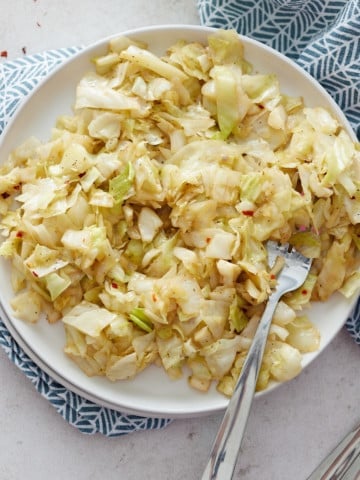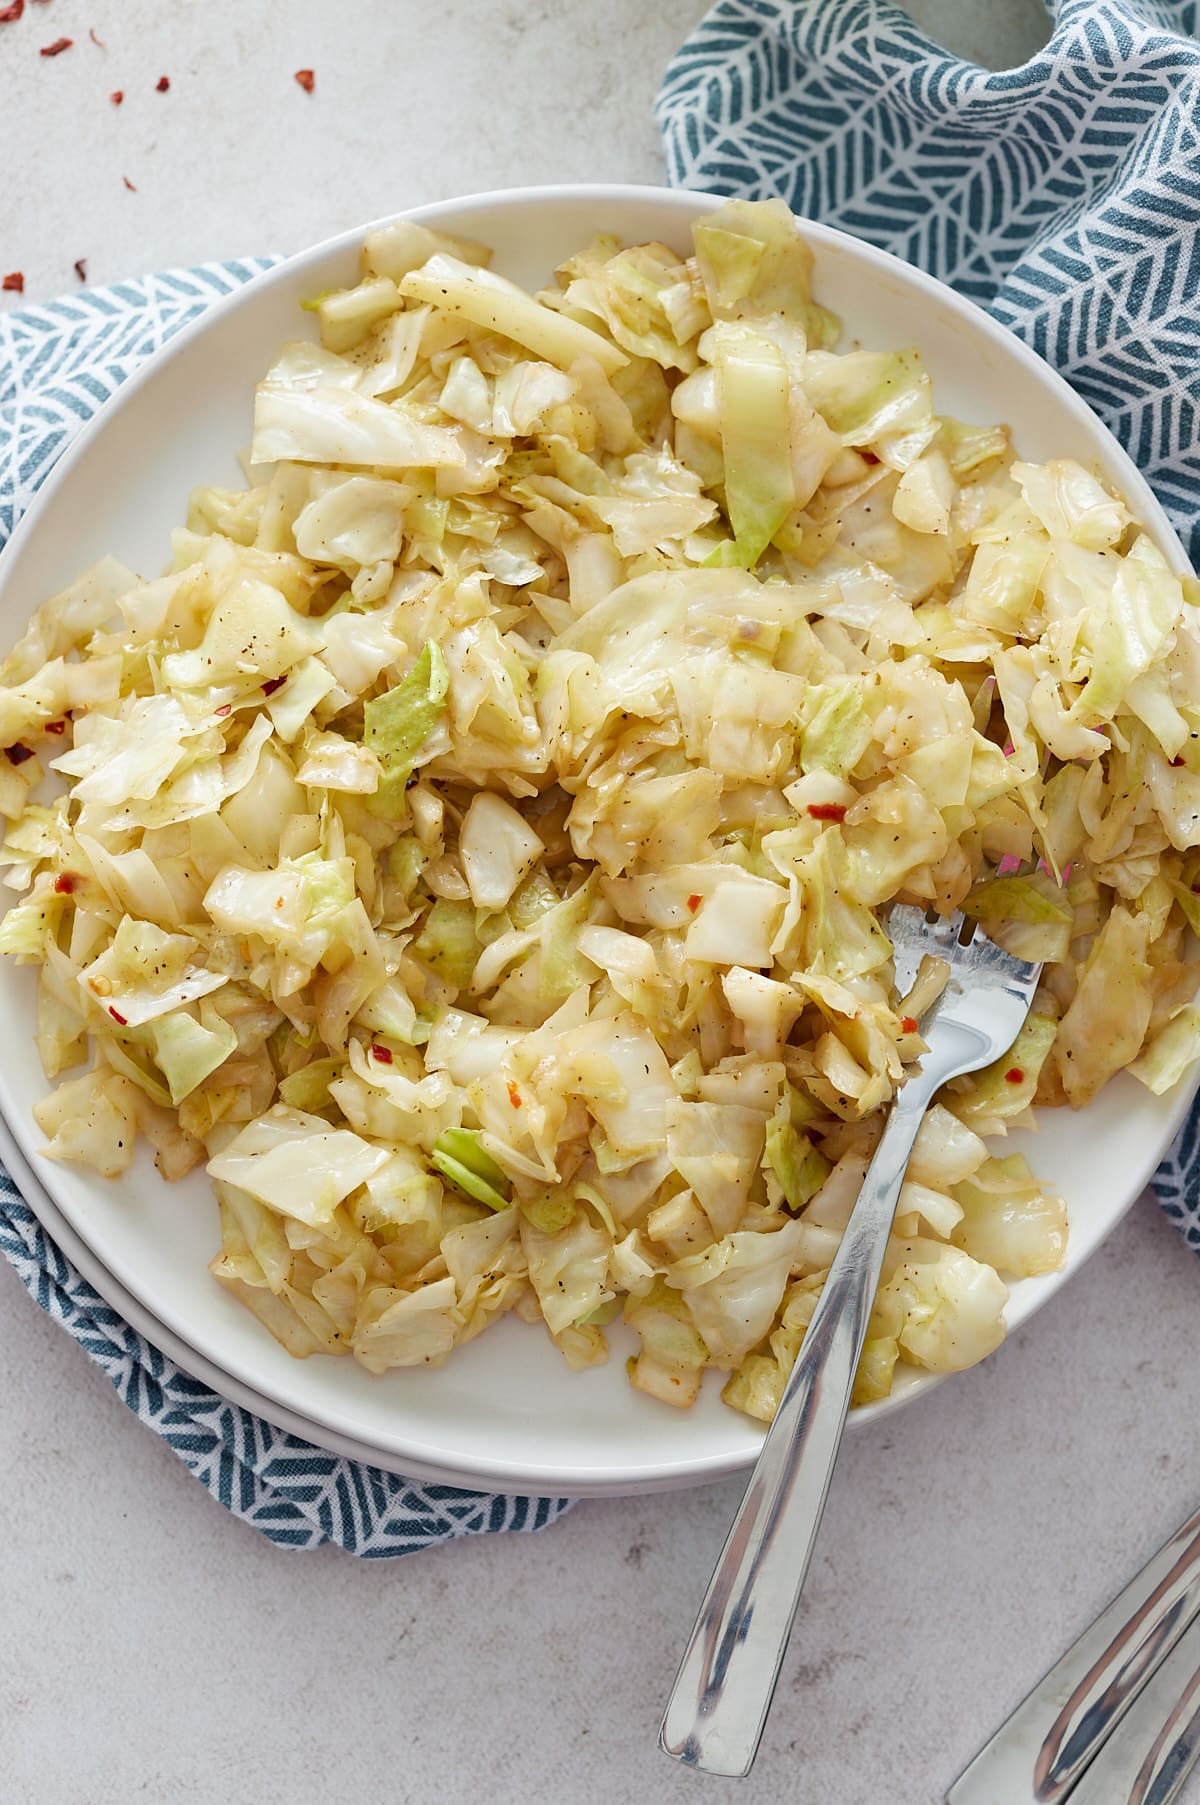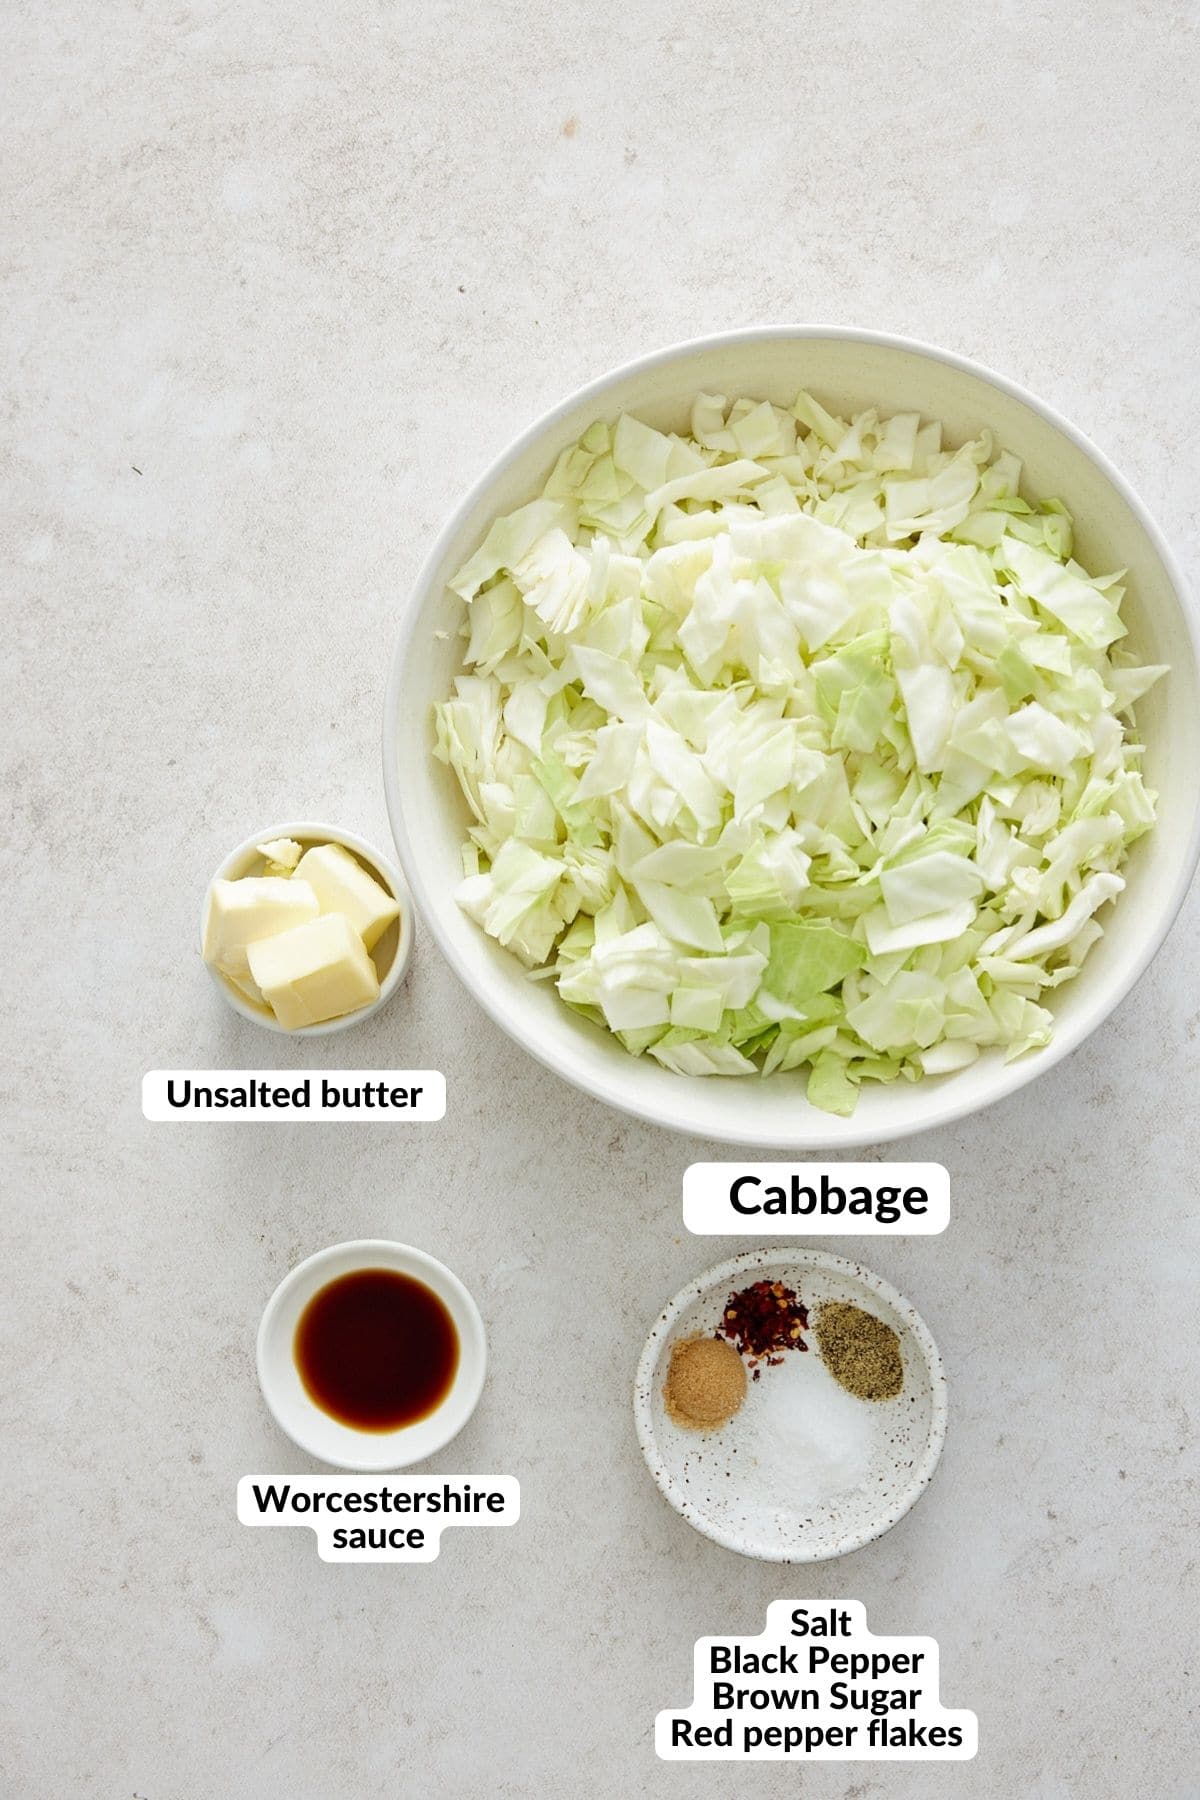
This easy step-by-step guide will show you how to cut up a whole chicken perfectly in no time. With just a few cuts, you can quickly transform an entire chicken into smaller pieces that are perfect for any recipe.
This post contains affiliate links, please read my full disclaimer here.
Growing up, my family only used whole chickens for recipes mainly because we raised our own chickens but also because it was cheaper.
Cutting your raw chicken is a great way to save money at the grocery store. Plus, you can break a chicken down in less than 10 minutes.
My mom could break down a chicken in 5 minutes.
It takes me about 8 minutes, but those 8 minutes save my family a ton of money. Plus, it's nice to have a variety of chicken pieces for dinner.
Here's a quick and easy guide on how to break down a whole chicken:
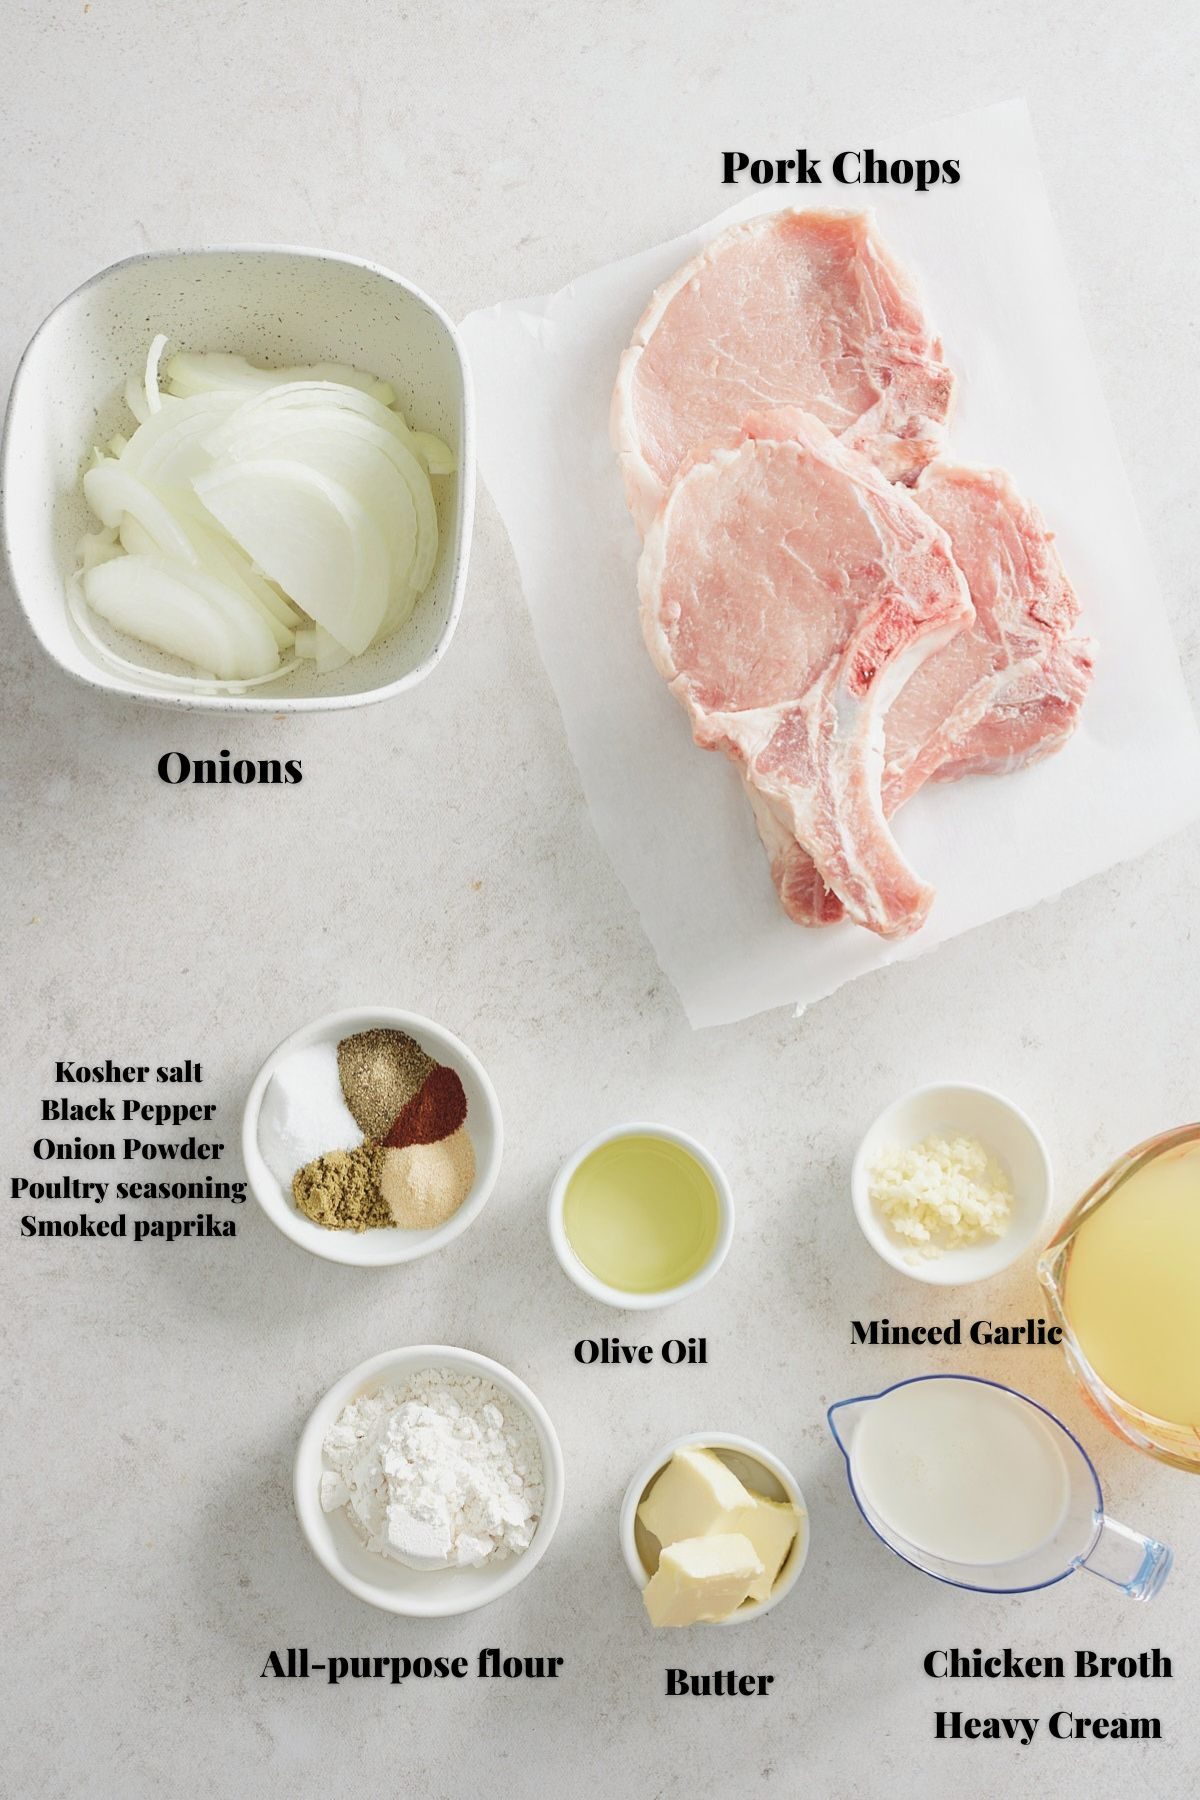
Tools Needed:
You'll want to gather a few tools before you get started. There are some mandatory tools, and others are optional.
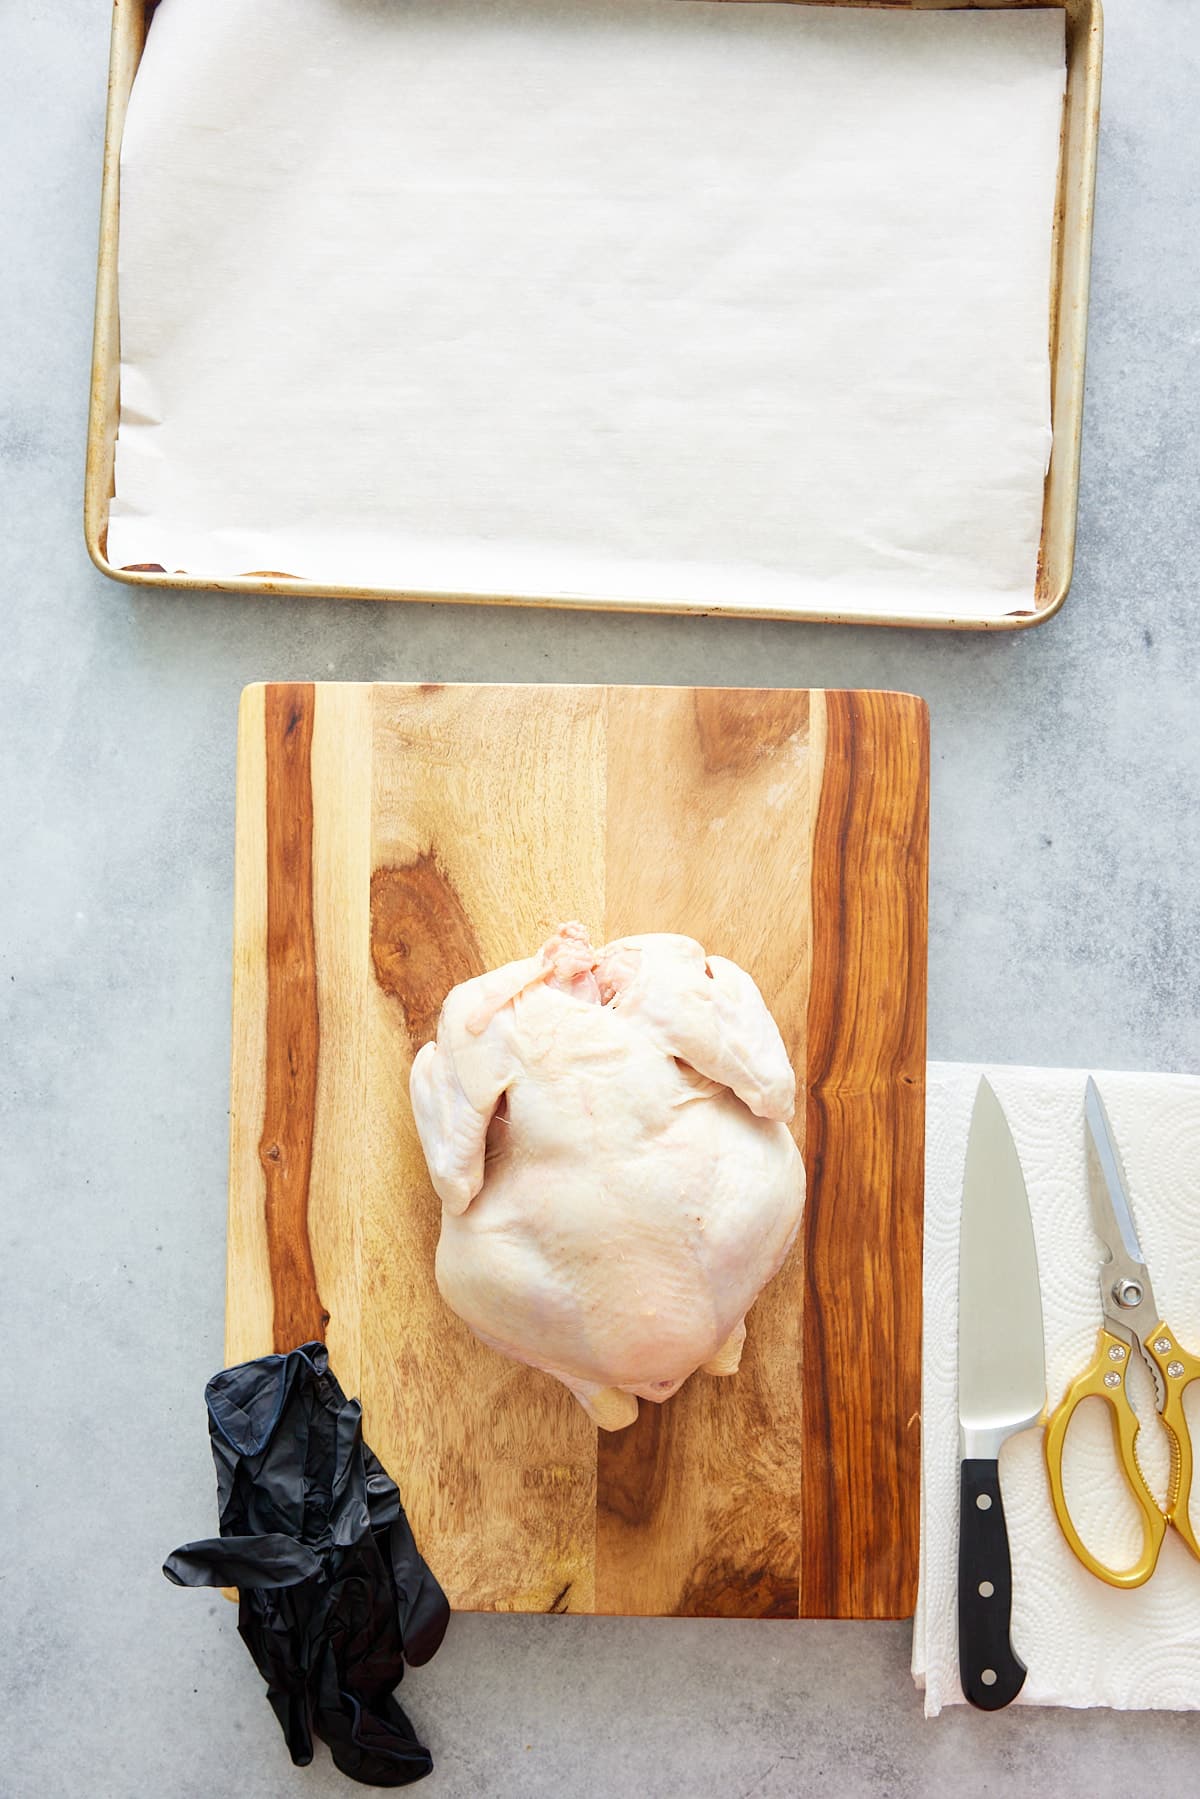
- A sharp Chef's knife - the knife can be 6 inches or 8 inches, whichever feels comfortable in your hands. You want it sharp so it can easily cut through the skin and cartilage. I use a 6-inch chef's knife.
- Cutting board - the cutting board must be sturdy and shouldn't slip. Place the cutting board on a damp towel will help it stay in place.
- A large platter for placing chicken pieces - you'll want to set the pieces aside while you cut them.
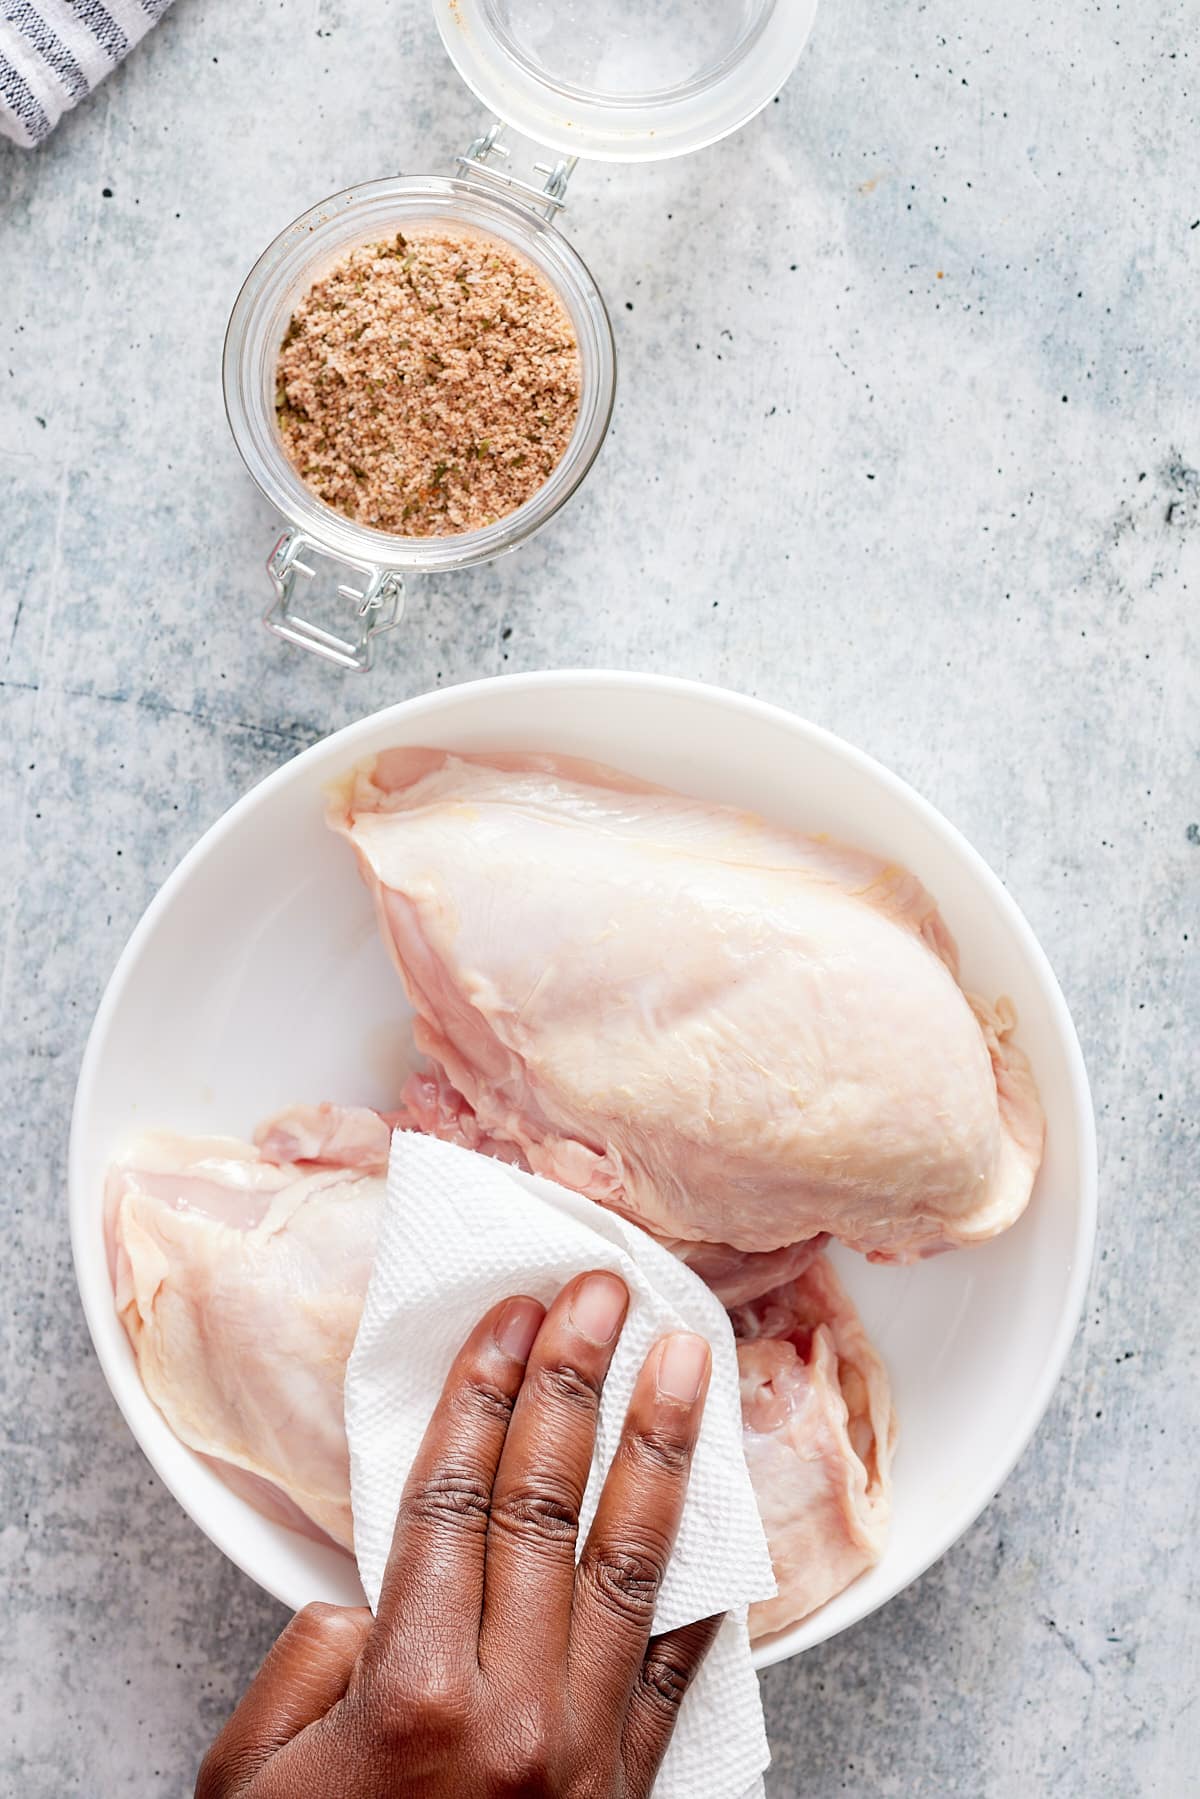
- Paper towels - to dry the chicken before cutting it.
- Food-safe gloves (optional) makes it easier for me to grip the chicken, but I've cut plenty of chickens without them.
- Kitchen shears (optional) - may help cut through small bones and the breast bone. I find a sharp kitchen knife can do this with ease.
Ingredients Needed:
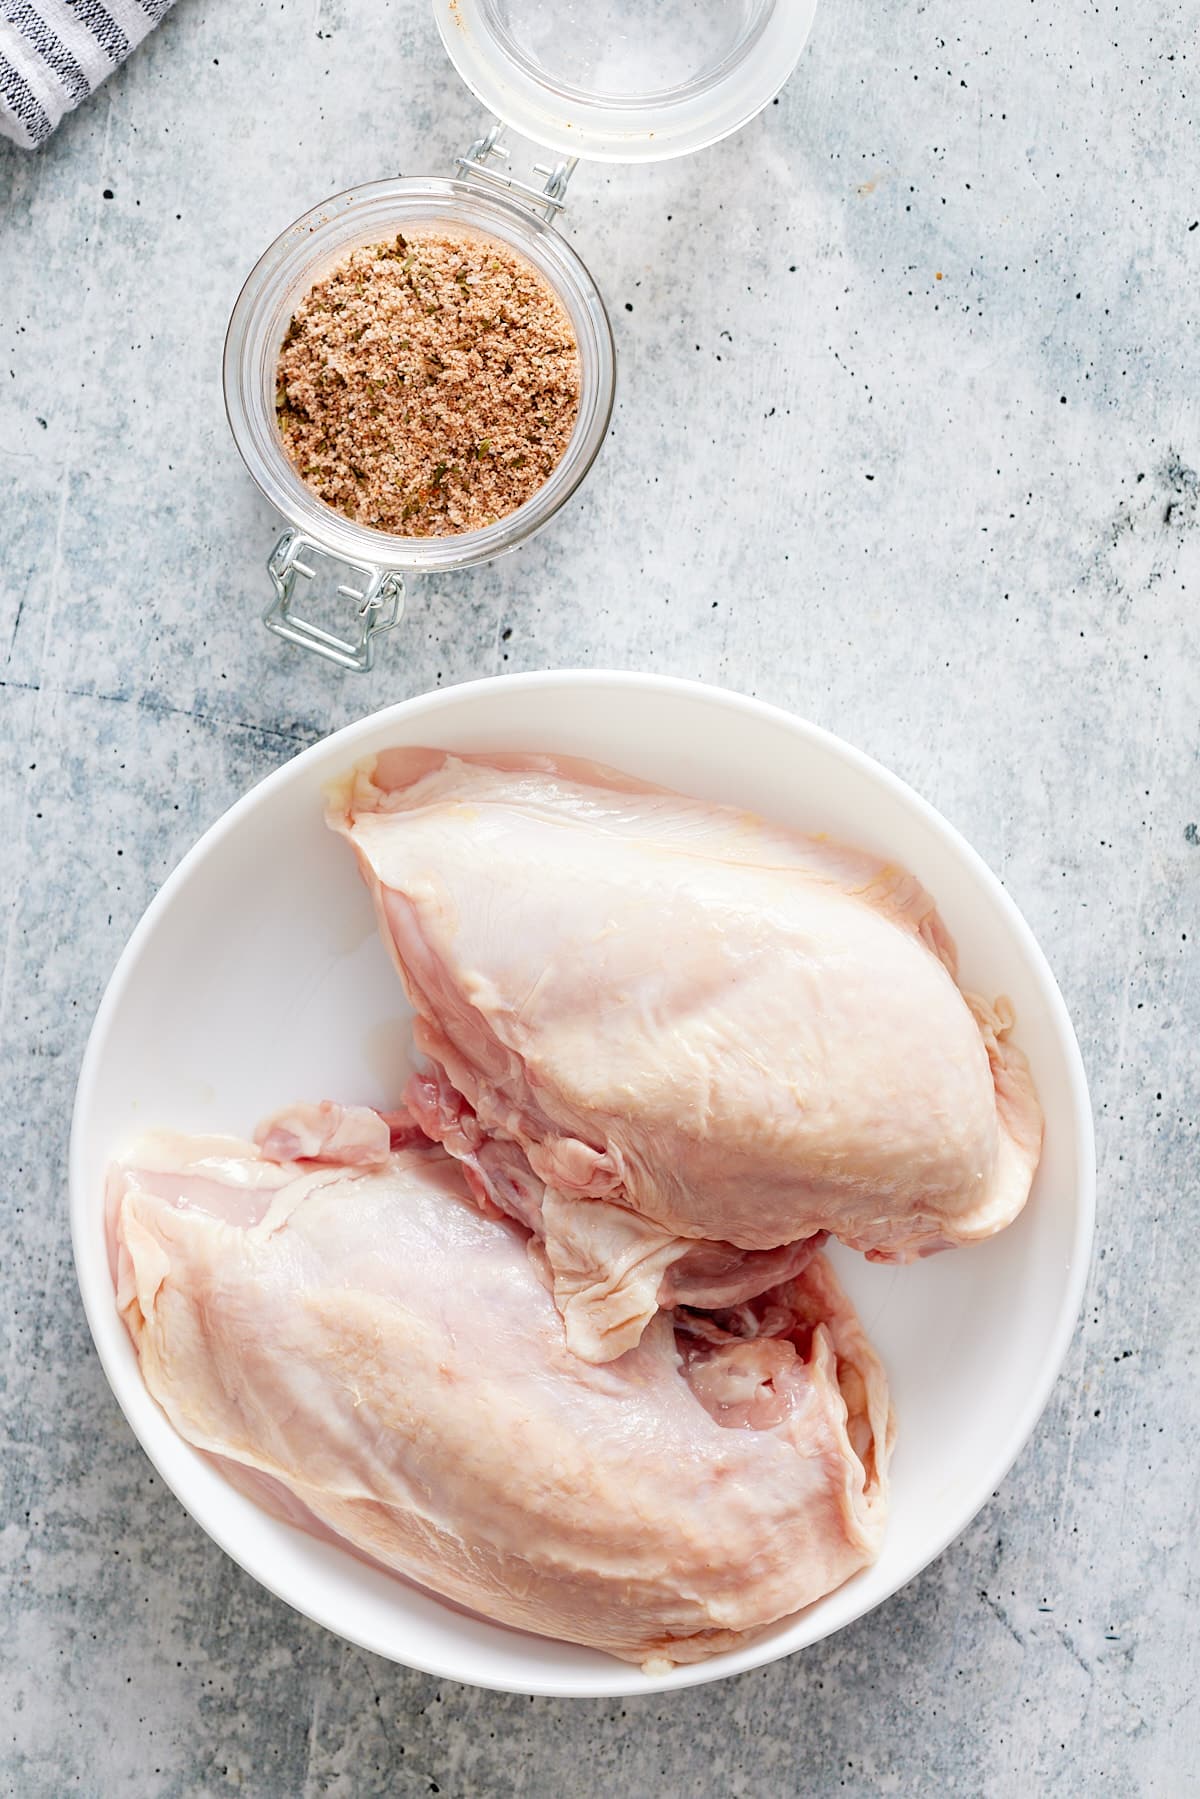
You'll need a whole chicken. A 3-4 pound bird is a good starting point until you get the hang of cutting your own chicken.
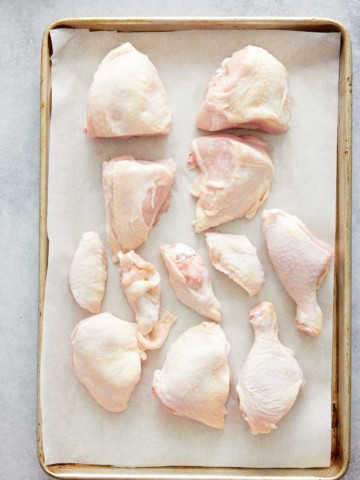
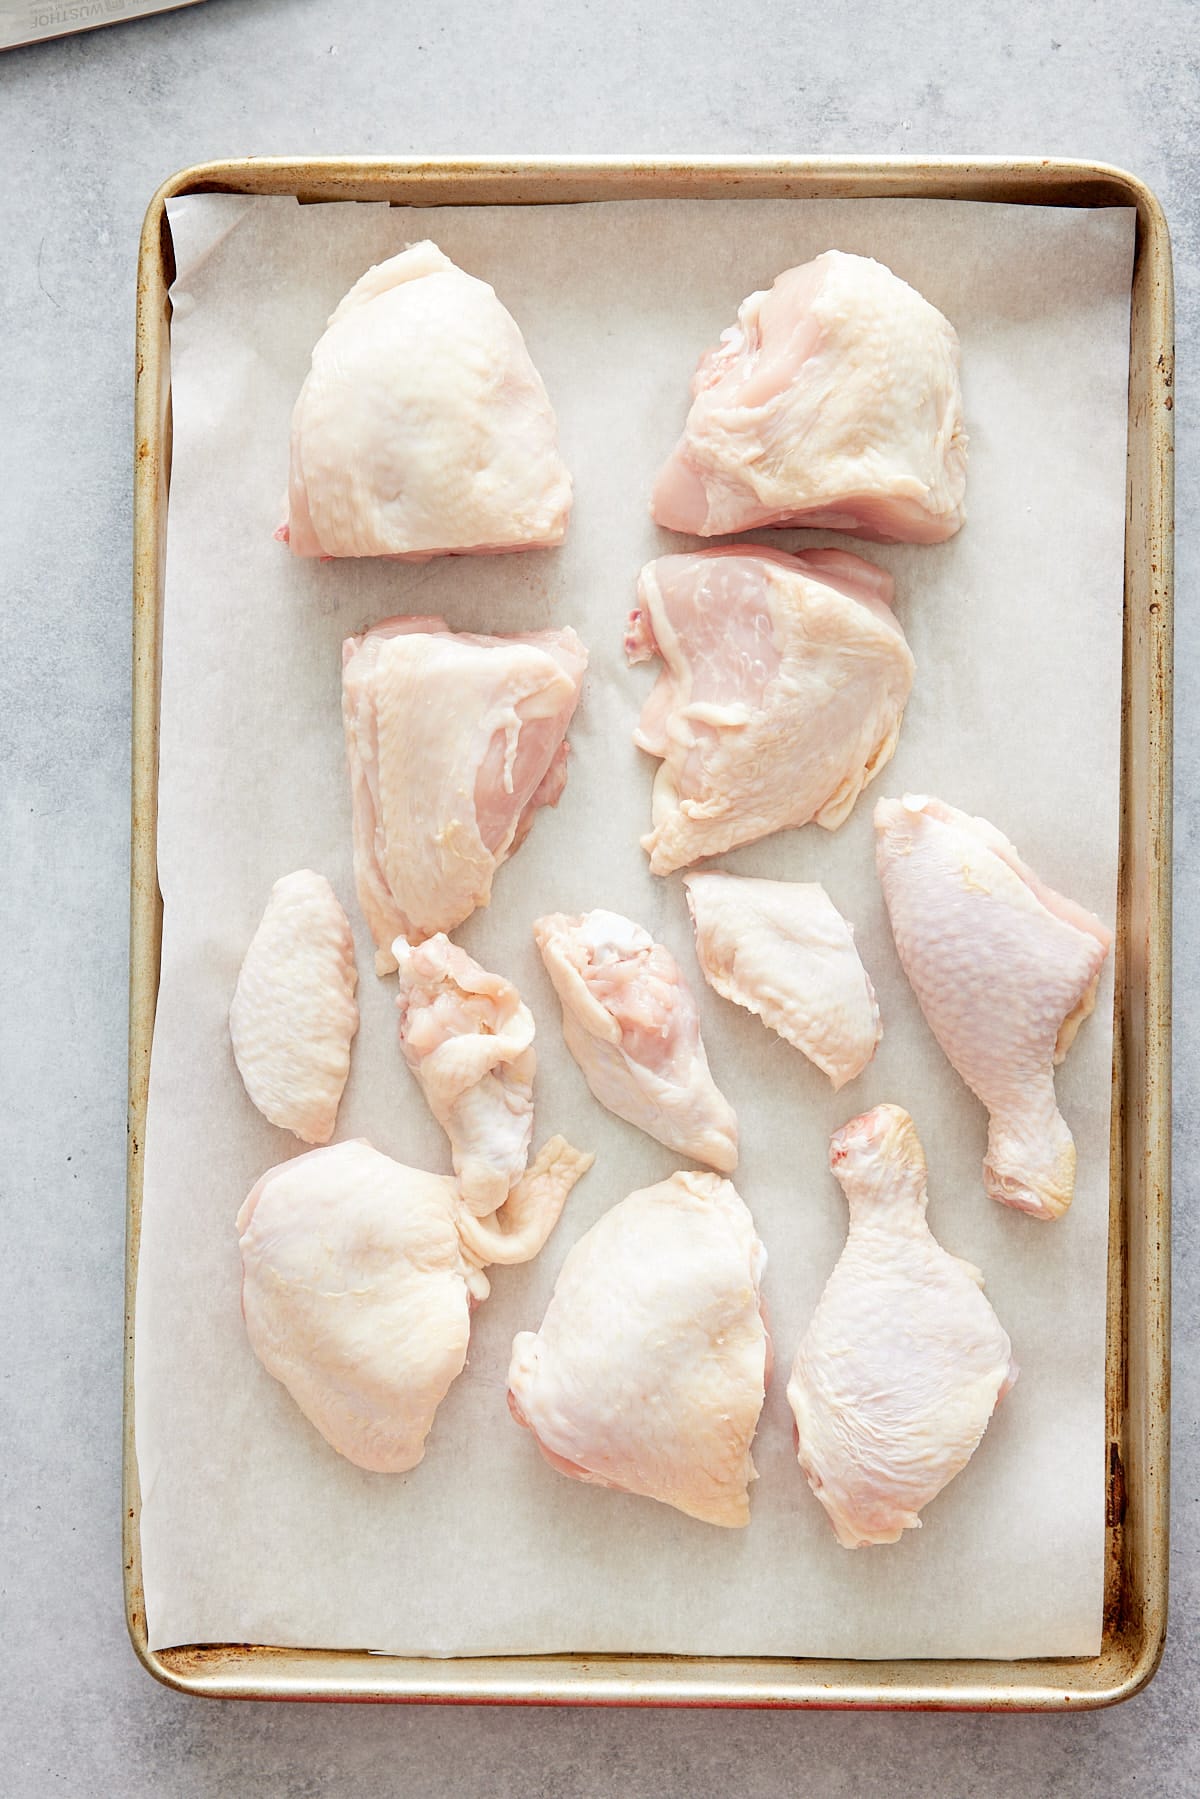
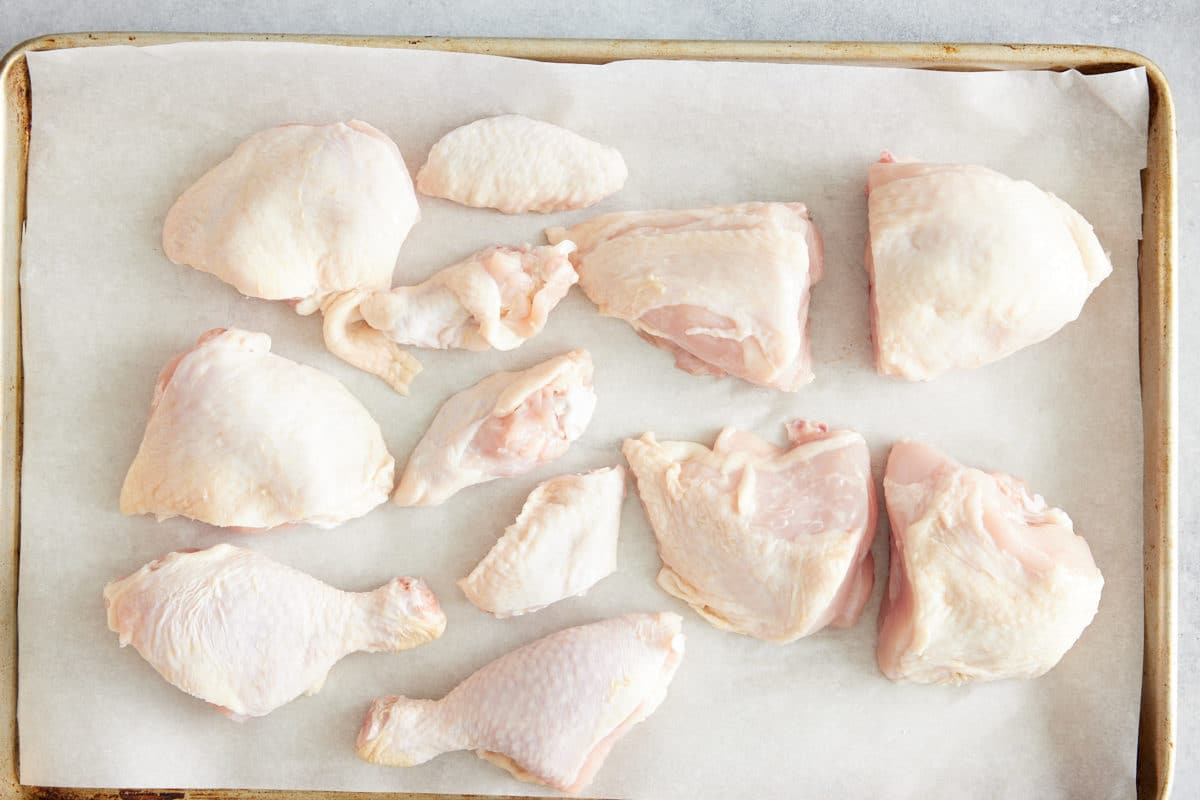
How to cut up a whole chicken
First, if your chicken is wrapped in plastic, remove the plastic. You'll want to do this step over an empty bowl or sink as the liquid may have accumulated in the package.
Then, check the cavity of the chicken to ensure there aren't any giblets or plastic-wrapped giblets inside the chicken. Some chickens will not have any giblets, while others may have them. Remove it if you see it inside. Set the giblets aside. You can discard them or use them in recipes, like giblet gravy or stuffing.
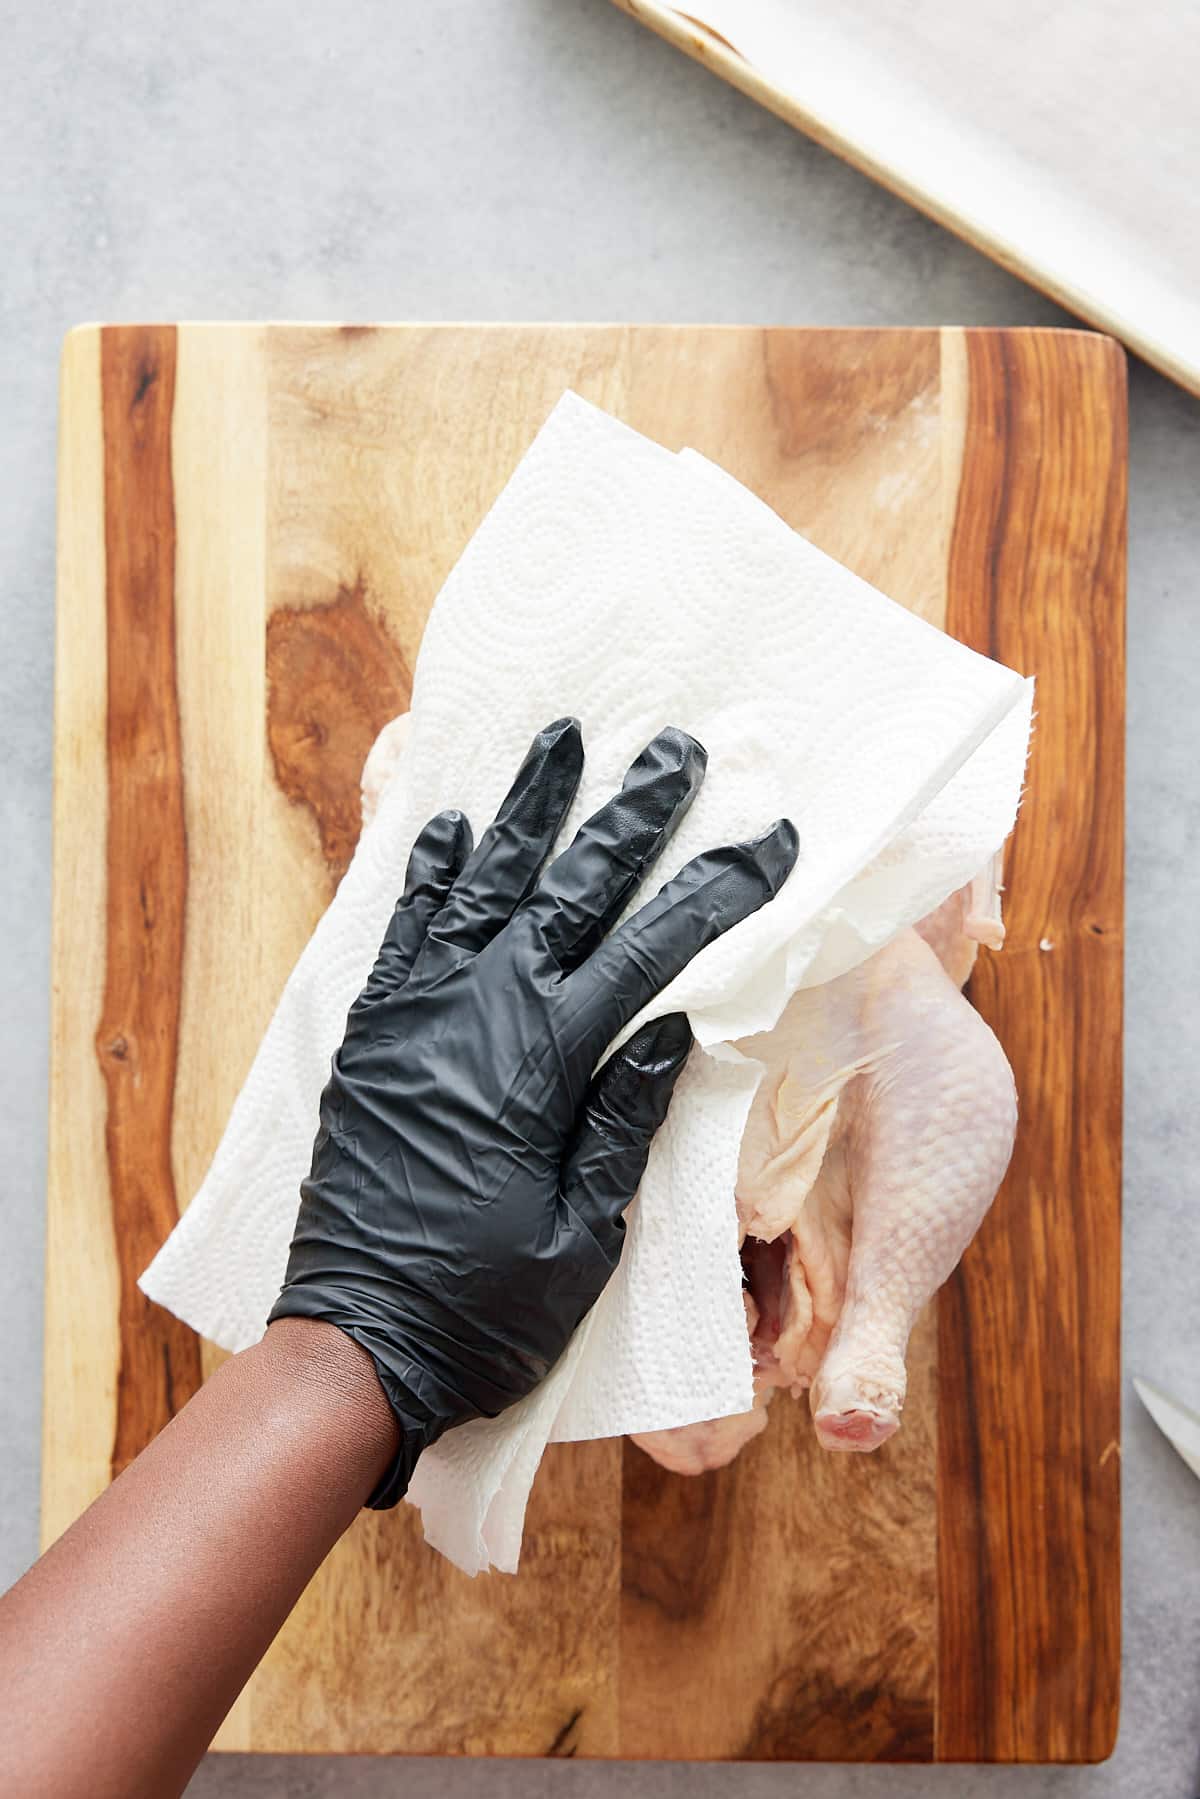
Pat the chicken dry, so it's easier to handle.
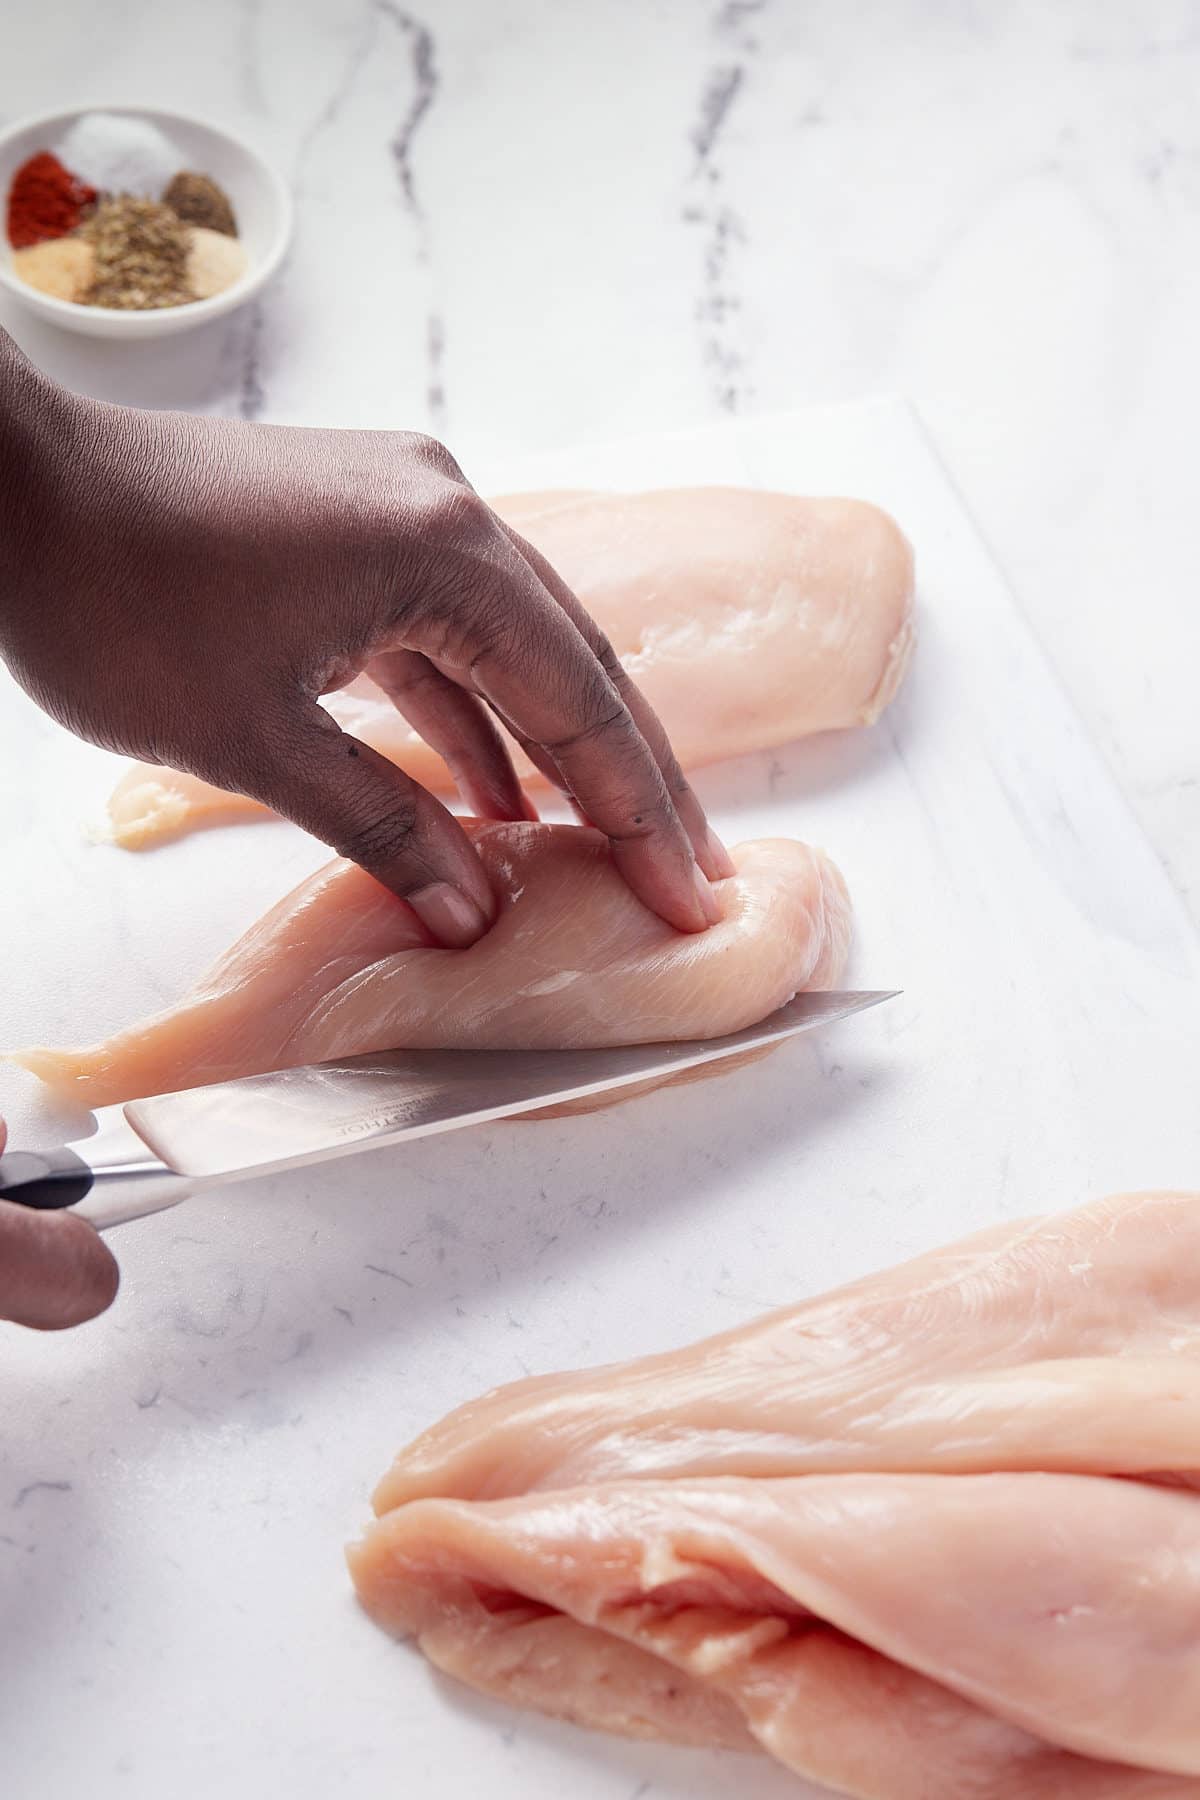
Place the chicken on a sturdy cutting board, breast side up.
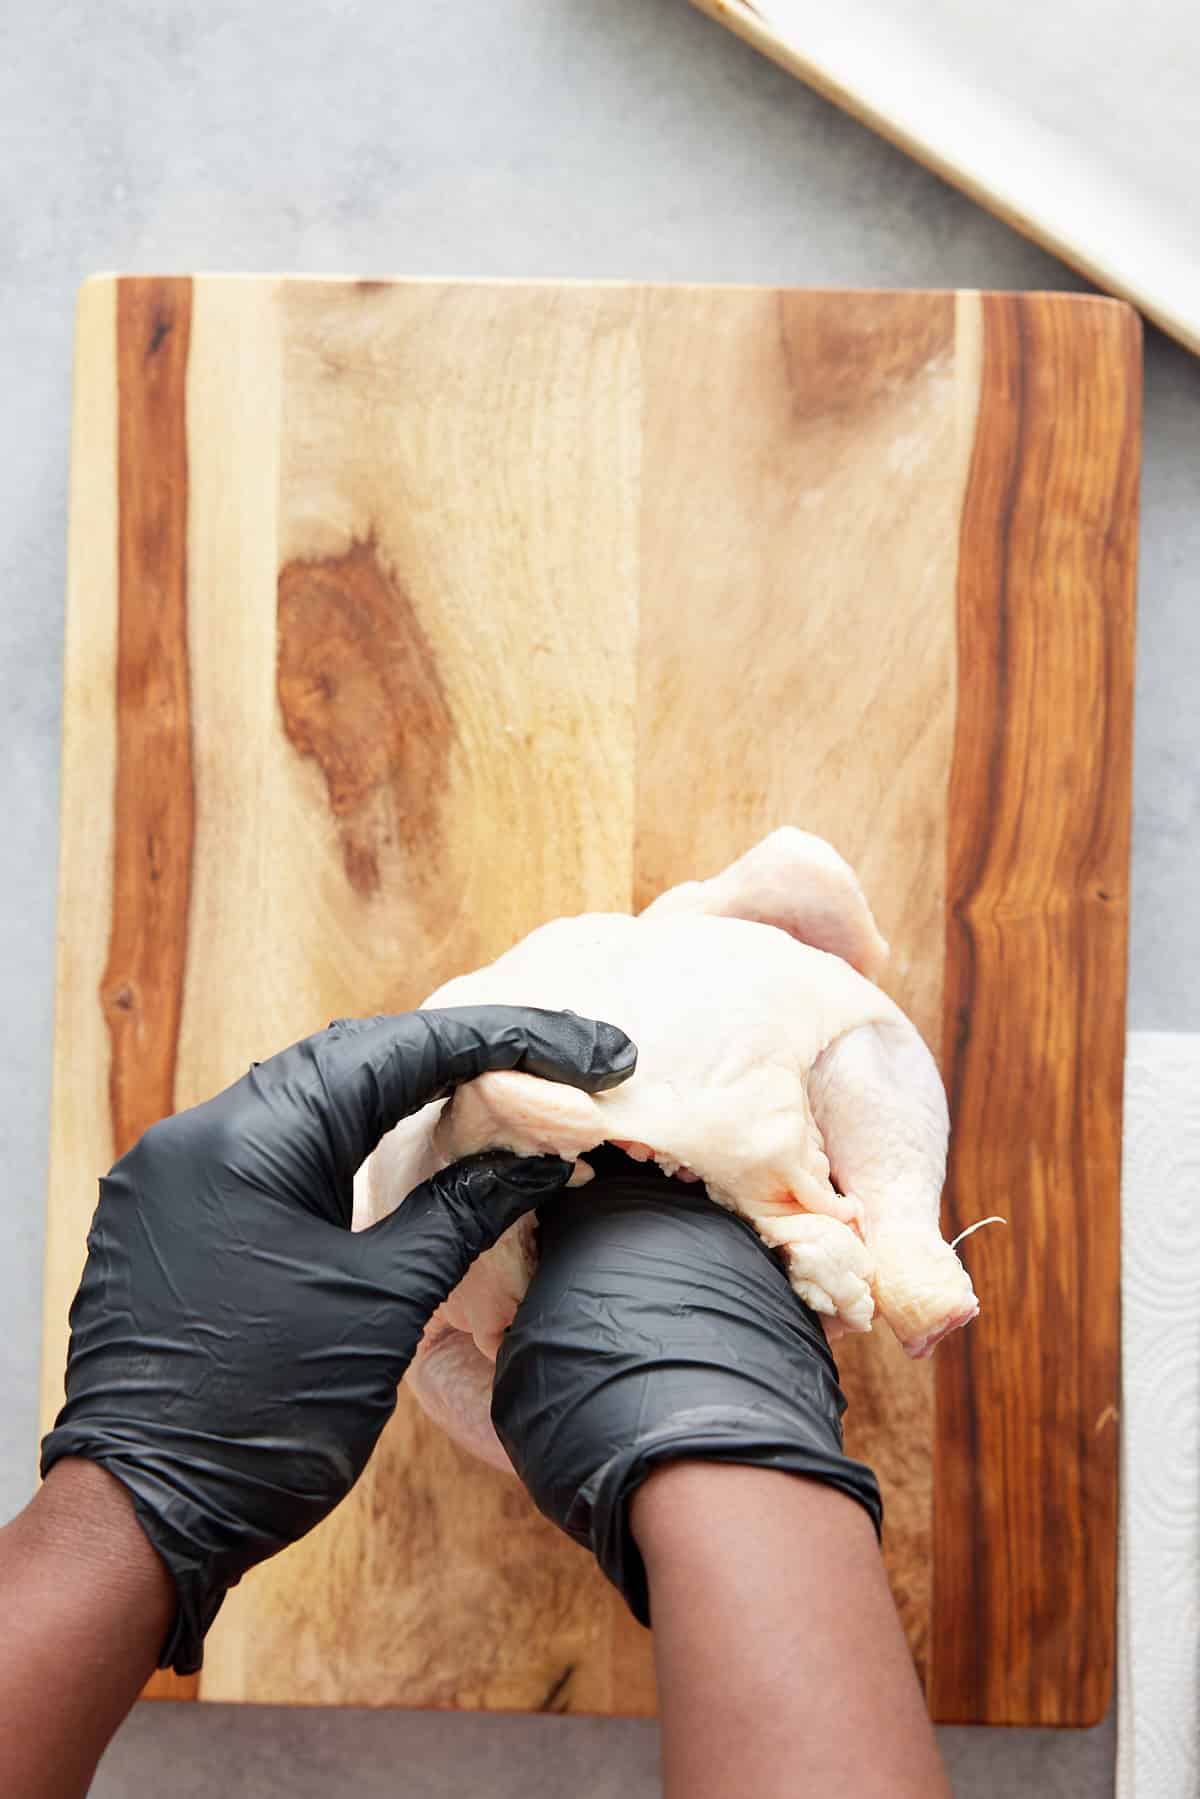
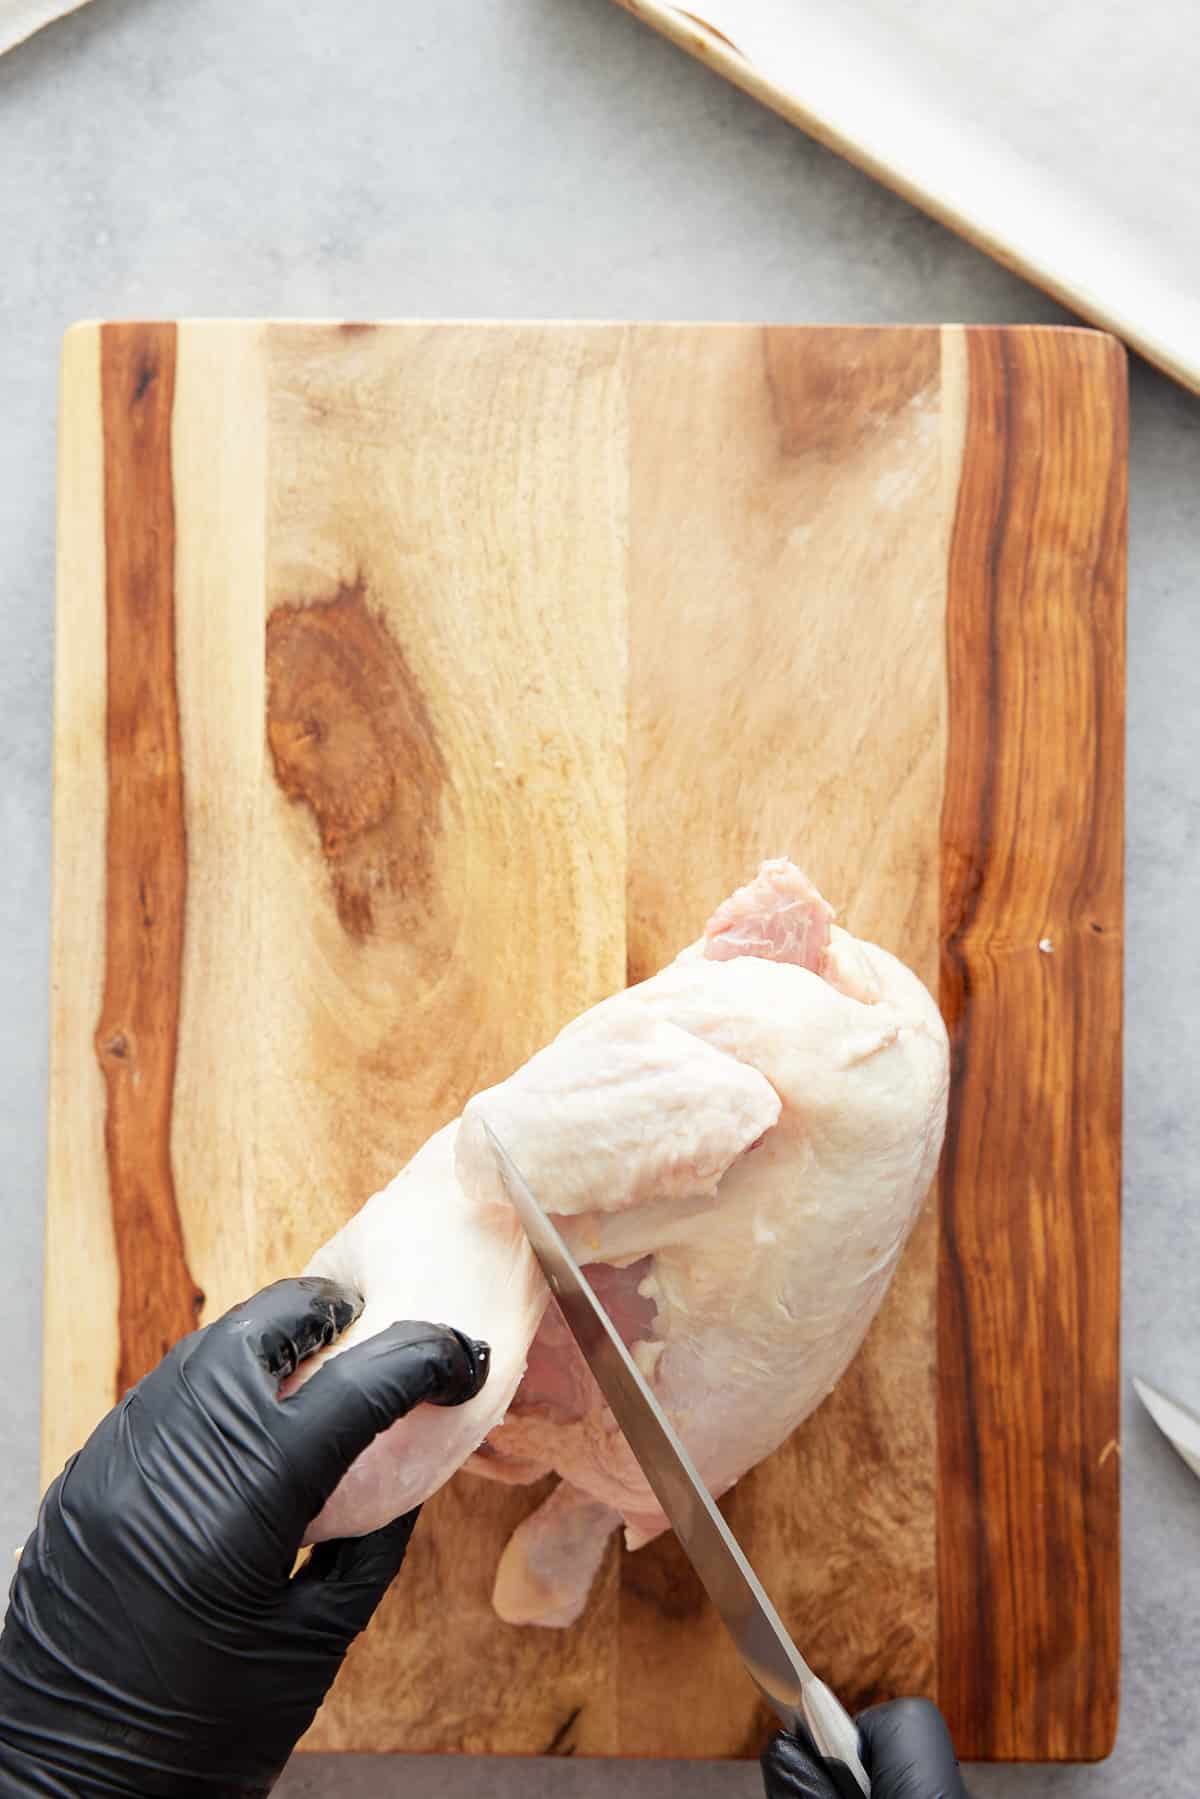
Remove the wing tips from the chicken by cutting them off with the Chef's knife.
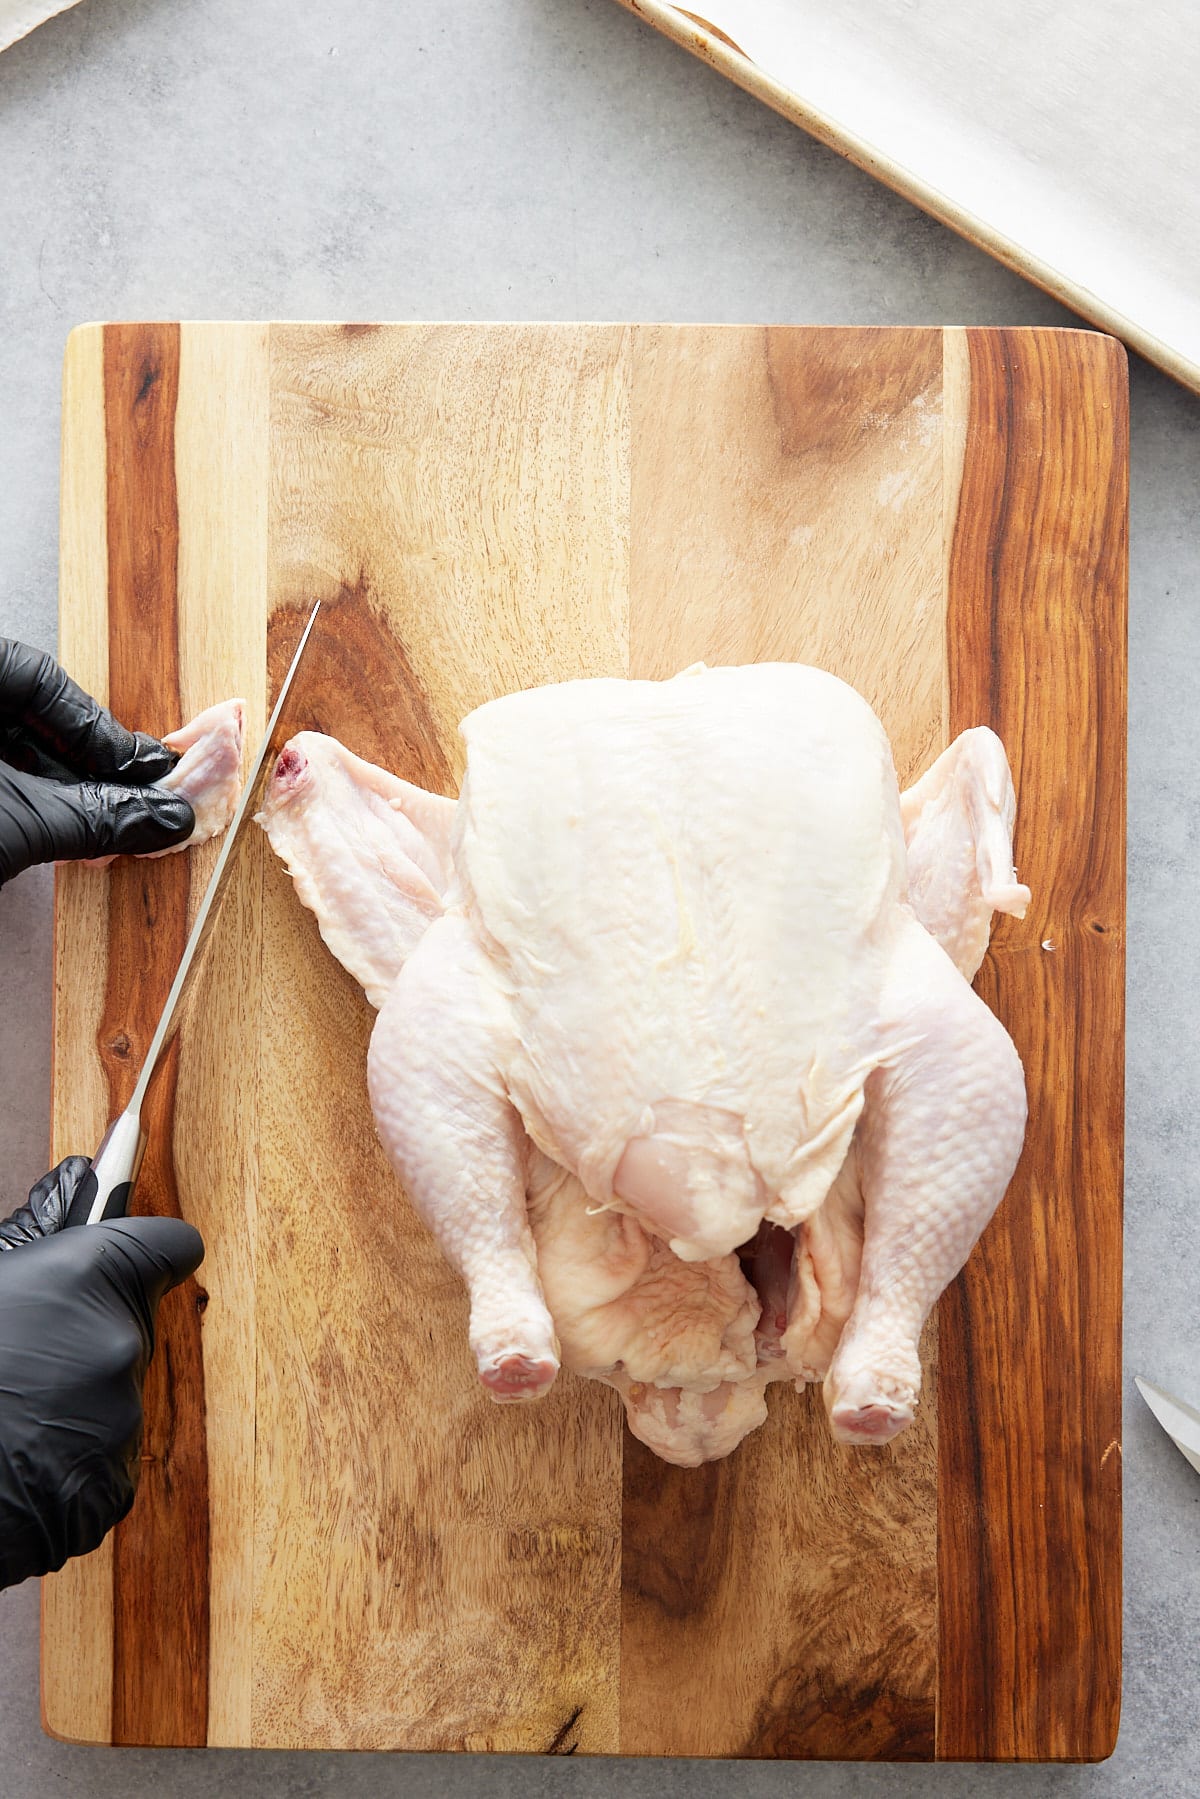
Set aside. These are great for making homemade chicken broth.
Next, remove any additional fat you see around the chicken near the cavity. You can also remove the little nub at the bottom.
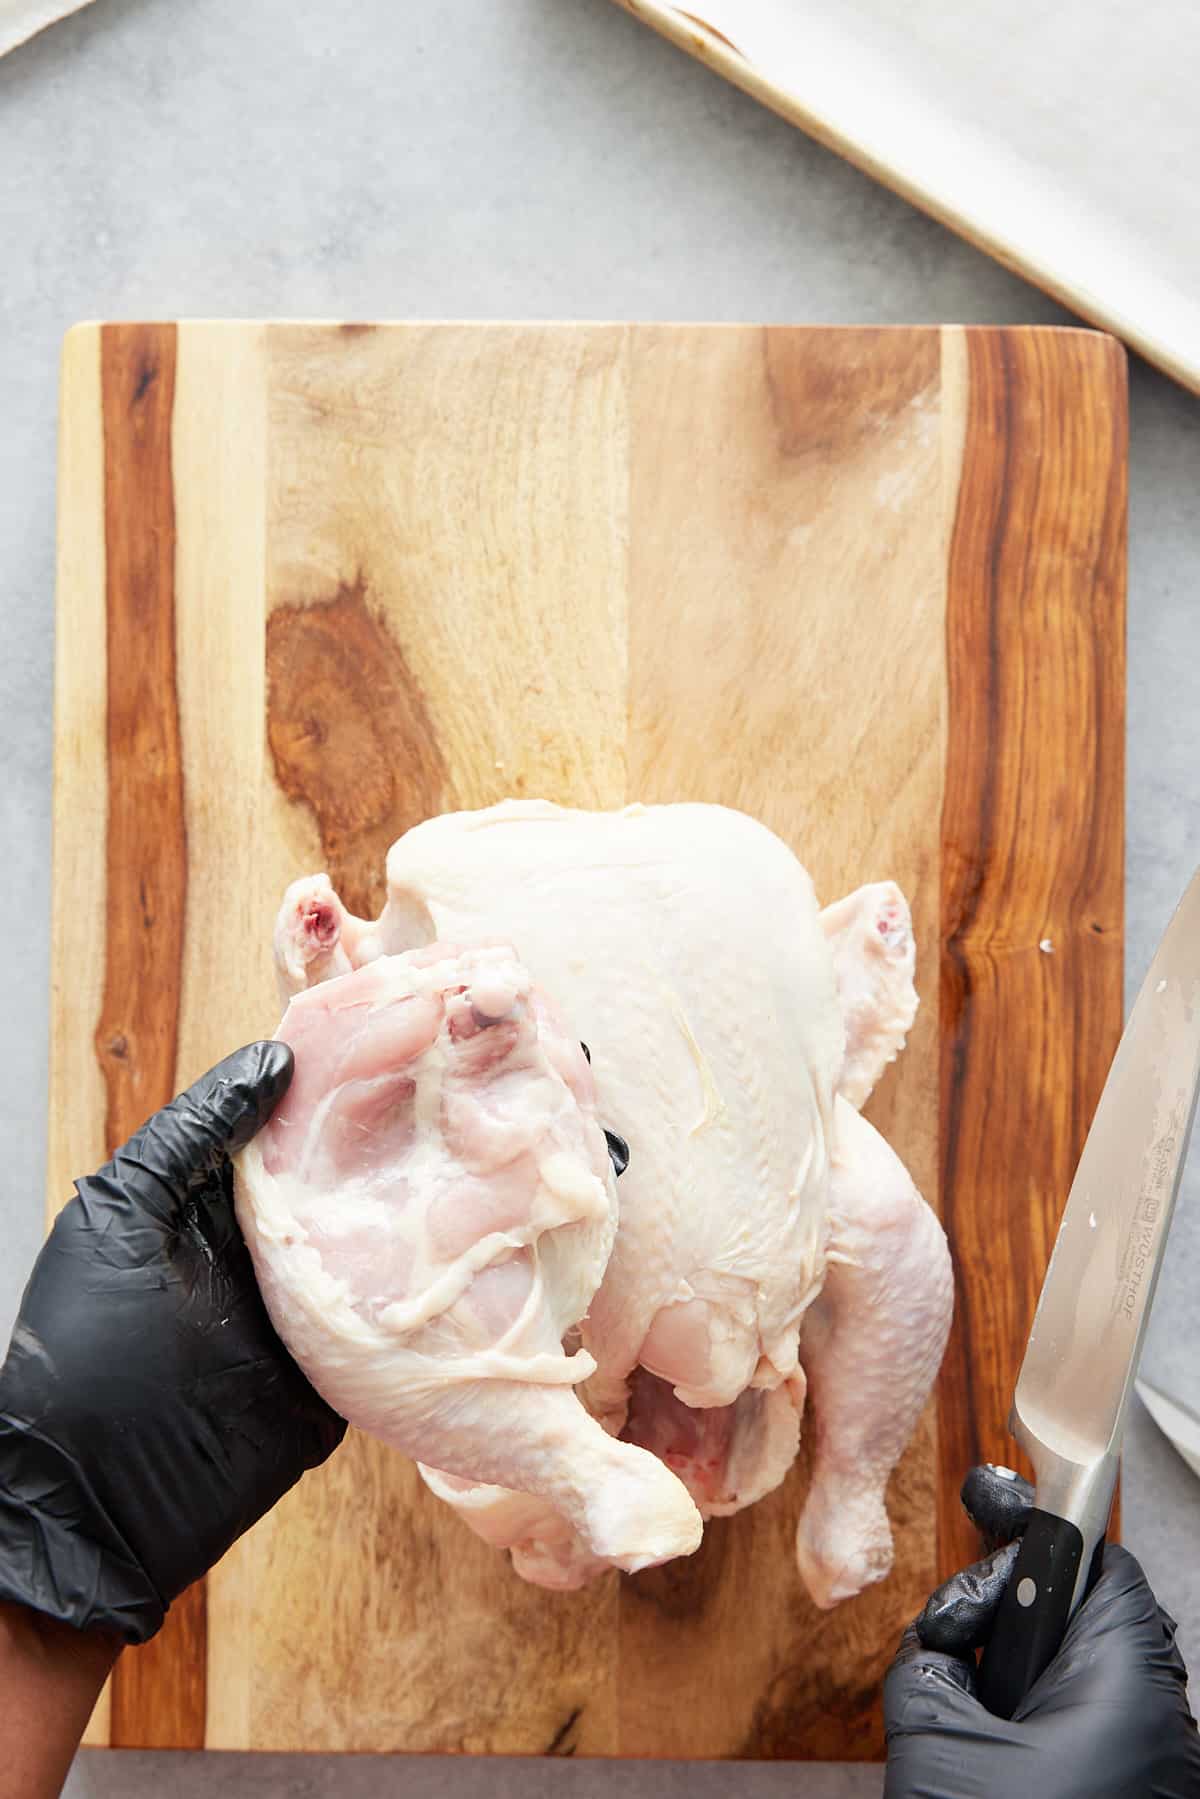
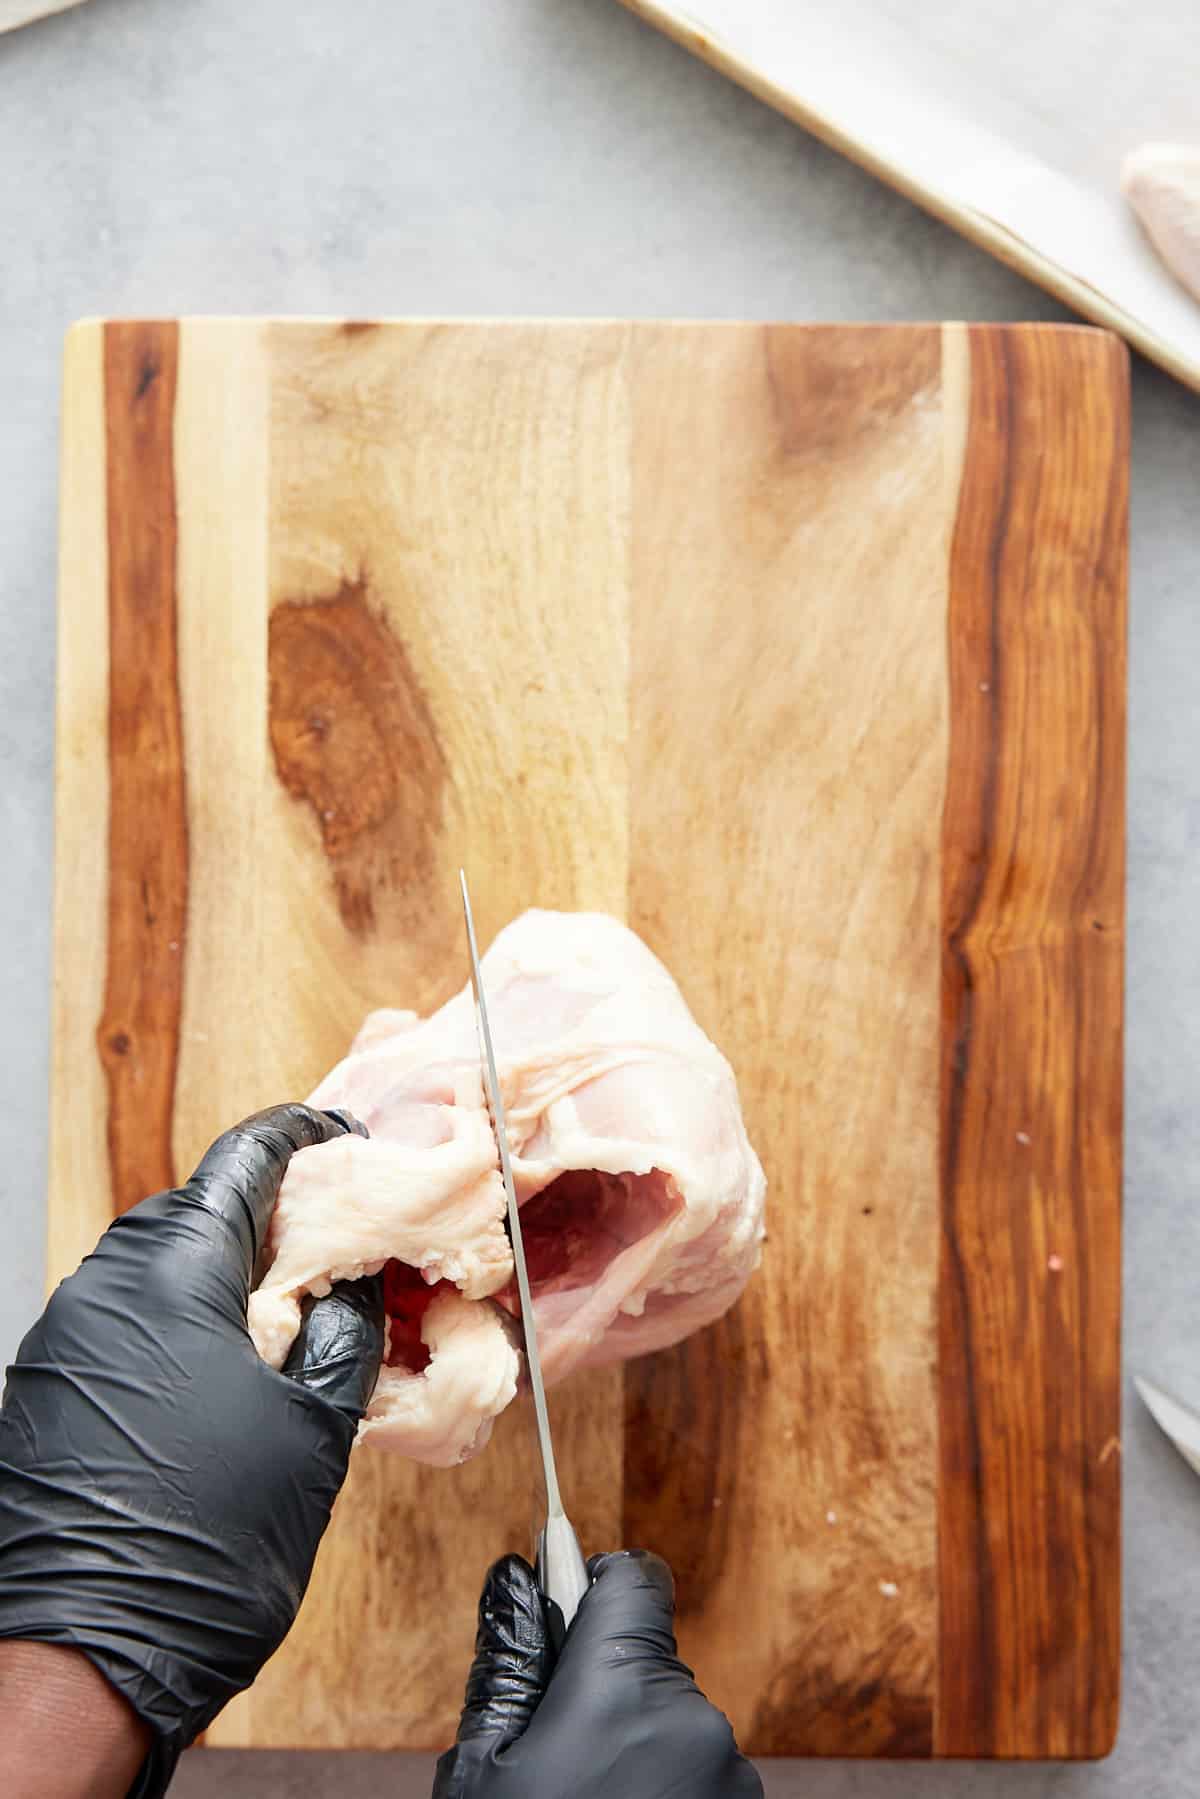
Remove the legs
Grab the chicken drumstick and slice the skin where the drumstick meets the breast, exposing the area under the skin.
Pull the leg away from the chicken and push it upward to pop the bone out of the socket. Cut around this bone and remove the chicken leg from the body, making sure to cut around the oyster, the little bit of the meat that sits closest to the spine.
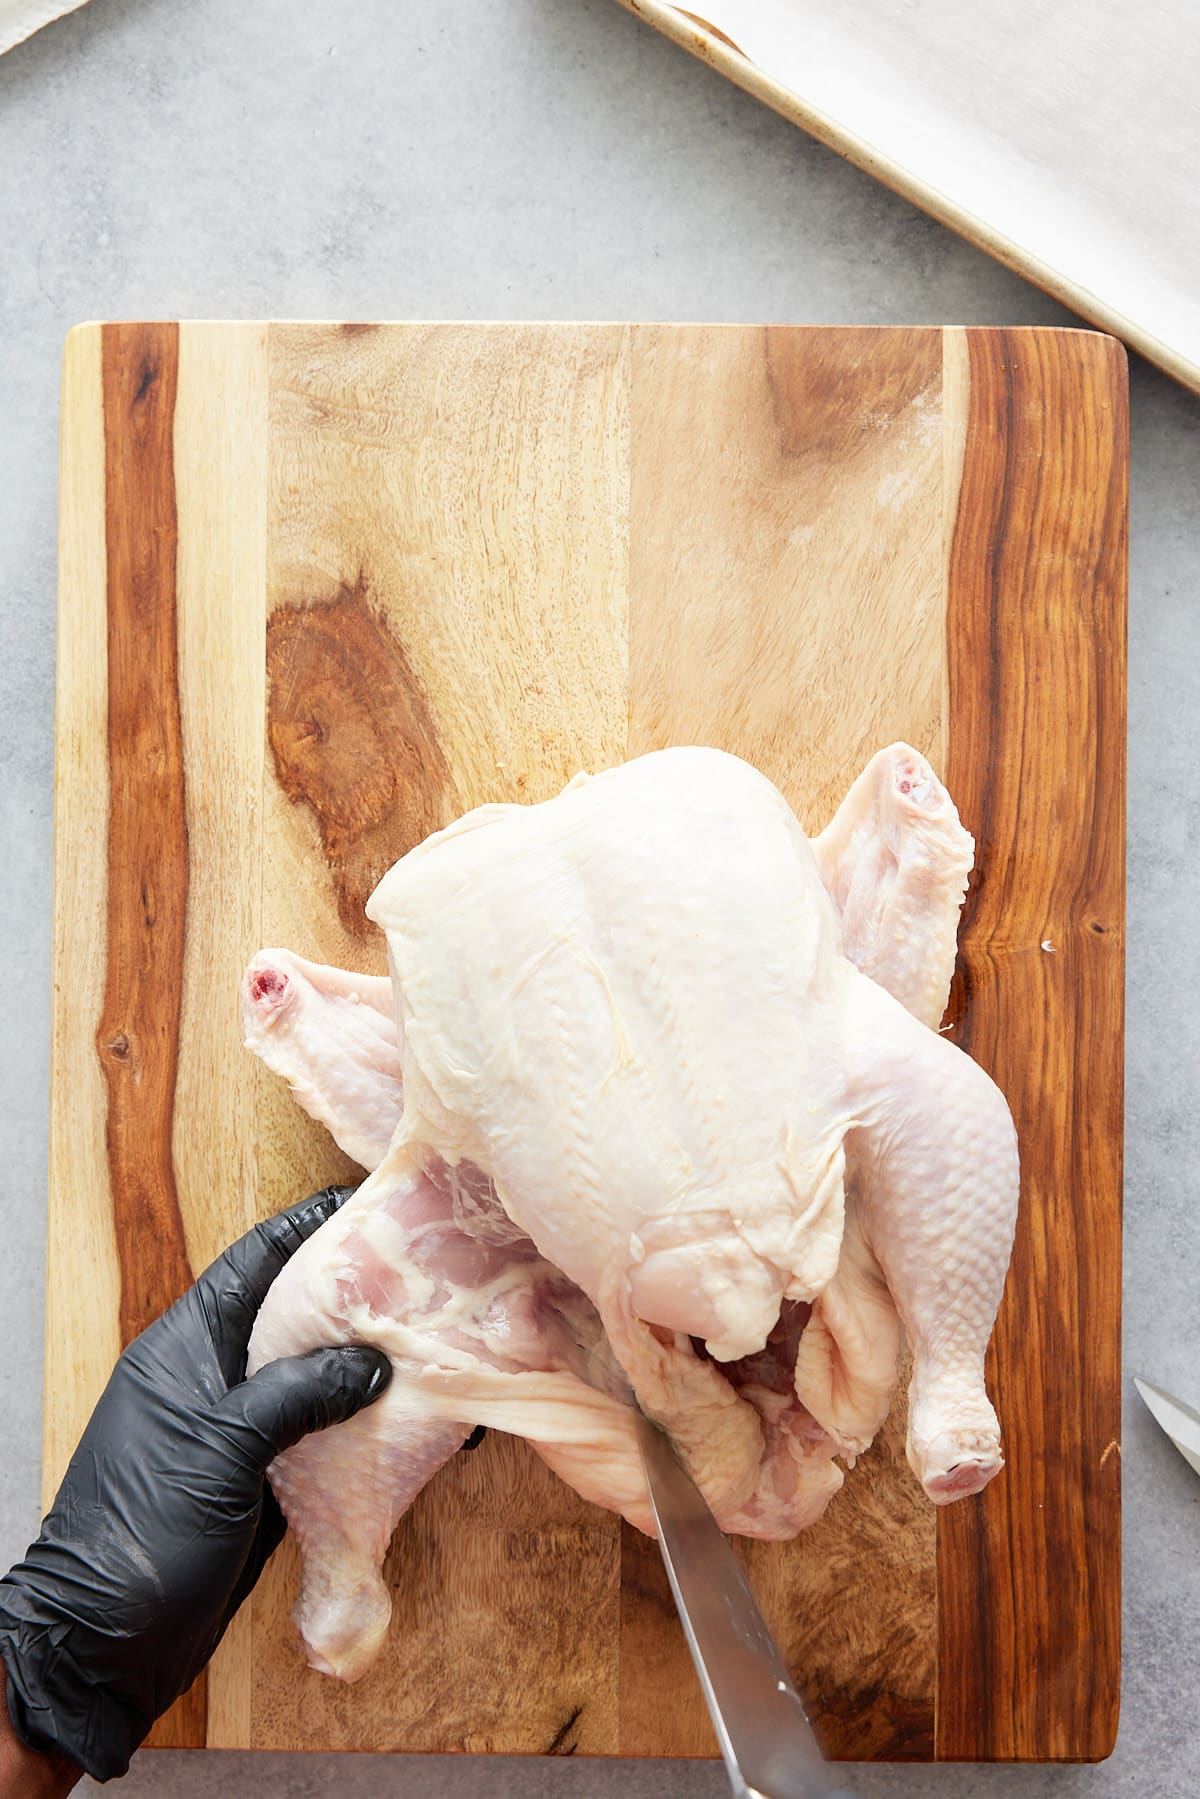
* Tip - I find it easiest to hold the leg in my hand while I cut around the leg to remove it from the chicken.
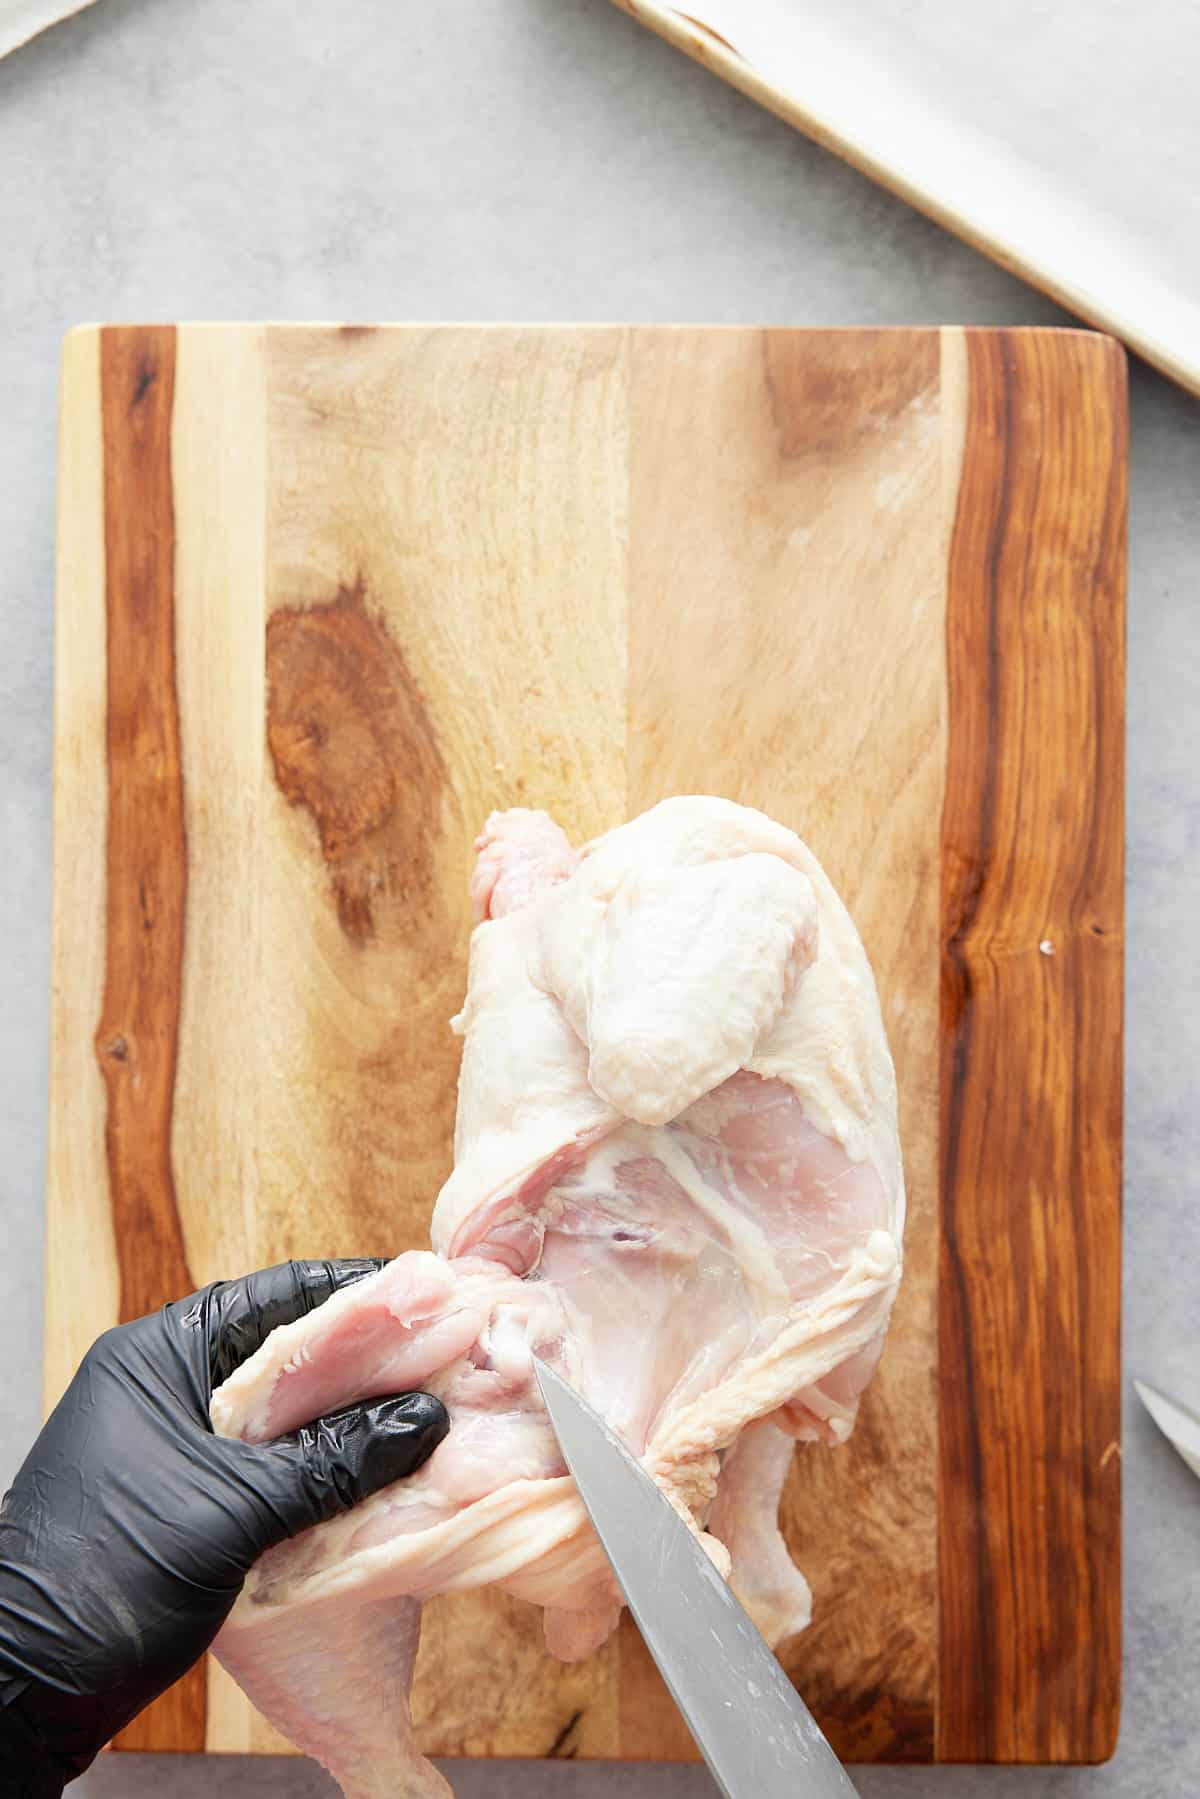
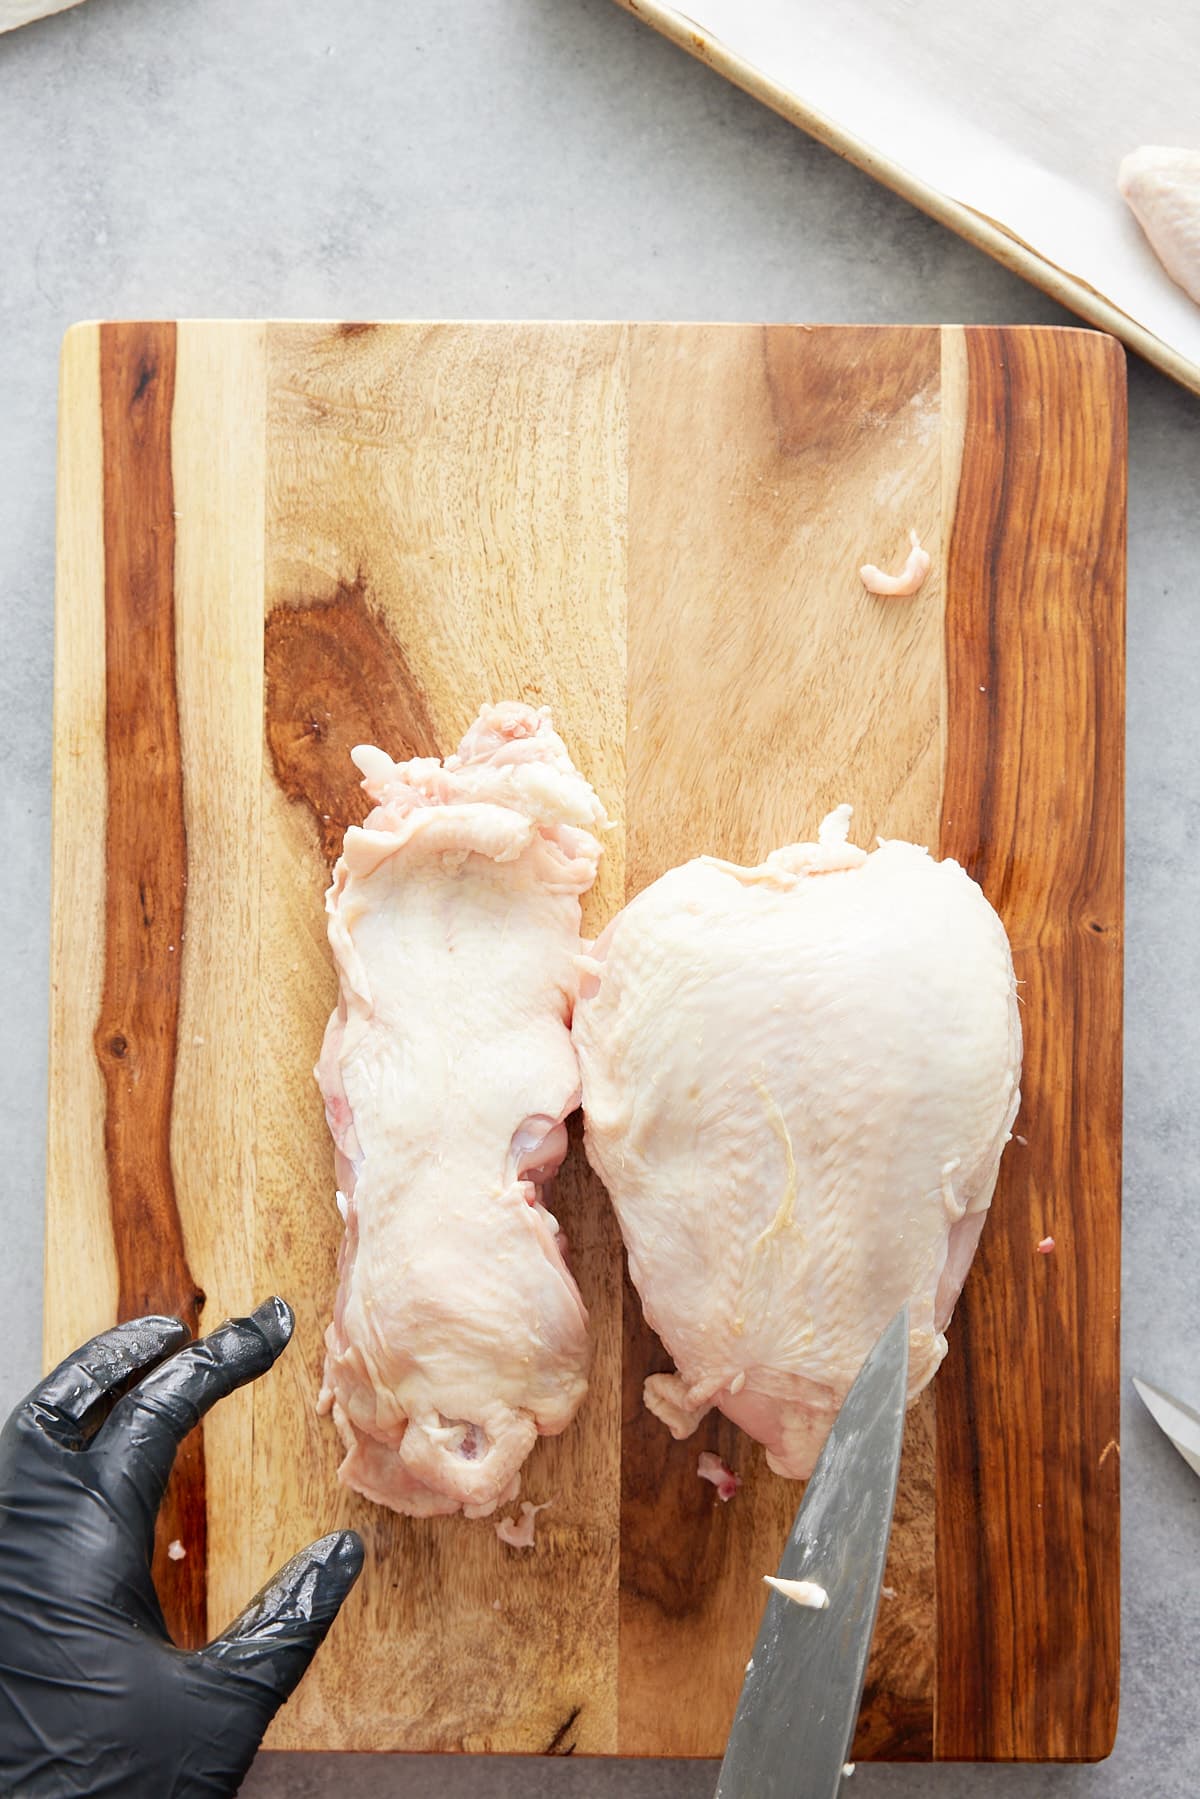
Repeat on the other leg. You have just cut chicken leg quarters.
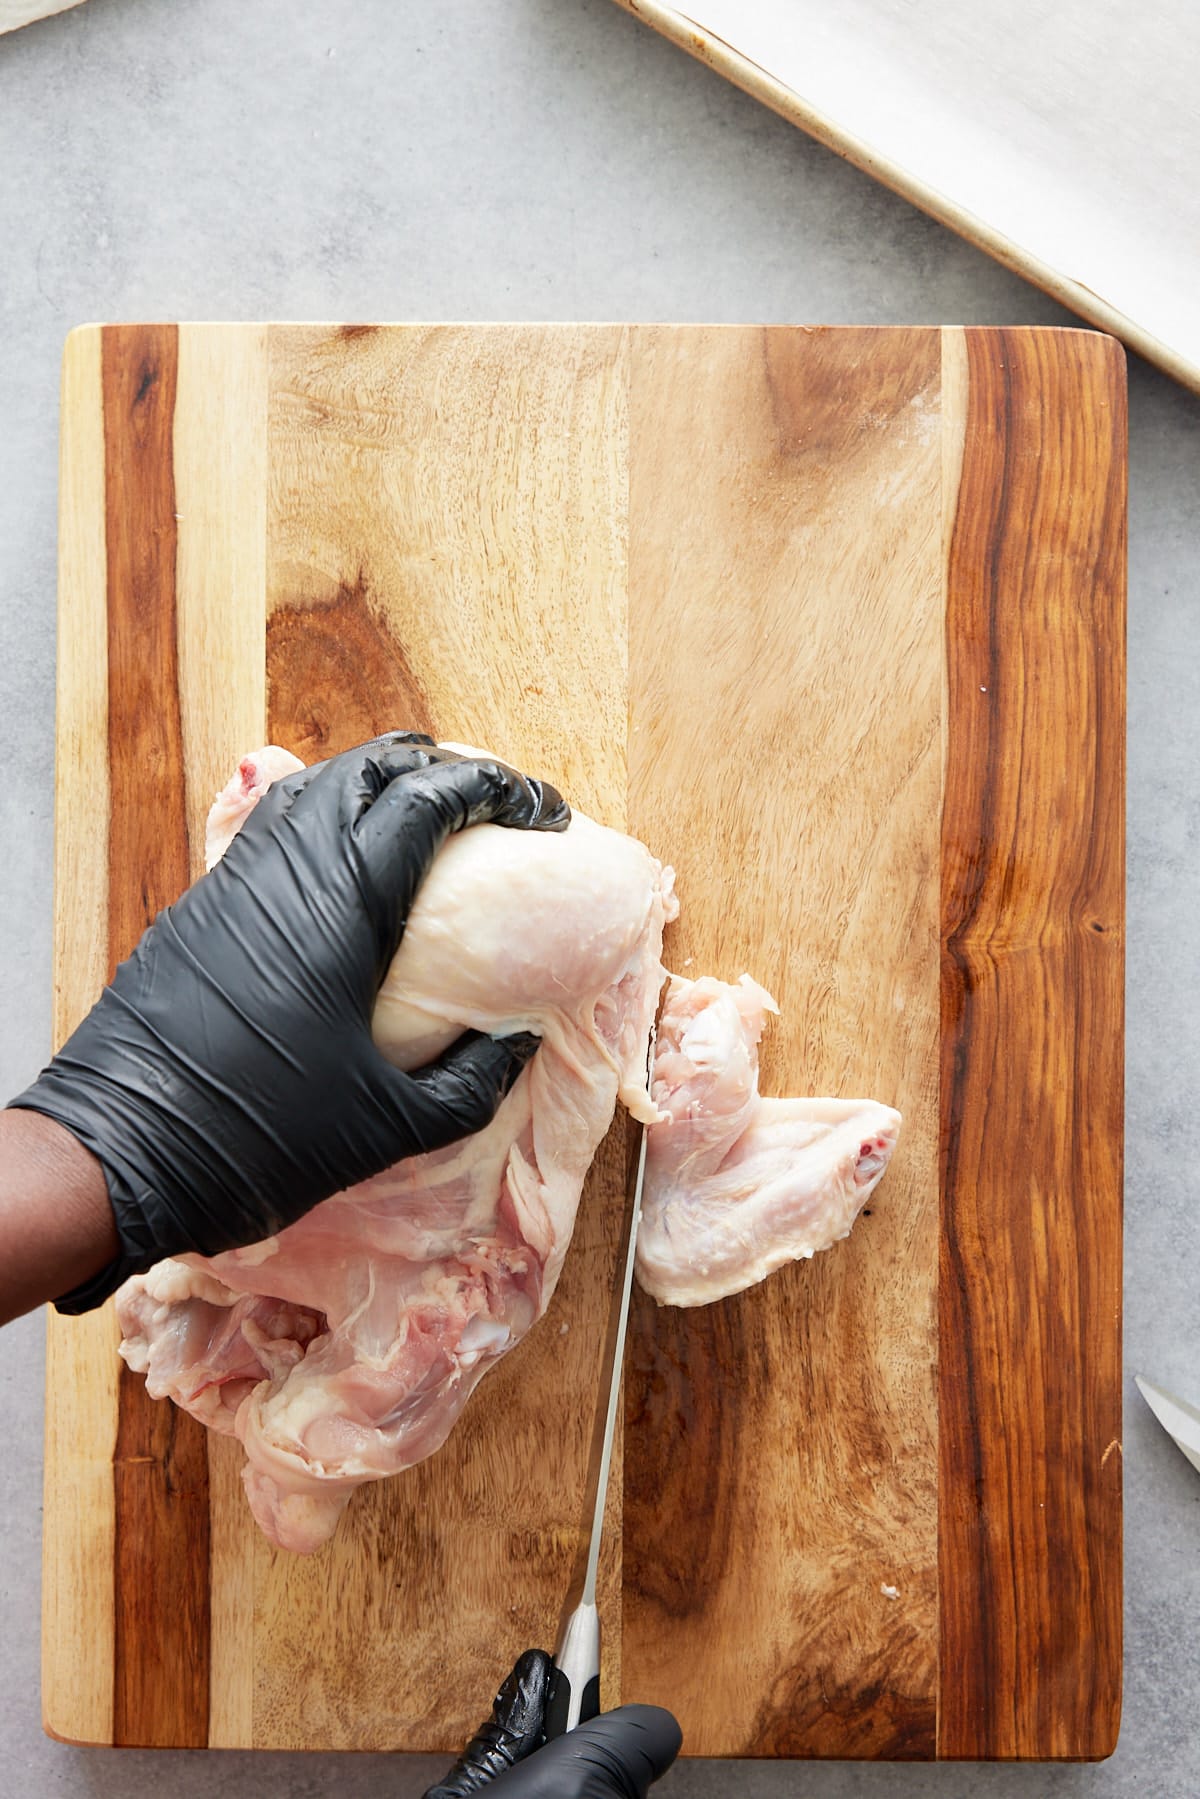
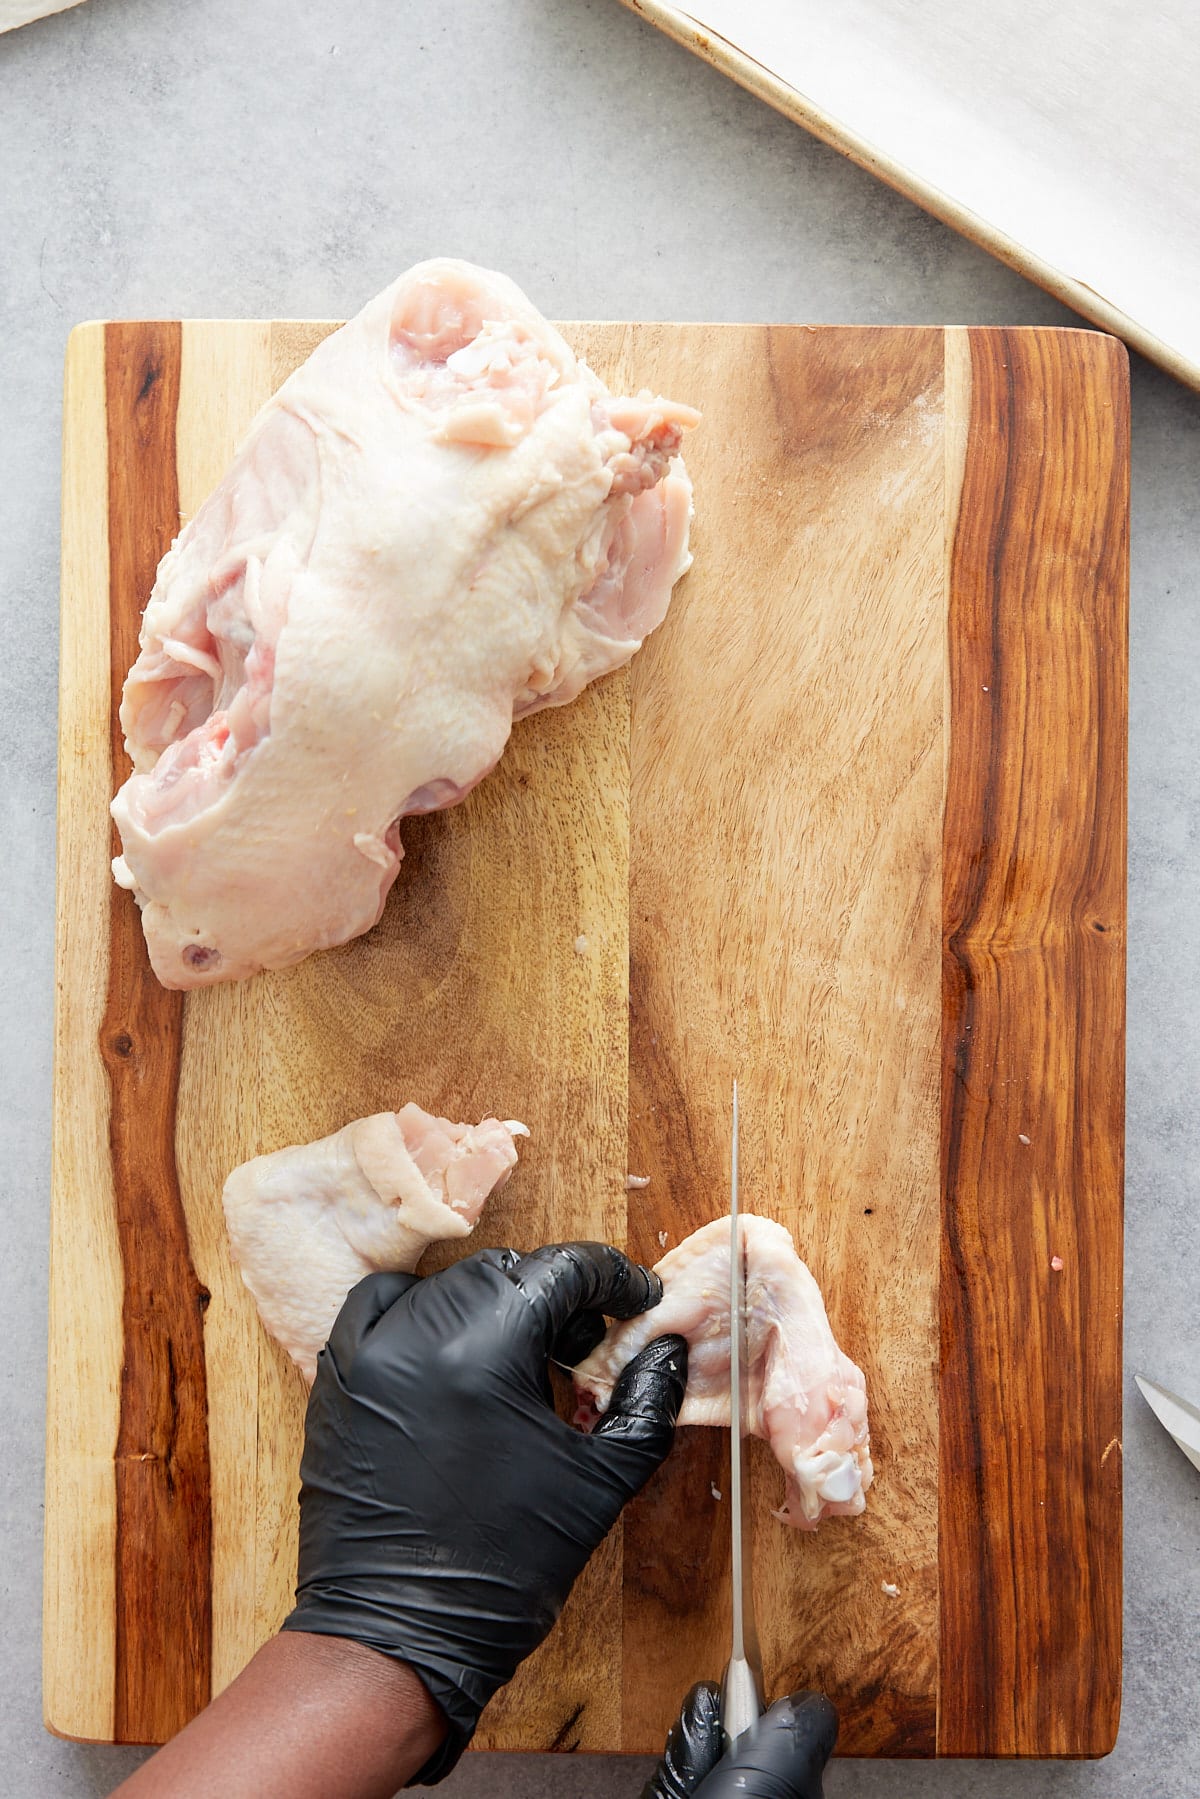
Once you have your chicken leg quarters, you can break these down further by separating the drumstick from the thigh. Turn the chicken leg, skin side down, and use your fingers to locate the ball joint between the thigh and drumstick. There will be a white line of fat at this point. Cut on the line to separate the drumstick from the thigh. Repeat with the other leg.
Remove wings from the chicken
Next, remove the wings from the chicken breast by cutting around the skin to expose the shoulder joint. Cut through the joint to separate the wing from the breast. Repeat on the other side.
To further break down the wings, feel for the joint between the drumette and the flat and cut through the joint.
Remove the backbone from the breast
Lift the chicken, so it stands vertically on the cutting board, holding the backbone in your hand, with the opening facing upwards. Use the knife to cut through the skin and cartilage between the back and the breast bone.
Once you get to the shoulder bones, you may need to use a little extra force to get them to separate.
Once you have removed the backbone from the breast, set it aside. The backbone can be used to make stock.
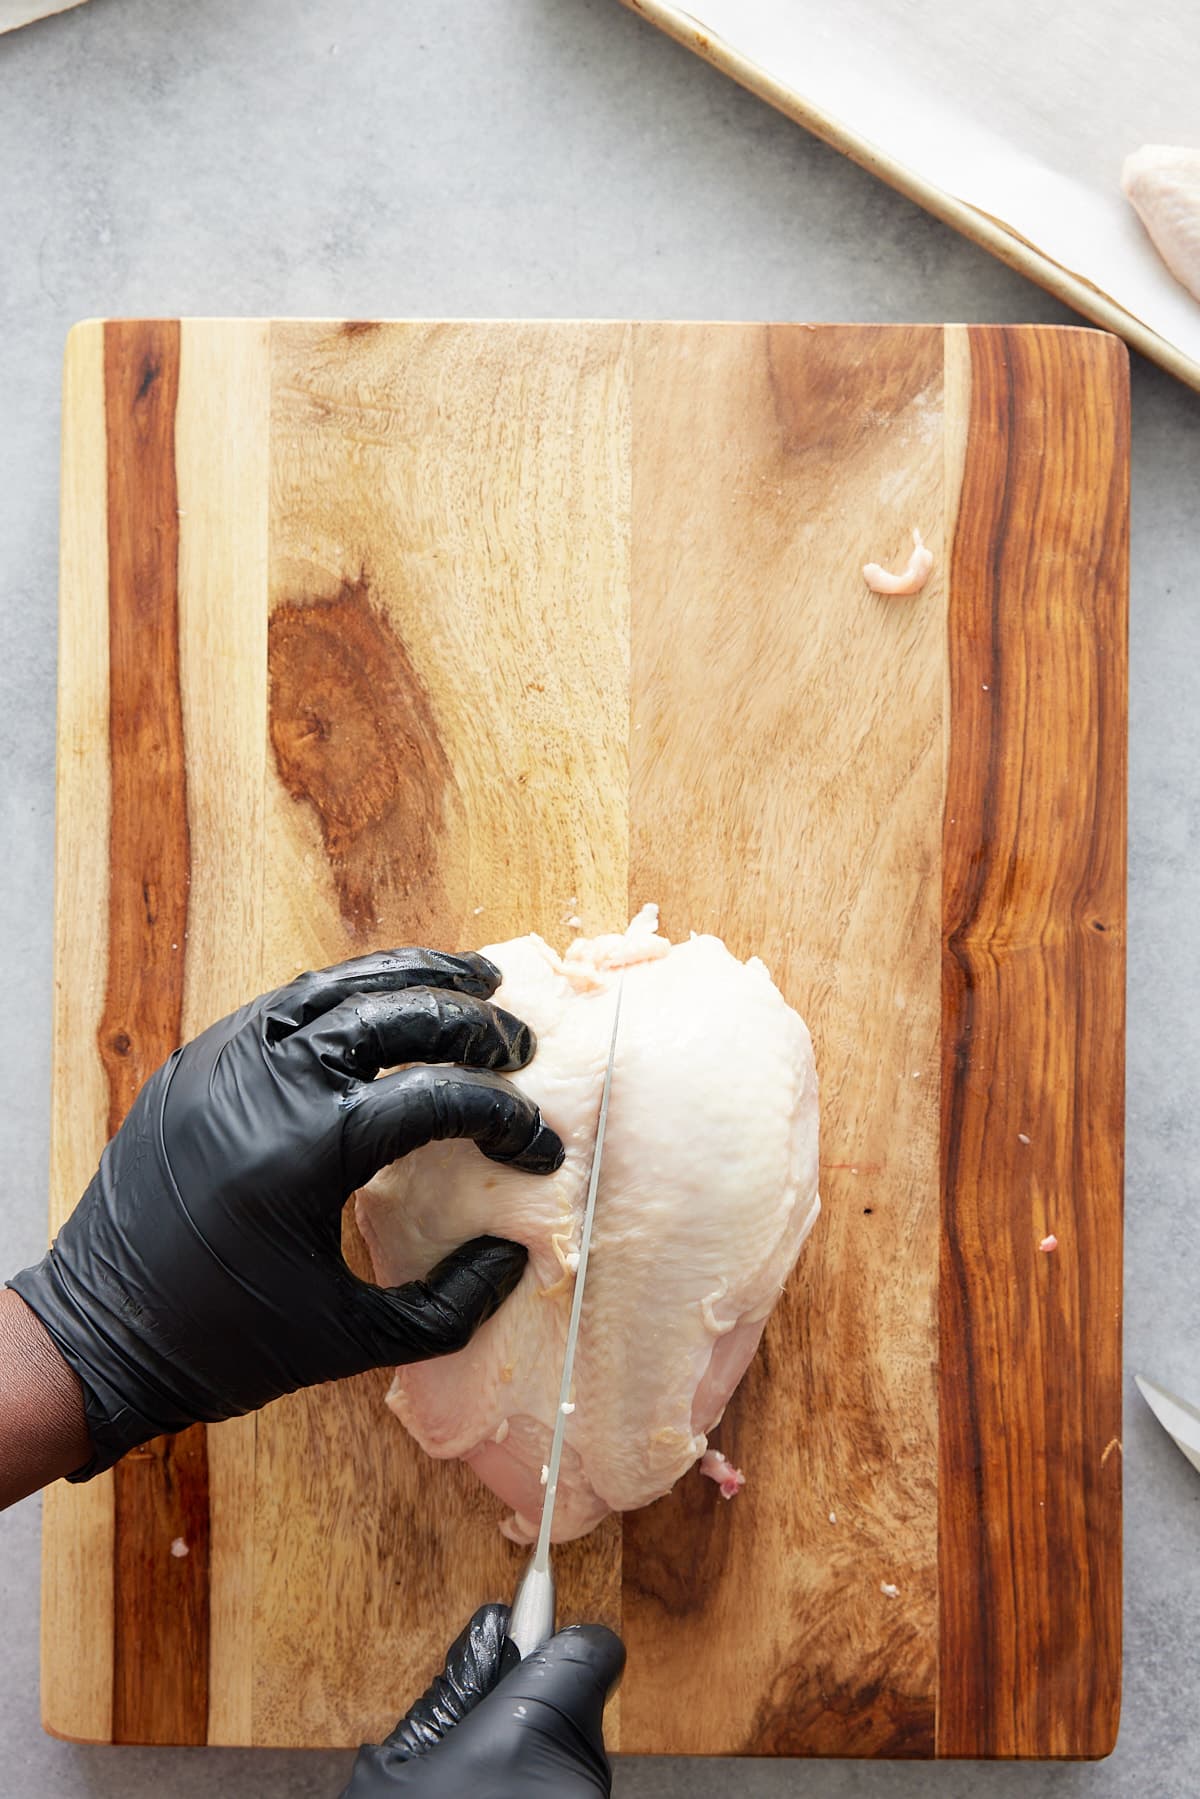
Cut the breast into two
Lay the breast on the cutting board, breast skin side up. Use the knife to slice the chicken breast's skin and meat vertically until you see the bone. Then use a chef's knife and place it over the chicken and apply pressure to cut/crack through the bone with the knife.
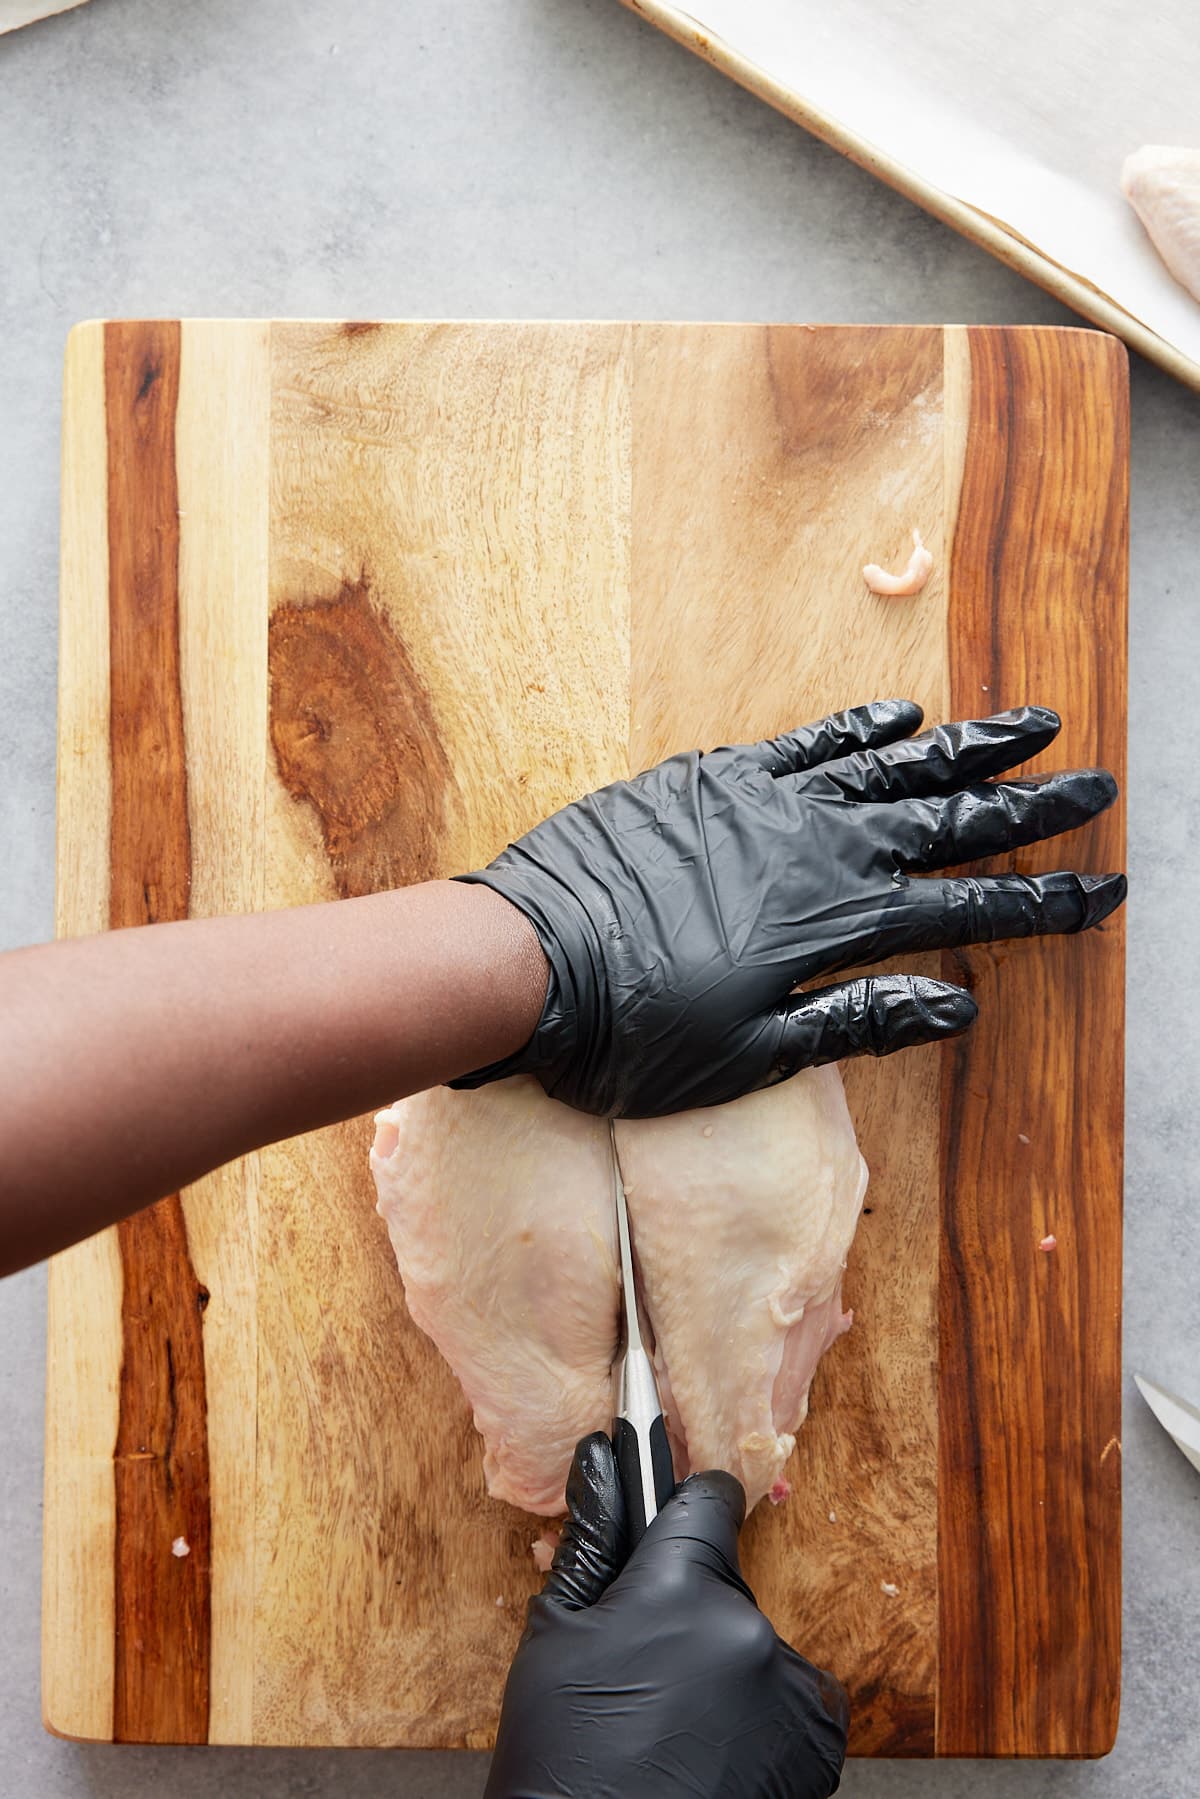
Pro tip: You can break the breast down further by cutting horizontally through the center bone of the breast. This is perfect for getting equal-sized pieces of chicken.
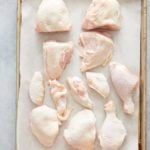
And there you have it, my friend, you just cut up a whole chicken.
Clean up
Make sure to disinfect and sanitize any and everywhere your chicken has come in contact with. Wash your knife and cutting board and disinfect your sink and countertops.
What to do with a whole cut-up chicken?
For the giblets:
If you're lucky enough to have giblets in your chicken, use them in recipes! Giblet gravy, stuffing, and dirty rice are a few of my favorite recipes using giblets.
For the chicken back and wing tips
Make broth! Chicken broth is made from chicken meat and bone. You can use the raw chicken or roast the pieces first. Roasting the pieces of chicken before making the broth makes dark broth, which is incredibly flavorful.
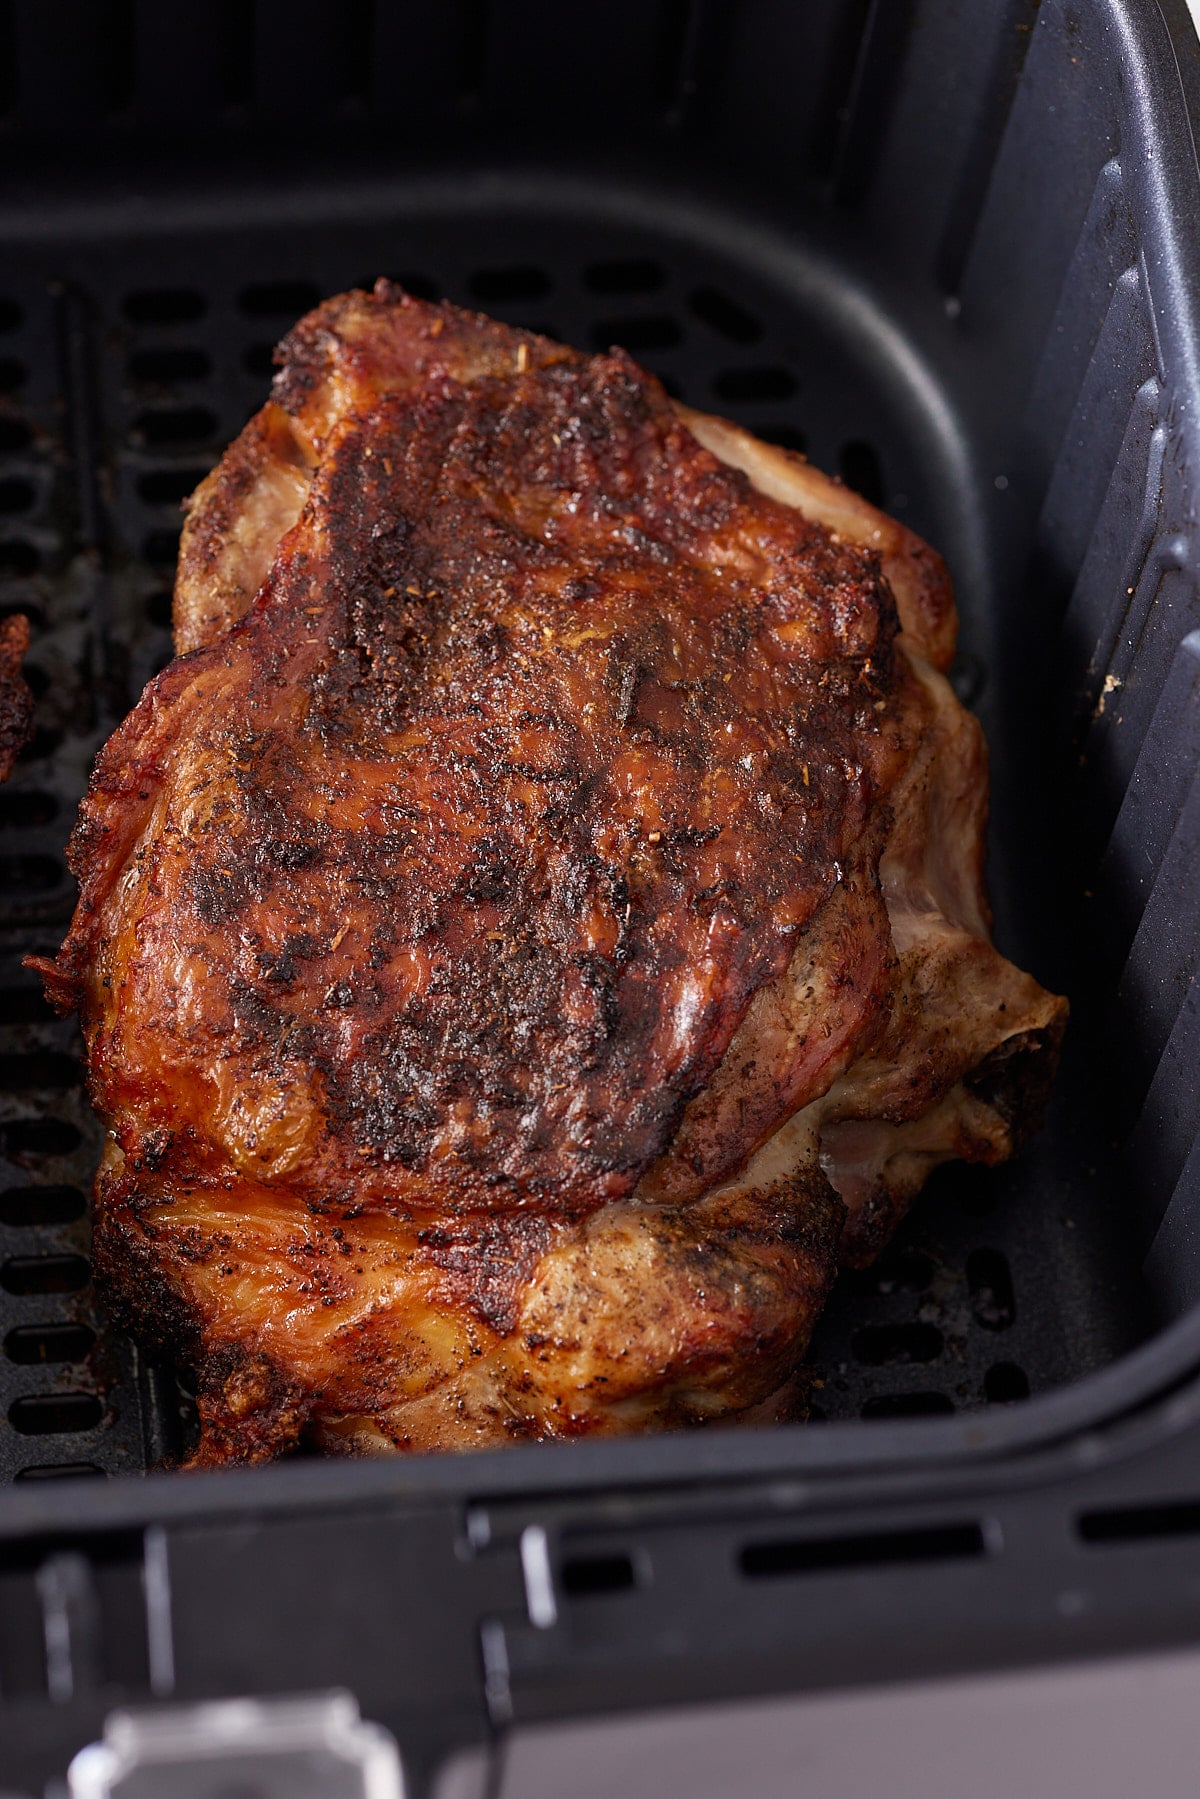
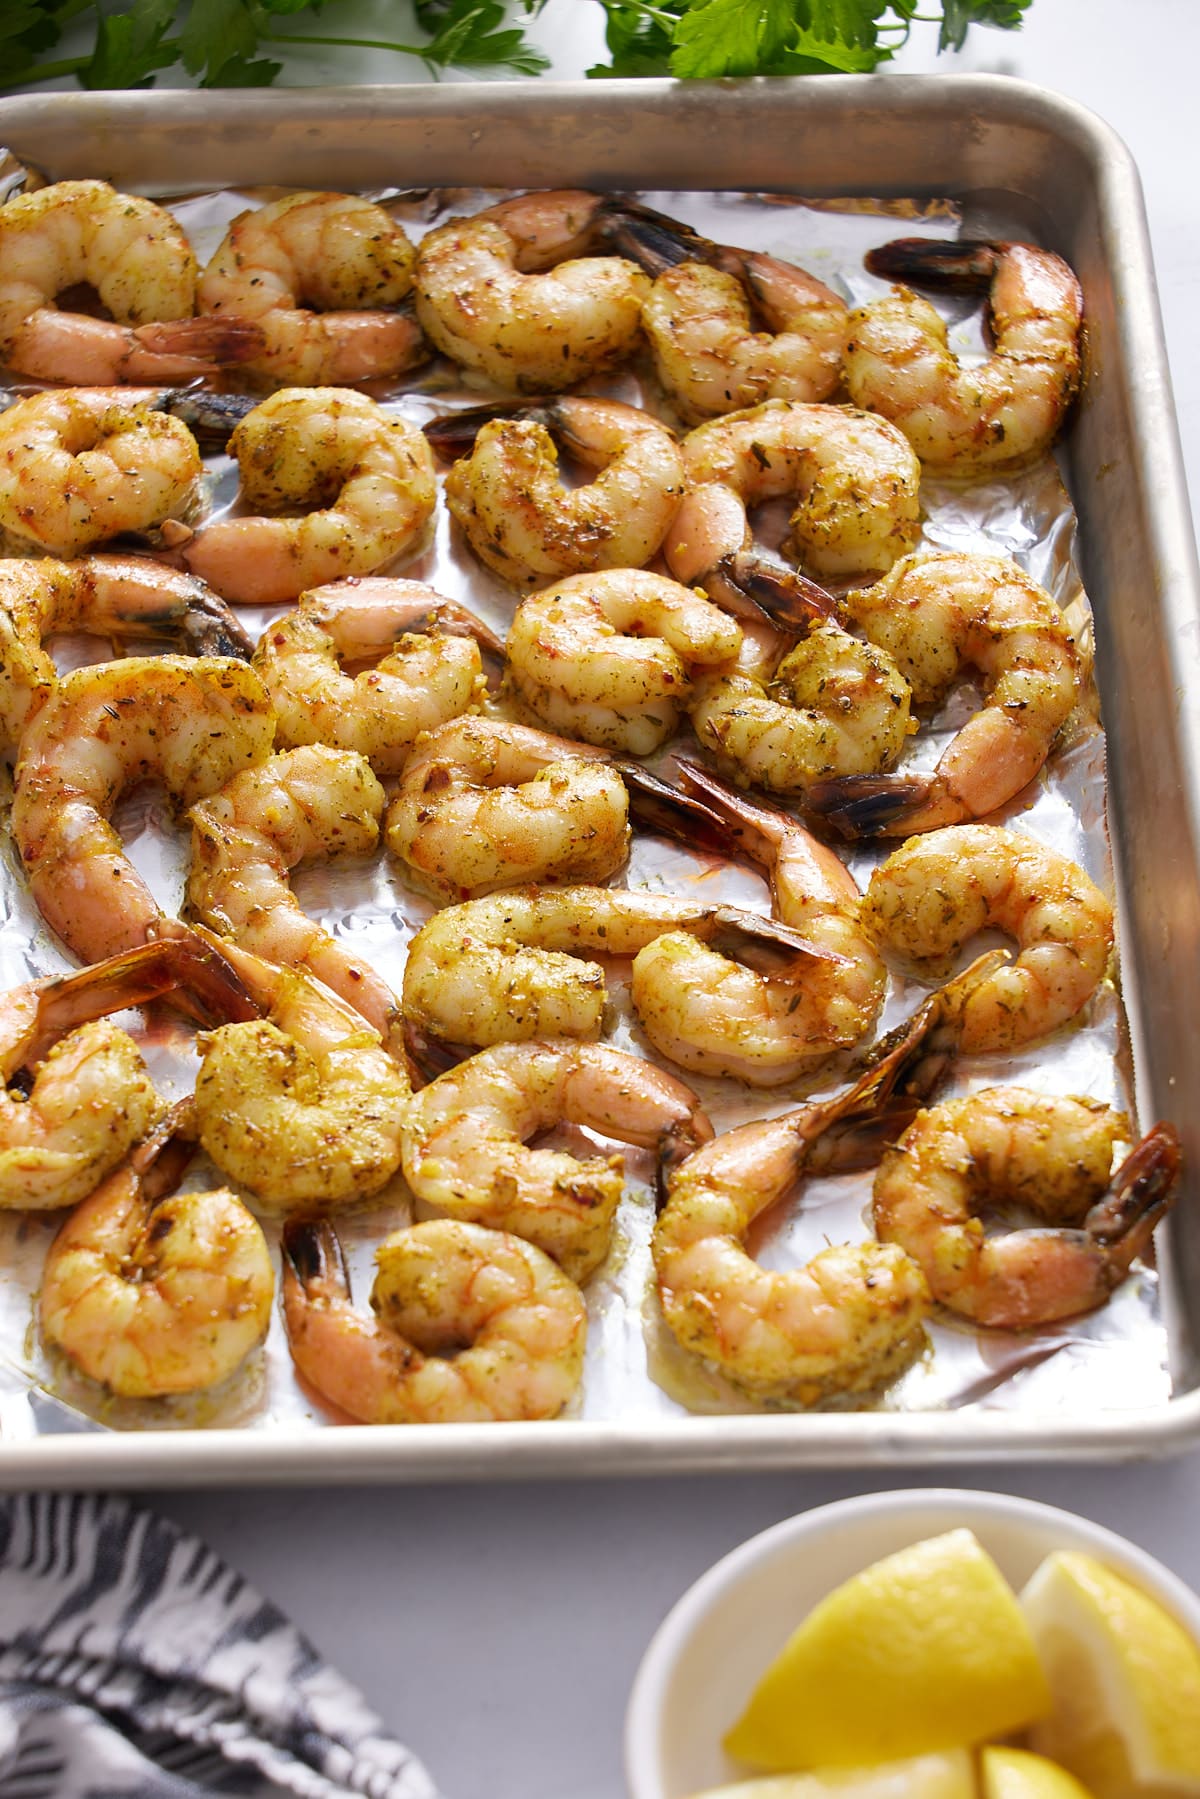
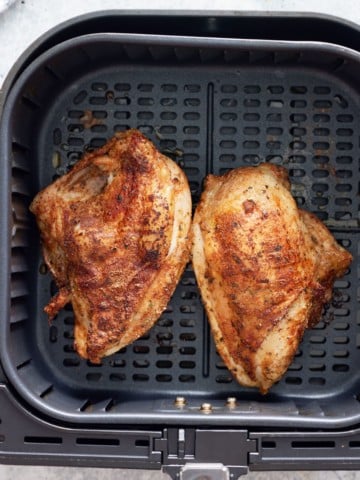
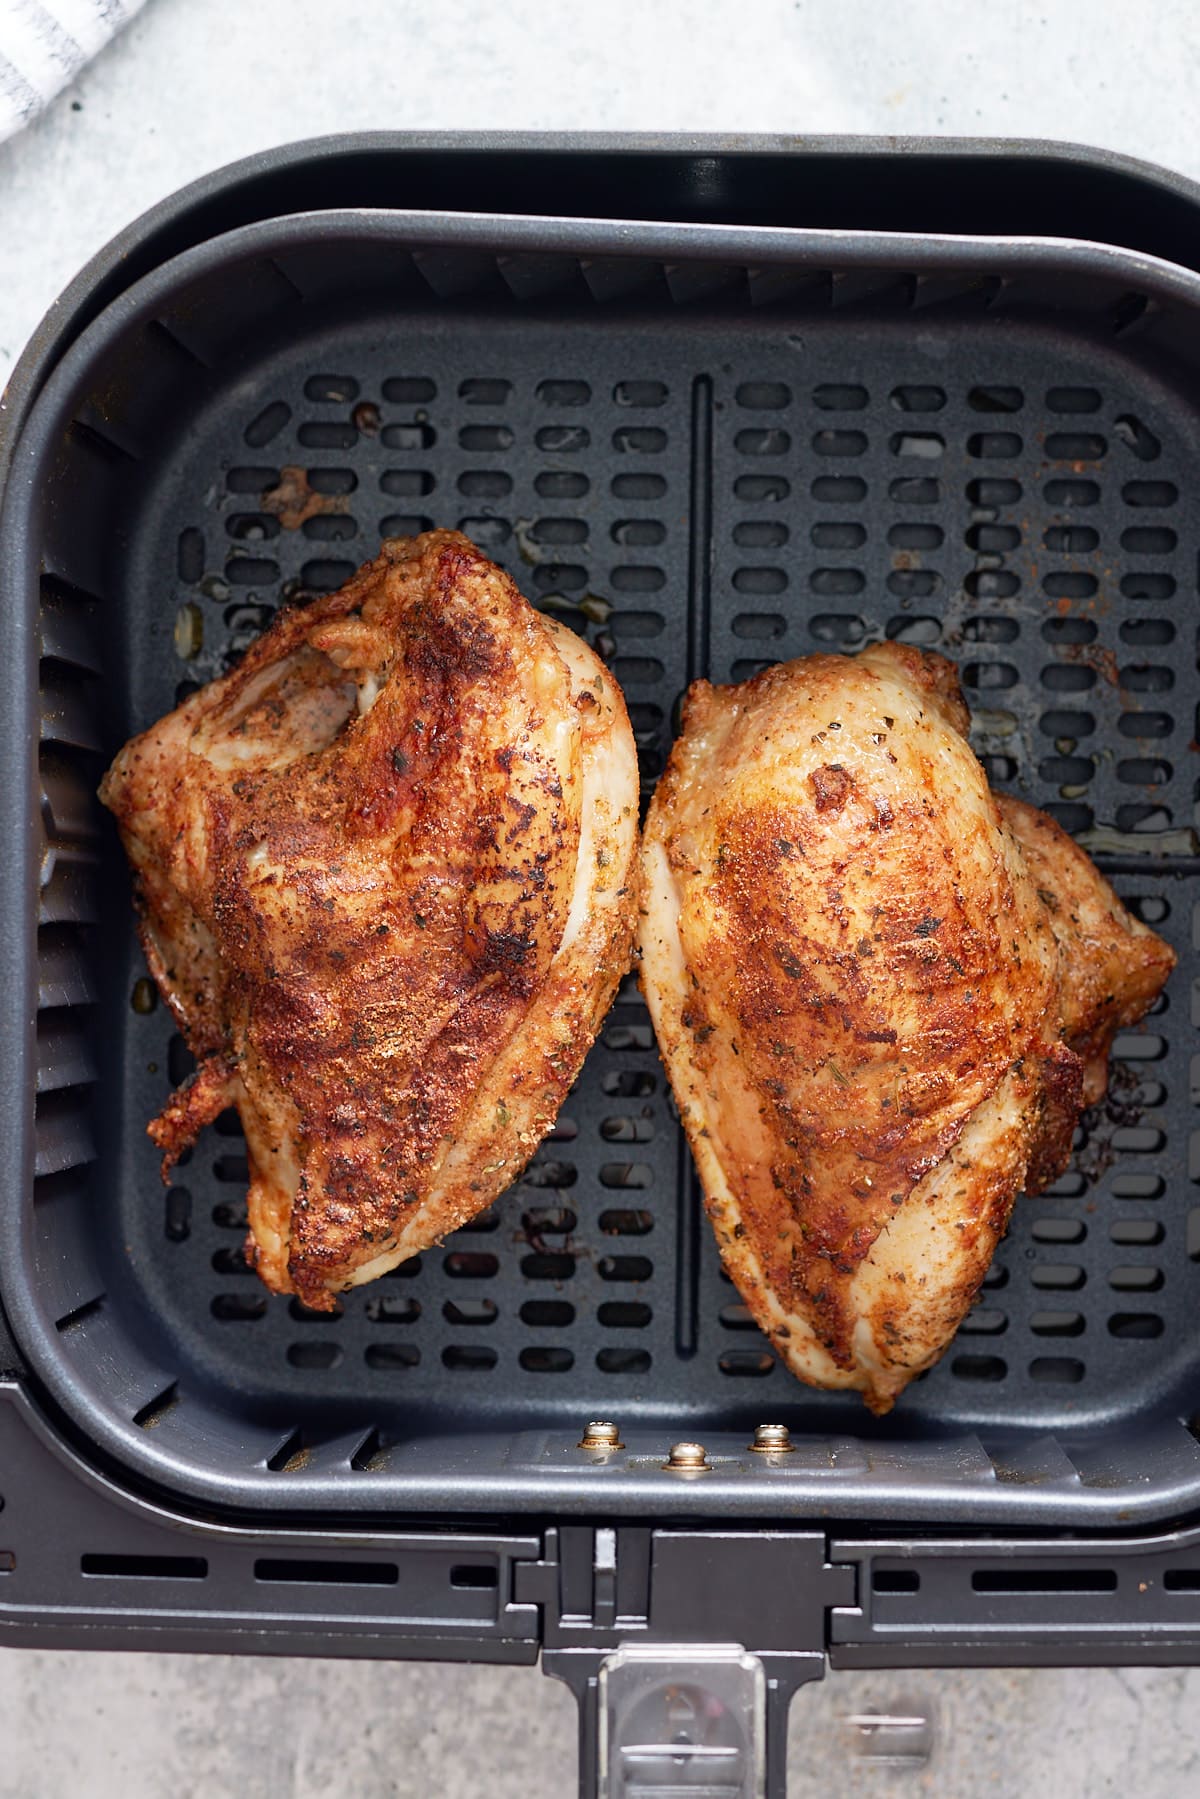
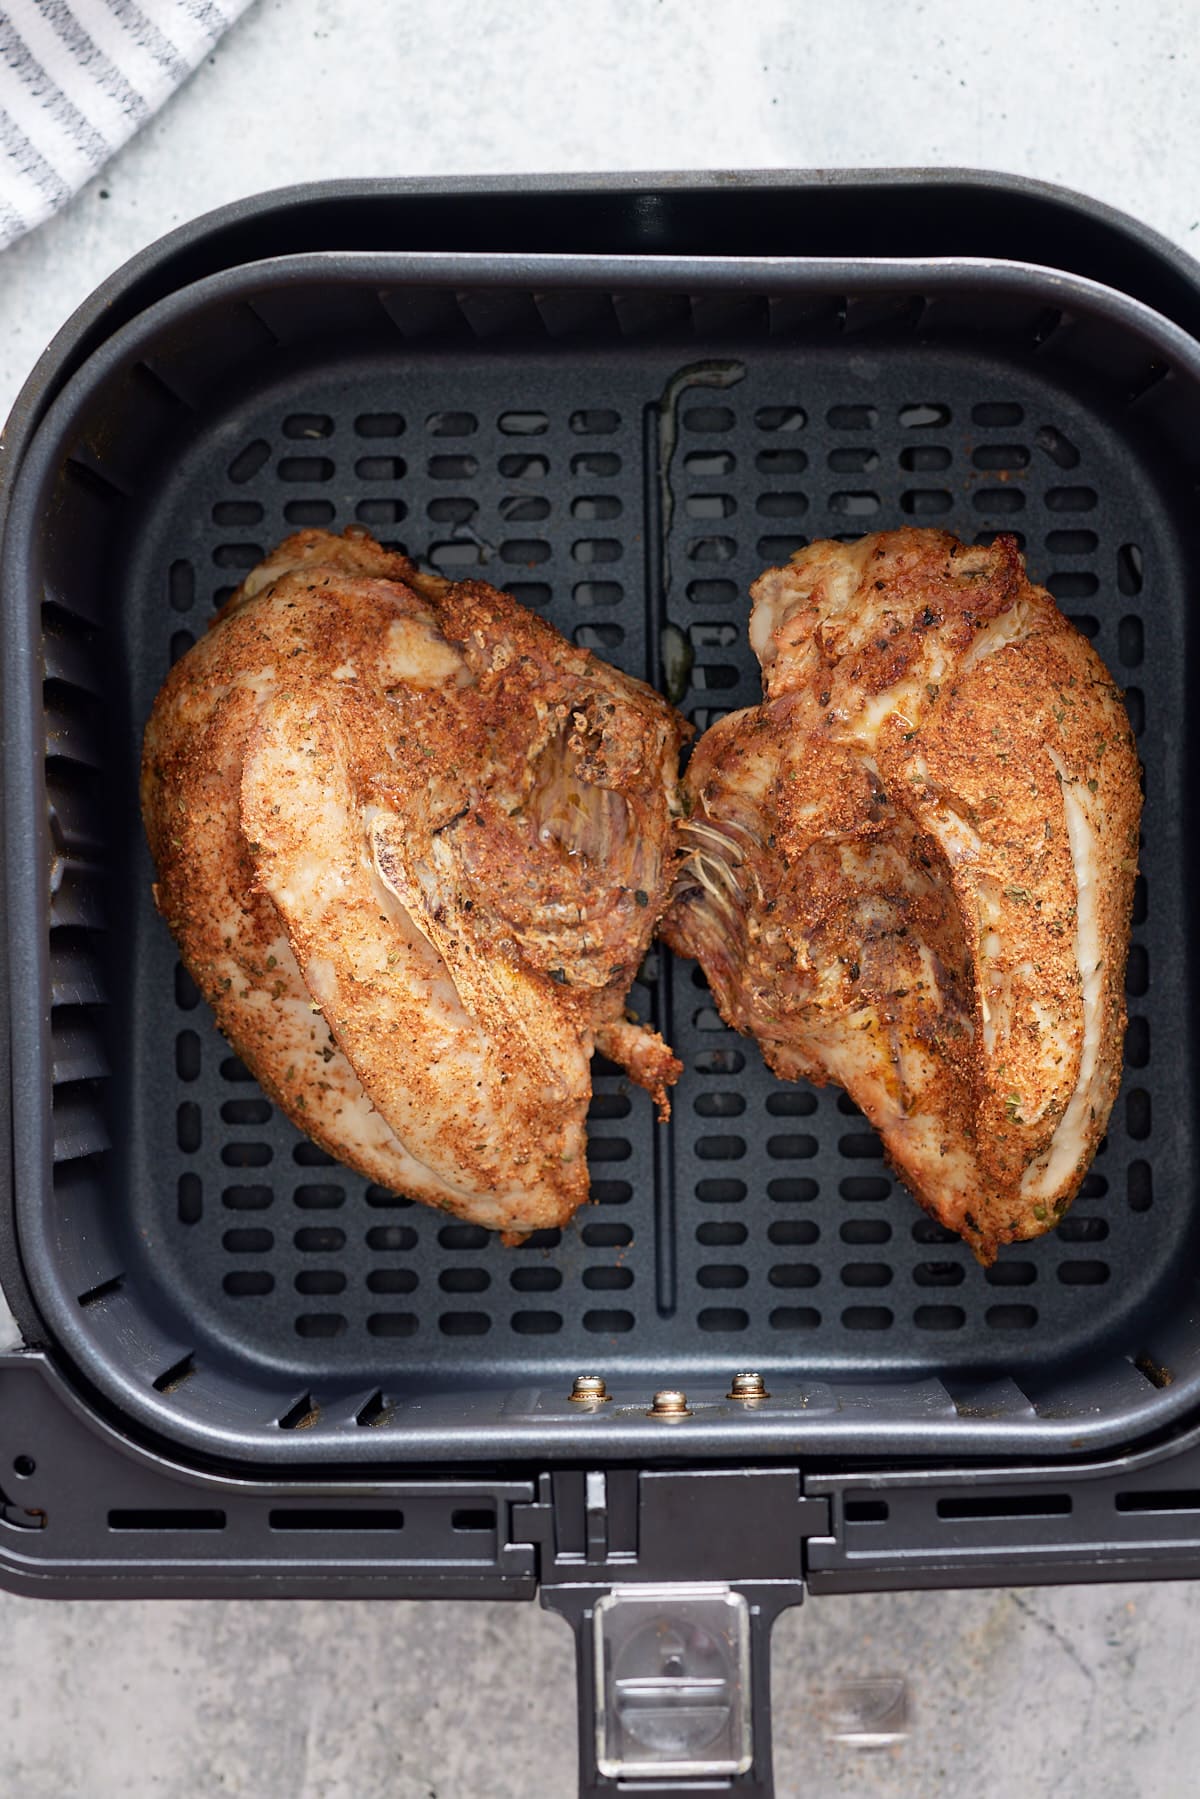
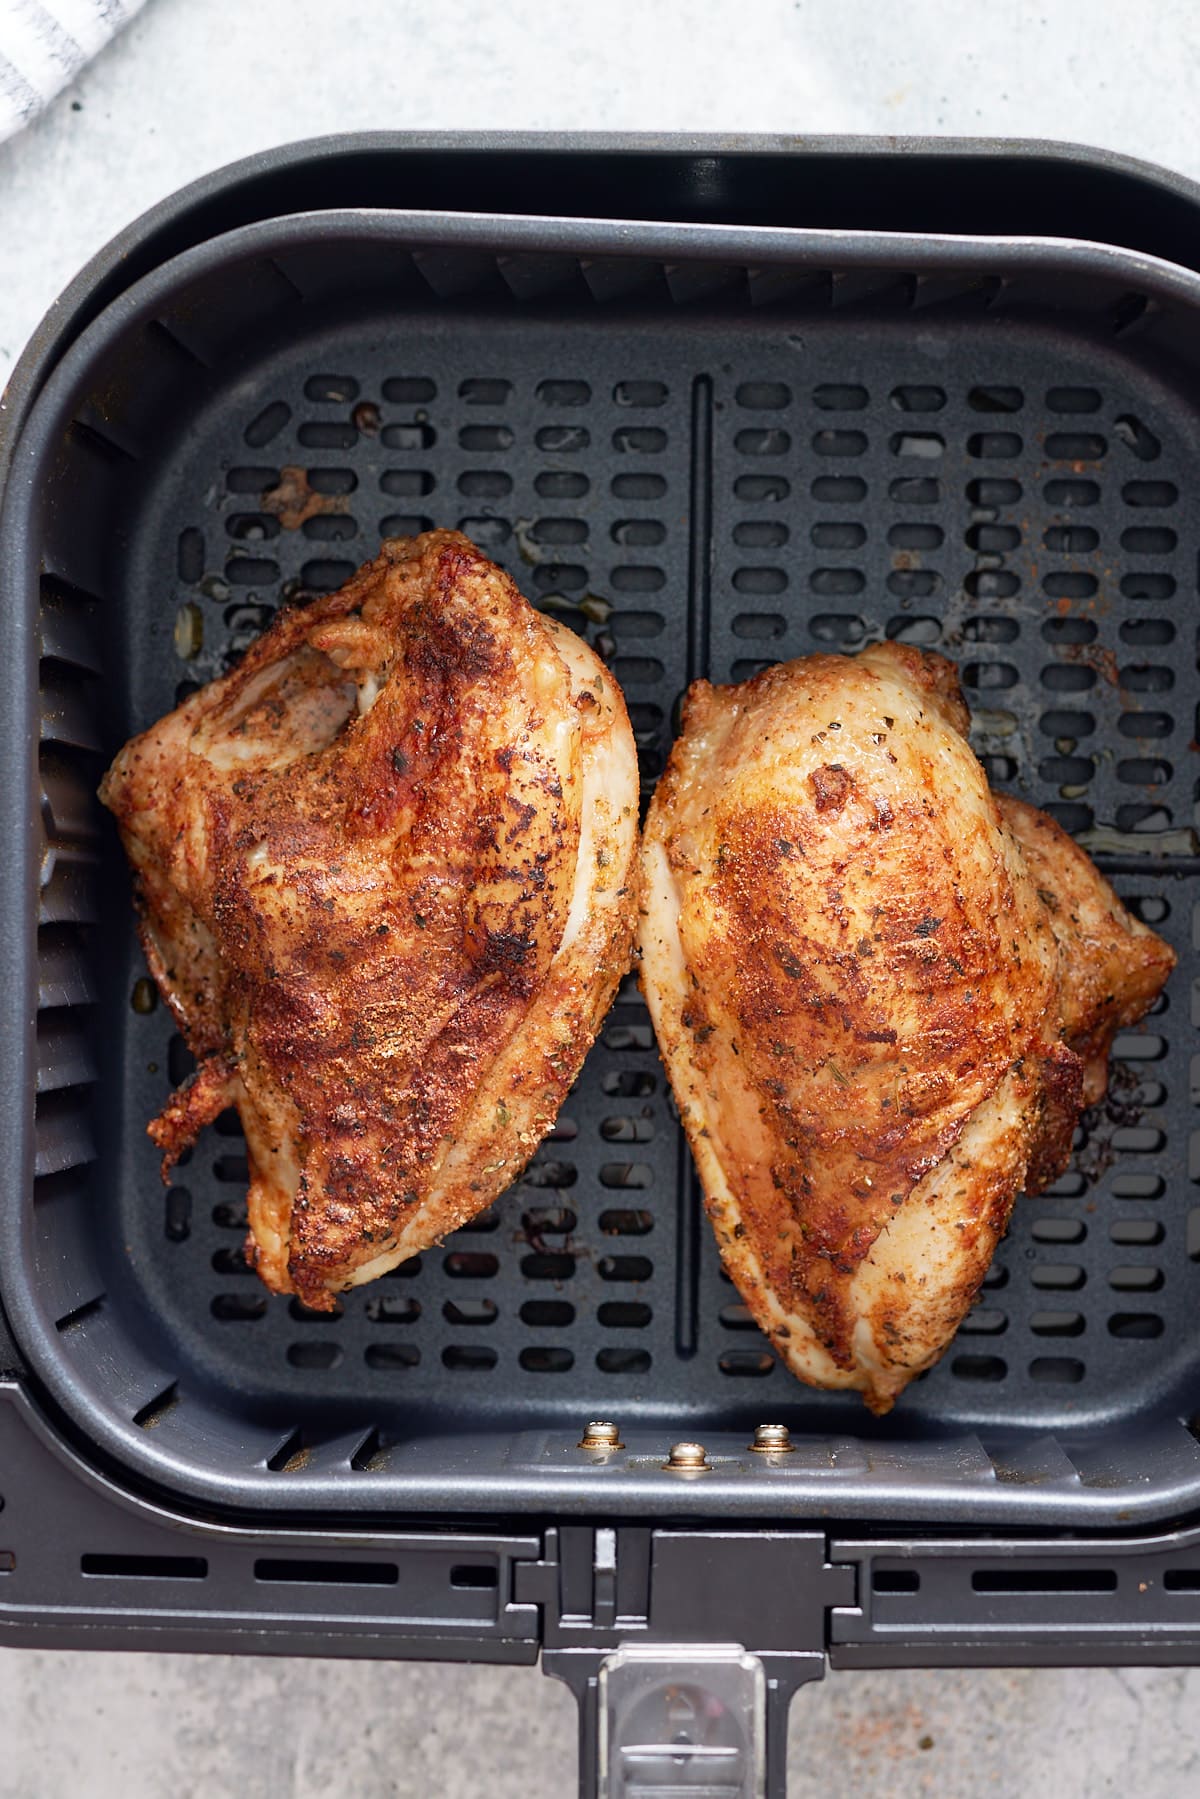
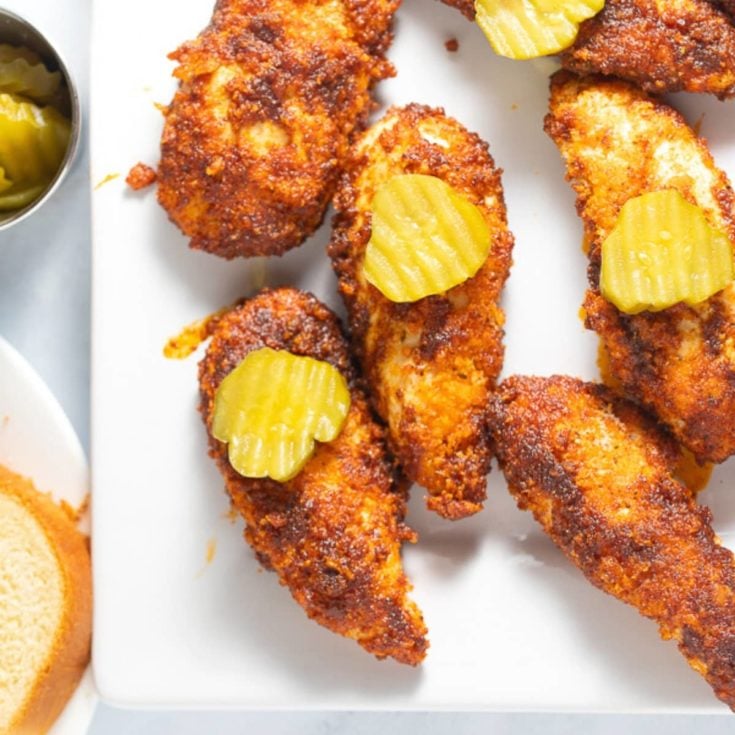
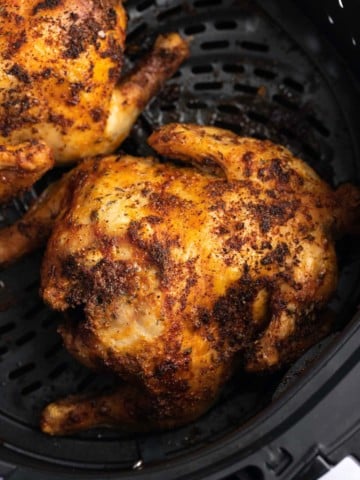
For the chicken pieces: Use them in your favorite recipe, but my all-time favorite way to make them is to roast them. Season them and roast them in a 425-degree oven for 35-40 minutes. You could also grill them, fry them, or chop them further and use them in dishes like curry chicken or brown stew chicken.
I hope you found this tutorial helpful. Looking for more knife skill tutorials: Try these out
Expert tips:
- Cut through the skin before cutting, disconnecting any chicken pieces. Cutting through the skin will allow you to see the inside of the chicken and determine where to cut the chicken.
- Cut through joints when removing the chicken wings and legs. You should not cut through bone until you have to cut through the carcass and breast bone.
- Wash your kitchen tools with hot soapy water and disinfect your kitchen after cutting the chicken.
How to Cut Up a Whole Chicken
Equipment
- 1 Sharp Chef's Knife
Ingredients
- 1 whole chicken patted dry
Instructions
- Place the chicken on a sturdy cutting board, breast side up.
- Remove the wing tips from the chicken by cutting them off with the Chef's knife.
- Next, remove any additional fat you see around the chicken near the cavity. You can also remove the little nub at the bottom.
- Grab the chicken drumstick and slice the skin where the drumstick meets the breast, exposing the area under the skin. Pull the leg away from the chicken and push it upward to pop the bone out of the socket. Cut around this bone and remove the chicken leg from the body, making sure to cut around the oyster, the little bit of the meat that sits closest to the spine. Repeat on the other leg
- Once you have your chicken leg quarters, you can break these down further by separating the drumstick from the thigh. Turn the chicken leg, skin side down, and use your fingers to locate the ball joint between the thigh and drumstick. There will be a white line of fat at this point. Cut on the line to separate the drumstick from the thigh. Repeat with the other leg.
- Next, remove the wings from the chicken breast by cutting around the skin to expose the shoulder joint. Cut through the joint to separate the wing from the breast. Repeat on the other side. To further break down the wings, feel for the joint between the drumette and the flat and cut through the joint.
- Lift the chicken, so it stands vertically on the cutting board, holding the backbone in your hand, with the opening facing upwards. Use the knife to cut through the skin and cartilage between the back and the breast bone. Once you get to the shoulder bones, you may need to use a little extra force to get them to separate.
- Lay the breast on the cutting board, breast skin side up. Use the knife to slice vertically through the chicken breast's skin and meat until you see the bone. Then use a chef's knife and place it over the chicken and apply pressure to cut/crack through the bone with the knife.
Notes
- You can break the breast down further by cutting horizontally through the center bone of the breast. This is perfect for getting equal-sized pieces of chicken.
- The backbone and wing tips are great for making homemade chicken broth.