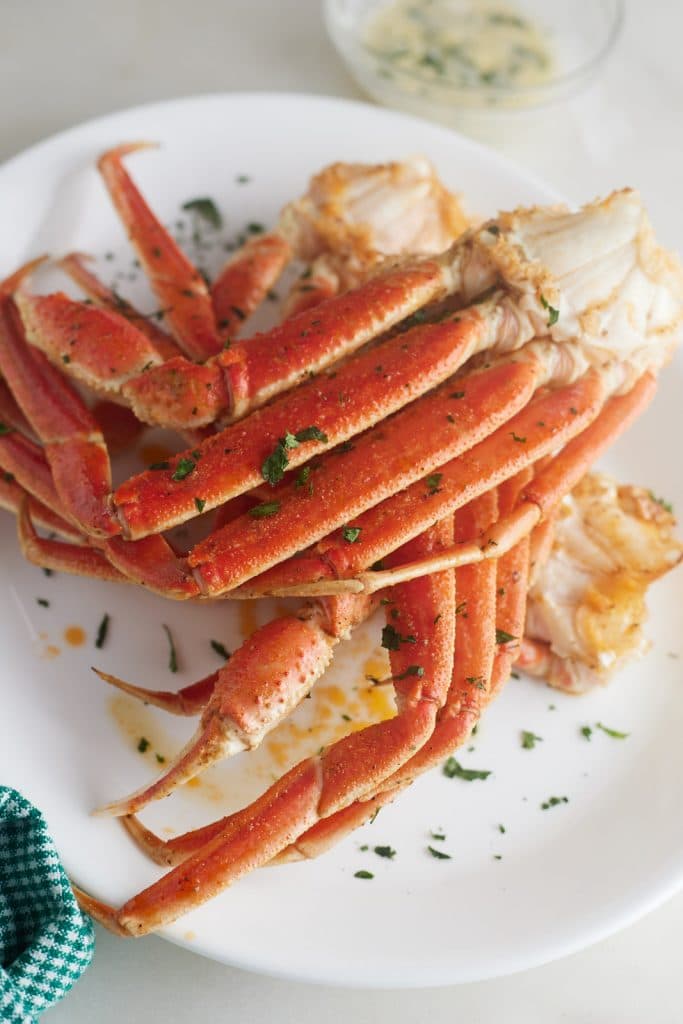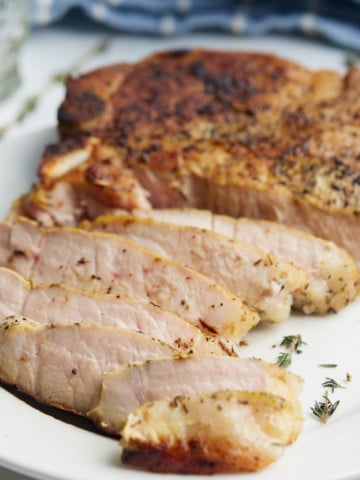
Make delicious and tender pork chops with this sous vide pork chops recipe. Perfectly juicy and effortless to make with the help of a precision cooker and a water bath.

This post contains affiliate links, please read my full disclaimer here.
You’ll find the full recipe with ingredient amounts and instructions in the recipe card at the bottom of this post. Be sure to check out the blog post itself for extra tips and tricks!
Pork chops are one of my favorite dinners, but if you often run into the issue of overcooked and dry meat, then sous vide is a fool proof way of keeping it nice and juicy and full of flavor.
This easy technique is so simple, and results in the best pork chops every single time. Give it a go, you'll be so pleased you did!
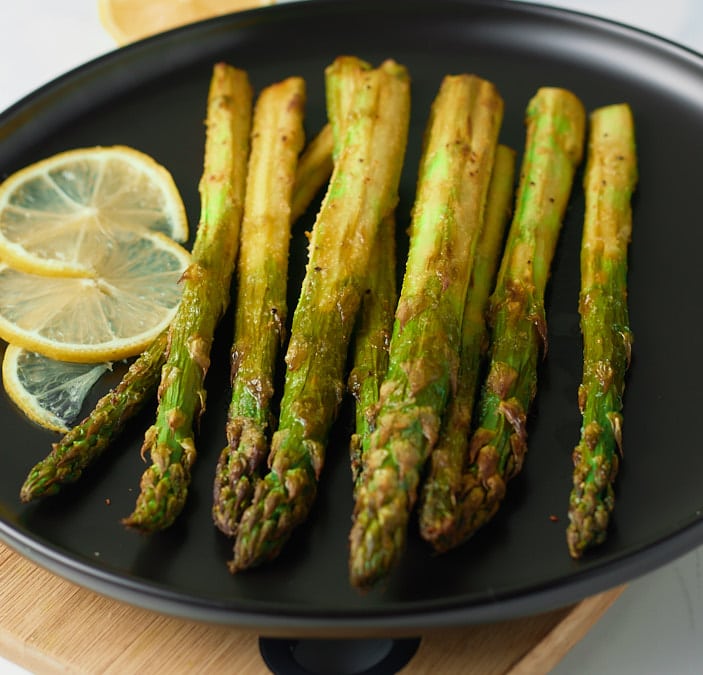
For more pork recipes, be sure to check out my perfect air fryer pork chops and my crispy pork carnitas
What is sous vide?
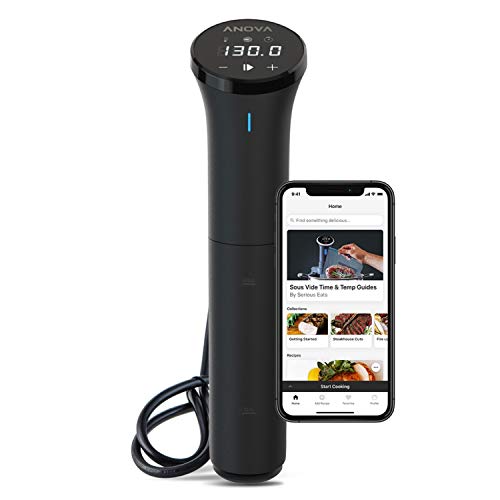
If you haven't tried the sous vide method of cooking, it's definitely worth a try - I love mine! You basically vacuum seal your food, and then cook it in temperature controlled water.
This process means that you will never overcook your food as the water is set to a certain temperature, for pork 140F, so you run no risk of cooking it past that while it's in the water.
Sous vide meat is then usually quuckly seared to brown the sides.
Cooking sous vide takes longer than cooking it on the stovetop or in the oven, but the process is extremely hands off.
How to make sous vide pork chops
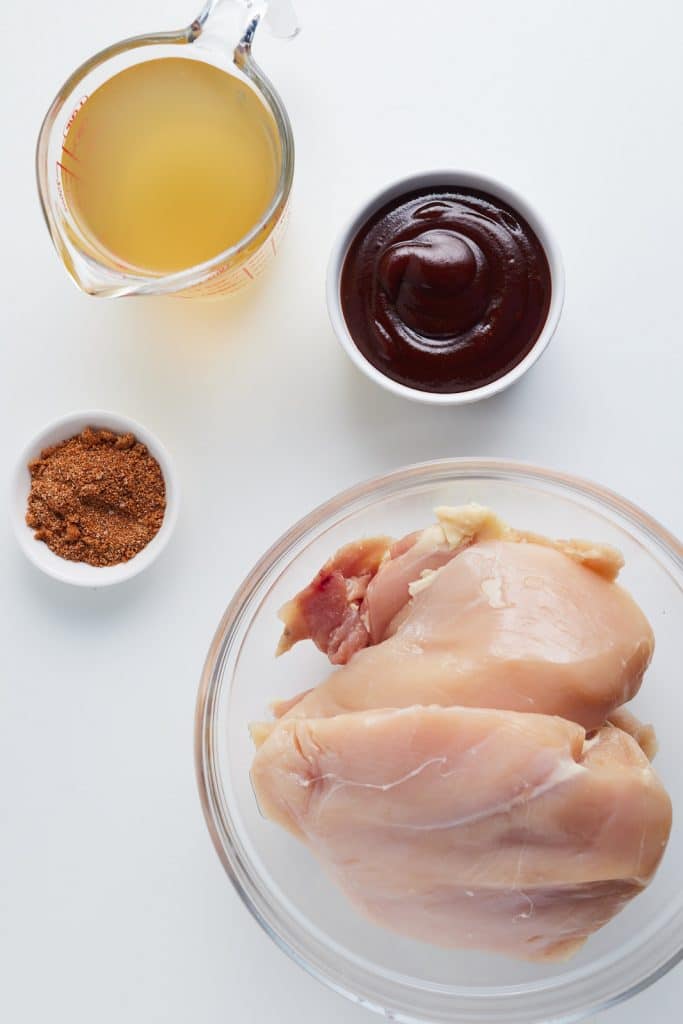
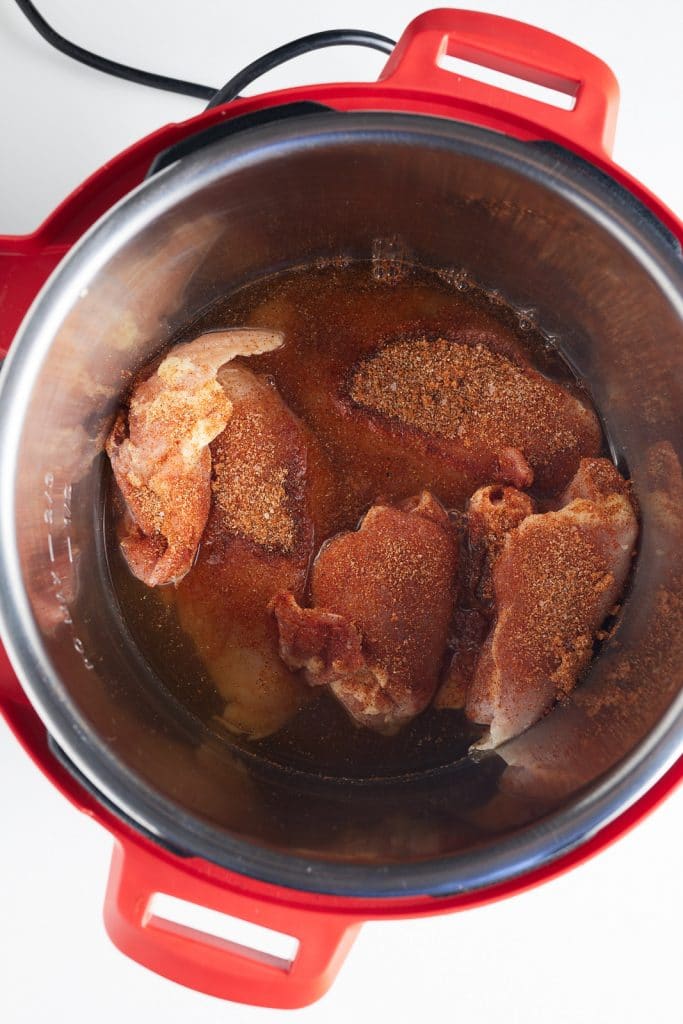
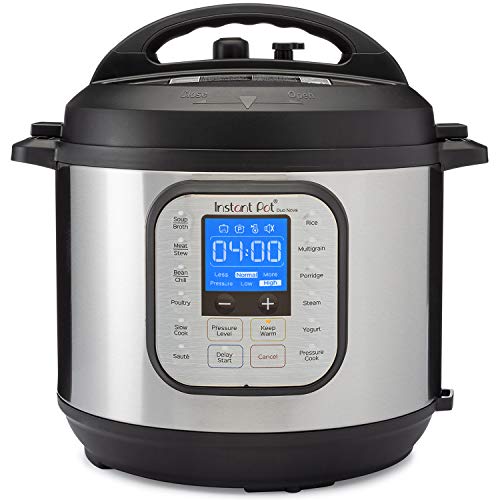
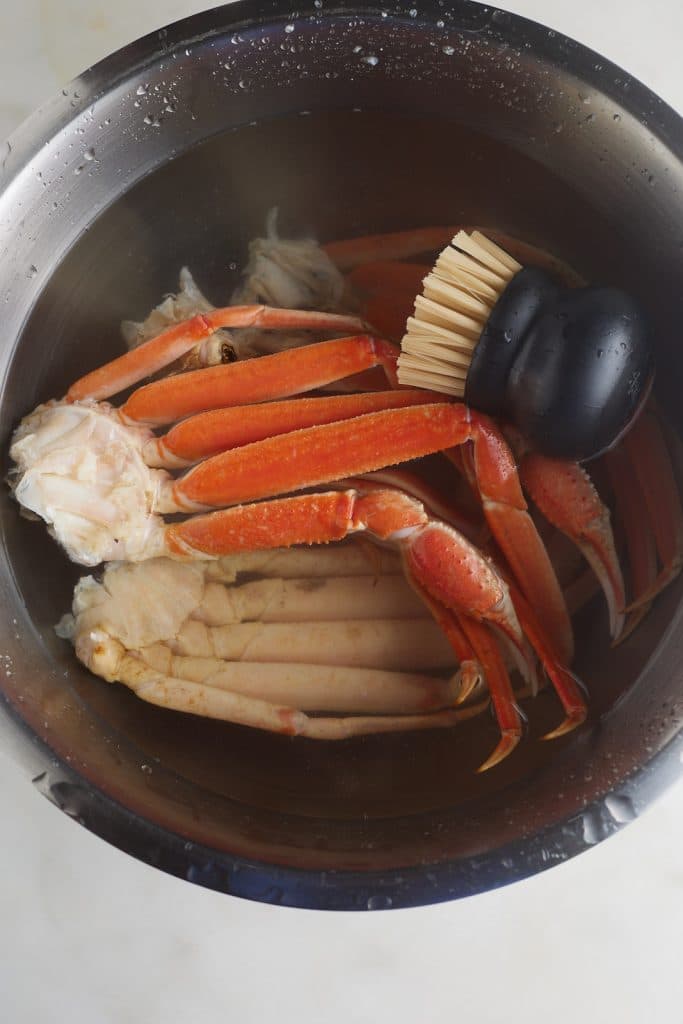
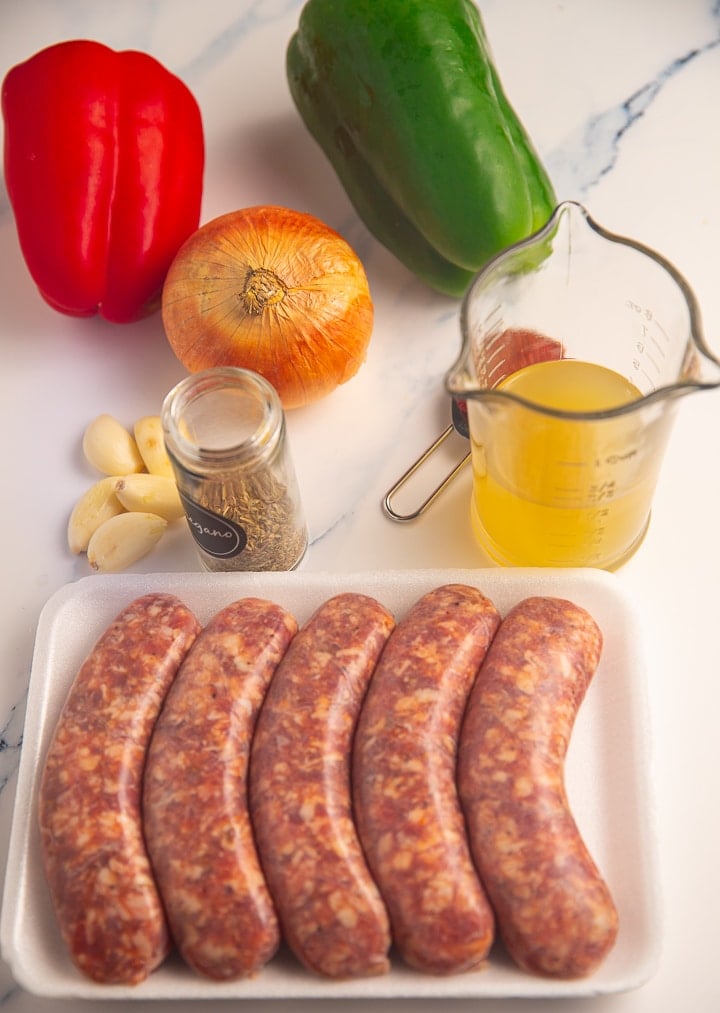
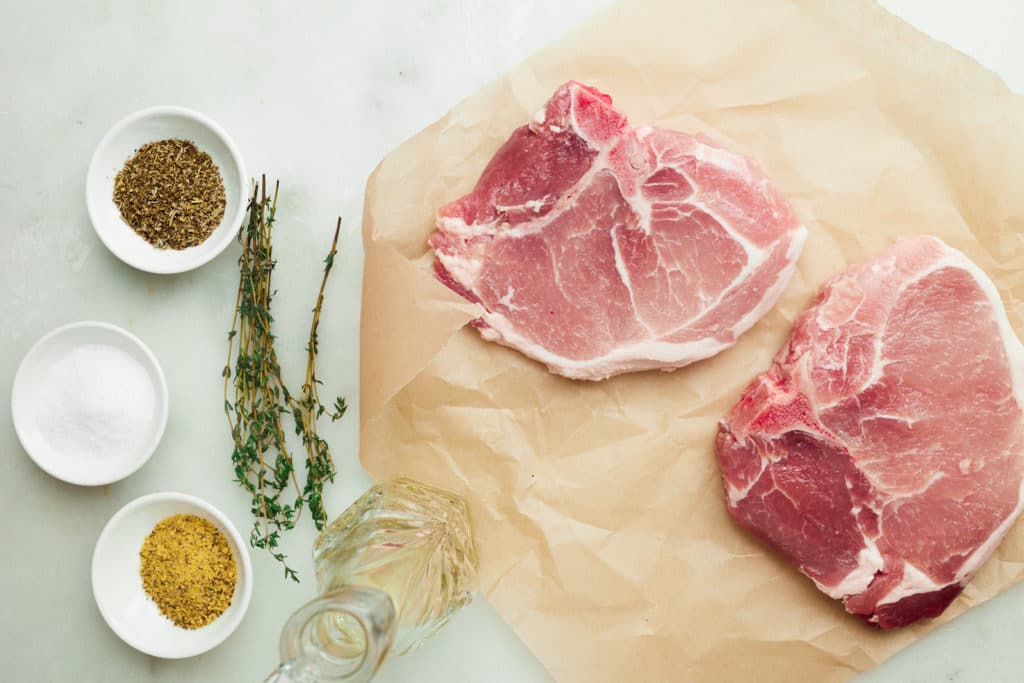
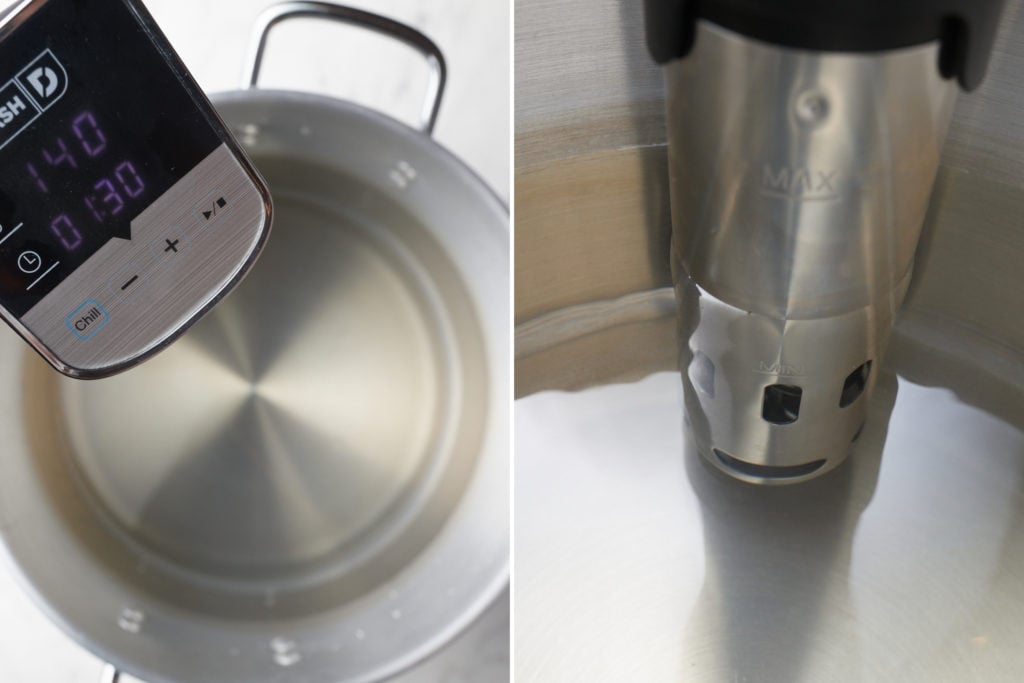
- Gather your ingredients and equipment. You'll need pork loin chops, seasonings and oil, a immersion circulator, and a large pot or bin with enough water to cover the food. You'll also need sealable plastic bags to place the food in before placing in the water bath.
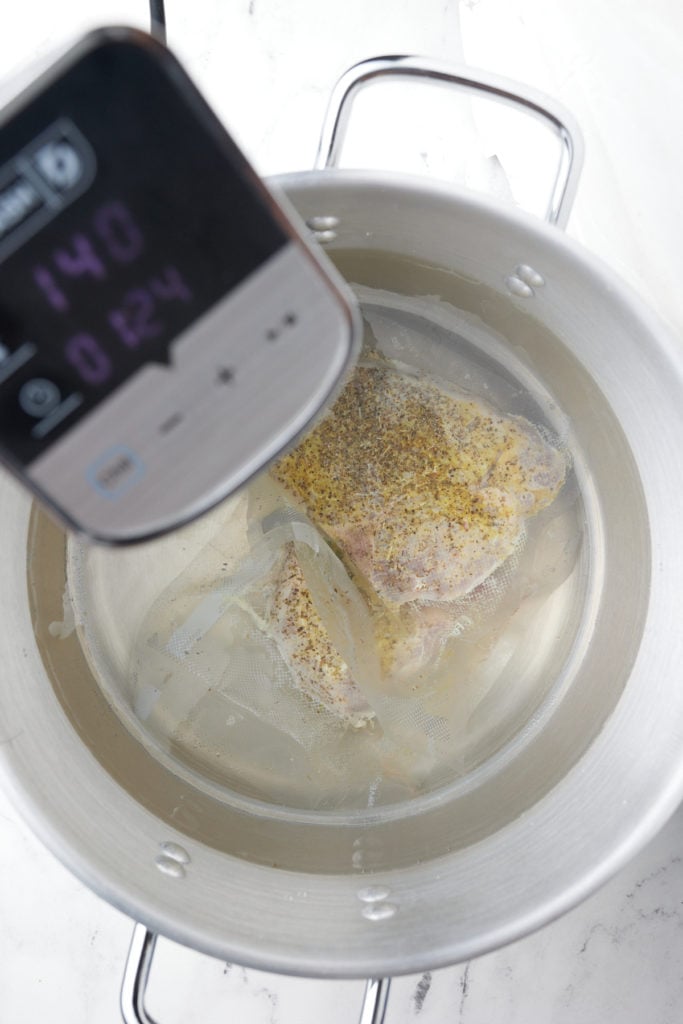
- Clip the immersion circulator to the side of the large pot or basin, I use a 16qt stockpot. Add water and fill it until the minimum water level of the circulator is reached and there is enough water to cover the food you will cook. Turn on the immersion circulator by setting the temperature to 140F (60C). Set the time anywhere from 1-4 hours.
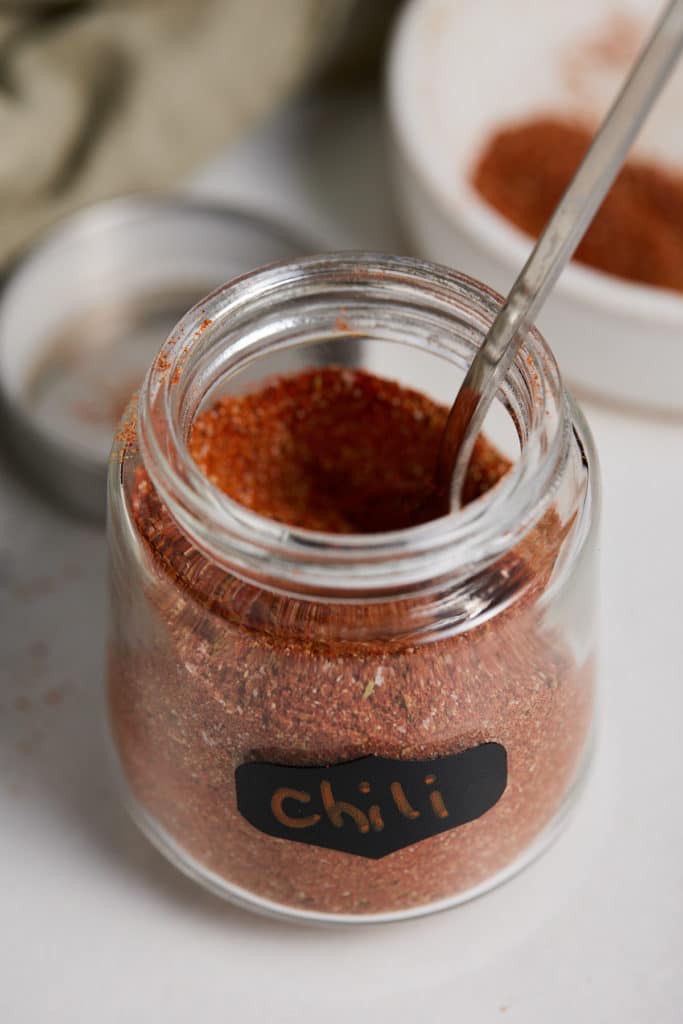
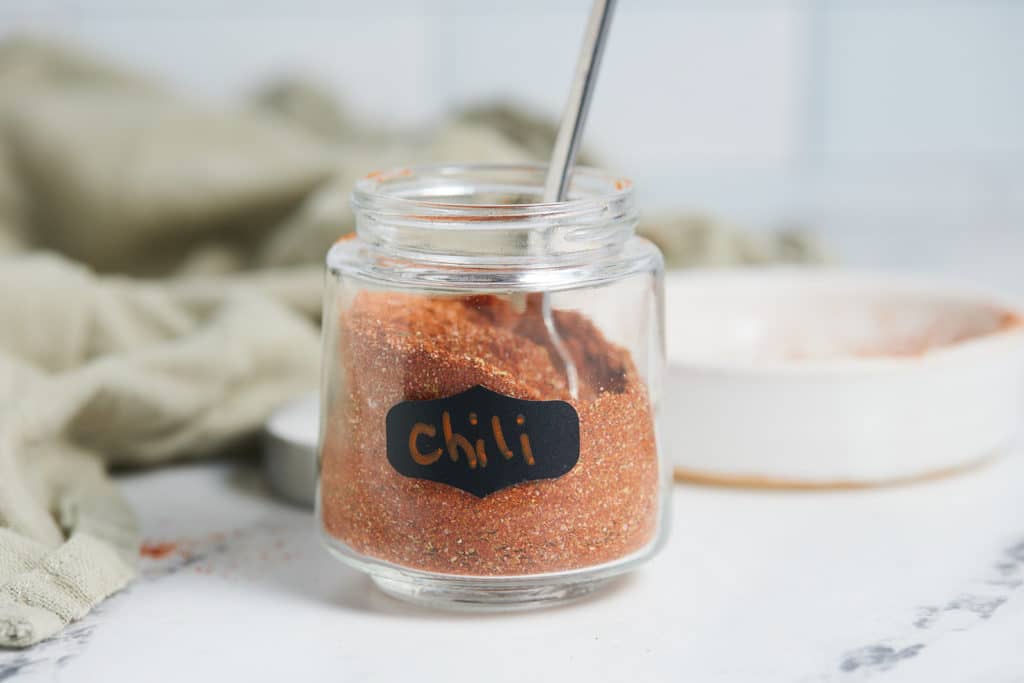
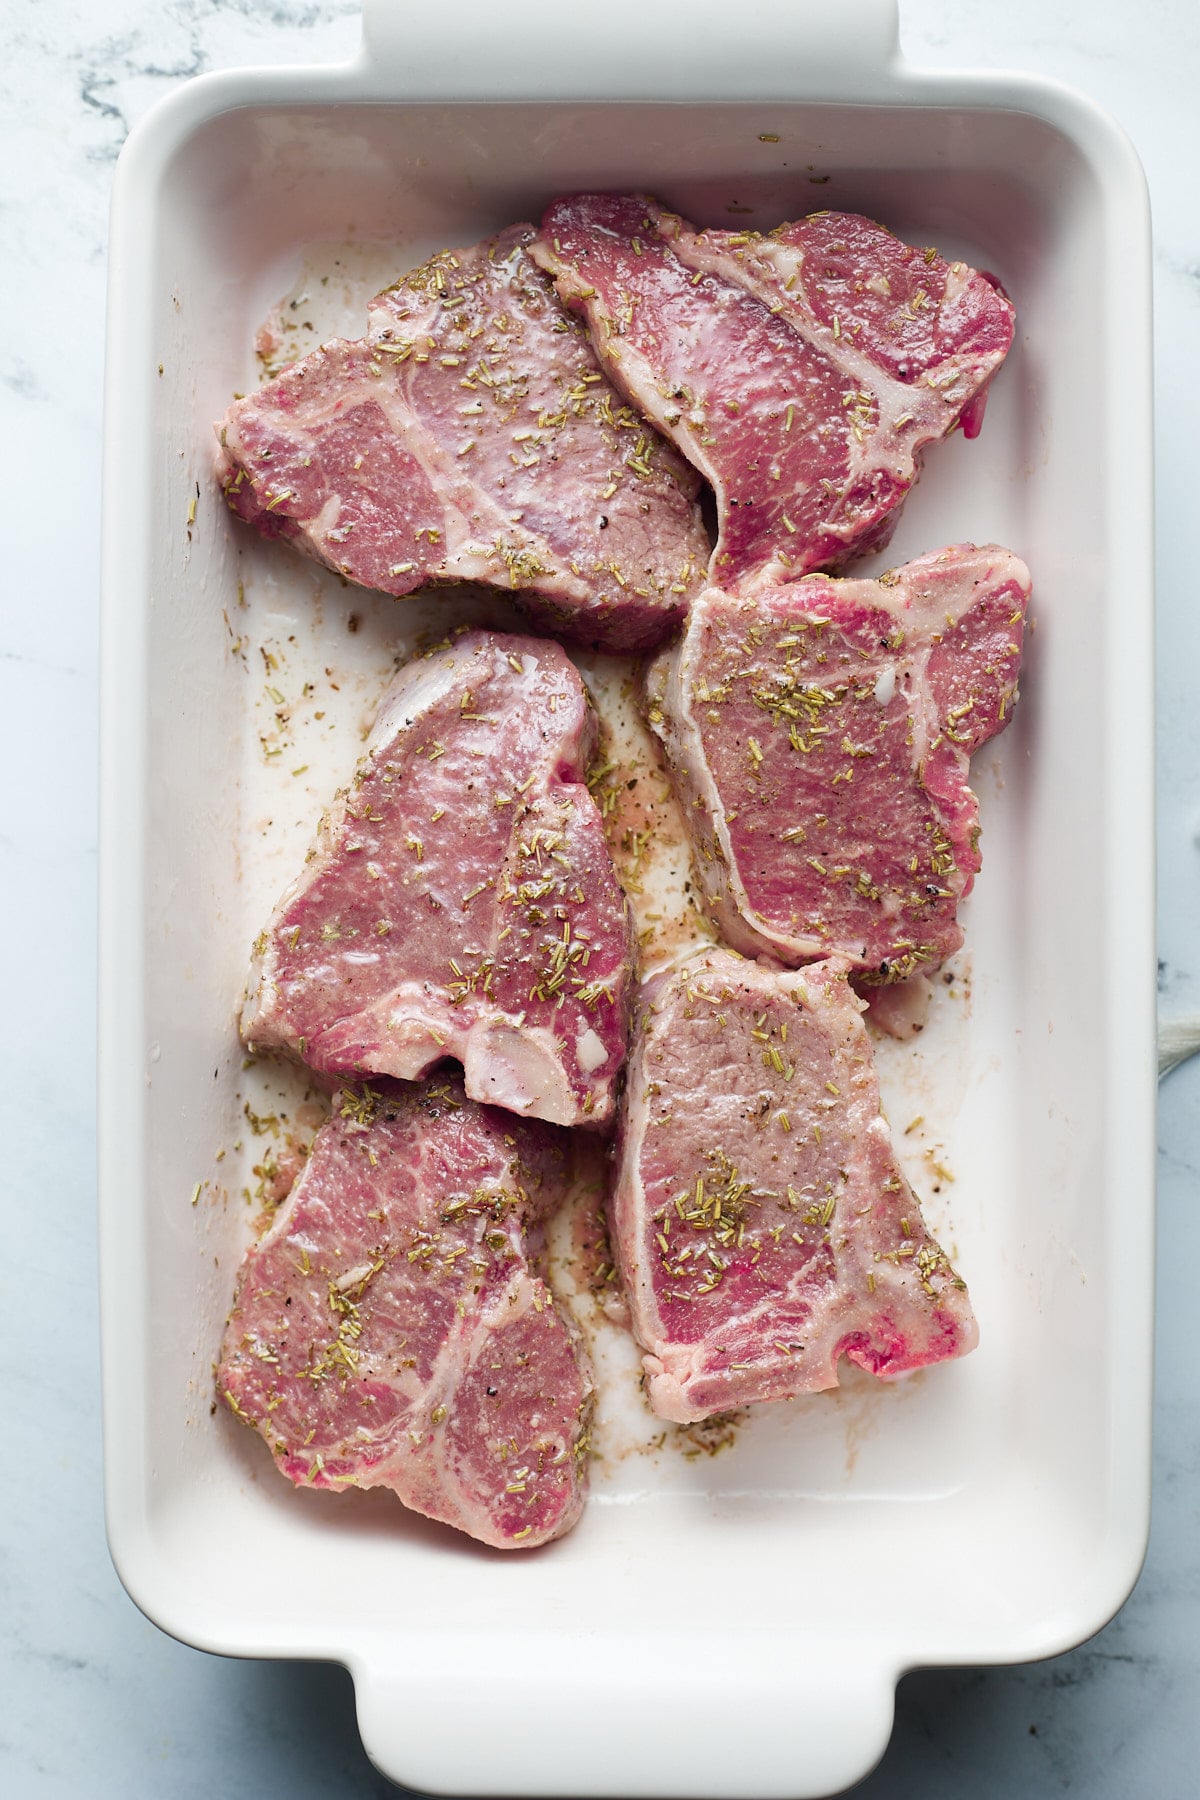
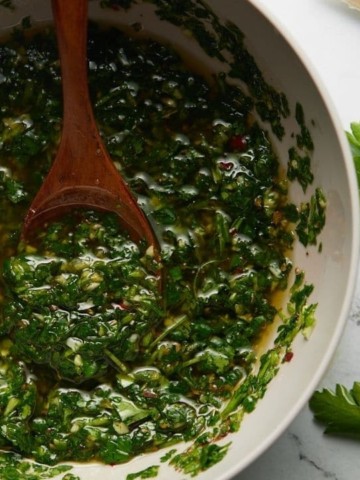
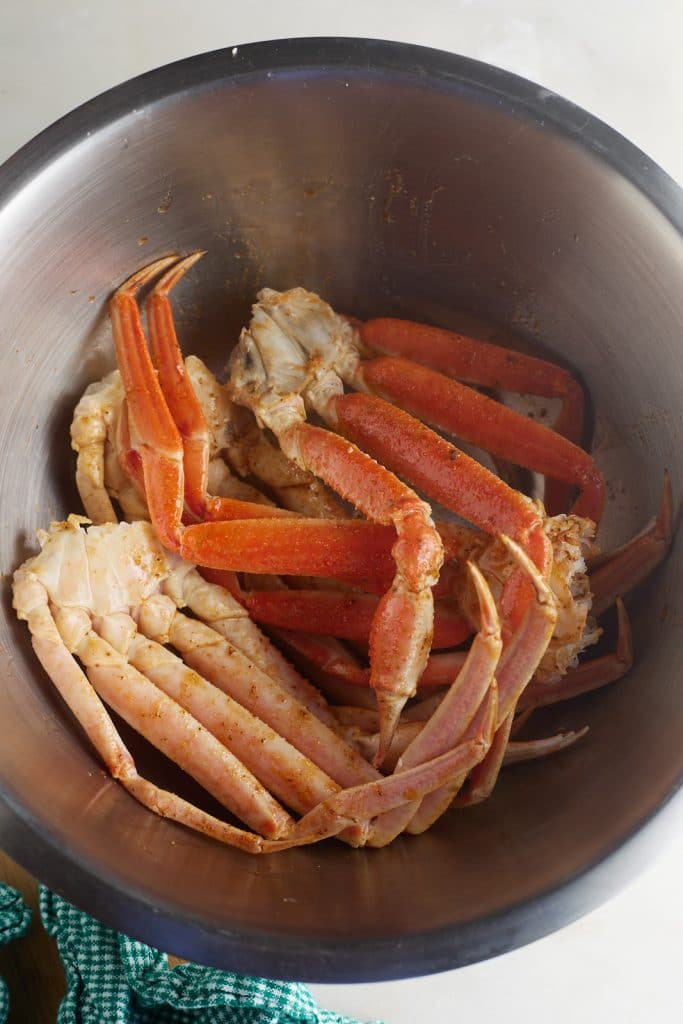
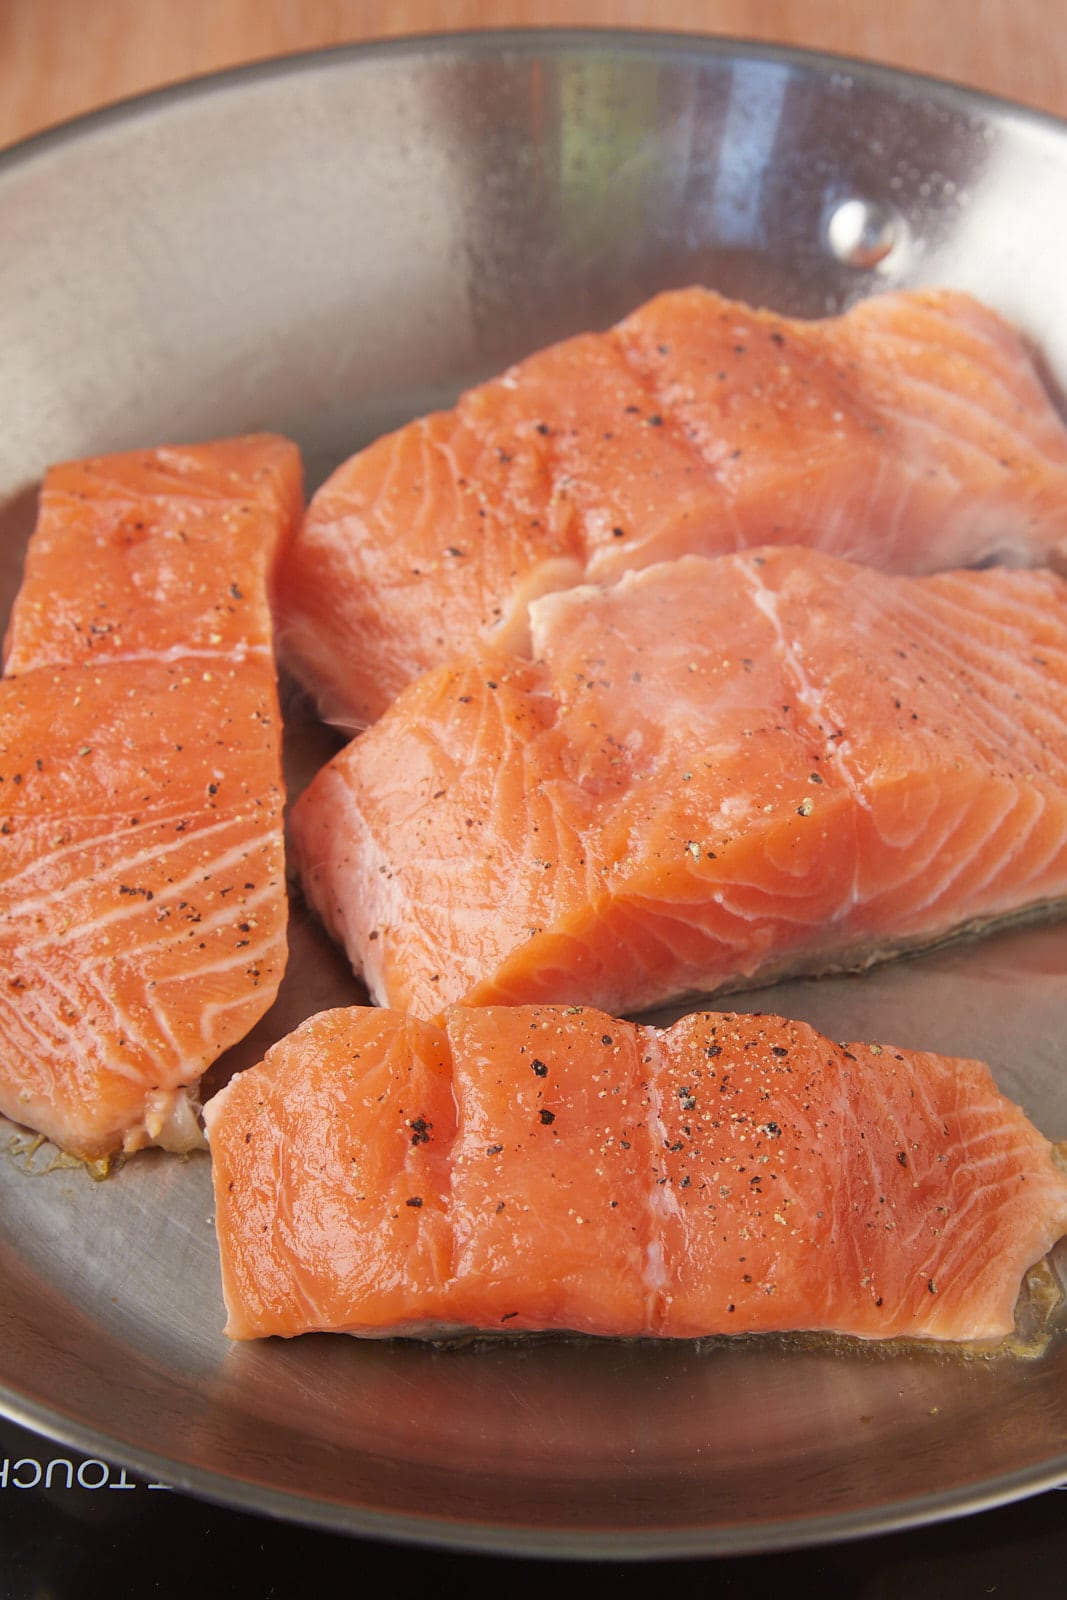
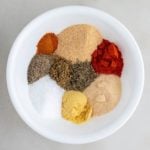
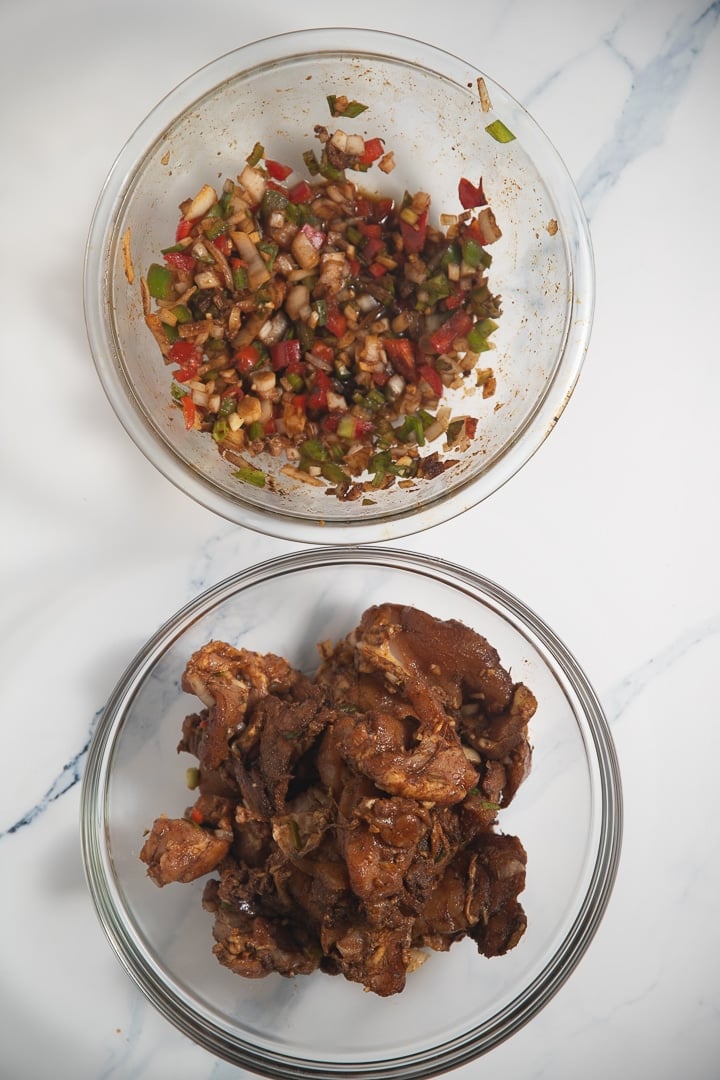
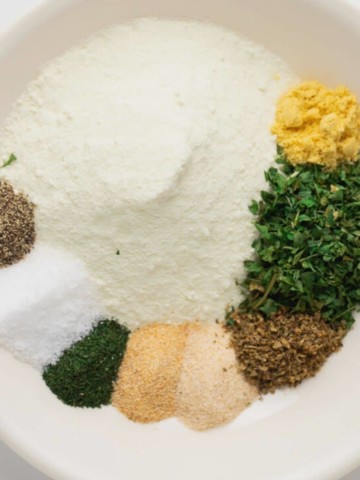
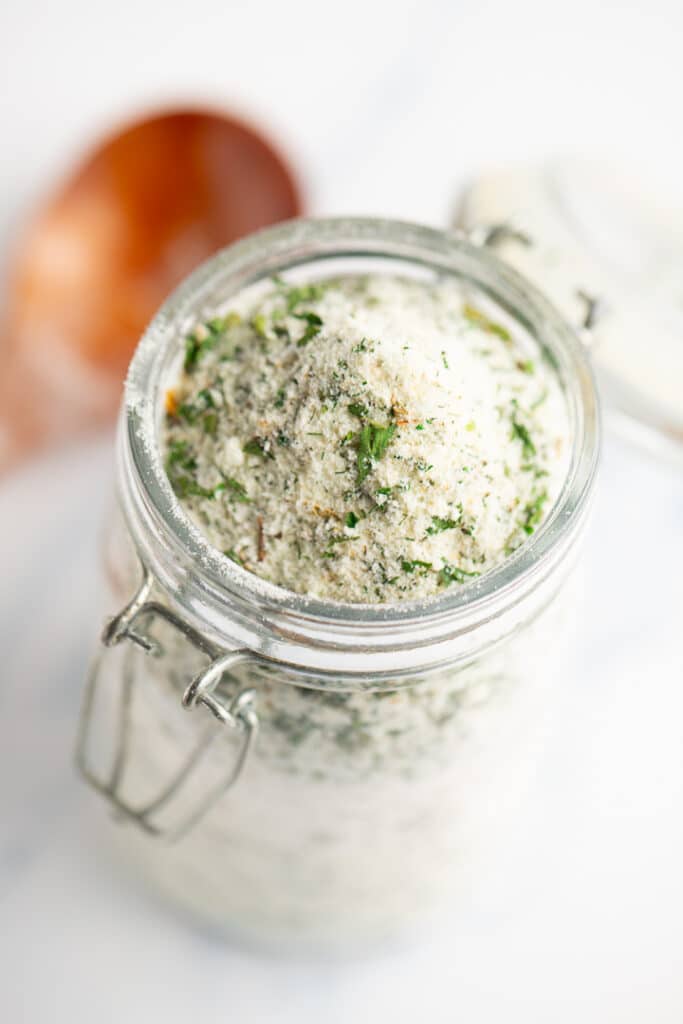
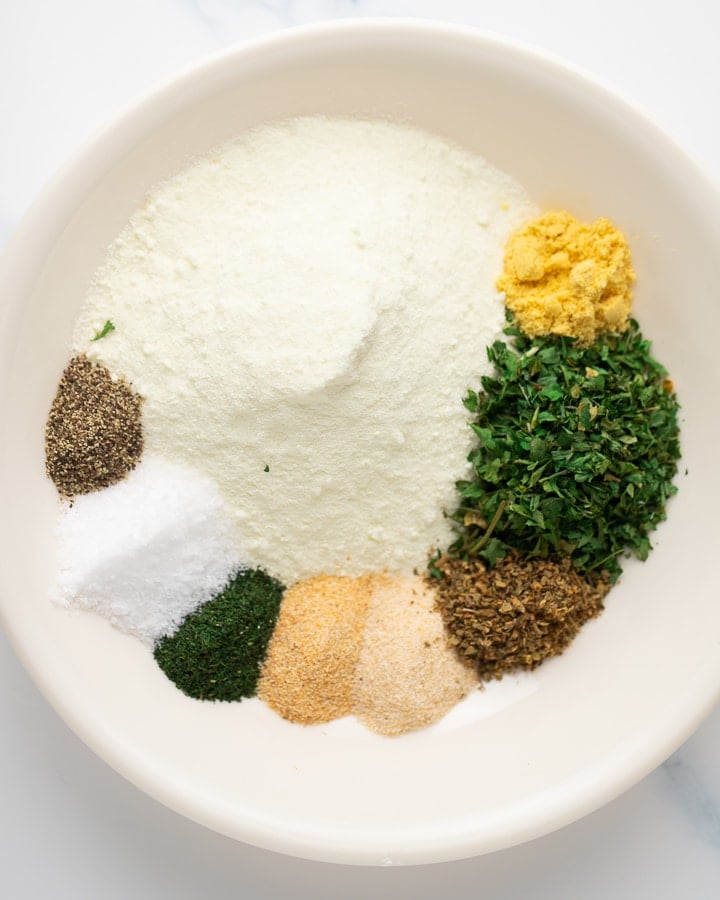
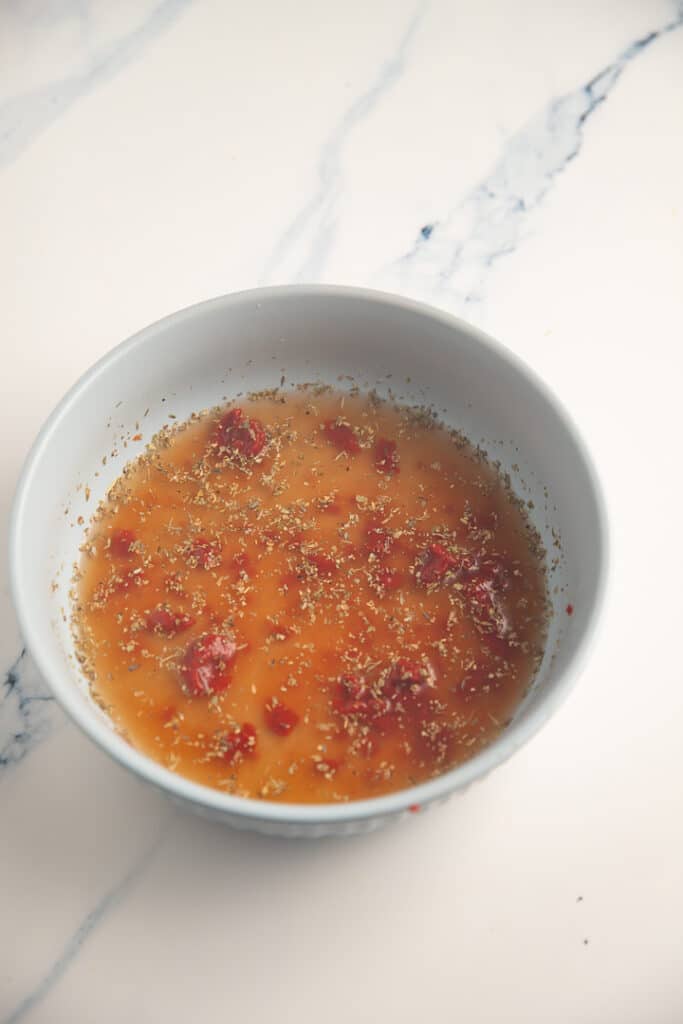
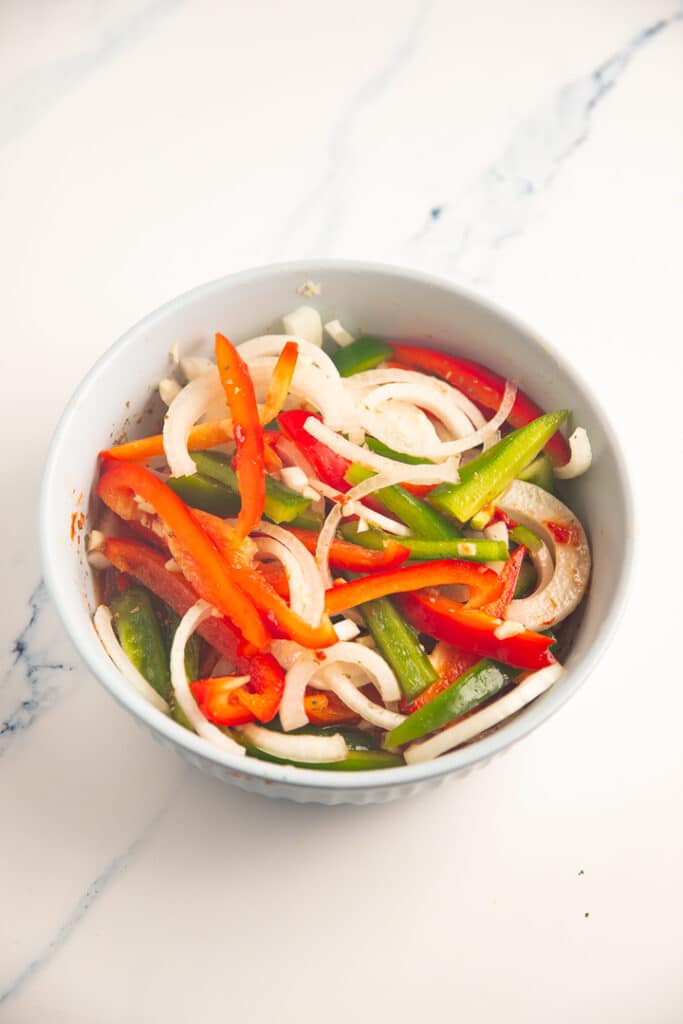
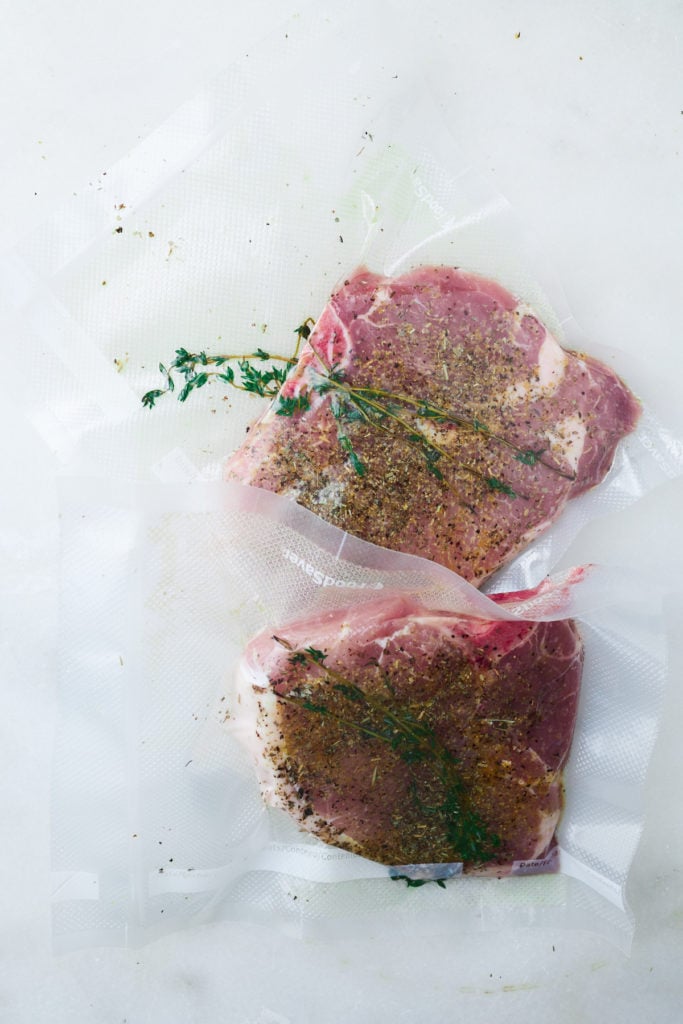
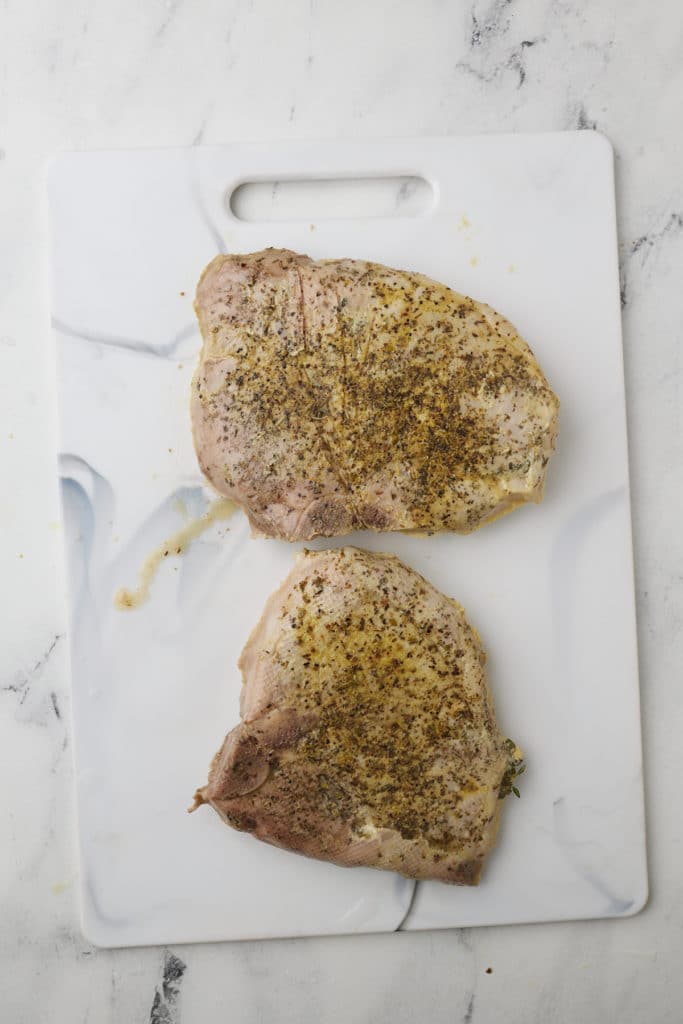
- Season the pork chops with oil, Italian seasoning, lemon pepper seasoning, thyme, and salt.
- Add to a plastic sous vide bag or sealable bag. Suck out the air and seal.
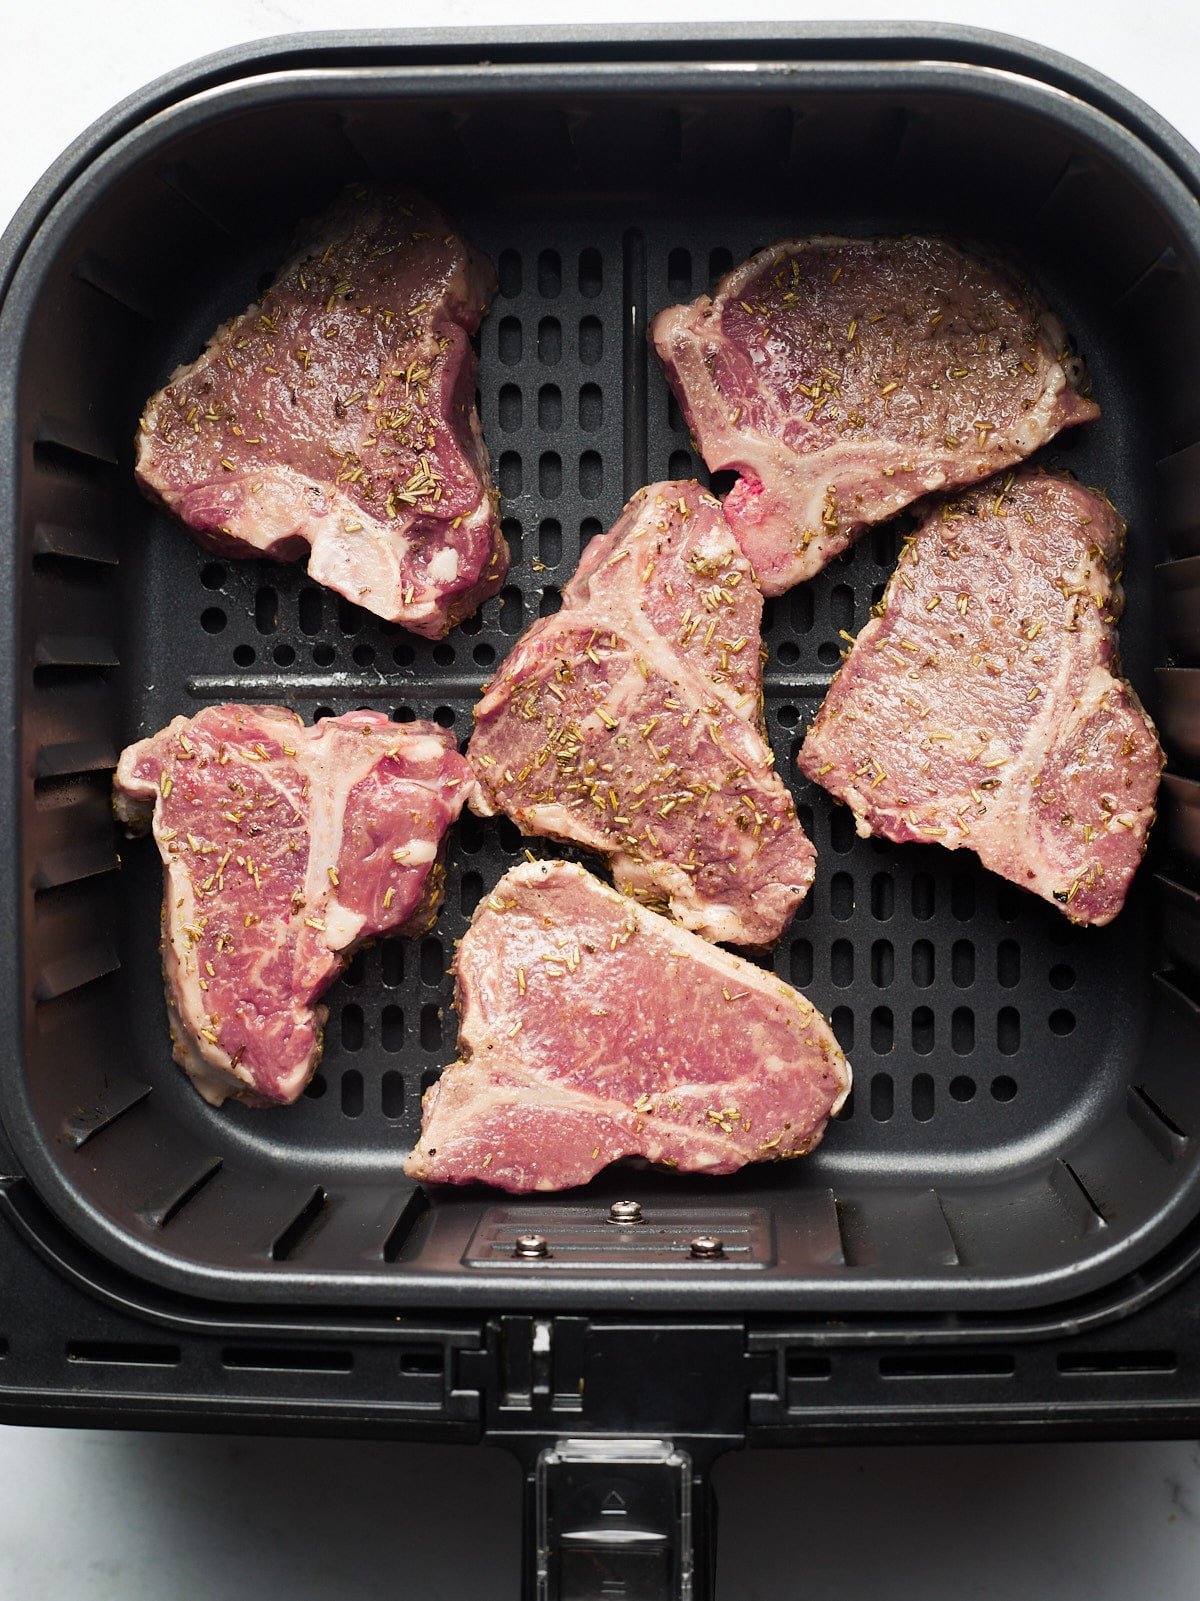
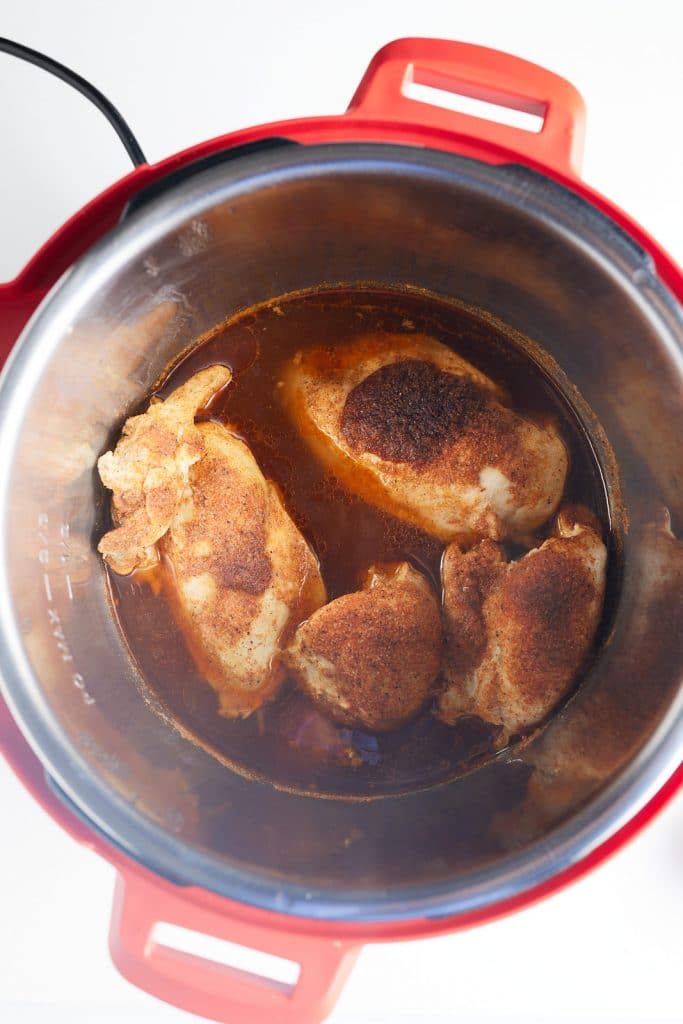
- Once the temperature in the water bath has been reached, add the sealed pork chops and allow the chops to cook for at least an hour and no longer than 4 hours.
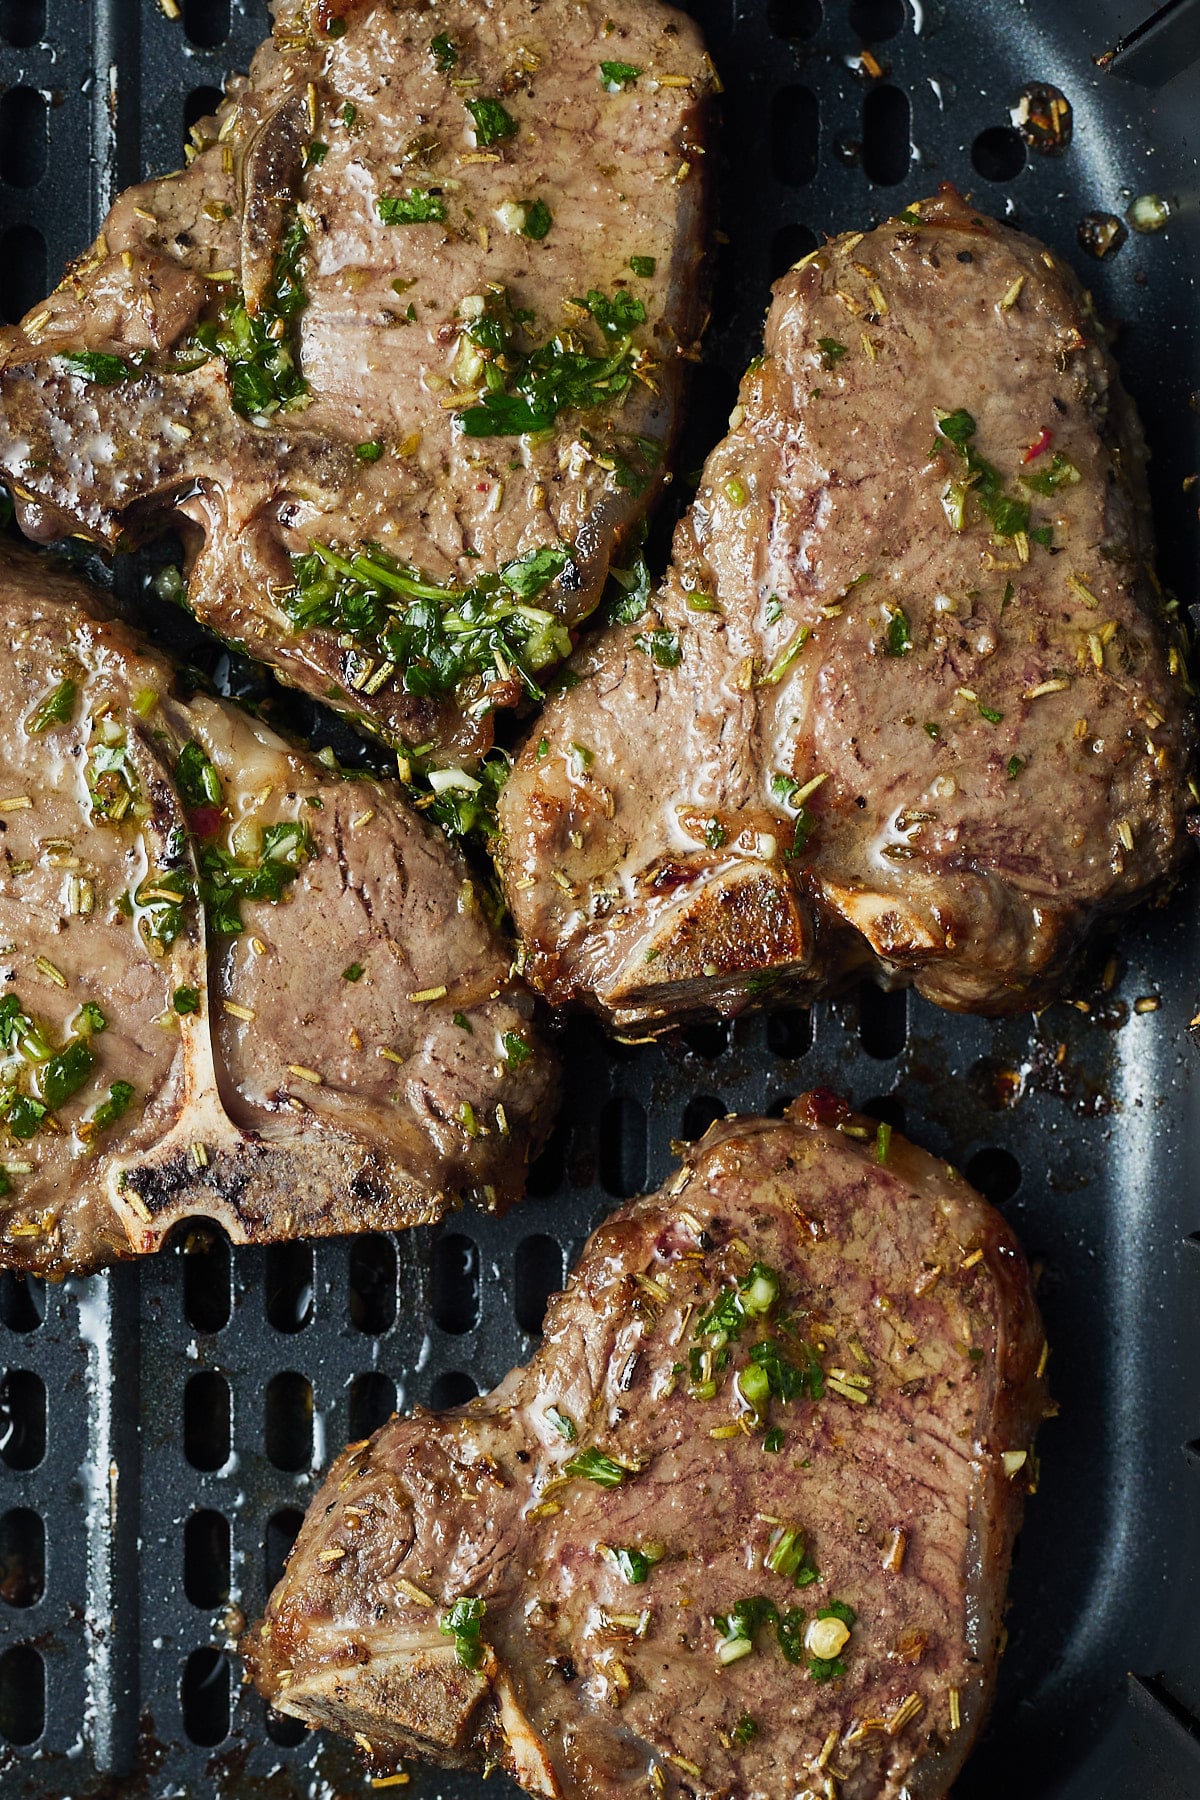
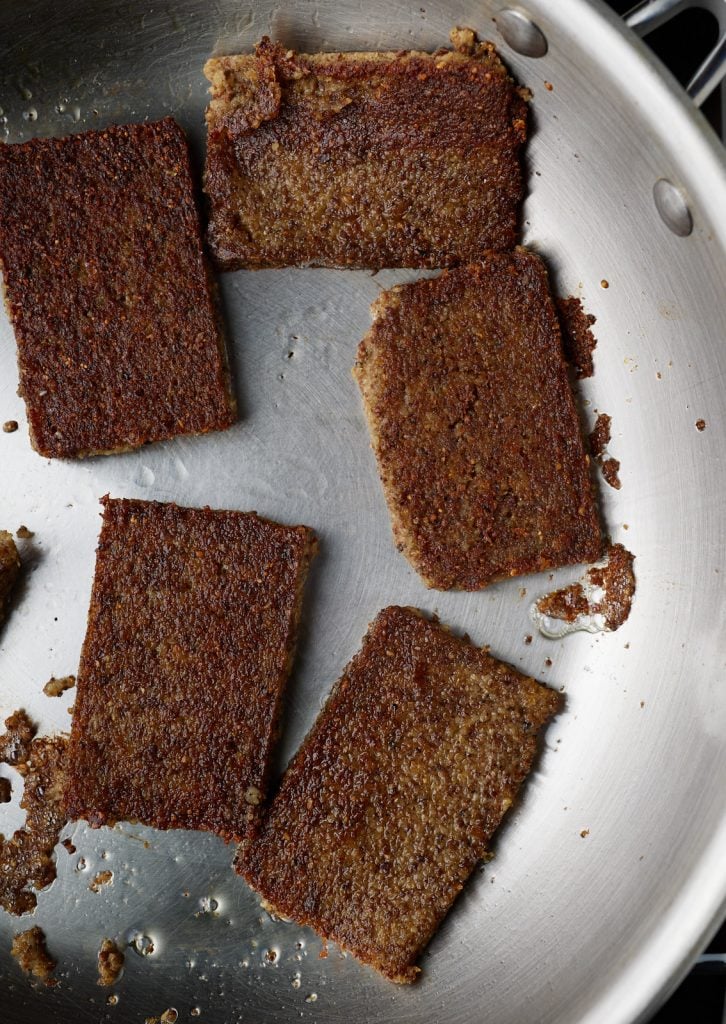
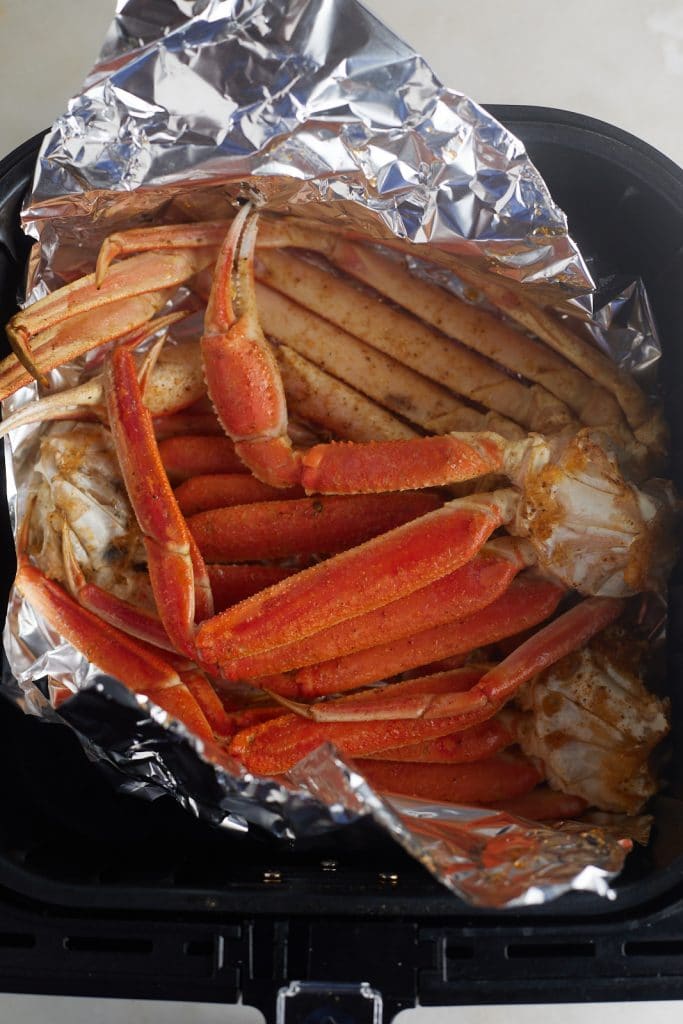
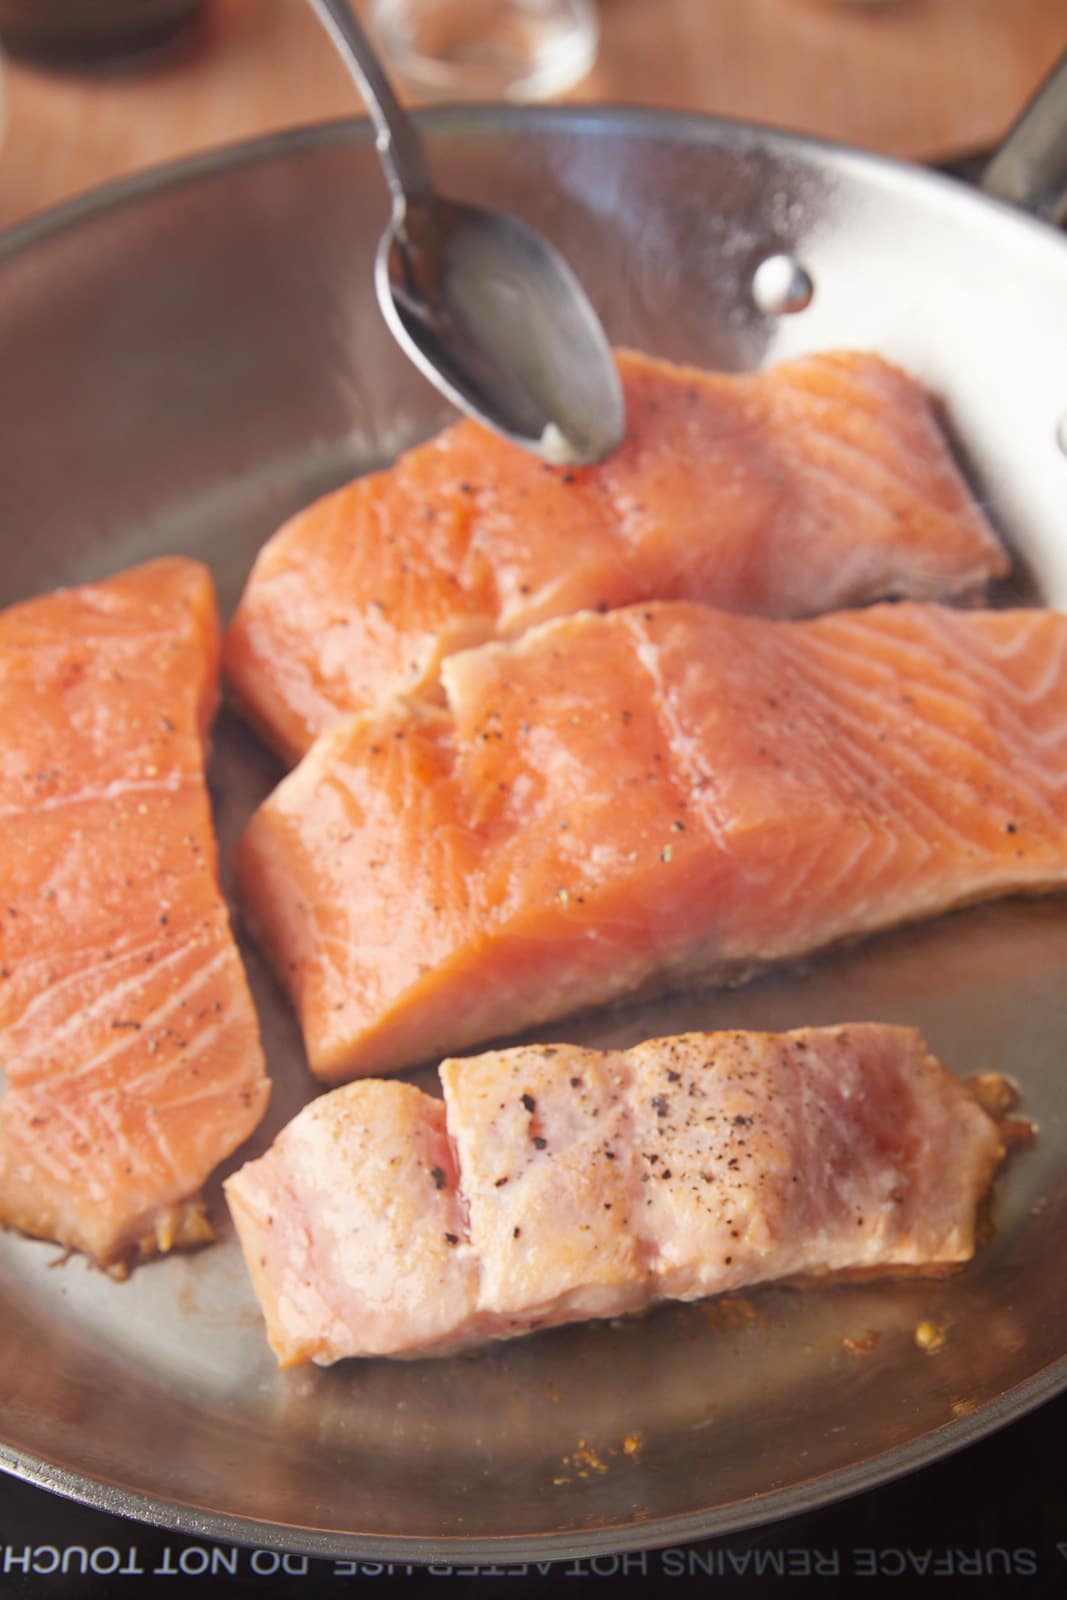
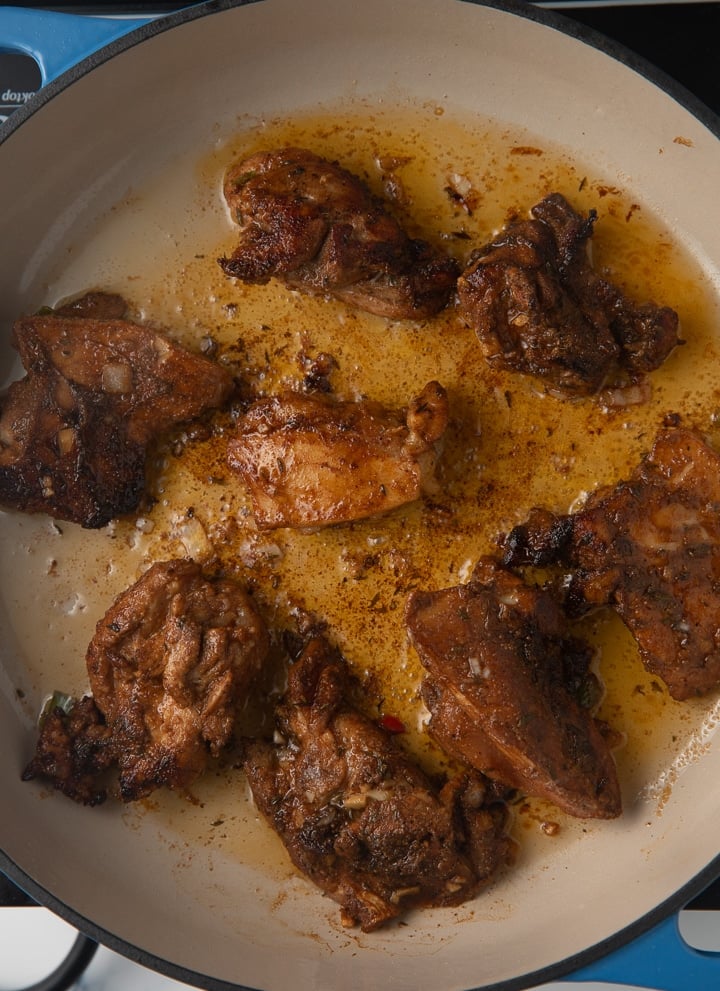
- Remove pork chops and pat them dry.
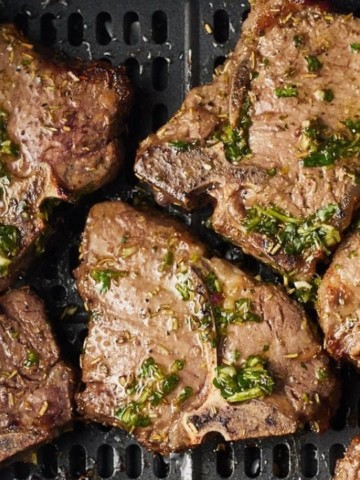
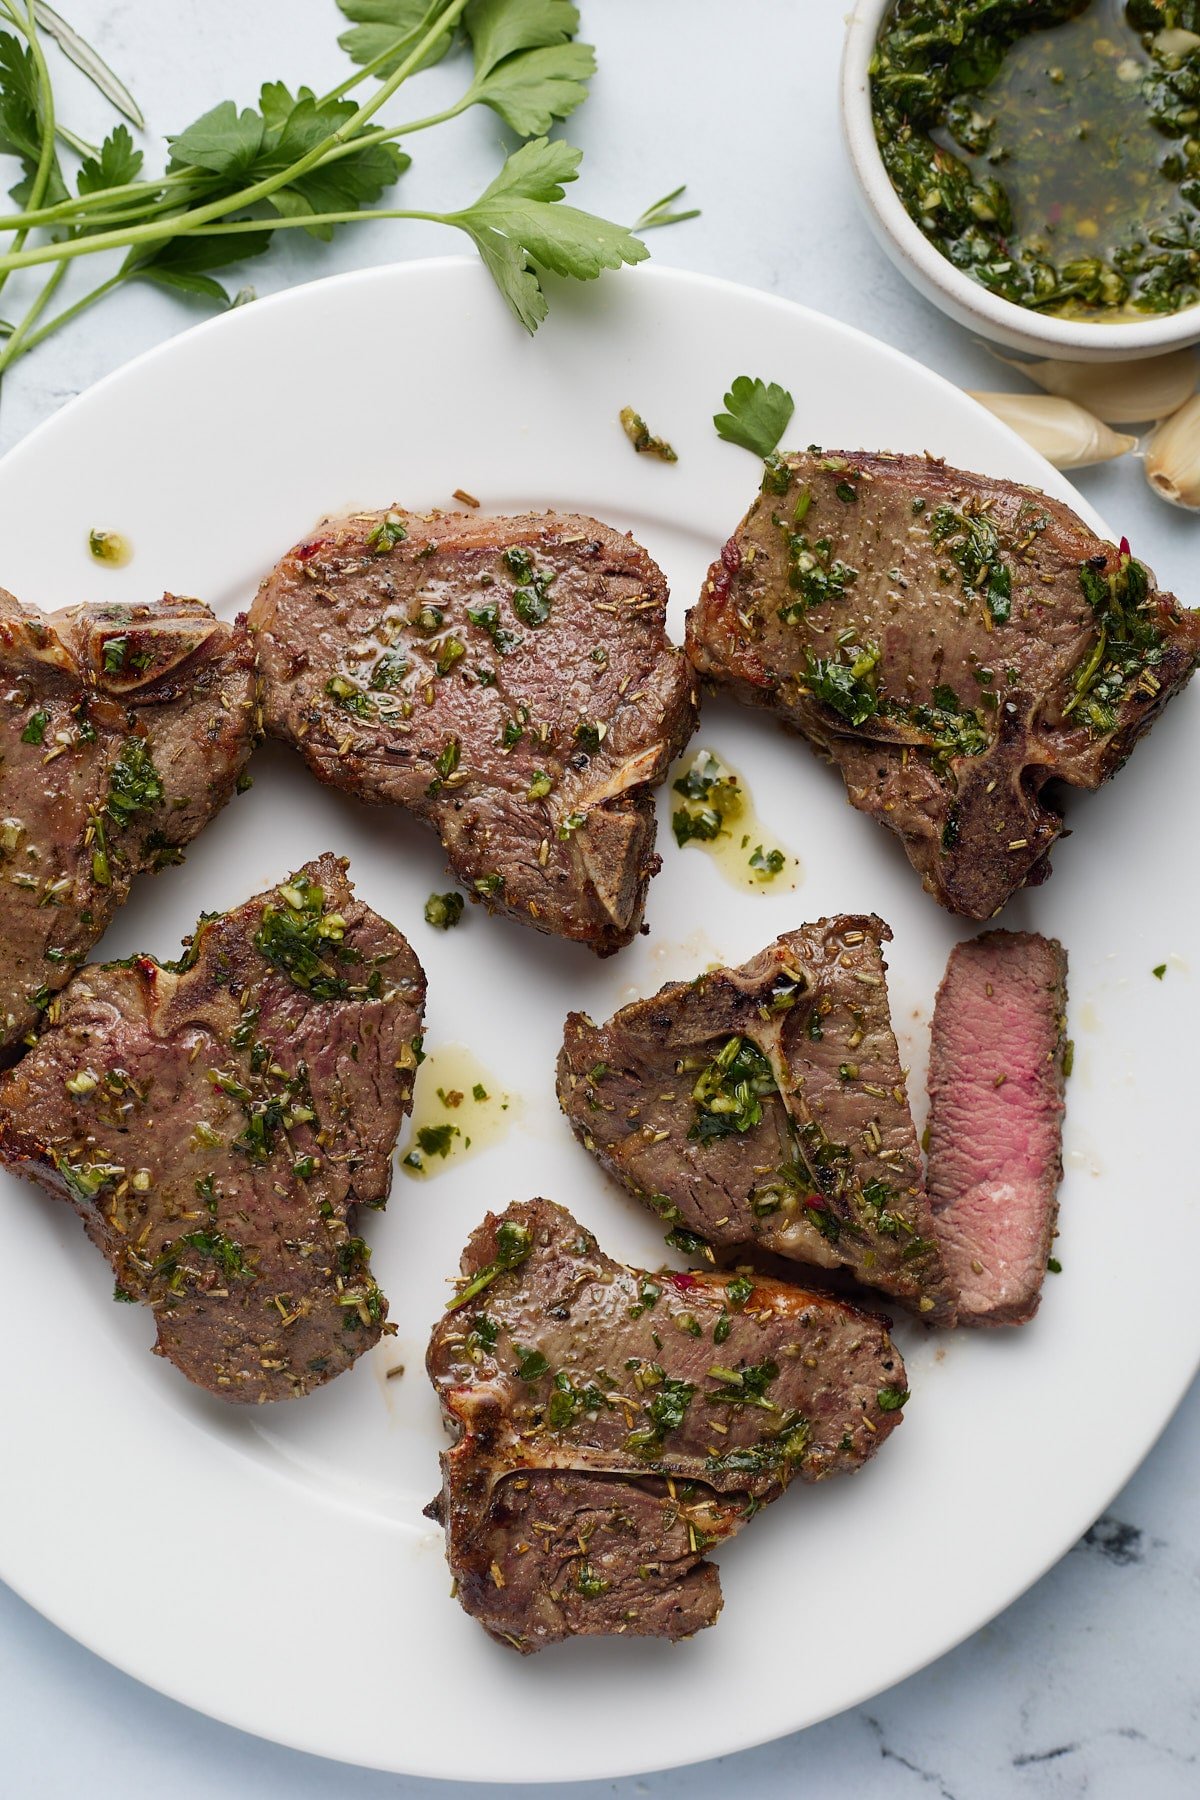
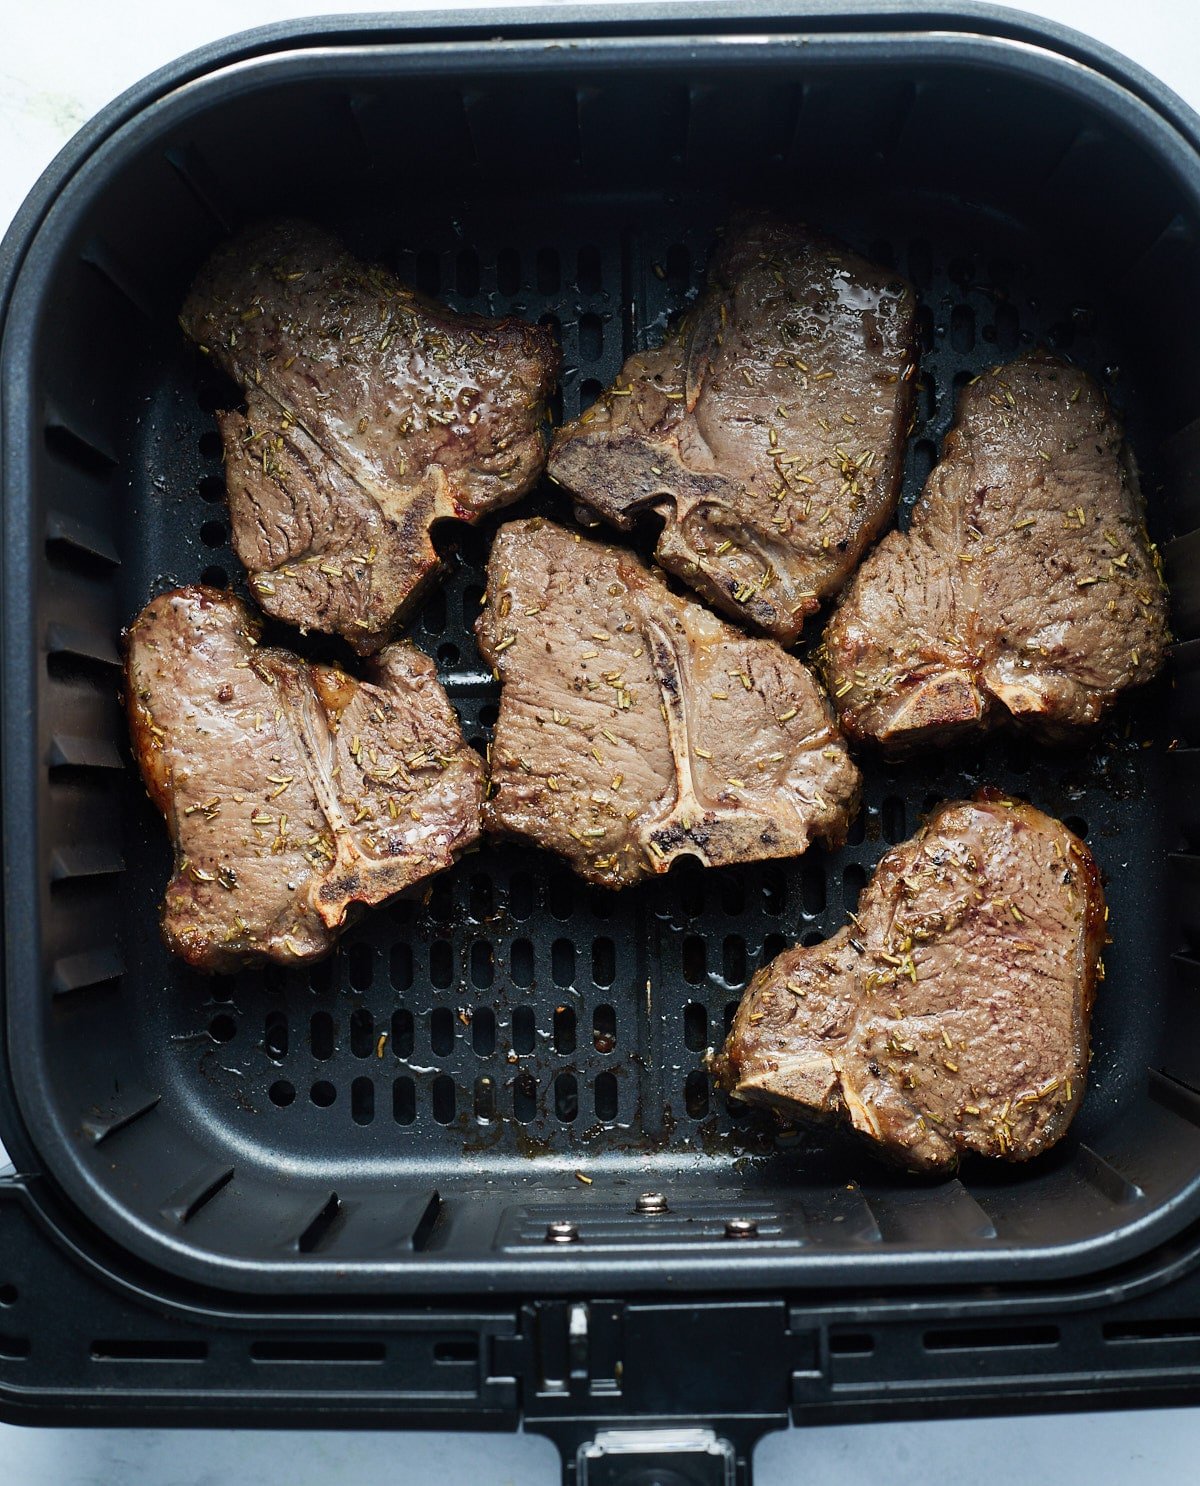
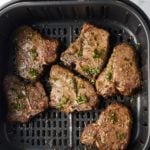
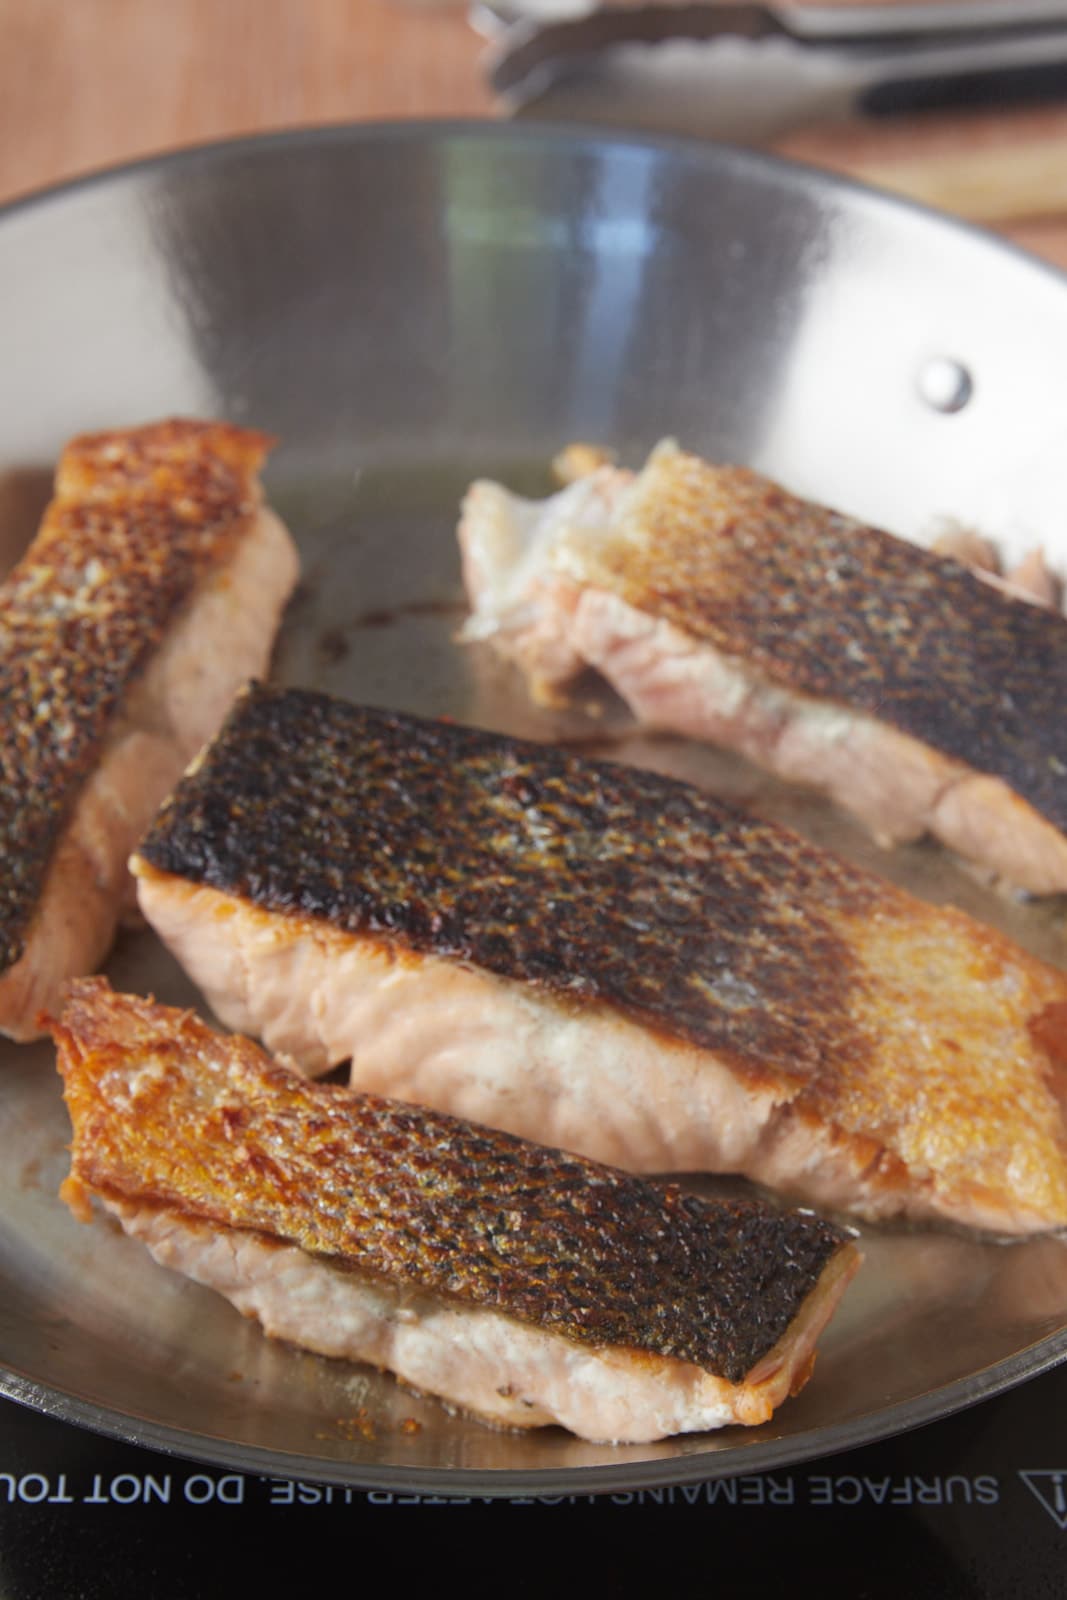
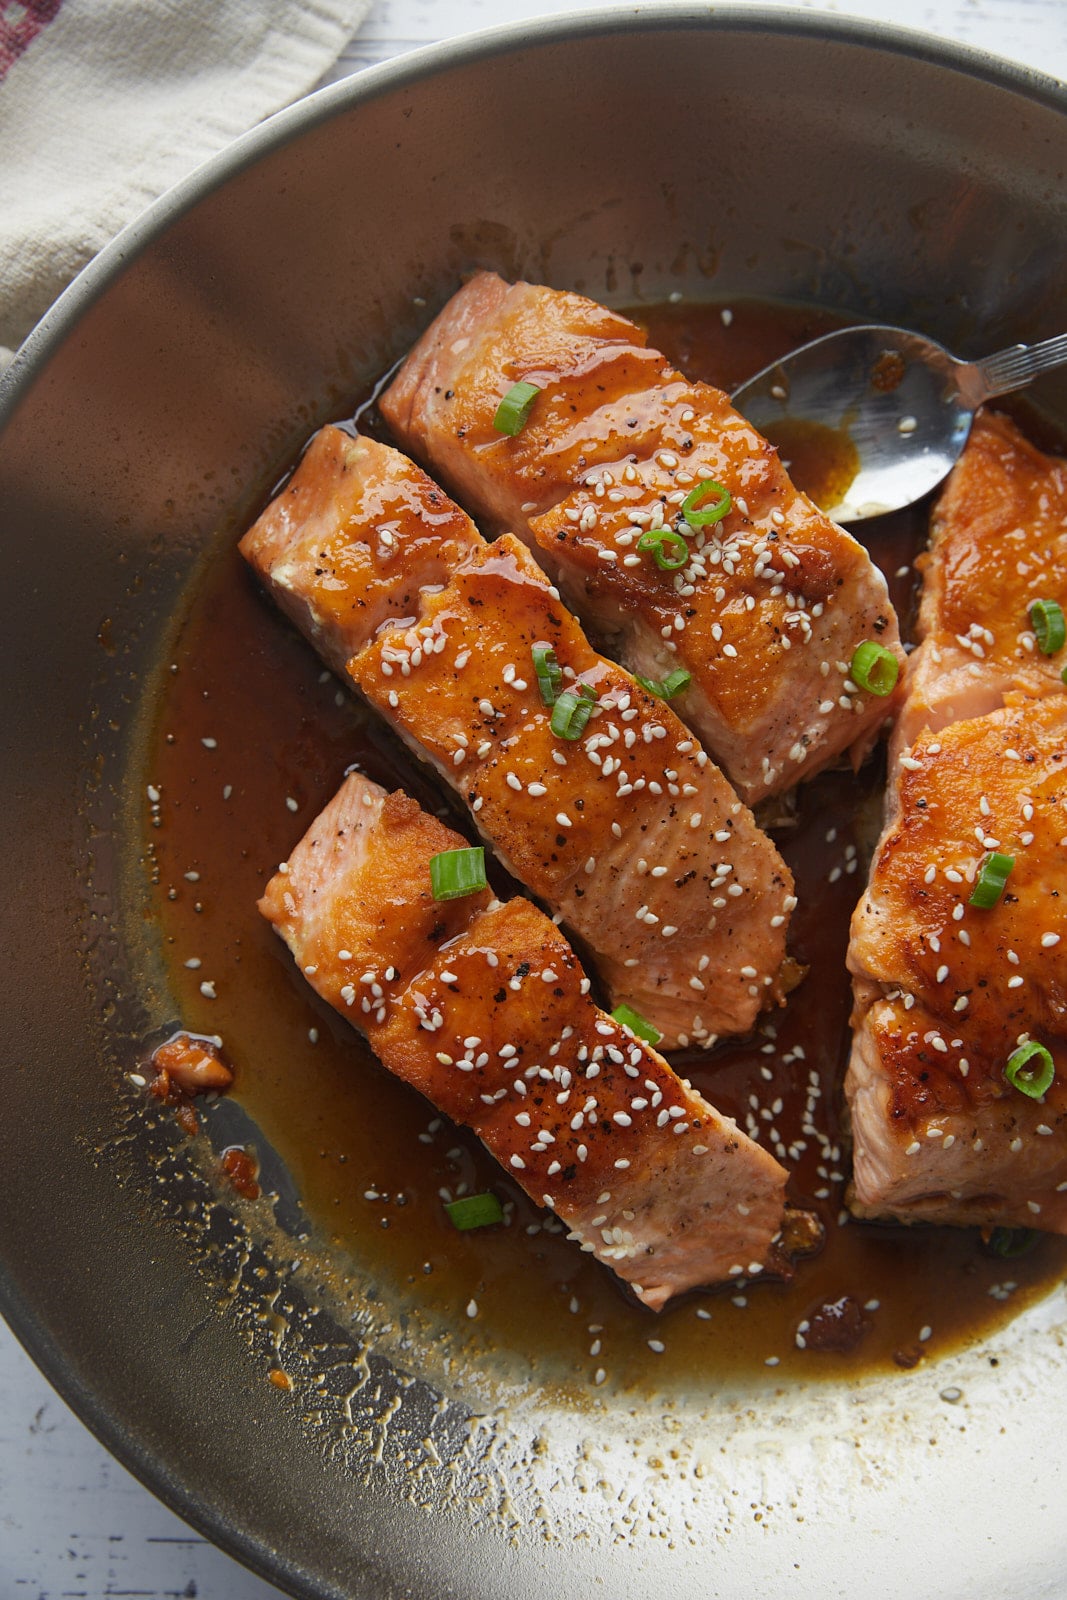
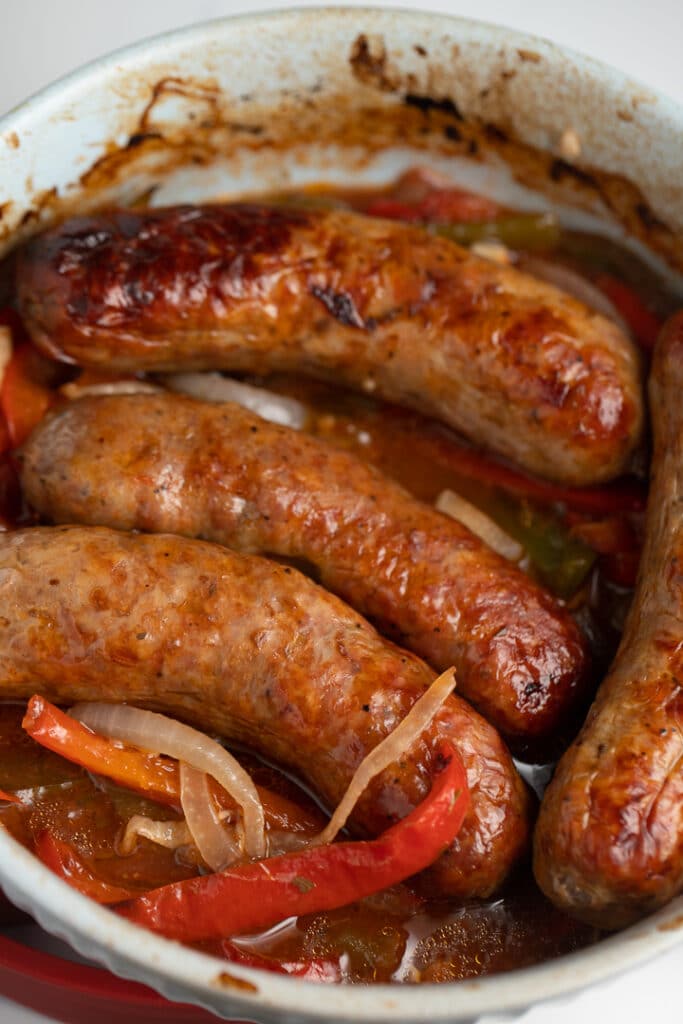
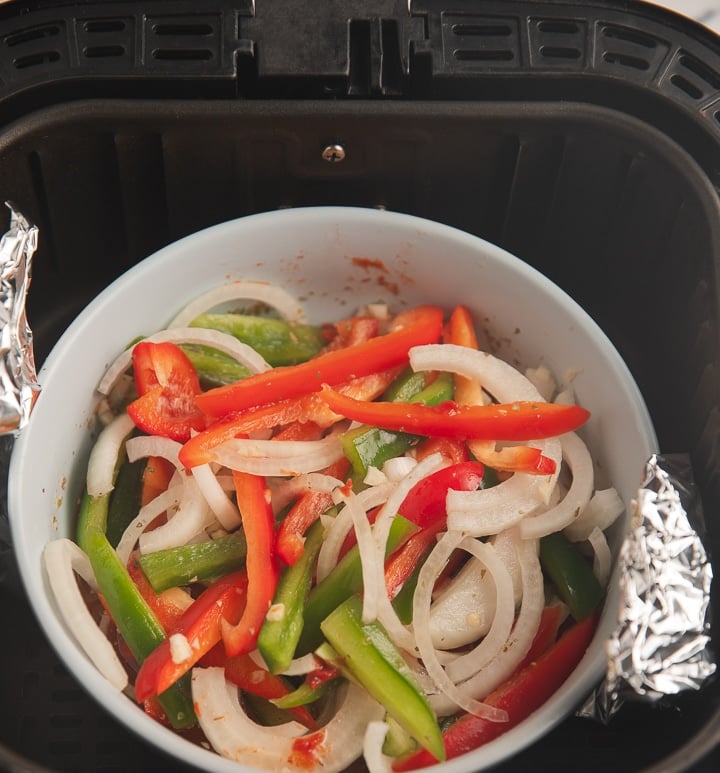
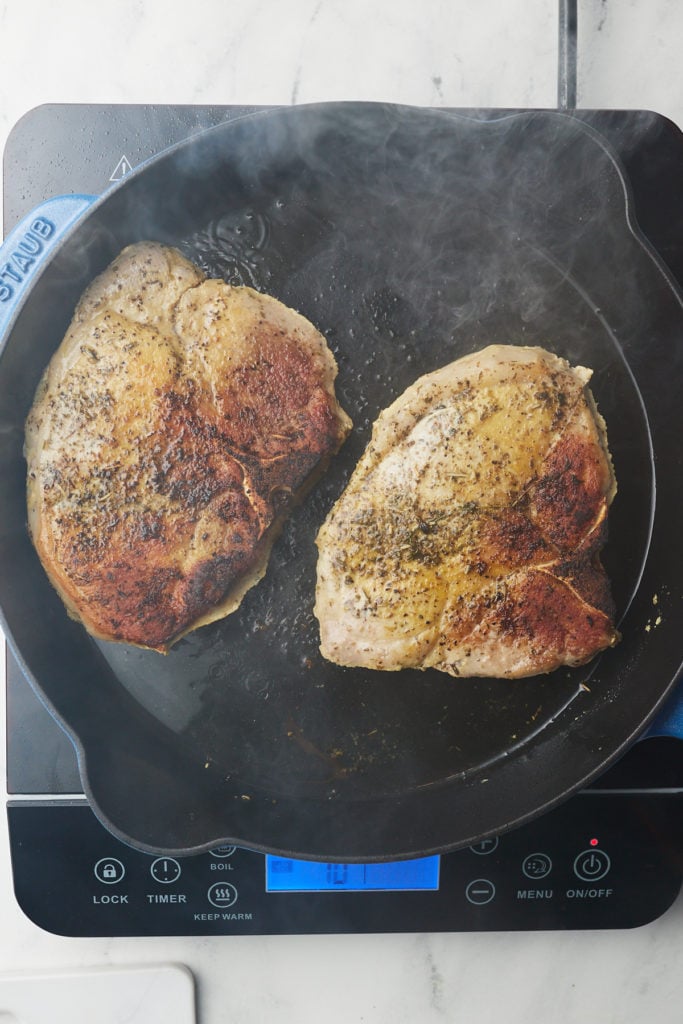
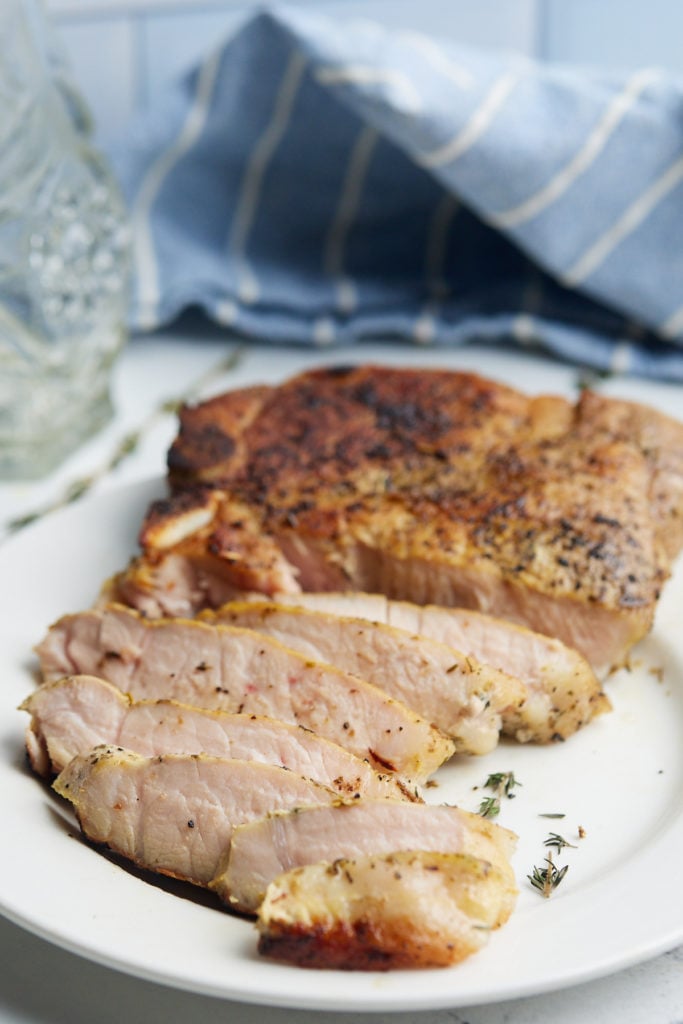
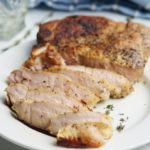
- Heat olive oil in a medium heavy bottomed skillet over high heat. Add pork chops and sear each side until brown, about 1-2 minutes per side.
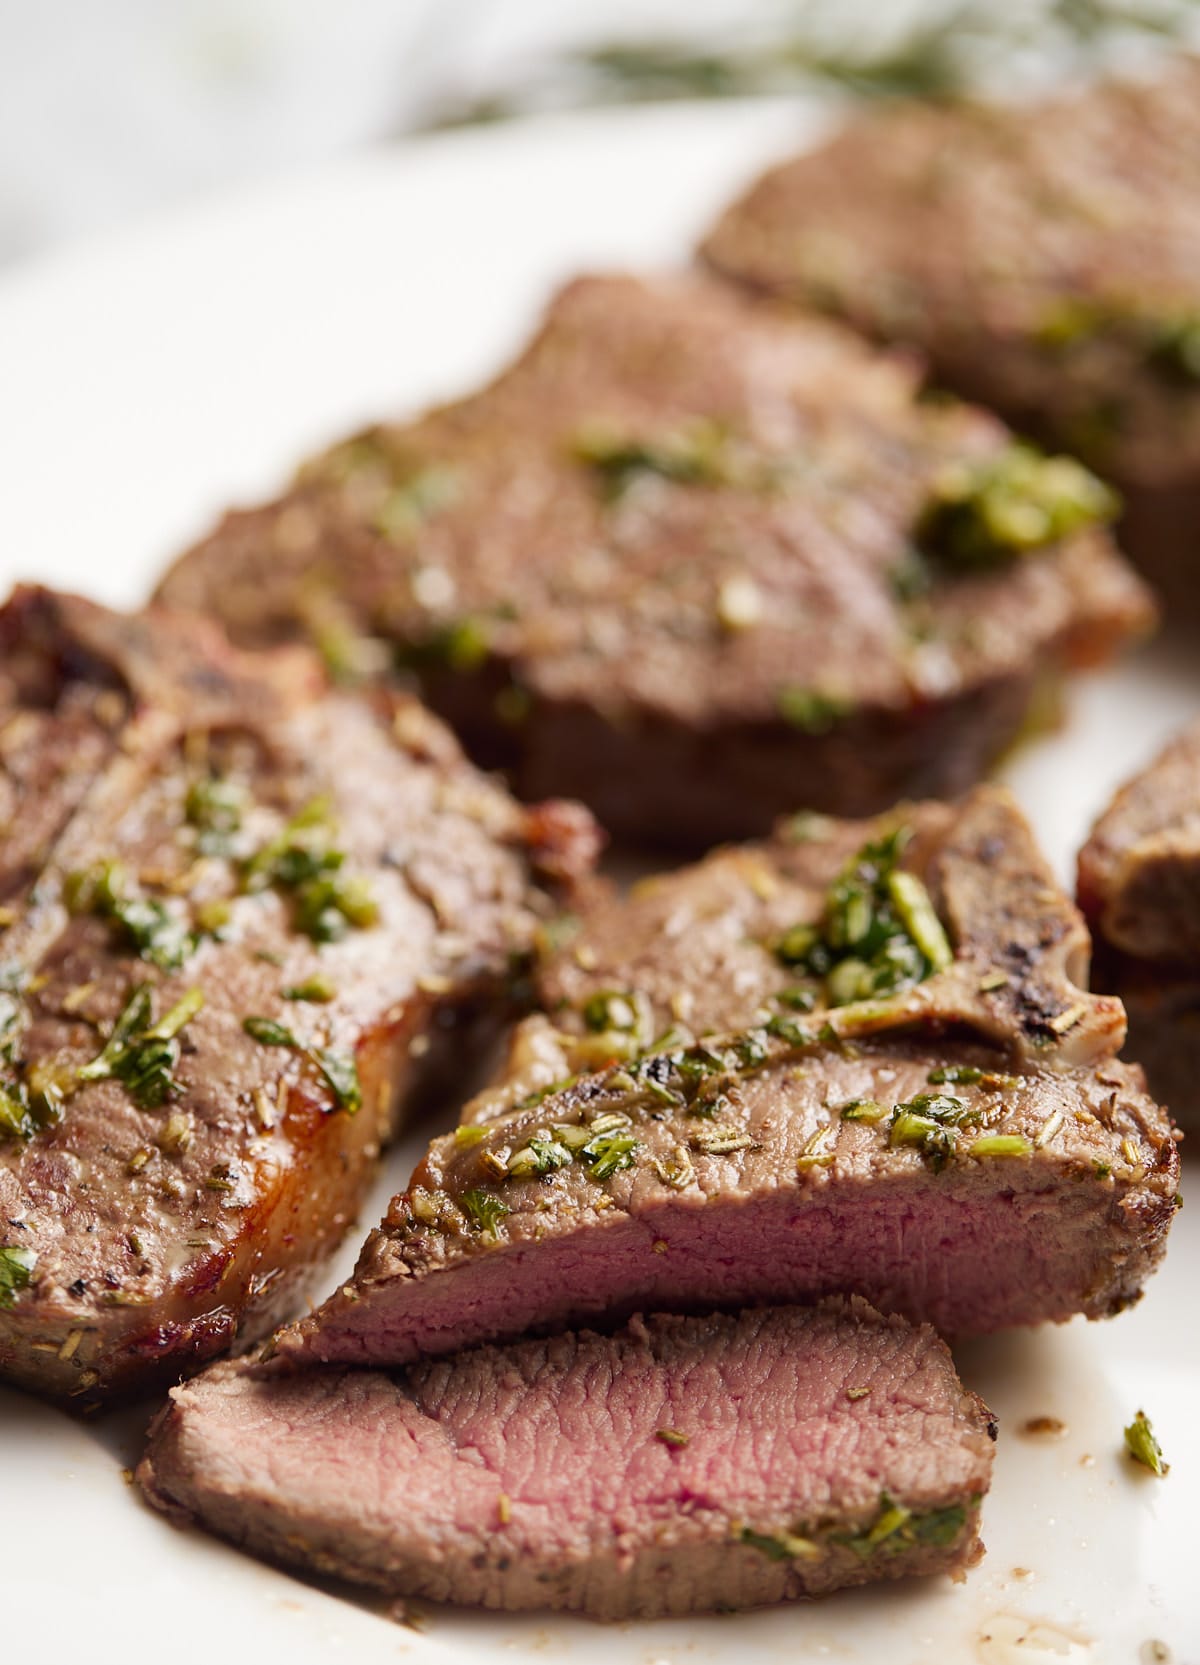
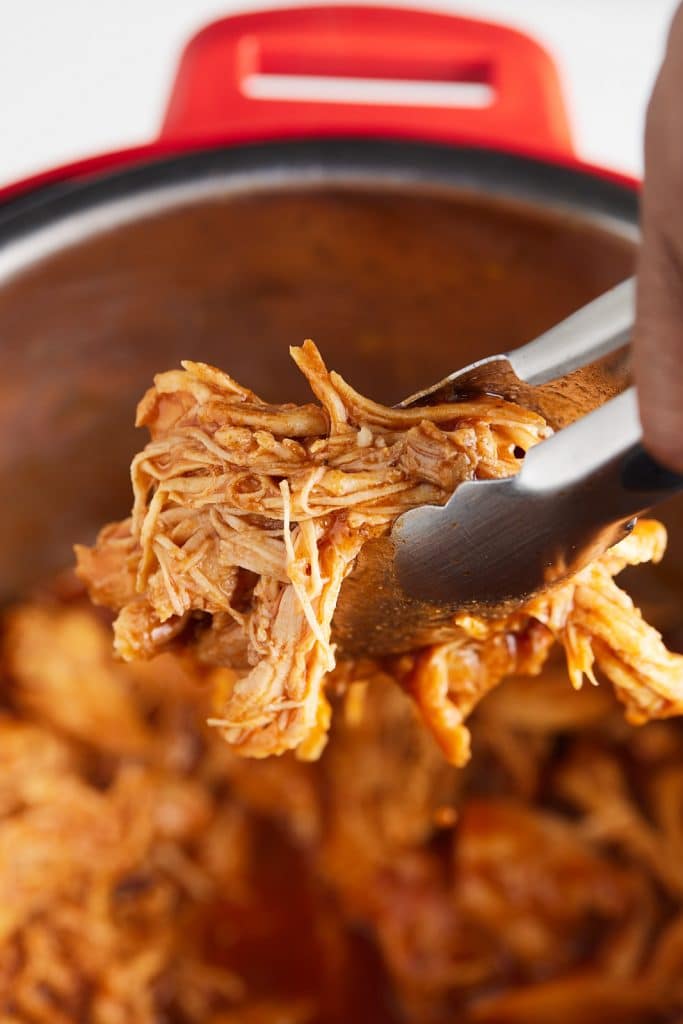
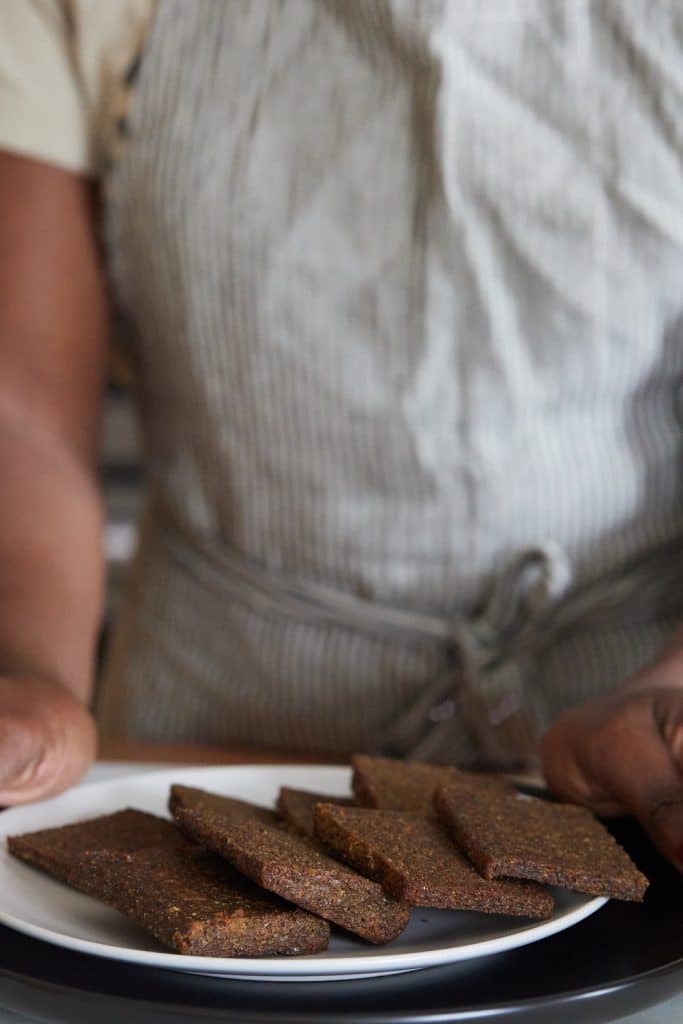
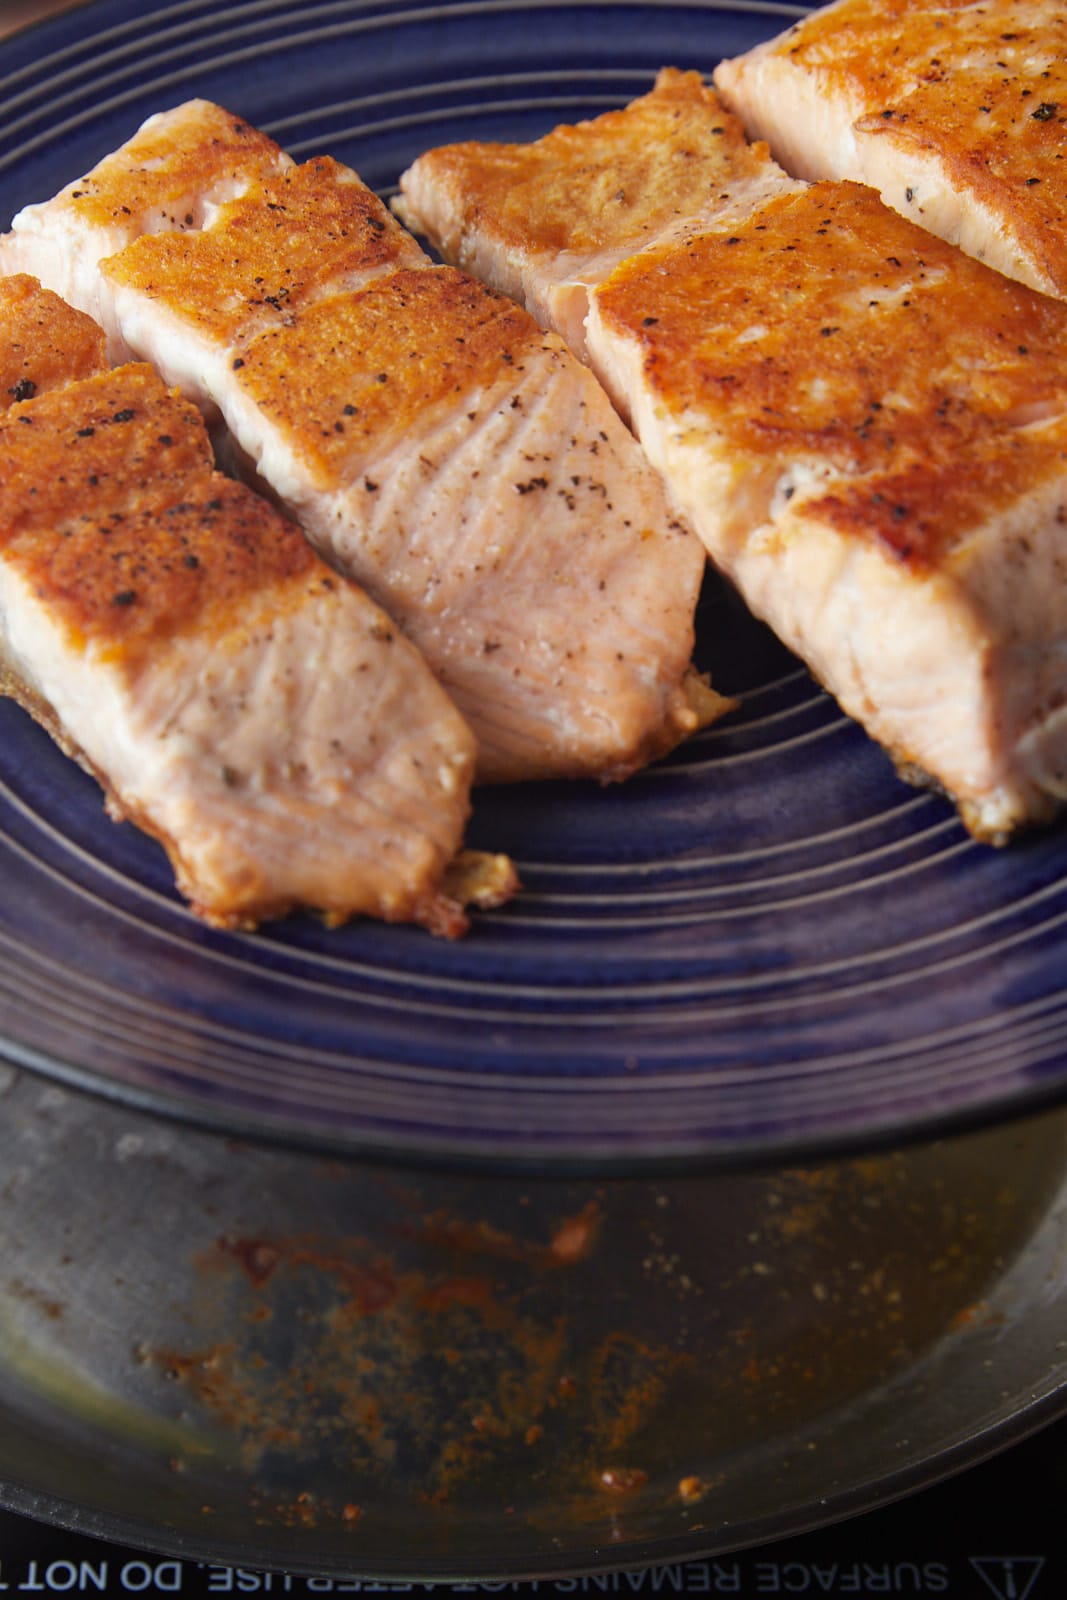
Remove and serve.
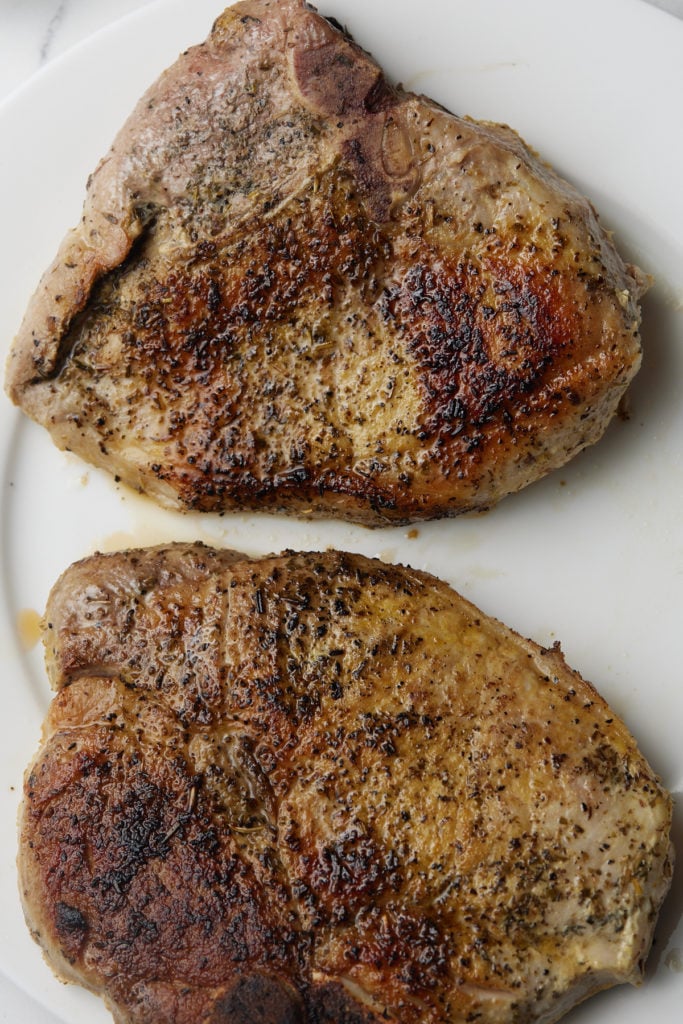
Enjoy your perfectly cooked pork chop.
Is sous vide worth it?
So you may feel that this isn't worth the extra time, but you are so wrong! There's a reason why so many restaurants use this cooking technique...because it's so delicious and the perfect hands off way to prepare your food!
When you slow cook meat, especially tough cuts, the proteins are less likely to overcook and the meat stays wonderfully tender. This cooking method gives you that control.
Sous vide gives you perfect consistency every time from top to bottom, and because the pork chops cook in their own juices, the flavor is much more bold and you end up with juicy rather than dry chops.
Sous vide cooking is also a healthier option as you don't need to add as much additional fat during the cooking process.
Serving Sugestions
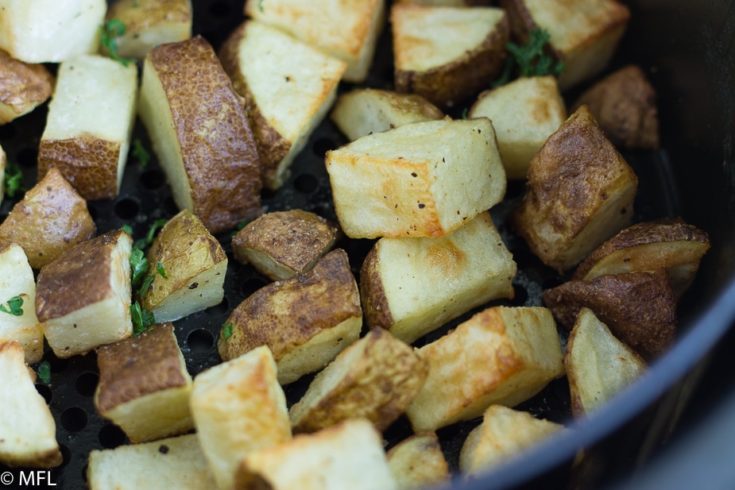
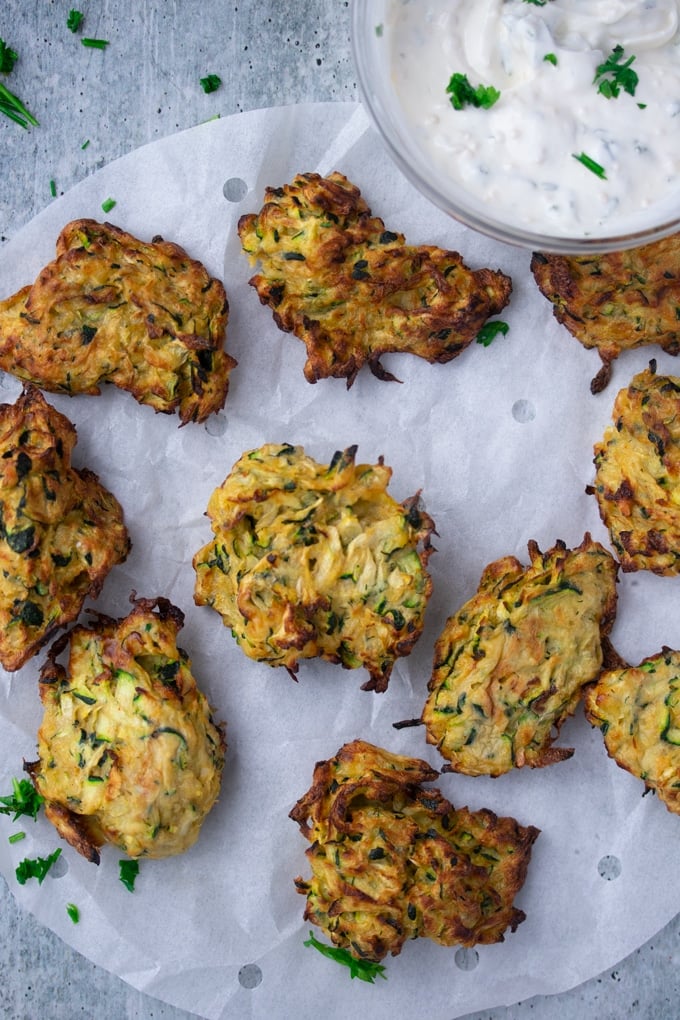
Serve these up with your favorite potato and veggies sides and you have one delicious meal on your hands! Try them with:
Recipe Notes and Tips
- The minimum time it takes for these pork chops to cook in the water bath is 1 hour, however, I always set my timer to at least 90 minutes. Thicker chops (2 inches) need 90 minutes in the water bath. I also like to keep my chops at the correct temperature just in case I get busy and don't take them out at the end of 60 minutes.
- I tend to add additional kosher salt to sous vide food after cooking. Always salt to taste to bring out the flavors.
- I use a heavy bottomed skillet to get a nice sear on my pork chops after cooking. You could also toss them onto a grill.
More Pork Recipes
- Perfect Air Fryer Pork Chops
- Mustard Glazed Air Fryer Pork Tenderloin
- North Carolina Instant Pot Pulled Pork
- Instant Pot Pork Chops and Gravy
Perfect Sous Vide Pork Chops
Equipment
- Water
Ingredients
- 2 pork loin pork chops, center cut ¾ inch thick
- 2 teaspoon Italian seasoning
- 2 teaspoon lemon pepper seasoning
- 3 sprigs thyme
- ¼ teaspoon salt or to taste
- 3 Tablespoon olive oil
- Salt and pepper to taste
Instructions
- Clip immersion circulator to the side of the large pot or basin. Add water and fill it until the minimum water level of the immersion circulator is reached and there is enough water to cover the food you will cook. Turn on the immersion circulator by setting the temperature to 140F (60C). Set the time anywhere from 1-4 hours).
- Season the pork chops with oil, Italian seasoning, lemon pepper seasoning, thyme, and salt and add to a plastic sous vide bag or sealable bag. Suck out the air and seal.
- Once the temperature in the water bath has been reached, add the sealed pork chops and allow the chops to cook for at least 1 hour and no longer than 4 hours.
- Remove pork chops and pat them dry.
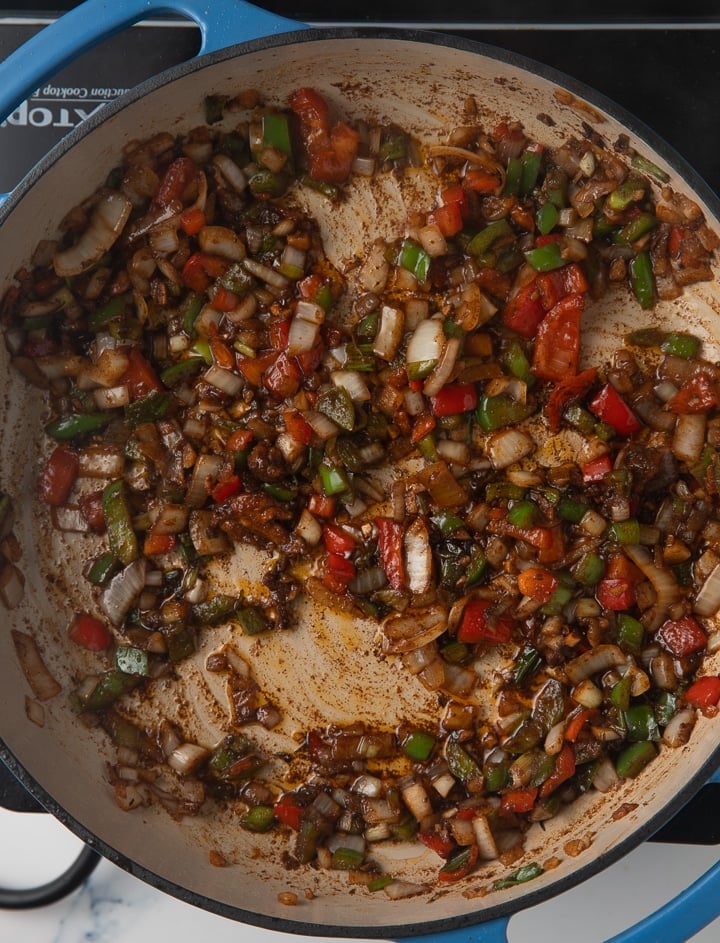
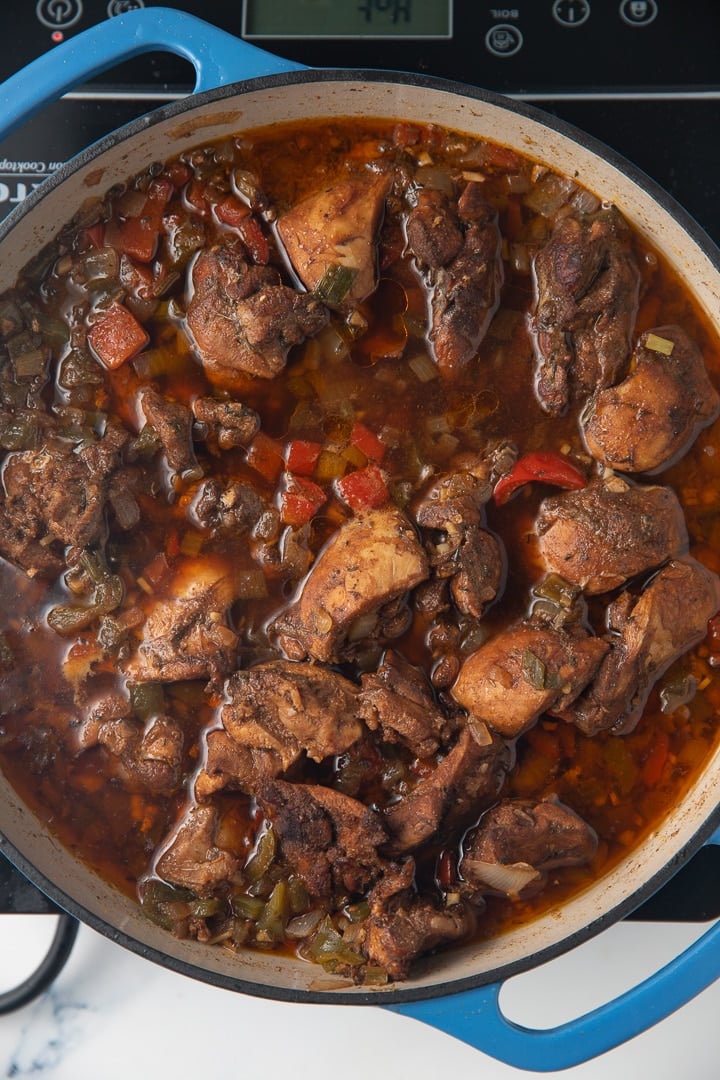
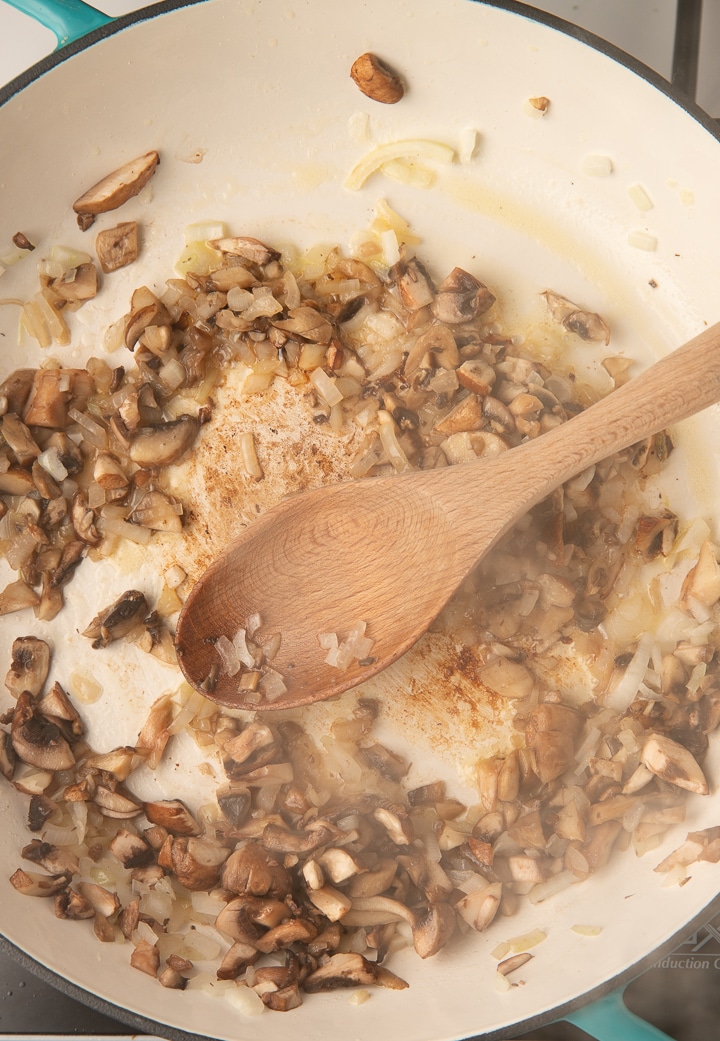
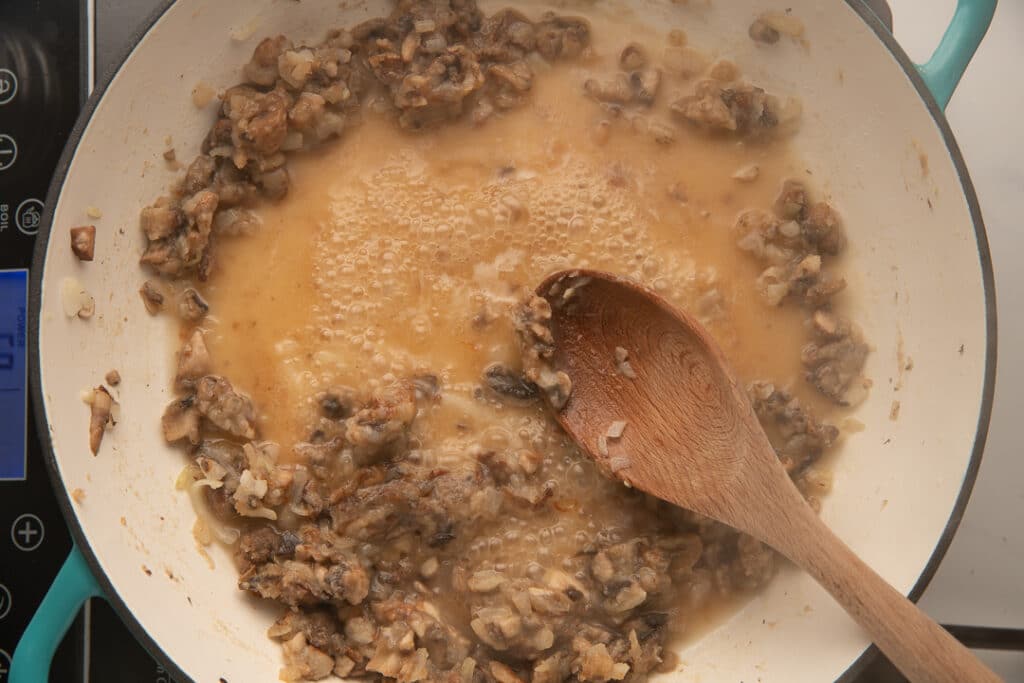
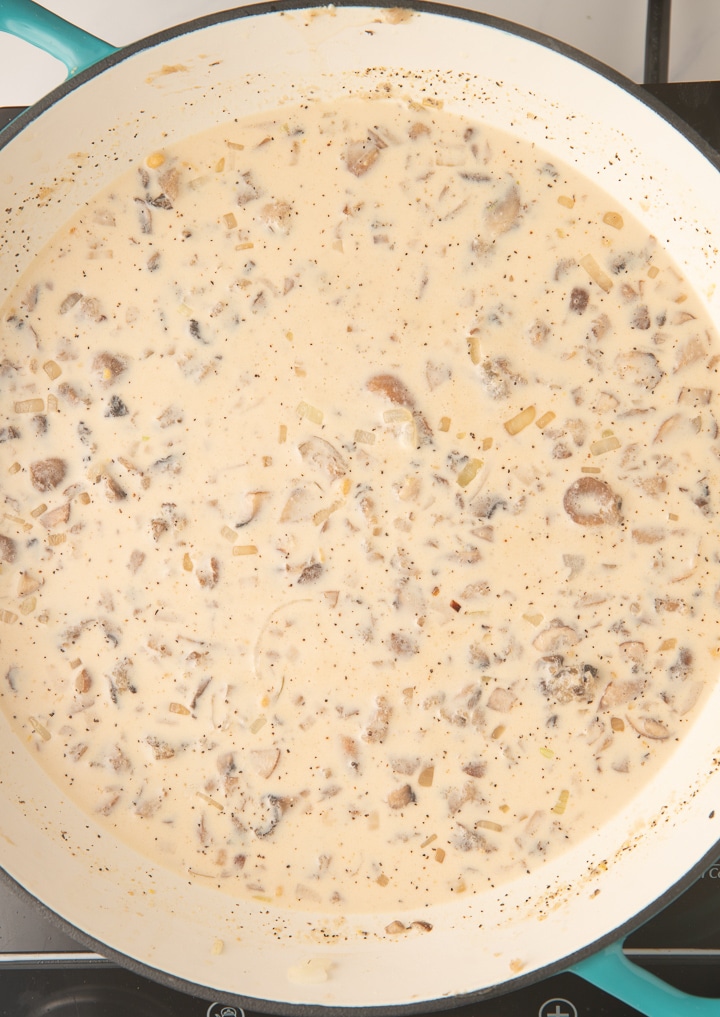
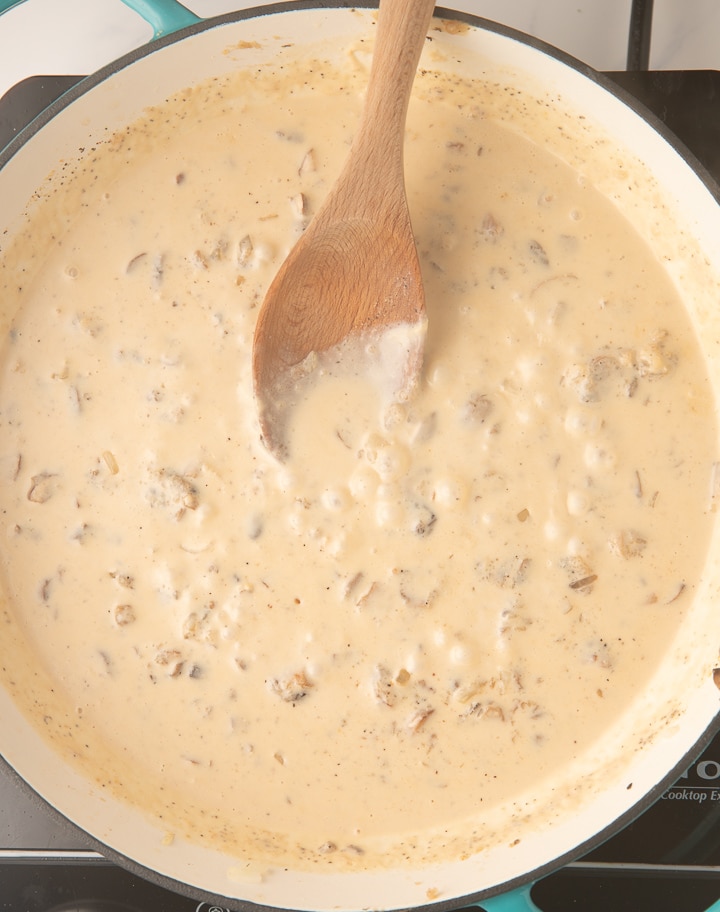
- Heat olive oil in a medium heavy bottomed skillet over high heat. Add pork chops and sear each side until brown, about 1-2 minutes per side. Remove and set aside. You can serve at this point or make a gravy.
Notes
- The minimum time it takes for these pork chops to cook in the water bath is 1 hour, however, I always set my timer to at least 90 minutes. Thicker chops (2 inches) need 90 minutes in the water bath. I also like to keep my chops at the correct temperature just in case I get busy and don't take them out at the end of 60 minutes.
- I tend to add additional kosher salt to sous vide food after cooking. Always salt to taste to bring out the flavors.
- I use a heavy bottomed skillet to get a nice sear on my pork chops after cooking. You could also toss them onto a grill.