If you’re looking to learn how to cut broccoli then look no further. This post will teach you all the tips on how to cut broccoli florets and what to do with the broccoli stem.
Broccoli is one healthy vegetable and can be purchased already cut in your refrigerator or freezer section. I find that this can be a little pricier than purchasing a head of broccoli and cutting it yourself. Once I learned the proper way to cut broccoli and reduce waste, I knew I had to come here and share.
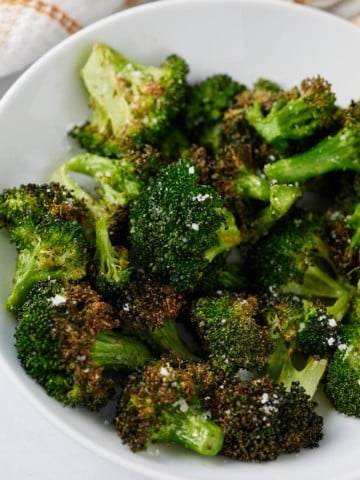
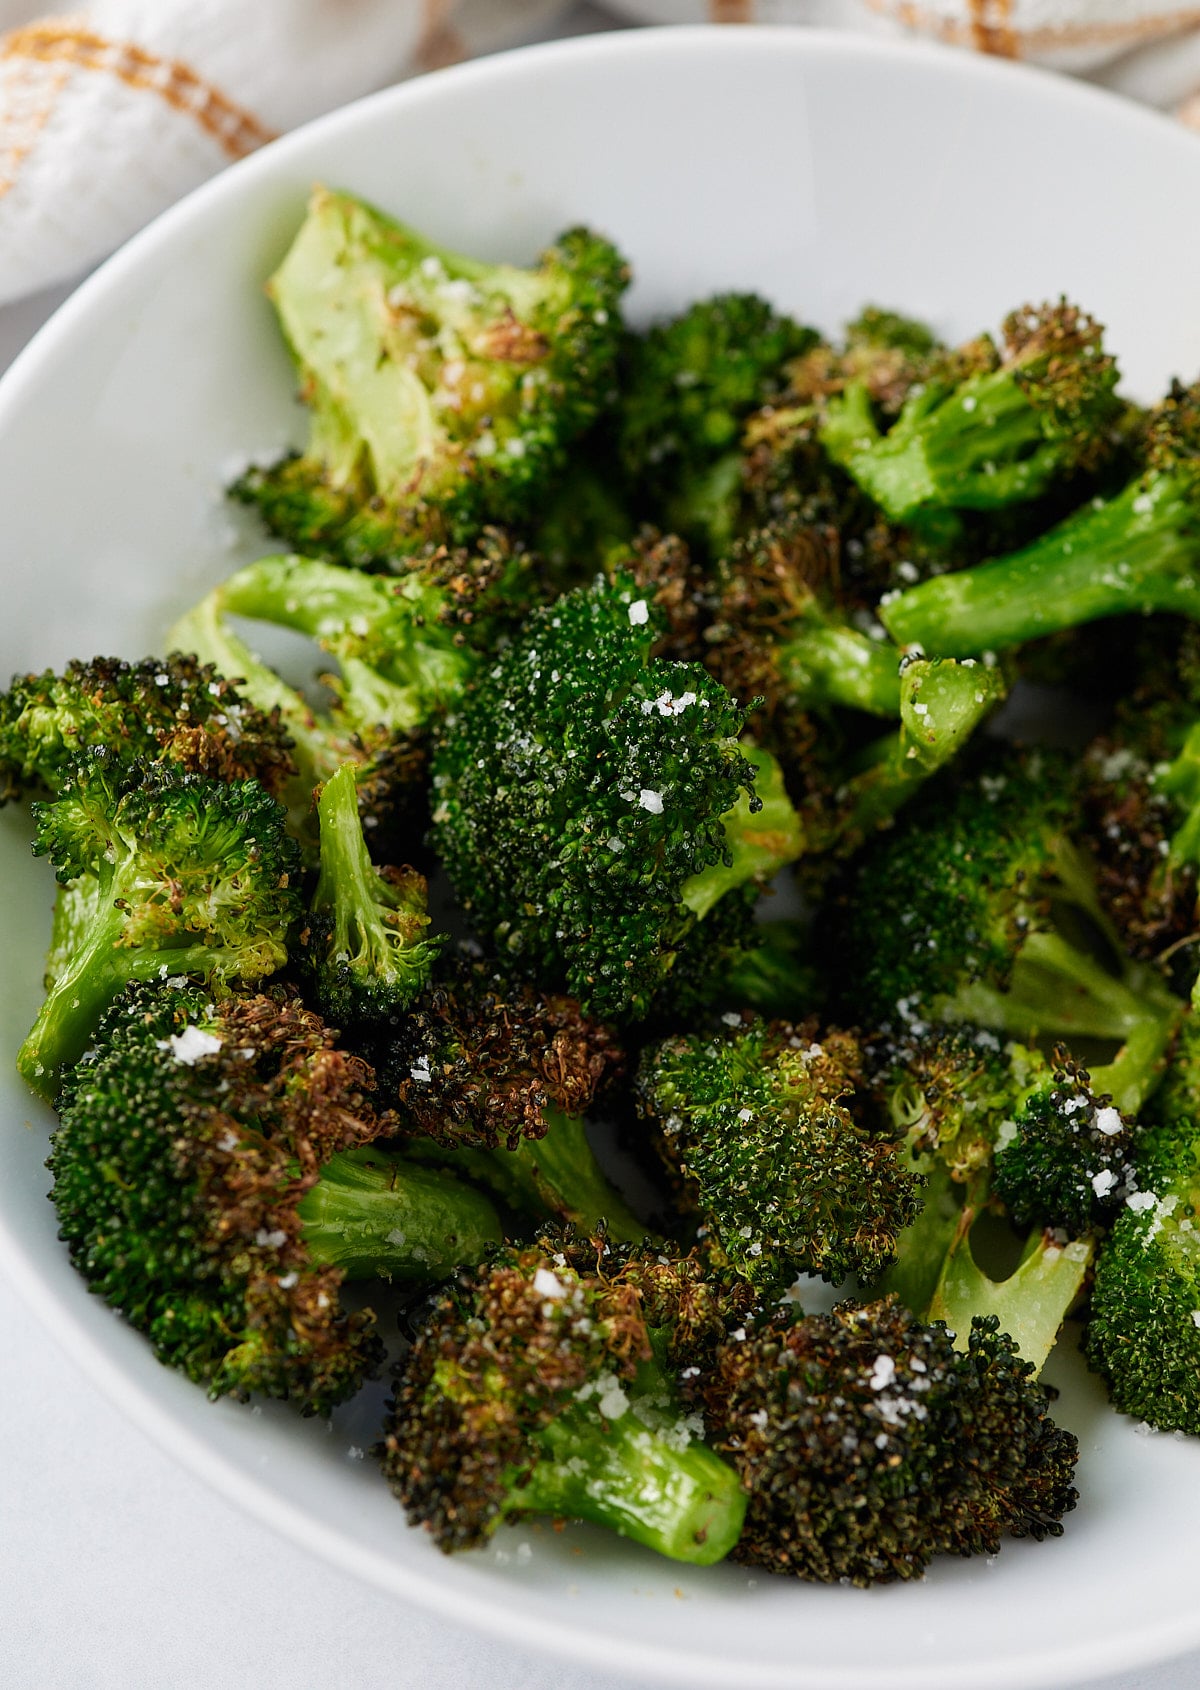
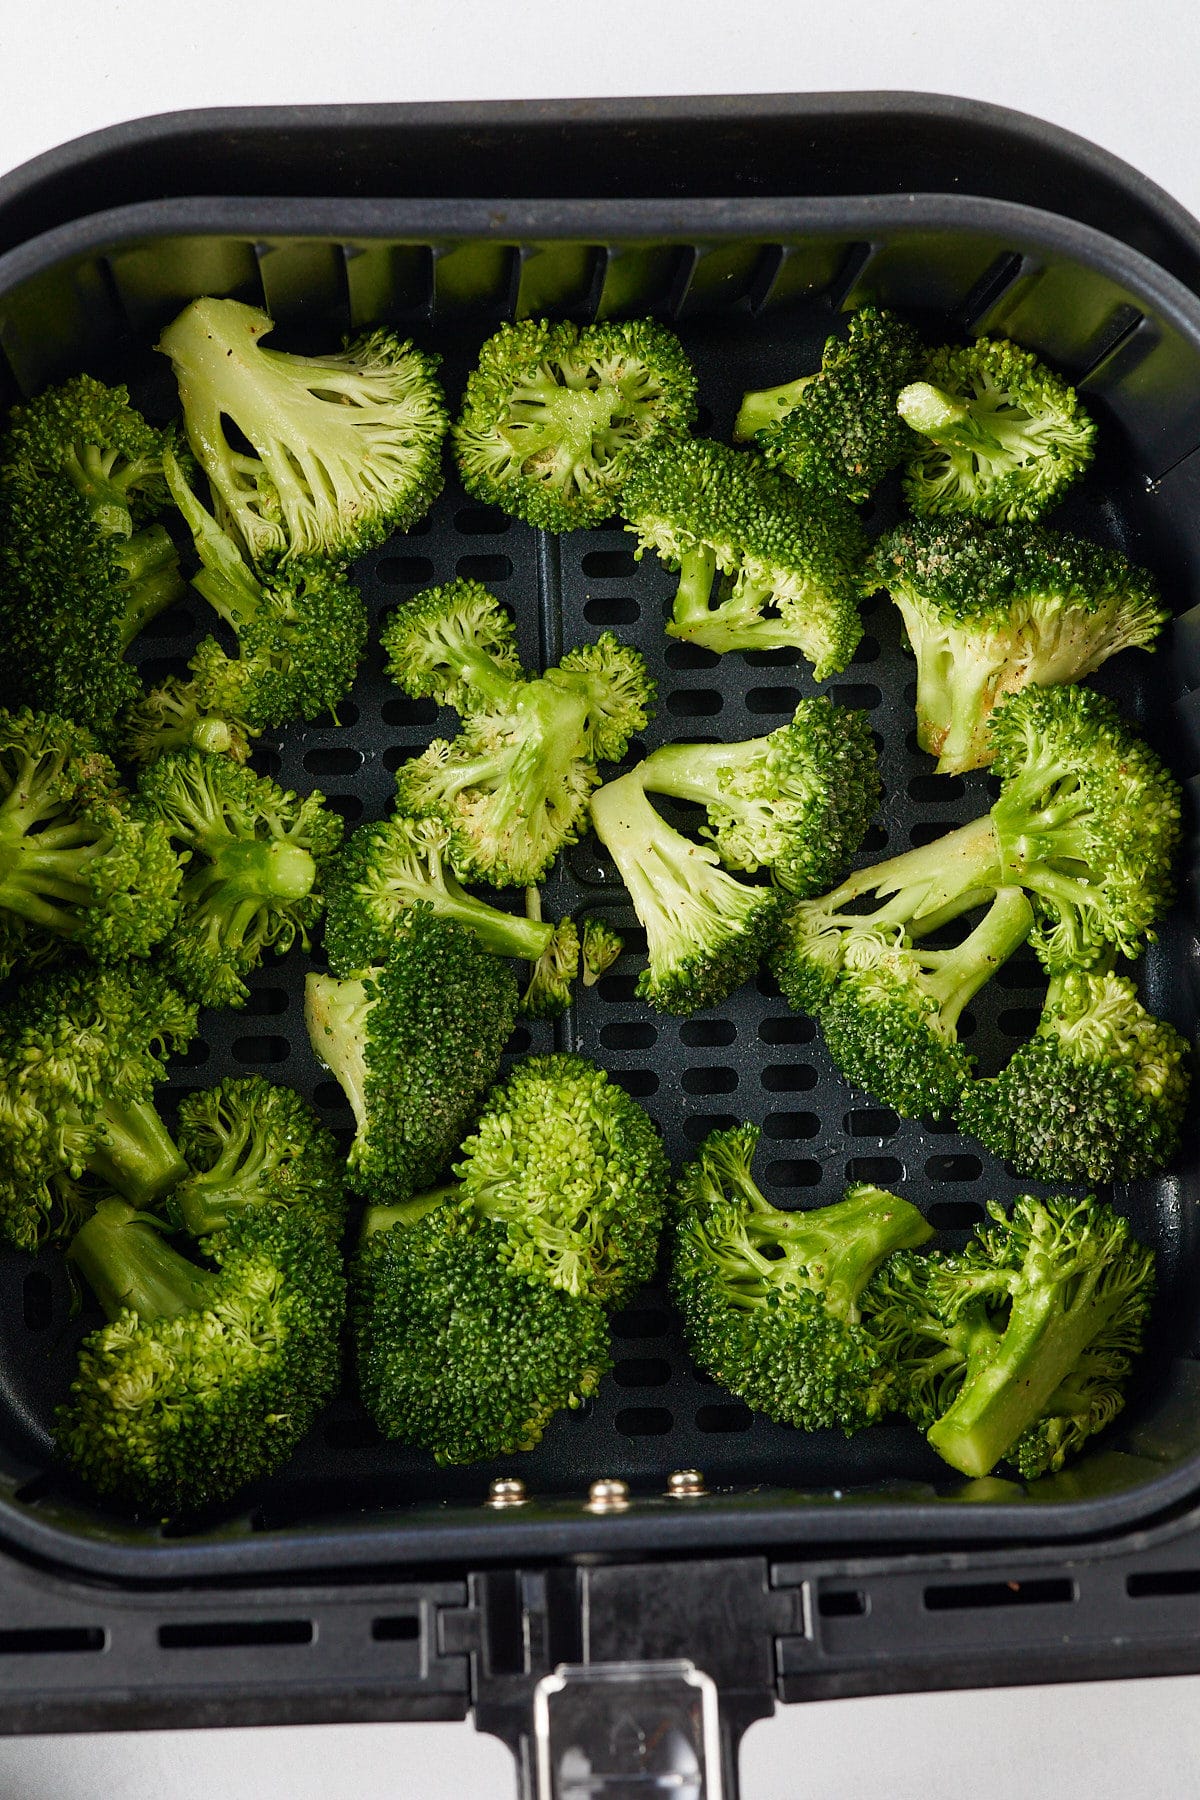
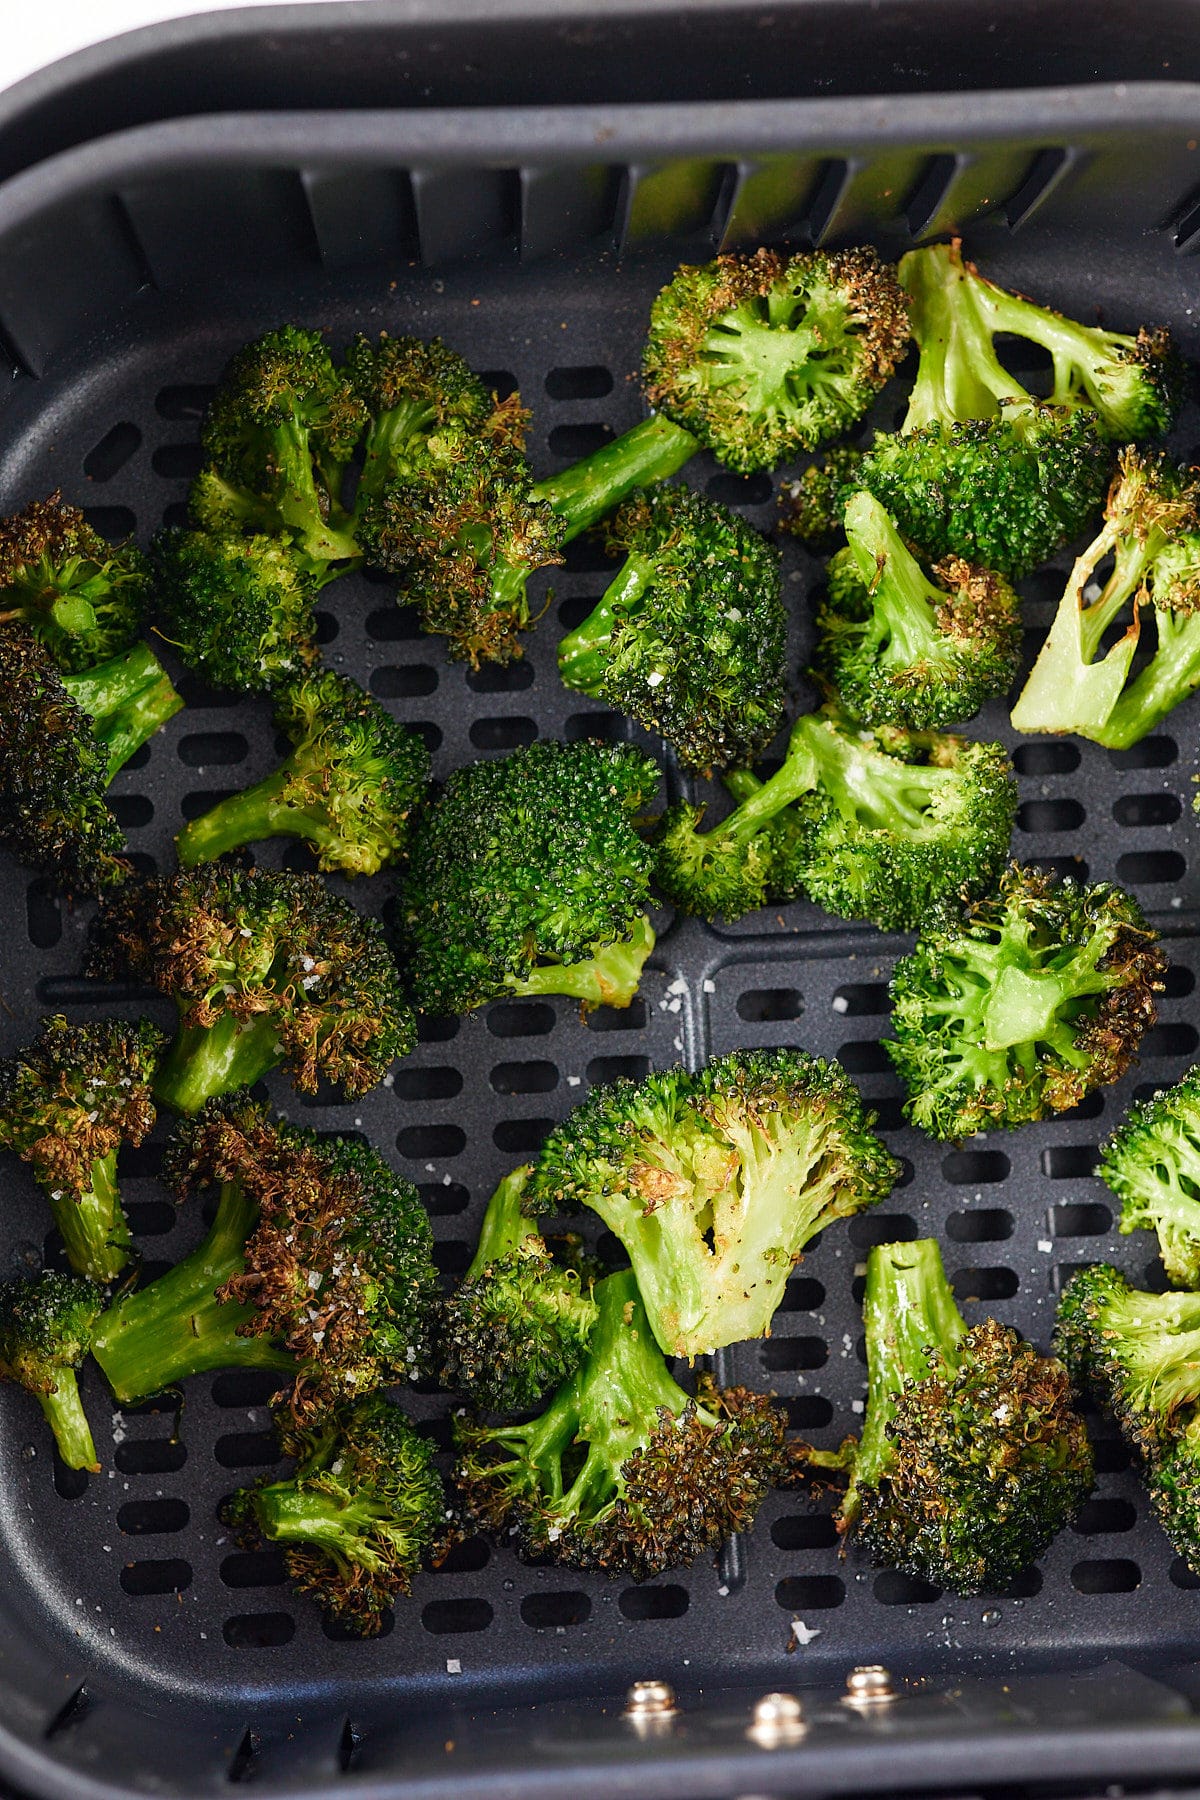
This vegetable can be used in so many recipes. The florets could be used in broccoli and cauliflower salad or simply roasting broccoli florets. The stems can be used in broccoli slaw, stir fry, or broccoli soup.
Tools Needed for Cutting Broccoli
- cutting board
- sharp knife (Chef's knife and/or paring knife)
- food processor (optional if shredding the stem)
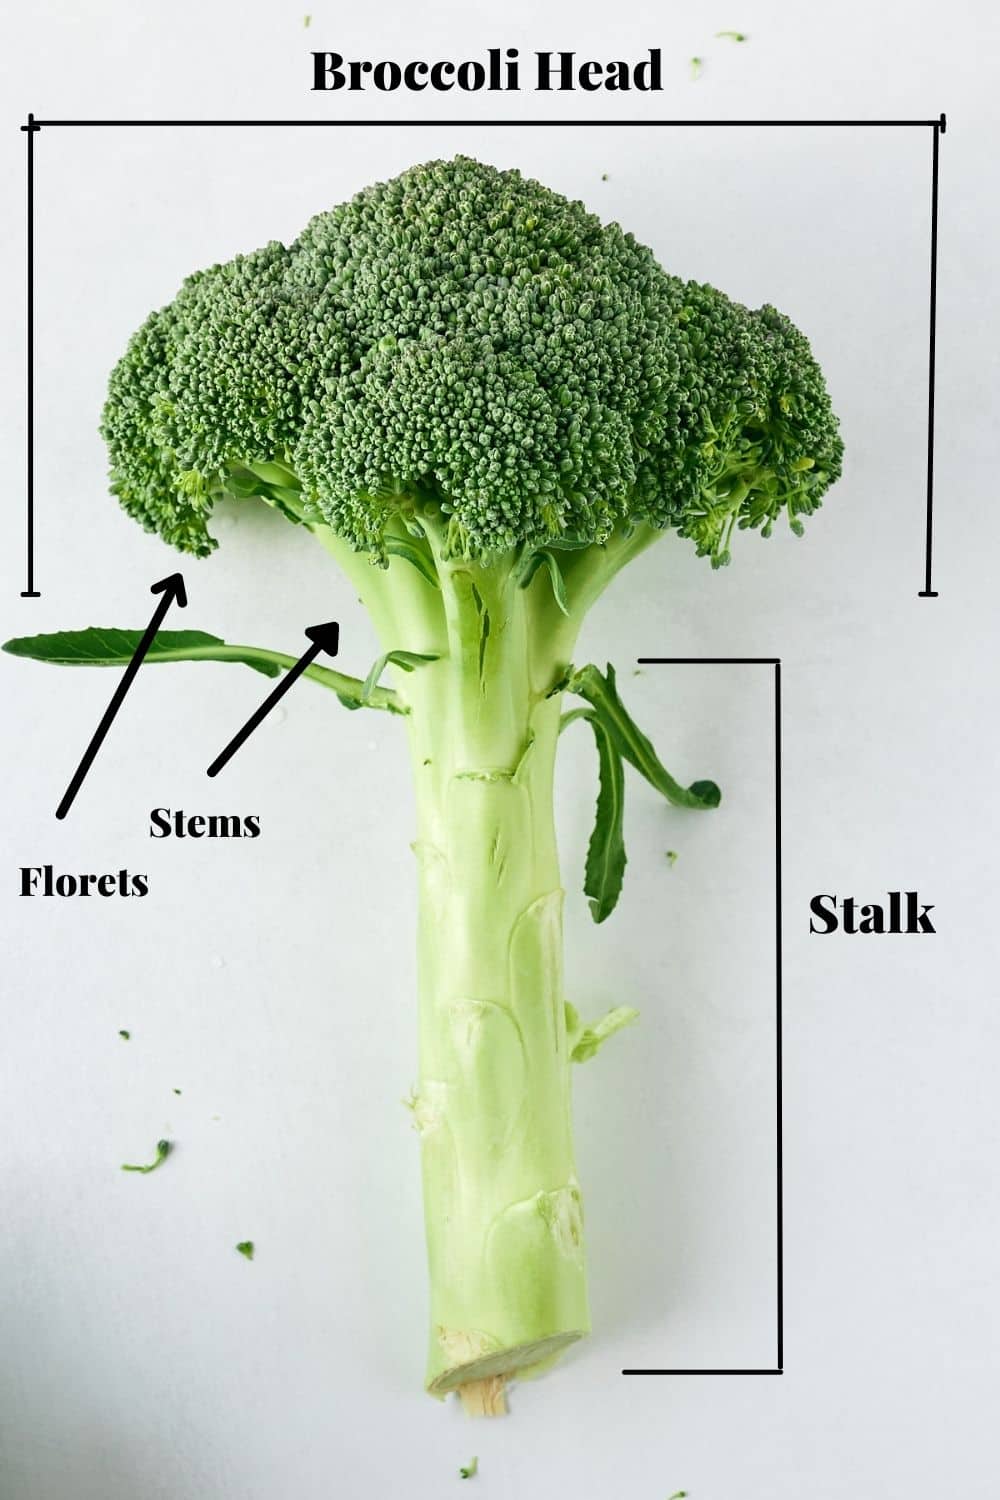
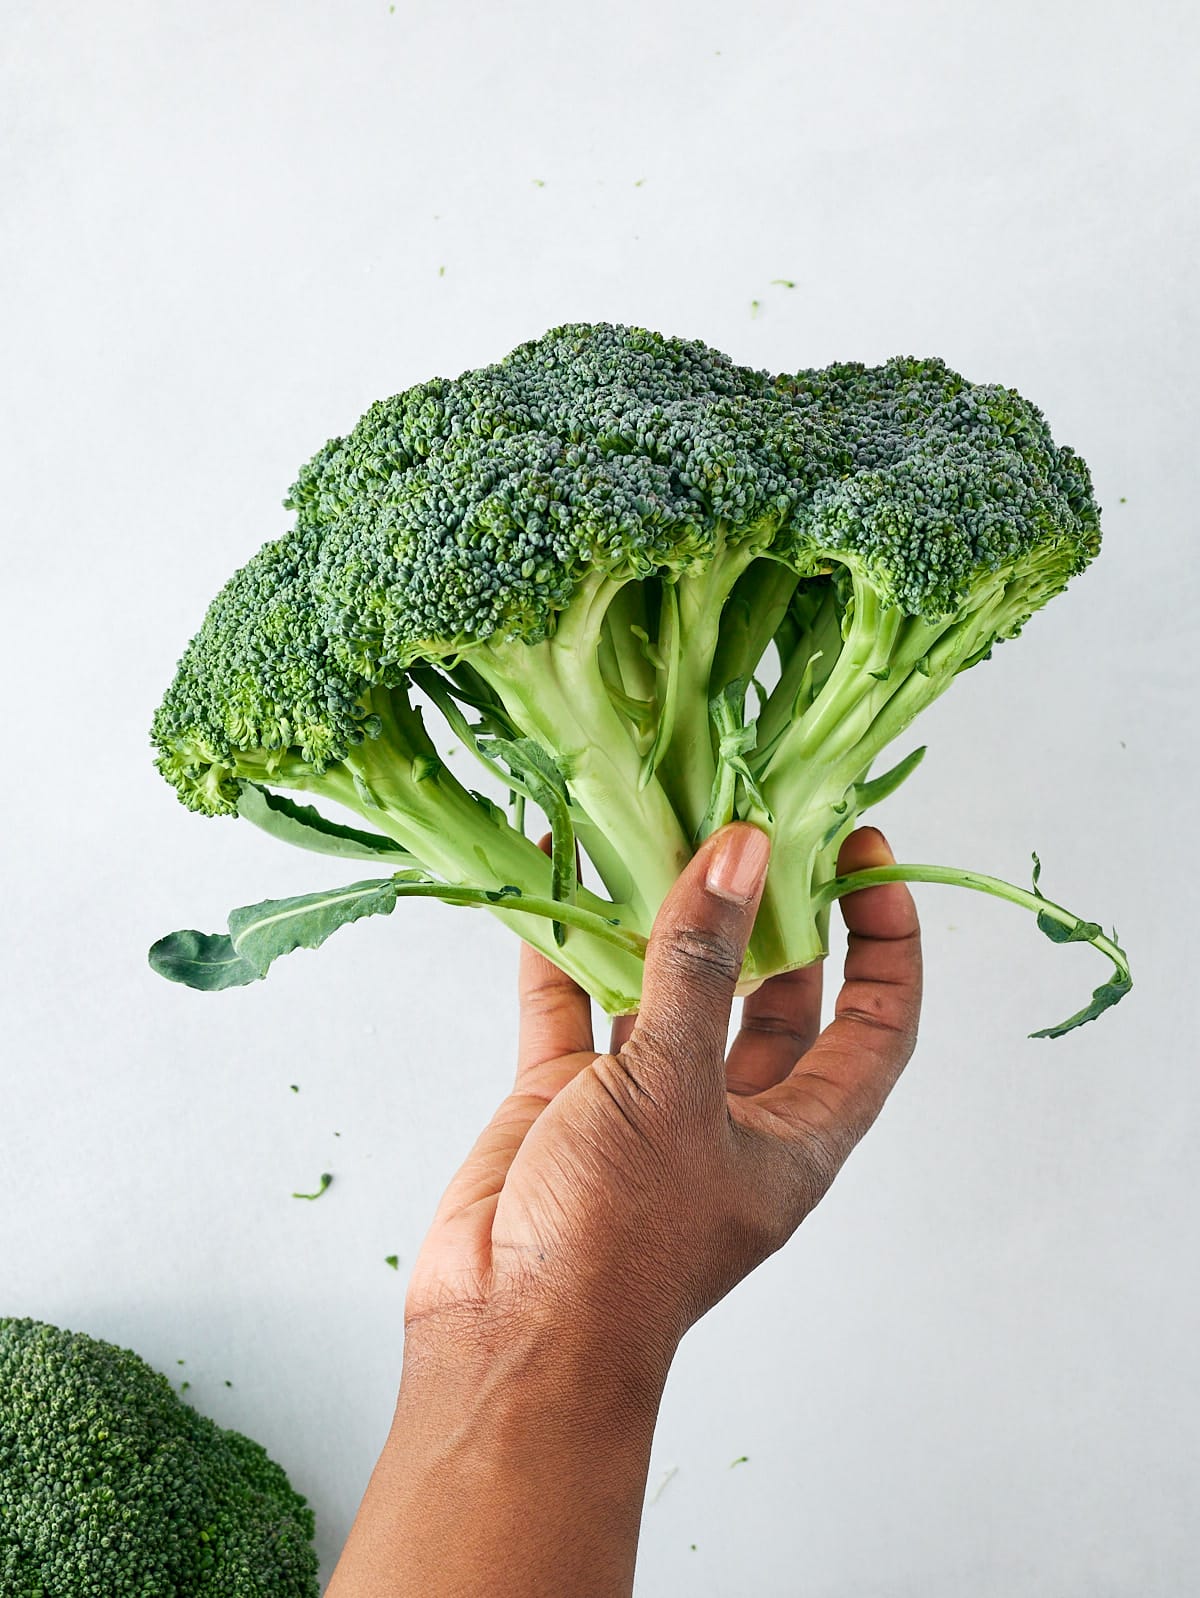
Parts of Broccoli
Understanding the basics of the parts of broccoli is helpful in understanding how to cut it. The diagram below shows the basic parts which include the broccoli head, florets, stems, and stalk. Each part can be cut and used in multiple ways.
How to cut broccoli
First, rinse your broccoli under running water and then lightly pat it with a paper towel or cloth.
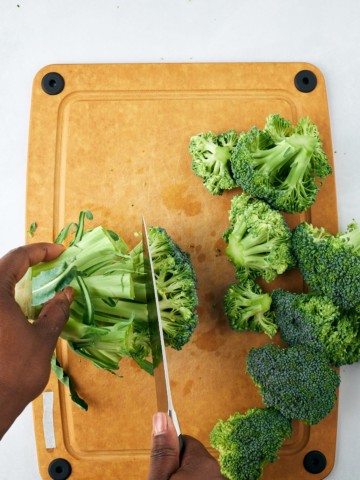
Then, place your broccoli head on its crown with the stem facing up.
Use a knife (a paring knife is great for this part) and cut off the florets, at the stem, in an angle direction towards the center of the floret head.
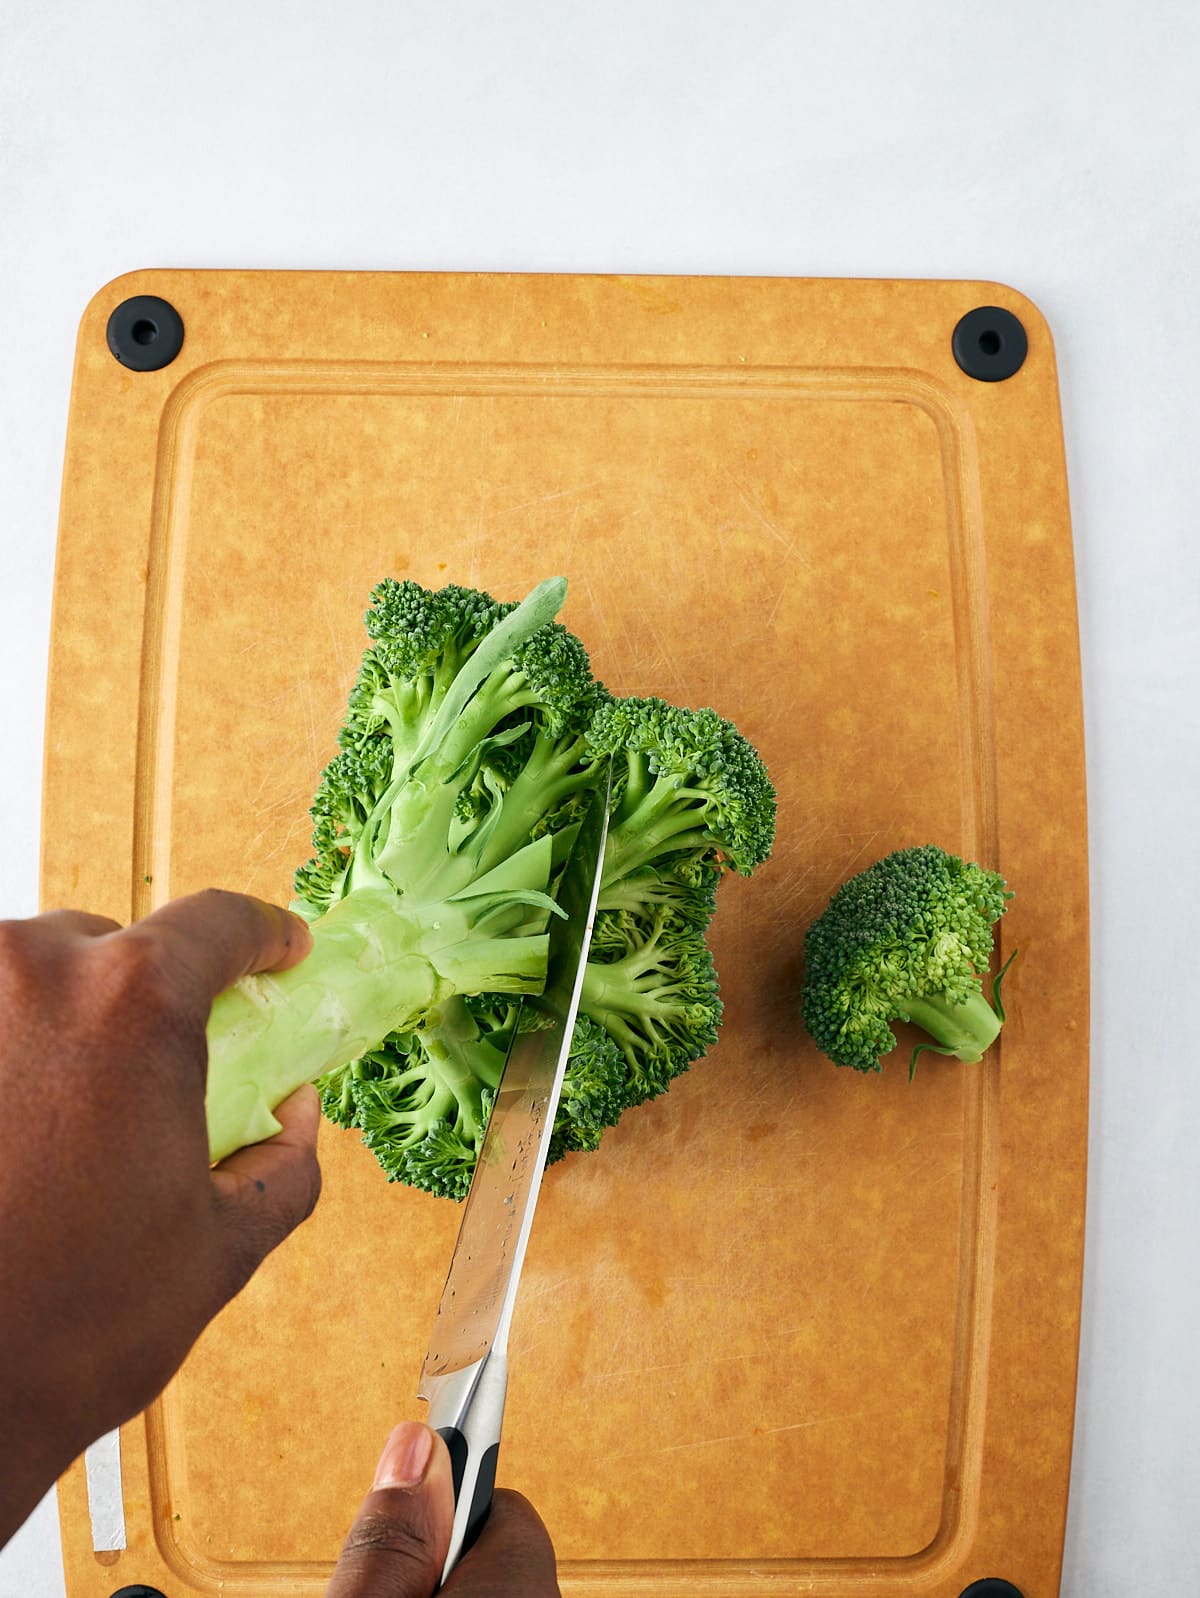
Start with the florets on the outside of the broccoli head before cutting off the ones on the inside.
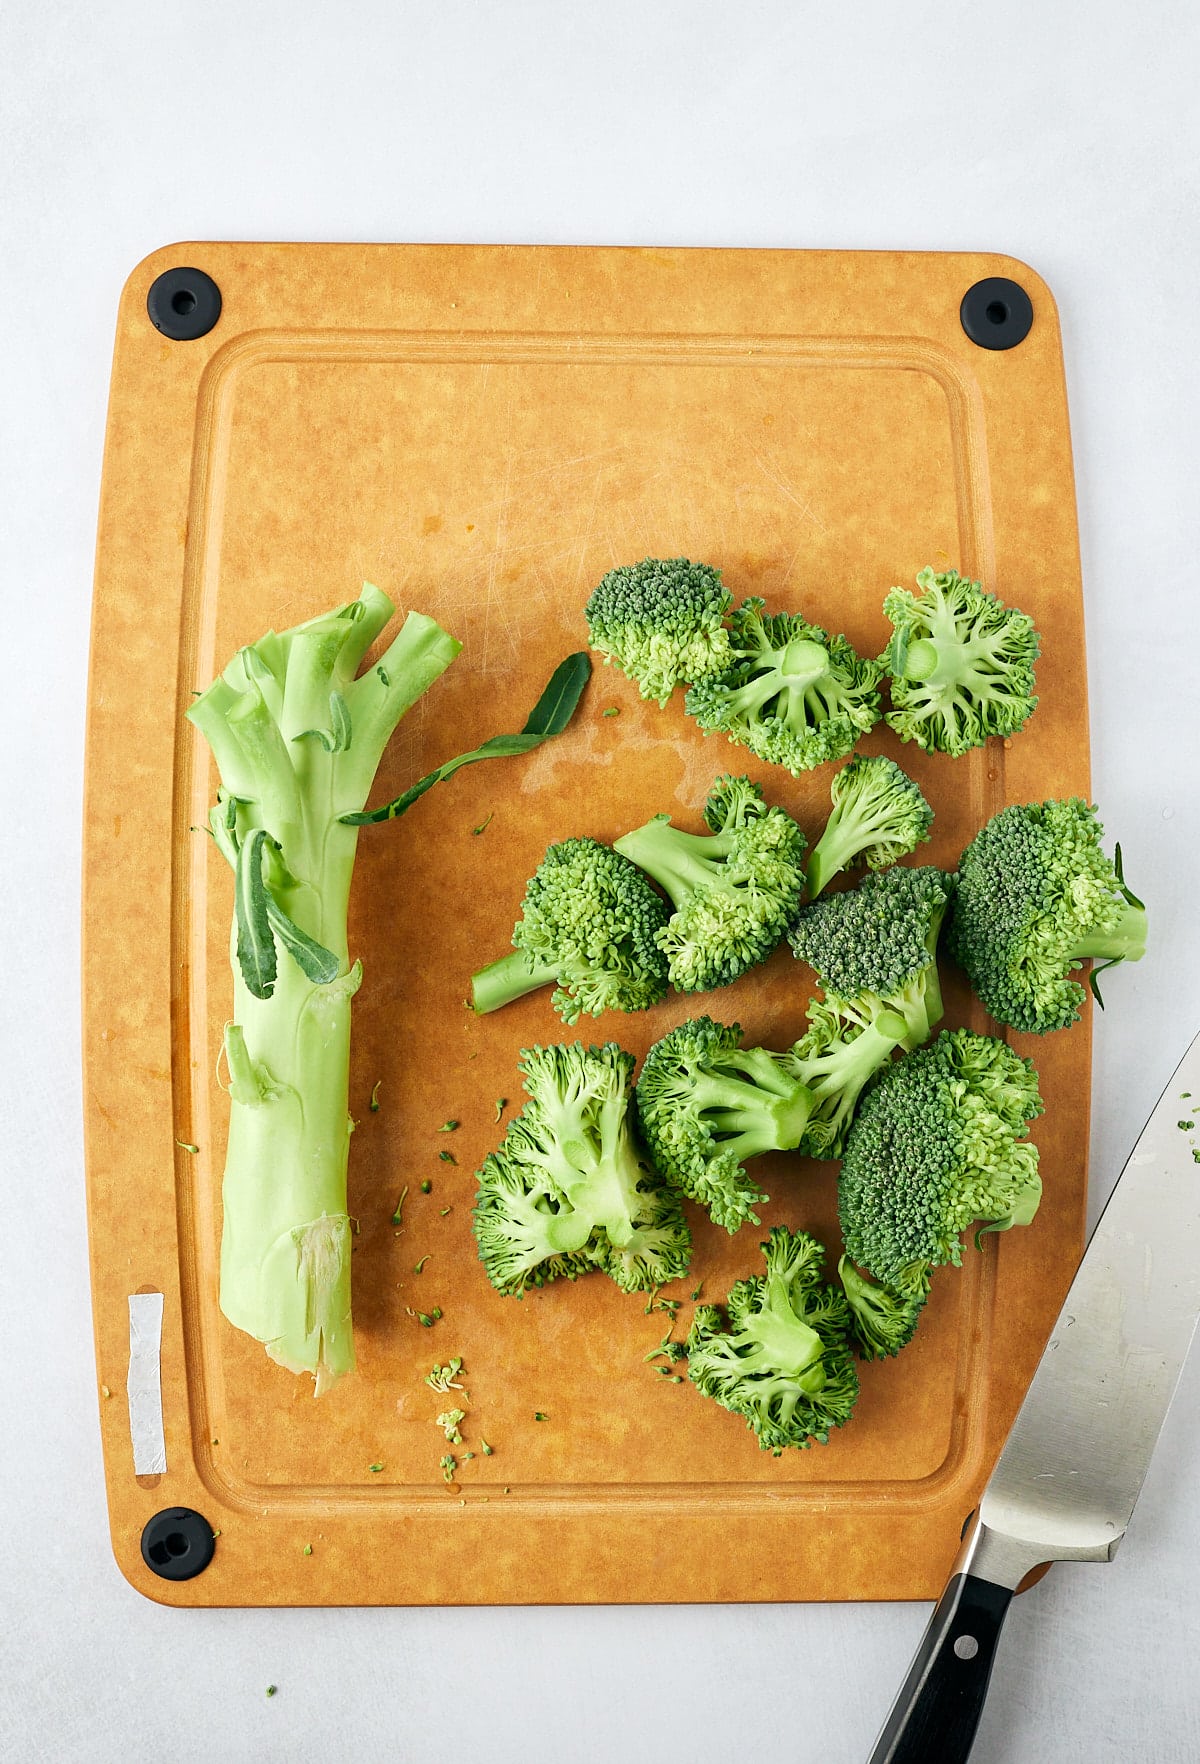
Once all the florets are removed, continue to cut them until they are your desired size and in equal sizes.
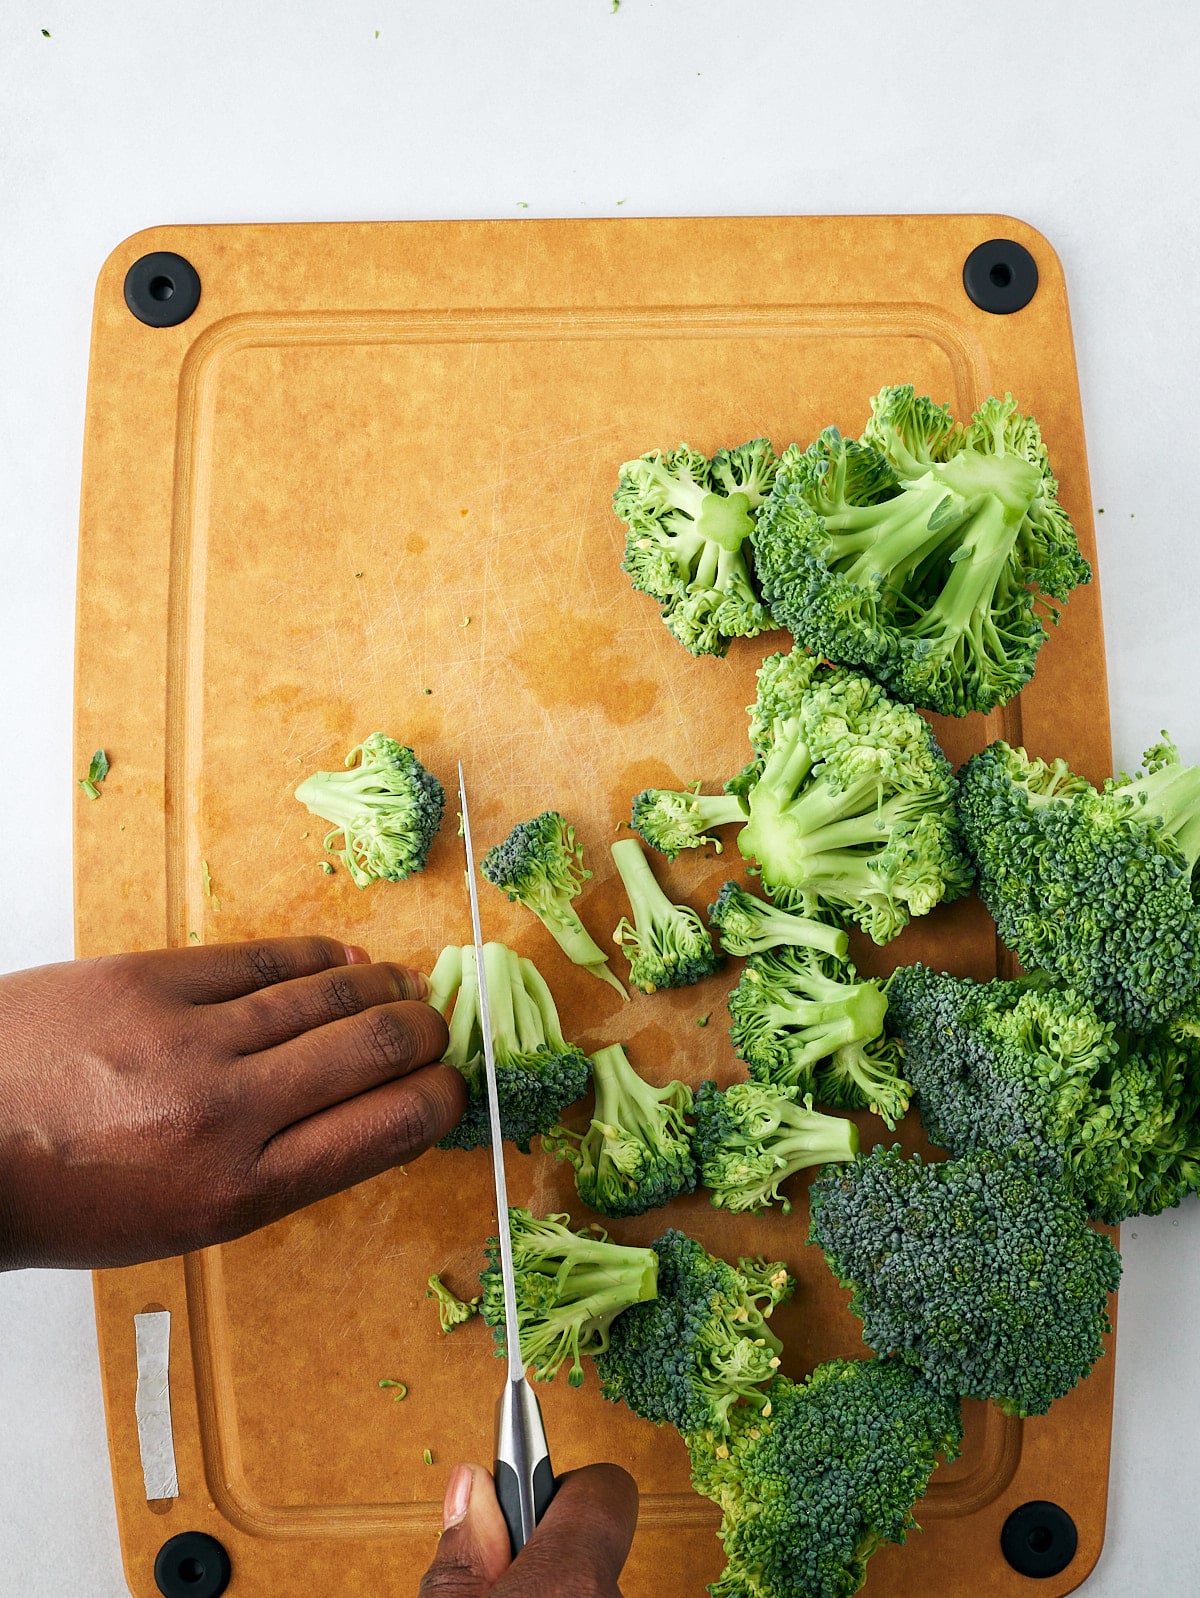
Set the florets aside and use them in your favorite recipe or eat them raw.
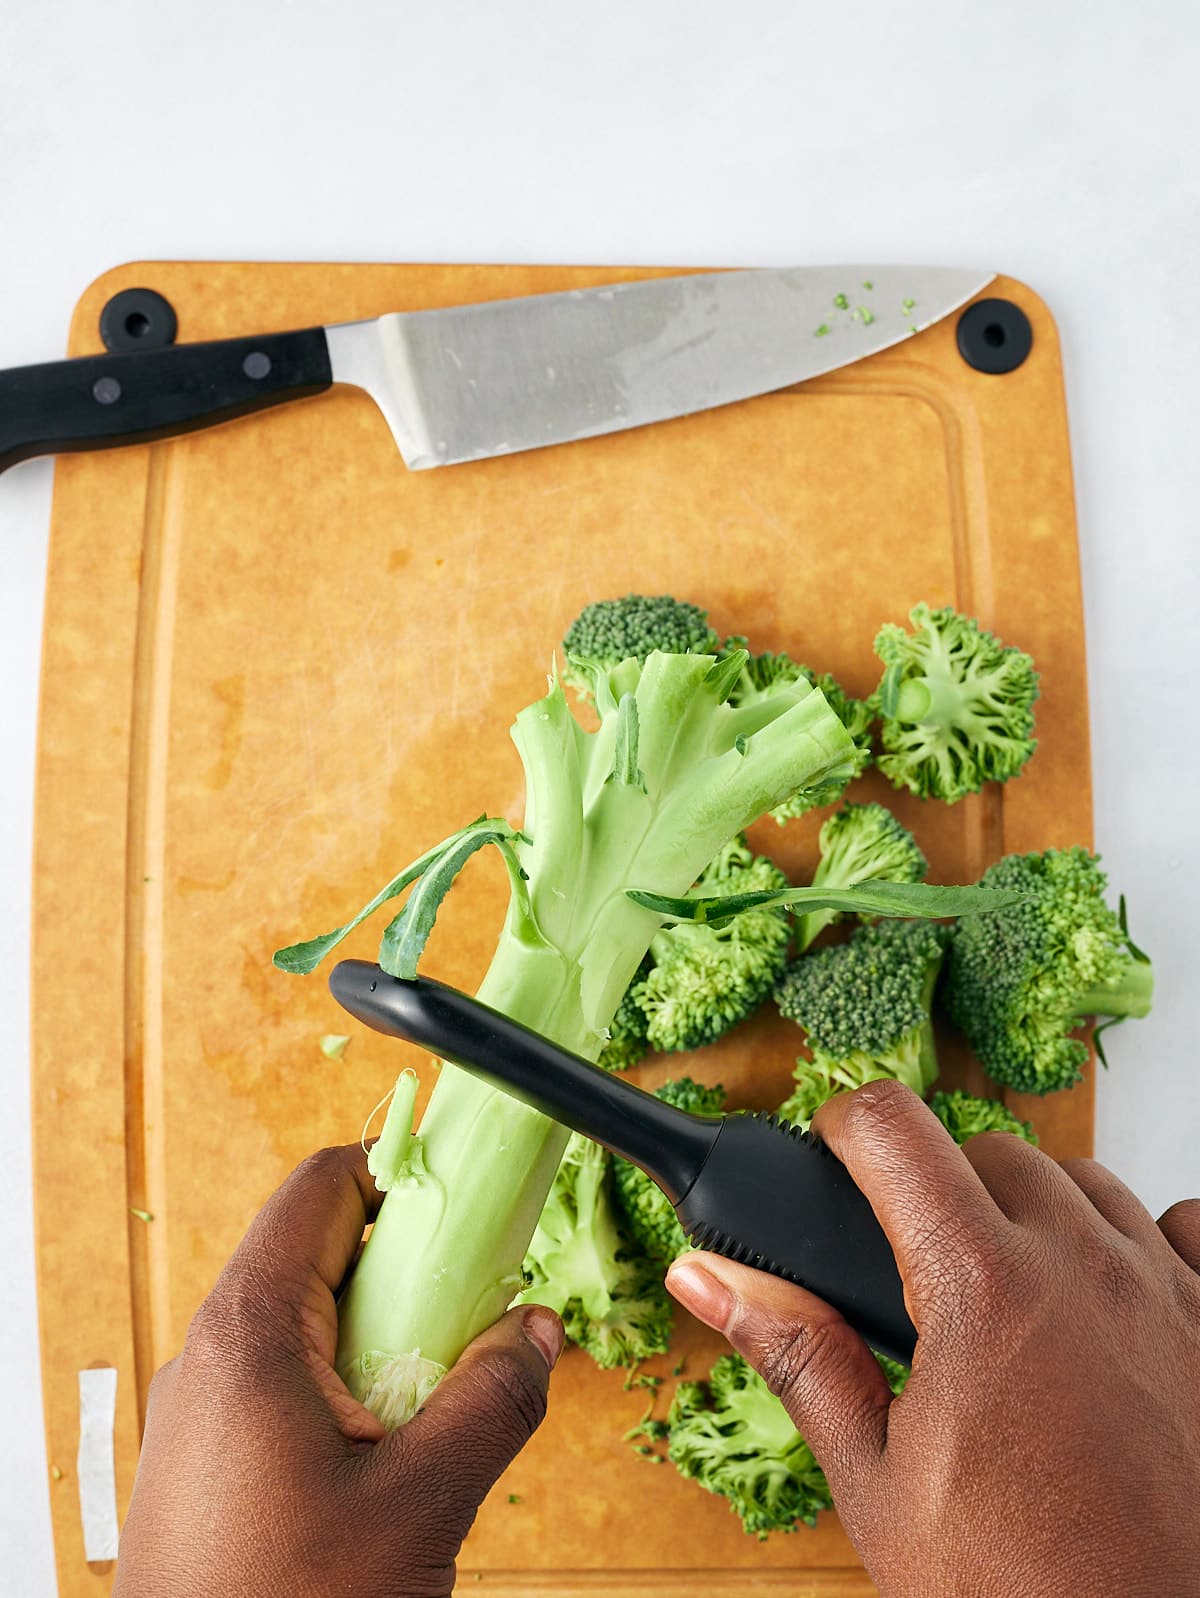
How to cut the stem of broccoli
Rather than throw away the stem, you can cut it and use it in other recipes. In order to cut the broccoli stem, you will want to cut off the exposed end of the bottom of the stem. Once that’s done, consider peeling the stem as the outer skin can be tough.
Then you can do the following:
- Chop the stem into equal-sized pieces (great for soups and sautéing).
- You can cut them into matchstick pieces (great for stir fry).
- You can shred them in a food processor (great for slaws).
Broccoli vs Broccoli Crowns
Broccoli crowns are broccoli are both forms of broccoli. The crown doesn't have a long stalk and generally has more stems and florets. Cut the crown the same way you would broccoli with a long stem.
And there you have it. An easy full-proof way to cut broccoli and use all the parts of it.