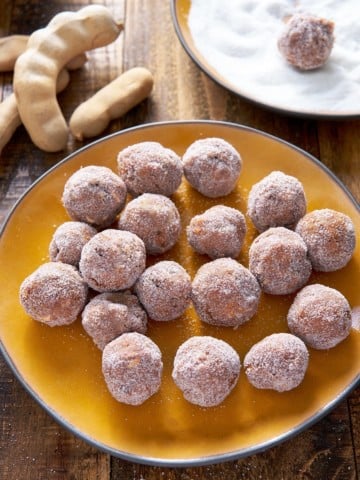
Tamarind balls are a sweet, sour, and sometimes spicy treat popular in many tropical regions. Their simple ingredients and quick preparation make them a delicious snack perfect for satisfying unique cravings.
This post contains affiliate links, please read my full disclaimer here.
You’ll find the full recipe with ingredient amounts and instructions in the recipe card at the bottom of this post. Be sure to check out the blog post itself for extra tips and tricks!
If you have yet to try tamarind balls, you simply must. When I spent time with my grandmother in Jamaica, she occasionally treated me to this candy. And I loved it!
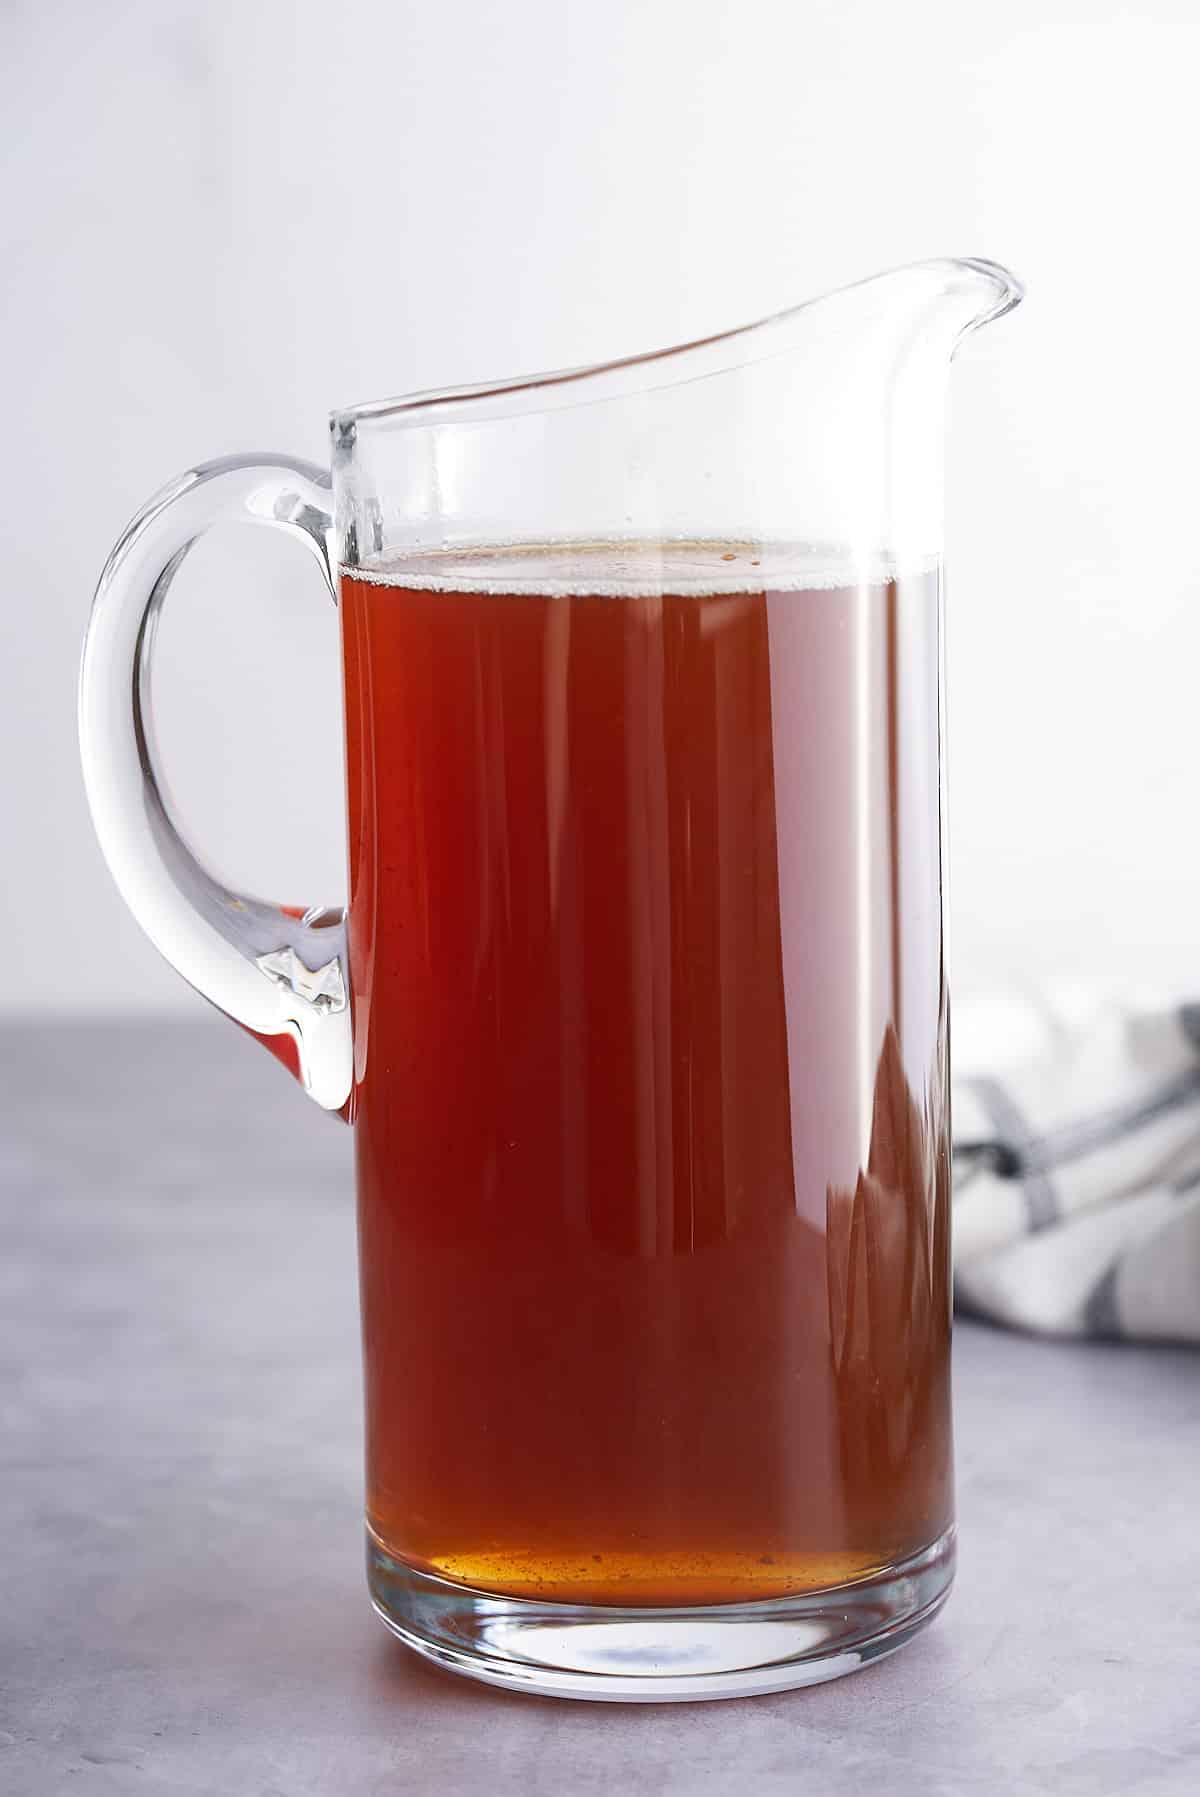
Tamarind is a sour fruit that grows on trees in tropical climates. Its sweet-and-sour flavor profile is often used to create a juice similar to lemonade.
We would typically buy the tamarind candy in the store as they sell them in packets. But I became hooked once I discovered how easy it is to make homemade tamarind balls candy.
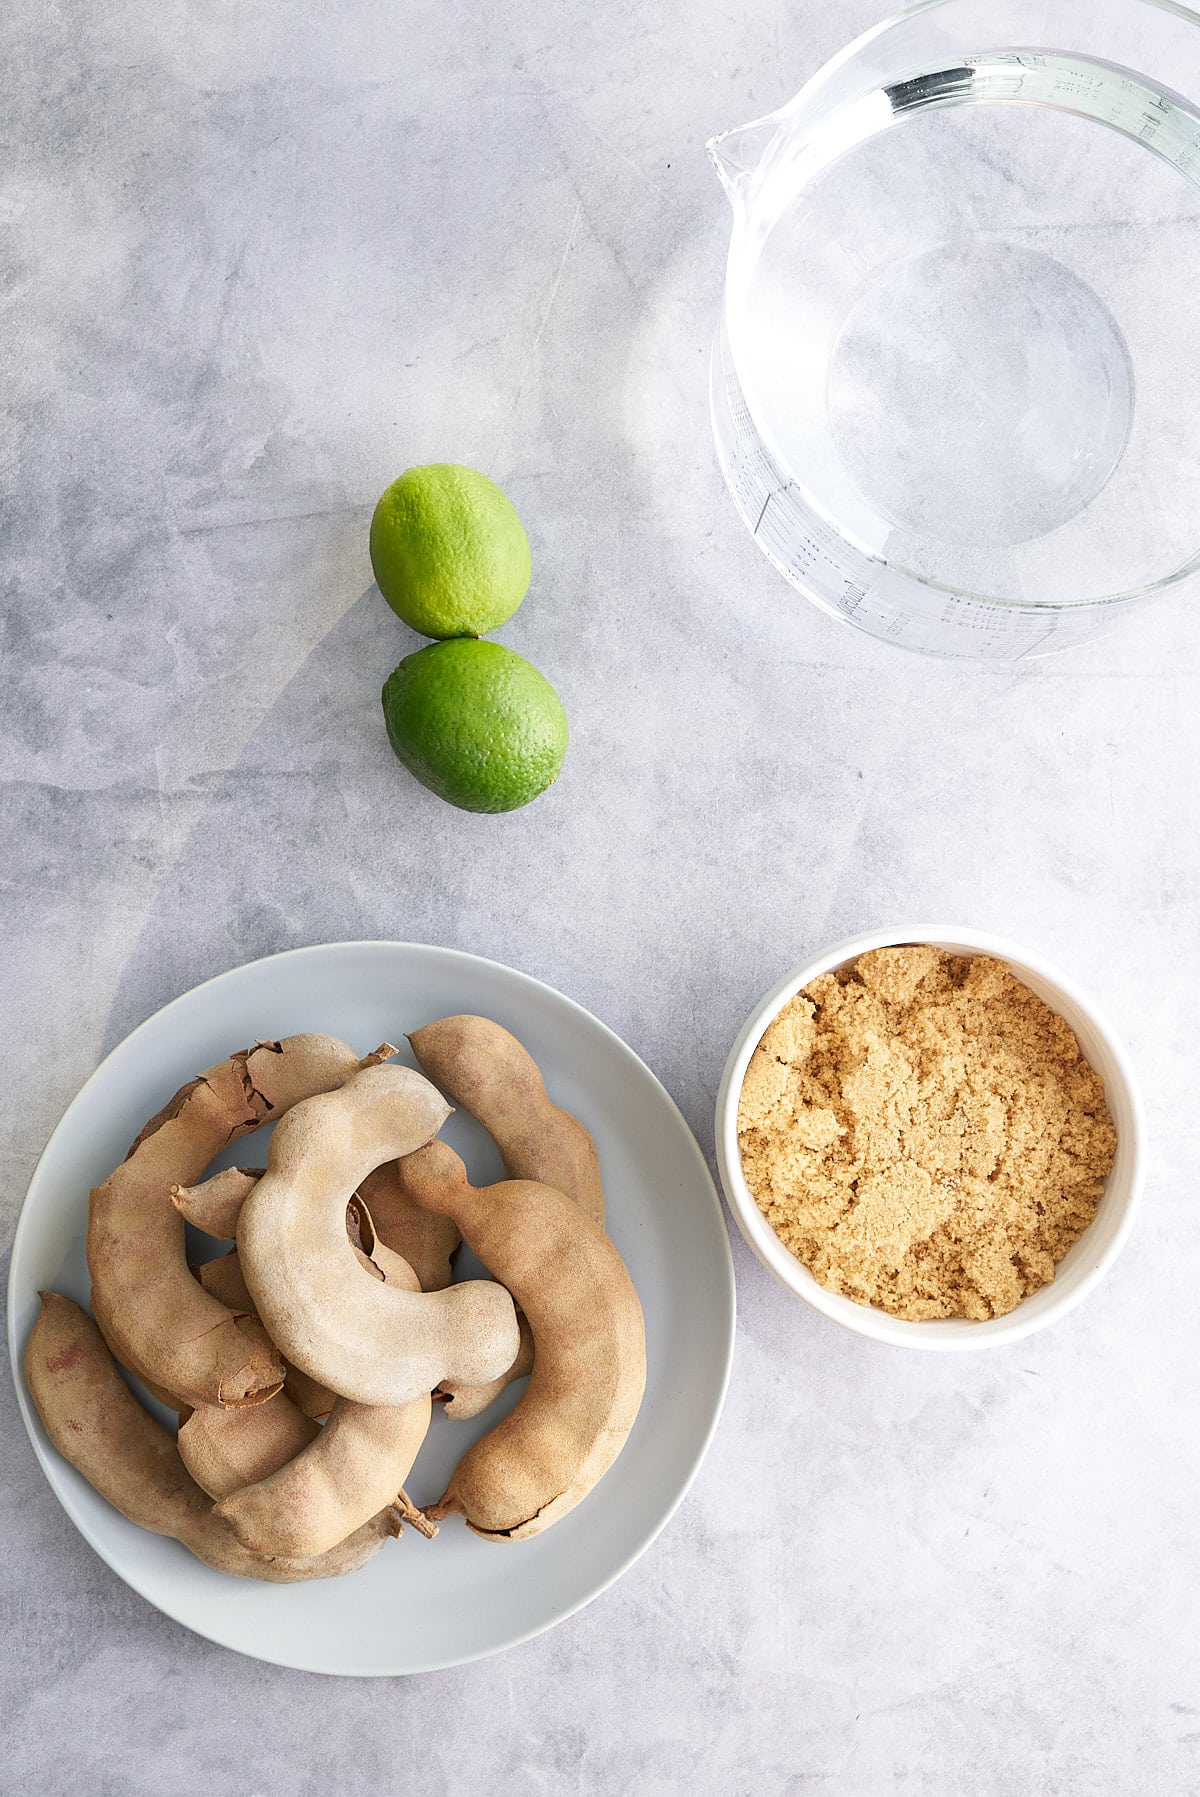
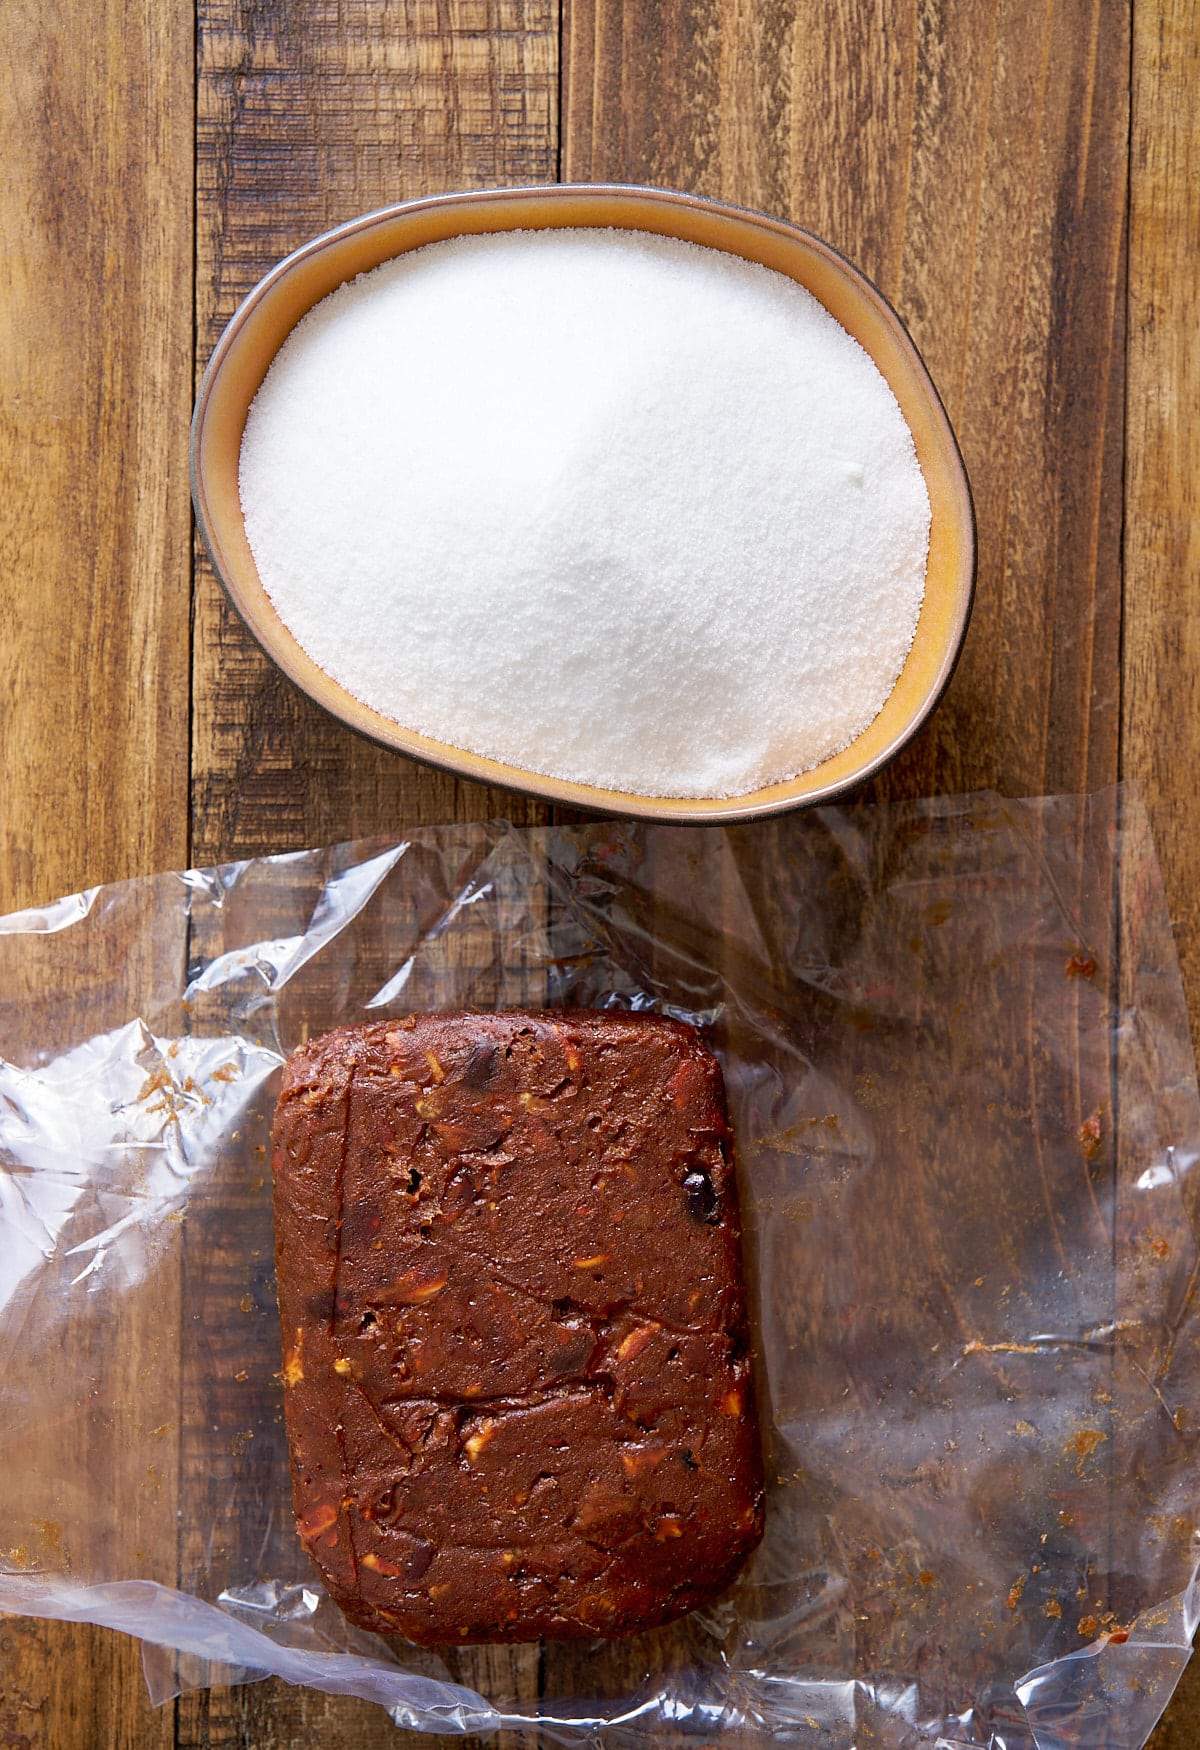
You'll find many recipes that call for additional ingredients to the tamarind candy. Still, I found that my favorite version involved two ingredients: tamarind pulp from sweet tamarind and sugar. That's it!
If you love the flavor of tamarind, be sure to try my tamarind juice recipe.
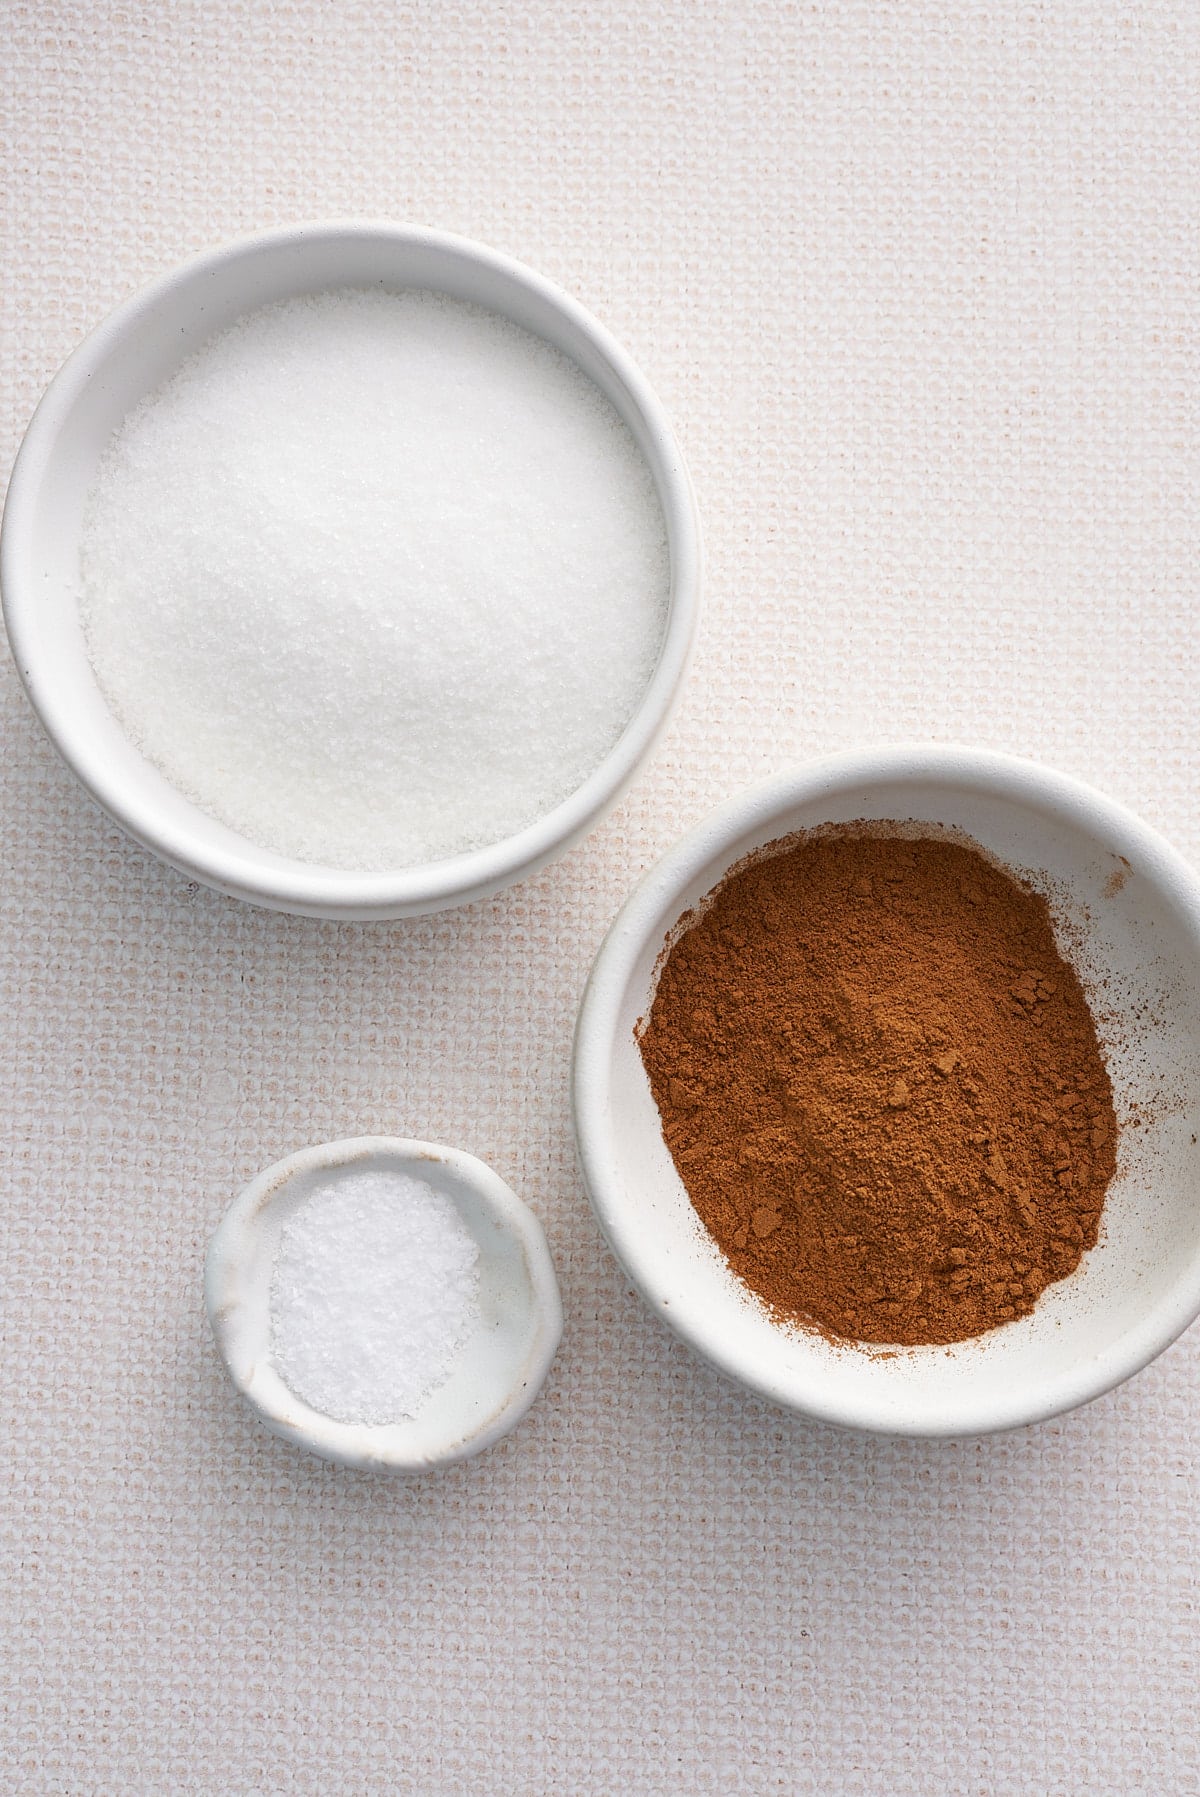
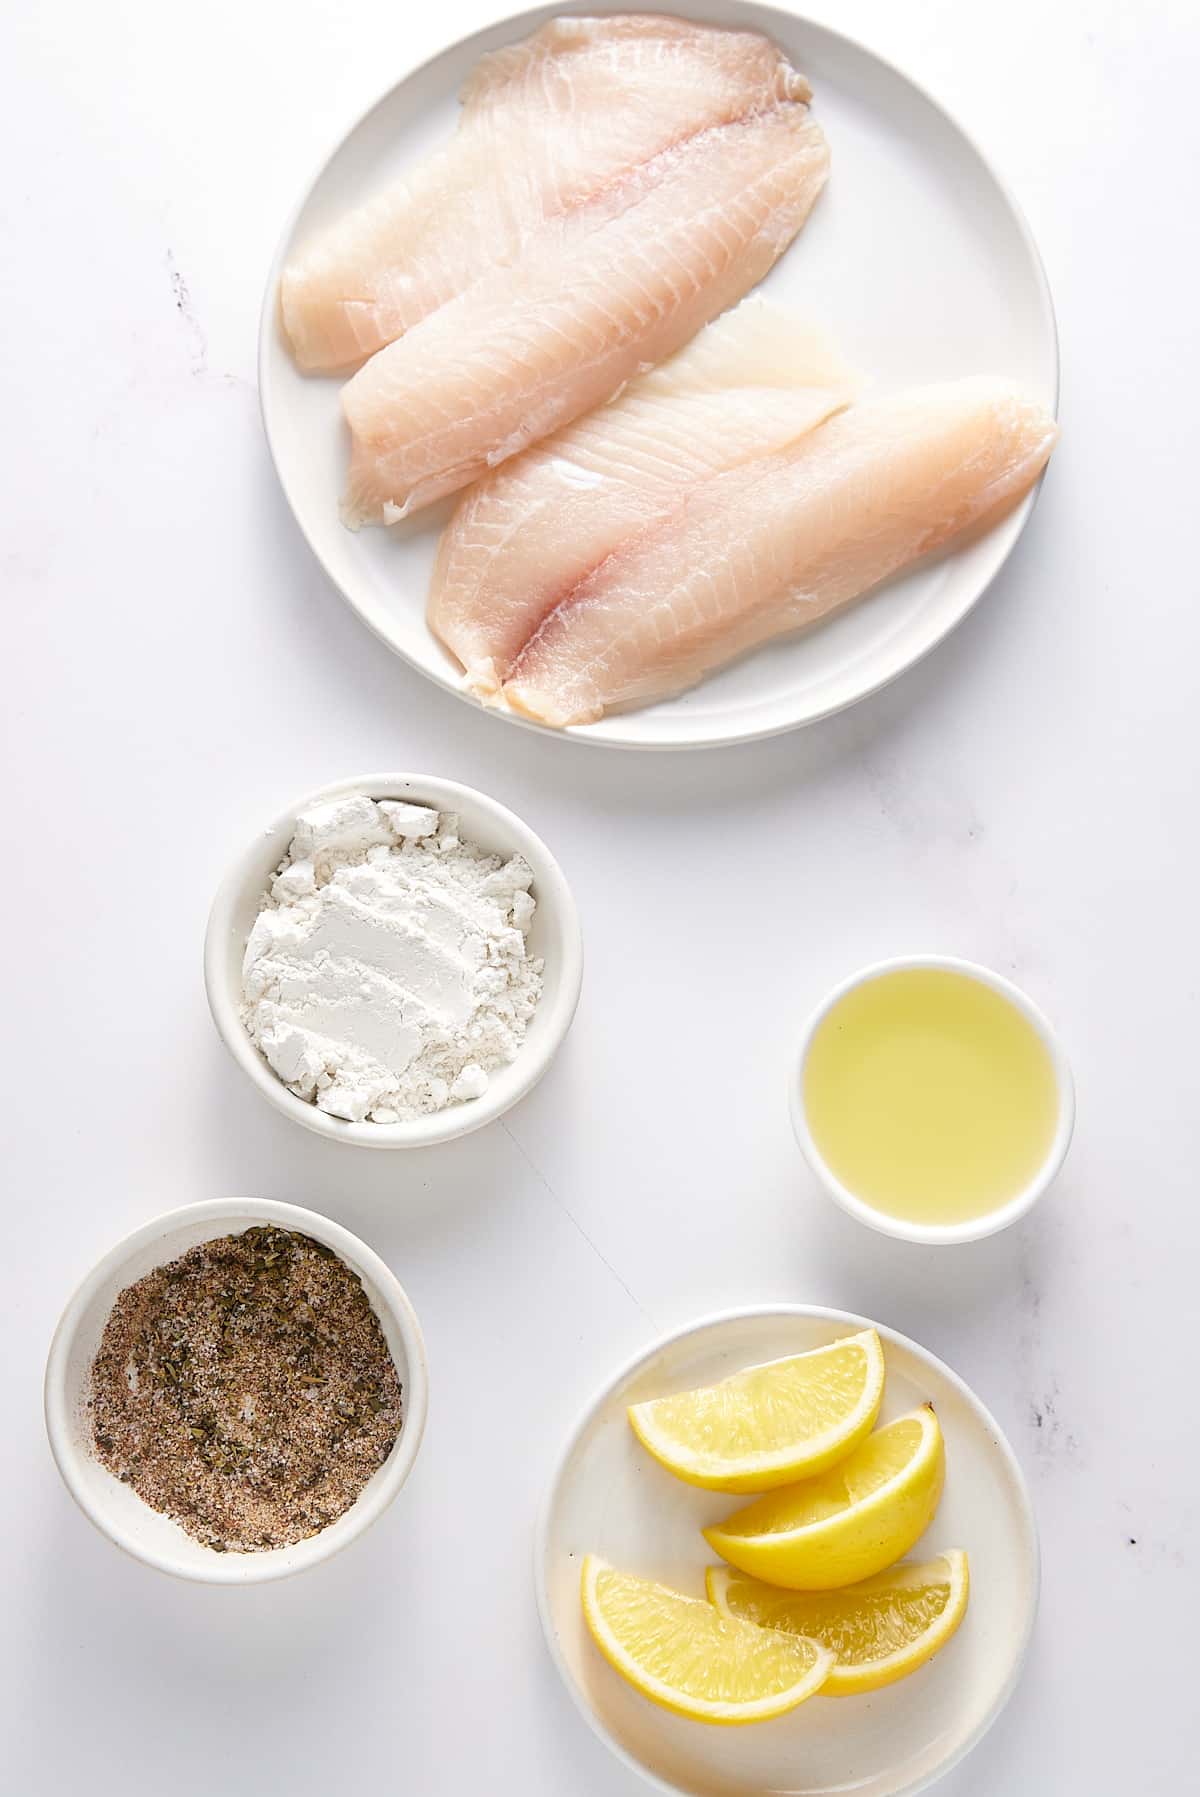
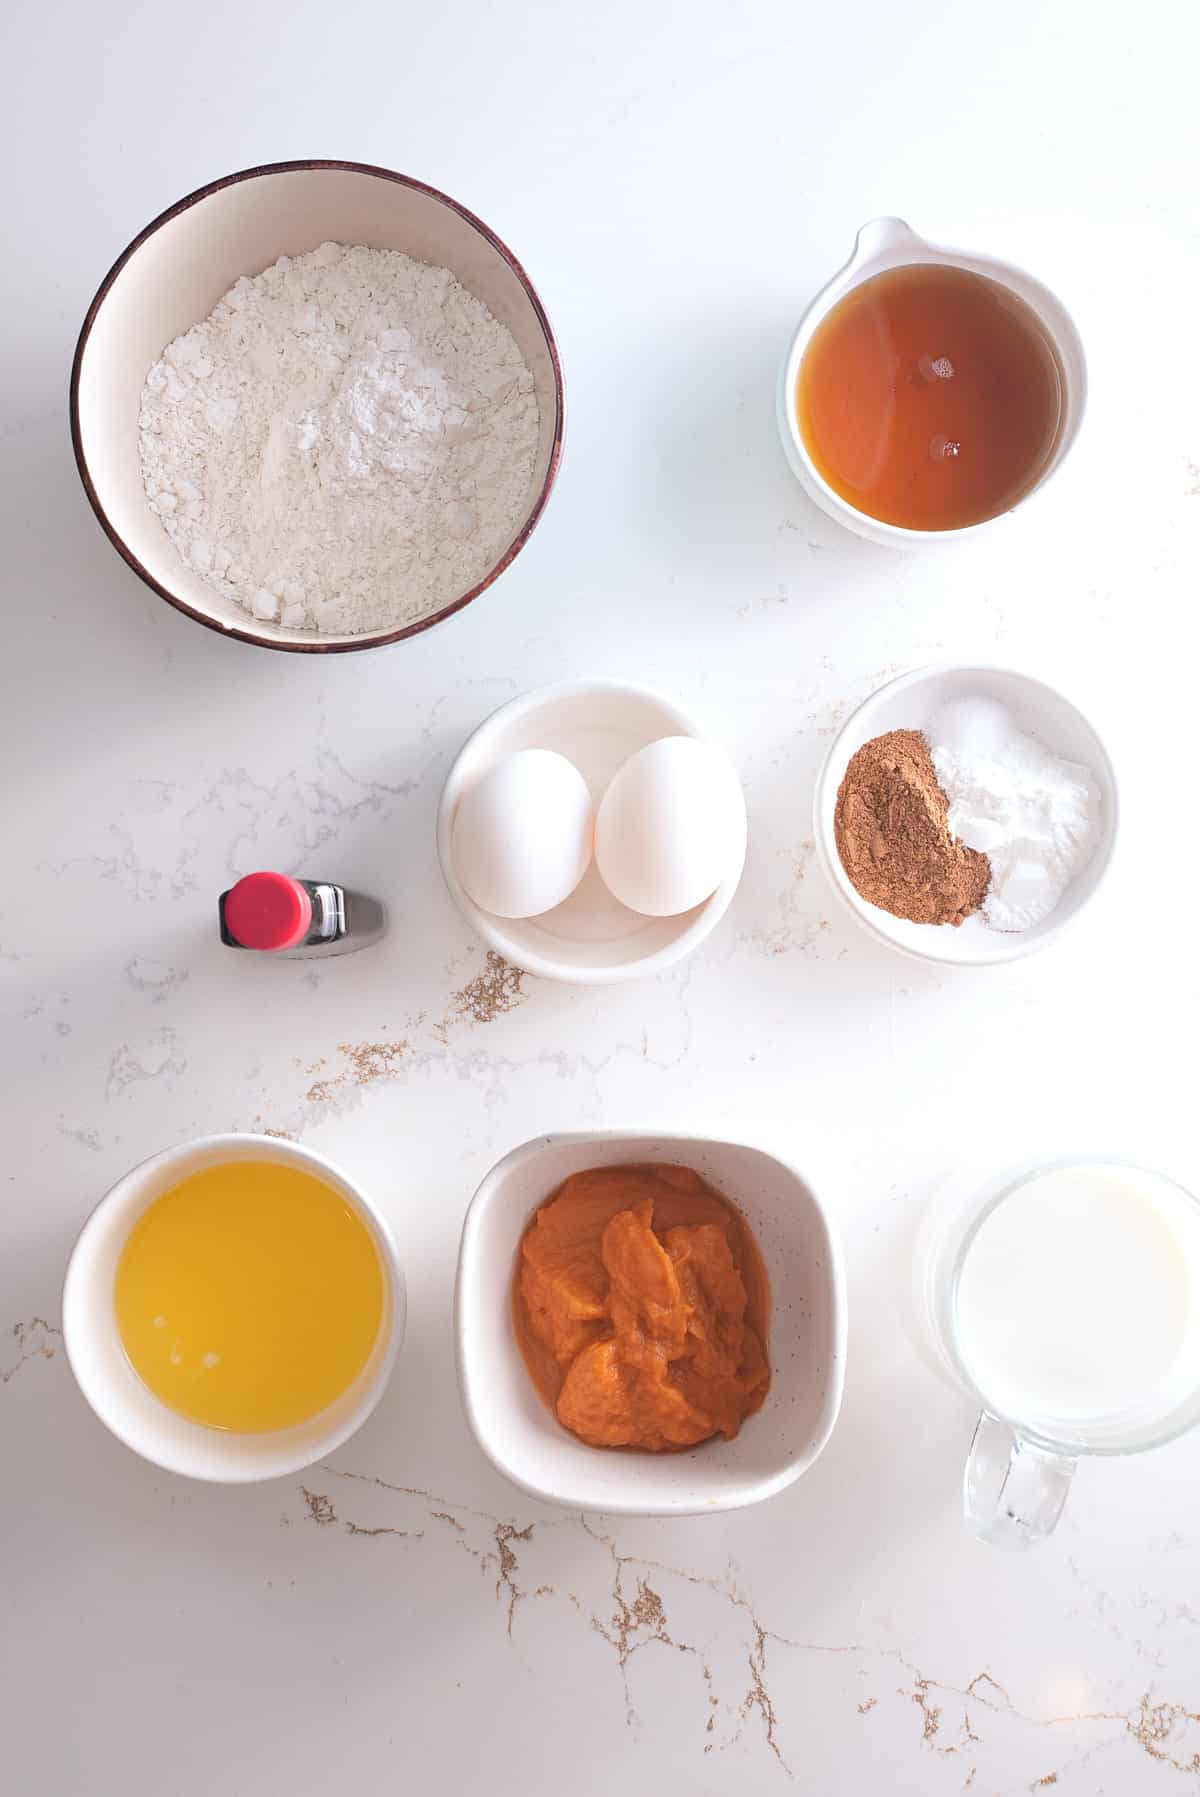
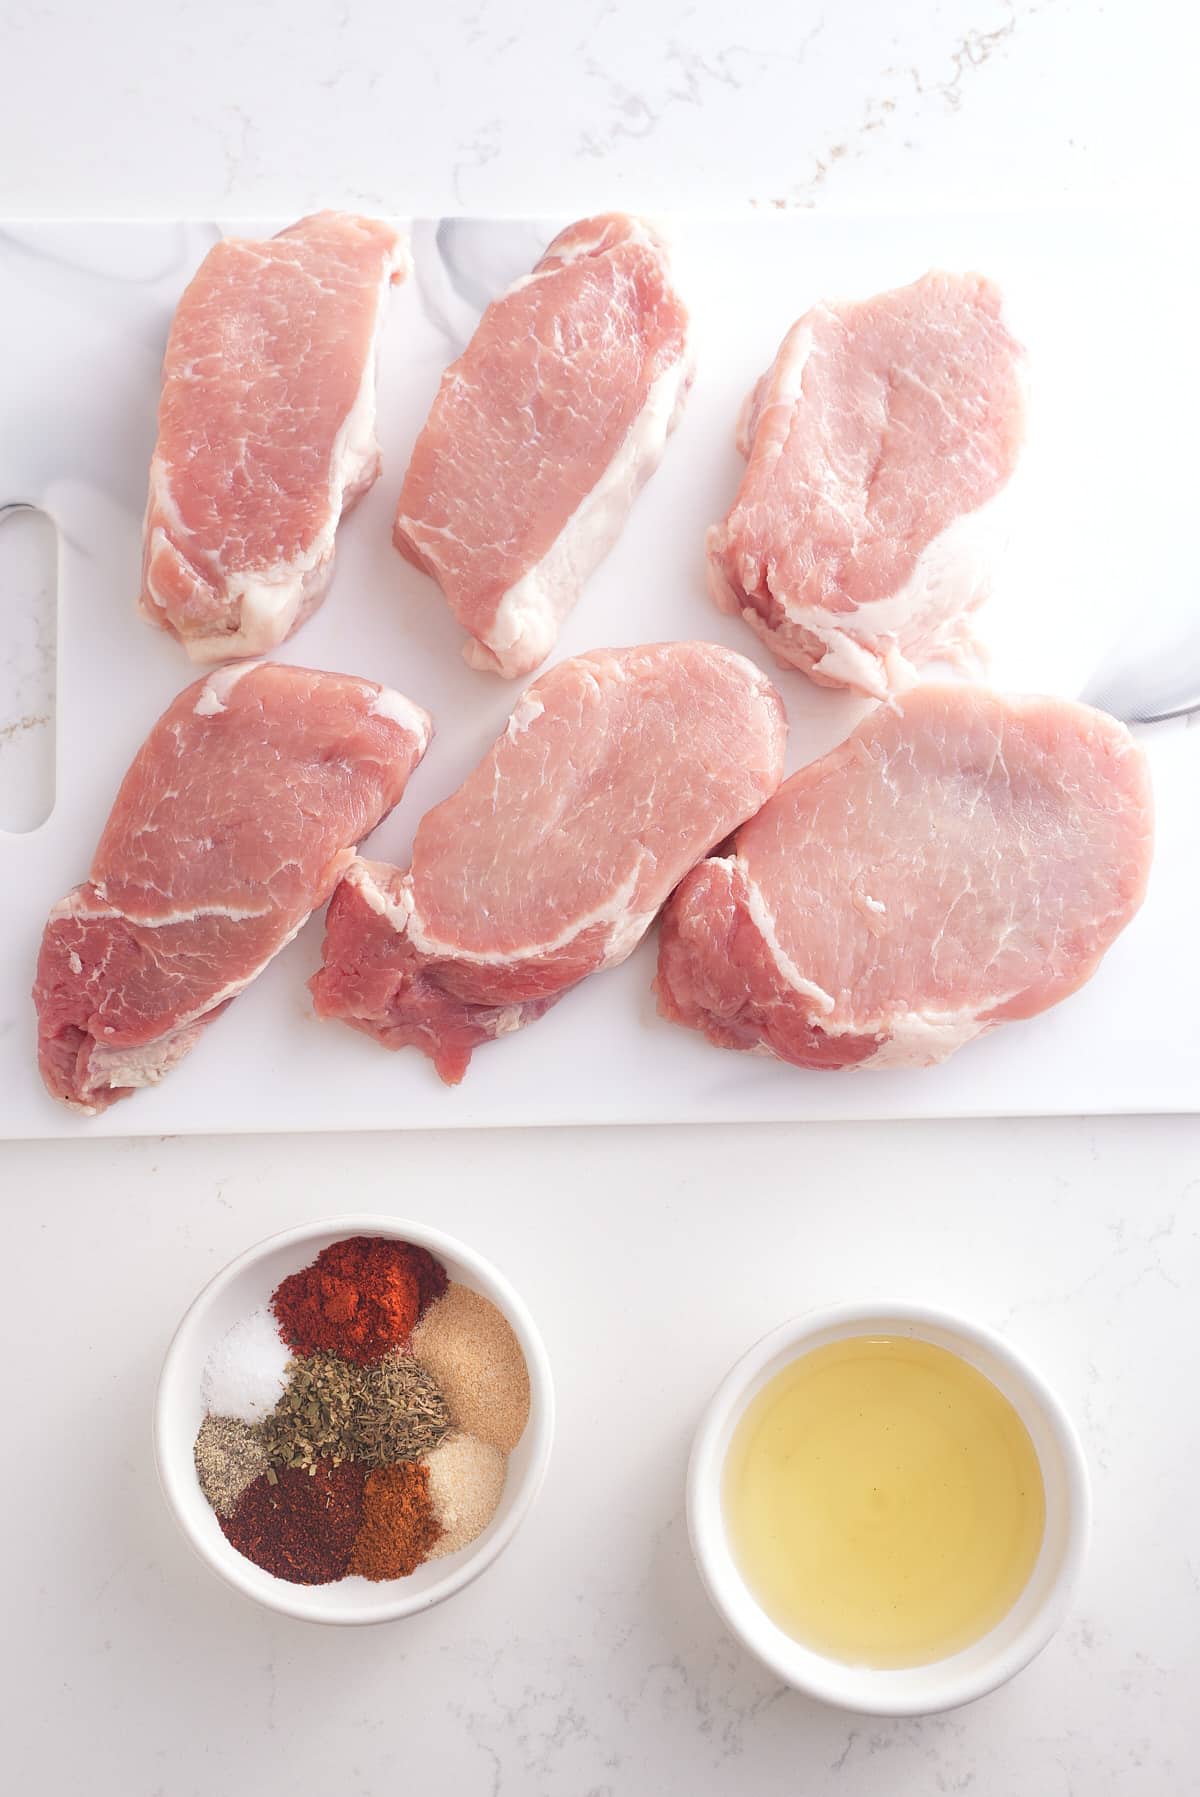
Tamarind Balls Ingredients
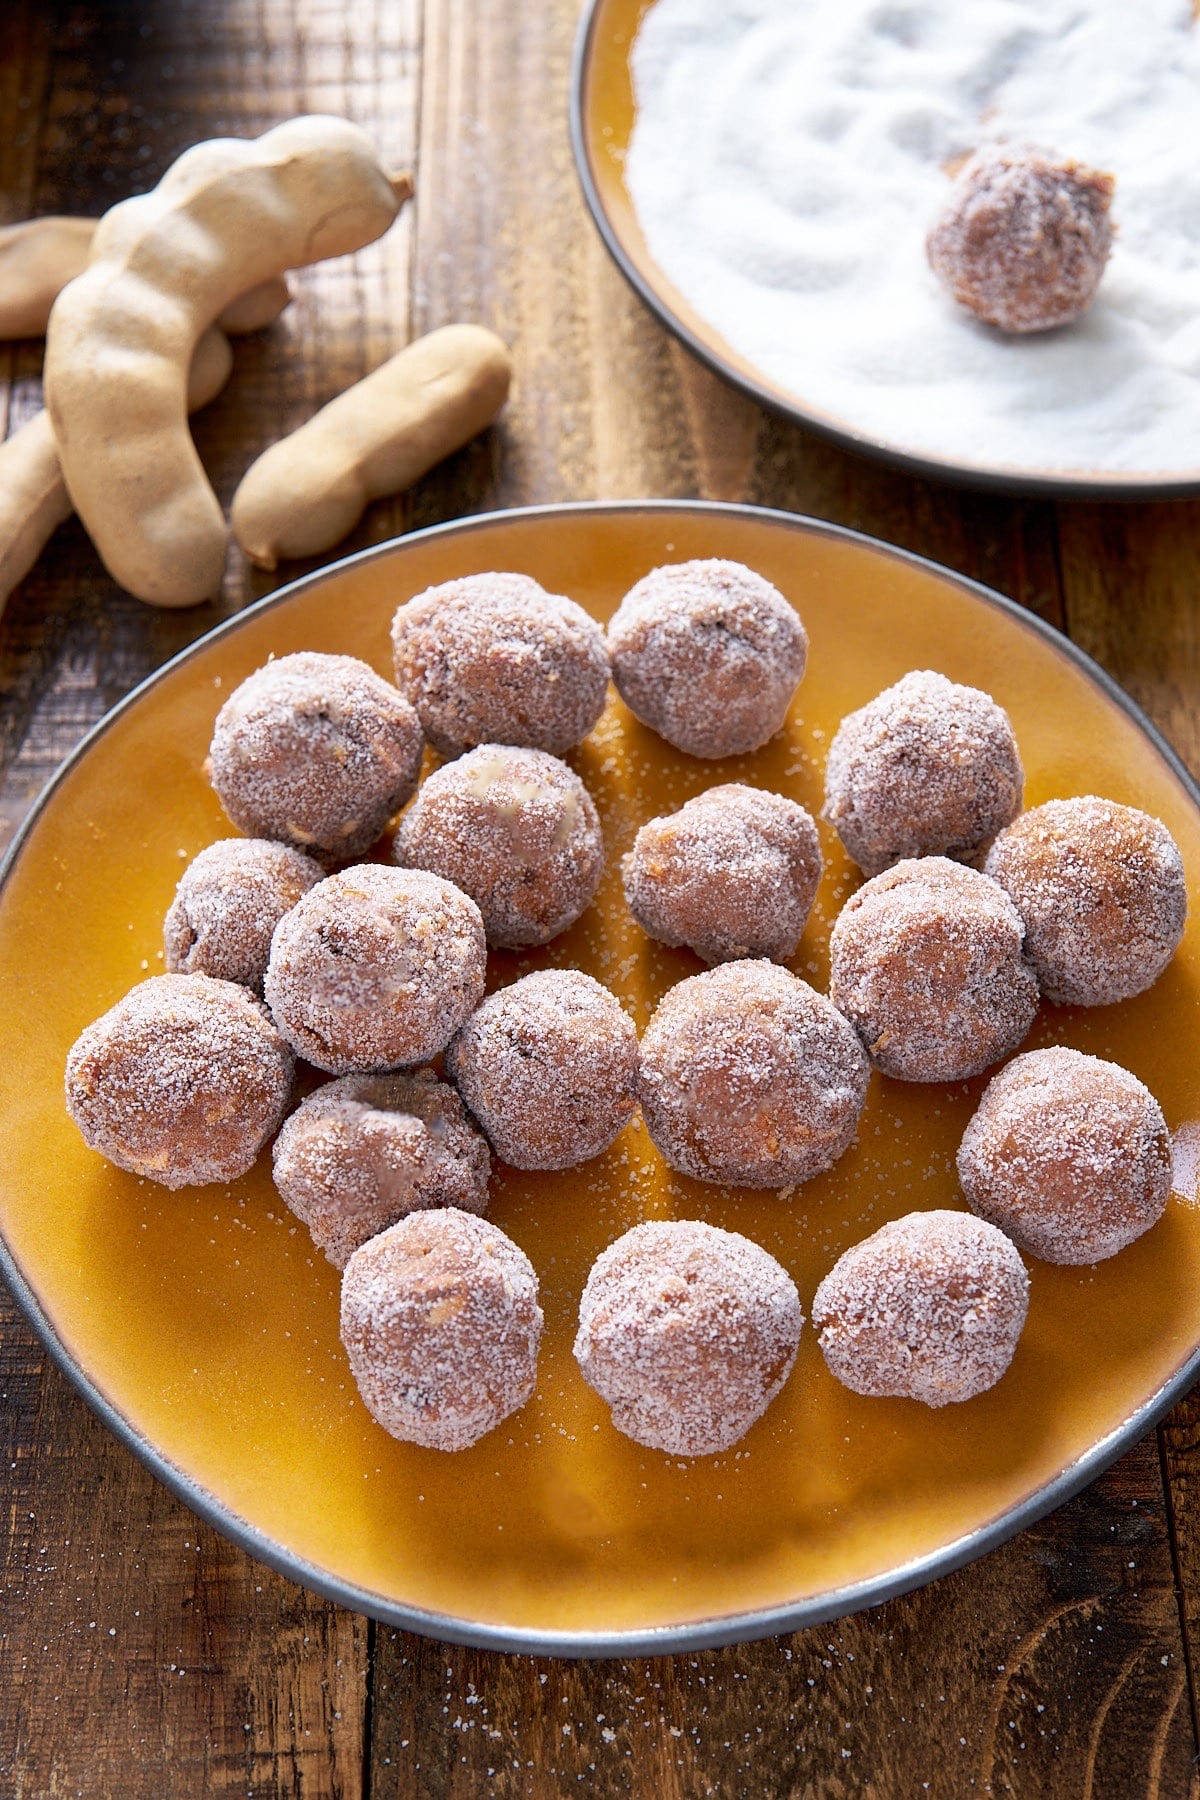
- Tamarind pulp: You can get the pulp from tamarind pods or buy the bulk. Just make sure the pulp is 100% tamarind with no added ingredients.
- Sugar—I use white granulated sugar for this recipe. You can substitute brown sugar if you prefer.
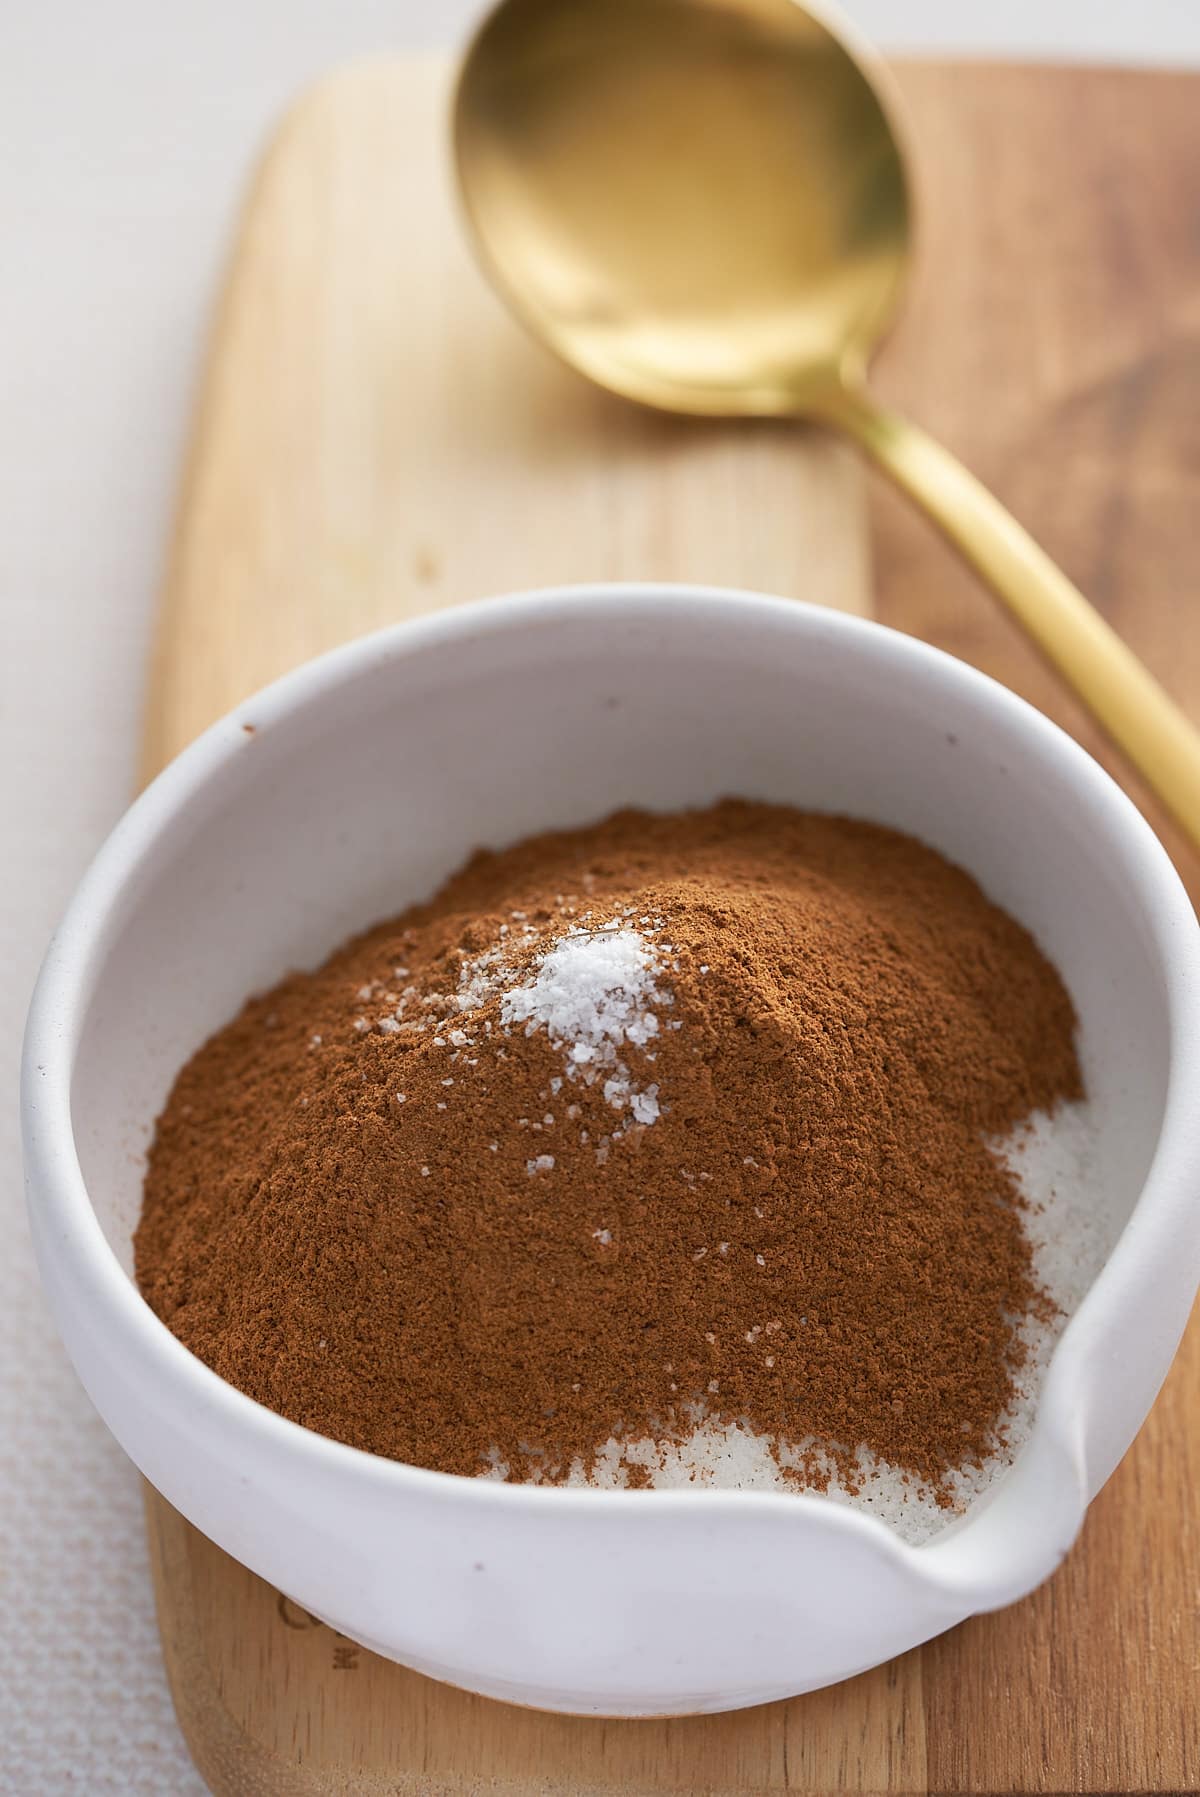
How to make Tamarind Candy Balls
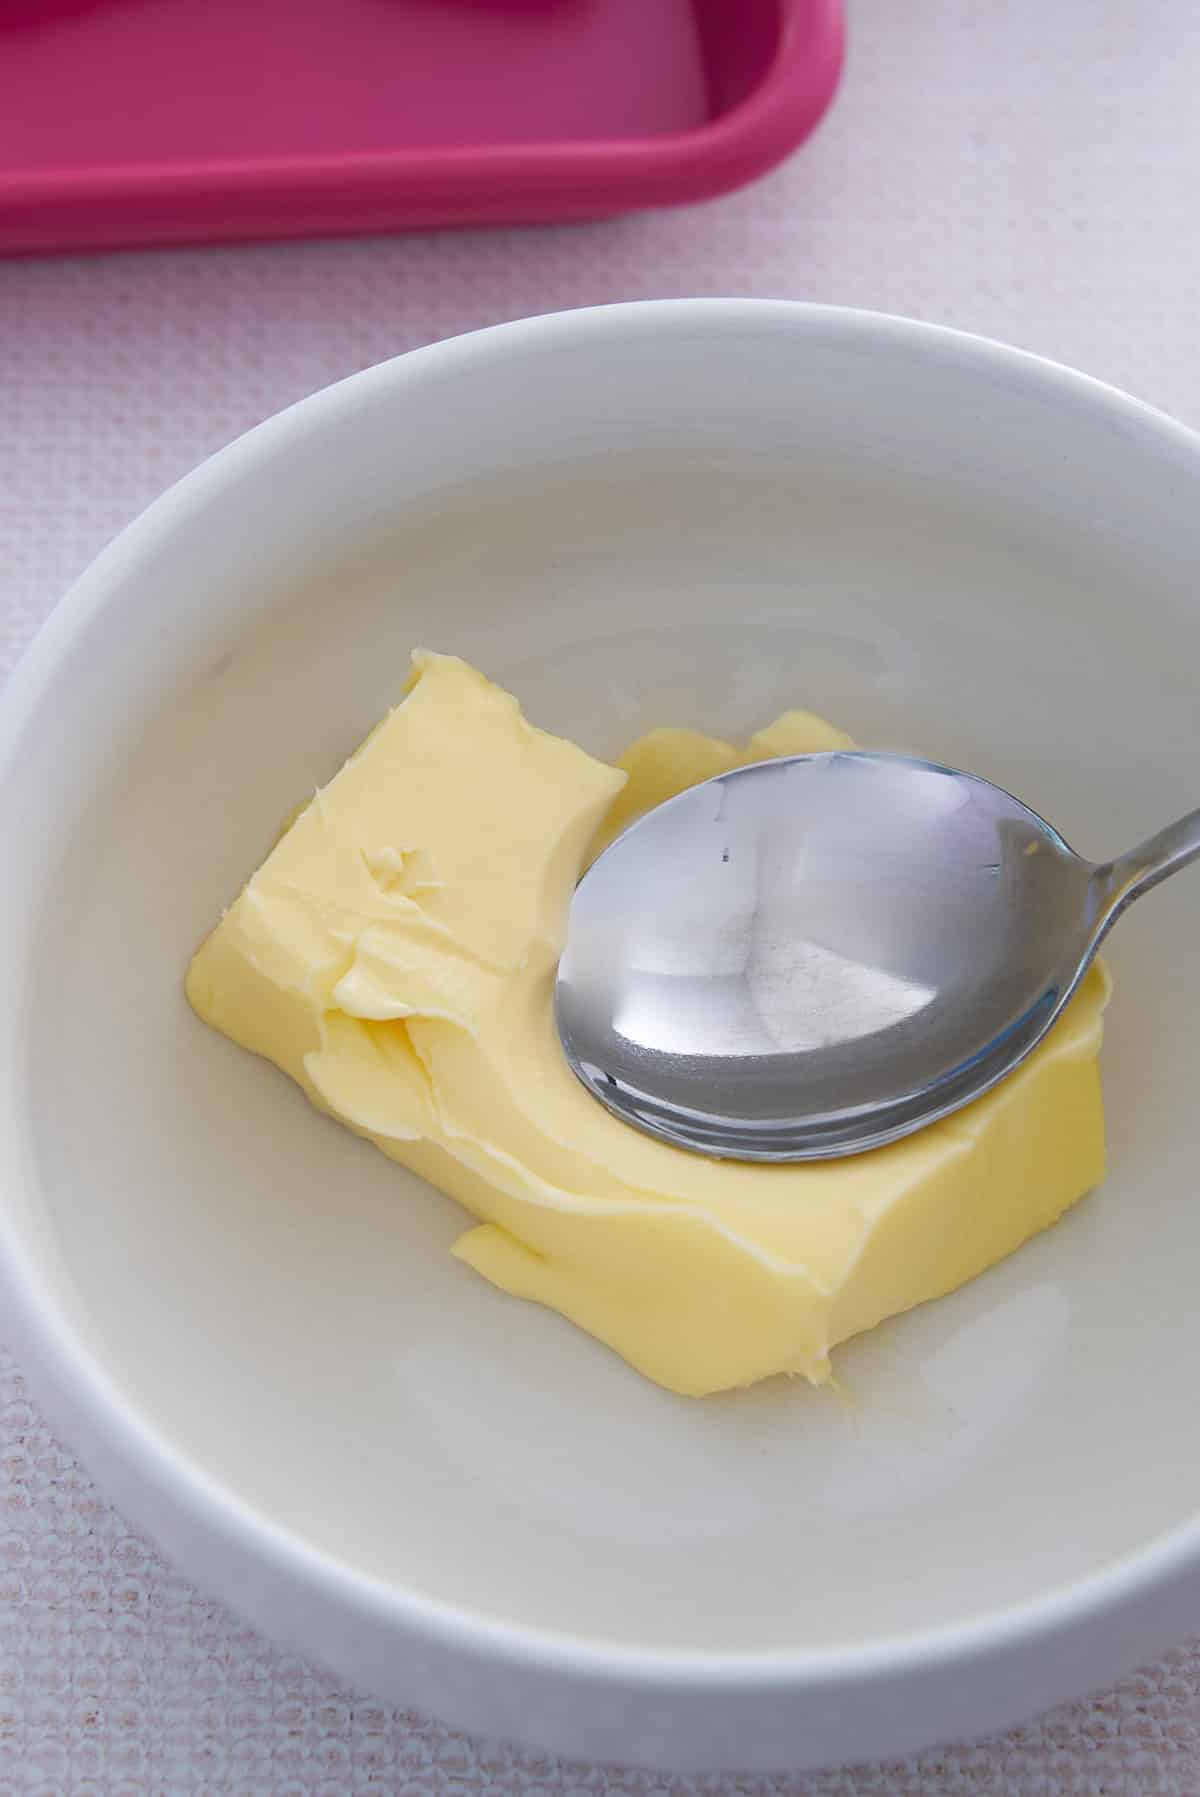
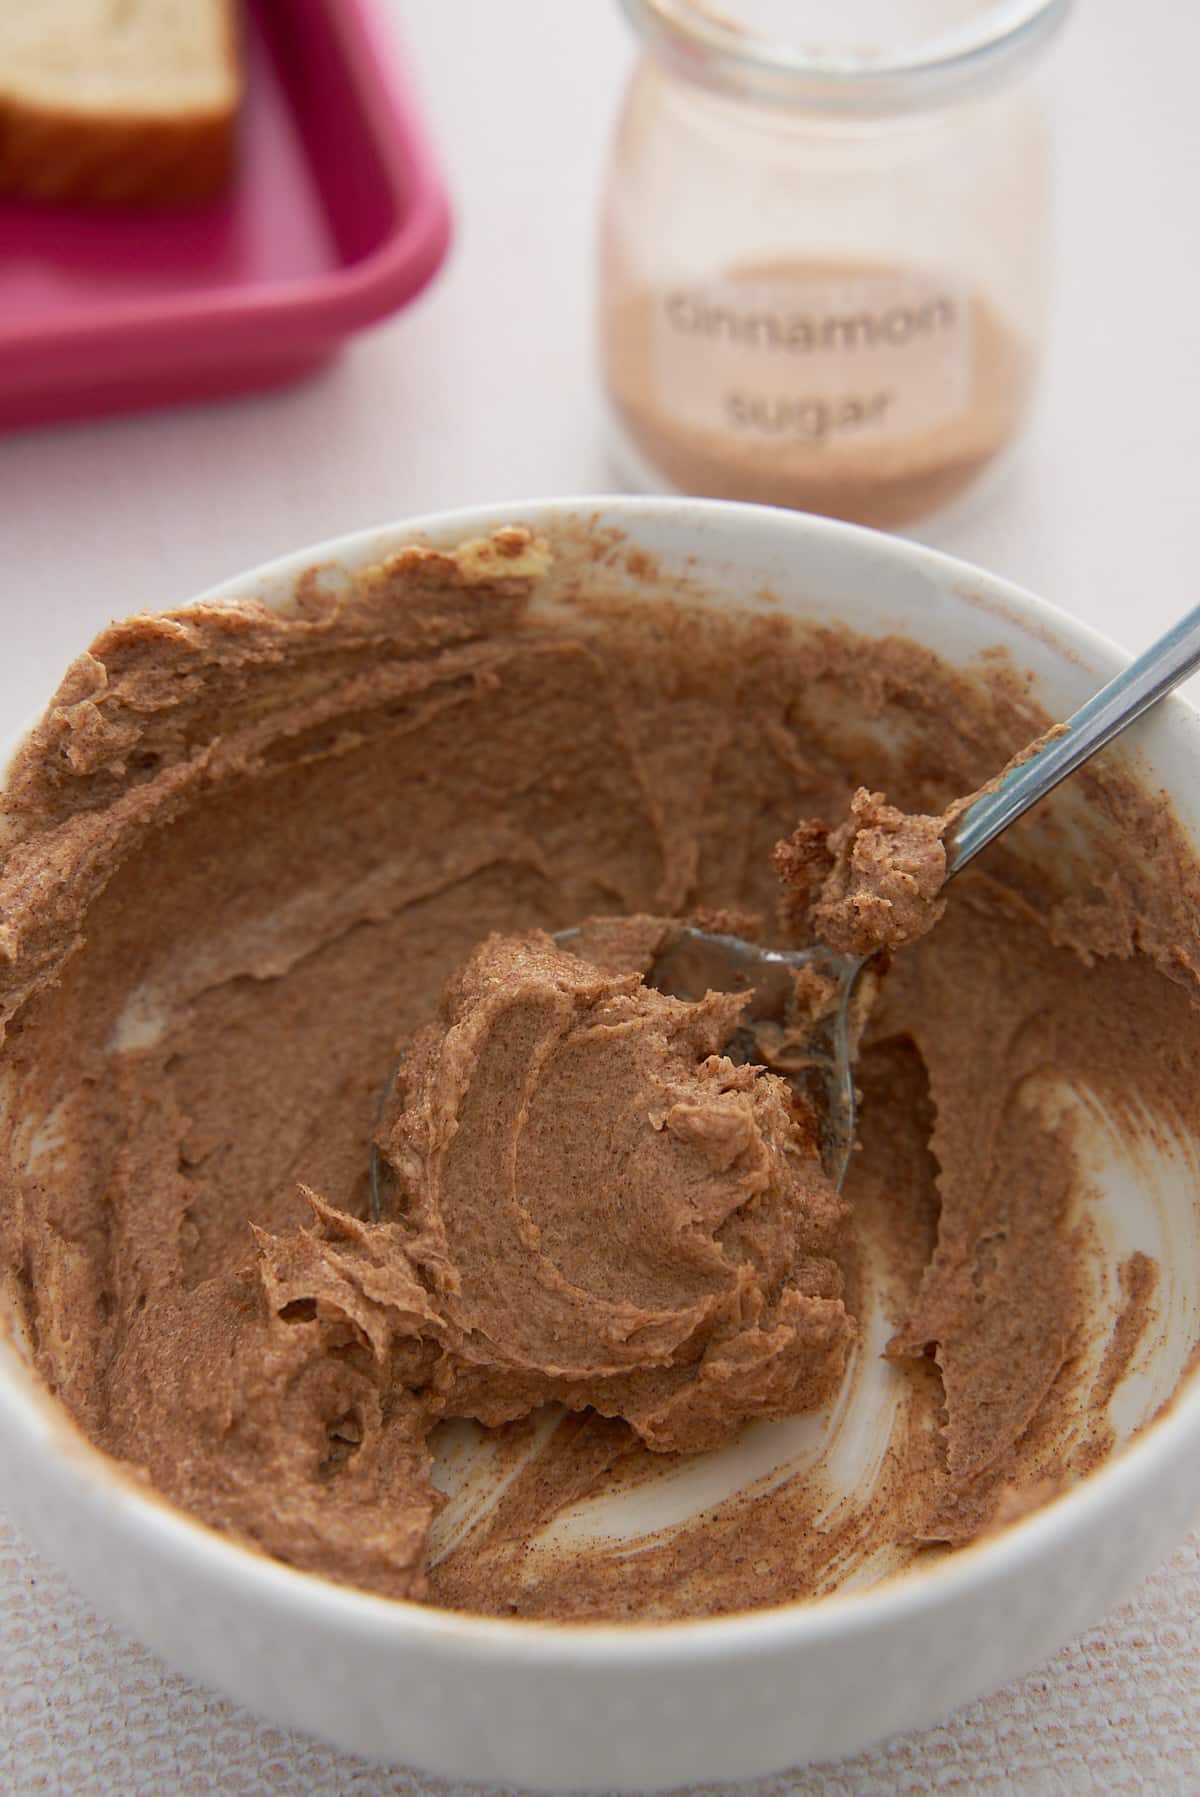
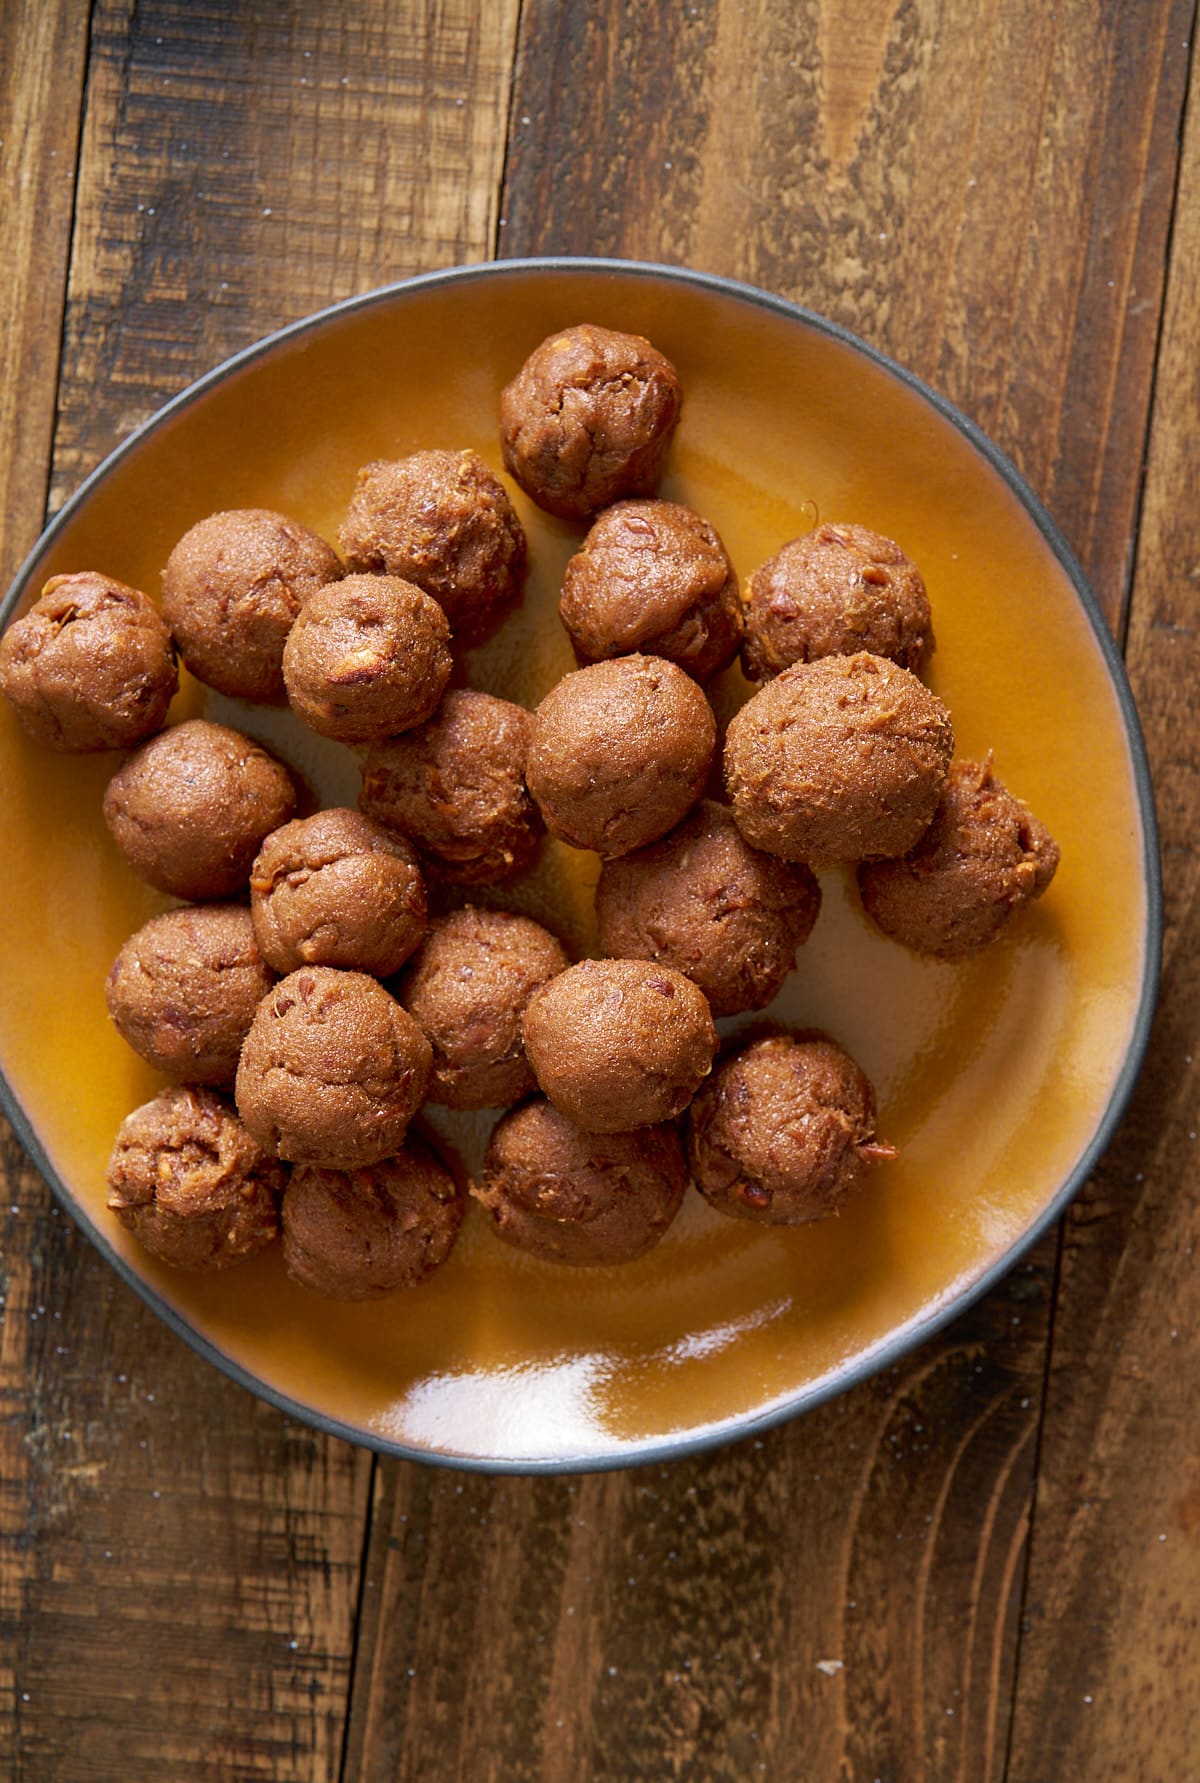
Add tamarind pulp, remove the seeds, and add part of the granulated sugar to a bowl and mash with a spoon or fork. Take small portions of the tamarind pulp and sugar mixture and roll them between your palms to form small balls, about the size of a marble or a little larger, depending on your preference.

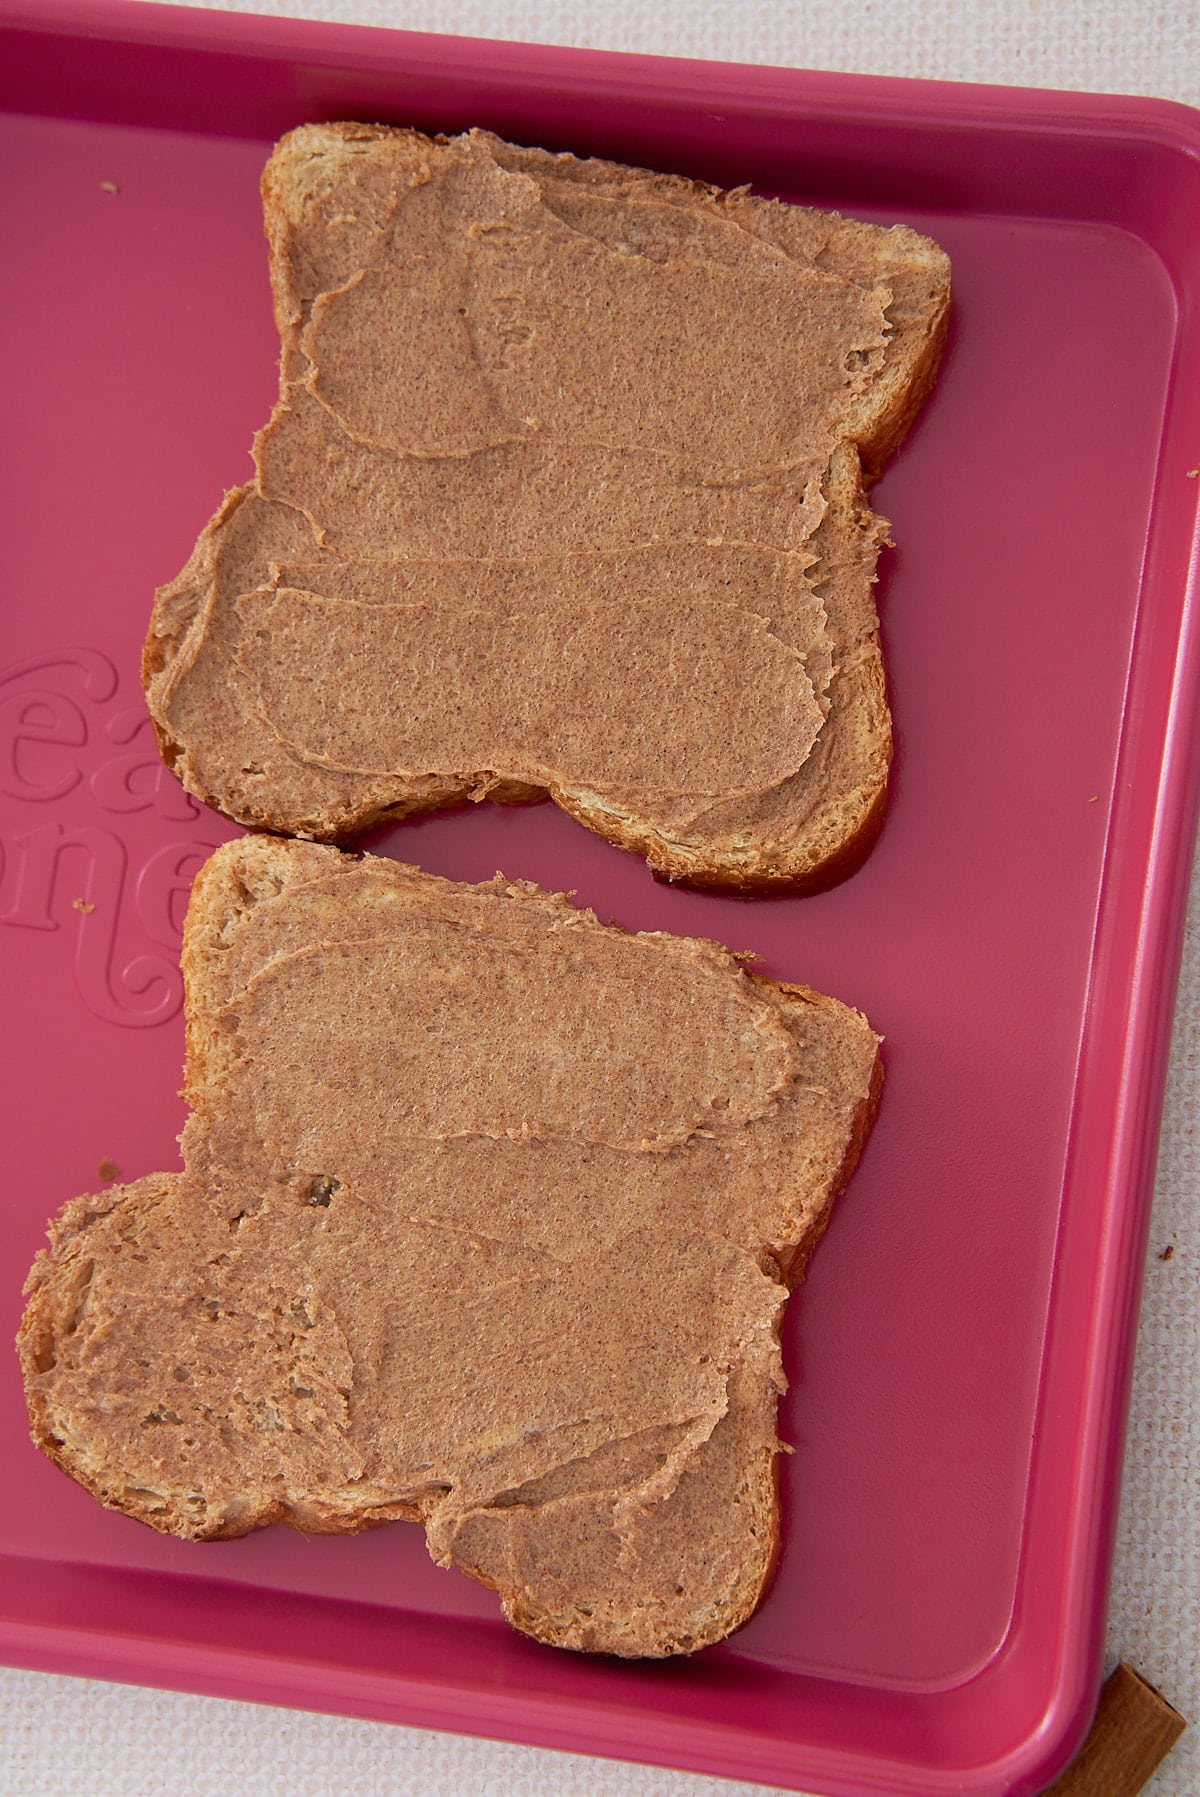
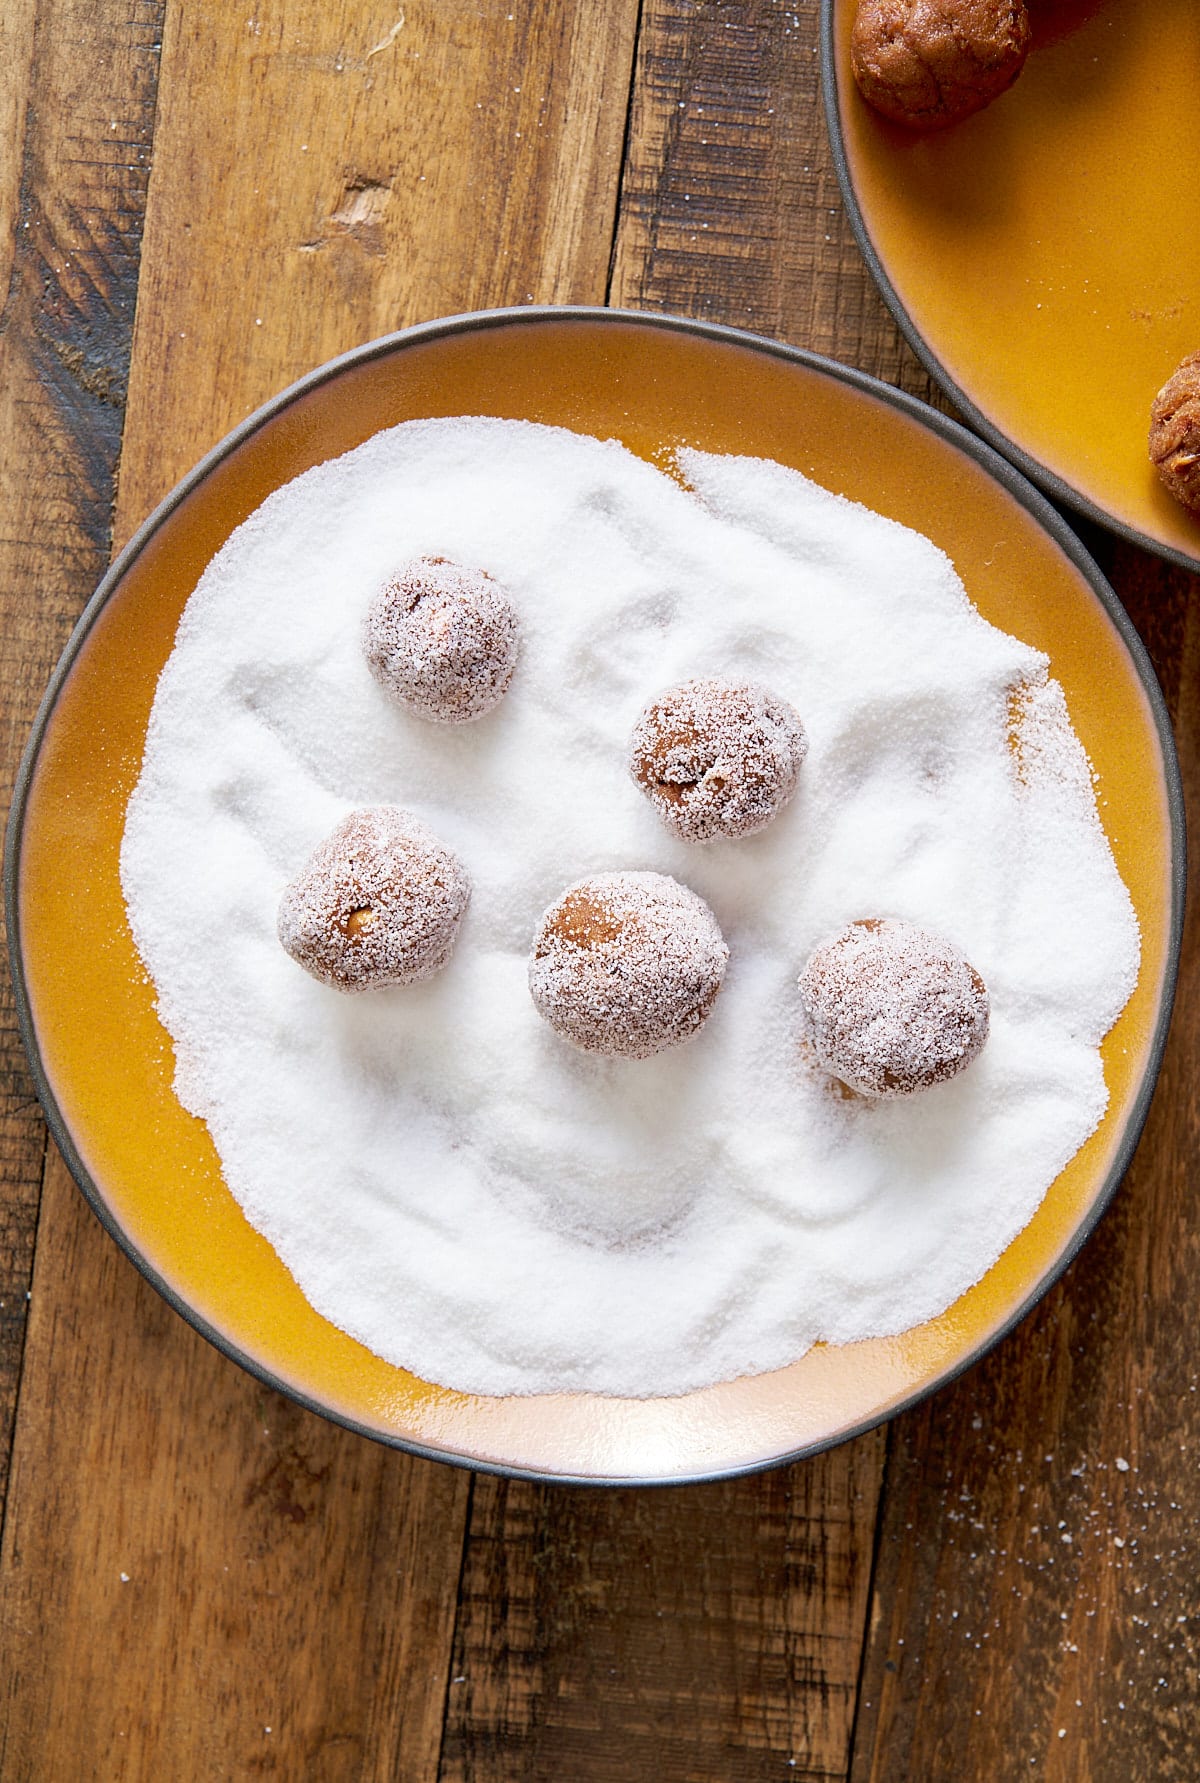
Add the remaining sugar to a flat surface, like a plate or a sheet pan. Roll the tamarind balls in granulated sugar until they are well coated.
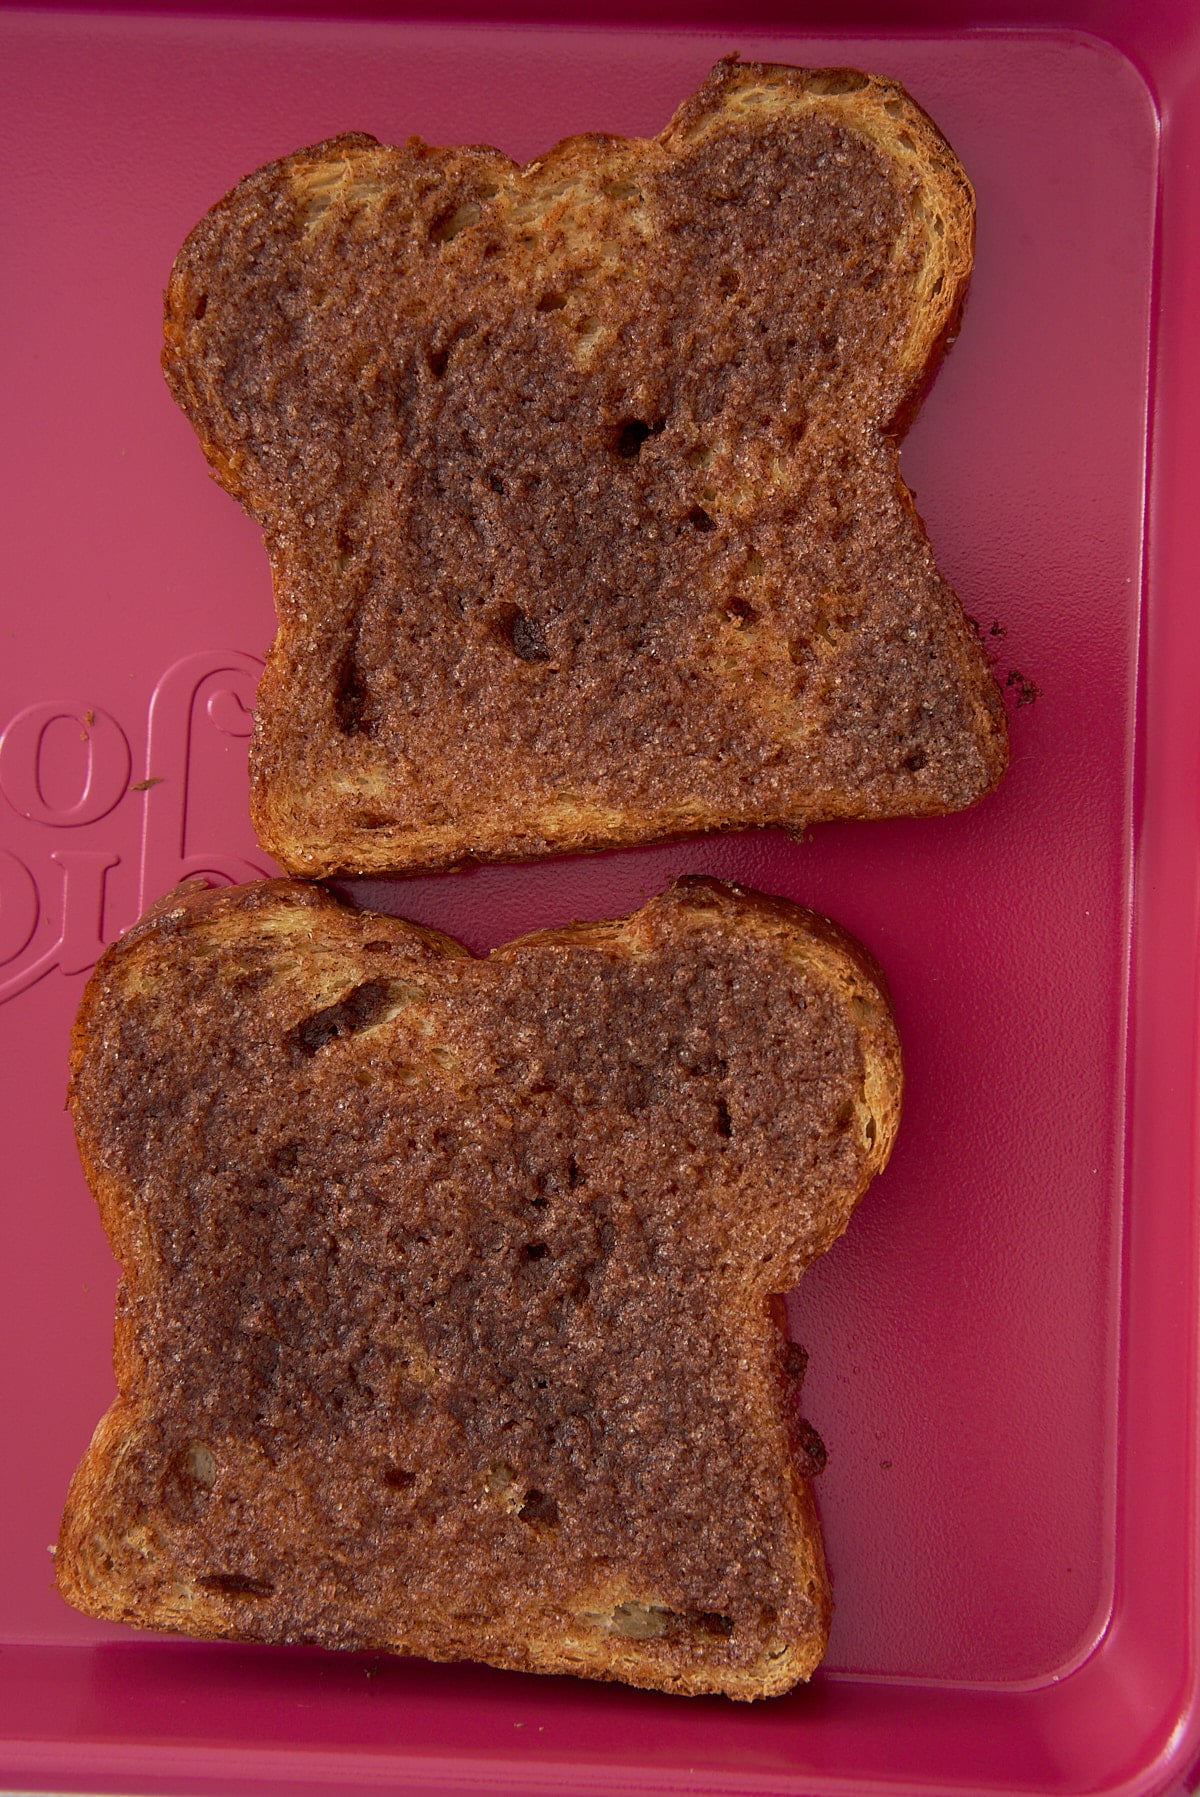
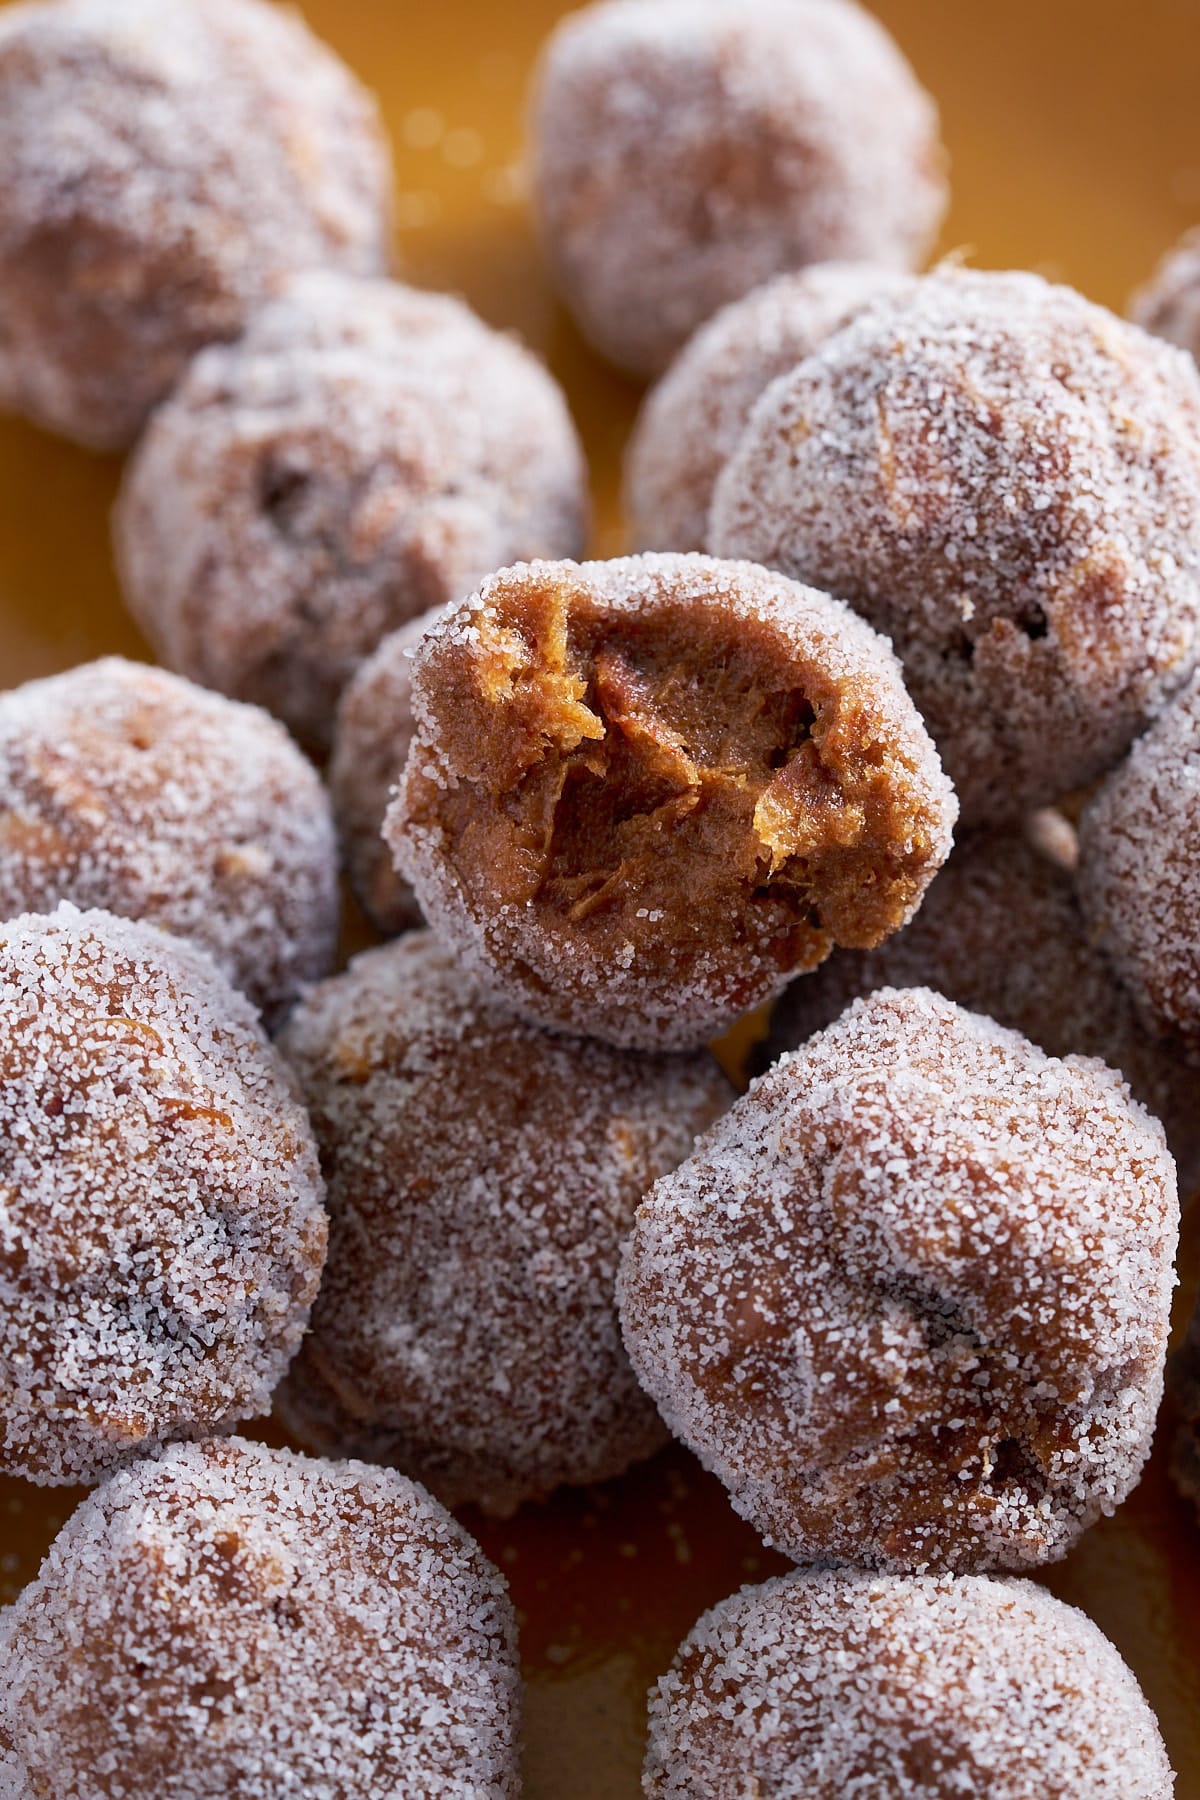
The tamarind balls can be eaten immediately, or you can set them for a few hours or overnight. Allowing them to sit will give them a firmer texture and more crystallized sugar coating.
Serve and enjoy.
What is tamarind
Tamarind is a tropical fruit native to Africa and Asia. It is known for its sweet and sour flavor profile and comes in a pod-like form with tangy pulp surrounding seeds. Farmers grow it in warm climates worldwide.
Where can you buy fresh tamarind?
I bought mine at the local international market. You can sometimes find it in specialty online retailers. You'll sometimes find them in pods, but you can also find the tamarind pulp. You can also find tamarind paste in stores, but avoid using it in this recipe, as it tends to have added ingredients.
You want to ensure you're only using 100% tamarind for this recipe.
How to Store
Tamarind balls can be stored in an airtight container at room temperature for up to a week or in the refrigerator for up to a month.
Ways to use tamarind
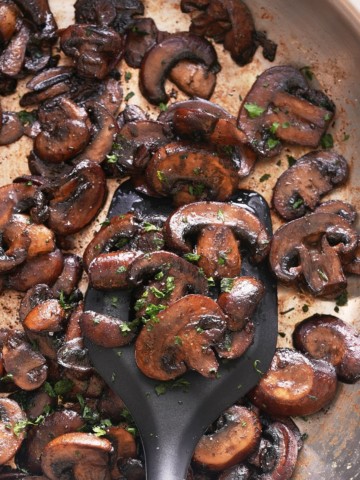
Tamarind is versatile in the kitchen. Cooks commonly use it in sauces and marinades for dishes like pad thai and Indian curries.
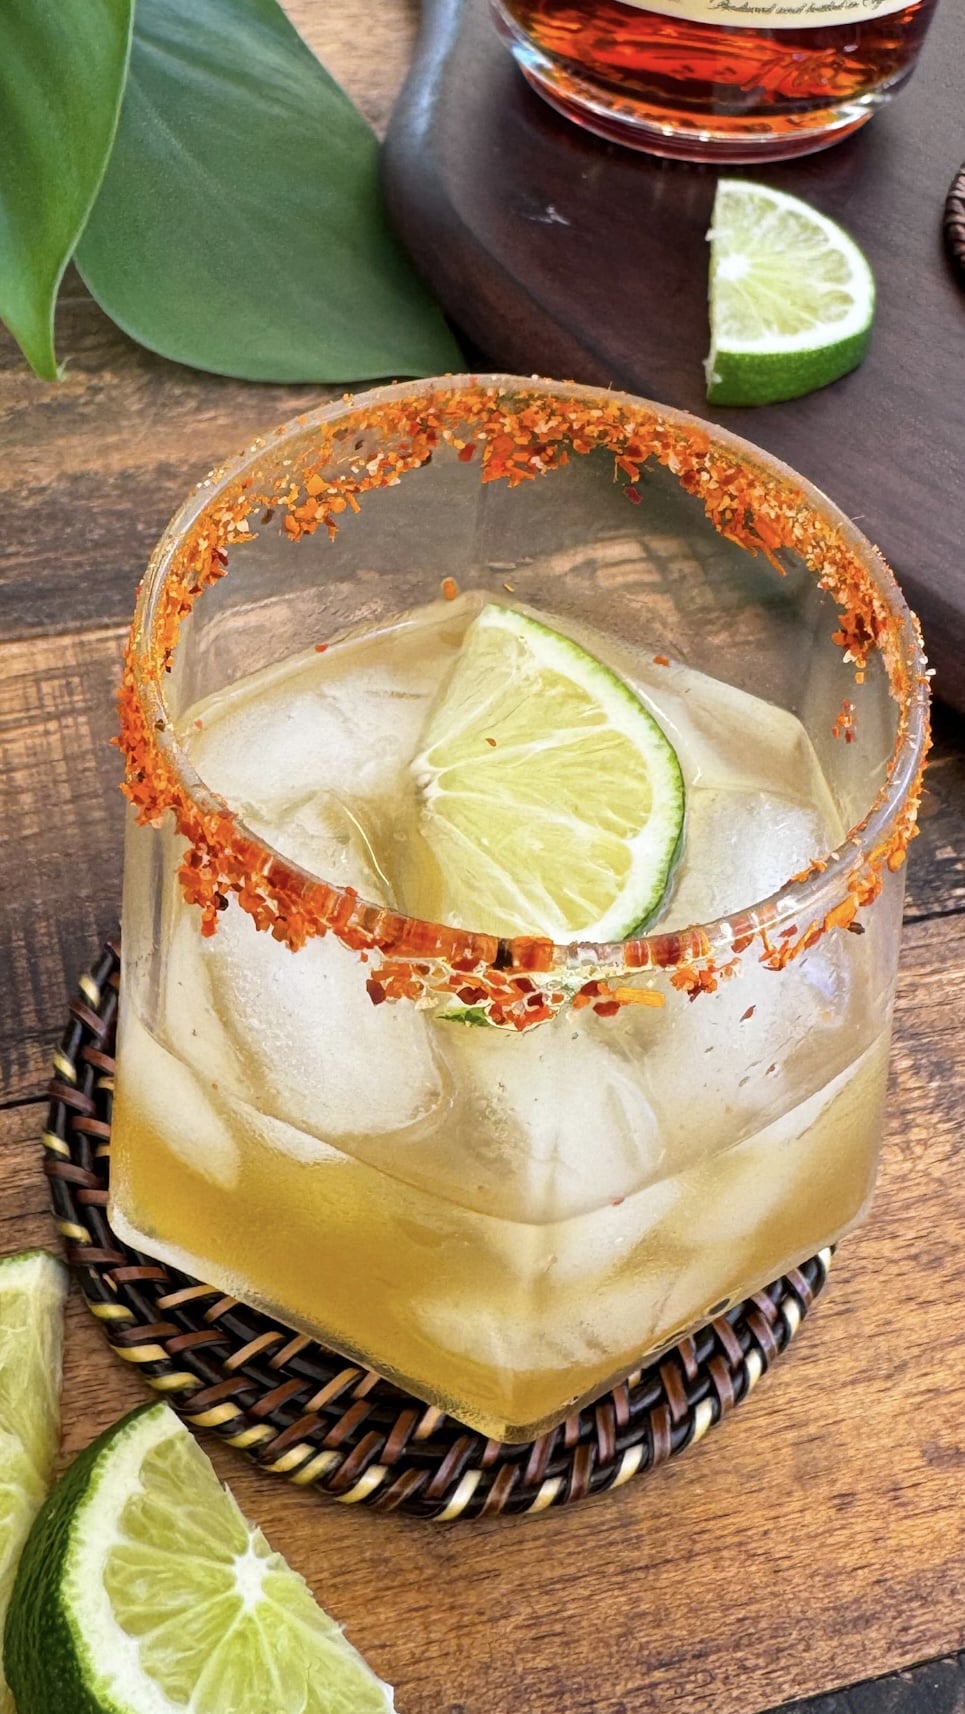
Chefs and home cooks also use it in candies and sweet treats, refreshing beverages such as agua fresca and margaritas, and jams and chutneys.
I hope you enjoy this tamarind balls recipe as much as we do. If you try a recipe from my blog, please leave a rating and comment on how it turned out. I appreciate your feedback!

Tamarind Balls
Ingredients
- 16 ounces seedless tamarind pulp from tamarind pods or store-bought seedless tamarind pulp
- 1 ½ cups white granulated sugar
Instructions
- Add tamarind pulp and 1 cup granulated sugar to a bowl and mash together with a spoon or fork. Take small amounts of the tamarind and sugar mix and shape them into small balls by rolling them in your hands. Make them the size of a marble or slightly bigger, as you like.
- Add the remaining sugar to a flat surface, like a plate or a sheet pan. Roll the tamarind balls in granulated sugar until they're well-coated.
- You can eat the tamarind balls immediately, or you can let them set for a few hours or overnight. Allowing them to set will give them a firmer texture and more crystallized sugar coating. Enjoy.
Notes
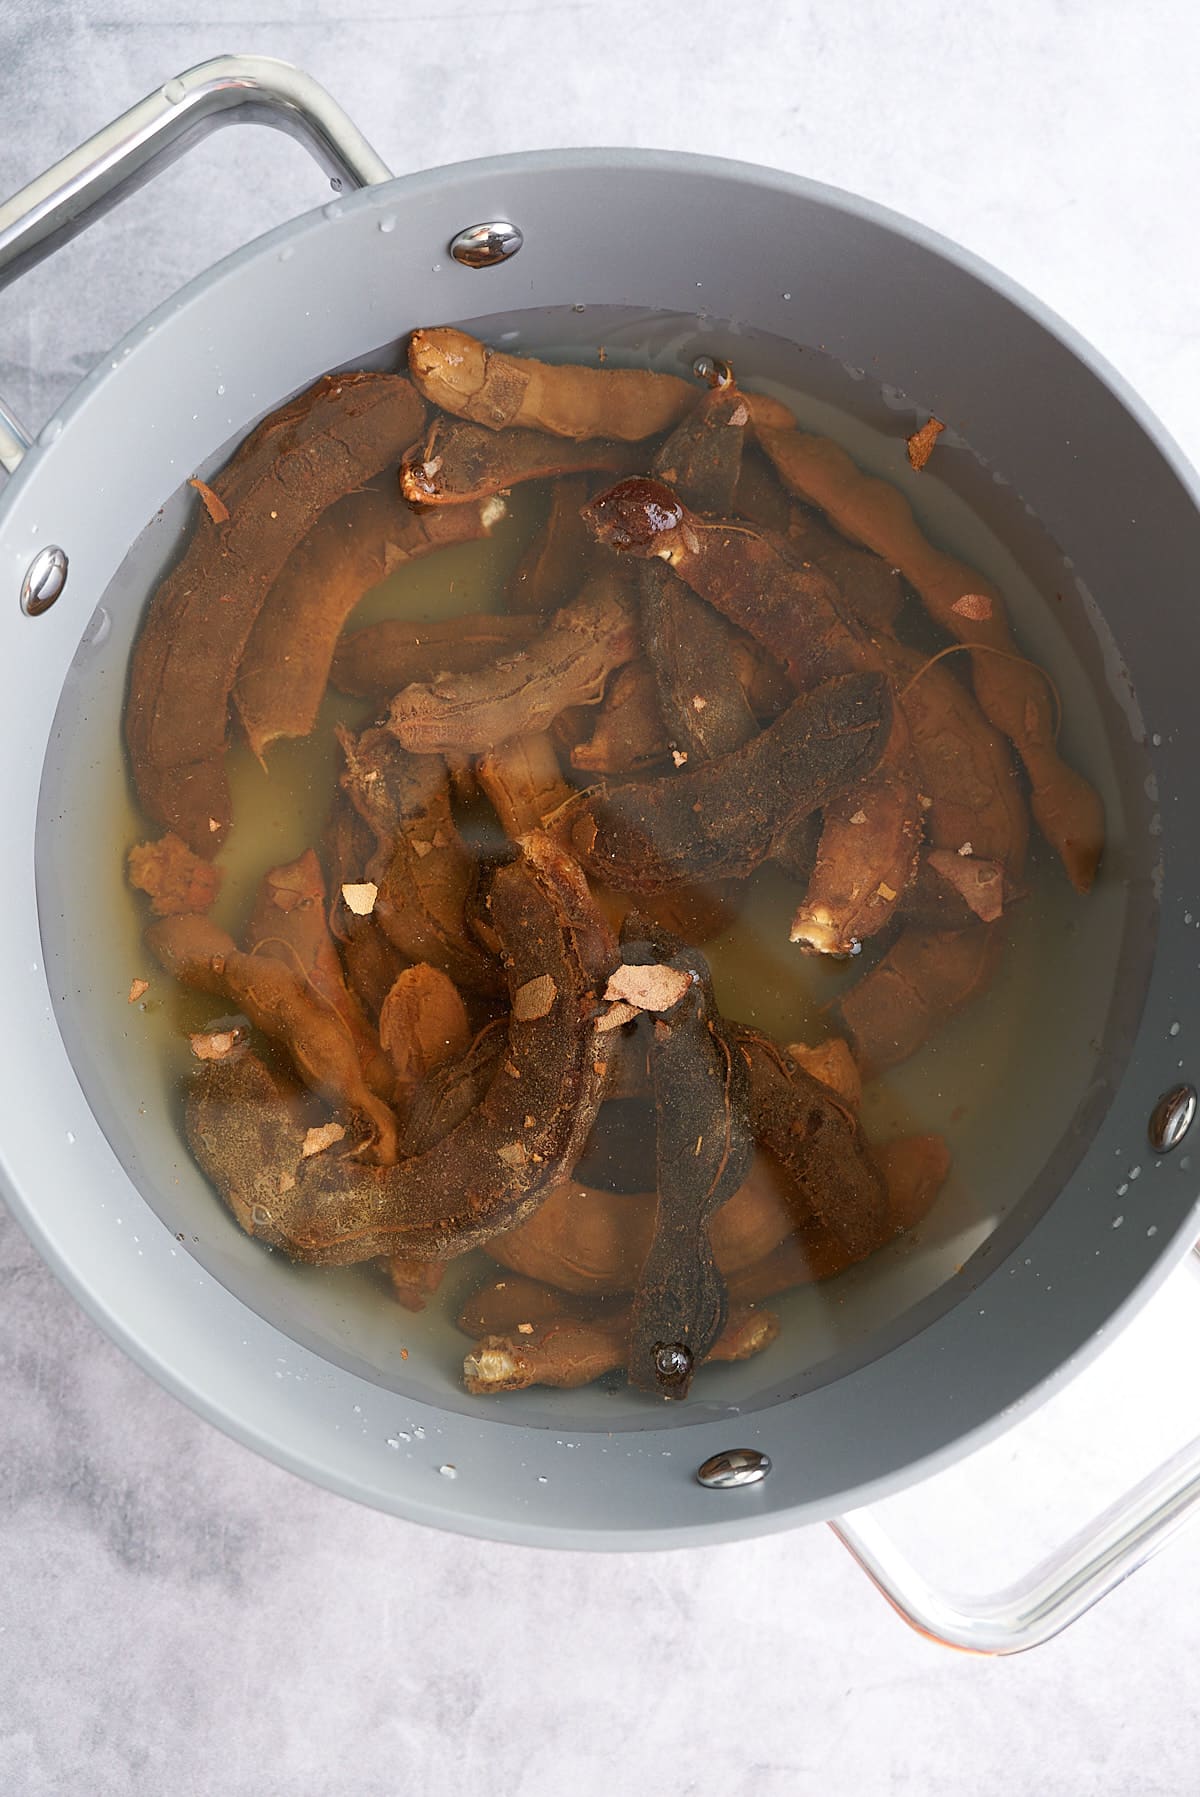
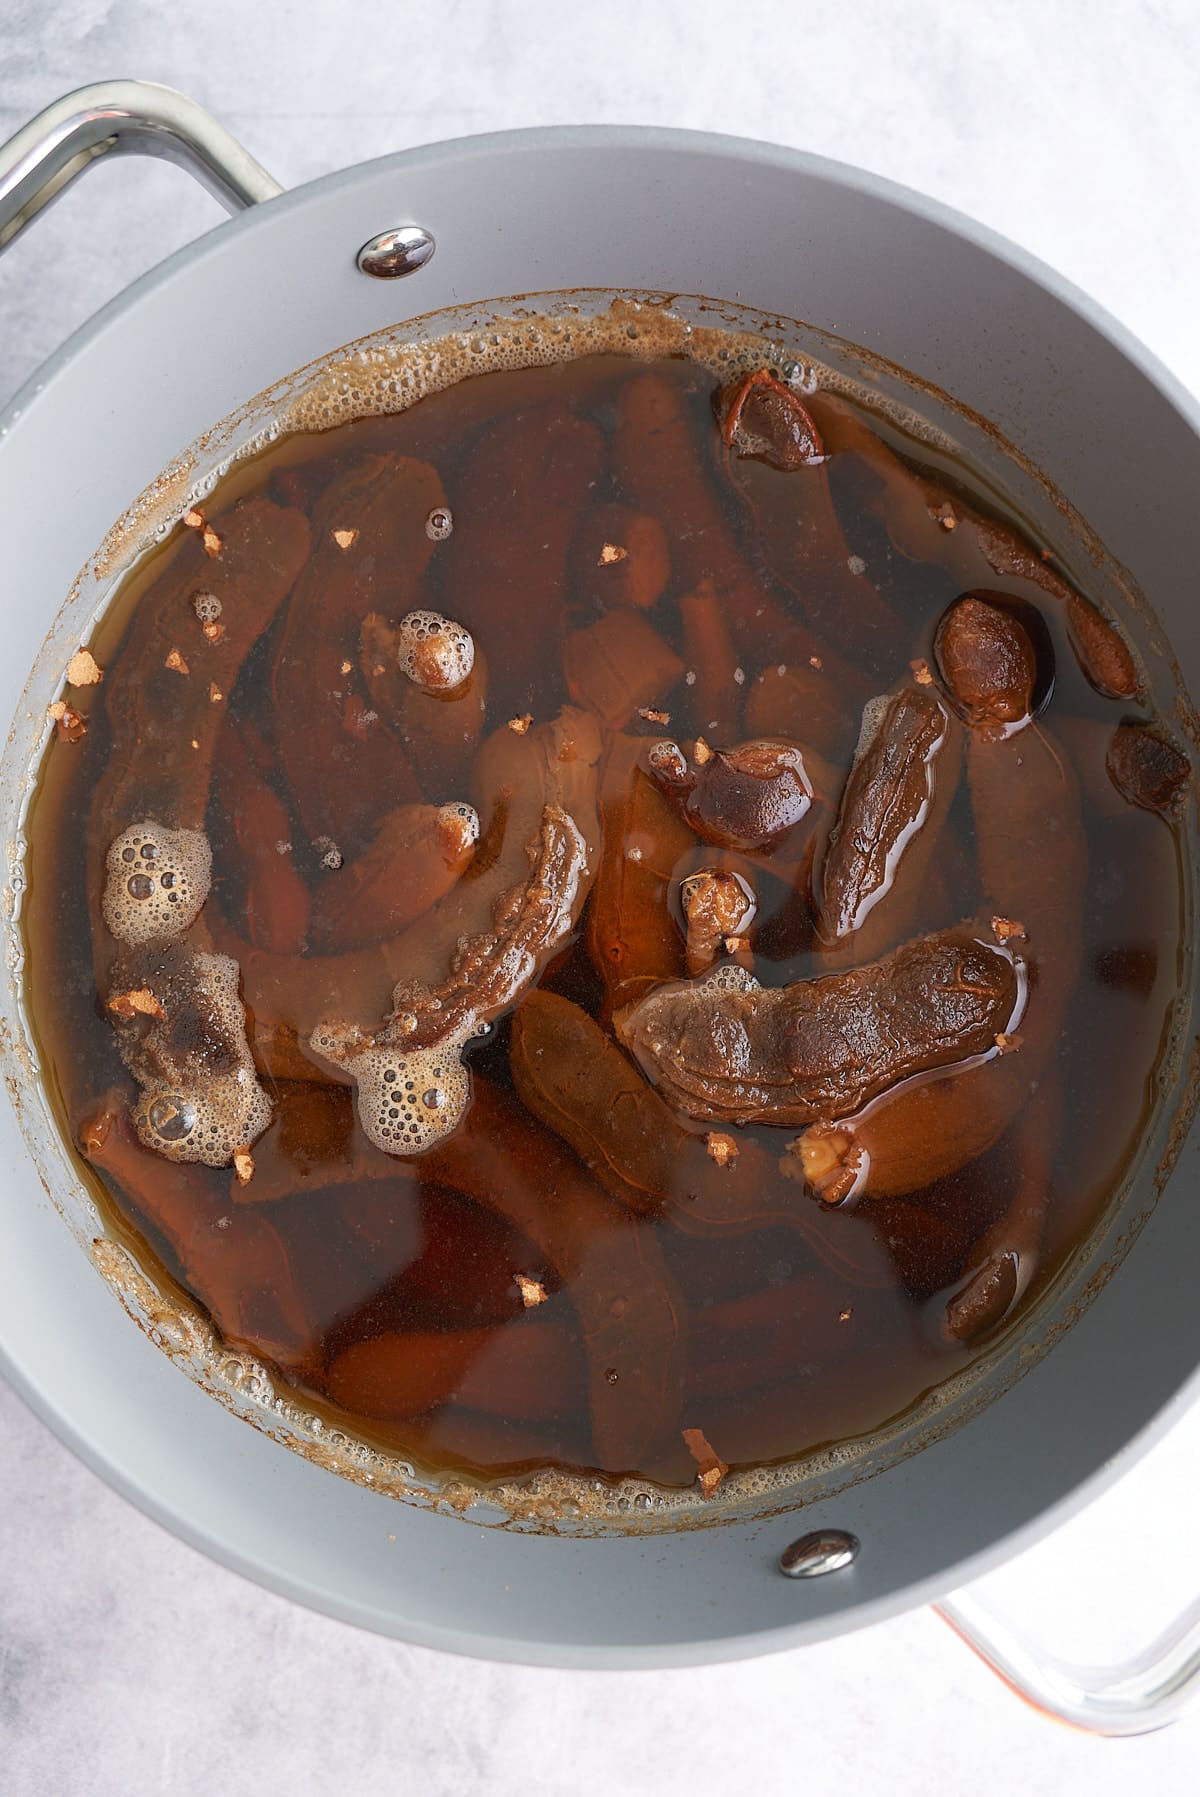
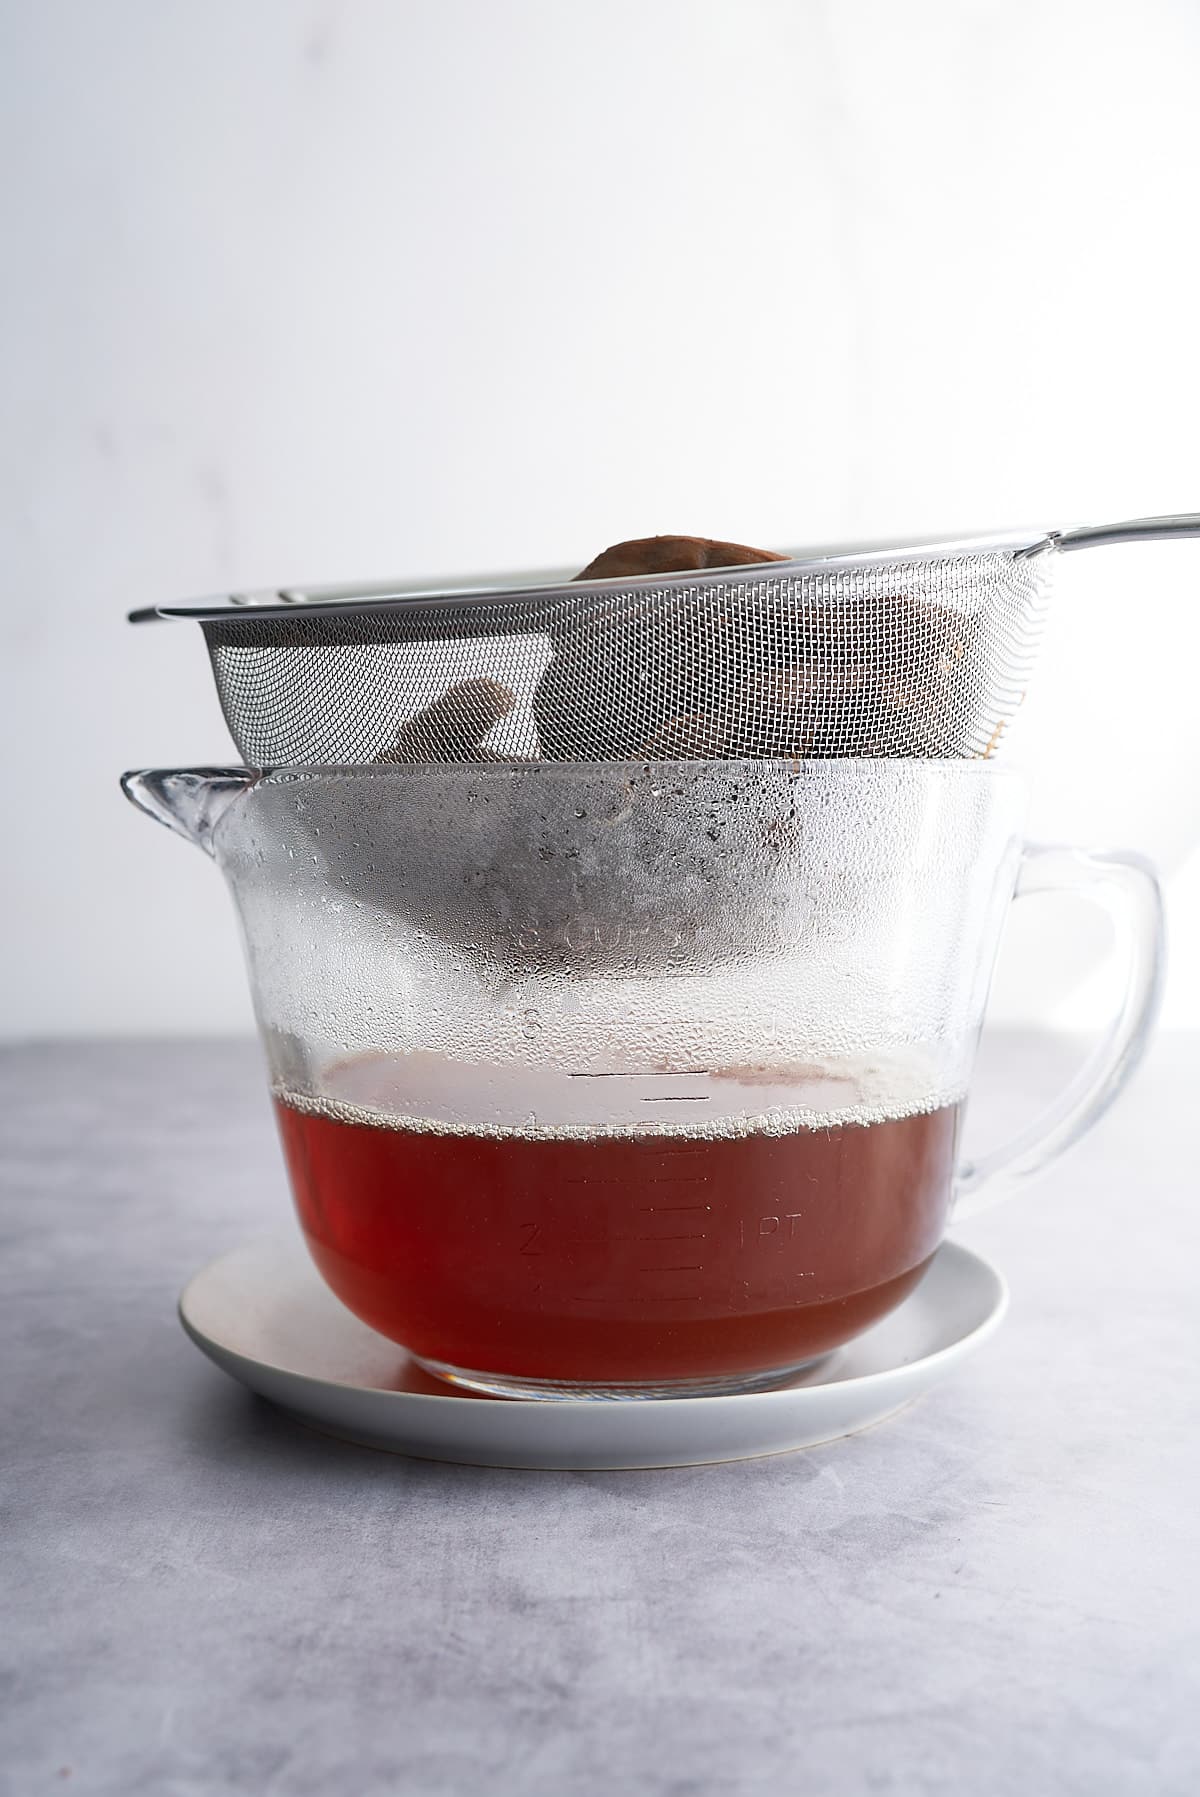
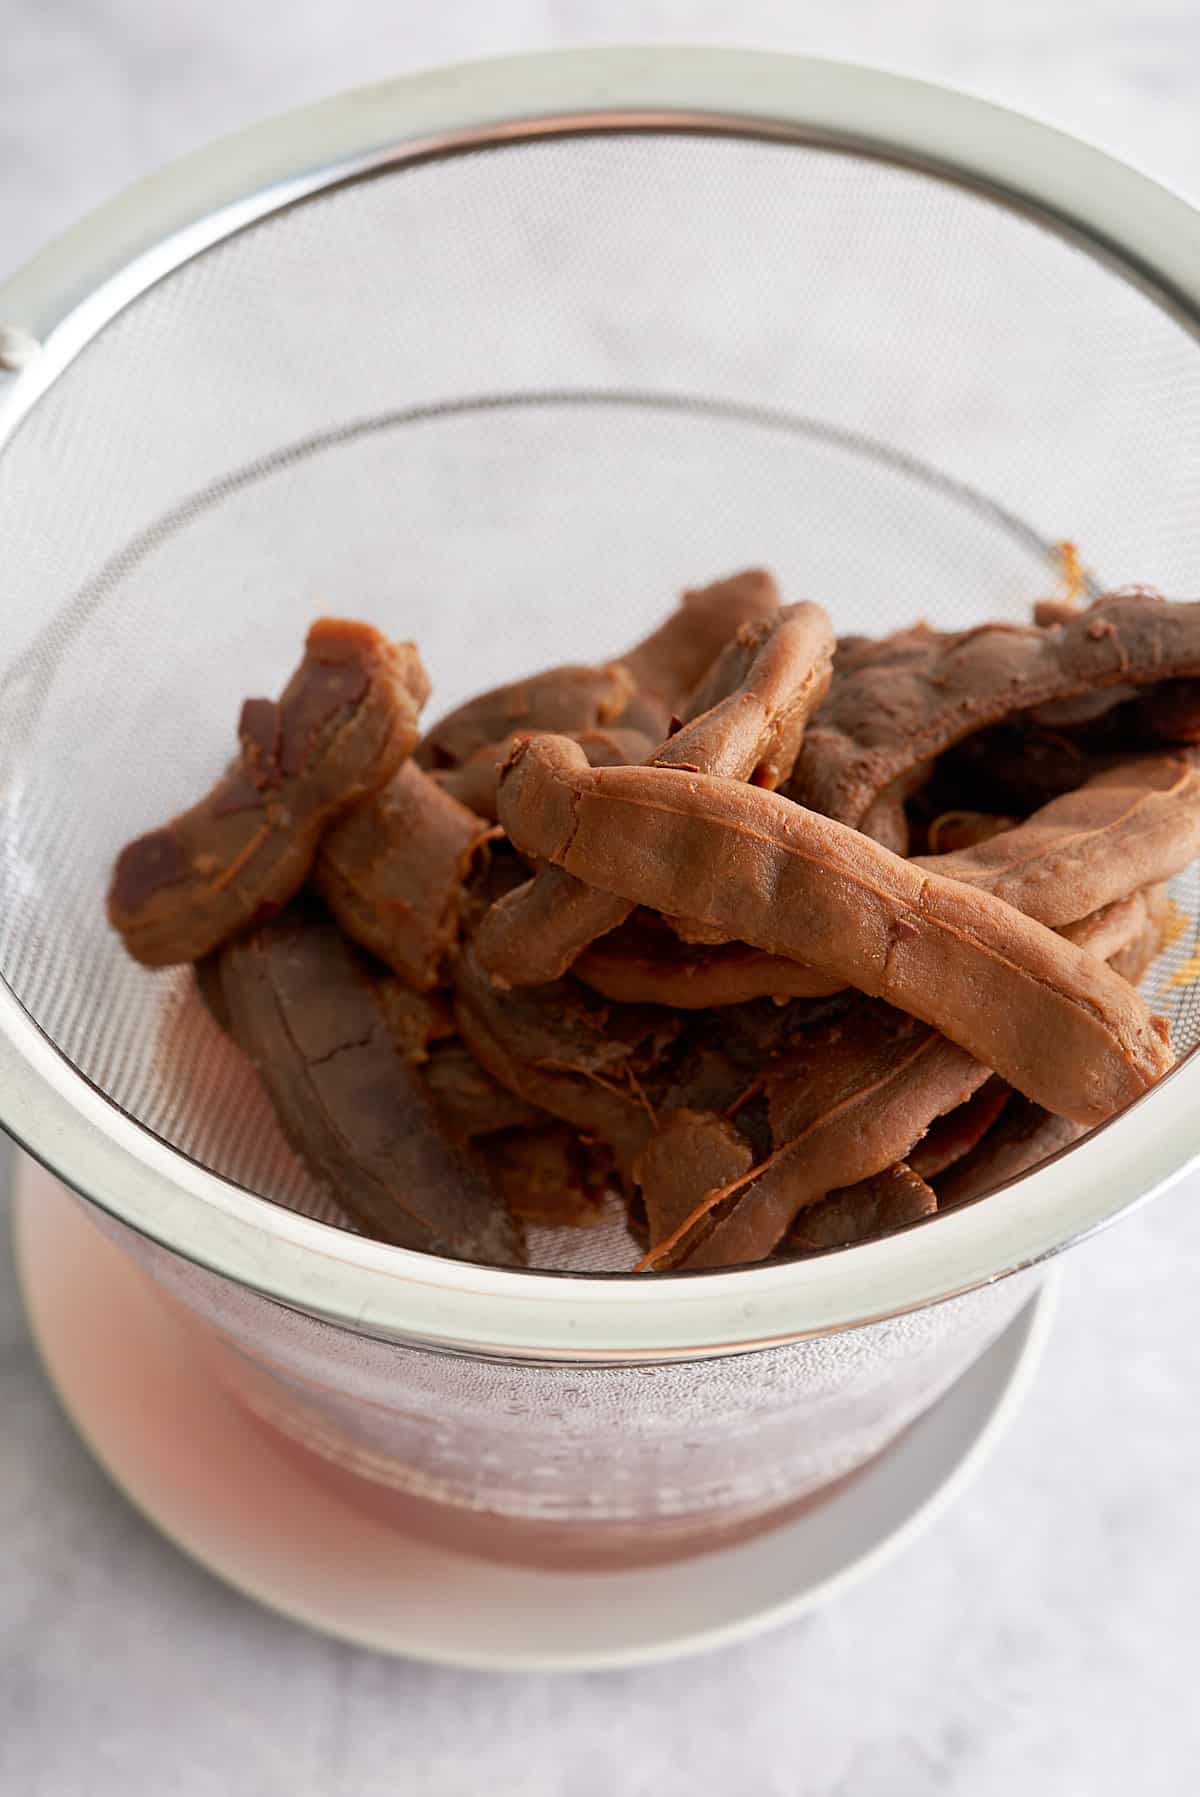
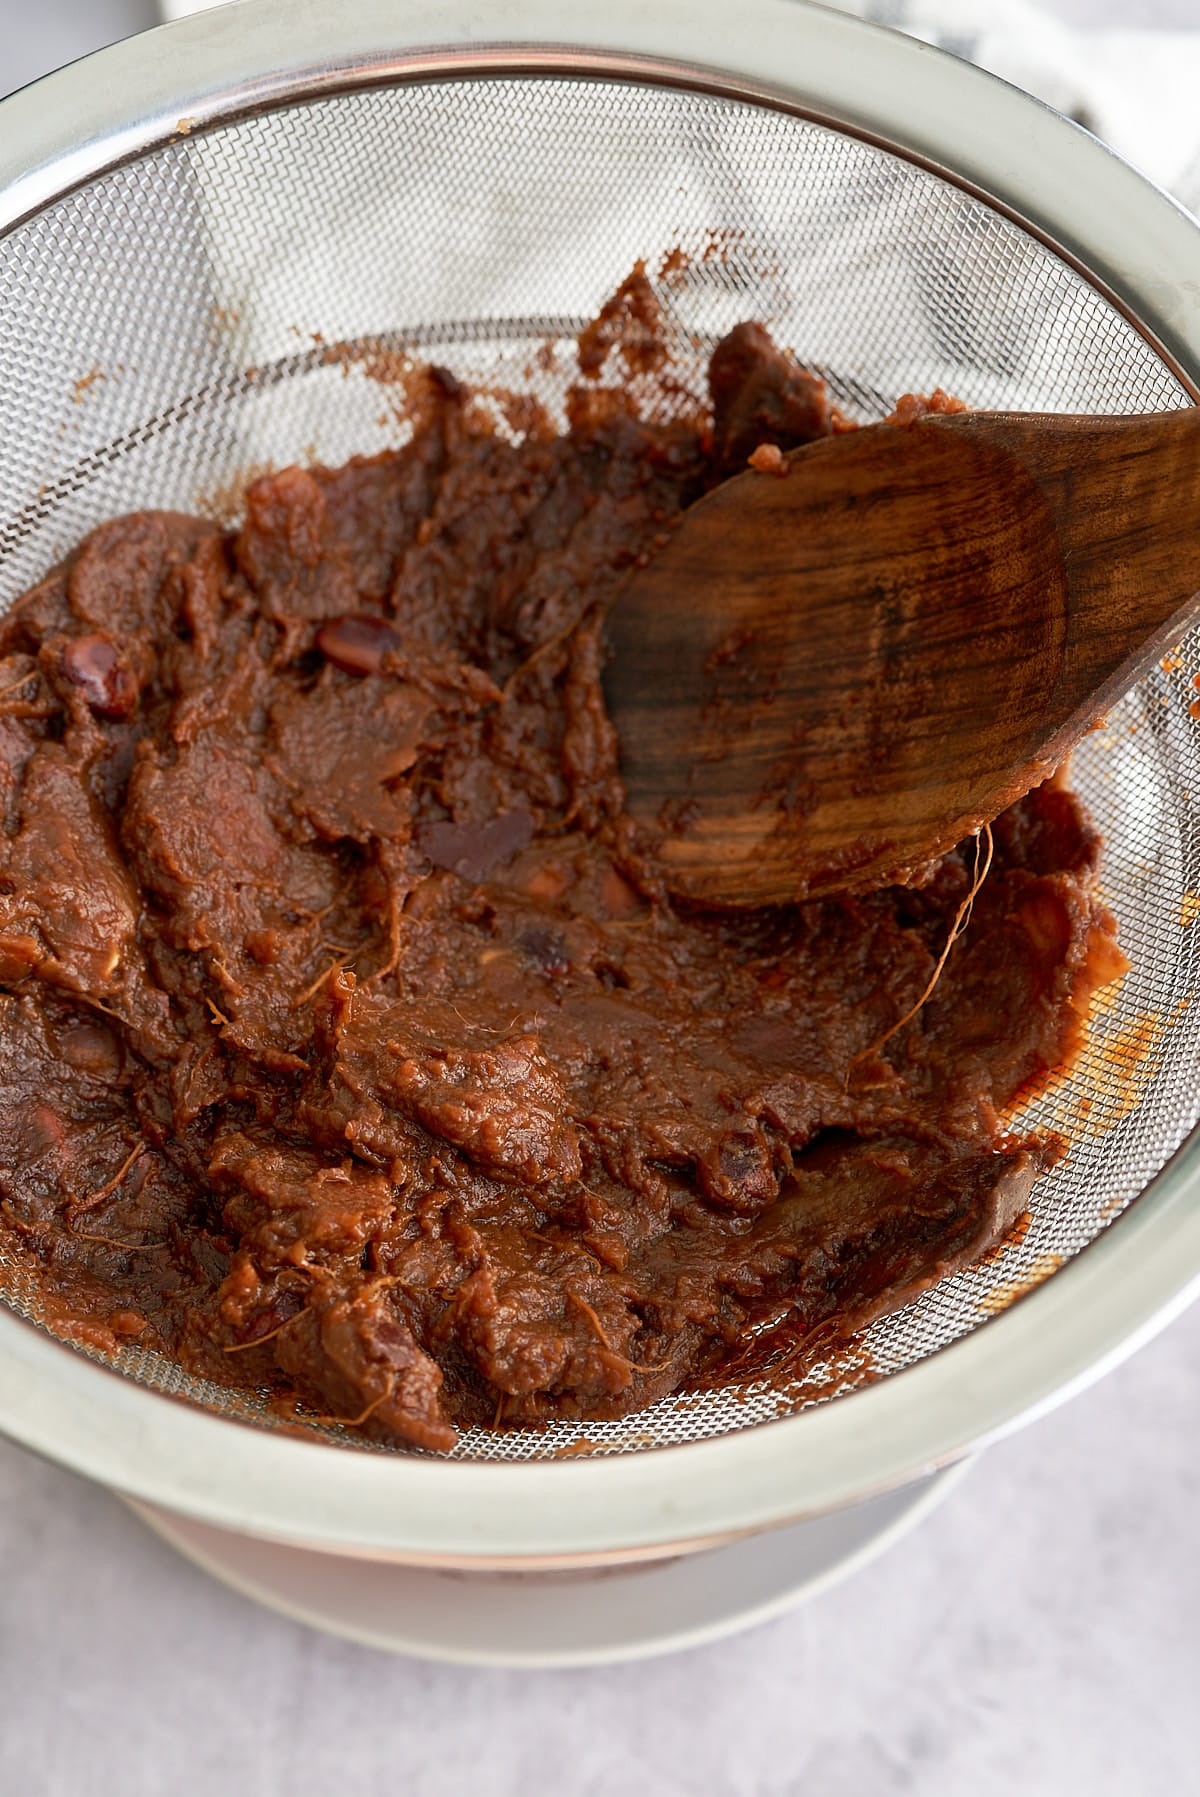
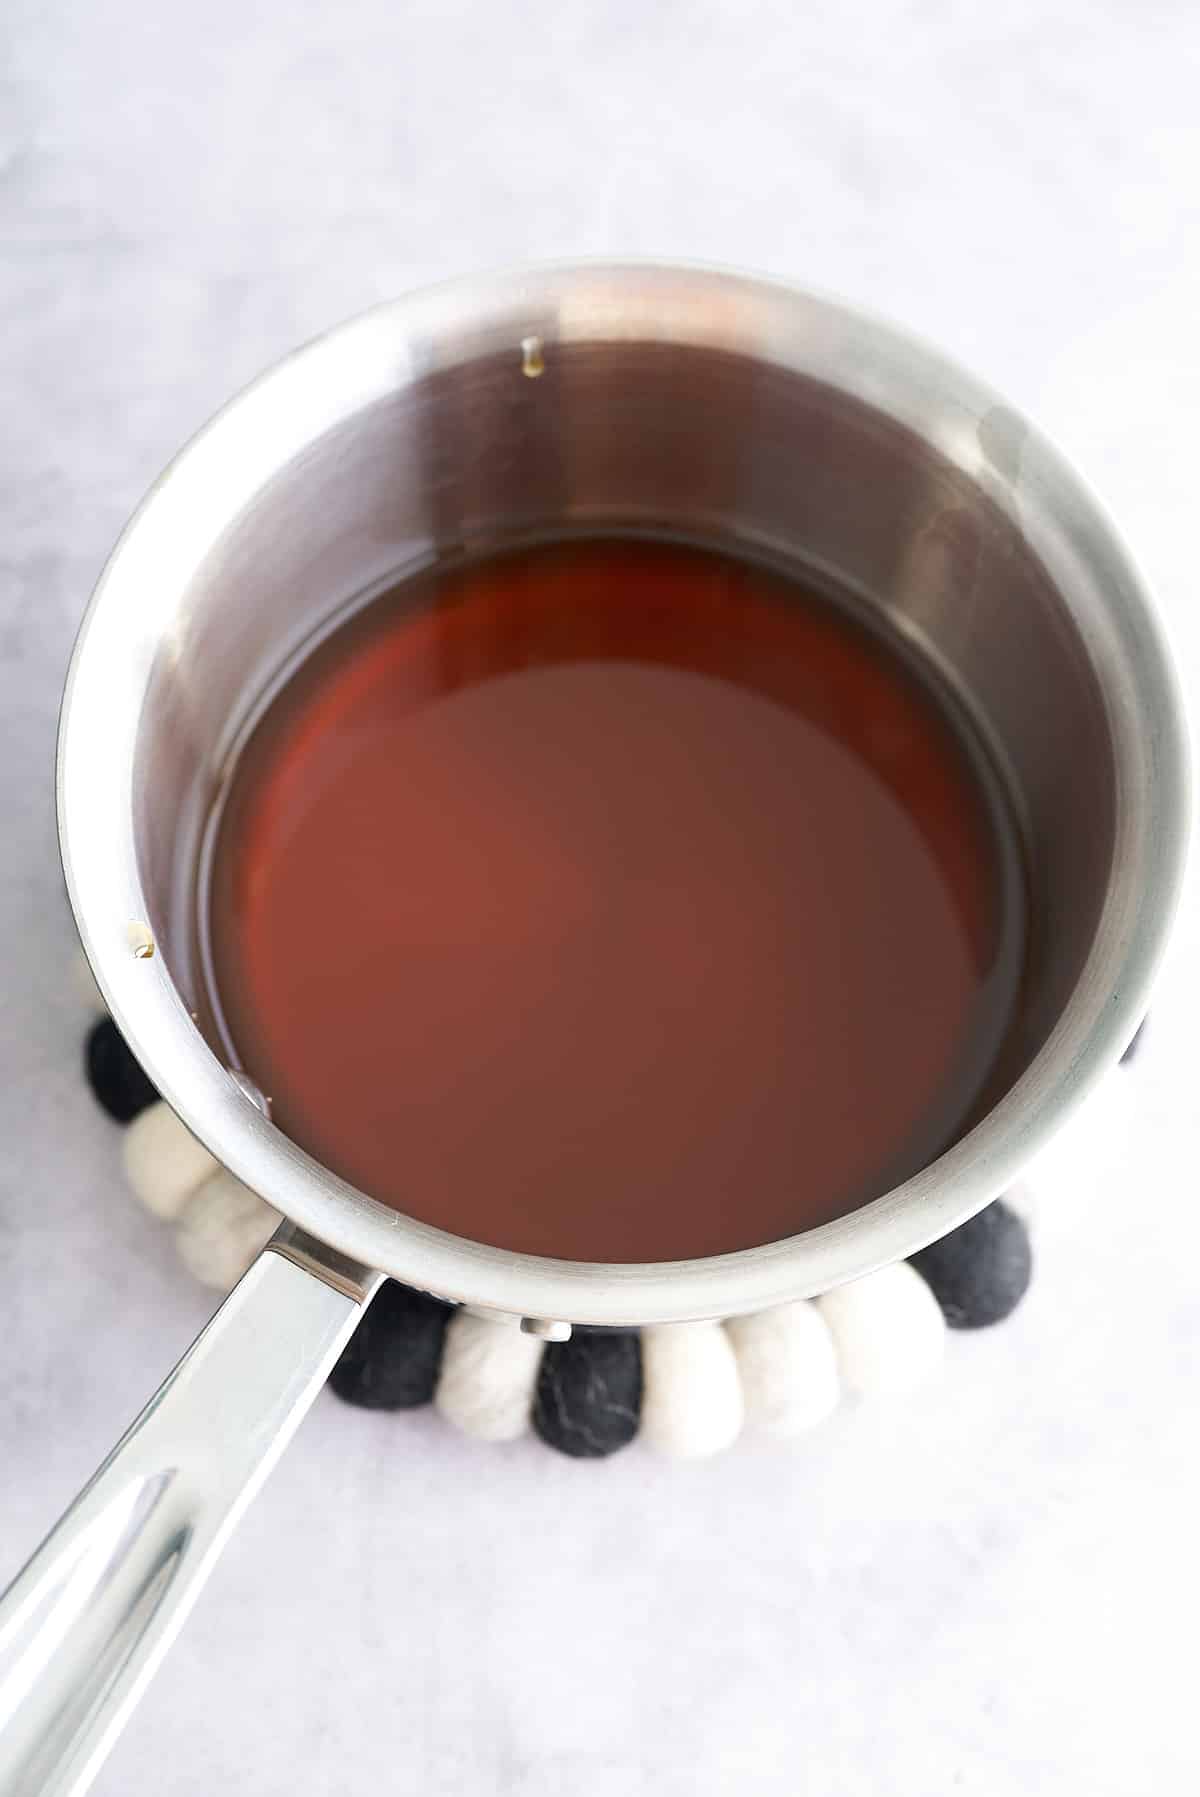
- If using tamarind pods, remove the shell and the veins. Soak the tamarind in warm water for a few minutes to soften it, which makes it easier to extract the pulp. Squeeze the tamarind in the water to separate the pulp from the seeds. Strain the mixture to collect the smooth pulp.
- You can adjust the amount of sugar according to how sweet or tangy you like your tamarind balls.