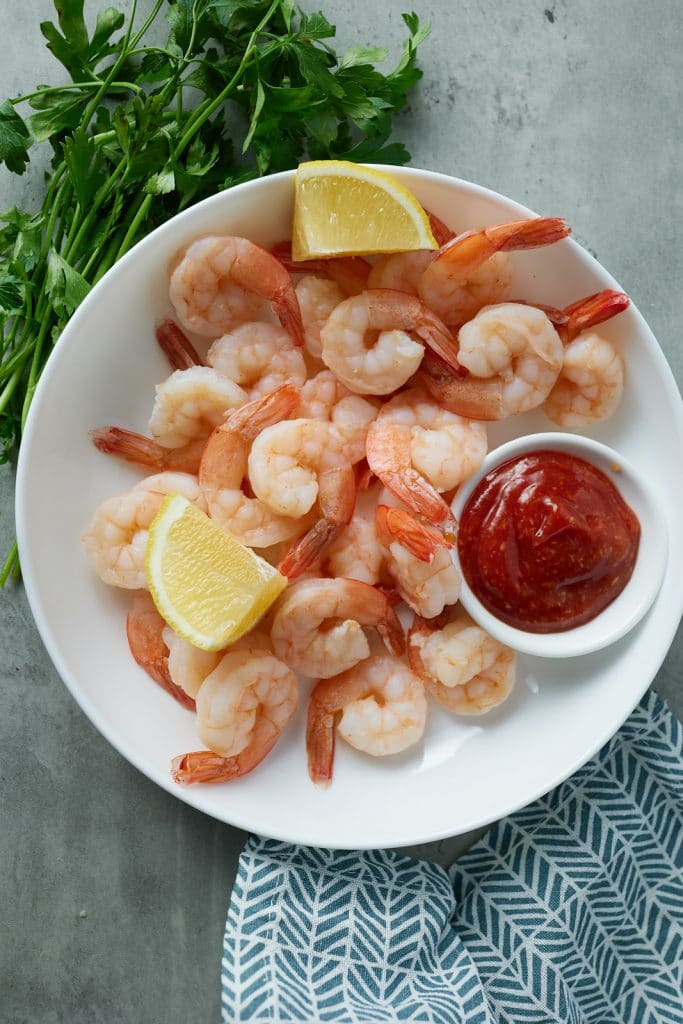
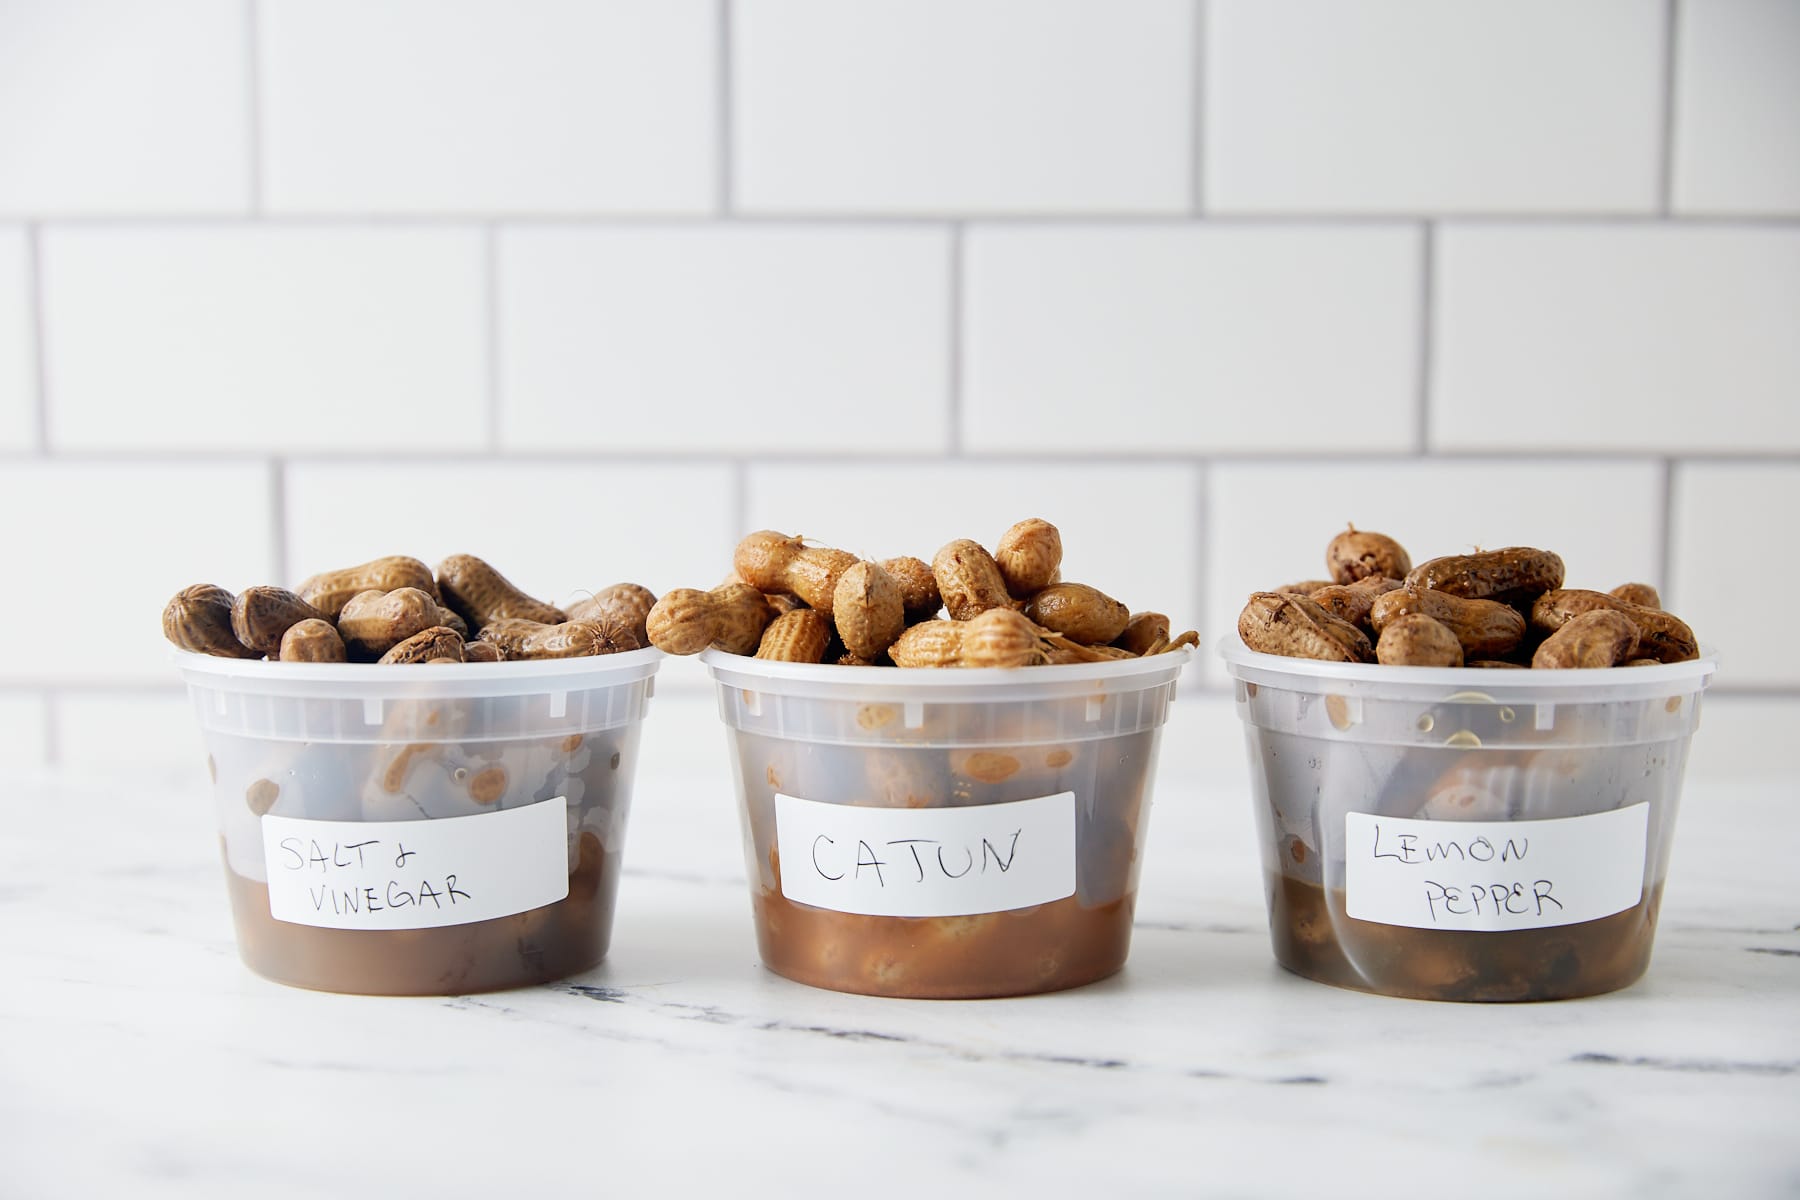
If you are in the mood for a delicious homemade snack, you can't go wrong with these Southern-boiled Peanuts. Choose from three different flavors: Cajun, lemon pepper, or salt and vinegar.
You’ll find the full recipe with ingredient amounts and instructions in the recipe card at the bottom of this post. Be sure to check out the blog post itself for extra tips and tricks!
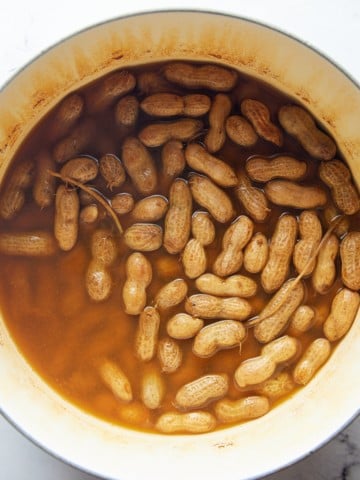
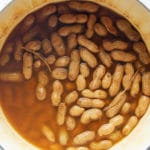
These Southern-boiled peanuts are a firm favorite of mine. They're pretty simple to make. Cooks boil green raw peanuts in a flavorful salty brine until they become soft.
My first taste of Southern boiled peanuts came from a Styrofoam cup at a Carolina gas station. One bite of that soft, salty, perfectly spiced peanut hooked me. Now, I make my own at home, experimenting with different flavors and cooking methods.
Boiled peanuts come spicy or not spicy, but you can choose whatever you prefer. I've included three flavor combos: Cajun boiled peanuts, salt & vinegar, and lemon pepper.
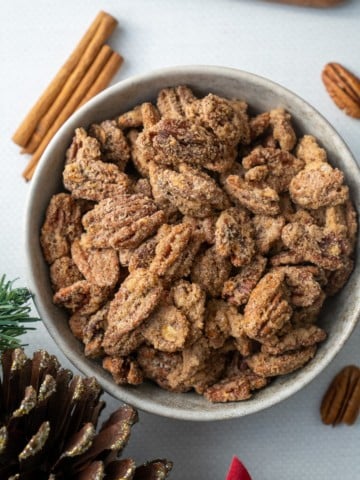
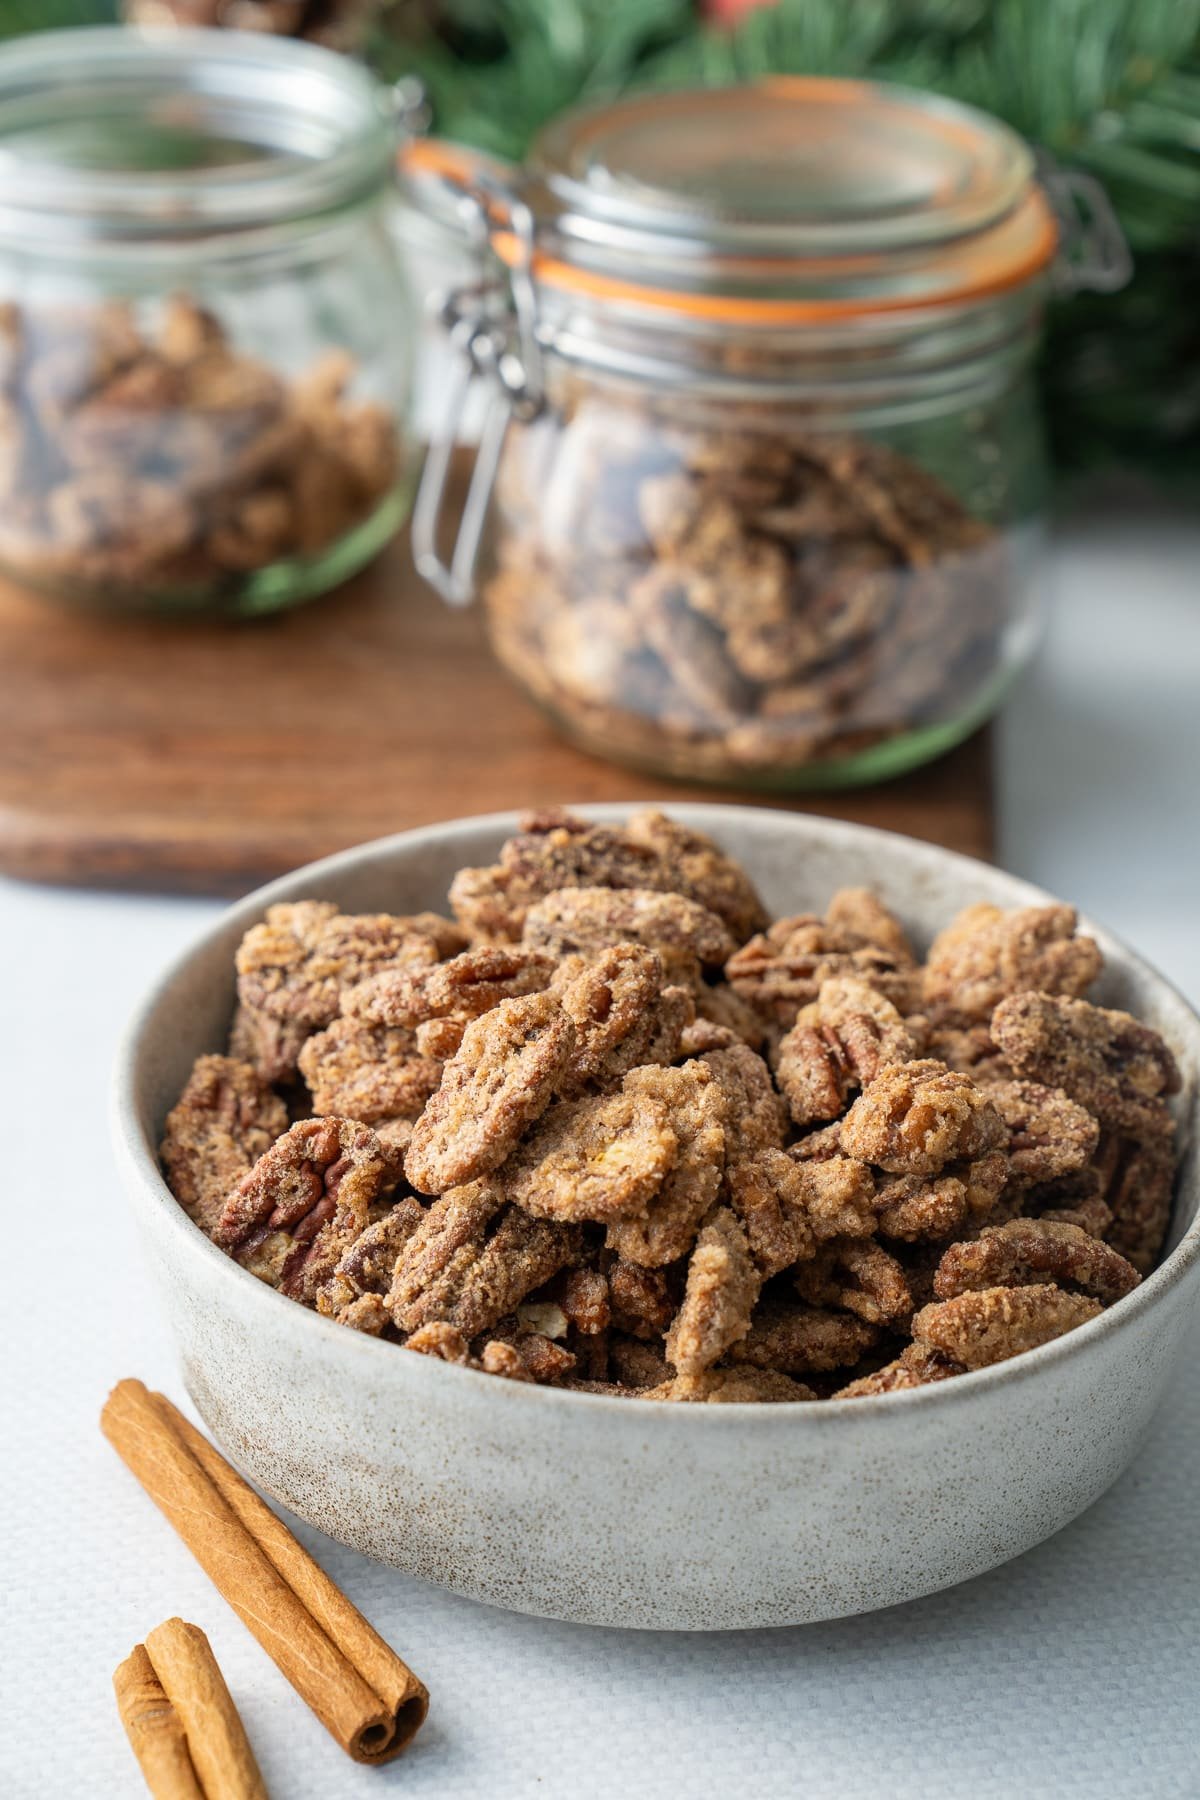
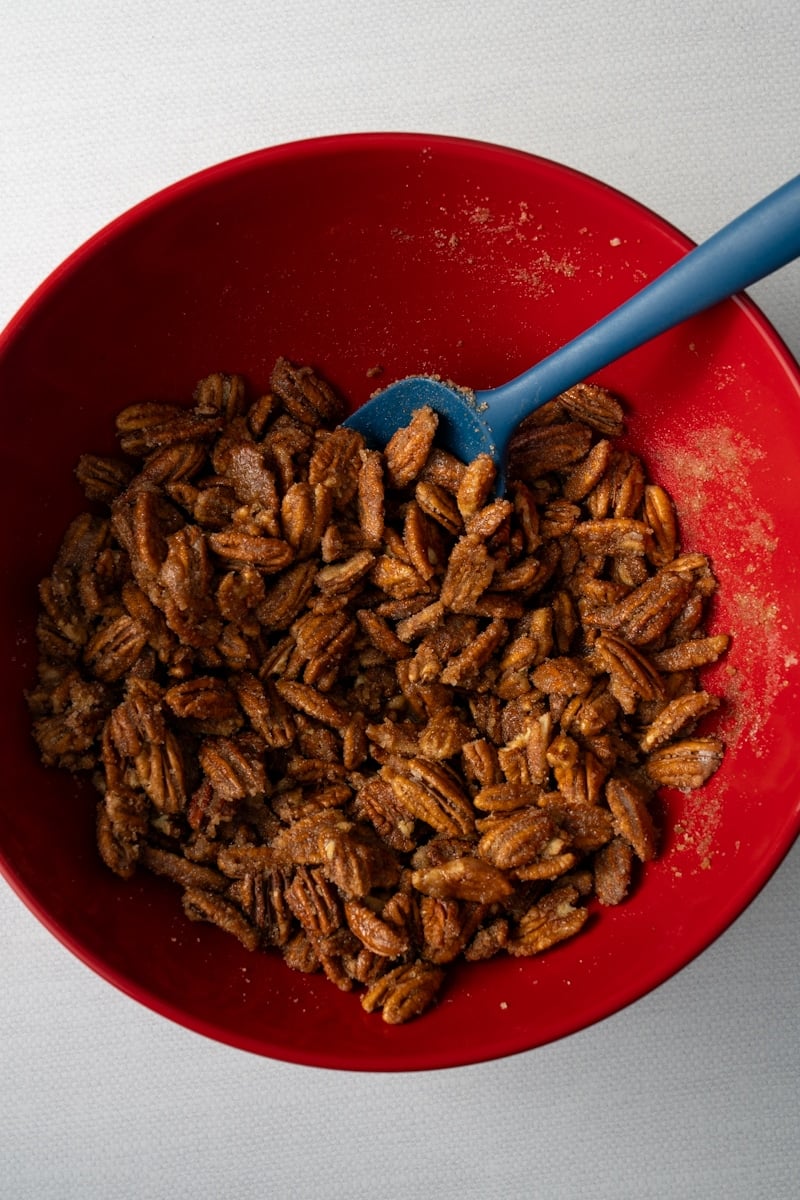
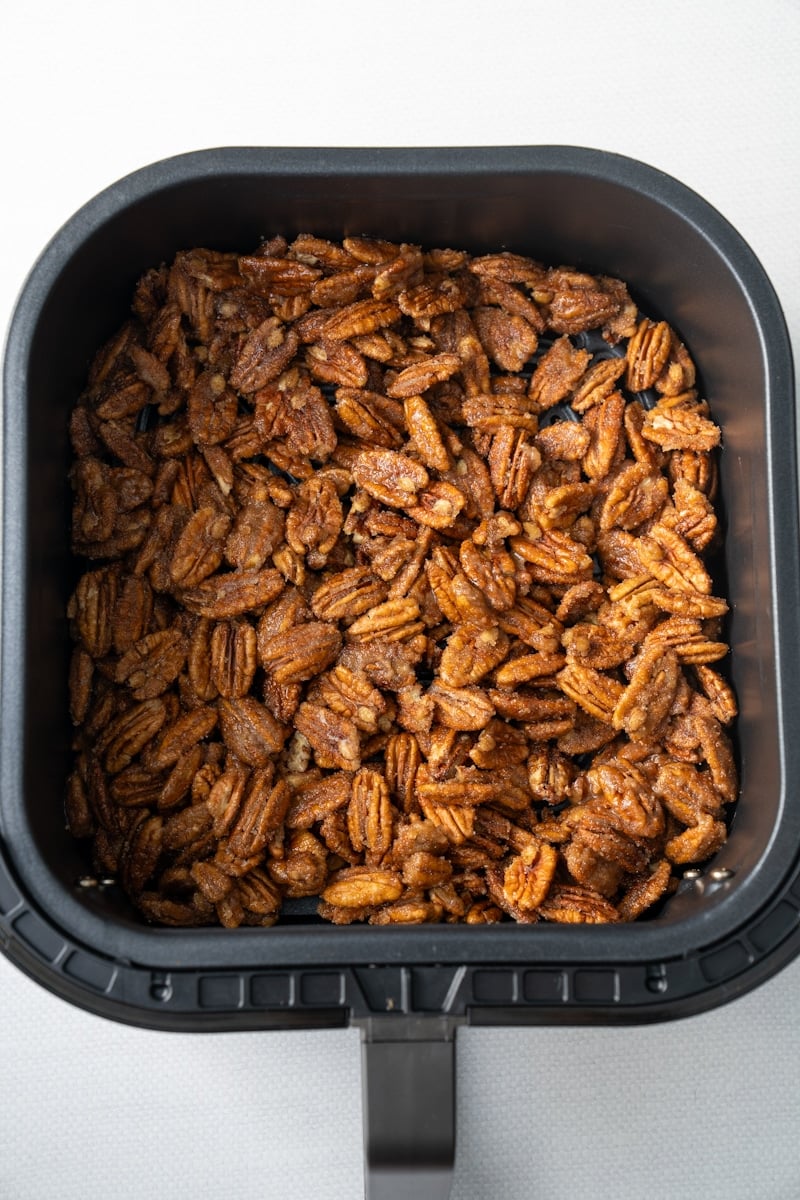
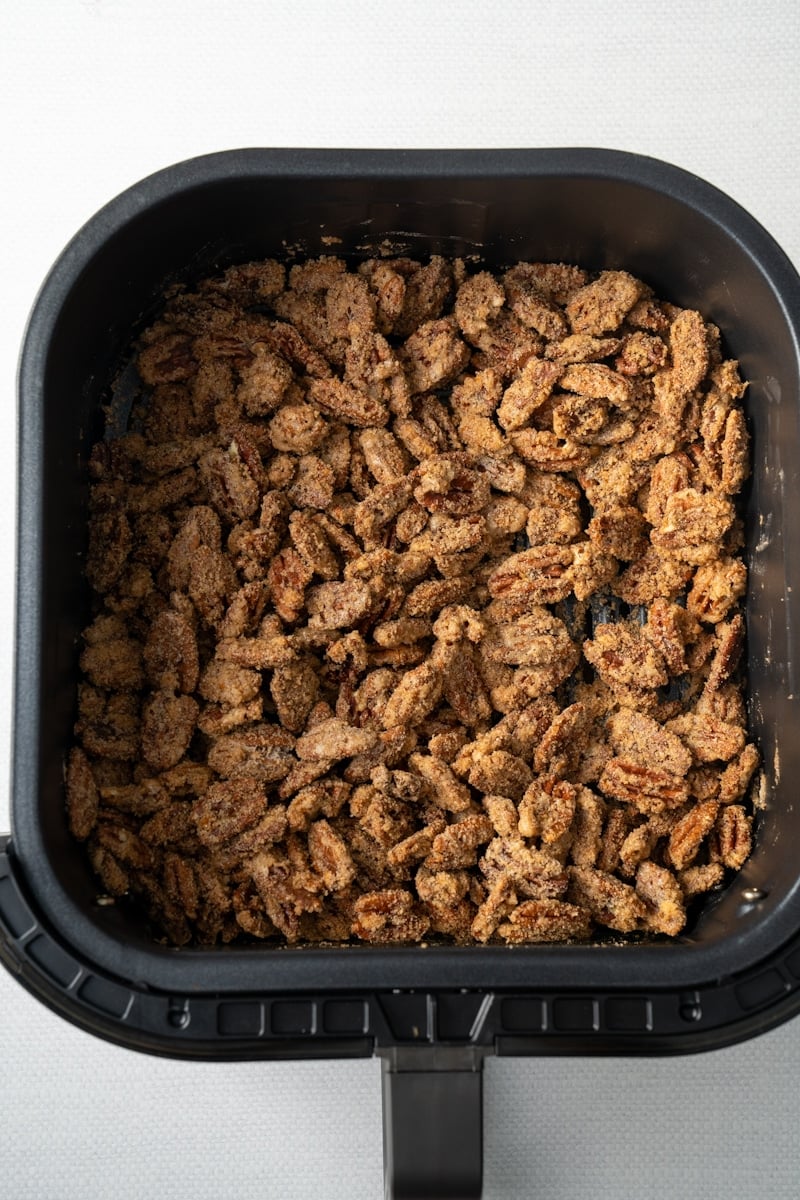
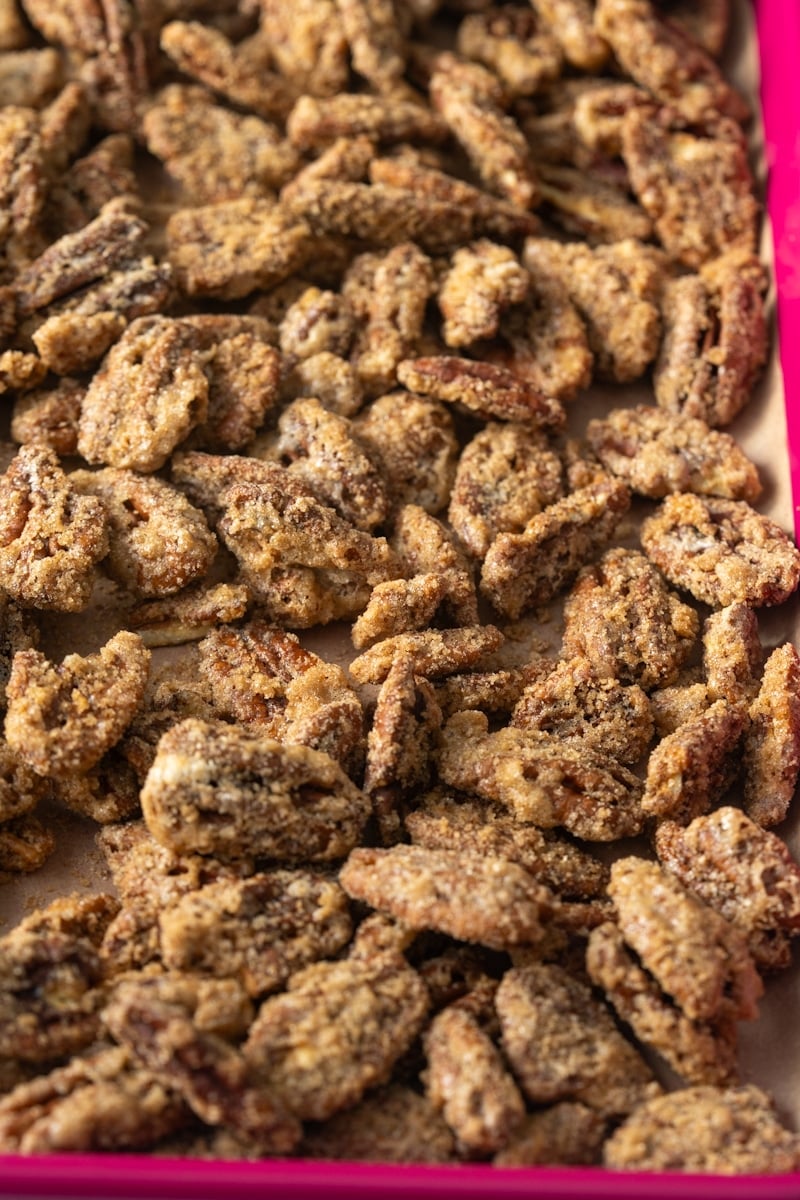
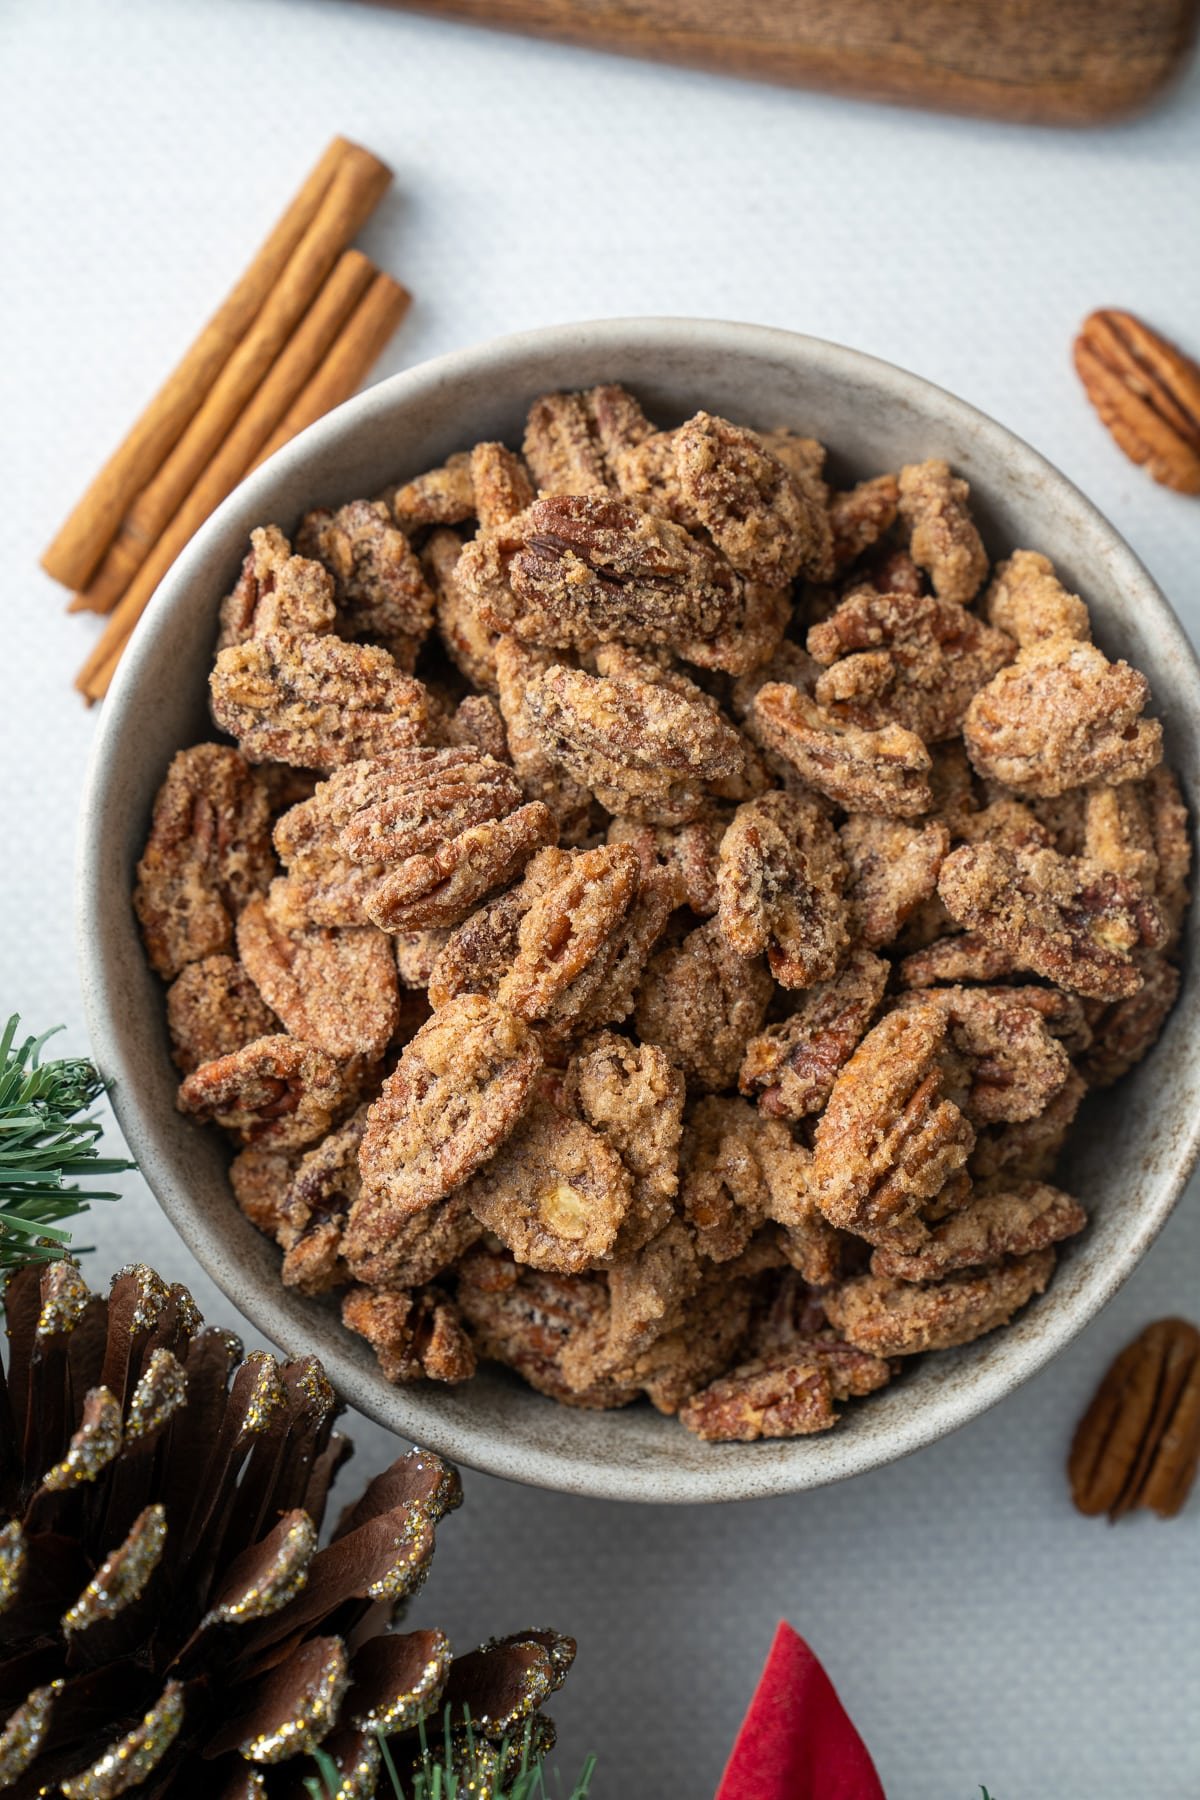
Be sure to try my 15-Minute Sugared Pecans, too!
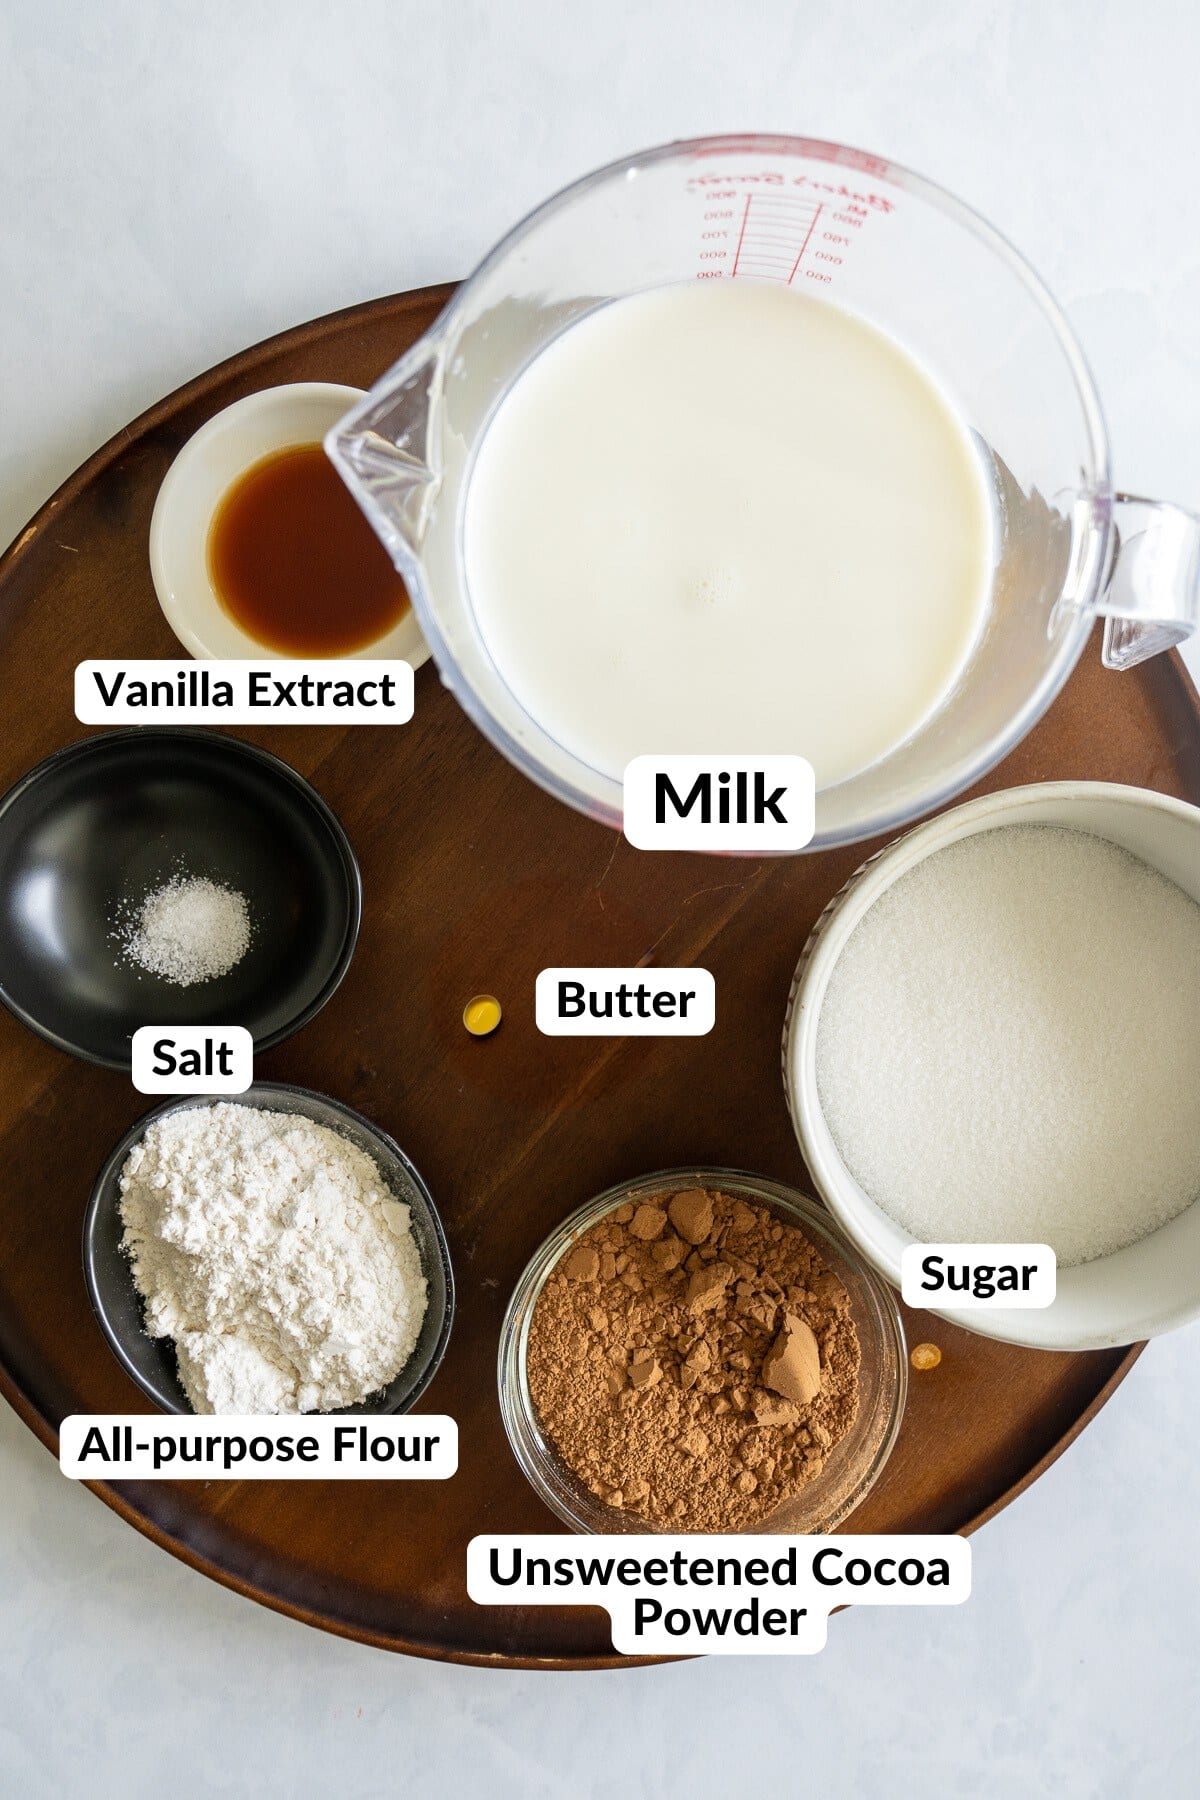
A Quick Look at The Ingredients
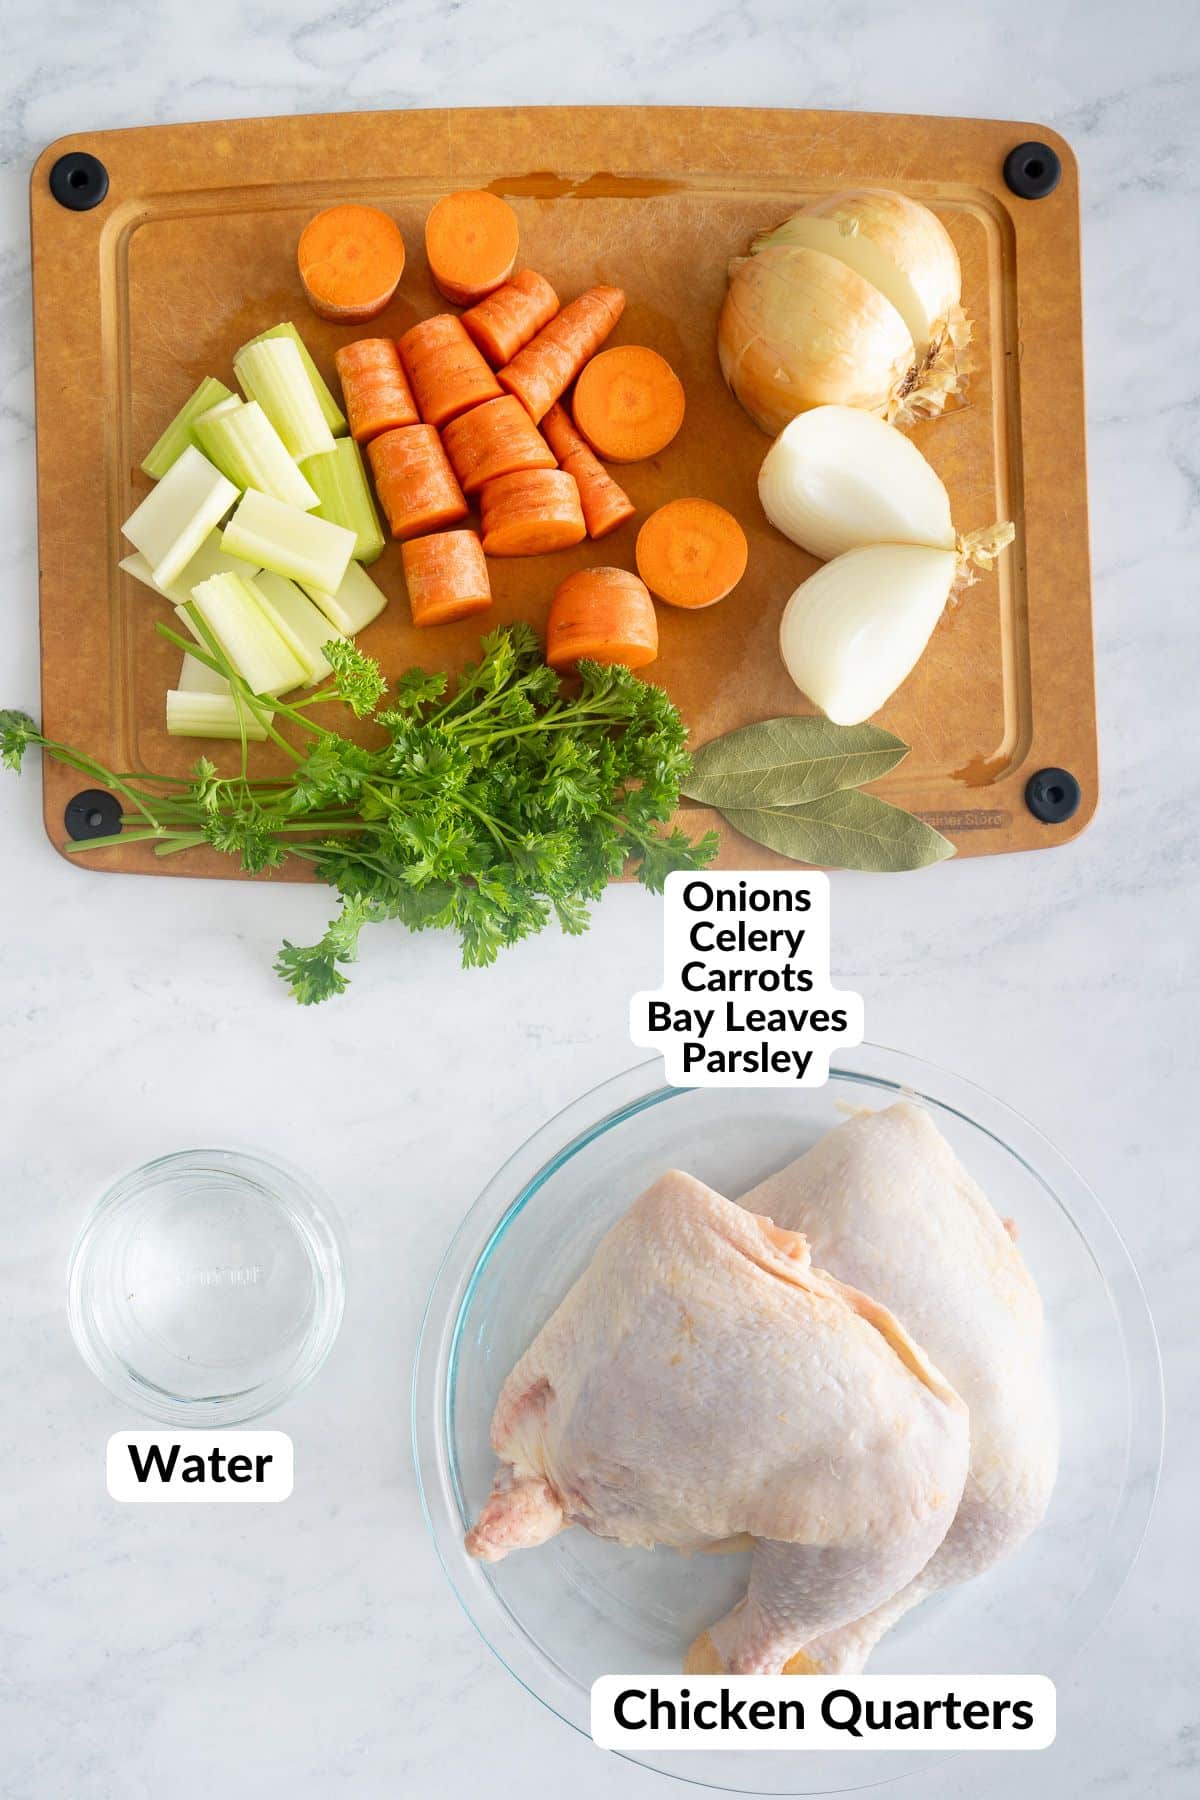
- Peanuts - It's best to use green raw peanuts for this recipe. You can substitute them with raw peanuts, but you will need to cook them for longer. Raw peanuts take about 4 hours to soften on the stovetop and 90 minutes in the pressure cooker on high pressure. Don't use peanuts that are already dried or roasted.
- Liquid - I like to stick with water as my liquid, and season the water with spices.
- Salt - Salt in boiled peanuts enhances flavor, helps moisture absorption for better seasoning, and acts as a mild preservative, with its quantity adjustable to taste.
- Seasonings - I've included 3 of my favorite seasoning combos for boiled, but you can definitely have fun with these. Cajun seasoning is the most popular.
How to make Southern boiled peanuts
Be sure to scroll down to the end of the post to get cooking instructions for the Instant Pot and Crockpot methods, too!
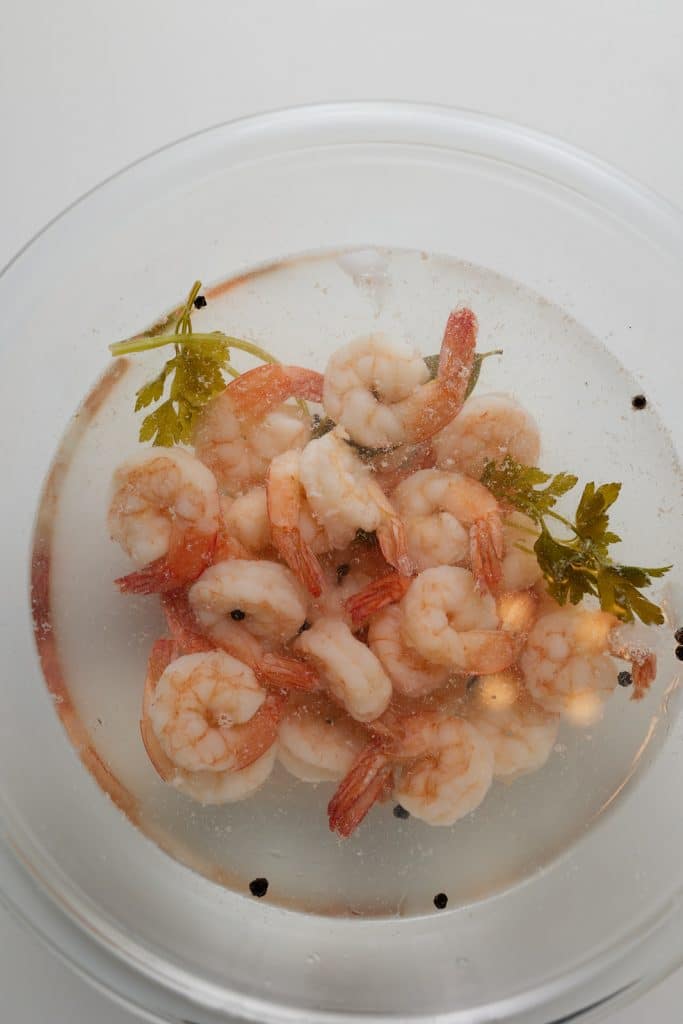
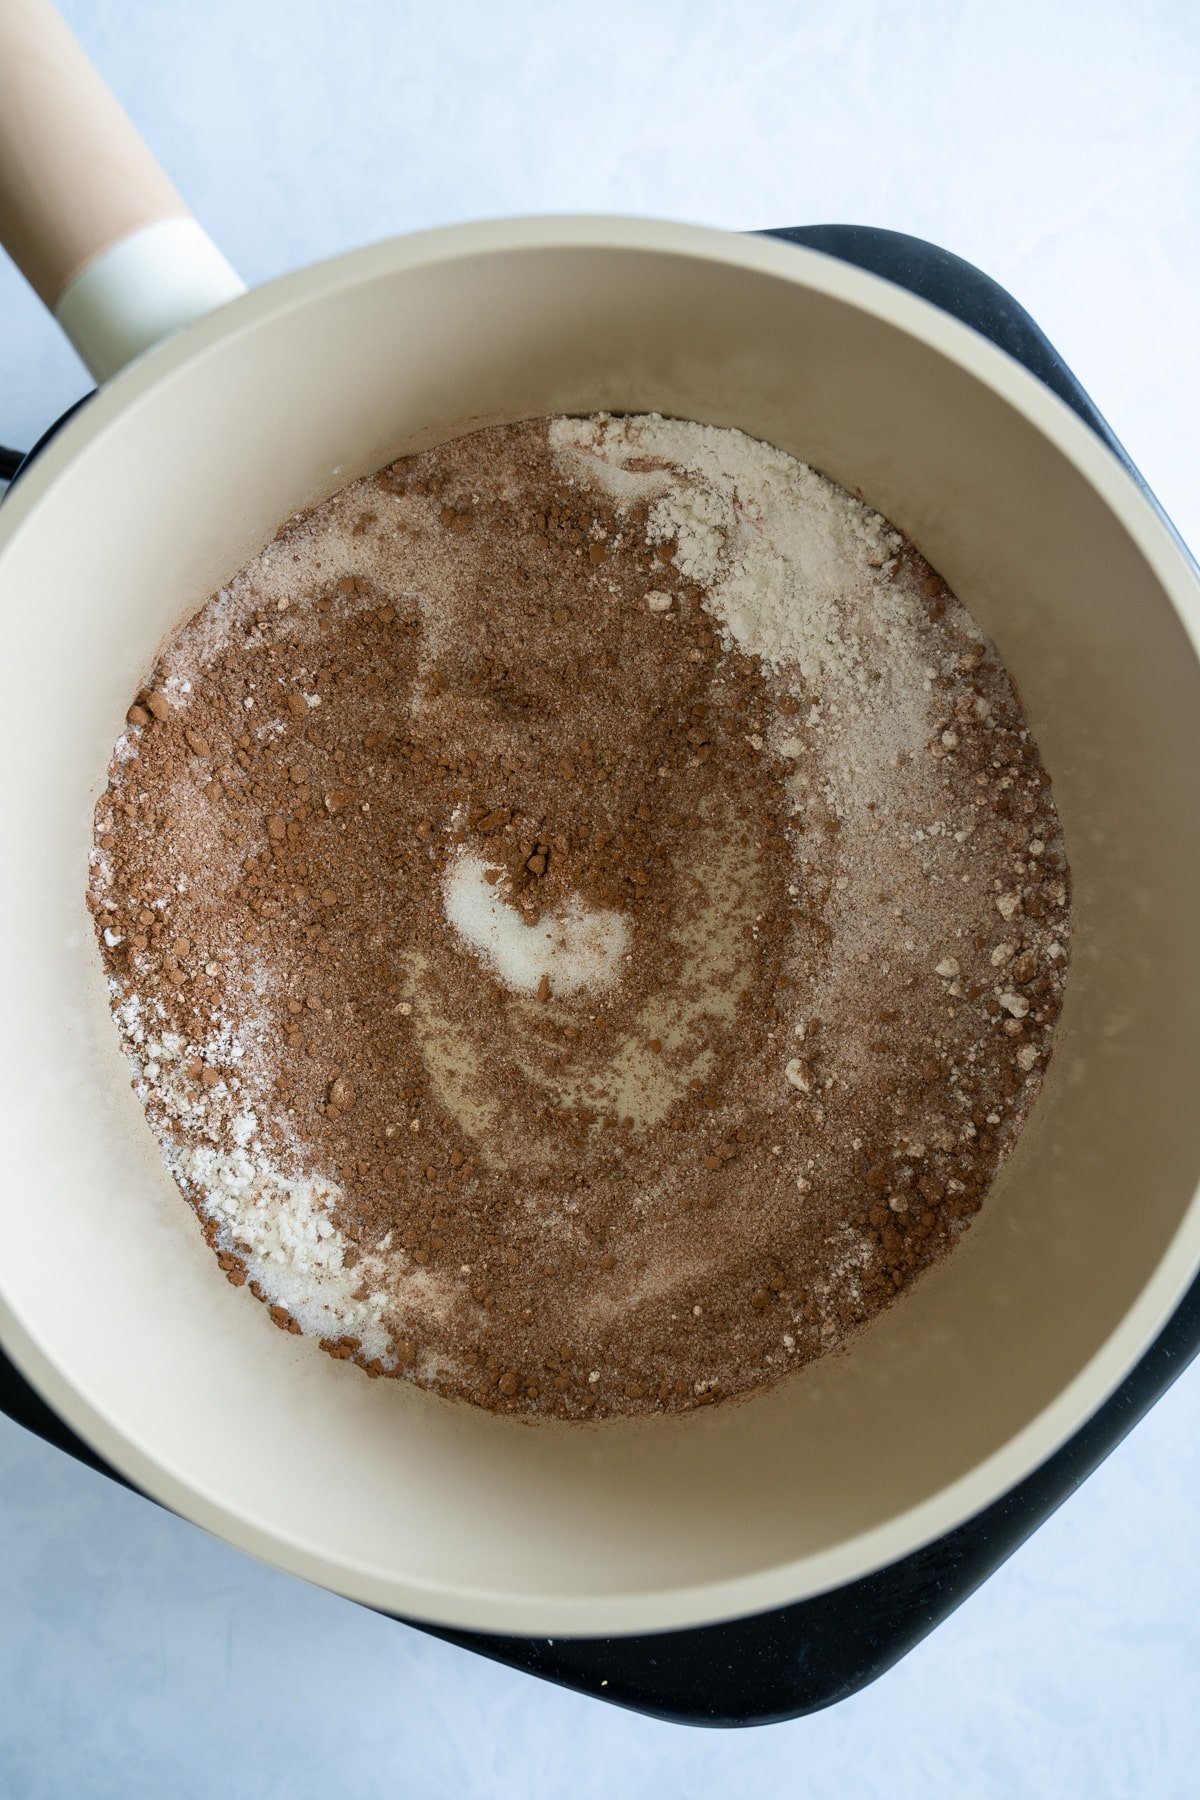
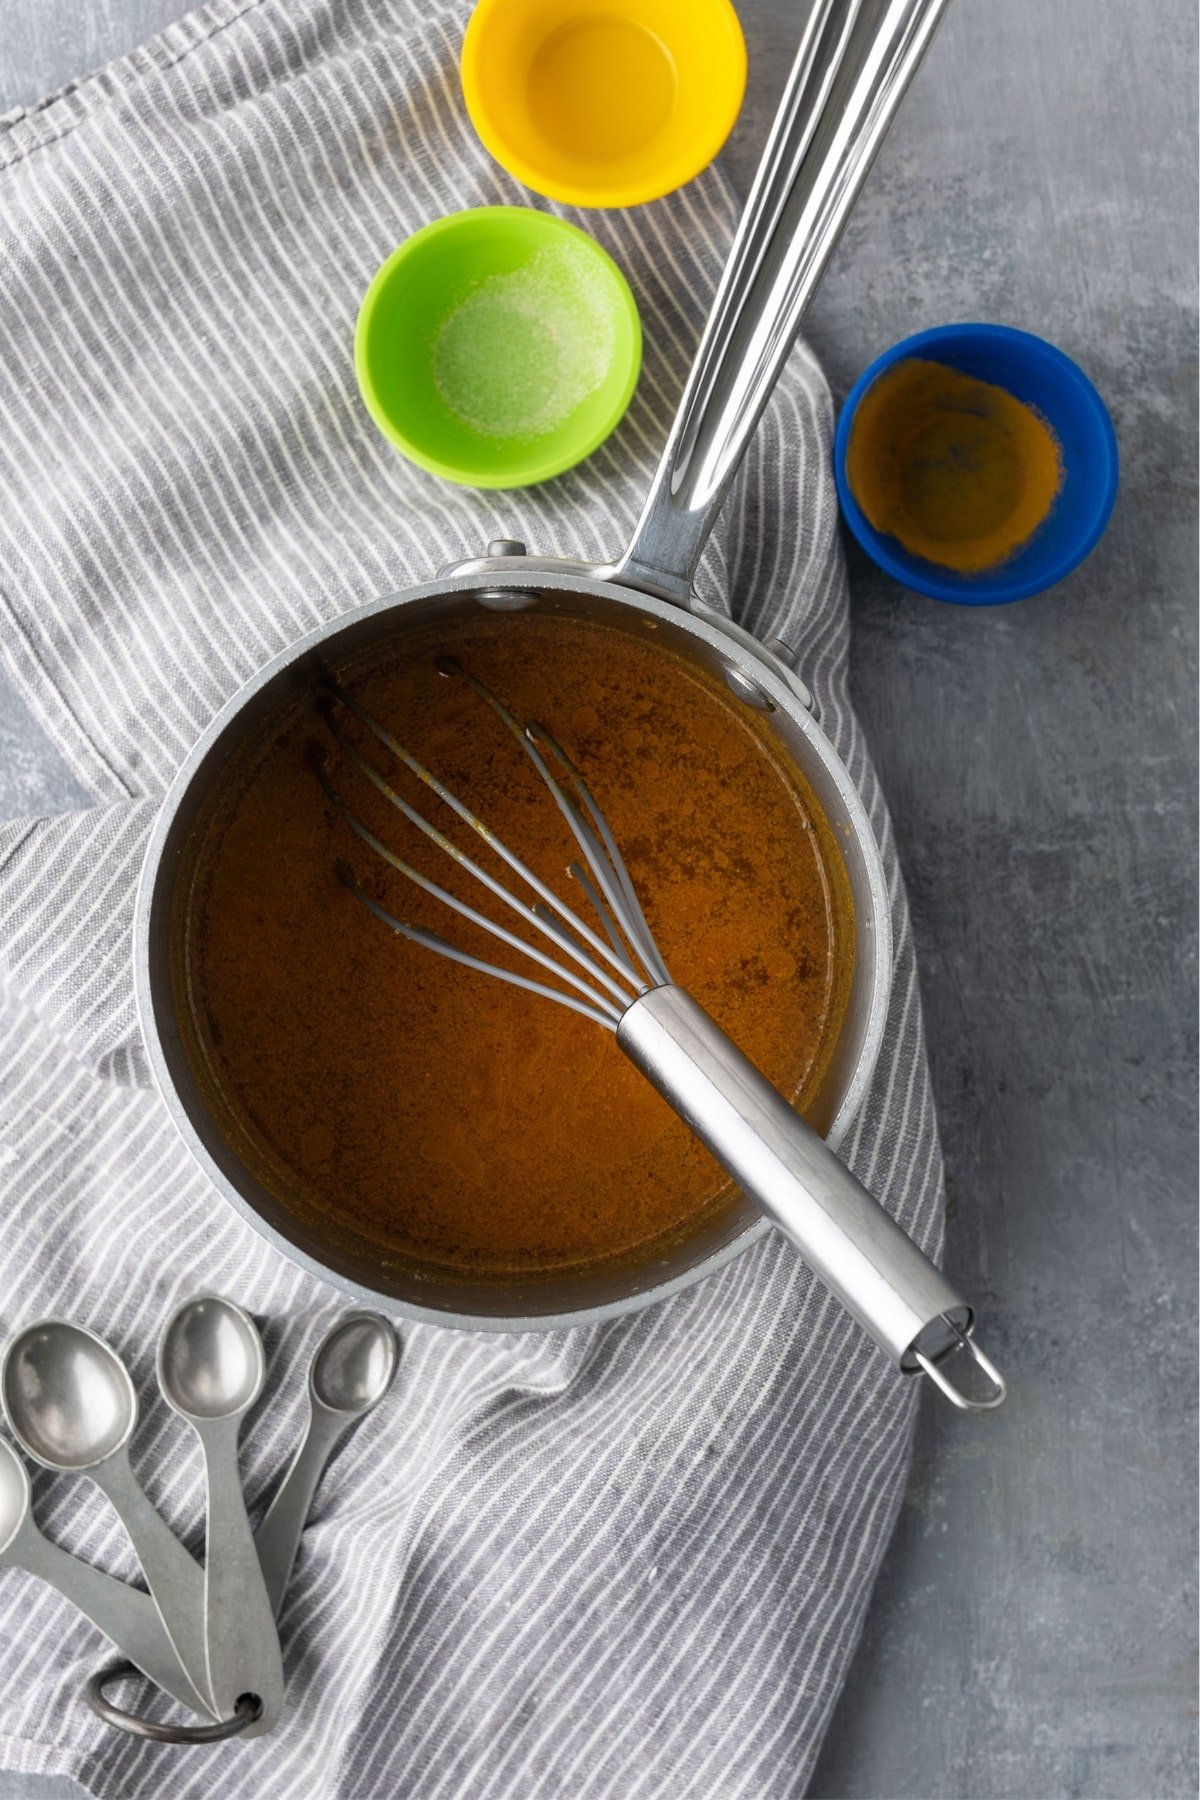
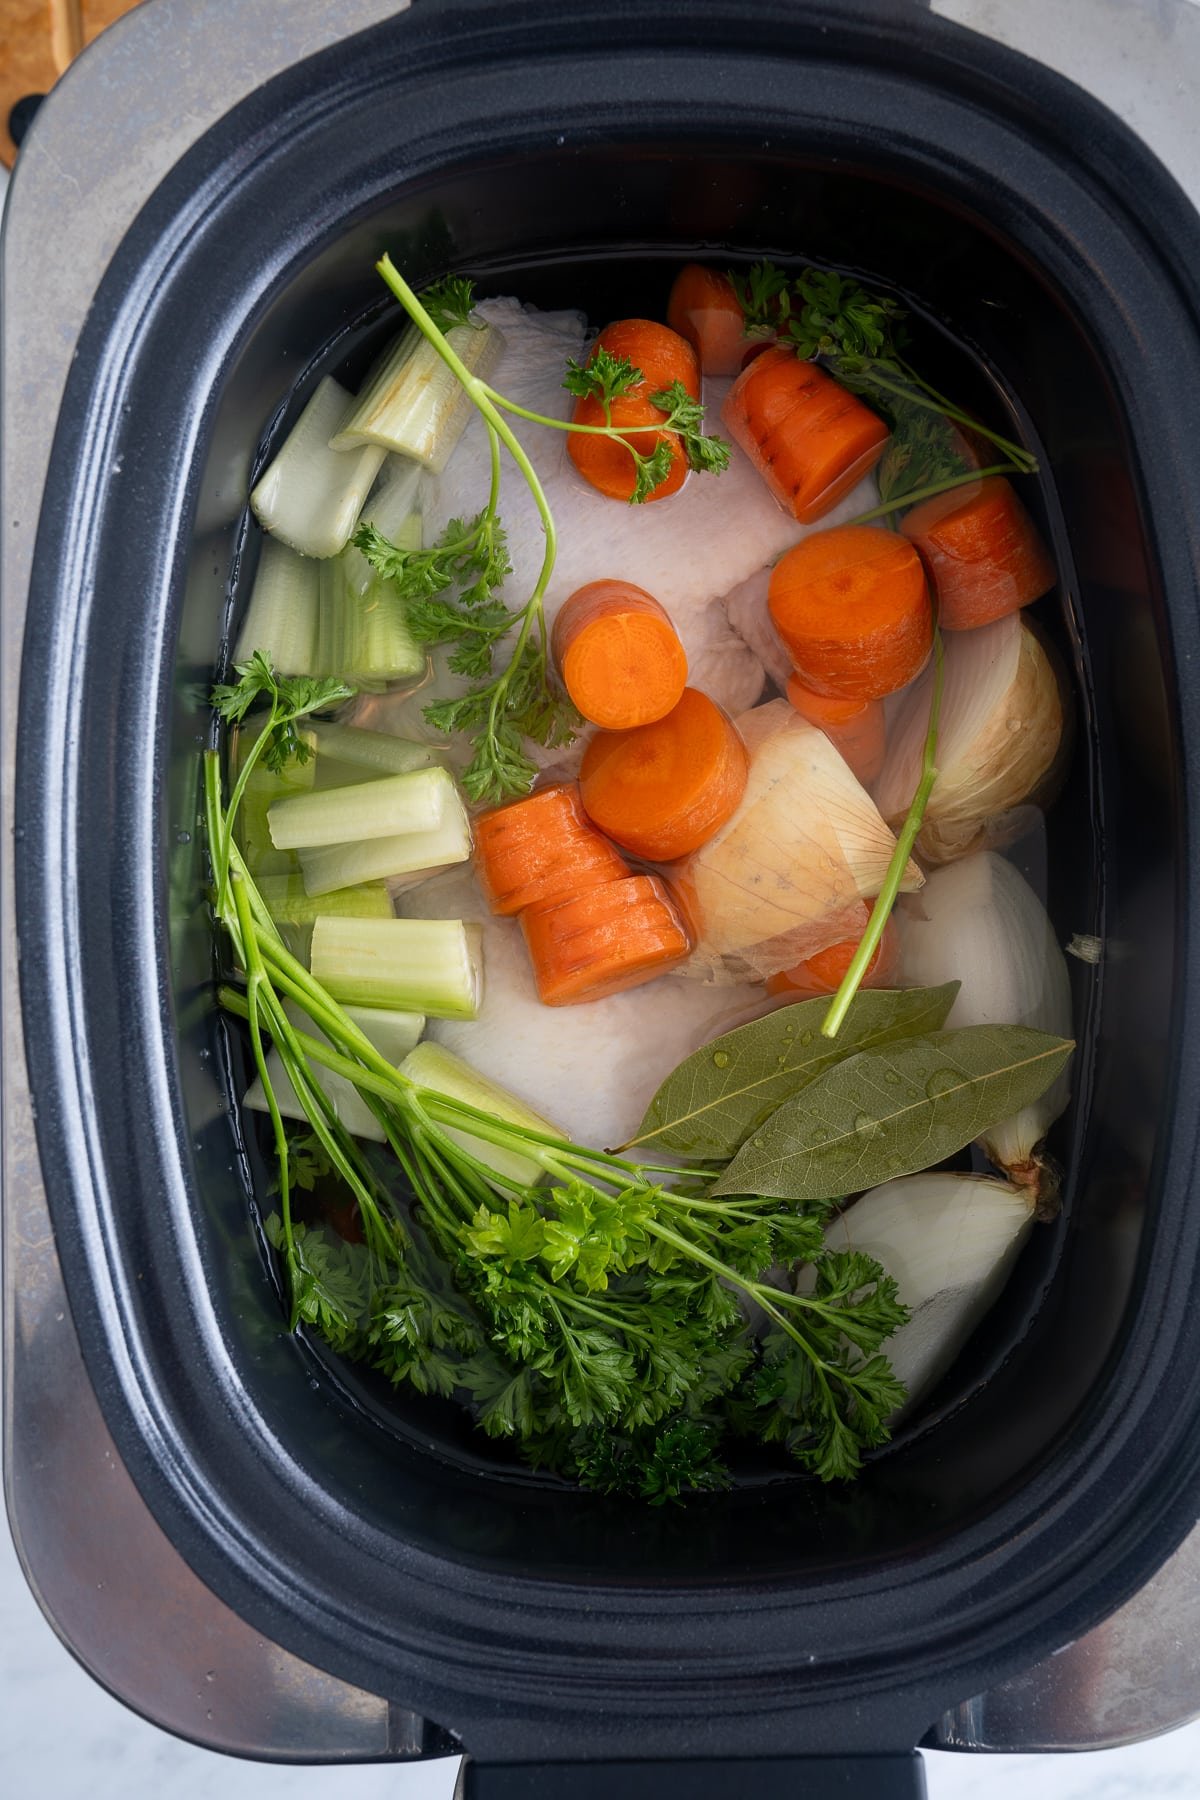
Rinse the peanuts in water and get your seasonings.
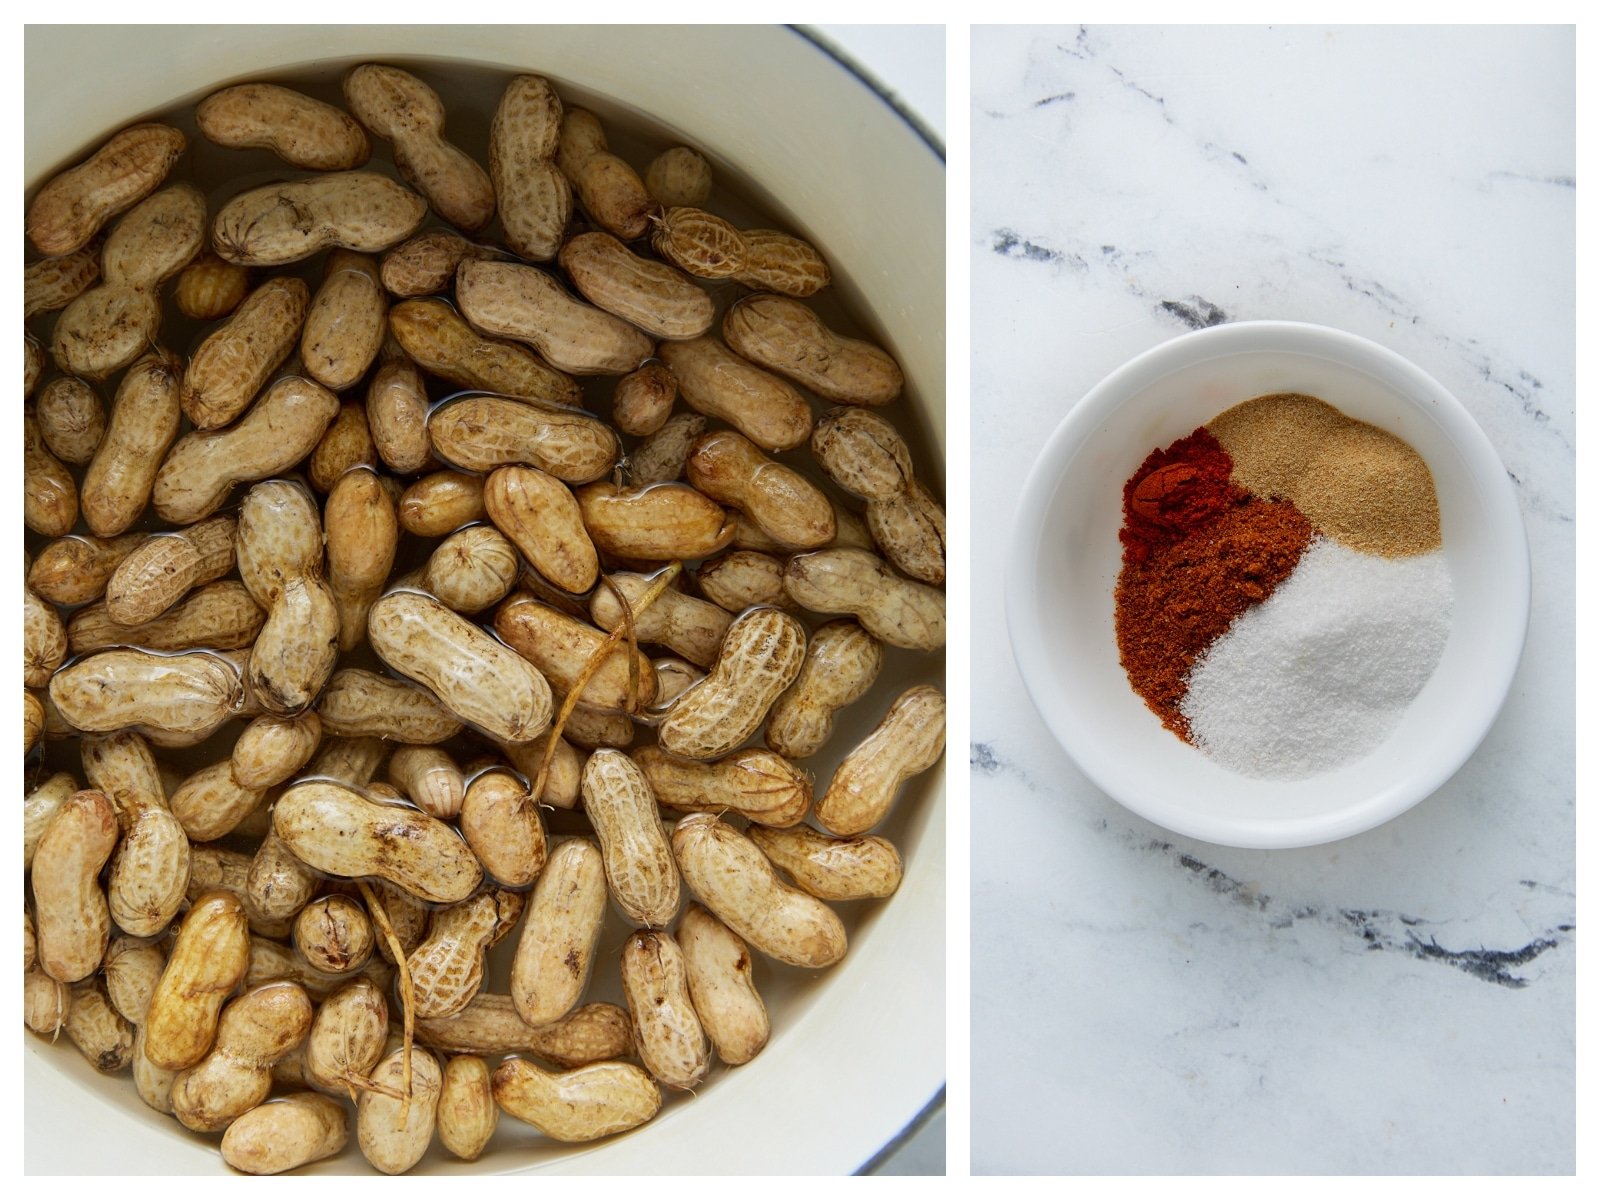
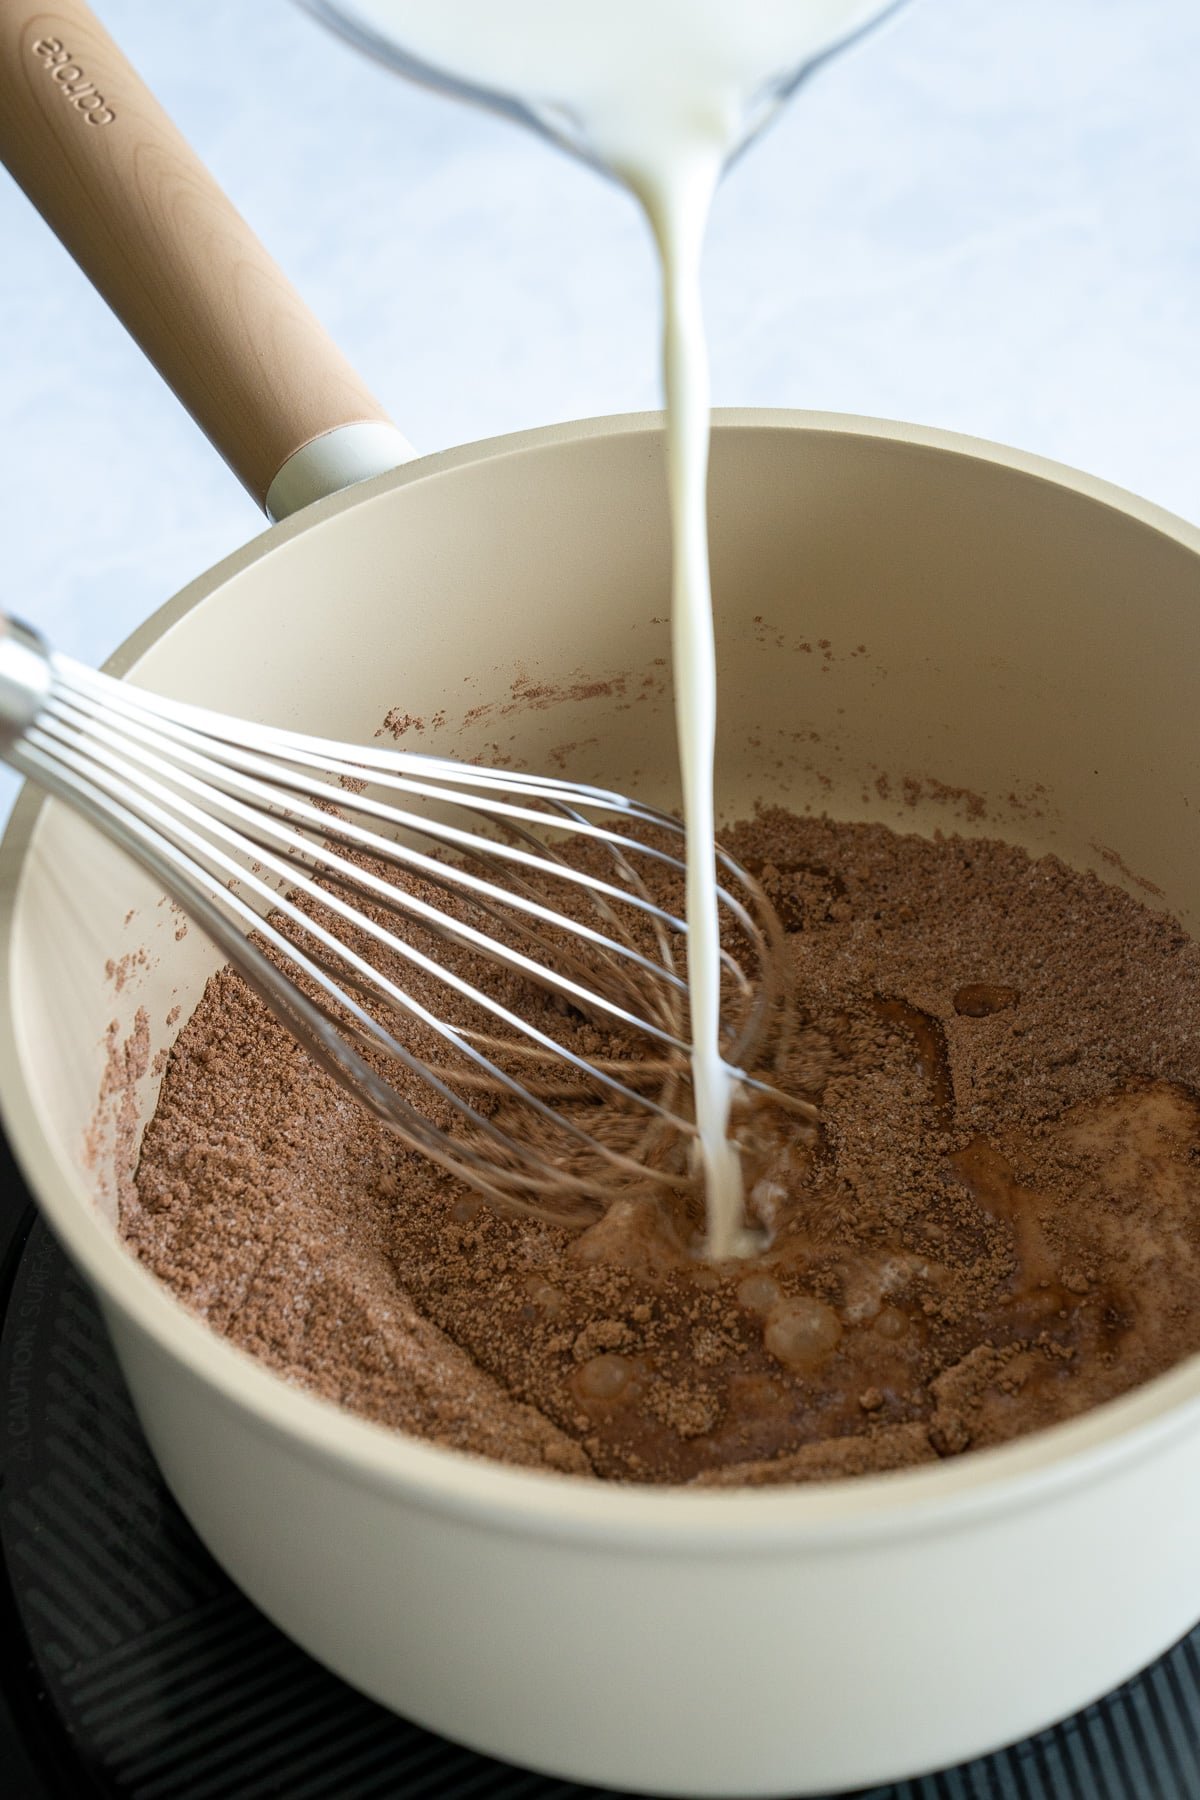
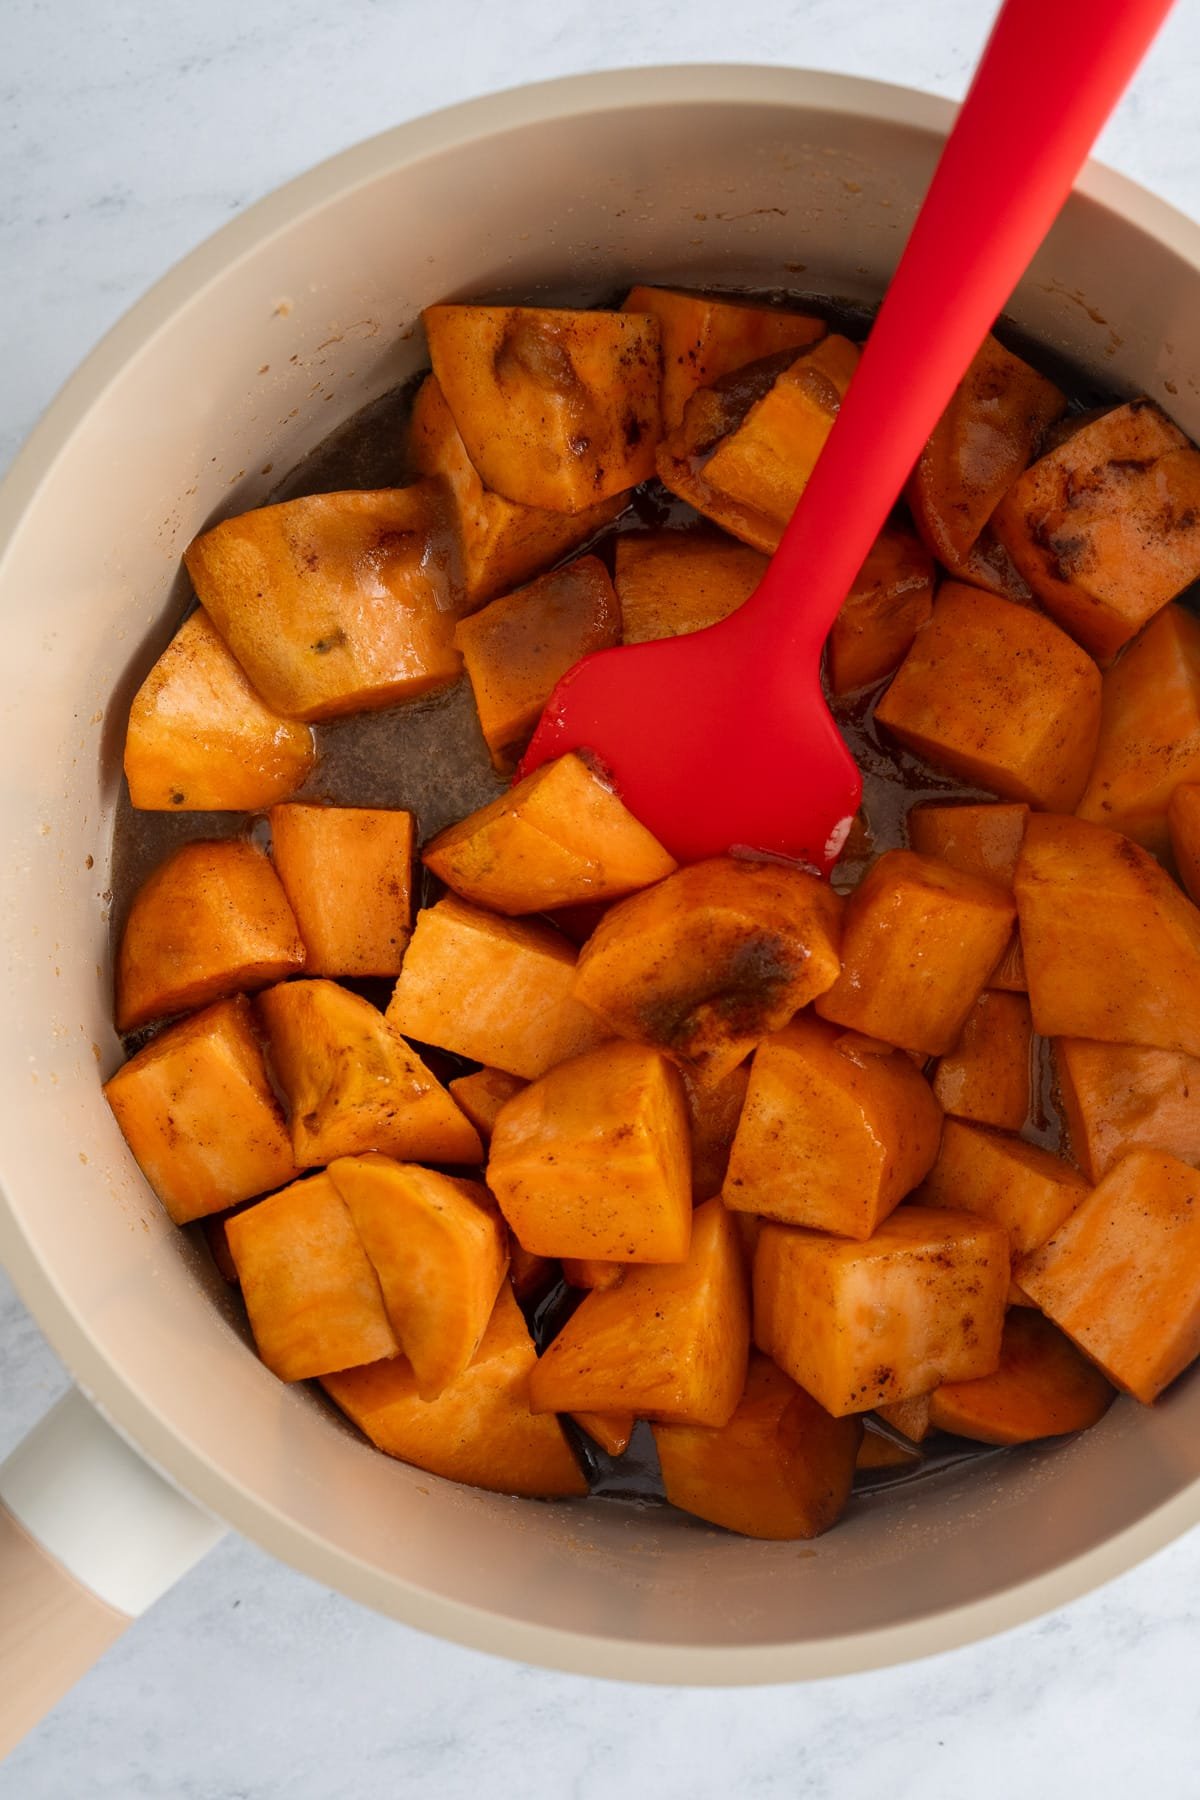
Add peanuts in a large pot. Cover with water and seasonings and stir.
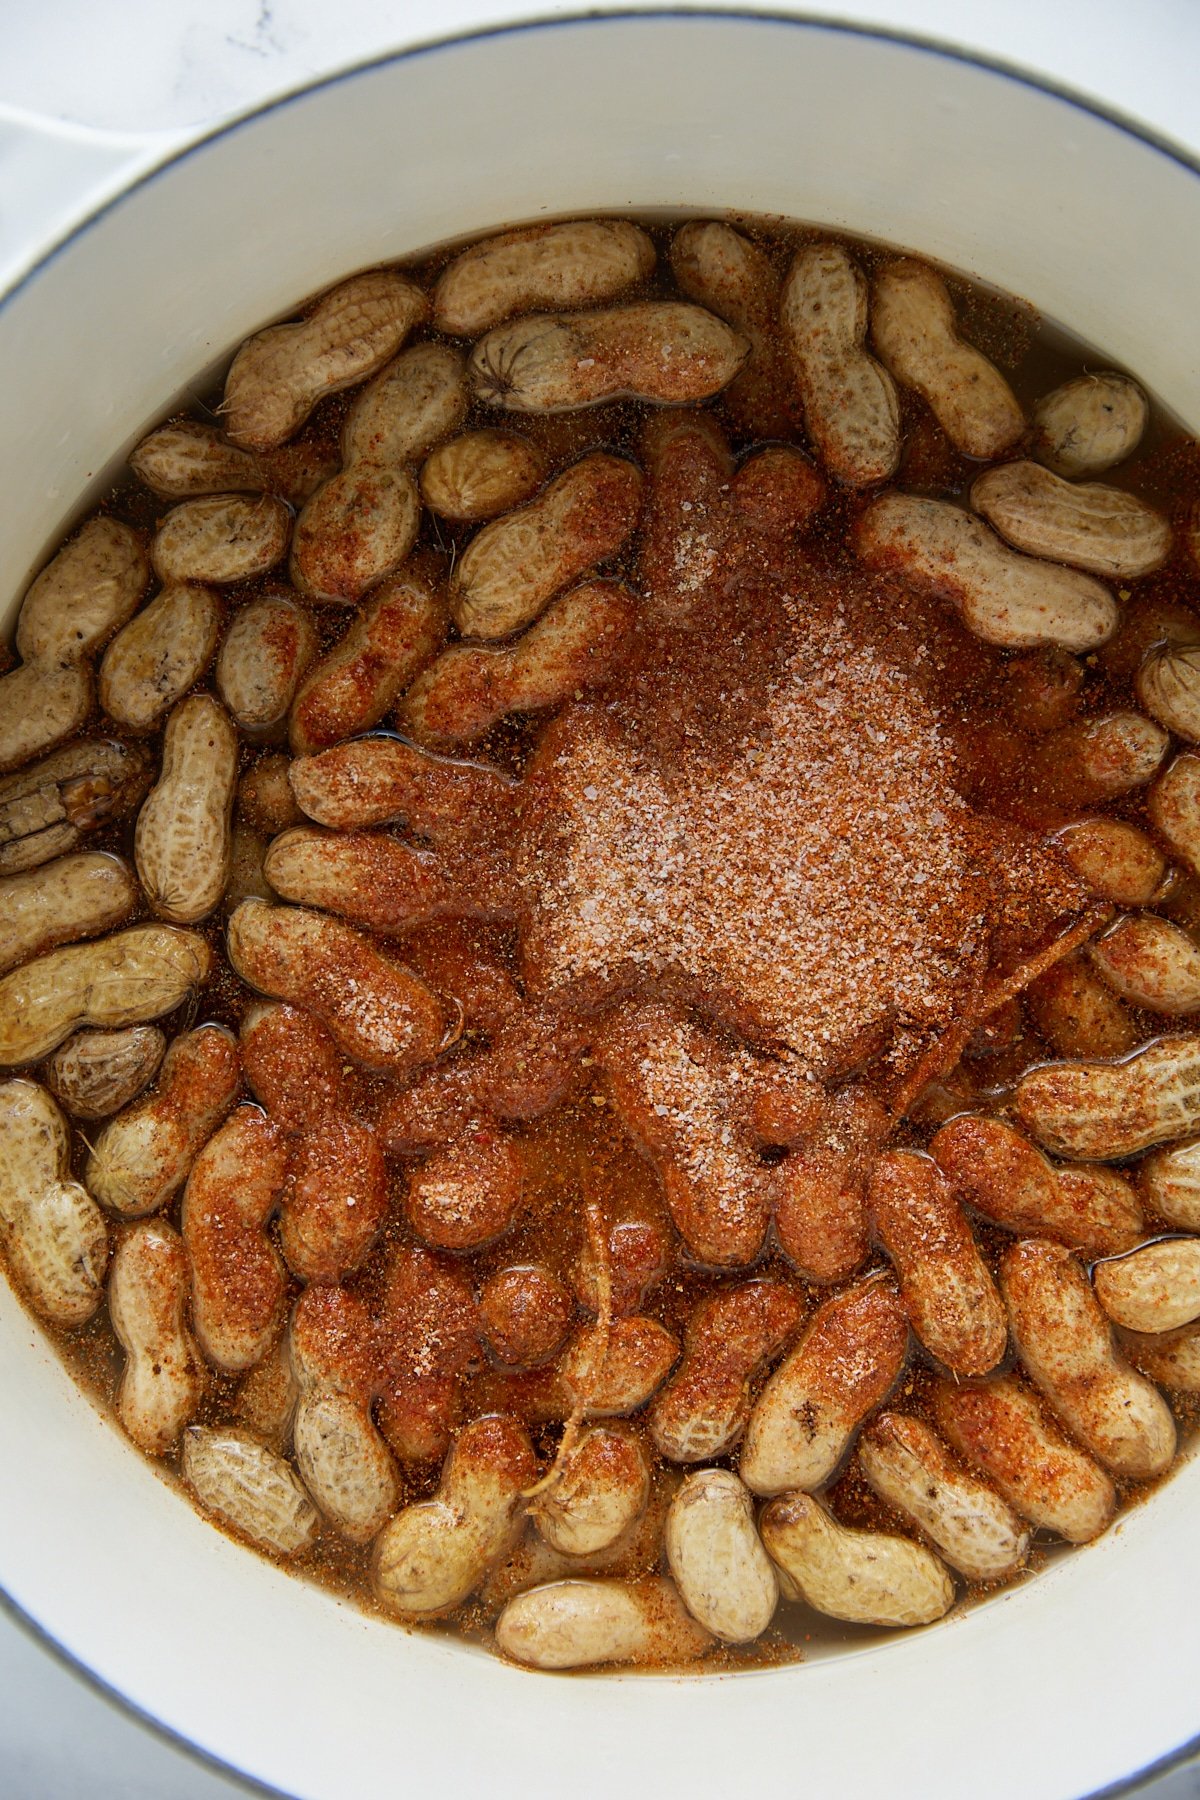
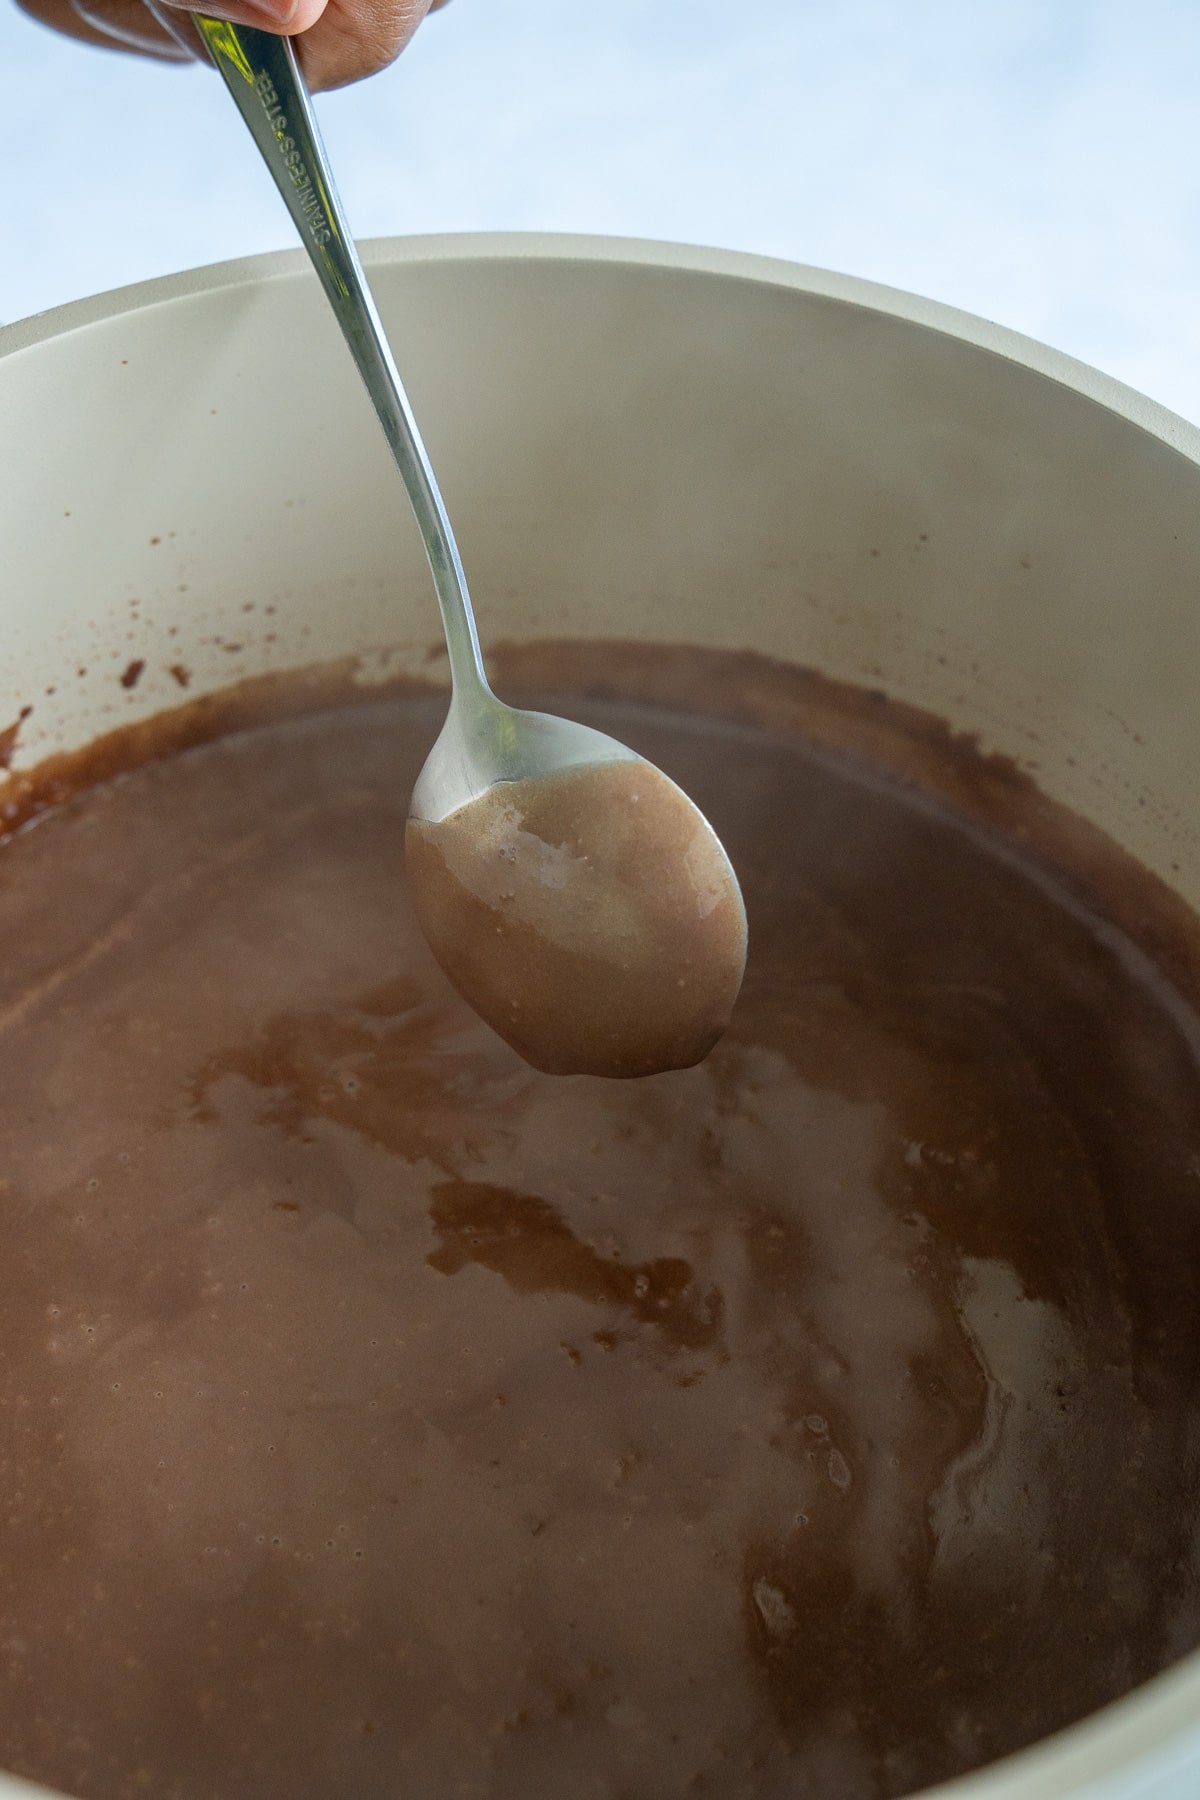
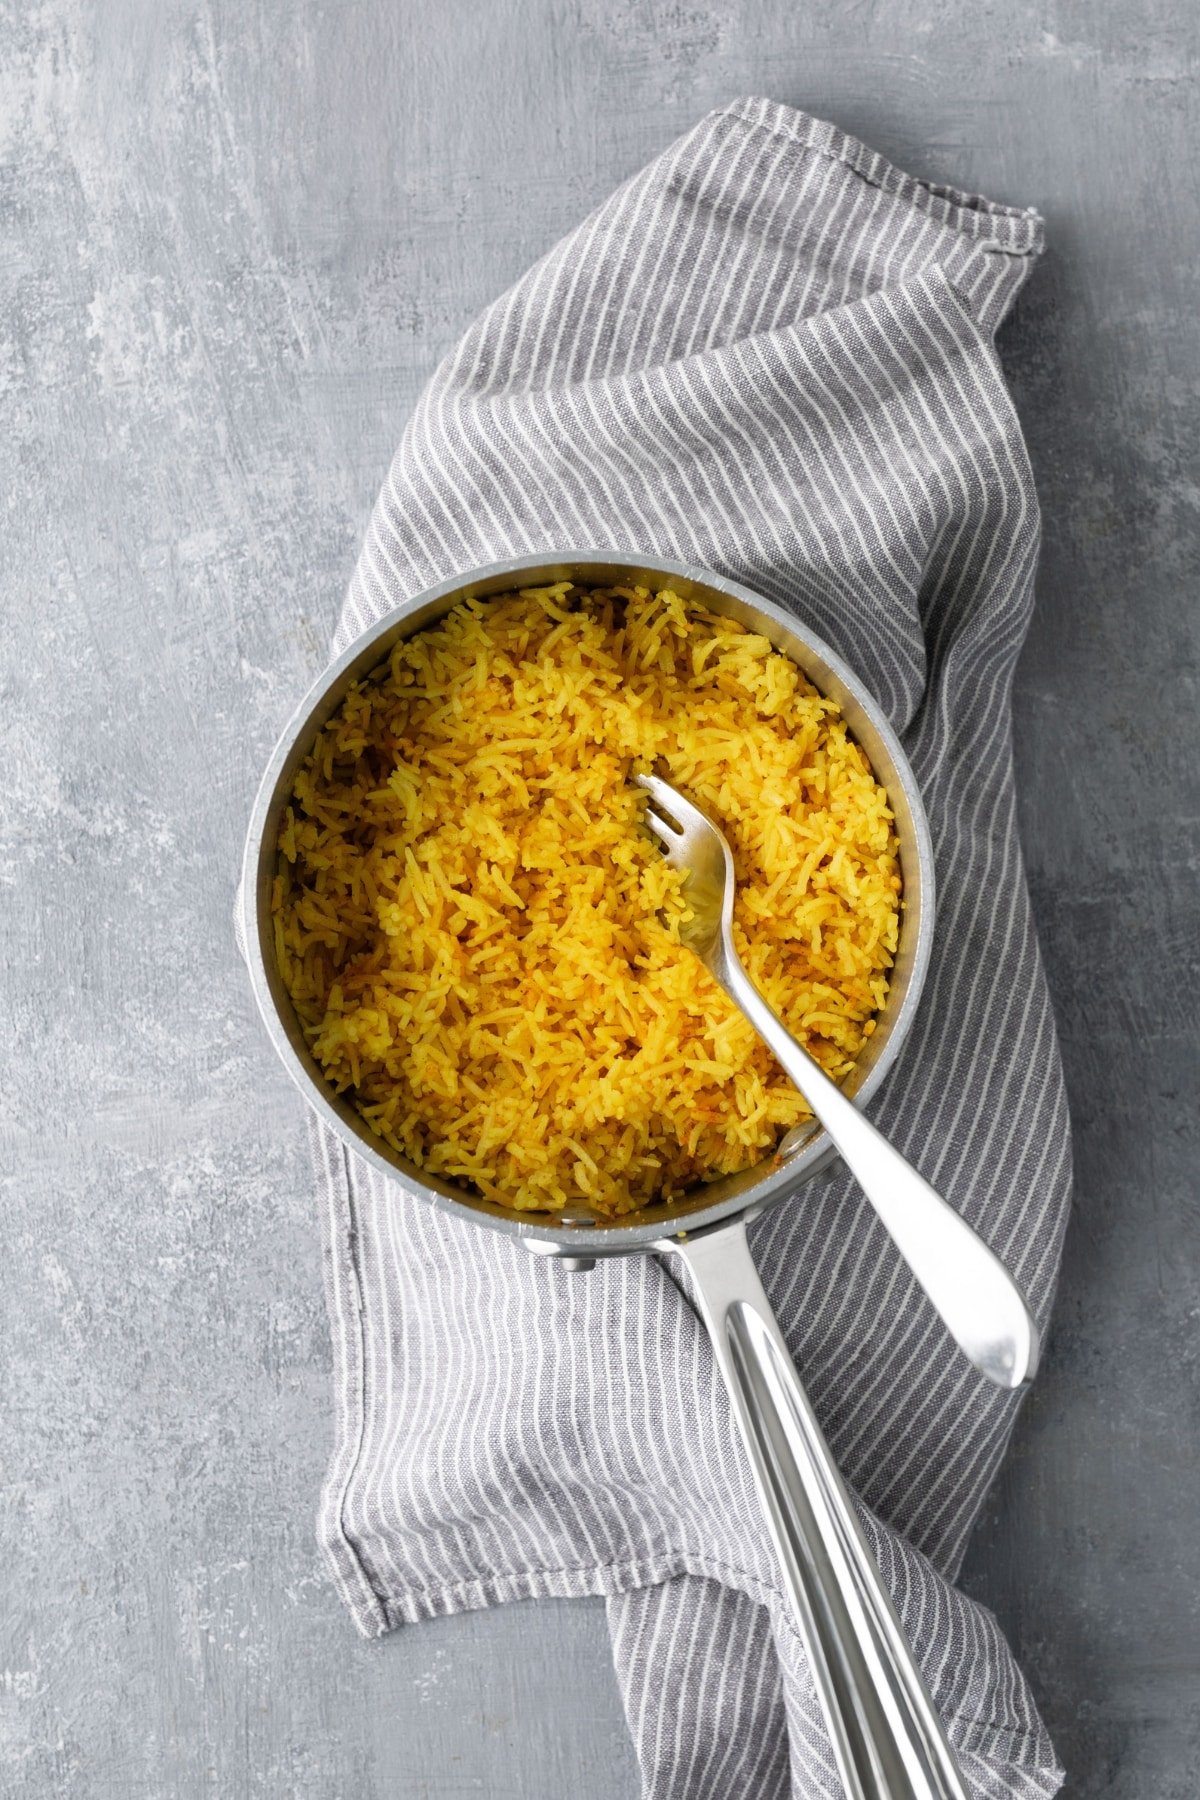
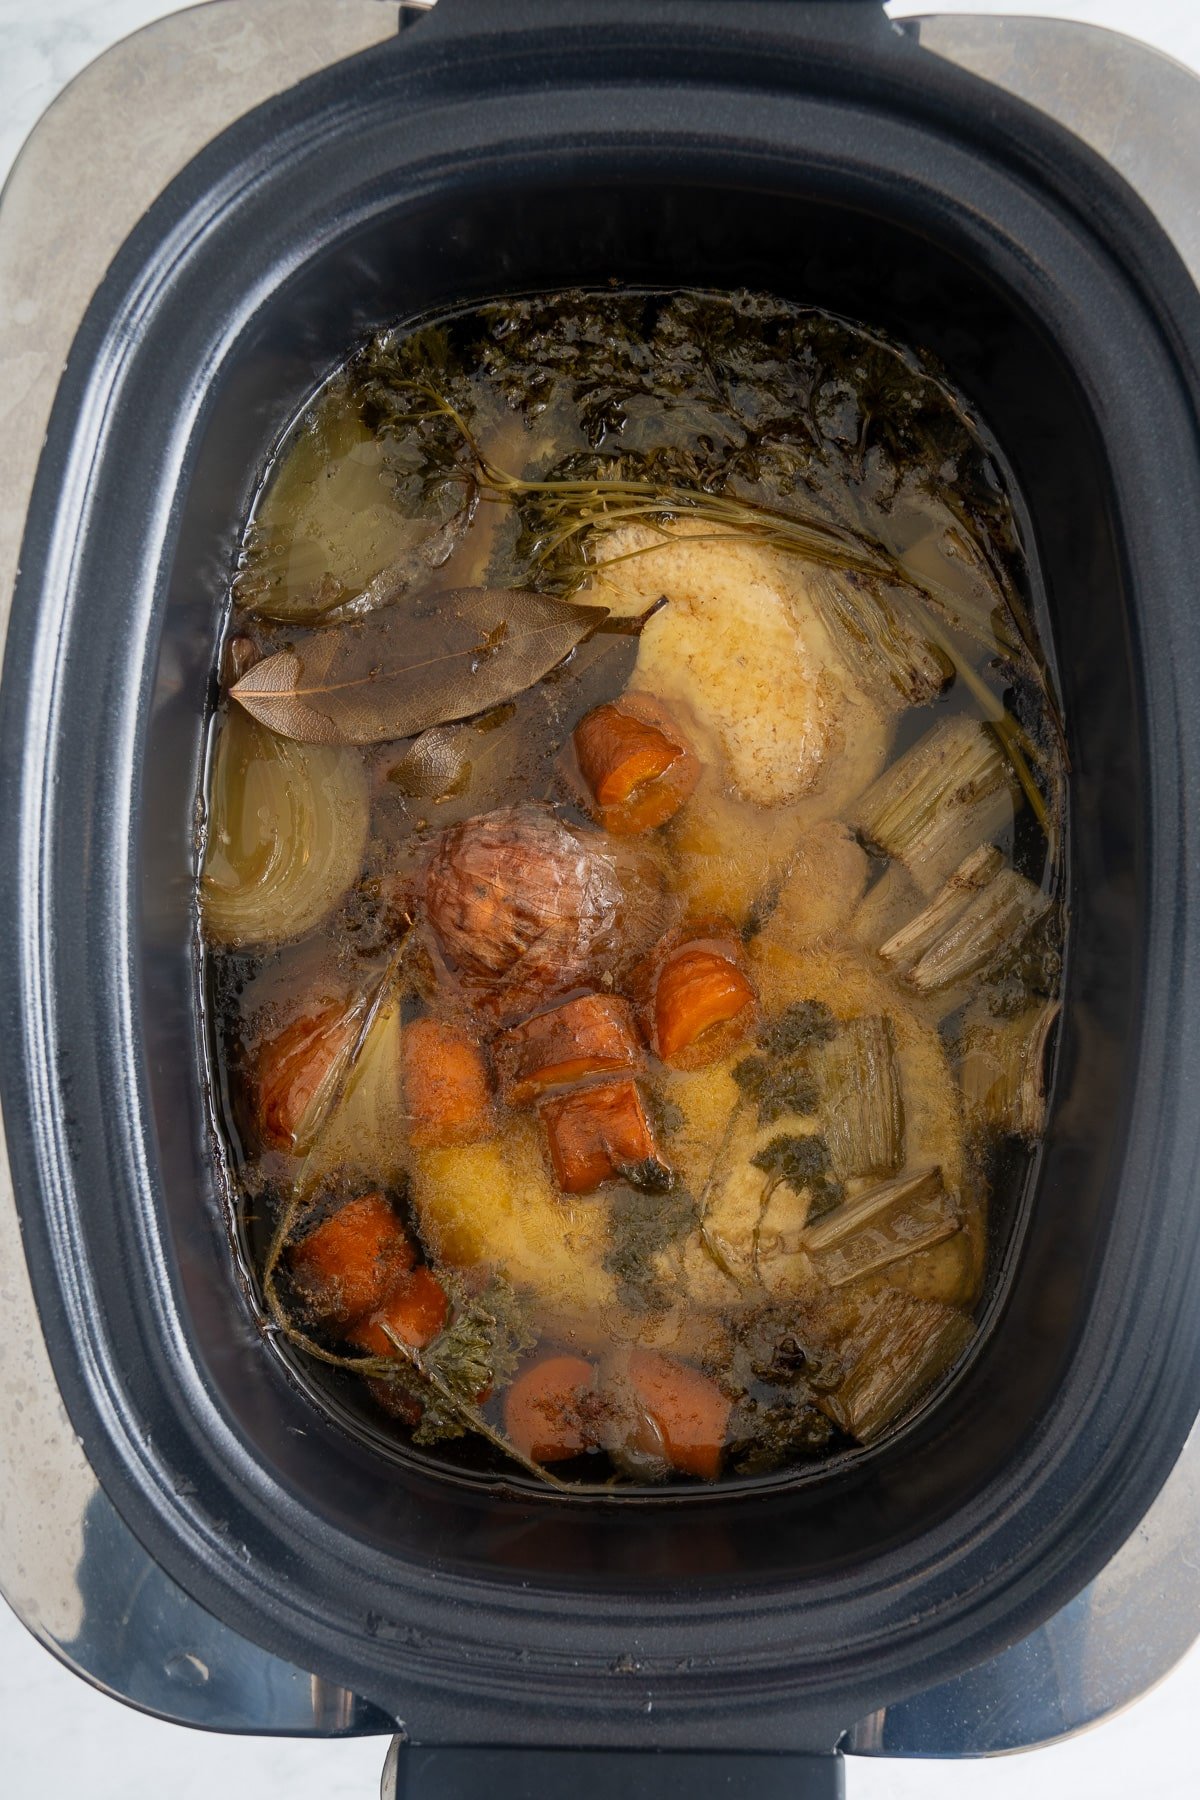
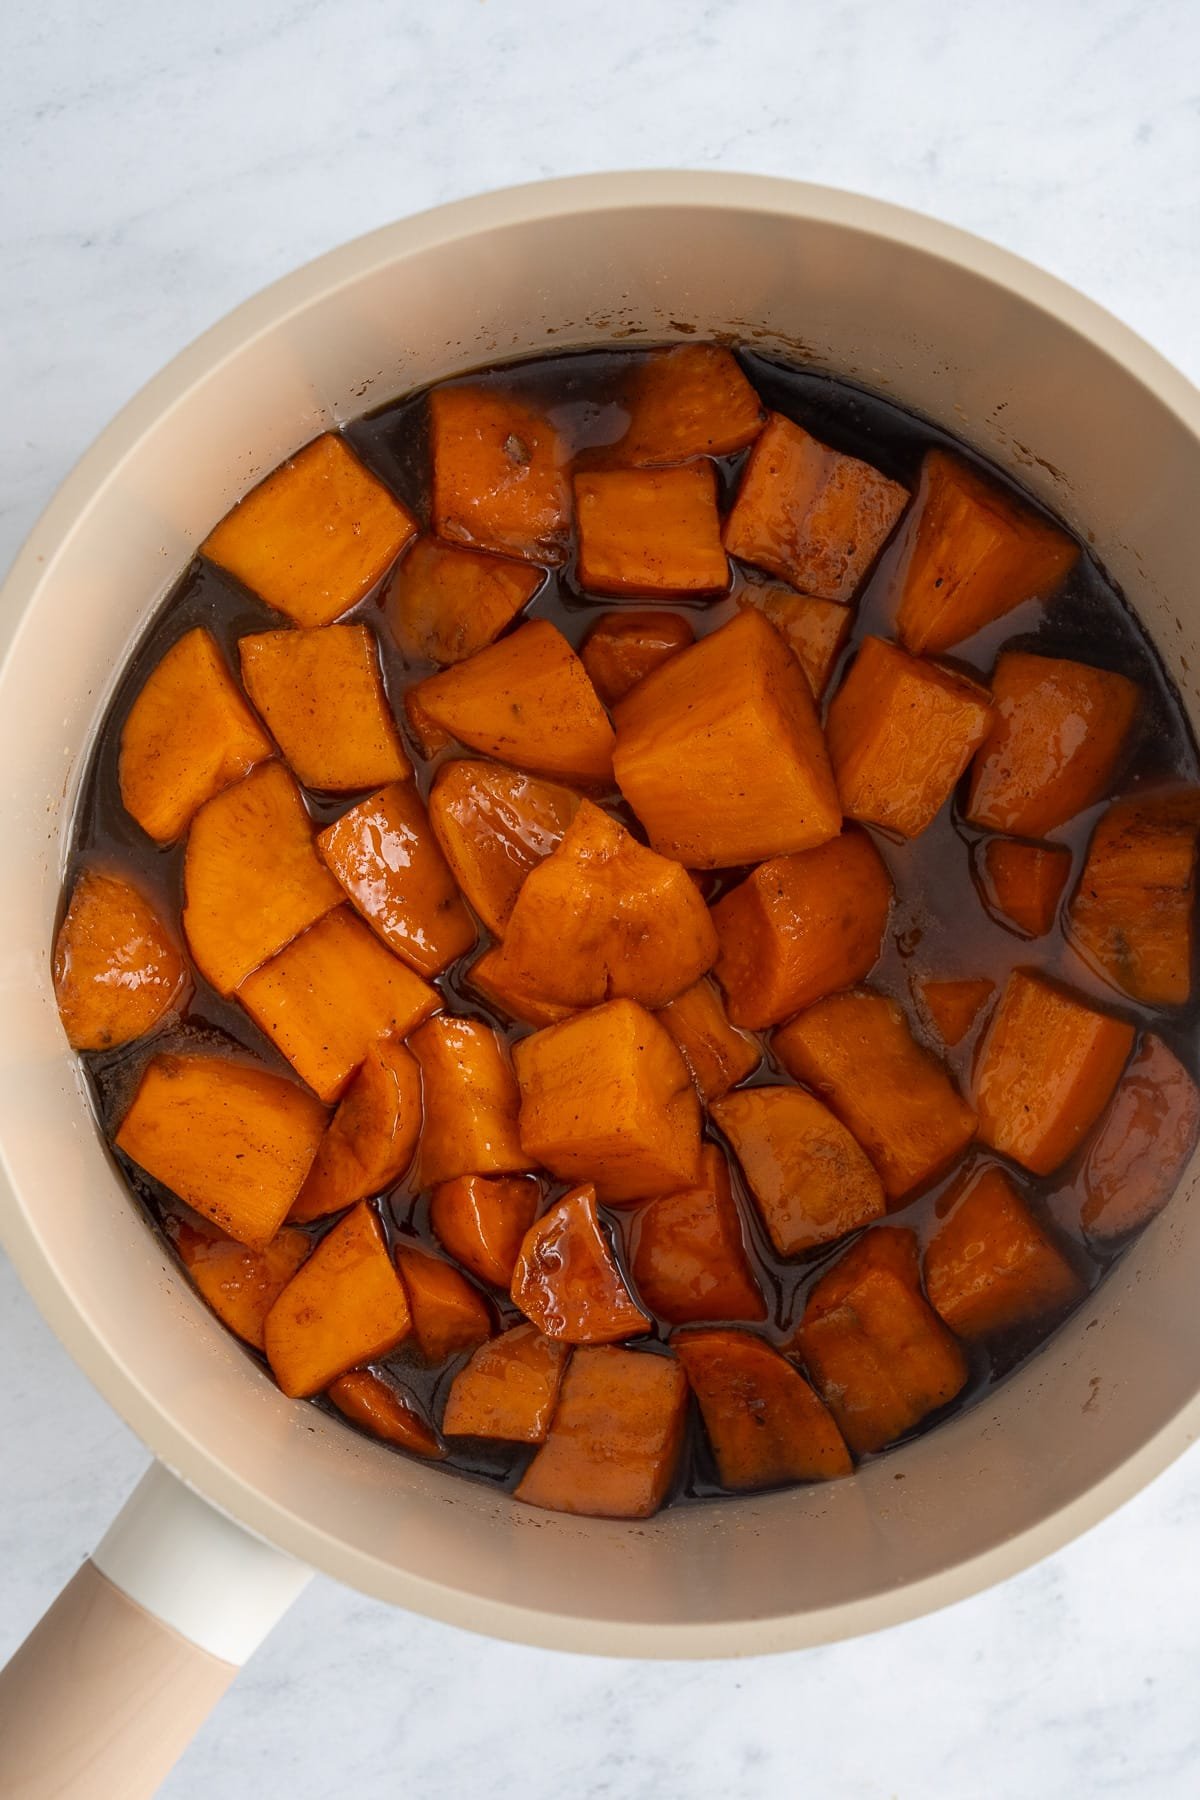
Bring to a boil. Reduce the heat to medium-low and let the mixture simmer for 2-3 hours until the peanuts soften.

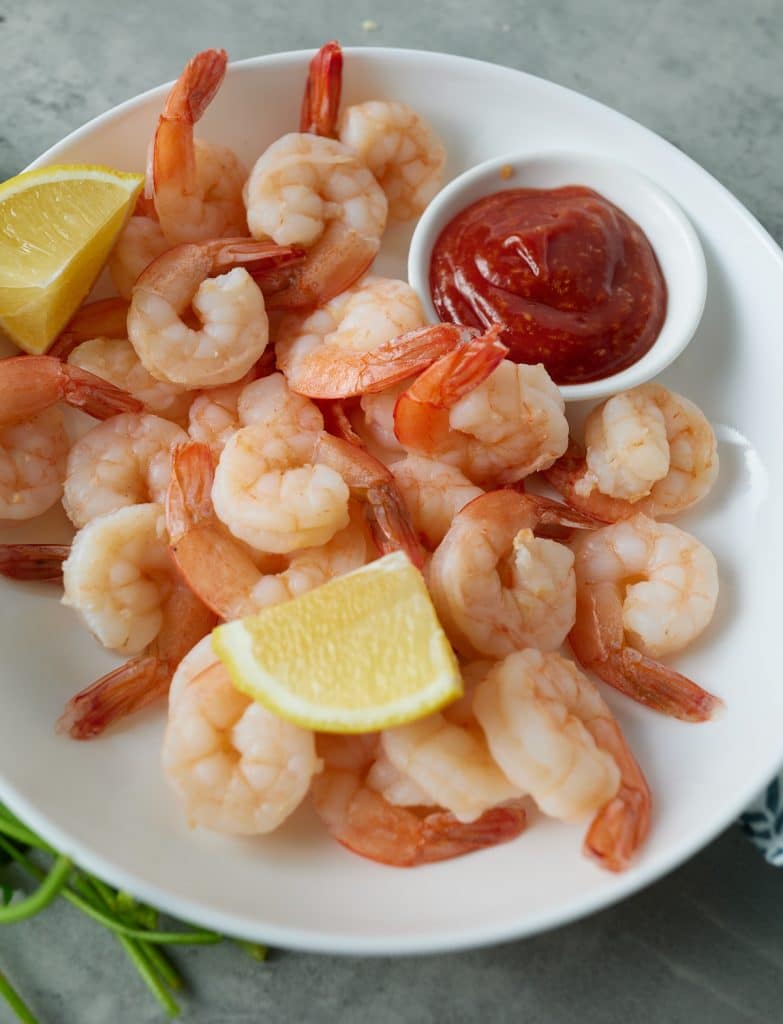
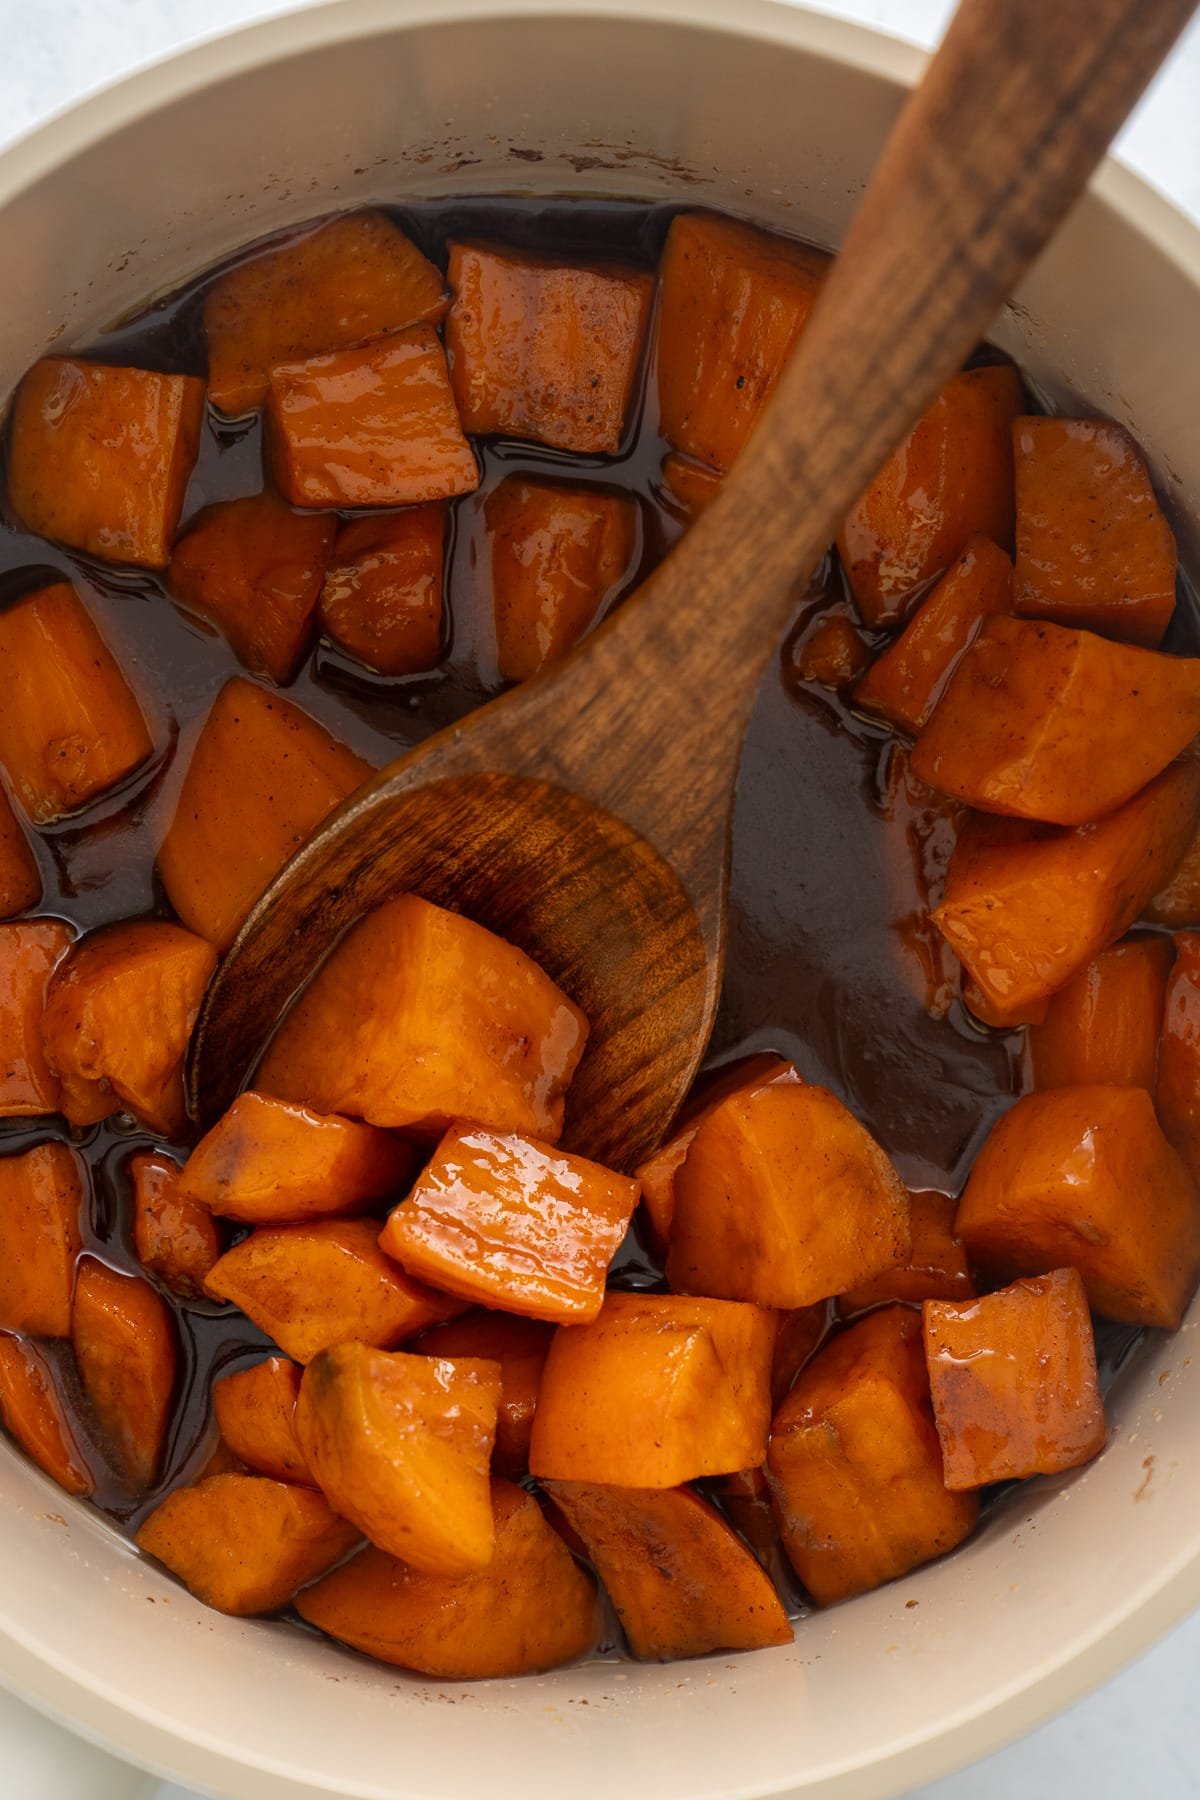
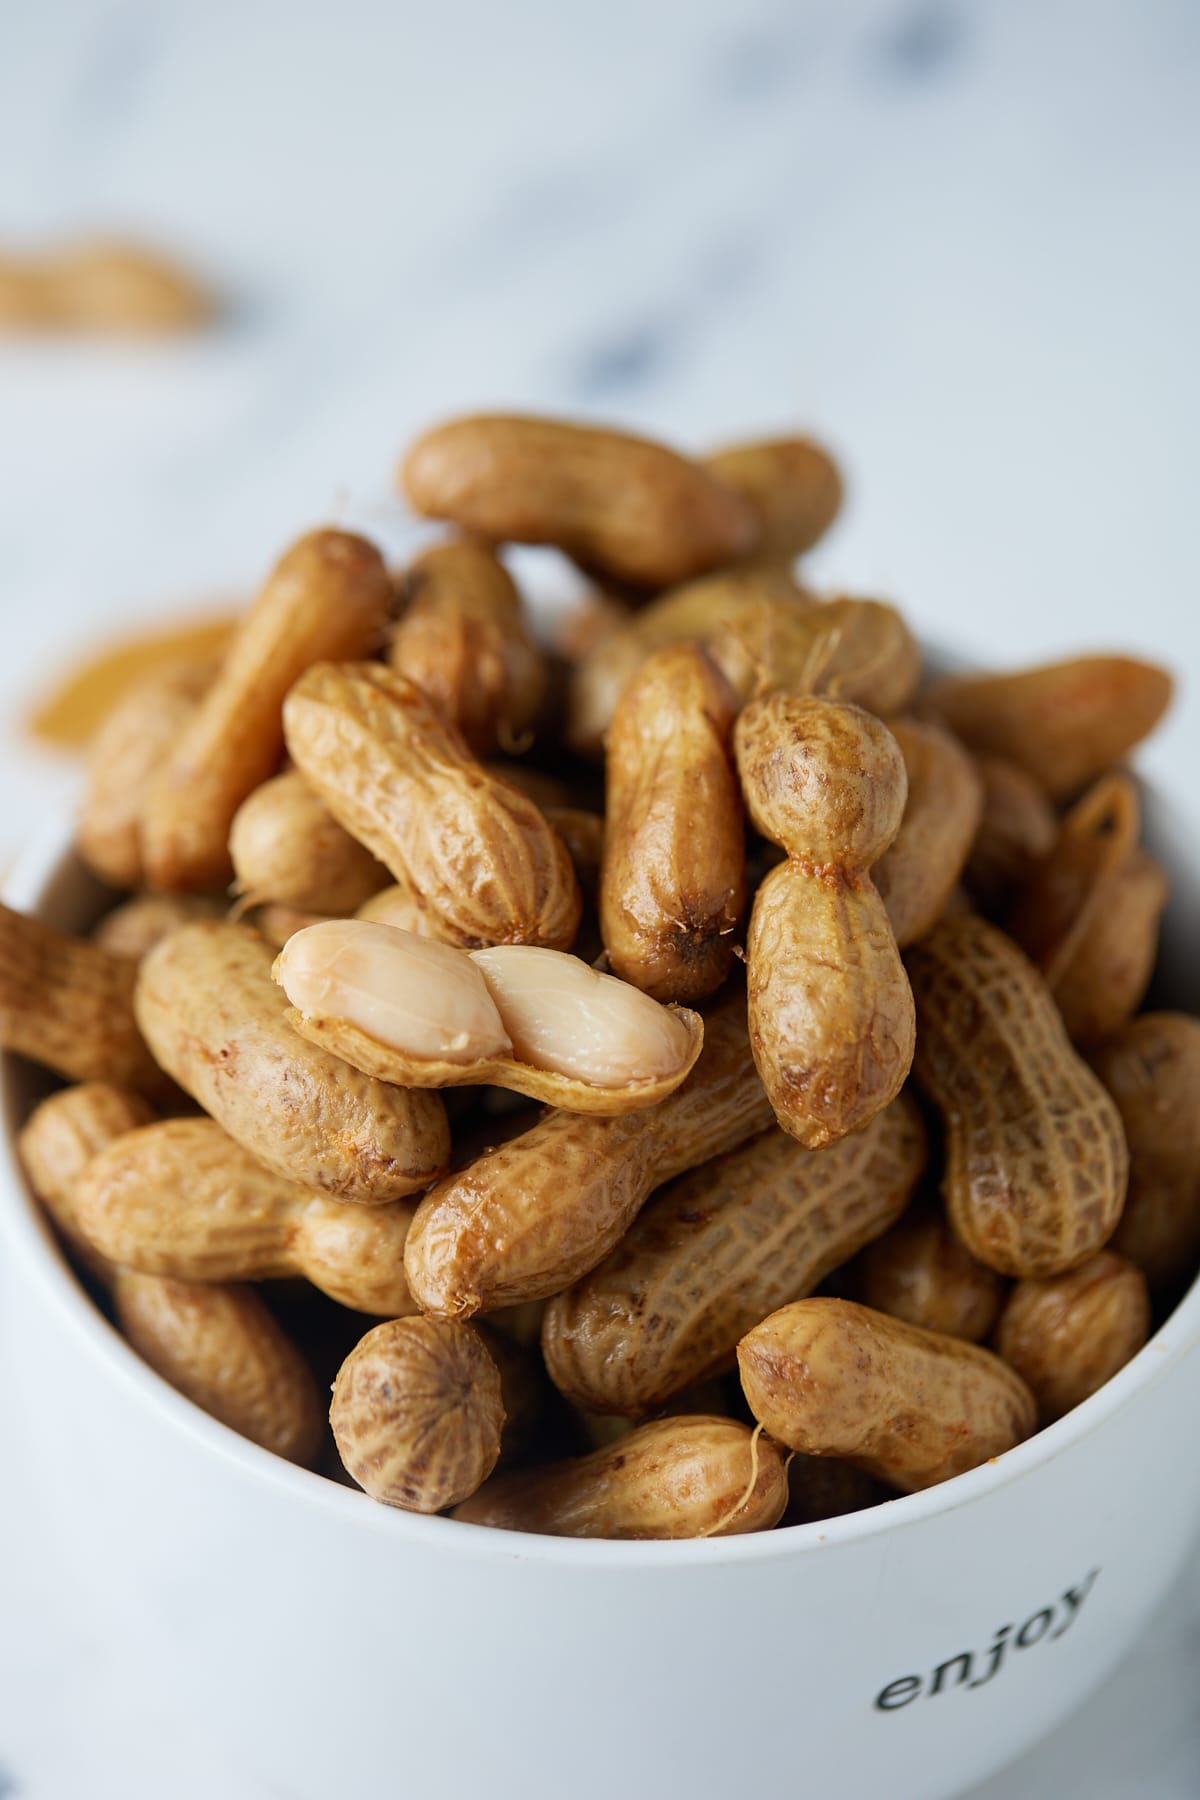
Allow the peanuts to cool slightly. Serve warm and enjoy.
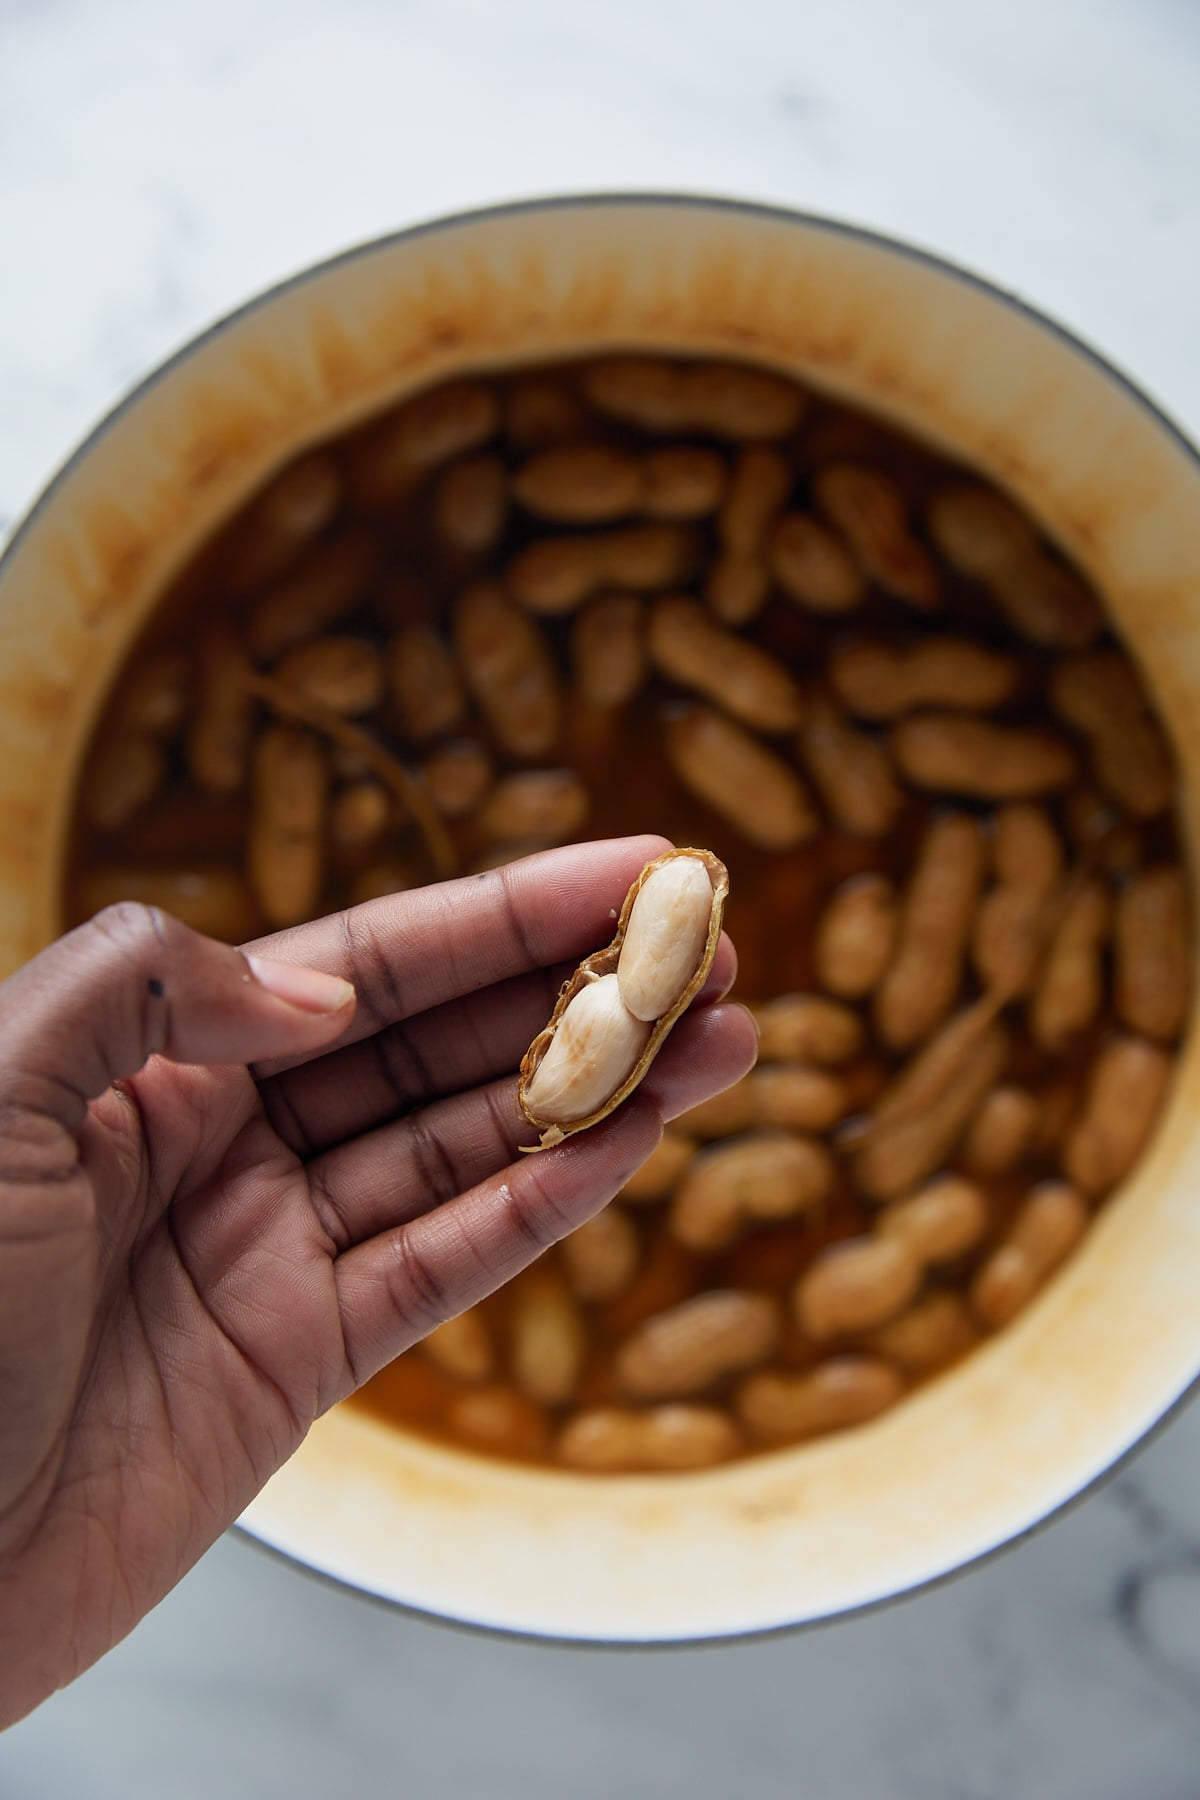
How soft should the boiled peanuts be?
It's really up to you, but they shouldn't be hard. I like mine soft and tender but not mushy. I suggest tasting a peanut after 2 hours to see if it's as soft as you like it.
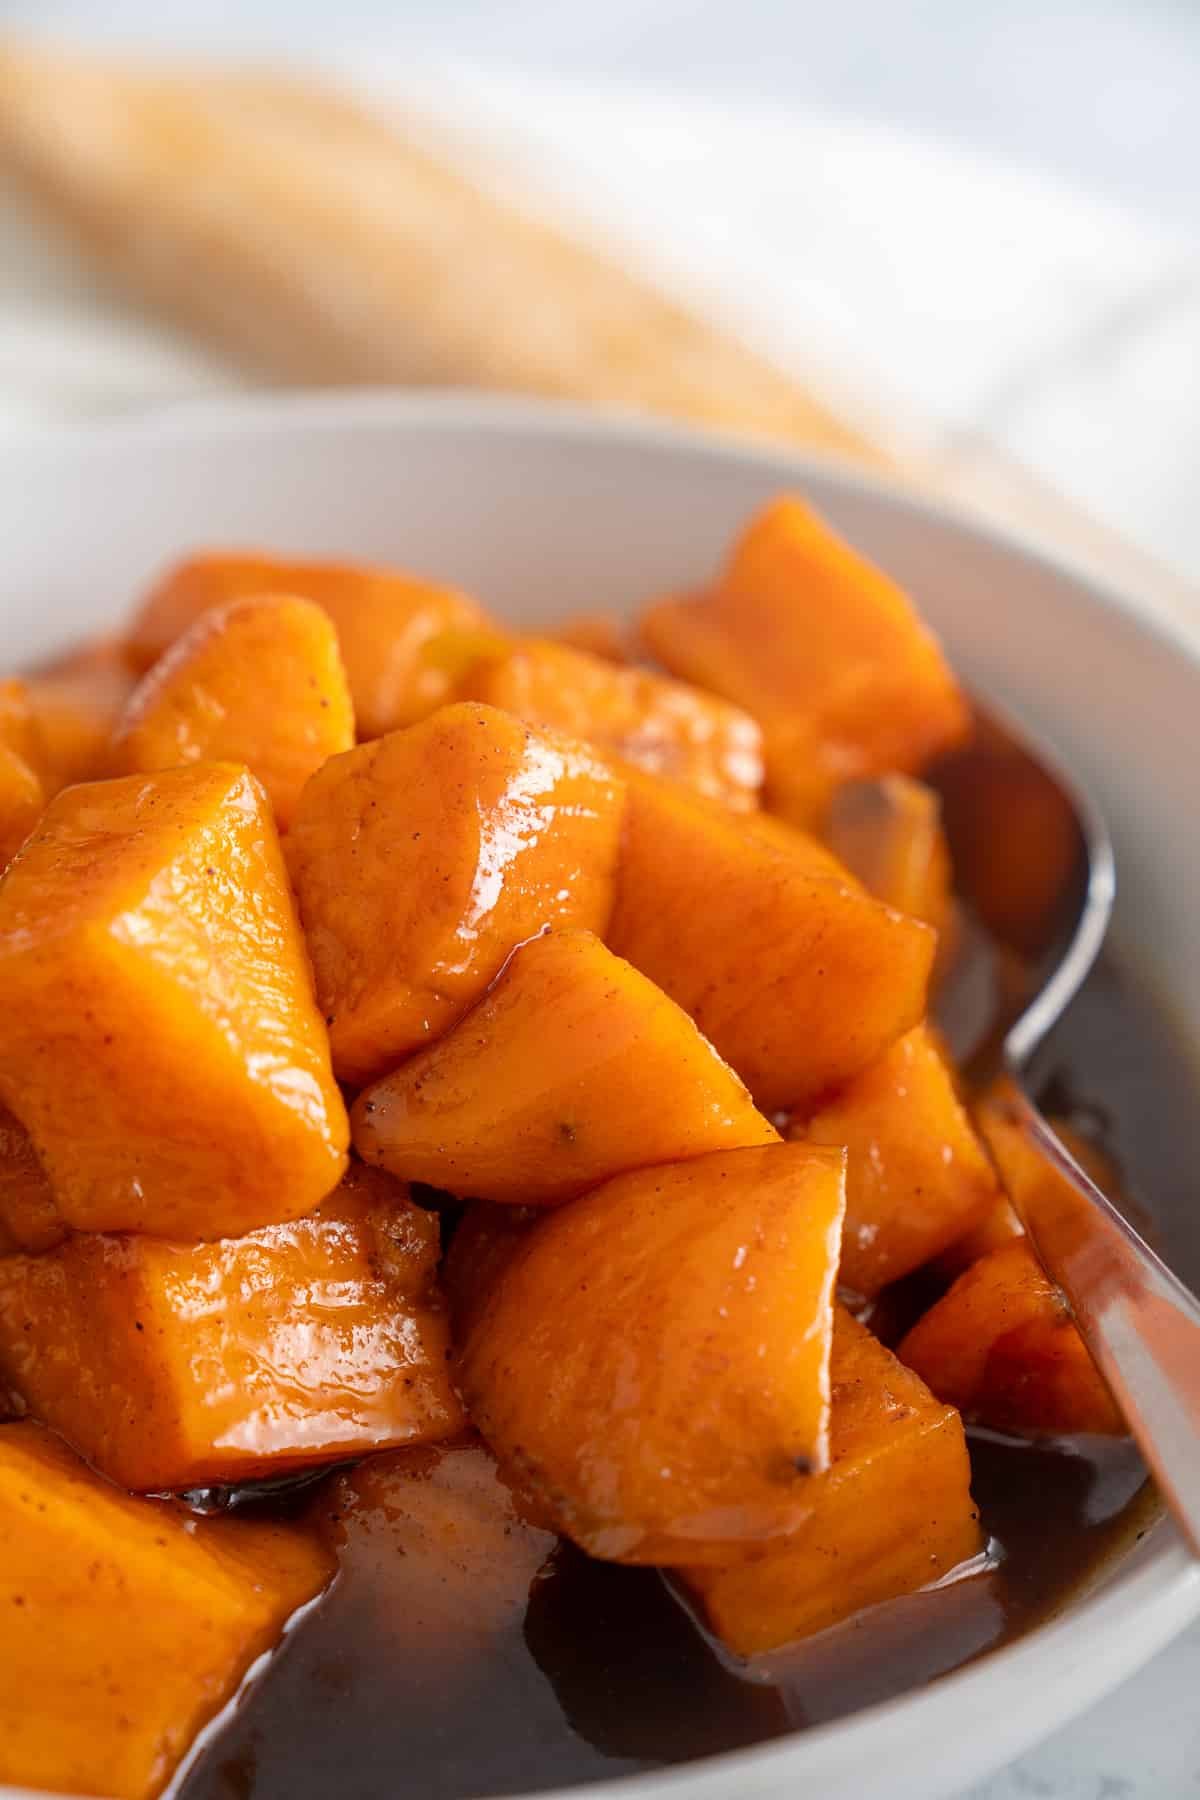
How to eat a boiled peanut
I like to eat boiled peanuts like sunflower seeds and put the entire peanut in my mouth, including the shell. I then slightly bite on the shell, remove the peanut and juices, and spit out the shell.
Others eat boiled peanuts by carefully opening the shell before eating the peanuts inside.
Either way is fine; don't eat the shell.
How to Store and Reheat
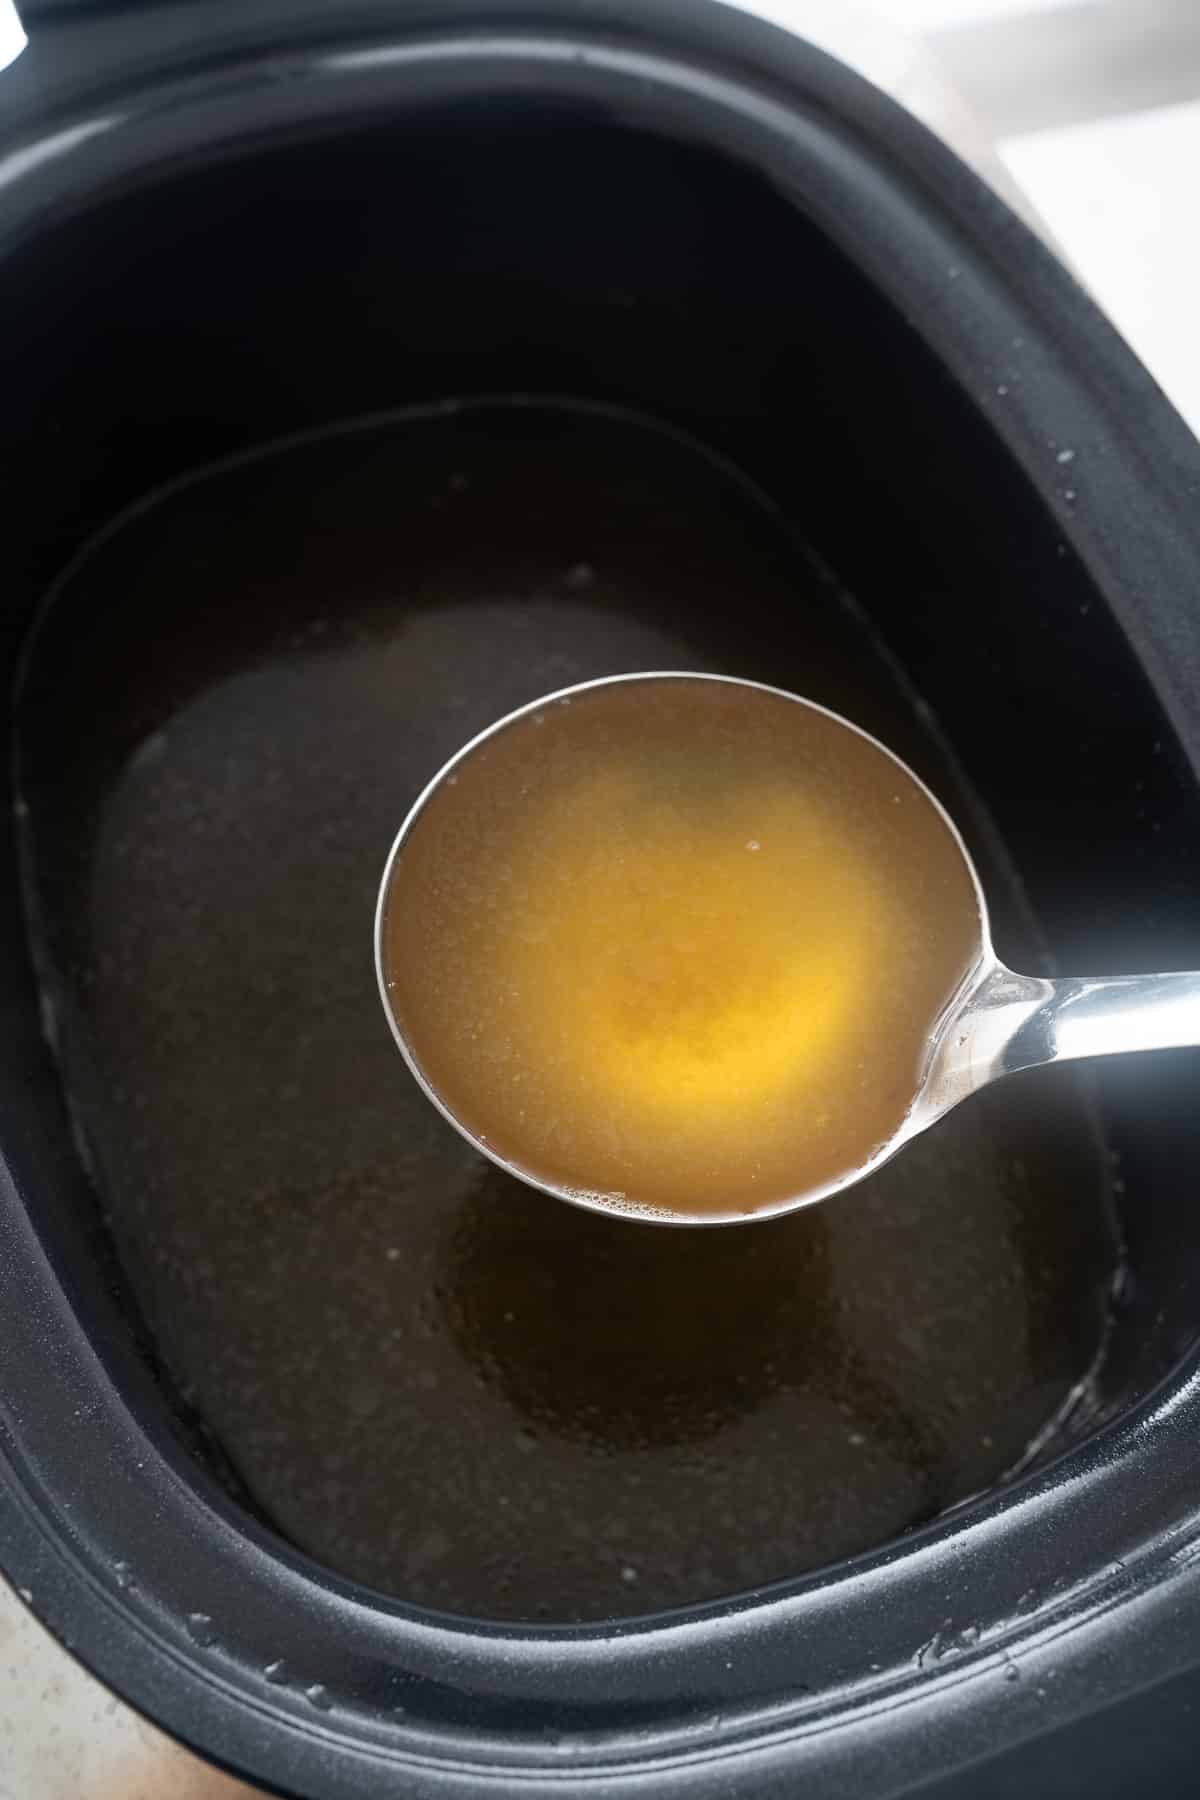
Store these peanuts in their cooking liquid/brine for up to a week in the fridge, and enjoy them whenever you get the urge to snack! The longer they sit in the brine, the more the flavors will intensify.
When ready to eat, reheat gently on the stove or in the microwave in the brining liquid.
You can also freeze boiled peanuts. I like to freeze them in the brine in smaller bags, letting them defrost overnight before consuming them.
What is a green raw peanut
This recipe calls for green raw peanuts, which are freshly harvested raw peanuts that have not been dried or processed. They have a high moisture content (typically around 35-50% compared to the 10% or less found in dried peanuts) and are used mainly for boiling rather than roasting.
They are highly perishable and should be immediately refrigerated upon purchase. You can usually find them in some specialty grocery stores during the growing season, between July and November.
Recipe Notes and Tips
- Boiled peanuts should be served warm for the best experience.
- For the salt and vinegar peanuts, reduce the water to 1.5 cups to add to the 2.5 cups vinegar. You could also use vinegar powder instead if you don’t want your entire house to smell like vinegar.
- Once cooked, store the peanuts in the fridge. If left at room temperature, they can become slimy.
- Do not eat the peanut shell. Place it in your mouth, suck off the flavor, bite the shell to remove the peanut, then spit out the shell. So easy 🙂
More Snack Recipes
I hope you love this recipe as much as we do. If you have tried this recipe or any other recipe on my blog, please rate it and let me know how it turned out in the comments below! Your feedback is invaluable and helps us grow. Thank you for your support!
Southern Boiled Peanuts
Ingredients
- 1 lb green raw peanuts
- 4 cups water
- Seasonings
Cajun Seasoning:
- 2 Tablespoon old bay
- 2 Tablespoon kosher salt or to taste
- 2 teaspoon garlic powder
- ½ teaspoon cayenne pepper
Lemon Pepper Seasoning:
- 3 Tablespoon lemon pepper seasoning
- 2 Tablespoon kosher salt or to taste
Salt and Vinegar Seasoning:
- ¼ cup kosher salt
- 2.5 cups apple cider vinegar*
Instructions
- Rinse the peanuts in water. Cook by following either of the instructions/methods below:
Stovetop:
- Add peanuts in a large pot. Cover with water and seasonings, bring to a boil. Reduce heat to medium-low and allow the mixture to simmer for 2-3 hours, until peanuts are softened.
- Serve. Remove the shells before consuming.
Electric Pressure Cooker:
- Add peanuts, water, and seasoning to the pressure cooker insert. Cover and cook on high pressure for 50 minutes, then allow it to naturally release for 10 minutes. Quick release any remaining pressure. Open and enjoy.
Slow cooker:
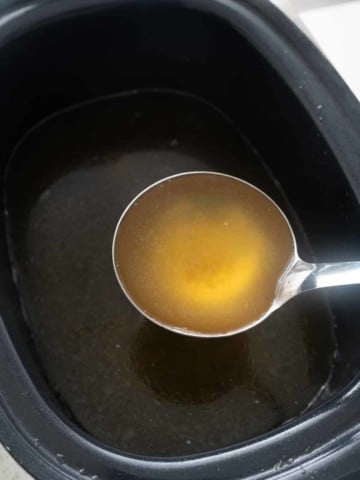
- Add peanuts, water, and seasoning into slow cooker insert. Cover and allow to cook on low for 12-14 hours, or until the peanuts have softened.
- Allow the peanuts to cool slightly before serving. Serve warm and enjoy.
Notes
- This recipe calls for green raw peanuts, which can be found in some supermarkets and farmers' markets during the growing season. If subbing with raw peanuts, you will need to cook the peanuts for longer. Raw peanuts take about 4 hours to soften and 90 minutes in the pressure cooker.
- For the salt and vinegar peanuts, reduce the amount of water to 1.5 cups to add to the 2.5 cups vinegar. You could also use vinegar powder instead if you don’t want your entire house smelling like vinegar.
- Do not eat the peanut shell. Place it in your mouth, suck off the flavor, bite the shell to remove the peanut, then spit out the shell. So easy 🙂
I published this post on June 8, 2021, and have since updated it.